Doggy Bunk Bed
I built this dog bunk bed based on the queen farmhouse bed. As you can see the dogs are already fighting over the top bunk. This bed is very very sturdy and should give many years of use. Yes I spoil my dogs.
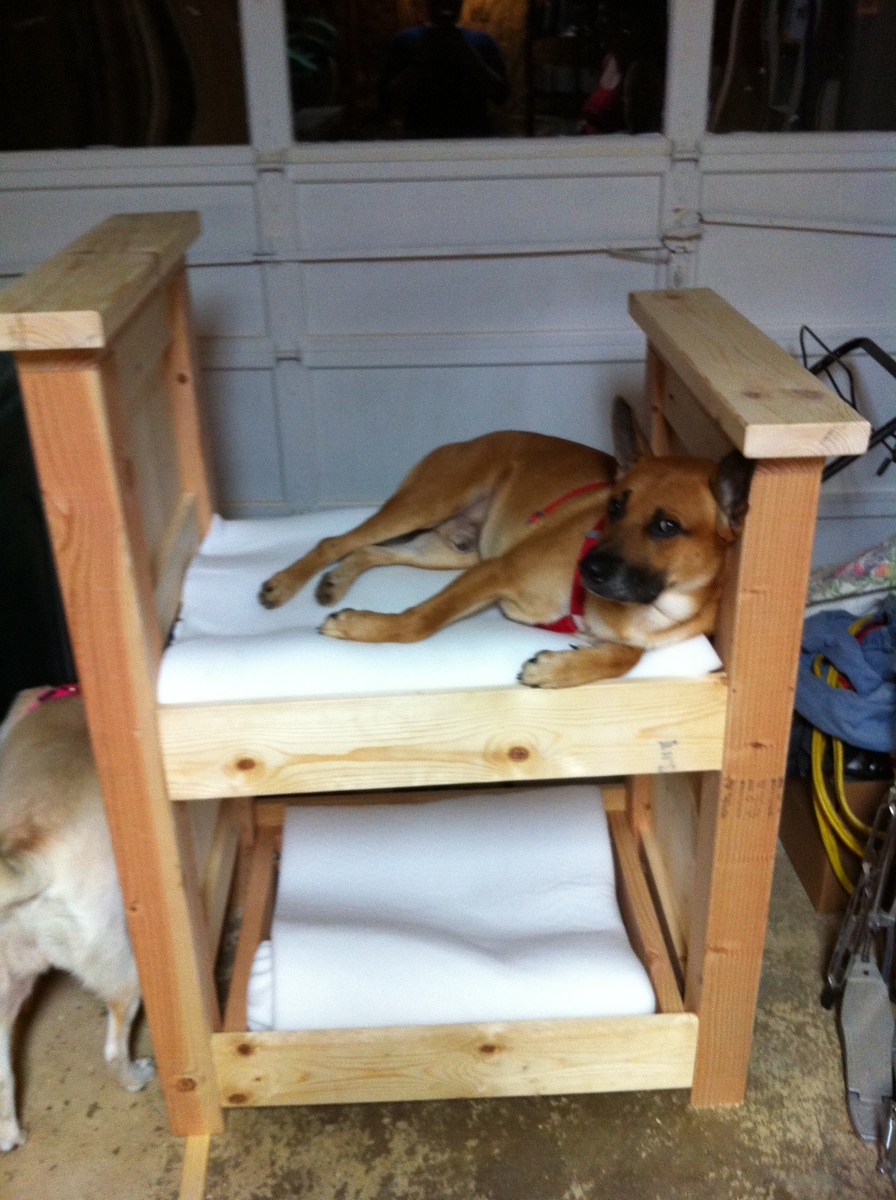
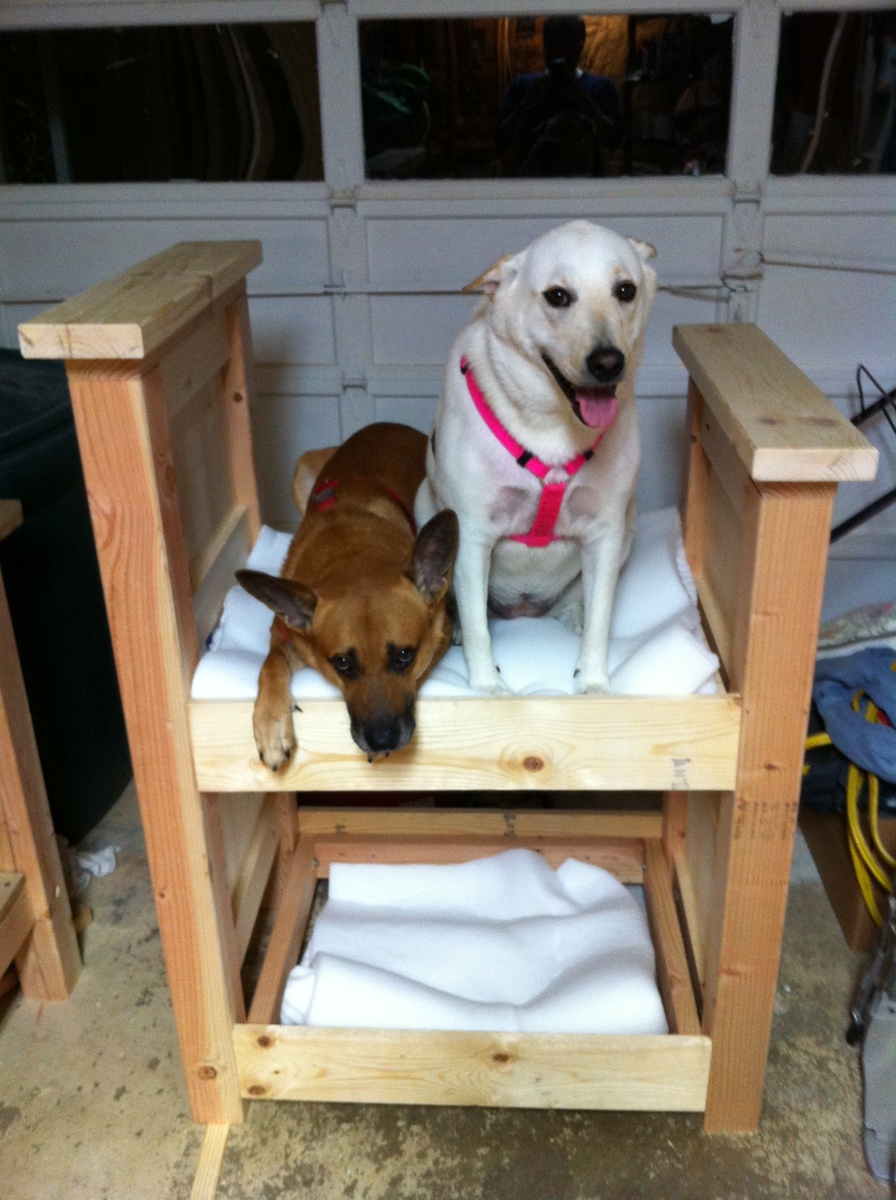
I built this dog bunk bed based on the queen farmhouse bed. As you can see the dogs are already fighting over the top bunk. This bed is very very sturdy and should give many years of use. Yes I spoil my dogs.


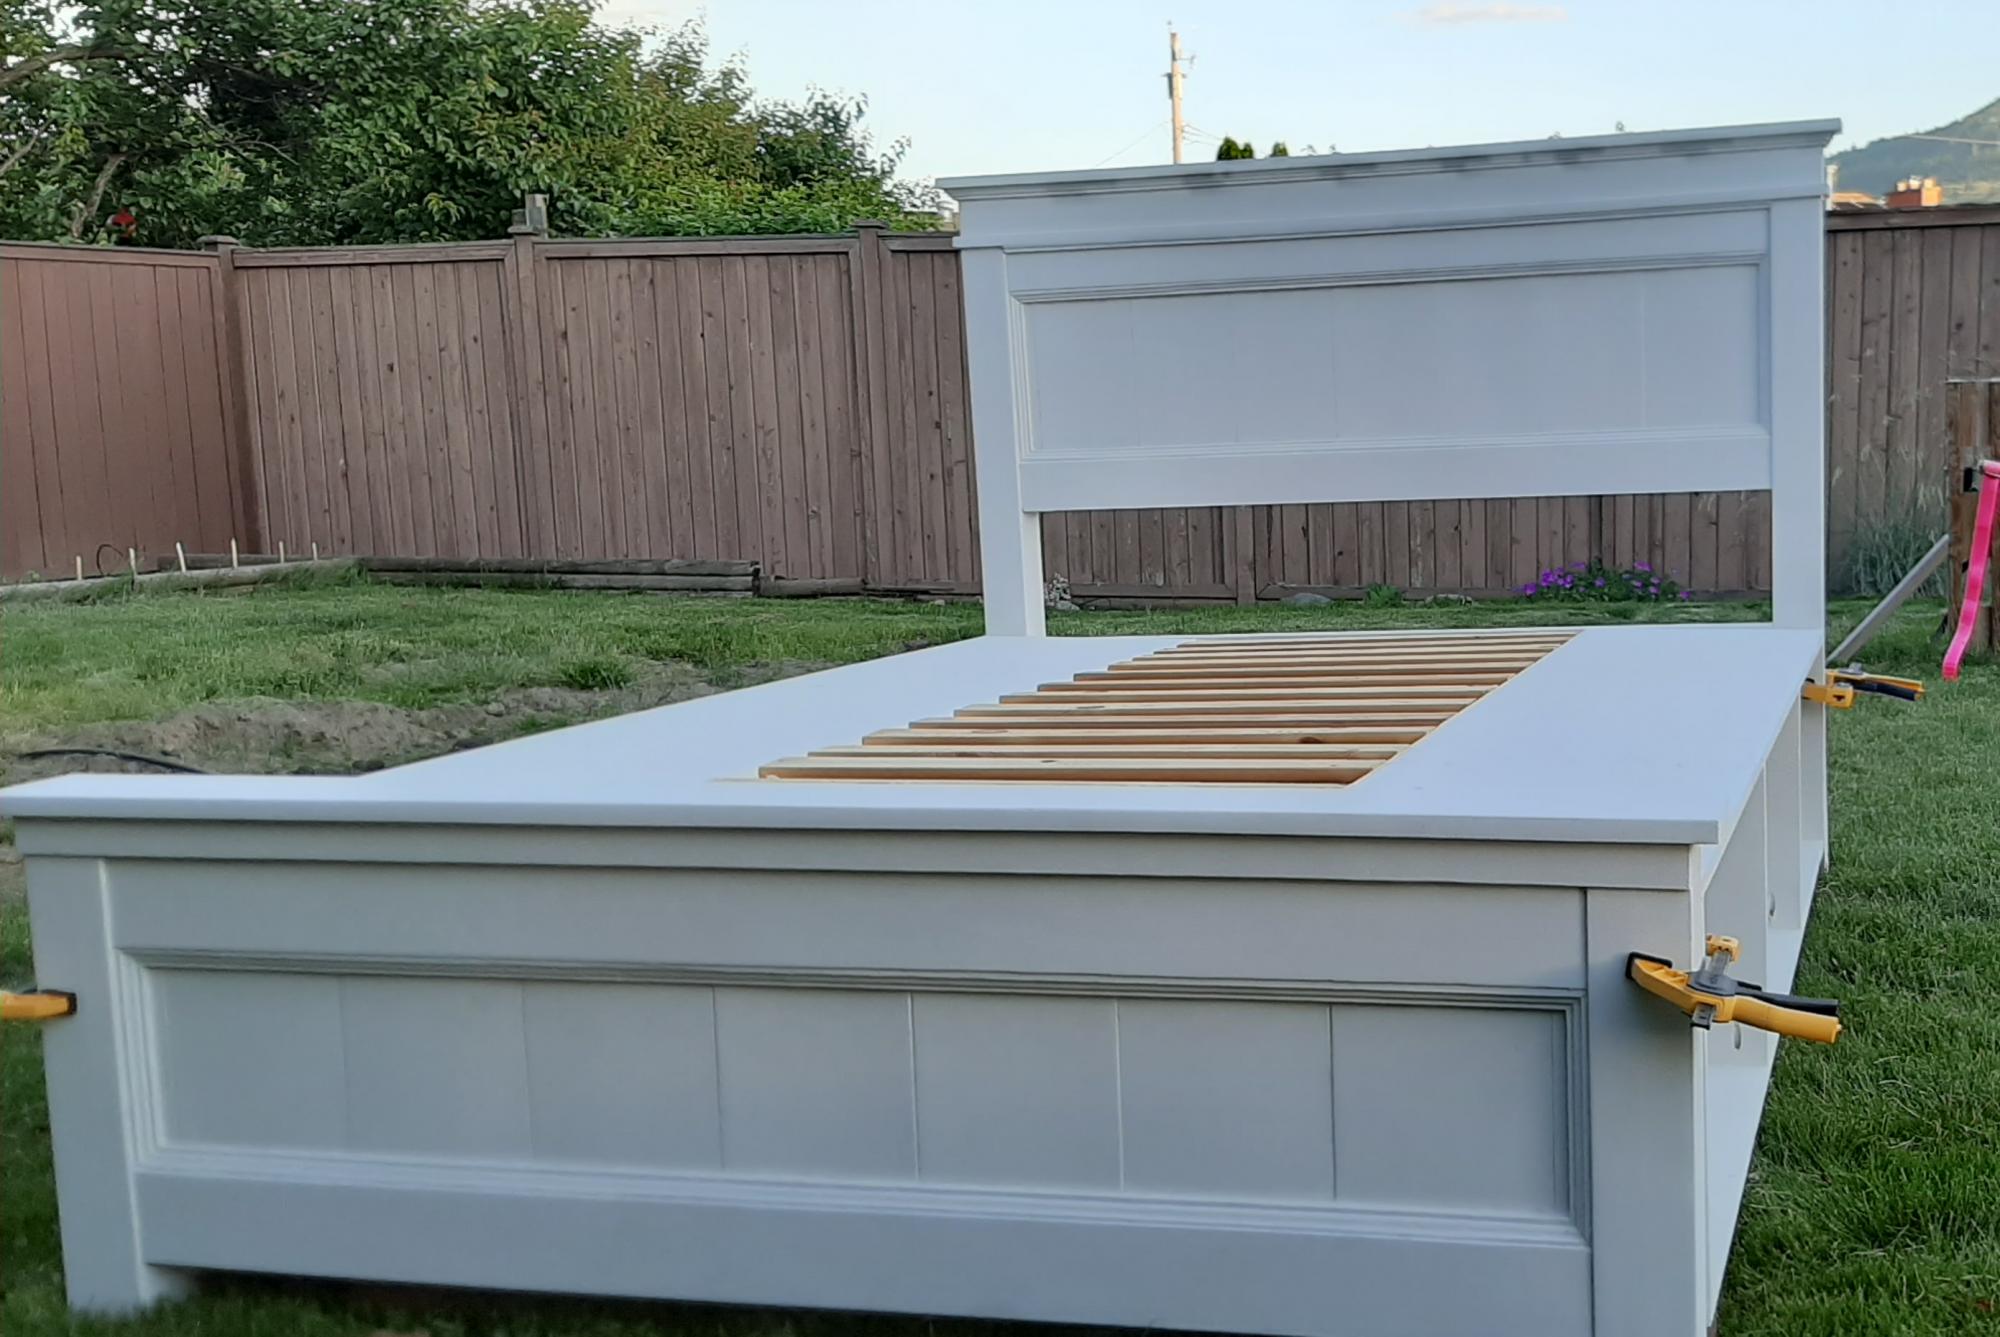
I used wood from an older Ana white project of a loft bed my daughter had out grown. I liked the look of Ana's Mom bed but wanted storage so I modified the plans slightly. I will add drawers later.
Modern Comfort Outdoor Sofa and Loveseat to go with the Simple Outdoor Dining Table and Benches that I made 2 years ago. I love that the "Modern Comfort" plans don't require angles or a miter saw. I used a circular saw for all of it!
I'm so grateful for these plans! Since we were building in a basement against a concrete wall, we just made each side with the vertical 2x4 supports, then anchored the shelves to the exposed studs on the side walls for safety. This project was so fast and easy -- I put them together one night after the kids went to bed. They're 8' long and 2' deep, very sturdy, and they were highly economical to build. I love that the shelf is smooth and flat, too, as this makes it easy to store small things as well as large totes.
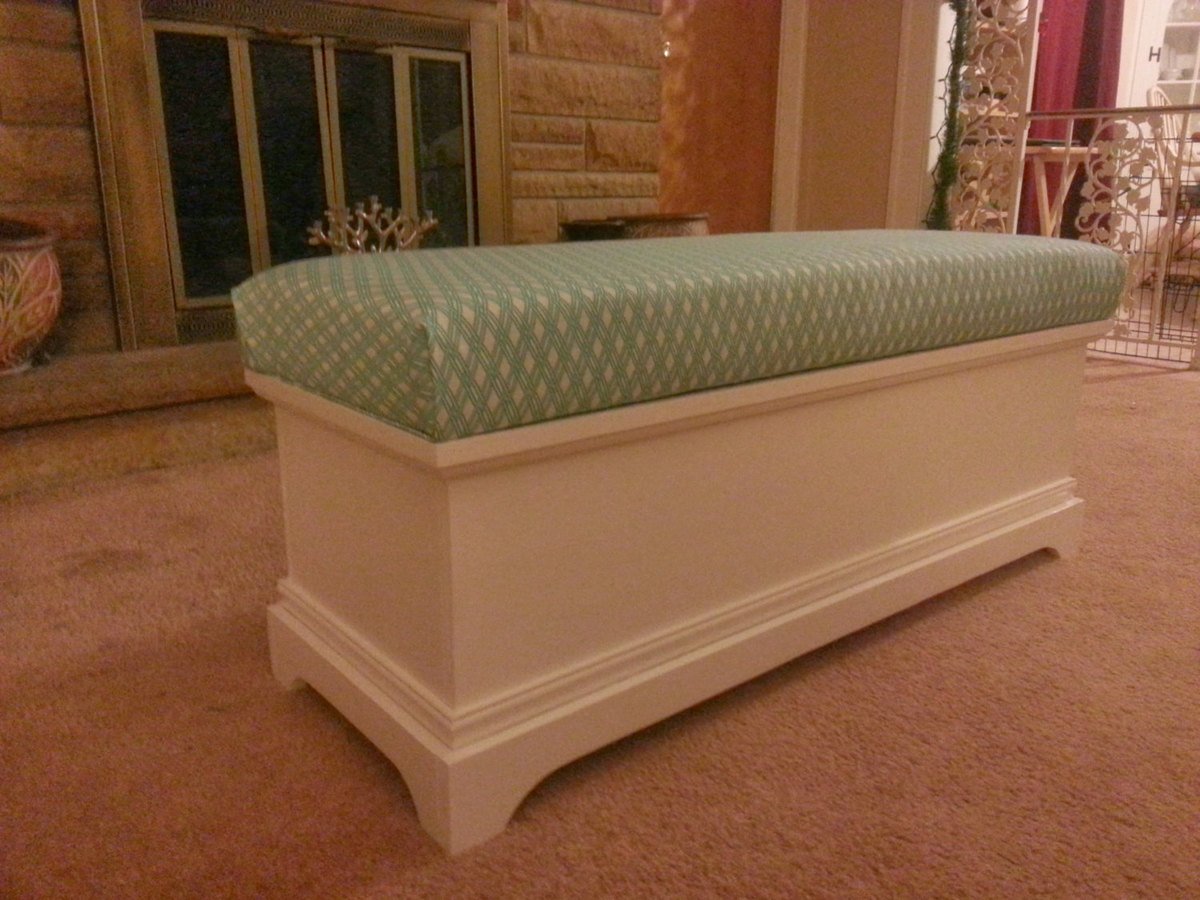
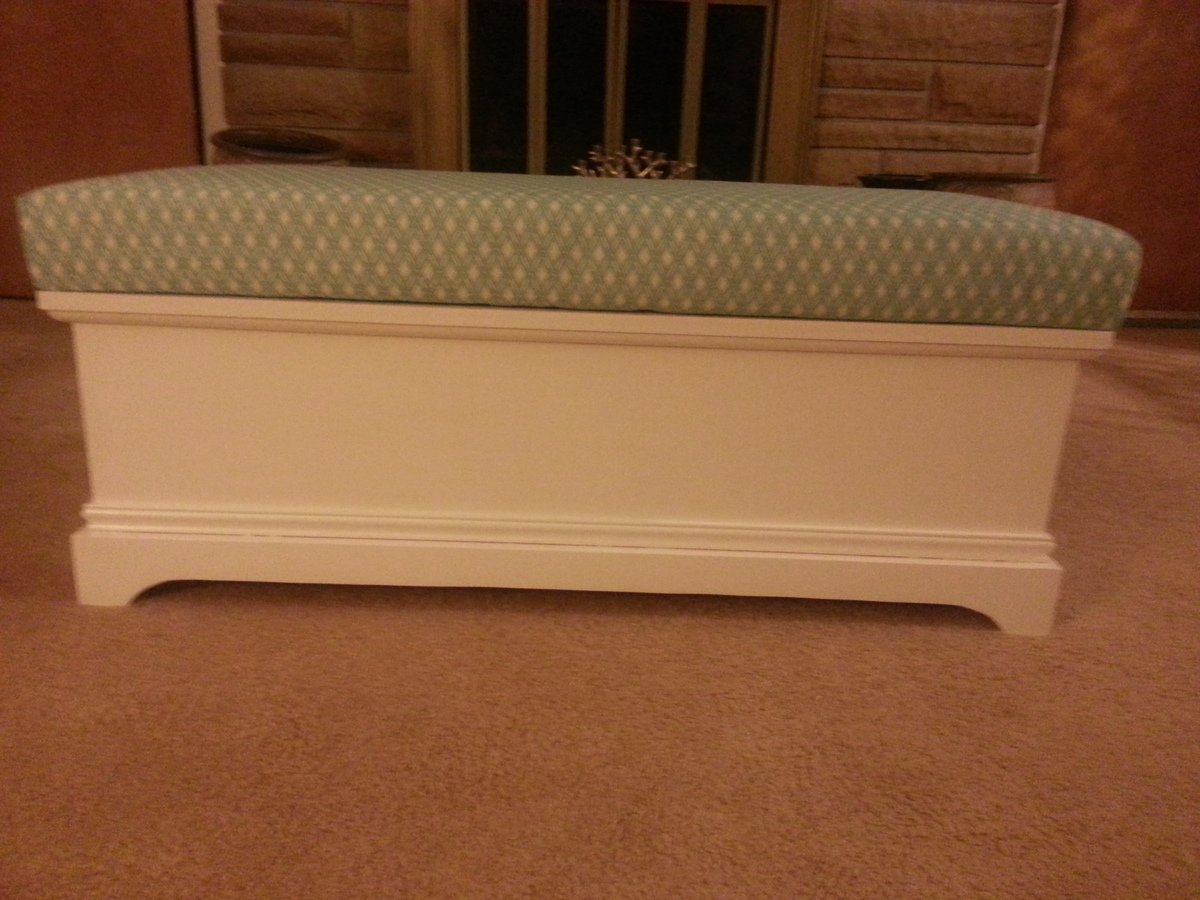
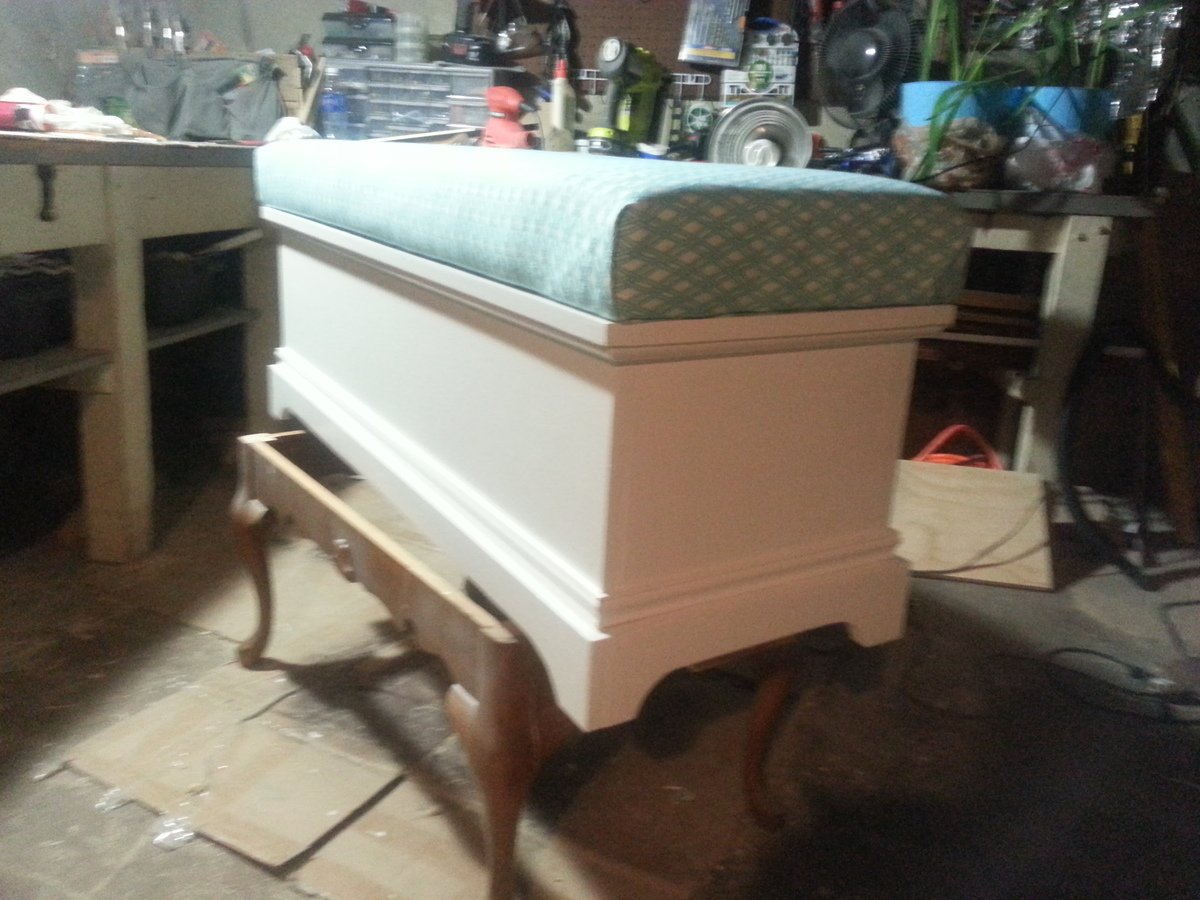
I've tried this before as a gift for a friend's new baby. I then wanted to do one for myself but change the measurements somewhat. This is 45" long and the same width as the original. I reduced the height to account for the 3" foam cushion. Besides that it's pretty much the same as the toy chest plan.
Building and sanding took about 3 days working after work only. Painting took the longest time.
When my wife told me that our son needed a new bed, I saw that as an opportunity to buy some new tools. After selecting which bed to build from your site, I spent a few hours over the weekend making the loft bed with stairs. Our son loves it! The only thing left to do is decide on a paint color.
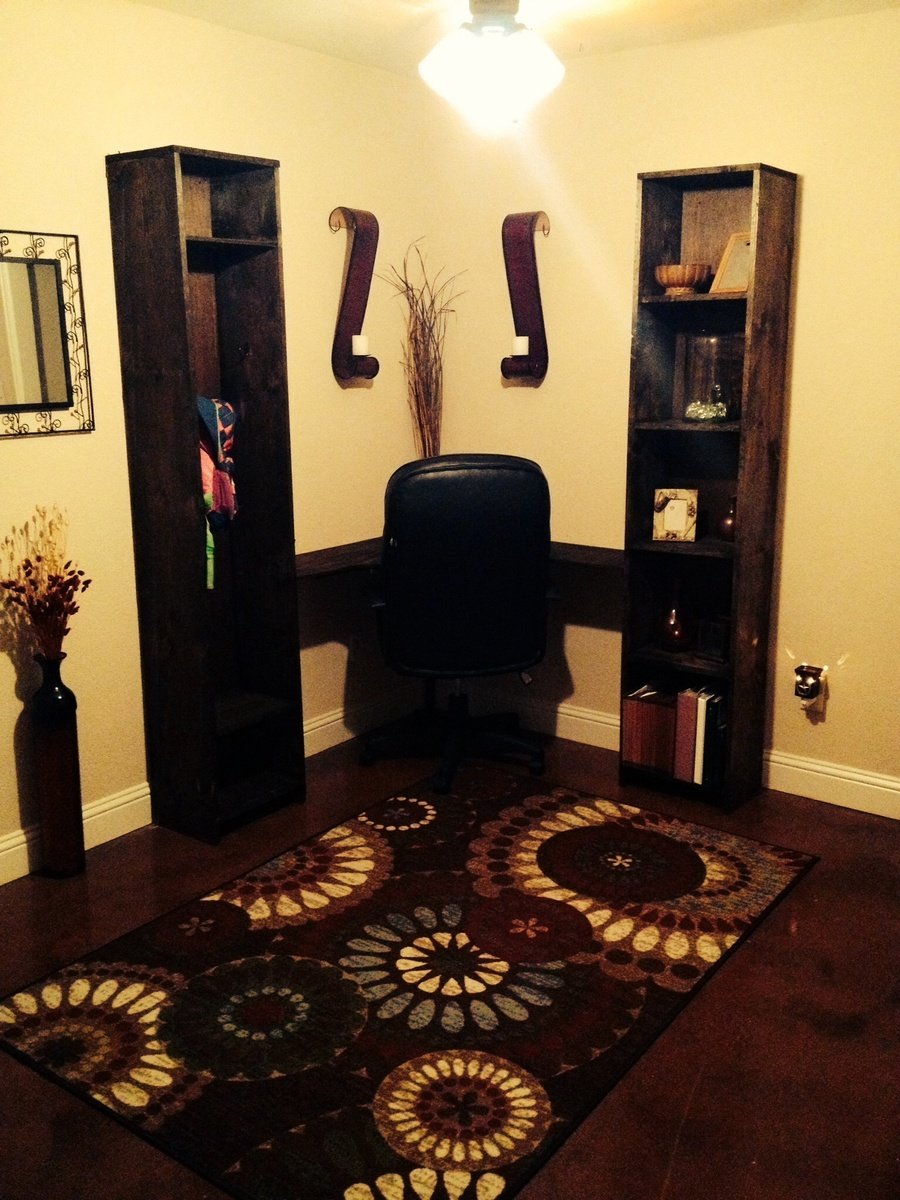
This was my first ever project! I built the skyscraper bookcase and then built a second one, only modifying it to make a locker style cabinet for backpacks!
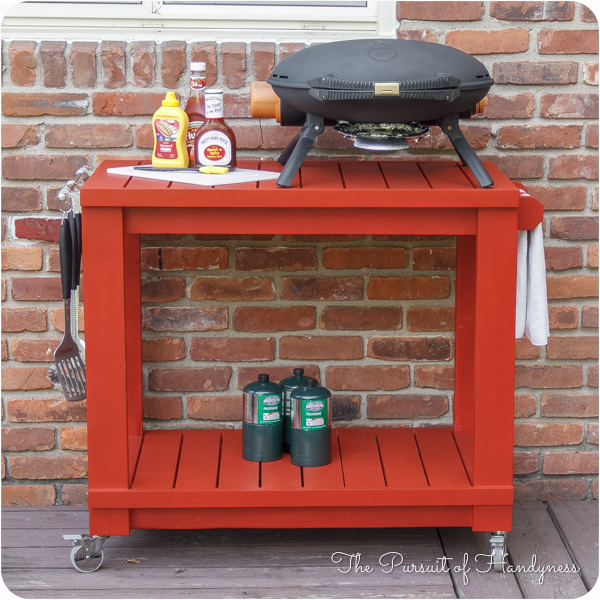
I honestly think Ana is a mind reader. Whenever I need plans for a particular piece of furniture, they magically appear on her site. Of course if she was a true mind reader, everything will be exactly as I need it requiring no modifications. That's what makes her plans so amazing. I can build bigger and better because I've learned to modify her plans to fit my current needs.
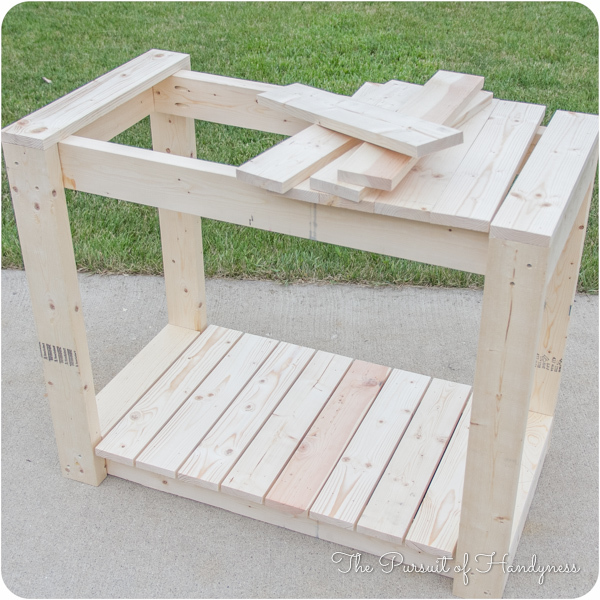
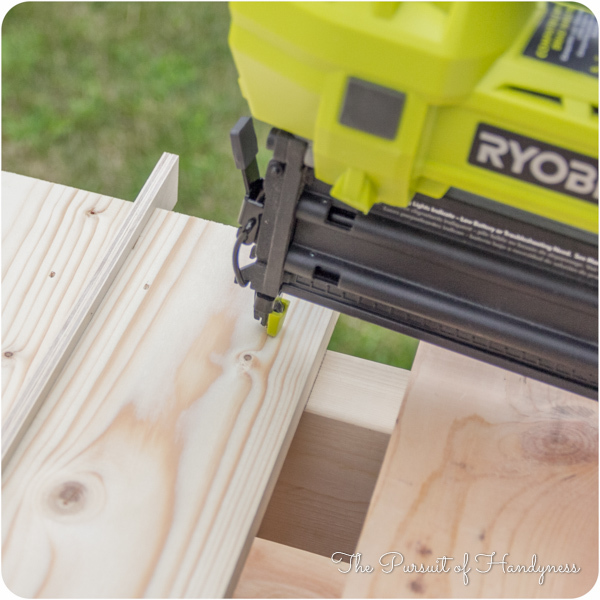
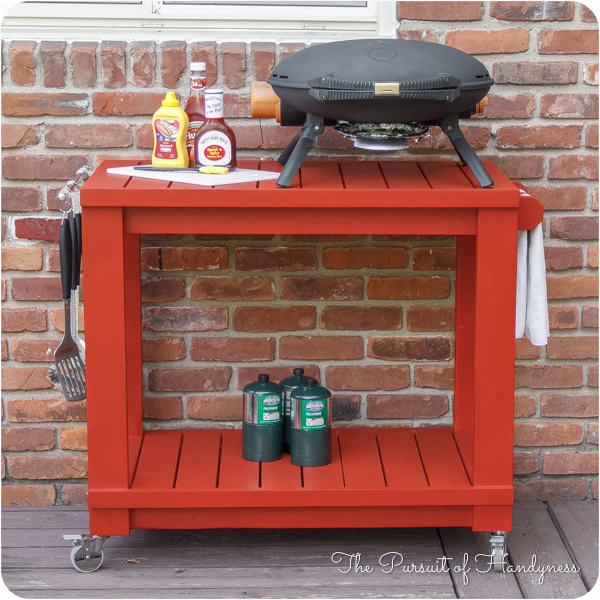
This Cart was no exception. I had to make mine a few inches deeper and change the height of the legs and it was a piece of cake. I put this together in less than 2 hours and finishing was easy too.
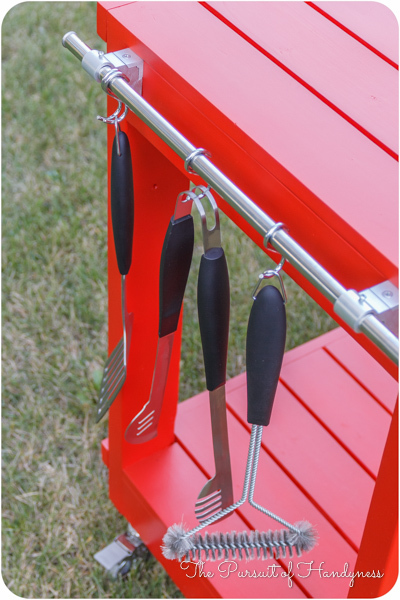
I did a blog post all about what I did differently including how I constructed a towel bar instead of the pipe. Check it out at www.thepursuitofhandyness.com

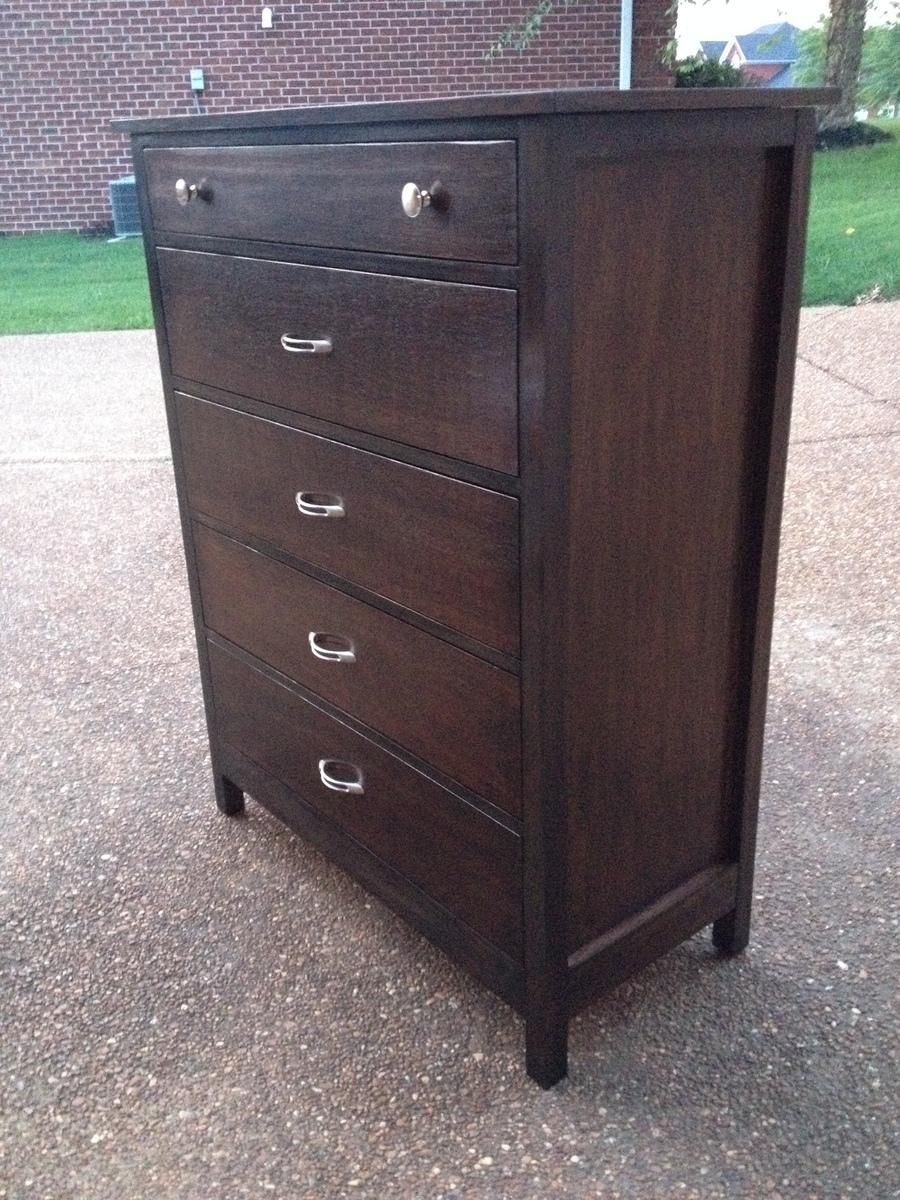
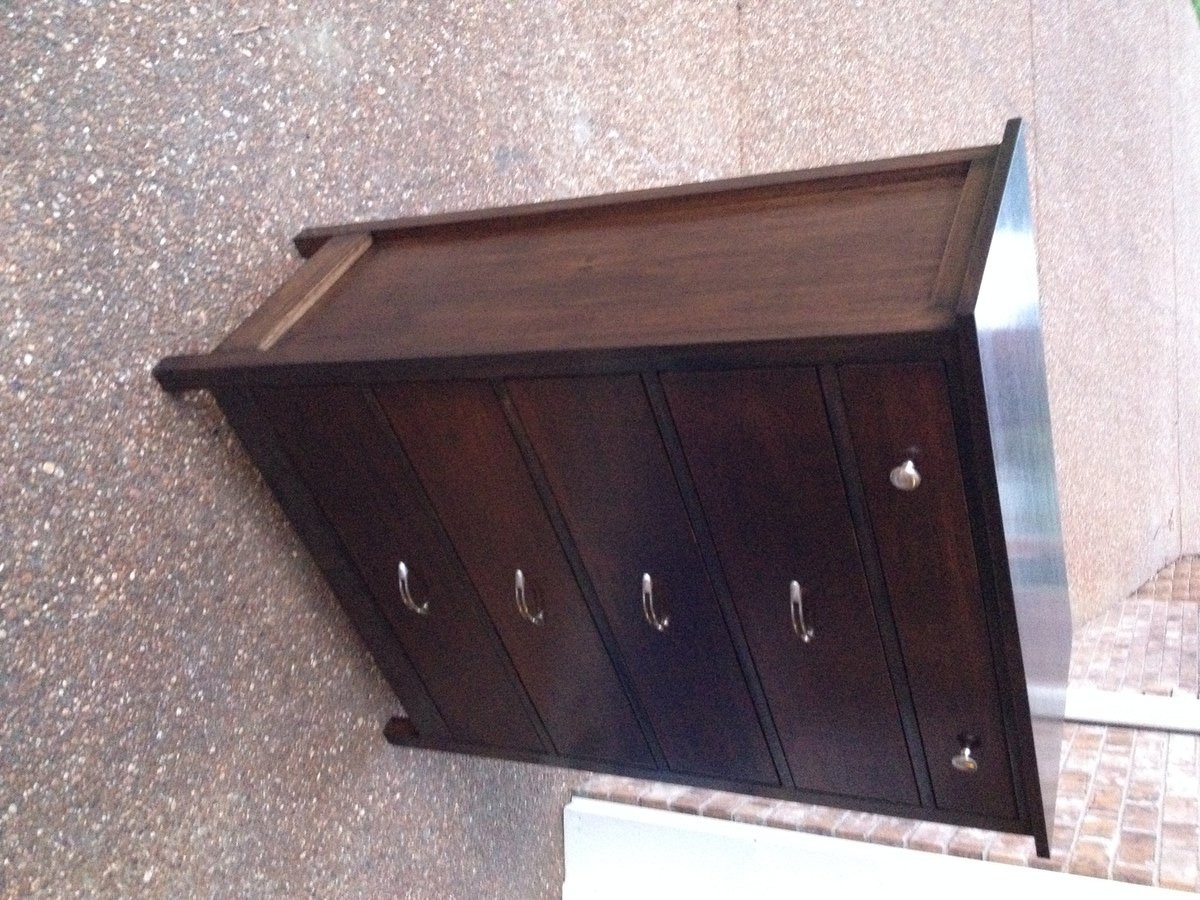
I needed this to be a little taller, so I added another drawer. Other than that, all the other dimensions were the same. I built it in one weekend, but the finishing took about 5 days (for drying time between coats). I was trying to match a baby bed (expresso) so I stained it dark. I also used plywood on the sides, top and drawer fronts instead of pine boards. It really turned out great and matched the bed perfectly.
Mon, 08/04/2014 - 08:52
This turned out so nice, and the finish looks exceptional.
Mon, 08/04/2014 - 08:52
This turned out so nice, and the finish looks exceptional.
In reply to Finish by sharshar1960
Mon, 08/04/2014 - 11:43
No, I didn't alternate. I needed the base color to be a deeper brown so it took 3 coats of English Chestnut. Then 2 coats of Ebony over the English Chestnut, to get the black, layered look. I put each coat on, then wiped it off after a few minutes. On the last layer of Ebony, I only lightly removed the stain. The brown shows through in some areas which is exactly what the bed had. I used the oil-based Minwax.
Sat, 12/06/2014 - 18:40
I used Minwax poly (in the can), satin finish. I brushed it on with a foam brush.
Wed, 10/21/2015 - 11:44
can you comment on the stain with sandeply. did you use sanding sealer?
i have read many a comment on issues with staining sandeply but yours looks awesome.
i like the approach.
Thu, 08/08/2019 - 19:48
hi where is the plan for the taller version of this - looks great!!
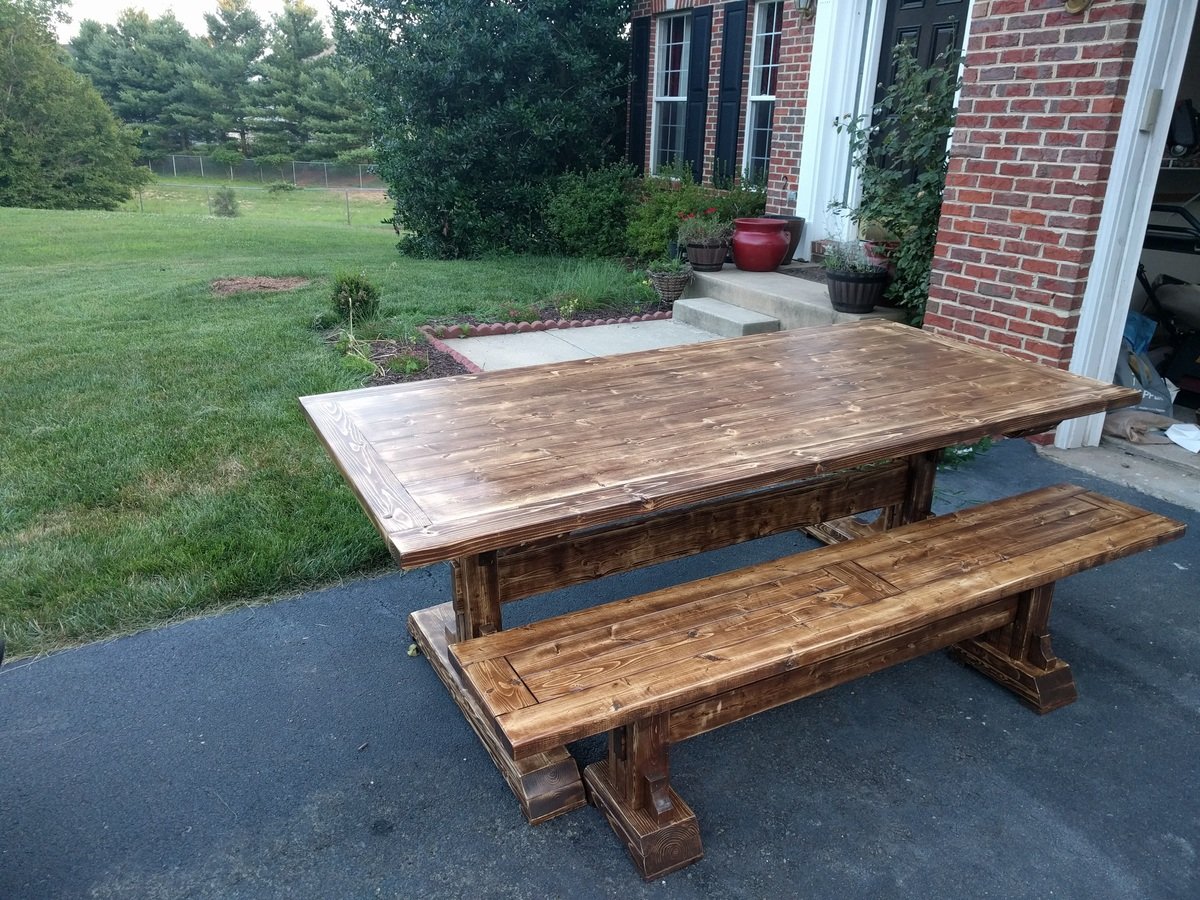
I modified it slightly by leaving off the trim around the perimeter. I also shortened the table to 84" which then only required 2 legs for a custom fit for the mom space. The finish was distressed to conceal heavy use (more like spills :-D) from kids which turned out to be a home run with moms
Check out some tips during my build @ charitybuilds
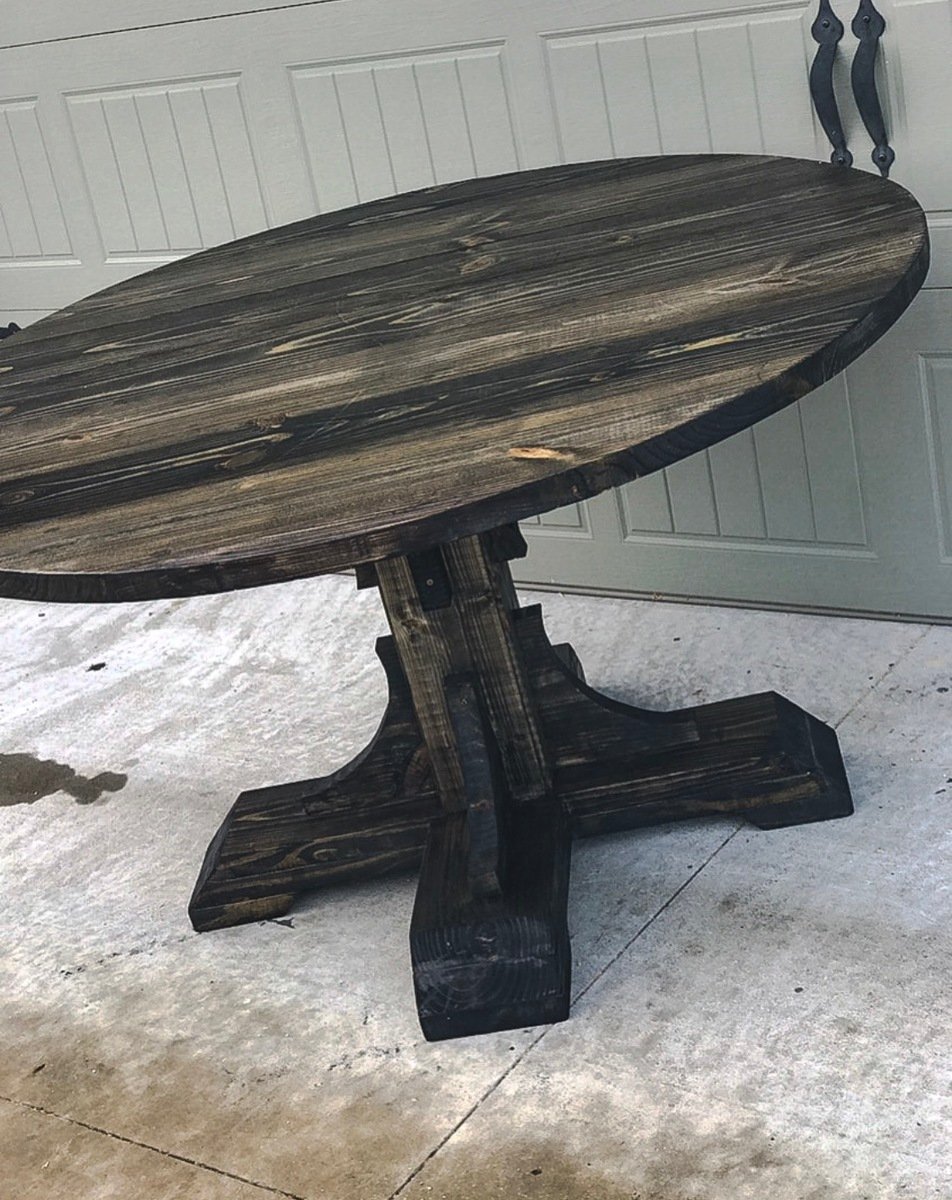
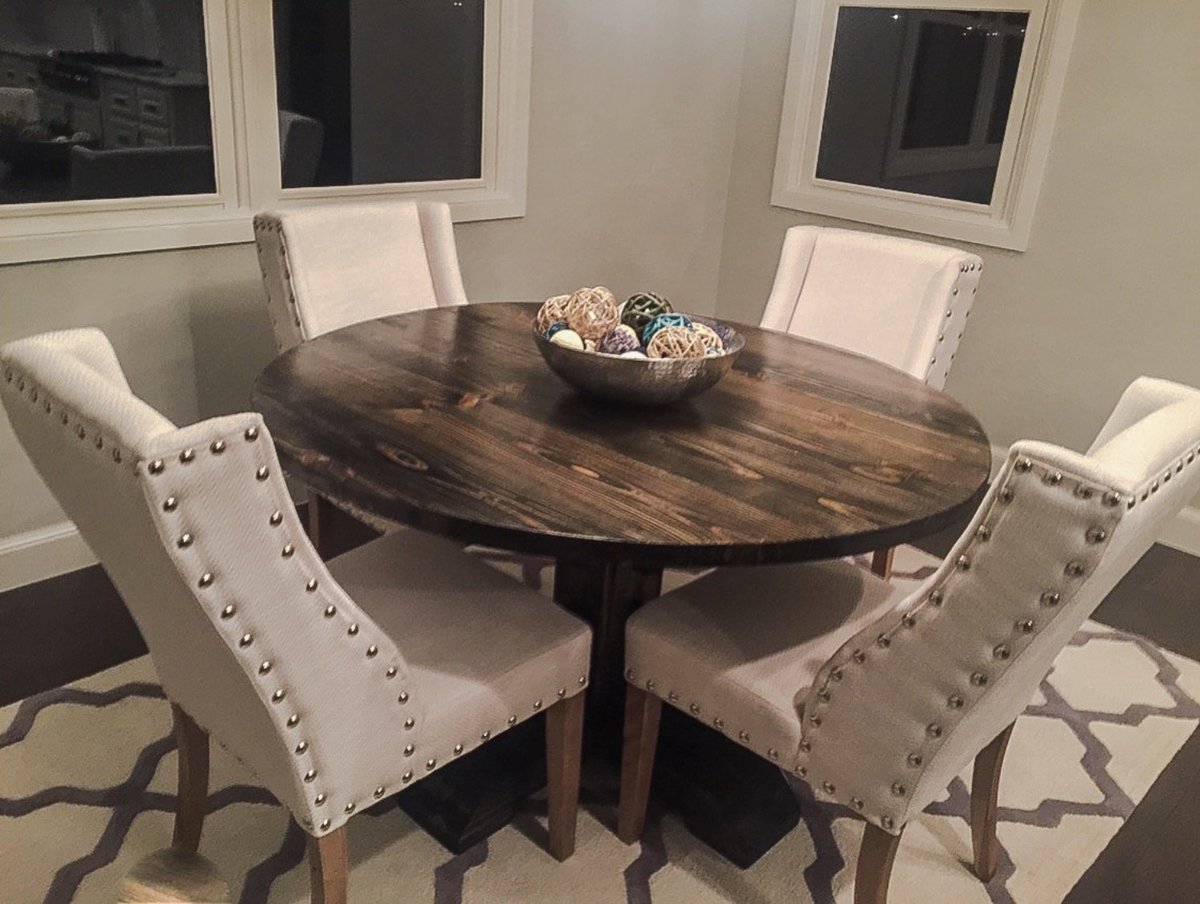
This was such a fun build. Instead of the square table top I opted for a 54" round table top and I also altered the plans for the base. I upped the size for each board used to give it a chunkier look ( Ex: instead of 2x4s, I used 2x6s and so on)
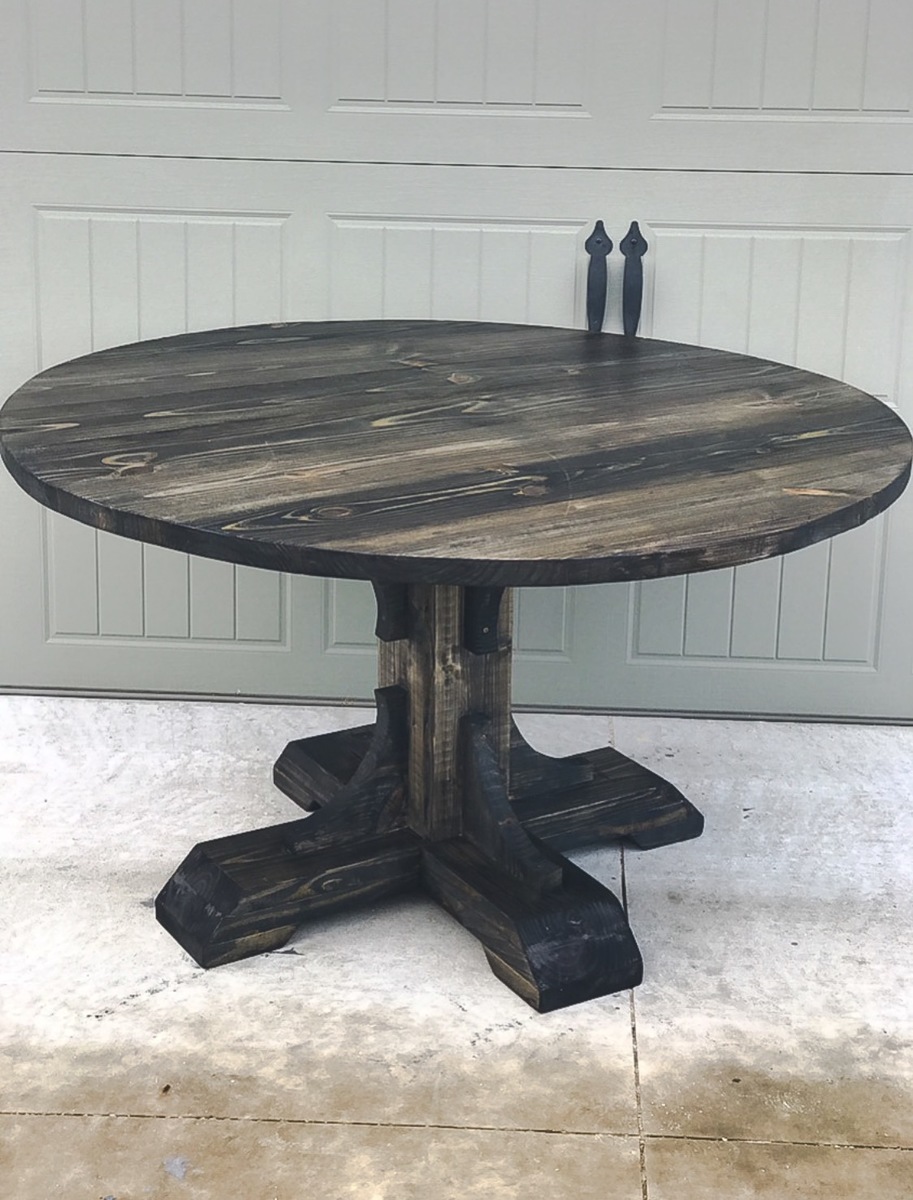
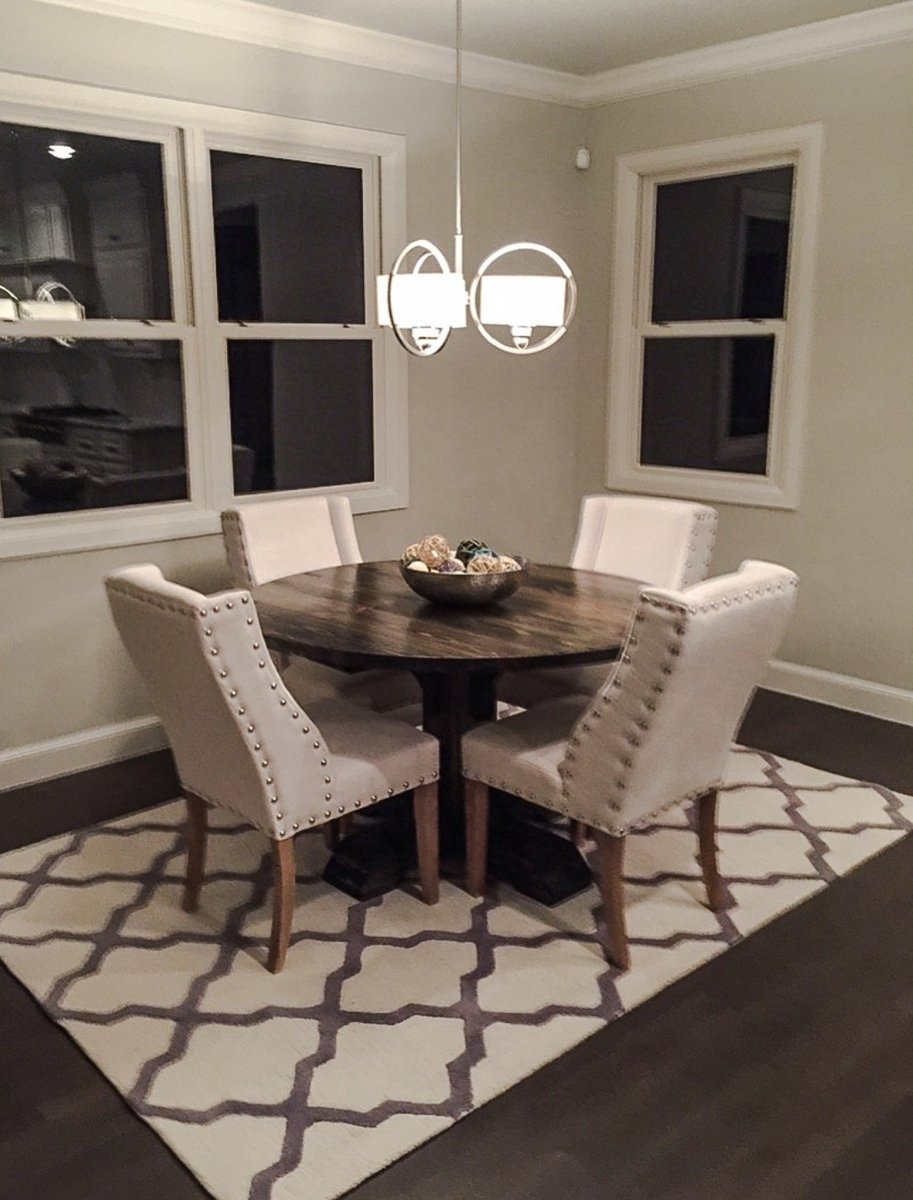
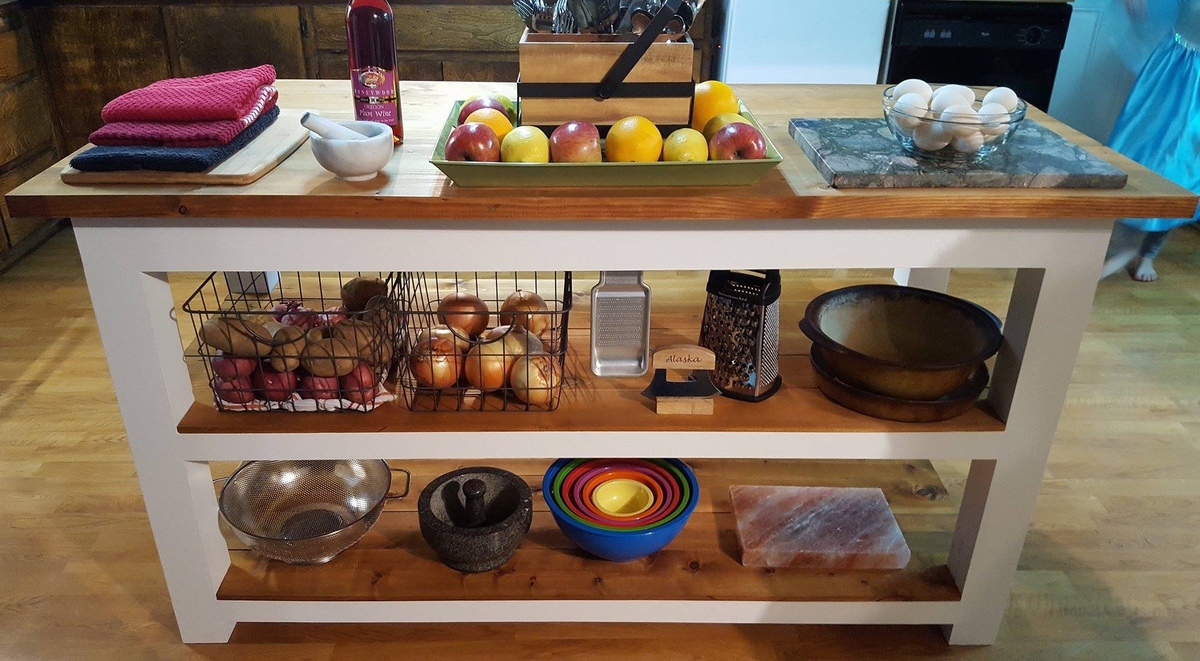
Built from discount 70% off lumber from Home Depot. I planed and cut down to size with a Ridged planer and table saw, then screwed together with kreg pocket screws. Since I will be kneading bread on it, I used a natural coffee stain and then butcher block finish..
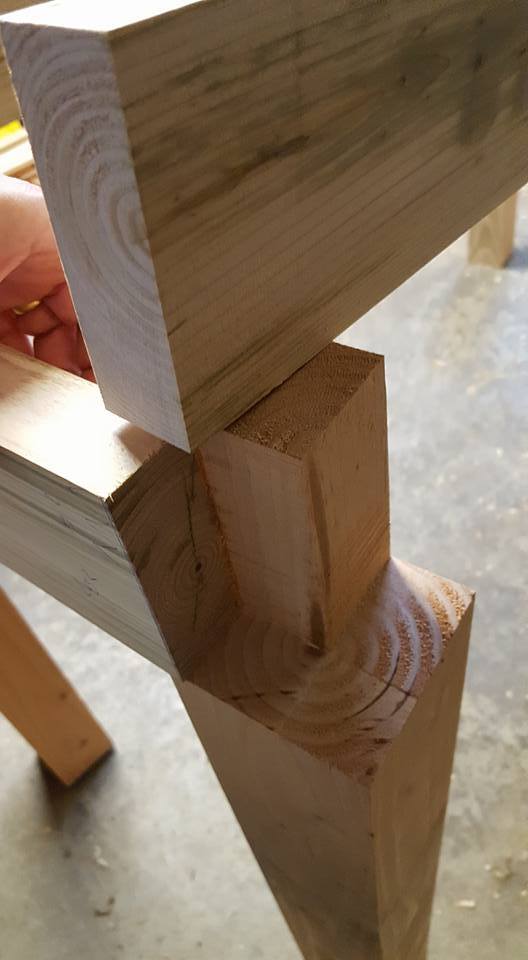
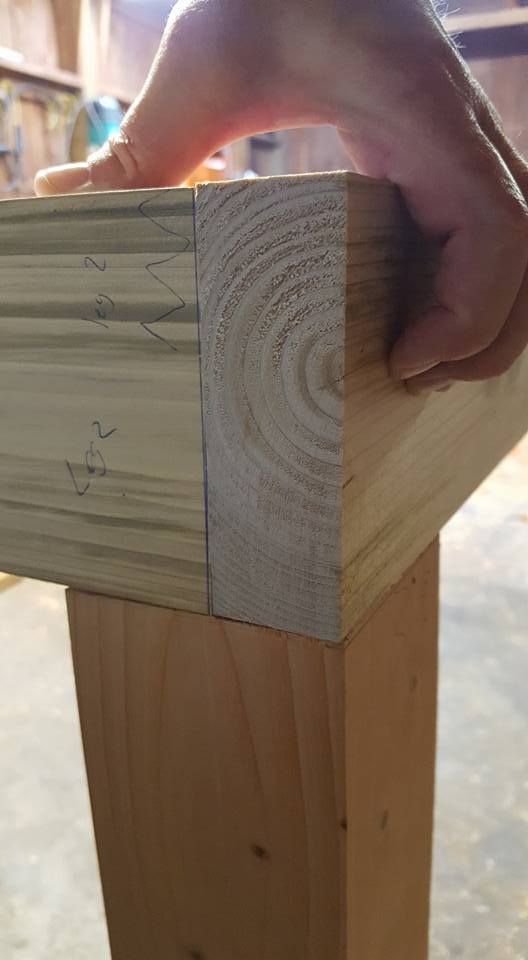
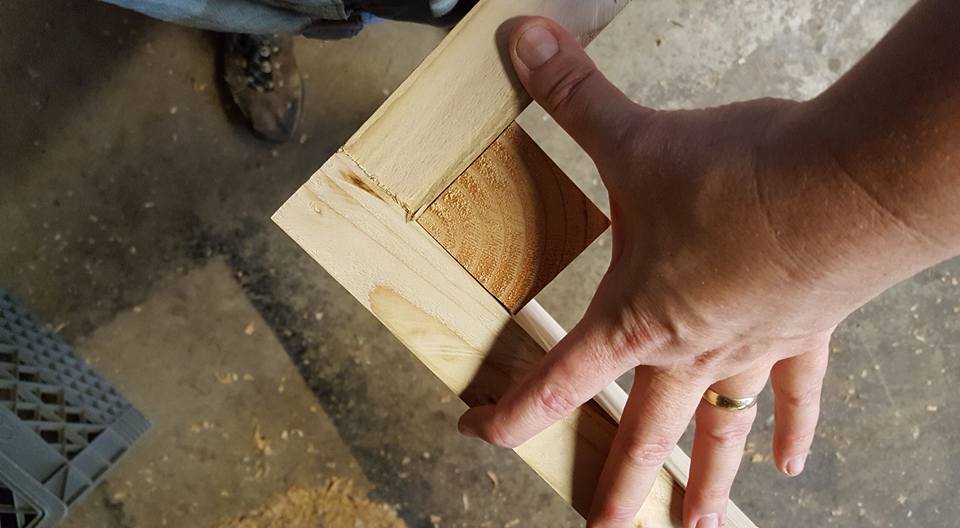
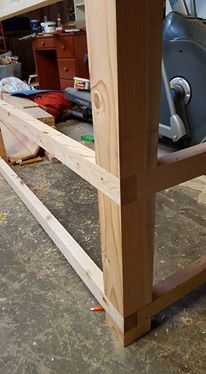
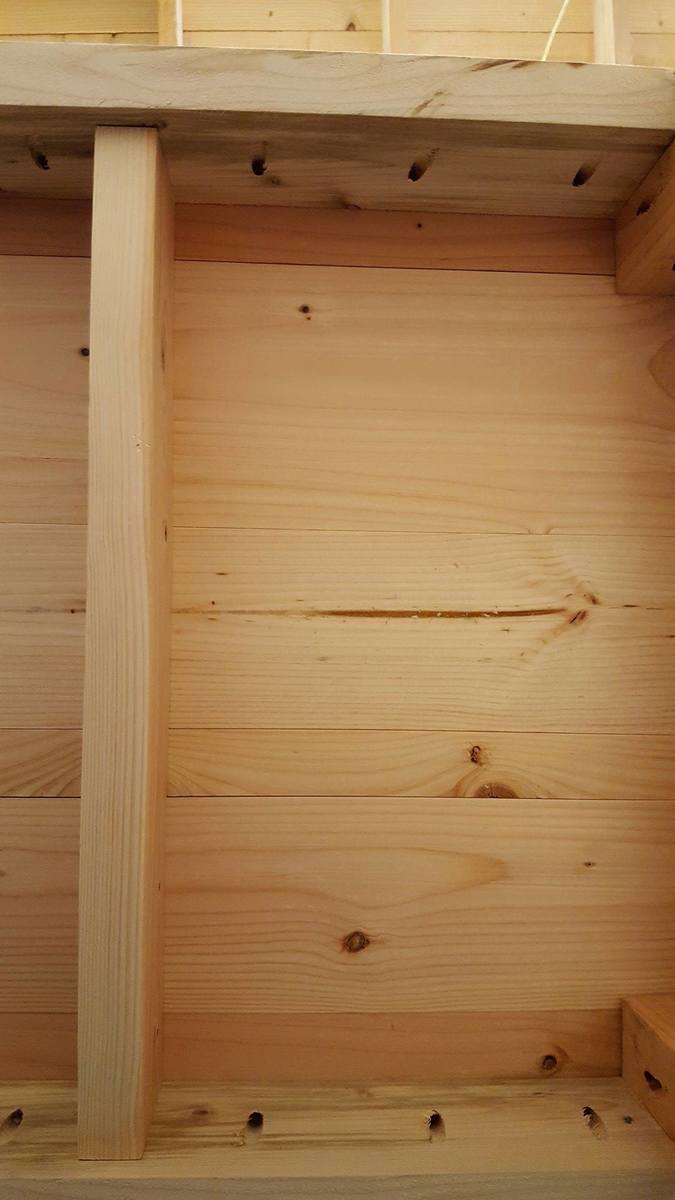
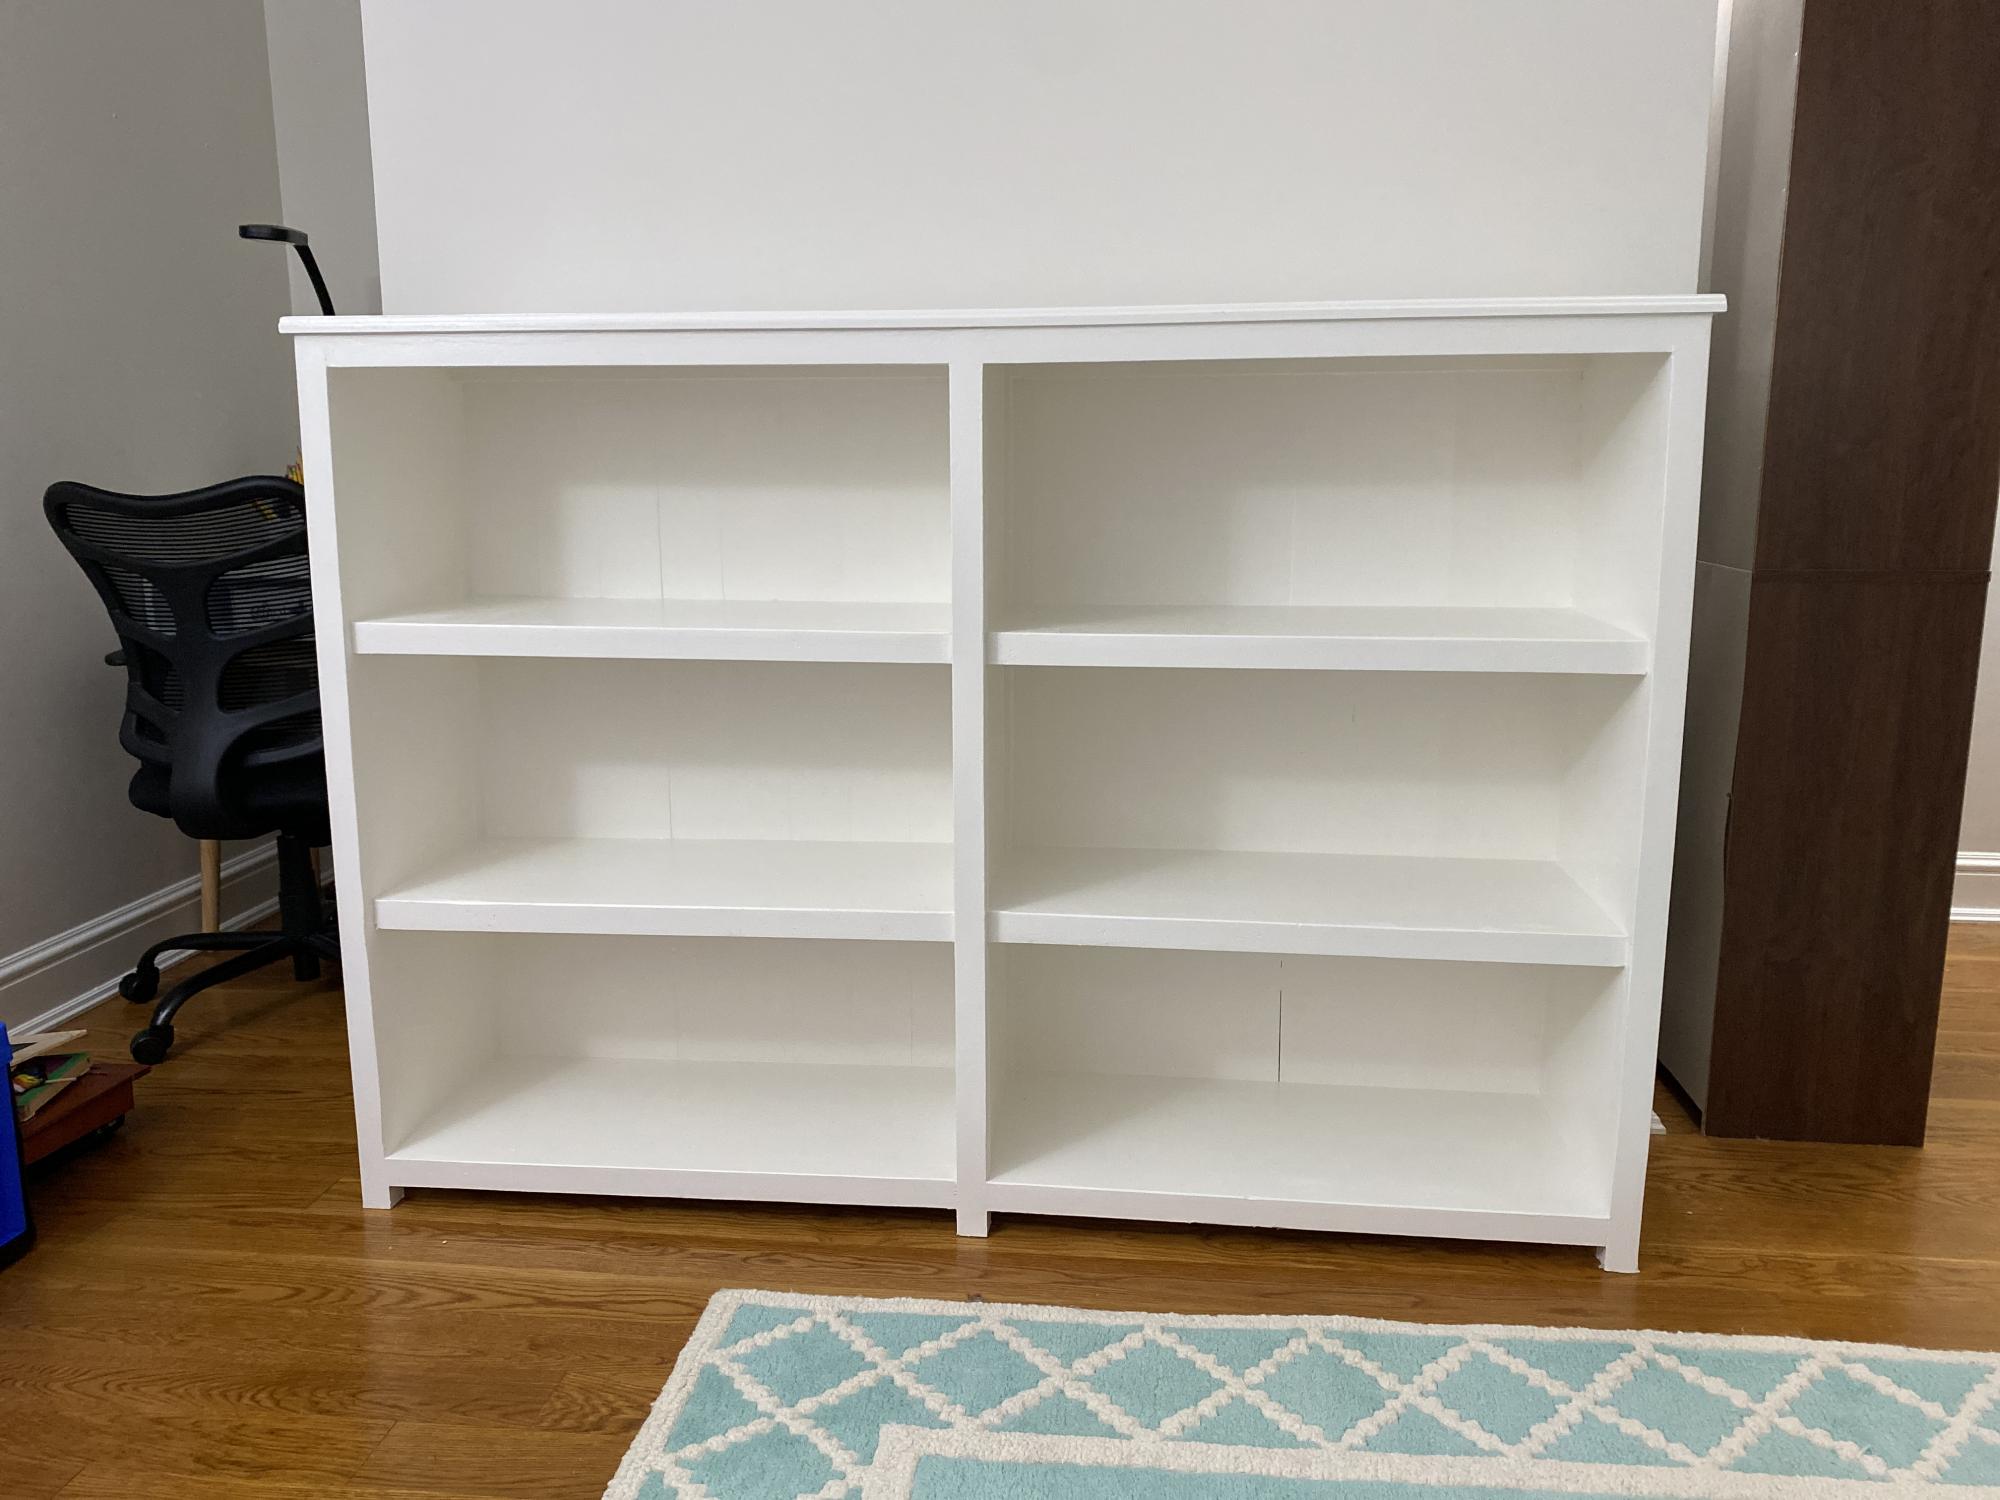
This was my first project, and I did it together with my two oldest children (13 & 11).
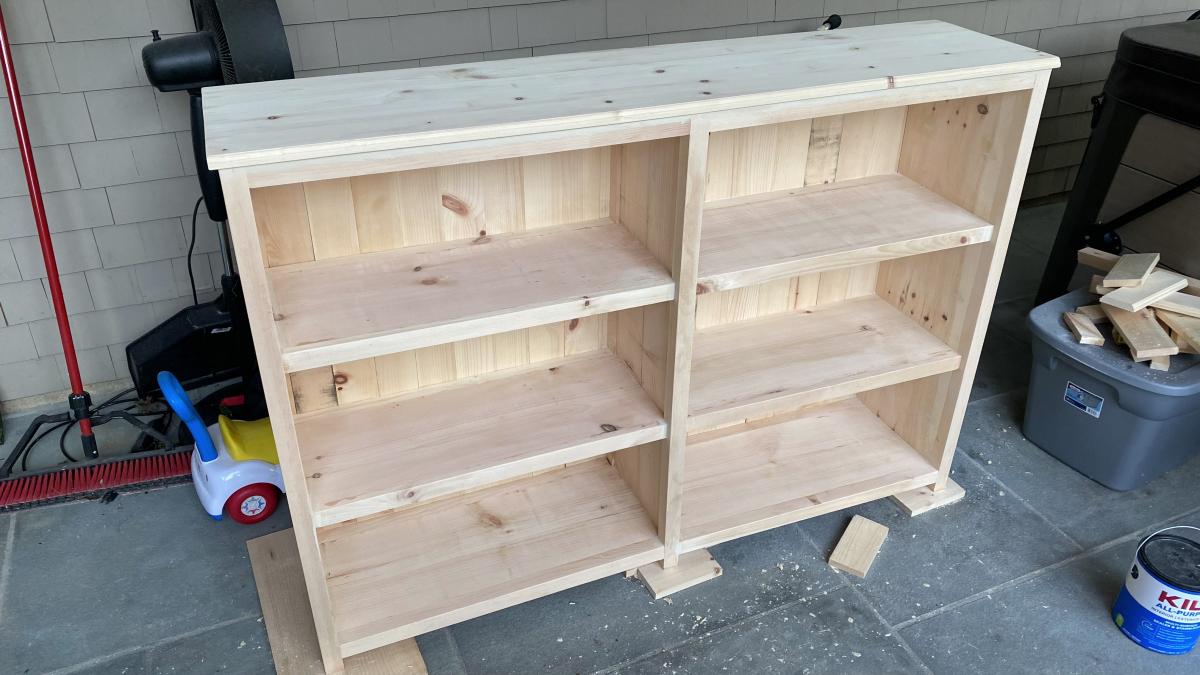
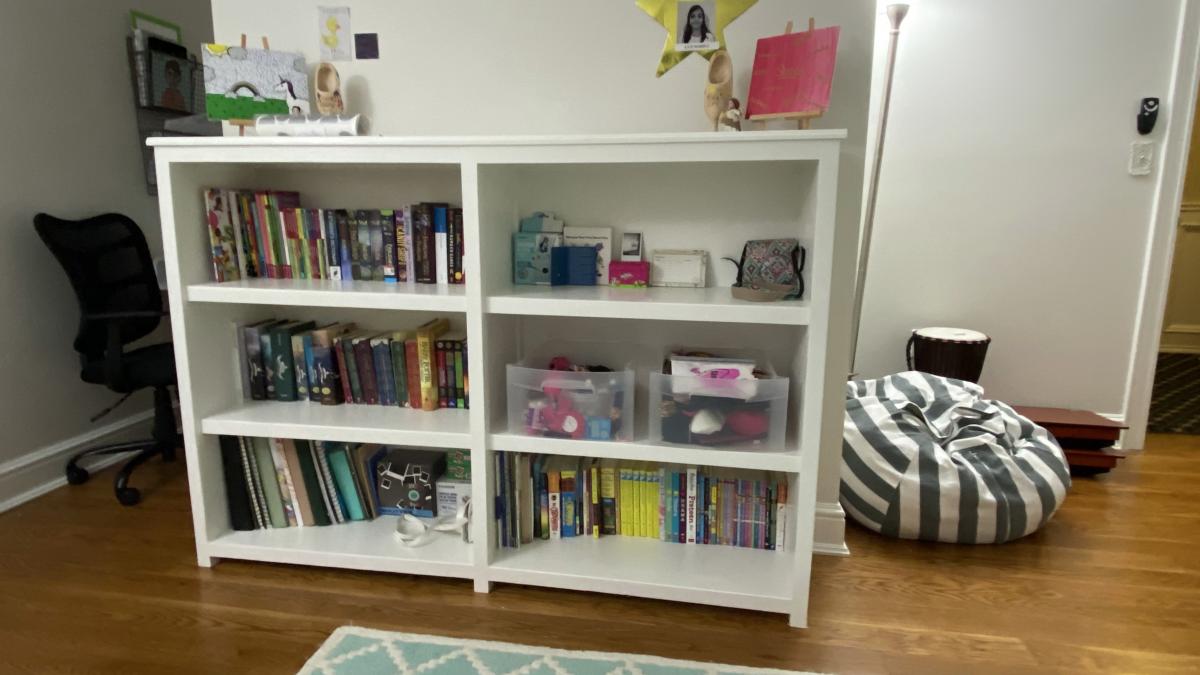
We started with the basic Kentwood Bookshelf plan, but wanted to have it a little shorter to make use of the tabletop. We also wanted it wider to fit a specific location in my daughters' room.
Broadly sticking to the Kentwood instructions, we measured the longer space we had and what that would mean for each of the measurements for the cuts. It was tricky to get the measurements right for the 1 x 12s in the middle which had to be a little longer than the 2 x 2 and 1 x 2 frame fronts to fit snuggly, but we got there.
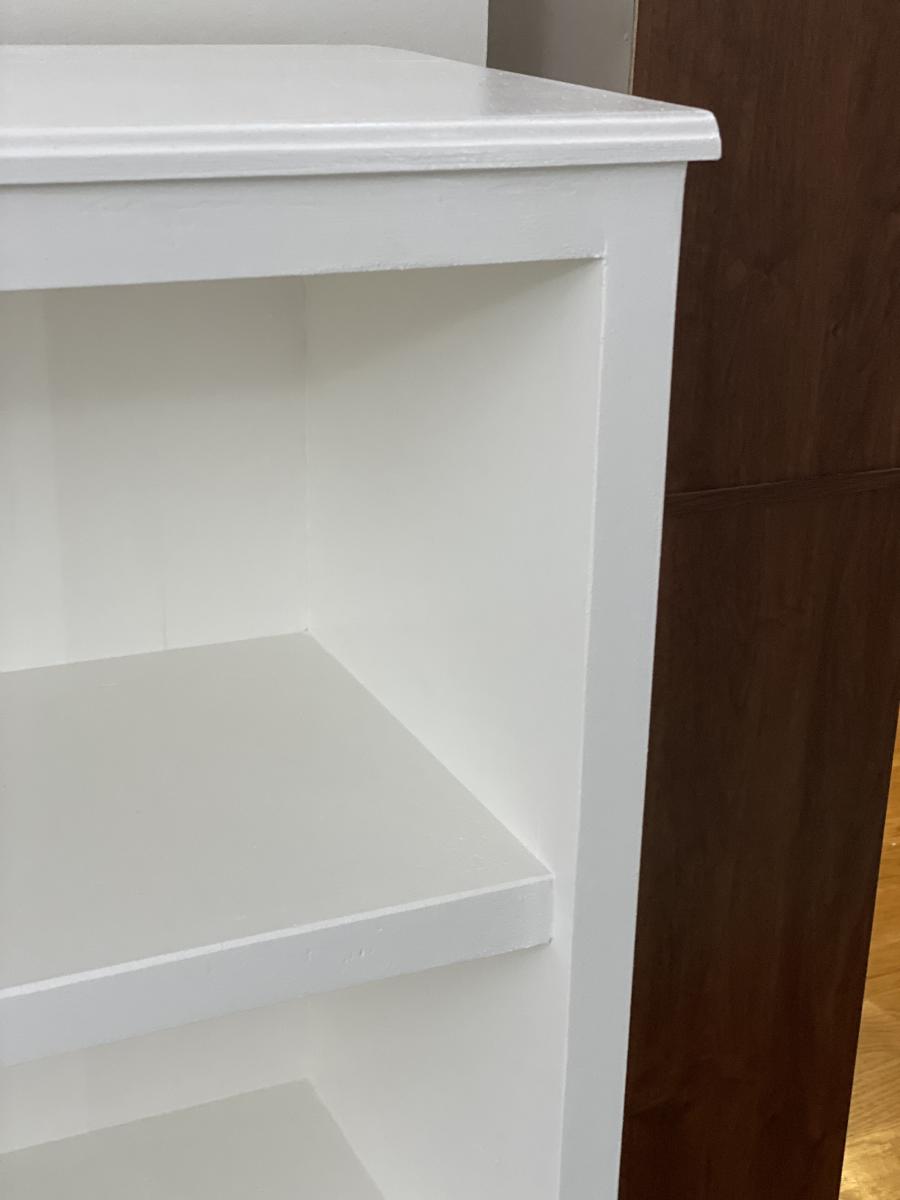
We finished the top and back with 1 x 4 boards instead of planking. It added cost and weight (whole thing probably weights 150 pounds), but hopefully it will last a long long time. We routed the front edge of the table top to give a nicer finish.
Painted it white in the end. Tried to put a clear coat over it, but made a mistake of using an oil-based clear coat which turned the whole thing yellow. Had to sand it down and repaint. Ugh. Lesson learned!
We're very happy with the results.
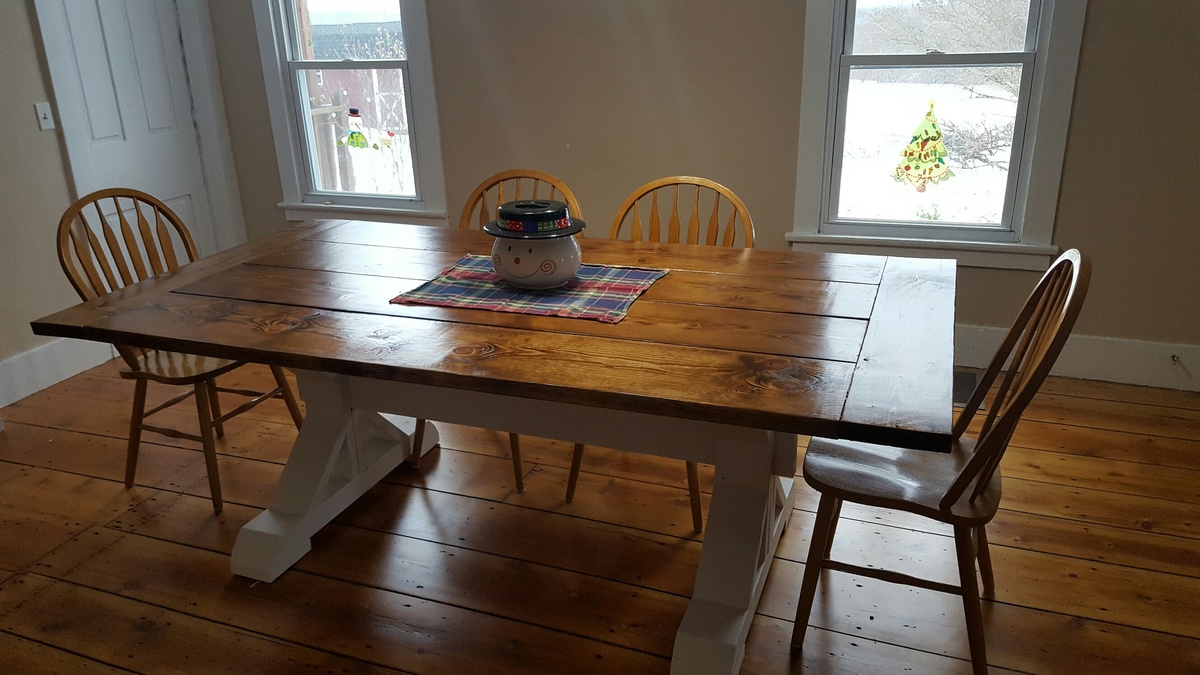
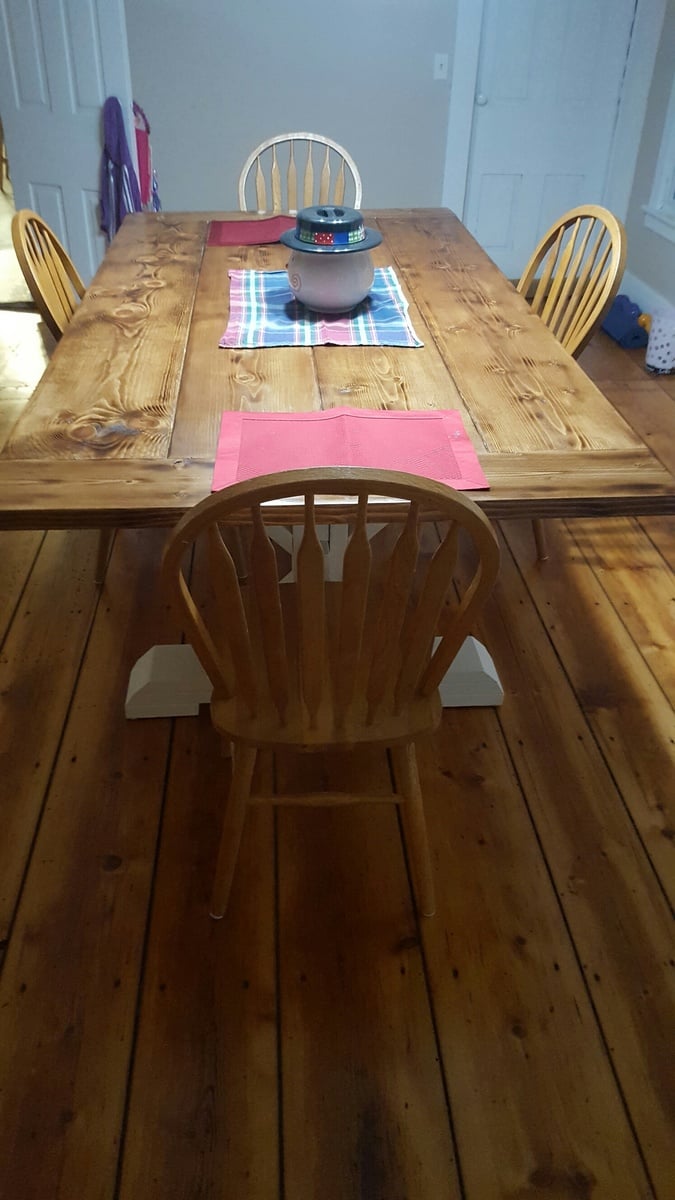
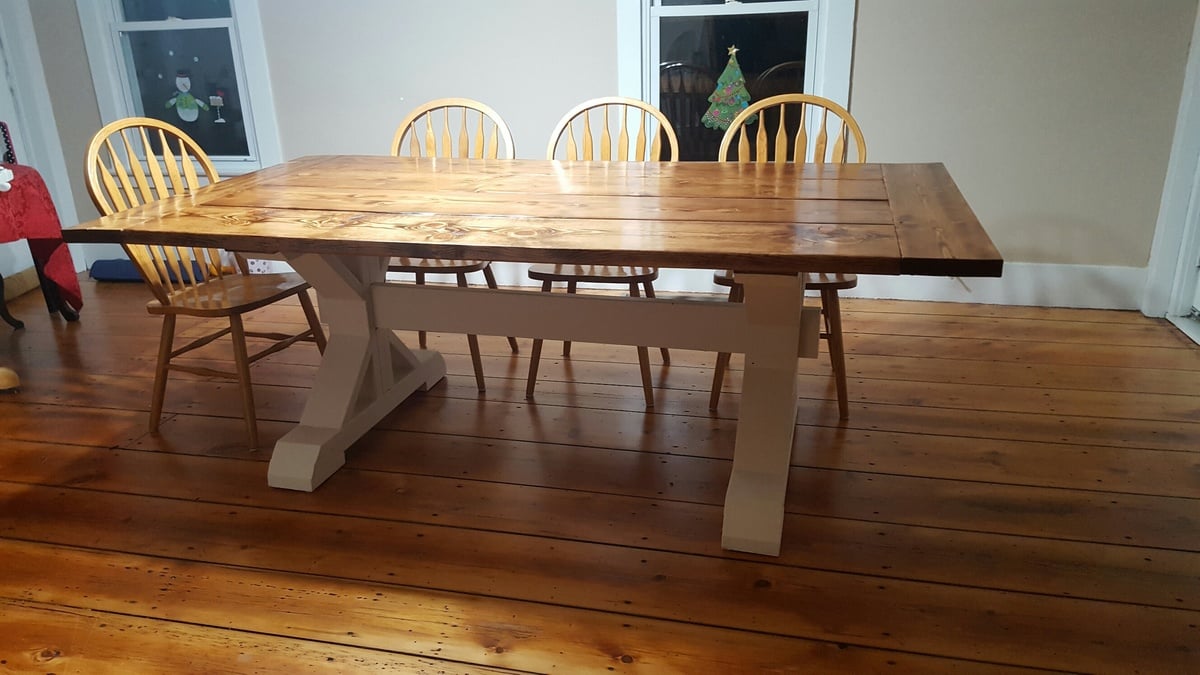
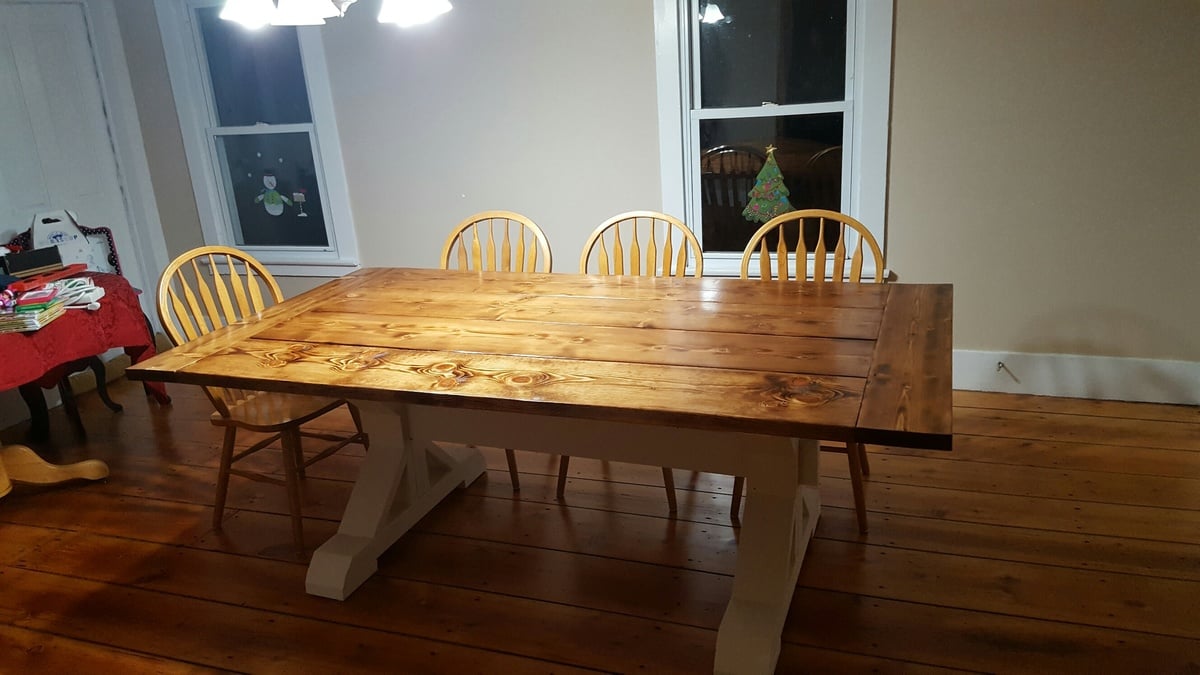
Built my wife a farmhouse table. We kind of took 3 different plans and made 1 table. We used the table top from one set of plans, the legs from another, and the X design from a 3rd. We built it on our week off for Christmas. Building wise it took 10-20 hours, but there was a lot of drying time with all the stain and poly. Two coats of Early American stain and 3 coats of poly on the table top. It's about 7' long, and the only problem now is we don't have enough chairs.
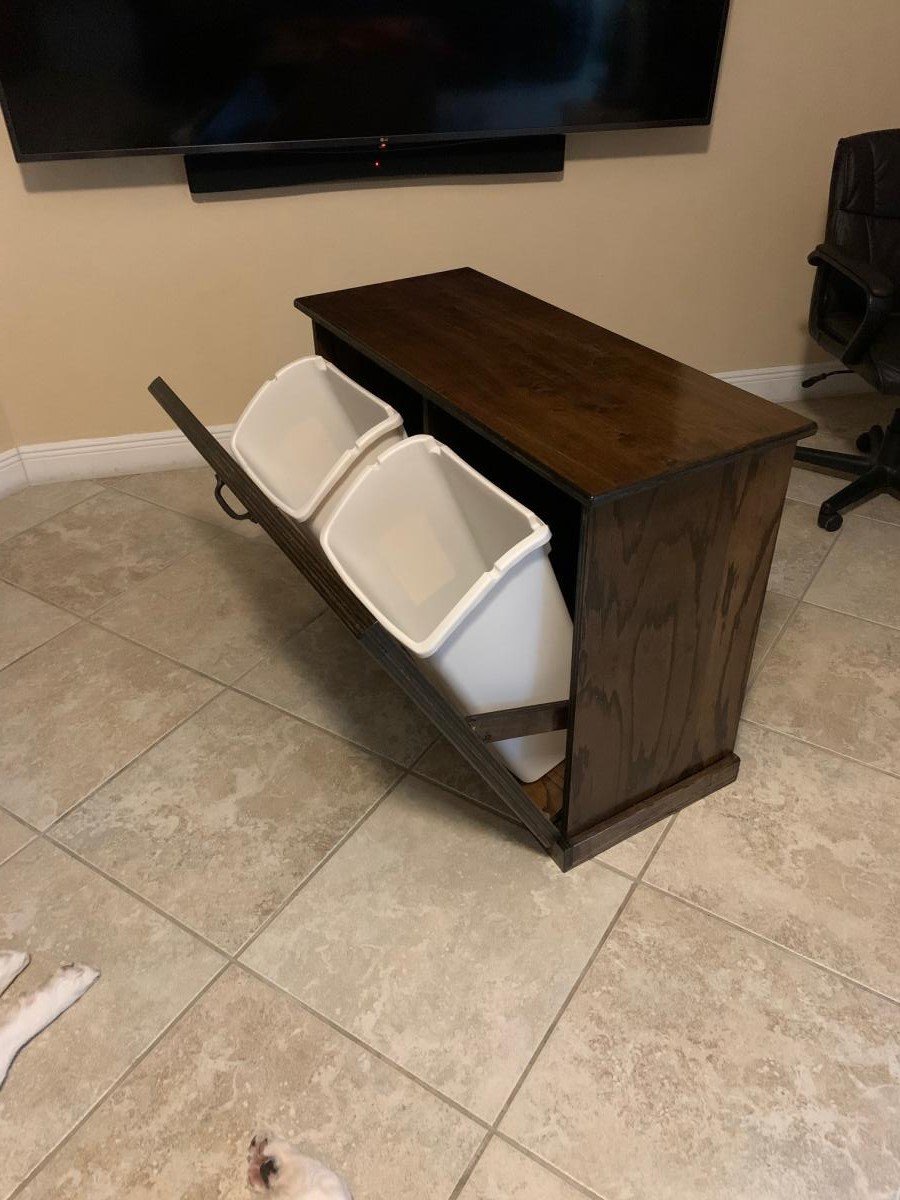
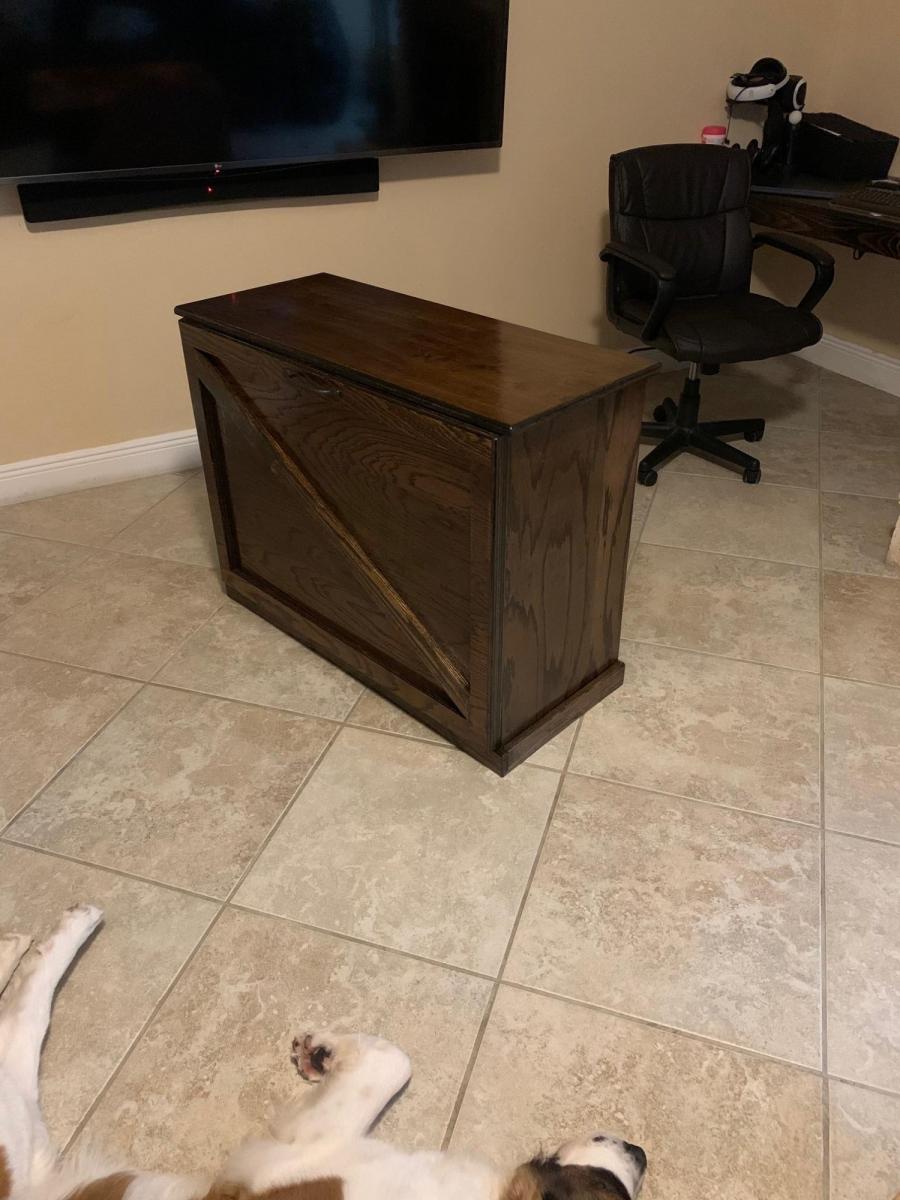
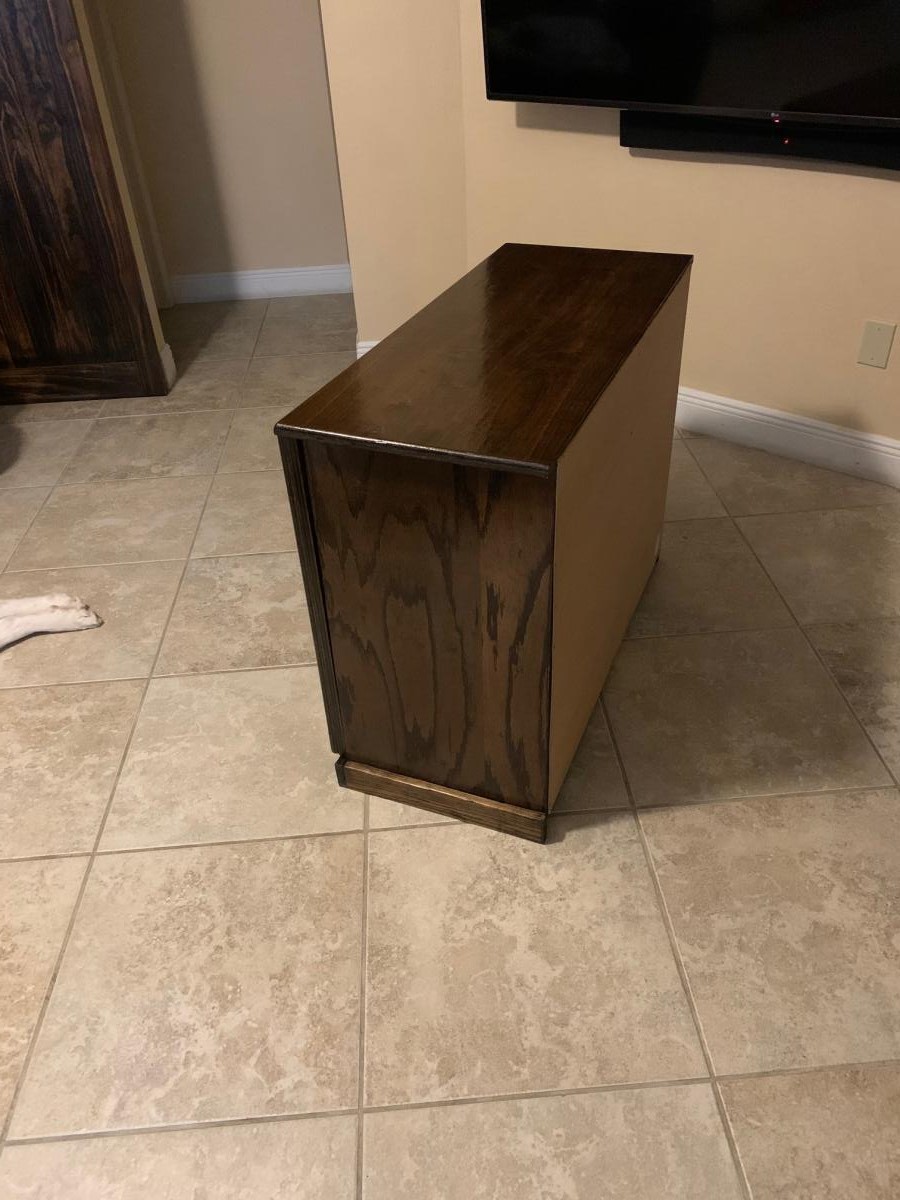
Tilt Out Recycling Center to match the floating desk and barn door in the same room. Great project from the recycling center plans. (slight modification)
I used the plans for the Fancy X Farmhouse table, but customized the lengths of both the bench and table to fit our room and to the sizes we wanted. Thanks Ana!
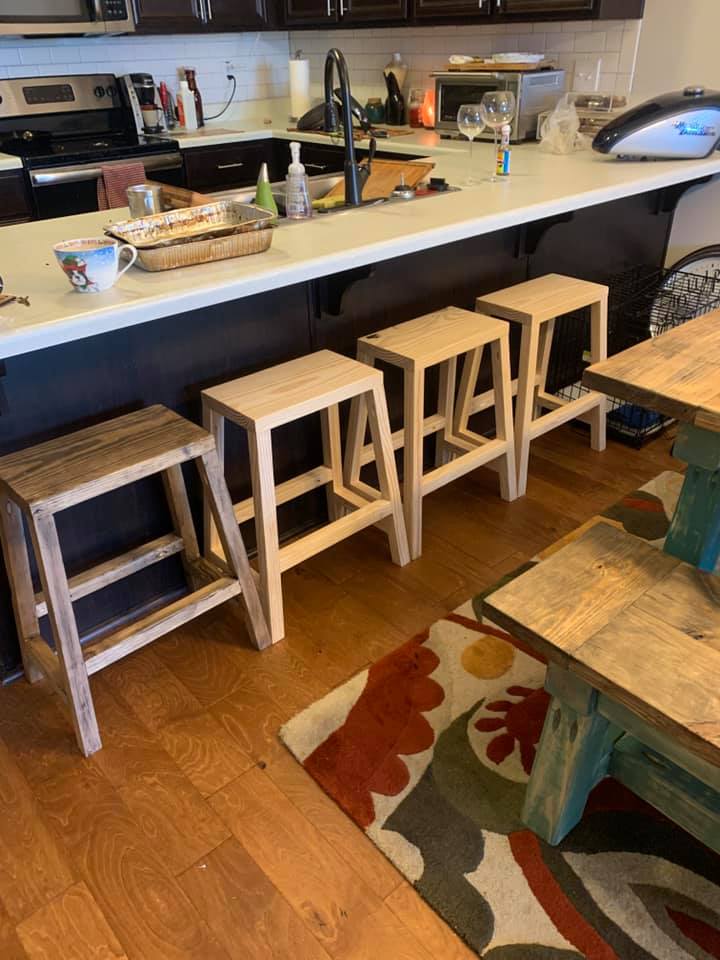
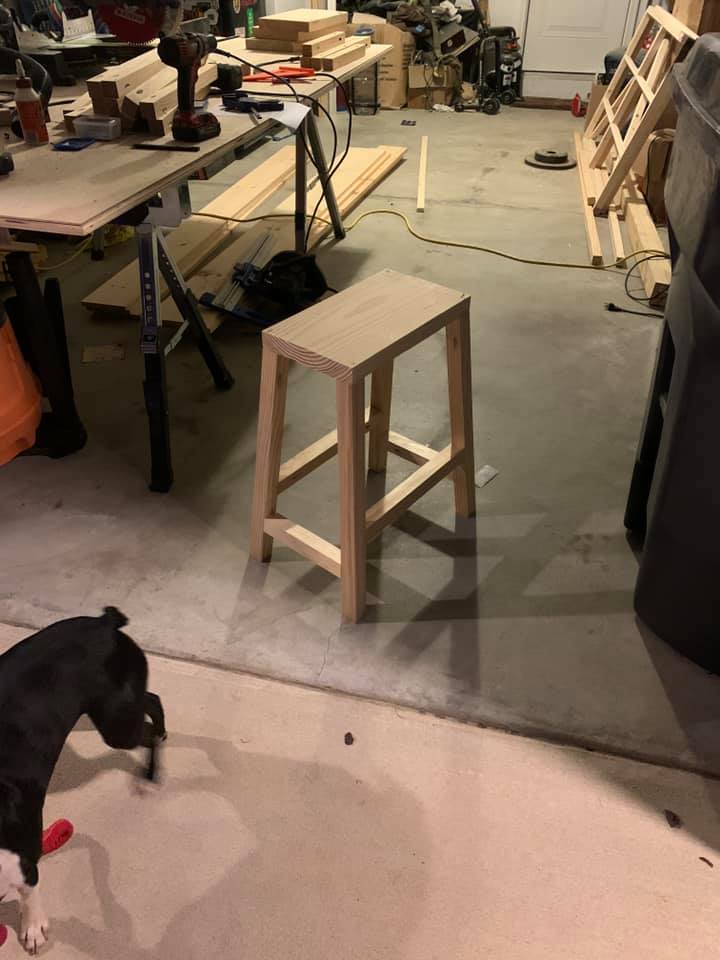
This was a pretty strait forward project, the only change i made was the wood used. I did not use the 2x2 furring strips i opted for the upgraded Select Pine Boards. So it changed from 3 bucks to 12 a board. I also used metal nylon feet.
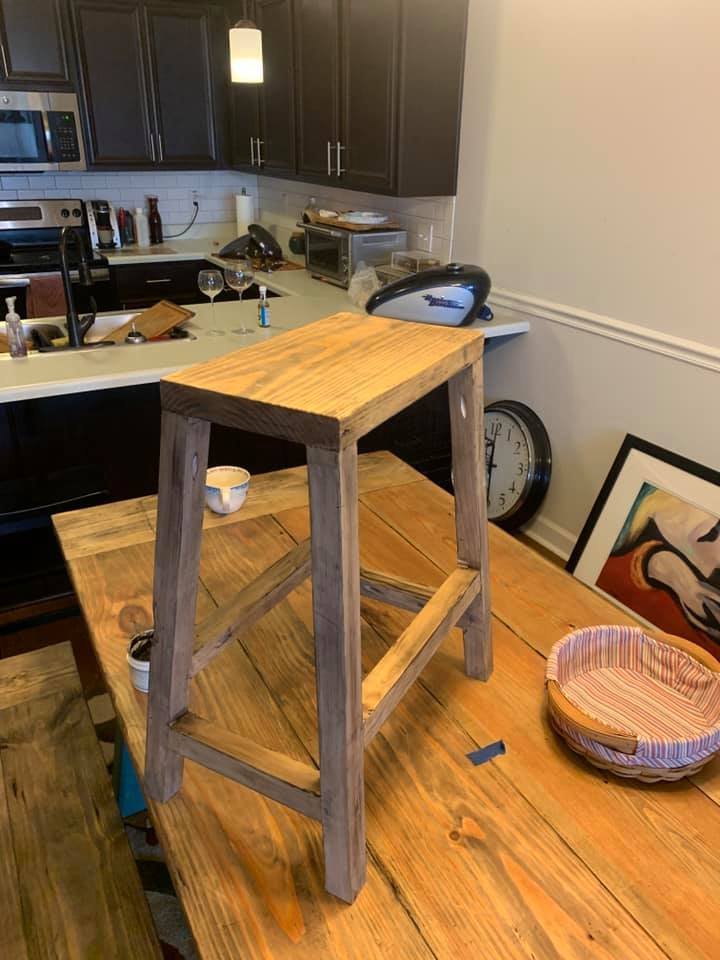
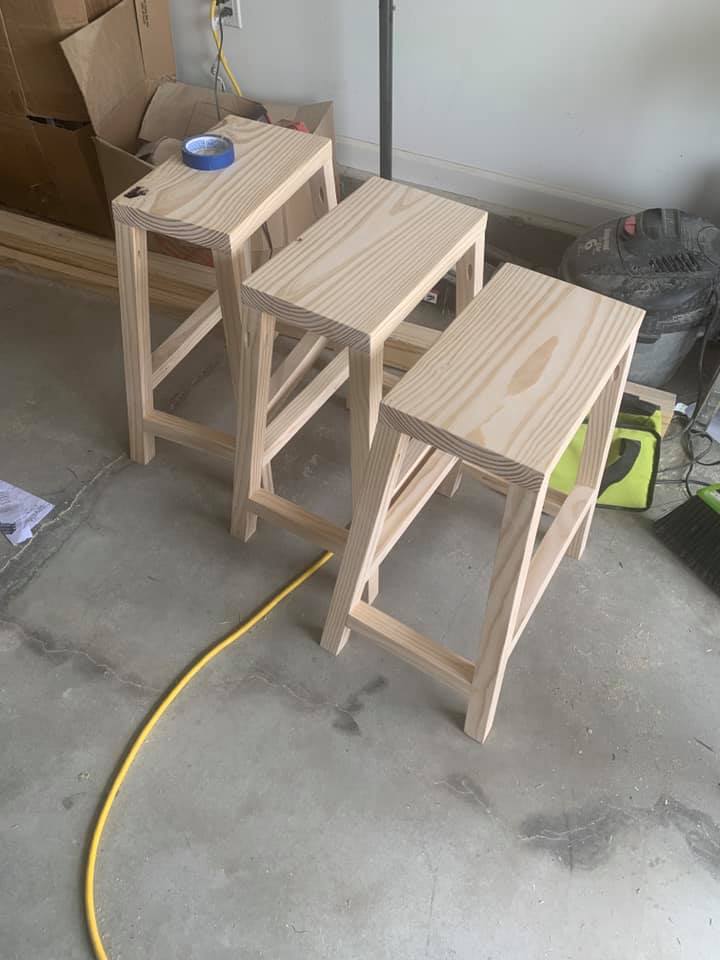
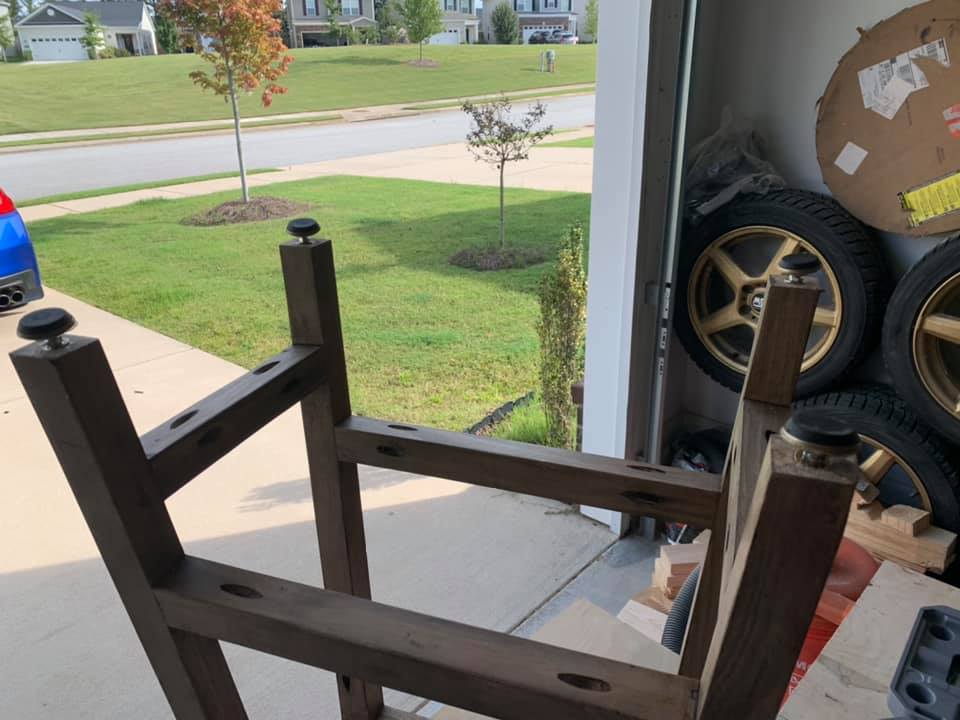
Wed, 09/23/2020 - 11:37
You've been busy! Thank you for sharing all of your amazing builds!
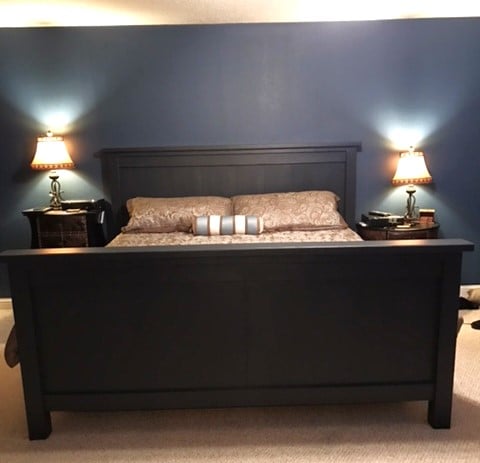
This was my first build this large and turned out great! Thanks to the DIY plans provided here. Thank you so much for such a great place!
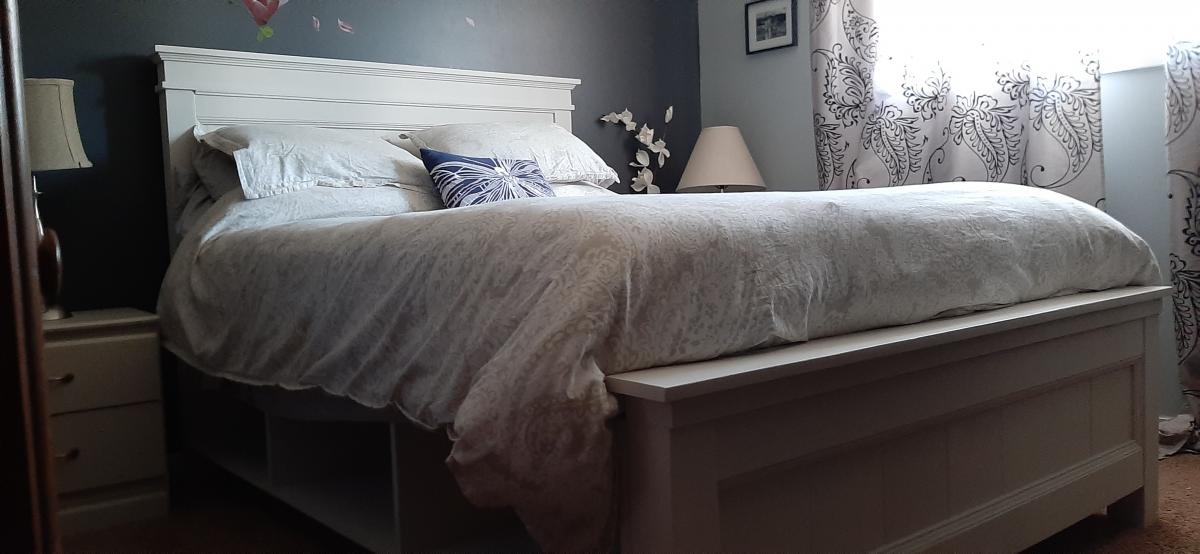
We did make the foot board about 12 inches taller as we prefer a taller foot board.
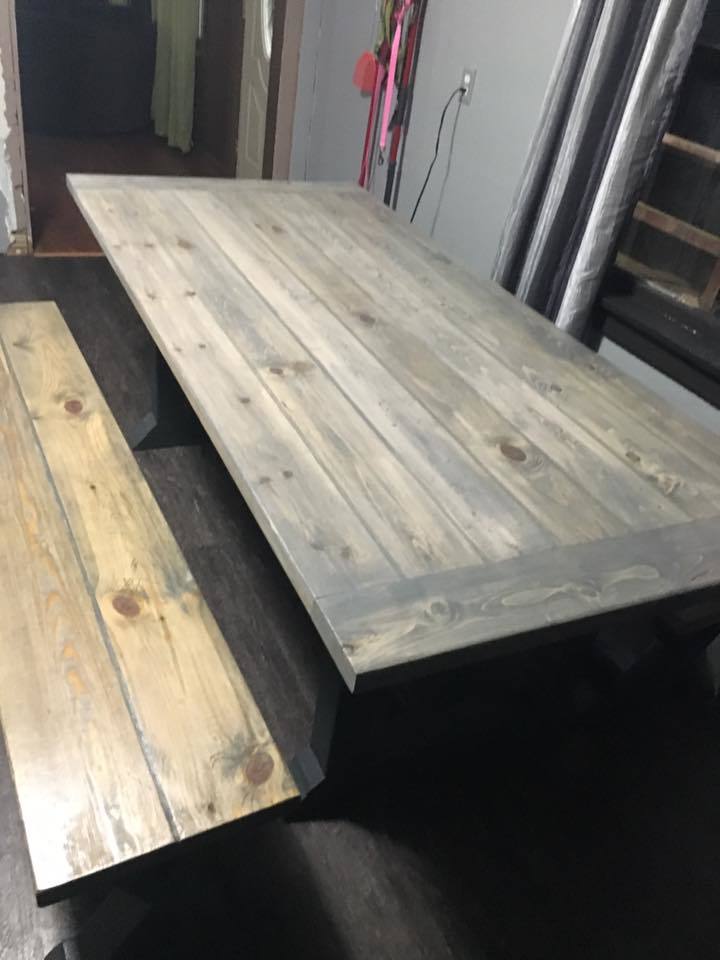
Built this table from Ana-White plans and the benches from Rouge Engineer plans. Fun build and looks great. Easy to customize to fit your dining space.
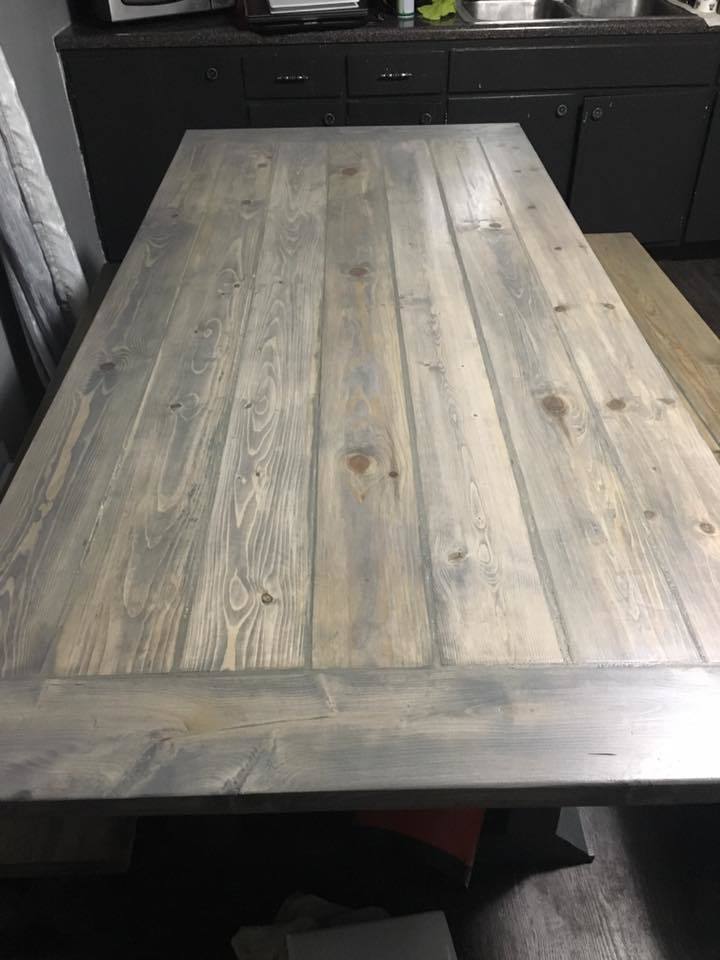
With six people in our household, we were in desperate need of easily accessed storage for our off season clothes/gear. This ended up being a perfect solution. We customized shelf heights to fit the bins that we use for storage as well as made an area for our cat box (at the bottom right). It's such a relief to finally have everything tucked away but easy to get at when we need it.
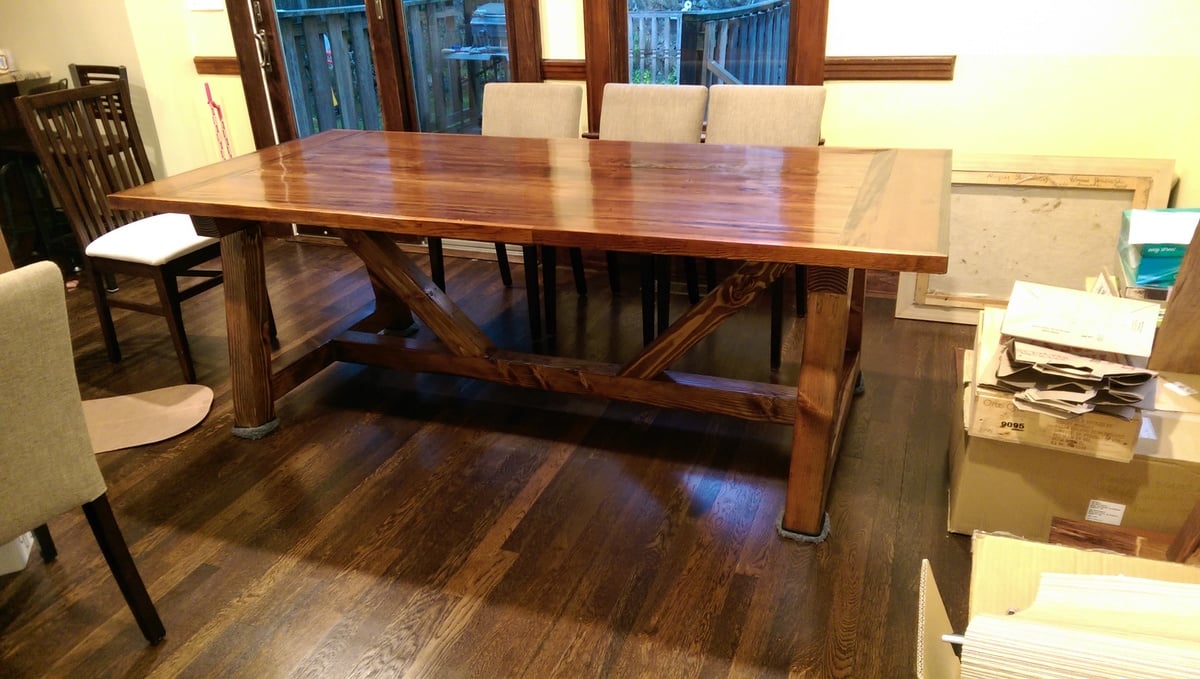
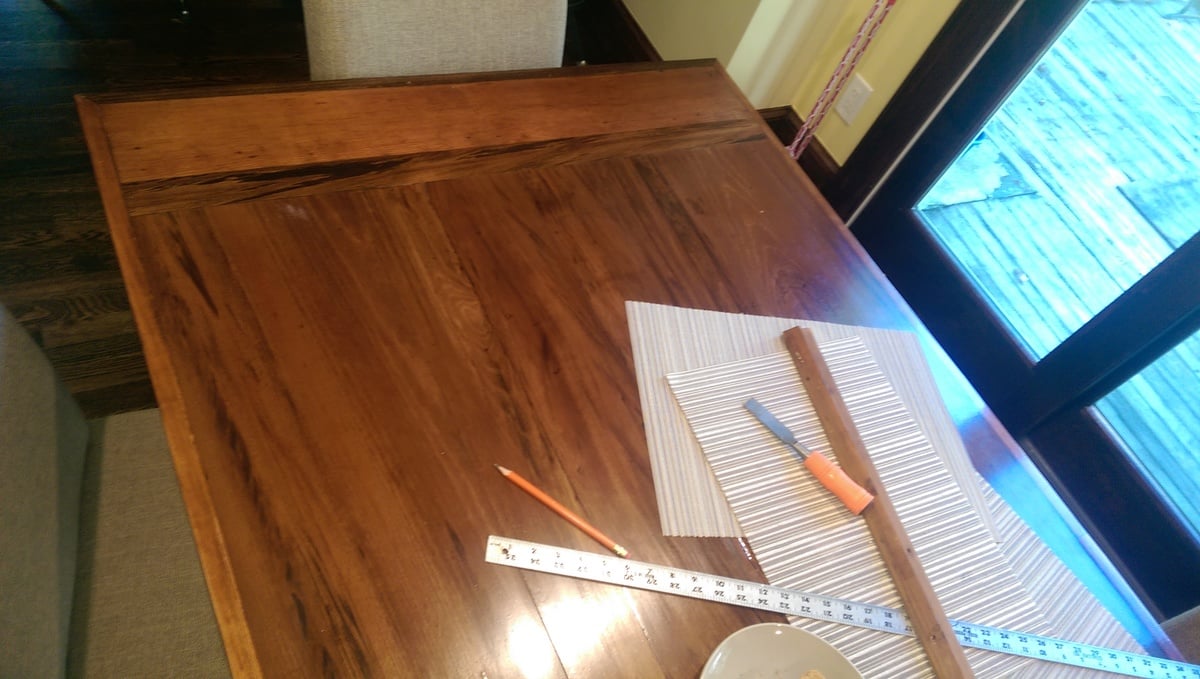
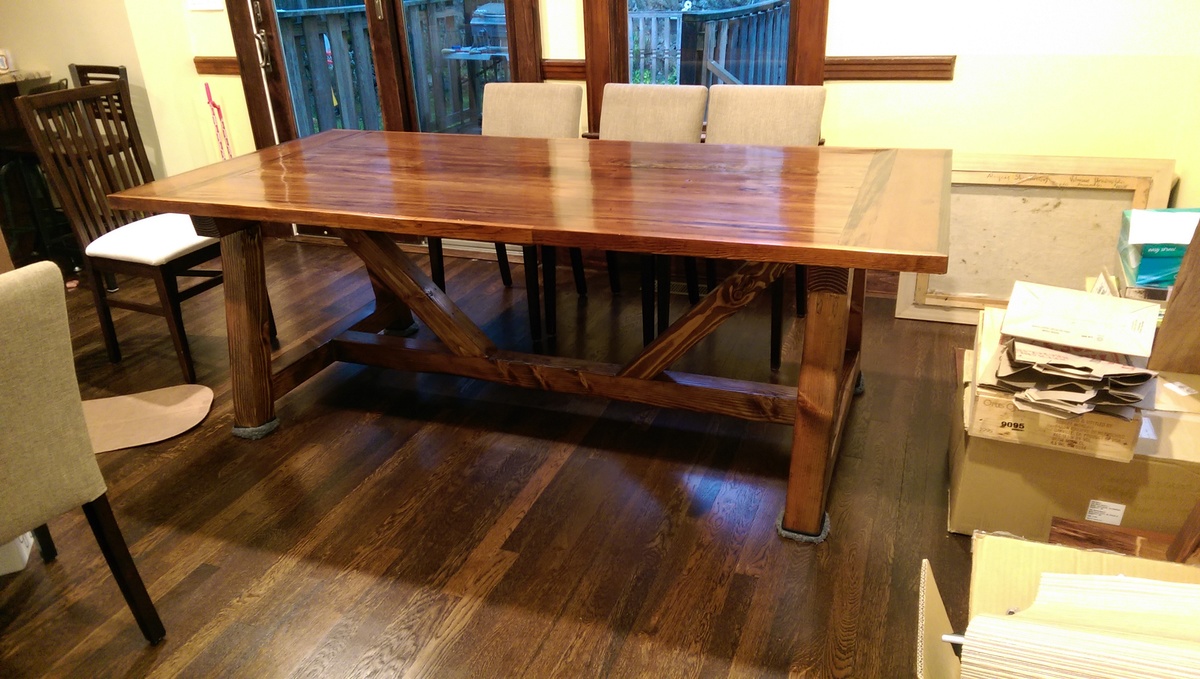
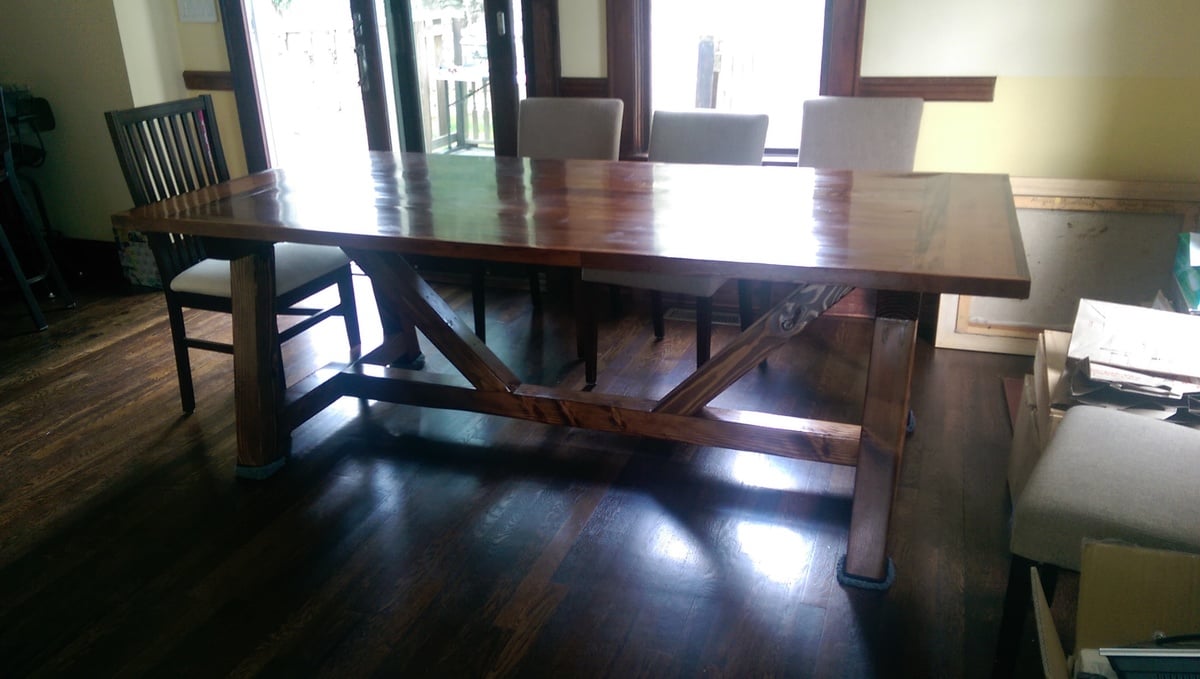
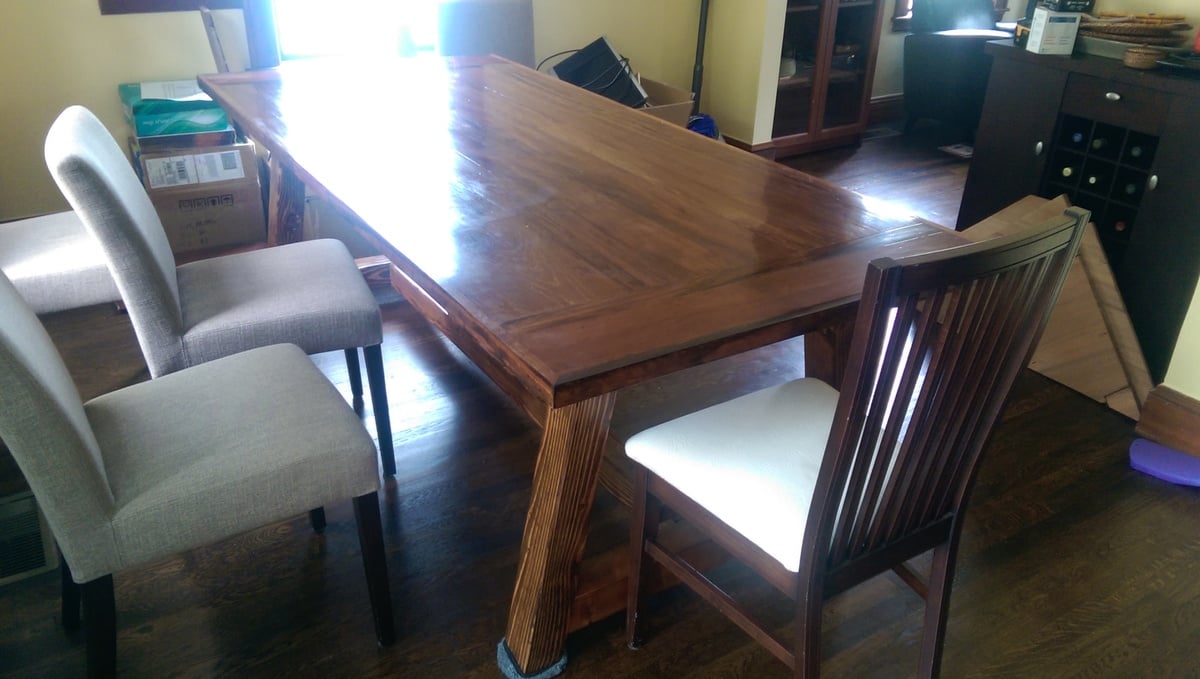
I used old gumwood and pine for the table top. Just finished renovating 1930’s house and saved some old wood from the baseboards, fireplace mantel, etc. Used craigs jig to connect them for table top. I was only ¾ inch thick, a bit too thin for my liking, so I added bottom frame from new ¾ inch pine then enclosed the whole table top with the 1.5 inch frame from old wood leftovers. Legs all new 4X4 fir beams. Came out quite nice and definitely unbreakable! Thanks for the plans, Anna!
Comments
Roxxy G. (not verified)
Mon, 08/13/2012 - 14:52
Adorable!
I'm so happy I wasn't the only one who looked at these bed plans and thought "my dog NEEDS this"! They both look very happy.
LaserTech
Tue, 08/14/2012 - 17:23
Dog bunk bed
Can you tell they're already fighting over the top bunk! I'm debating on painting it white. I like the natural look though. Thanks for the comment! :)
Jessie Murphy (not verified)
Mon, 12/03/2012 - 11:40
LOVE IT
Can you by any chance post the dimensions you used for this bed. I know you used the farmhouse plan, but I'm not good at this at all and need all the help I can get!!