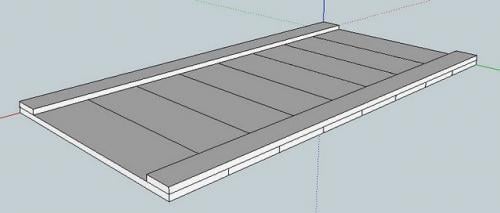
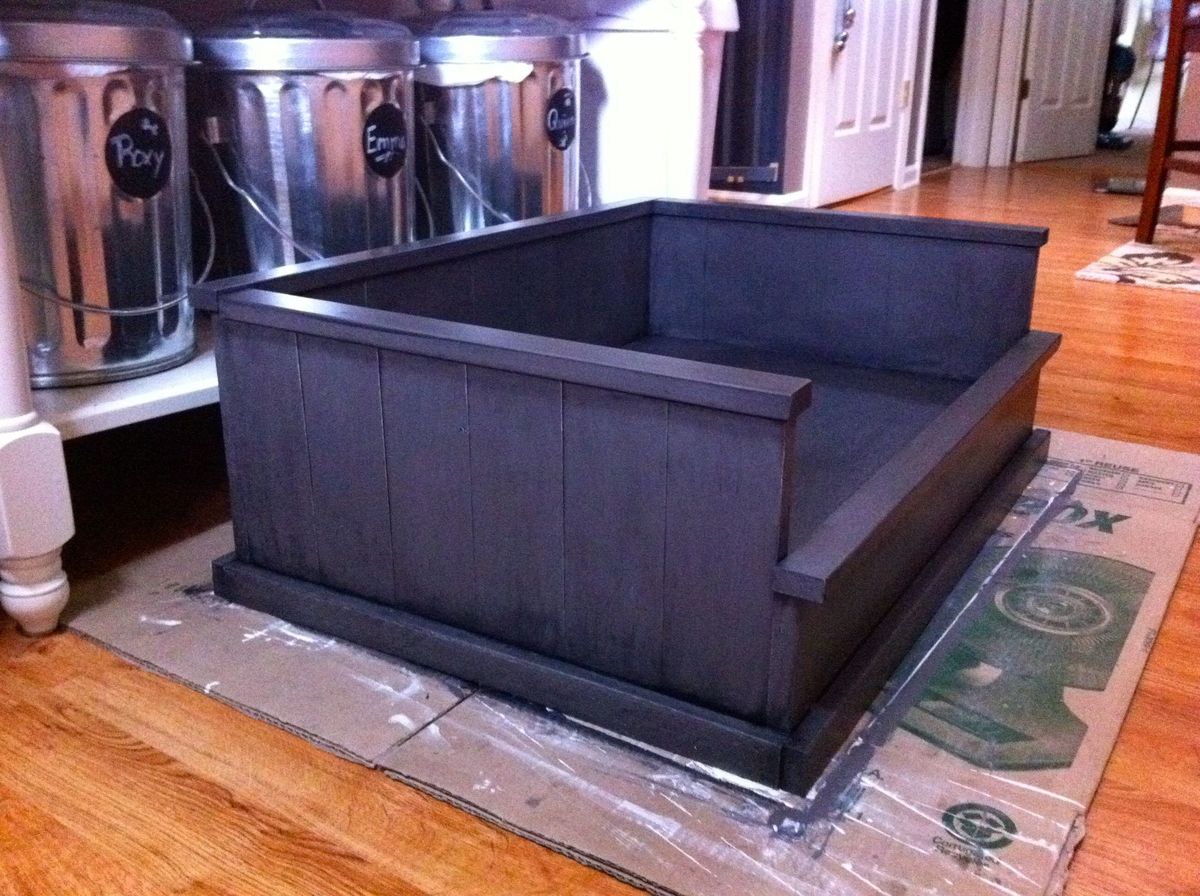
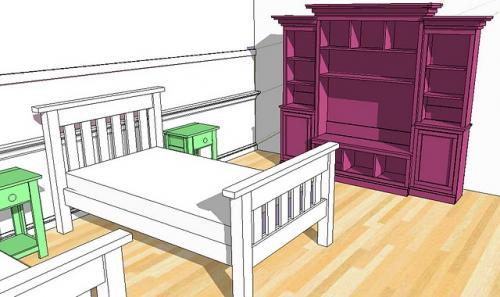
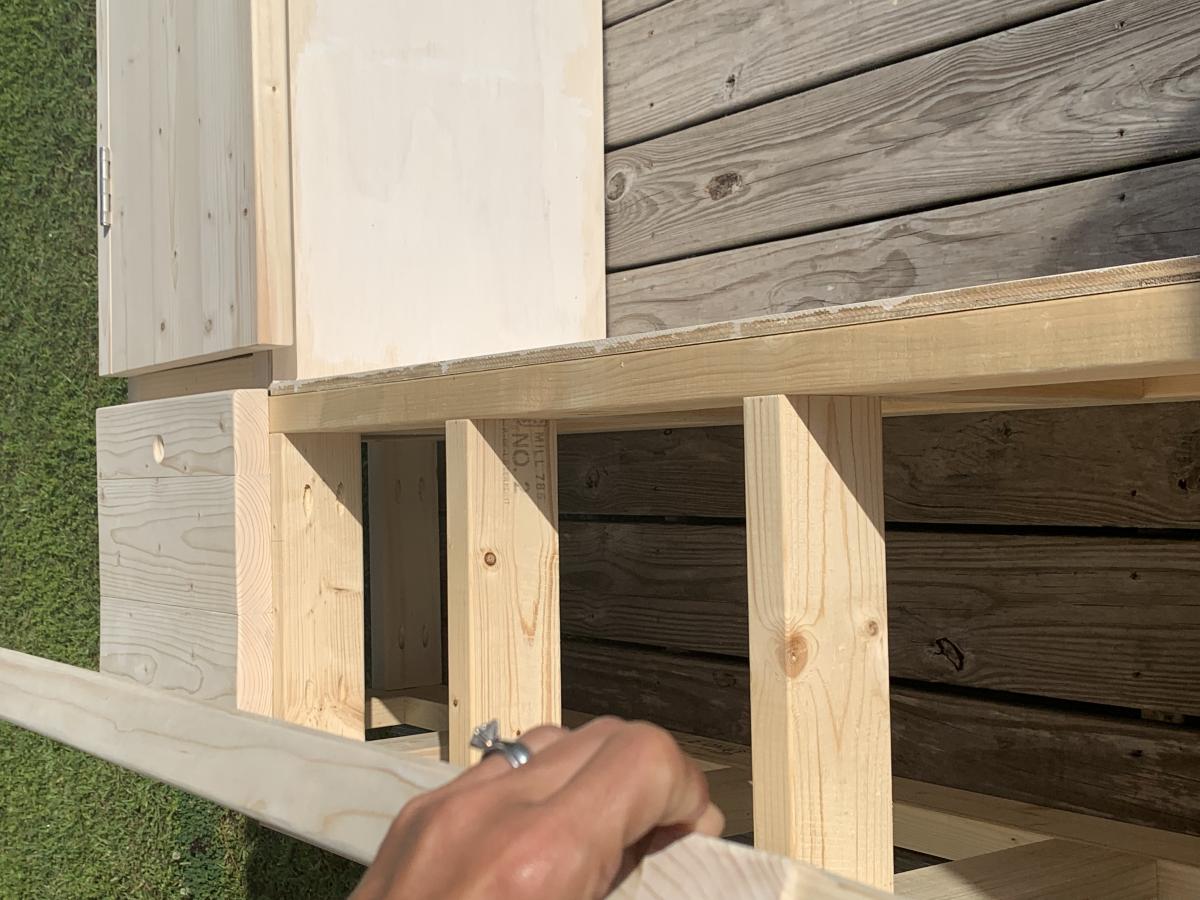
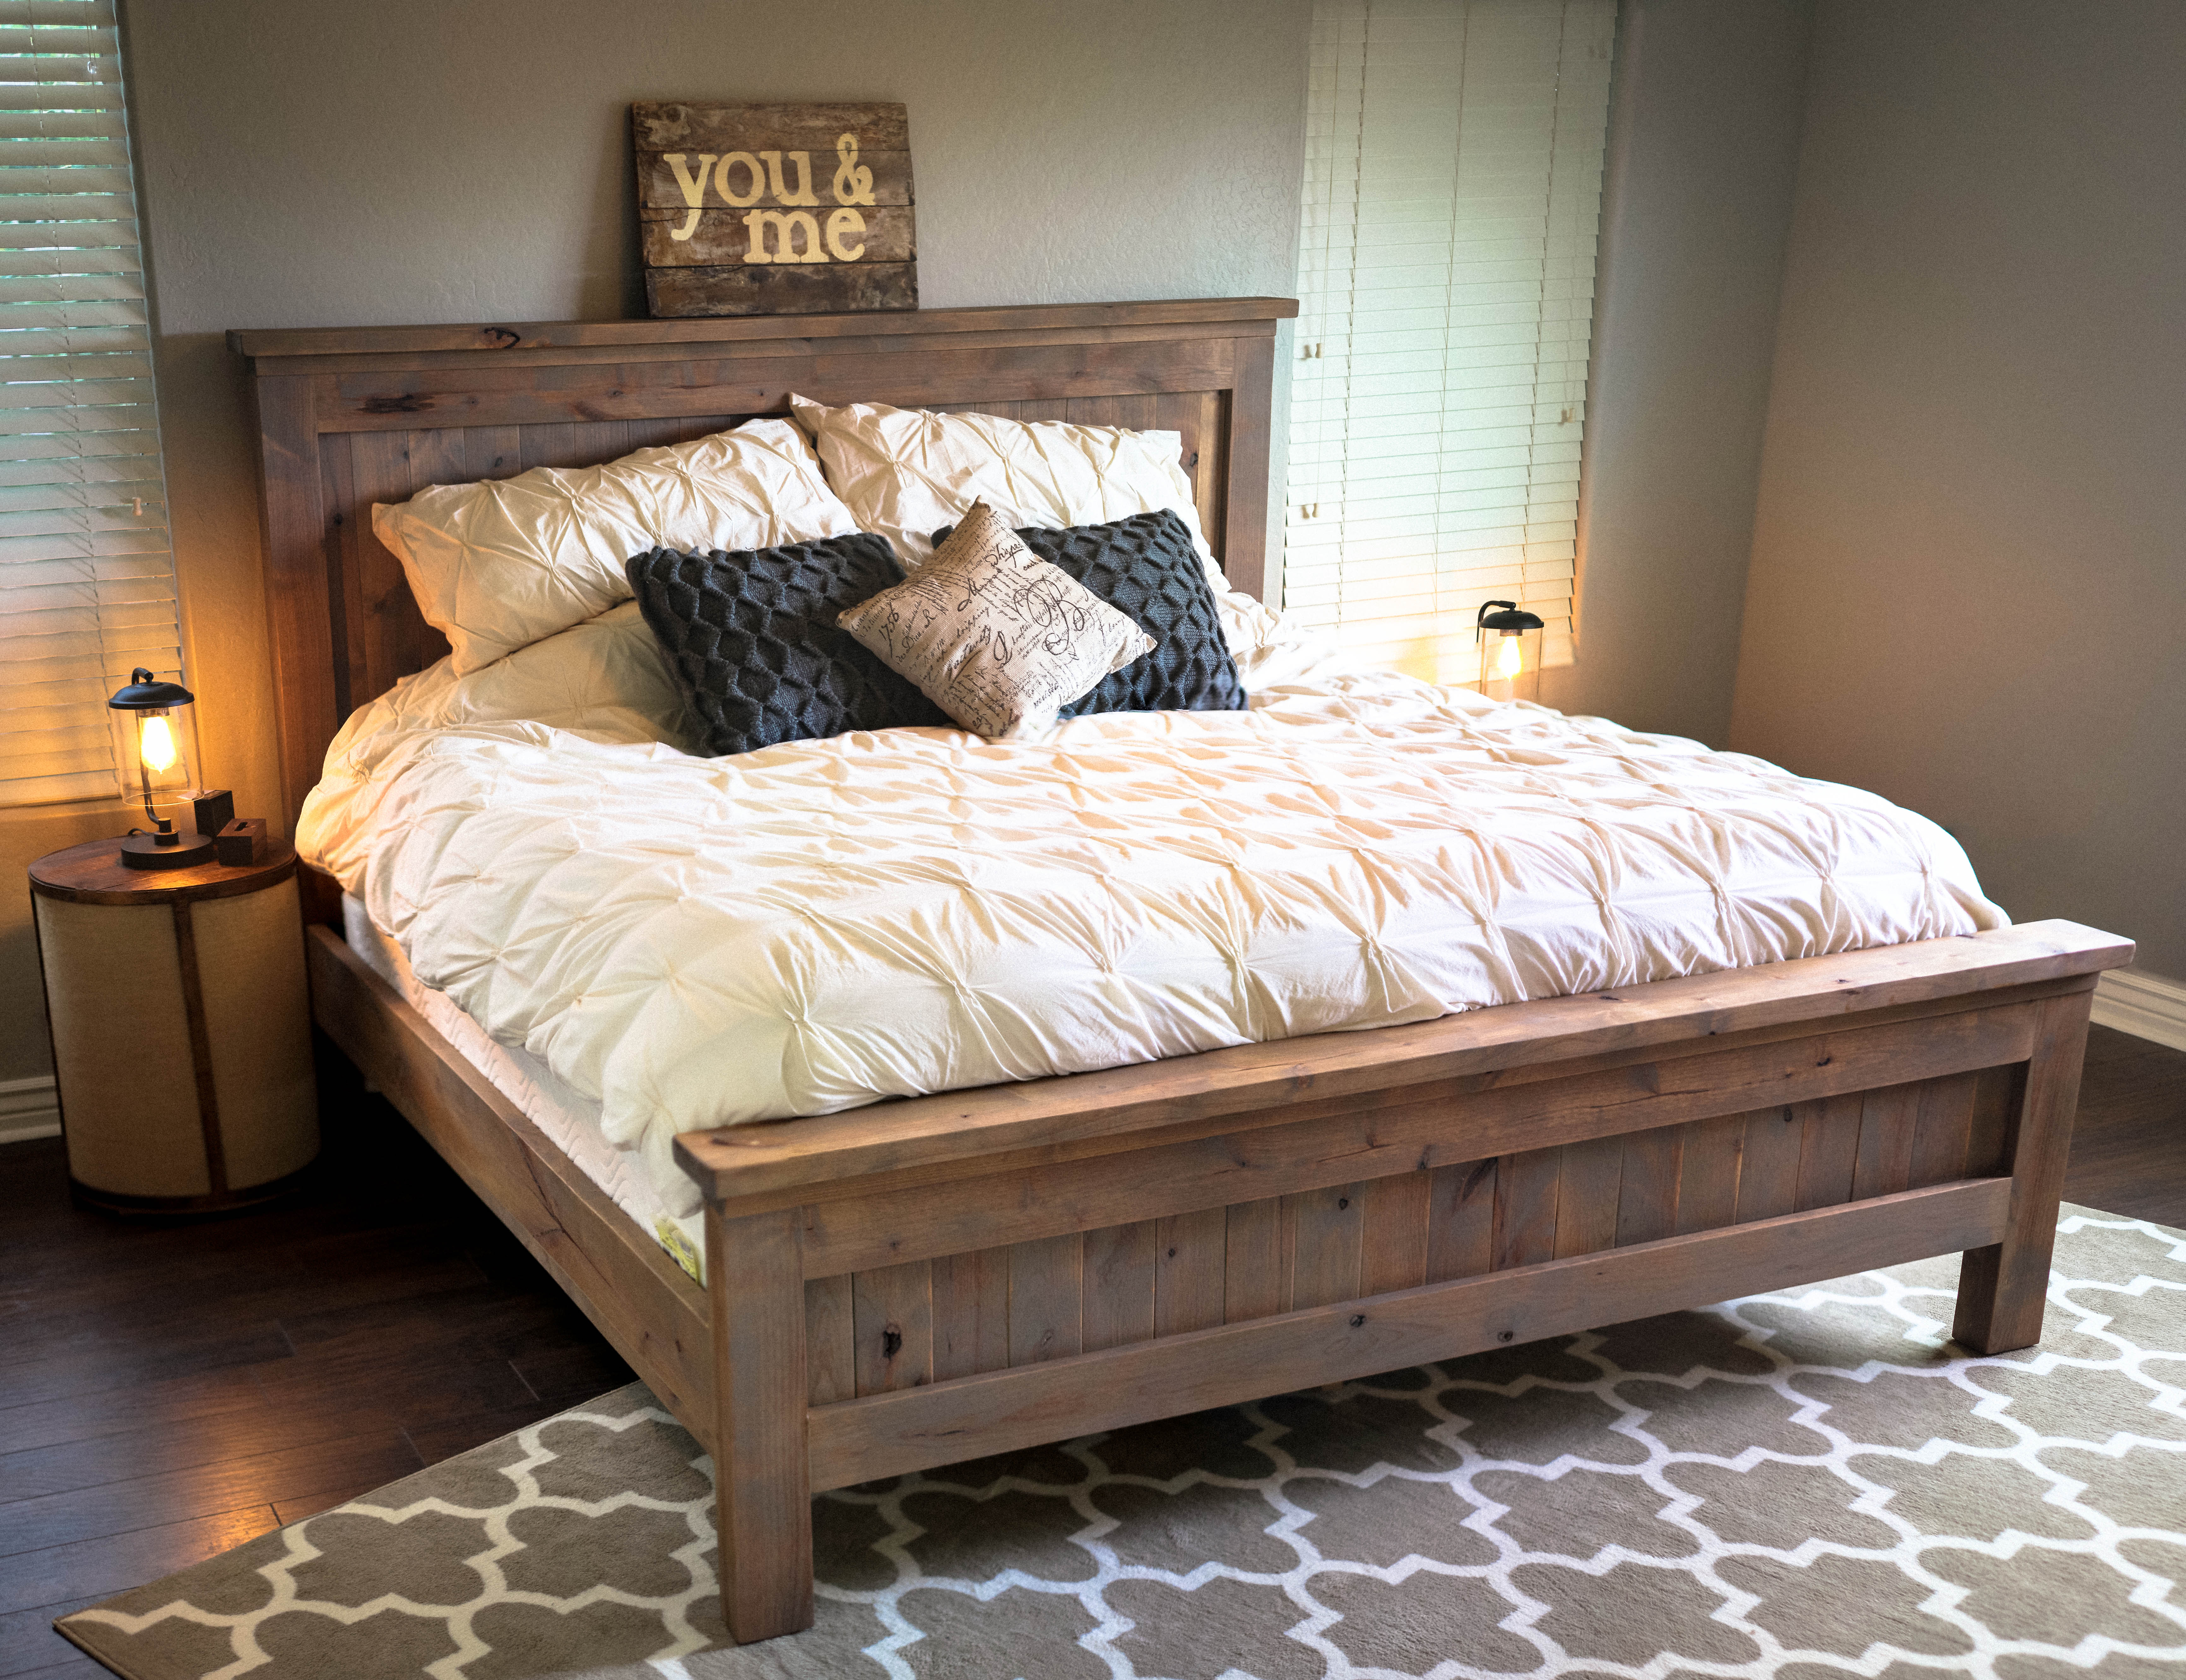
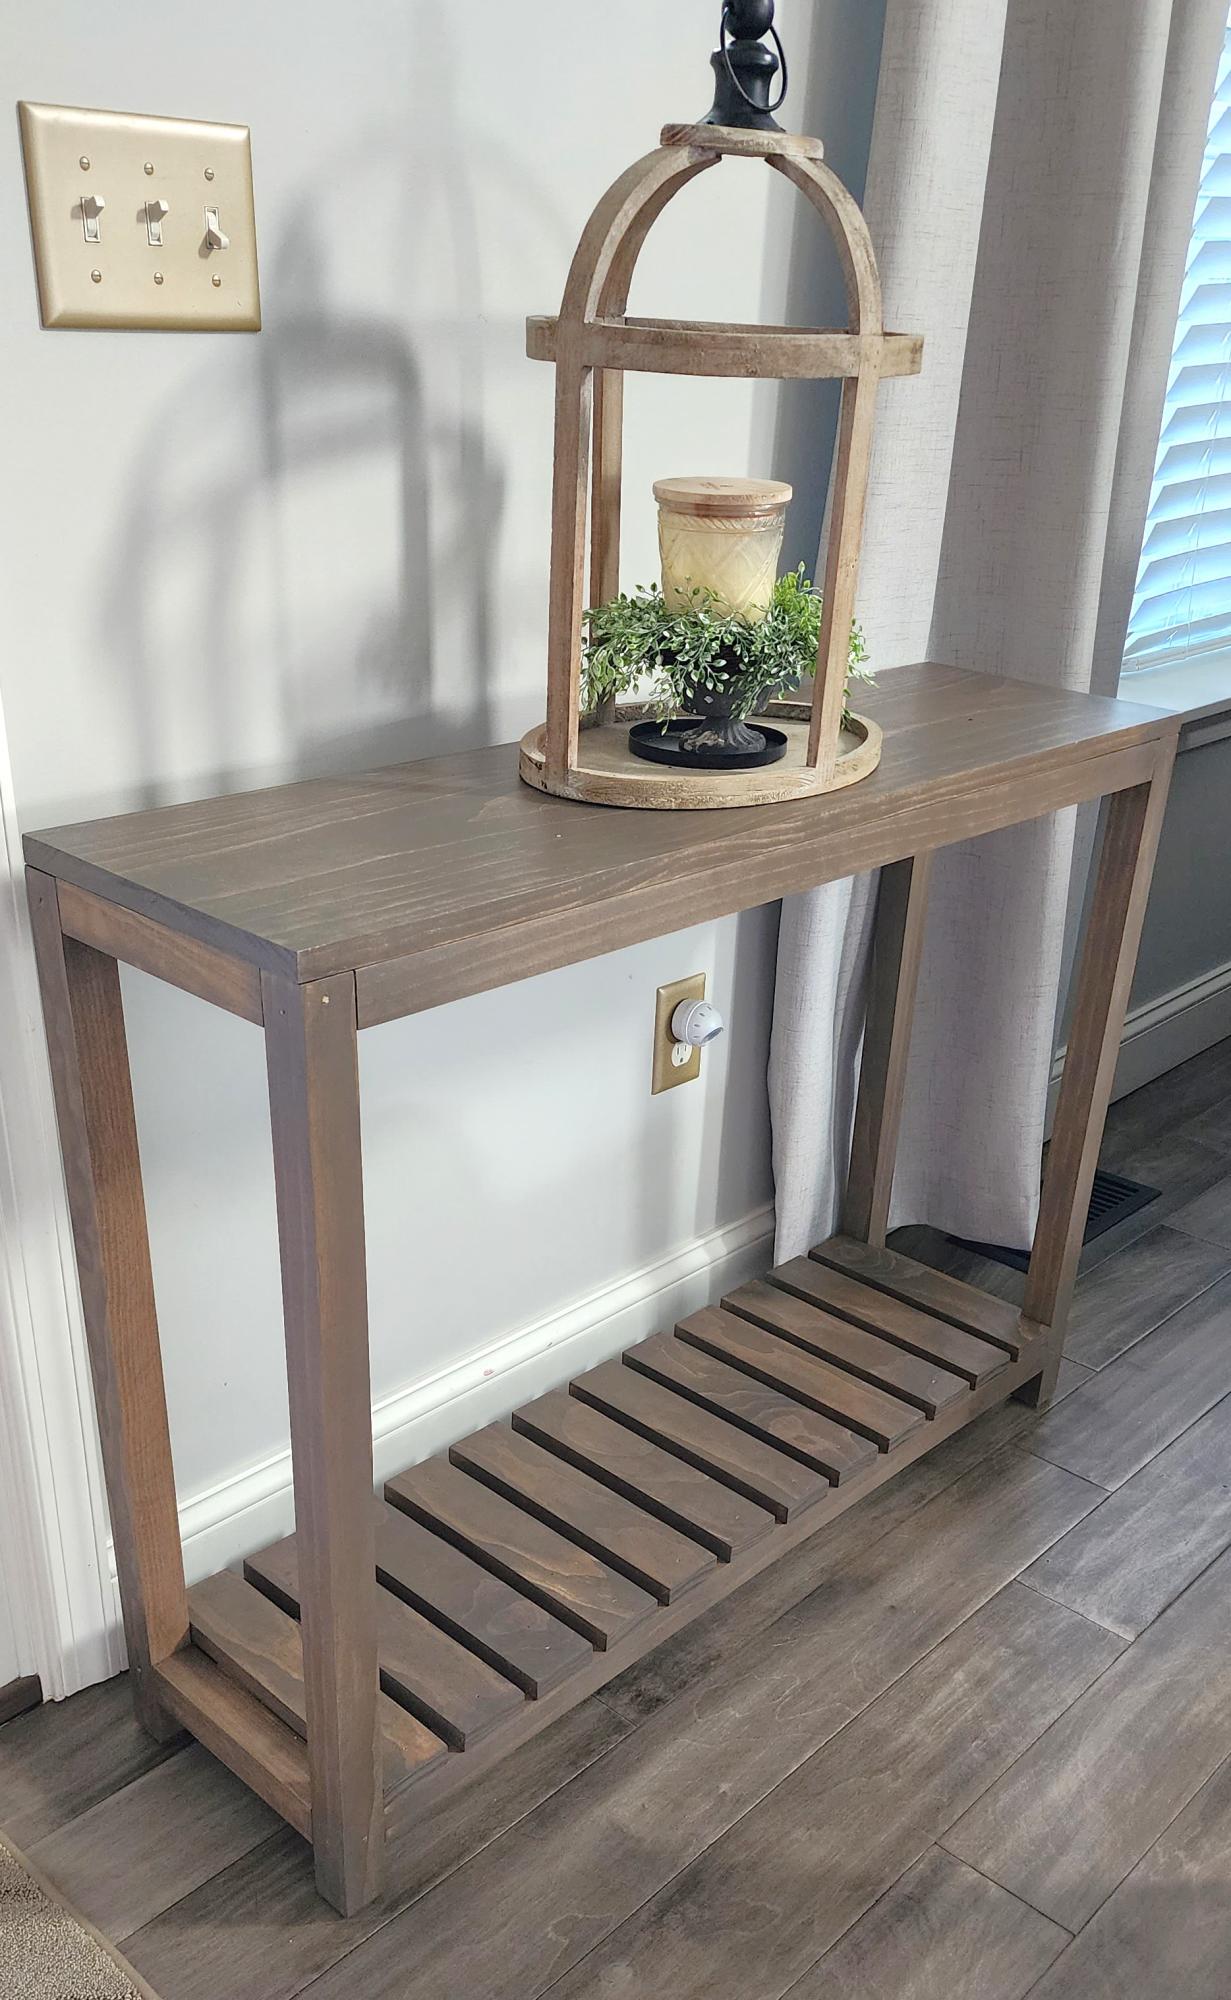
Community Brag Posts

Loft bed for son

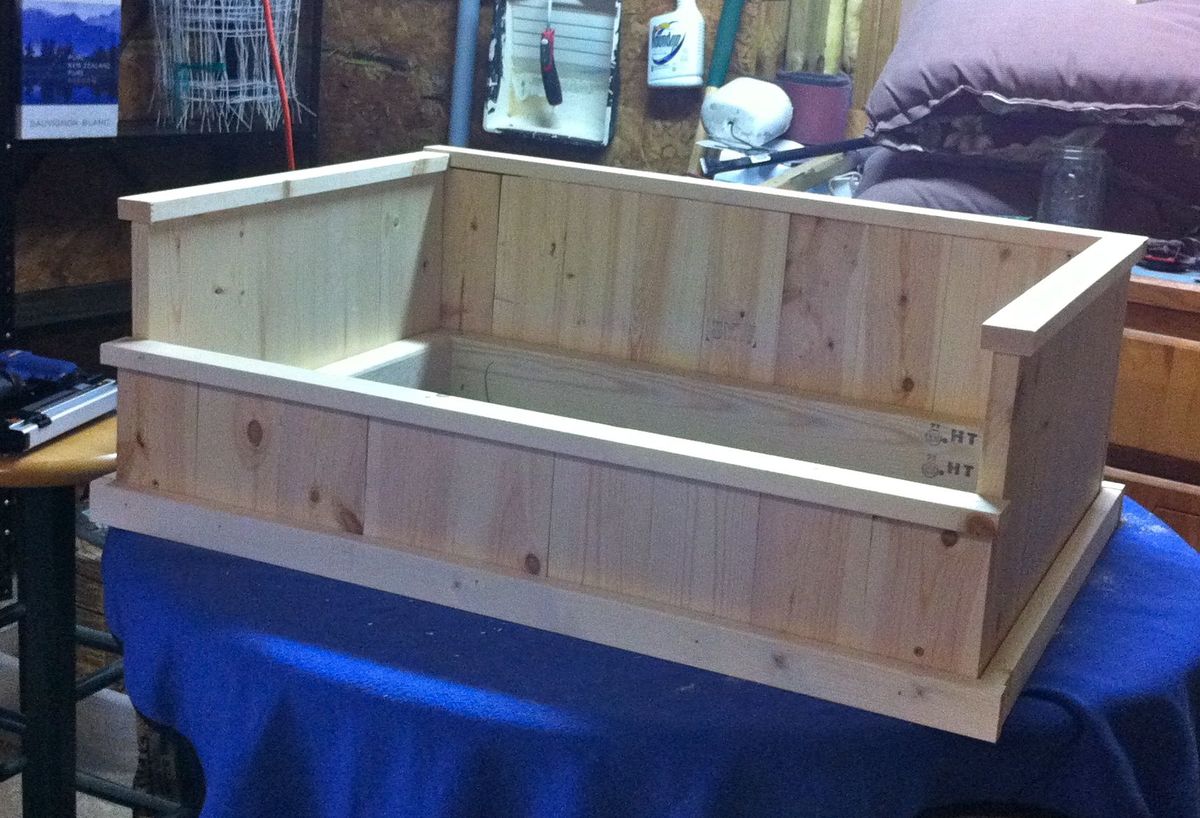
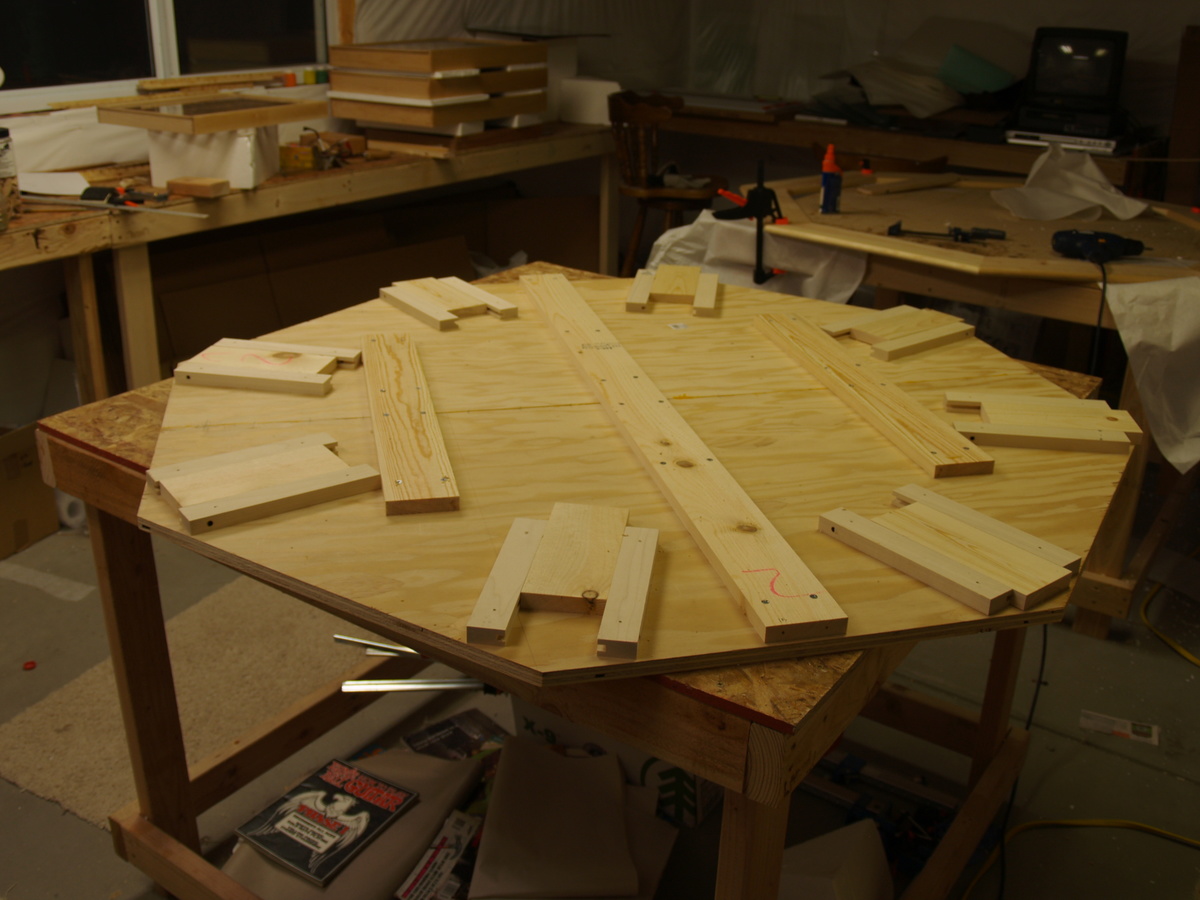
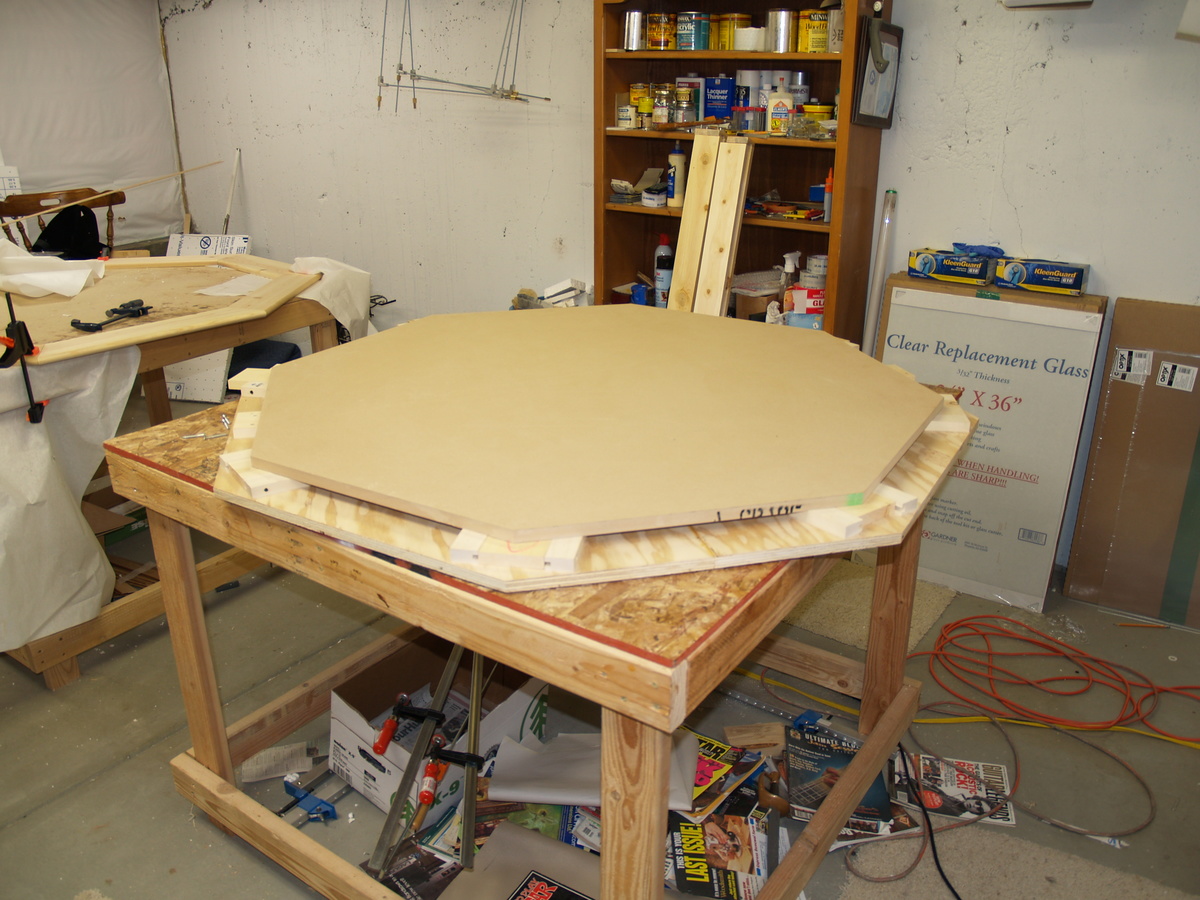
I've built a few bookshelves and cubbies before, but nothing on this scale.  I built this in my basement this past December as a Christmas present for my three-year-old son.  The plans were easy to follow.  I believe I spent about $150 on lumber.  The bed is very sturdy.  My kids love it!  Now the the other kids want their own special daddy-made bed :)

Built from Plan(s)
Estimated Cost
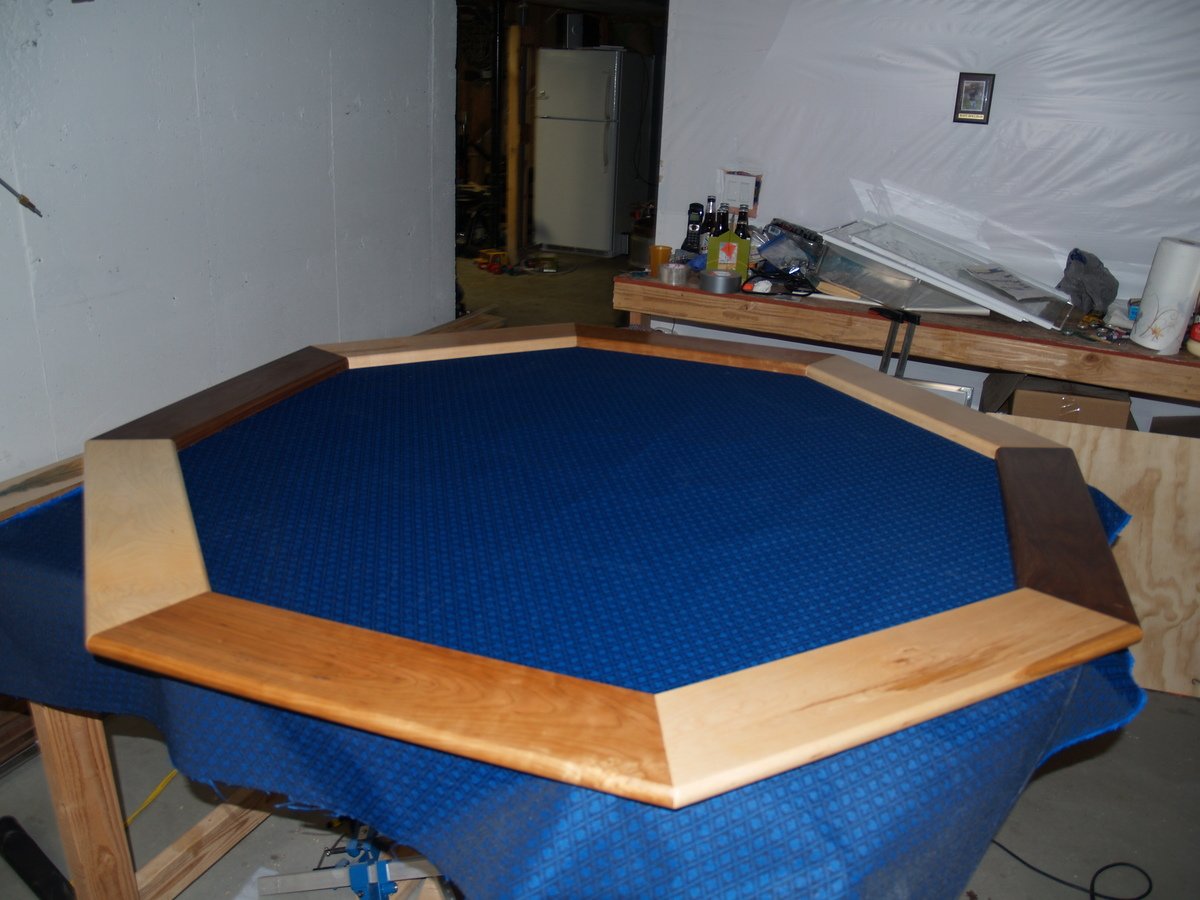
$150 on lumber. $50 on wood putty, stain, sand paper, etc. Way better than the $1100+ similar model at the local furniture store!
Estimated Time Investment
Weekend Project (10-20 Hours)
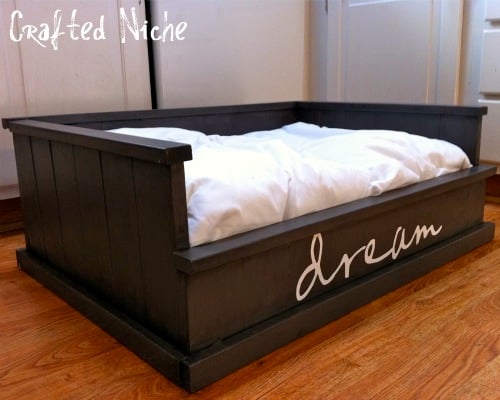
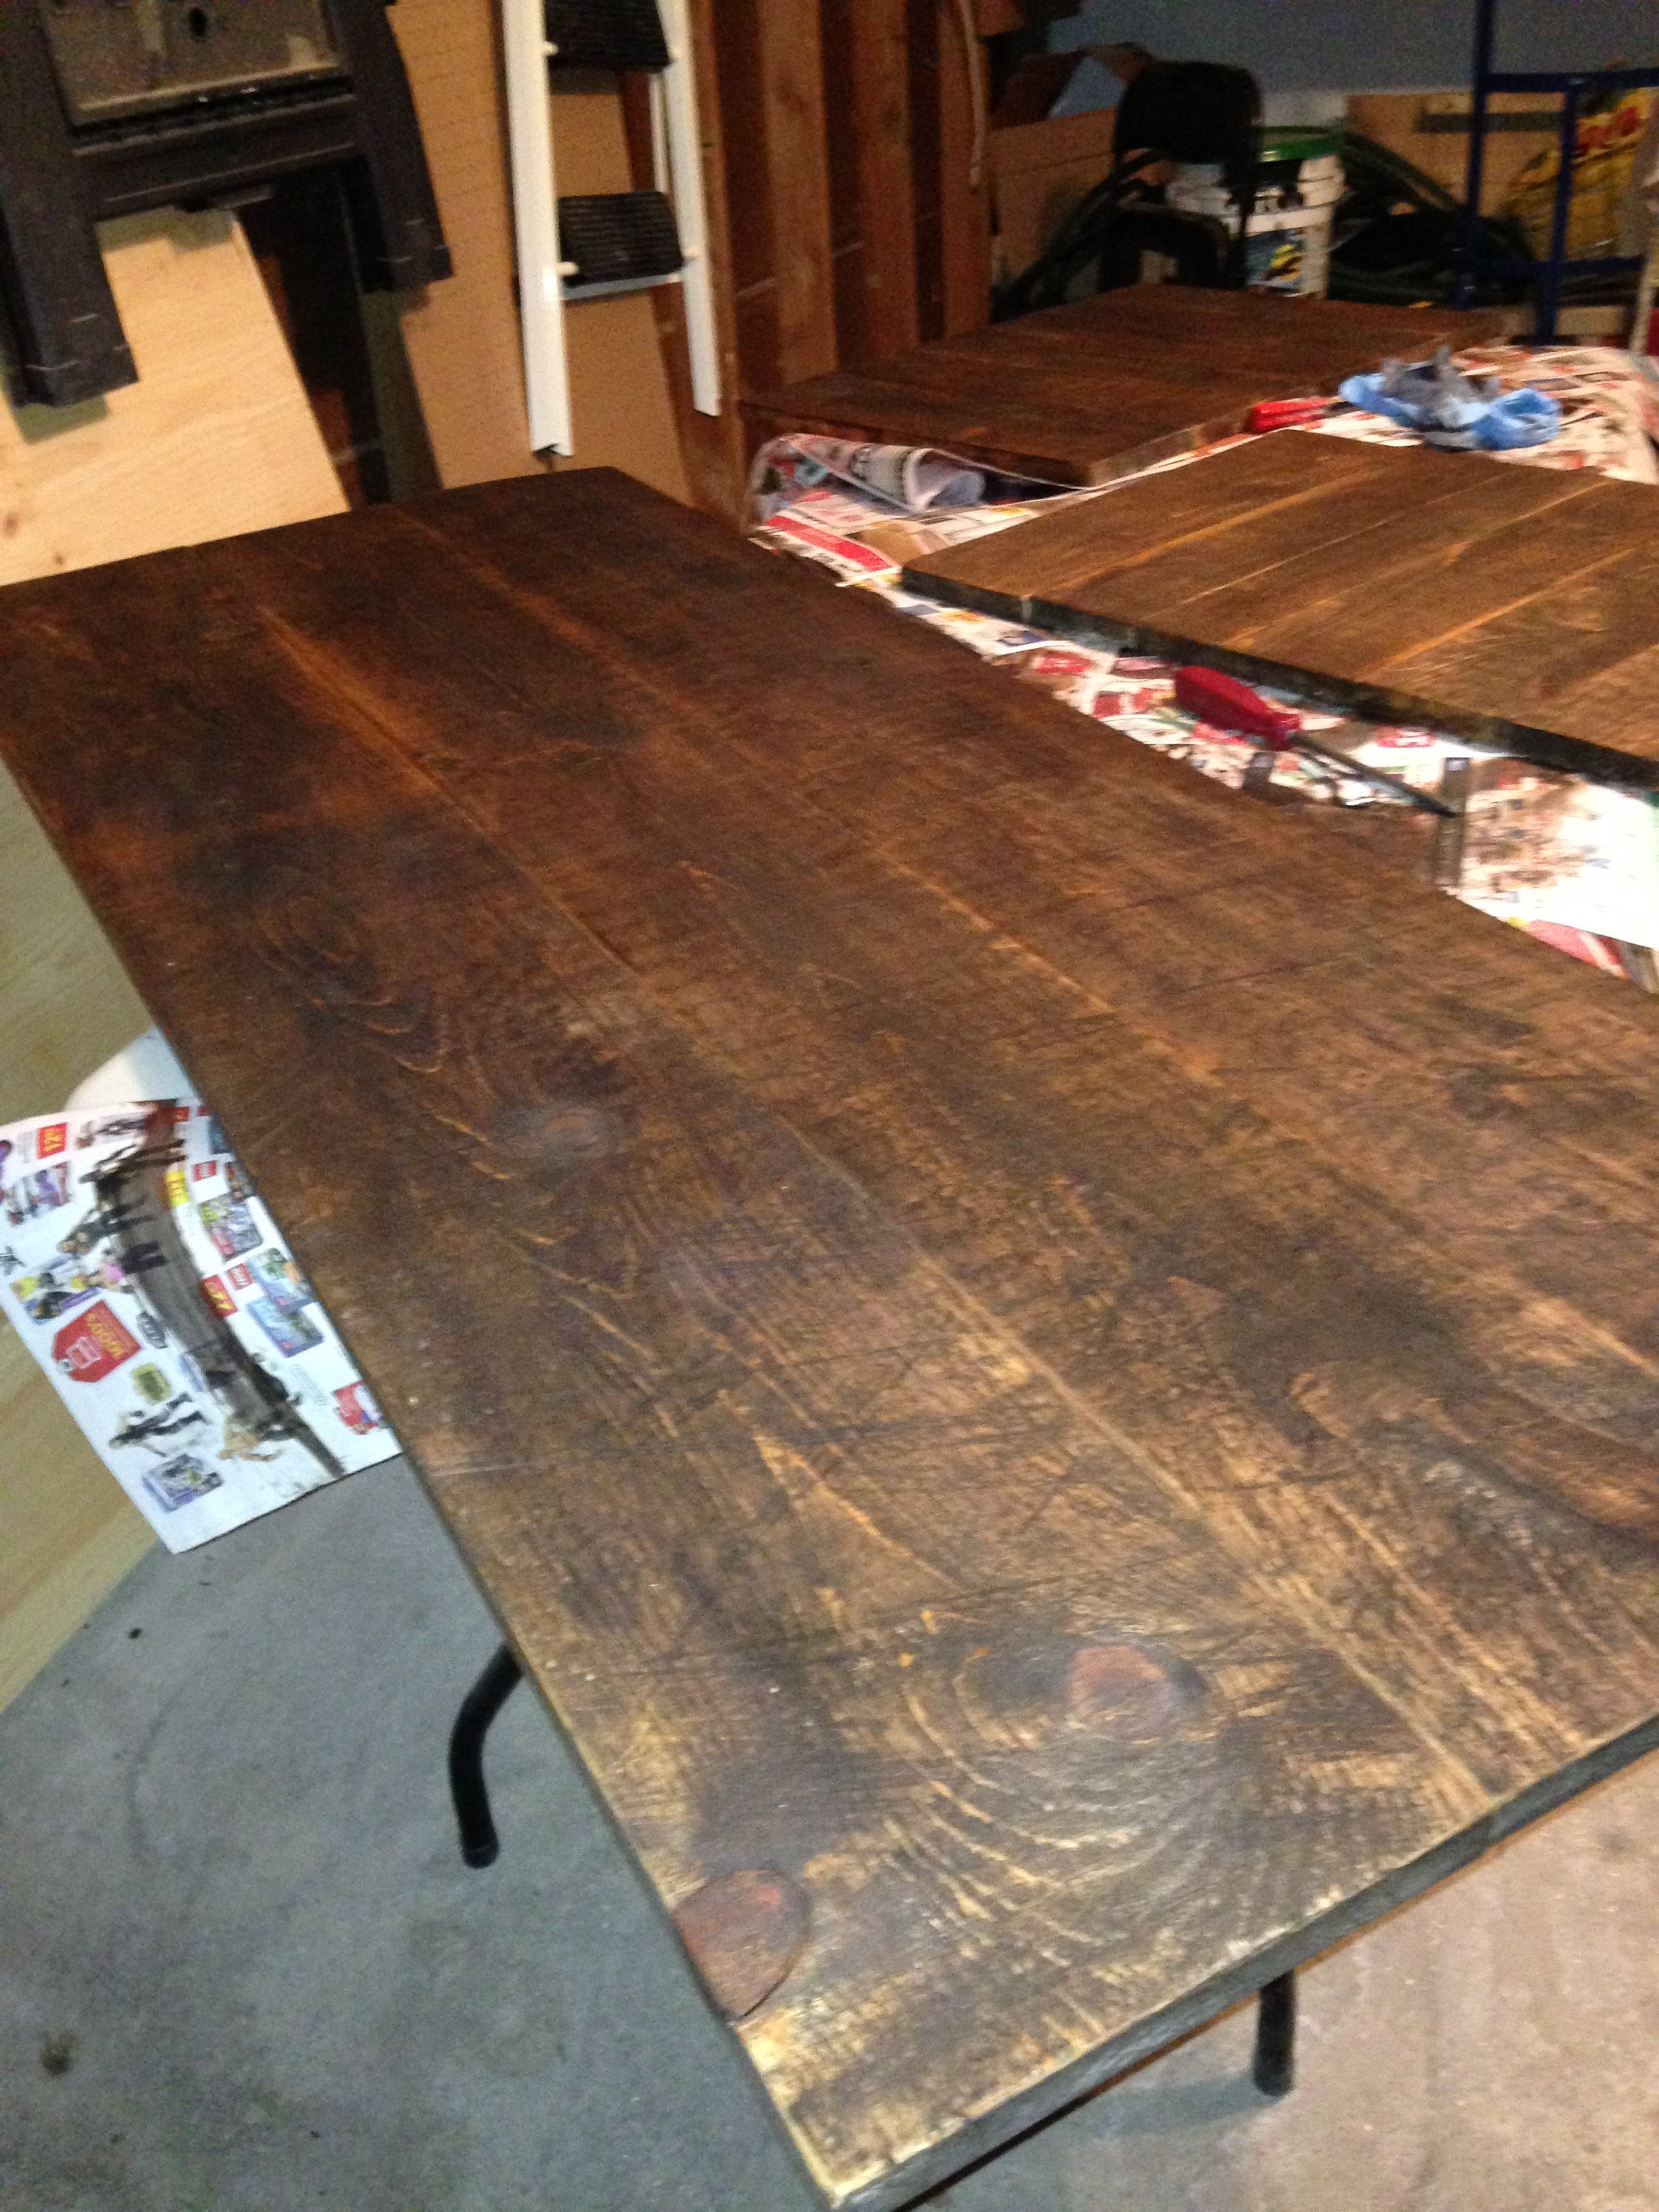
Finish Used
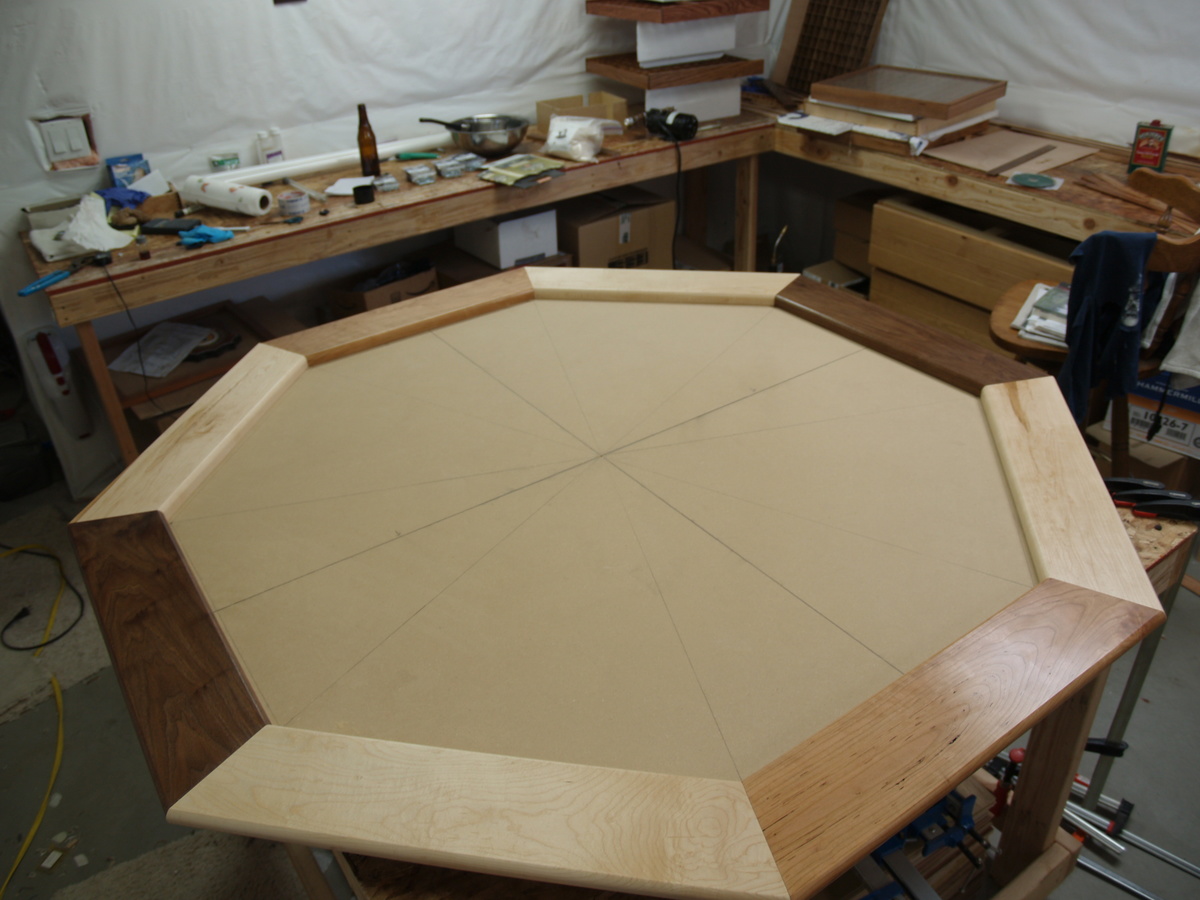
min-wax water based stain protected with water-based polycrilic. It all dried way too fast and didn't give me time to correct errors. Next time I will use oil based.
Recommended Skill Level
Intermediate

Comments

Farmhouse Table : Restoration Hardware Replica

Submitted by tsibiga on Mon, 06/20/2011 - 09:43

This is the first building project that I've tackled and it's all thanks to Ana-White. I did lots of things different than the building plan but it was definitely my inspiration and extremely useful. I loved the Restoration Hardware table and so I went to the local store to put my eyes on it for myself. Some of the things that I noticed, liked, and included in my design are; I used 4-2x12"s for the tabletop, I used 2x8"s as the breadboards, I used 4x4"s for the legs as well as the side stretcher, I used 2x4"s as the undertable supports, I built two 15" extensions using 2x8"s and 2x2"s, and I attempted to distress the wood yet stain it to match our dining room as best as I could.

www.tommyandellie.com

I've documented the build and you can check it out yourself at: http://tommyandellie.com/?p=14

I've revised the plans with even more details here; http://tommyandellie.com/index.php/2012/01/13/new-and-improved-farmhous…

Hope it helps.

Estimated Cost
$300
Estimated Time Investment
Week Long Project (20 Hours or More)
Finish Used
I banged up the wood using random things around the garage and then used a Dark Walnut Stain. Additionally, on the tabletop I did two coats of Briwax (light Brown) for a nice, shiny, and smooth eating surface.
Recommended Skill Level
Intermediate

Comments

niecey

Mon, 06/20/2011 - 15:06

This is stunning! I'm working on this table right now, but it's no where near as good as yours. I'm jealous. I love your extensions. I'd love to see a tutorial on adding extensions..

ispeakwhale

Tue, 06/21/2011 - 05:16

It looks beautiful. Did you attatch the 2x2 to the underside of the extensions and then notch out a place on the support for them to slide into? Can you please take a photo of the underside with the extensions on?

Tommy (not verified)

Tue, 06/21/2011 - 14:42

That's exactly right. Here's a link to the picture you asked for; http://www.tommyandellie.com/Site/Home/Entries/2011/6/10_Farmhouse_Tabl…

There's some more details and info specifically about the extensions on my blog at; http://www.tommyandellie.com/Site/Home/Entries/2011/6/10_Farmhouse_Tabl…

It's a super simple addition to the design and can take my table from 96" to 126"!!! Or take it from a 8-10 seat table to potentially 16 seats available for those Big thanksgiving meals.

Guest1 (not verified)

Wed, 06/29/2011 - 15:41

Hello,

I was just wondering that since your table is a bit wider than Ana's table, did you make the support for the stretcher wider? As in, did you increase the length at all (in addition to making it stick out a bit at the ends? If so, what did you extend it to? Thanks and gorgeous job!

tsibiga

Wed, 06/29/2011 - 18:49

Hello,

I followed Ana's example and allowed for a 1" overhang on both sides. So the tabletop is actually 44" wide and the stretchers are approximately 42". The long 2x4" stretcher is approximately 88".

Hope that helps. Thanks for the positive comments.

Guest (not verified)

Wed, 06/29/2011 - 20:28

I cant believe how good that looks. Great job! Out of curiosity, how did you make the notches (dados) for the 4x4 legs where they meet the table top? Really impressive table!

tsibiga

Thu, 06/30/2011 - 04:43

For the table legs, I set my table saw blade to a height of approximately 1.5". I then made a first cut at 3.5" from the bottom, then made a cut at 7", and then made several subsequent cuts in between those two cuts. After it was all slivered, I used a hammer to knock it all out, and then swirled the opening all around on the table saw (blade still at 1.5" tall) to smooth out all the cuts. I used the same technique for the stretcher as well.

Guest (not verified)

Sat, 08/06/2011 - 21:36

Hi Tommy, I tried clicking on your site and was told the site could not be found. Last week, I saw it fine and showed my hubby our next project, but now it's gone. Help!

Keri Beth (not verified)

Thu, 03/01/2012 - 07:17

What inspiring pictures! Apparently everyone agrees, because I just "pinned" one of these pictures to Pinterest and it was immediately repinned 27 times and counting. So nice work! I hope to make mine this weekend.

DES.II (not verified)

Sun, 04/29/2012 - 06:29

She and her boyfriend would like to build it using lumber i cut from my mill. They are thinking walnut, hickory or maybe ash but im not sure how that will work out with being distressed. And your extentions, do you have a 2x4 or two that slides out from under the table to help support them on each end ? Are there pics of the under side of the table as well? This is a great table and i think they will have fun as a family assemblimng and finishing it.
Thank you. DesII

Marci (not verified)

Thu, 10/11/2012 - 12:12

Where can I find the bench instructions??

James Groover

Tue, 04/14/2015 - 13:31

Hey Tommy, I saw the Farmhouse table design with extensions, I don't have Excel to open the cut list and need the buy list and cut list to complete the project, I am really short on time and need to start this project tomorrow. Please if you can, do you have a word document or a PDF that shows the page for those?

Inspired by the Farmhouse Bed..... for my Dog!

Submitted by dmanar33 on Wed, 06/22/2011 - 20:15

Inspired by Ana's Farmhouse Bed plans, I built this dog bed for my Jack Russell. I measured and planned for it to comfortably fit two standard bed pillows (in waterproof covers of course!). She loves it!

Estimated Cost
$20ish
Estimated Time Investment
Afternoon Project (3-6 Hours)
Finish Used
Primer and latex eggshell paint with glaze on top
Recommended Skill Level
Beginner

Comments

Mgoodlin

Thu, 10/03/2013 - 08:49

I love this dog bed and want to make it for my puppy's Christmas gift. Where can I find or purchase the plans to make it?

Banquette Seating with storage

Submitted by Anonymous (not verified) on Mon, 04/25/2022 - 13:58

You didn’t have plans, so I had to “wing it” without you; however, I couldn’t have done it without all the practice I’ve had from all your plans on this website these past several years!

Comments

Fenced-In Walkthrough Garden

Submitted by jmholzma on Fri, 04/29/2022 - 17:08

Used the Garden Enclosure plan as a reference, but wanted a much bigger area to walk through and relax in. Dimensions are about 30'x20'. Took a few months with a break for winter because it was just me working in spare time on weekends, would have gone a lot faster with an extra set of hands. Towards the end realized that drainage in the walk path was going to be an issue so I put in a very basic french drain before I weed fabric and mulched.

Really happy with how it turned out. Cost was pretty high, probably about $1500 all told, between wood, garden soil, etc. But we'll be able to enjoy it for many years.

Built from Plan(s)

Comments

Rustic Bench

Submitted by mom of 4 on Thu, 09/19/2013 - 21:53

I wanted a simple bench for my yard during the summer. This was a fun, simple build with a little bit of extra style. I used a fence picket for the seat and added a center support underneath, since it was a bit bendy. Sanded the top really well before finishing. Built with Kreg jig.

Built from Plan(s)
Estimated Cost
$20
Estimated Time Investment
Afternoon Project (3-6 Hours)
Finish Used
The finish takes way more time than the building. Sanded first with 60, then 150 grit paper. One coat water-based primer, two coats white Behr enamel, two coats clear spray-on lacquer.
Recommended Skill Level
Beginner

Twisty Table

Submitted by stacynabby on Sun, 12/20/2015 - 11:48

Saw this clever side table on Pinterest. It's made out of 1 1x8x8. I was able to figure out how to build a jig for the table saw to suit the project and then it was easy peasy lemon squeezy from there.

Estimated Cost
$20
Estimated Time Investment
An Hour or Two (0-2 Hours)
Finish Used
Minwax Light Walnut
Recommended Skill Level
Intermediate

Comments

Seal

Fri, 10/28/2016 - 08:40

I would love to build this unique table, but can't seem to find some actual plans with dimensions and jigs


Seal

Fri, 10/28/2016 - 08:45

Would you please email me the plans for this table. Thanks so much

Sliding Barn Door Console

Submitted by robinadams on Thu, 01/07/2016 - 19:59

I built this console over about 2 months. I really wanted a barnwood look so I found this lumber place that sells pine that puts it through a machine and roughs it up on one side. I also added my own saw marks to it, screwdriver dents, rake dents, etc. to rough it up some more. Real barnwood is expensive and often isn't straight, etc. and since I was using this in my kitchen as a countertop I didn't want any spaces in my countertop. This was about a third of the price of barnwood. I wasn't sure how the look of it would turn out, but I think it comes pretty close to looking like the real deal! My husband helped me with the sliding door mechanism. We used pulleys for it and cut metal down to size. We discovered that using a nut and bolt on it didn't work, it just loosened and would come off so instead of using a nut and bolt to secure the pulley to the metal, we used a clevis pin and some washers. Works amazing! This was my first big build and I am very happy with how it turned out! Behind the sliding doors there is one shelf each. We have found there is so much room for storage!

Built from Plan(s)
Estimated Cost
$250-$300
Estimated Time Investment
Week Long Project (20 Hours or More)
Finish Used
Dark Walnut wiped on and then immediately wiped off. Then used American Walnut over top. This way the darker colour got into the saw marks and crevices. I then used Minwax matte polyurathane with 1000 grit sandpaper in between coats. I did 3 coats.
Recommended Skill Level
Intermediate

Comments

Cedar 3 tier planter

Submitted by Anonymous (not verified) on Sun, 04/30/2023 - 09:33

I made the boxes a little wider than the plans called for but still came out great. I'm very happy. Thanks Ana for the inspiration.

Comments

Ana White Barn Door Entertainment Center / Closet

Submitted by Anonymous (not verified) on Wed, 10/02/2019 - 17:07

After many months of trying to find the perfect piece of furniture for our bedroom, I stumbled upon Ana White’s barn door entertainment center. I loved it so much that instead, we turned it into an armoire for our bedroom. Behind the barn doors are shelves that holds our clothes, and in the center we added simple pull out drawers. The center space was perfect for our tv. We had to rework the size of the piece and it is 7 feet instead of the 8 feet that the plan called for. This is my favorite build (we have done a lot of them)!

Built from Plan(s)
Estimated Cost
$600-$650
Estimated Time Investment
Week Long Project (20 Hours or More)
Finish Used
Behr Graphite grey
Recommended Skill Level
Intermediate

Comments

Farmhouse King Bed - knotty alder and grey stain

This was my first building project! I had so much fun with it ... for a guy that can't even hang a photo on the wall! My dad helped and he had all the tools. I spent a few weekends with him so not only was a good father/son project we had something to show off at the end. I think I've caught the woodworking fever.

Estimated Time Investment
Week Long Project (20 Hours or More)
Finish Used
prestain, weathered oak stain, danish oil finish
Recommended Skill Level
Intermediate

Comments

dentalba

Mon, 12/23/2013 - 12:10

I really like the look of the stain. I would be interested to know what changes you made to the original to achieve this look. Also, where did you find the lumber? I can't find knotty alder around here.

locke1103

Thu, 10/23/2014 - 06:32

Is there a way to find the materials needed and specific instructions on how to make this bed? I LOVE IT!

winnsamuel

Tue, 11/25/2014 - 19:22

Hello,

This is awesome, I've been looking to build a bed frame for my new apartment.  Does anyone know where I can find the plans for this project.

Similar to the person above me, I am new to this and not quite sure what to do.  If anyone can provide me with a little insight to this project I would really appreciate it!


Thanks!

craft island

I built this craft island for a friend for her basement playroom space. Click the blog link for full build details and the inspiration picture.

Estimated Cost
$300
Estimated Time Investment
Week Long Project (20 Hours or More)
Finish Used
1. ZInsser oil based primer
2. Two coats BM high gloss white enamel
Recommended Skill Level
Intermediate

Box Frame Console with Bottom Shelf

Submitted by Anonymous (not verified) on Mon, 07/24/2023 - 13:46

Entry Way Table with Slatted Bottom!

by Missy J Zee on Facebook

Built from Plan(s)

Comments

Poker table with hiding beverage holder

Submitted by jasonr on Mon, 04/02/2012 - 12:48

*I did not have any plans to work from*
the cost really depends on how much you can get your wood for. I had a lot left over from previous projects, so $500 is only a low guess.

This is the second of 3 poker tables built.
Each side is 24"
the table measures 58" across
Some of the accompanying photos of the build were from my first table, but thought they might help.

I purchased a foam pad and "speed cloth" from a local poker supply store. The slide away bev. holders are kept in place with rare earth magnets

If you need any specifics, I'll try to help

Estimated Cost
500+
Estimated Time Investment
Week Long Project (20 Hours or More)
Finish Used
tung oil-
start with a 50/50 mix of turpentine and tung oil and rub into the wood. It will dry fast and absorb quickly. Wipe off excess after 15 minutes (if any). Allow 24 hours between coats. Sand with 220 grit and rub in tung oil with a few drops of japan drier. I add 1ml of japan drier to 40ml of tung oil. Allow oil to sit for 15-20 minutes before wiping off oil. Buff with cloth and allow another 24hrs. Sand with 0000 steel wool and repeat application process. Continue everyday until the desired finish achieved
Recommended Skill Level
Intermediate

Comments

carcreek

Tue, 02/25/2014 - 10:12

If you have plans for this poker table I would love to see them! Beautiful table.

Simplest Stool (as a water dispenser stand)

I needed a quick project that could easily be modified for my height needs and would make a good temporary base for my new water dispenser. This was perfect!

Built from Plan(s)
Estimated Time Investment
Afternoon Project (3-6 Hours)
Finish Used
Slightly distressed (quick raw umber acrylic undercoat), finished with Benjamin Moore Natura paint (leftover 'perennial' color from a few years back) and gently sanded on edges/corners to allow the deeper color to show through.
Recommended Skill Level
Beginner

Mudroom Bench with Locker Hutch

Submitted by Anonymous (not verified) on Fri, 09/08/2023 - 08:35

Garage bench with lockers. Plans and videos provided great inspiration and proves most anyone can do it.

Steve L. in Ohio

Comments

Back