Community Brag Posts

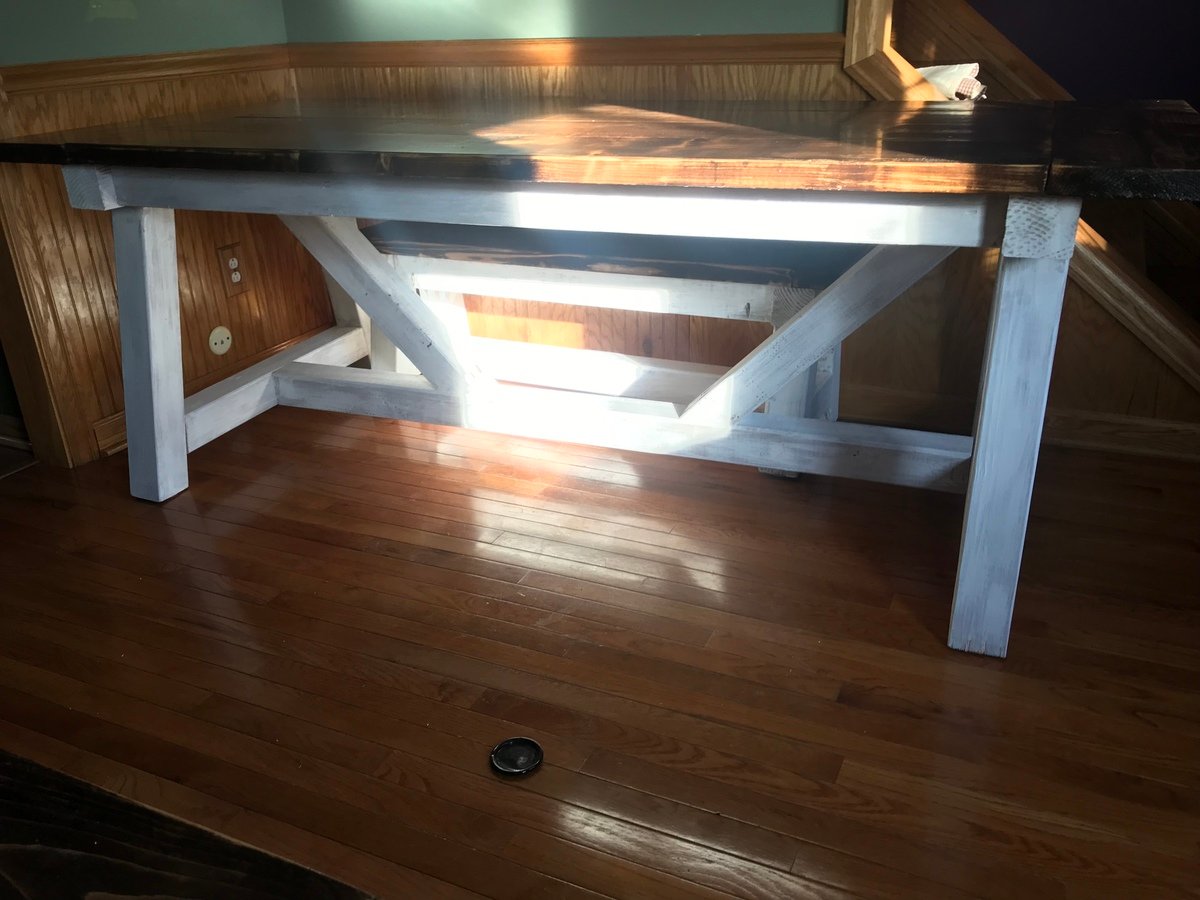
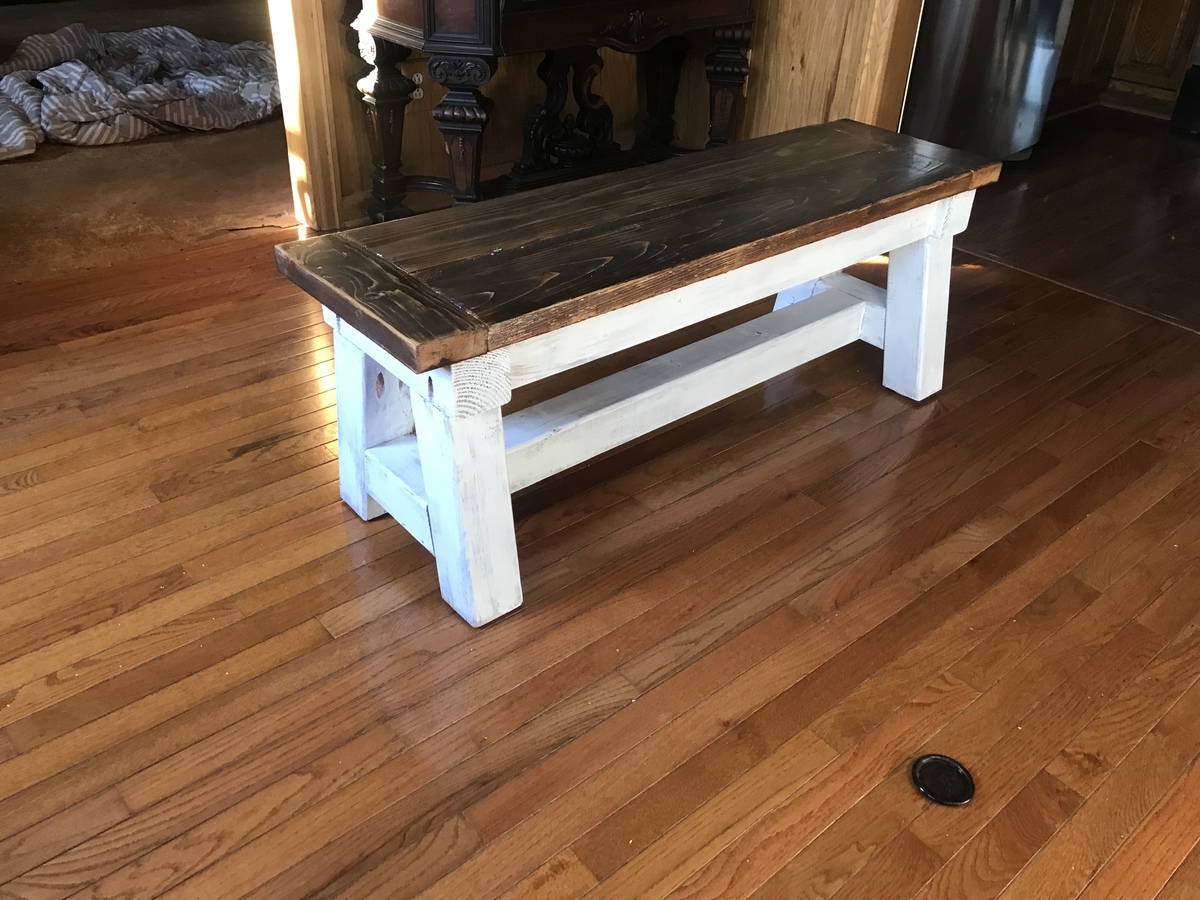
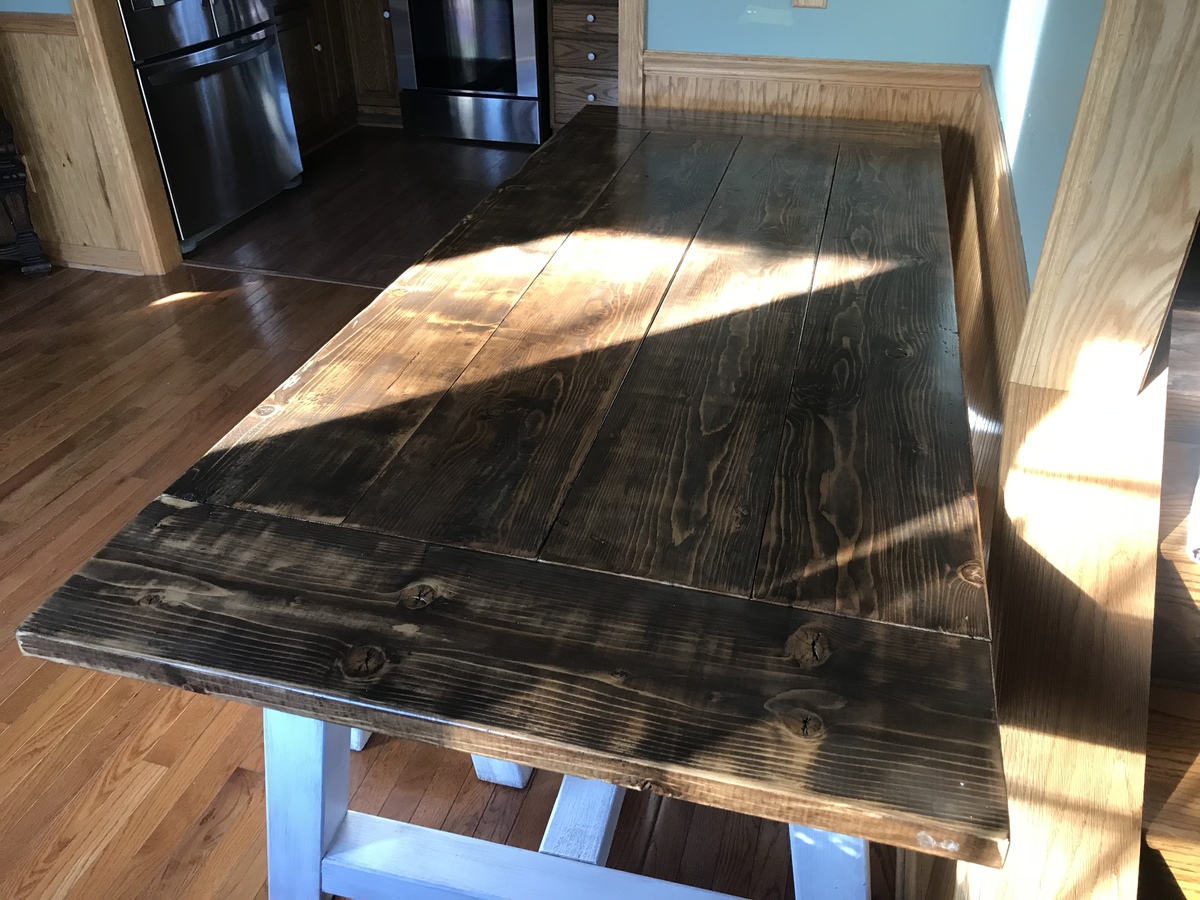
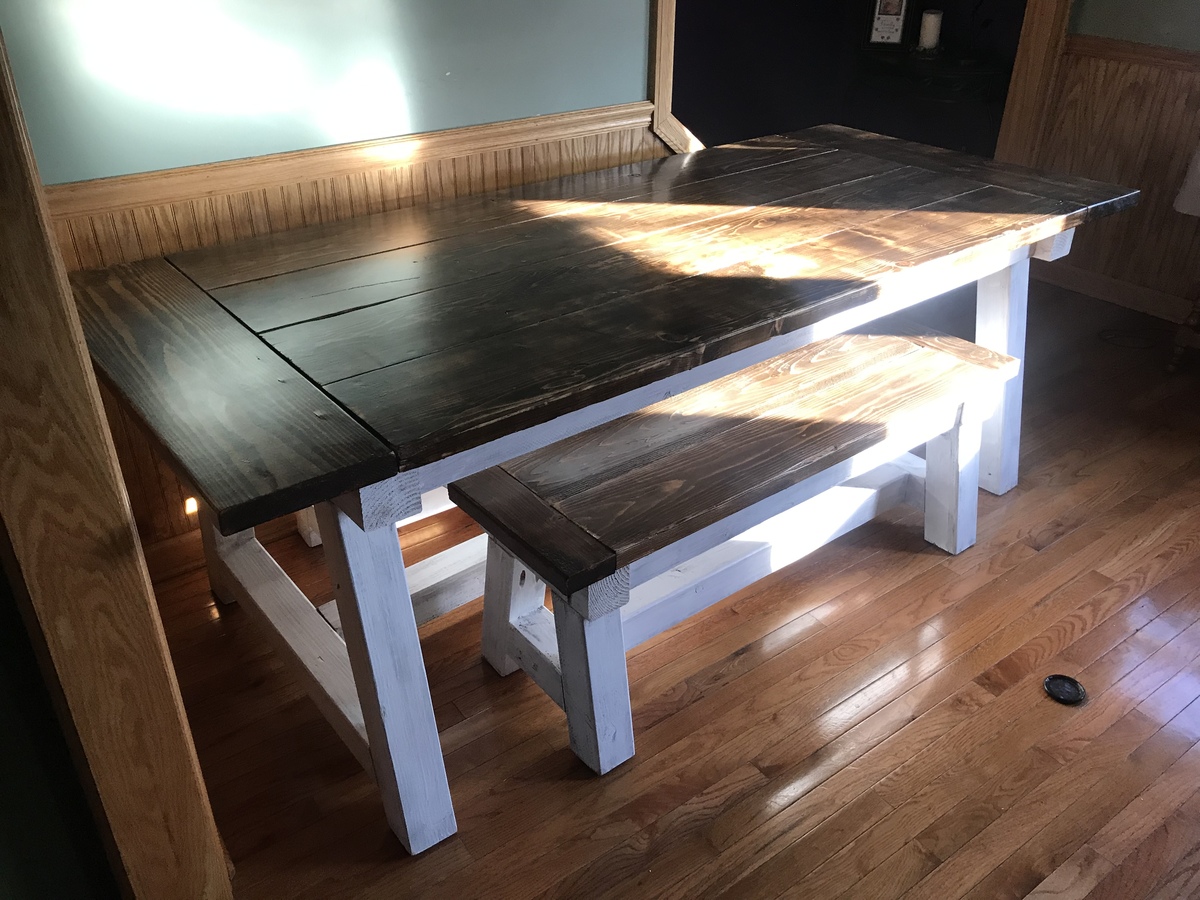
Beam Table with benches

Submitted by Anonymous (not verified) on Sun, 01/13/2019 - 13:11

Anna White Beam Table with Benches 

This was a fun build. I used the HD Kreg Jig for the 4x4 beams and a standard Kreg Jig for the table. The bases were done with a white wash finish and the tops done with a few different stains to give it more of a barn look

Built from Plan(s)
Estimated Cost
$200
Estimated Time Investment
Week Long Project (20 Hours or More)
Recommended Skill Level
Intermediate

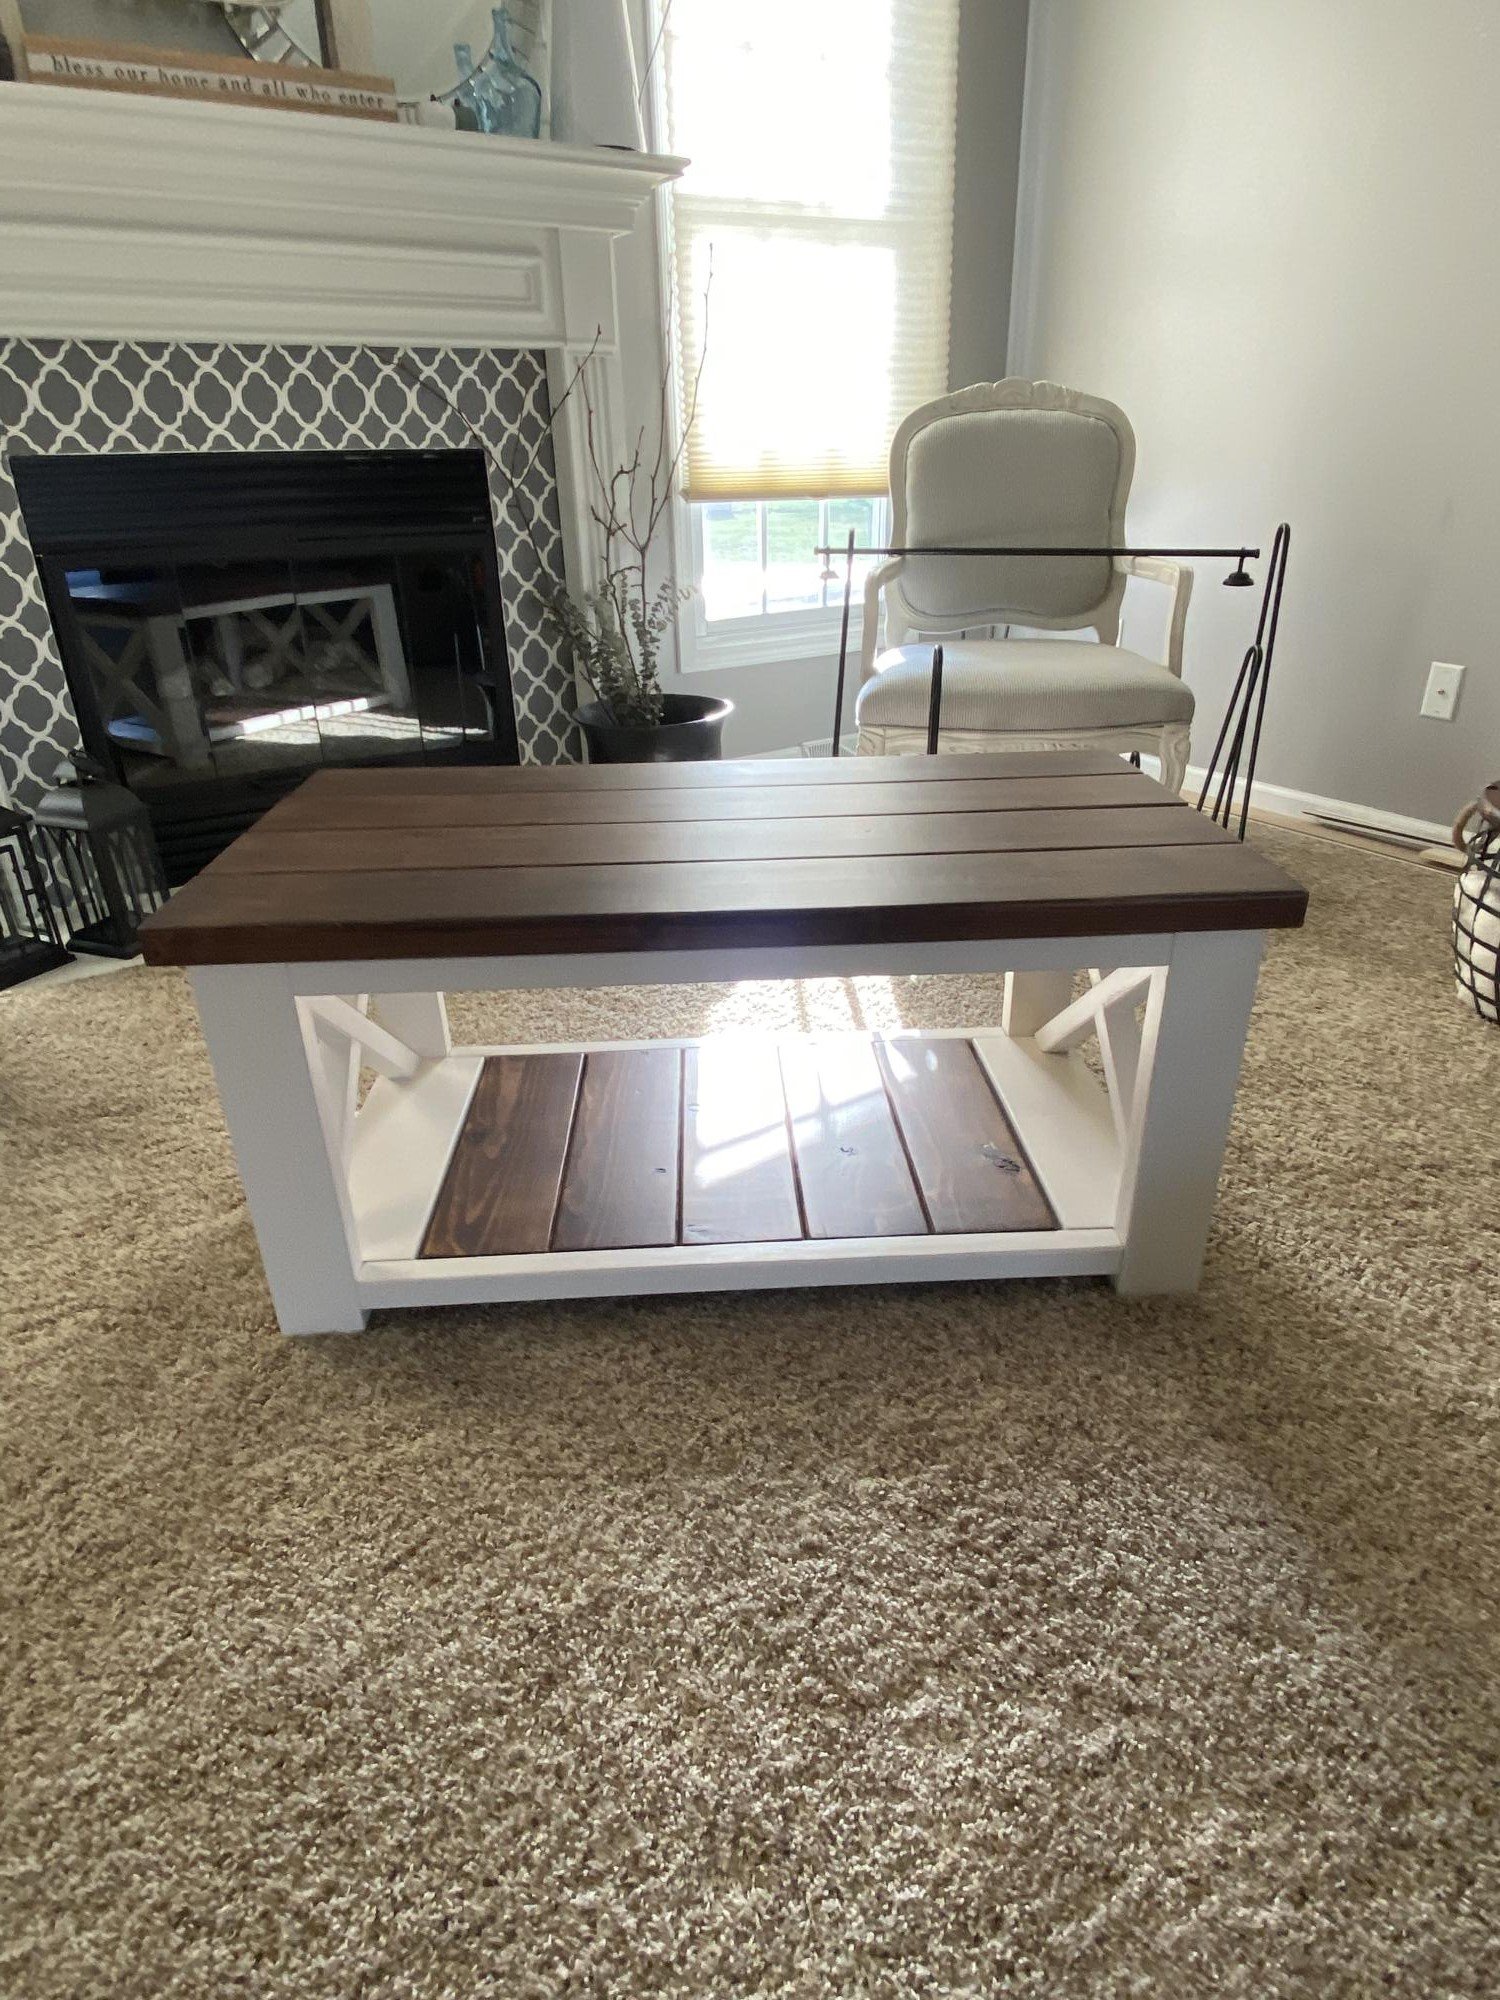
Farmhouse Coffee table

Submitted by wnmhunt on Thu, 10/27/2022 - 06:52

Ana, thank you so much for all your beginning wood working plans. My husband and I worked together to do this farmhouse coffee table for our daughter-in-law Danielle and she loved it.

Comments

Our "Stop Breaking Our Back" washer and dryer pedestals

The husband kept complaining that the washer and dryer were too low without pedestals. Well, no problem! I've got plans from Ana's site.

I measured to fit our machines and followed the plans. But somewhere along the way I screwed up. I think it might have been how I attached the legs with the "L" brackets. My legs were sitting away from the base, not flush with it. Anyhow, the way to correct my mistake was to attach the moulding along the sides, front and back of the base, not around the legs. But I don't mind the way it looks. Just an FYI: there was a lot of waste with the sheets of MDF, but that's not a problem because I'm using it in another project as I write. :)

First, I put on two coats of primer. Then I decided I wanted a splash of turquoise in the basement, so I mixed a blue and yellow paint until I got the color I desired. After a few coats of paint, I distressed and then decided to tone down the color a bit with a Valspar glaze. I put on two coats of poly, hoping that would be enough to withstand the inevitable water on the pedestal. I thought the piece was screaming for a quote, so I painted "The most memorable days usually end with the dirtiest clothes."

And you think with the new height he'd help me with laundry a bit more? Yeah, I think not.

Estimated Cost
$70
Estimated Time Investment
Afternoon Project (3-6 Hours)
Finish Used
Mixed a blue and yellow paint to get the turquoise. Put two coats of paint on over the primer. For the first time I thought I would try distressing with candle wax. I rubbed the candle down the edges of the wood and gently brushed away any wax crumbs. Then I painted over it. When it was time for distressing, I gently rubbed the sandpaper over the edges and the paint easily came off. Definitely looks different than distressing with just sanding. Finished up with a little glaze then 2 coats of polyurethane.
Recommended Skill Level
Beginner

Comments

VeronicaGentry (not verified)

Tue, 08/30/2011 - 18:58

I love the color! I'm usually not a fan of quotes on furniture but this is really cute and it fits perfectly! Great job!

BethG (not verified)

Sat, 09/10/2011 - 17:44

What a great idea, and I love the color choice! We have front loaders and bought the drawers for the bottom. While they are decent storage, they tend to travel open at times. This has so much more personality and adds a real built in look to the laundry area. I'm sure you saved quite a bit doing it this way over drawers. How is it holding up to the moisture and vibration of a the washers? Keep those great ideas coming.

In reply to by BethG (not verified)

debandtom25

Tue, 09/20/2011 - 18:38

I've been waiting for my machines to "walk off", but the pedestal is holding up well. I made sure to add poly to help protect it from the moisture. So far, so good.

Closet shelves

Submitted by mom of 4 on Thu, 09/19/2013 - 22:12

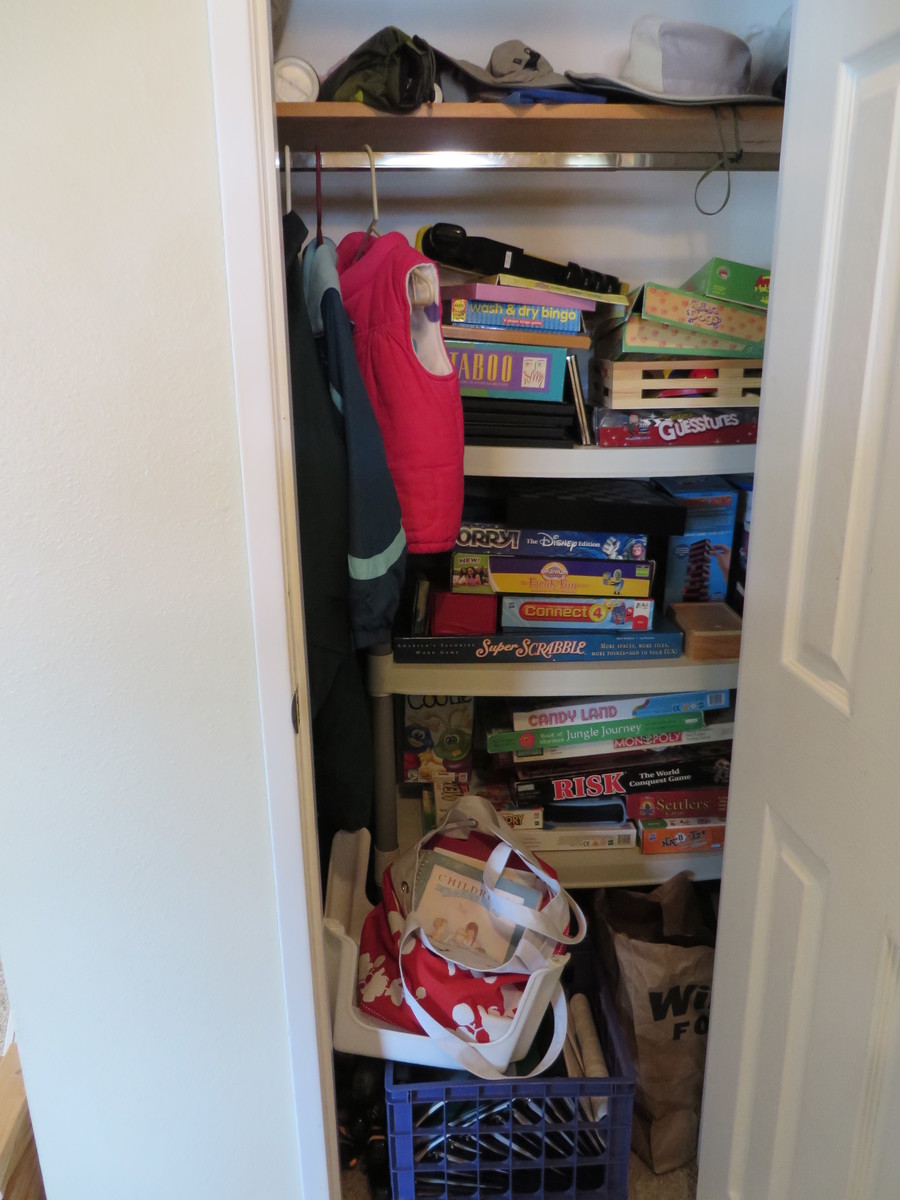
I needed to use my small coat closet more efficiently (observe the disaster in the before picture!), so I installed built-in shelves along a side wall for all our board games. Not a plan really, but just a simple solution. Measure the height you want your shelves to be, install a 1X3 at that height on either side wall, making sure they are level and secured to studs or anchored (Mine are 1 foot apart up to 5 feet). Then install plywood or solid wood shelves across the supports. Screw in to secure and you've got functional, inexpensive shelving, built to fit your unique space.

Estimated Cost
Scraps or the cost of 1 sheet plywood and 1 1X3 or 1X4.
Estimated Time Investment
An Hour or Two (0-2 Hours)
Finish Used
It's all just bare wood.
Recommended Skill Level
Beginner

Clara table and chairs with chalkboard and cubbie

I made a few changes to the chairs and the table plans.  Most notable, I added a storage box for chalk for the chalkboard table top.  The build was incredibly easy.  You could assemble the table and chairs in just a few hours.  

Built from Plan(s)
Estimated Cost
$35
Estimated Time Investment
Afternoon Project (3-6 Hours)
Finish Used
Rust-Oleum Chalkboard paint. Two coats and some touch up.
Recommended Skill Level
Beginner

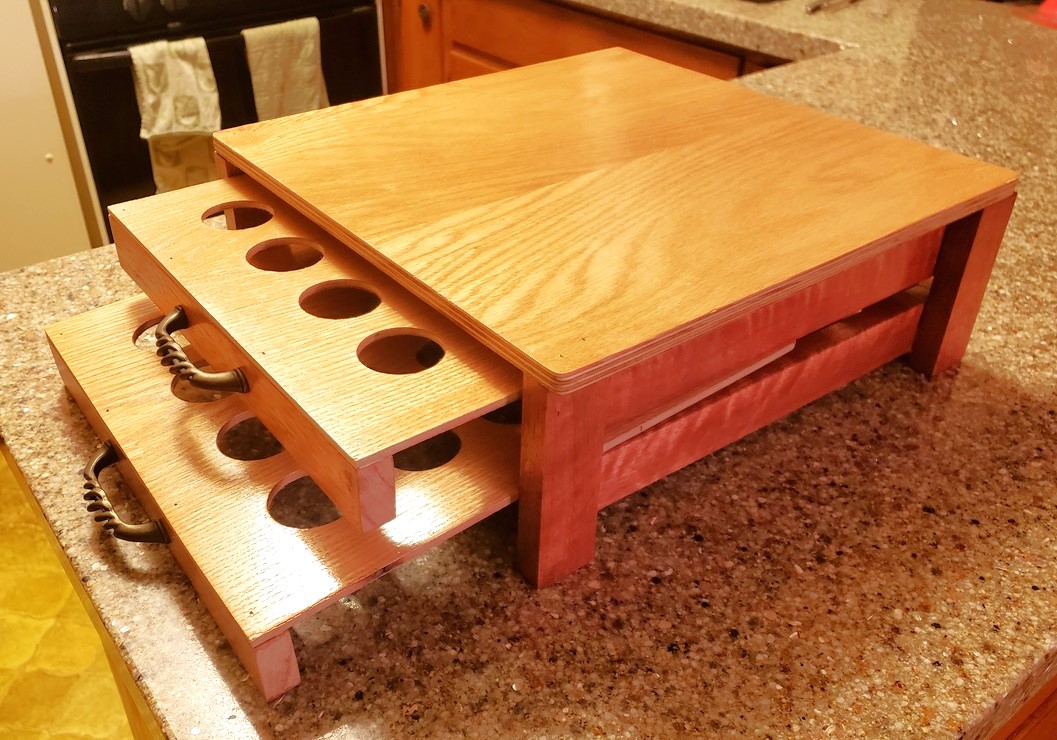
Keurig holder

Submitted by Anonymous (not verified) on Wed, 01/16/2019 - 20:54

First project.  Was a blast and turned out great.  Mahagany strips with oak top.

Estimated Cost
$25
Estimated Time Investment
Weekend Project (10-20 Hours)
Finish Used
Poly
Recommended Skill Level
Beginner

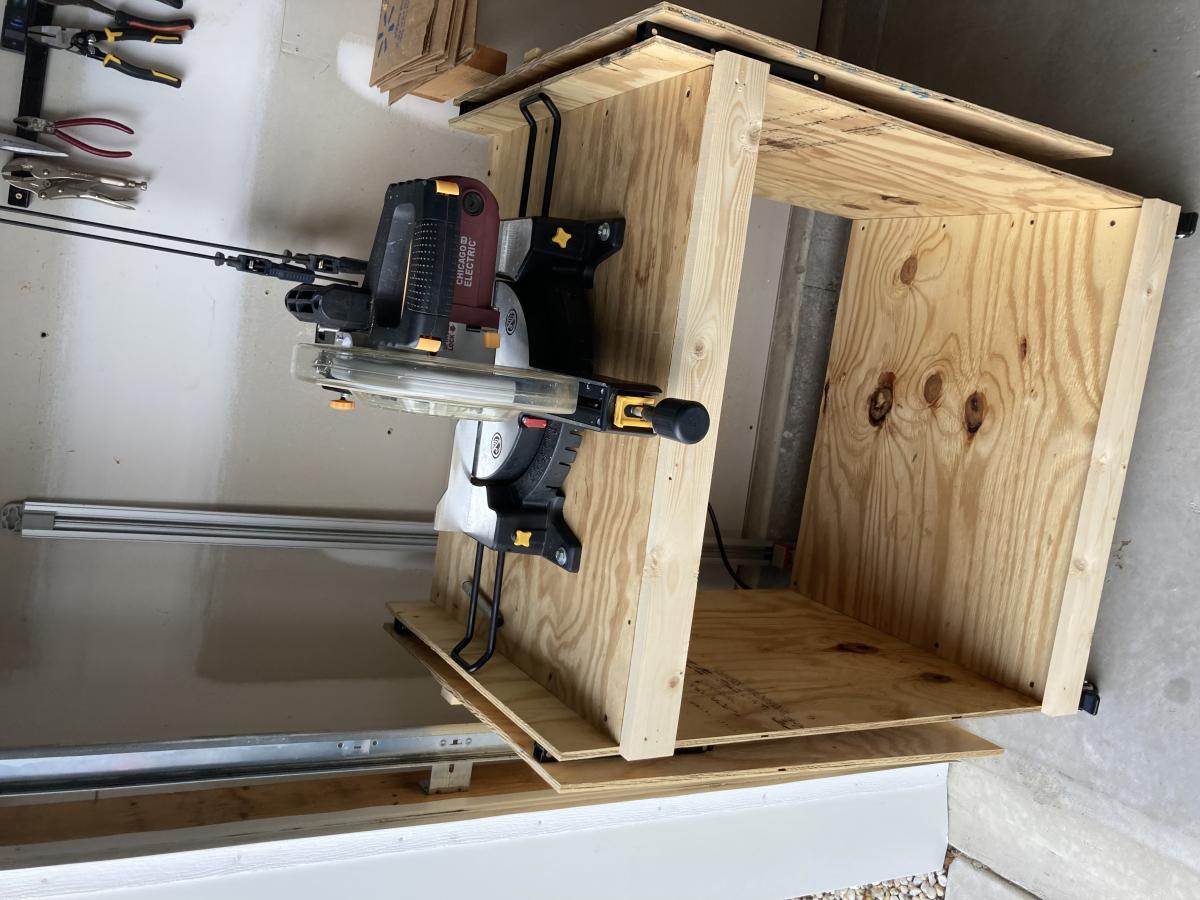
Miter Saw Cart

Submitted by Anonymous (not verified) on Wed, 11/16/2022 - 07:16

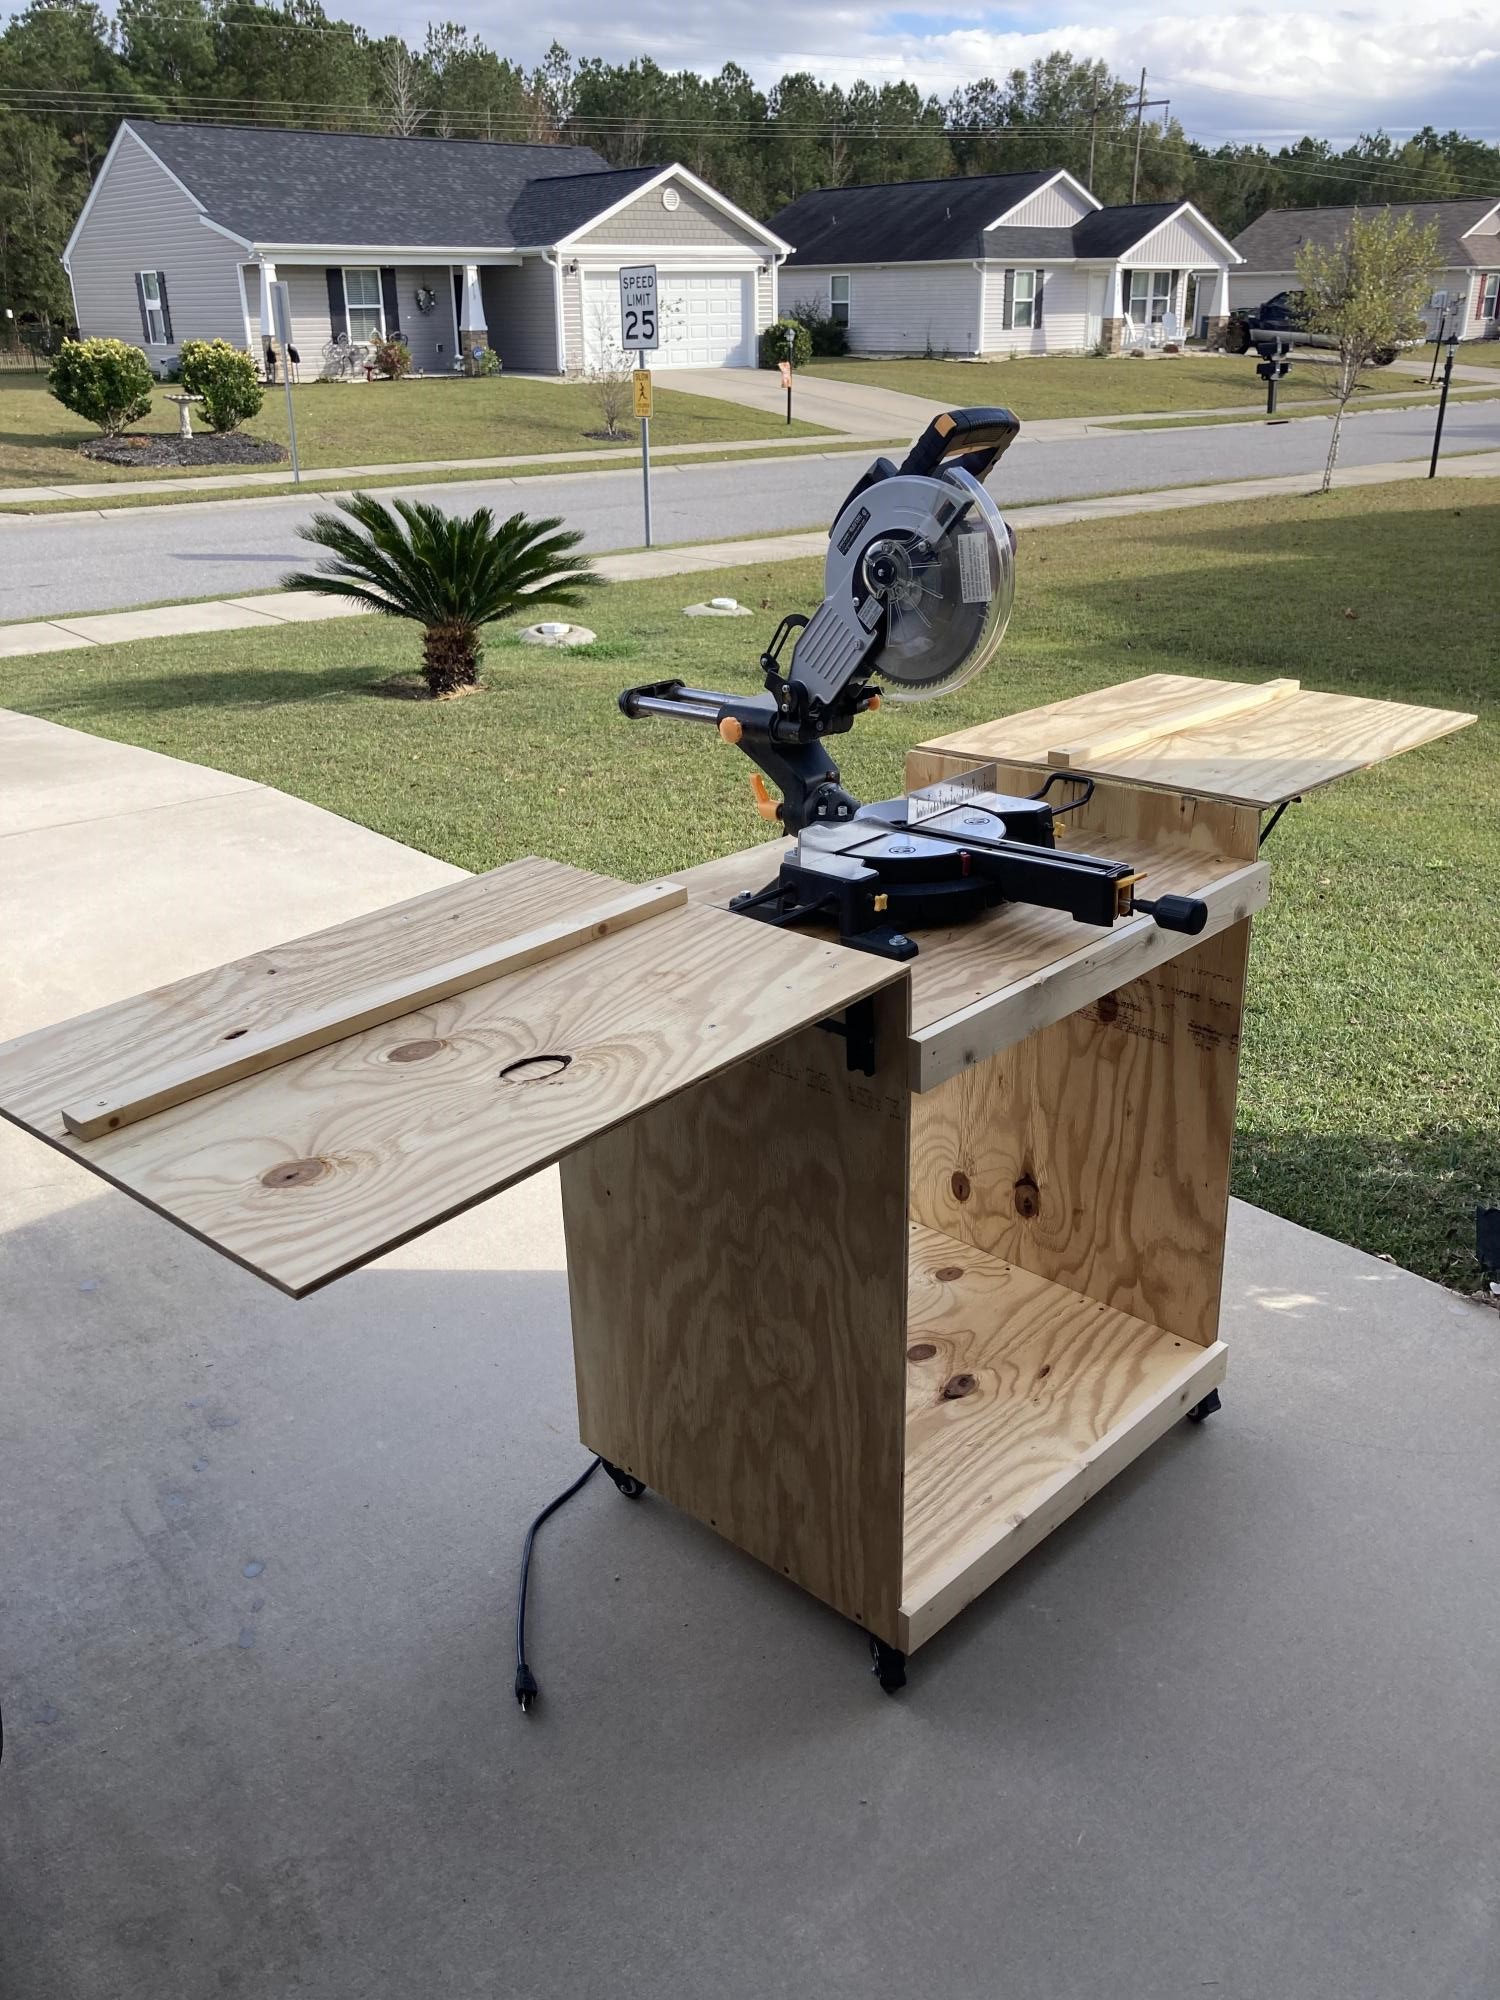
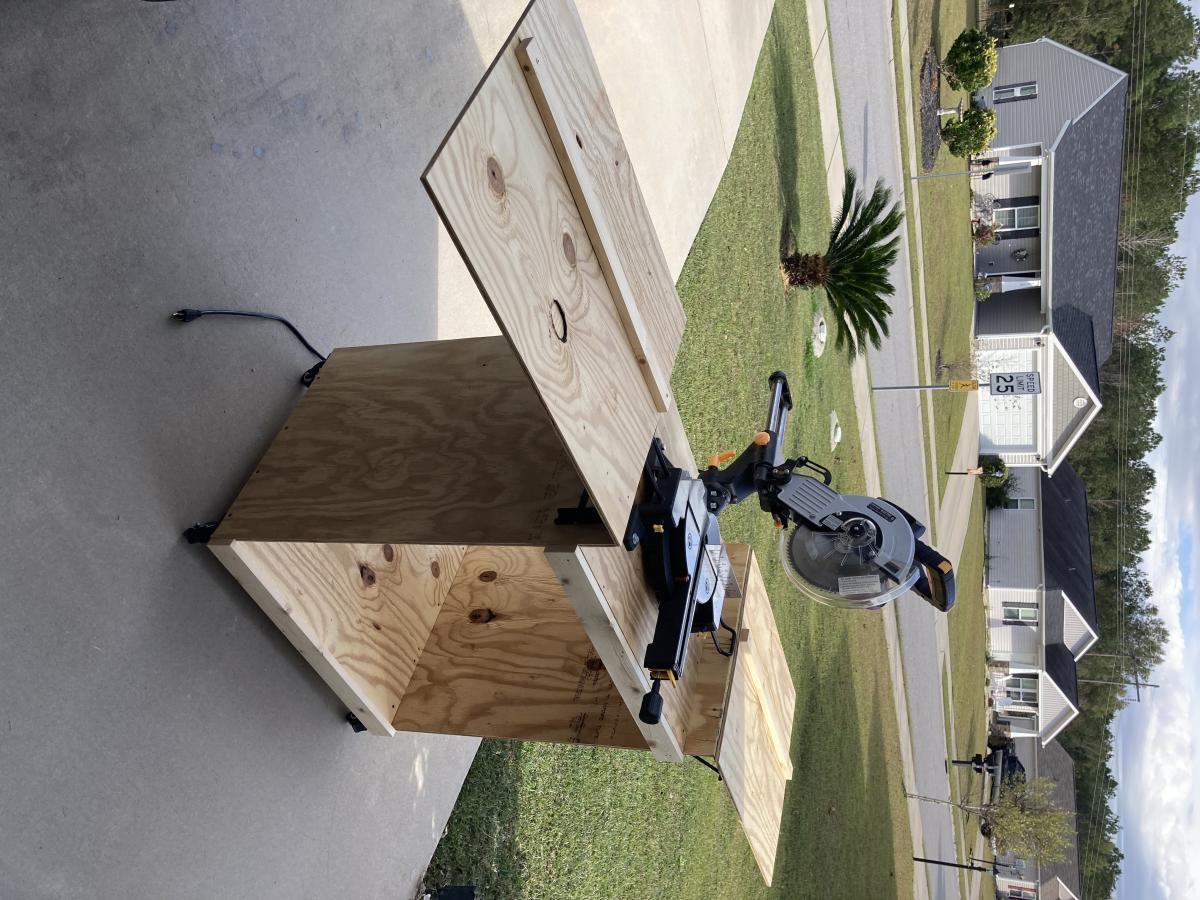
I had my mitre saw on a stand I had purchased and it was ok. Hard to move around, but it supported the saw ok. Frustrated over having to drag it around every time I was using it. This cart is smaller than the old stand and easier to move around.

Built from Plan(s)

Comments

Pallet Coffee Table

I seen the plans for a coffee table made out of pallets submitted by Aud builder and just had to try it. The company where I work has tons of pallets so it really didn't cost me anything. I added an additional pallet and left the casters off. In place of the casters I put 4, 4" 4x4's at the corners and then used 1x4 at each of the corners to connect the whole thing. Then I did the white wash on it. I loved the color and had a lot of fun putting it together.

Built from Plan(s)
Estimated Cost
$8.00
Estimated Time Investment
Afternoon Project (3-6 Hours)
Finish Used
watered down white paint
Recommended Skill Level
Beginner

Comments

Camerons_Mom

Fri, 09/09/2011 - 12:53

Thank you birdsandsoap! It looks great in my living room. Too bad I built it for my neice who just married. She loved it too :-)

lalawiggleworm (not verified)

Sat, 01/14/2012 - 18:37

This is so cool. Love it. Dont need a coffee table but this made me think it could work for shoe storage with different dimensions.

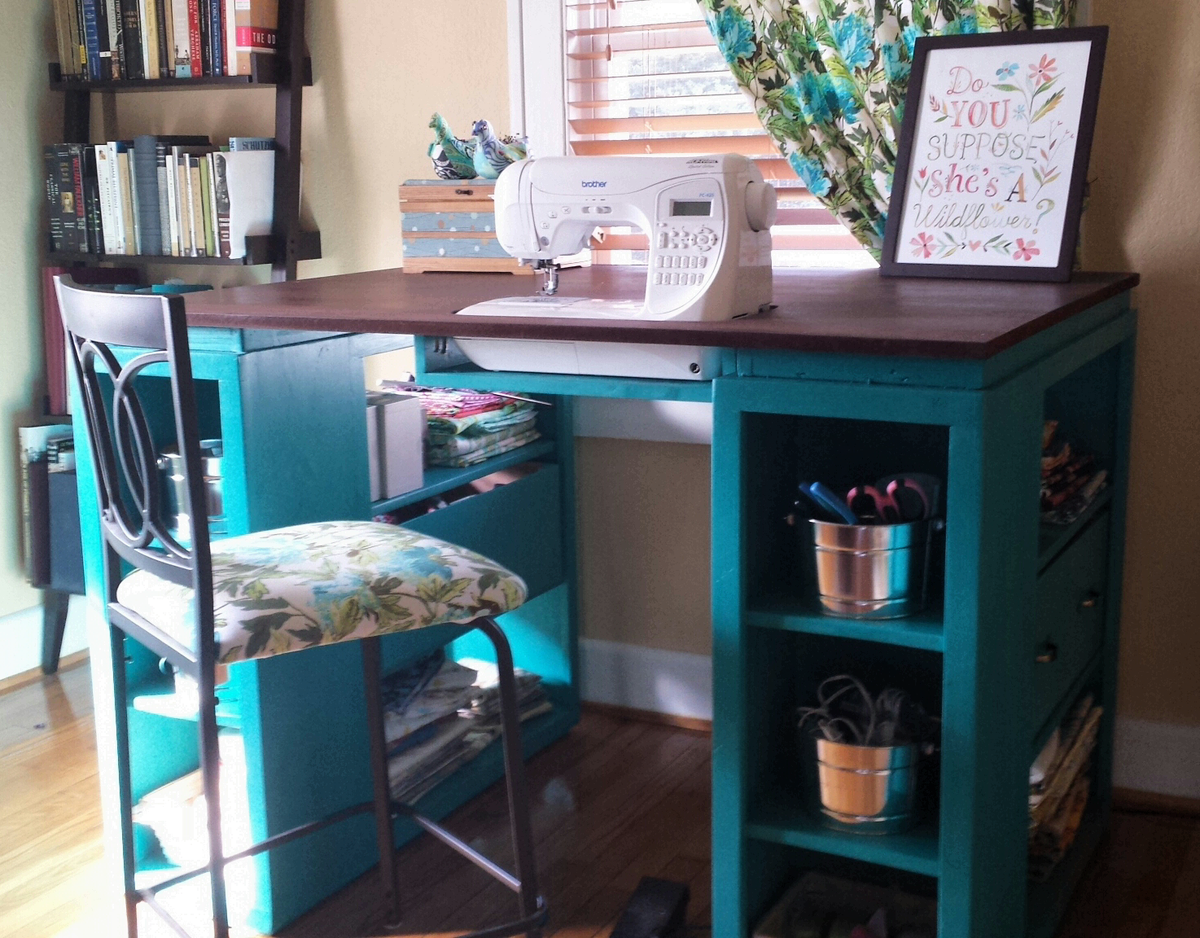
The perfect sewing table!

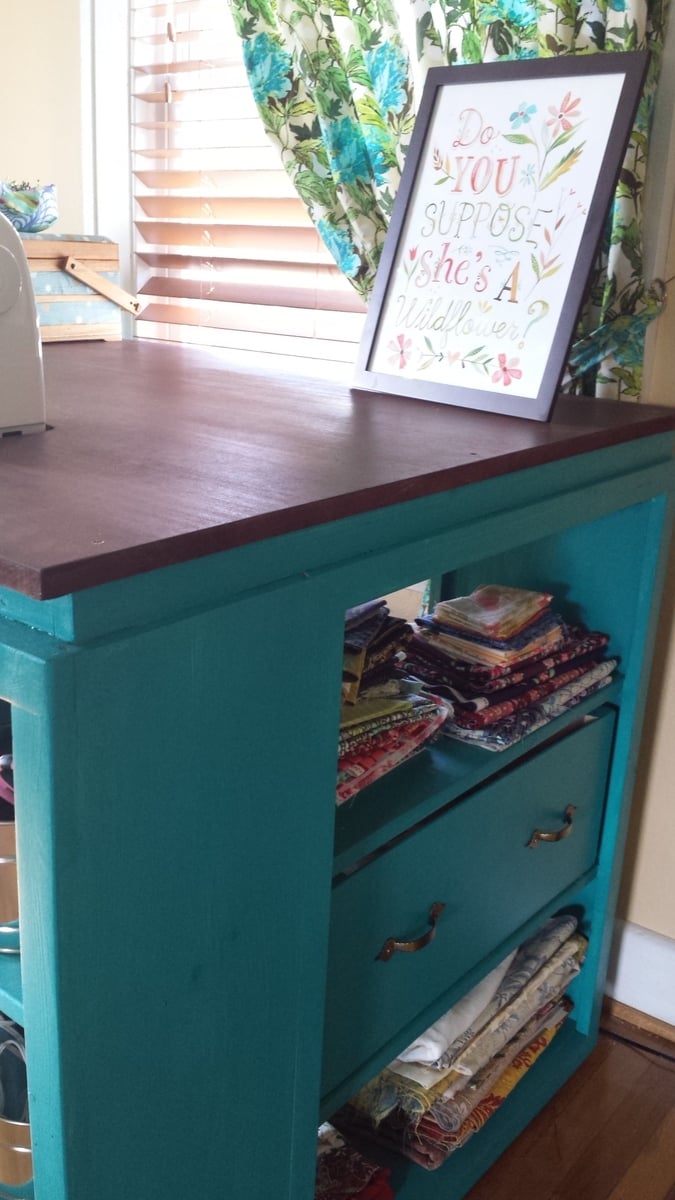
I have been looking at sewing furniture for years, but the prices always made my jaw drop. I have a small craft room, so I needed a table that could also triple as a cutting table and fabric storage. Thank you so much to Ana White for this plan! I built exactly to the plan in The Handbuilt Home, and it's the PERFECT size.

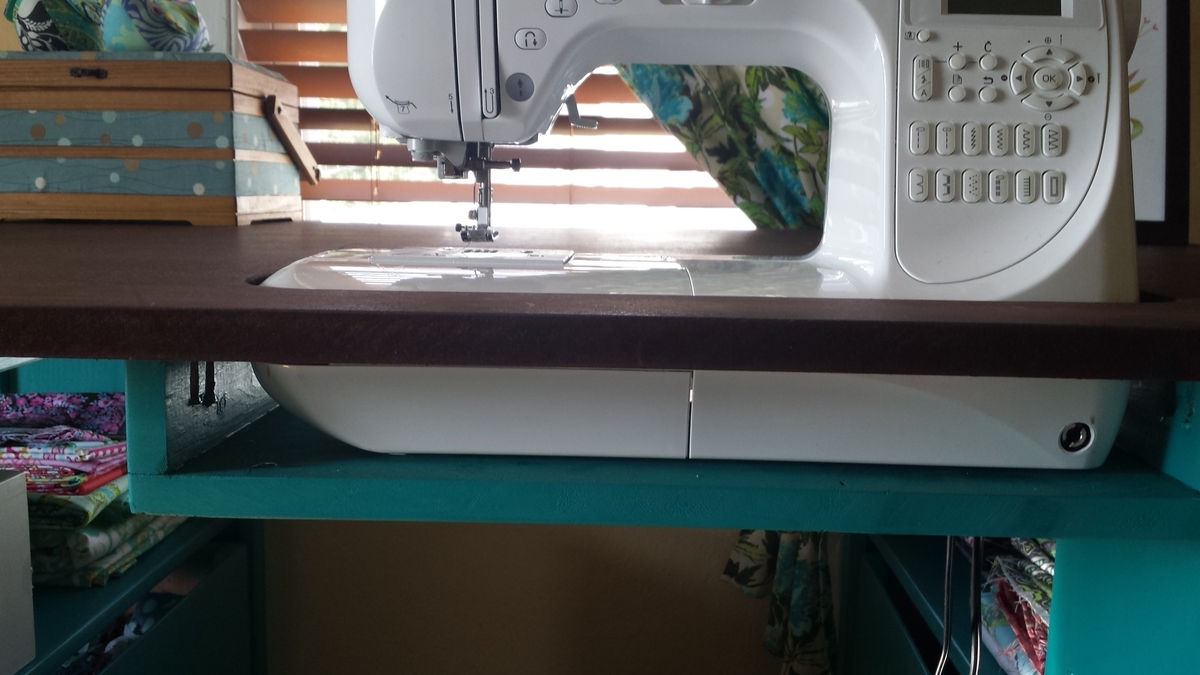
So the sewing machine can sit flush with the top, making working on big sewing projects way easier, I traced the outline of my machine on the MDF and cut it out with a jig saw. Then I built a small shelf using a 1x12 scrap and 2 1x3 scraps. Putting the 1x3s on top of the 1x12 made the shelf 3.75 inches deep, which is exactly the depth I needed. I attached it to the underside of the tabetop using a pockethole jig and screws.

I built 2 boxes using 1/4 inch plywood, and installed drawer pulls on them, giving the illusion that the table has 2 drawers built in. This is where I keep my ugly stuff--interfacing and fabric scraps.

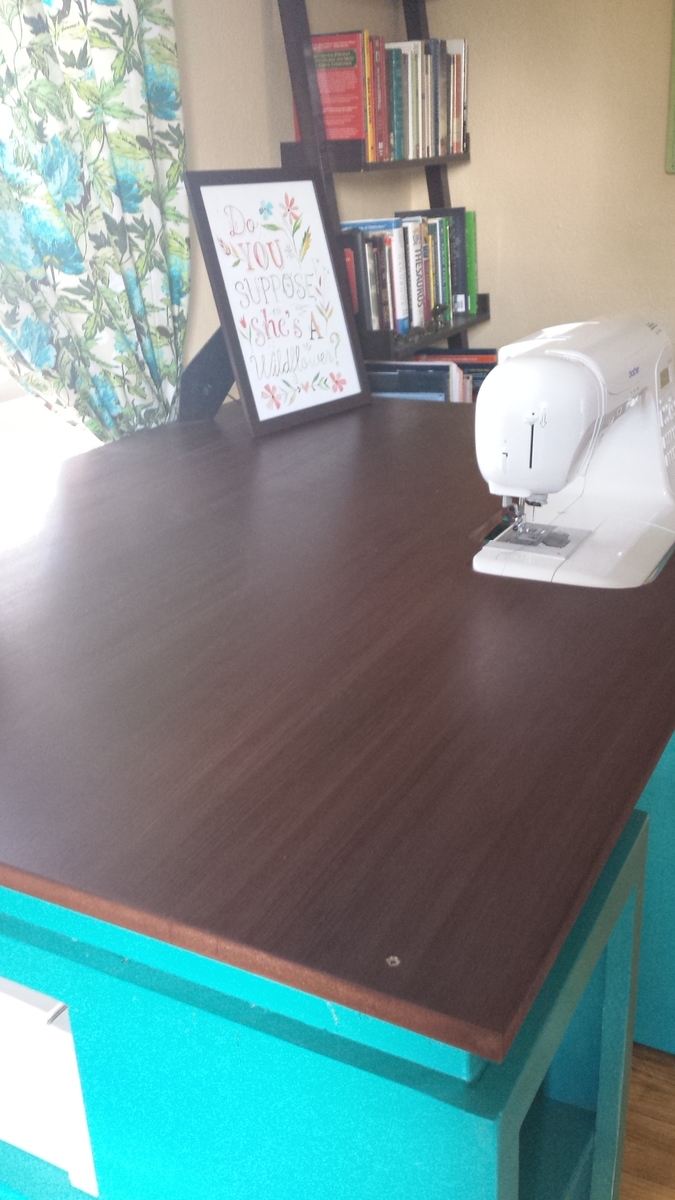
I got the color scheme for the table from the entryway console plan in The Handbuilt Home. In order to make the MDF top look like it had a wood grain, I applied mahogany gel stain with an old washcloth in very thick strokes that spanned the length of the tabletop. It soaked in and lost the "grain" look in some places, but the majority still looks like wood. I did have to apply several coats of polyurathane over the stain; the MDF has a prickly texture that grabs fabric and makes it hard to feed through the sewing machine.

My only complaint is that I didn't quite think through the fact that seating is bar height and I'm 5'7". It's a little difficult to reach my sewing machine pedal. I may build a small stool for the pedal to sit on so I don't have to half sit/stand to sew.

This is the first woodworking project I've done alone from start to finish: from going to Lowe's and picking out the wood, to cutting the wood with a circular saw, assembly, and finishing. (My fiance did carry it up the stairs for me. :) )

I'm so in love with this table! And now to finish the quilt I started 6 months ago....
Built from Plan(s)
Estimated Time Investment
Week Long Project (20 Hours or More)
Finish Used
I used 2 coats of Valspar Signature paint in Laguna Beach, and Minwax mahogany gel stain on the MDF tabletop.
Recommended Skill Level
Intermediate

Comments

MissMehndi

Mon, 09/23/2013 - 15:22

I love this idea!! I too have wanted a sewing table for a long time but the prices of them take my breath away. I may have to make myself one! Thanks for the inspiration!!

Marshall's Dresser / Changing Table

Submitted by pondrider on Thu, 12/03/2015 - 15:43

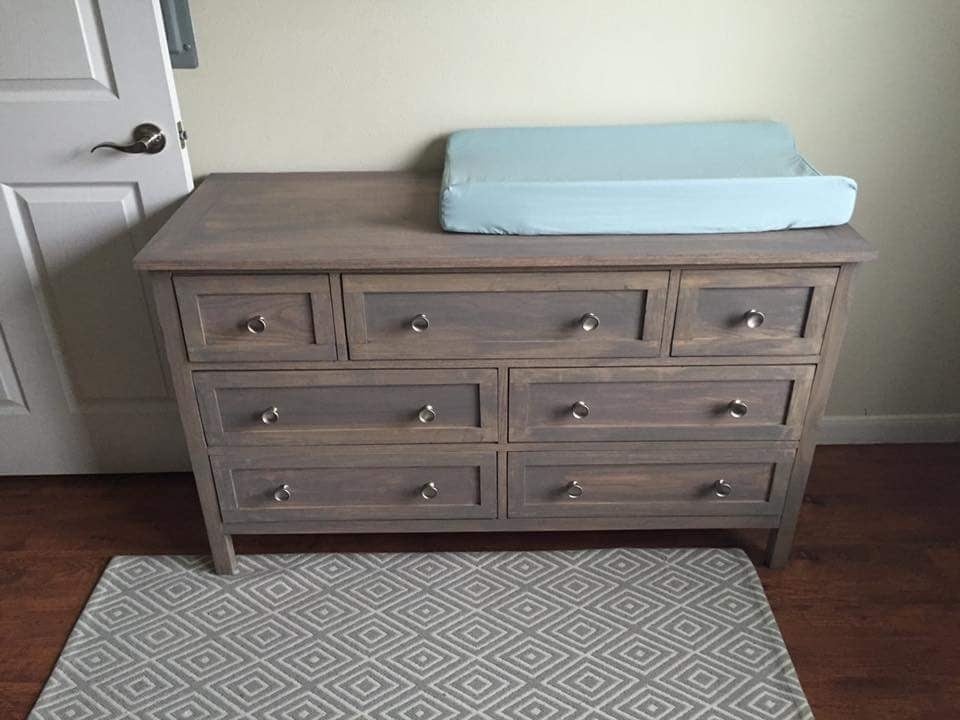
Delivered the nursury Furniture and have a ver satisfied daughter preparing to bring our Grandchild into the world. From Ariel "My sweet baby boy has the most beautiful nursery I've ever seen! I am so thankful for my father who hand built this furniture. It is definitely made with love and it's everything I dreamed of. I'm also thankful for my husband and brother in law who set up this entire nursery for me this morning. Thank you"  For this project built with a lot of love, I give a lot of credit to Ed and his very well written plans. http://www.edhart.me/2015/05/how-to-build-a-kendal-extra-wide-dresser/ I followed the plans from Ana-White with Ed's varriations almost exactly except I added Blum undermount glides. This item may 300 pounds but it is well built.  #anawhite

Built from Plan(s)
Estimated Cost
Blum glides and assorted hardwood drove this project cost up. However this project is better than the item that I was asked to build at a retailer with a price tag of $1,200. My cost was about $500. #anawhite
Estimated Time Investment
Week Long Project (20 Hours or More)
Finish Used
Sherwin Williams Custom Stain.
Recommended Skill Level
Intermediate

Comments

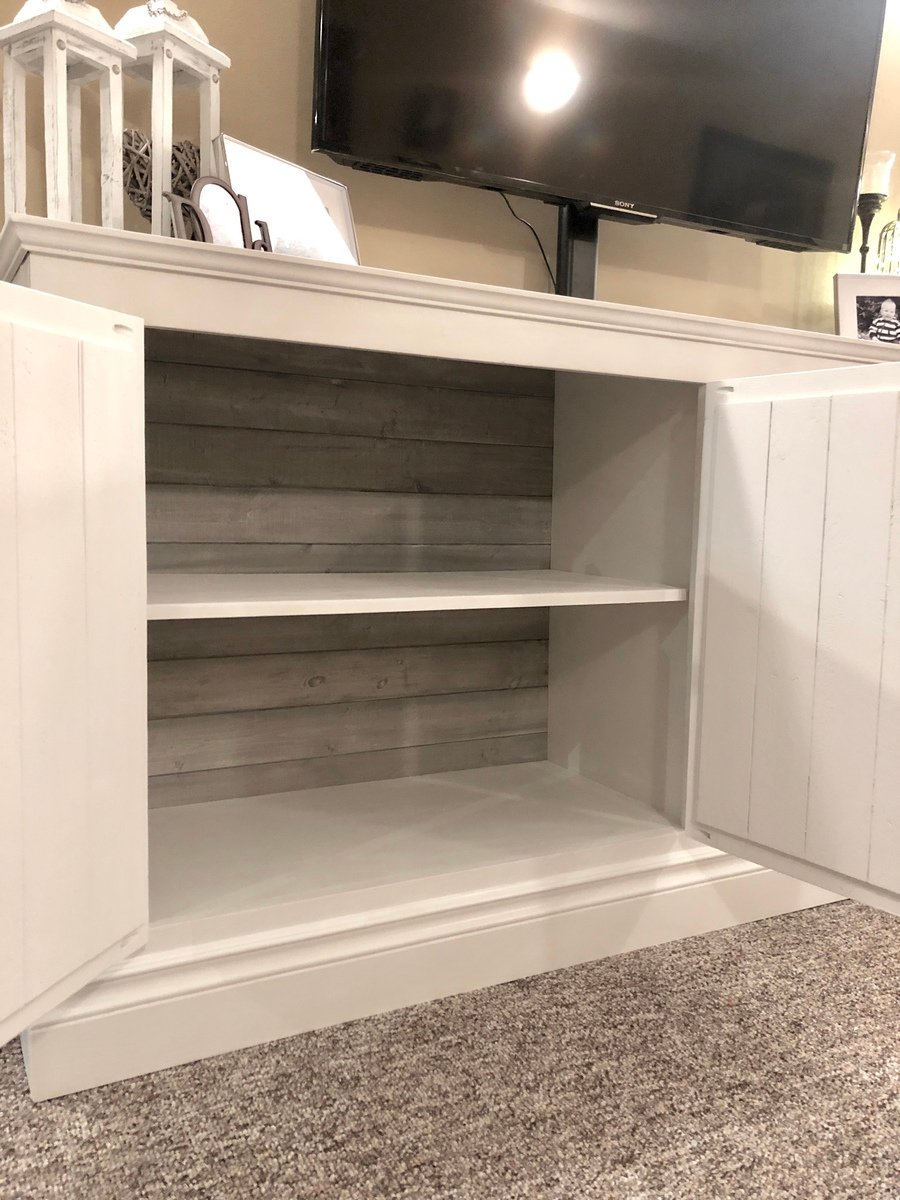
Sideboard

Submitted by Anonymous (not verified) on Mon, 01/21/2019 - 23:48

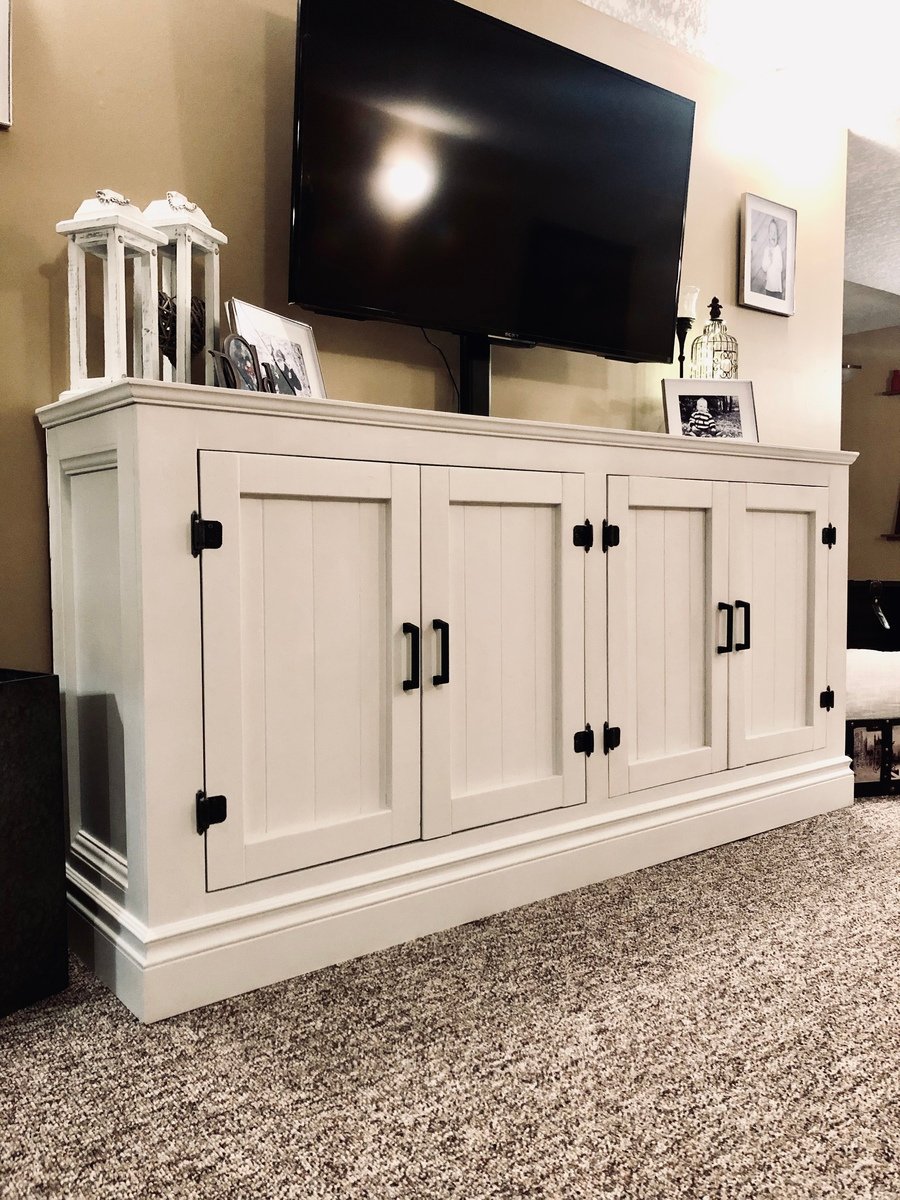
Really enjoyed making this! Thank you for the plans Ana White! 

Built from Plan(s)
Estimated Cost
250.00
Estimated Time Investment
Weekend Project (10-20 Hours)
Finish Used
Rustoleum Chalked linen white with gloss finish.
Recommended Skill Level
Intermediate

Comments

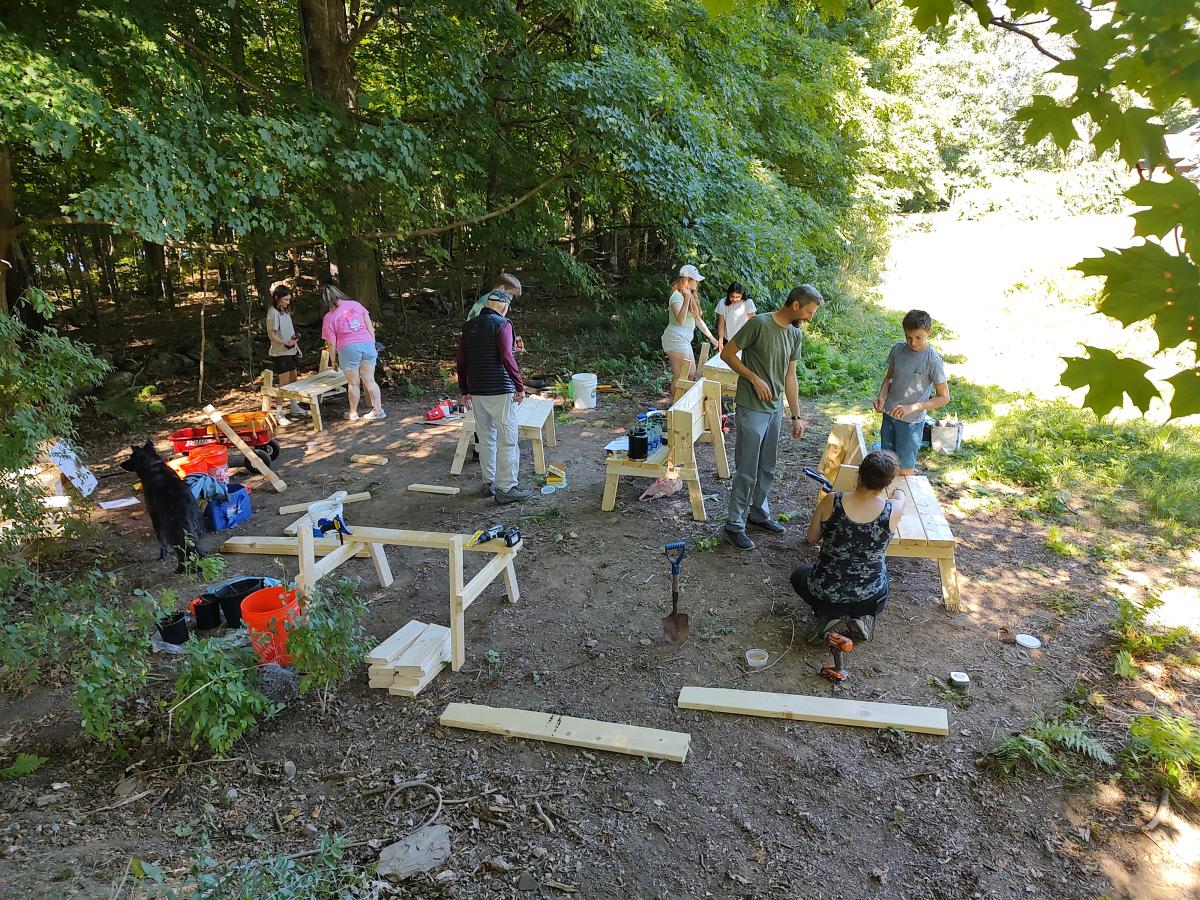
Students build an Outdoor Classroom

Submitted by Anonymous (not verified) on Sun, 11/27/2022 - 06:26

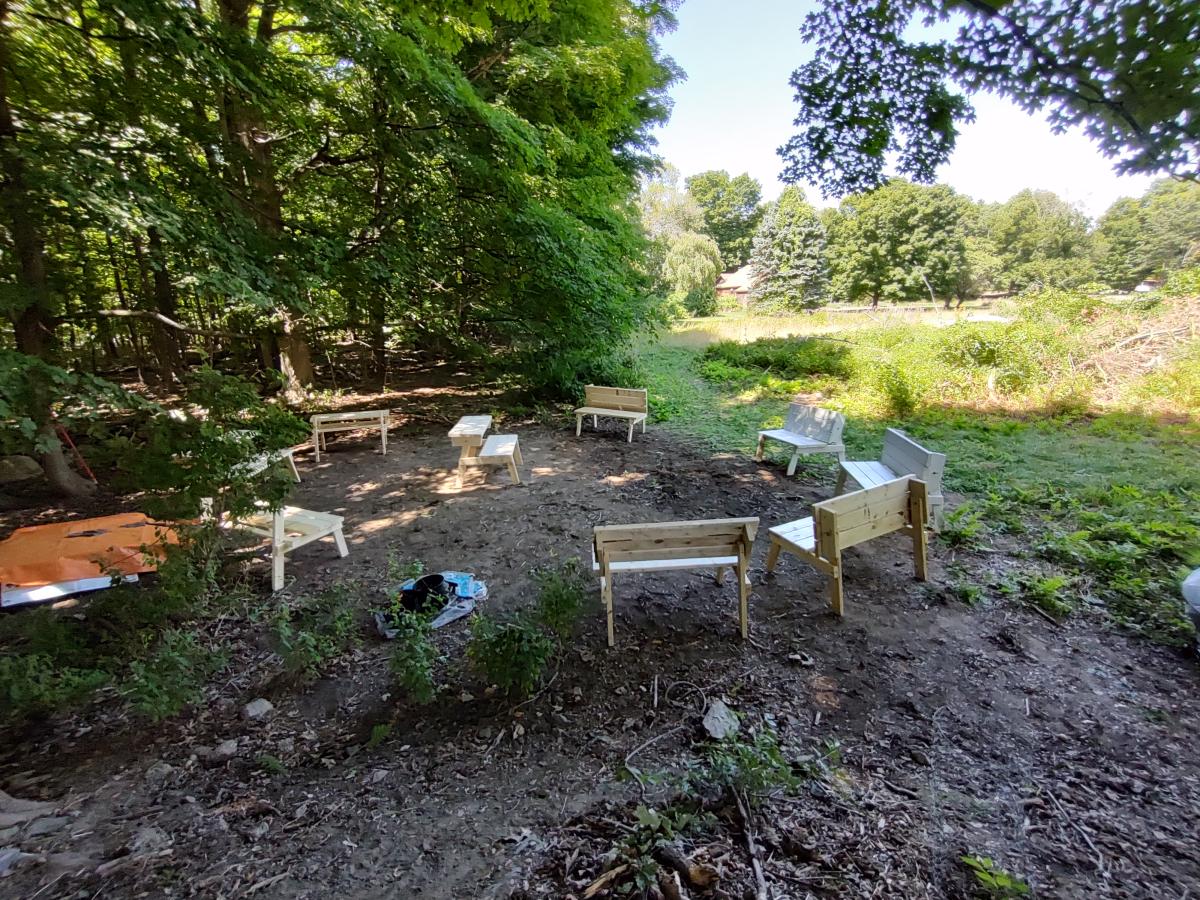
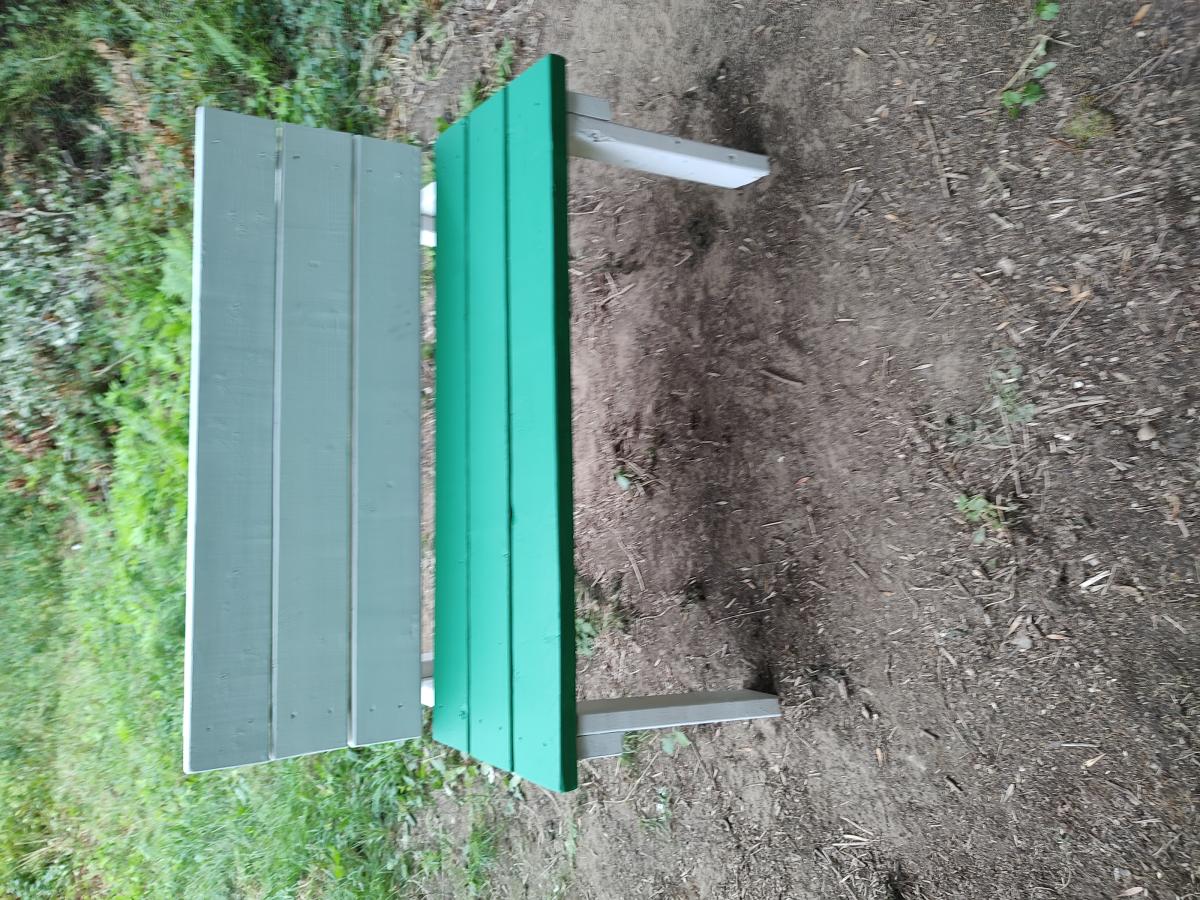
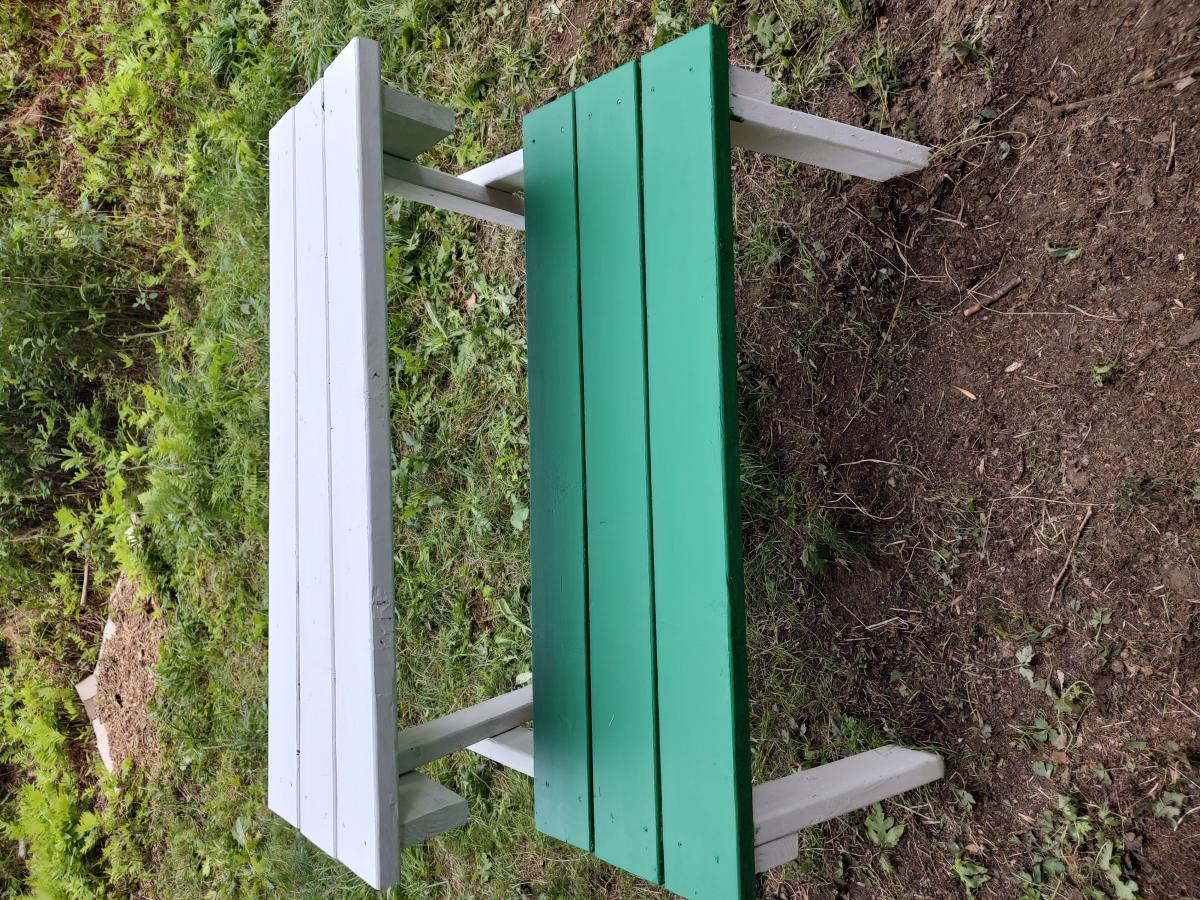
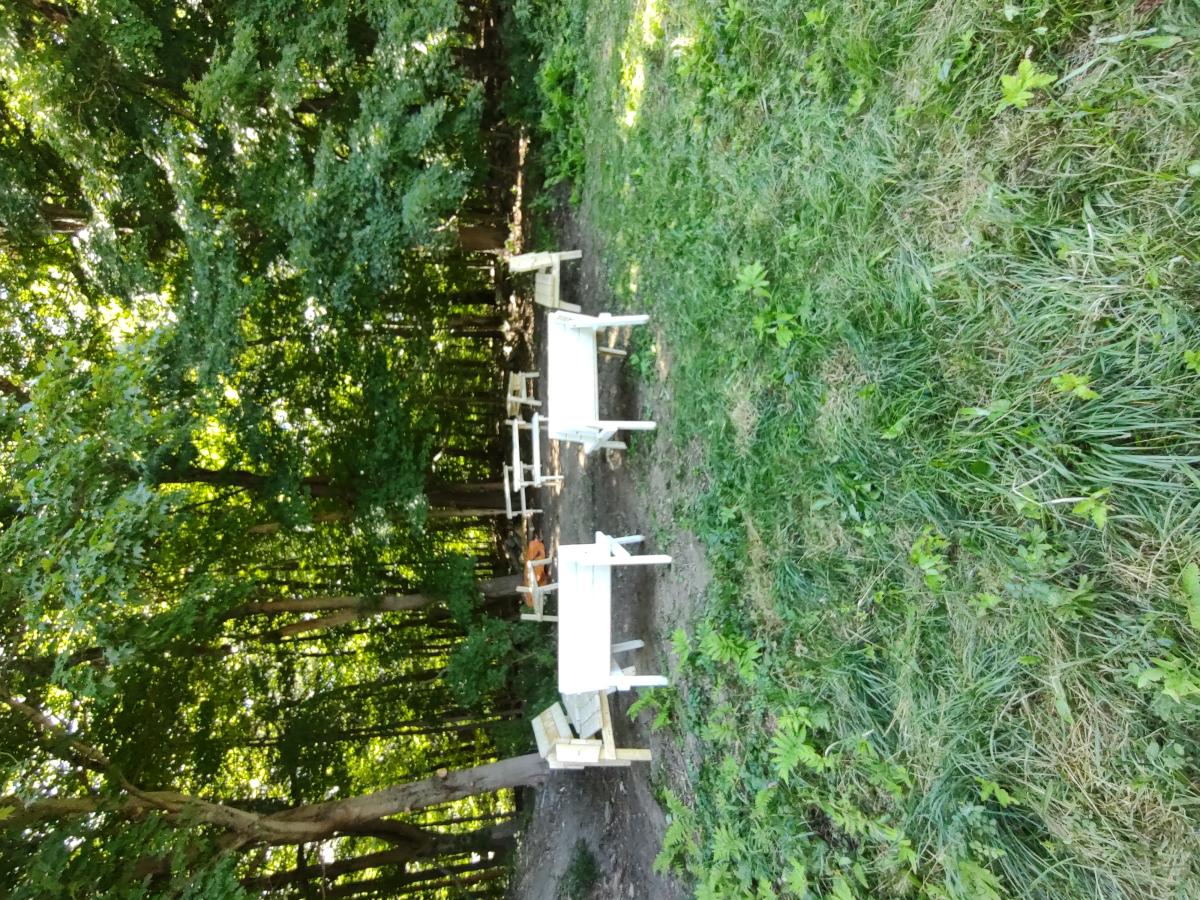
The high school environmental club built an outdoor learning space for classes. The plans were super easy to follow and the students were able to put them together with minimum direction. Imagine being able to take your lessons while out in a field beside the woods! Thank you Ana!

Bedside Tables

Submitted by sophie on Mon, 09/05/2011 - 13:22

I built two of these bad boys!
I used the cheapest spruce wood as I knew I was going to paint them.
Not sure how much everything cost in the end - maybe €50. Am making 2 beds to go with them too but they'll be a little longer in the pipeline!
I cut the wood myself using my circular saw and joined the wood with pockethole screws.
I painted the tables white and then used a chestnut brown woodstain on the table tops, shelf and knob.
Hard to say how long it took me as I just did a bit every now and again when I had a bit of time.

Built from Plan(s)
Finish Used
White paint and chestnut brown woodstain
Recommended Skill Level
Starter Project

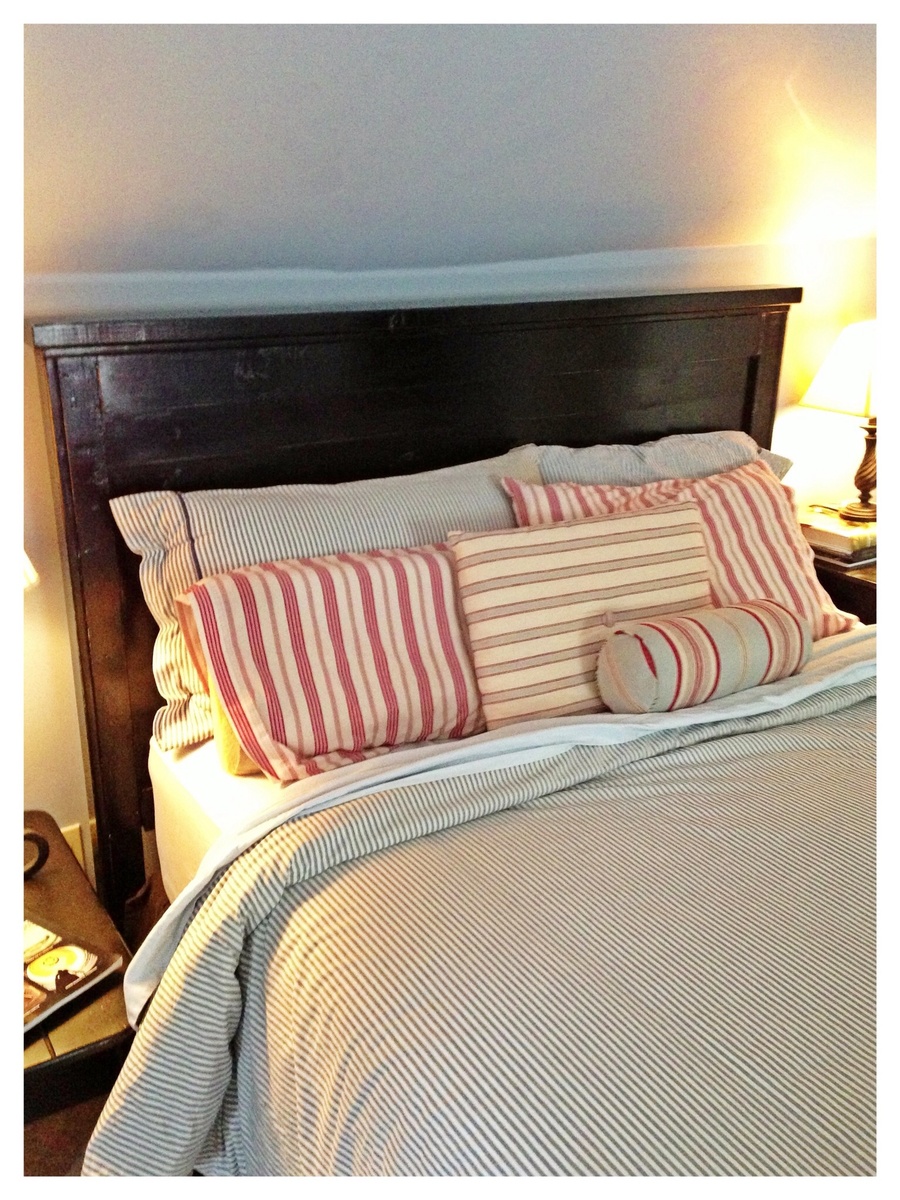
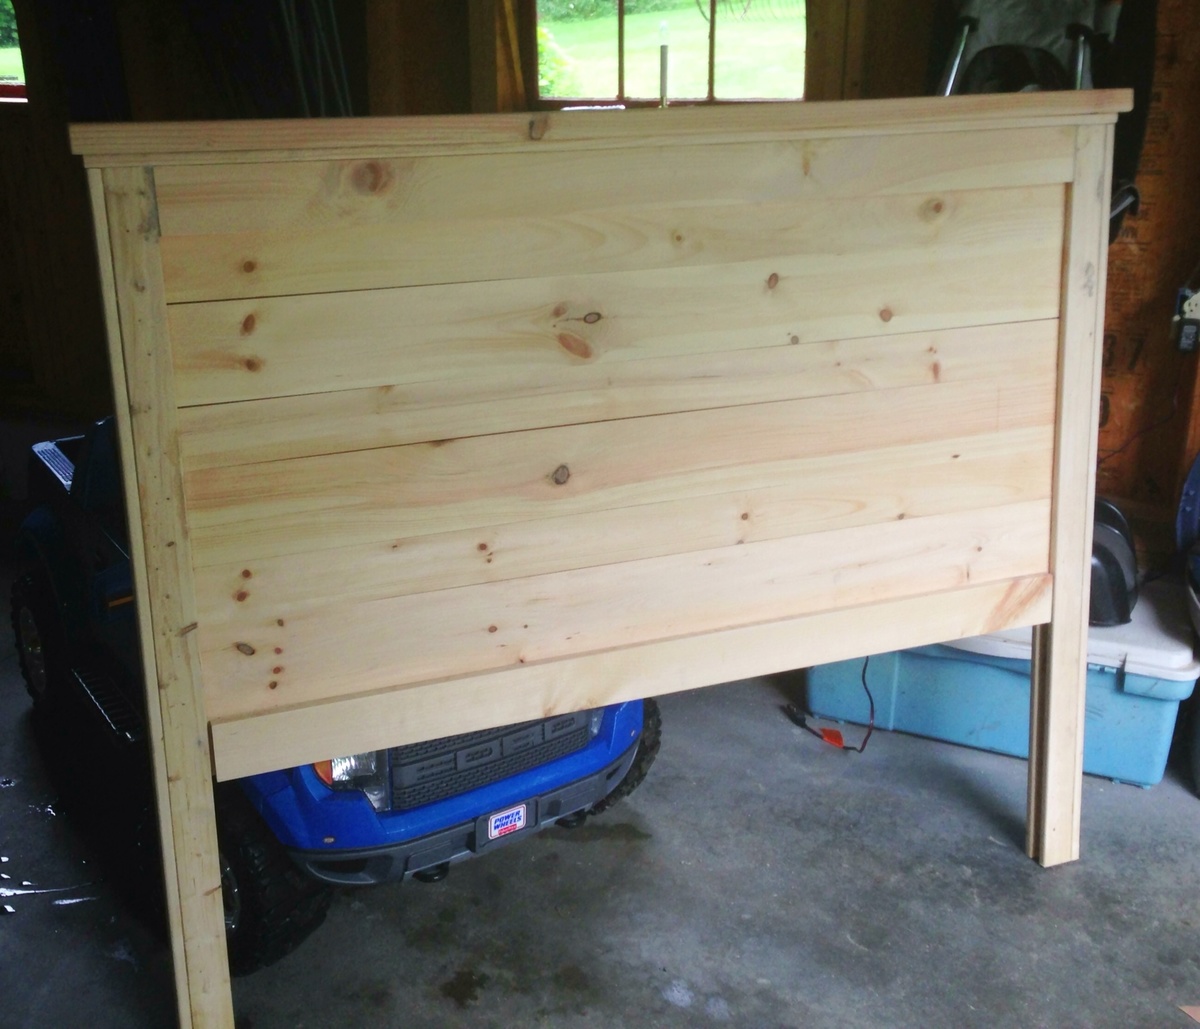
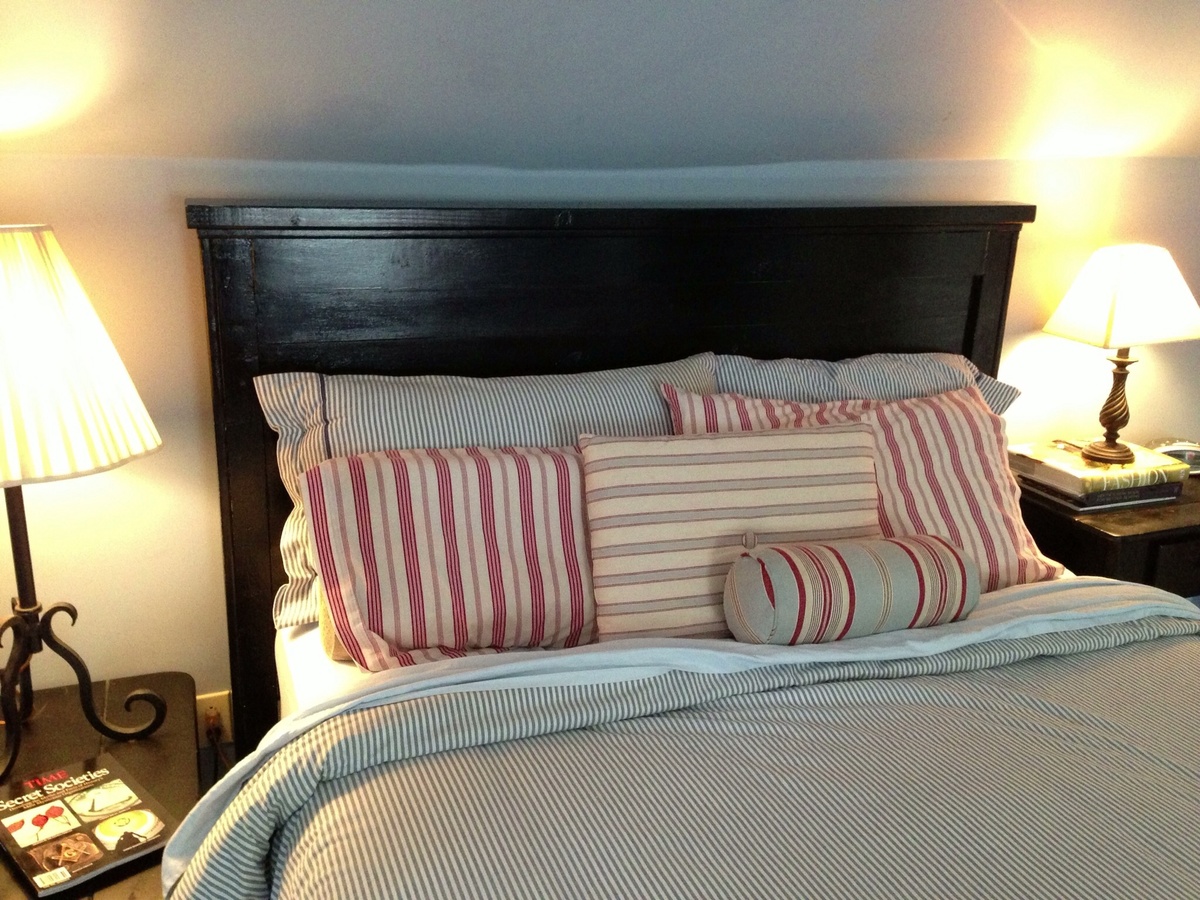
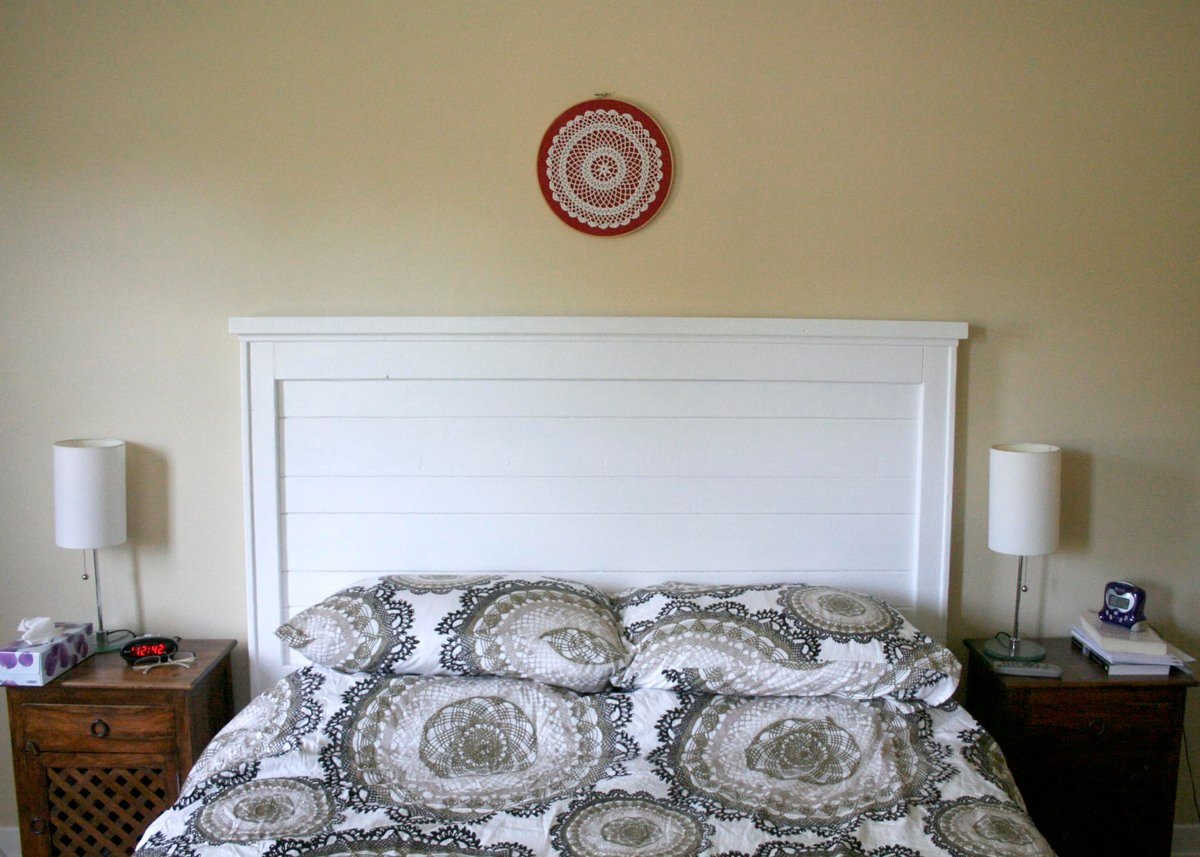
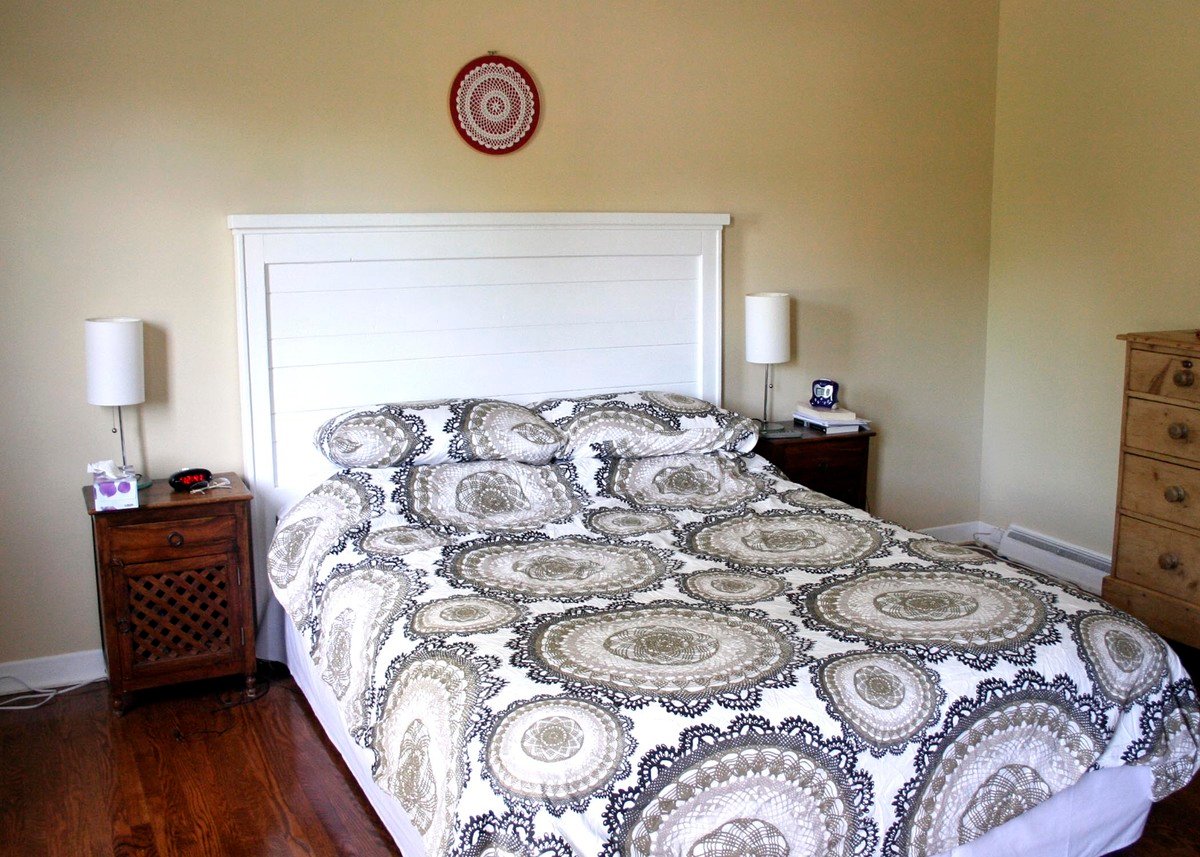
My first project - headboard

After looking through the Handbuilt Home longingly many times, I took the plunge with this simple headboard. I've never built anything from wood, but my main hobby is sewing so I'm good at following directions. I followed the plans exactly and I love how this came out! I used a nailer and glue for all the construction. I recommend this project for beginners! I chose to paint my headboard black to blend with my other furniture.
Now I'm already onto my next project, with a Kreg Jig in hand, the modern craft table from Ana's book. Thank you, Ana for sharing your plans and inspiring people to try building! I feel my skills and confidence increasing with each project!

Estimated Cost
$60
Estimated Time Investment
Day Project (6-9 Hours)
Finish Used
Black paint with a coat of polyurethane.
Recommended Skill Level
Starter Project

Comments

mom of 4

Wed, 09/25/2013 - 11:06

I've got the wood in my garage, marked for cutting this project out! Yours looks fantastic. You will love your Kreg Jig! It's one of my all-time favorite tools.

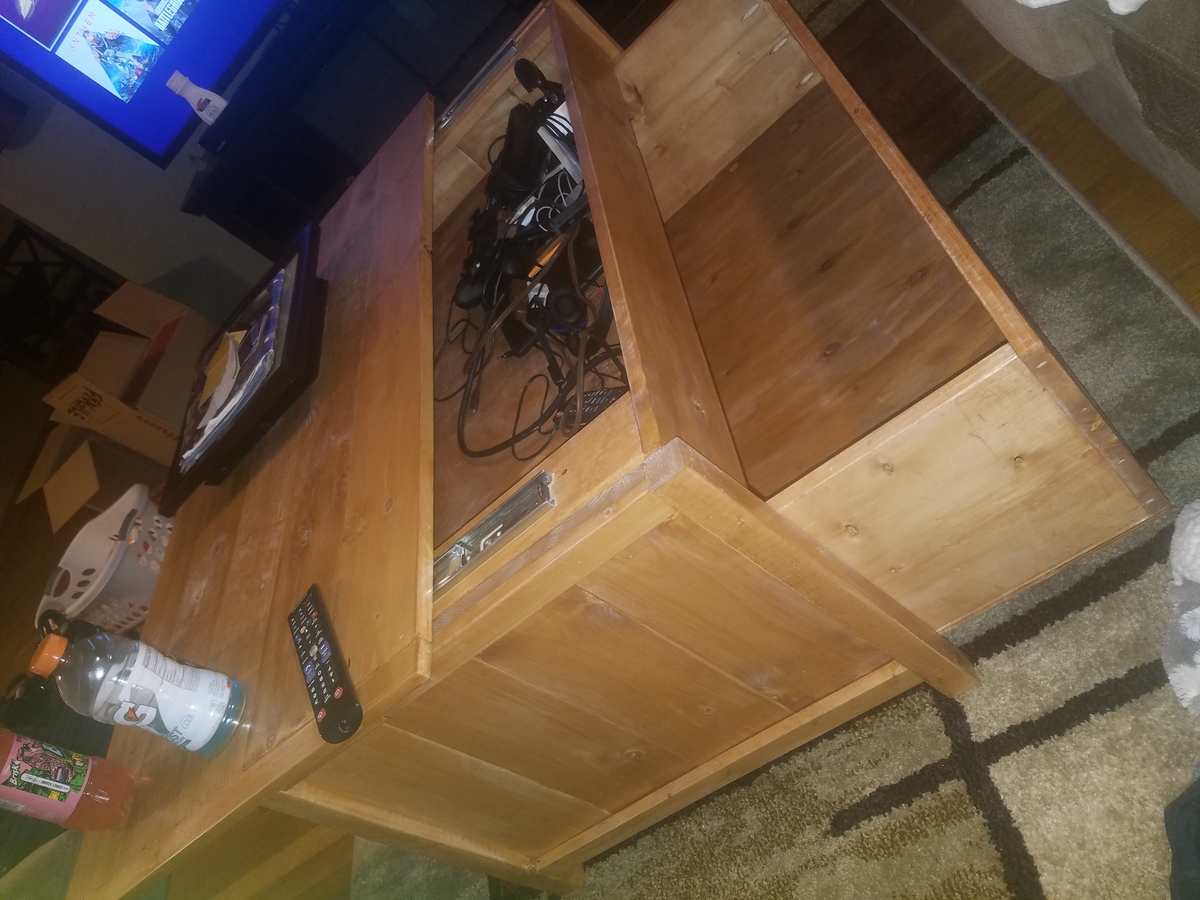
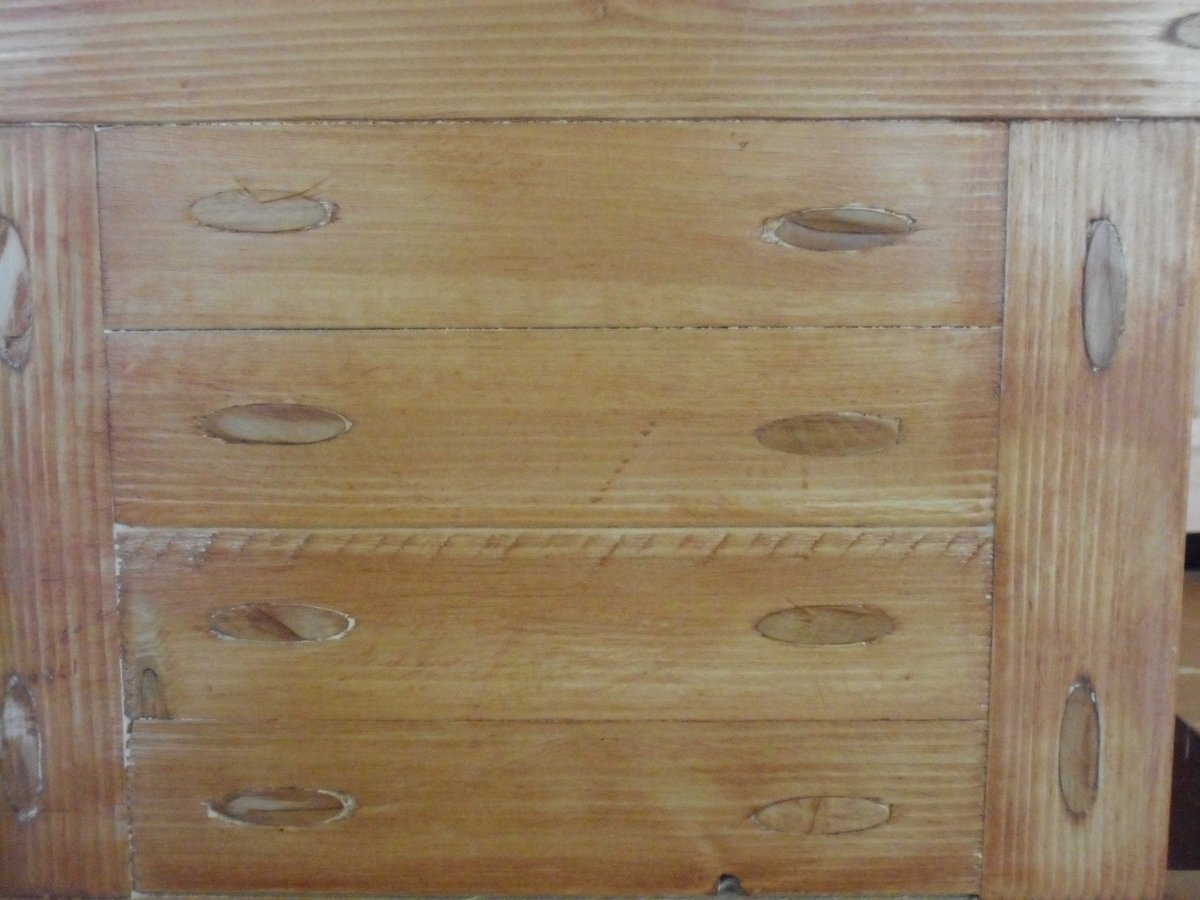
Hidden slid top addition.

Submitted by Anonymous (not verified) on Sun, 01/27/2019 - 19:15

I wanted a add a safe spot to hide all my gaming controllers and remotes from my 1 1/2 yr old nephew. It was pretty simple and I got the idea from tactical designs. They make hidden storage! If you cant tell it is still dusty from sanding! Best wipe it off!

Estimated Cost
120
Estimated Time Investment
Week Long Project (20 Hours or More)
Finish Used
Ipswich pine with polyurethane top coat.
Recommended Skill Level
Beginner

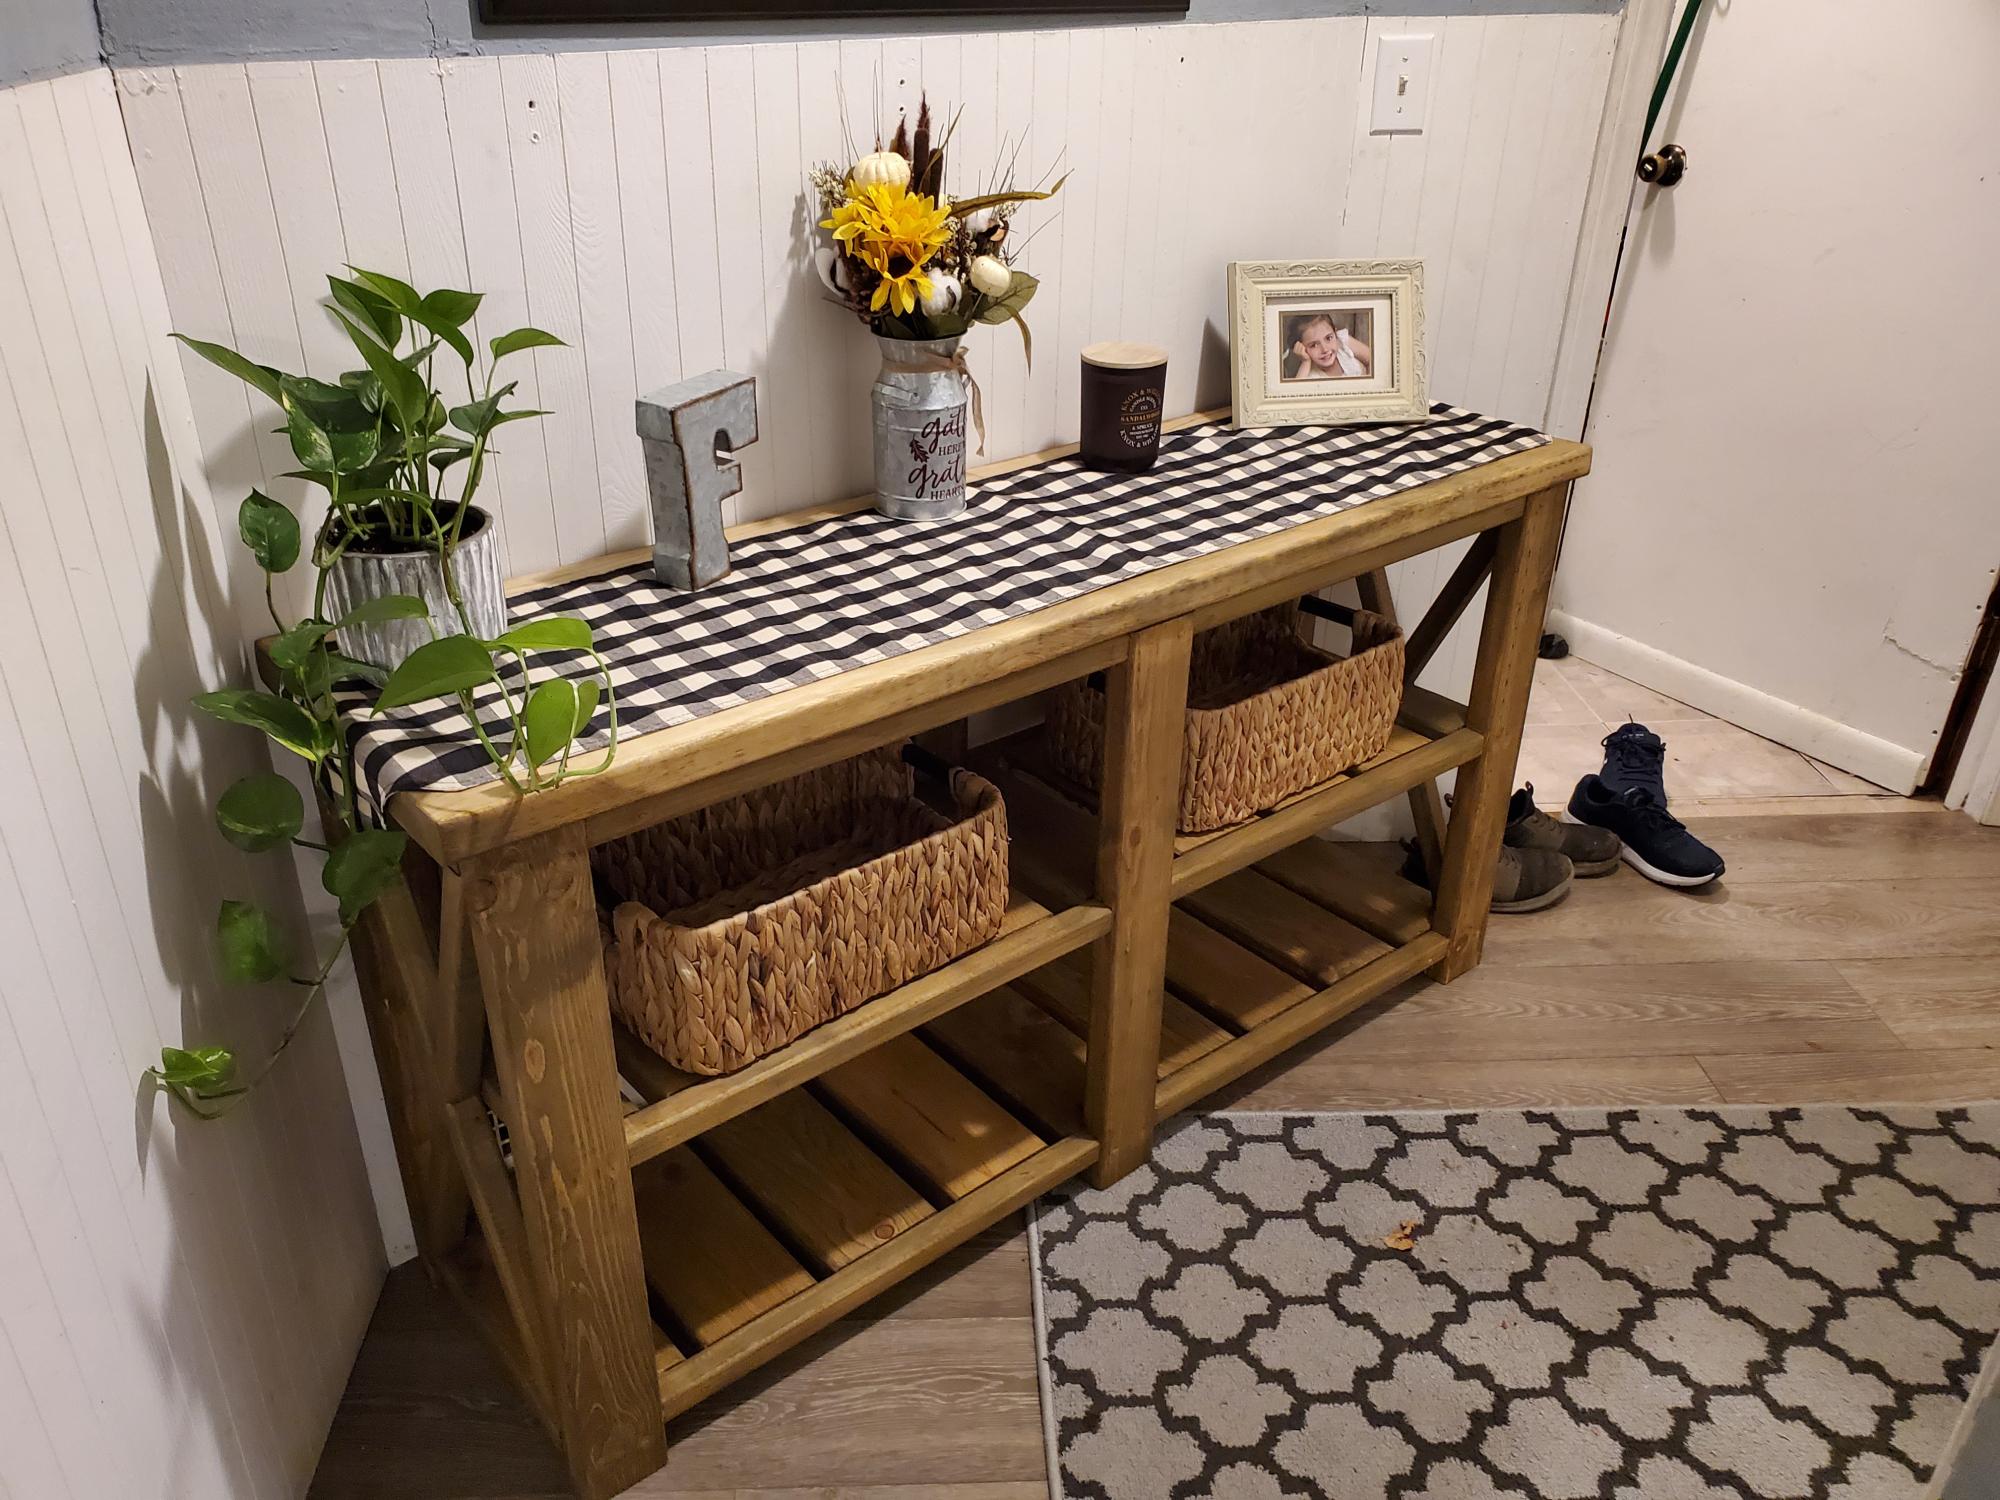
Entry table

Thanks for the plans. Wife has enjoyed this and makes a great feature to our house.

Comments

Colonial Maple Bar Stools

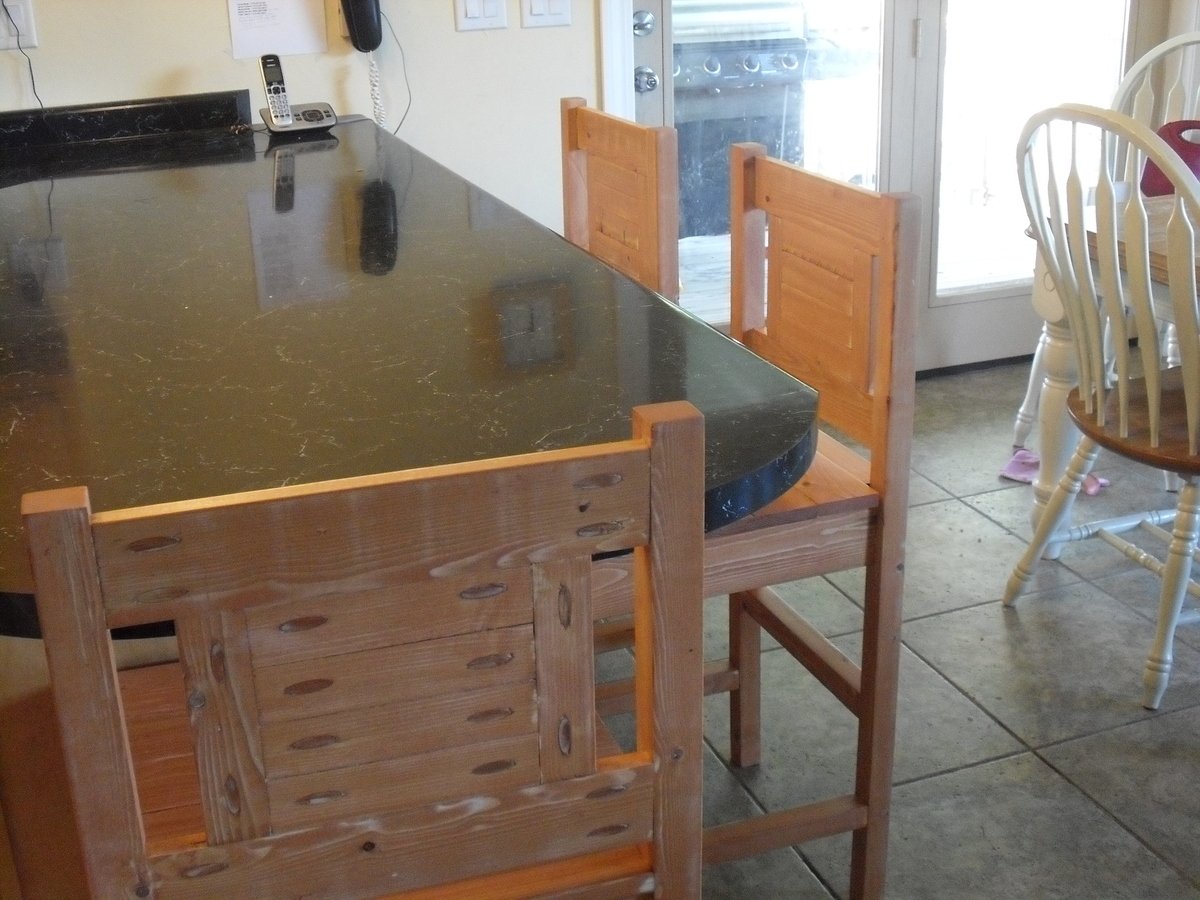
My sixteen-year old son took this on as a summer project and built four bar stools. He did a great job! We lowered them by 4 inches from the plan specs to fit under the counter. He used a Miniwax Colonial Maple finish. This project took a lot of Kreg Jig screws and plugs - almost 100 of each. They are very comfortable and beautiful.

Built from Plan(s)
Estimated Cost
$65.00 for wood for four, $20.00 for other supplies
Estimated Time Investment
Week Long Project (20 Hours or More)
Finish Used
Wood Conditioner, Miniwax Colonial Maple oil-based stain, and 3 coats of polyurethane
Recommended Skill Level
Intermediate

Comments

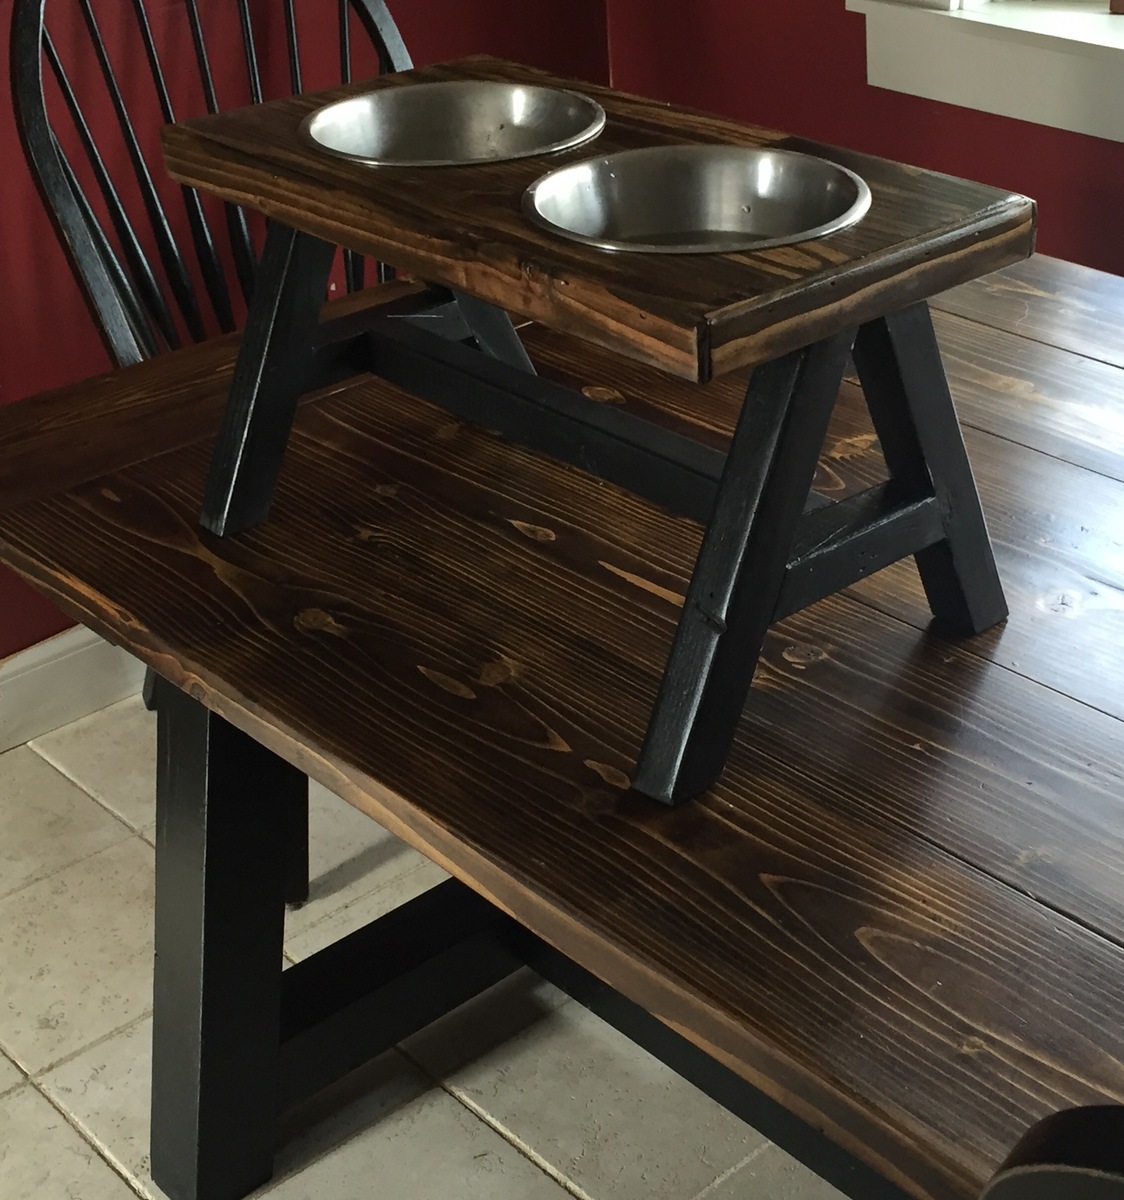
Farm table and puppy version.

Submitted by Old JMU on Sat, 12/12/2015 - 16:10

Table I built for my wife. She found it while browsing Ana's site. Loved it so much she wanted one for herself. Came out so nice we decided to make our puppy a version of her own.     


LOVE THIS SITE!!!!

Estimated Cost
Dog table - less than $10
Estimated Time Investment
An Hour or Two (0-2 Hours)
Finish Used
Dark walnut stain and satin poly
Recommended Skill Level
Beginner

Comments

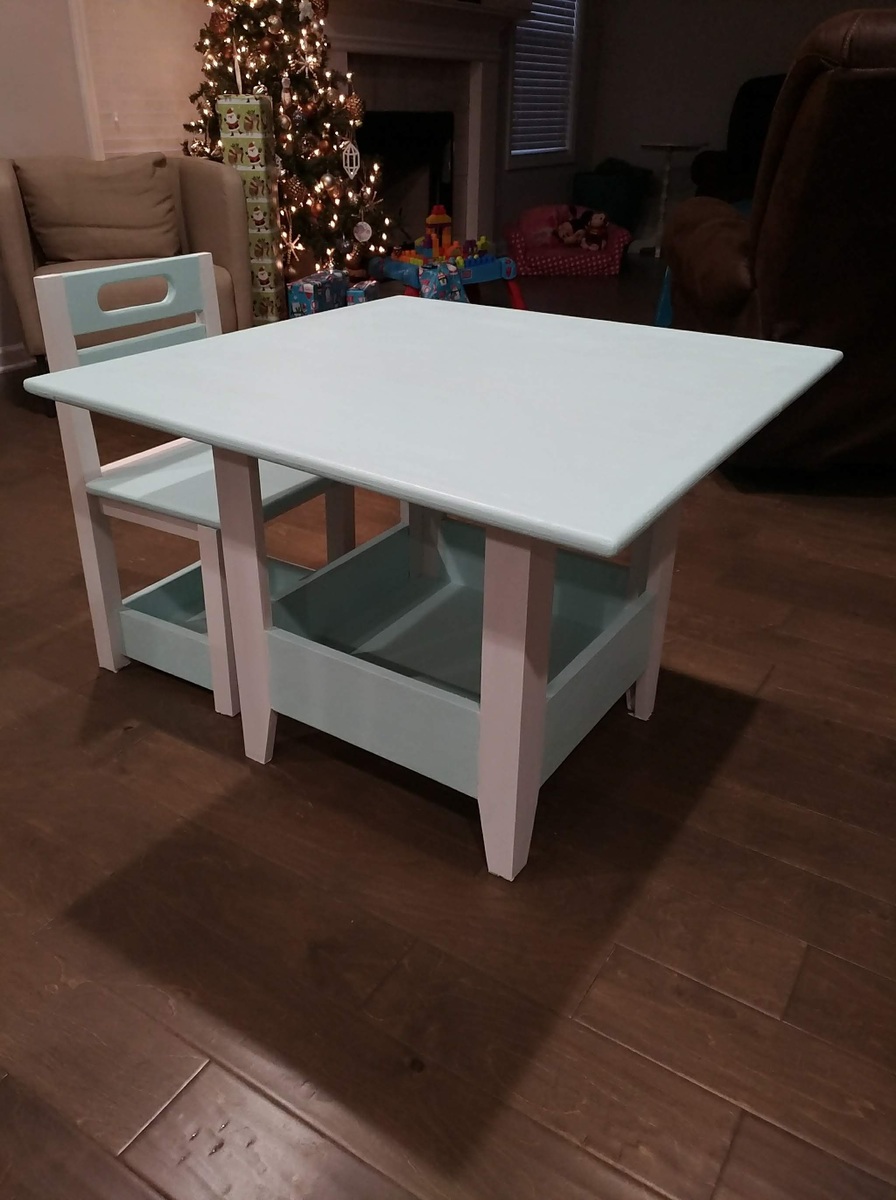
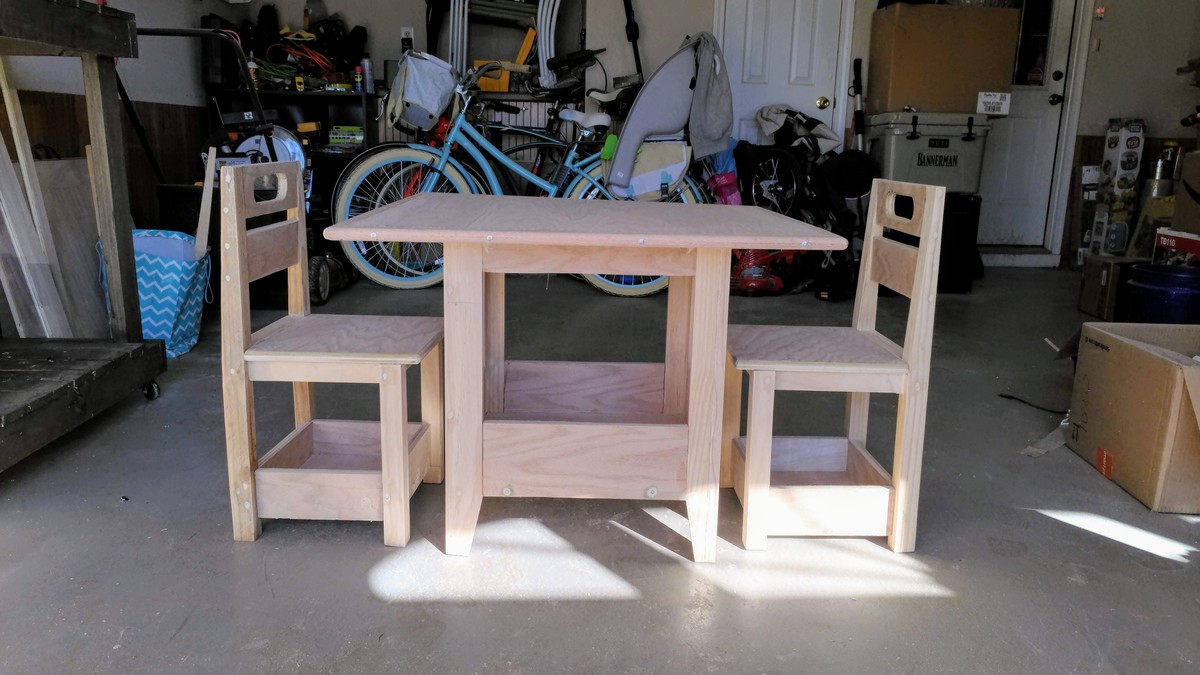
Kids Stoarge Table and Chairs

Submitted by Anonymous (not verified) on Sun, 02/03/2019 - 07:06

Built from kids storage chairs and table by ana white

Estimated Cost
$125
Estimated Time Investment
Weekend Project (10-20 Hours)
Finish Used
White chalk paint and light blue valspar
Recommended Skill Level
Intermediate