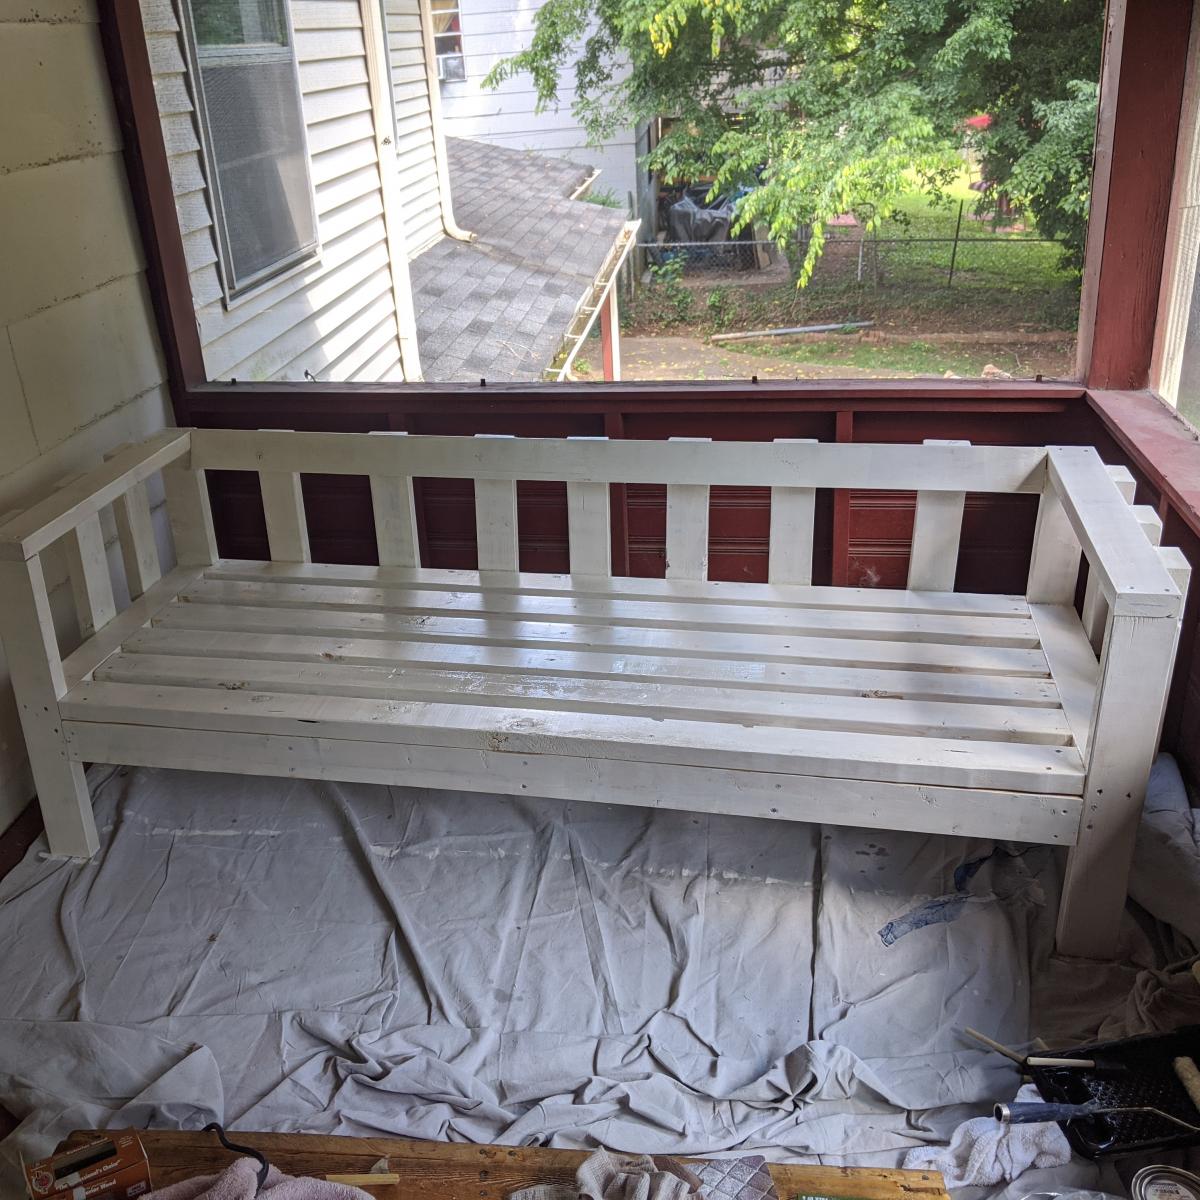
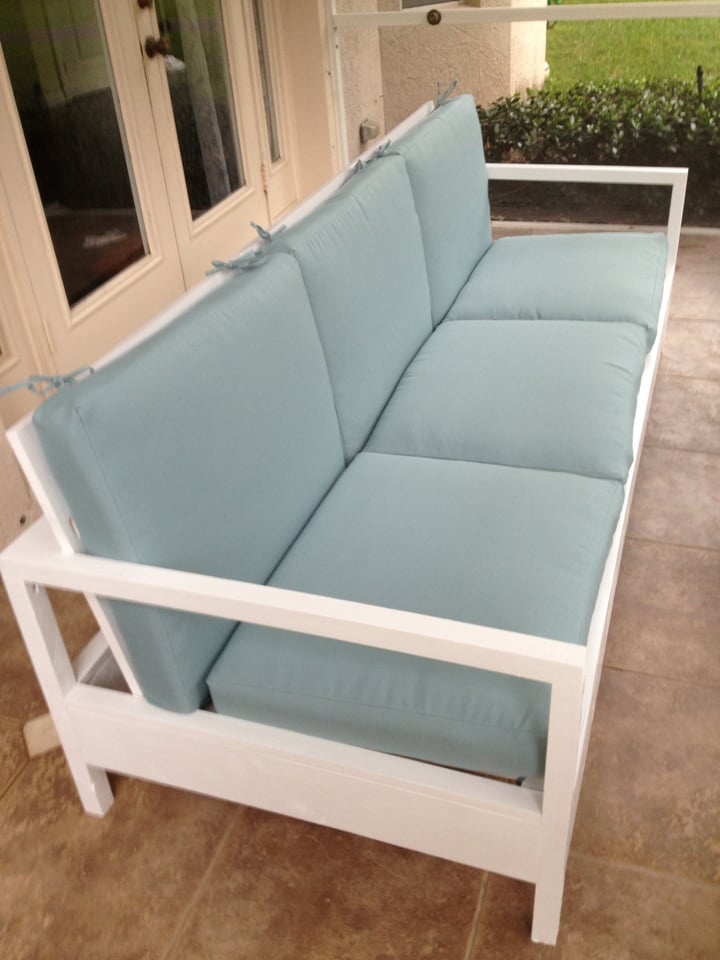
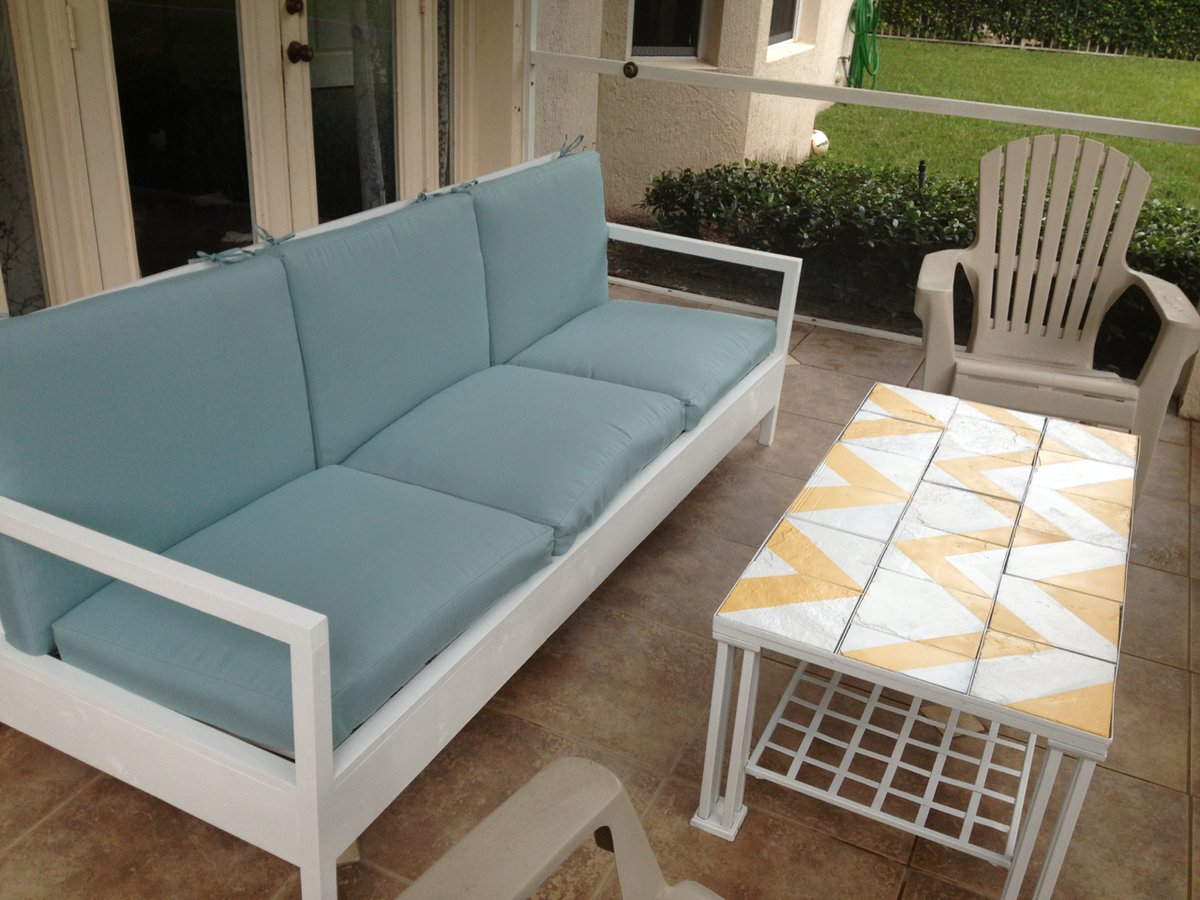
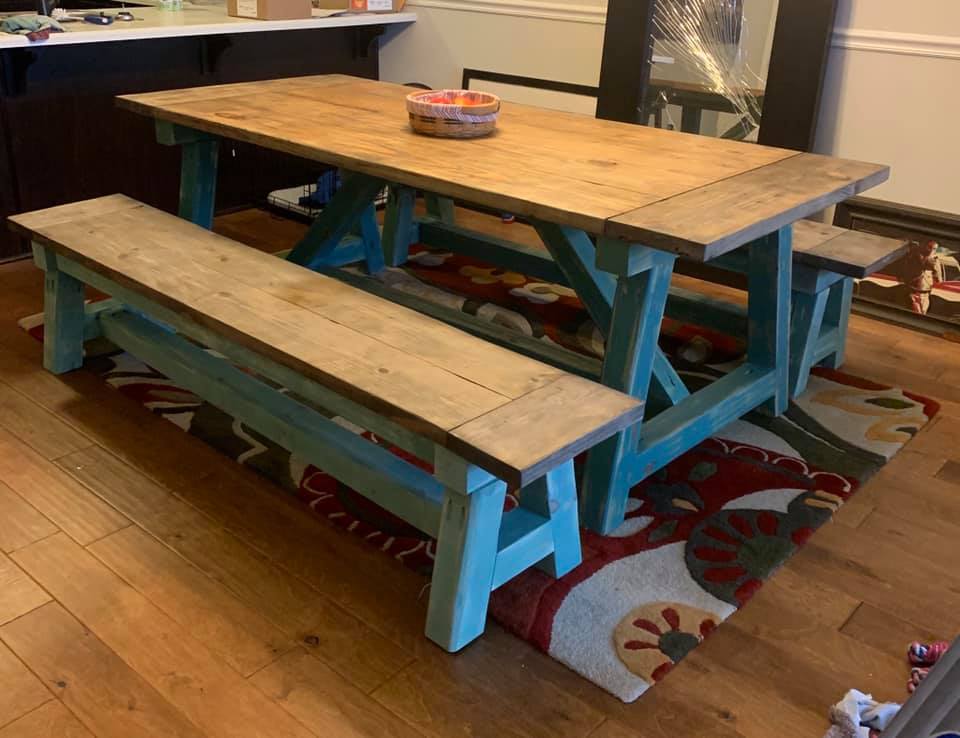
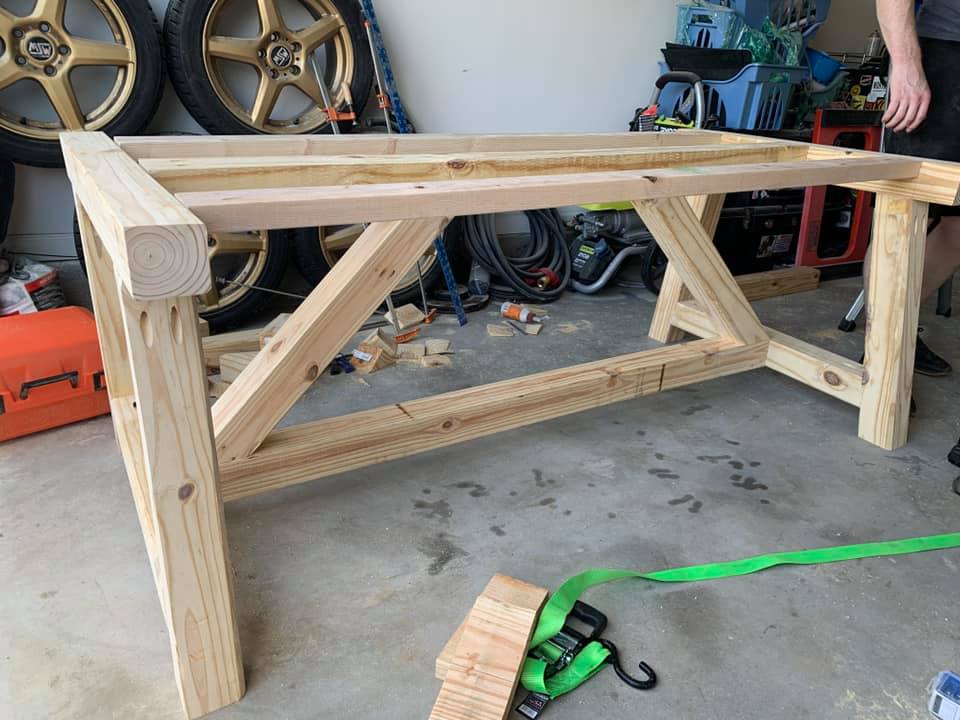
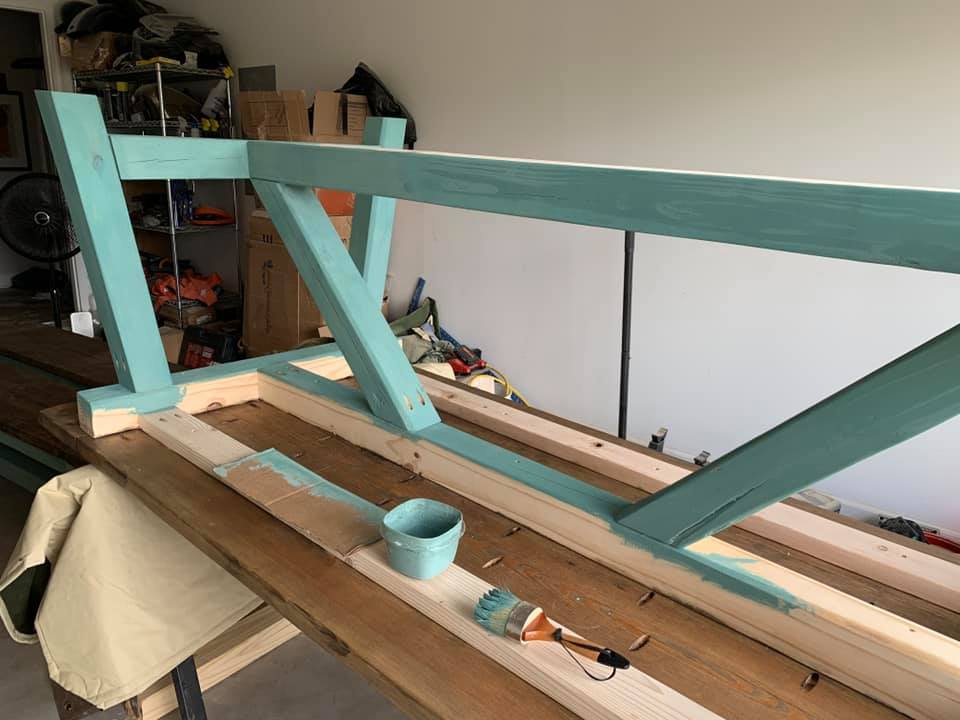
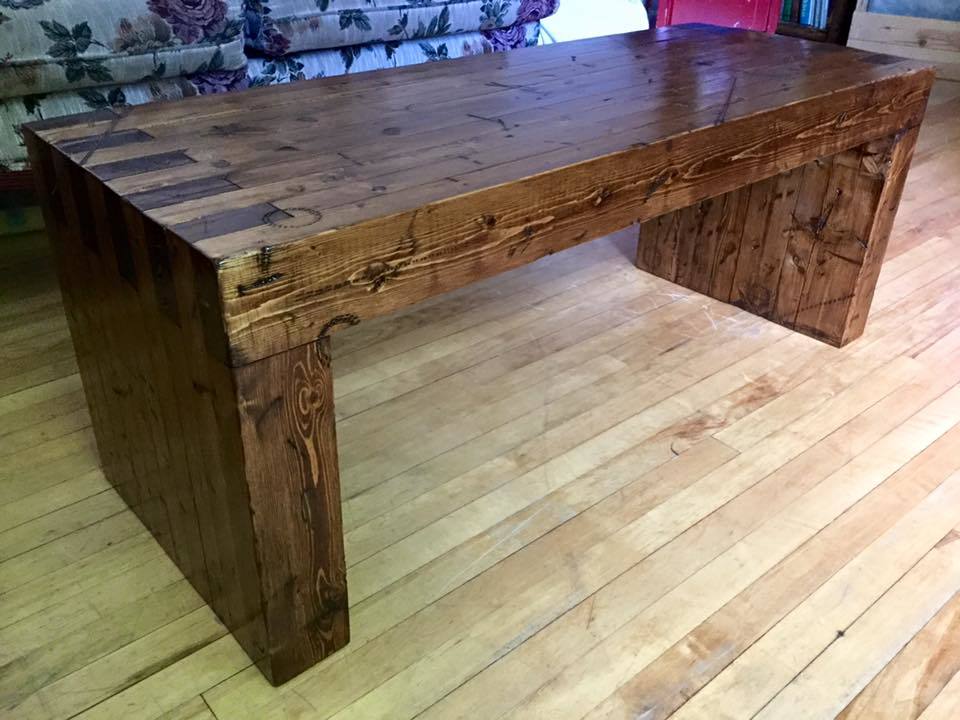
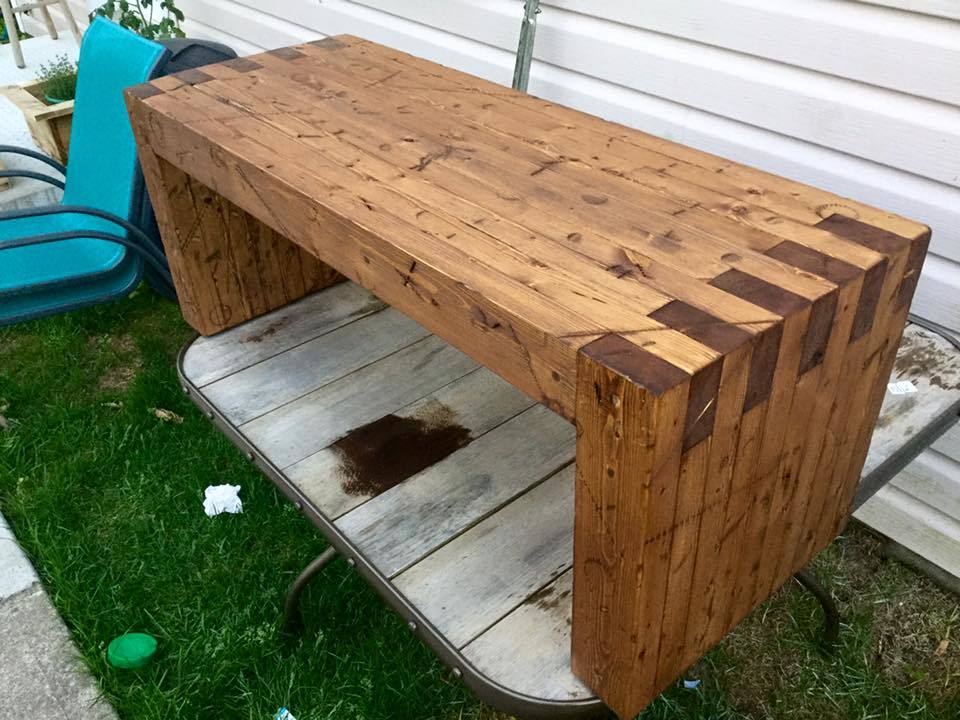
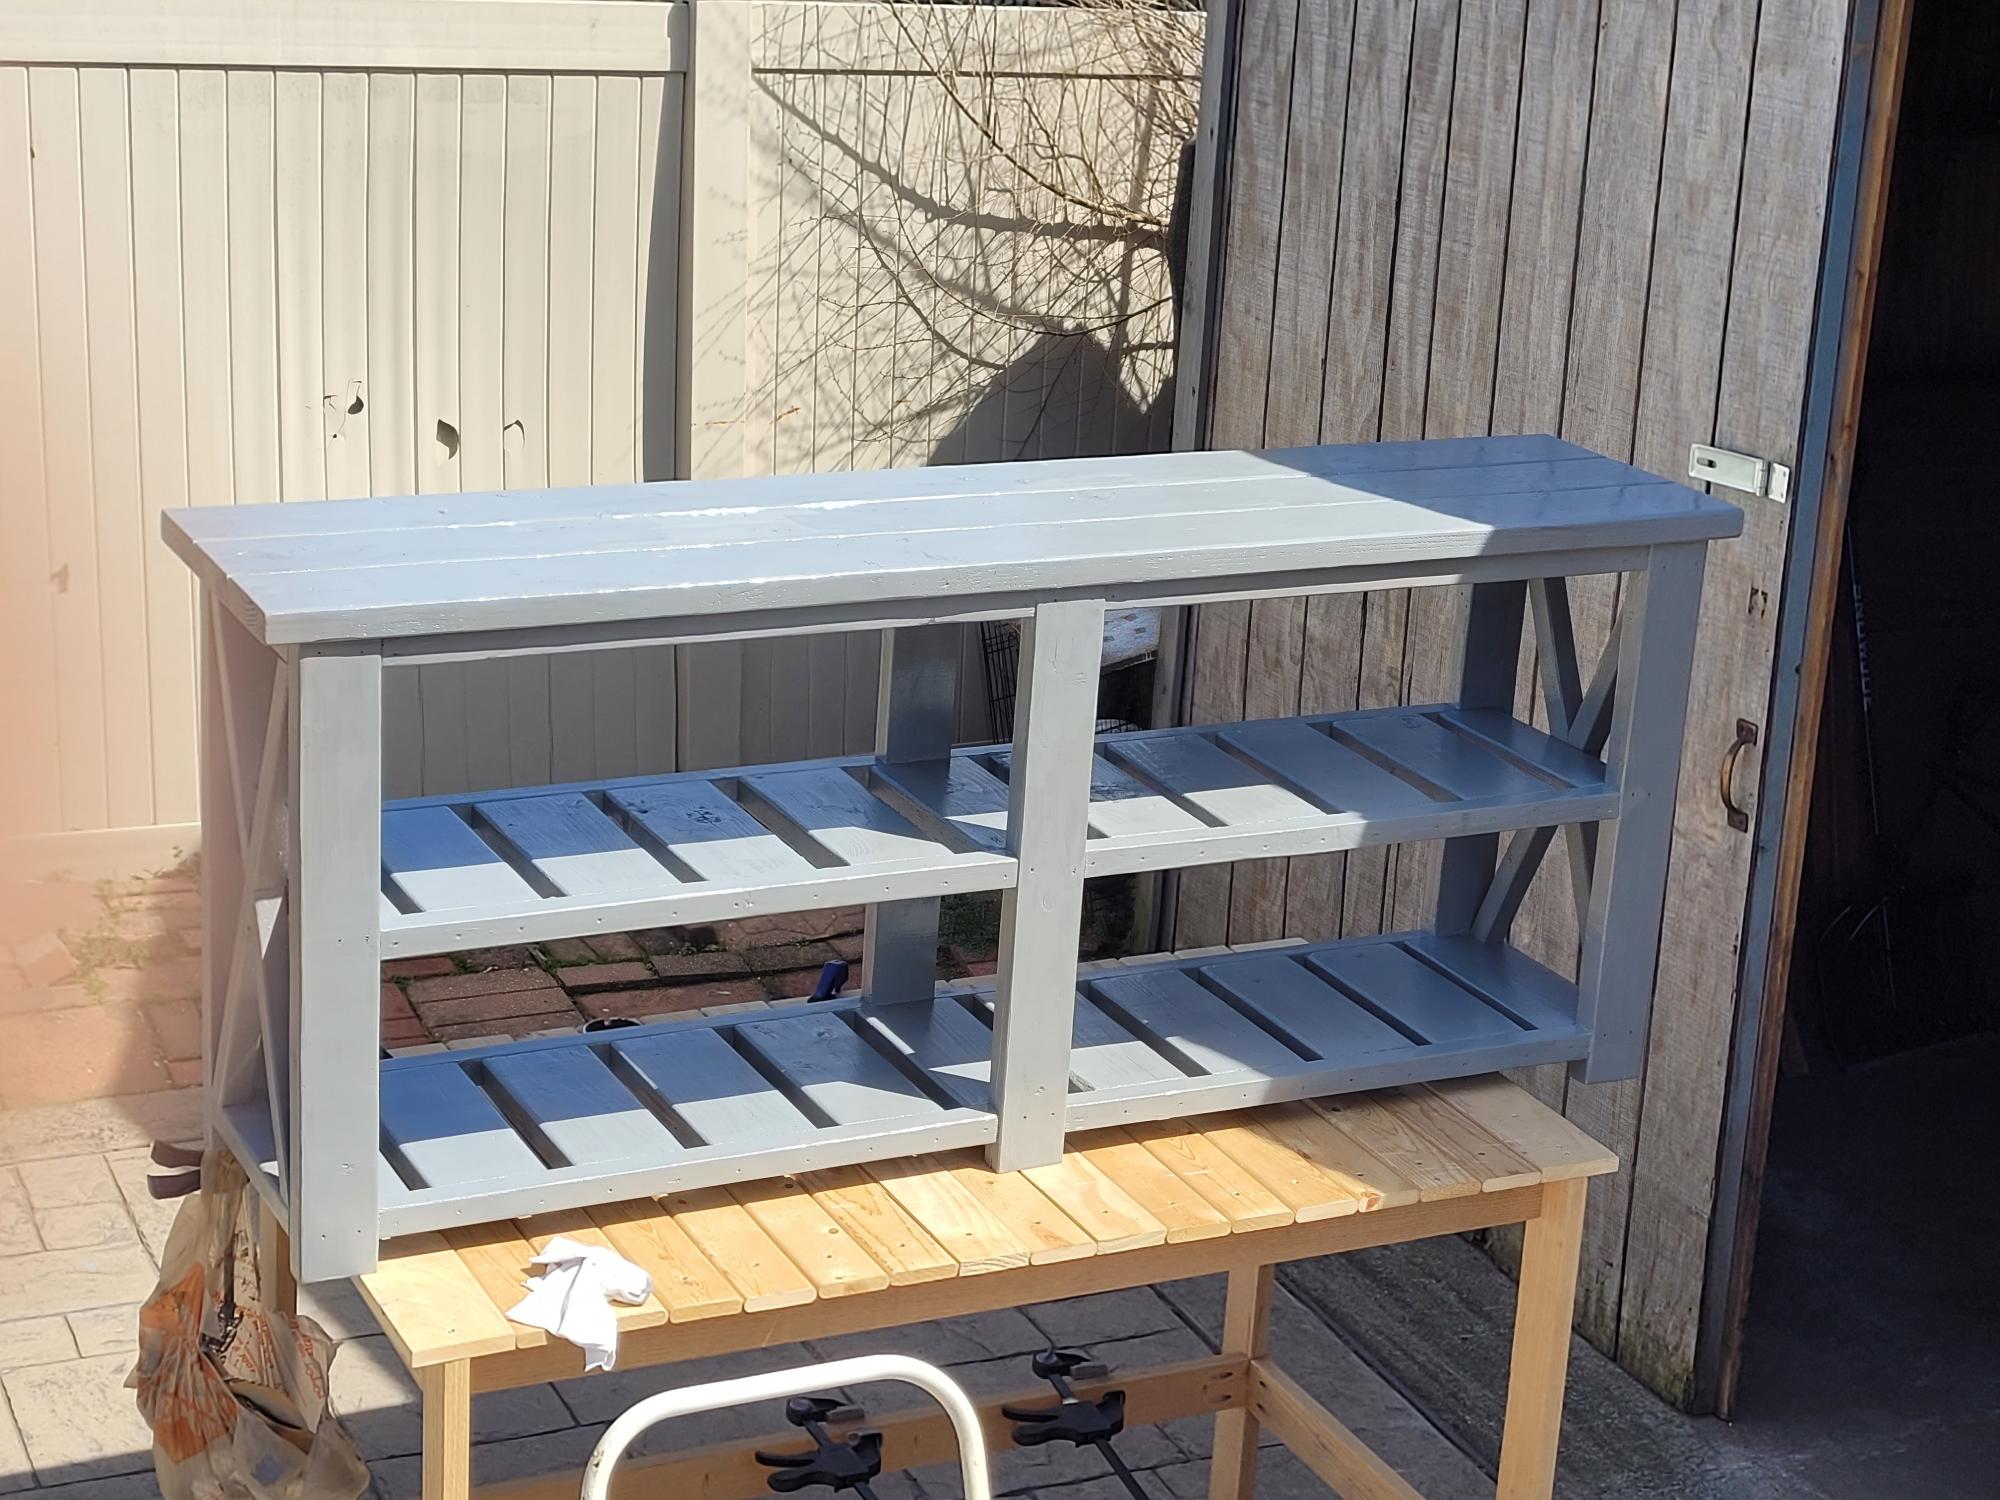
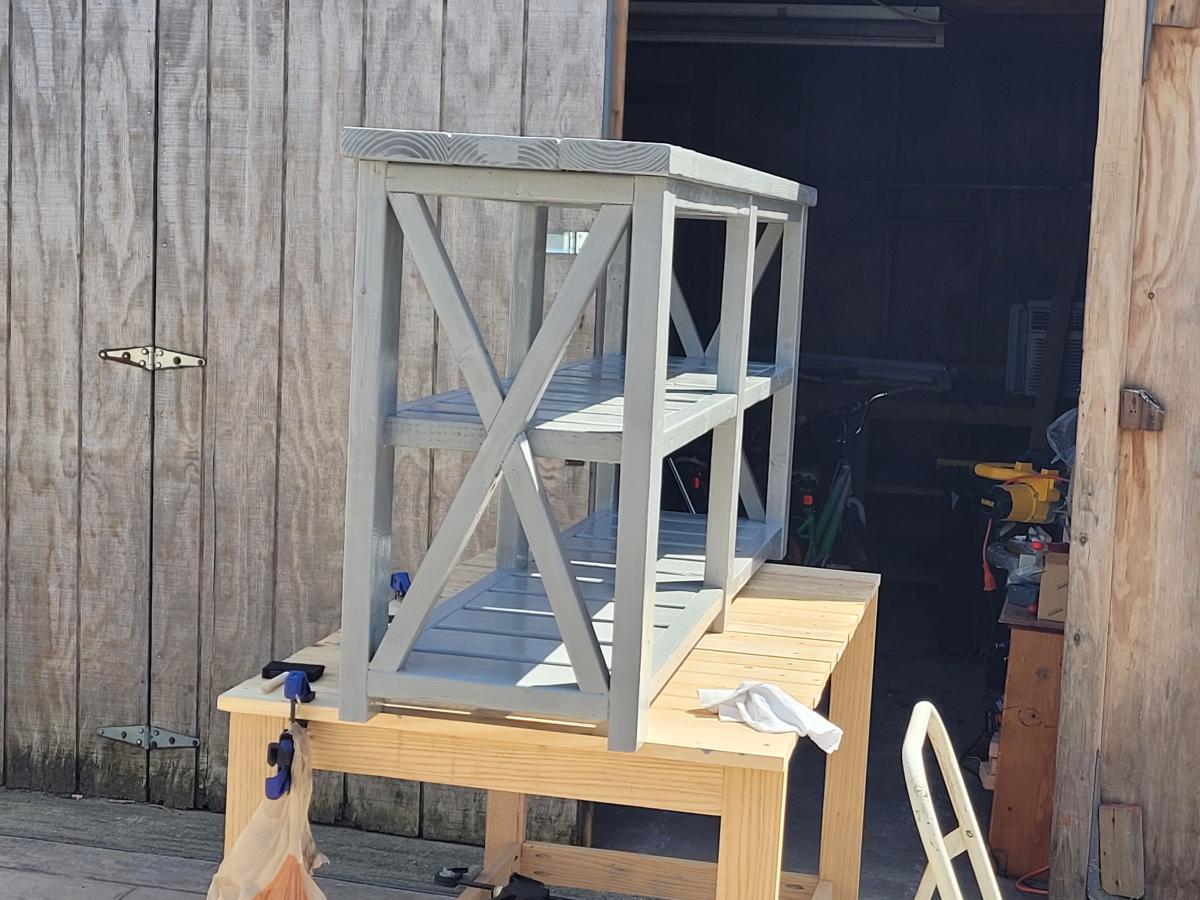
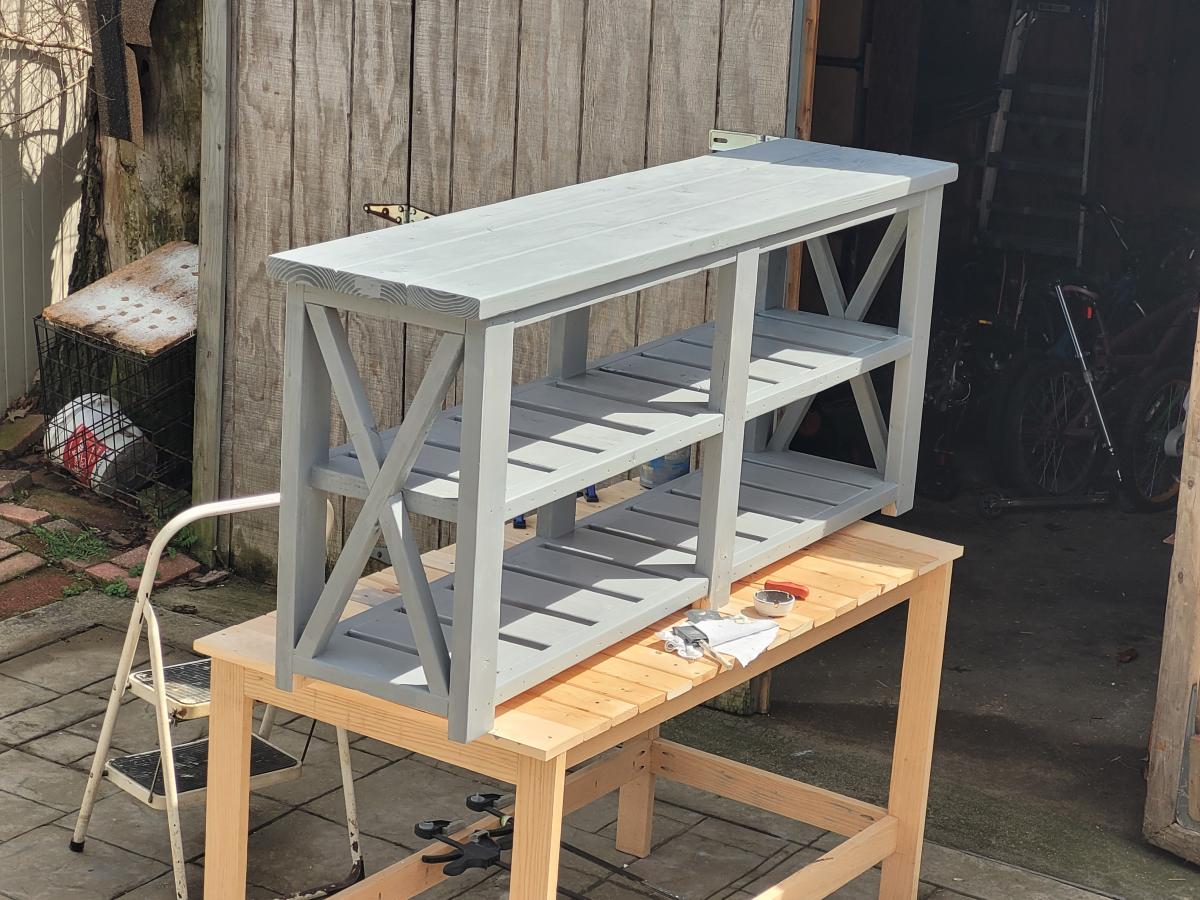
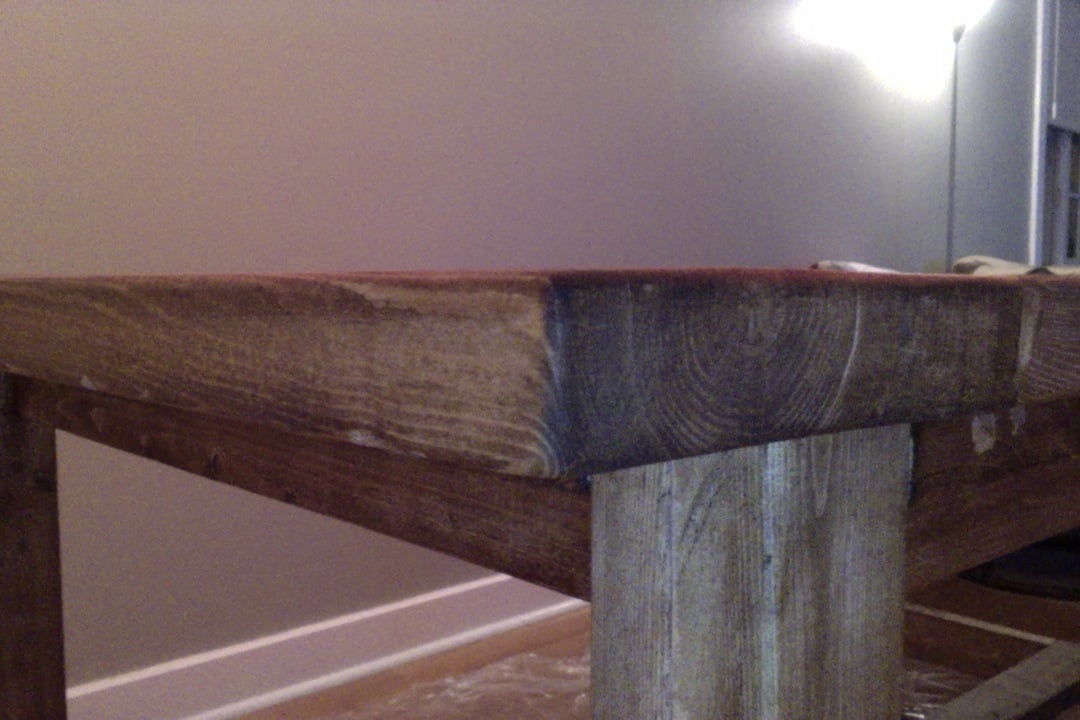
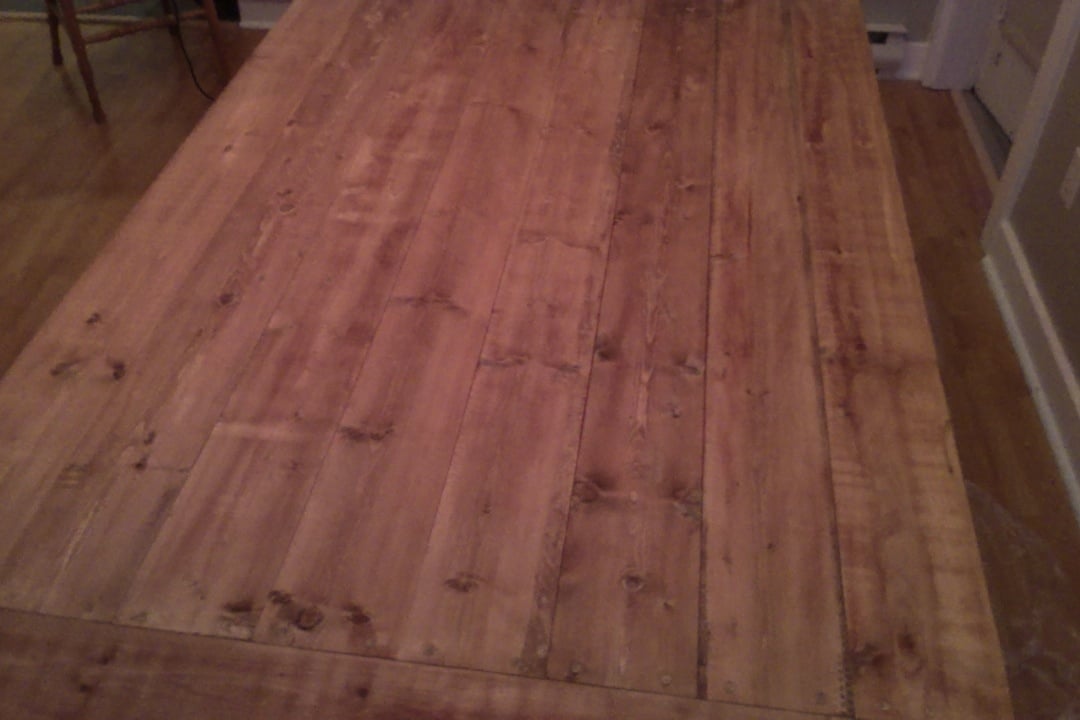
BLUE BENCH
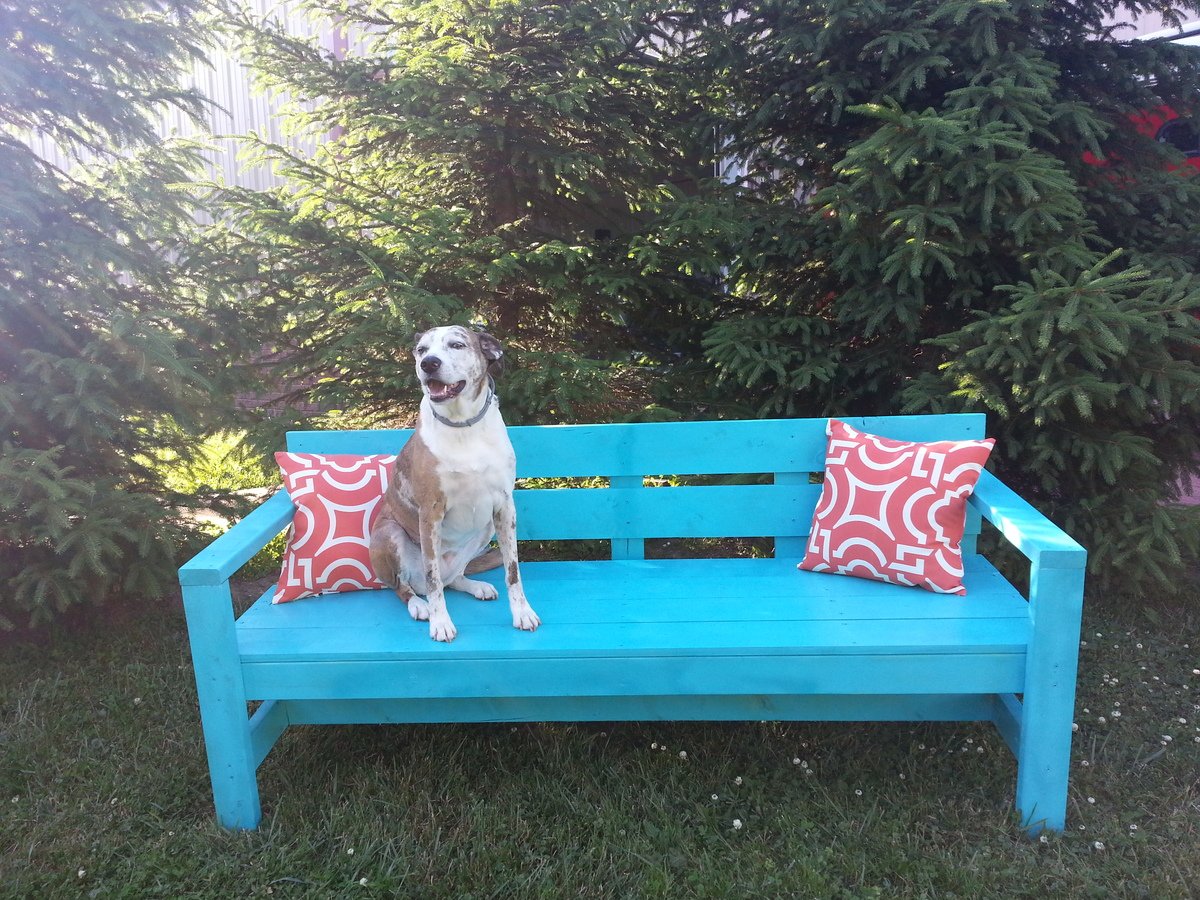
This was my wife and I's first Ana White project. We are now hooked, and loved spending time together building something we will enjoy for years, and our dog mindy of course was the first to test our beautiful bench out!
Thanks Ana,
Steve & Courtney
Built from Plan(s)
Estimated Cost
80$
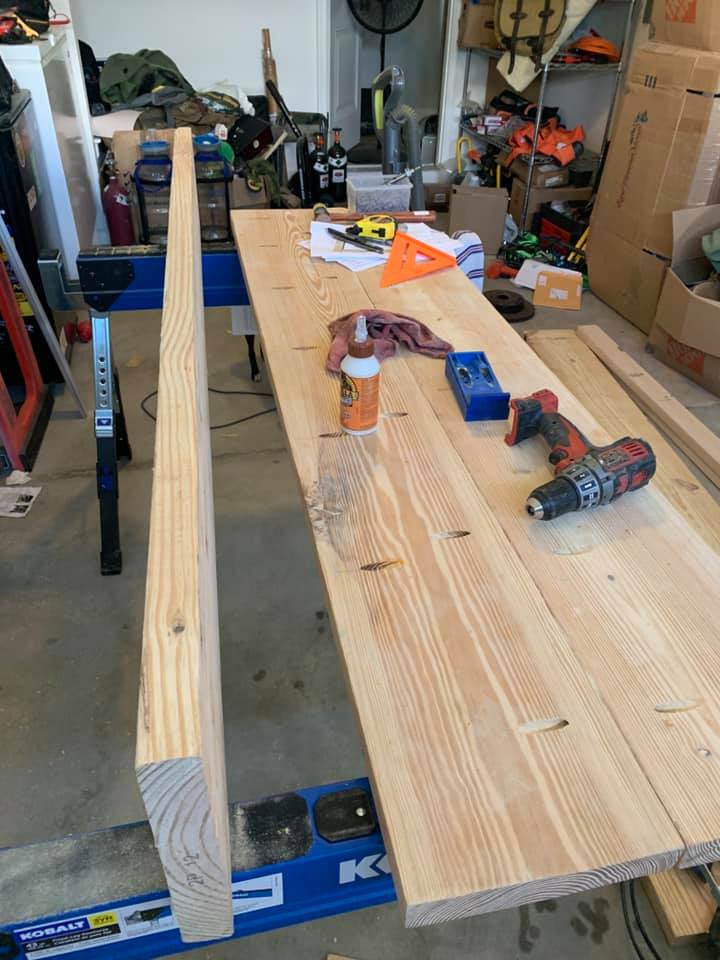
Estimated Time Investment
Day Project (6-9 Hours)
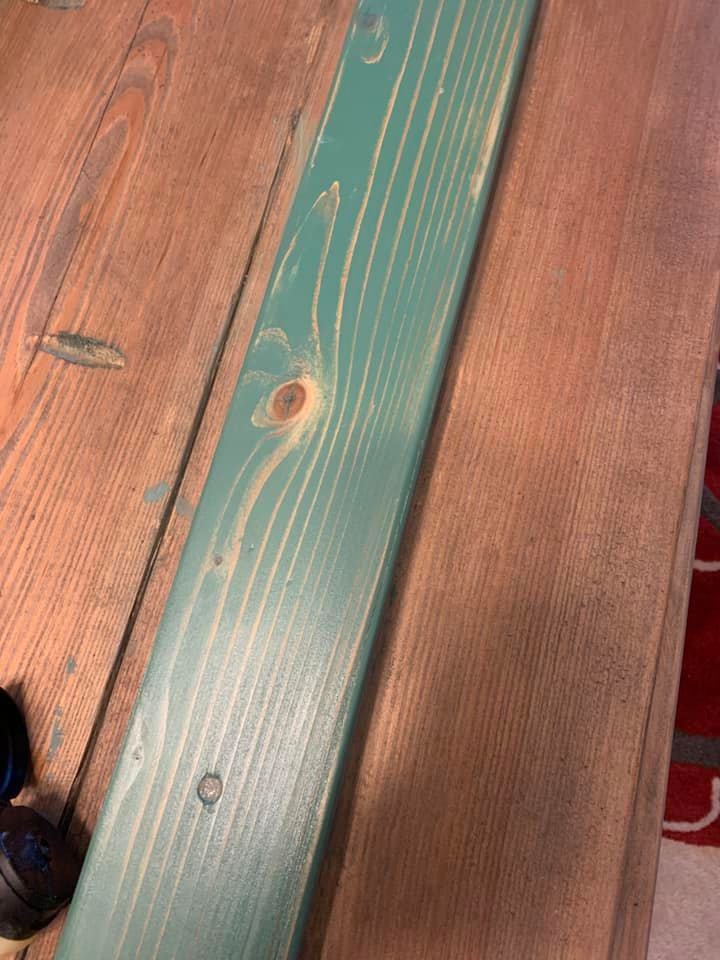
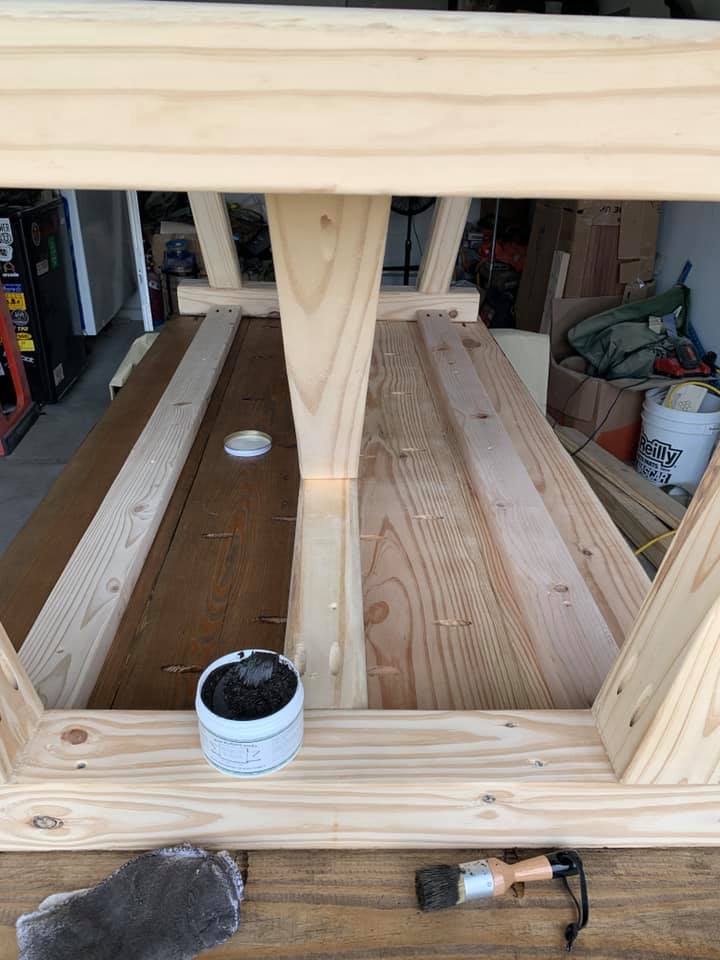
Finish Used
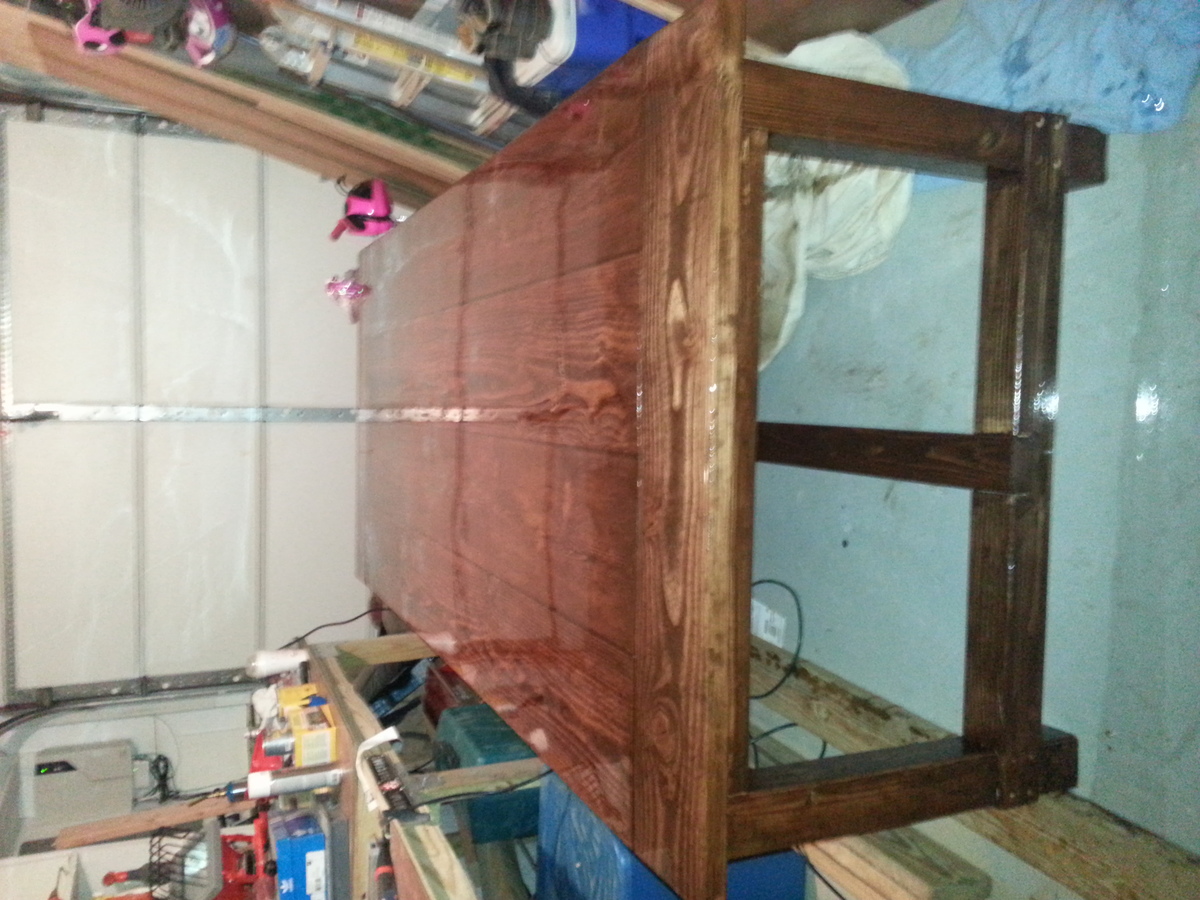
Rustoleum Spray paint, Clear coat sealer. If we did it again, we would use regular exterior paint instead of spray paint.
Recommended Skill Level
Beginner


Comments
Ana White Admin
Mon, 06/16/2014 - 07:54
Looks Great!
Great first build and love the pillows with your paint choice!
spustay74
Mon, 06/16/2014 - 10:39
Thanks,
My wife will be happy! She wanted something that would stand out!
DogDoc25
Thu, 06/26/2014 - 07:16
Cute!
I love your bench and pillow choices too! (and cute pup!)