Community Brag Posts

She's only been asking for 3 years (Doll House)

Submitted by Anonymous (not verified) on Sat, 12/17/2016 - 19:44

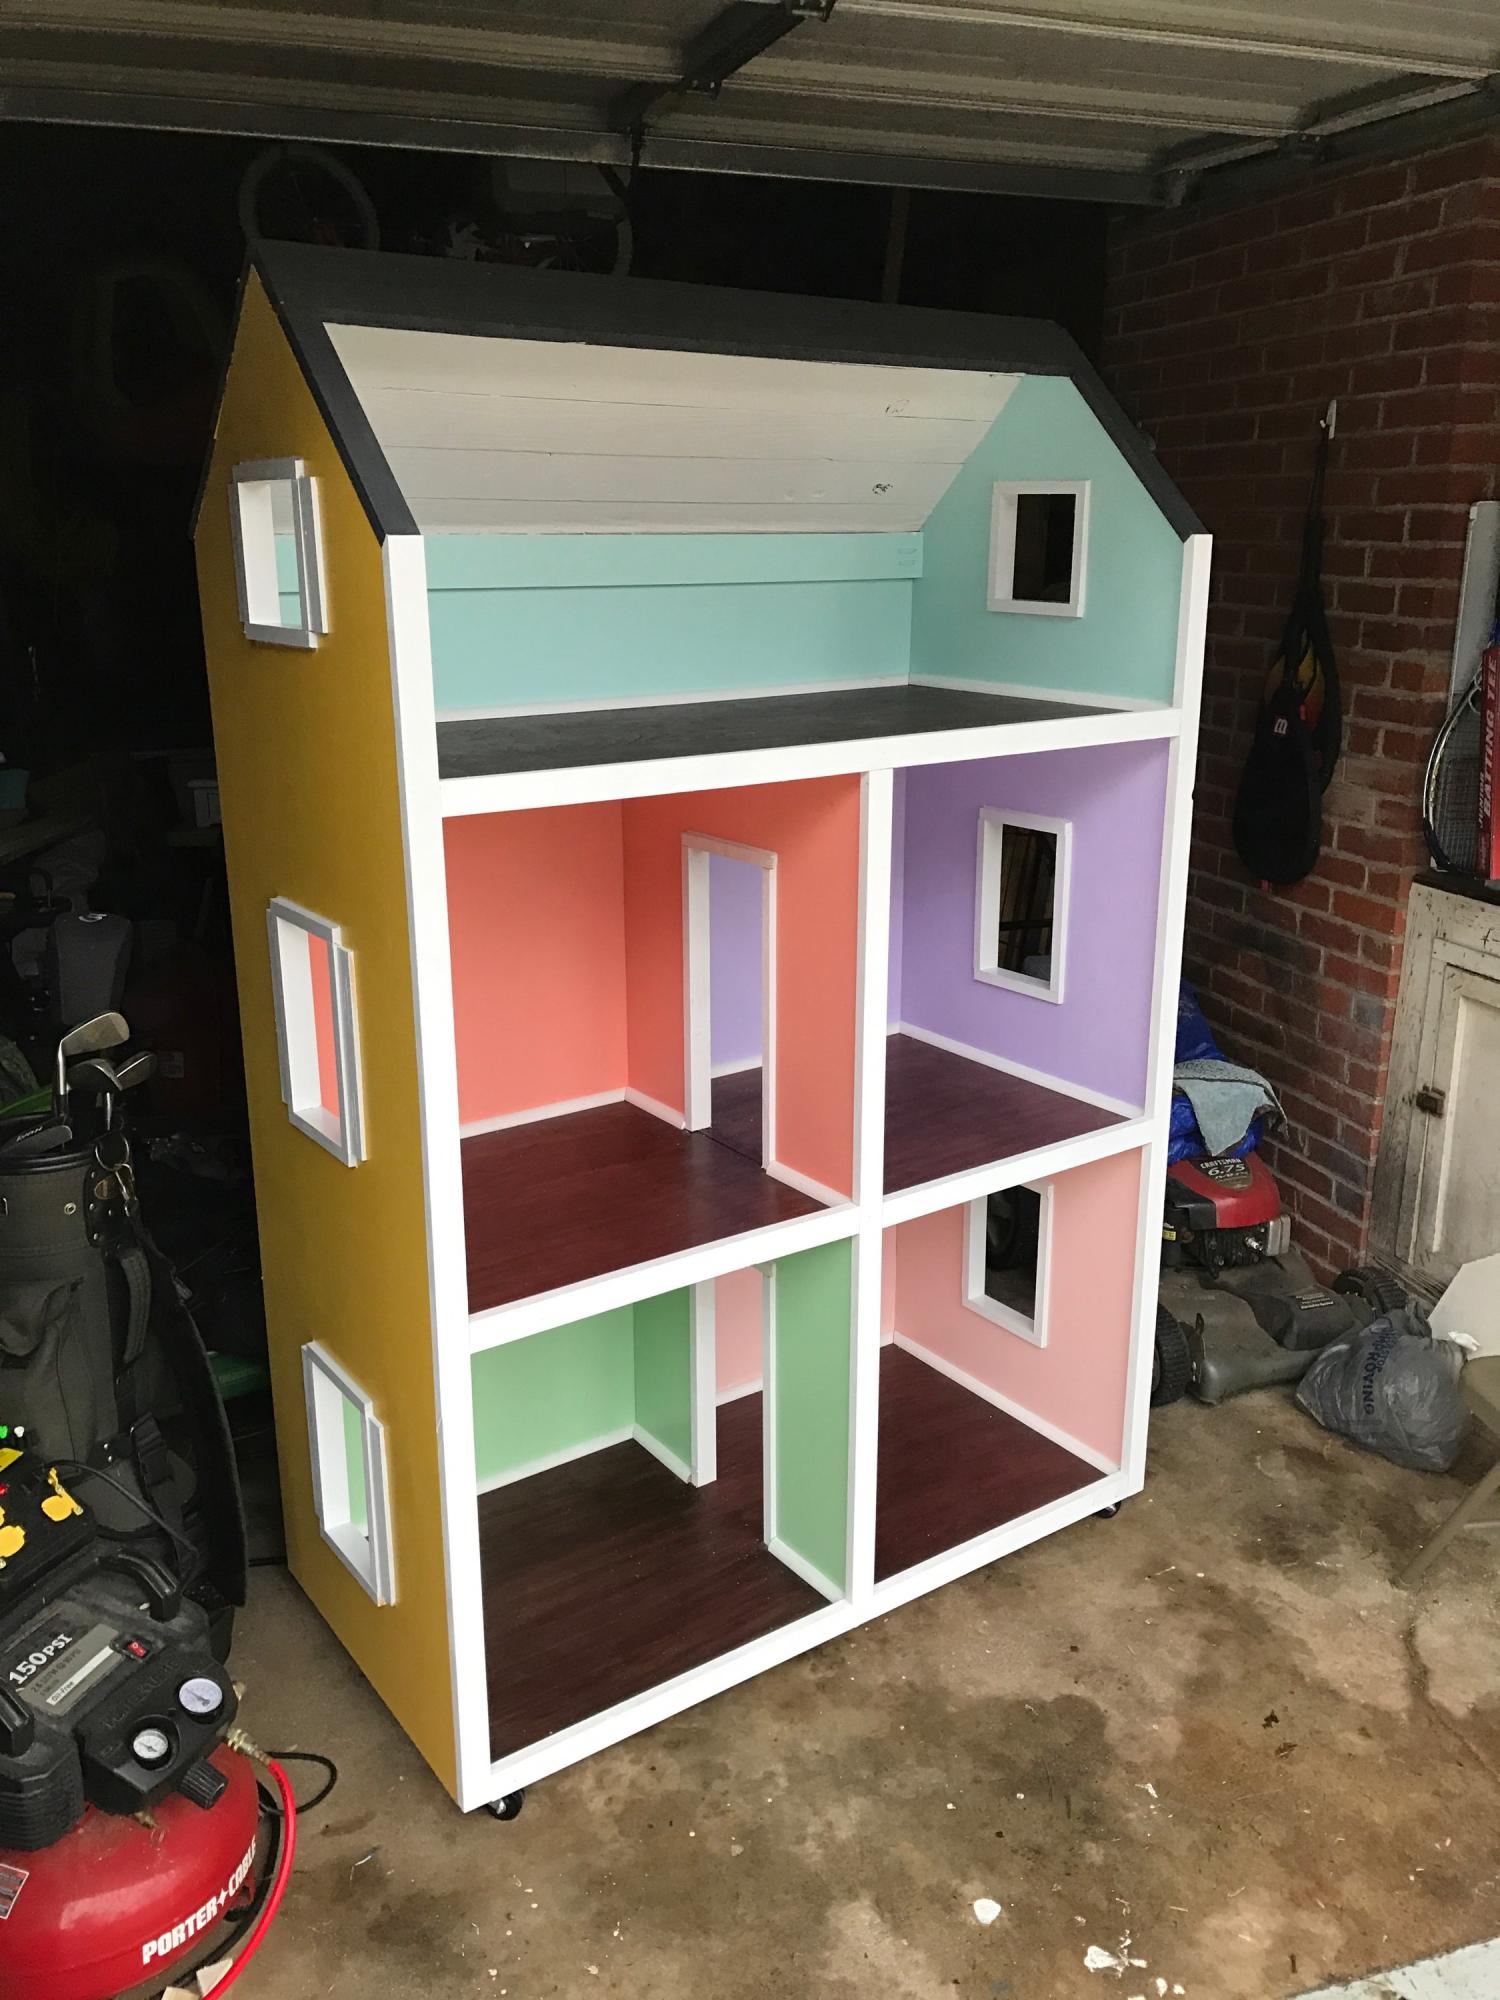
My Daughter has only been asking for a Doll House for like 3 years.  This Christmas her uncle is giving her her very first American Girl Doll, so I figured it was about time to get on that doll house.  I couldn't be more thrilled with the results.  Such a great plan and easy to follow.  Thank you so much.

Estimated Cost
$250-$300
Estimated Time Investment
Weekend Project (10-20 Hours)
Finish Used
Used a Cherry Stain on the floors.
Recommended Skill Level
Intermediate

Storage for all those small kitchen appliances

Submitted by mipartee on Mon, 09/07/2020 - 21:05

I needed a place to store my various countertop appliances other than my limited kitchen countertop. This plan seemed to work the best. My first furniture project.

Estimated Cost
$175
Estimated Time Investment
Weekend Project (10-20 Hours)
Finish Used
Minwax stain, "Fruitwood"
Recommended Skill Level
Beginner

Rustic Farmhouse table from Let's Just Build a House! Blog

We built this table over one weekend and did the finish work another weekend. We are in the middle of building our home so the table project took a back seat for awhile but we are happy with the result in the end! Could be done all in one weekend without an issue.

You can read about it and see lot's more photos here:

http://letsjustbuildahouse.blogspot.com/2012/12/diy-rustic-farmhouse-ta…

and I'm sure I will be posting more photos with hopefully a bench soon too on:

http://letsjustbuildahouse.blogspot.com/

thanks for the plans can't wait to see what I can talk my husband into next from Ana's site!

Built from Plan(s)
Estimated Cost
$100ish
Estimated Time Investment
Weekend Project (10-20 Hours)
Finish Used
Minwax Jacobean and Classic Grey. About 2/3 Jacobean.
Recommended Skill Level
Intermediate

Comments

spiceylg

Wed, 12/12/2012 - 05:18

How exciting to be building a house and then to have your own furniture in it! Nice build and beautiful home. All the best!

spiceylg

Wed, 12/12/2012 - 05:18

How exciting to be building a house and then to have your own furniture in it! Nice build and beautiful home. All the best!

Flip Top Piano Bench

Submitted by amycourts on Mon, 12/17/2012 - 17:54

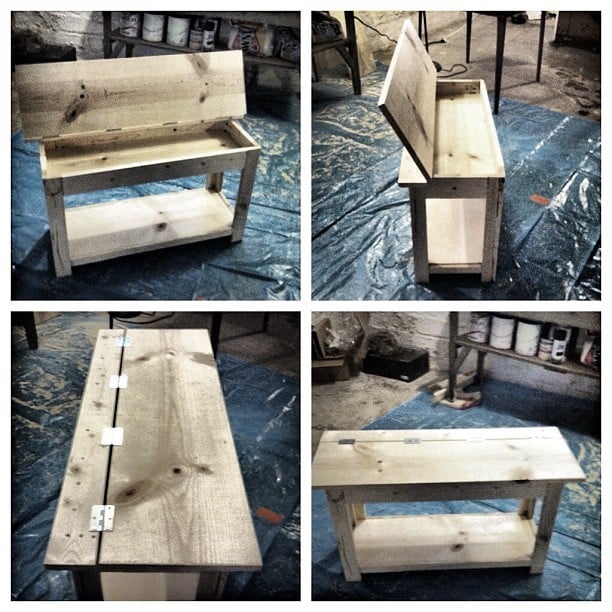
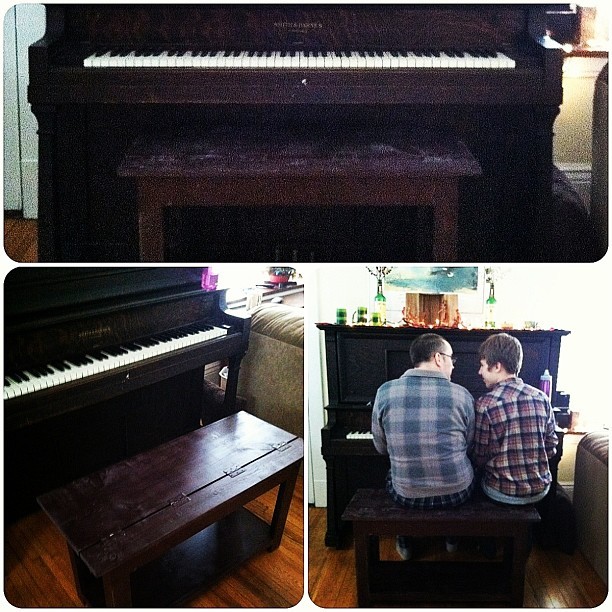
This was my first DIY build. Having been inspired by my good friend, the brilliant Jen Woodhouse of The House of Wood, I decided surely I could do this too. So I picked something that looked like a challenge, but that we also needed. We have an old piano we bought from Craigslist that has heretofore been benchless. So I used the Flip Top Storage Bench plans, headed to Home Depot, collected the wood (and let them cut it - but made a few of my own cuts, too), and got to work.

I had a little trouble at first, simply because, after assembling the sides and aprons, the unit did NOT square up. I took a few pieces apart and realized it wasn't user error (what?), but warped wood. That's right: one of my 1x3s was warped and bendy. So I rebuilt that side with some of my leftovers, and made sure to square up after each step, and lo and behold it came together!

It's not perfect - one of my legs is a bit off, so it wobbles when no one's sitting on it, but there's no issue when it bears weight - but for my first build, I'm quite pleased! And now that I know I can do this...well, this is just the beginning!

Total time it took me was probably around 15 hours, which includes practicing using my circular saw and kreg jig (both of which were straight out of the box when I started), along with my rebuilding the side.

I used Minwax pre-stain wood conditioner after sanding, followed by two coats of Rustoleum spray stain in Kona. I sanded with 400 grit sand paper after each coat of stain, and finished with one coat of semi-gloss polyurethane. I considered a few more coats of stain, but so fell in love with the weathered look that evolved from the staining and sanding that I just left it!

I also spray painted the hinges - that was a bit of an accident (I didn't know how NOT to cover them in stain...), but turned out to my liking!

My estimated cost is about $100, which covers the wood (including the extra 1x3s and an extra 1x2 I needed for a screw-up), nails, screws, three cans of spray stain, polyurethane, wood conditioner, paint brushes, two packs of sandpaper, and my hand sander. All but the wood will be used in my next few projects too, so that cost covers QUITE a bit!
Estimated Cost
$100
Estimated Time Investment
Weekend Project (10-20 Hours)
Finish Used
Two coats "Kona" spray stain, Minwex wood conditioner, one coat polyurethane, for a weathered look.
Recommended Skill Level
Starter Project

Comments

Angela J.

Wed, 01/30/2013 - 00:25

I am going to be building this bench this weekend. What is a kreg jig? I am so confused. I am going to HD tomorrow to buy supplies.

Great looking bench! I will certainly look out for warped wood :)

In reply to by Angela J.

amycourts

Wed, 01/30/2013 - 08:19

Hey Angela,

The Kreg Jig is a tool that creates pocket hole joints on all your boards - whether you're joining vertical to horizontal pieces, or two horizontal or two vertical, etc.... - and made this build, as my first, INFINITELY easier. You don't *need* the Kreg Jig to build this bench, but Ana recommended it, my good friend Jen Woodhouse, who contributes a lot of plans and builds to this website recommended it, and I highly, highly recommend it. It's about $100, and worth every penny.

Here's the video I used as a tutorial on how to do it. And seriously - it made this job SO much faster than it would have been without the Jig! :)

http://www.youtube.com/watch?v=IrIFHMEPkXs

Brookstone storage bed with storage drawers

Submitted by Julthi on Tue, 09/30/2014 - 09:03

Inspired by two different plans because we wanted storage and the barn-look of the headboard. Cedar wood has been stained with a woolsteel/vinegar mix plus few cats of black tea.

Pretty happy with the result. Only drawback: very heavy bed, hard to move with two people even without the headboard.

Estimated Time Investment
Week Long Project (20 Hours or More)
Recommended Skill Level
Intermediate

Henry bookshelf - modified

Submitted by Anonymous (not verified) on Mon, 10/19/2020 - 04:47

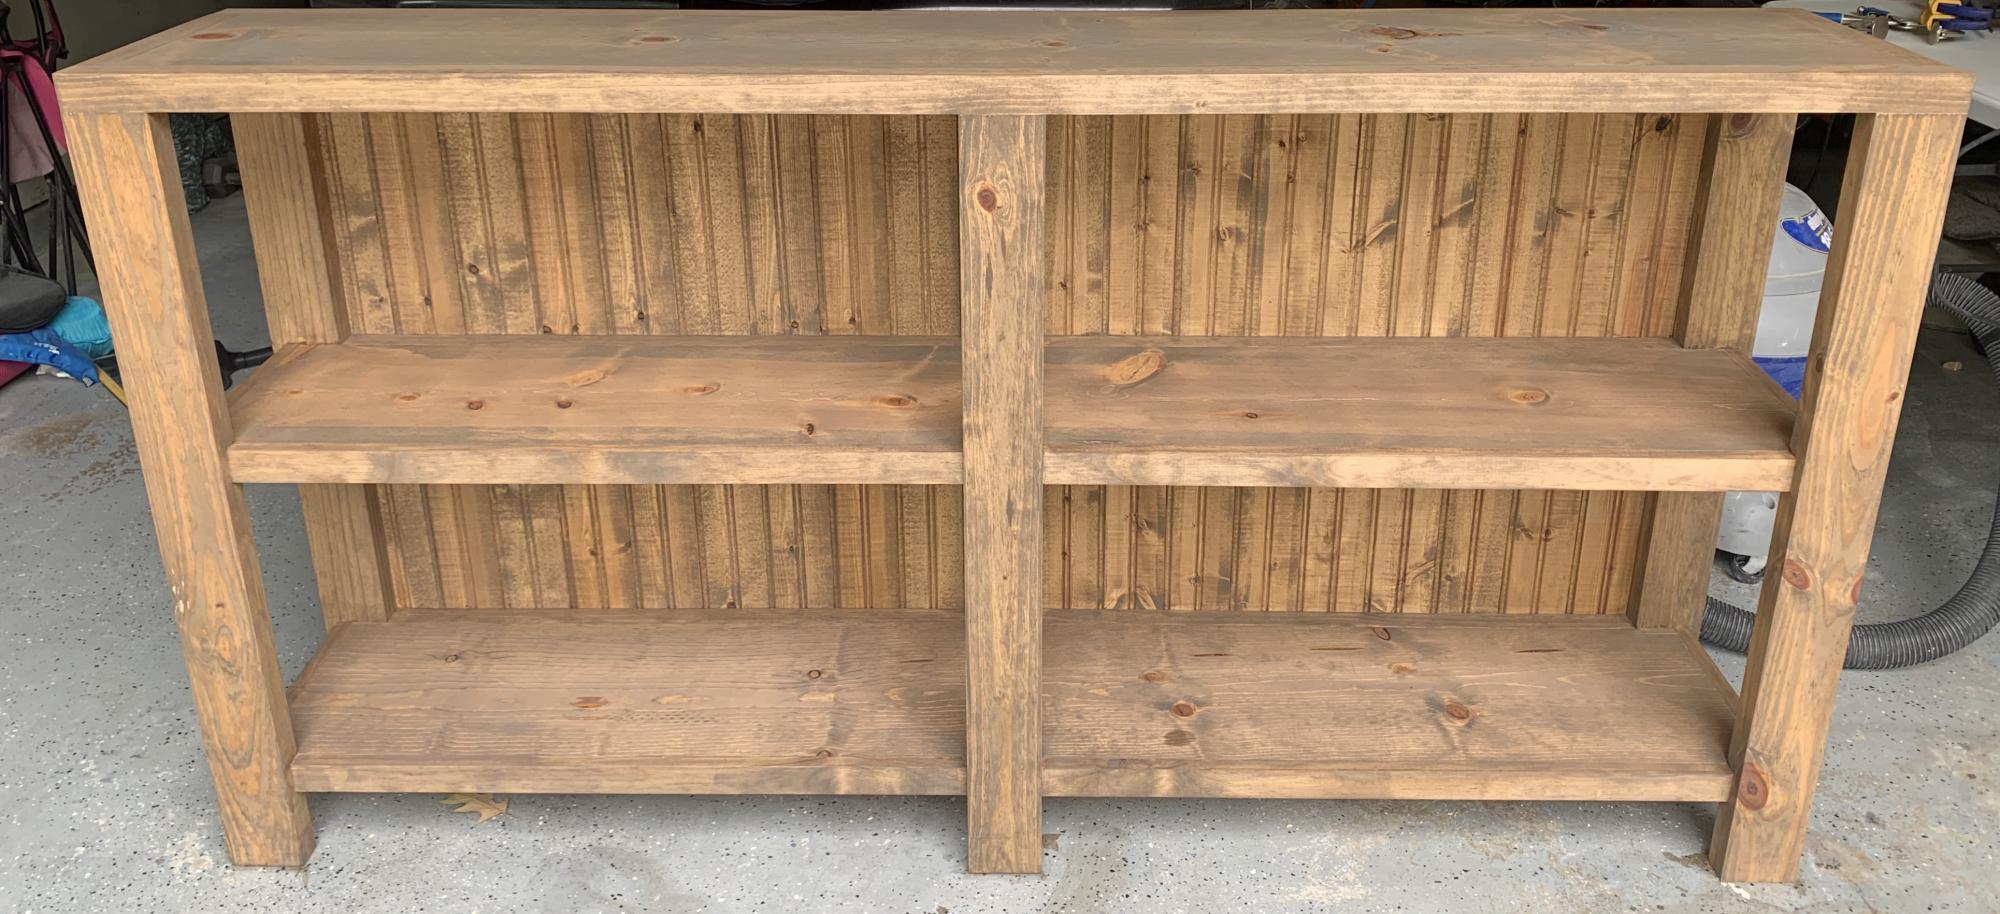
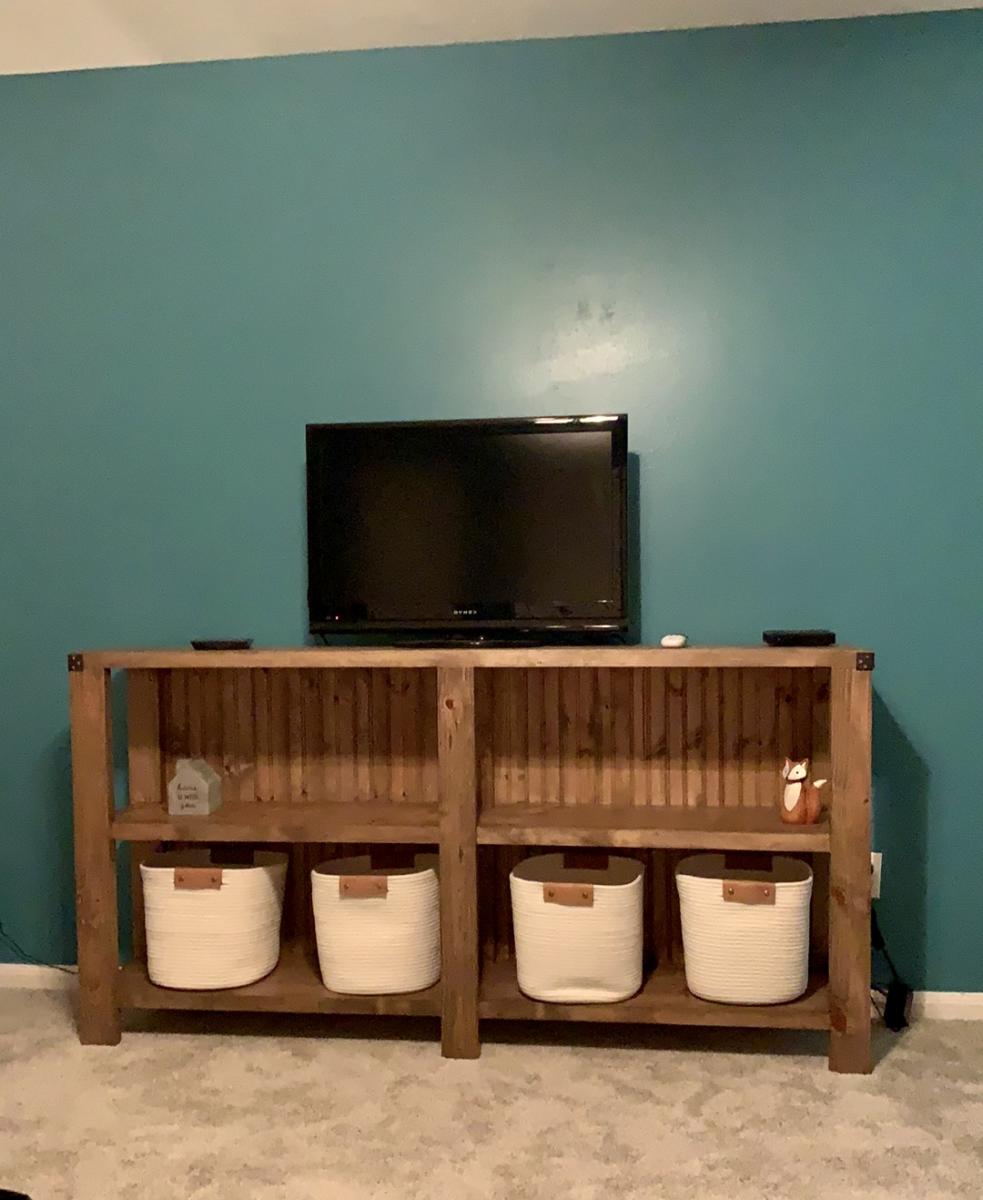
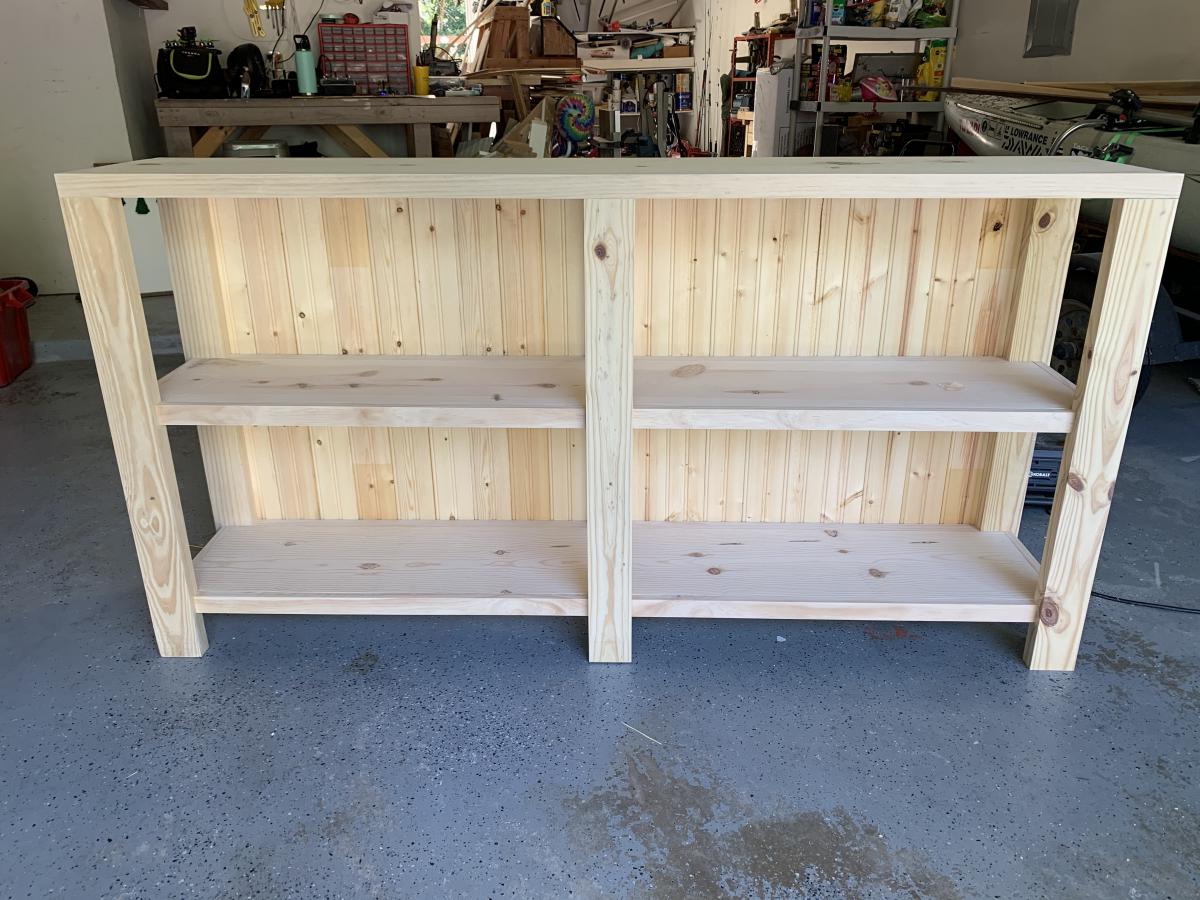
I loved the look of the Henry bookshelf, but I was looking for a longer, shorter bookshelf — so I modified the plans and created this version. It stands a little over 3ft tall and is 6ft long. I chose tongue and groove bead board for the backing and mixed two different stains to achieve the hint of gray. Finished it off with a satin poly.
-Whitney R. , Houston, TX

Built from Plan(s)
Estimated Time Investment
Weekend Project (10-20 Hours)
Finish Used
3 parts miniwax early american to 1 part miniwax gray and finished with miniwax satin polyurethane.

Comments

See Saw for the boys

Submitted by Quartney on Fri, 01/04/2013 - 12:58

Built for the boys to go with their new swingset. Advice: laminated cotton does not hold up well outside, so don't use it to cover the seats!

Built from Plan(s)
Estimated Cost
$30
Estimated Time Investment
Afternoon Project (3-6 Hours)
Finish Used
Olympic wood stain in Muted Mesa
Recommended Skill Level
Beginner

Comments

Maria Ballon (not verified)

Fri, 01/04/2013 - 15:26

Awesome! This has been on my build list for about a year now, gotta get to it. It looks like sooo much fun!

Closet Shelves

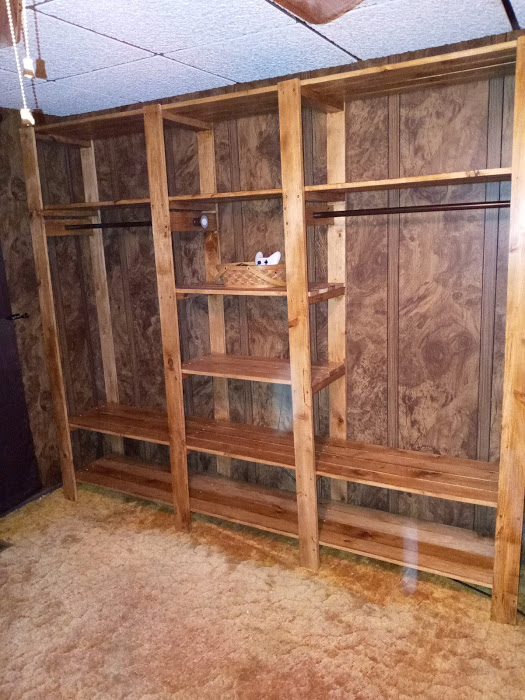
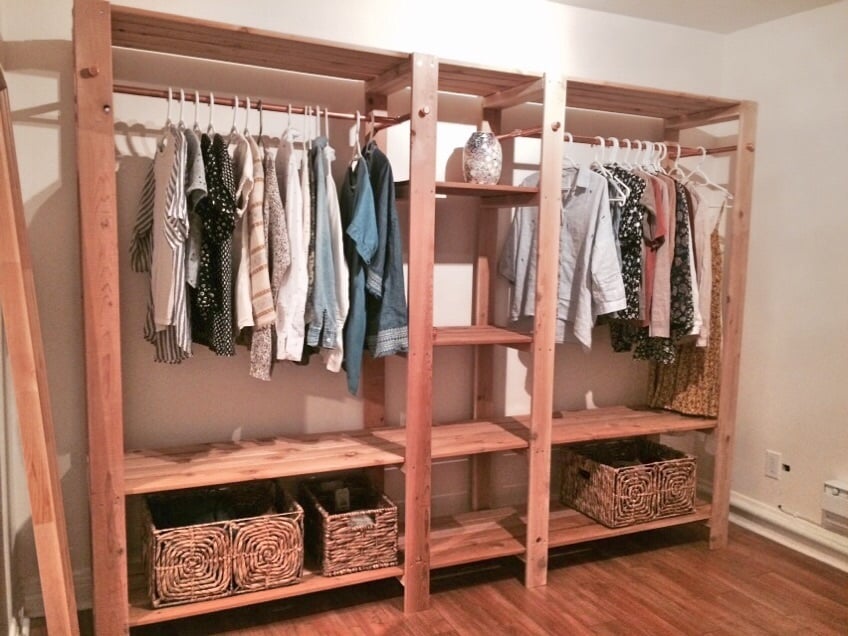
So I was complaining to my wife that our one closet in our bedroom was becoming too cluttered. She asked me to build her one. I told her that if she found the one she wanted me to build, then I would build it. She found this one and so I built it for her. Let me just say that she is very happy with it and it came out very great. I did find a couple of shower curtain rods that were brown to used instead of the iron pipe. It made the whole project cost around $80.

Built from Plan(s)
Estimated Cost
$80
Estimated Time Investment
Weekend Project (10-20 Hours)
Recommended Skill Level
Beginner

Comments

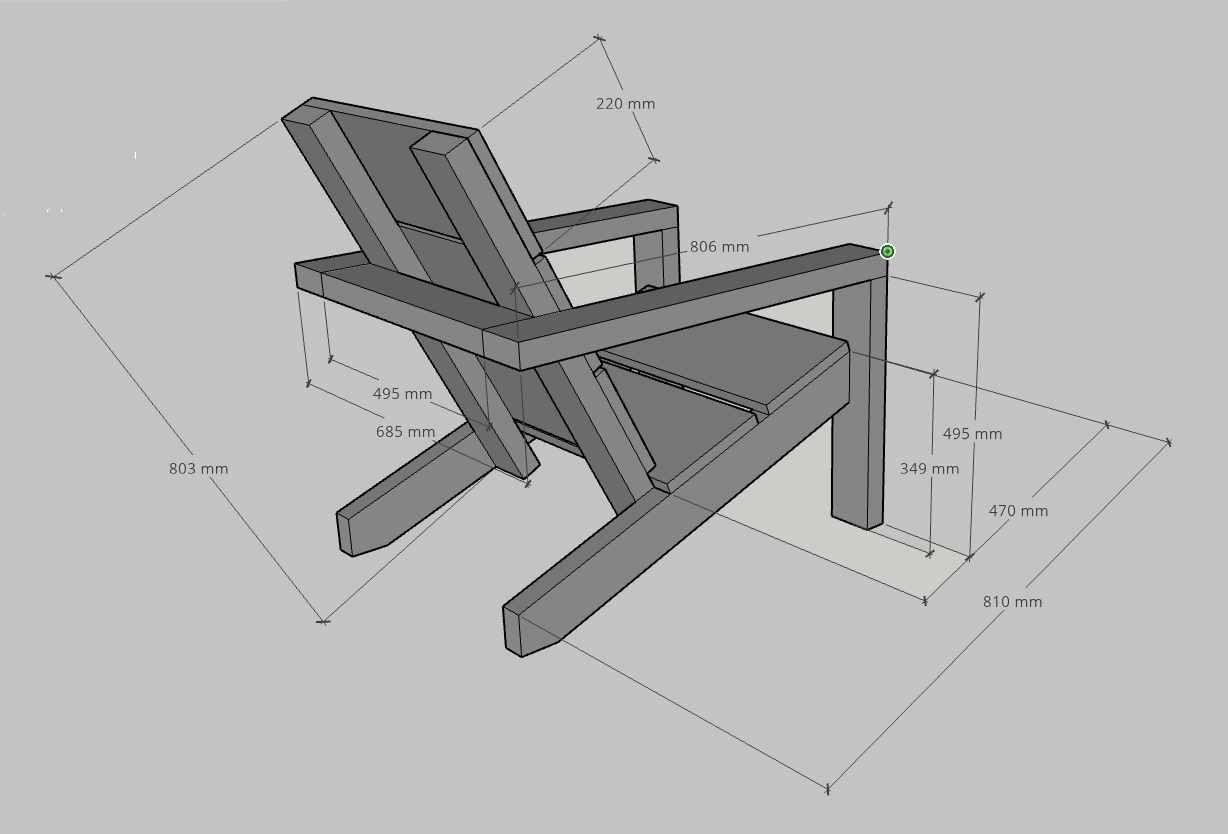
Adirondack Chairs

Submitted by Tbecker on Fri, 02/17/2017 - 18:06

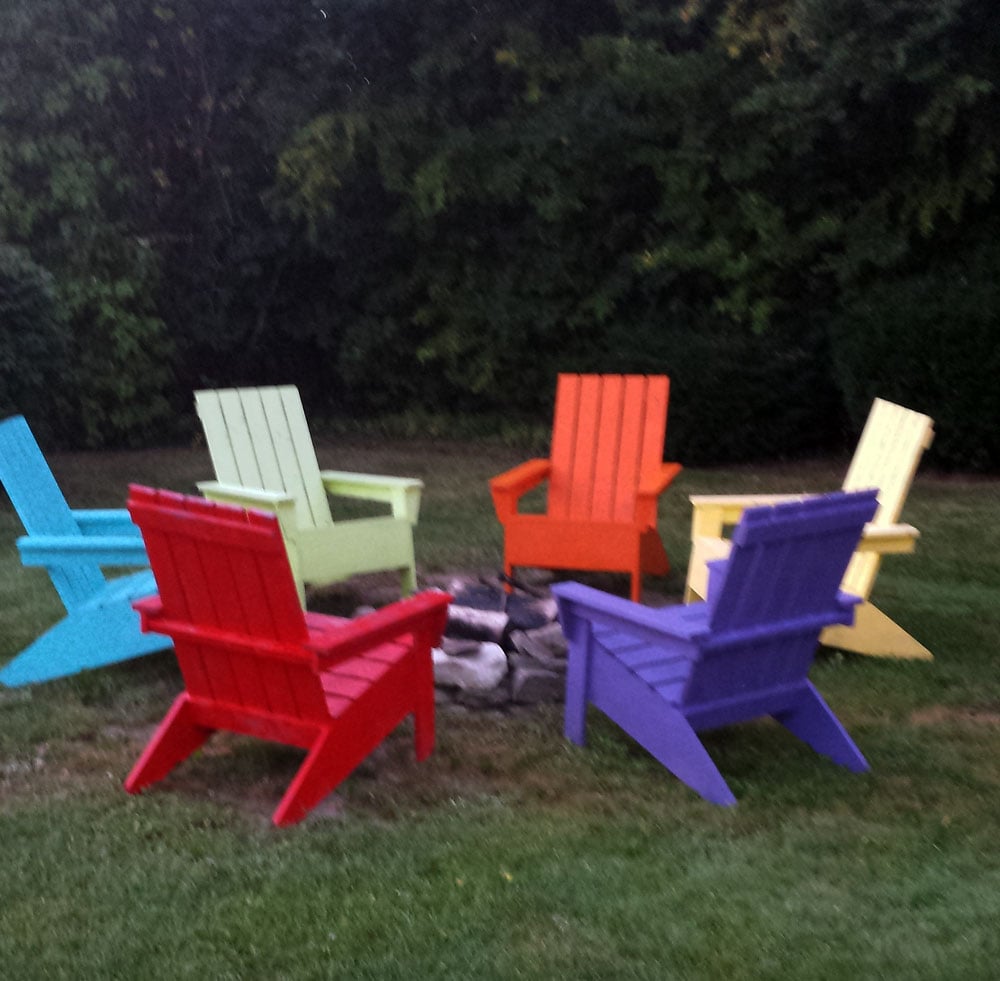
I completed these chairs about 3yrs ago.  It was a great project and I learned a lot.  I really appreciate this site and have made a sofa and 2 benches as well.  Thank you Ana for the site and I wish HGTV or another station would pick up your DIY show!  

Built from Plan(s)
Estimated Cost
$37.00 each including paint
Estimated Time Investment
Week Long Project (20 Hours or More)
Finish Used
Outdoor Rustoleum
Recommended Skill Level
Beginner
Seasonal And Holiday

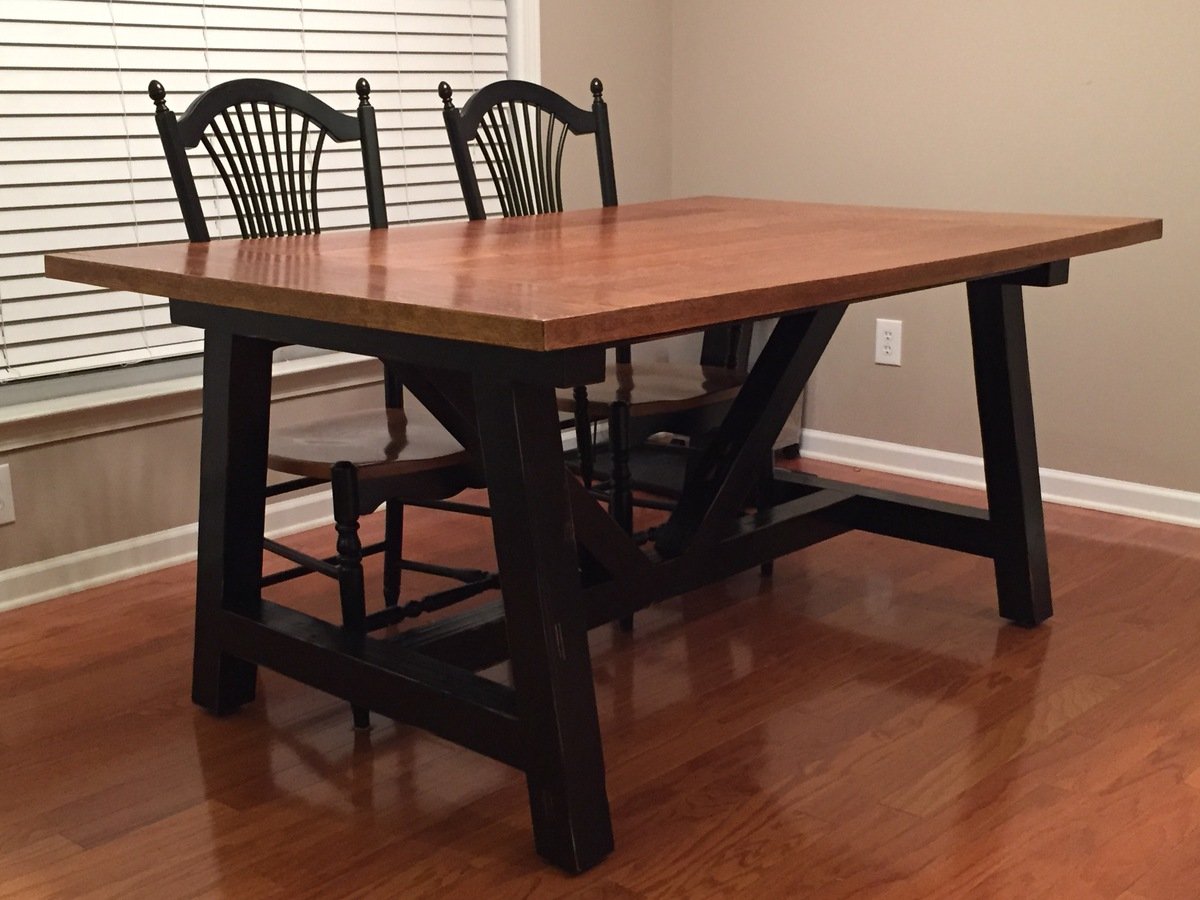
Truss Table from Heirloom

Submitted by ClemsonJoe on Fri, 11/21/2014 - 07:17

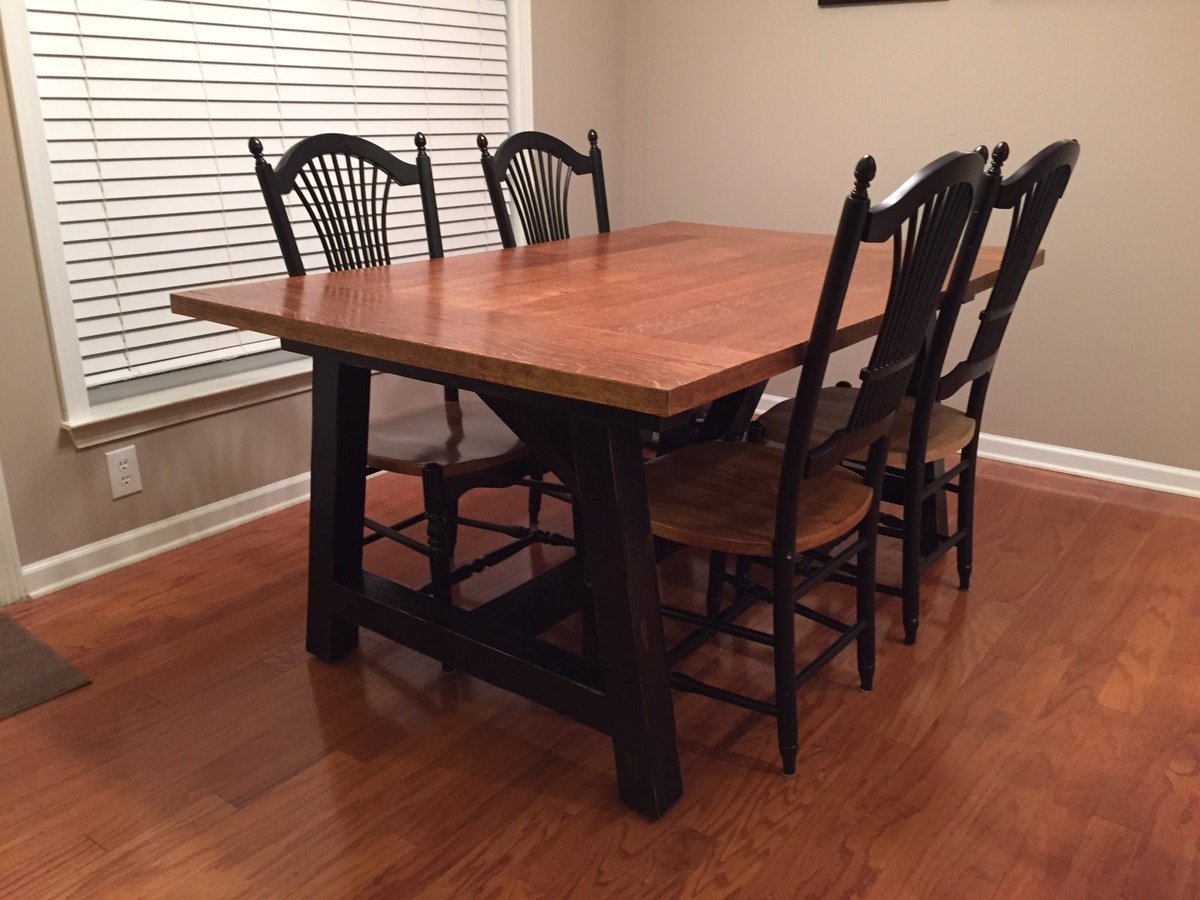
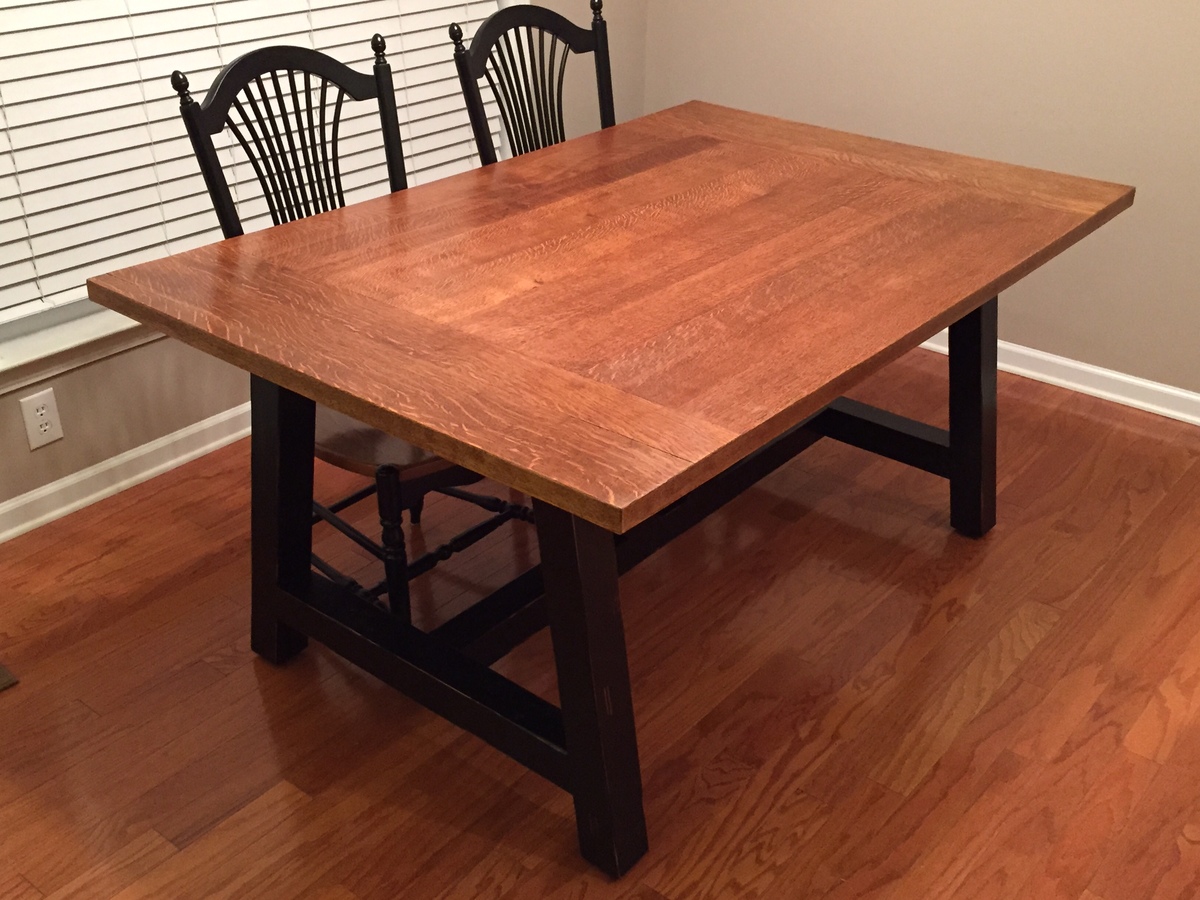
Here is my latest project completed. I took the table that belonged to my wife's parents and re-purposed it. Took it apart, stripped it, rebuilt it into a farm style table, and refinished it. Put it on top of a base that I built, painted and distressed. Turned out solid as a tank. Broke bread on it for the first time tonight. It should last for a couple more generations!

Built from Plan(s)
Estimated Cost
$50
Estimated Time Investment
Weekend Project (10-20 Hours)
Finish Used
Applied in the order listed.
Table Top - Minwax Early American Stain, Rustoleum Polyurethane Matte Finish, Minwax Paste Finishing wax
Base - Rustoleum High Performance Protective Enamel - Semi-gloss, Minwax Early American Stain, and Minwax Wipe-on Poly Satin Finish
Recommended Skill Level
Intermediate

Comments

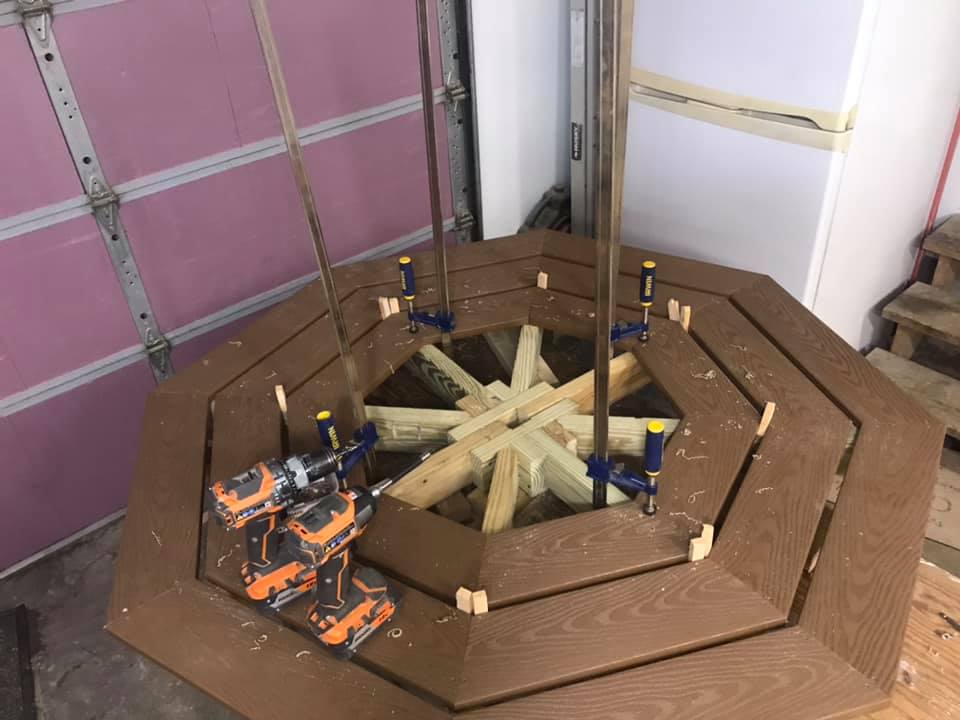
Modified Octagon Picnic Table

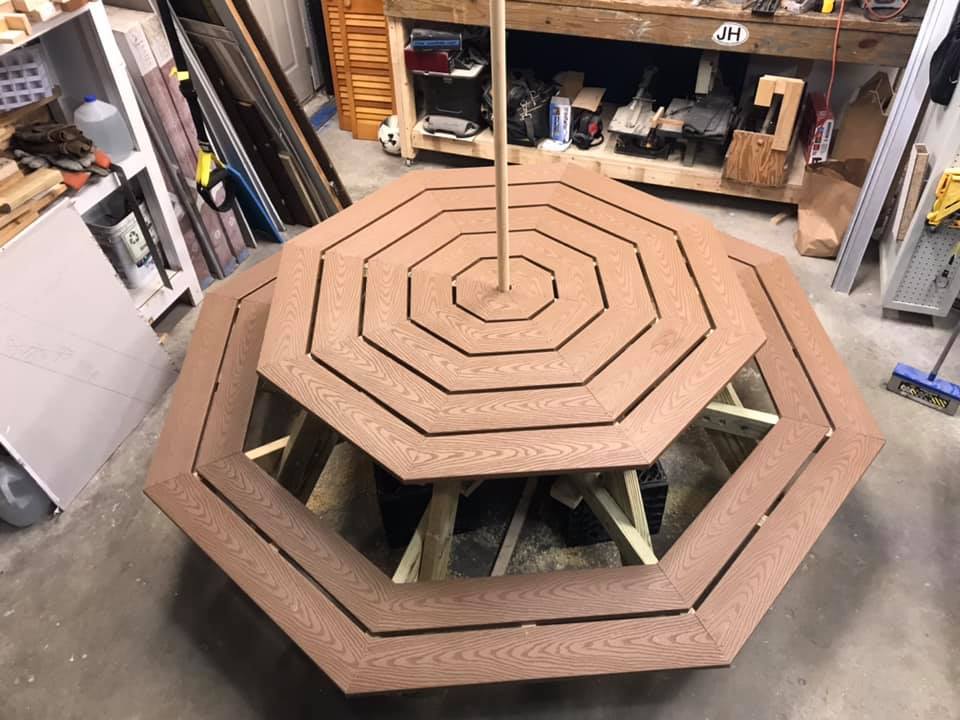
I built the octagon picnic table, and modified in a couple of ways.

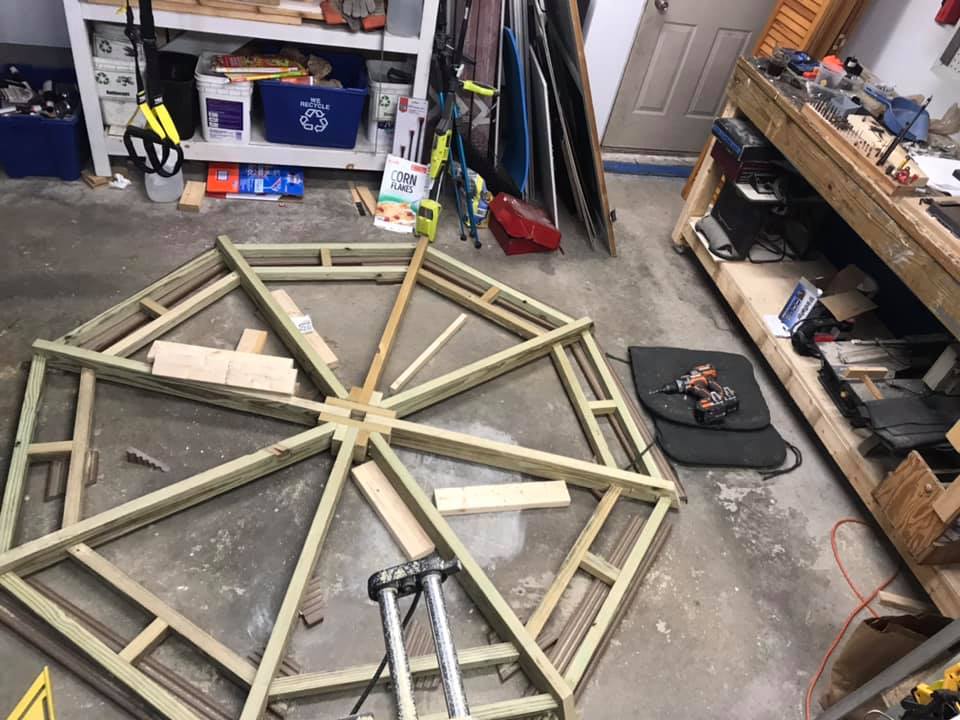
1) Due to project deadline (Christmas) (and cost) I opted for composite decking for a finished top and bench, and pressure-treated 2x framing stock. Builder beware! Composite decking can be 5 1/4" wide, which impacts the spacing between the pieces, which means re-calculating most of the table-top pieces. Also, I added lateral structure underneath the benches (more weight!)

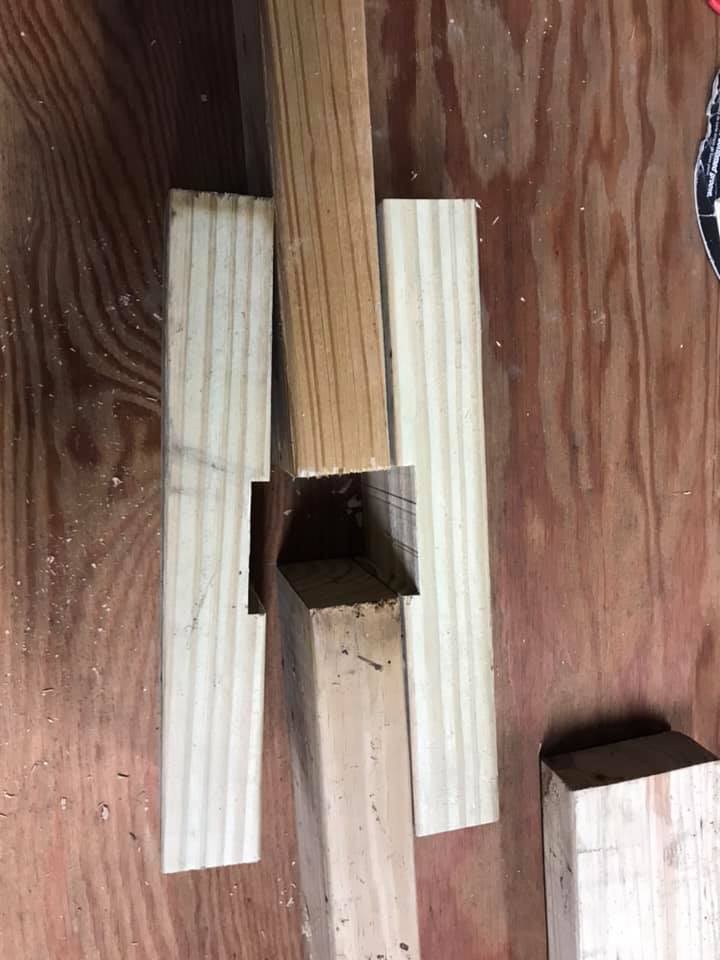
2) I really wanted that hole in the center, and hope that my solution (which slightly weakens the overall structural integrity) withstands the test of time.

Built from Plan(s)
Estimated Cost
350
Estimated Time Investment
Weekend Project (10-20 Hours)
Recommended Skill Level
Advanced

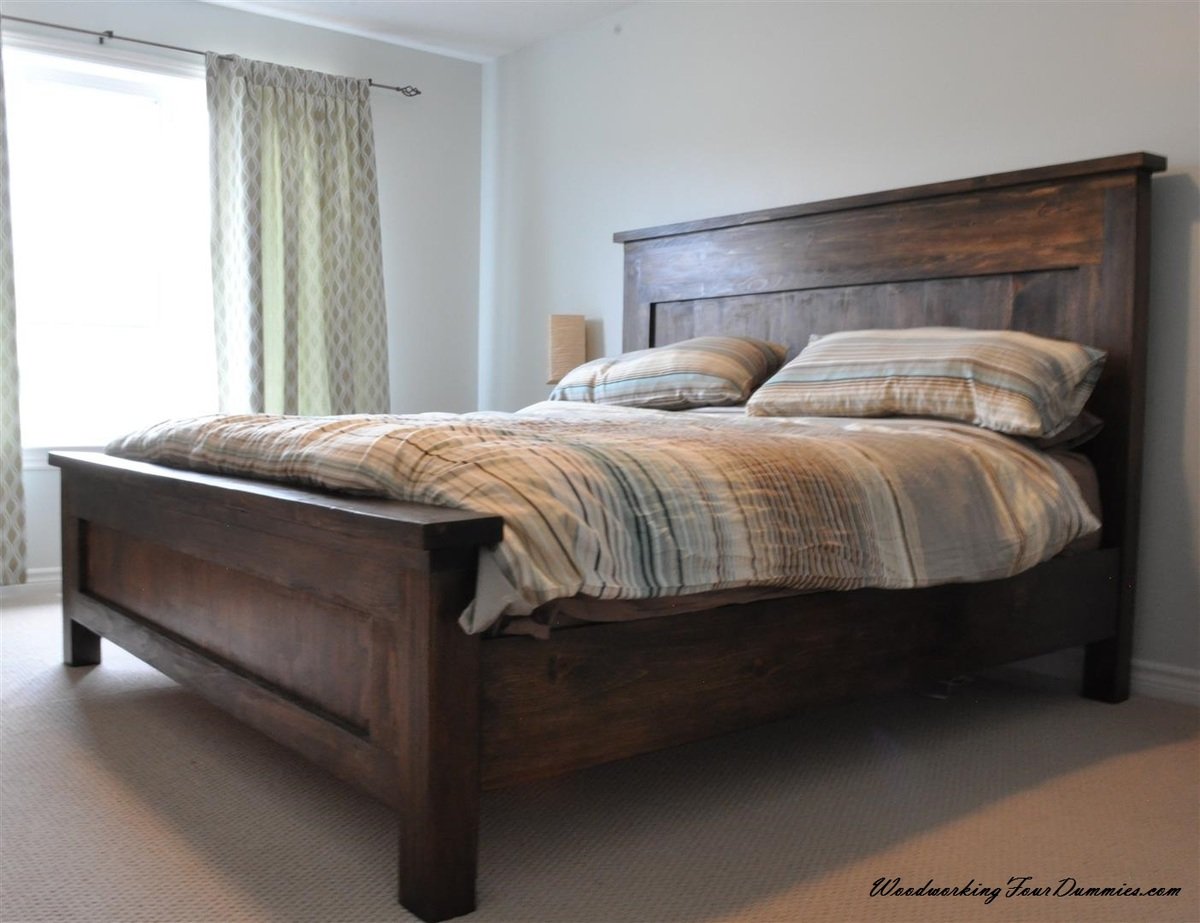
King Farmhouse BED

This is my DIY for a farmhouse bed. Inspired by Anna white and Pottery Barn. I wanted a sturdy look and used 4 x 4 posts and decided to make a king!

Check out my blog:

http://www.woodworkingfourdummies.com/blog/king-farmhouse-bed-diy


Cheers,

Ian

Estimated Cost
$ 270.00 CDN
Finish Used
Minwax Dark Walnut with a water based polyurethane
Recommended Skill Level
Intermediate

Comments

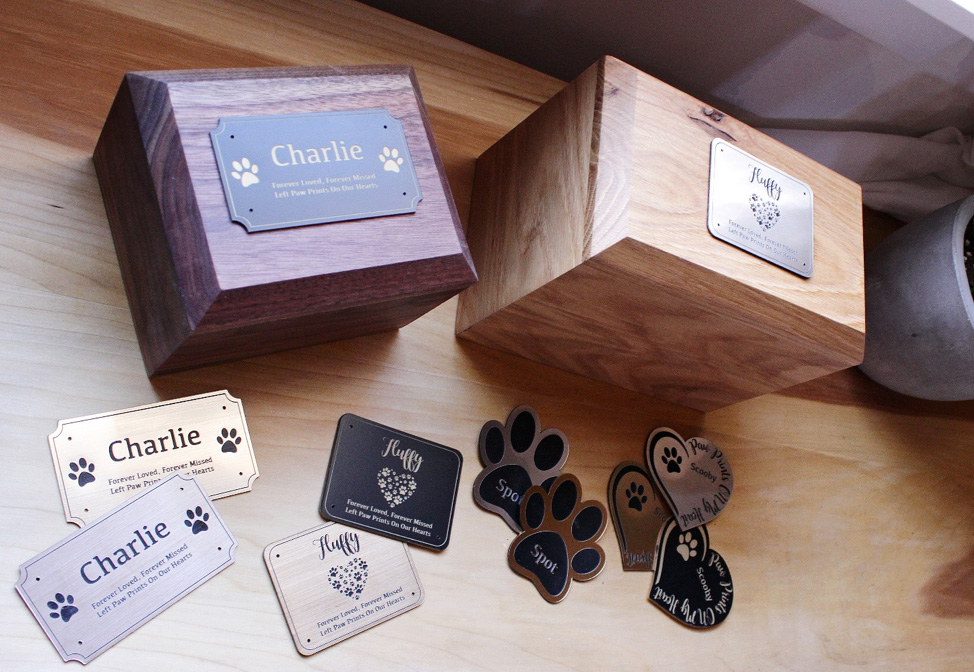
DIY Pet Urn

Submitted by Anonymous (not verified) on Mon, 03/29/2021 - 05:12

If you have pets, you know that they're family, too. And when you lose one, it's hard to let them go. But with pet cremation becoming more common lately, it's possible to keep them with you even after they've passed in a pet cremation urn.

But even if you don't want to use this project as an urn, this would make a great little keepsake box to keep a few special items—like a favorite toy, or a collar—in to remember them by.

So in this post, I'll show you how to make your own with some basic tools and lumber.

Estimated Time Investment
An Hour or Two (0-2 Hours)
Finish Used
Stain
Recommended Skill Level
Starter Project

Outdoor Patio Sofa, Sectional, and coffee table

Submitted by Anonymous (not verified) on Sat, 04/03/2021 - 13:59

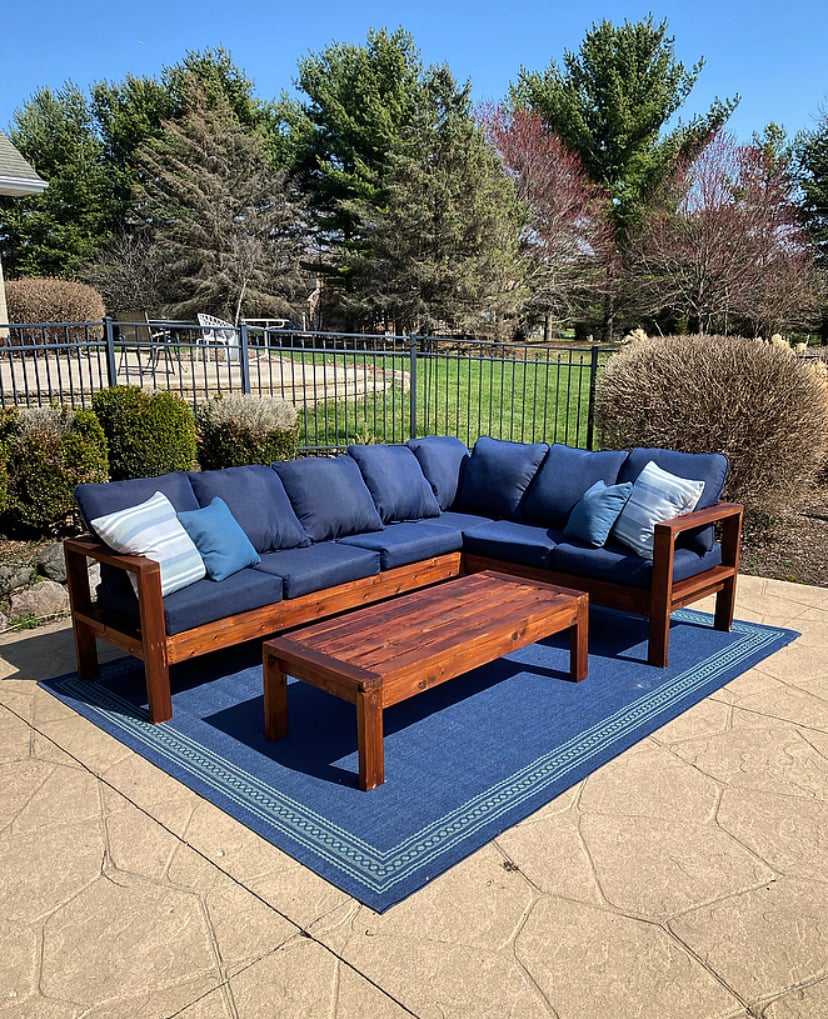
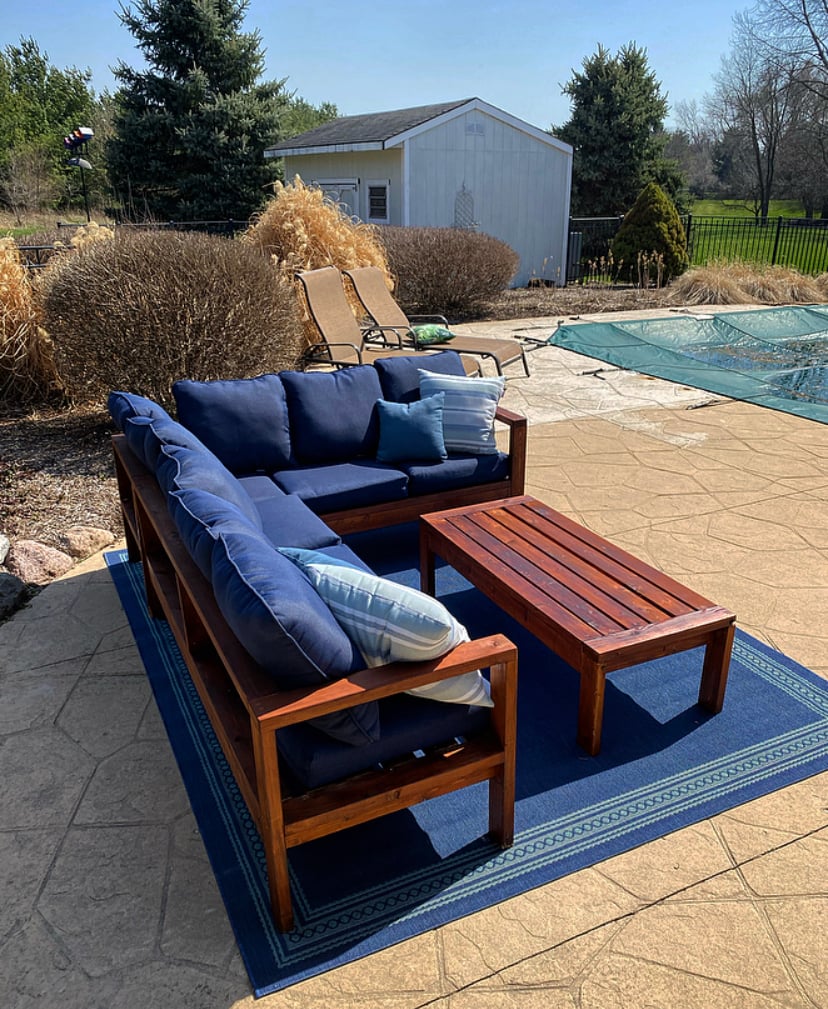
Here’s my new outdoor sitting area by my pool. Built from Ana’s outdoor patio sofa/sectional/coffee table plans! Used cedar for the build, Hampton Bay 24”x24” cushions (Home Depot), and found some outdoor throw pillows from The Great Escape store. Stained the cedar with Cabot’s Jarrah Brown exterior wood stain. Very happy with how it all turned out!

Estimated Cost
$600
Estimated Time Investment
Weekend Project (10-20 Hours)
Finish Used
Cabot’s Jarrah Brown exterior wood stain
Recommended Skill Level
Beginner

Comments

Handmade by Denver

Submitted by Anonymous (not verified) on Sun, 04/30/2017 - 06:10

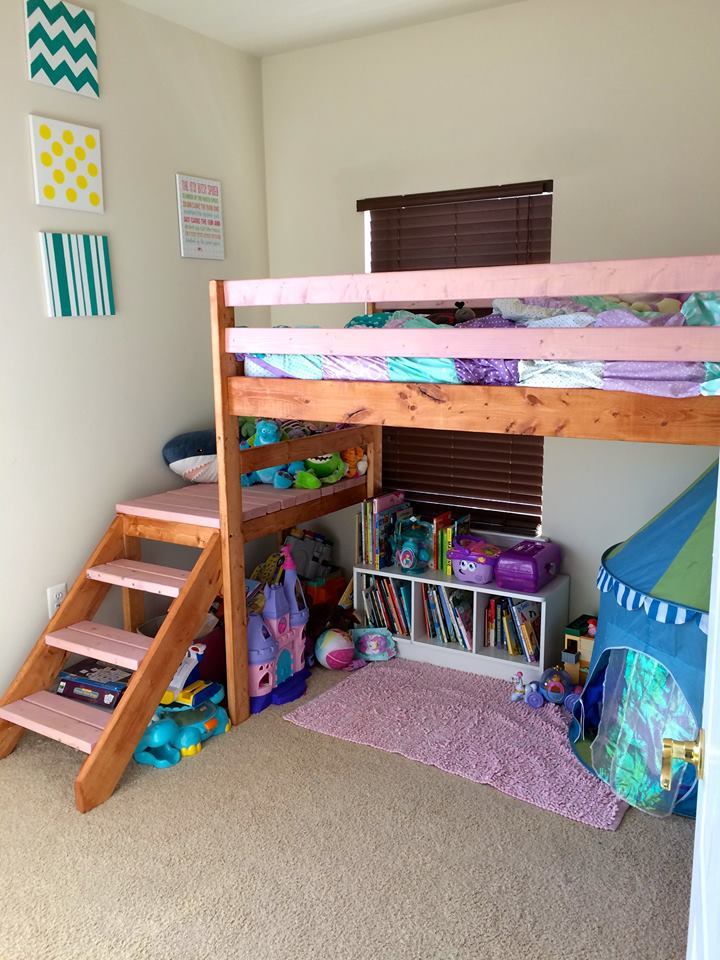
I built this for my niece and she loves it. I followed the plans with very few tweaks, but used custom pink stain as an accent.

Estimated Time Investment
Day Project (6-9 Hours)
Recommended Skill Level
Beginner

Farmhouse table and bench - white base with stained top

Submitted by Anonymous (not verified) on Mon, 05/15/2017 - 19:36

We went off the Farmhouse table and bench design but had to customize the length of the table and bench so that it fit in our kitchen space. The table was our first ever project and we made a few mistakes but learned from them and built the bench and are hoping to move up to the Farmhouse bed and then the fullstorage bed. 

Estimated Time Investment
Afternoon Project (3-6 Hours)
Finish Used
Used everlasting in chalk paint for bottom and top then brushed blue over the top let dry then stained the top with minwax dark walnut and wiped off. Applied a few layers until desired look. Dry brushed more blue and white in between stain layers then used polycrylic semi gloss finish
Recommended Skill Level
Starter Project