Community Brag Posts
Loft bed with platform
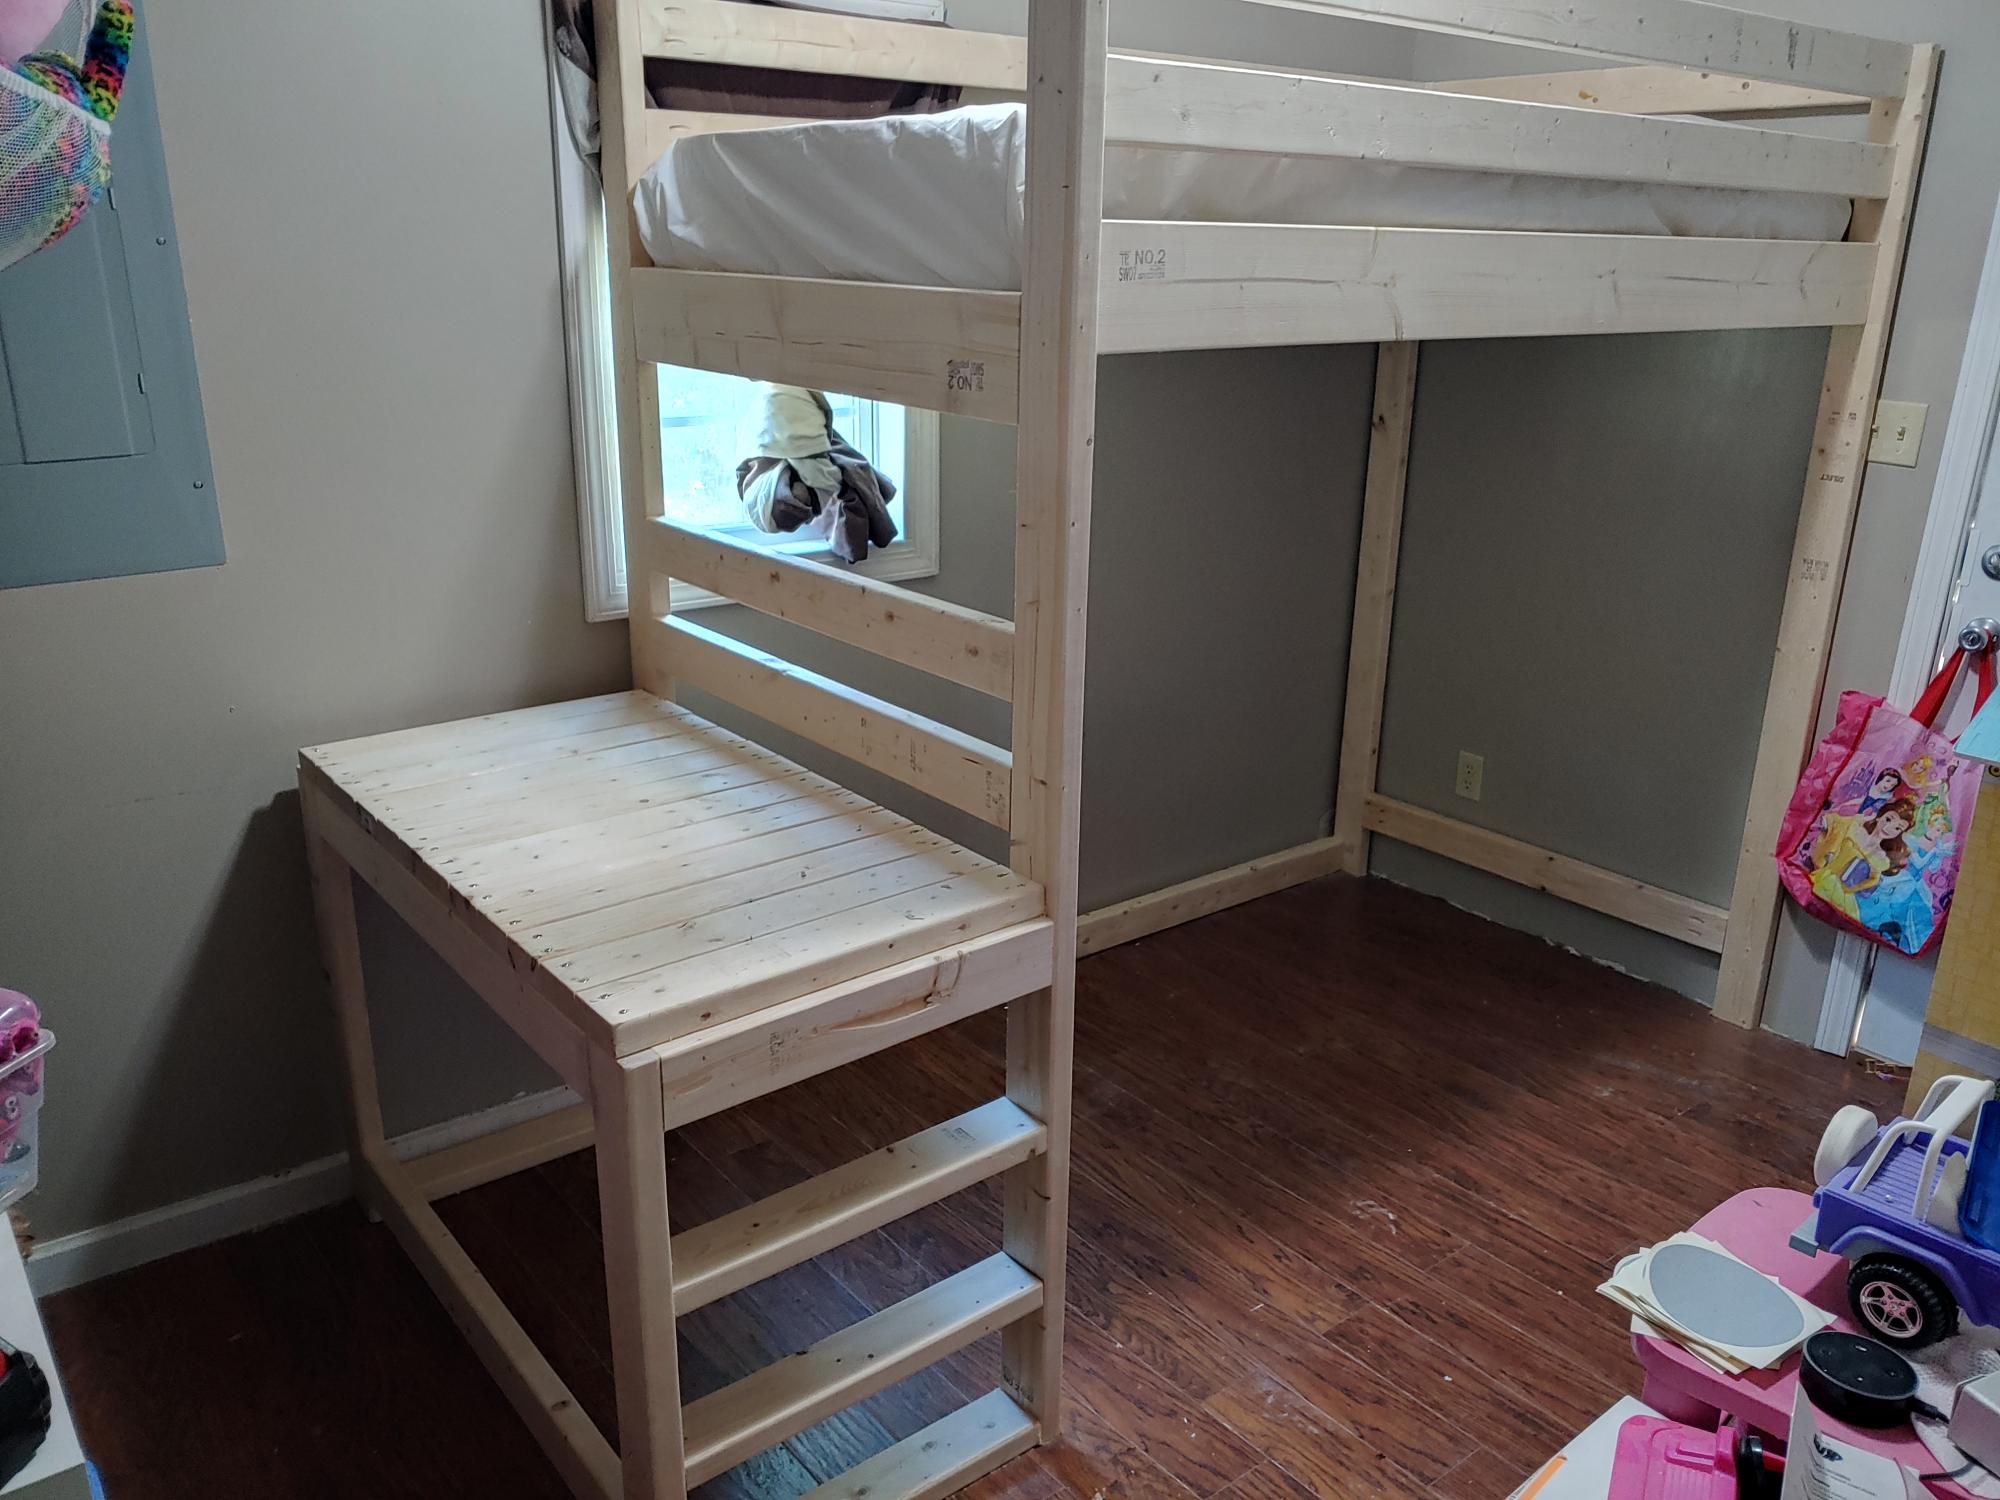
I modified a few things to fit my needs. I did a small ladder instead of steps to save room. I added a 2x4 down the middle with brackets to add extra strength for mattress area. I used my kreg drill bit to make holes for the 2x2 to also help with strength. I am a big guy and the bed was solid so no issues with weight. I added 8 inches to the main post to add height underneath for a doll house, book shelf and some other things my wife wanted under there. Excellent plans and my daughter loves it.
Built from Plan(s)
Estimated Cost
200.00
Estimated Time Investment
Weekend Project (10-20 Hours)
Finish Used
Nothing yet
Recommended Skill Level
Intermediate
Bed and night stands from plans on this site
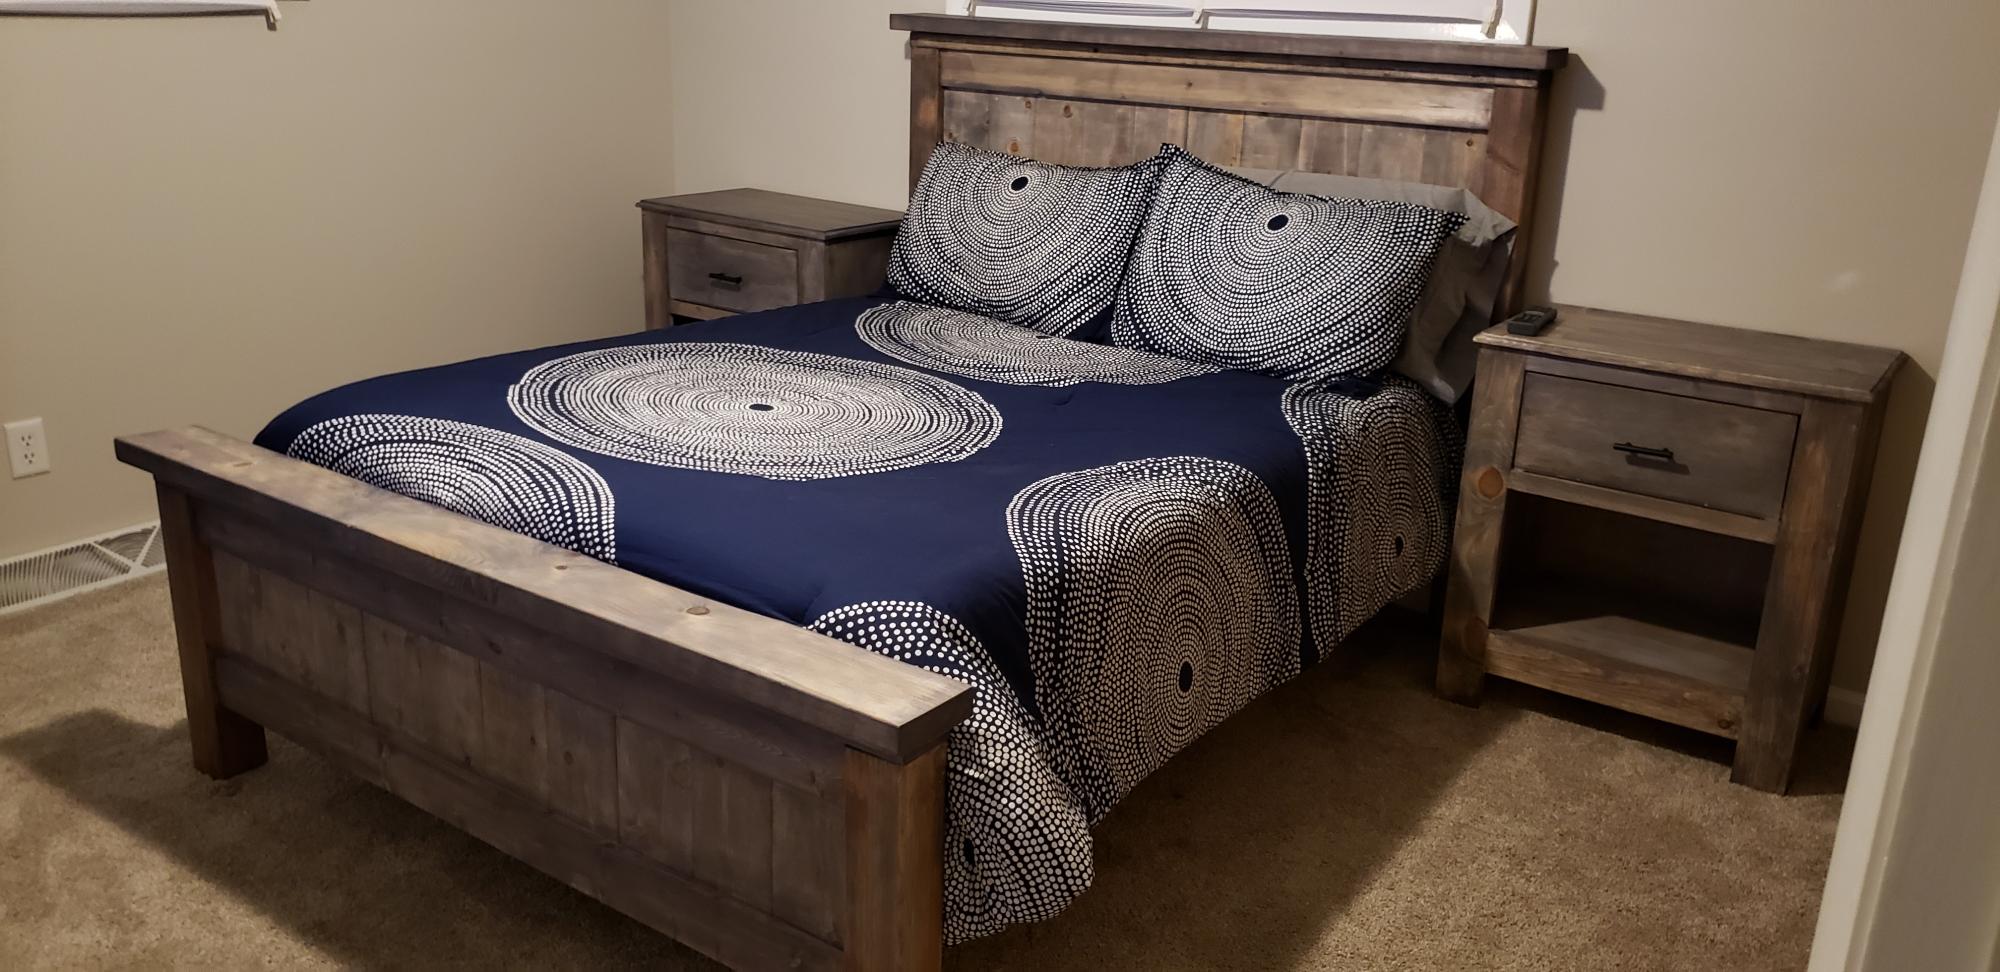
Bed and night stands build with plans from Ana White. Both projects were finished using age accelerator and weathered gray stain. Time and coat estimations include both night stands and the full sized bed.
Built from Plan(s)
Estimated Cost
300
Estimated Time Investment
Weekend Project (10-20 Hours)
Finish Used
Age accelerator and weathered gray stain.
Recommended Skill Level
Intermediate
Bar Height Outdoor Table
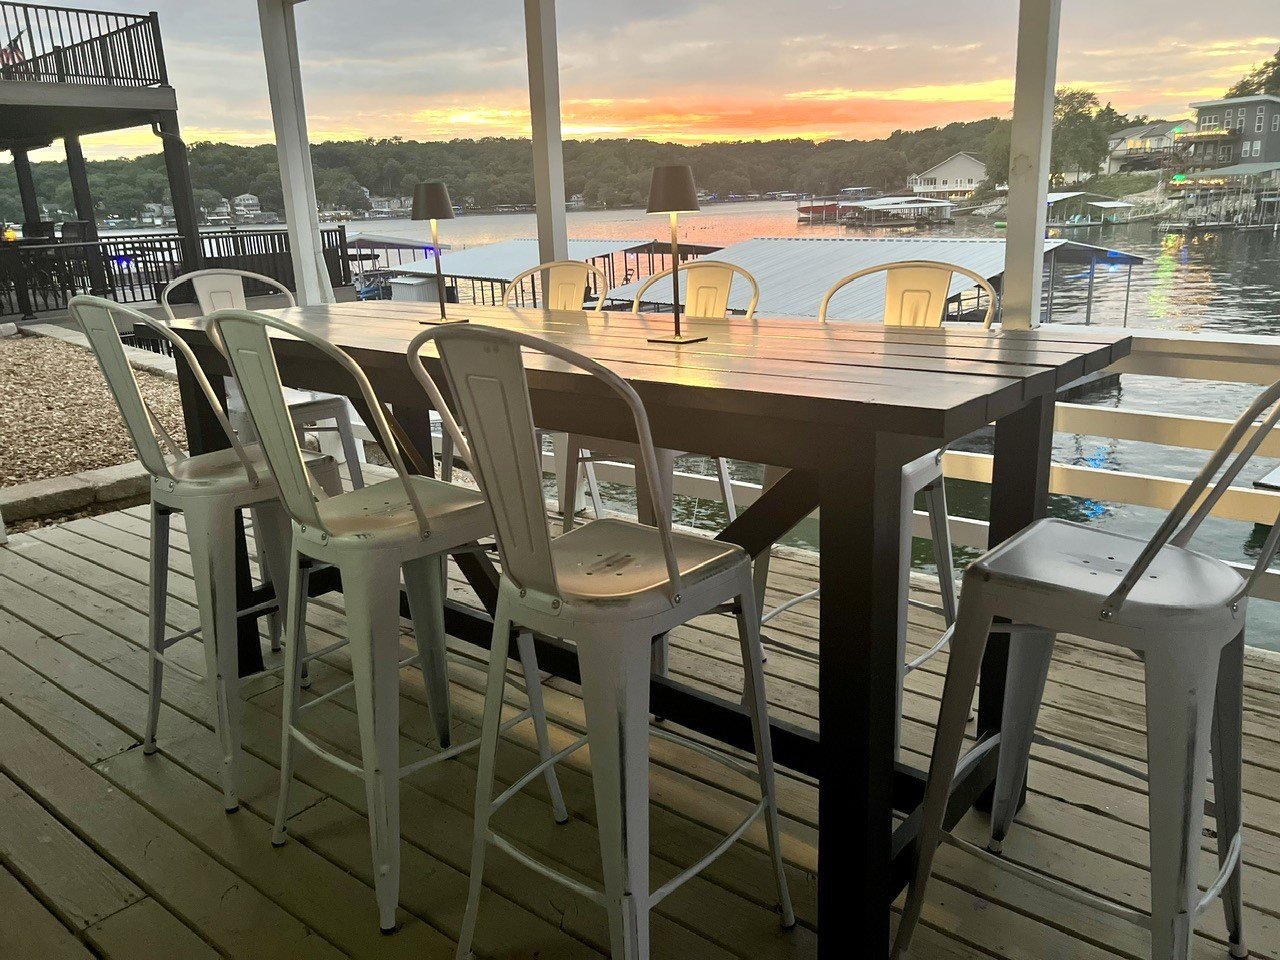
We had this unused lower deck and this bar height table was the perfect addition. We have place now to hang when too hot or it’s raining. My husband and I built it in one weekend and your plans where great.
Julie Moran


Built from Plan(s)
Comments
Sun, 08/27/2023 - 12:48
Stunning table and view!
Love this view and what a gorgeous table to go with it! Thanks for sharing.
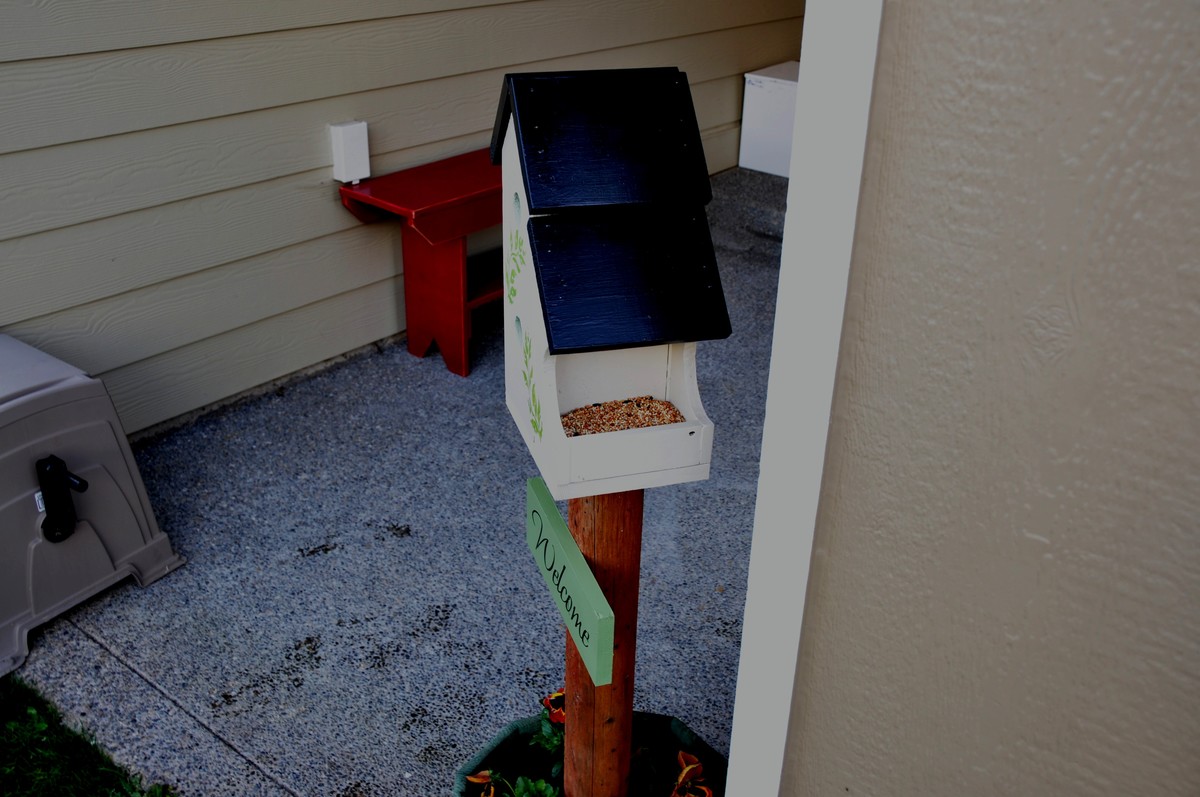
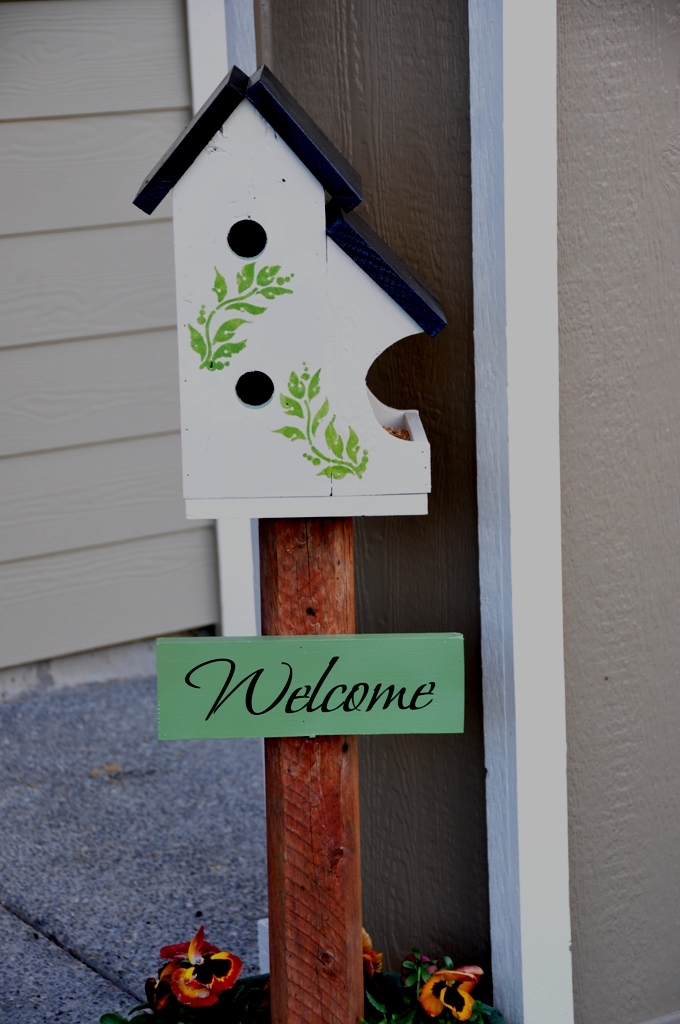
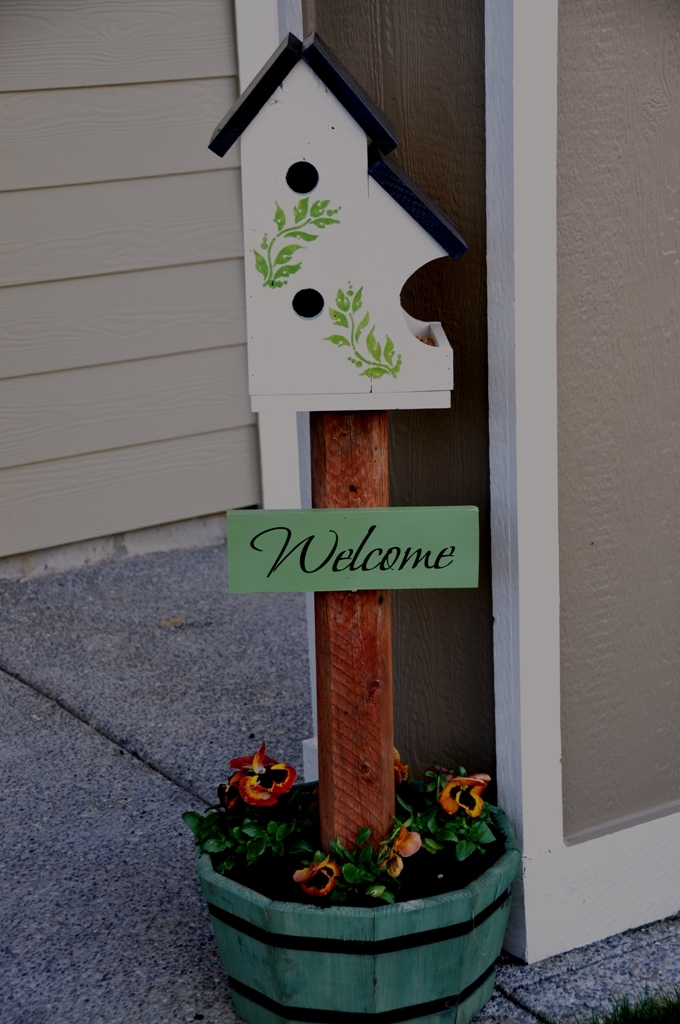
Bed and Breakfast birdhouse
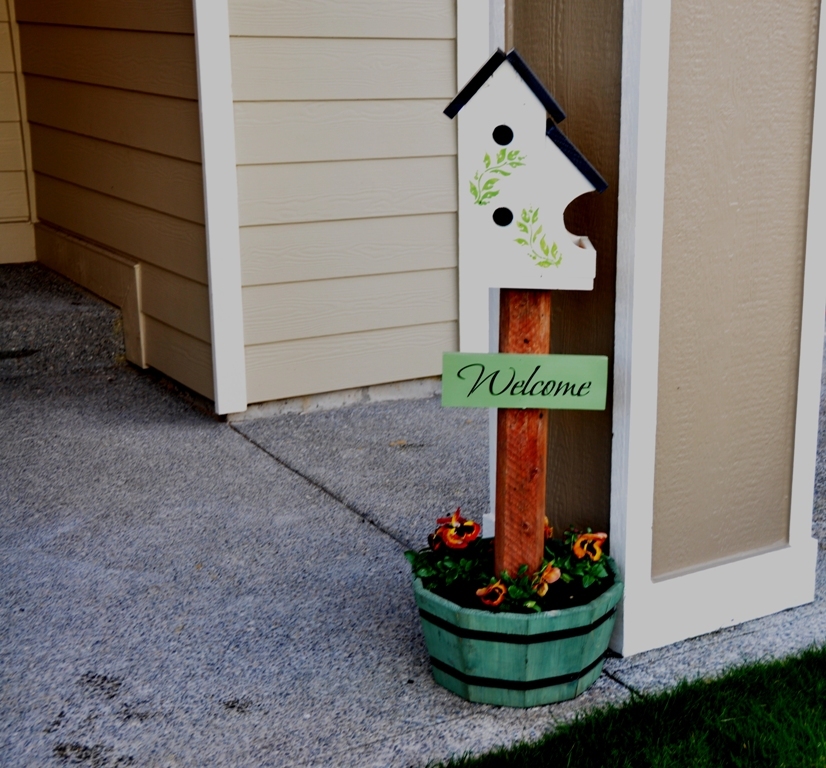
My wife found a birdhouse she liked online, so I did my usual and made one with my own flare and design. This is a two story birdhouse with and feeder on the side. Welcome to the Bird Bed and Breakfast.
Built from Plan(s)
Estimated Cost
15.00
Estimated Time Investment
Afternoon Project (3-6 Hours)
Finish Used
Cream and black paint with green stencil/sign
Recommended Skill Level
Beginner
Comments

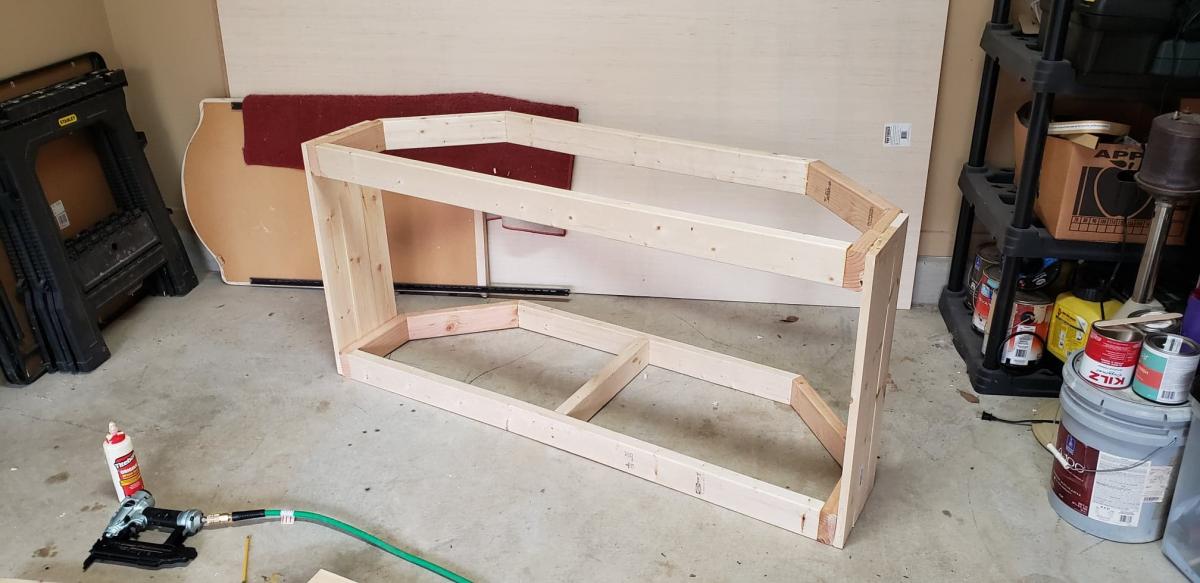
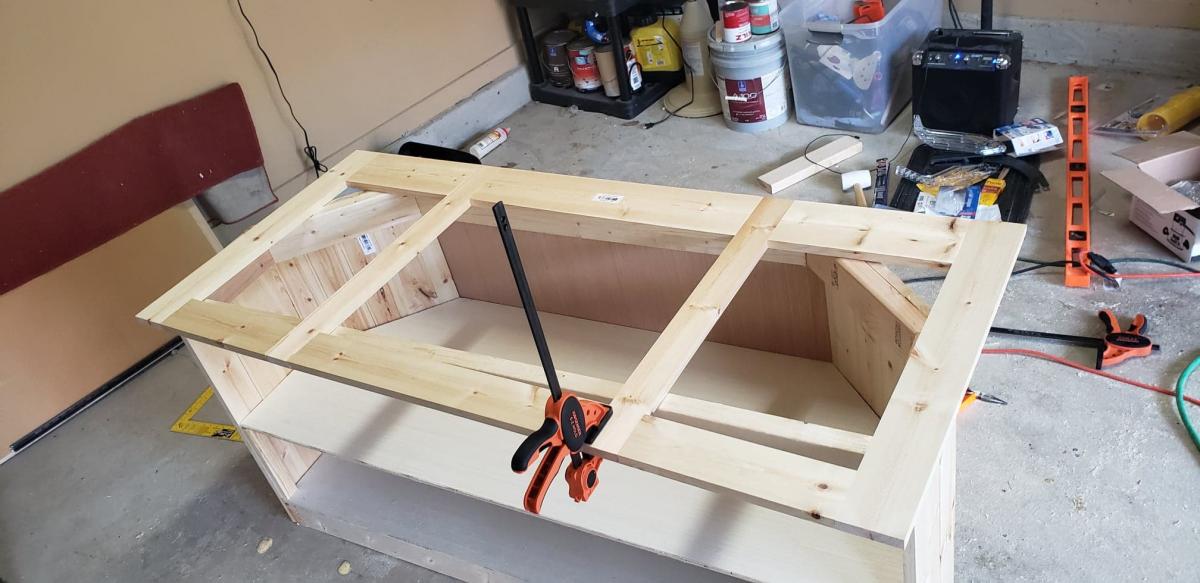
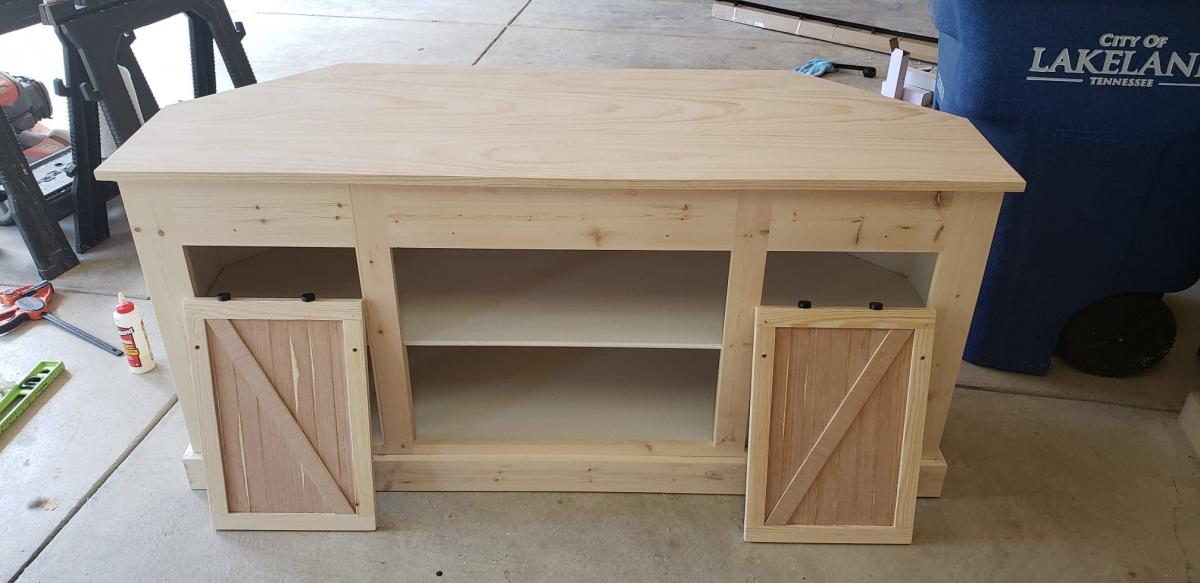
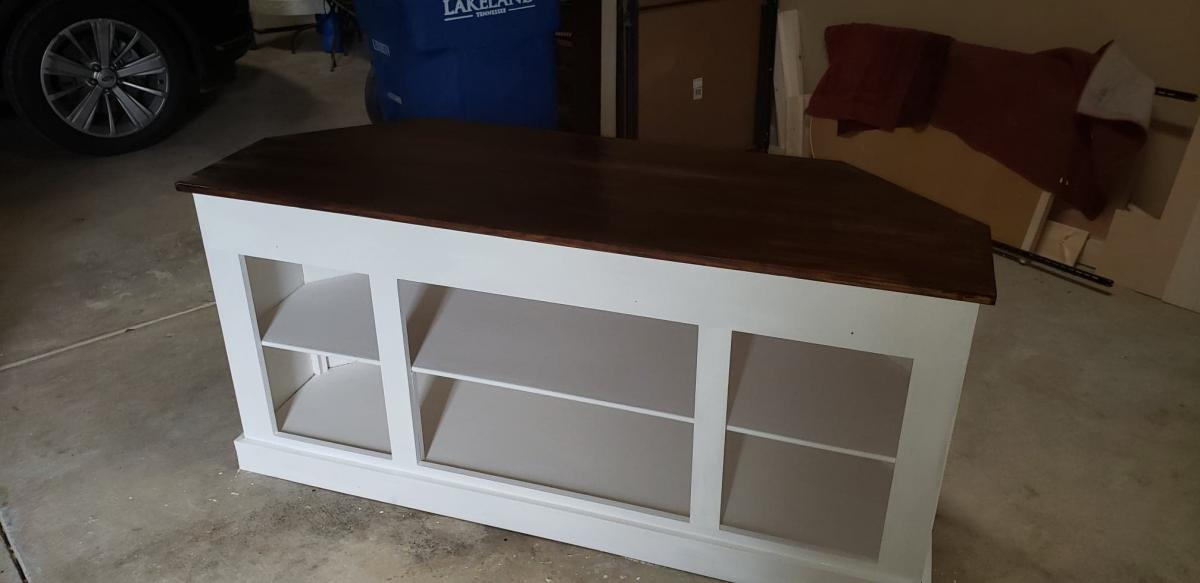
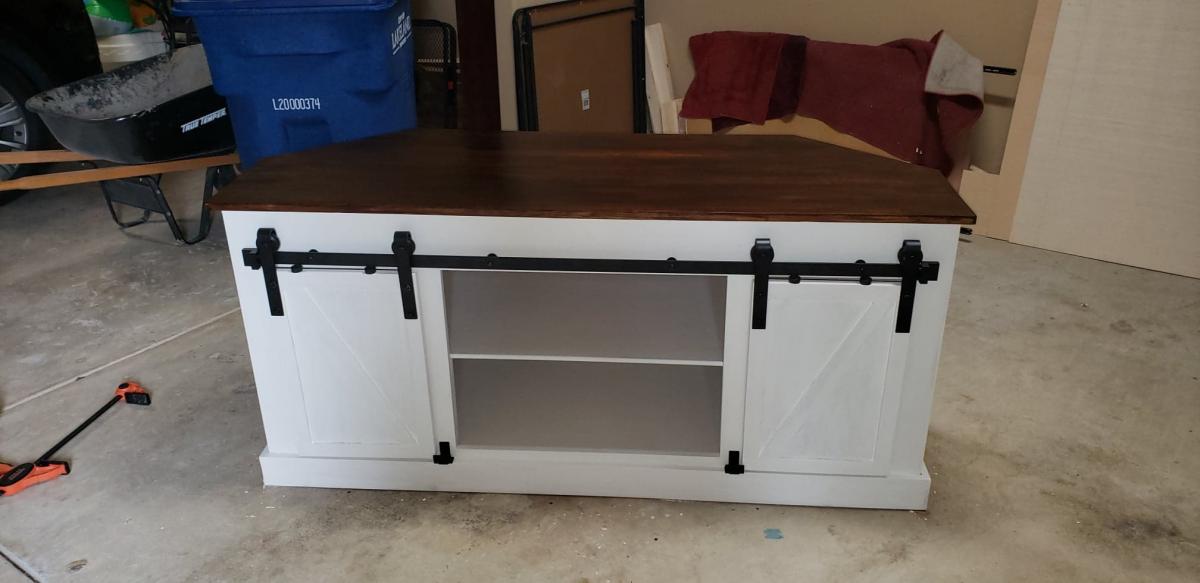
Grandy Barn Door Corner TV Stand
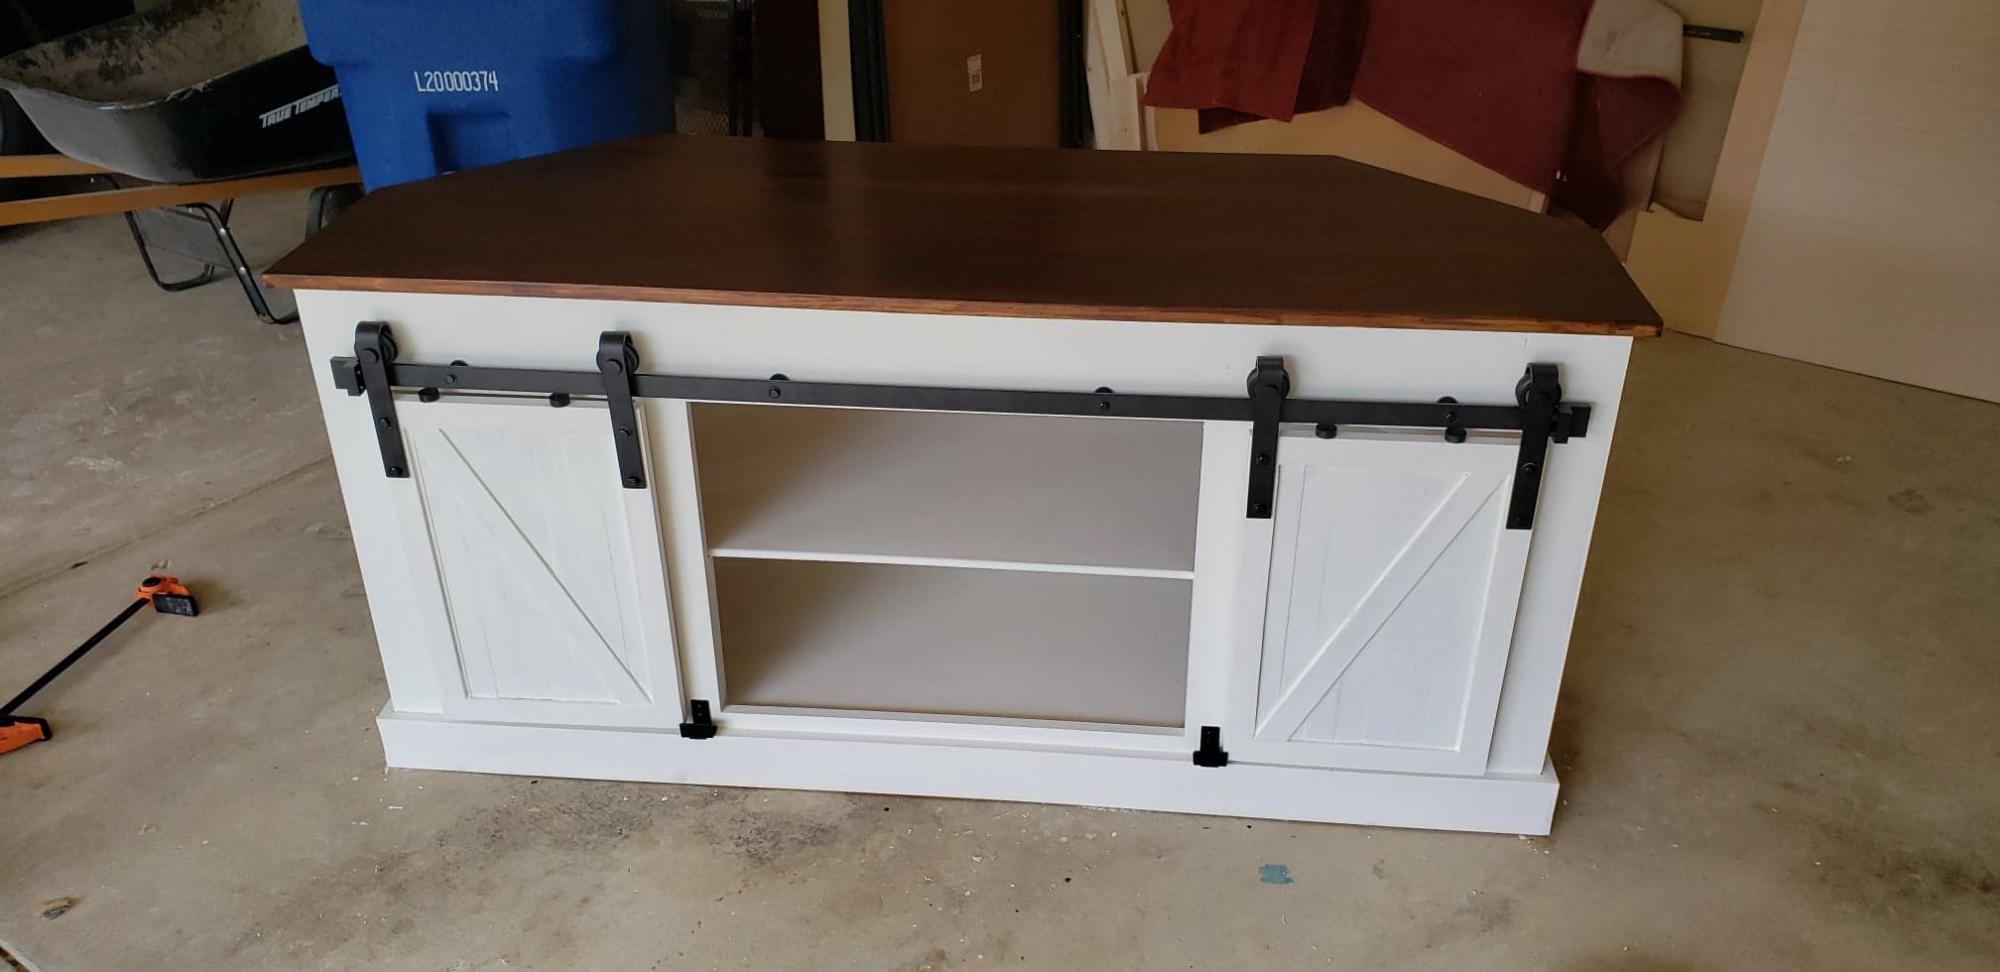
I couldn't find any corner TV stands with the barndoor style that were big enough, so I decided to design and make my own using the Grandy buffet design.
Built from Plan(s)
Estimated Cost
200-300
Estimated Time Investment
Week Long Project (20 Hours or More)
Finish Used
Minwax Polyshades Satin
Wax paint
Wax paint
Recommended Skill Level
Beginner
Comments

Sun, 05/03/2020 - 17:54
This would be perfect for my…
This would be perfect for my house, new look. Also like the idea of the Grandy Barn Door Console, dining room cabinet.
Fri, 03/19/2021 - 10:57
Plans for Grandy Corner
Did you save the measurements/plans? If so, I'd like to get them from you.
Tue, 01/04/2022 - 13:37
I will gladly pay for these…
I will gladly pay for these plans with the modifications, if someone can send them to me.
Tue, 01/04/2022 - 13:37
I will gladly pay for these…
I will gladly pay for these plans with the modifications, if someone can send them to me.
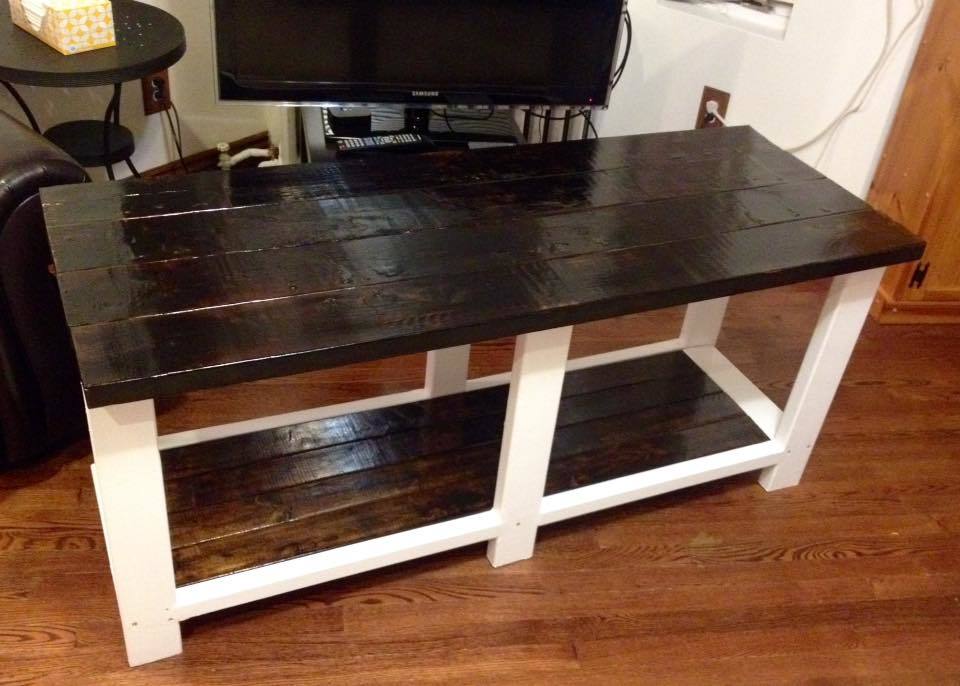
TV Table, DIY, Rustic, X Console, Console
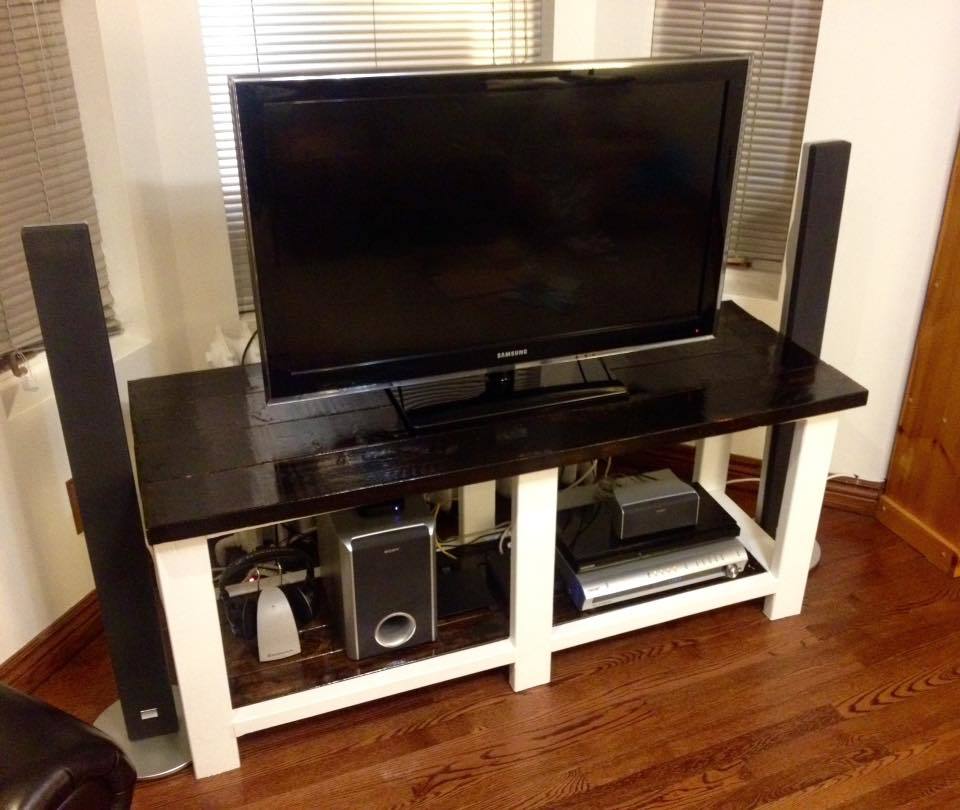
This was my very first DIY wood working project and I'm very pleased with the final result. I learned a lot along the way and after completing the TV table, felt confident enough to make a matching coffee table and side table.
This is a great project for a novice DIYer.

Built from Plan(s)
Estimated Cost
Approx. $150, as I had to purchase some tools.
Estimated Time Investment
Weekend Project (10-20 Hours)
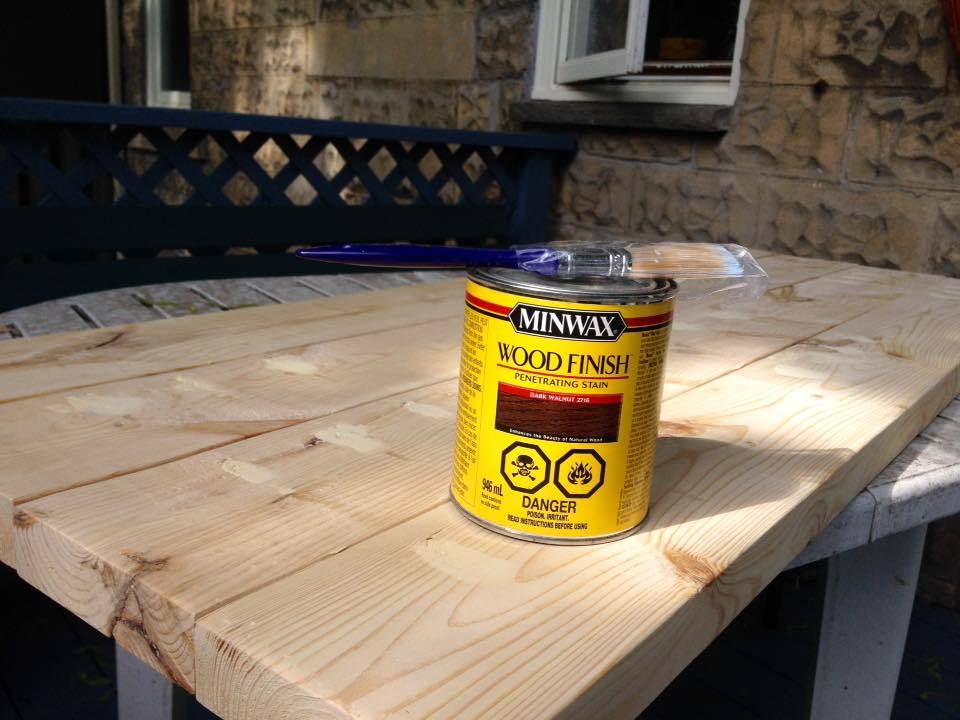
Finish Used
TV Table
Recommended Skill Level
Starter Project
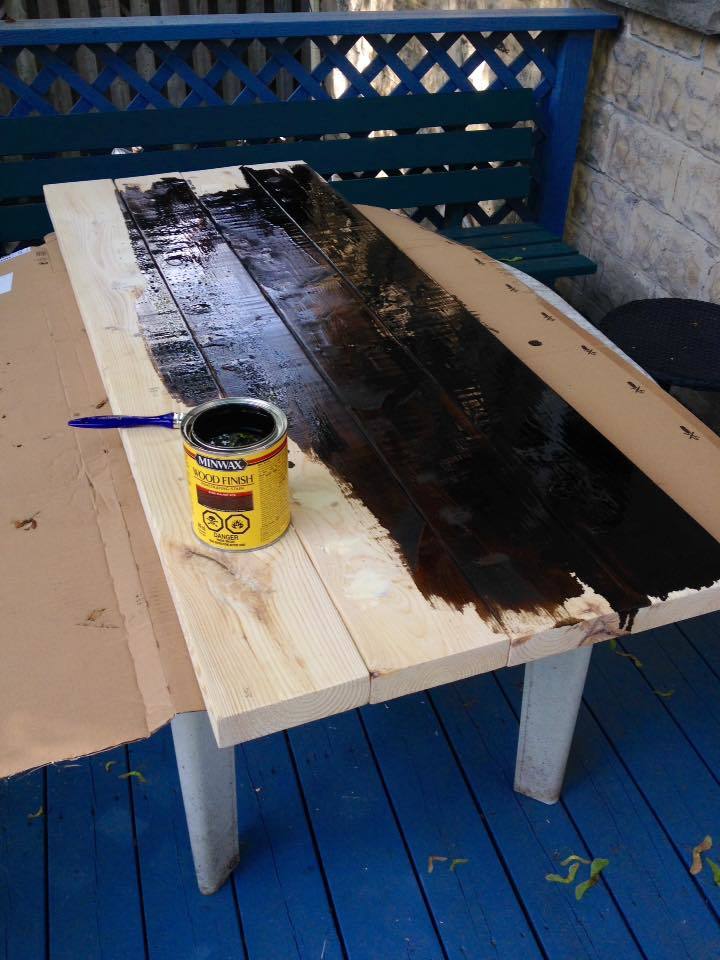
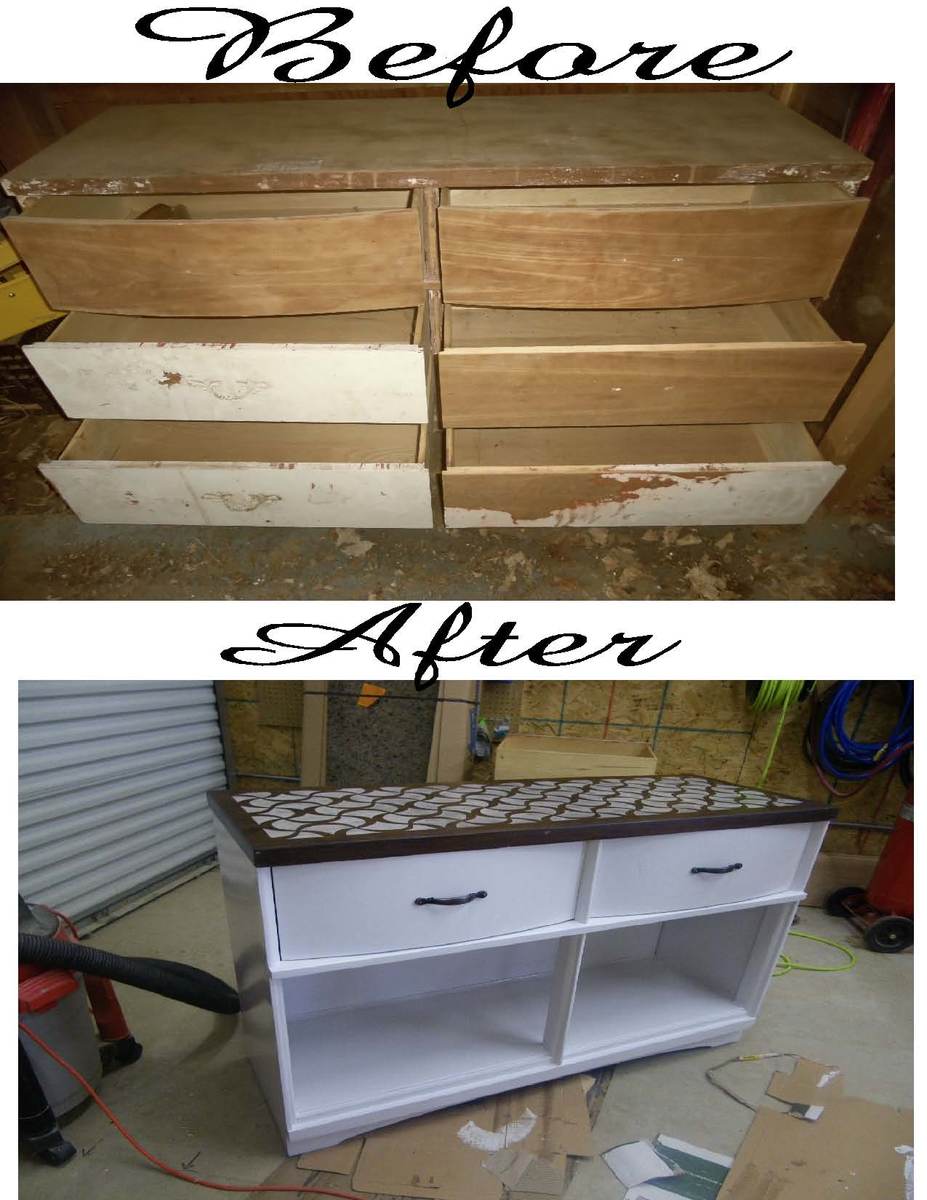
Dresser to Buffet
I have been looking for a dresser to transform into a buffet. I posted on a facebook yard sale group and a wonderful woman offered me one she had been keeping in her garage for free.
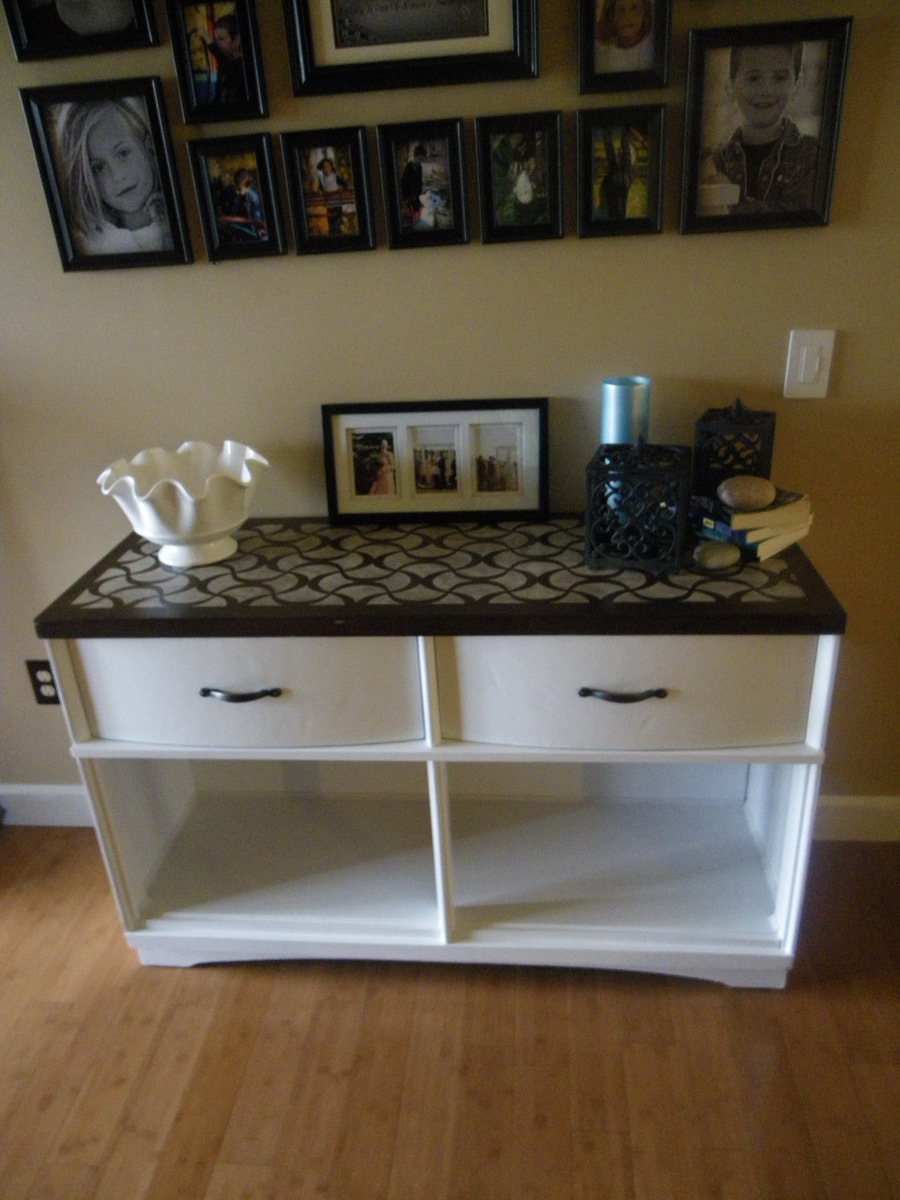
Step one stripping a lot of old paint and sanding, sanding, and sanding some more. I found a stencil i like on etsy. Stenciled that design onto the top of my "buffet" with white paint and then when it was dry lightly sanded it. I then stained the entire top the color i wanted. 3 coats of varnish finish that off.
The next step was the bottom. The hardest part about that was getting all the old paint out of all the ins and outs of this piece. Once that was done, with the help of the husband, we removed all the rails and braces holding the bottom 2 sets of drawers. It was put together with interlocking pieces so taking it apart left some hold in the side and middle brace. My husband cut pieces to fit in there and were put in place with wood glue. Once dried they were sanded completely smooth. We used a 1/4" piece of luan for the back and 3/4 piece of pine for the bottom of the now open area. A little trim, 2 coats of white enamel and some new hardware for the drawers and tada a new buffet..lol.
Just got it in yesterday so I'm still decorating, but i love the way it turned out!
Estimated Cost
$40
Estimated Time Investment
Weekend Project (10-20 Hours)
Recommended Skill Level
Beginner
Comments
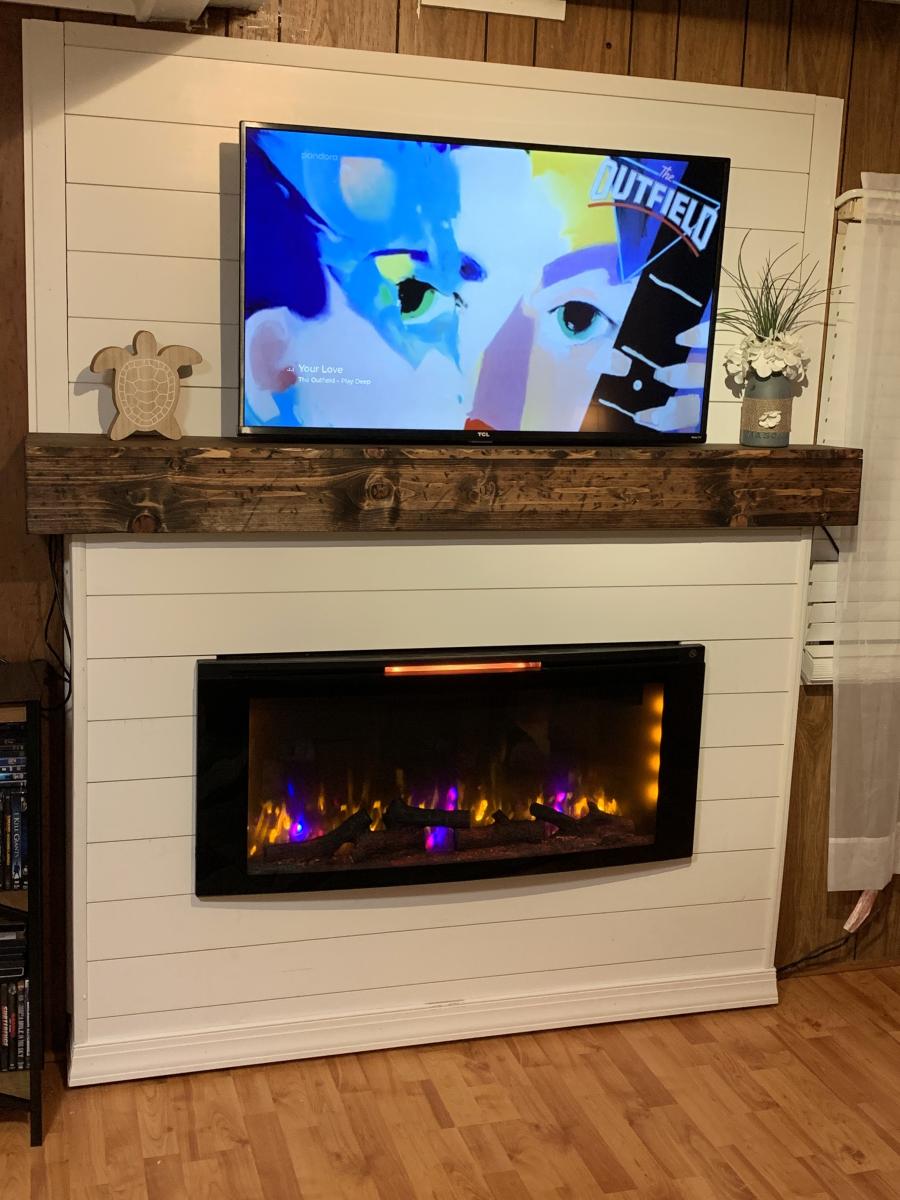
Shiplap Fireplace with Distressed Mantle
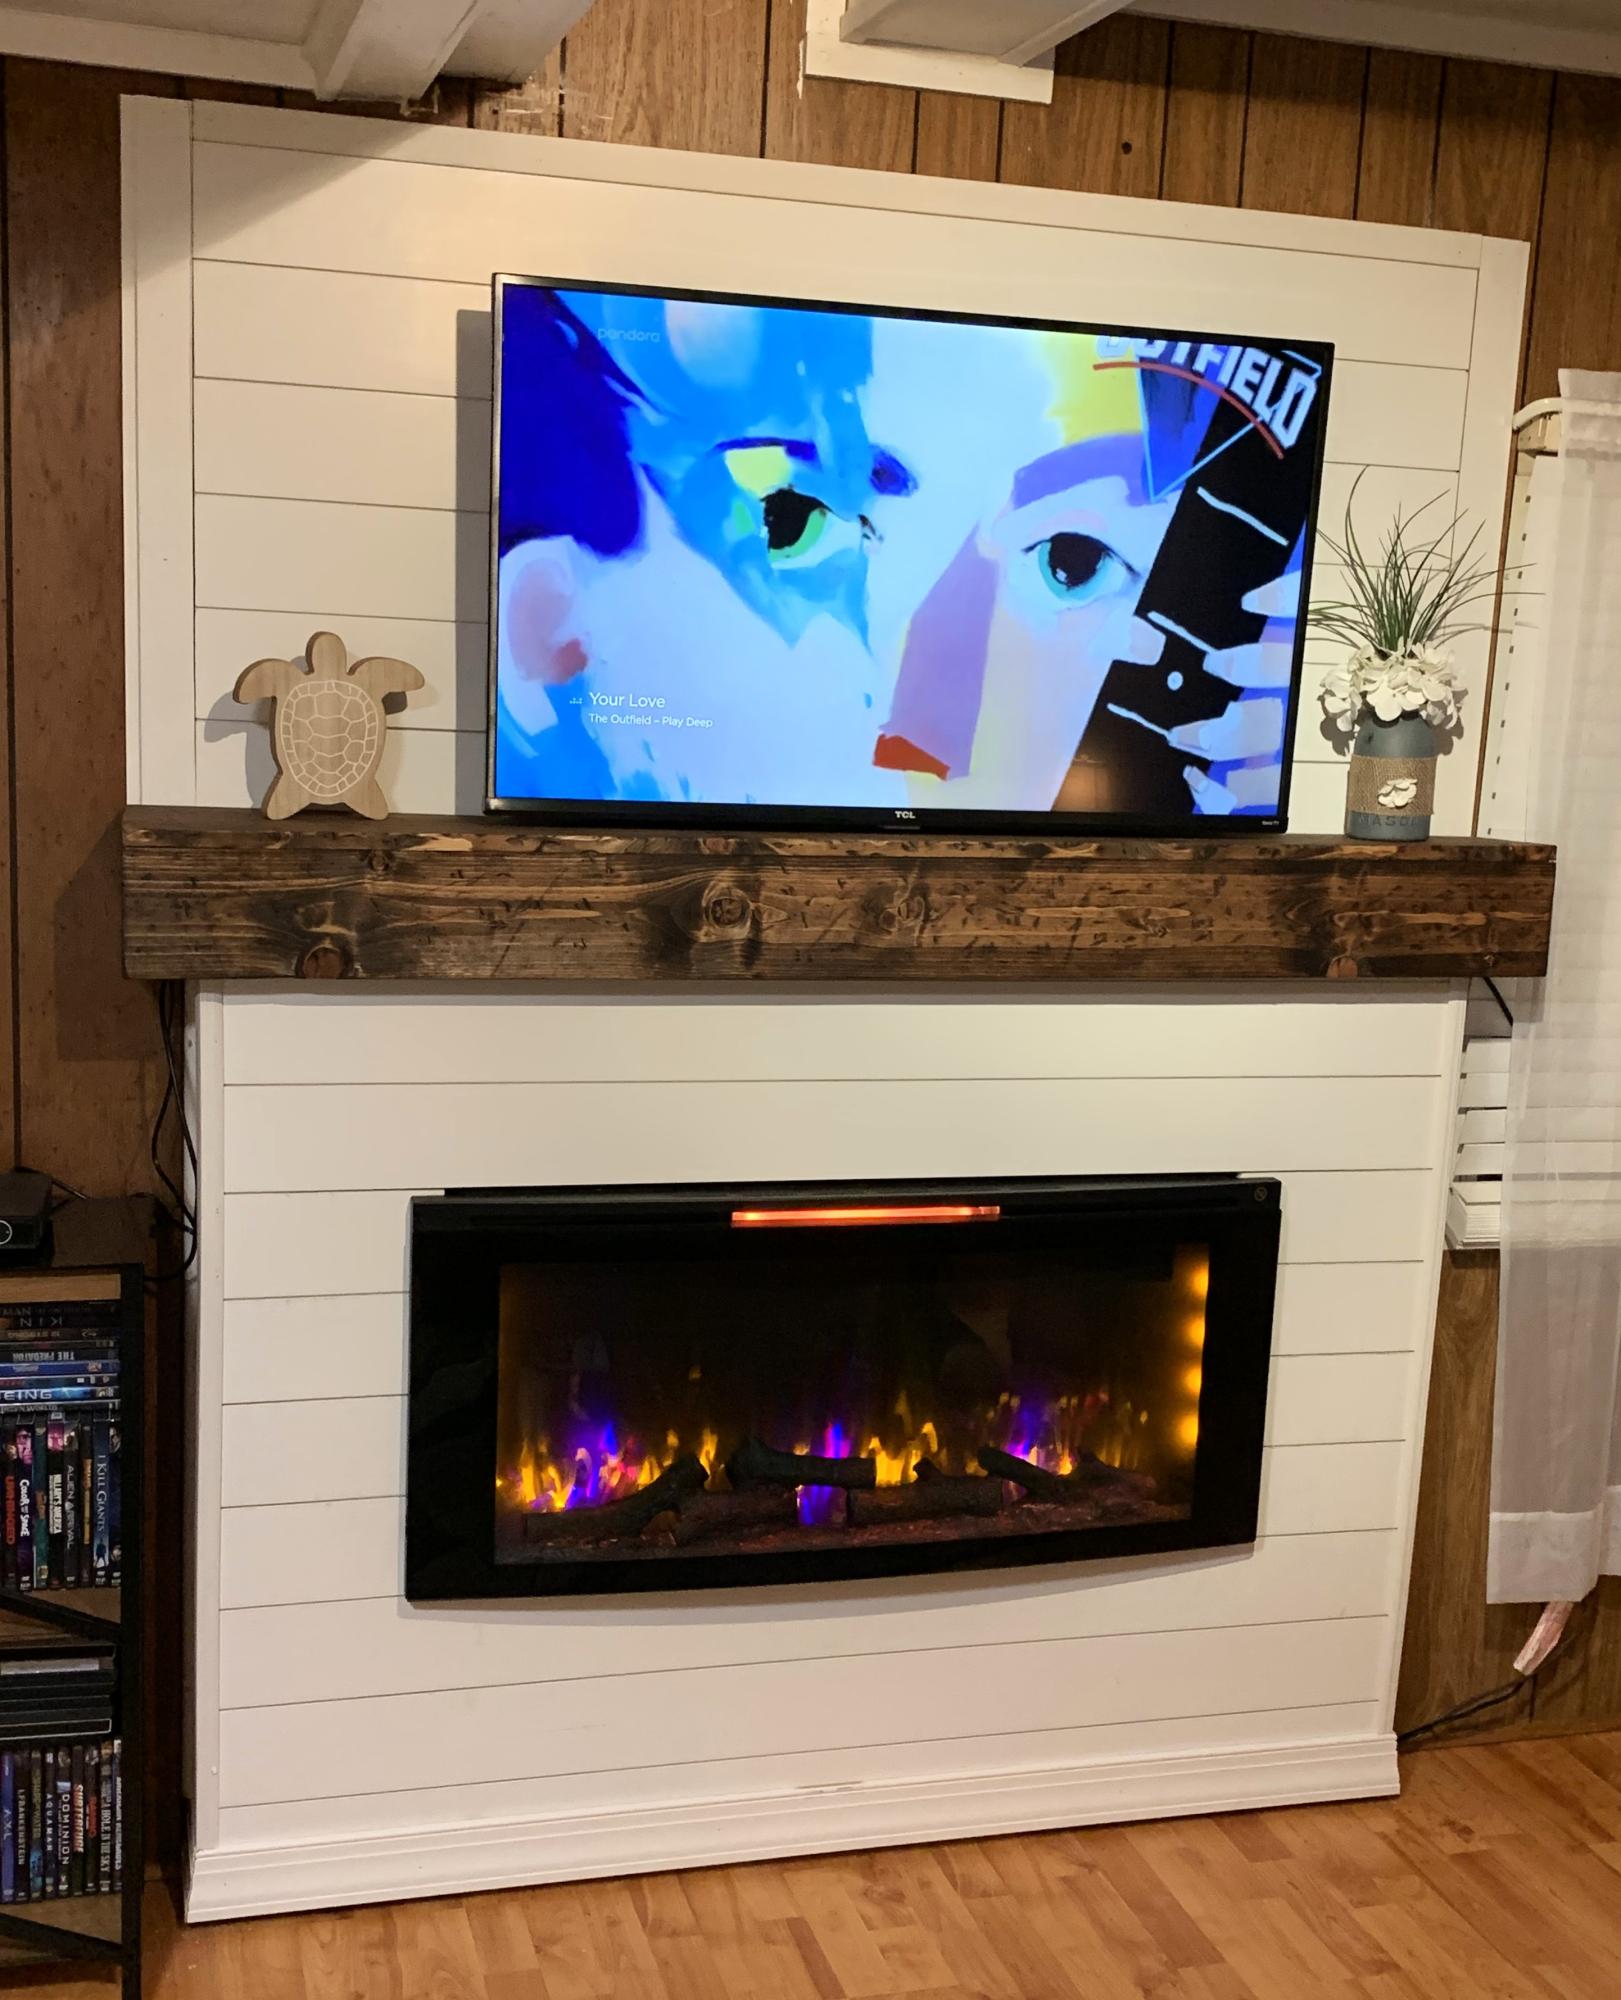
Shiplap fireplace and distressed mantle.
Tina
Built from Plan(s)
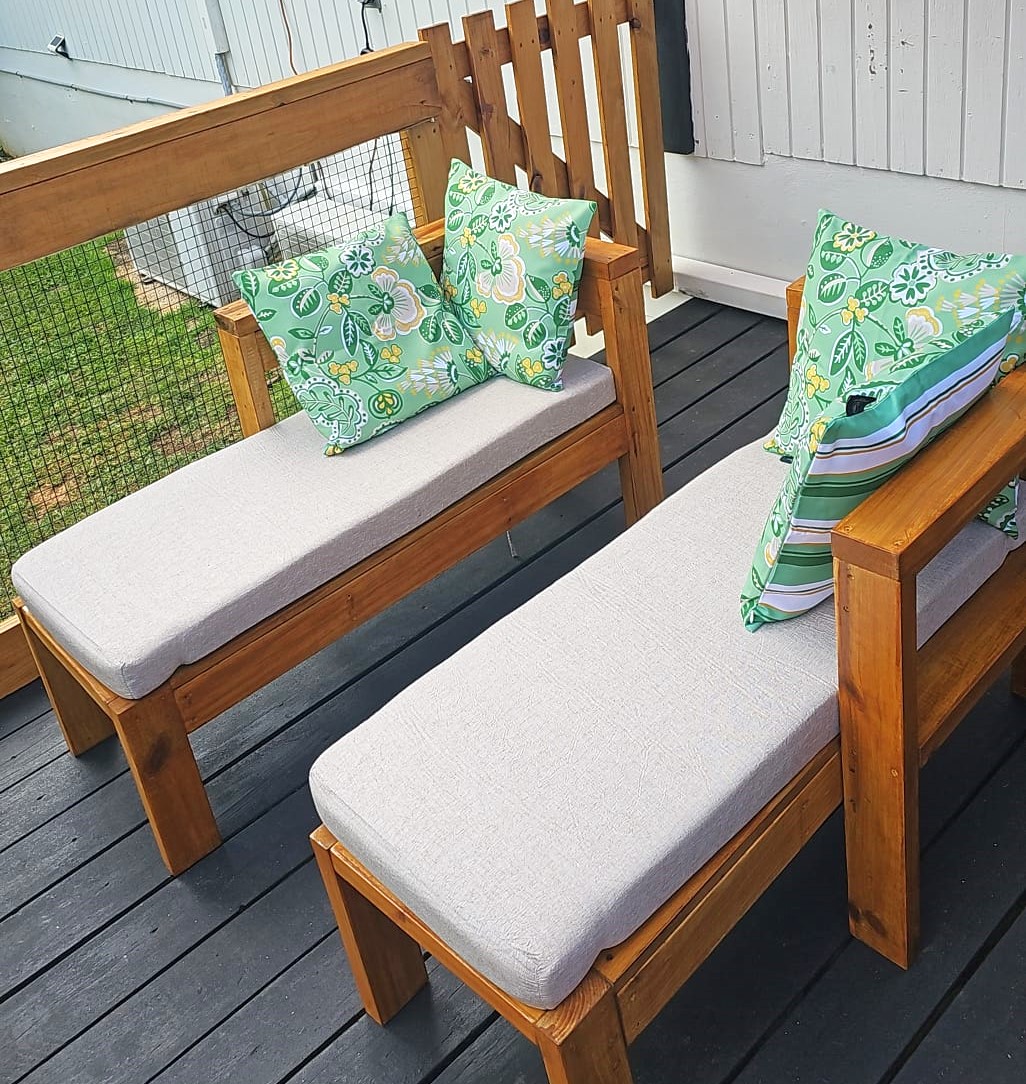
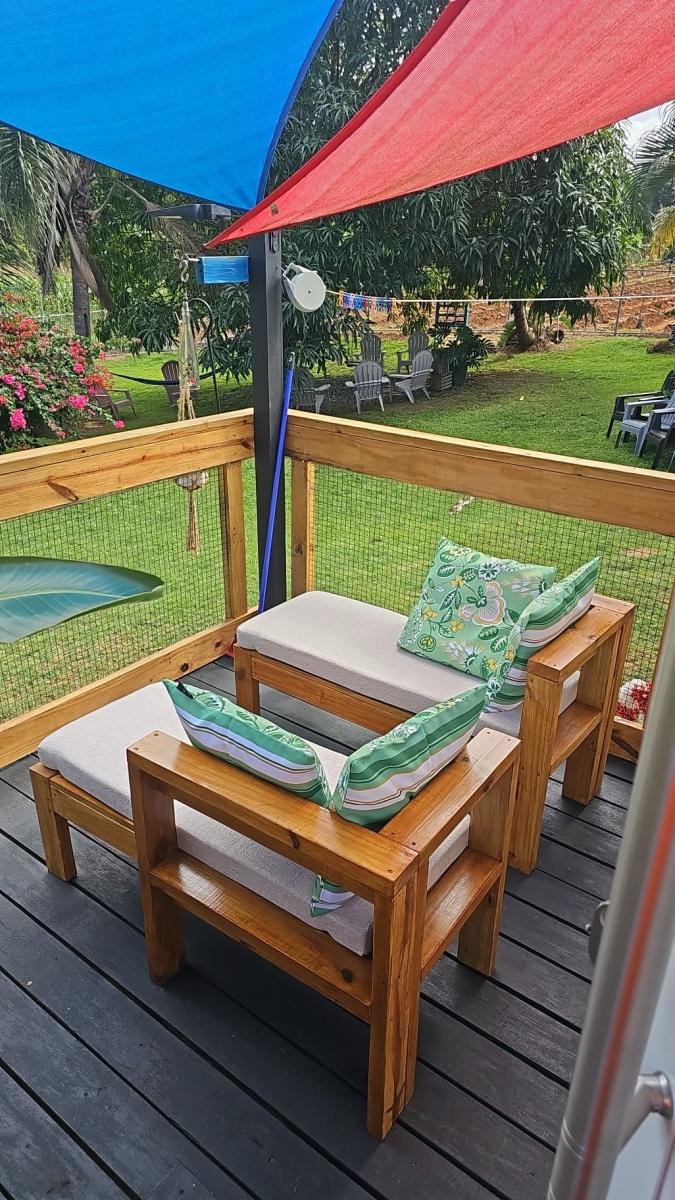
DIY Outdoor 2x4 Chaise Lounge
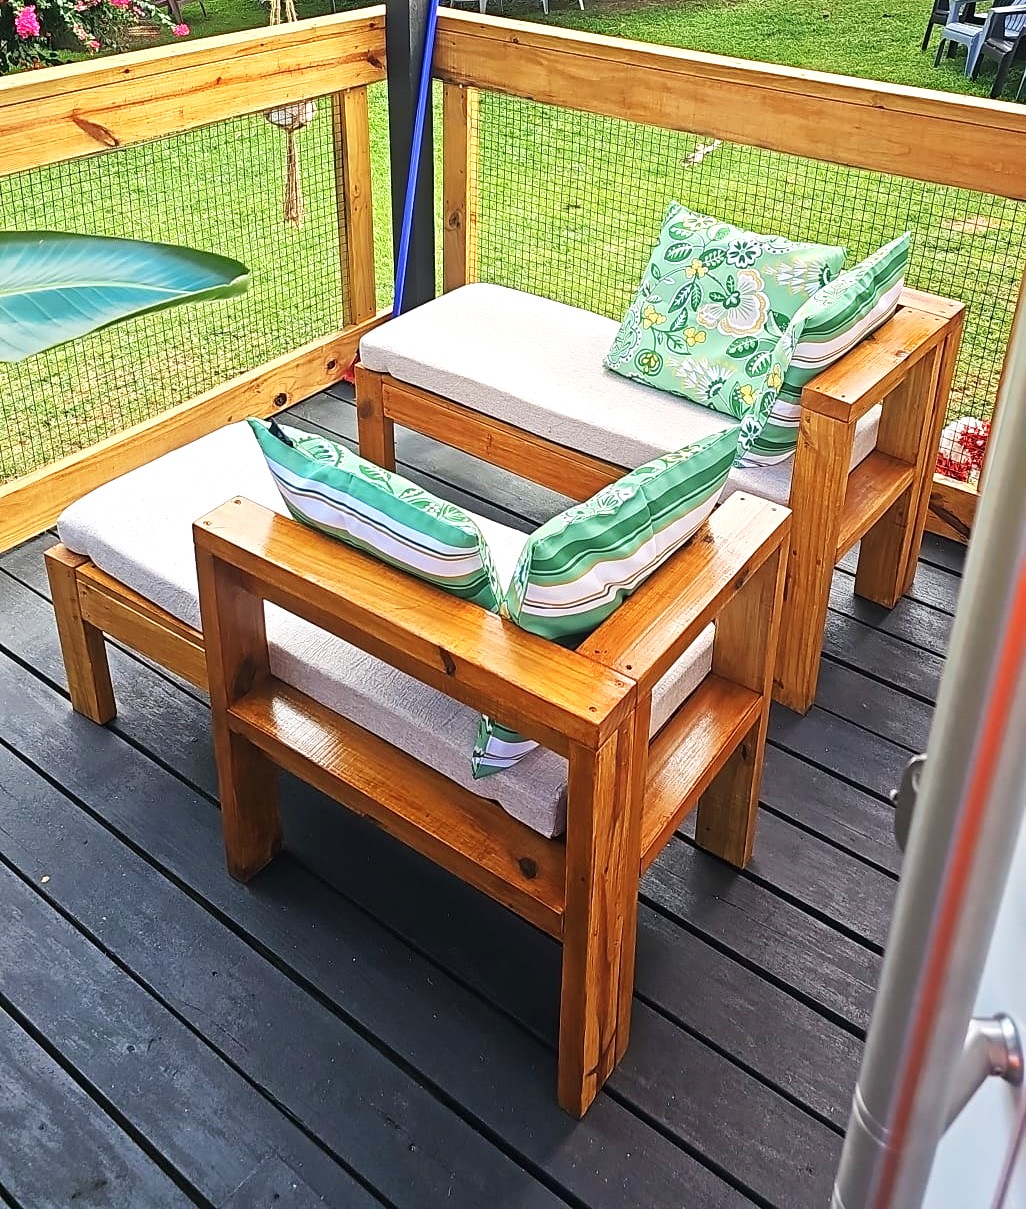
I had to really adjust the size due to not having enough space for the bigger one but I love how it came out. Your plans are amazing to follow.
Griselle from Puerto Rico
Built from Plan(s)
DIY Sliding Barn Doors
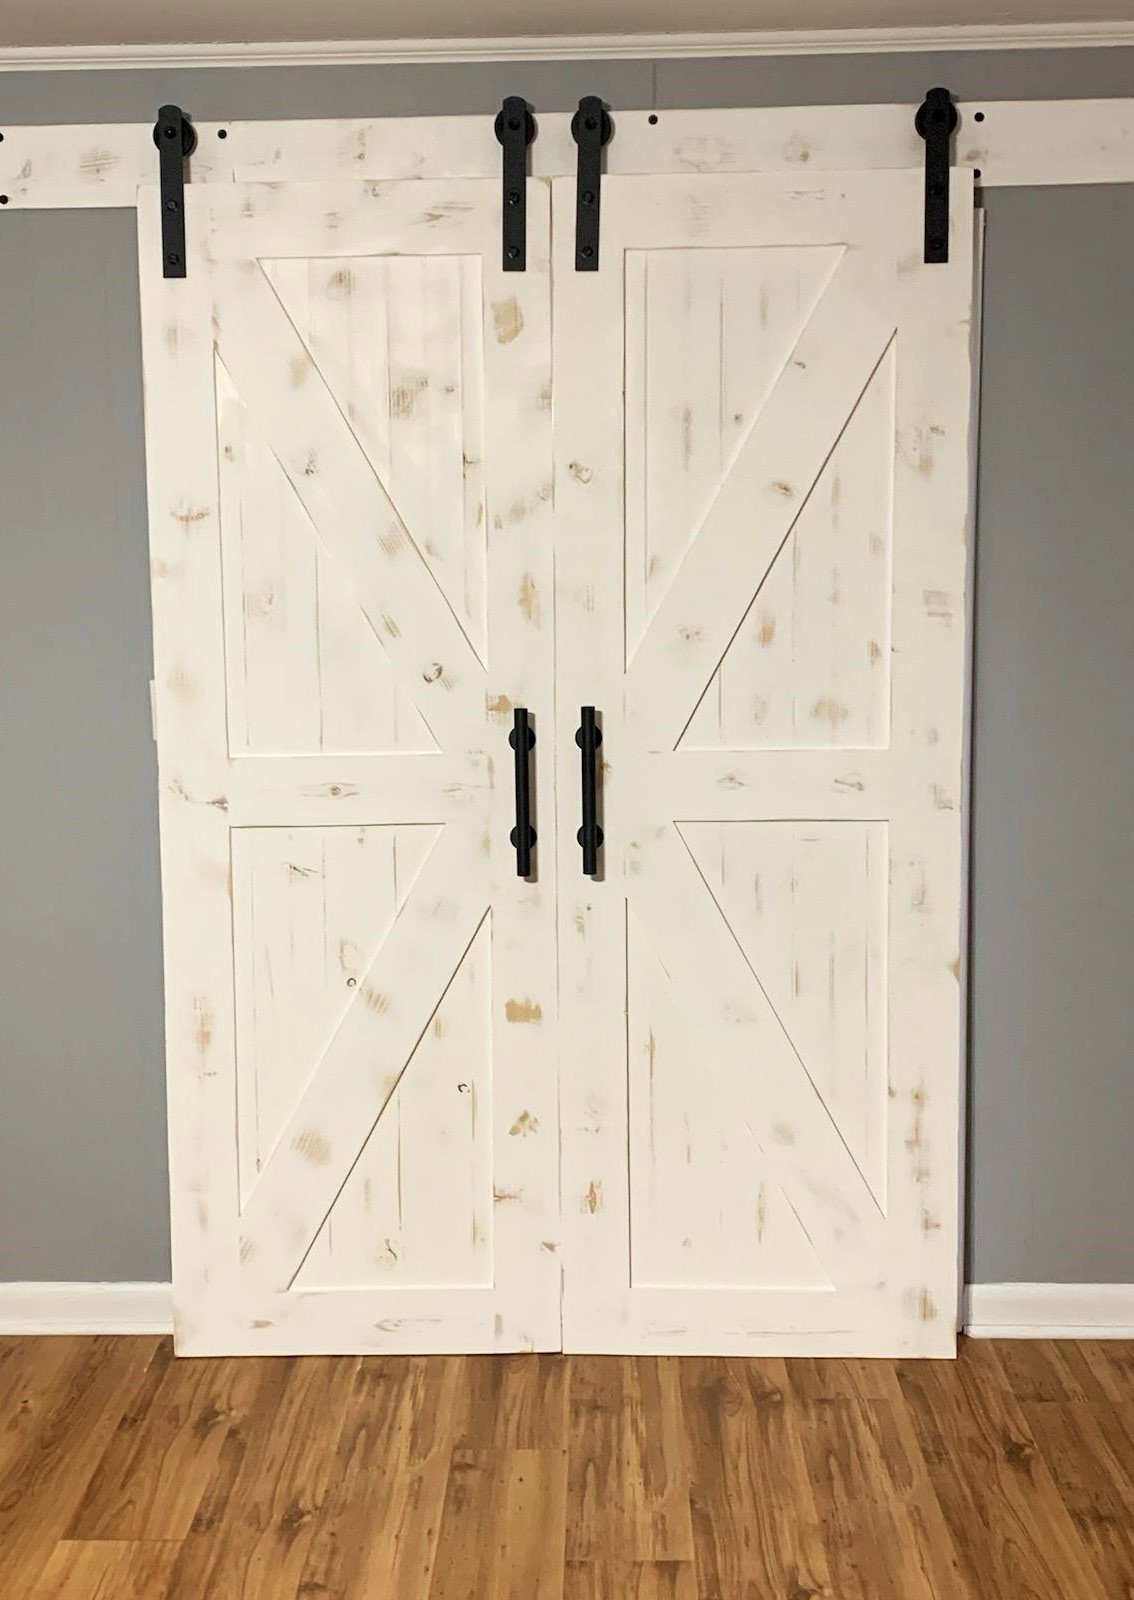
Made some sliding barn doors for a friend.
Allen Clark
Built from Plan(s)
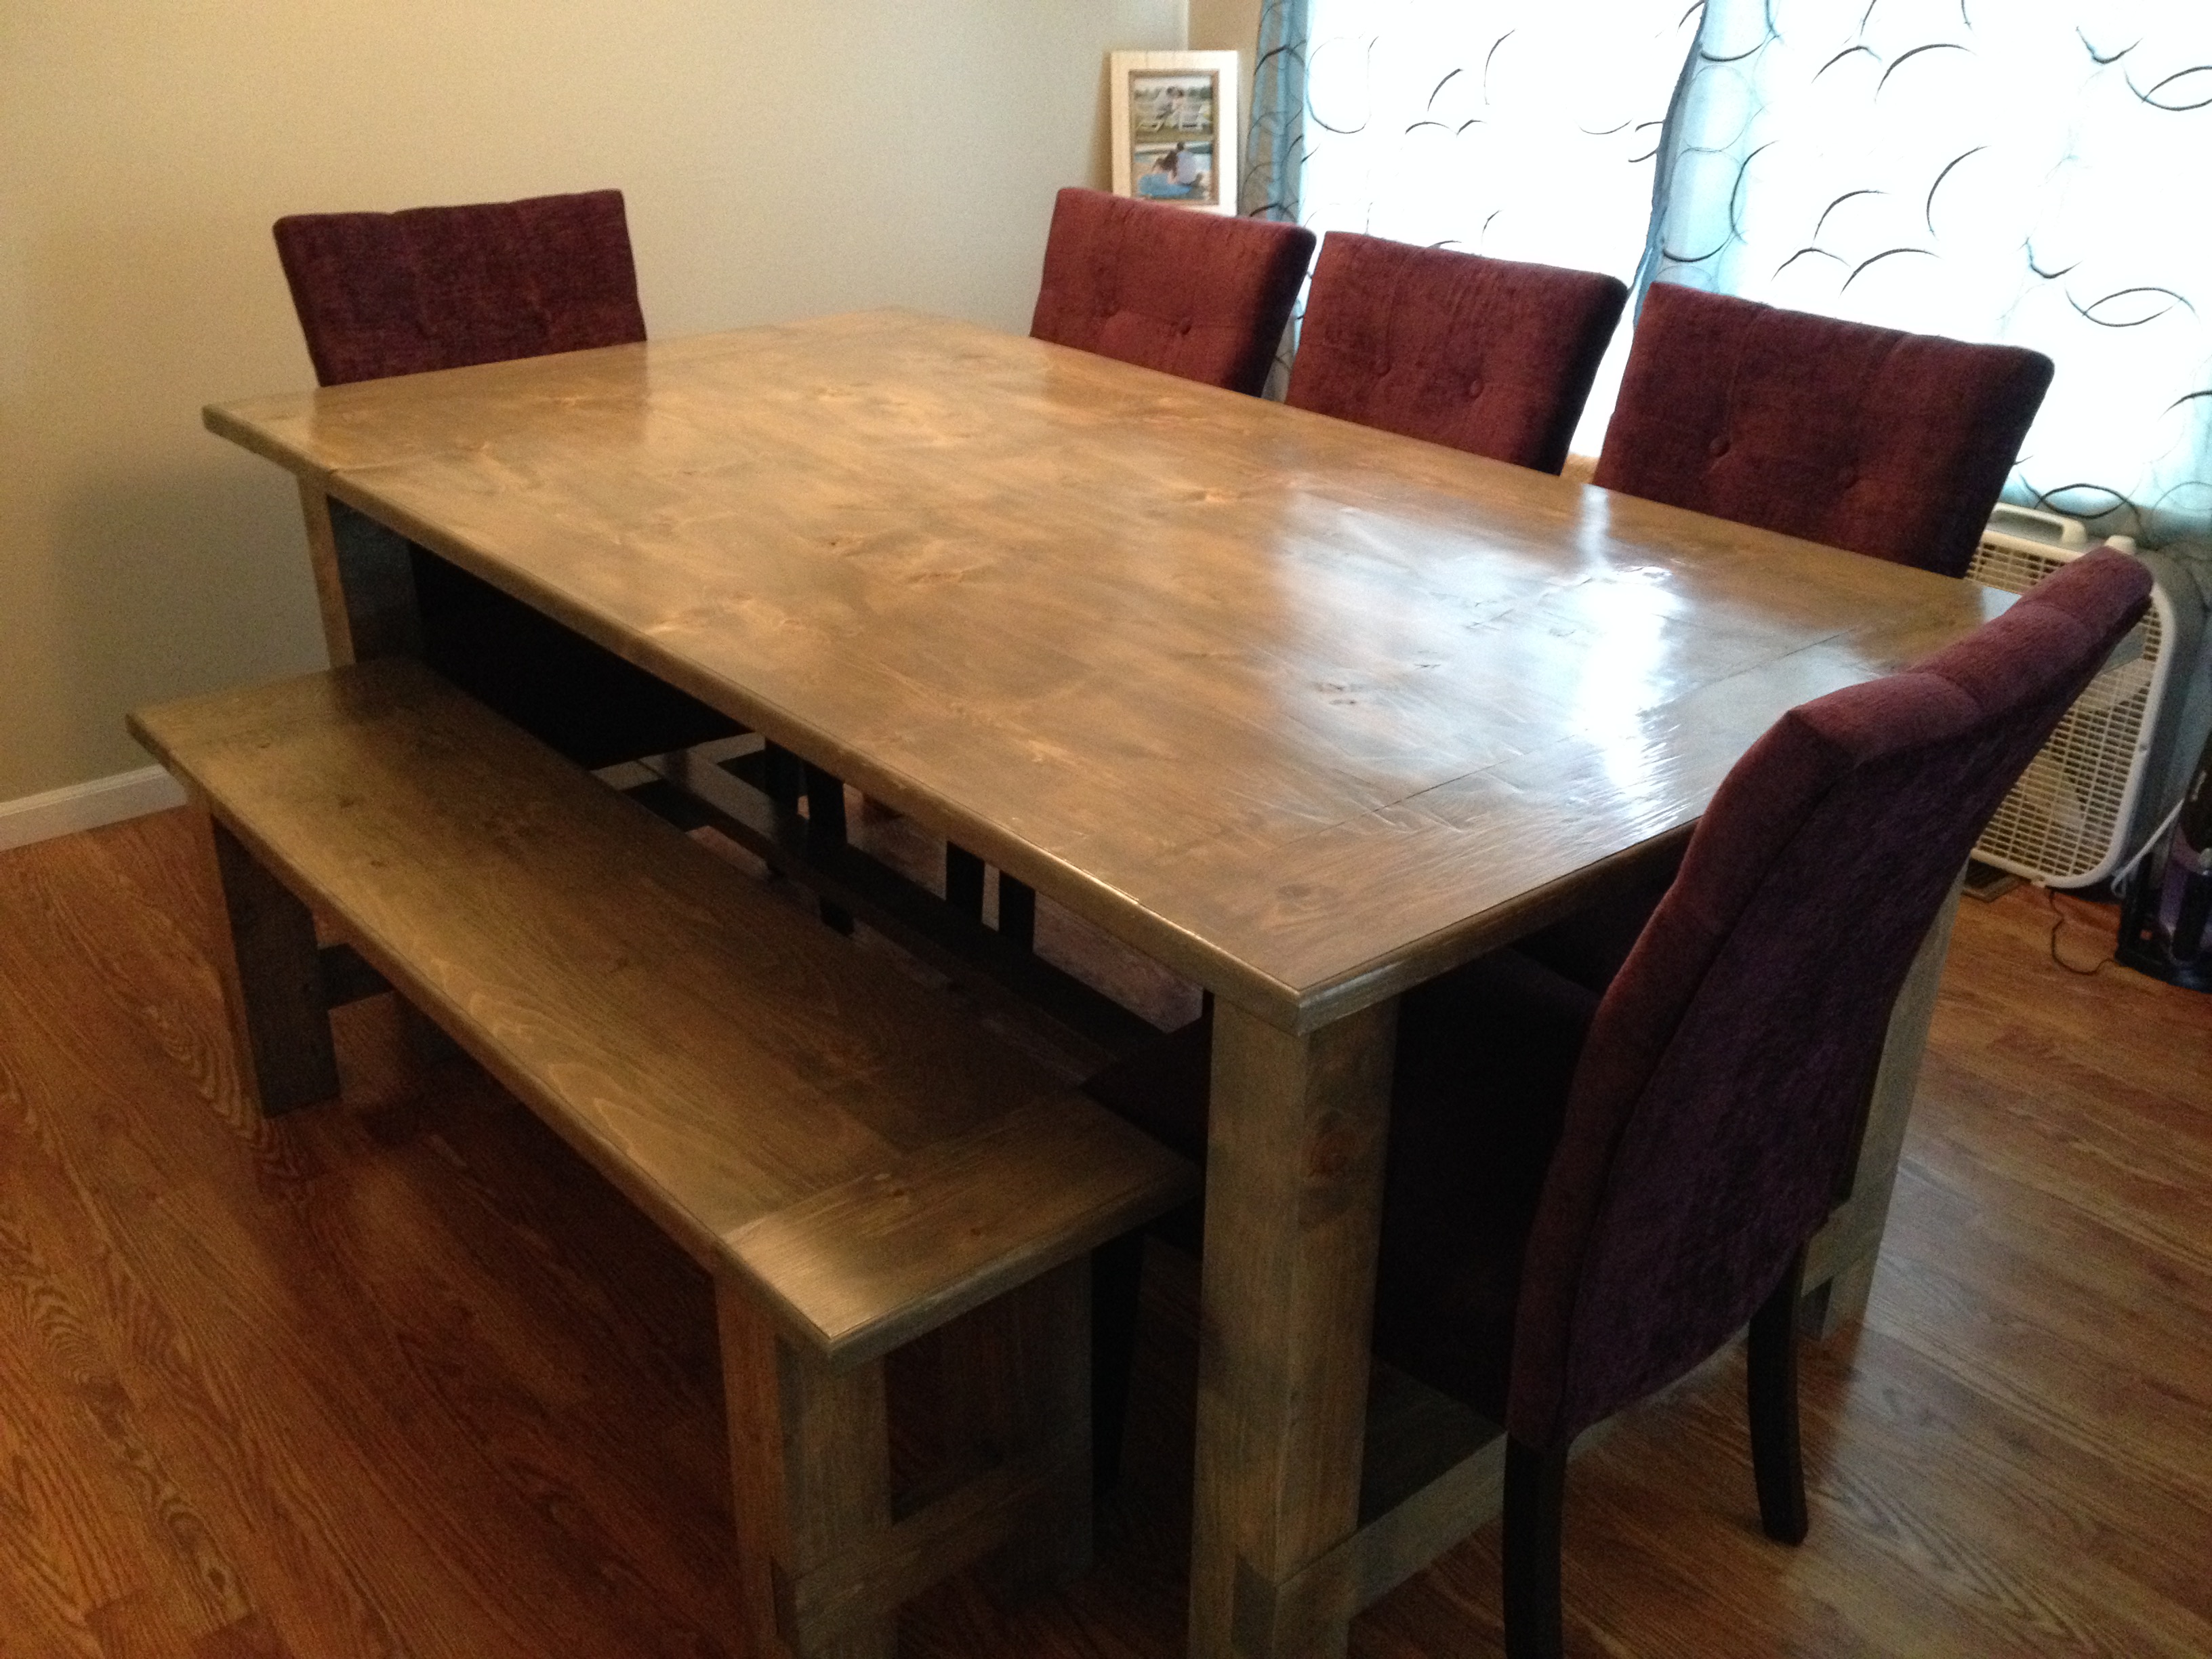
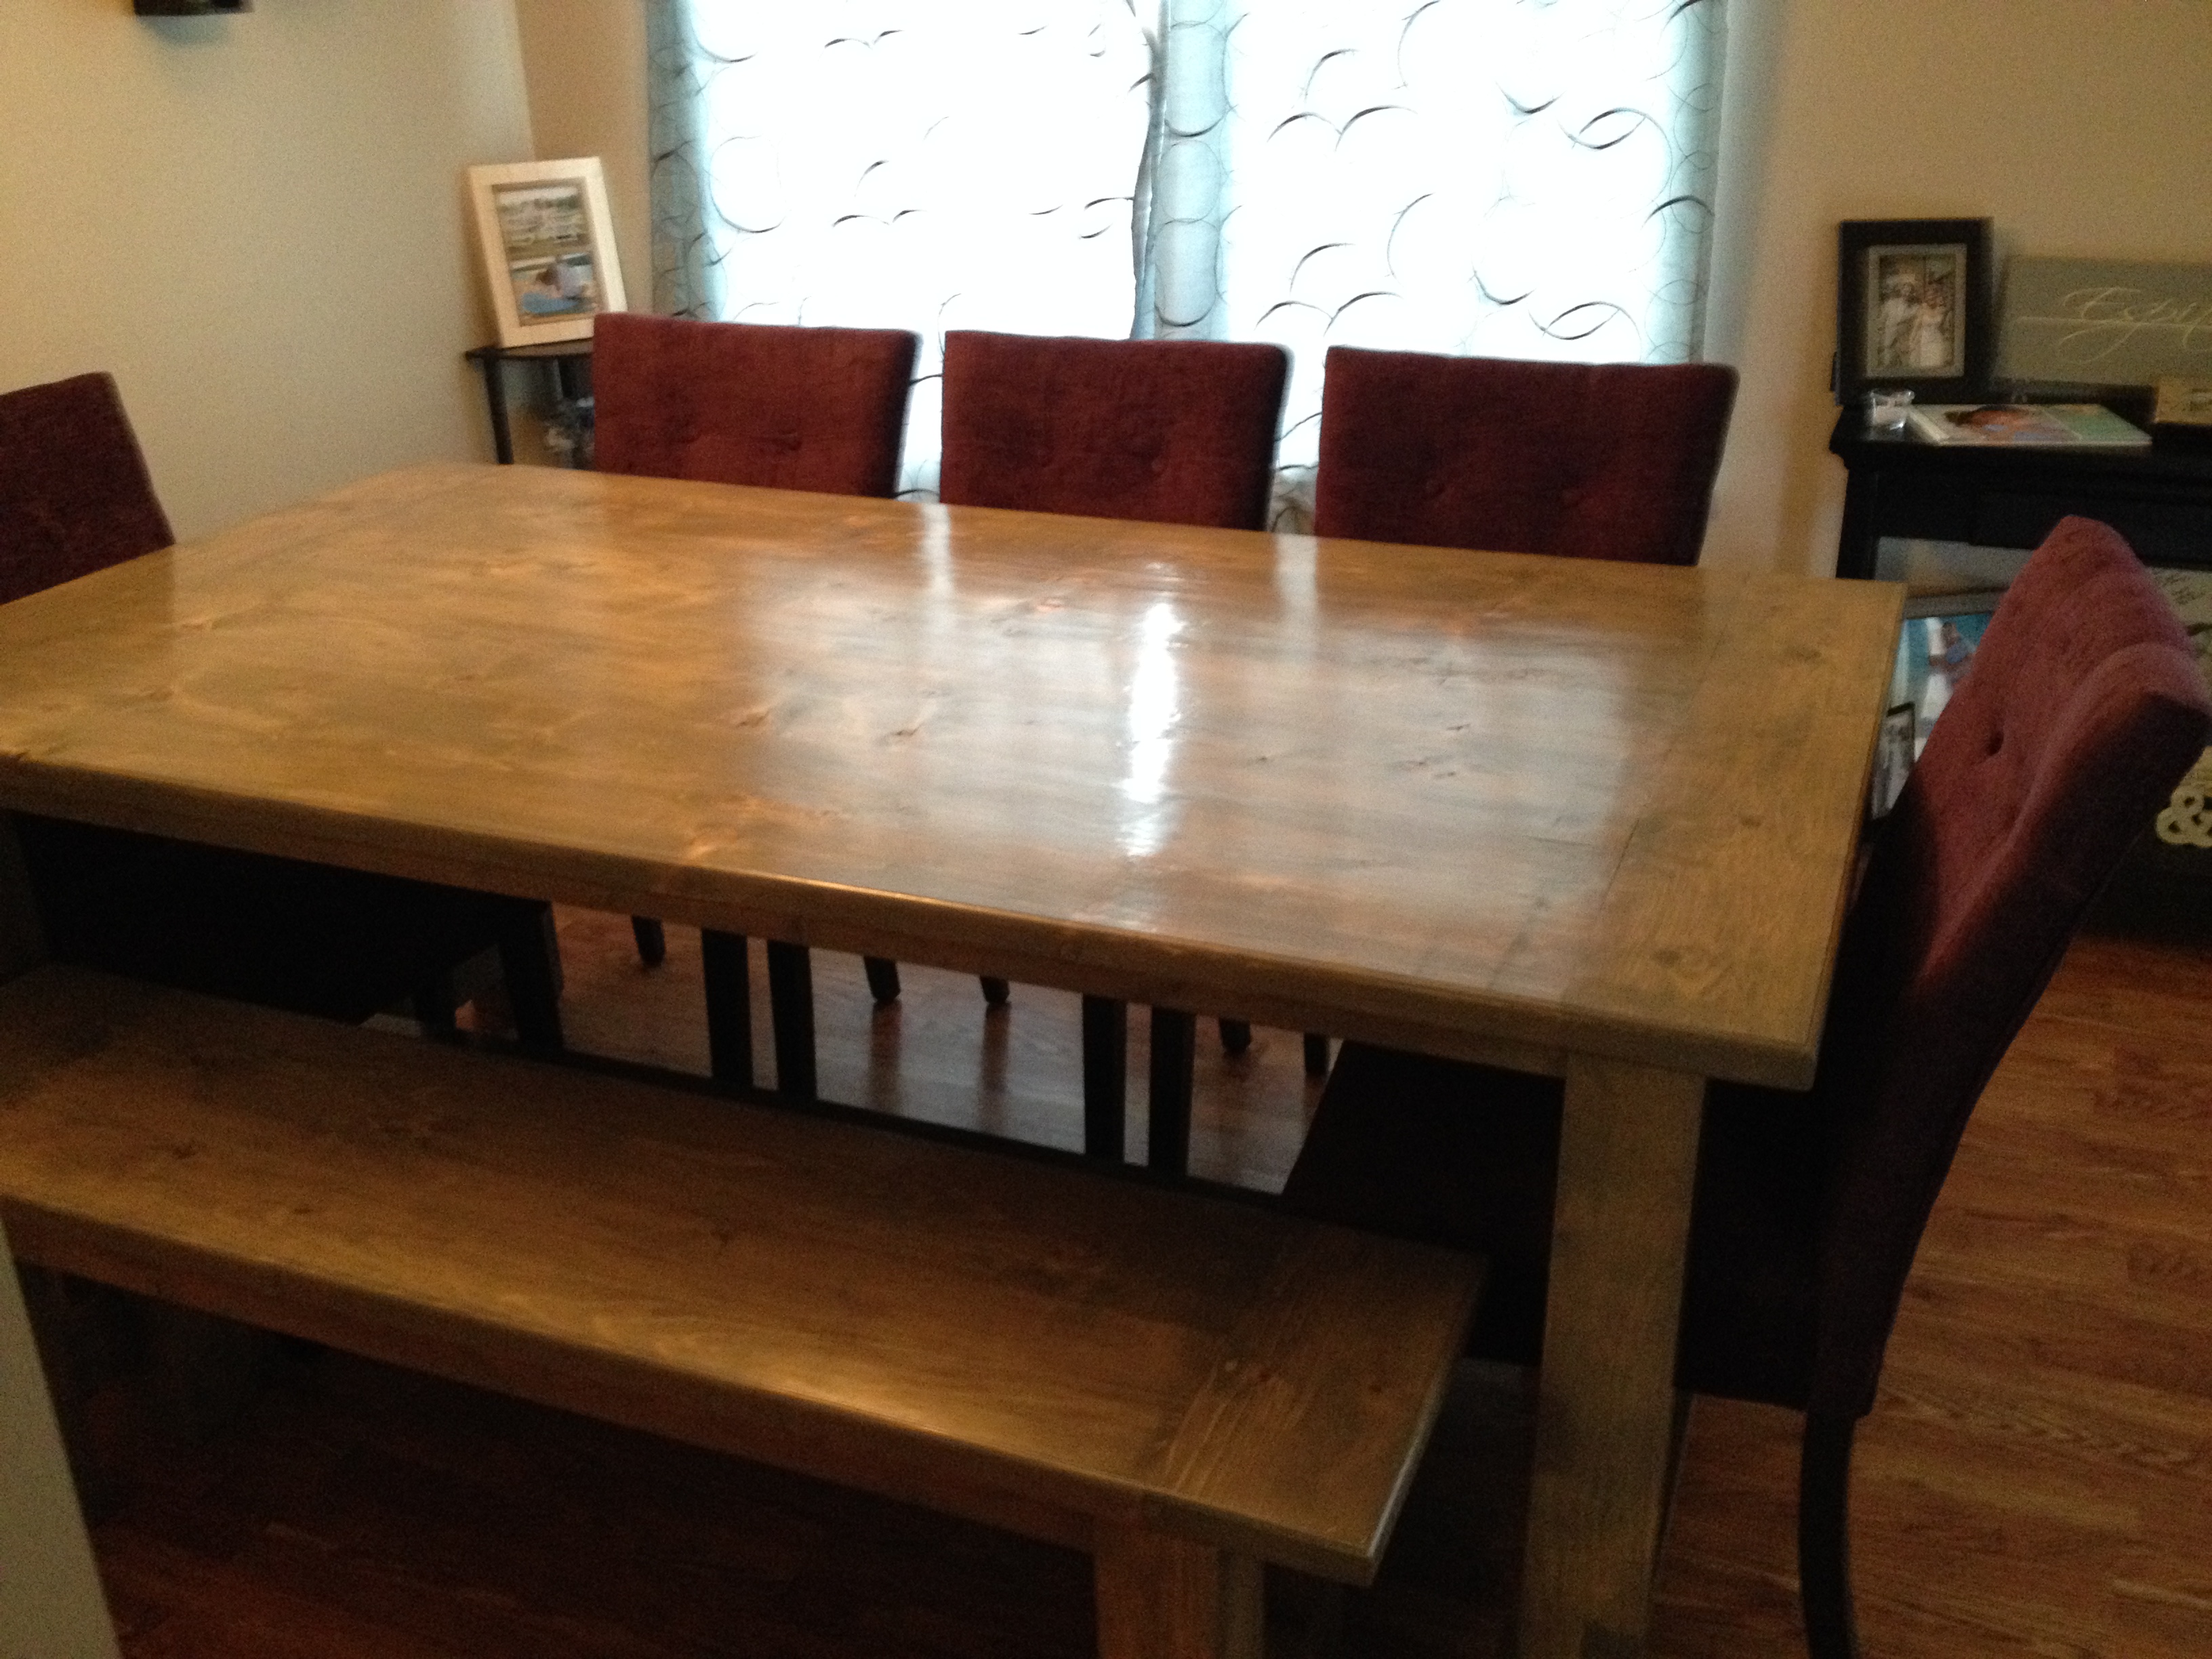
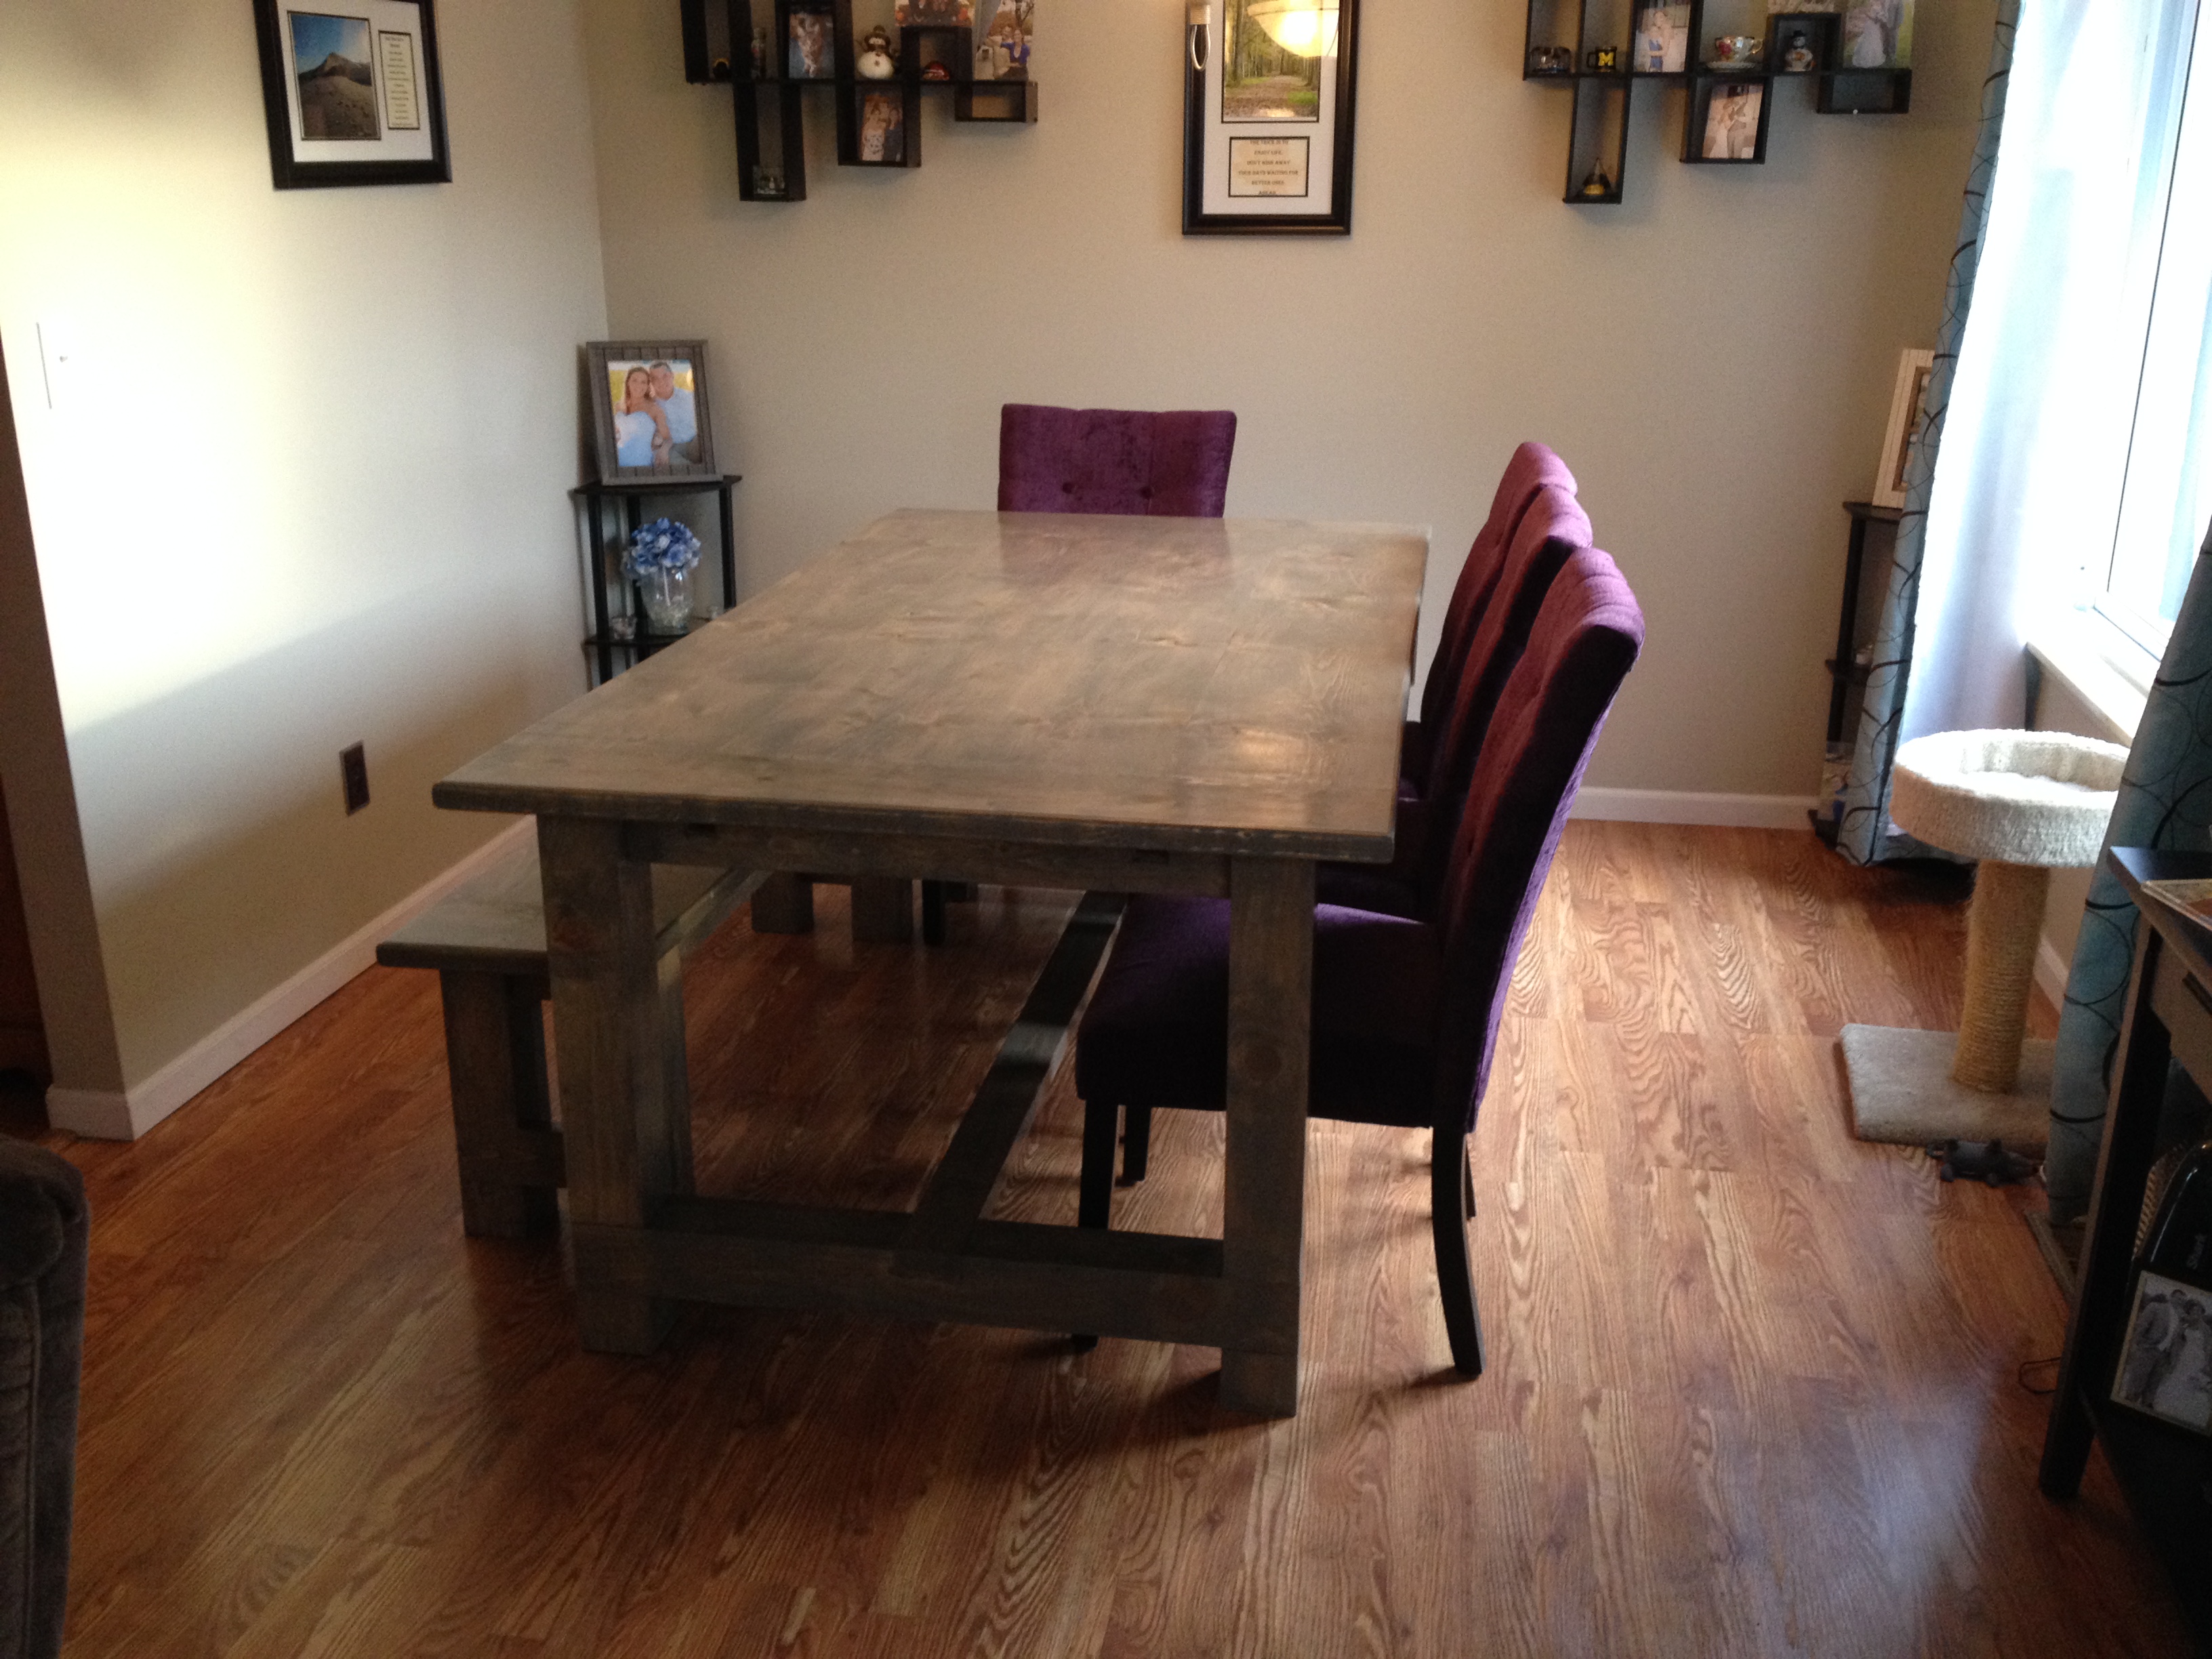
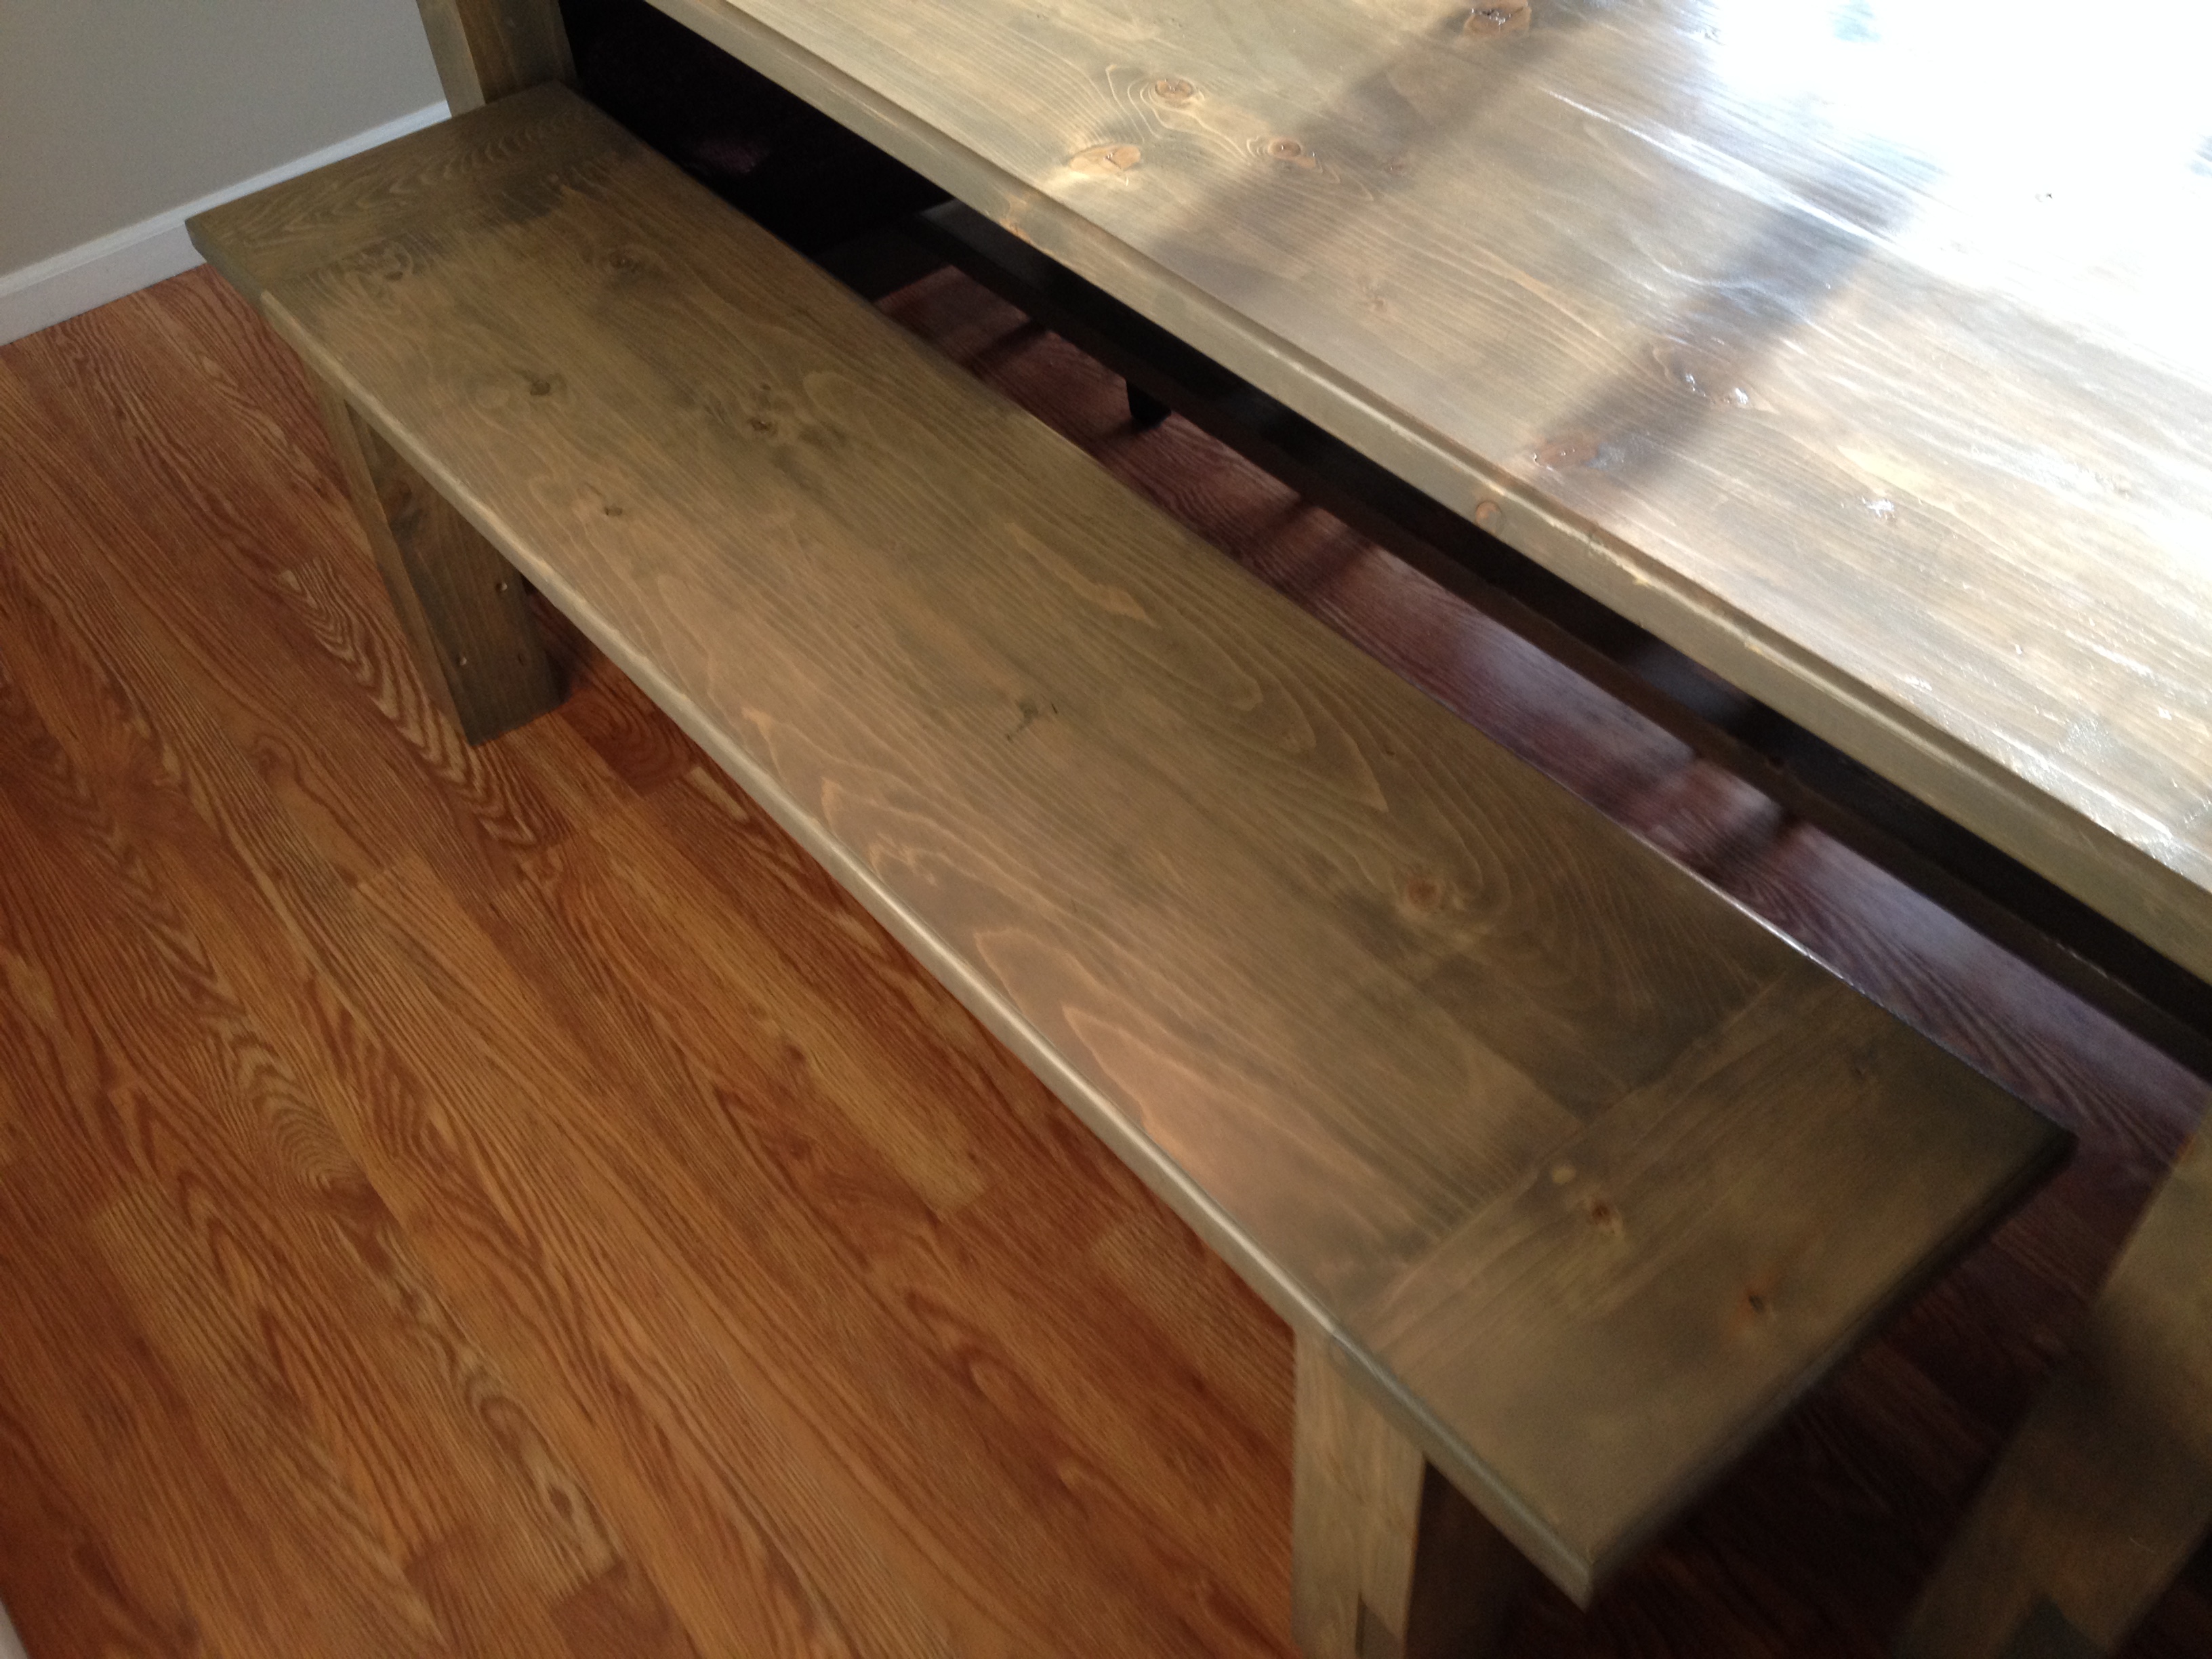
Farmhouse table, table extension, and bench
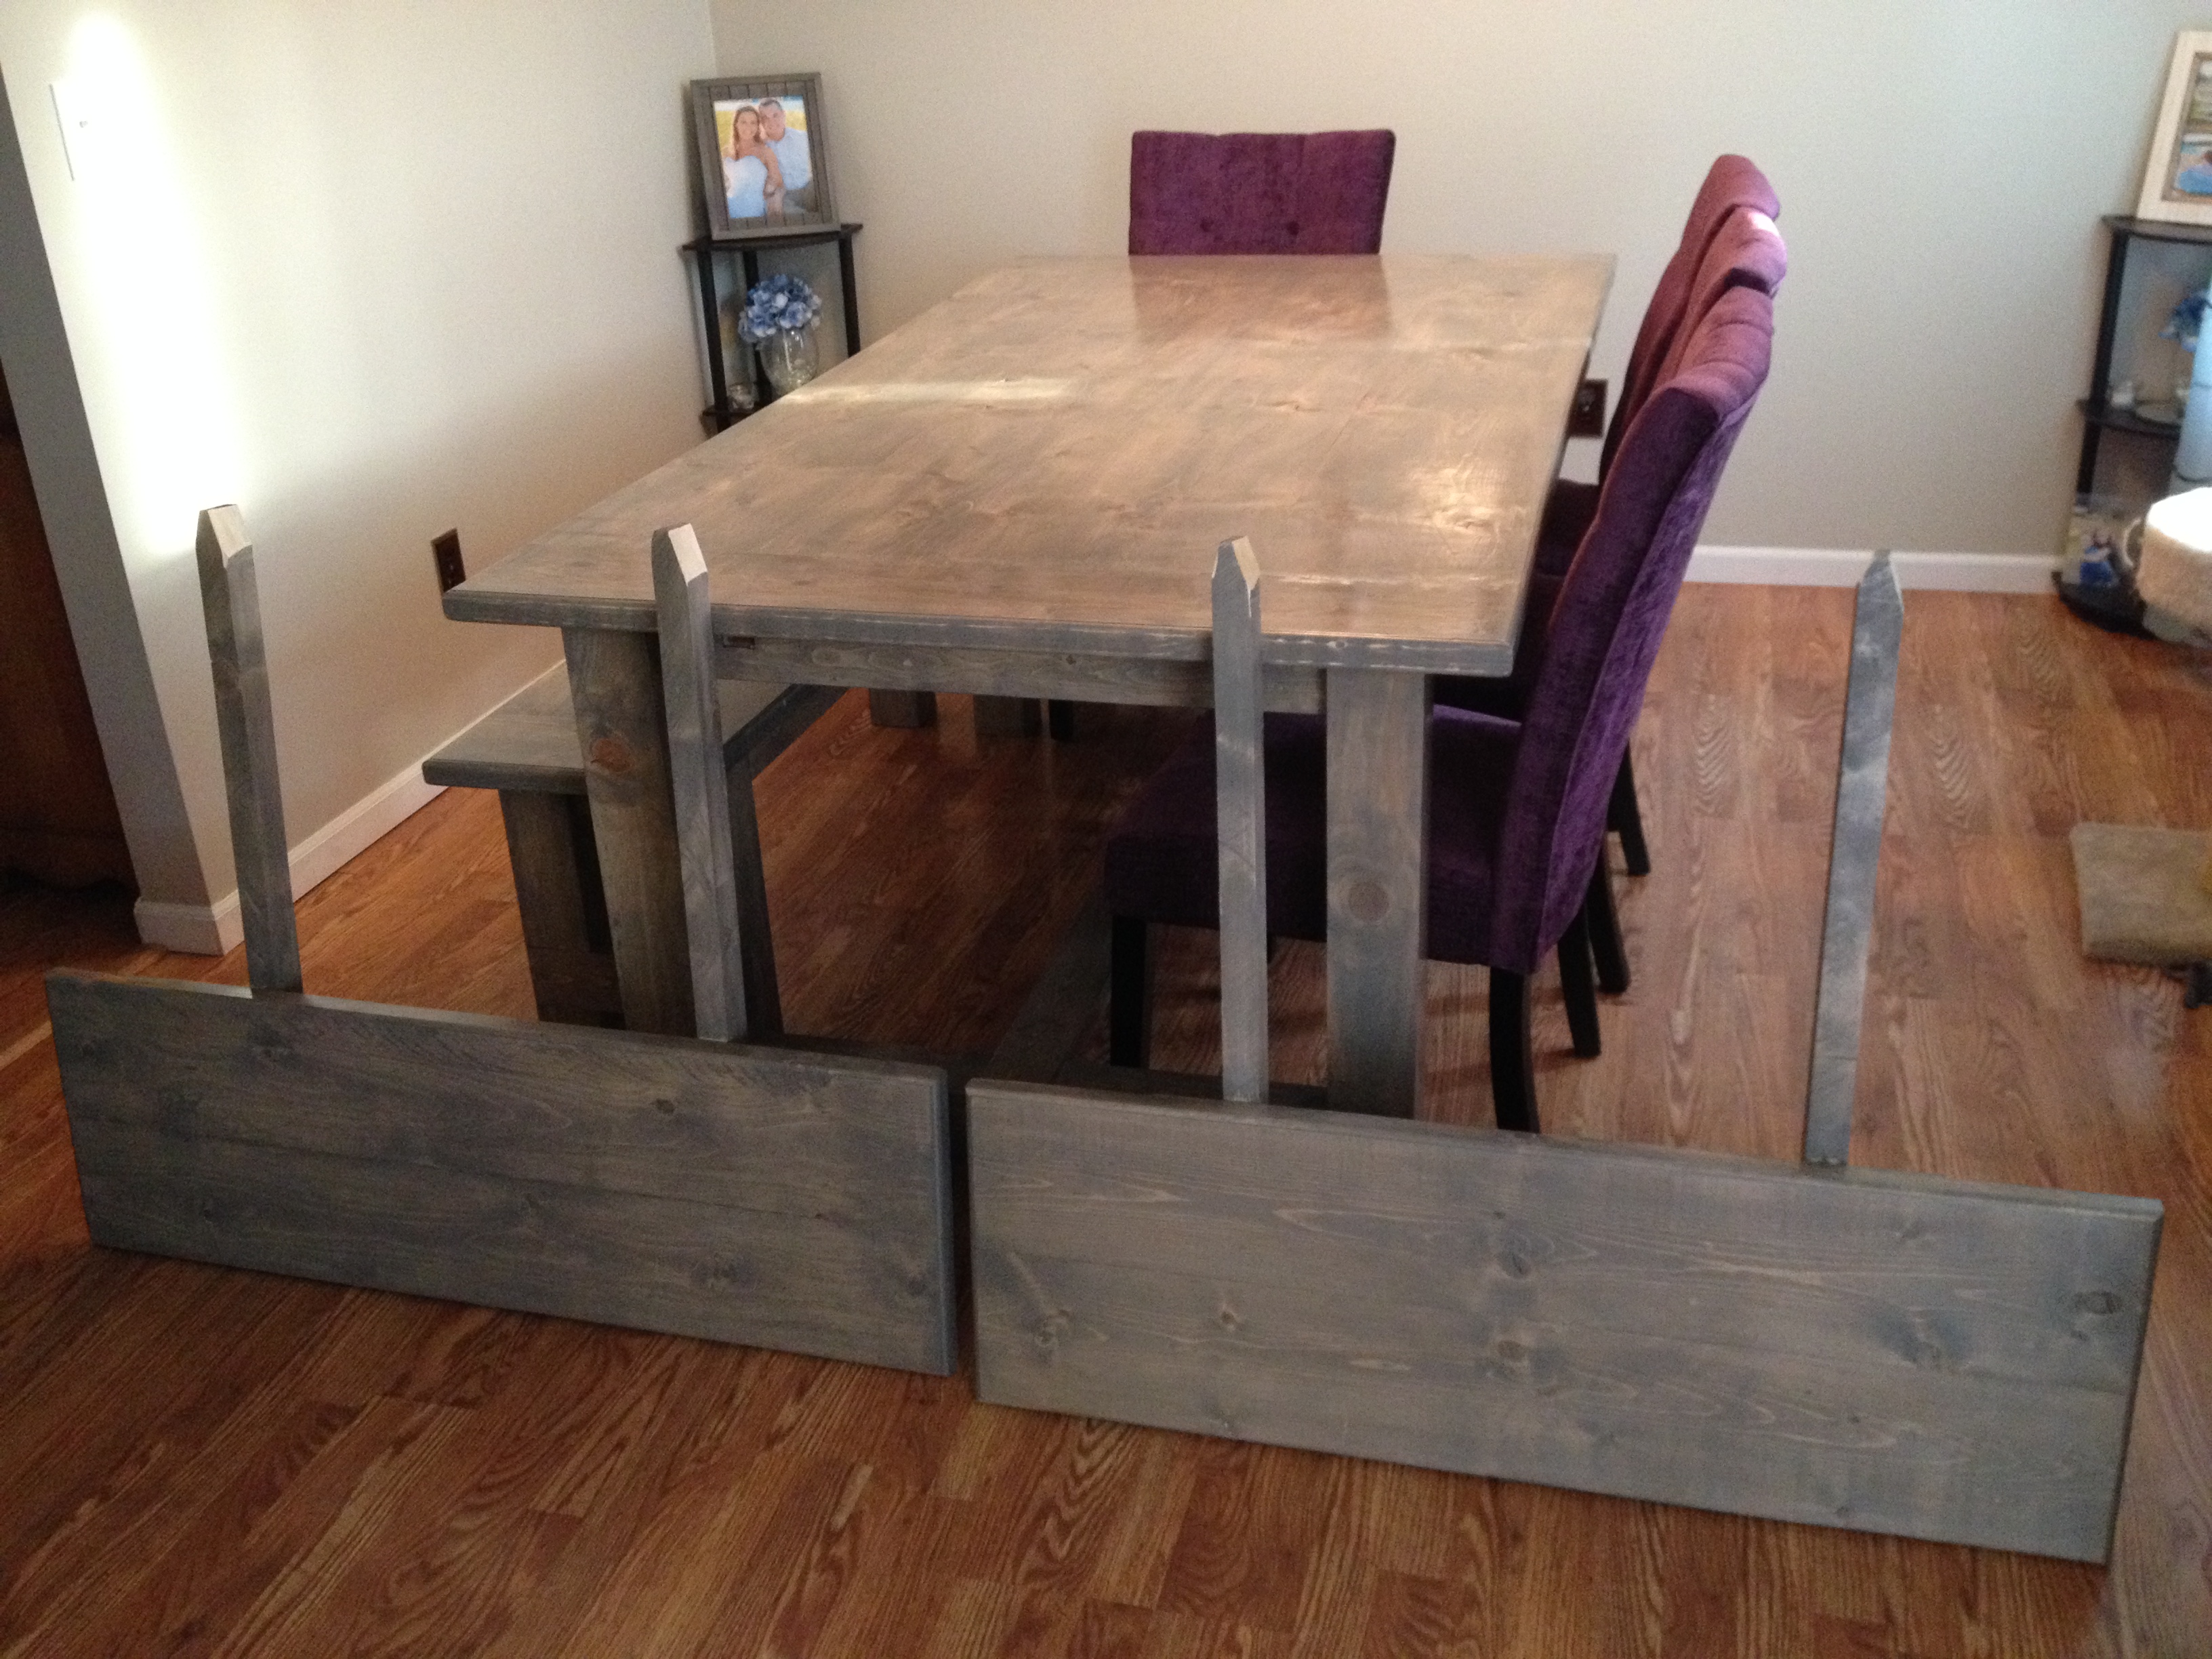
My wife and I recently built this farmhouse table with her grandpa. It was a lot of fun and we are really happy with how it turned out. The table is 80 inches long, 43 1/2 inches wide, and 31 inches tall. The extensions are 15 inches long and 43/1/2 inches wide, and the bench is 61 inches long, 15 inches wide, and 19 1/2 inches tall.
It tooks us about 4 weekends (around 32 hours) to finish the project and the included rebuilding the base of the table after our first one cracked.
We modified the plans a bit. We used 4x4s instead of glued together 2x4s for the legs on the table and bench.
We also used the plans on this blog (http://tommyandellie.com/?p=2582) as a guide.
This was the first time my wife and I have tired a DIY project and we had a ton of fun. Her grandpa had some experience with wood working and had all of the tools we needed but you can certainly do this without any extensive wood working experience.
Sorry for the duplicate post. This is my first time on the website and the first time I posted it came across as 'guest'

Built from Plan(s)
Estimated Cost
$350
Estimated Time Investment
Week Long Project (20 Hours or More)
Finish Used
We put on one coat of minwax pre-stain wood conditioner. Then we added two coats of stain of a custom mixed stain from Sherman Williams. We started with the Wood Classic Rustic Gray. The store then tinted the stain until we found the color that we liked. Note - the table looks grayer in person than it does in some of the photos. Finally we applied 3 coats of minwax water based oil modified semi-gloss polyurethane.
Recommended Skill Level
Starter Project
Comments
Tue, 08/16/2016 - 13:34
A few things I forgot...
I forgot to mention that with the extensions the table expands to 110 inches.
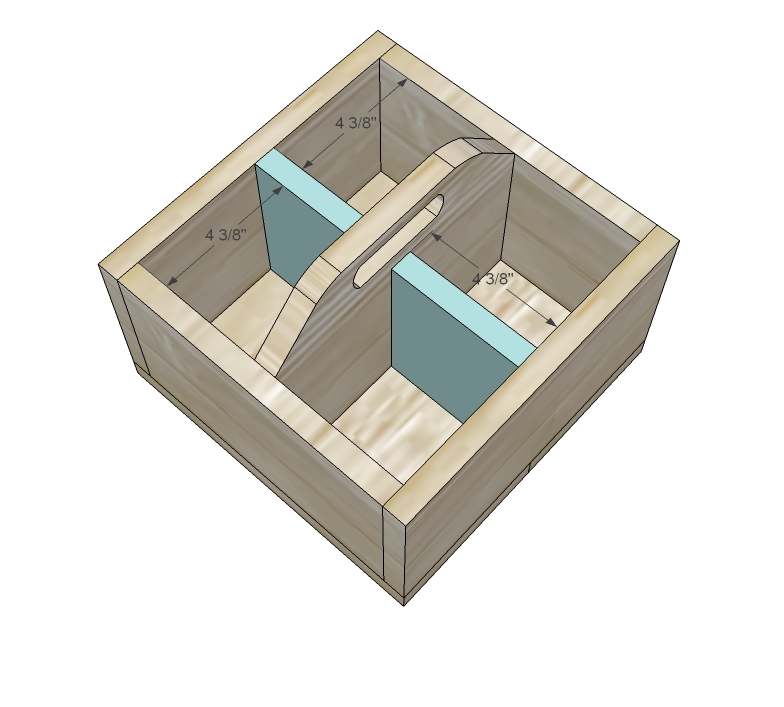
Canned Food Storage
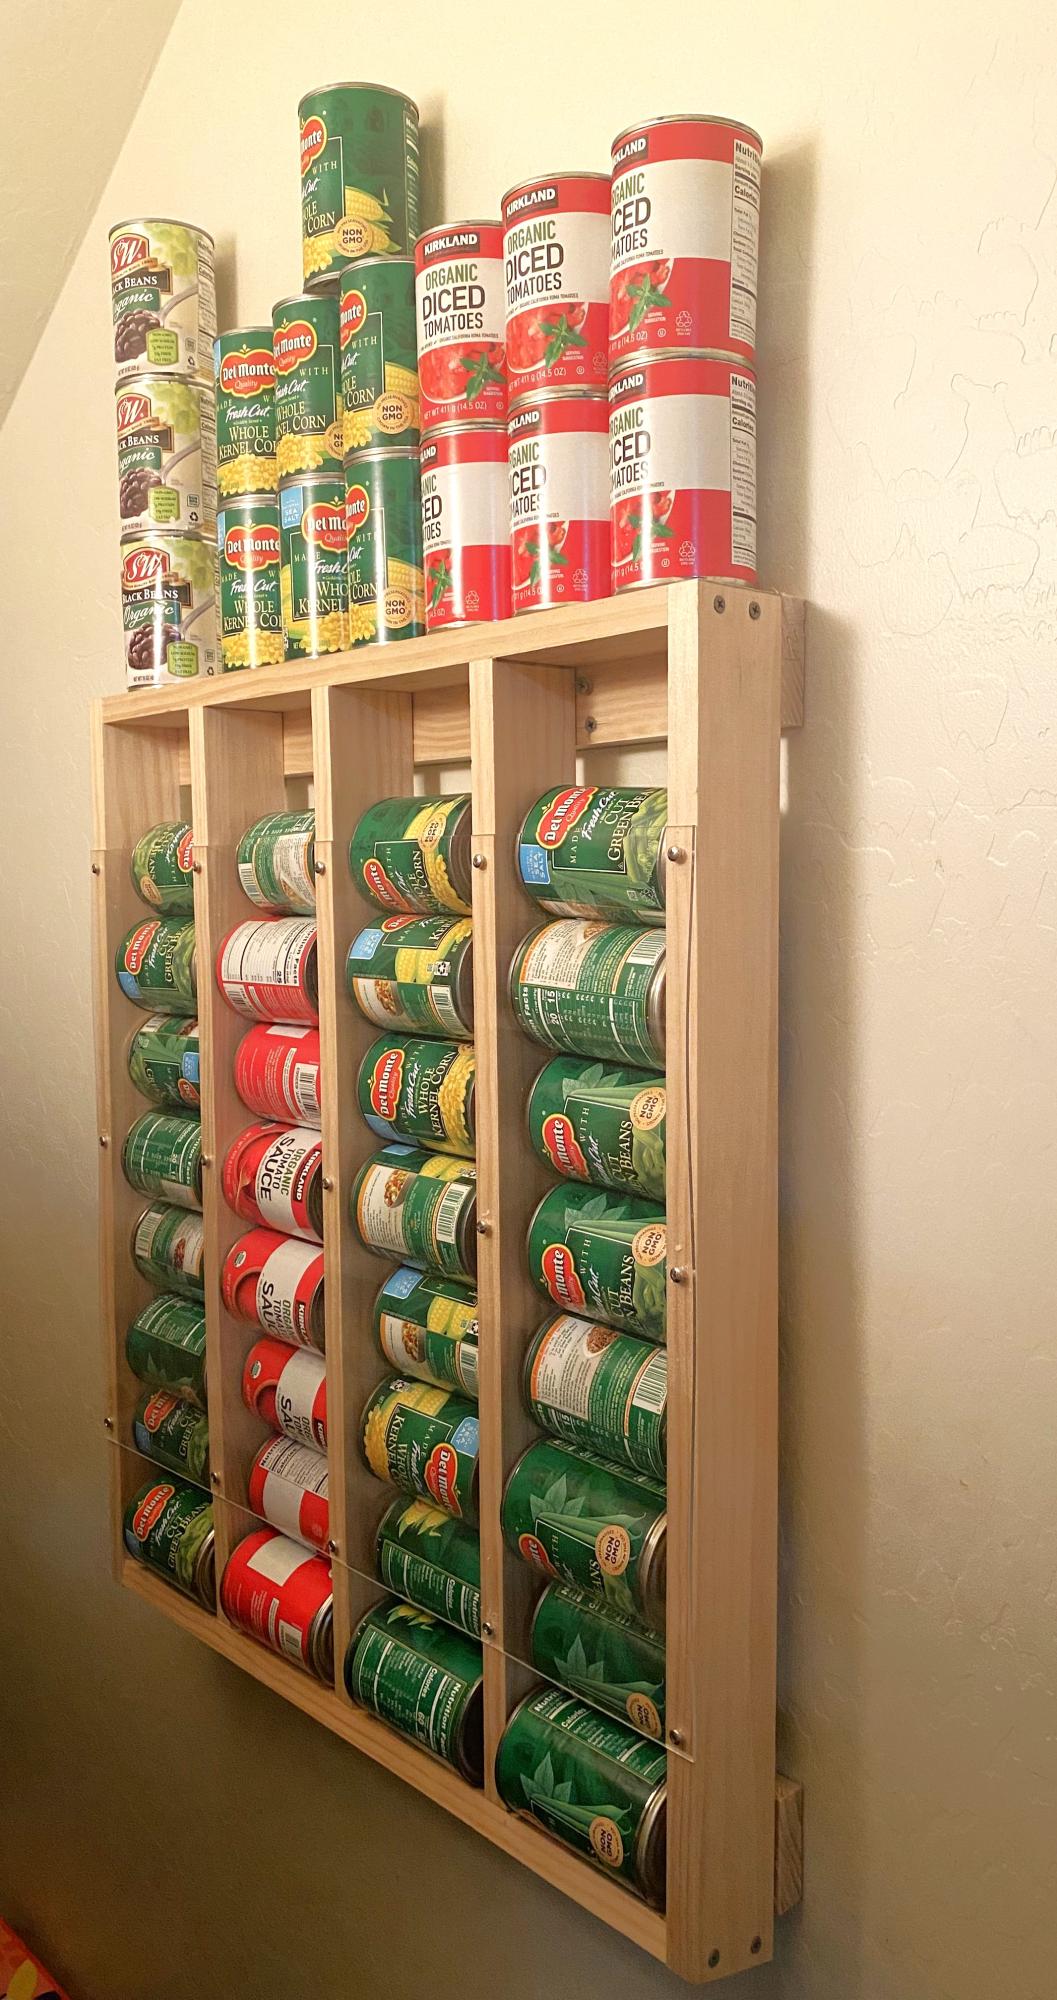
Made this for my dry closet. Super easy to construct and it works perfect. I just wish there was something similar to use for paper towels.
Built from Plan(s)
Fancy Farmhouse King Bed
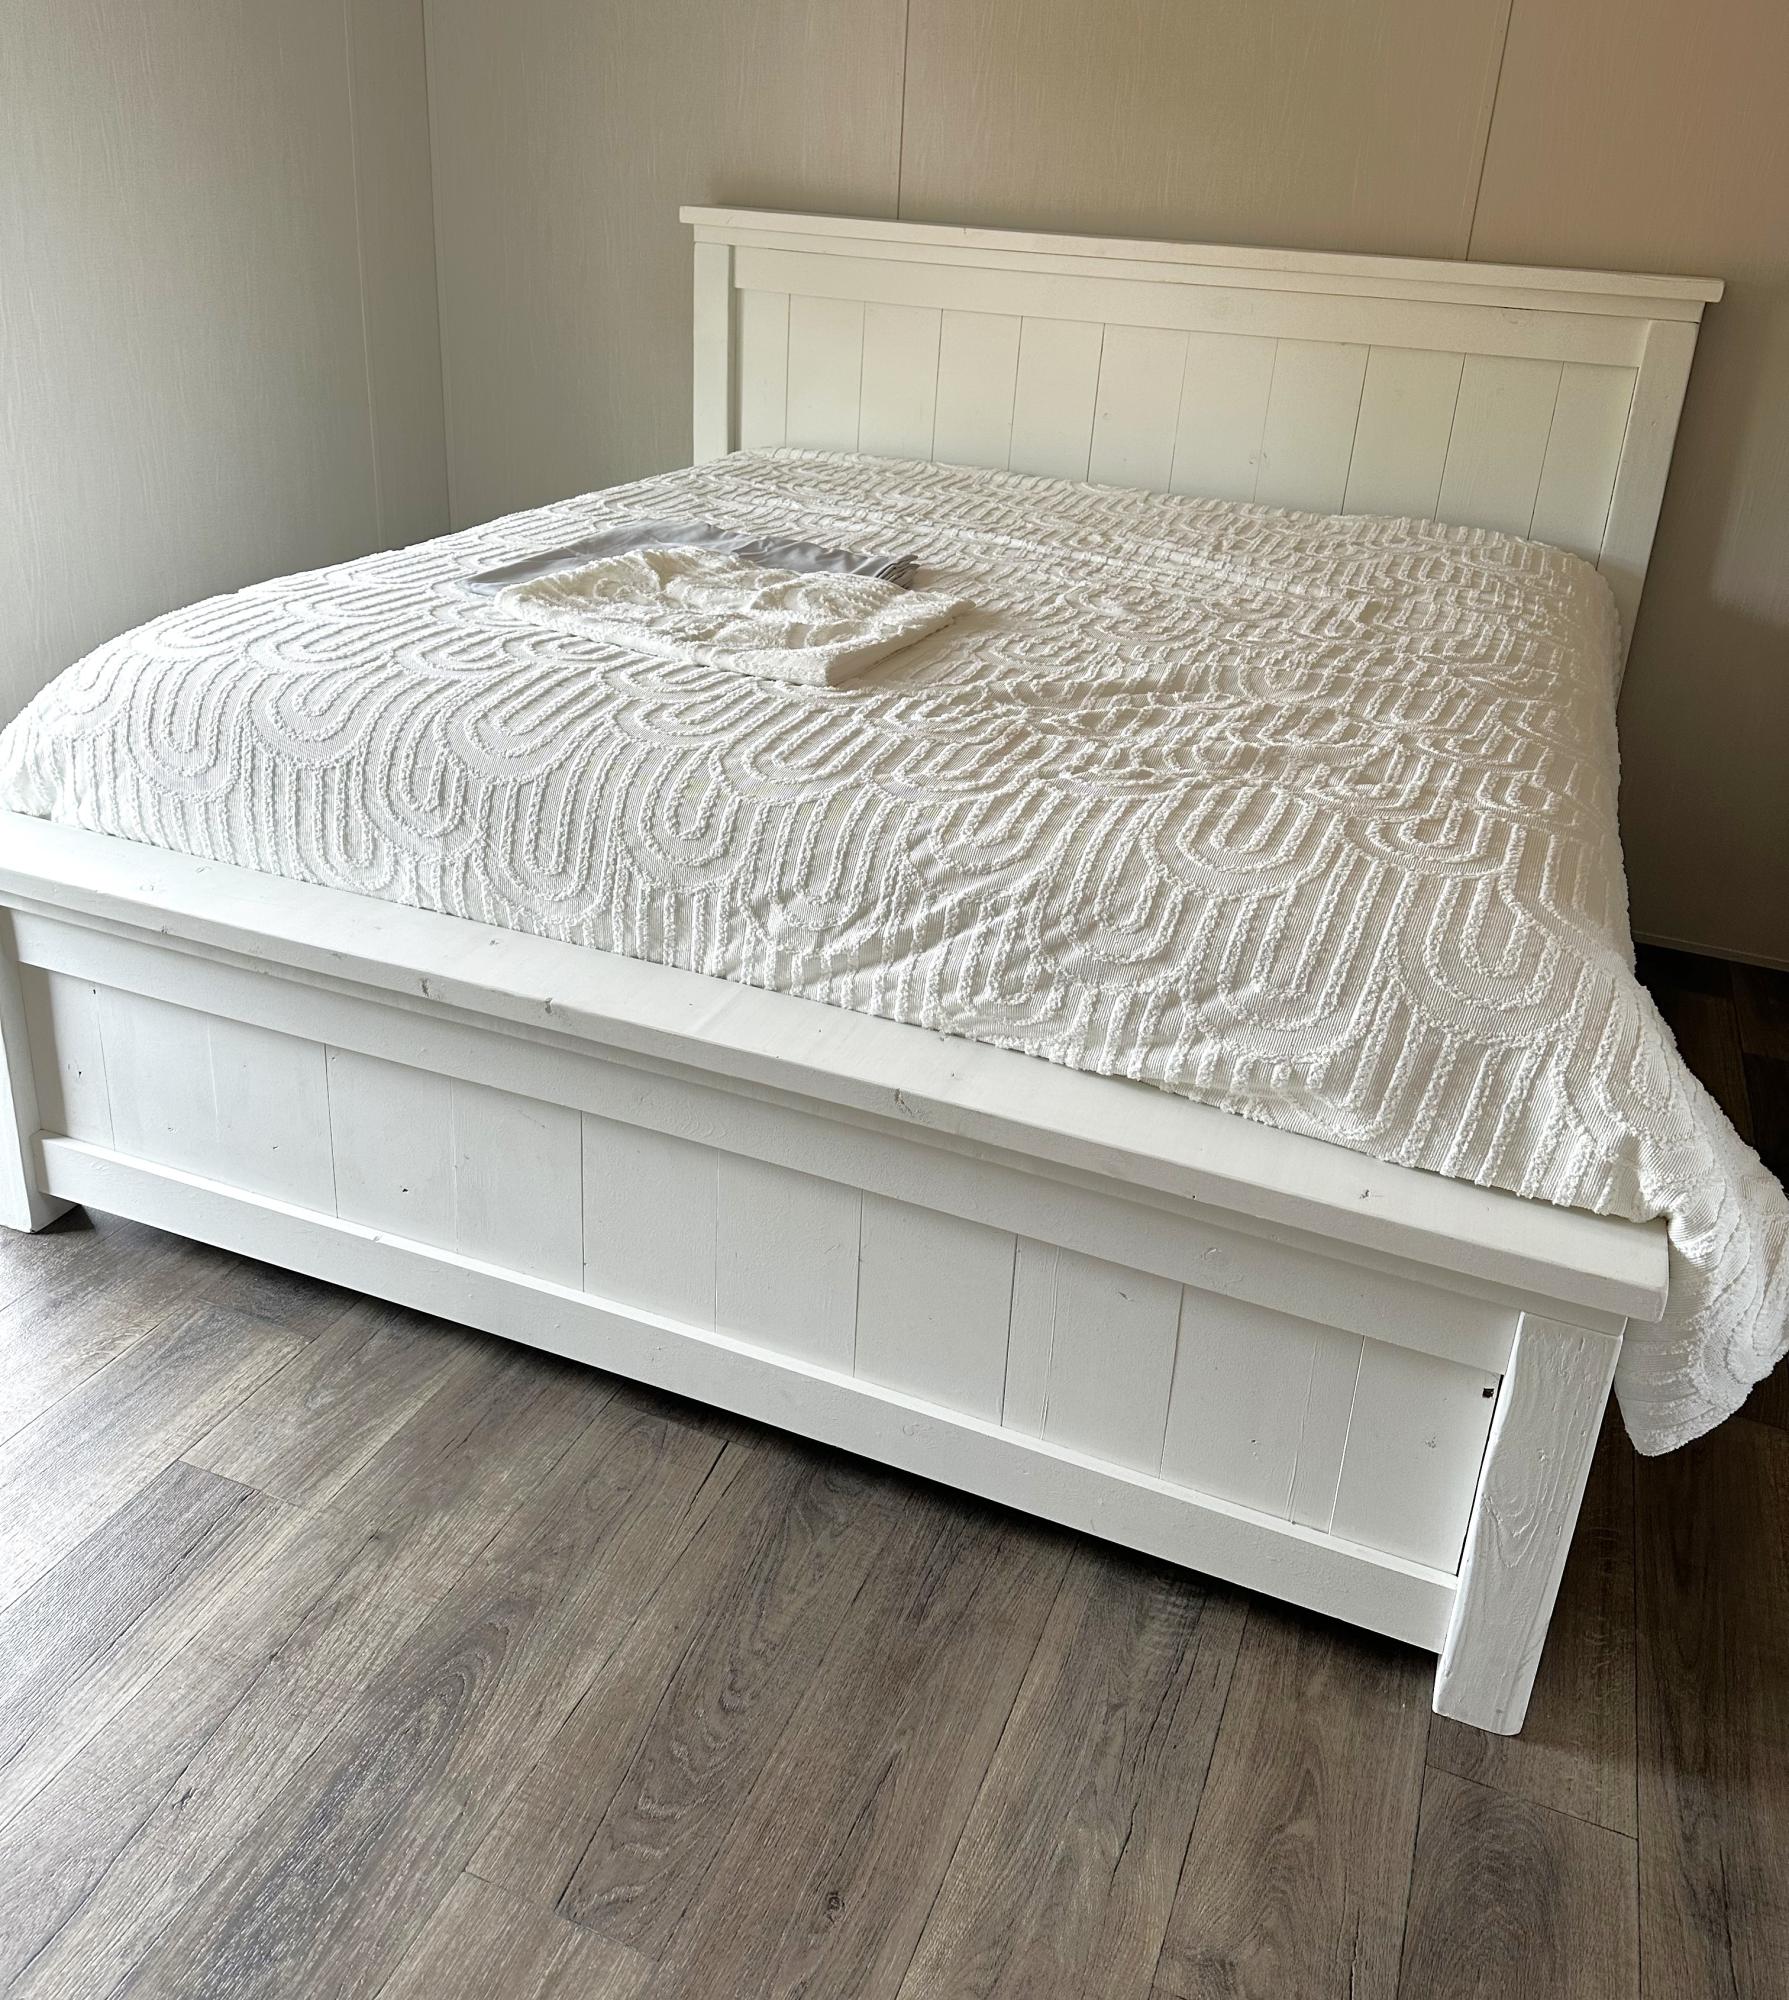
Fancy Farmhouse King Bed
Heather Kay
Built from Plan(s)
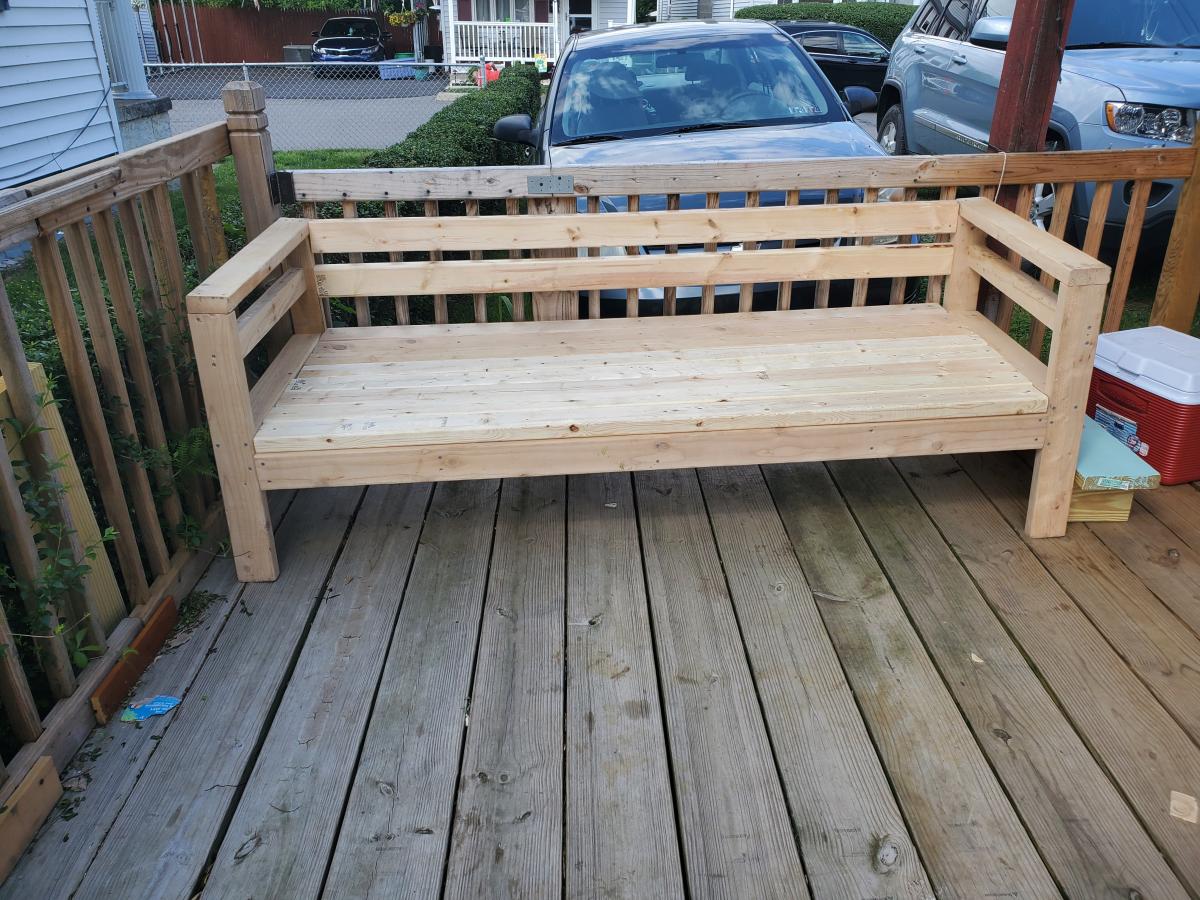
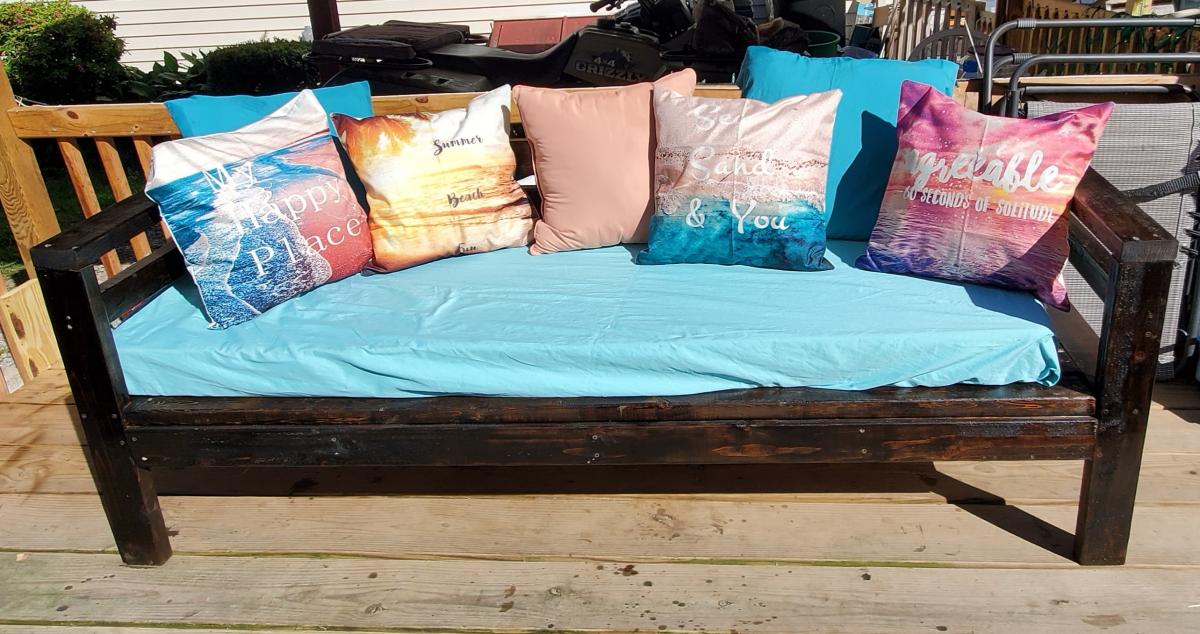
2x4 couch

My first big project. I'm pretty proud of it. I followed the plans for Ana's 2x4 couch.
Built from Plan(s)
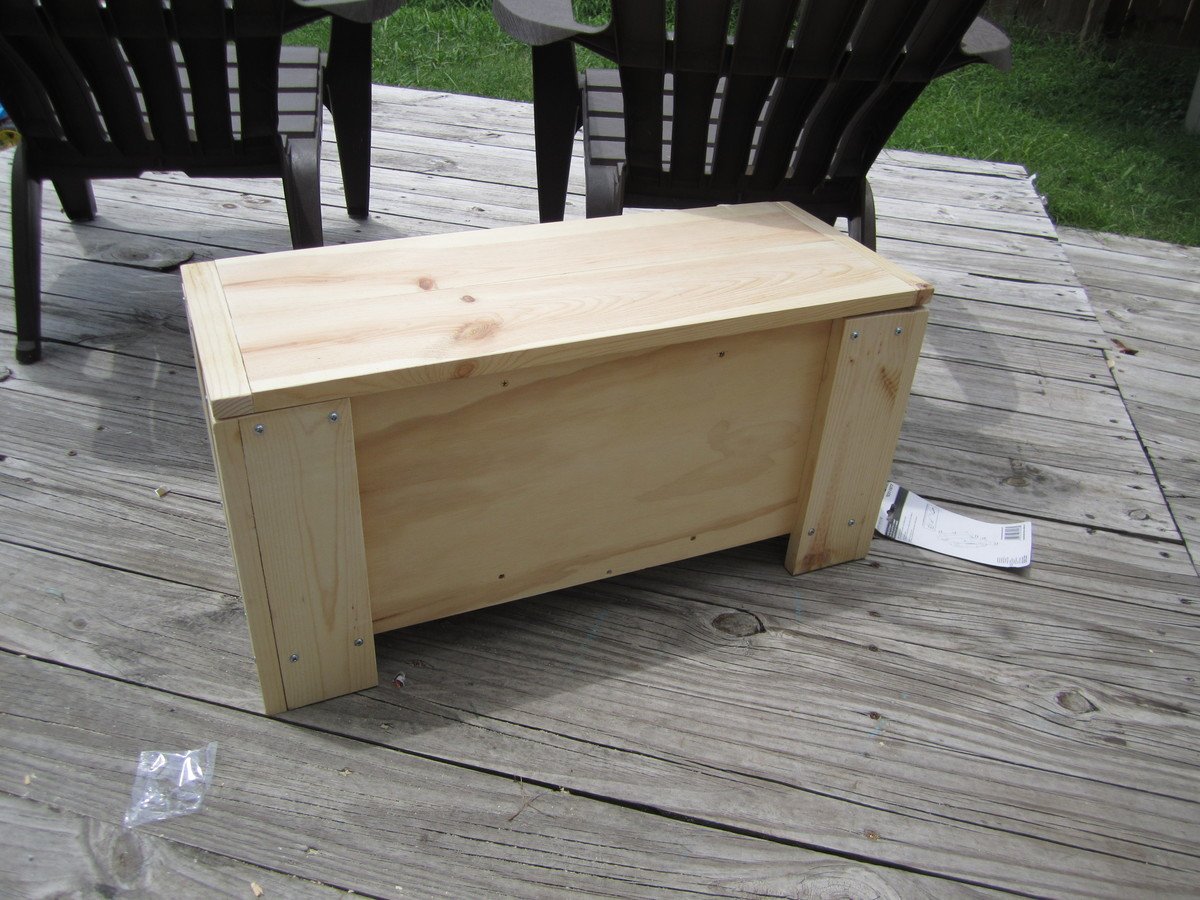
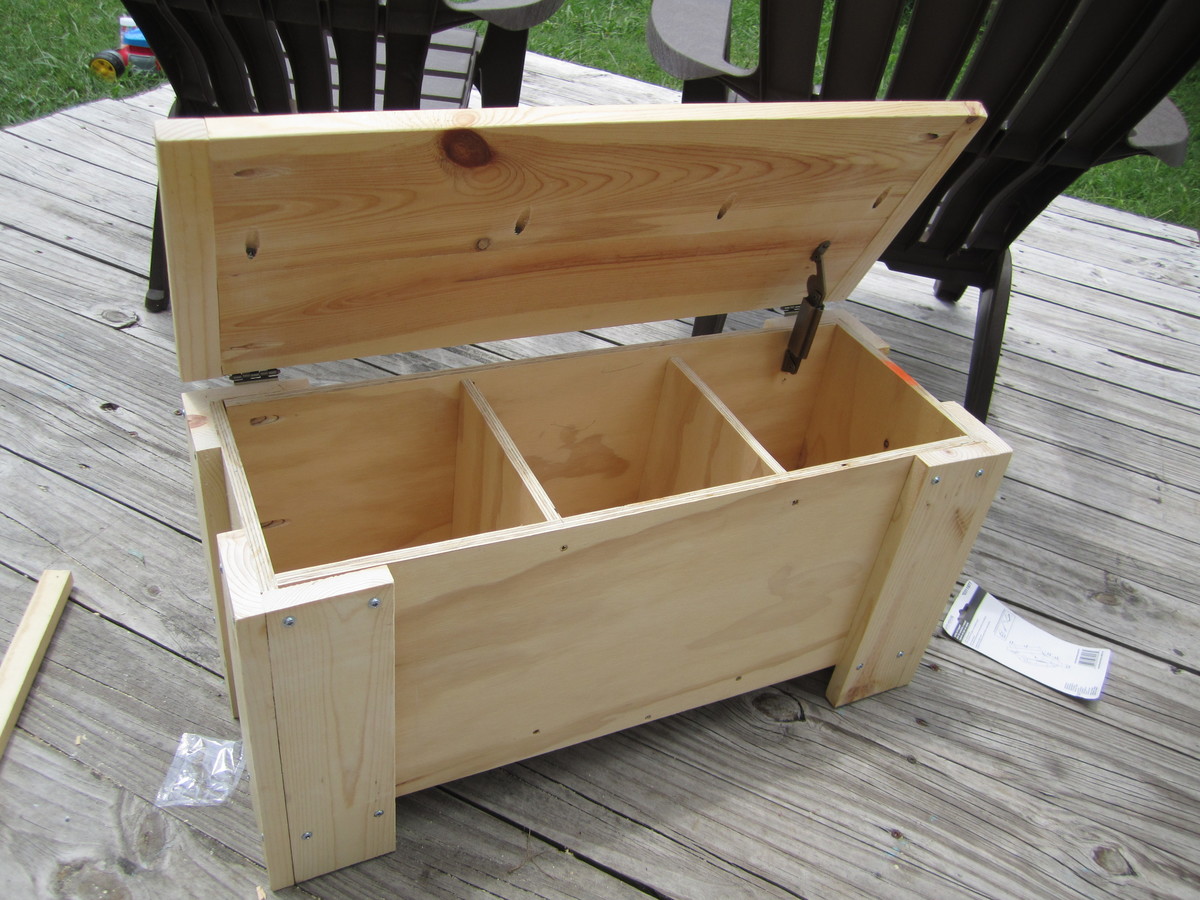
Kids Storage Bench

After building a few things from plans I decided to come up with something on my own, and from scraps I made this bench for my son.
Built from Plan(s)
Estimated Cost
Scraps
Estimated Time Investment
An Hour or Two (0-2 Hours)
Finish Used
Dark Walnut
Recommended Skill Level
Starter Project
Double Wide Camp Loft Bed!
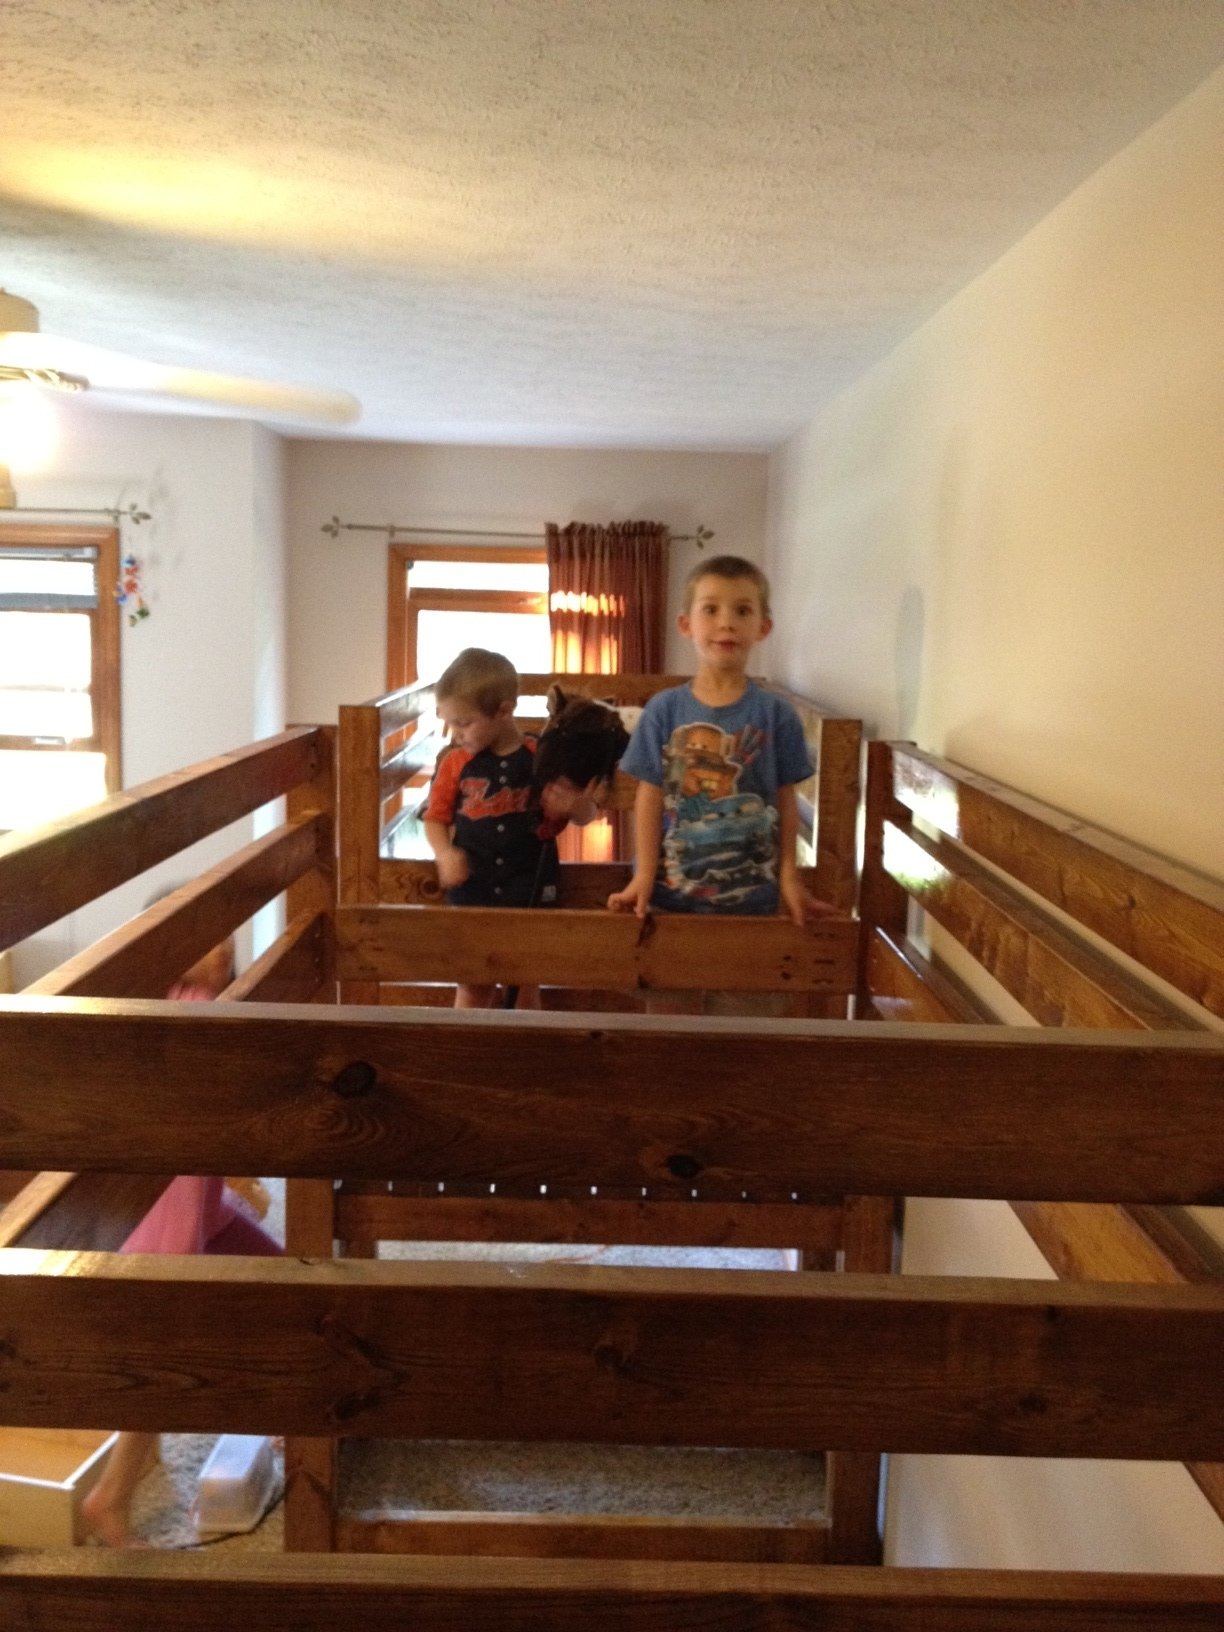
Have two boys who where in need of more floorspace to play. Saw the great plans for the Camp Loft and decided to make a double wide. One platform and two beds.
All in all went together as designed. Eliminated the stairs for a ladder. Works great if you have a long wall.


Built from Plan(s)
Estimated Cost
$85 for all the wood; 50 for stain and poly
Estimated Time Investment
Weekend Project (10-20 Hours)
Finish Used
Minwax
Recommended Skill Level
Beginner
Comments
Thu, 11/29/2012 - 15:14
Well done!
Really smart with the platform in the middle - I'm sure they love it!
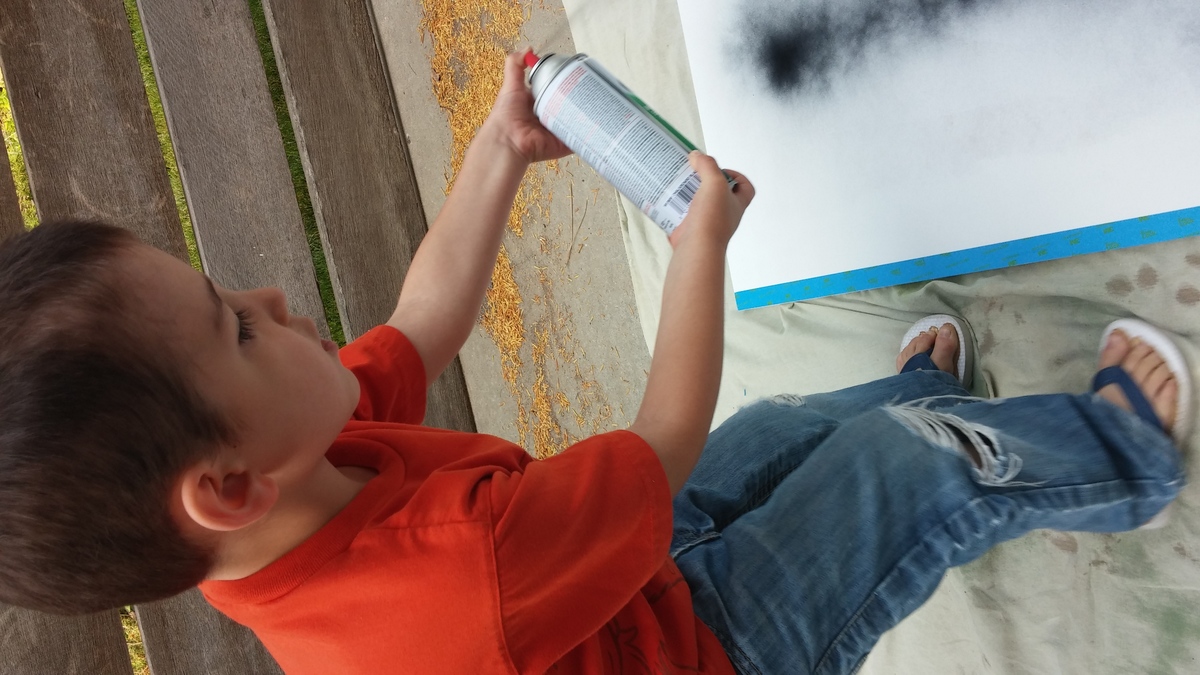
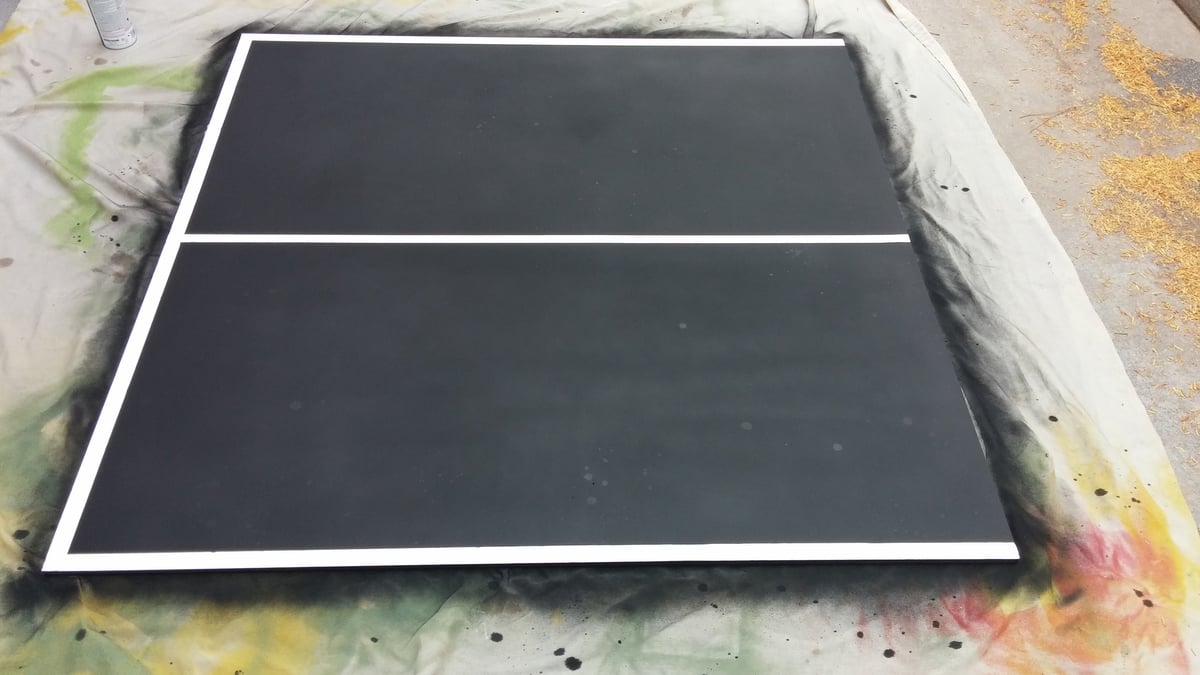
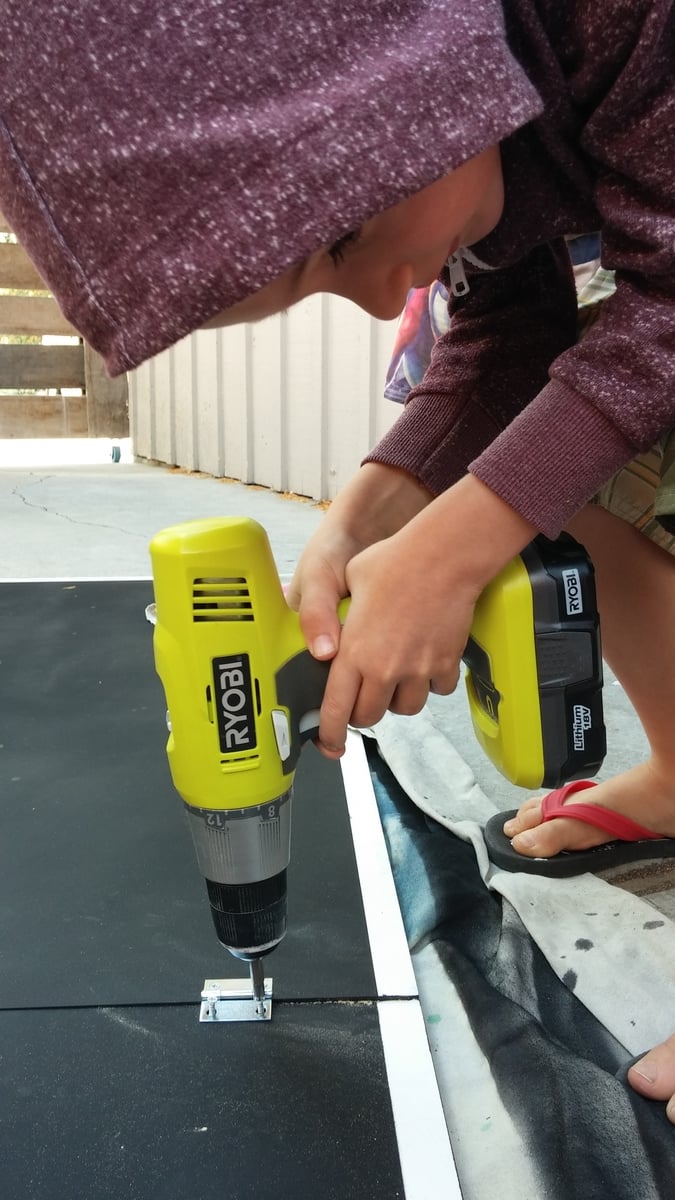
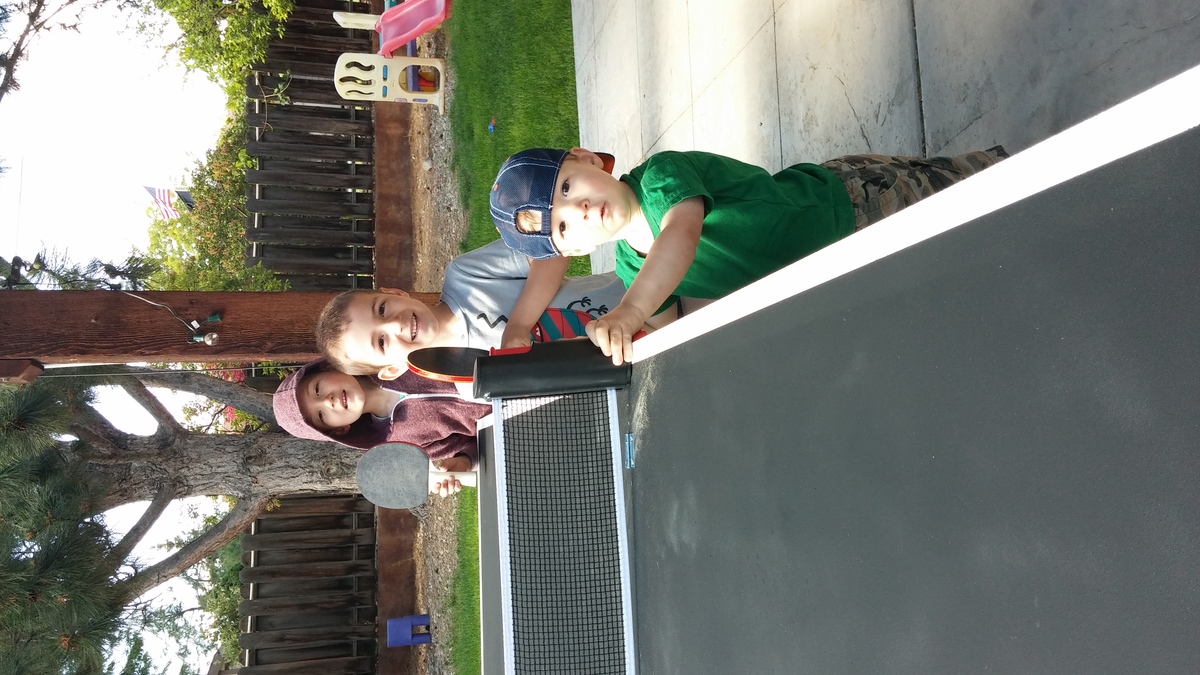
$40 Ping Pong table top game

With Father's Day rolling in, my sons and I needed a gift, stat! My husband thinks that Table Tennis is the quintessential father-son activity, so that was an obvious choice.
We needed something easy to make, easy to store, and budget friendly. With a 6, 4, and 2 year old helping out, I made a foldable mdf ping pong table that could easily be placed on our picnic table outside.
We had home depot cut the mdf in half, primed it, taped off some lines, spray painted it with chalkboard paint (bonus, you can keep score!), and screwed 4 small hinges to attach the 2 halves. We added a removable table tennis net, some paddles and balls, and have played nearly every day!
Estimated Cost
$40
Estimated Time Investment
Afternoon Project (3-6 Hours)
Finish Used
Chalkboard spray paint
Recommended Skill Level
Starter Project
Comments
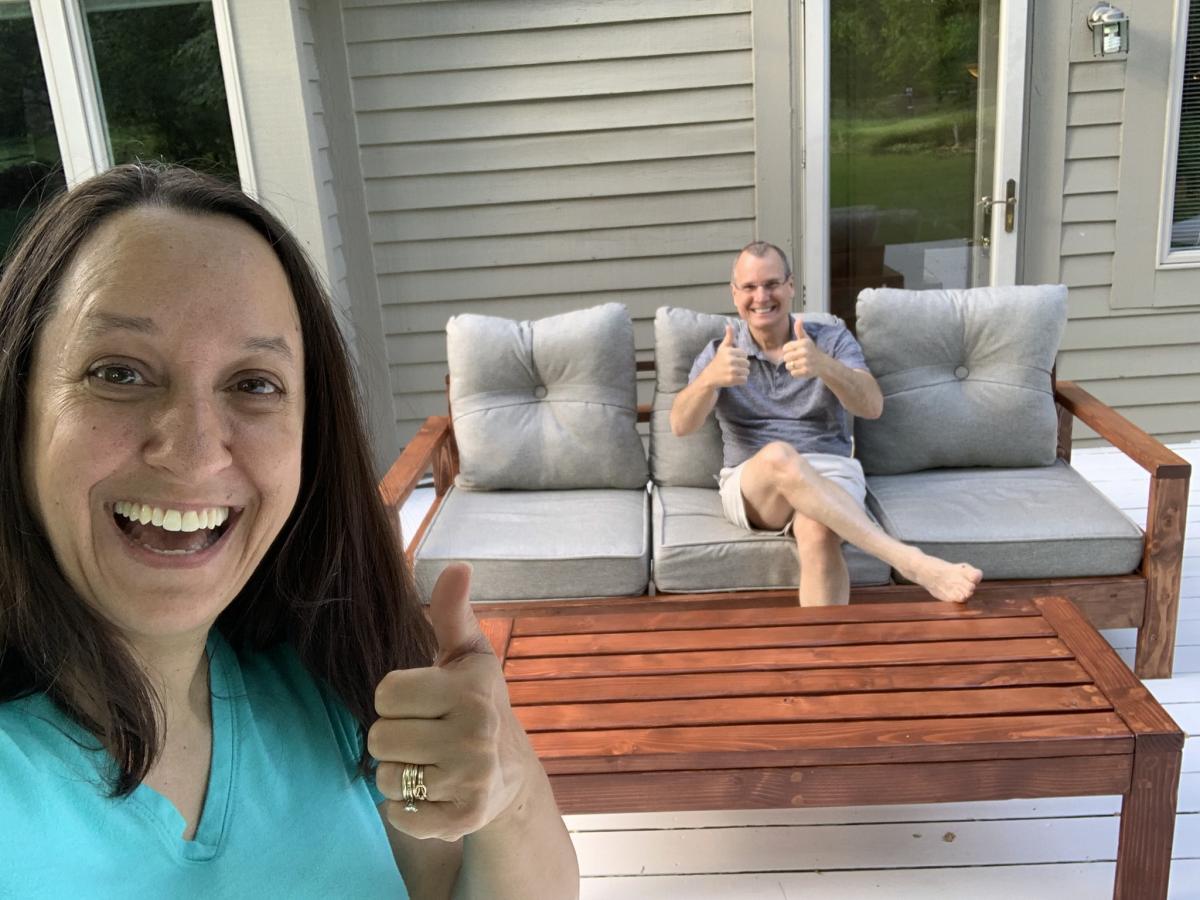
Modern Outdoor Sofa
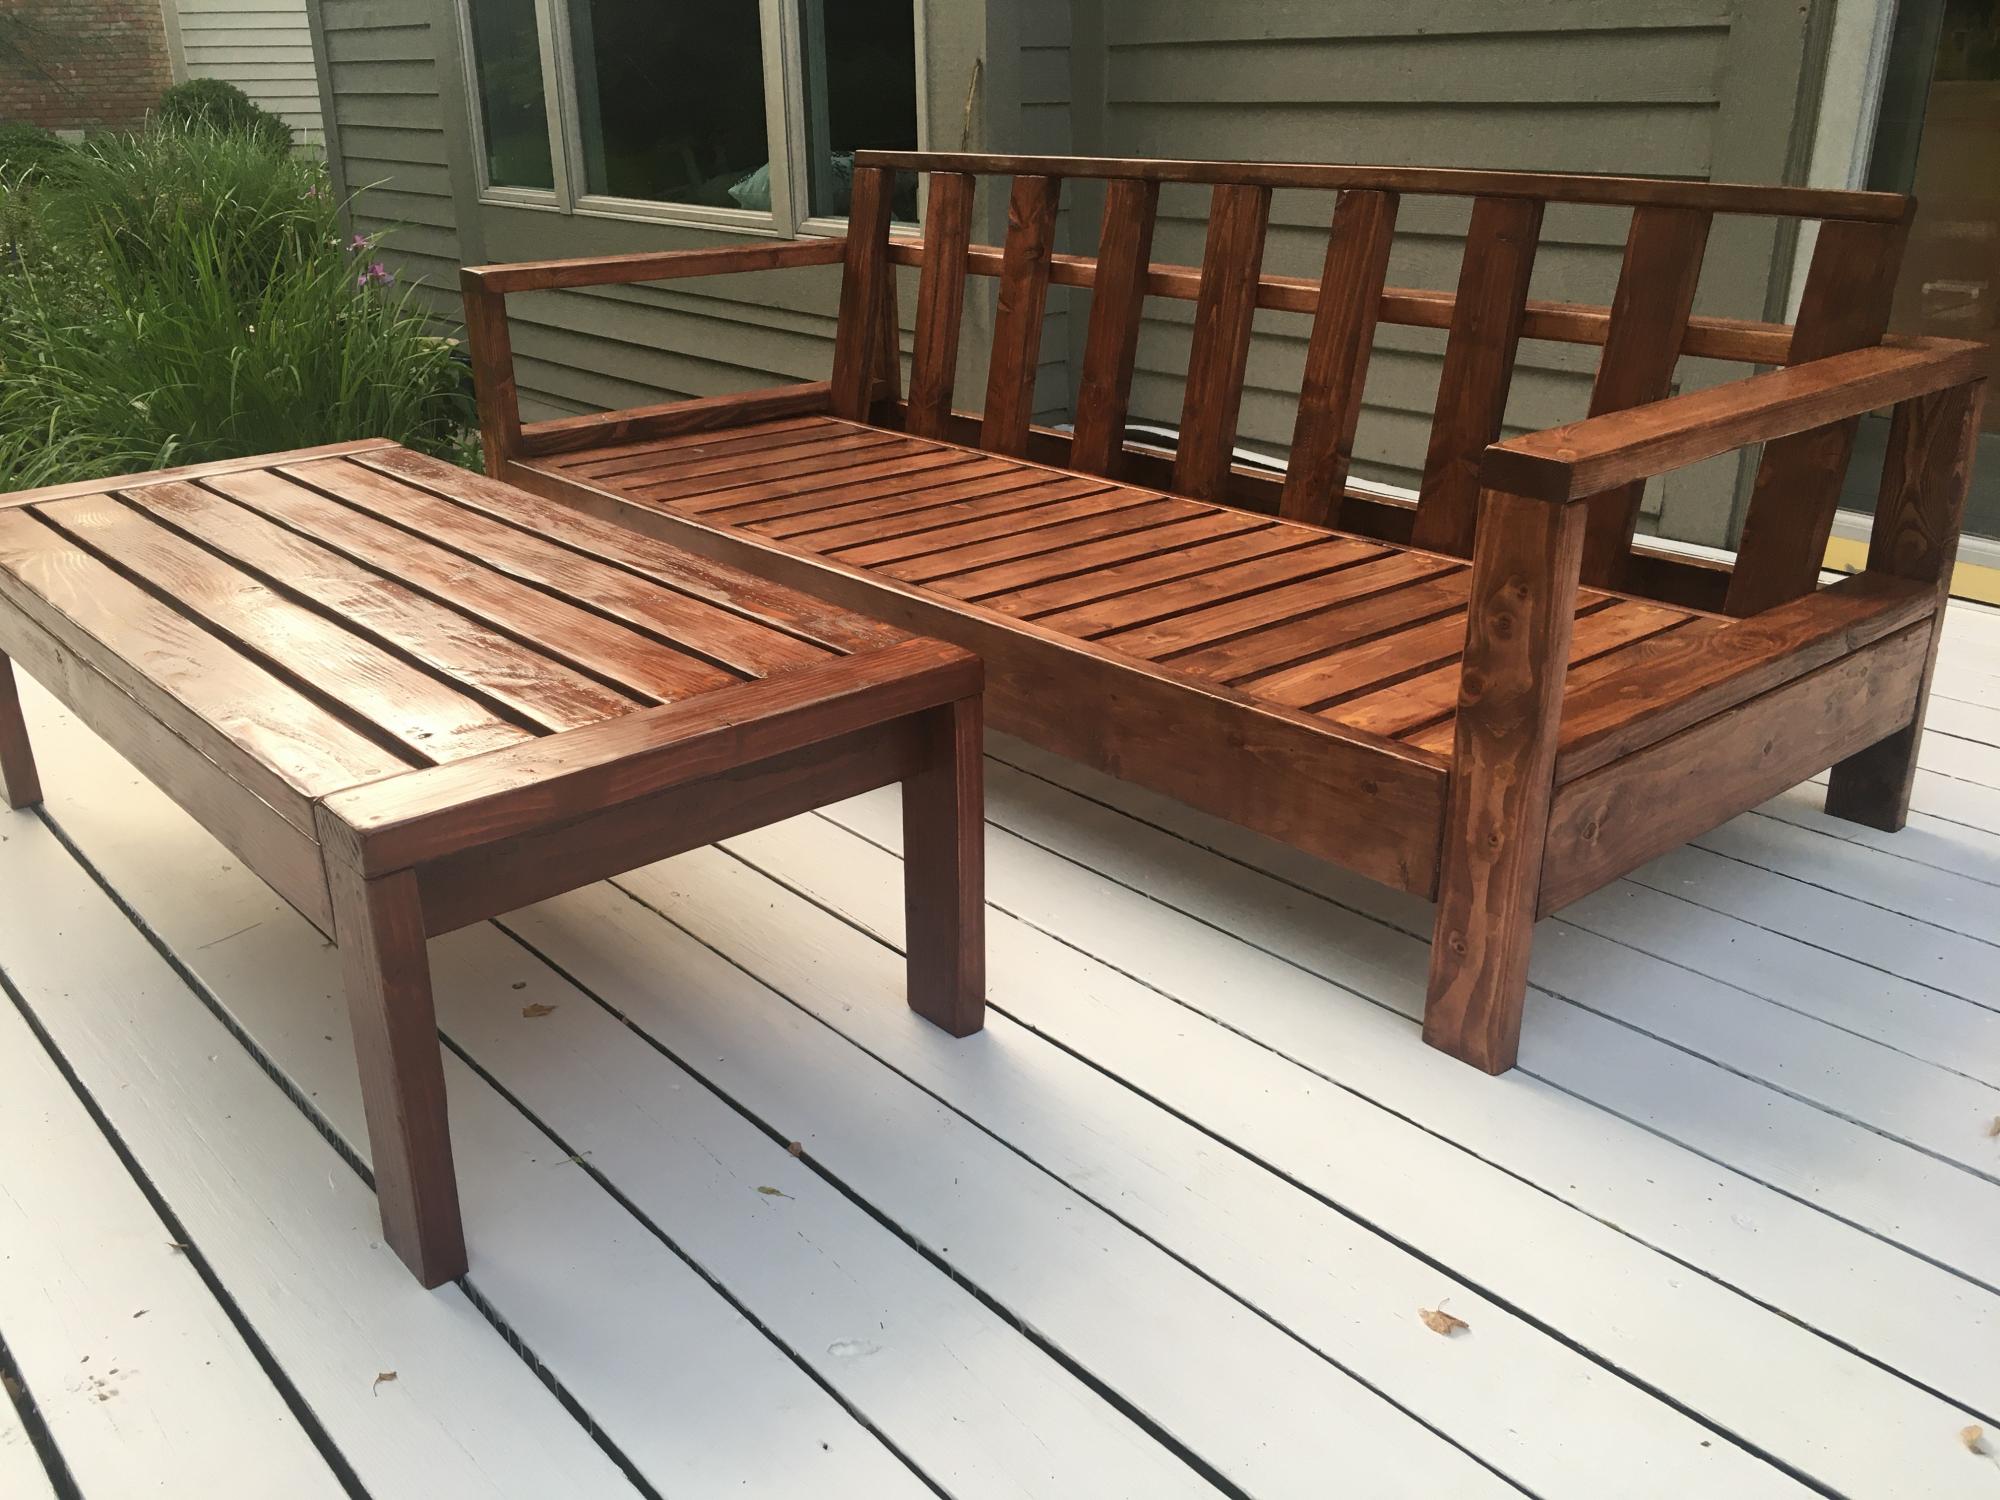
We are building memories and patio furniture! We're total beginners and we built an outdoor sofa and coffee table! My husband and I have never built furniture before and really needed some patio furniture as we prepare to host our son and his sweetheart's wedding reception! We learned that it's a lot of work, but so worth it!
The plans we used are from Ana White's website (Ana, you've made a wanna-be carpenter out of me!) https://www.ana-white.com/woodworking-projects/outdoor-sofa-modern-comf…
Estimated Cost
Under $200
Estimated Time Investment
Weekend Project (10-20 Hours)
Finish Used
Minwax Helmsman Polyurethane
Lightly sanded between coats and applied 2 coats all over and 3 coats on arms
Lightly sanded between coats and applied 2 coats all over and 3 coats on arms
Recommended Skill Level
Beginner
Custom Kitchen Island - Is this the biggest version of an already big plan?
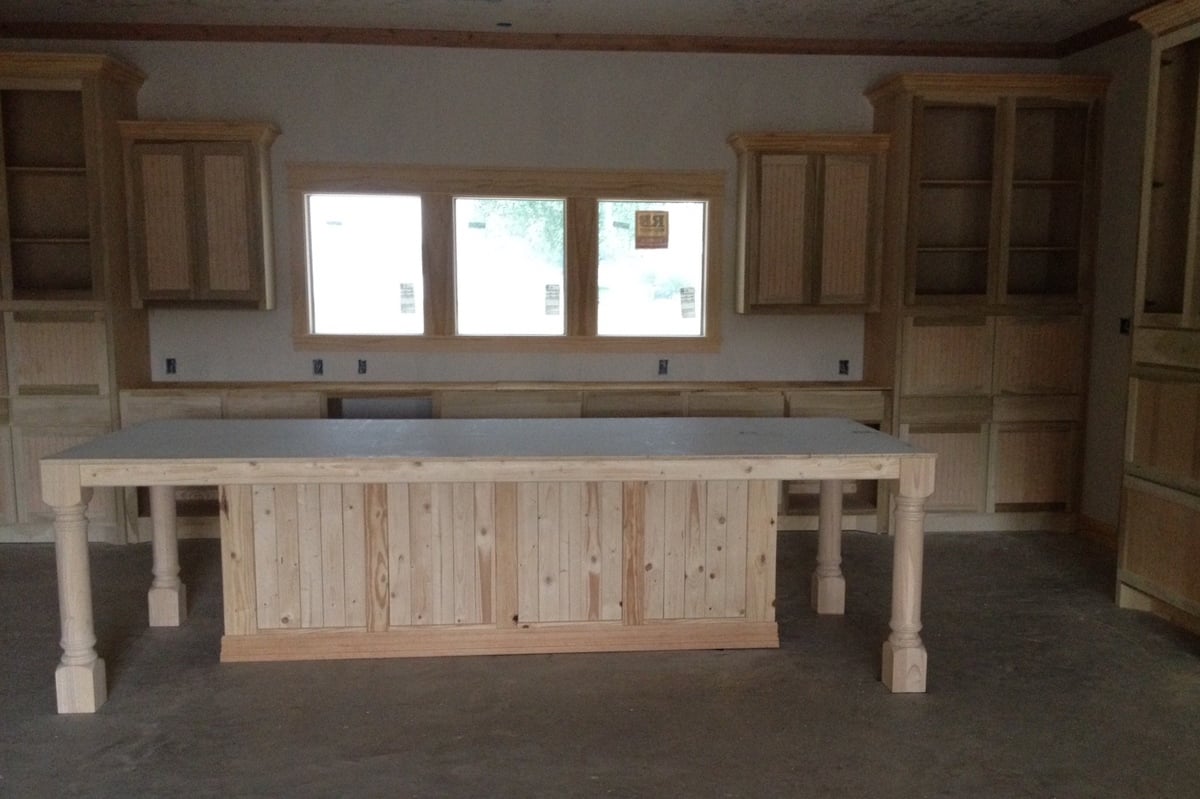
I'm building a house for a client who wanted a country farm house feel. The kichen cabinets are custom frames with beaded board inserts.
Custom Kitchen Island
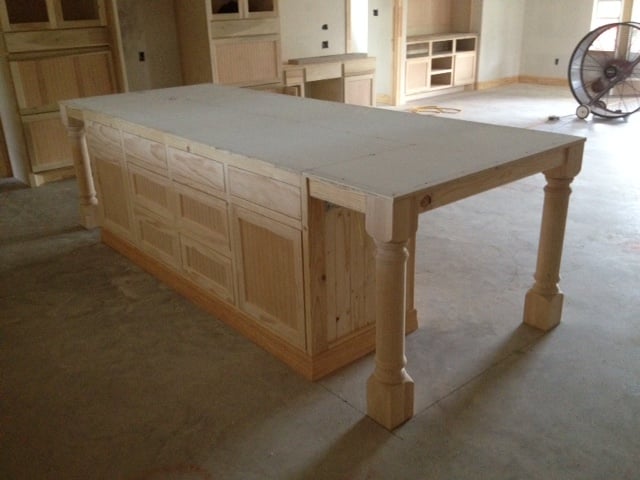
The custom kitchen island is unusually large for this size home at 10' 6" x 4'. The base cabinet 90" x 25 1/2". But, there is no dining room. I wanted the island to not look like the rest of the cabinets. Then I found Ana's design. I reworked the design to fit my space and the buyers preferences. Trash pullout, larger drawers ect. My plan was so far from typical site built trim that I decided I would build it myself or it would really be a budget breaker. I do have experience in all aspects of building but, this is my biggest trim project. Time? I'm sure I have 40 + hours in it. Money? The columns alone were $500. I'm sure I have $1,500+ in it. Don't even ask how many cool tools I had to add to my collection just for this project!
I built the custom kitchen island in pieces in the shop, and assembled it in place. Very heavy, no way to move it after assembly. The stain went on today. I'm happy with the way it turned out. Thanks for the inspiration Ana!
Built from Plan(s)
Estimated Cost
$1500 to $2,000
Estimated Time Investment
Week Long Project (20 Hours or More)
Finish Used
Sherwin Williams, custom color.
Recommended Skill Level
Advanced
Comments
Fri, 10/21/2016 - 08:13
Amazing Job!
WOW! This is absolutely breathtaking! Just think of the memories that will be created around this beauty. The cabinets are great, but the console island steals the show! Job well done!

Sat, 10/22/2016 - 10:42
Incredible build - Custom Kitchen Island
Incredible build! Please share a photo of it done too!
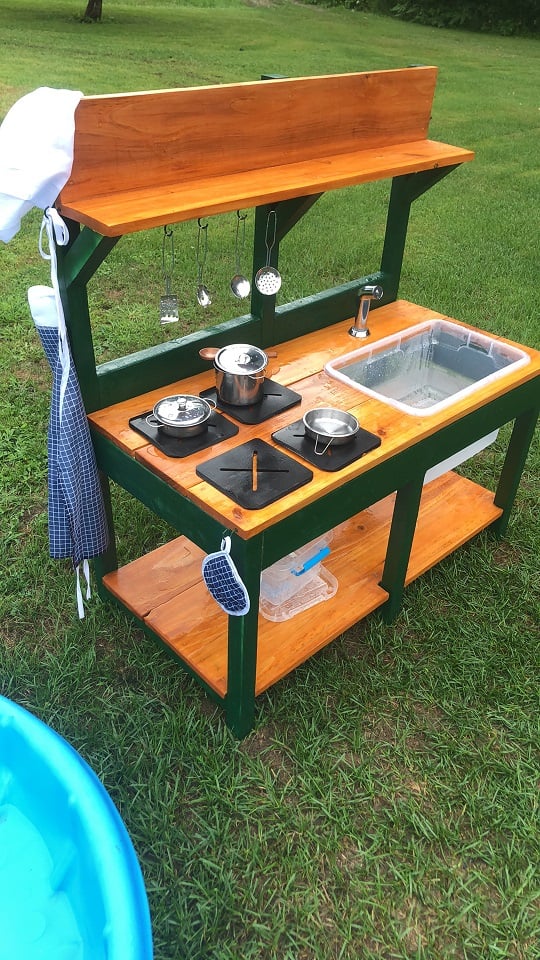
Mud Kitchen
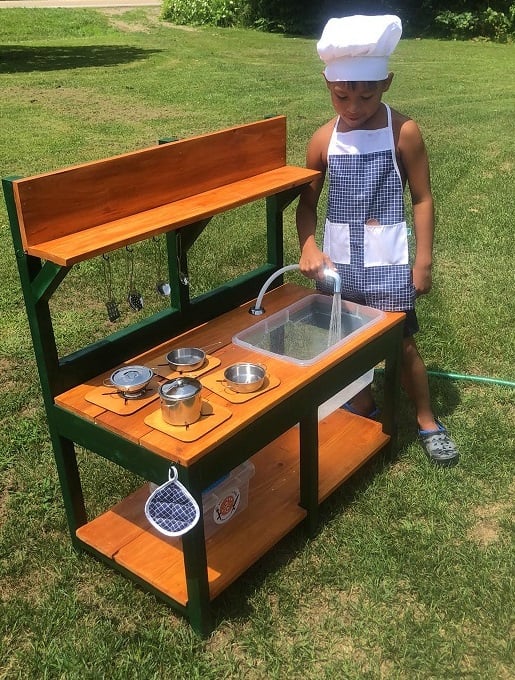
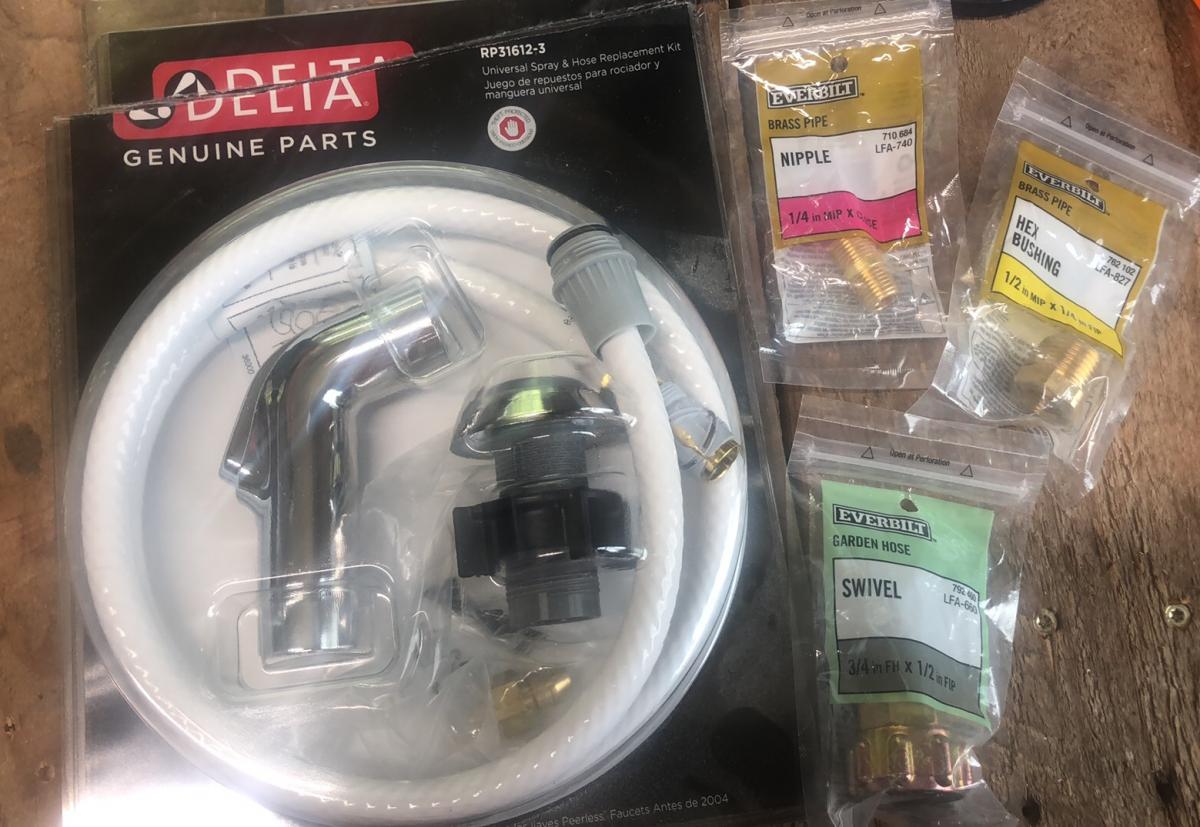
This was my first build, like ever. I am very proud! Props given to my hubby who is a carpenter by trade. I went back and forth on stains and paint colors at home depot. He didn't rush me and was awesome the entire time! He actually picked up the supplies, and is now a fan of the self tap screws! He thought he knew where everything in home depot was, but he had to ask to find those LOL. He wanted to use his new nail gun, but I wanted to follow the plans. The plans are awesome! We decided not to add an oven door just yet. Likely will soon. (Avoiding pinched fingers for now) I also have the knobs for the front, but it was hot and since I had only just stained them, they needed time to dry and second coat yet. (I kind of forgot about them once I finished them with my new dremel) We purchased the hose kit from the kitchen section at home depot. It came with everything, I searched market place and even posted asking if anyone had a used one for sale. No luck. This was $20 and came with everything, the guys at home depot showed me what adapters to get to ensure that it would hook up to our garden hose, and we grabbed those too and they worked perfectly! I messed up cutting one of the angles for the shelf the wrong way, but there was enough scraps for my husband to help me fix it. It was a fun build, and so rewarding to see our kids playing with it! I used my dremel 4300 and it wasn't powerful enough for the thicker wood, so my stove tops are thinner, but he actually enjoys setting them up and spraying them off the table with his hose! I painted the brass hooks green when we were painting the kitchen so they would match. The pots and pans came with the little tote and the apron chef hat and pot holder. It was a perfect finishing touch. *Edit to add photos kitchen hose kit from home depot, reading comments, others had a hard time finding adapters. I suggest taking what you have with you to home depot so they can show you what adapters you need. We needed three because we have a quick attachment on the end of our garden hose, (for our sprayer) now little mans mud kitchen can be connected and disconnected easily!

Built from Plan(s)
Estimated Cost
$75
Estimated Time Investment
Weekend Project (10-20 Hours)
Finish Used
Rust-Oleum Ultra Cover 2X Enamel Spray Paint and Behr Semi-Transparent Waterproofing Exterior Wood Stain and Sealer
Recommended Skill Level
Starter Project
Comments
Ana White Admin
Sun, 06/18/2023 - 11:06
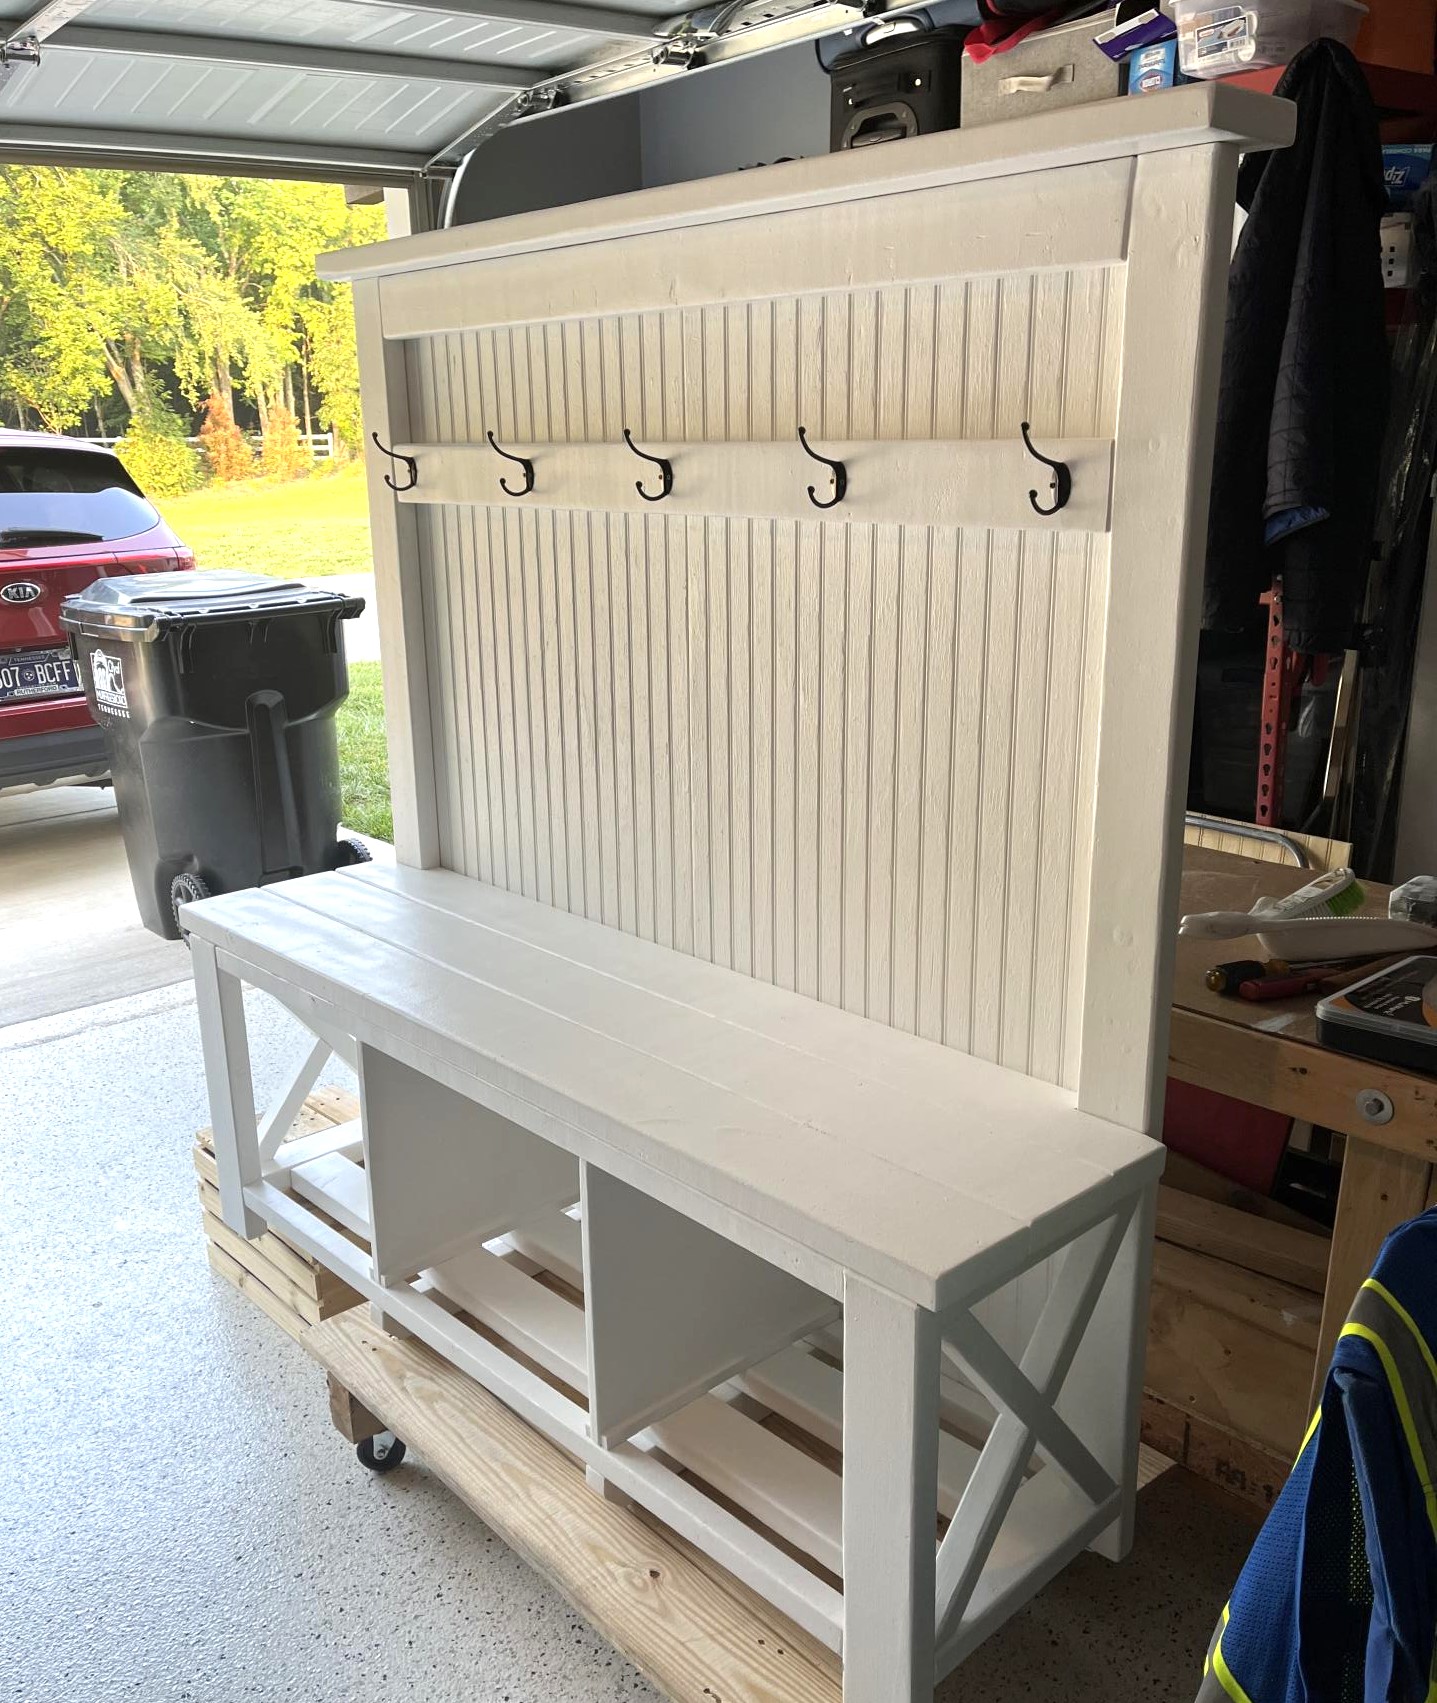
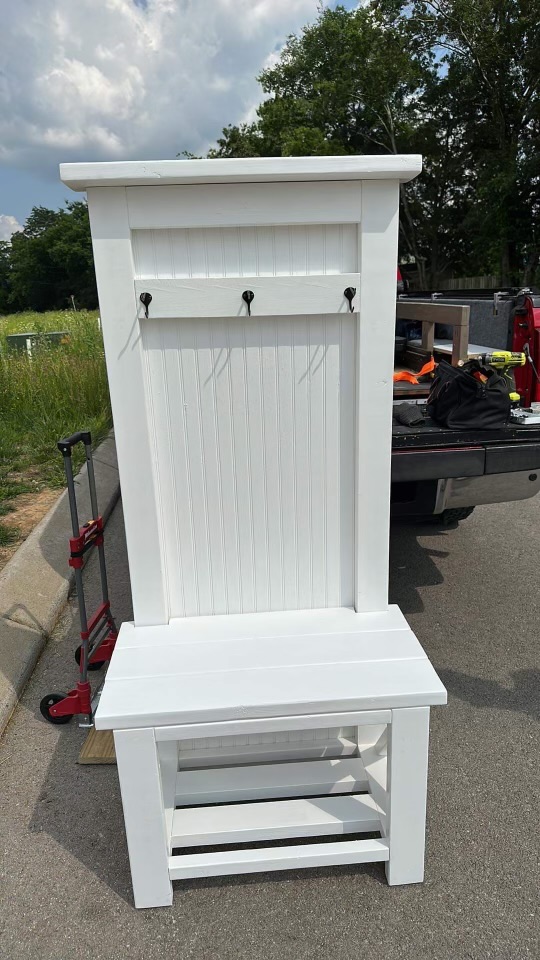
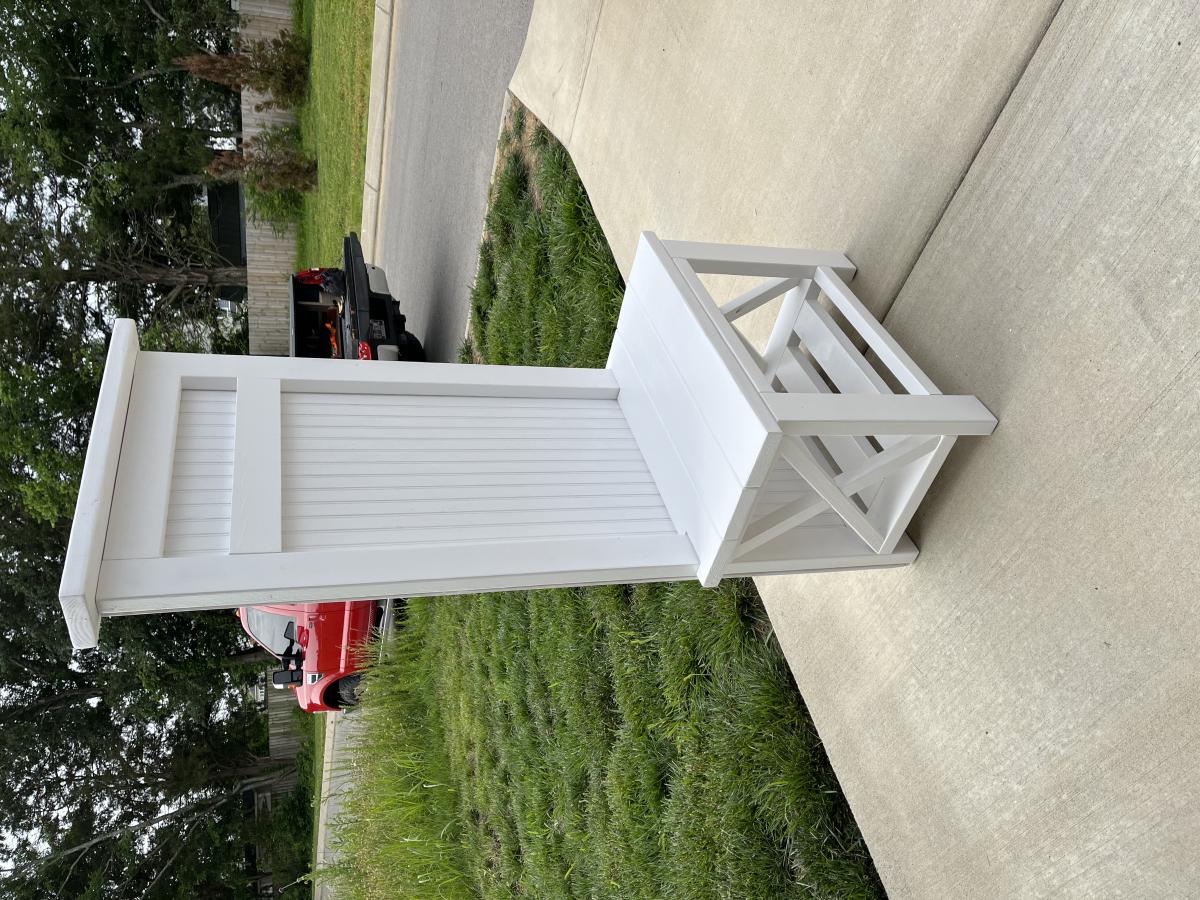
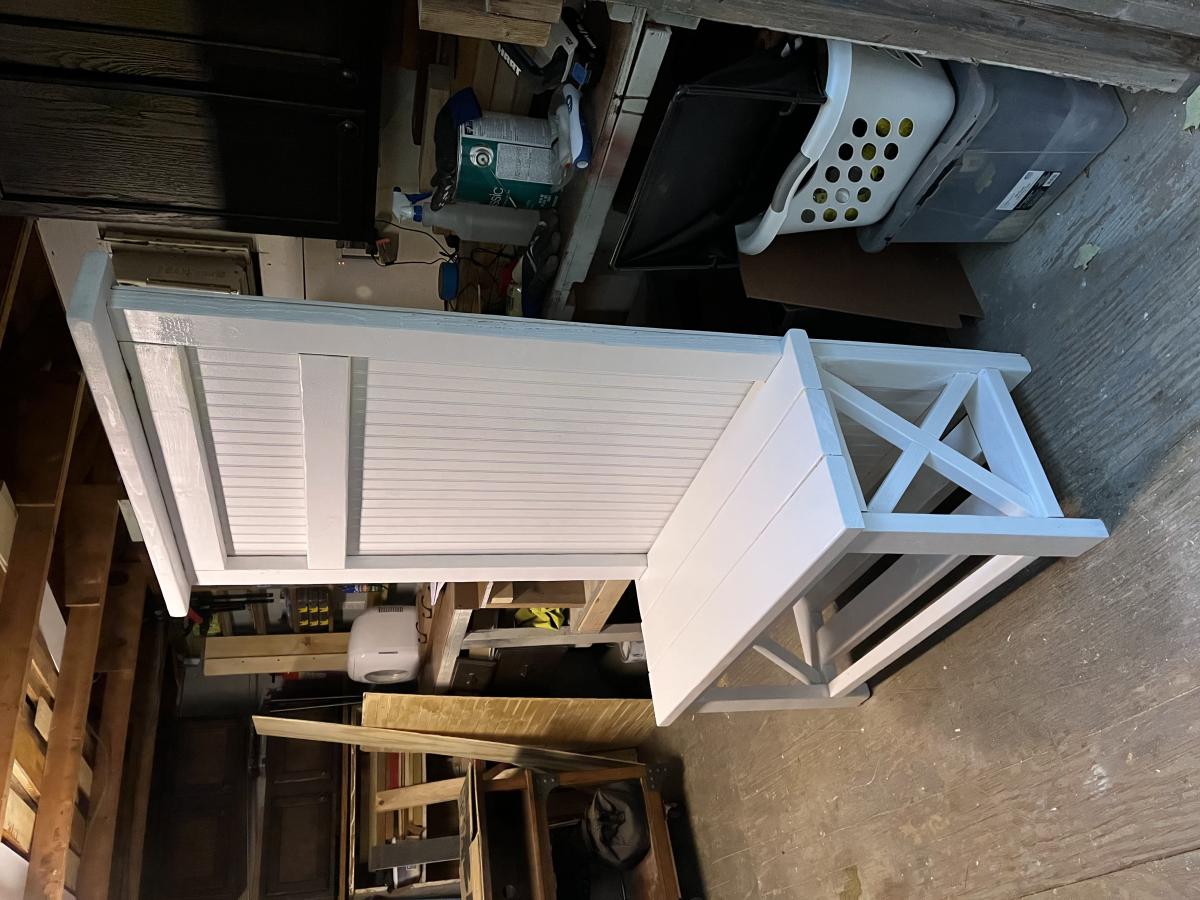
Fabulous hall trees!
Thanks for sharing, these are all gorgeous!