Community Brag Posts

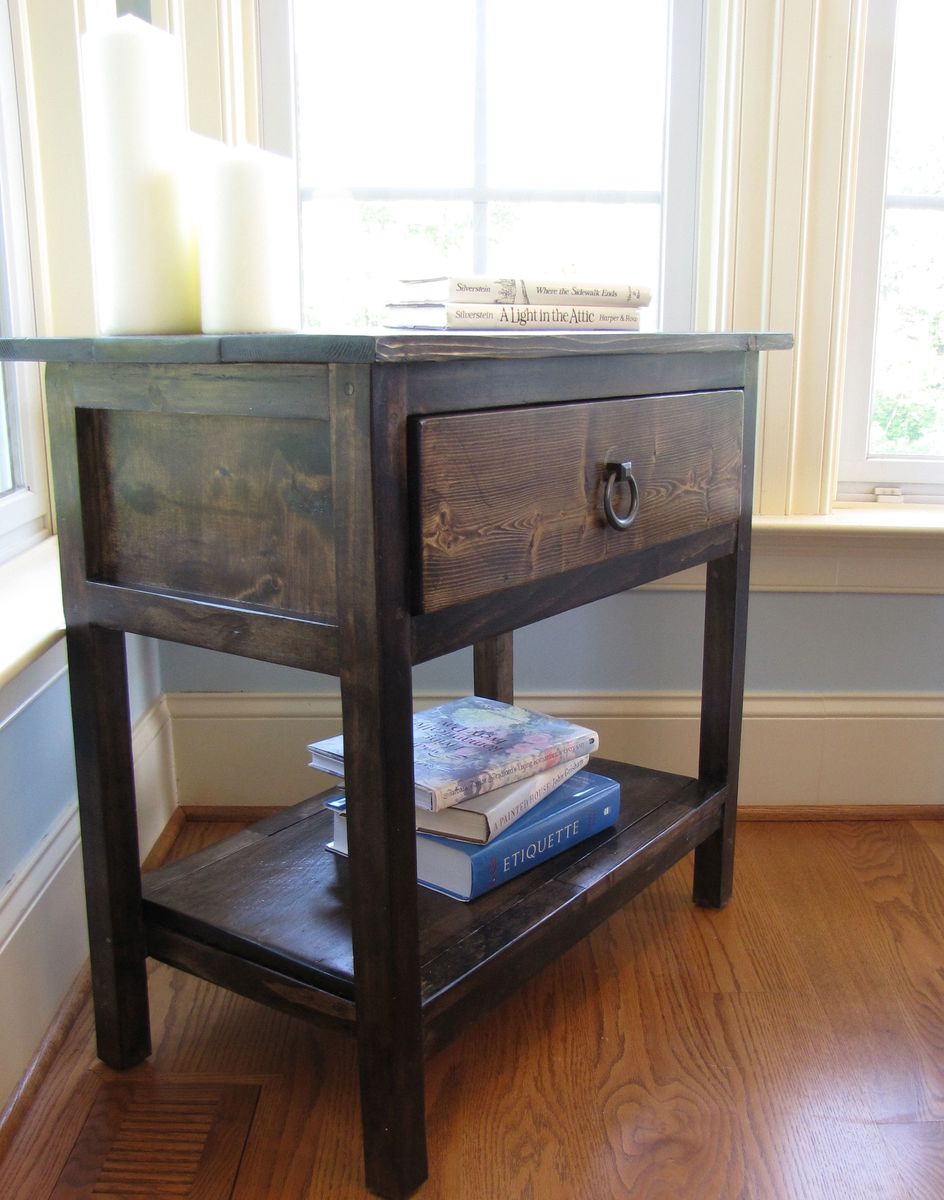
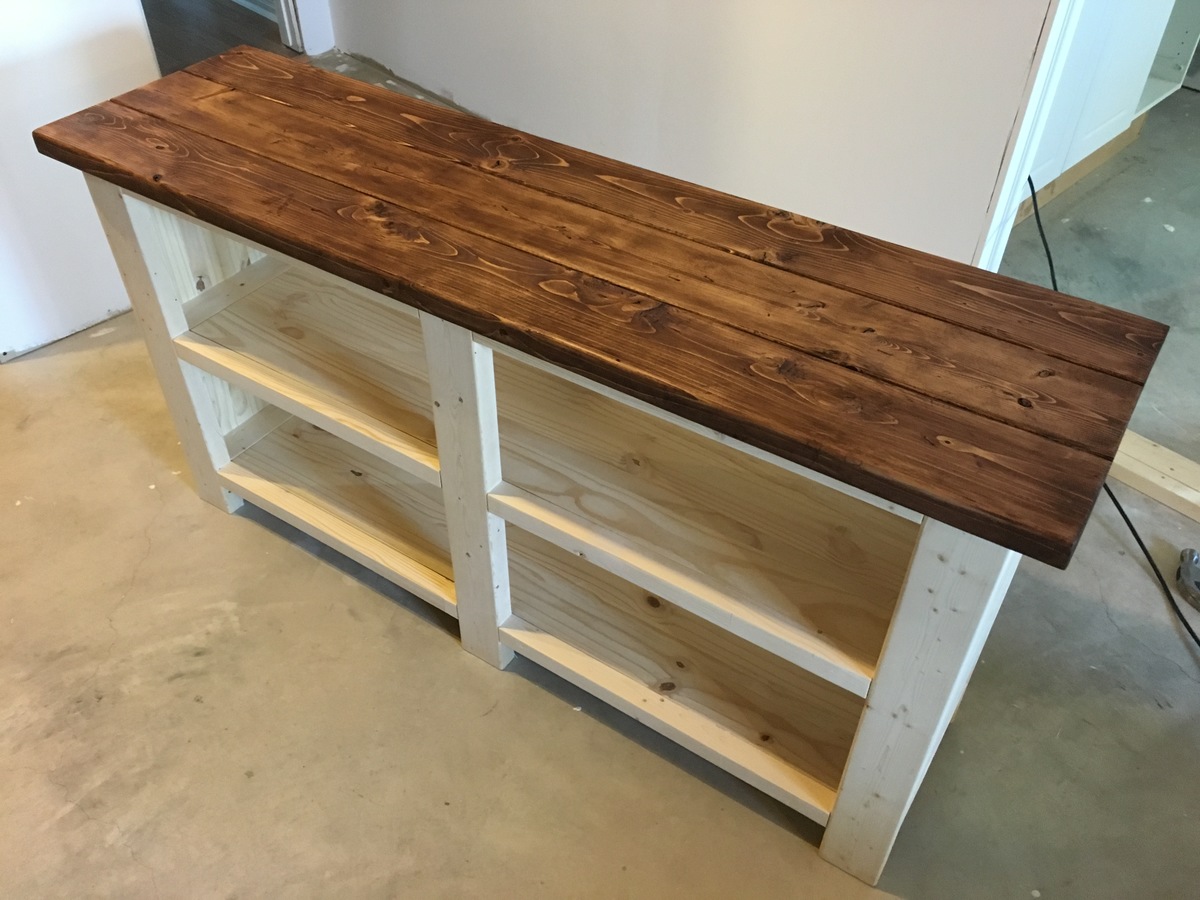
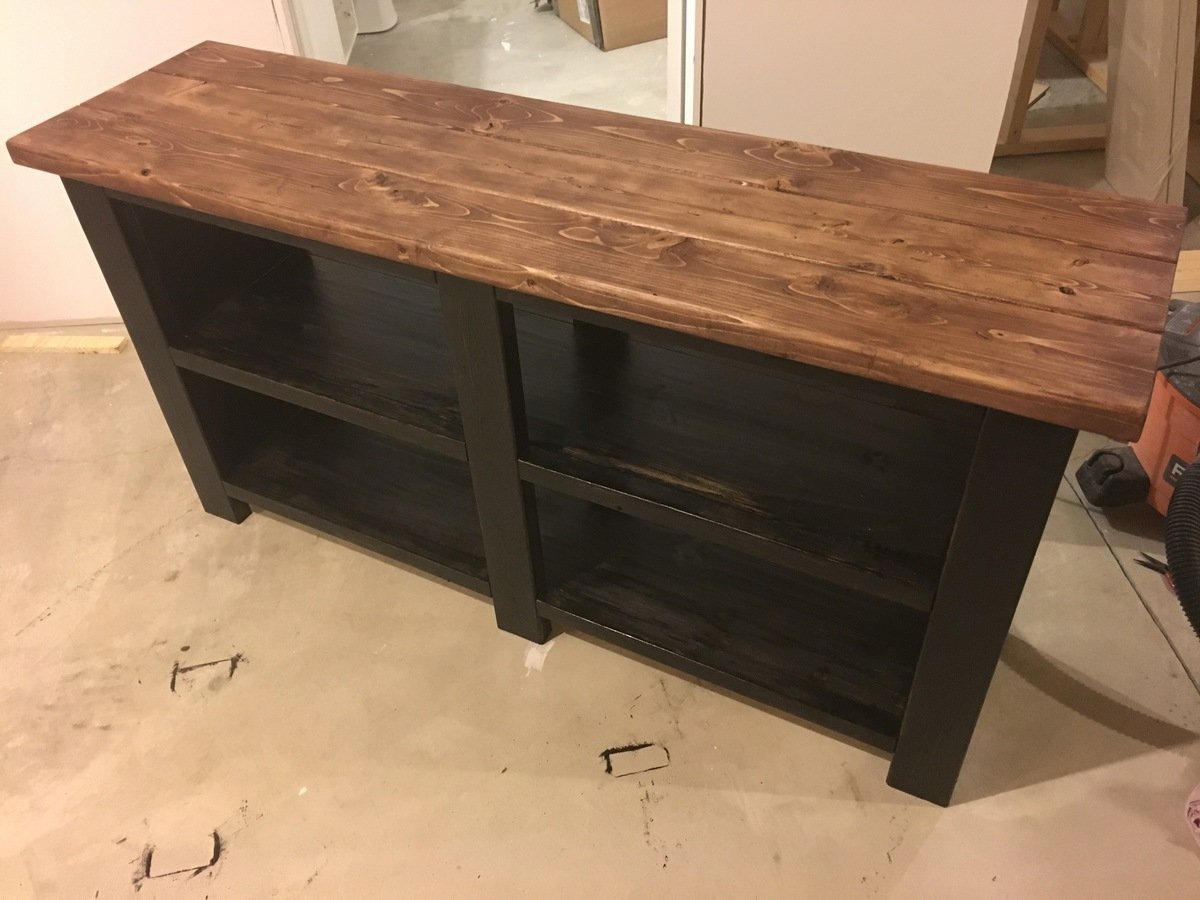
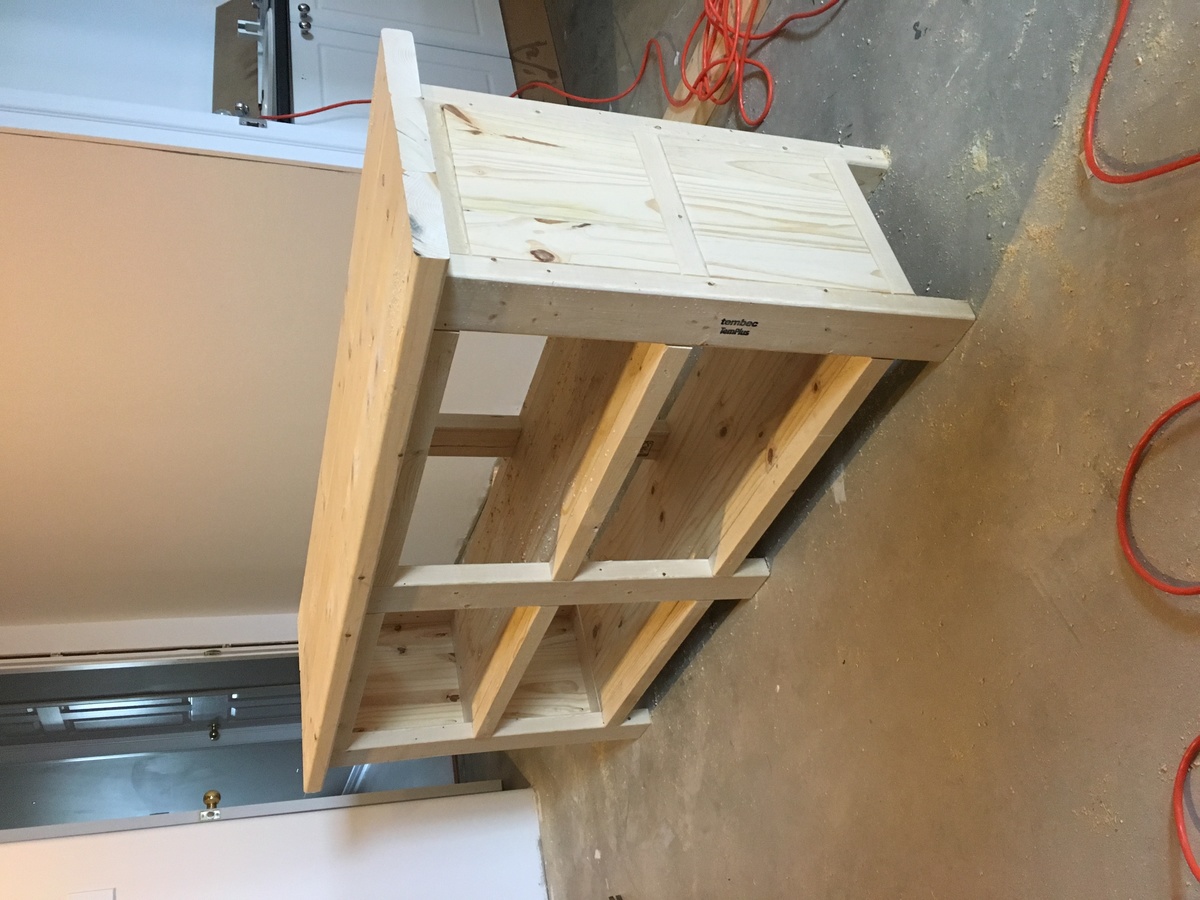
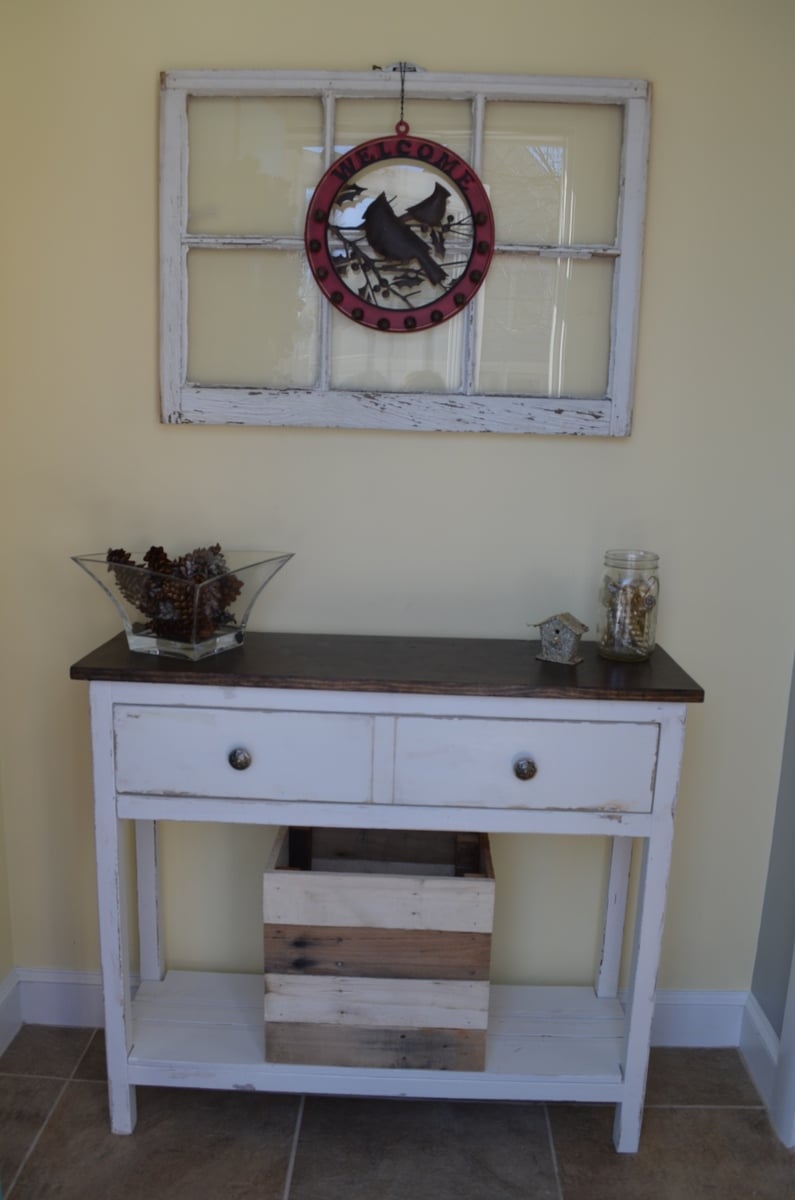
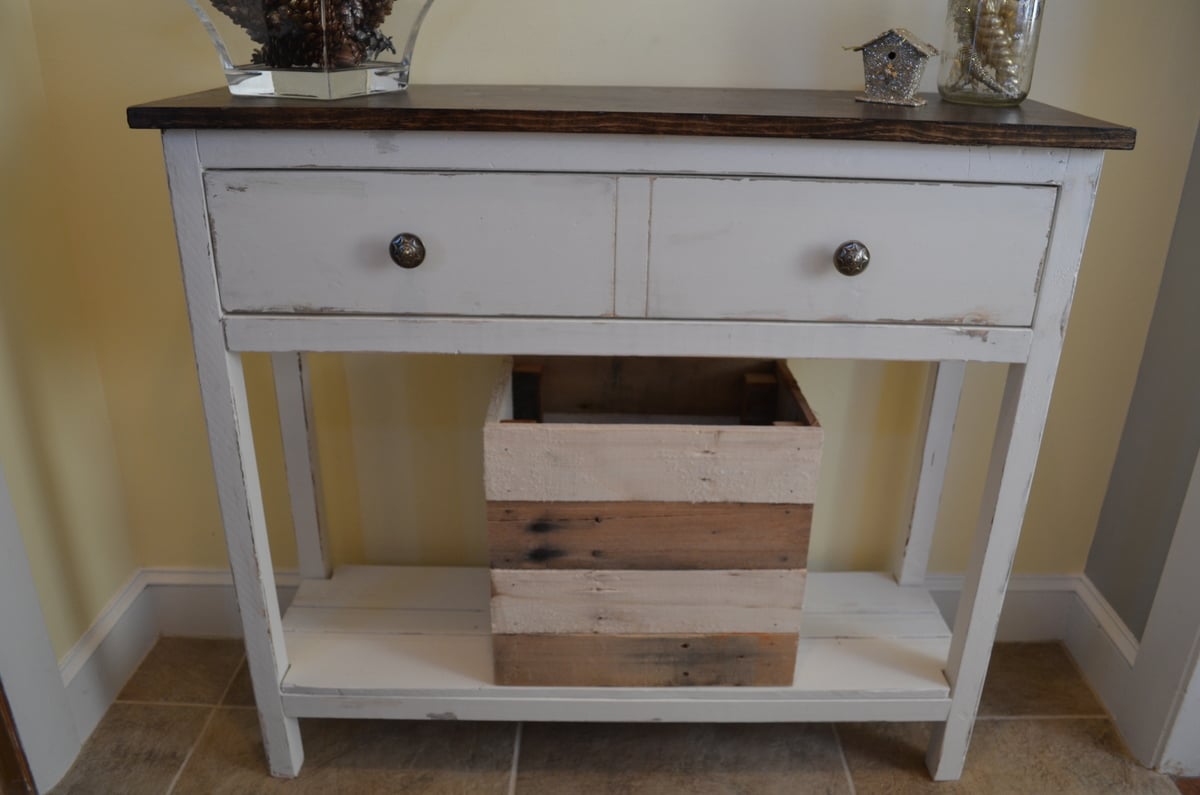
Schoolhouse project table desk

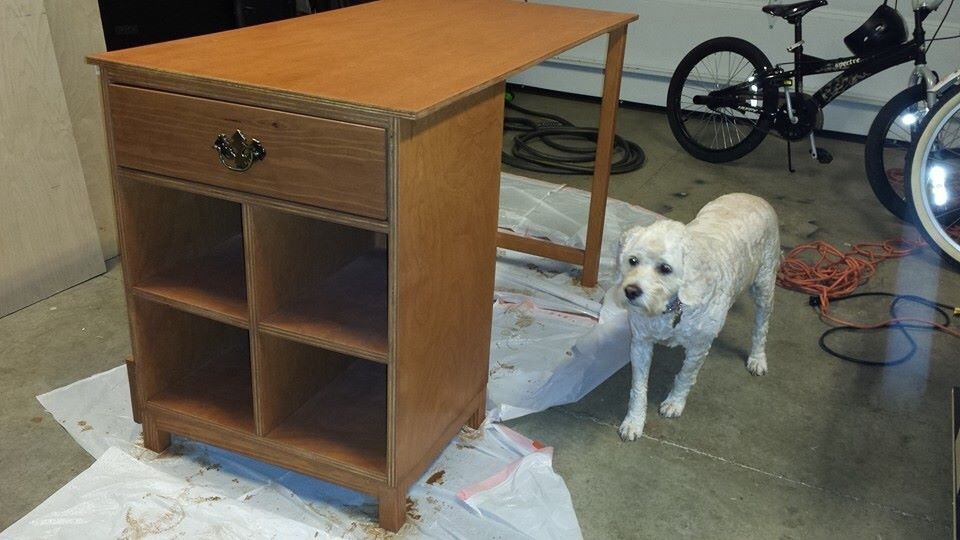
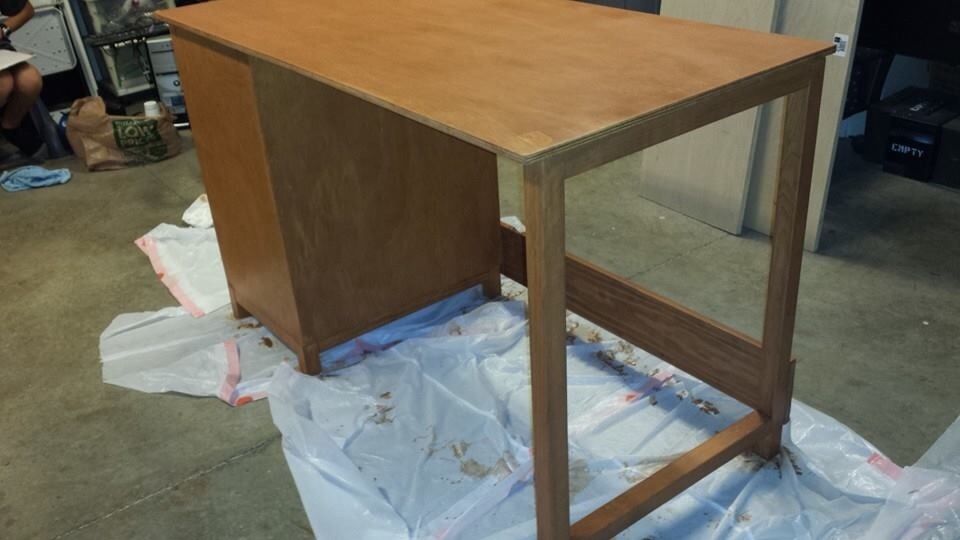
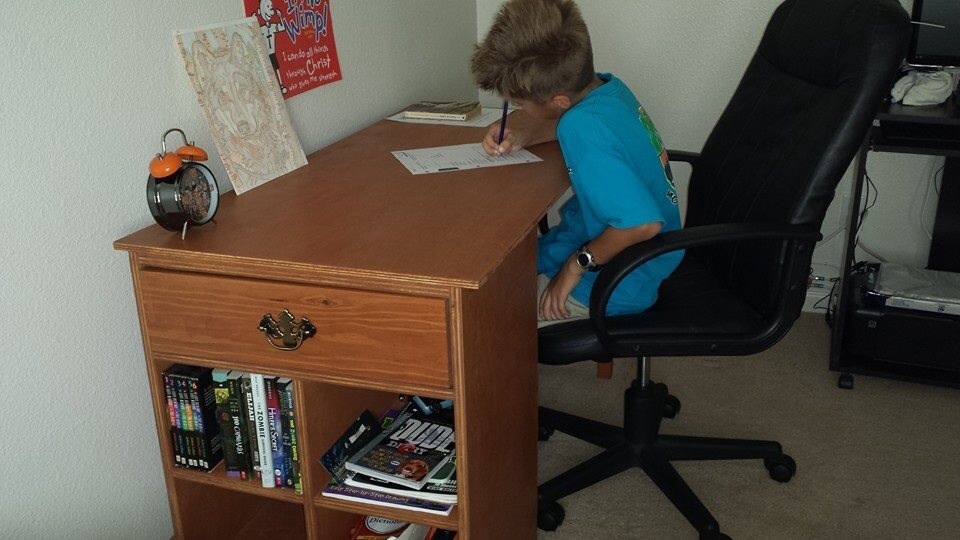
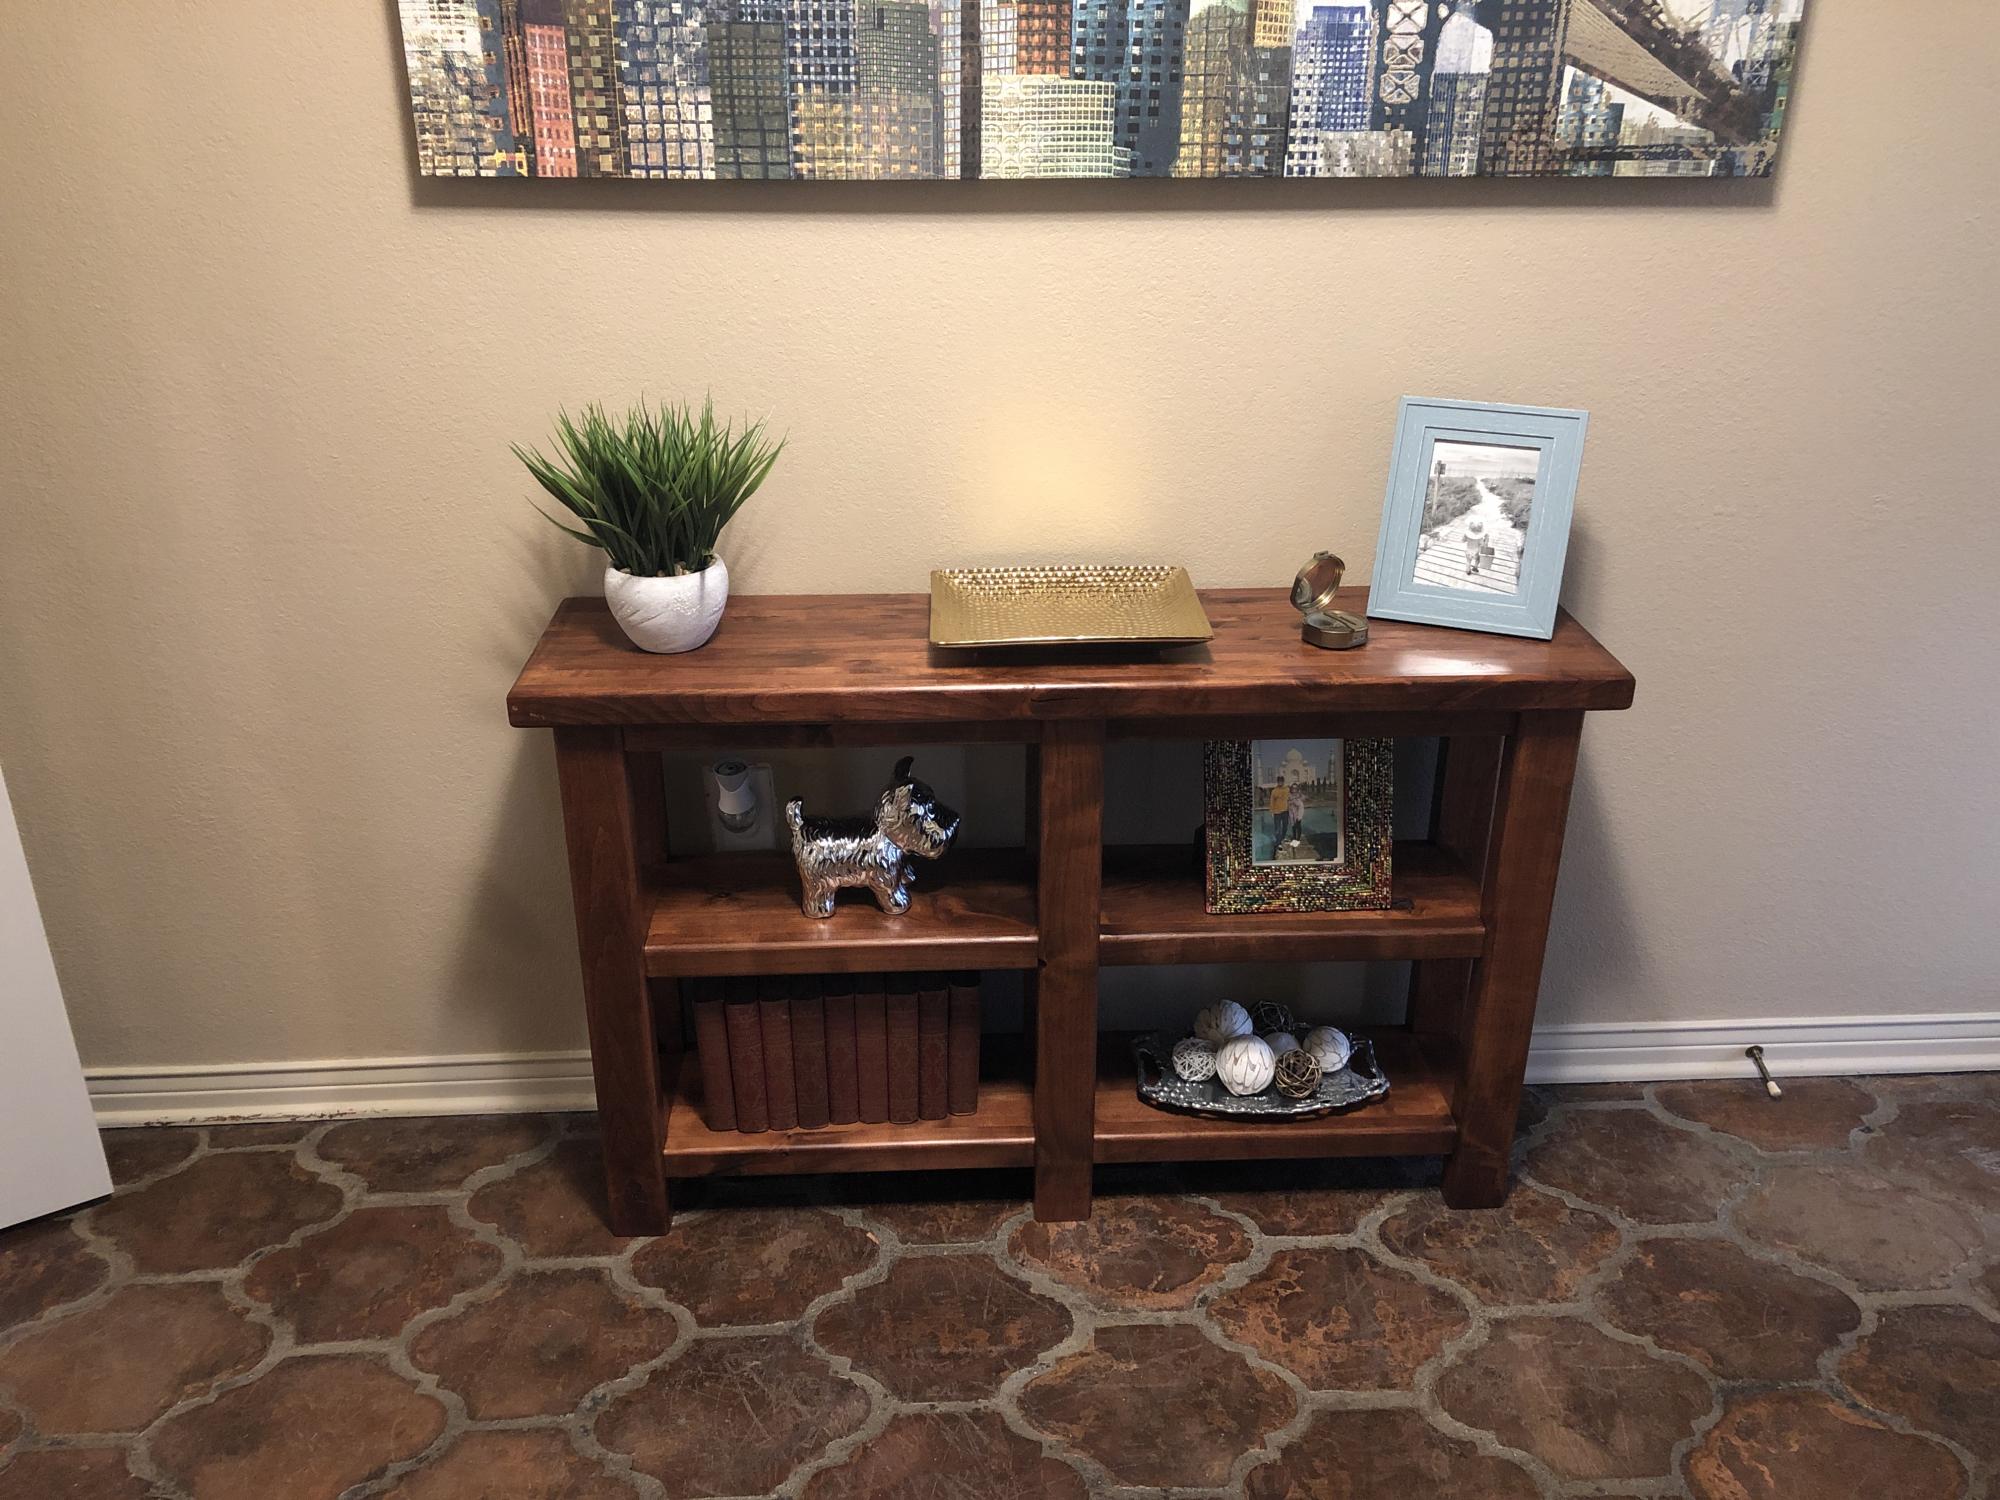
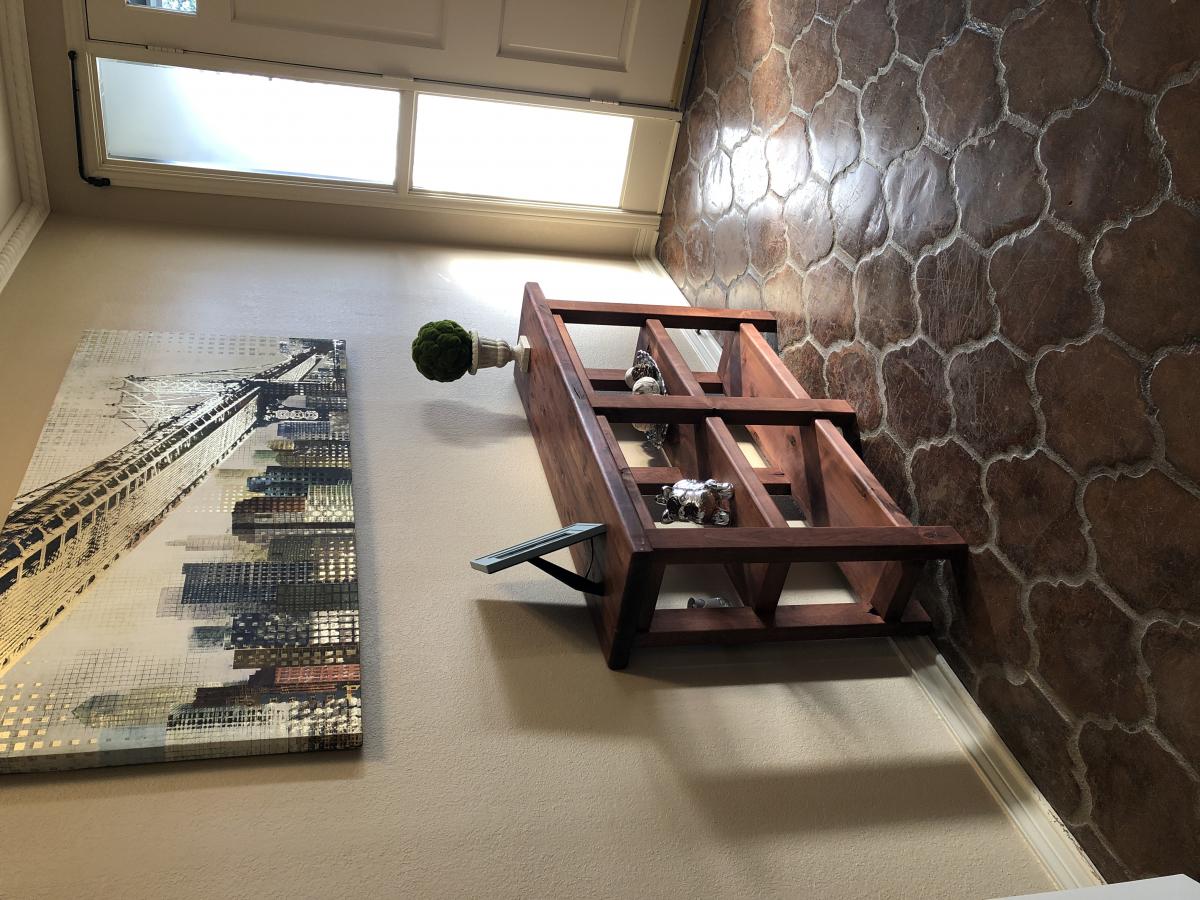
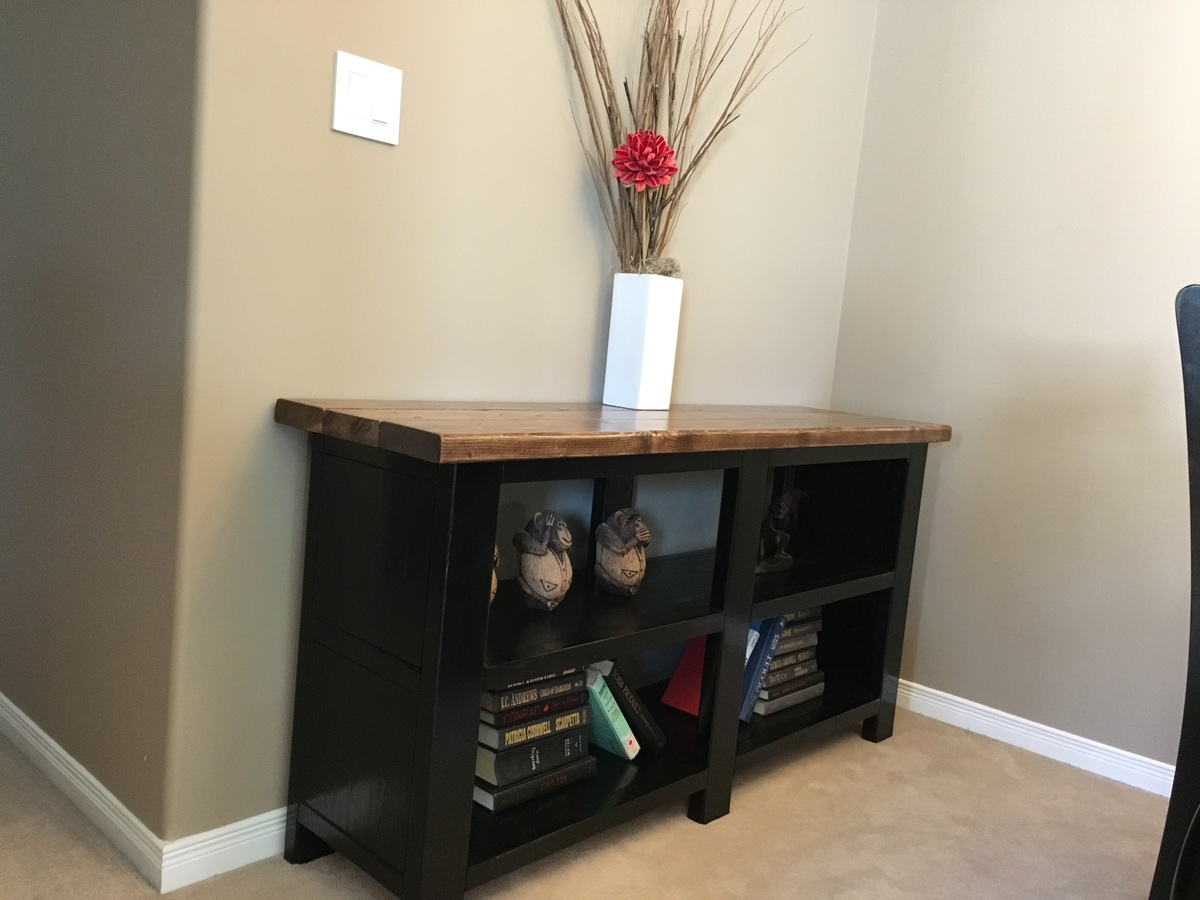
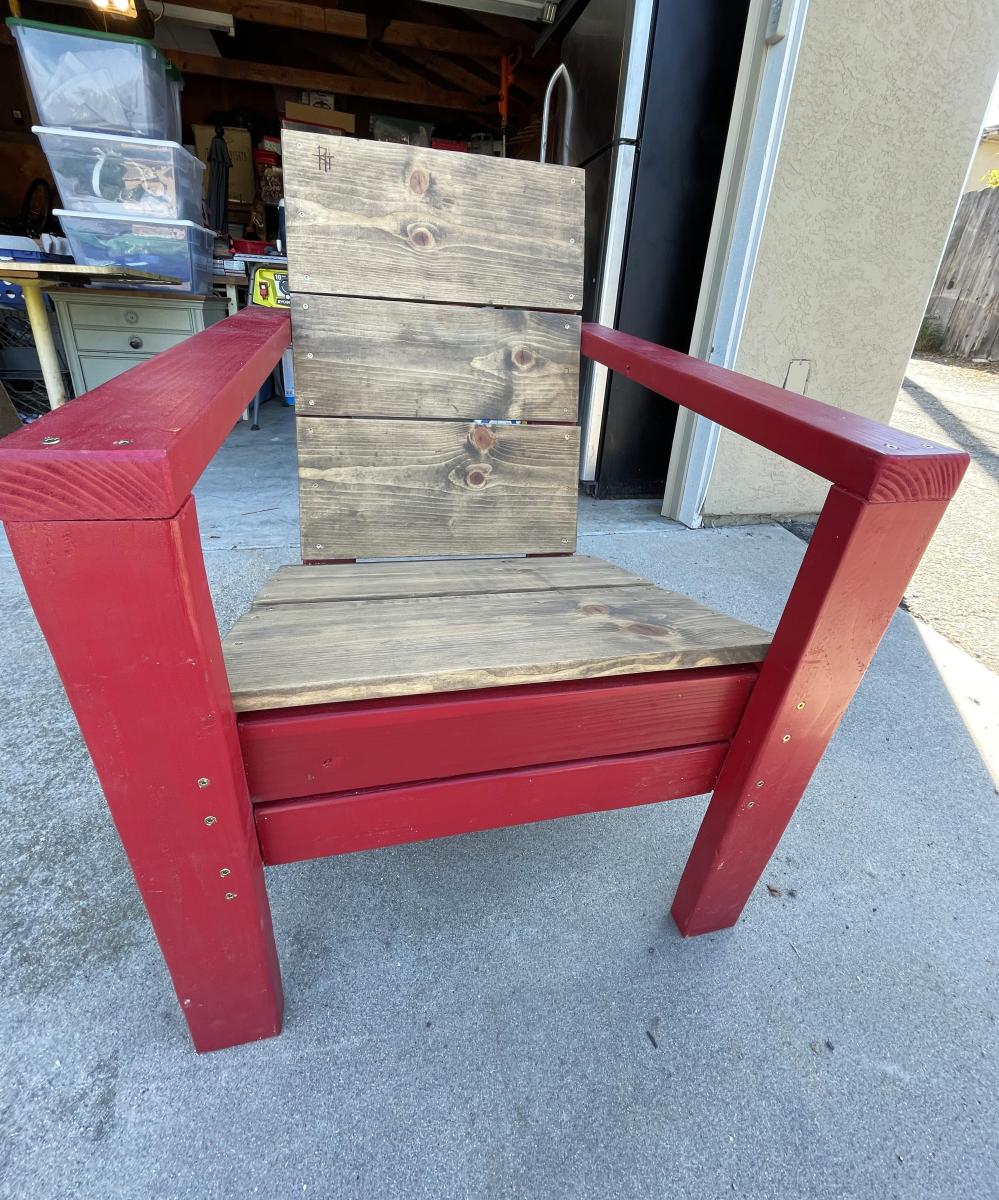
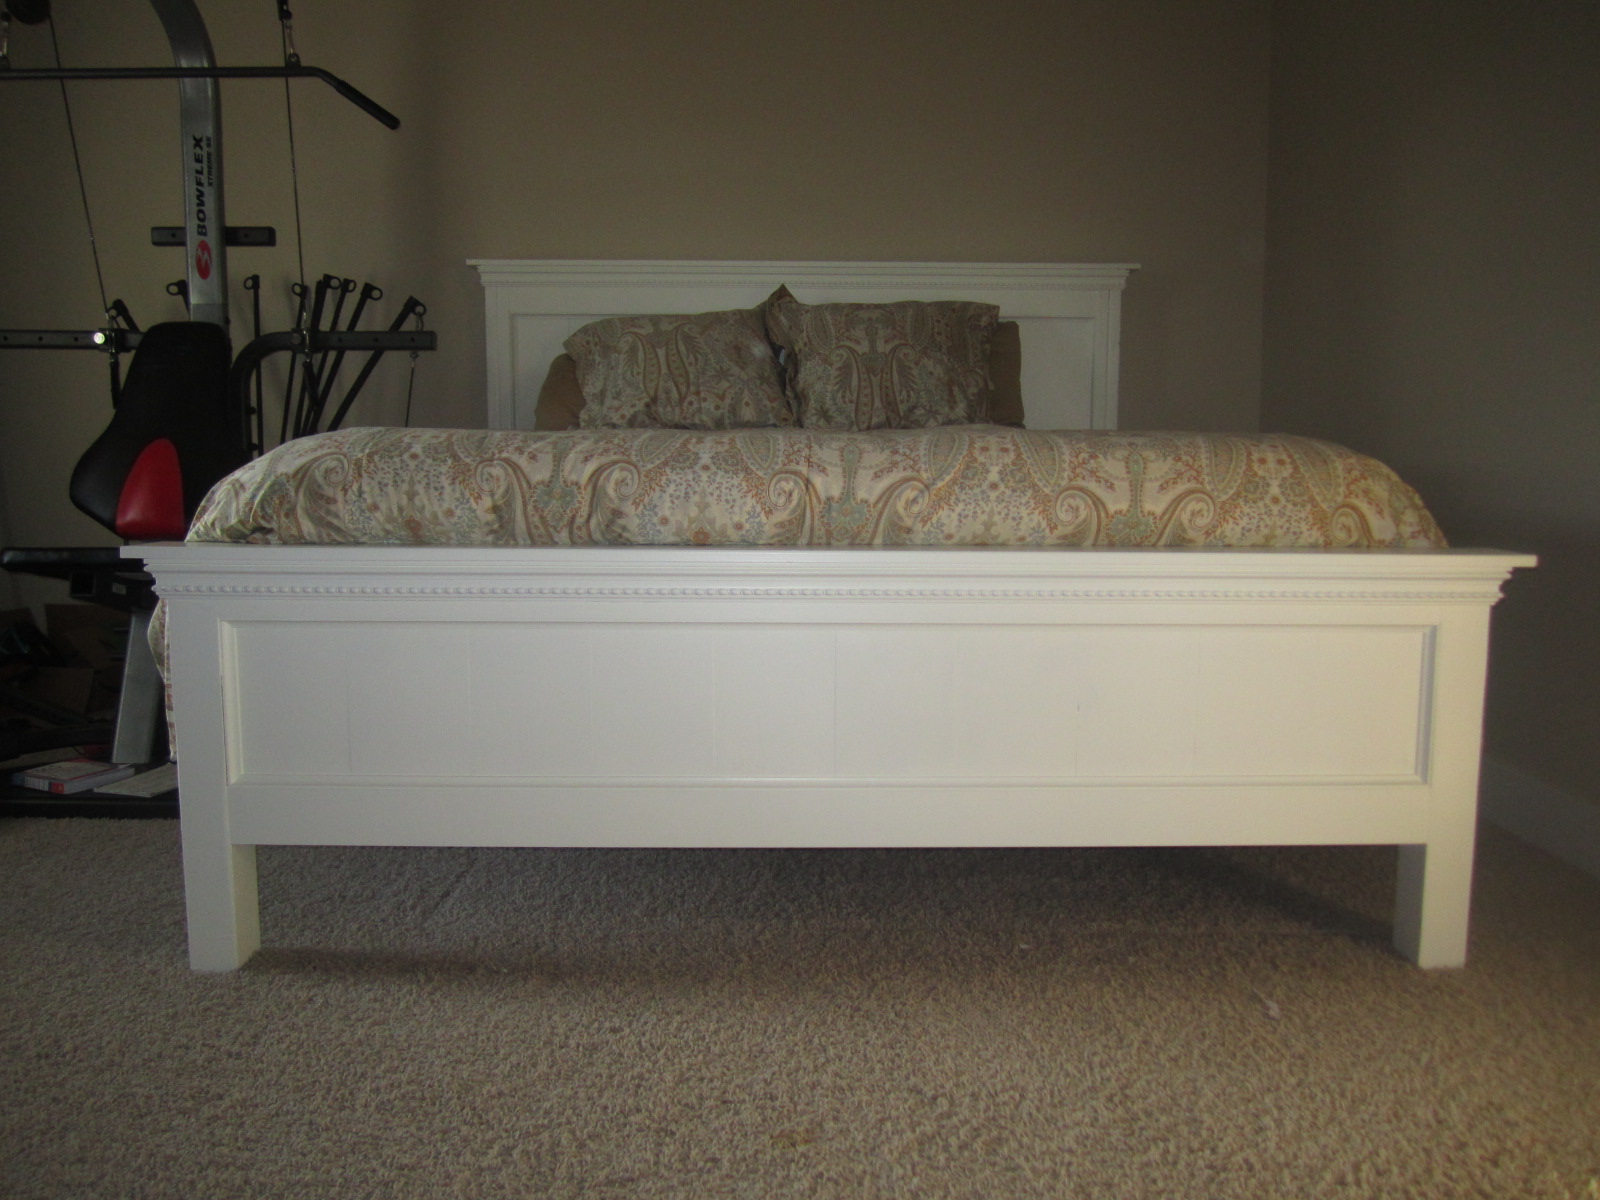
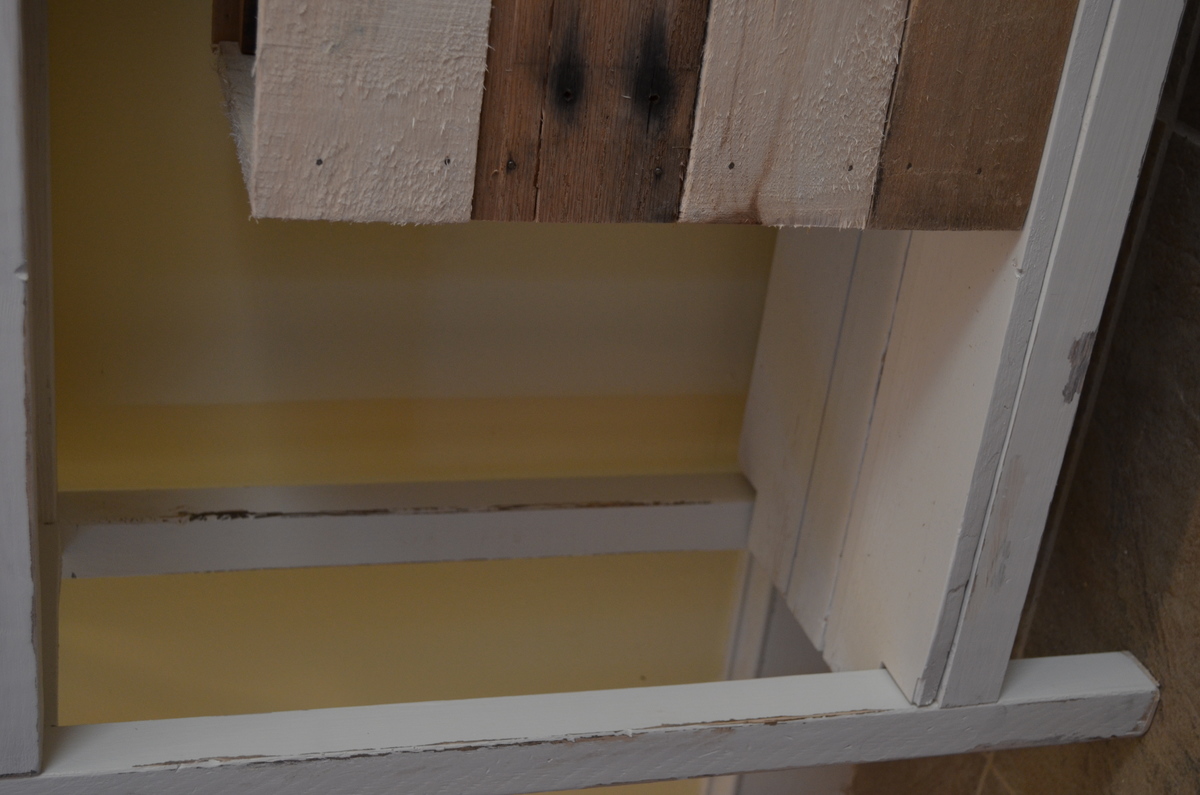
This was my first project. I didn't even know how to use a drill. With the help of my husband I learned quickly. Everything came together rather well and making the cuts was fairly simple. I used a table saw instead of a skill saw which made the bigger cuts not quite straight. I will have to invest in one of those. Two problems I ran into was not having enough clamps. I had the one that came with the kreg jig but having another would have made it simpler when attaching the legs. I had to go out and get the right angle clamp for the jig and that was a lot simpler but will still purchase another clamp for the future. The other problem I faced was the table legs were not sturdy enough so we added a support post to the back of the desk you can see in the picture. I also made the mistake of purchasing wood filler the same color as the stain. So I have darker areas. Haha. It was great learning experience. And my ten year old is very happy with his desk.

Built from Plan(s)
Estimated Cost
$100 we live in hawaii lumber costs more
Estimated Time Investment
Weekend Project (10-20 Hours)
Finish Used
Ipswich pine 3 coats. Followed instructions on staining the bunk bed
Recommended Skill Level
Beginner

Comments

Jacquiluvsben

Sun, 02/16/2014 - 18:15
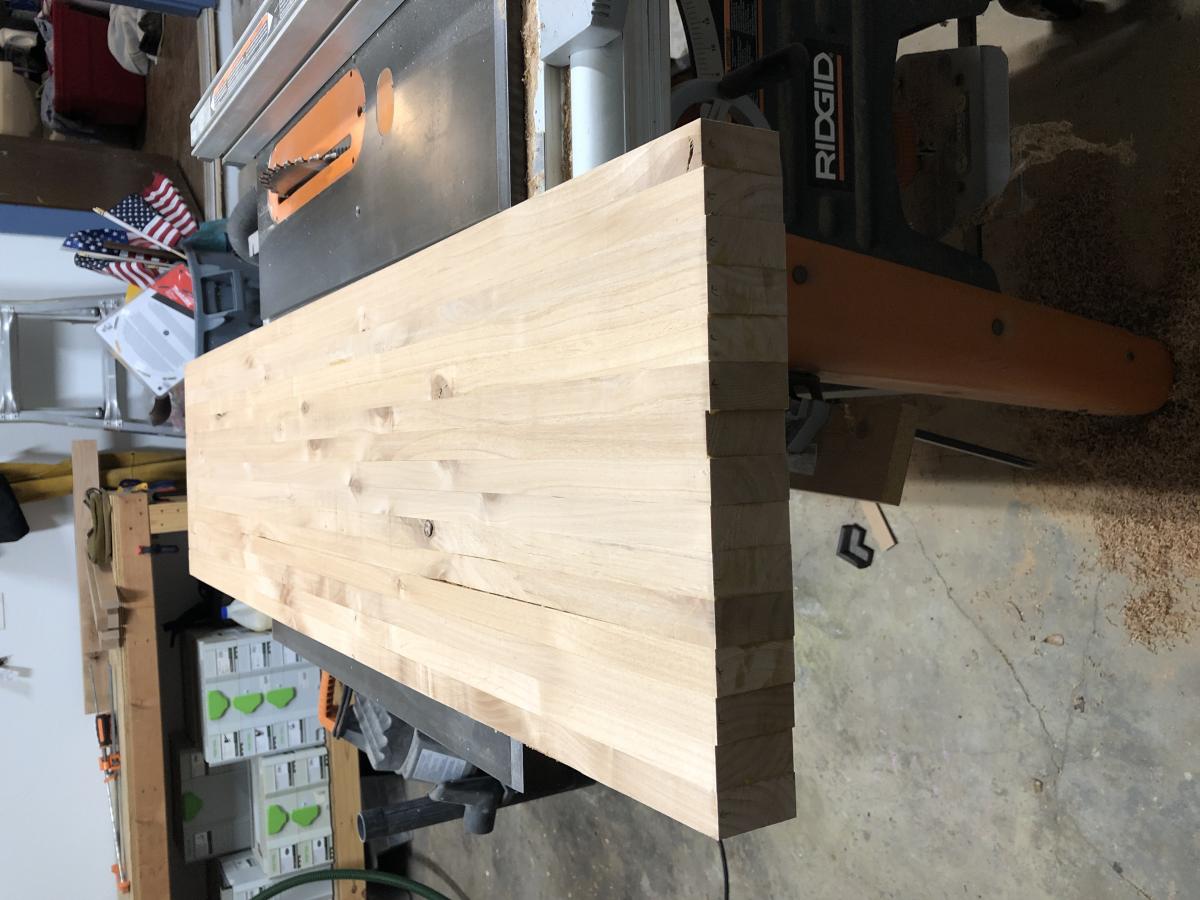
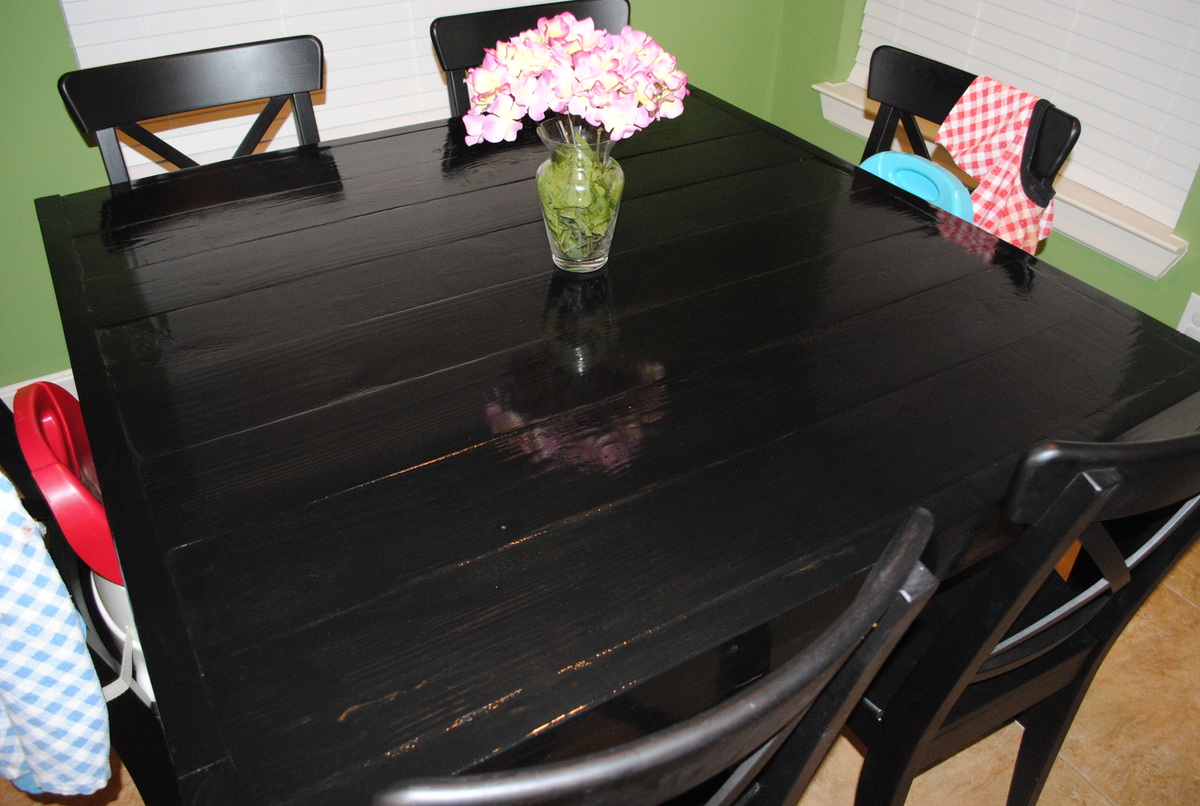
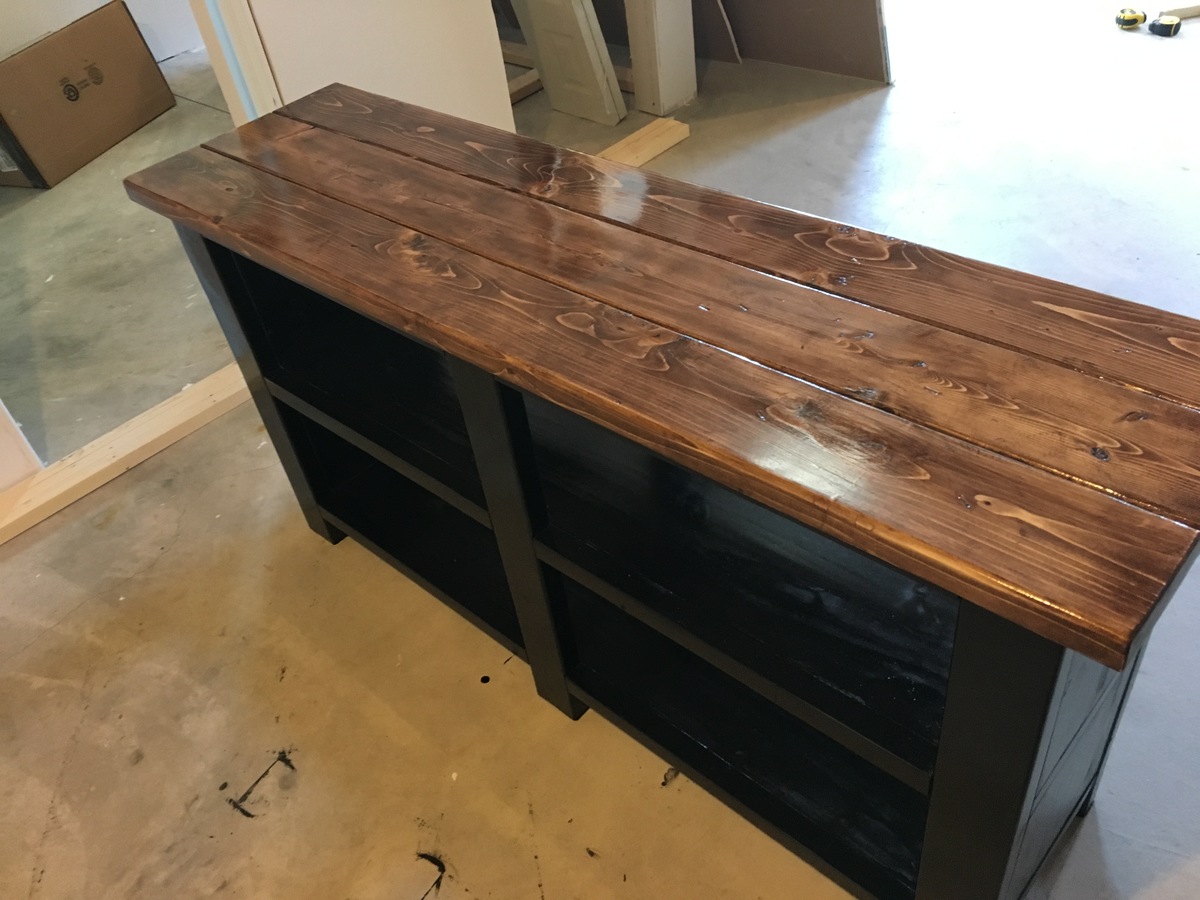
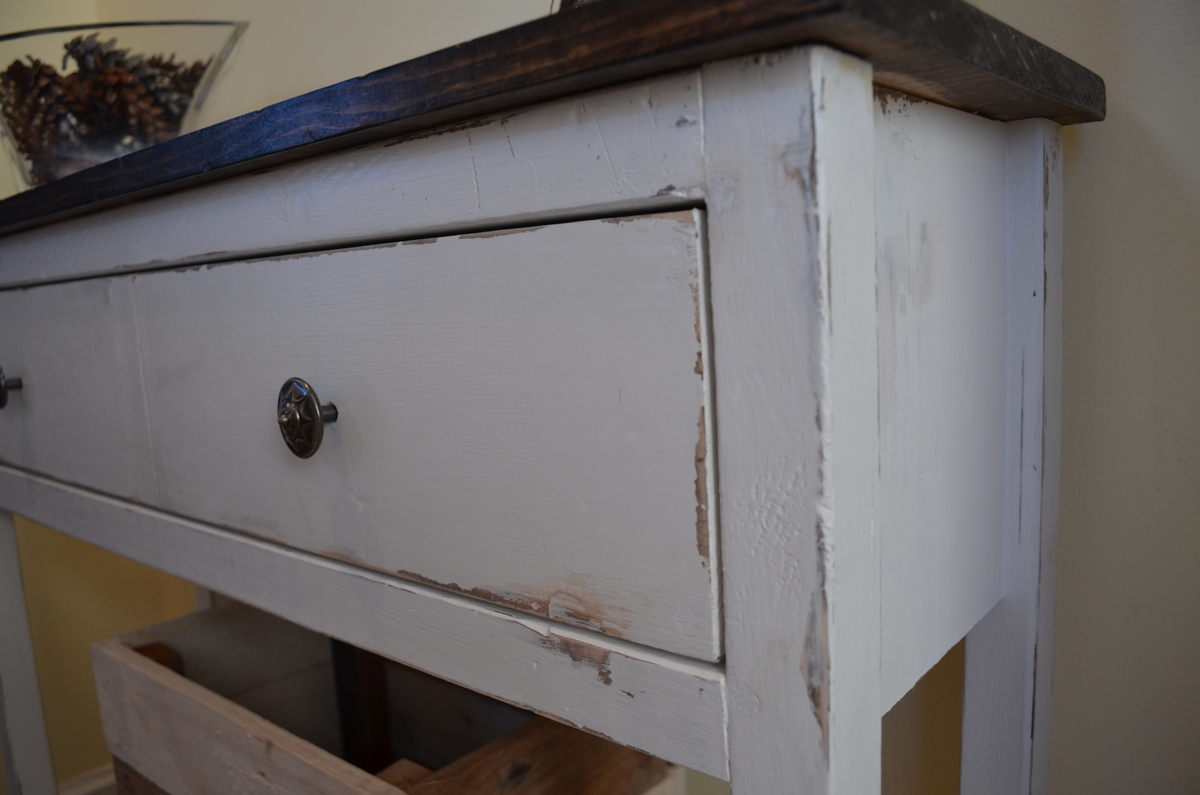
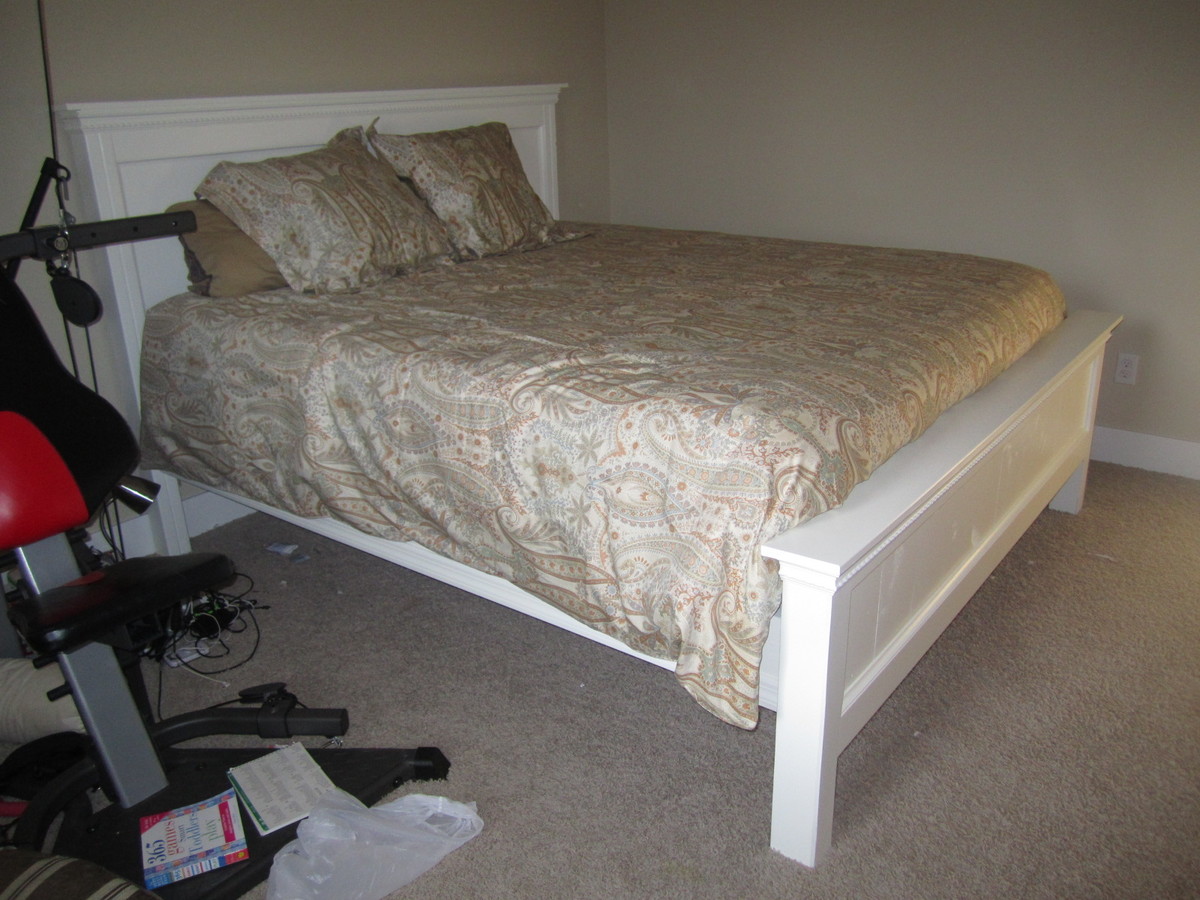
We also didn't know how to attach the top. The plans don't give instructions for that and we had to figure that out on our own. We ended up doing pocket holes which takes away from the looks of it. But you can't notice it unless you look for it.

Fancy Hall Tree

Submitted by jkassel78 on Sat, 05/14/2016 - 18:03

I needed a place for everyone to throw their bags instead of the kitchen table! I used the box plans from the fancy hall tree and modified the top, adding a shelf, and changed the design to accommodate the piece of plywood I already had and wanted to use for the back. I made it in two pieces for easier transport and assembled it inside the house. I used off the shelf pine and plain plywood for this. I found the cute numbered hooks on etsy :) I took my time building it and worked on it about an hour a day while my husband watched the kids. 

Built from Plan(s)
Estimated Cost
150-200
Estimated Time Investment
Week Long Project (20 Hours or More)
Finish Used
I used a quart of calypso blue from Benjamin Moore and Old American stain by Minwax. And I used a couple of coats of polycrylic to finish it.
Recommended Skill Level
Intermediate

King bed

King bed made with Kona stain check us  on Facebook marney Marie 

Estimated Cost
250
Estimated Time Investment
Day Project (6-9 Hours)

Farmhouse Side Table

I decided to build this bedside table for a friend of mine who just graduated from college as a special graduation gift. I thought it was a beautiful plan, and knew she would love it. This table was fairly easy to build and easy to finish. I ran into problems with the shelf, at first I decided to just add 1x2's around the bottom, but didn't like that and then built the shelf with a "frame" around it. It turned out nice, I hope she likes it.

Built from Plan(s)
Estimated Cost
About $100 for all the wood and finishing products. I used no scraps
Estimated Time Investment
Weekend Project (10-20 Hours)
Finish Used
Minwax Providence and Ebony mix. 3 to 1. Four coats of Poly-acrylic.
Recommended Skill Level
Beginner

Comments

chriskerr21485

Thu, 04/23/2015 - 20:28

This looks great! I'm thinking about building something very similar, and I was wondering what type of wood you used?

Madison Dresser

Submitted by meg_odom on Tue, 02/18/2014 - 15:06

This was my most ambitious project yet - and I did it during my 2nd trimester of my first pregnancy! I knew I wanted a dresser that would double as a changing table & fell in love with the Madison as soon as I saw it. This is no small project - those drawers were certainly a learning experience! Wish I'd paid more attention to the 1x2s (& sprung for top pine to try to get a straighter frame). We're happy with how it's turned out & can't wait to start using it for our daughter when she arrives in May!

Built from Plan(s)
Estimated Time Investment
Week Long Project (20 Hours or More)
Finish Used
Copied the original at Old Paint Design & used Valspar's Polar White (2 coats, semi-gloss) after a coat of primer. Hand brushed the whole thing.
Recommended Skill Level
Intermediate

Motorcycle Jacket and Helmet Rack

Submitted by Anonymous (not verified) on Thu, 05/19/2016 - 10:52

Built from left over Rough Cut Maple.  Jaket, Helmet and Key Rack

Estimated Cost
$50
Estimated Time Investment
Afternoon Project (3-6 Hours)
Finish Used
Minwax Stain and Polyurithane
Recommended Skill Level
Beginner

Comments

Console Table Build for Entry Table

Fantastic plans.

I made some modifications to make this fit my exact needs, but the overall plans and explanation were outstanding. Changes I made are as follows:

  • Shorten the length to fit the space I was building for
  • Made the entire body out of Alder because I had a surplus laying around my shop
  • Created a butcher block style top by laminating together 15 2-inch wide 3/4 pieces
  • Put a roundover edge on the top, as well as any of the outside edges on the legs or rails
  • Joined the front and back frames to the shelves by using dominos instead of pocket screws

I finished the table with a washcoat of wood conditioner, followed by General Finishes mahogany stain, and put three coats of wipe-on General Finishes Arm-R-Seal satin poly, sanding with 320-grit in between each coat.

Thanks for making these plans available for use! I'm very happy with the results

Built from Plan(s)
Estimated Time Investment
Weekend Project (10-20 Hours)
Finish Used
General Finishes Oil-Based Mahogany Stain
General Finishes Arm-R-Seal Satin Wipe-on Poly
Recommended Skill Level
Beginner

12' Farmhouse Table

Submitted by Anonymous (not verified) on Mon, 10/16/2023 - 09:03

This is a 12’ Farmhouse Table made from old reclaimed barn wood. I used the plans from Ana White Farmhouse Table and just scaled it for 12’.

Shawn Imes

Comments

Square Modern Farmhouse table--47 inches

Submitted by mommy to 3 on Wed, 05/09/2012 - 11:47

I wanted a square table that was standard height but not too big for my 9' by 9' breakfast area. I used the plans for the square modern farmhouse table, but mine is a 47 inch square. It seats 6 easily (and the chairs tuck in), but can seat 8 if we need it to. It turned out great!

Estimated Cost
$100
Estimated Time Investment
Day Project (6-9 Hours)
Finish Used
Minwax stain, ebony (3 coats) followed by minwax polycrylic finish (3 coats)
Recommended Skill Level
Starter Project

My very FIRST build!! LOVE IT!!

Submitted by AmJoy37 on Sun, 02/23/2014 - 09:11

My husband is deployed and I just decided to start building, to keep my mind busy. I built this table & benches, sanded, stained it & had it in my nook in just 6 days!!! I worked on it every night when the kids went to bed. Thank you Ana White!! :) I will be using this site quite a bit to keep me busy!

Built from Plan(s)
Estimated Cost
$140
Estimated Time Investment
Week Long Project (20 Hours or More)
Recommended Skill Level
Beginner

Comments

Custom X Console

Submitted by RobA on Mon, 05/23/2016 - 06:36

Thanks for the plans Ana! Here's what I came up with.

Built from Plan(s)
Estimated Cost
$100 CAD
Estimated Time Investment
Weekend Project (10-20 Hours)
Finish Used
The top has Mini wax walnut gel stain with 3 coats of Miniwax water base polycyclic semi gloss. The bottom has 2 coats of Classic black polyshades.
Recommended Skill Level
Intermediate

Farmhouse Queen Bed, with modifications

Submitted by craw4dz on Thu, 02/27/2020 - 11:27

I built this as a full-size bed to put in our spare room.  I am not fond of the top of the head and foot boards extending out because it wouldn't square-up with the wall (thank you, OCD).  I modified this so that the posts extended above the head and foot board and then trimmed it out inside of the posts.  This project took a couple days to build then another day to stain.  I used knockdown hardware that was terrible to install and won't do it again... lots of hassle and cursing and bloody knuckles.  Overall, I'm very happy with how it turned out and am working on modifying it a little more for our own queen bed with some redwood that my dad had milled up.  Stand by for that!

Built from Plan(s)
Estimated Cost
$120
Estimated Time Investment
Weekend Project (10-20 Hours)
Finish Used
Varathane medium oak with satin poly
Recommended Skill Level
Intermediate

shoe shrine shelves: first project

Submitted by ZjWalker on Mon, 05/14/2012 - 03:20

I searched for nice shoe storage for ages and found these plans on this awesome website and even though it is an intermediate project I gave it a try. As you can see my drawers and the whole thing in general is squint but I am proud of my first ever build project. It took me 2 evenings to complete.
I added some drawers for my jewelry like one by balard designs.
I hope my next project has better right angles and joints.
Oh and I used a Kreg jig and it is amazing!!!

I used white shelves from the home store, that I cut to size. I live in Saudi Arabia so wood is not so easy to find. Maybe I can use palm trees next time!

Built from Plan(s)
Estimated Time Investment
Day Project (6-9 Hours)
Recommended Skill Level
Intermediate

Doll Farmhouse Bed

Submitted by pde00311 on Mon, 02/24/2014 - 23:11

Santa Claus made our lucky girl a farmhouse bed for her new doll that was an exact mini-me of Mommy and Daddy's king farmhouse bed. Not just that, her grandmother was genererous enough to sew a new blanket and pillow for both our daughter and her dolls using some quilting materials left by her late-great grandmother. She also created a doll mattress some padding material that was used by our daughter's late-great grandfather.

Estimated Cost
50
Estimated Time Investment
Afternoon Project (3-6 Hours)
Finish Used
Behr off-white #1873 paint distressed with Minwax Special Walnut stain
Recommended Skill Level
Beginner

We love our playhouse!!

Submitted by Anonymous (not verified) on Thu, 05/26/2016 - 15:38

We used the free plans. I bought the materials and my son-in-law built it and it only took a day!  My grandkids love the playroom now. We have a nice pool in the back yard but when the weather is not good for swimming, the kids were easily bored. Now, the weather doesn't matter!  Thanks, Ana White, for inventing and sharing!

Estimated Time Investment
Day Project (6-9 Hours)
Recommended Skill Level
Beginner

Shoe Rack Bench

This was my very first woodworking project. I definitely made some mistakes but nothing major, and I learned! This was really fun and straightforward. I’m very happy with the results. Plus it’s a very solid piece. It took me awhile because of the dry times for the stain and finish. Everything else was pretty quick, though. 
When staining, I just covered one side at a time and quickly wiped it away to get a more rustic look.

Built from Plan(s)
Estimated Cost
$35
Estimated Time Investment
Week Long Project (20 Hours or More)
Finish Used
Minwax Wood Finish - Penetrating Stain - Ebony 2718 - Apply and wipe away within a minute for the rustic look
Minwax Fast-Drying Polyurethane- Clear Satin - 2 coats
Recommended Skill Level
Beginner

Mobile Storage Cart with Chalkboard Back

Submitted by vendo on Mon, 10/23/2023 - 11:14

I was asked to build something for my daughters varsity basketball team room. There wasn't a lot of extra space, so this is what I came up with. I wanted to give parents a place to set treats or leave an inspirational message. I was inspired by Ana's modern craft table plans. The smaller bookshelf measures 14" wide by 33 1/4" high (using a 1x8), the larger bookshelf measures 21" wide by 33 1/4" tall (using 3/4" plywood), with a 3/4" plywood top and 2" casters, it's a nice 36" counterheight. I used edgebanding for the top and front exposed plywood edges. I used aluminum flat bar (spray painted gold) to the shelves adding a decorative element as well as to help keep items on the shelves. The back is 1/8" panel spray painted with chalk paint. I added some bay supports at the top of each bookshelf to attach the top from underneath. I'm happy with the results!

Built from Plan(s)

Comments

California King Farnhouse Bed Fancy Style

Submitted by crtrimb83 on Tue, 05/15/2012 - 20:50

I LOVE the Farmhouse bed but wanted to do something new with it. After looking through some other brag posts for inspiration I made my own blend of things to get what I wanted. There are a a few things I did differently than the original Cali Kinf Bed instructions, which are noted in a list below.

I'm a military wife so whatever I made needed to be easily taken apart, moved, and put back together. For this I used 2x4 joist hangers on the inside of the side rails and cut 2x4's to width. I also wanted to have storage available under the bed so I made it a little higher, 12 inches rather than 10. I should have also made the overall headboard 2 inches higher as well, not just the spot the side rails sit on. Our mattress is a little taller against the headboard than I thought it would be. That's the only thing I'd of done differently.

I didn't use 4x4s for the foot board sides, I did use 2x4's and put them together like the headboard instructions with the slot for the side rail. The difference in mine is that I added thin backer board on the front of the 2x4 and mounted the foot board flush with that, and then used wood filler to smooth around the edges and give it the appearance of a 4x4. Adds a little more work but it was well worth it.

~ I did not use 2x4s laid on top of the finished head and foot boards
~ The headboard top has a 1x6 rather than the 1x4
~ I added rope chair rail on the tops of the head and foot boards
~ I added cove molding around the plank section of the head and foot boards
~ The very top pieces of wood on the head and foot boards have a 1 inch overlap to the back of the 2x4 sides. This allows space for floor trim behind the headboard and comforter stuffing behind the foot board.
~ I added molding to the bottom of the side rails, they looked too plain with the rest of it together and that made a big different in the overall look.

Overall I'm very happy with the way this build turned out, especially for my first furniture build!

Estimated Cost
$250
Estimated Time Investment
Weekend Project (10-20 Hours)
Finish Used
Behr Ultra in Magnolia Blossom
Recommended Skill Level
Intermediate

Entryway Table

Submitted by kulichka on Fri, 02/28/2014 - 07:15

This was my first real project where I did everything on my own, start to finish! No help from my husband. I needed a very small and narrow table for my entryway which is very small. This is the first thing you see when you open the front door. The top board is a 12" board, it fits perfectly in the space. I distressed it to give it a nice rustic look and it looks pretty authentic. The crate below is made of recycled pallet wood and will be used for shoes or umbrellas... I'm very happy with the way it turned out for being my first project (it's a tiny bit wobbly..the leg's aren't perfect, oh well!). And it only cost about $30 for the lumber (not including the stain, paint or finishing wax which I already had). Definitely beats trying to find something in the store!

Built from Plan(s)
Estimated Time Investment
Day Project (6-9 Hours)
Finish Used
White ben moore paint which was then distressed, dark walnut minwax stain on top, minwax paste finishing wax over the entire thing (first time I used it and I love it!)
Recommended Skill Level
Beginner

Comments

Back