Community Brag Posts

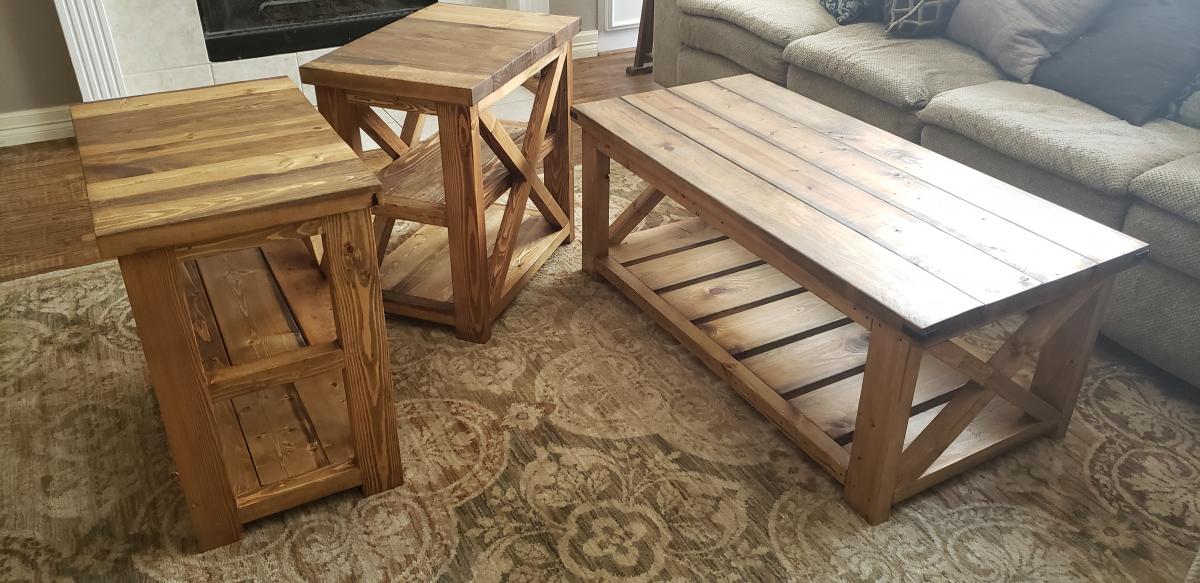
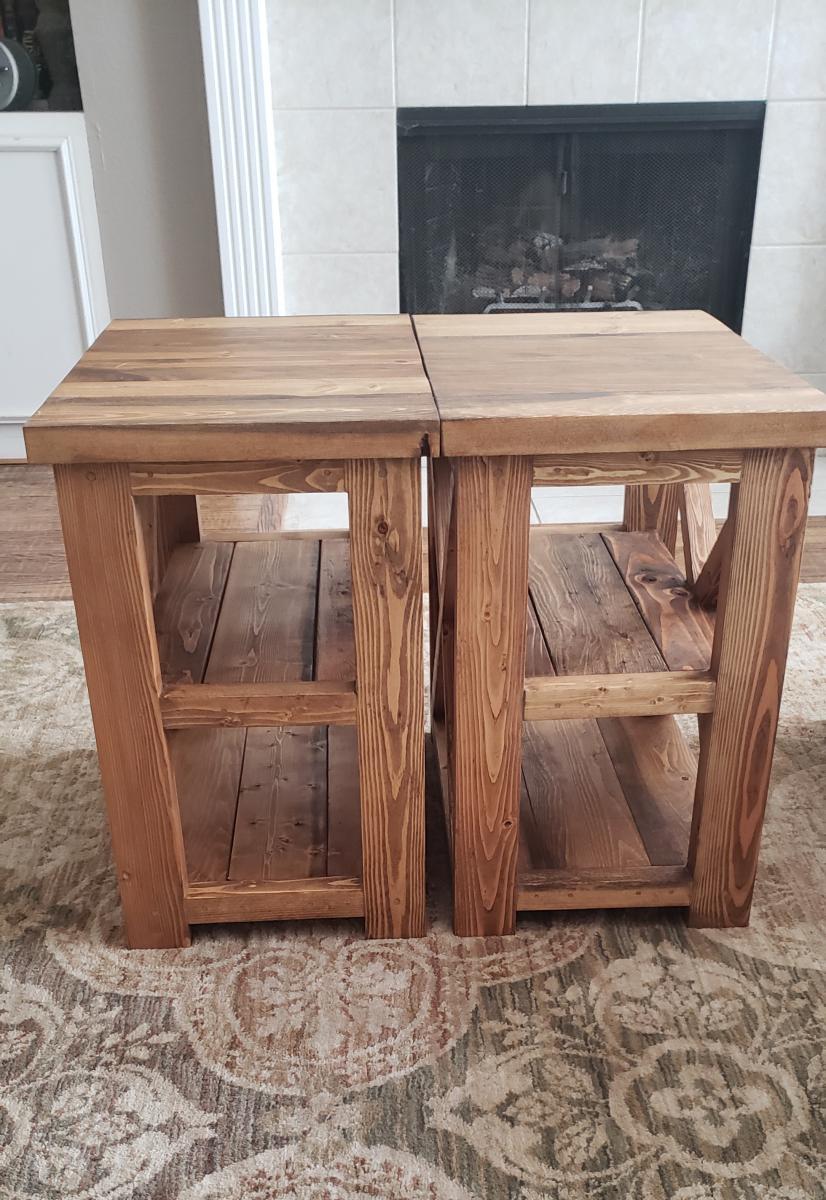
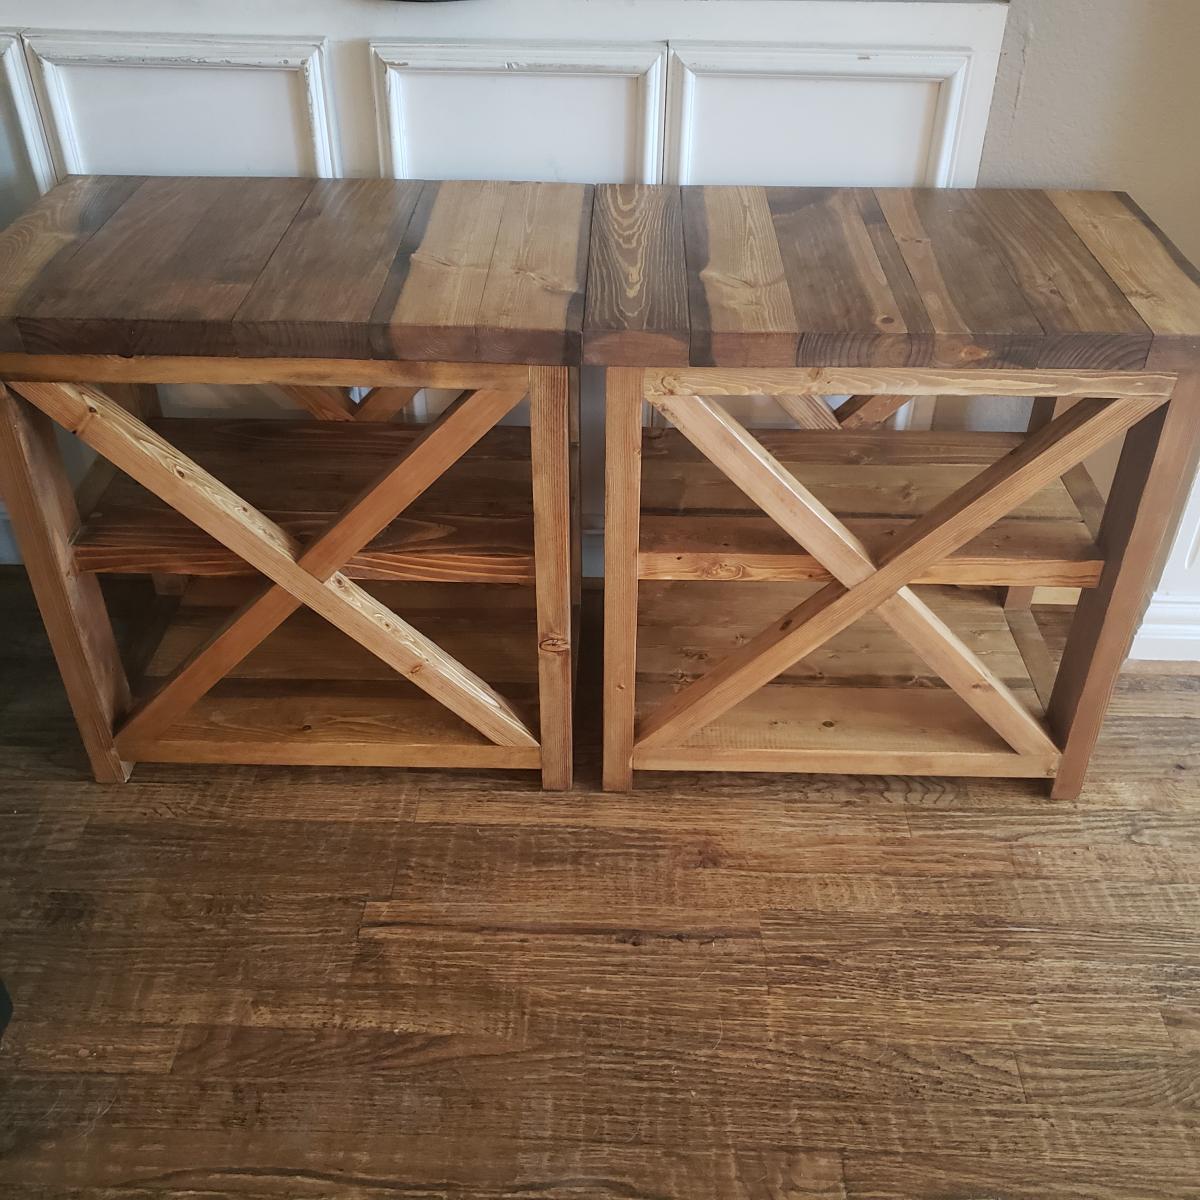
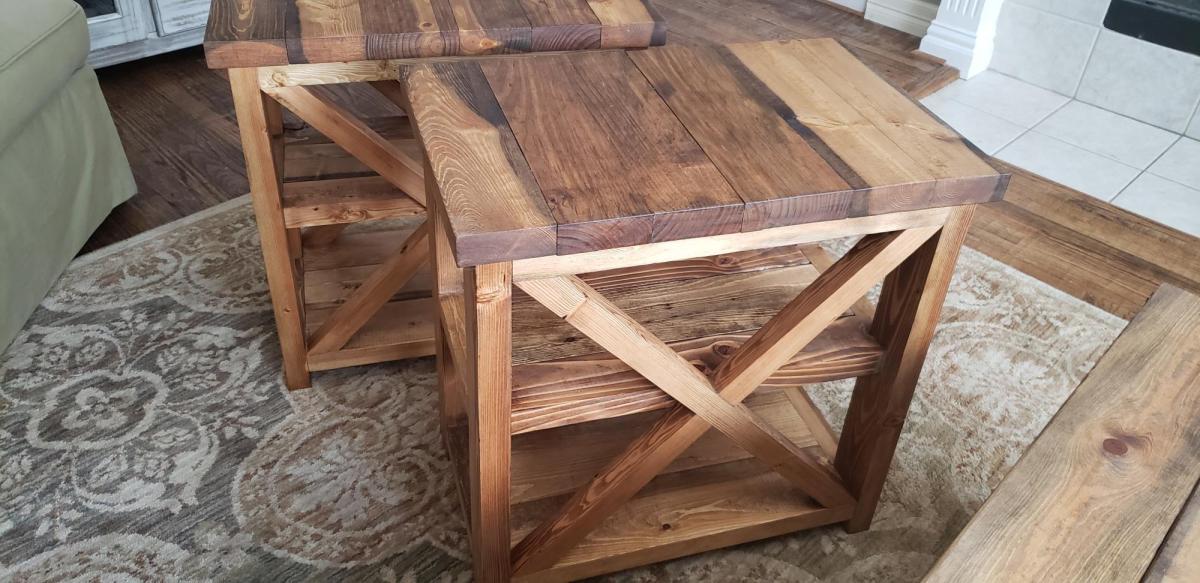
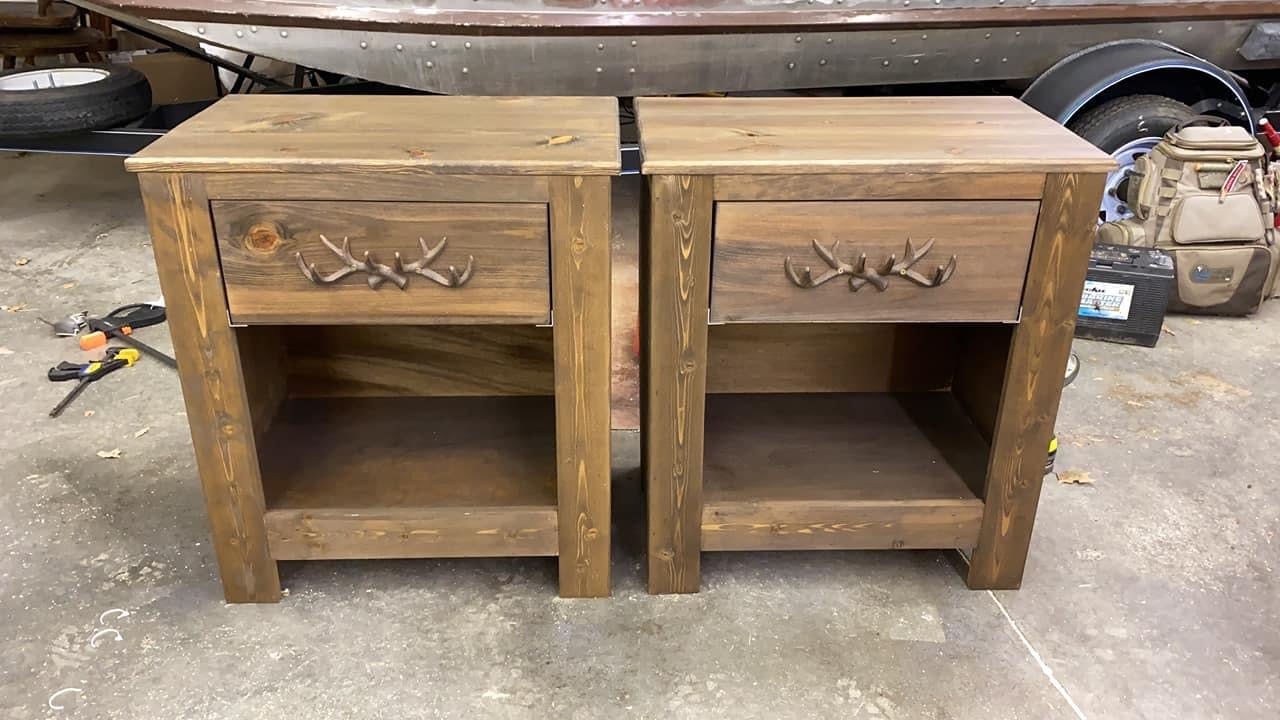
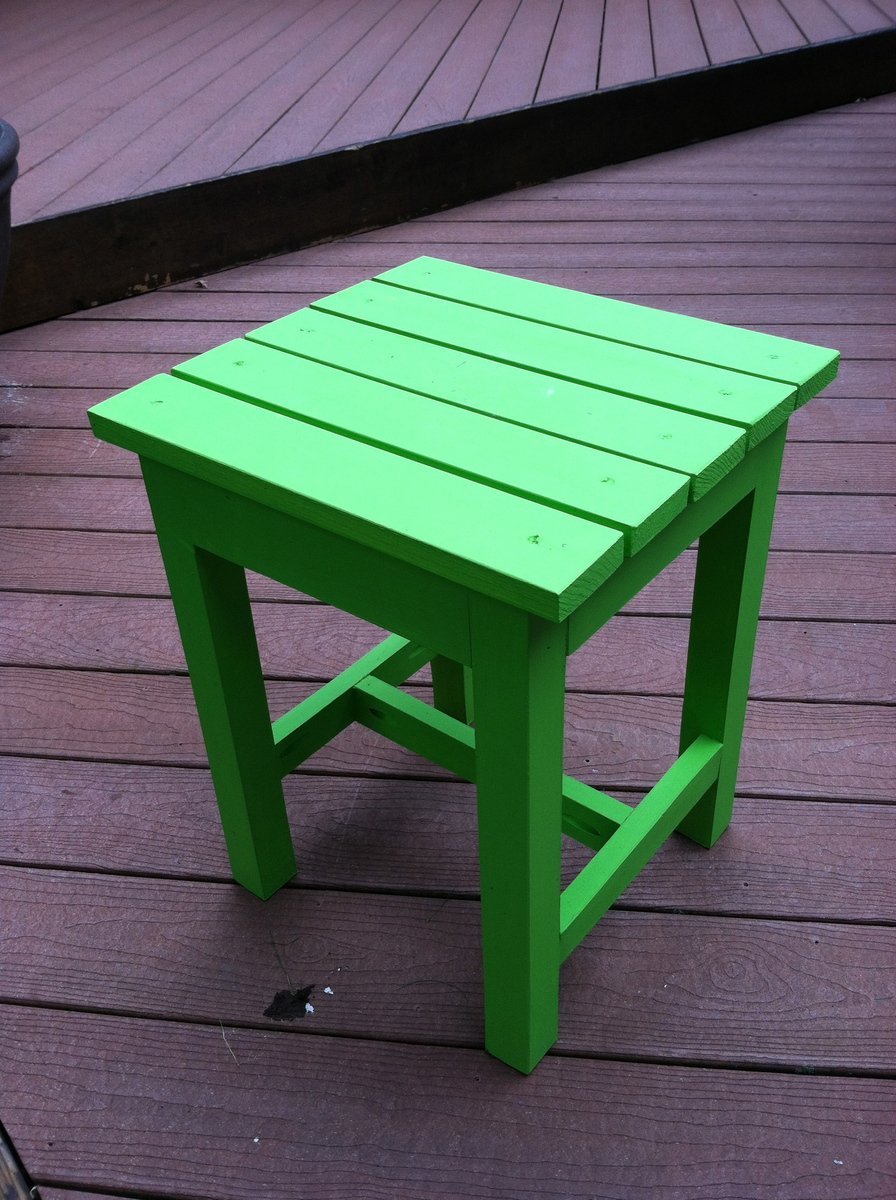
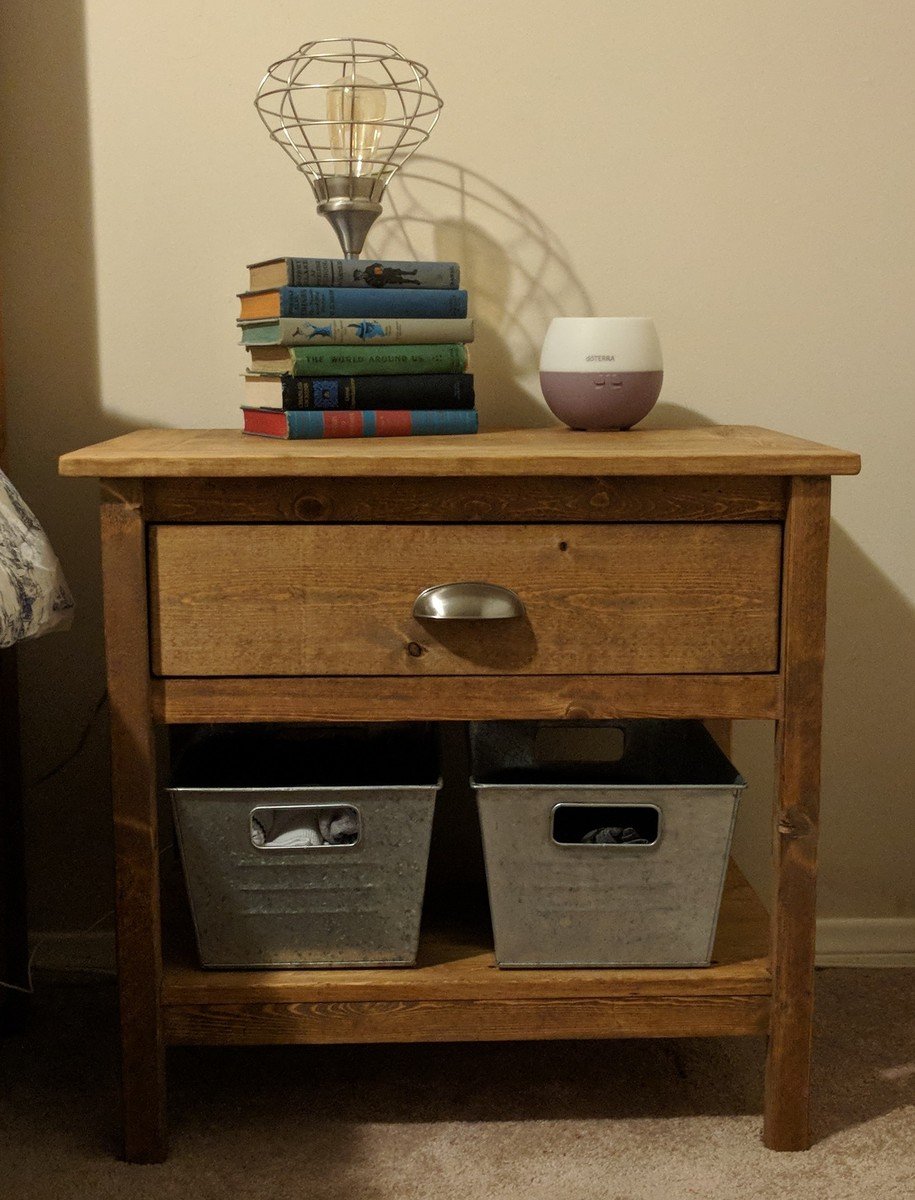
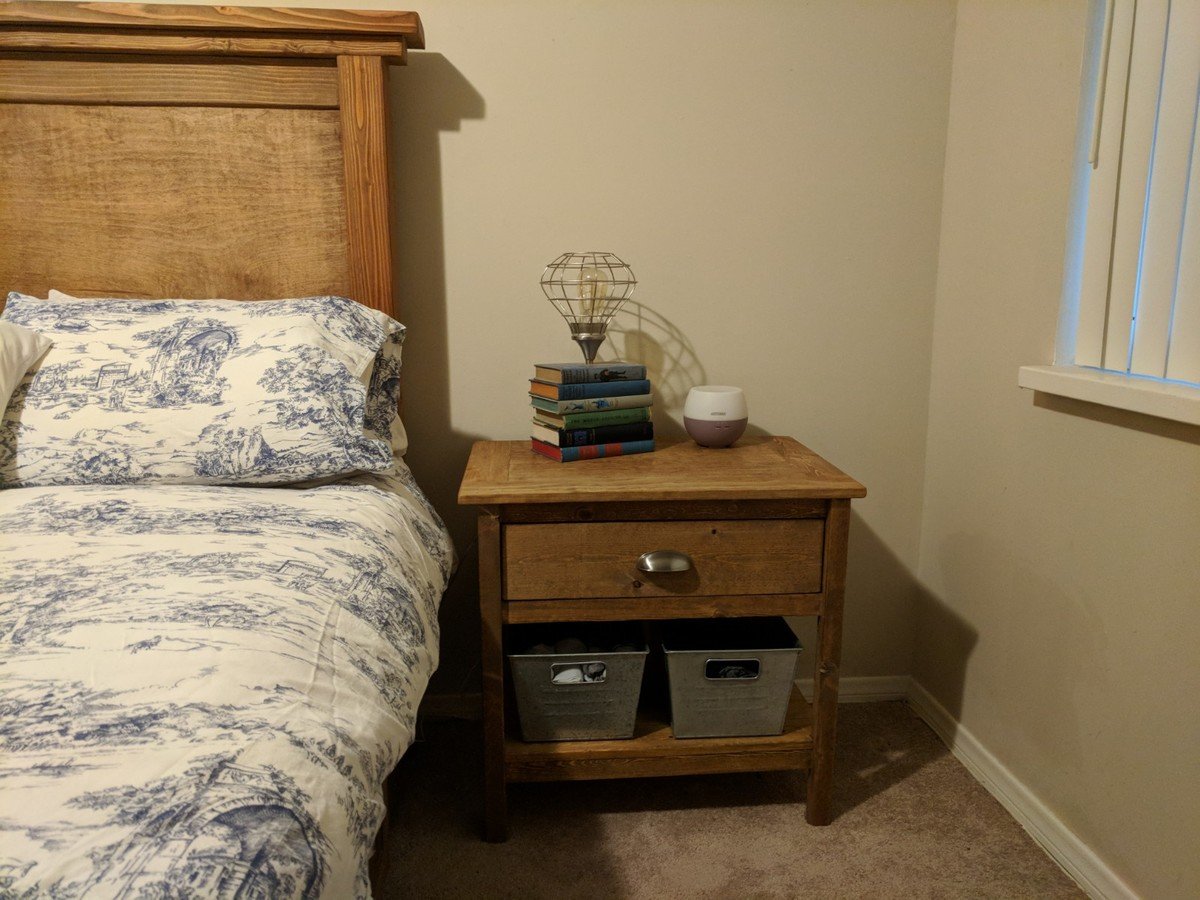
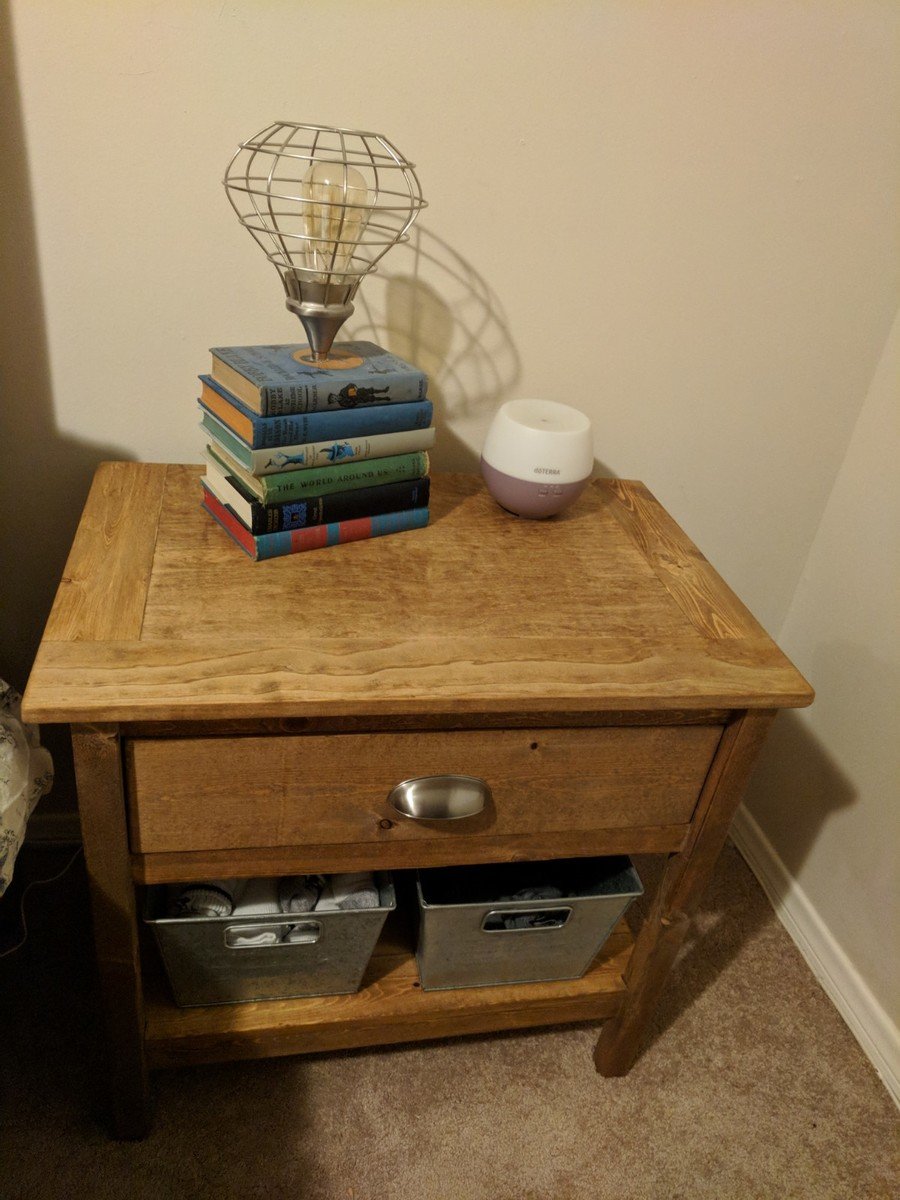
Rustic X Side Tables - Added Shelf

Submitted by Anonymous (not verified) on Thu, 09/24/2020 - 13:07

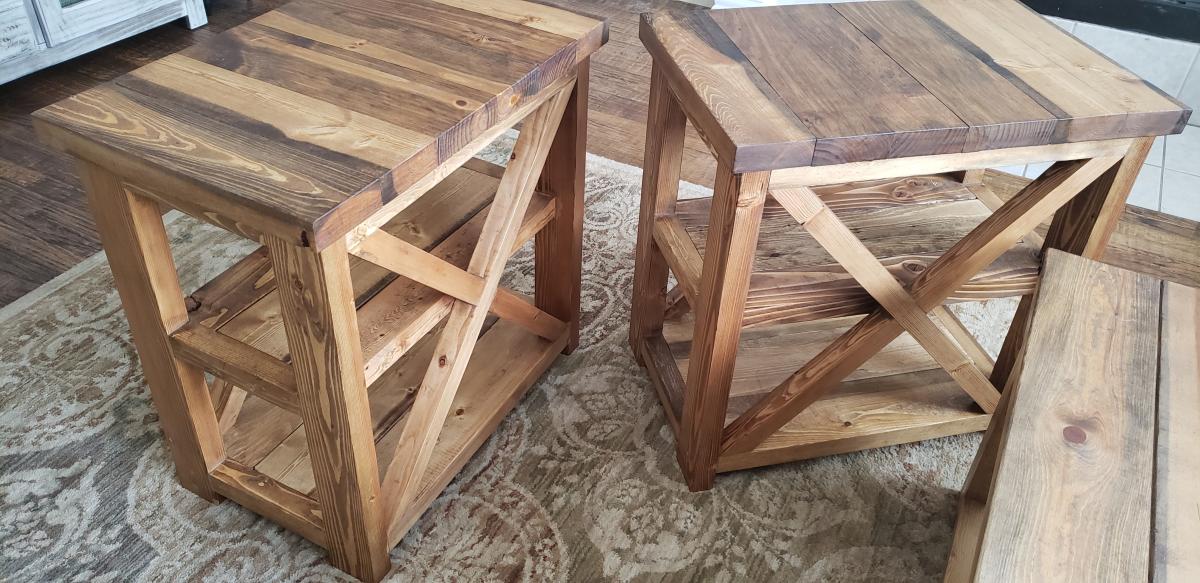
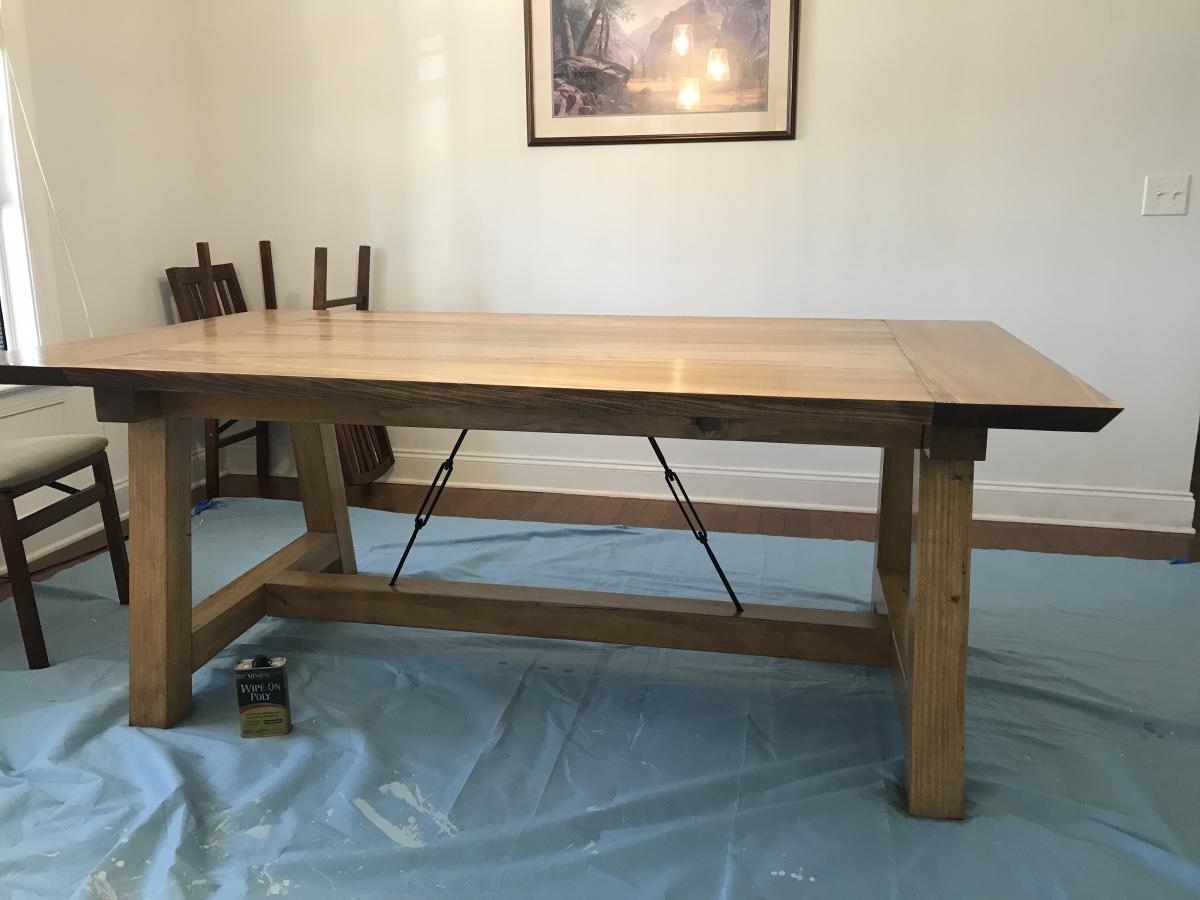
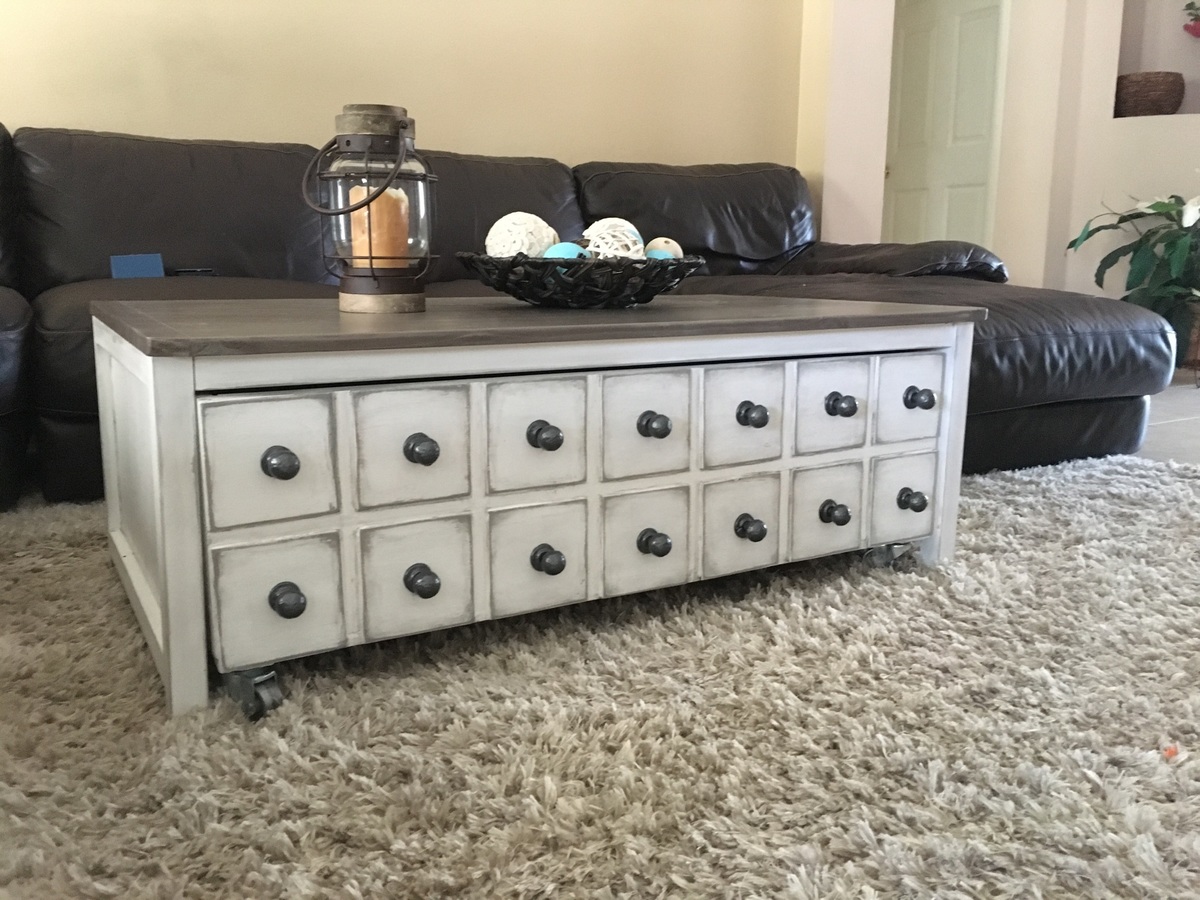
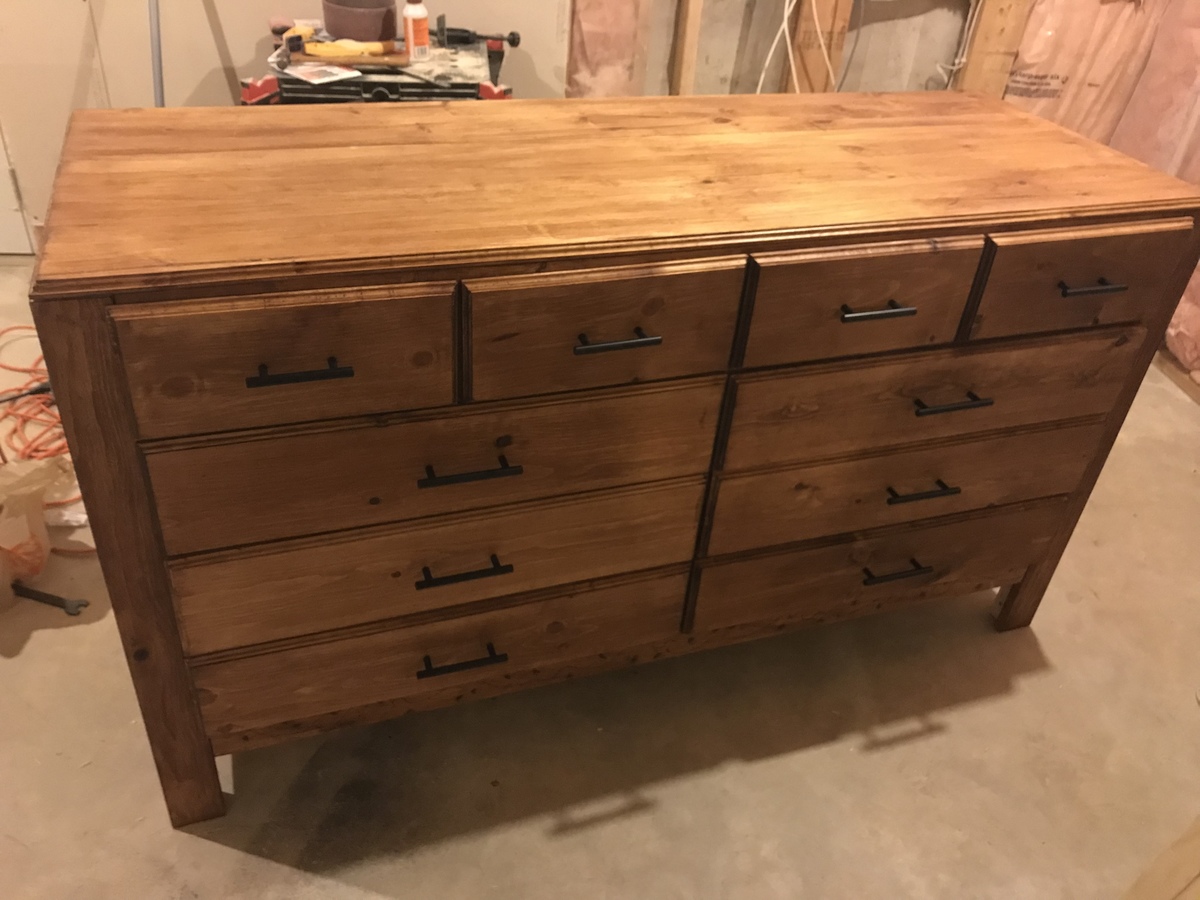
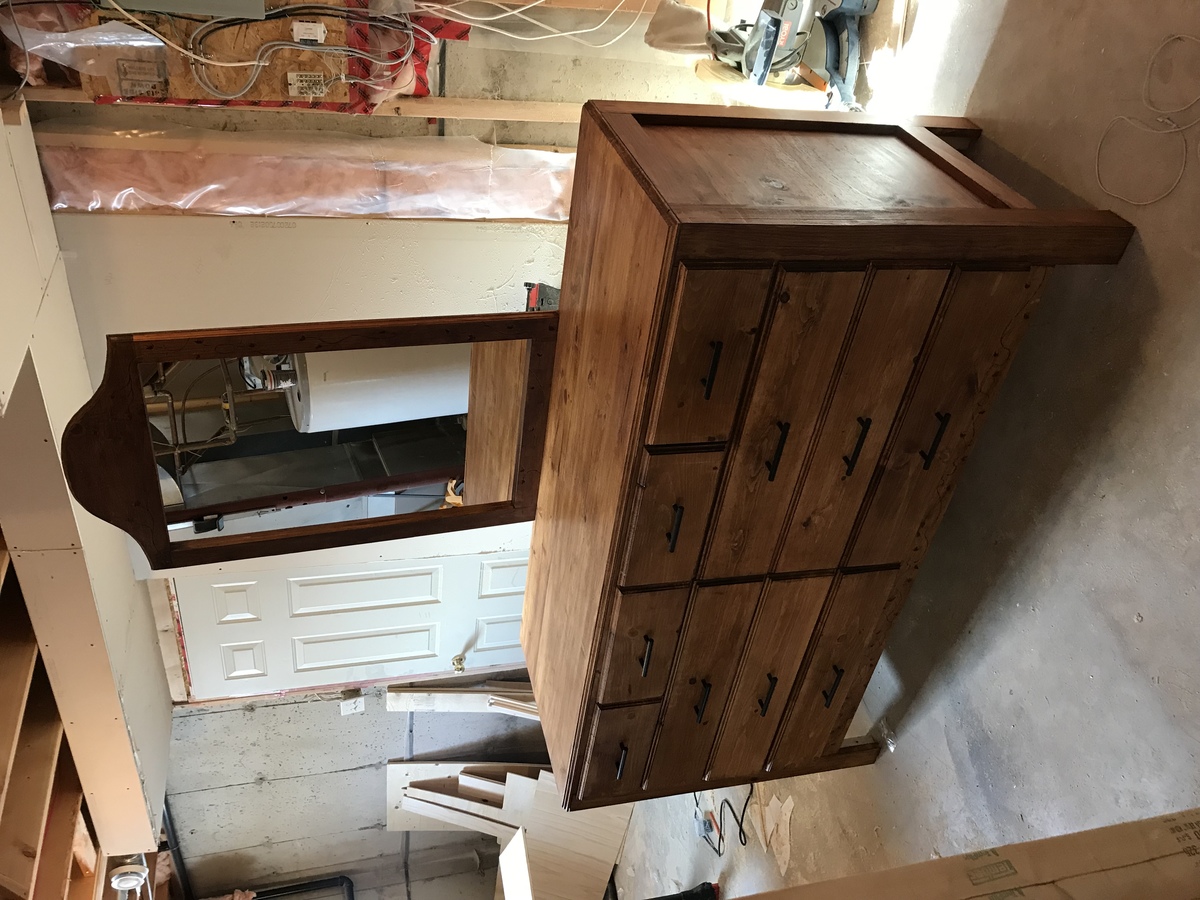
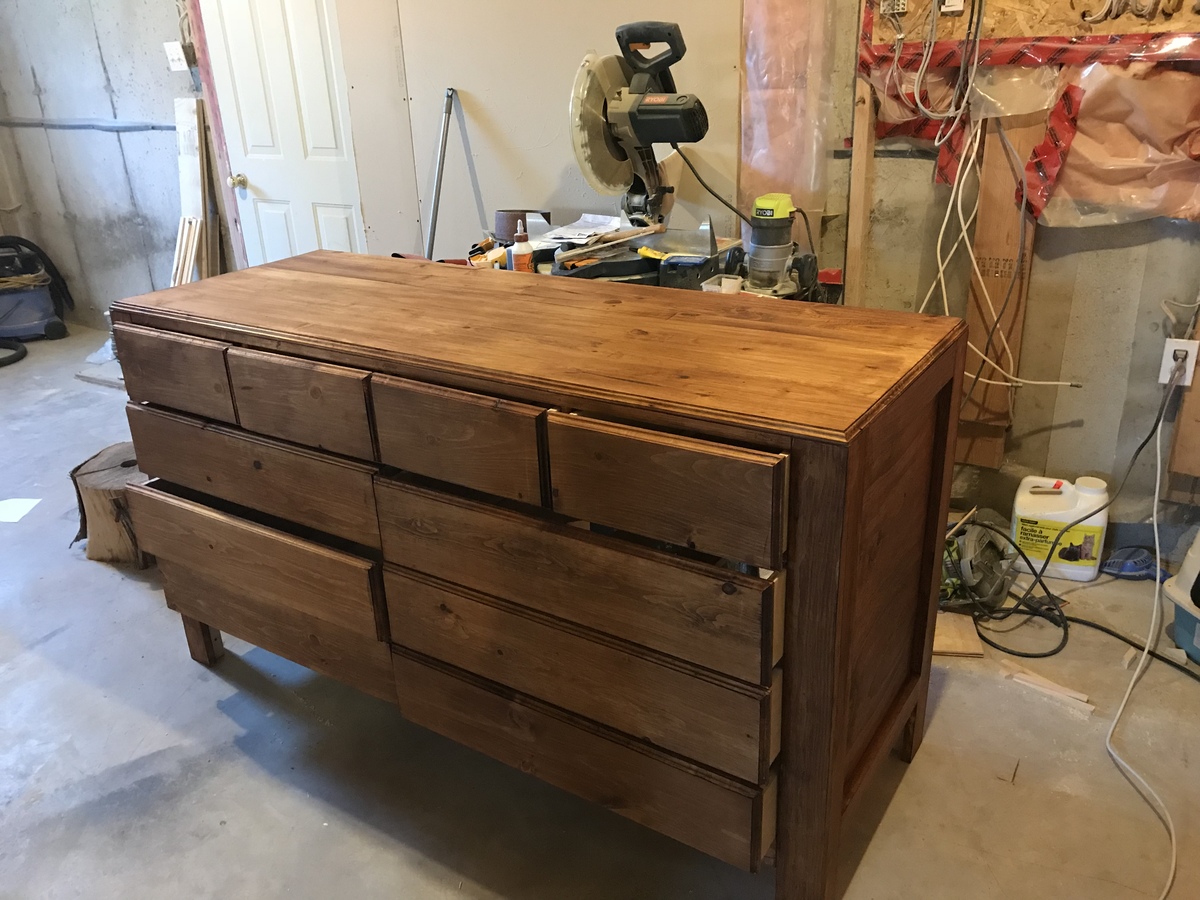
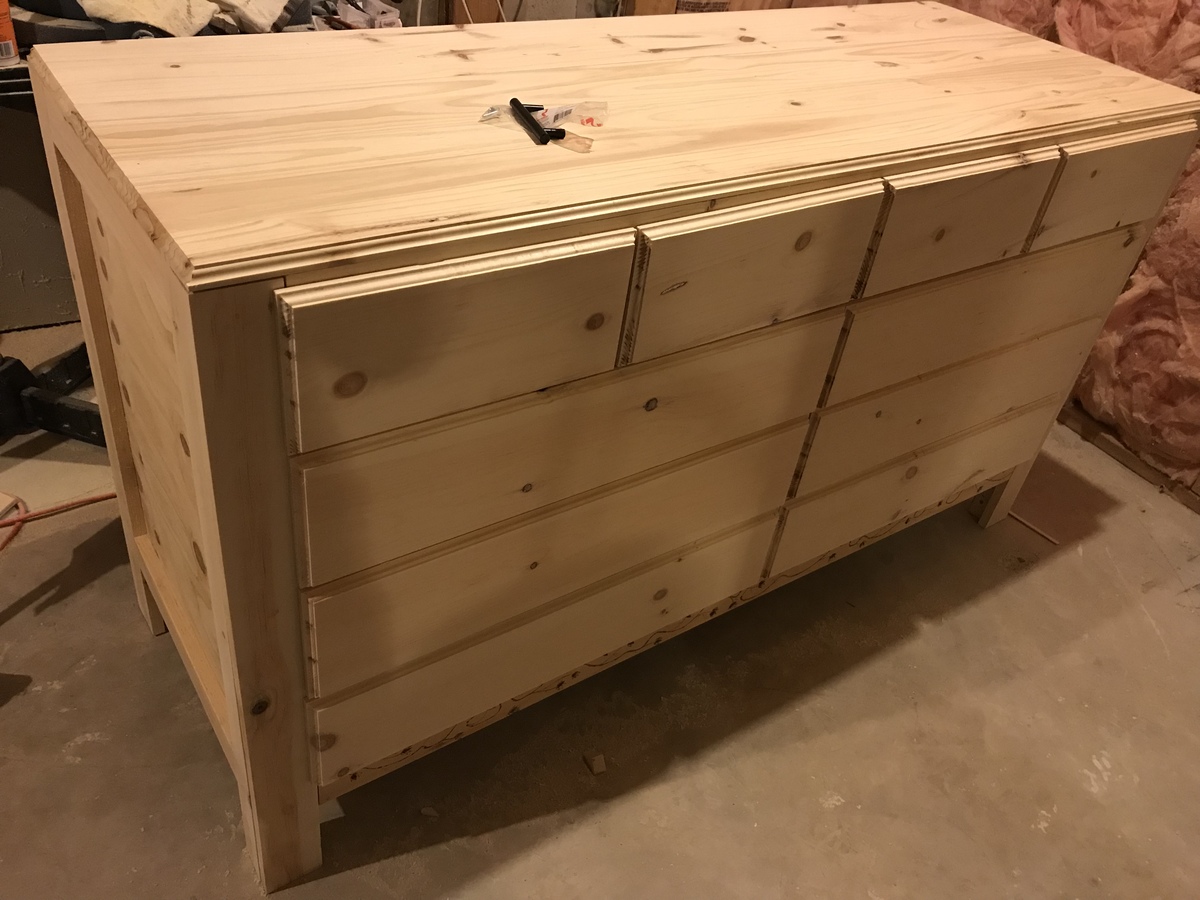
This was a fun project! We had already made the coffee table and someone wanted side tables. We assisted the plans for the side table to make these 16w x 25h x 25d and added a center shelf. After getting our cut list the build was easy and quick. It took about 6-9 hours to cut, build, sand, stain, apply finish, and finish sand.

Estimated Cost
$60
Estimated Time Investment
Day Project (6-9 Hours)
Finish Used
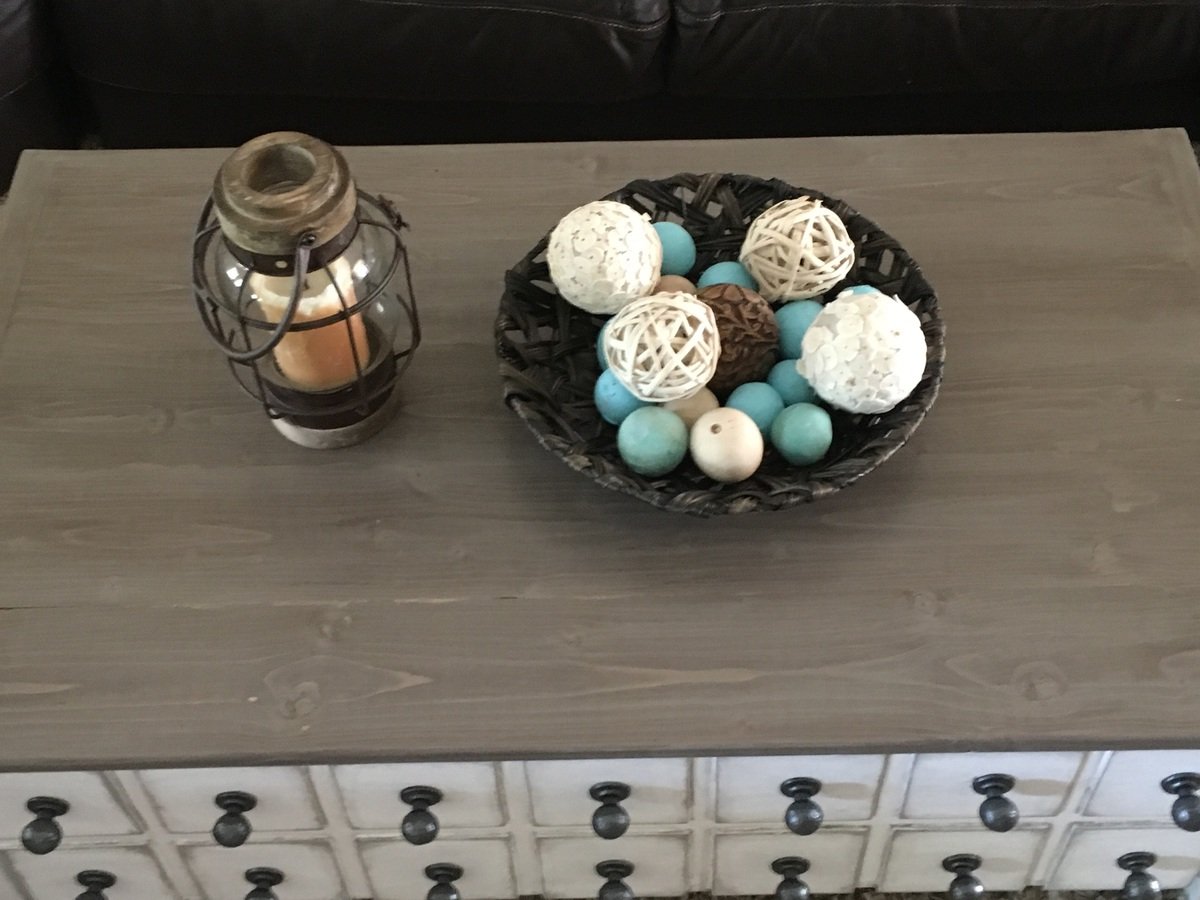
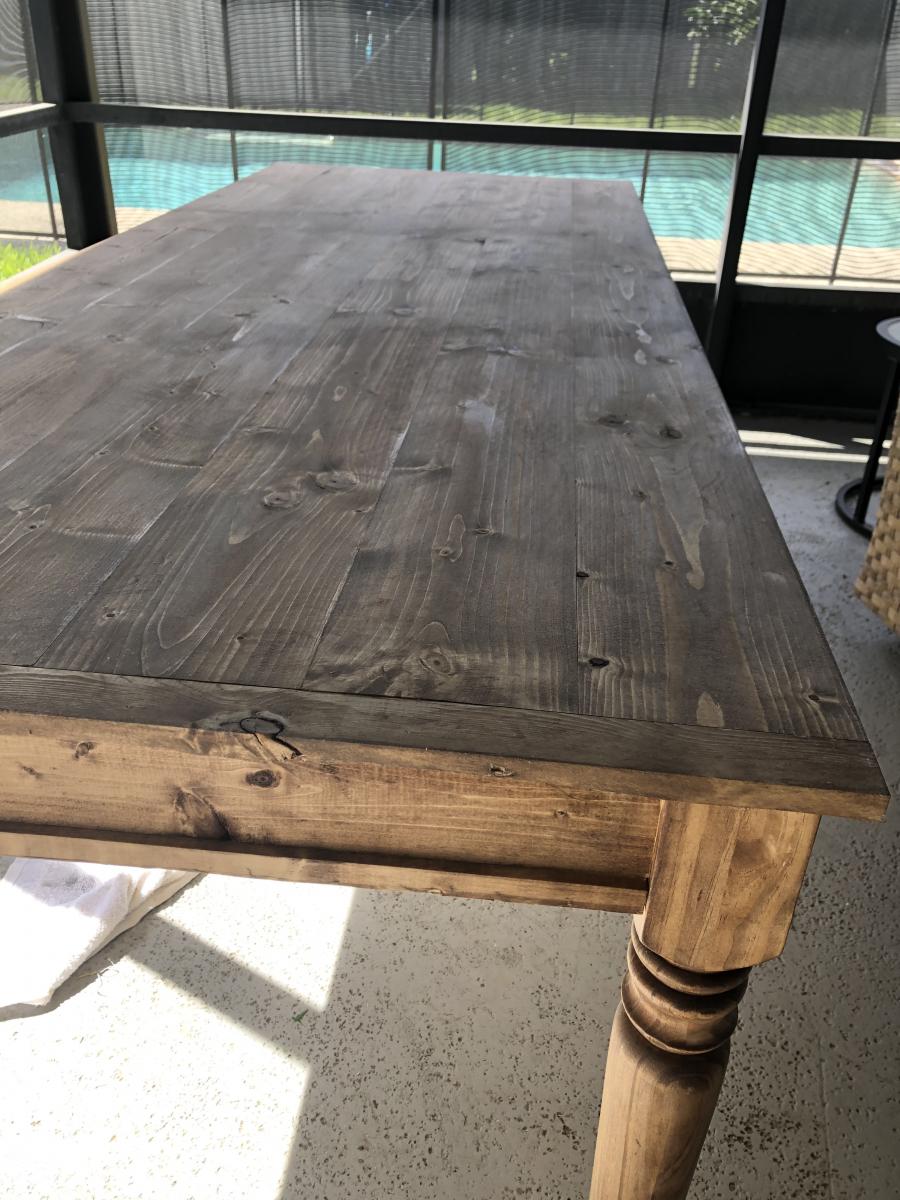
Dark Walnut Stain with rubbed matte finish
Recommended Skill Level
Beginner

Comments

Basement Shelving....

Time to get organized in 2017....and what better way than with some custom shelving. This was not too bad of a project to complete. It only took about 6-8 hours to cut, frame, and assemble everything together (thanks to an interruption or two). 'Twas nice to have a project for once that I didn't have to care about finishing the project with wood filler, sanding, painting. I am sure my wife thanks me more as I would have been another week getting things just right​​​​​! 

A few changes that I made from the original plans:

- used 2x8 for the shelving runs as I only was dealing with a 10ft run and was a few bucks cheaper to buy 8 boards vs 16 boards. Plus less cuts!!! 

-installed adjustable furniture feet in the supports to deal with sloping basement floor. Unexpected side effect was it was easier to slide the unit around in the basement as I assembled it. 

Outside of those changes I remained faithful to the original design. I didn't bother filling the screw holes as we will be hiding the shelving unit with a curtain once  we turn the room into a TV/Office area. 

Also as it wasn't 100% clear from the original plans, but the height measurements for the shelf supports are to center... not sure why it didn't register with me right away... but just in case anyone else didn't realize that as well. 

Estimated Cost
$150 for wood, screws, wood glue, and adjustable furniture feet
Estimated Time Investment
Day Project (6-9 Hours)
Finish Used
None
Recommended Skill Level
Beginner

In love with my new miter saw stand and work benches

Submitted by seahawklvr on Fri, 11/27/2020 - 05:58

We purchased a fixer up house that requires a complete gut but the property came with a detached shop! I quickly realized I needed to get the shop cleaned up and organized so it would be easier and more efficient to work on projects for the house. I am a beginner as far as I am concerned and even though this was rated as an intermediate level build, as long as you take your time, it’s definitely doable for a beginner. The plans called for staples but since I just had a Brad nailer, I just used that and it worked fine. I did have one fail, and that was that I had a 1x2 to hang my clamps on but I placed it too far near the outside of the mobile work bench and when I went to store the work bench under the miter stand, the clamps prevented it from sliding in so I had to reposition it. Other than that, it was perfect and as soon as I save up for my Ryobi table saw then I will position it on one of the work benches. Because of the raise in the cost of lumber dut to COVID, the cost was probably twice as much as it should’ve been but I still feel I couldn’t have purchased a huge miter saw station and two mobile work stations for less than I spent on building this. Besides, I can be proud that I built this myself!

Estimated Cost
$325
Estimated Time Investment
Weekend Project (10-20 Hours)
Finish Used
Behr Marquee #MQ6-22 Gateway gray in satin enamel
I found it more cost effective to purchase a 6 pack of handles vs purchasing 4 individual handles. Now I have two spares for a project down the road.
The Caster Wheels were Moogiitools 3” locking from Amazon and were @$50 for 8 wheels. Very smooth and heavy duty
Recommended Skill Level
Beginner

Comments

Cabinet style farmhouse nightstands

Submitted by Anonymous (not verified) on Tue, 12/22/2020 - 10:13

Beautiful plans, thank you Anna! I can’t wait to build the king bed to match!

Estimated Cost
100
Estimated Time Investment
Weekend Project (10-20 Hours)
Finish Used
Varathane weathered wood accelerator first coat then the rustic accelerator for the second coat. Apply with a foam brush. Then sprayed on 4 coats of semi gloss clear and it’s done!
Recommended Skill Level
Intermediate

Madison Dresser with a new look :)

Submitted by lubsies on Wed, 03/15/2017 - 08:52

Hope you like it! We used Duck Egg Chalk Paint and a dark walnut stain for the top and legs. We also put in drawer slides instead of doing it the normal way the plans said. (That was harder than we expected but the pay off is well worth it.) Knobs are from Hobby Lobby and we wrapped them in twine to brighten them up!

Built from Plan(s)
Estimated Cost
$350-400 total
Estimated Time Investment
Week Long Project (20 Hours or More)
Finish Used
Duck Egg Chalk paint and clear wax

The top is Dark walnut stain and satin poly
Recommended Skill Level
Intermediate

Comments

Farmhouse Table with Industrial Hardware

Submitted by Anonymous (not verified) on Sun, 01/17/2021 - 11:26

My hubby and I used the tressle table plans to make this awesome table. We changed it up, adding the turnbuckles like a Pottery Barn table that we wanted. I think this turned out way better!

We used yellow pine for the lower portion and poplar for the top.

Built from Plan(s)
Estimated Cost
200
Estimated Time Investment
Week Long Project (20 Hours or More)

Comments

Only my second build since the huge Pottery Barn stic desk!

Submitted by Anonymous (not verified) on Mon, 03/27/2017 - 12:26

Can't believe I did it myself without hubbys help at all!!  Wasn't expecting to like the outcome, much less LOVE it!!  


I made my stain with grey paint and special walnut stain...came out beautifully!!  I used Behr white paint on the base and grey paint as the glaze. I got the knobs on sale at Hobby Lobby and painted them a dark silverish color. The inside of the box is the same as the top. 

I will say this is far from perfect...but I learned a lot and know I will do even better on my next project ;)  Thank you for these plans!!  Can't wait to build more!!

Estimated Cost
Around130 with knobs.
Estimated Time Investment
Weekend Project (10-20 Hours)
Recommended Skill Level
Beginner

Jr loft bed

Submitted by Anonymous (not verified) on Mon, 04/03/2017 - 14:17

I loved the junior loft bed plan and it was customizable and much cheaper than at the furniture store.

We ended up buying a thicker mattress than expected and adding an extra 2x2 with wood letters we got on sale at the craft store. Originally their was about a 5 inch rail over the height of the mattress and the letters made it more around 9-10 inches. We attached the letters to the wood first with glue and nails through the bottom and then screwed the board to the bed rail. 

My 3 year old loves it! 

Estimated Cost
With a Kreg jig, kd wood at lowes and materials and the letters we were at $170
Estimated Time Investment
Weekend Project (10-20 Hours)
Finish Used
Polycrylic satin 2 coats
Recommended Skill Level
Beginner

Large Old English Style Farmhouse Dining Table

My wife and I were wanting a large outdoor farmhouse table that looked stylish, and like it could have been bought at Pottery Barn or another high-end furniture store. We found this plan that Ana white had made "Small Old English Style Farmhouse Dining Table". We often host groups from our church and will have 15-20 people on our patio or around our pool area, so we needed a bigger table... I just made some modifications to make it longer (7ft) in length to better fit our space and allow for more people to sit.

To make this plan longer, I simply adjusted the cut-list on the long 1x2s, 1x4s, and 1x6; and added a crossbar to prevent the longer tabletop from sagging. I also added the diagonal corner struts to make the table a little sturdier.

Adjusted Shopping List:
4 - 1x2 @ 8ft
5 - 1x4 @ 8 ft
6 - 1x6 @ 8ft
Waterproof 1 1/4" Kreg screws (for outdoor use)
Minwax Weathered Oak
Minwax Vintage Grey

Adjusted Cut-List
• 2 - 1x2 @ 26.5"
• 2 - 1x2 @ 76.5"
• 2 - 1x2 @ ~33.25"
• 2 - 1x4 @ 26.5"
• 2 - 1x4 @ 76.5"
• 4 - 1x4 @ 7.25" w/ 45º miter (diagonal corner supports)
• 1 - 1x4 @ ~28" (Crossbar - I forget the exact measurement)
• 6 - 1x6 @ 82"

For seating we just bought some inexpensive farmhouse weather resistant chairs from Walmart:
https://www.walmart.com/ip/Yaheetech-Metal-Dinning-Chairs-Stackable-Cof…

Estimated Cost
$170
Estimated Time Investment
Day Project (6-9 Hours)
Finish Used
Minwax Early American (base), Minwax Weathered Grey (2nd coat)
(See more on outdoor use of stains: https://ana-white.com/blog/2019/05/outdoor-wood-furniture-finishing-secrets)
Recommended Skill Level
Beginner

Comments

Laundry Room Floating Shelves and Cubby

I have a tiny laundry room closet, but this remodel made a world of difference. The shelves were too high to reach routinely, so I didn't add Ana's hidden pull outs. But the cubby is a lifesaver and hides all the unsightly cleaning supplies perfectly. Now to decorate!

Estimated Cost
$100 covid wood cost
Estimated Time Investment
Afternoon Project (3-6 Hours)
Finish Used
Minwax Special Walnut
Recommended Skill Level
Beginner

Comments

zannej

Tue, 12/05/2023 - 19:58

These look great! I'm thinking of doing something like this, although I might add a louvered panel on one of the doors since I plan to use an AAV. There is an atmospheric vent not too far away but trying to route a pipe would be too much of a pita. The doors could hide the water supply lines & hose as well as keep stuff from falling behind the machines. I do have to be mindful that I need to be able to open them and not have them obstructed though.

Outdoor bench

Submitted by Anonymous (not verified) on Tue, 06/13/2017 - 06:11

I used the x-back bench plans to build this bench, but trimmed the length down to 4 feet to fit the space.  It's constructed with cedar and is so beefy and sturdy. It has stood it's own against several storms already and I couldn't be happier with how it turned out. Thanks Ana for all the free plans and tutorials! 

Estimated Cost
$150
Estimated Time Investment
Day Project (6-9 Hours)
Finish Used
Thompson water seal in clear
Recommended Skill Level
Beginner

Entertainment Center

Submitted by skinny80 on Sun, 04/05/2015 - 11:46

Thanks for the great plans!! Finally got this monster put together.

Estimated Cost
$400
Estimated Time Investment
Week Long Project (20 Hours or More)
Recommended Skill Level
Advanced

Comments

slenert1

Sun, 11/15/2015 - 12:37

Do you have the dimentions or specific plan for this as it is much biger than the plan you used? Material list? We want to build one like this! Its so pretty!

Coffee station

Submitted by Anonymous (not verified) on Wed, 10/20/2021 - 14:39

I was inspired by your coffee station plans to build this unit. I added an upper shelf with gas pipping, along with LED lights under the shelf. This station has been very popular in our house.

Comments

Adirondack End Table

Submitted by Bradski on Sun, 06/16/2013 - 07:10

My First Project

Estimated Cost
$40
Estimated Time Investment
Afternoon Project (3-6 Hours)
Finish Used
Paint
Recommended Skill Level
Beginner

Comments

Spice Cabinet

Submitted by Anonymous (not verified) on Fri, 12/24/2021 - 20:39

Love to cook, didn't have enough space in the pantry for all my spices. Used the spice cabinet plan and it was perfect.

Built from Plan(s)

Comments

Rustic Hudson dresser

Submitted by Keithm35 on Mon, 01/01/2018 - 21:16

This is my first big project I have done, it was for my wife’s birthday. I enjoyed the challenge though, 

Built from Plan(s)
Estimated Time Investment
Week Long Project (20 Hours or More)
Finish Used
Pre-stain to make sure there was no blotchiness, then pioneer stain with a matte finish. I applied using paintbrush making sure to very little stain on the brush and spread it as much as possible
Recommended Skill Level
Intermediate

Bar Cart or BBQ Cart

The rolling bar cart (or BBQ cart) with removable tray is the latest addition to my suite of DIY patio furniture. This site has become a bit of a building obsession with me. Even with the detailed instructions, I still found ways to make this project my own: I added a 3/4" dowel and plastic wheels, instead of wood rounds. I painted all the pieces with primer and exterior paint before assembling it, because it's hard to get paint between the slats, unless you have a spray painter. The white slat design of the bar cart, park bench and matching side tables goes with the white siding of the house for my own patio picnic.

Estimated Cost
1x3's $20
wheels $10
dowel $4
Estimated Time Investment
Weekend Project (10-20 Hours)
Finish Used
White primer & exterior house paint
Recommended Skill Level
Beginner

Small Loft Bed with Dressers

Submitted by JeffHooper on Sun, 07/12/2015 - 19:25

This took about a week to complete.  I modify the original plan to include "built in" dressers and a night stand type of dresser.  The night stand has shelves built on the side.     Two beds were built of different configurations.  

Built from Plan(s)
Estimated Cost
Cost about $400 per bed.
Estimated Time Investment
Week Long Project (20 Hours or More)
Finish Used
Painted with a high gloss white.
Recommended Skill Level
Intermediate

Comments

Farmhouse King Headboard/Barn Door

I found a barn door headboard in a rustic furniture store years ago. They wanted $2700 for a Queen size....no thank you! I followed the plans for the Farmhouse King Bed and added cross pieces for barn door look using instructions from the Brookstone Headboard. I cut the legs at 56” to add some height and I set the bottom of the back panel at 18” above the floor to make sure no gap is seen with our thinner, memory foam mattress. I couldn’t be happier with our headboard and the total cost, including screws & stain, was about $150! Boom! Thank you Ana White for sharing plans! I’m working on the Mini Farmhouse Bedside Table now & feel like I can build anything! I would highly recommend Power Pro Premium Interior screws (no splitting or stripped heads, no pre-drilling & they counter-sink great in soft wood). For the 4x4 posts I used GRK UberGrade R4 multi-purpose 4” screws, which had the same quality, all from Lowe’s.

Estimated Cost
$150
Estimated Time Investment
Weekend Project (10-20 Hours)
Finish Used
I used wood conditioner, as recommended. Then 2 coats of Minwax Special Walnut with light sanding in between. I chose 2 coats of clear satin polyurethane, lightly sanding in between for a great rustic finish that’s not too glossy. I did beat up the wood and sanded off all square edges prior to applying any finish.
Recommended Skill Level
Beginner

Farmhouse Nightstands

Submitted by rbgreene04 on Sat, 03/10/2018 - 20:30

I had made the farmhouse bed from Ana a while ago and finally got around to building a pair of these bedside tables to match. I love how much bigger the top is than my previous nightstand's top. The bins on the bottom shelf are relatively cheap from Walmart, and I like the galvanized look with the wood. 

Built from Plan(s)
Estimated Cost
About $120 for a pair
Estimated Time Investment
Day Project (6-9 Hours)
Finish Used
I wiped on two coats of dark walnut Danish oil; I love how quick and easy Danish oil goes on. Being that they are only bedside tables, I don't foresee much wear and tear and thus I didn't need a more durable finish.
Recommended Skill Level
Beginner