Wall Hanging Cabinet
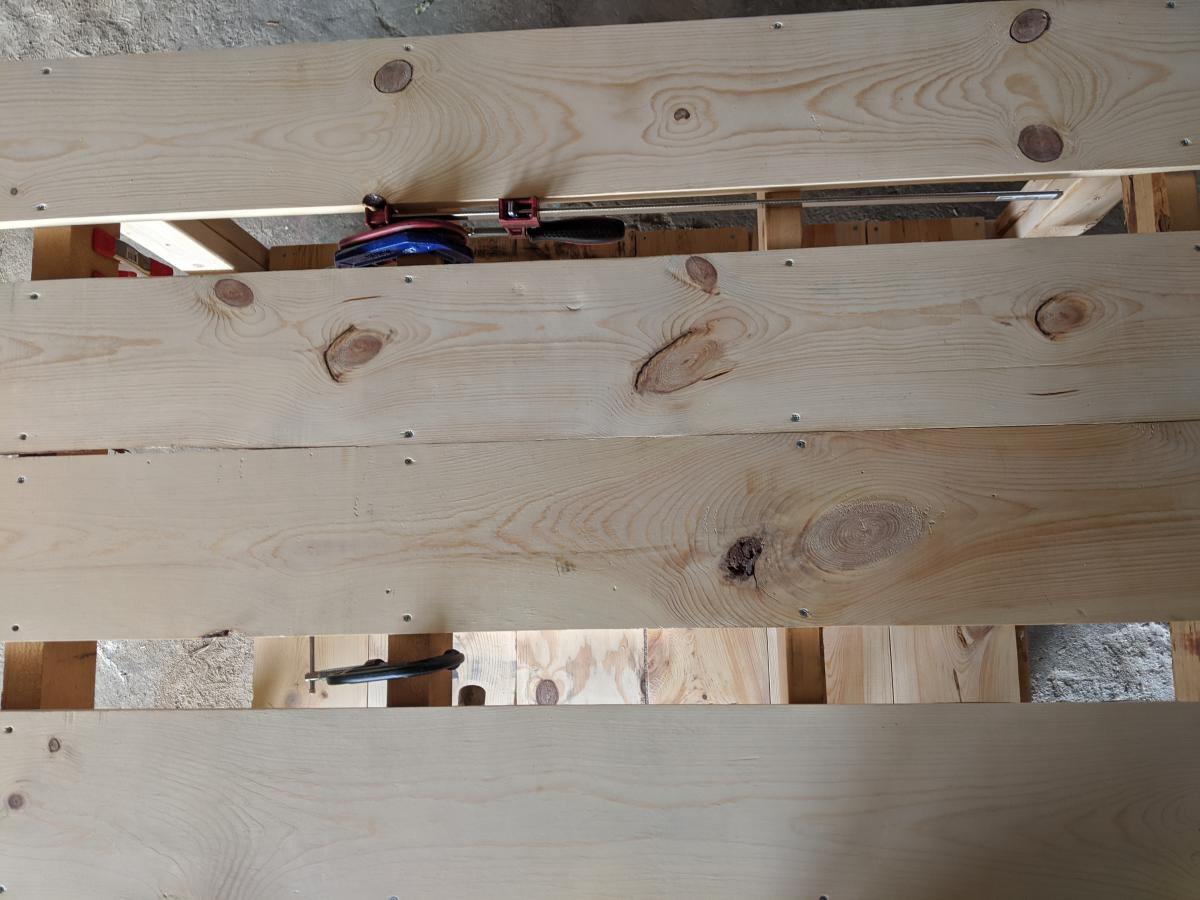
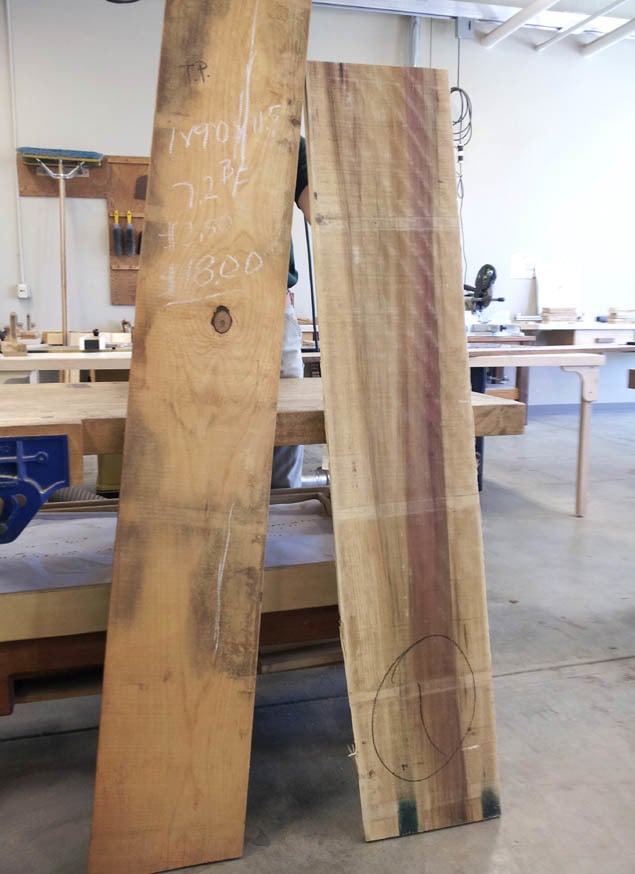
This cabinet is made of our local Torrey Pine: “the rarest pine species in the United States, an endangered species growing only in San Diego County and on one of the Channel Islands”-Wikipedia. It has special meaning to us because we love hiking at the Torrey Pine State Reserve! And the purple one is poplar, which I used on the sides.
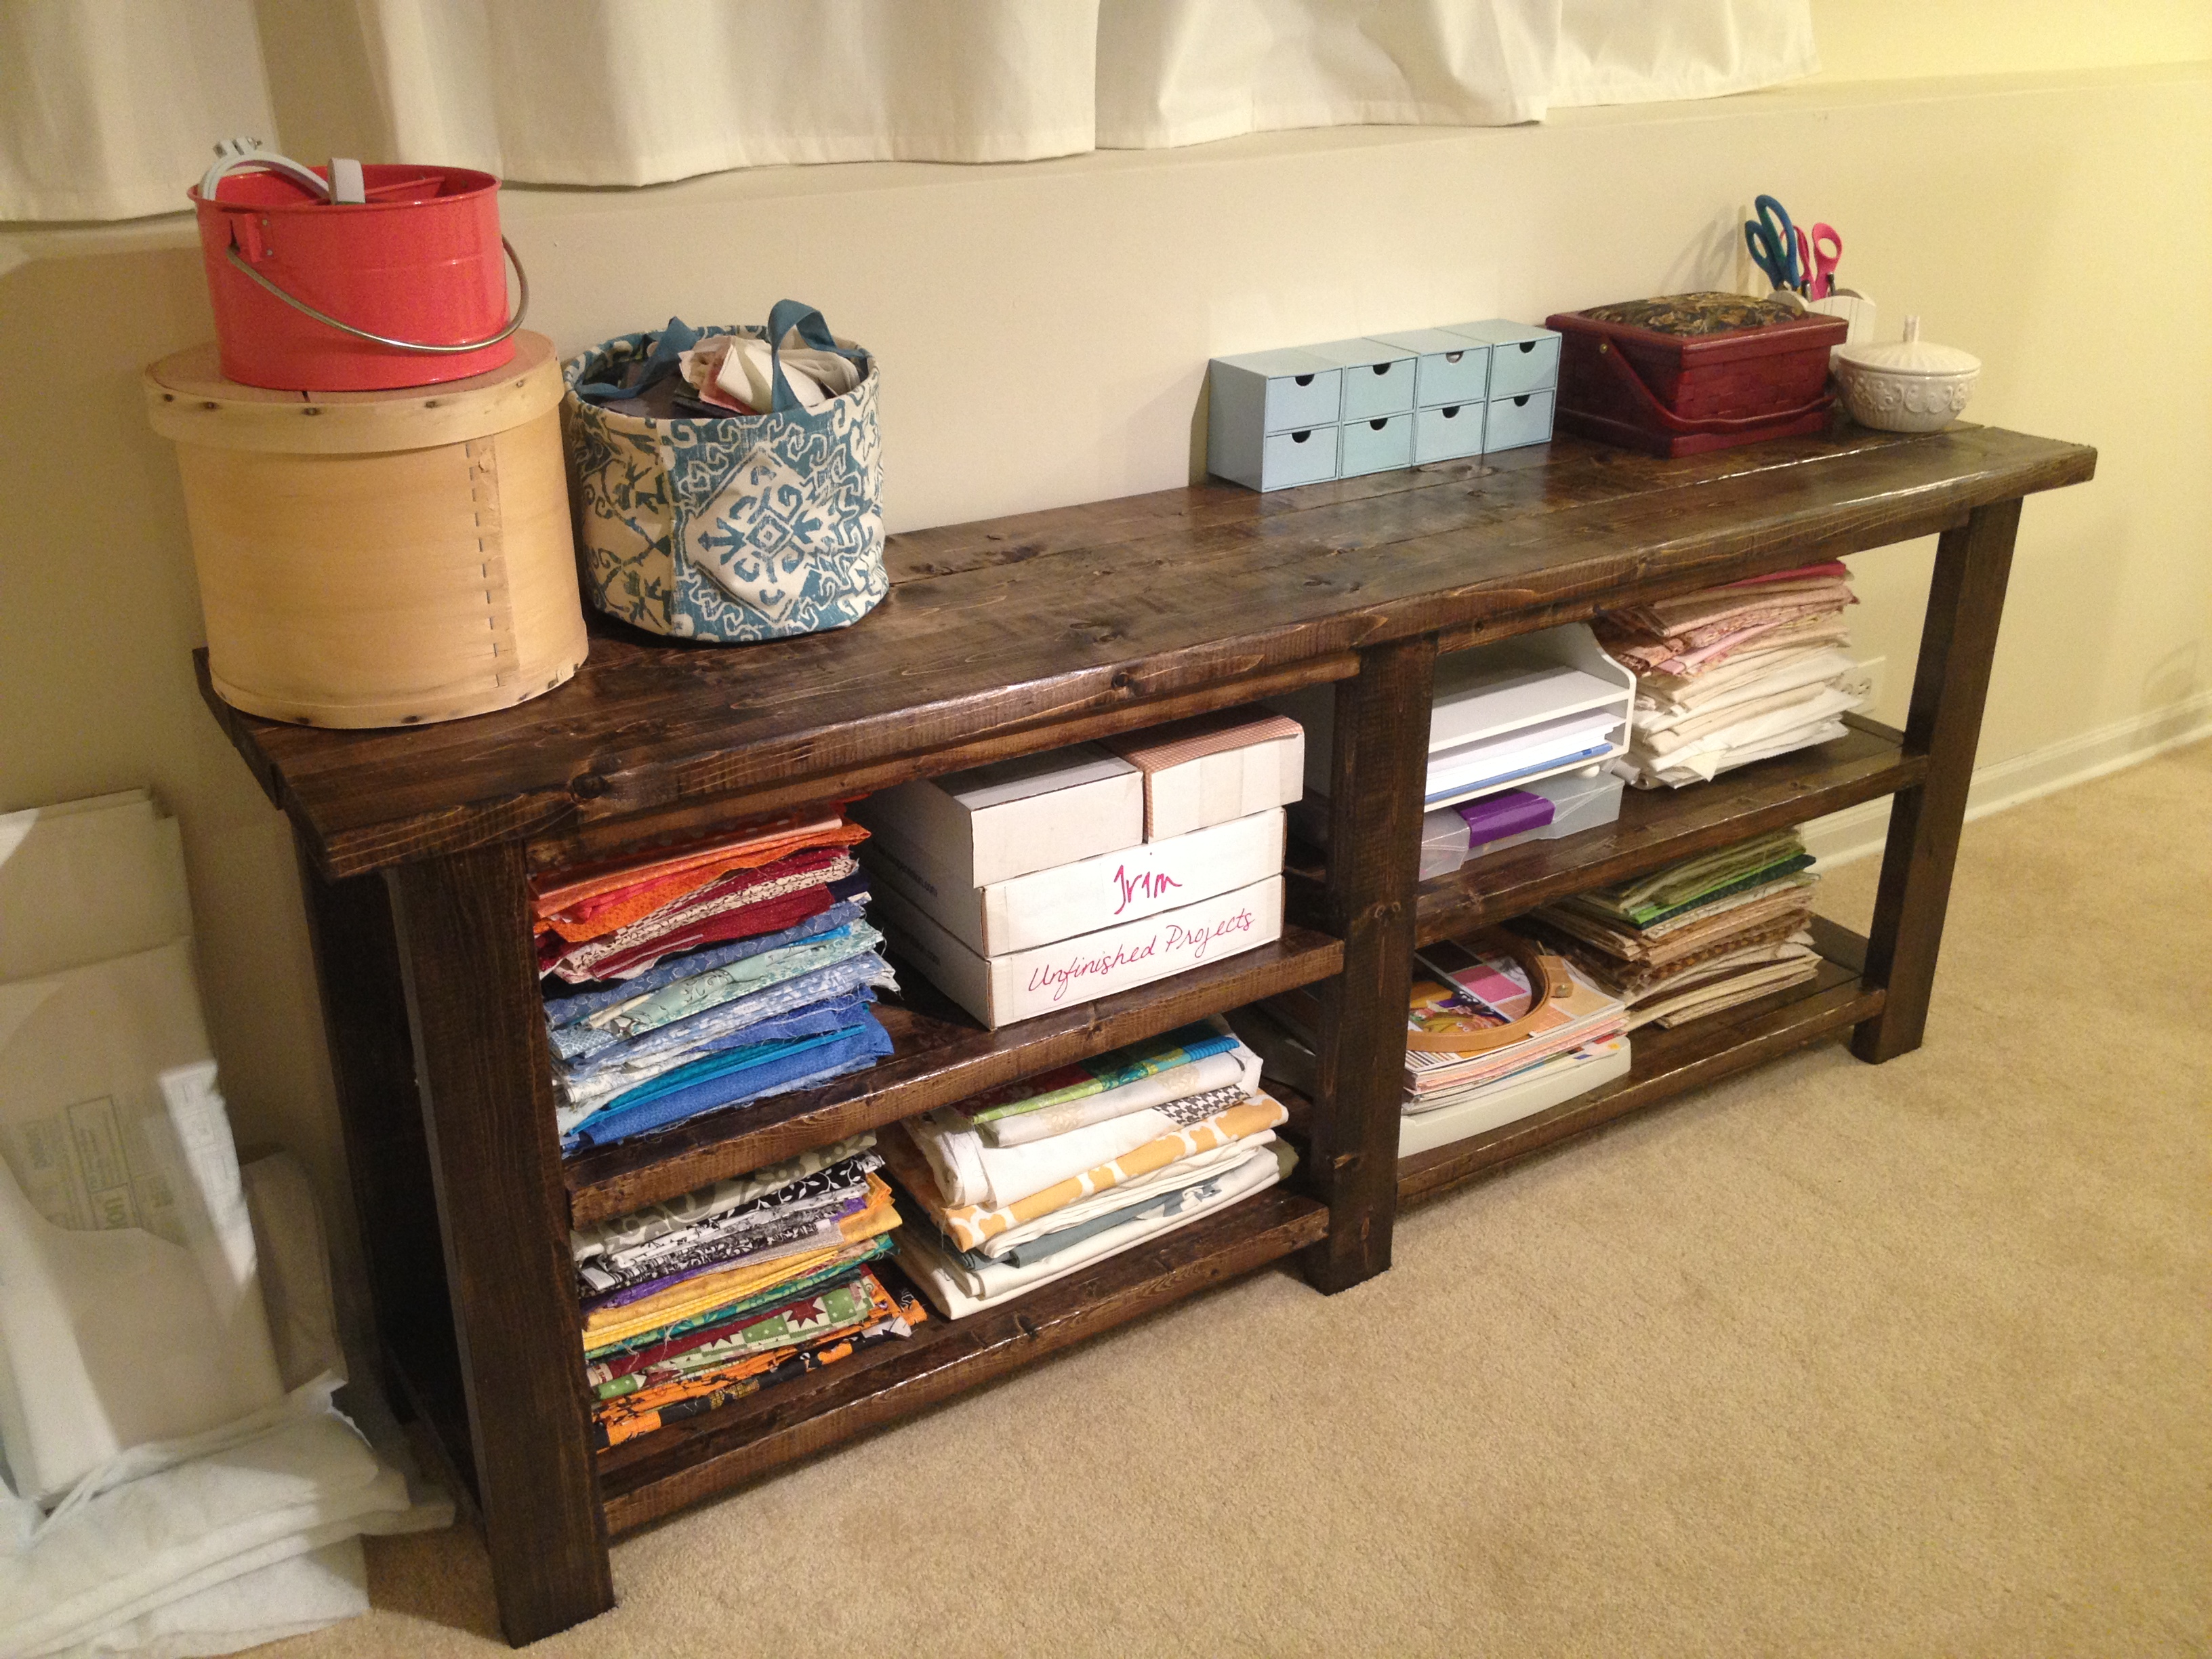
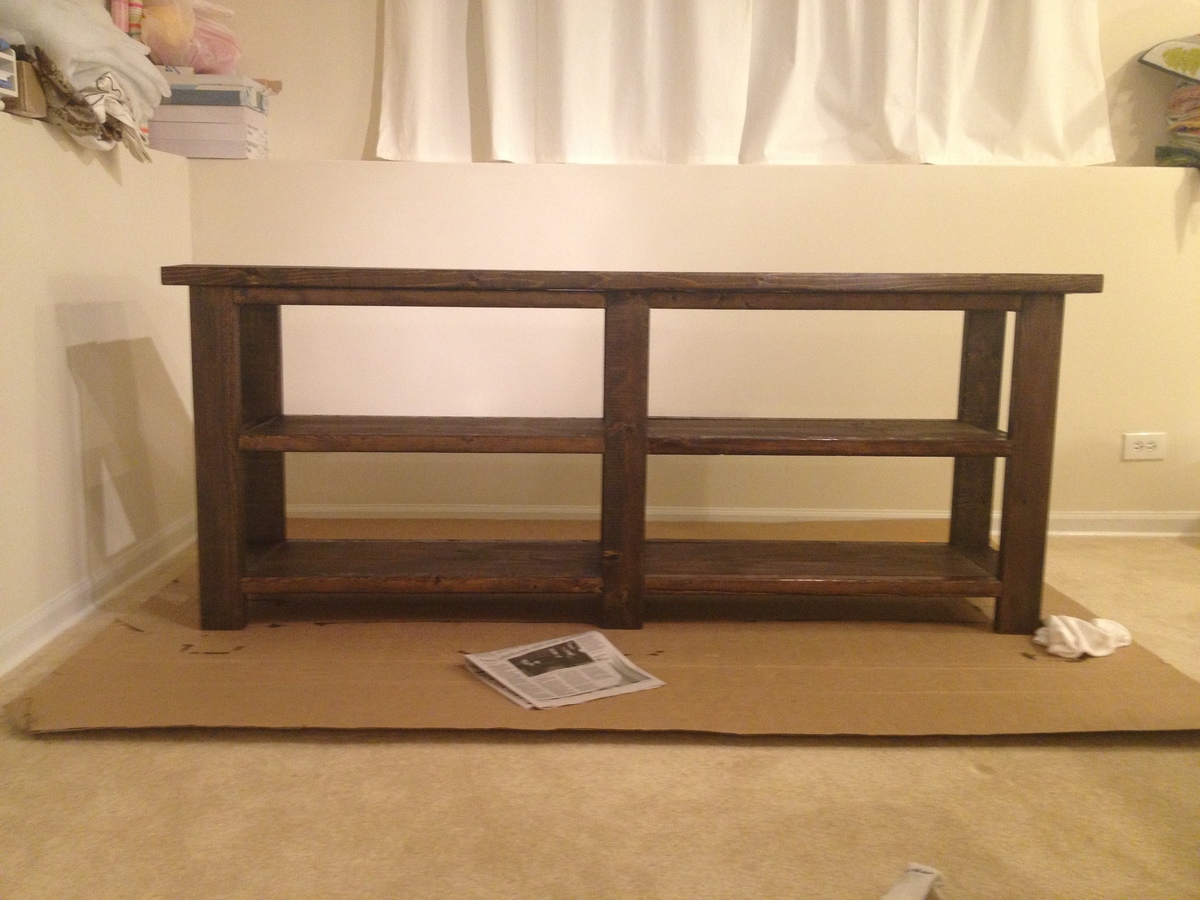
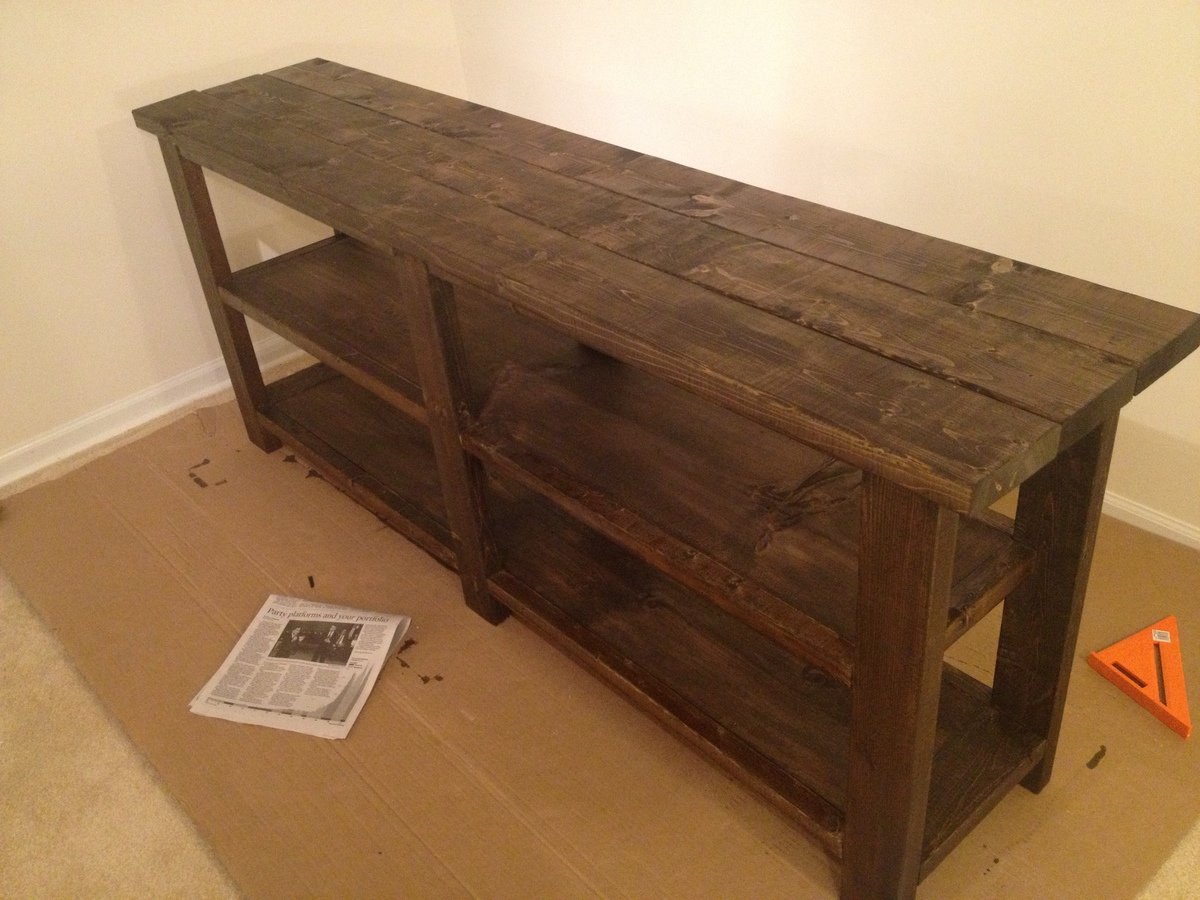
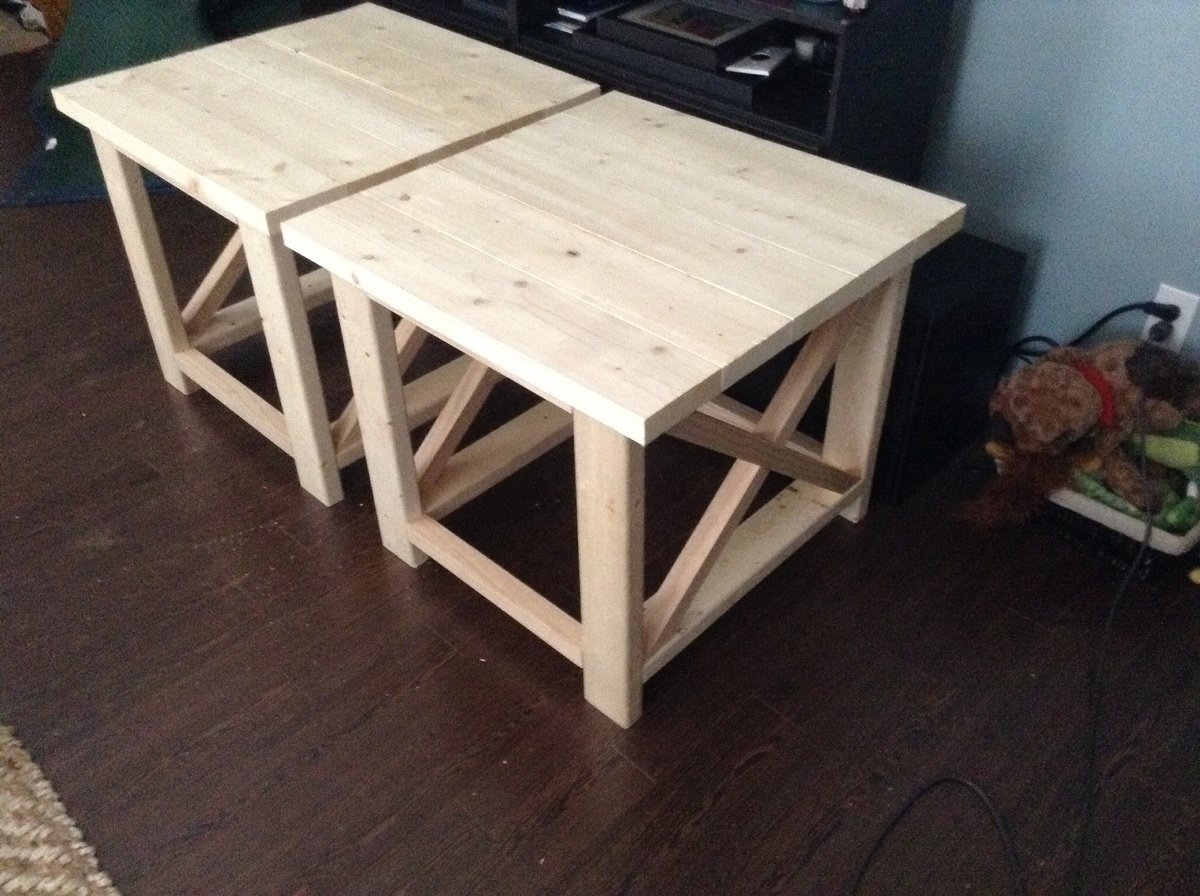
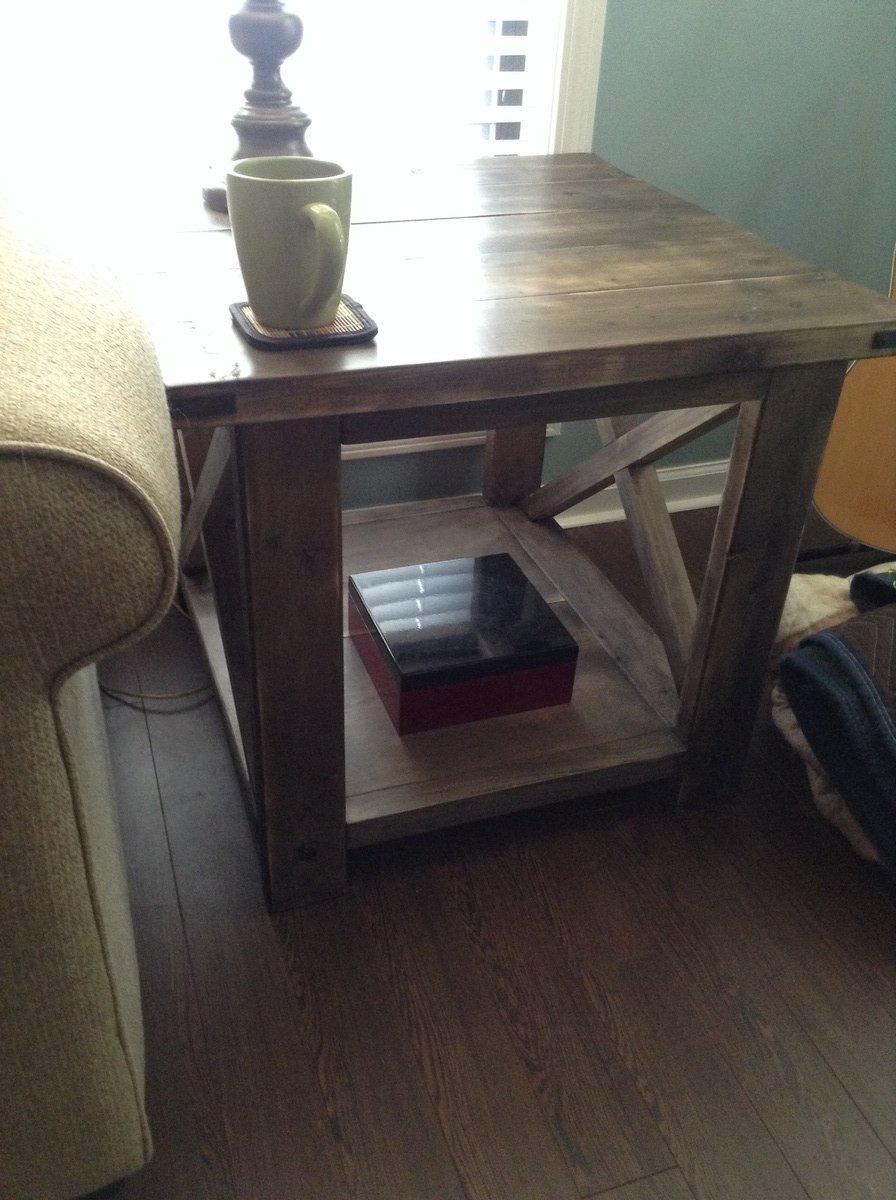
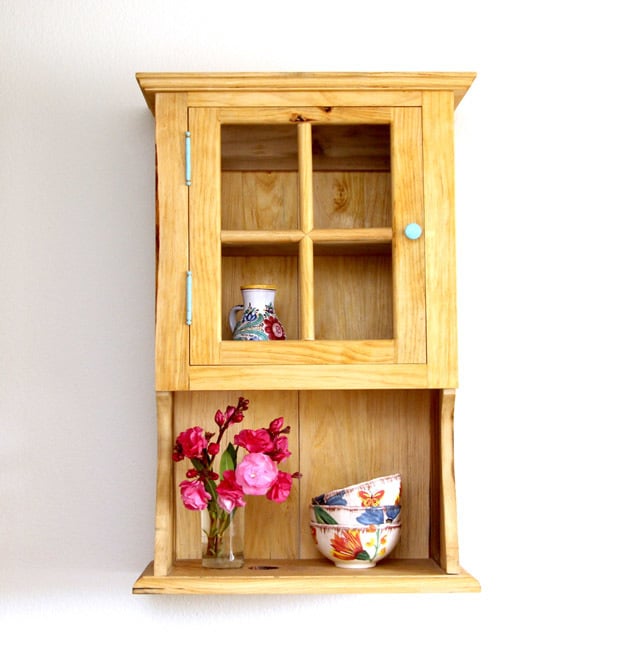
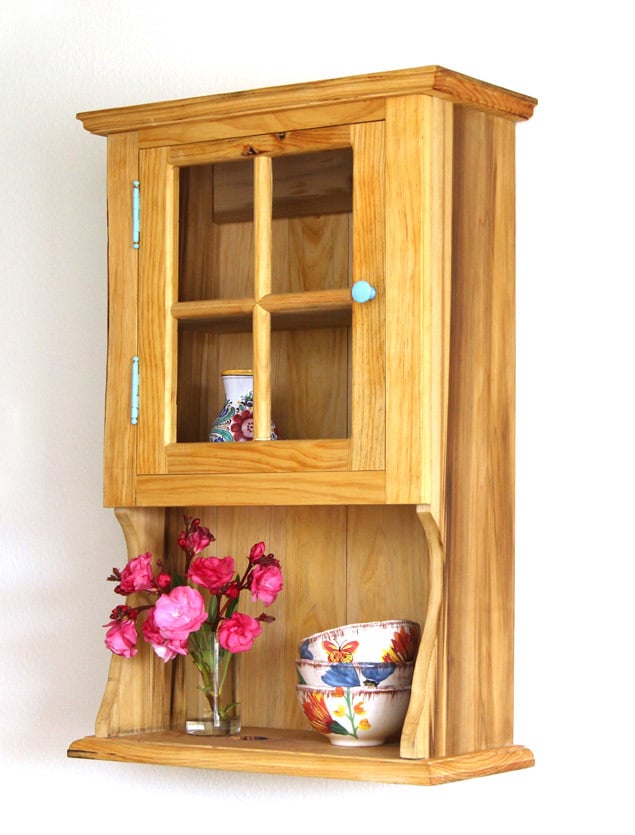
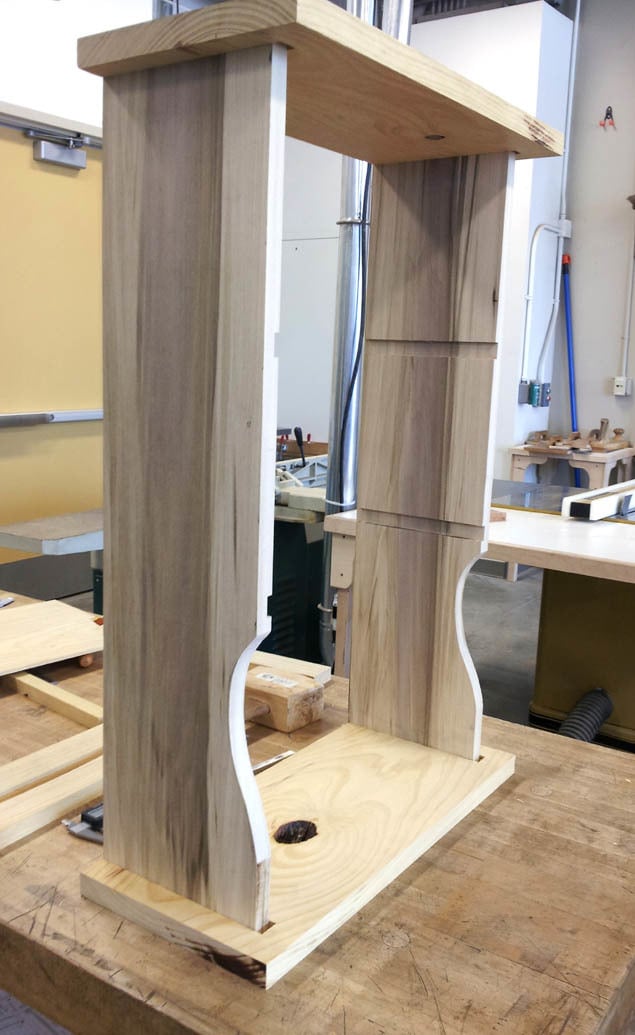
The design is inspired by early American jelly cupboards and shaker cabinets. We wanted an open cabinet with shelves so we can see and appreciate those pretty bowls and potteries we love. We also love the charming country style of those primitive furniture pieces.
The entire post is here- http://www.apieceofrainbow.com/diy-make-a-wall-cabinet-from-scratch/
Estimated Time Investment
Week Long Project (20 Hours or More)
Finish Used
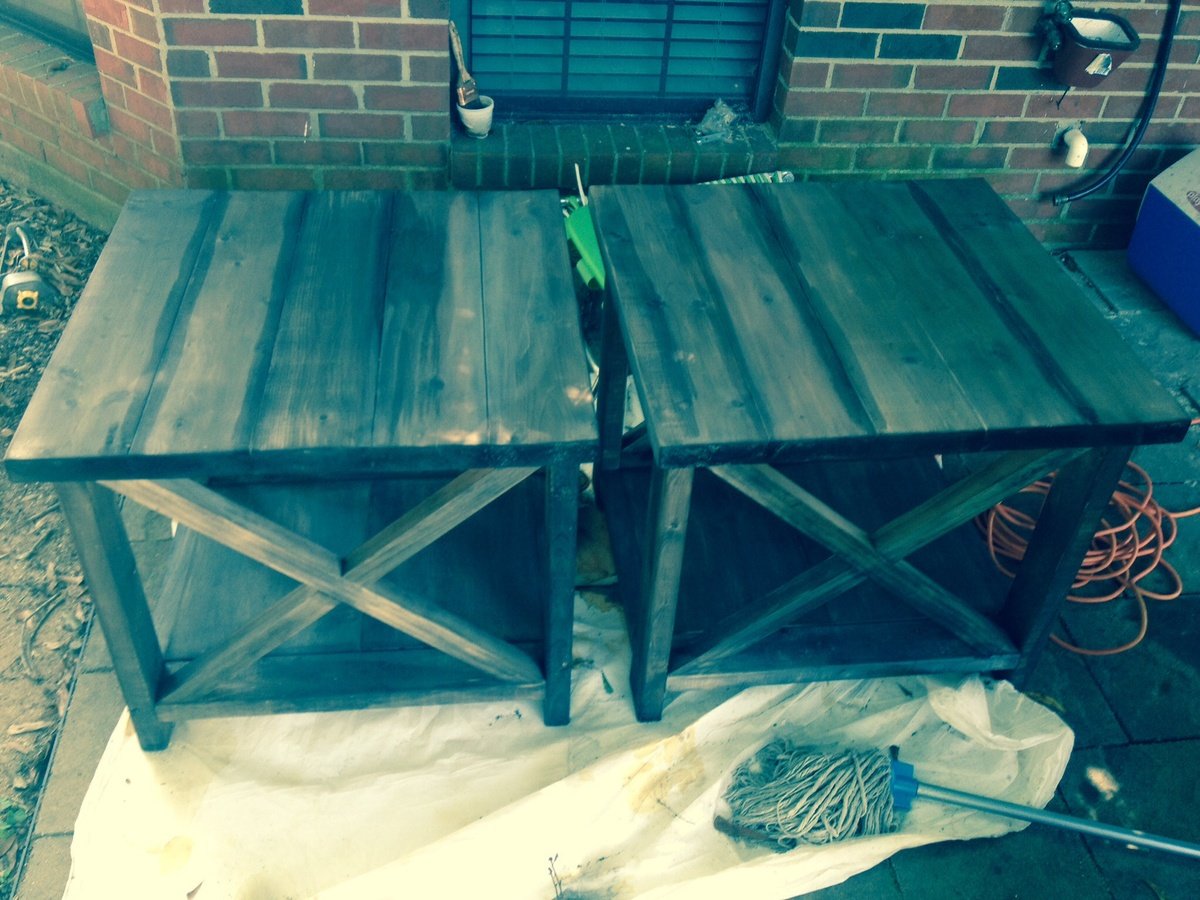
tung oil
Recommended Skill Level
Intermediate