Community Brag Posts

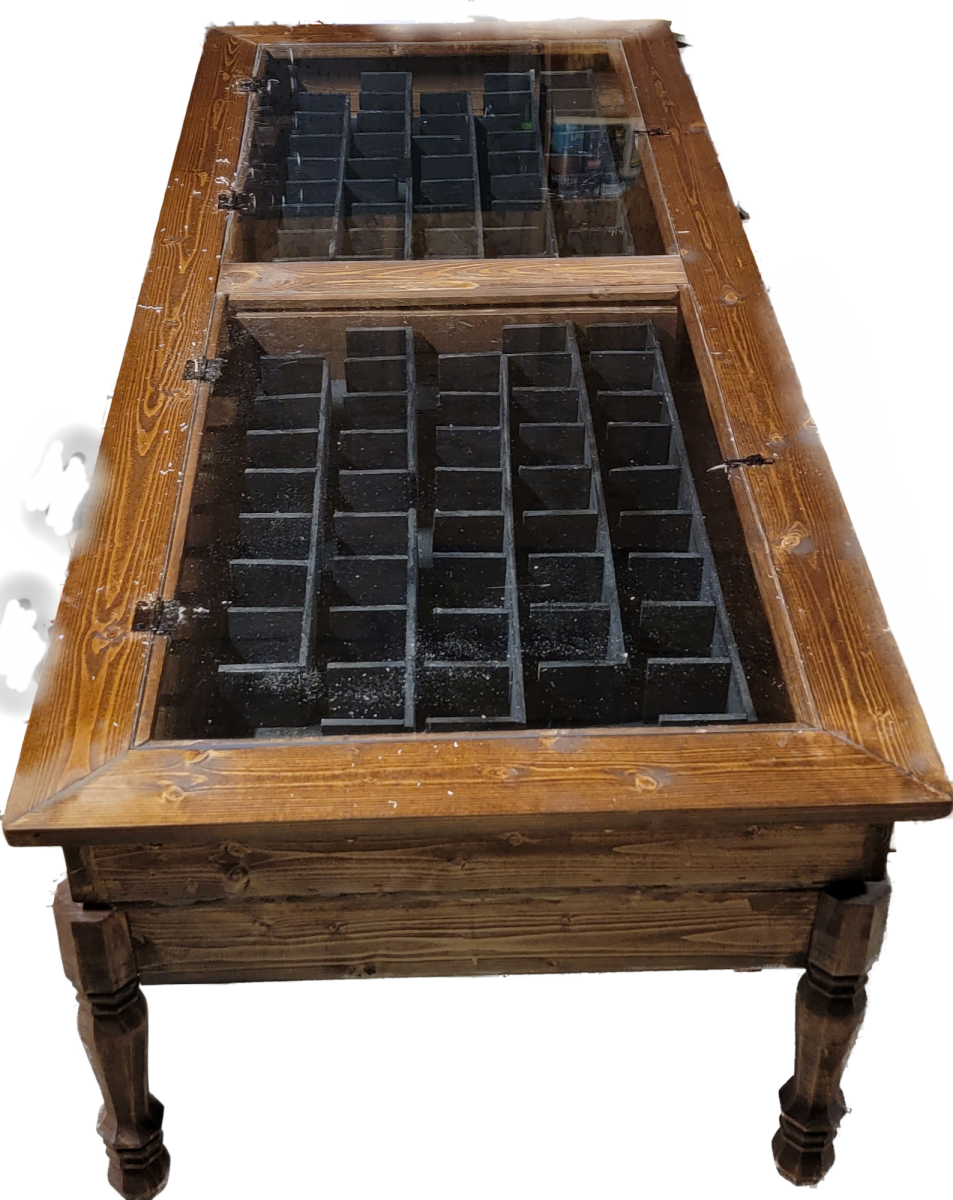
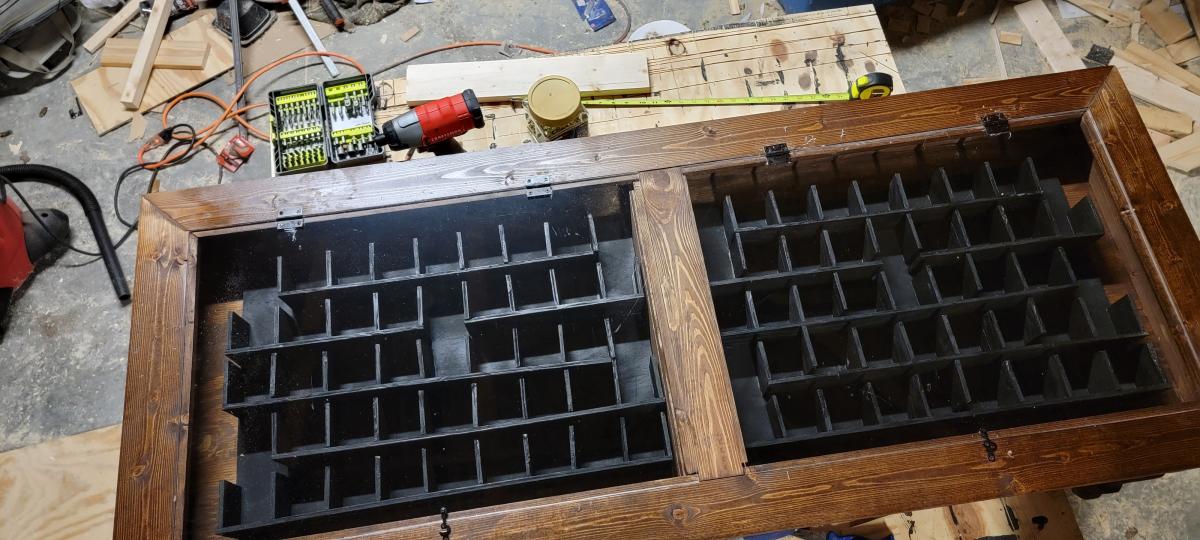
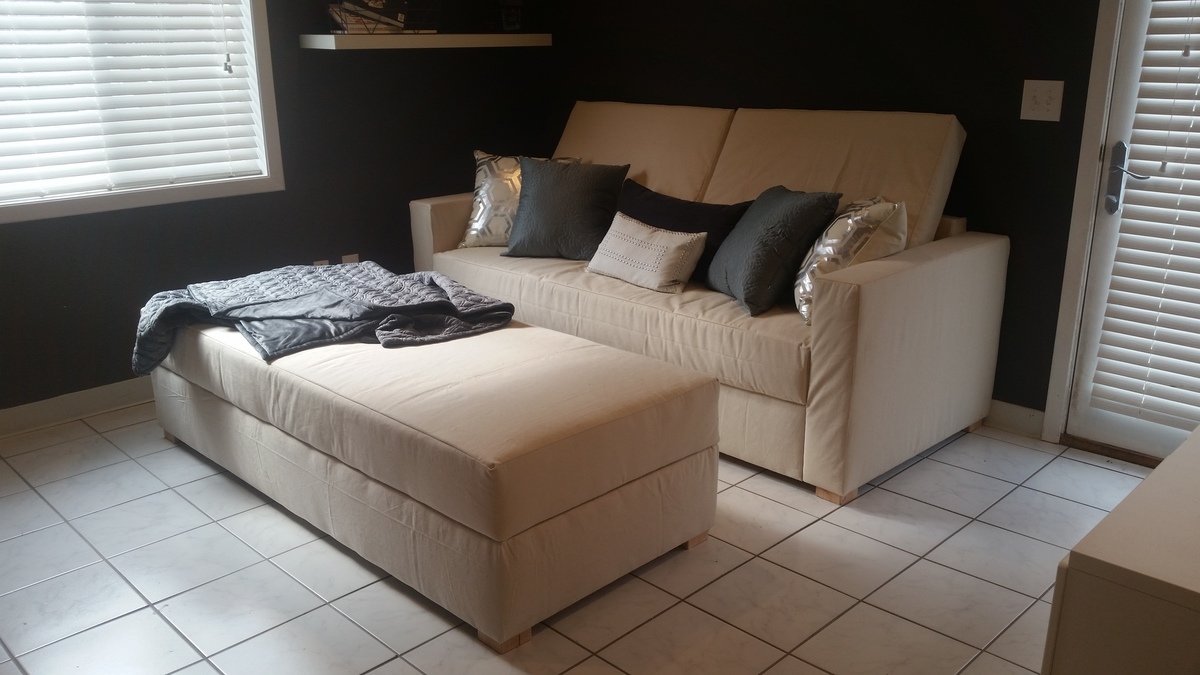
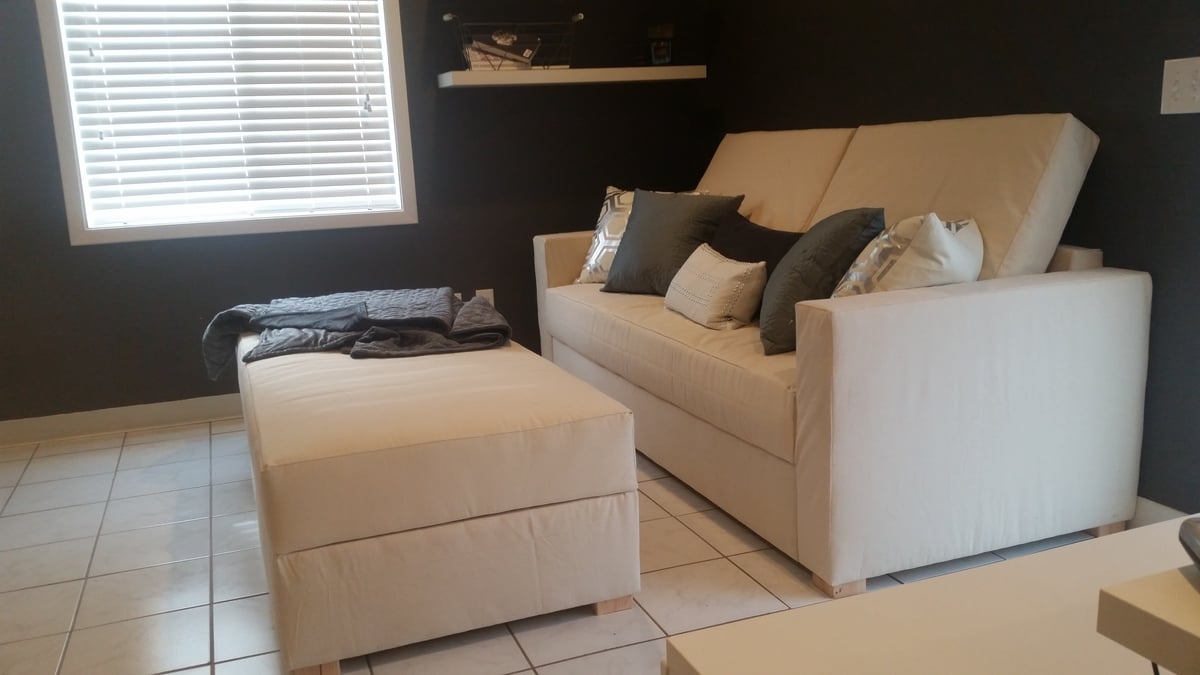
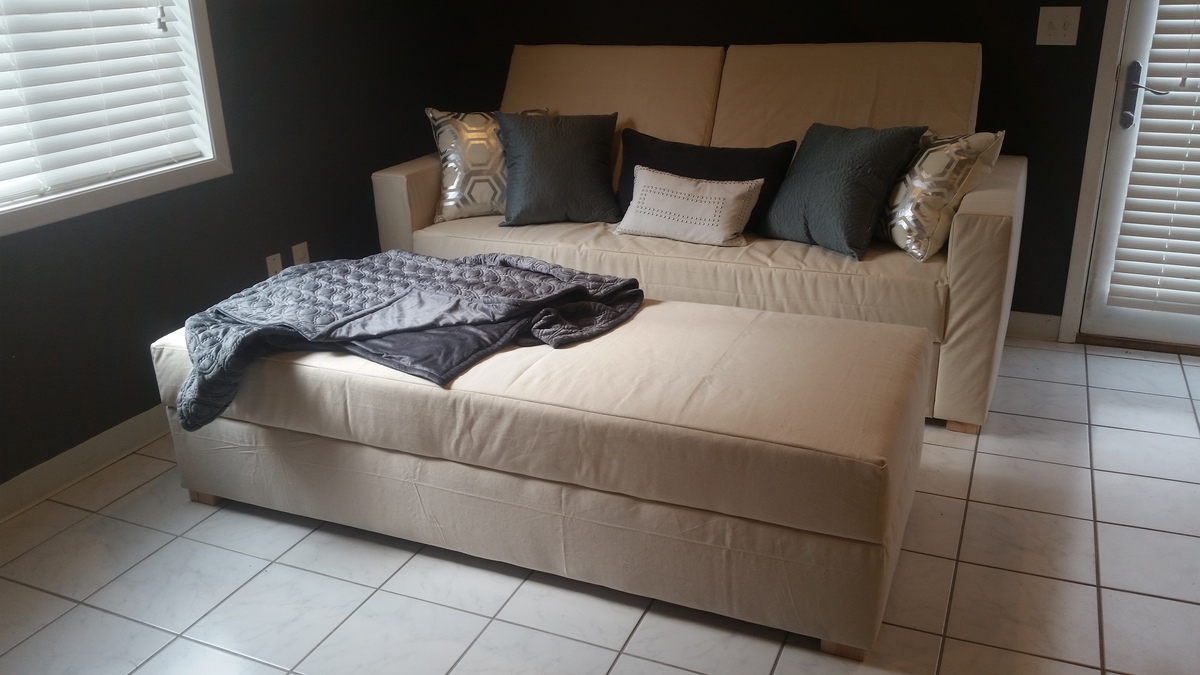
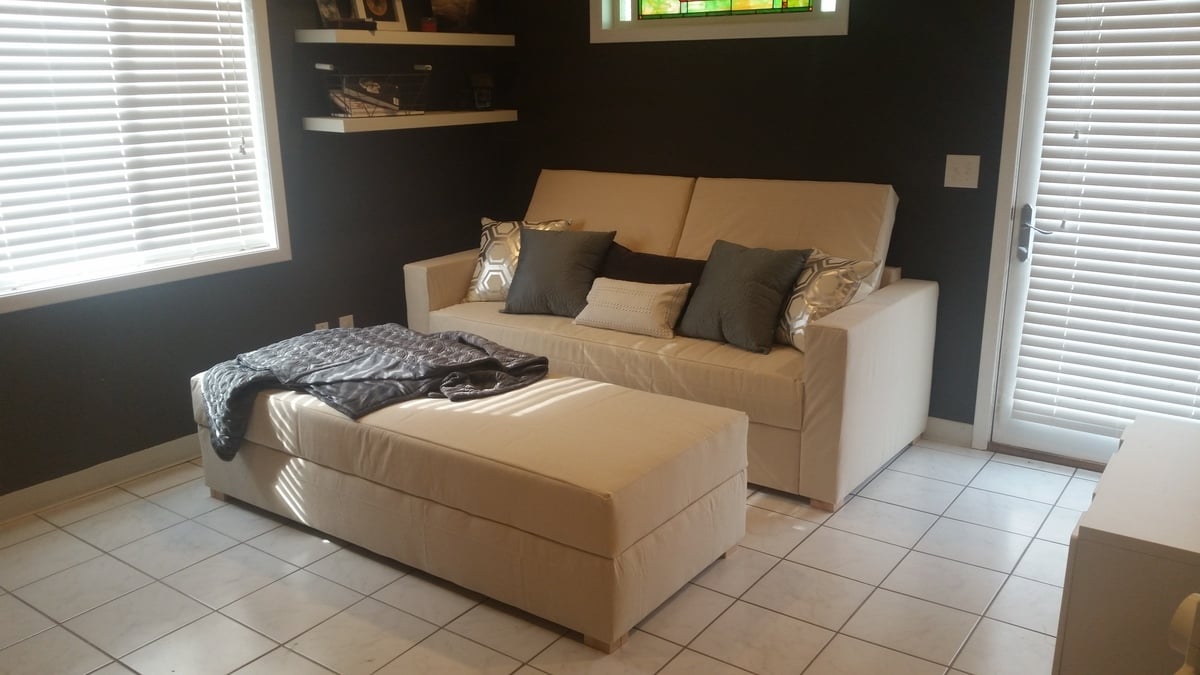
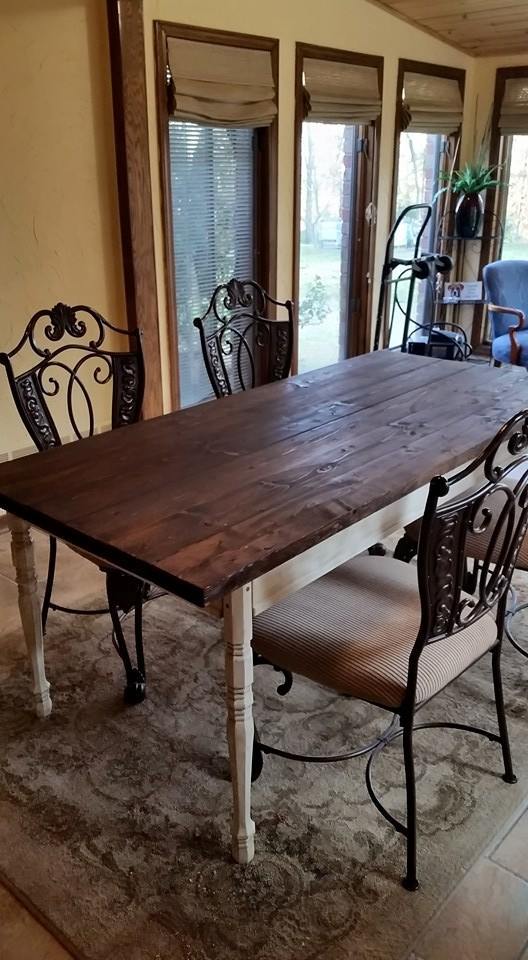
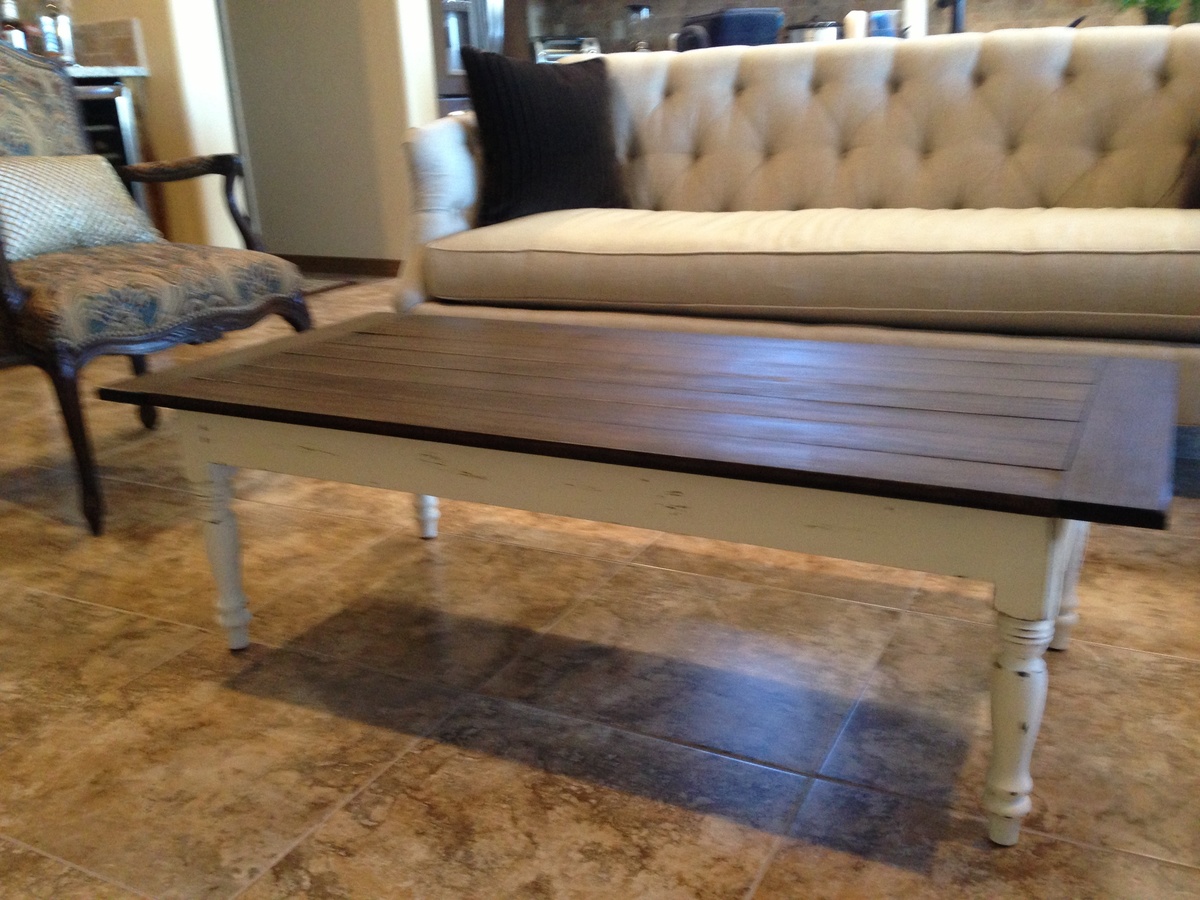
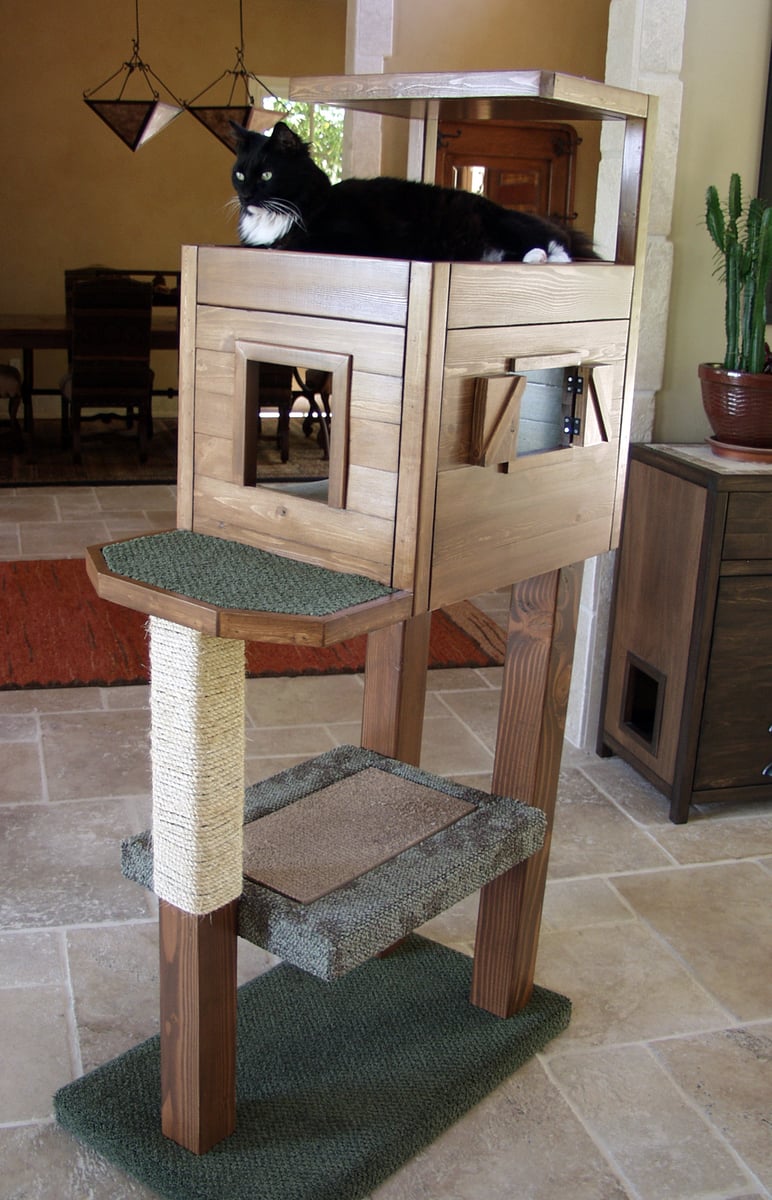
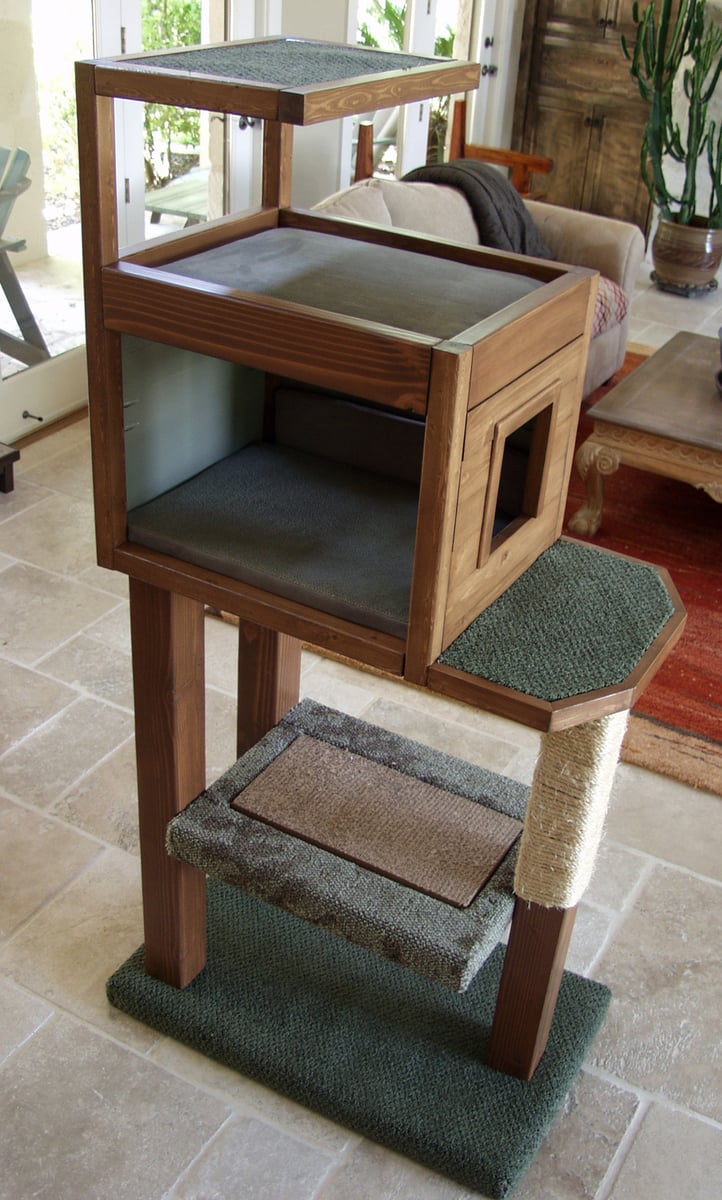
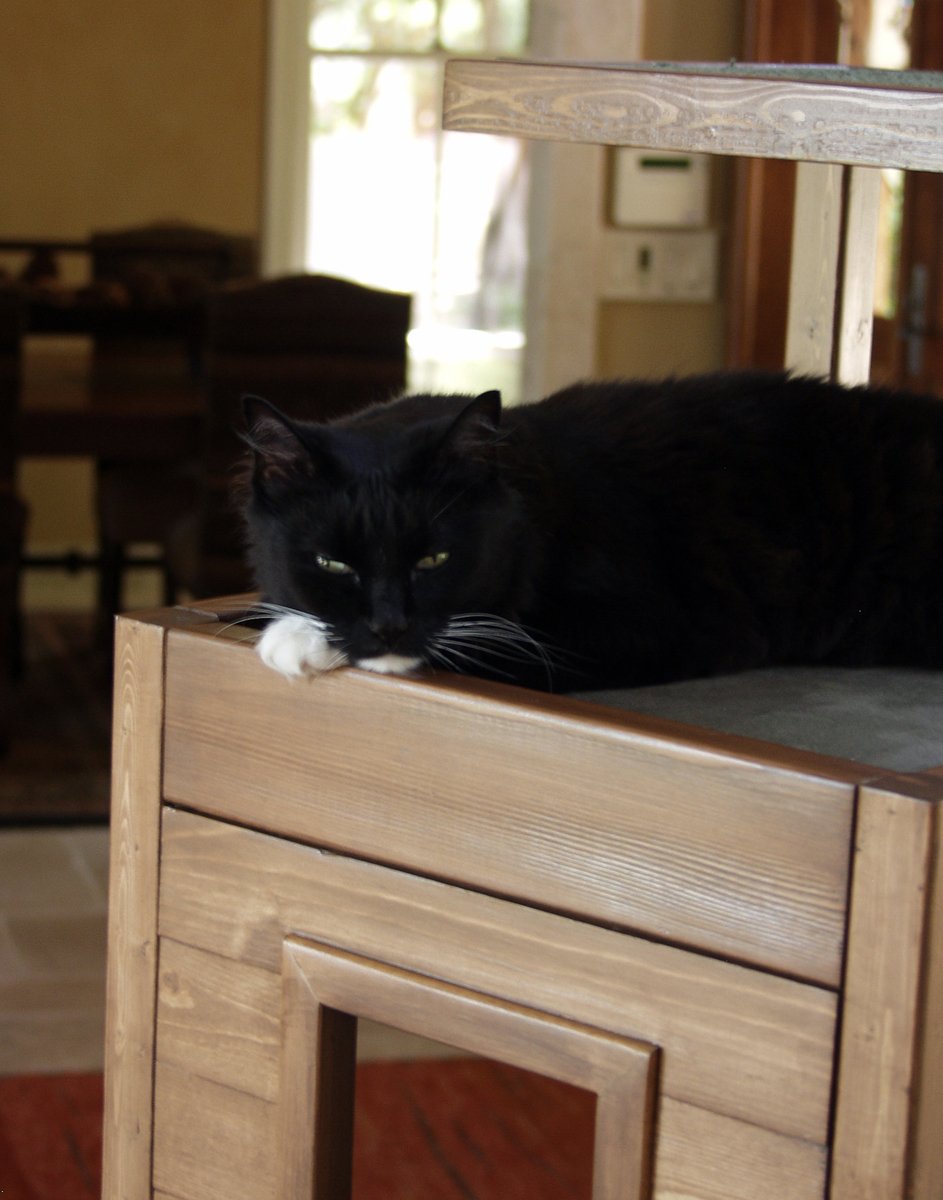
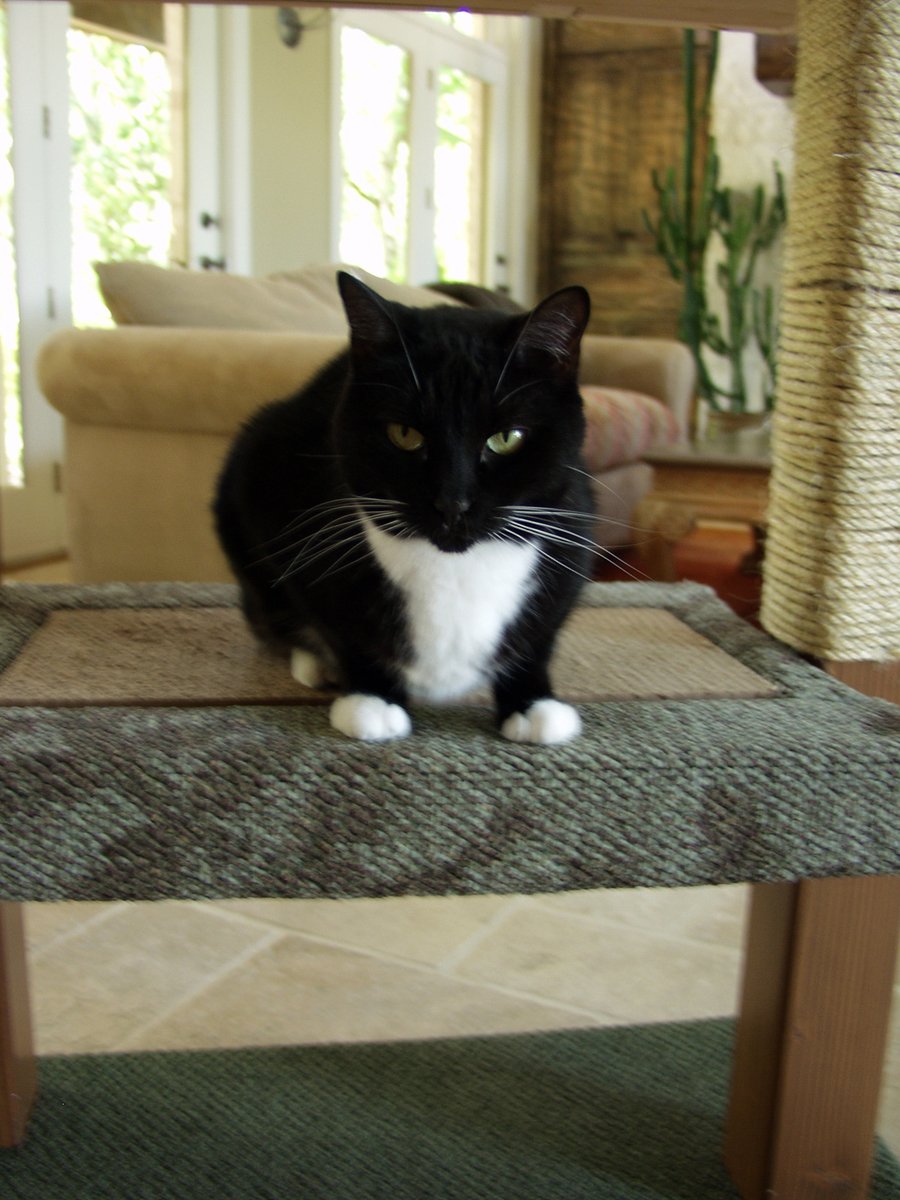
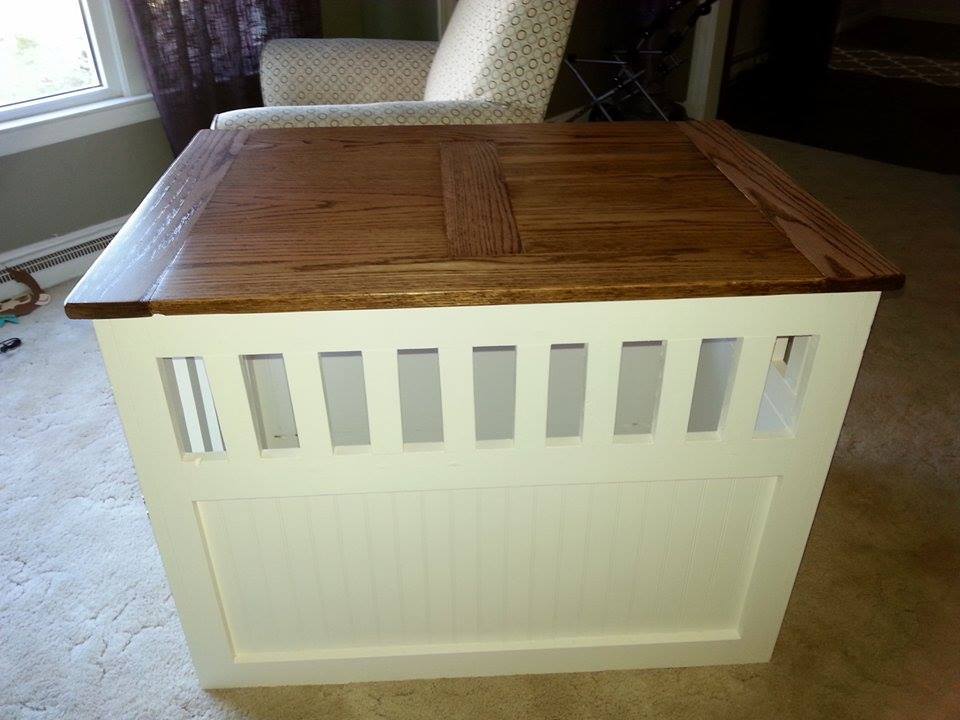
Dog Kennel for Animal Rescue auction

Submitted by jasondk on Fri, 03/20/2015 - 09:10

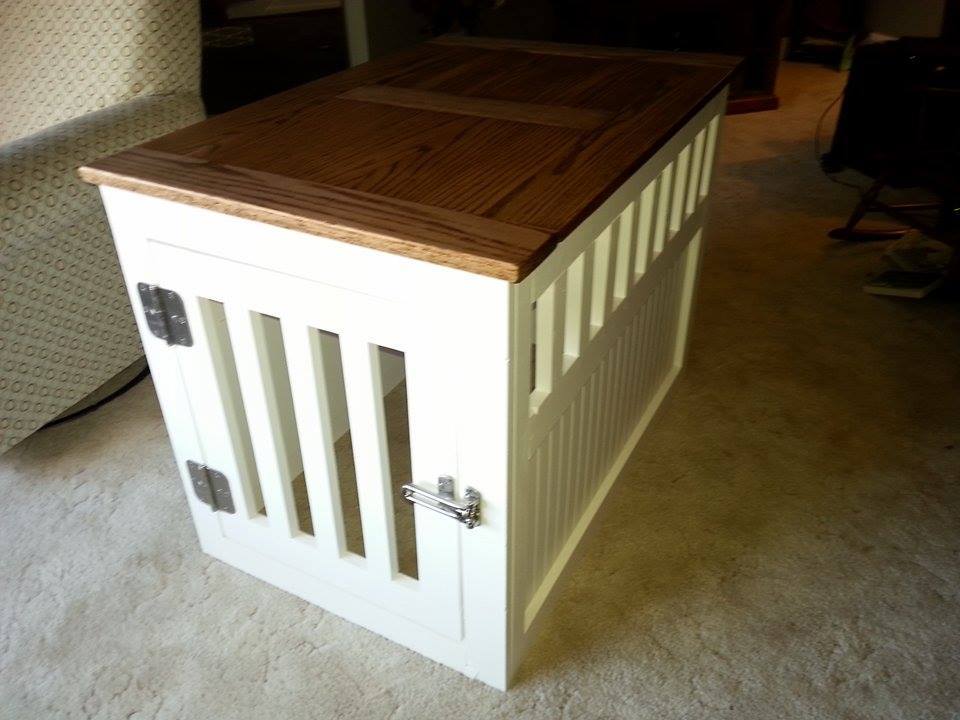
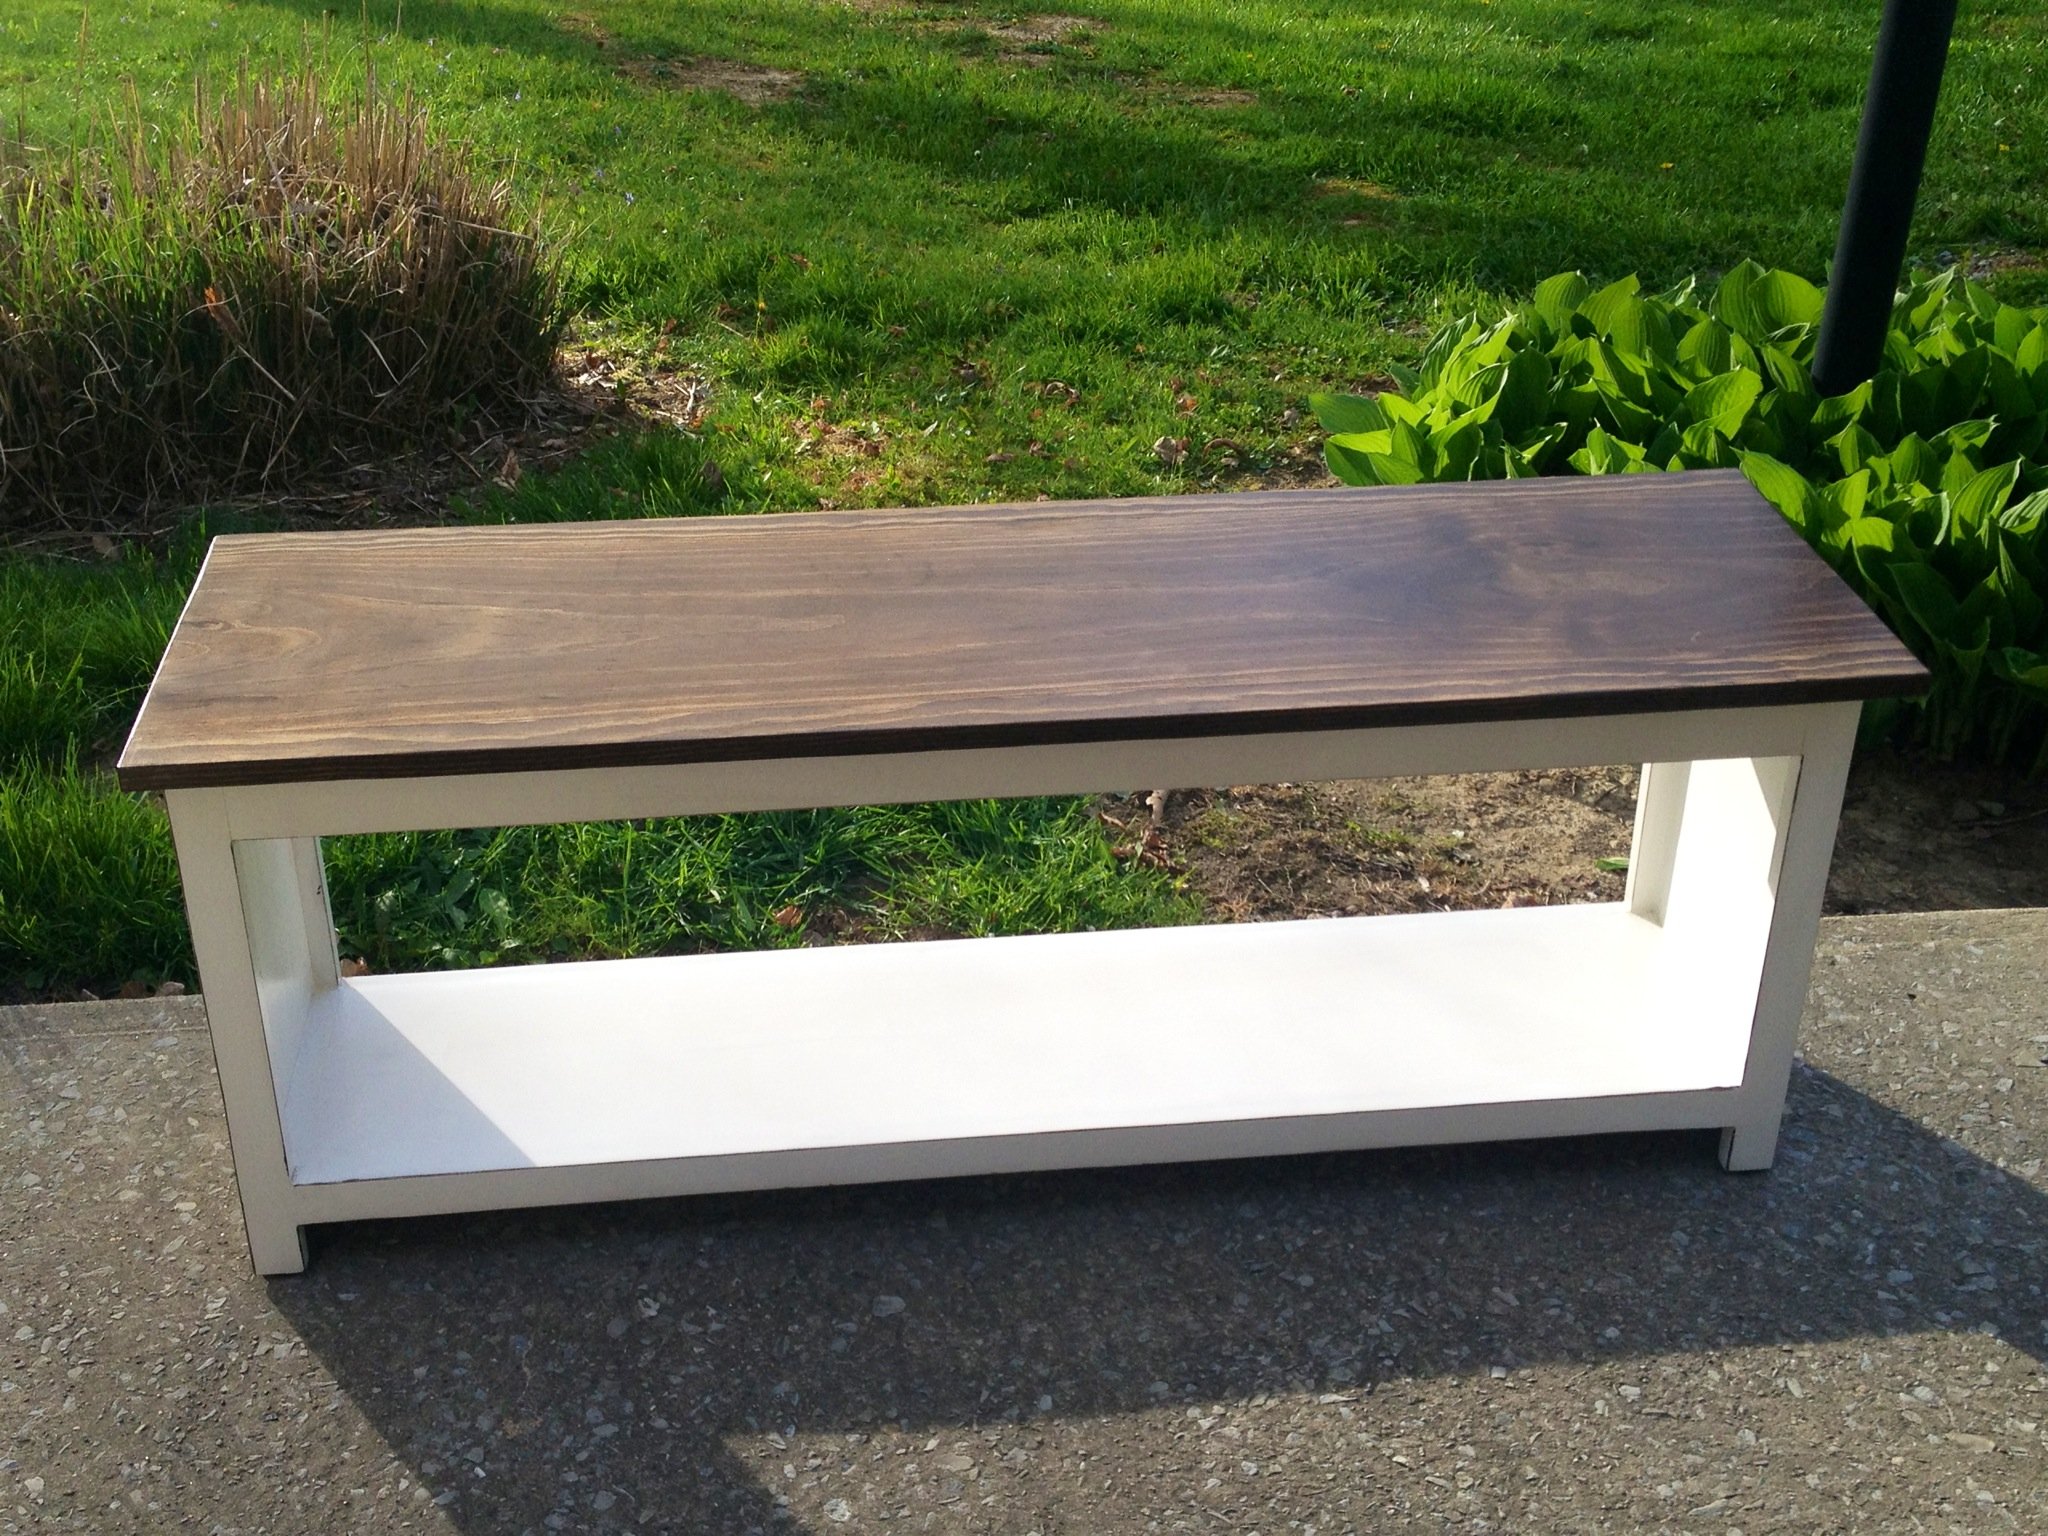
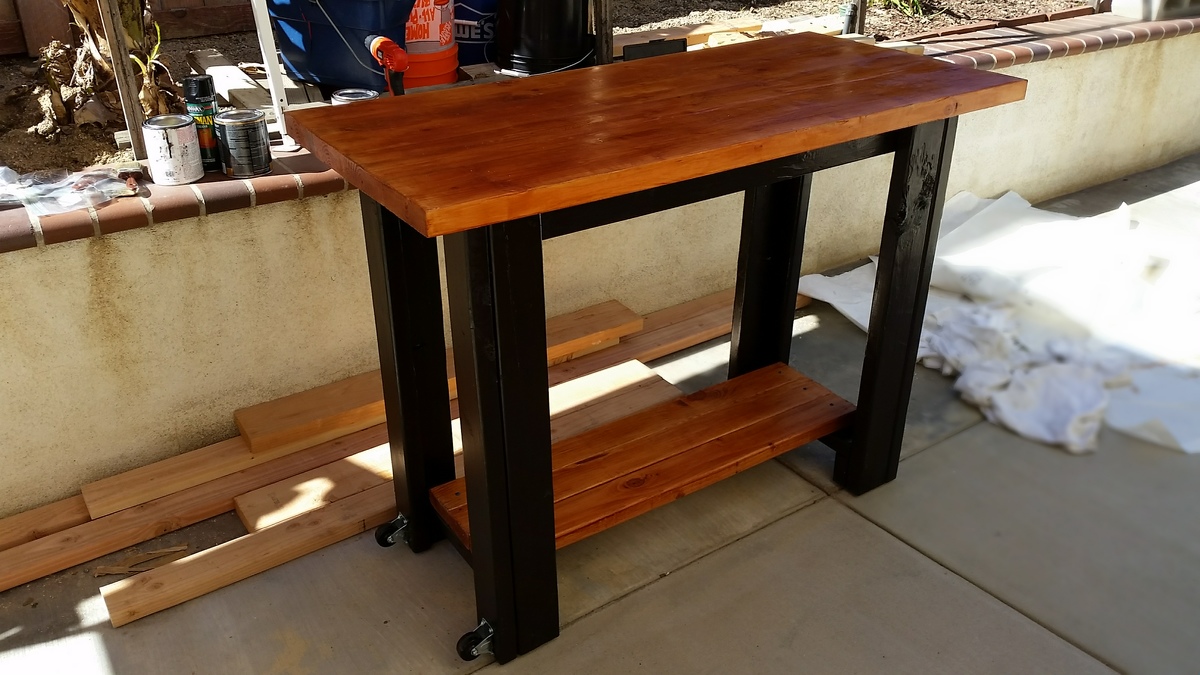
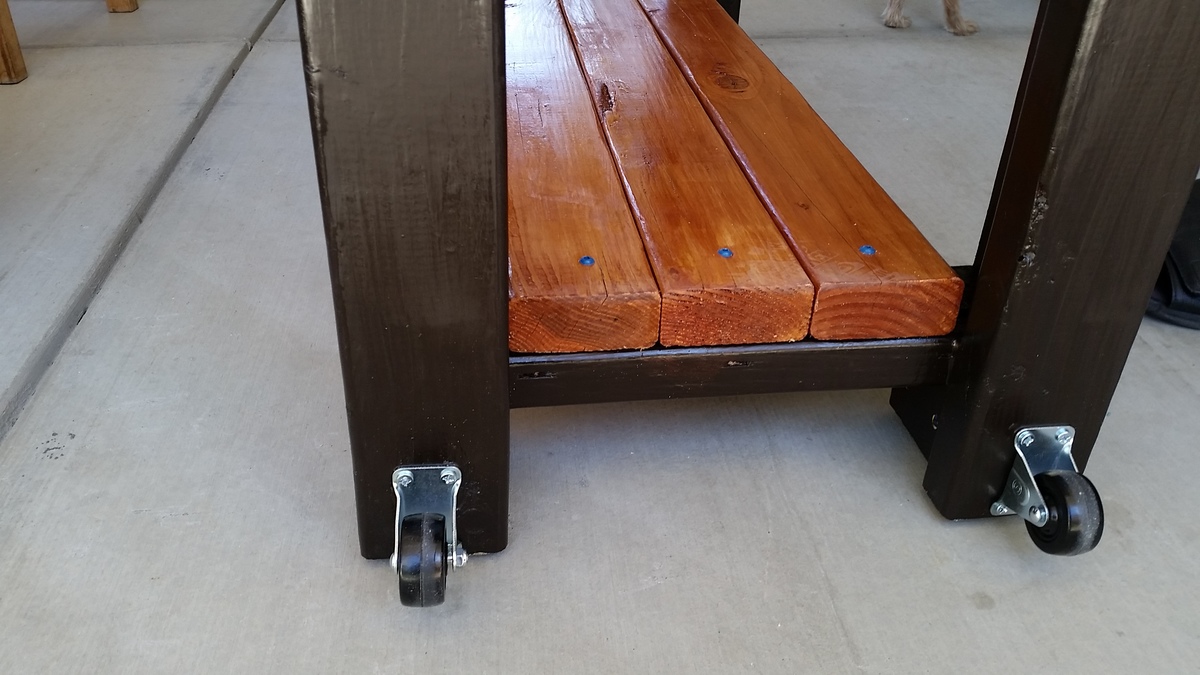
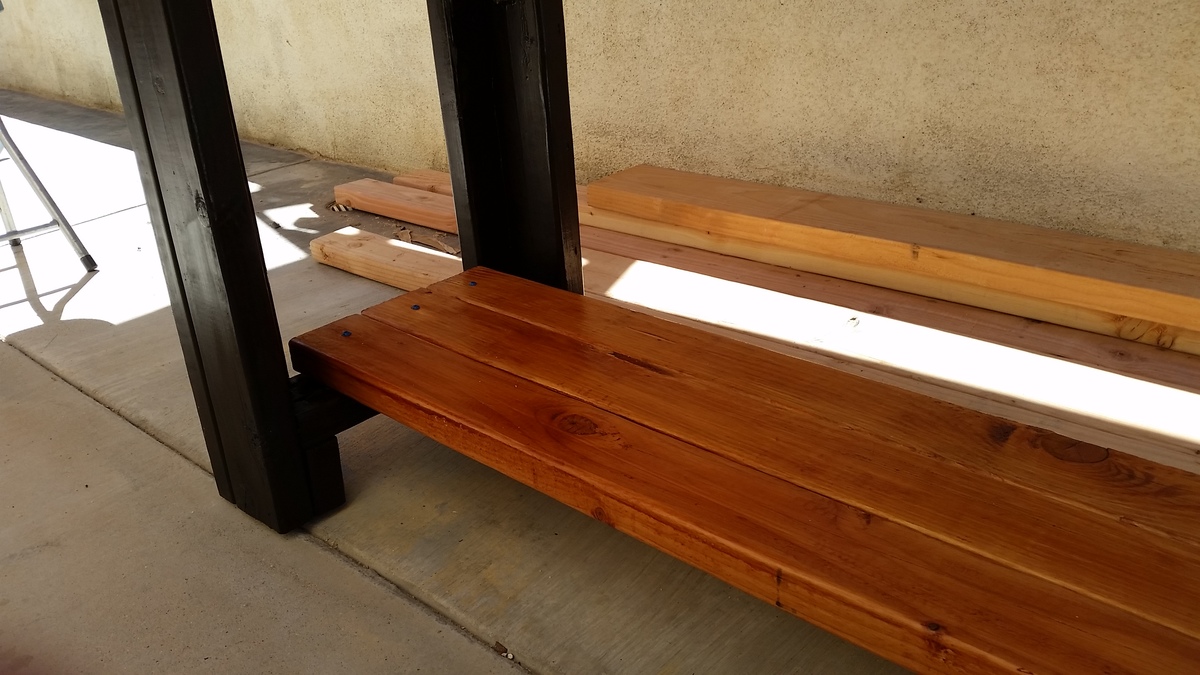
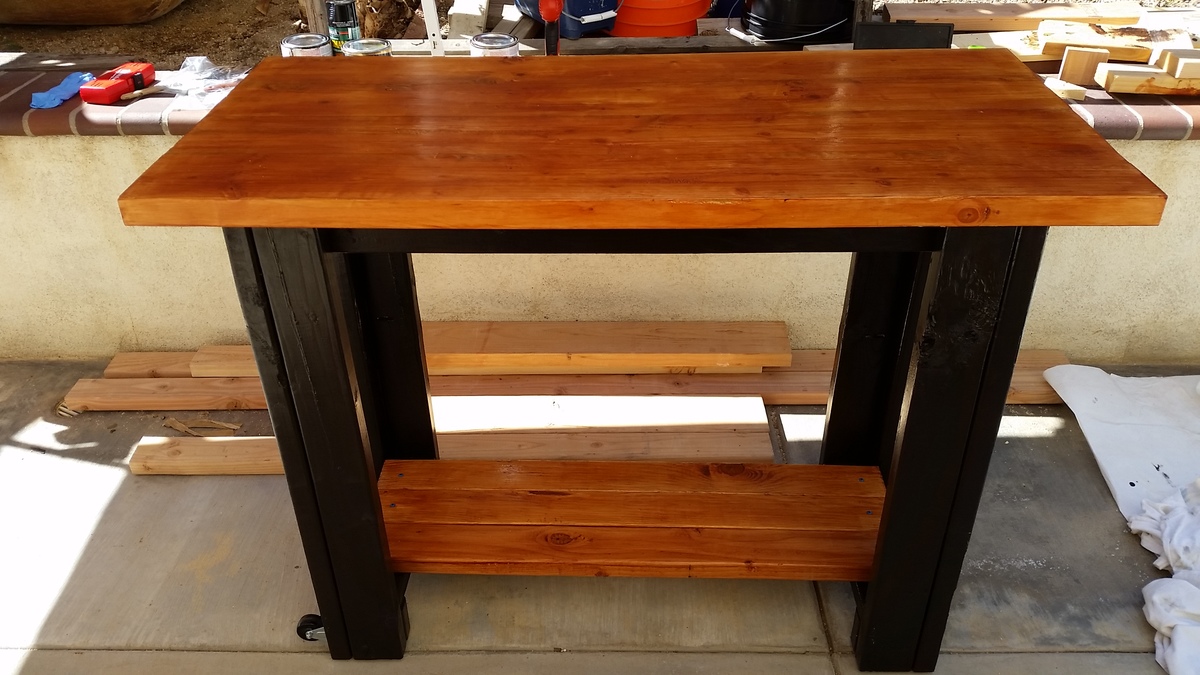
Made this for a animal rescue charity dinner auction. The bottom is made out of all scrap pine i had laying around. The top is made from 1x4 oak.

Painted the base with an off-white and the top was finished with Early American Minwax and topped with a water based poly.

Built from Plan(s)
Estimated Cost
$45
Estimated Time Investment
Weekend Project (10-20 Hours)
Finish Used
minwax early american and poly
Recommended Skill Level
Intermediate

Shot Glass Display Coffee Table

My father-in-law wanted a display case for his shot glasses, but I didn't like the idea of putting that much glass, hanging vertically. So I suggested a coffee table. This is what I came up with. I used 1x4 boards for most of it. ¼" plywood on the bottom, with 2x2 supports underneath, the actual display part is from ½" project panels I had laying around, and the dividers are from ¼" plywood scraps. The legs I picked out from the store (I don't have or need, a lathe). For the top, I used ¼" thick acrylic. I thought about glass, but they have lots of grandkids over all the time, and I didn't want a little hand going through the glass. (Side note on the acrylic, when you cut it, do it by hand, not with a power tool, as the acrylic will heat up and can melt). Other than that, I got a couple hinges and small lock closure for the acrylic, and stained it all. (Sorry for the white background picture, I tried to crop out everything else around the table)

Comments

Simple Bench

Submitted by bhoppy on Wed, 05/01/2013 - 17:06

I modified these plans just a bit. I added 10 inches to make it 48 inches across. I also used a 1x3 on the top face frame instead of a 1x2. The plan calls for just a 1x12 on the top but I wanted it to be wider so I used my Kreg Jig to add two 1x2's to make the top 15 inches deep. I planned on staining the whole thing but made a few errors and had to paint the bottom as it is more forgiving. I loved how Brooke used the coffee staining technique but didn't like the way it was turning out so I just went with distressing the edges and staining the top like she did on her coffee table with the stain I had on hand. It took only a few hours to make the bench and about 3 days to finish it as I worked in the evenings after work.

Estimated Cost
$50-$60
Estimated Time Investment
Day Project (6-9 Hours)
Finish Used
Minwax dark walnut on top. Paint Olympic No-VOC Ultimate Interior Paint in Semi Gloss in white. Sanded edges with 80 grit sandpaper and put stain on then wiped off. I used waterbased polycrylic on whole bench and 3 coats on top.
Recommended Skill Level
Beginner

Comments

Storage Sofa / Convertible to Bed

Submitted by SRA16 on Sun, 03/22/2015 - 09:06

I used the plan for the base idea for my sofa. I decided I'd prefer arms to curl up in and also to add a convertible feature turning an ottoman using the same base plans into an extension option for using the set as a bed or lounge area. Twice the storage, twice the function!

Built from Plan(s)
Estimated Cost
$400-$500
Estimated Time Investment
Week Long Project (20 Hours or More)
Finish Used
I used natural duck cloth for the fabric. Easy to clean and water resistant.
Recommended Skill Level
Intermediate

Comments

sam5657

Fri, 07/23/2021 - 19:33

I was planning on building your storage sofa, but when I saw the one with the arms; I thought that I would rather build that one. In the spot where the plans should have been; it refers you to the storage sofa. The problem is; it doesn't tell you what you need for or how to build the arms. If they are somewhere else; could you tell me what heading that they are under.

Sandra Cahoon

[email protected]

House signs

Submitted by naomi on Fri, 06/23/2017 - 08:22

Made from pallet wood.

Painted and stencilled.

Estimated Cost
$0
Estimated Time Investment
An Hour or Two (0-2 Hours)
Finish Used
chalk paint and clear coat
Recommended Skill Level
Beginner

Comments

kristyzed

Fri, 06/23/2017 - 18:39

I really like your signs and have wanted to make some like that.  Where did you get the stencils?  Thanks.

Large porch bench

Submitted by Lukilla on Mon, 09/27/2021 - 13:51

What a fun project, and great bench. We had someone ask us if we could make this for them, and we decided to make 2 while we were at it.....now we just need to find a spot big enough for the second one at our house. Loved this build, and look forward to sipping coffee on it on a cool morming.

Comments

Seasonal And Holiday

Modified tryde table with hidden storage

Submitted by ddietz12 on Sun, 05/05/2013 - 13:23

This table was built from my existing plan of a modified tryde coffee table. This was built with hidden flip-top storage and a matching side table. I hope you like it

Built from Plan(s)
Estimated Time Investment
Weekend Project (10-20 Hours)
Finish Used
Rustoleum dark walnut stain
Recommended Skill Level
Intermediate

Comments

My Farm Table with Existing Iron Chairs

Submitted by kvheaton on Tue, 03/24/2015 - 19:28

I loved the look of the farm table that Anna has posted.  I created my own with a few small modifications.  I bought the legs of the table from my local Lowes store instead of ordering online.  It was more cost affective for building this table which was mostly for staging purposes, but I love the table so much, it will be going in my new house (if the real estate agent or the new home buyers don't talk me into selling it to them)!

Estimated Time Investment
Day Project (6-9 Hours)
Finish Used
A mixture of walnut and mahogony Minwax stain on the table top. Valspar semi-gloss paint on the legs with my all time favorite glaze - Rustoleum transformations. Love that stuff!!
Recommended Skill Level
Beginner

Comments

AndyH

Thu, 03/26/2015 - 04:52

looks great!! Did you apply the walnut first then magazine or mix them and apply as one application?

kvheaton

Wed, 04/01/2015 - 17:55

I wasn't sure if you received the email response regarding stain color, so I thought I'd repost here just in case.... The mix was 1/2 and 1/2 of the walnut and the mahogany stain done ant the same time. This is the same combination that we used on our home made walnut headboard with stacked stone. Love this color combination!

Pallet wood painter's ladder shelf

Submitted by Anonymous (not verified) on Sun, 06/25/2017 - 18:50

Made this one with shelf edges/trim just on the sides. Somehow my top shelf didn't span the width so had to add a little shim on each side but it all worked out! We had all the pallets and used 1x3s for the frame because some of my pallet wood was heavy hardwood. It was not without frustration because I was working with uneven/warped pallet wood but it hits the rustic look.  I am happy with how it turned out. 

Built from Plan(s)
Estimated Time Investment
Day Project (6-9 Hours)
Finish Used
English chestnut minwax stain and matte interior sealant
Recommended Skill Level
Beginner

Antique white and brown top coffee table

Submitted by Derekmo on Tue, 05/07/2013 - 09:14

Thanks to Ana-White's easy coffee table plans I was able to build what I could not find for a decent price. Keep the plans coming!

Estimated Time Investment
Day Project (6-9 Hours)
Finish Used
Minwax dark walnut, valspar antique white in semi gloss, some distressing
Recommended Skill Level
Starter Project

Works great for a Great Dane!

Submitted by Anonymous (not verified) on Wed, 06/28/2017 - 12:52

This was a really fun project! We increased the leg height to 16" to work better for our Great Dane. Also, there's a typo in the "to buy" list. It says you should buy 1X2 @30.5" but they really mean a 1X3 since they refer to a 1X3 the rest of the time. It still works with a 1X2, but we used 3 pocket drilled holes instead of the 5 they suggested. 

Estimated Cost
$50
Estimated Time Investment
Afternoon Project (3-6 Hours)
Recommended Skill Level
Beginner

Planter

Submitted by Anonymous (not verified) on Mon, 10/04/2021 - 12:53

Started with the 3 plank plans from Anna's project, then dremeled the logo.

Built from Plan(s)

Comments

Gardening Shelf

Submitted by MMTruncale on Thu, 05/09/2013 - 08:23

I wanted a gift for my mom. Something special and unique I think she would really like. Once on a guest post Ana posted a jewelry holder using a board, and some mismatched knobs.

My mom likes to garden. She works so hard on her back yard, and spends a lot of her time there. How could I make this outside proof? A few Pinterest finds later I found my answer: Water Spigots.

Voila! This is what we came up with.

** It's not going to hang by a string. It will be attached to her fence. This is just for picture purposes.

http://www.countryliving.com/homes/makeovers/fast-makeover-projects?src…

Estimated Cost
$20
Estimated Time Investment
An Hour or Two (0-2 Hours)
Finish Used
No finish. We wanted a rustic look. It came out perffect.
Recommended Skill Level
Starter Project

Work bench with wheels

Built this over a week because the table top needed to dry and harden. I decided to paint the whole thing to make it look decent. I Kreg jigged four 2x6's together and added wood hardener to the table top. It was pretty weak because the wood was still wet so I had to dry it out for a few days. I also filled in the gaps with wood filler and then used a belt sander to smooth everything out. Everything else were just 2x4's. I knew it would be heavy so I added wheels to move it around and as a final touch I am adding 90 degree iron accent brackets to the table corners but I haven't got those delivered yet. I also added rubber screw-in feet so that the bottom doesn't chip when you move it around. Got those from Home Depot for $3

Built from Plan(s)
Estimated Cost
$100 for wood and paint and sandpaper
Estimated Time Investment
Week Long Project (20 Hours or More)
Finish Used
Kona stain, Golden pecan stain, polyurethane
Recommended Skill Level
Beginner

Comments

play table

Submitted by Anonymous (not verified) on Fri, 06/30/2017 - 06:40

This one was fun to build. I feel in love with it when I saw it. I used weather grey stain from rustoleum and I love how it turned out.

Built from Plan(s)
Estimated Time Investment
Day Project (6-9 Hours)
Finish Used
weather grey stain from rustoleum, with 3 coats of gloss clear coat
Recommended Skill Level
Beginner

Farmhouse Storage bed with platform modification

Submitted by Anonymous (not verified) on Mon, 10/04/2021 - 13:06

Hi, I’m Joe and love working on my cabin in Stanley Idaho. I needed a queen size bed on the ground floor but the room is small so I incorporated the footboard into into the platform to gain 6 inches of space in the room. It took a couple months working off and on but all fun. I also made the drawers deeper front to back to maximize storage. I did this at the peak of lumber prices and spent like $900 on lumber. It came out great, my Airbnb guests love it!

Comments

Dress Up Center (from recycled Baby Dresser)

I used by kids baby armoire that was headed to the trash, and turned it into a dress-up center for my 3-year olds birthday gift. The best part is it was virtually free! The only thing I purchased was the pole. It was a lot of hit and miss, measuring, re-measuring, pulling nails out – but – it worked!! And it is awesome – and it only cost me a few bucks!!! As you can tell from the last pictures I took a lot of time getting it ready – and you can tell from the last picture it didn’t take them long to mess it up.

The best part was that the girls were so excited. Hayden – the birthday girl – looked at it with her eye’s wide open – walked slowly too it – looked at me and said “Mommy – It’s beautiful!” It was the sweetest most heart warming thing! I love that now my kids look at something and either ask me to make it – or did I make it.

Love for you to see all the before and after pictures over at my blog: http://mycreativeescapes.blogspot.com/2011/02/dress-up-center.html

Estimated Cost
$5
Estimated Time Investment
Afternoon Project (3-6 Hours)
Finish Used
Sanding, primeing, painting
Recommended Skill Level
Intermediate

Cat Tree/Condo

Submitted by Joni on Sat, 05/11/2013 - 07:22

I always wanted a cabin-type cat tree where my cats could crawl in and feel safe, but still have a great view of the birds out of a window. I tried to draw my vision on paper, but that had a hideous result. Learning Google SketchUp (at least the basics) was an absolute necessity. I could never have built this without drawing it in 3D first, and seeing how the boards would connect, etc.

For the scratch pad, I built a frame out of 2x4s on top of plywood, covered it with carpet, and dropped the standard size scratch pad in place. This is the cat's favorite feature. I put barn doors on the window with tiny hinges so that I can close for added privacy. The tree sits against a window so that the back side is totally open. I made cozy zippered cushions for the platforms (that can be taken off and washed). I covered the carpeted areas with spare carpeting.

Estimated Cost
Approx. $30 for can of paint, varnish and a 4x4 (all other was scrap material)
Estimated Time Investment
Weekend Project (10-20 Hours)
Finish Used
Combination of Minwax Water-based stains: 6 parts Colonial Pine: 1 part American Walnut, followed 3-4 coats Minwax Polycrylic
Recommended Skill Level
Intermediate

Comments

bhoppy

Fri, 07/12/2013 - 09:36

Would you mind sharing your dimensions for this? It is absolutely beautiful!

Jodi W

Sun, 08/25/2013 - 08:10

Do you have the plans somewhere? I really want to build this (even got the okay from the hubby!) but I don't think I could do it without some serious guidelines...

Joni

Fri, 08/30/2013 - 15:55

First, sorry for the late notice; I just happened to look and saw the comments/questions.

I don't have plans...all I have is a google sketchup diagram that I created as a guideline for my construction (which is included in the photos), which is not to scale. Actual measurements are:

* Base (green carpeted base): 33.5" x 19"
* 4x4 legs: 35" tall
* 'Mezzanine' scratch pad level: 22" x 17.5"
* Mid-level base: 18" x 32"
* Enclosed cabin: 18.25" x 22.5" x 17" high
* Highest point: 56"

This has turned out to be a fantastic hit with the cats. They use all 5 levels, but the scratch pad and cabin are their favorite spots. If you need anything else or additional pics, please contact me.

Jodi W

Fri, 08/30/2013 - 18:15

Thanks for the dimensions, Joni! I'm trying to learn SketchUp so I can draw up my own plans, also. If I can't figure it out, I'll hand it off to my 12 year old, who is a pro at it (go figure). I know my cats will love it if I can manage to get it built!

Joni

Thu, 10/31/2013 - 14:30

Bhoppy -- I looked at your cat tree on facebook. It's awesome! The sturdiness of it shocked me too. And I was initially worried that my cats might knock it down!!

The worst part of building it was getting that lower scratch pad level on straight with the 3 posts. I'd never want to do that again!
Thanks for sharing, Joni

gregmasciola

Fri, 01/02/2015 - 01:18

Funny, almost every time I'm looking for ideas or inspiration when I want to build something, I end up back on this site. I was searching for pictures of cat trees and this was the only one that made me say "Holy crap, that's EXACTLY what I want!" My cat will love it!

M0710NM4N

Mon, 04/27/2020 - 20:41

Not sure if anyone is still around to see this, but I fell in love with this tree the second I saw it. Wondering if anyone created a detailed plan and might have it handy or possibly a detailed sketchup and wouldn't mind sharing the save file?

In the event nobody has either... I'm planning on having someone else build this for me as I don't have the tools nor skill to do it myself. I have a few questions:

1. The tree base/platform, what's a good recommended thickness?
2. The platform for the scratchpad... is there any certain reason it's so much thicker compared to the other platforms?

Thanks.

whiteroses9

Sun, 09/12/2021 - 11:51

Reverse engineering this project, using just 2x4s. None of the photos show the undersides. How are the plywood pillow bases attached for the top and bottom of the cabin? and the base of the top viewing platform?

Pottery Barn Logan Knock Off Media Build

Submitted by anb80 on Tue, 03/31/2015 - 12:37

This was one of our early builds.  I"ve learned a new way to do doors since then so hope to replace these before we move.  I love all the storage on this unit!  The finish on the tops is a metallic glaze I made.

Estimated Time Investment
Week Long Project (20 Hours or More)
Recommended Skill Level
Intermediate