Community Brag Posts

Play Kitchen

Submitted by fanofana on Fri, 12/30/2011 - 07:28

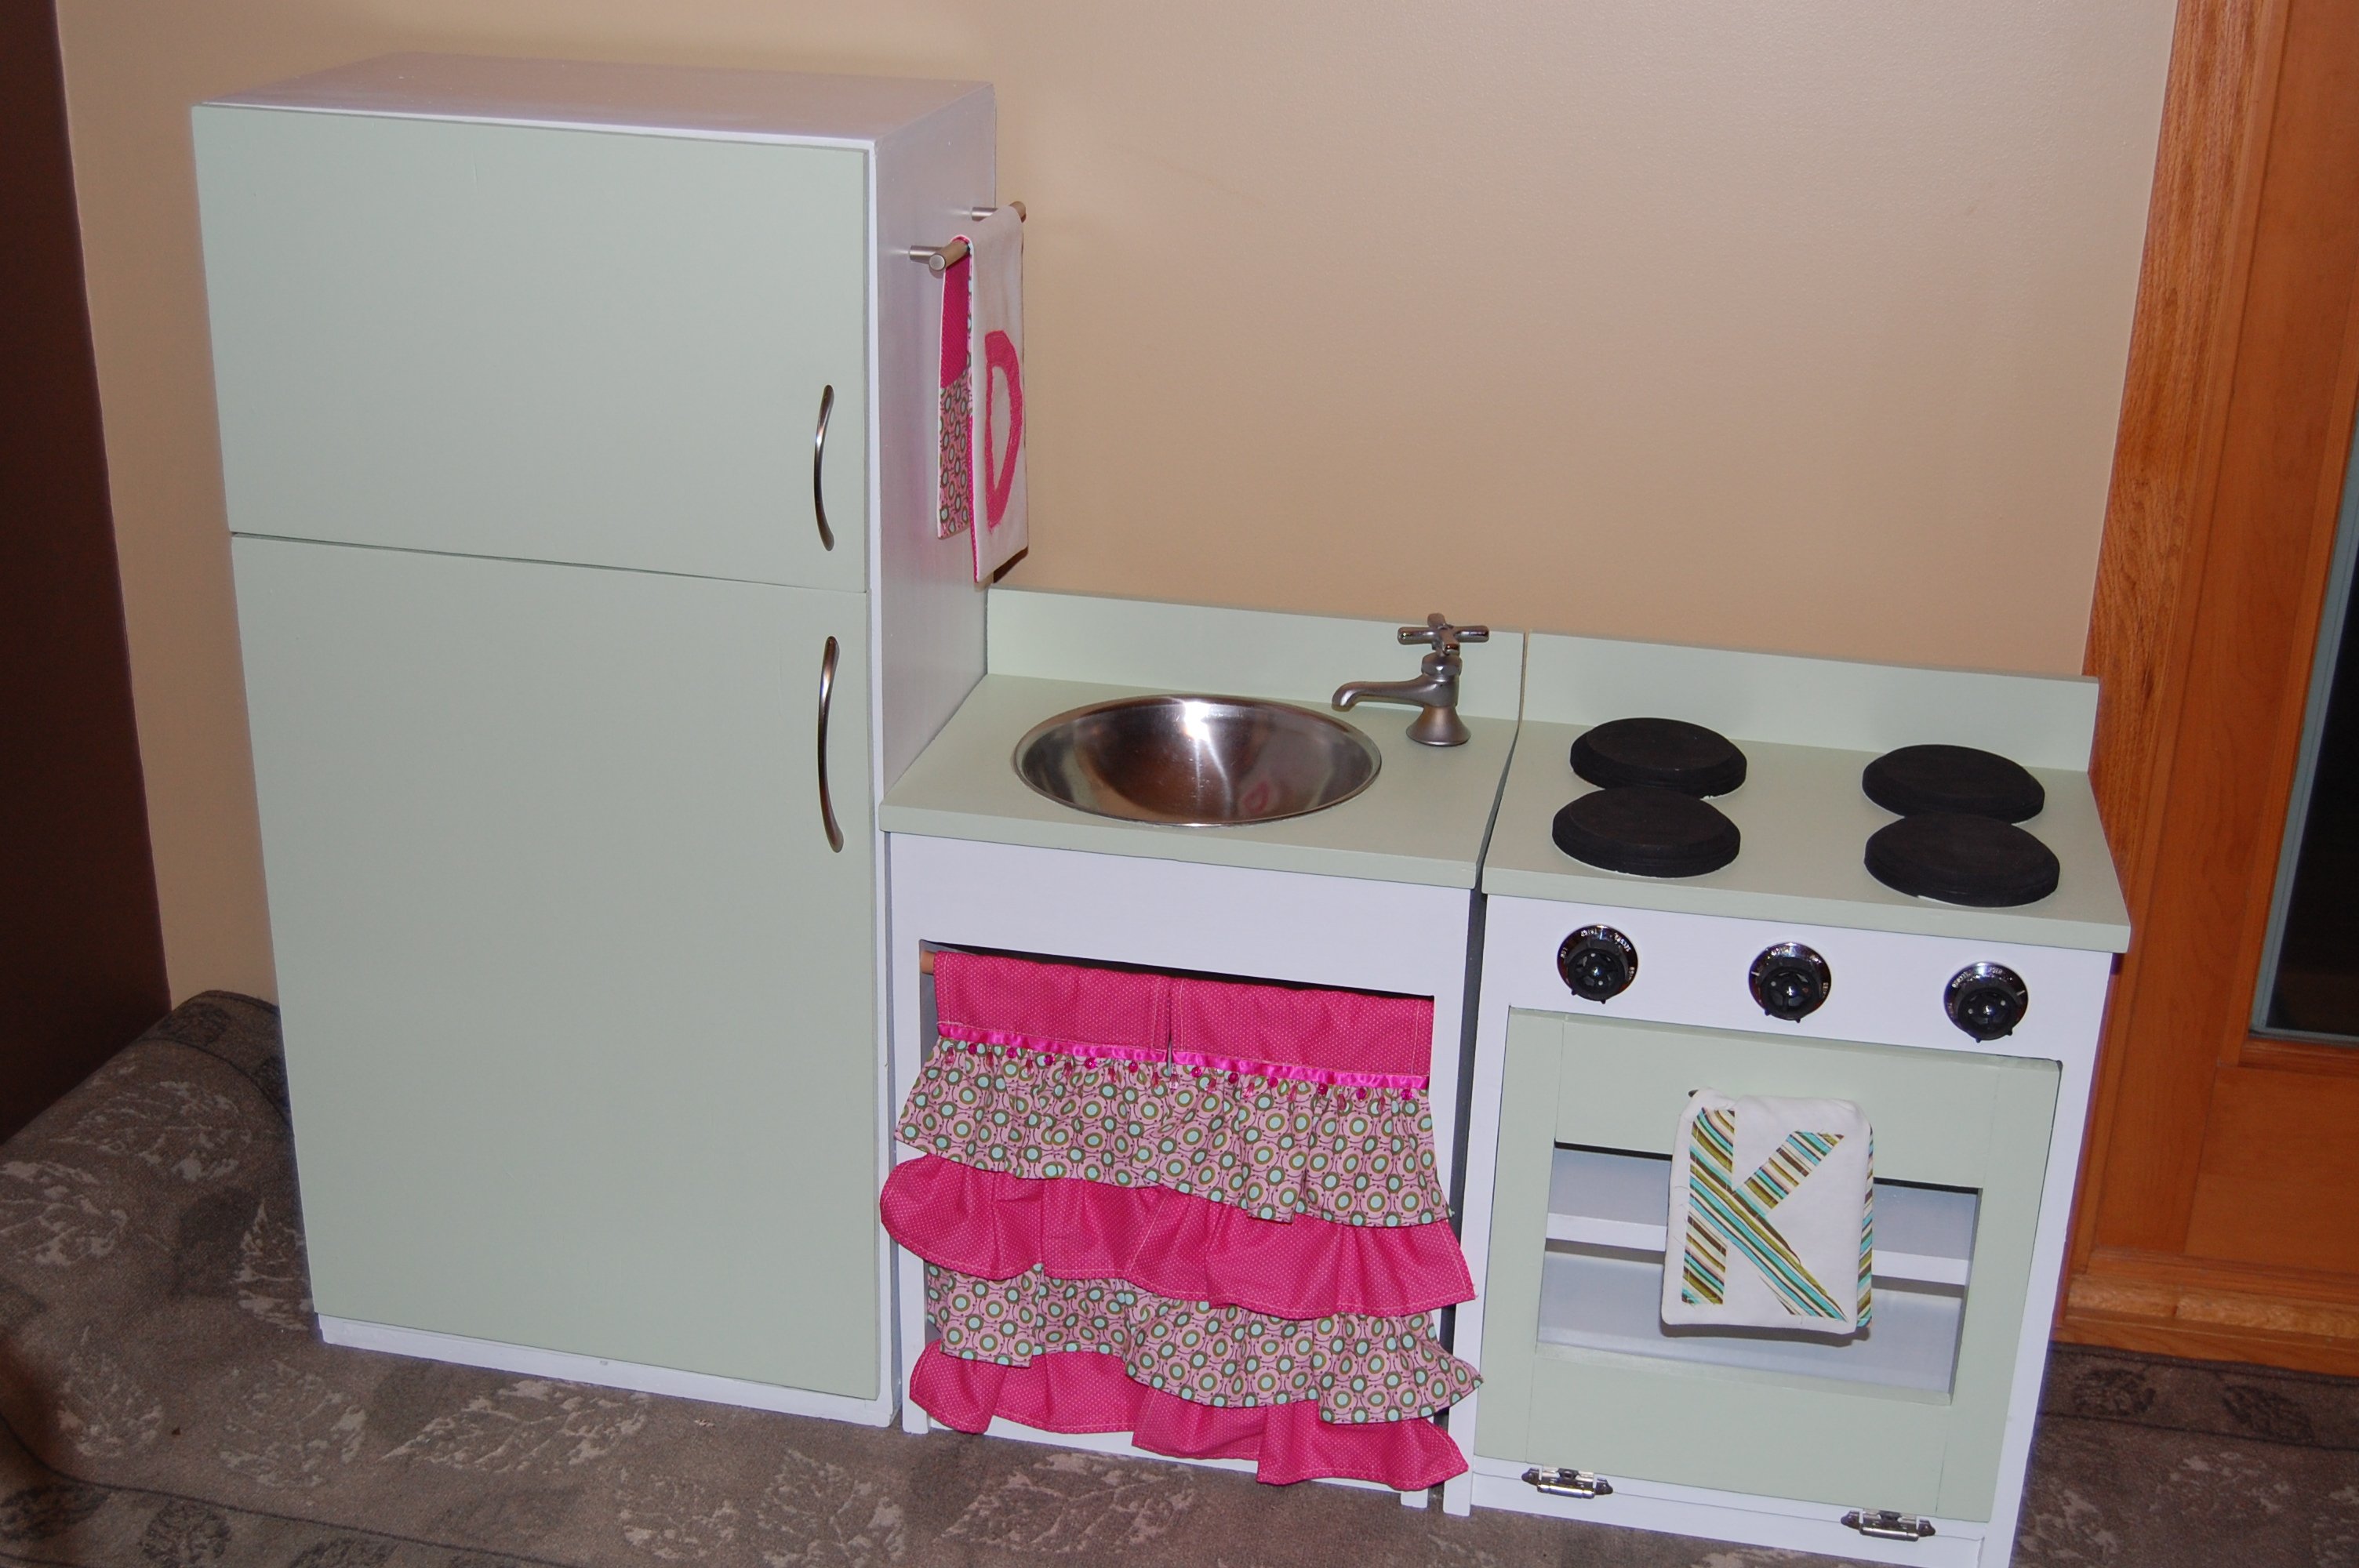
I saw this project and thought it would be a perfect project. My daughter has a Christmas birthday so I wanted to do something big that she would remember.

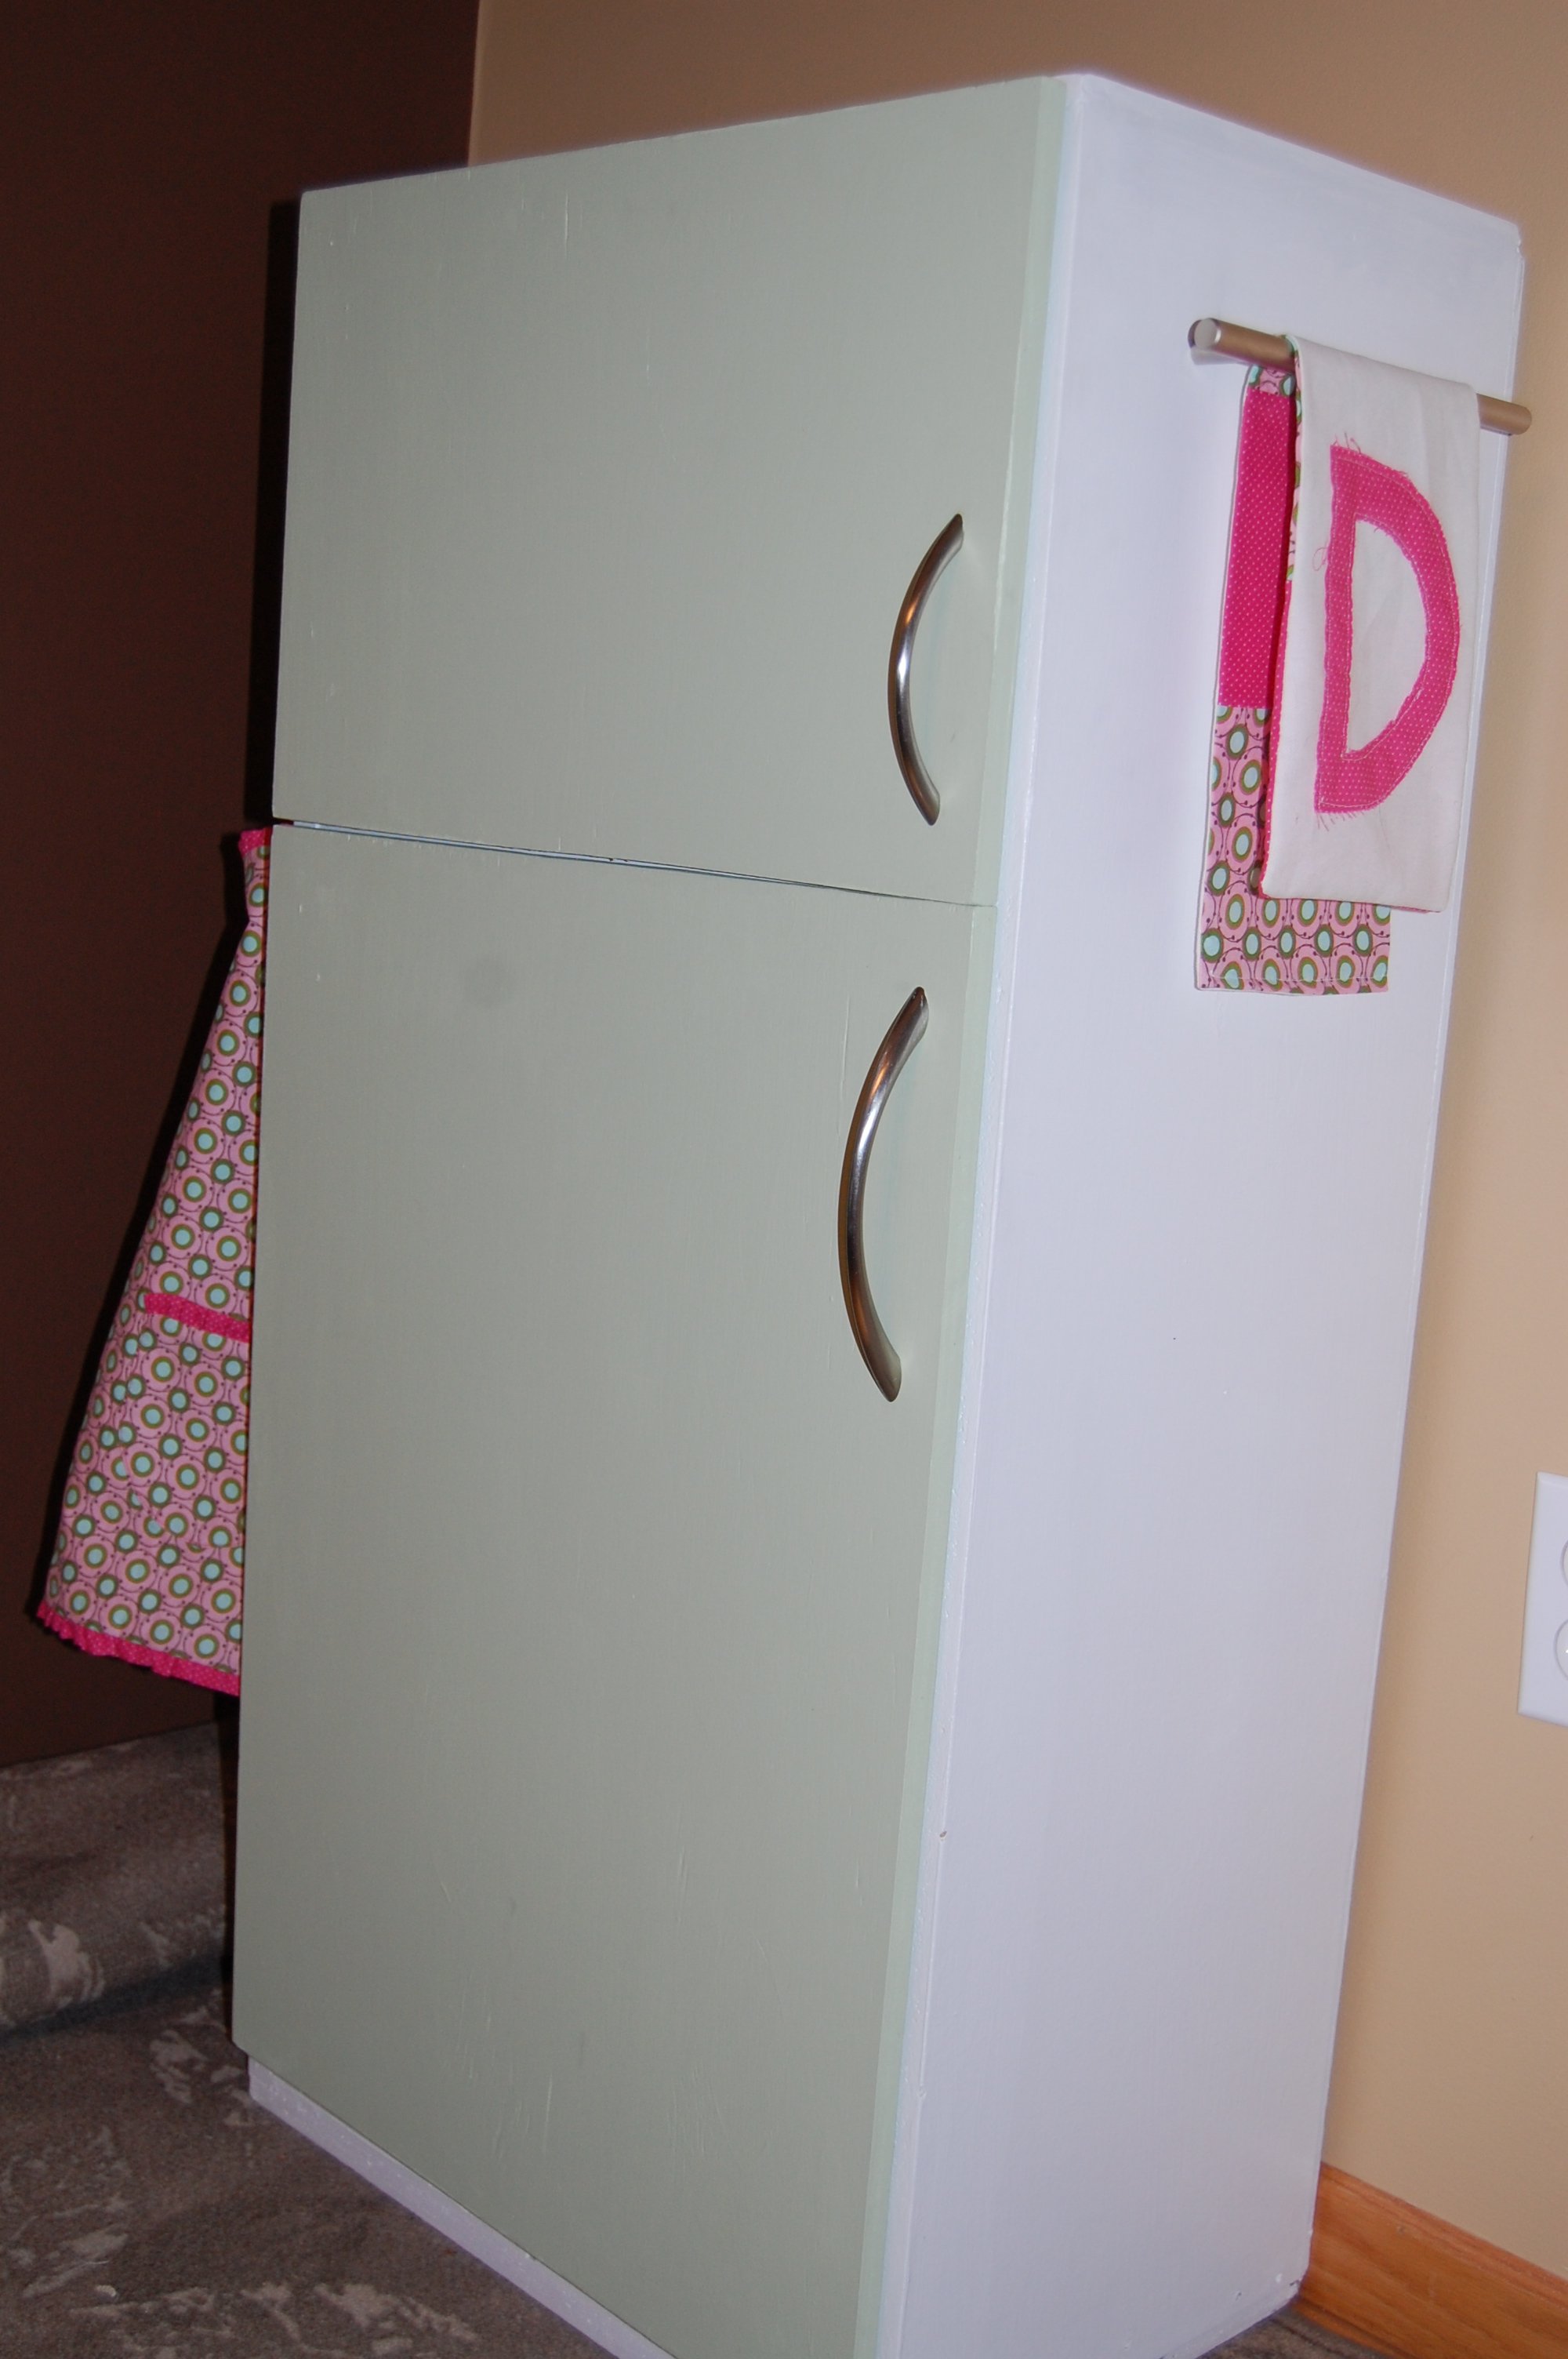
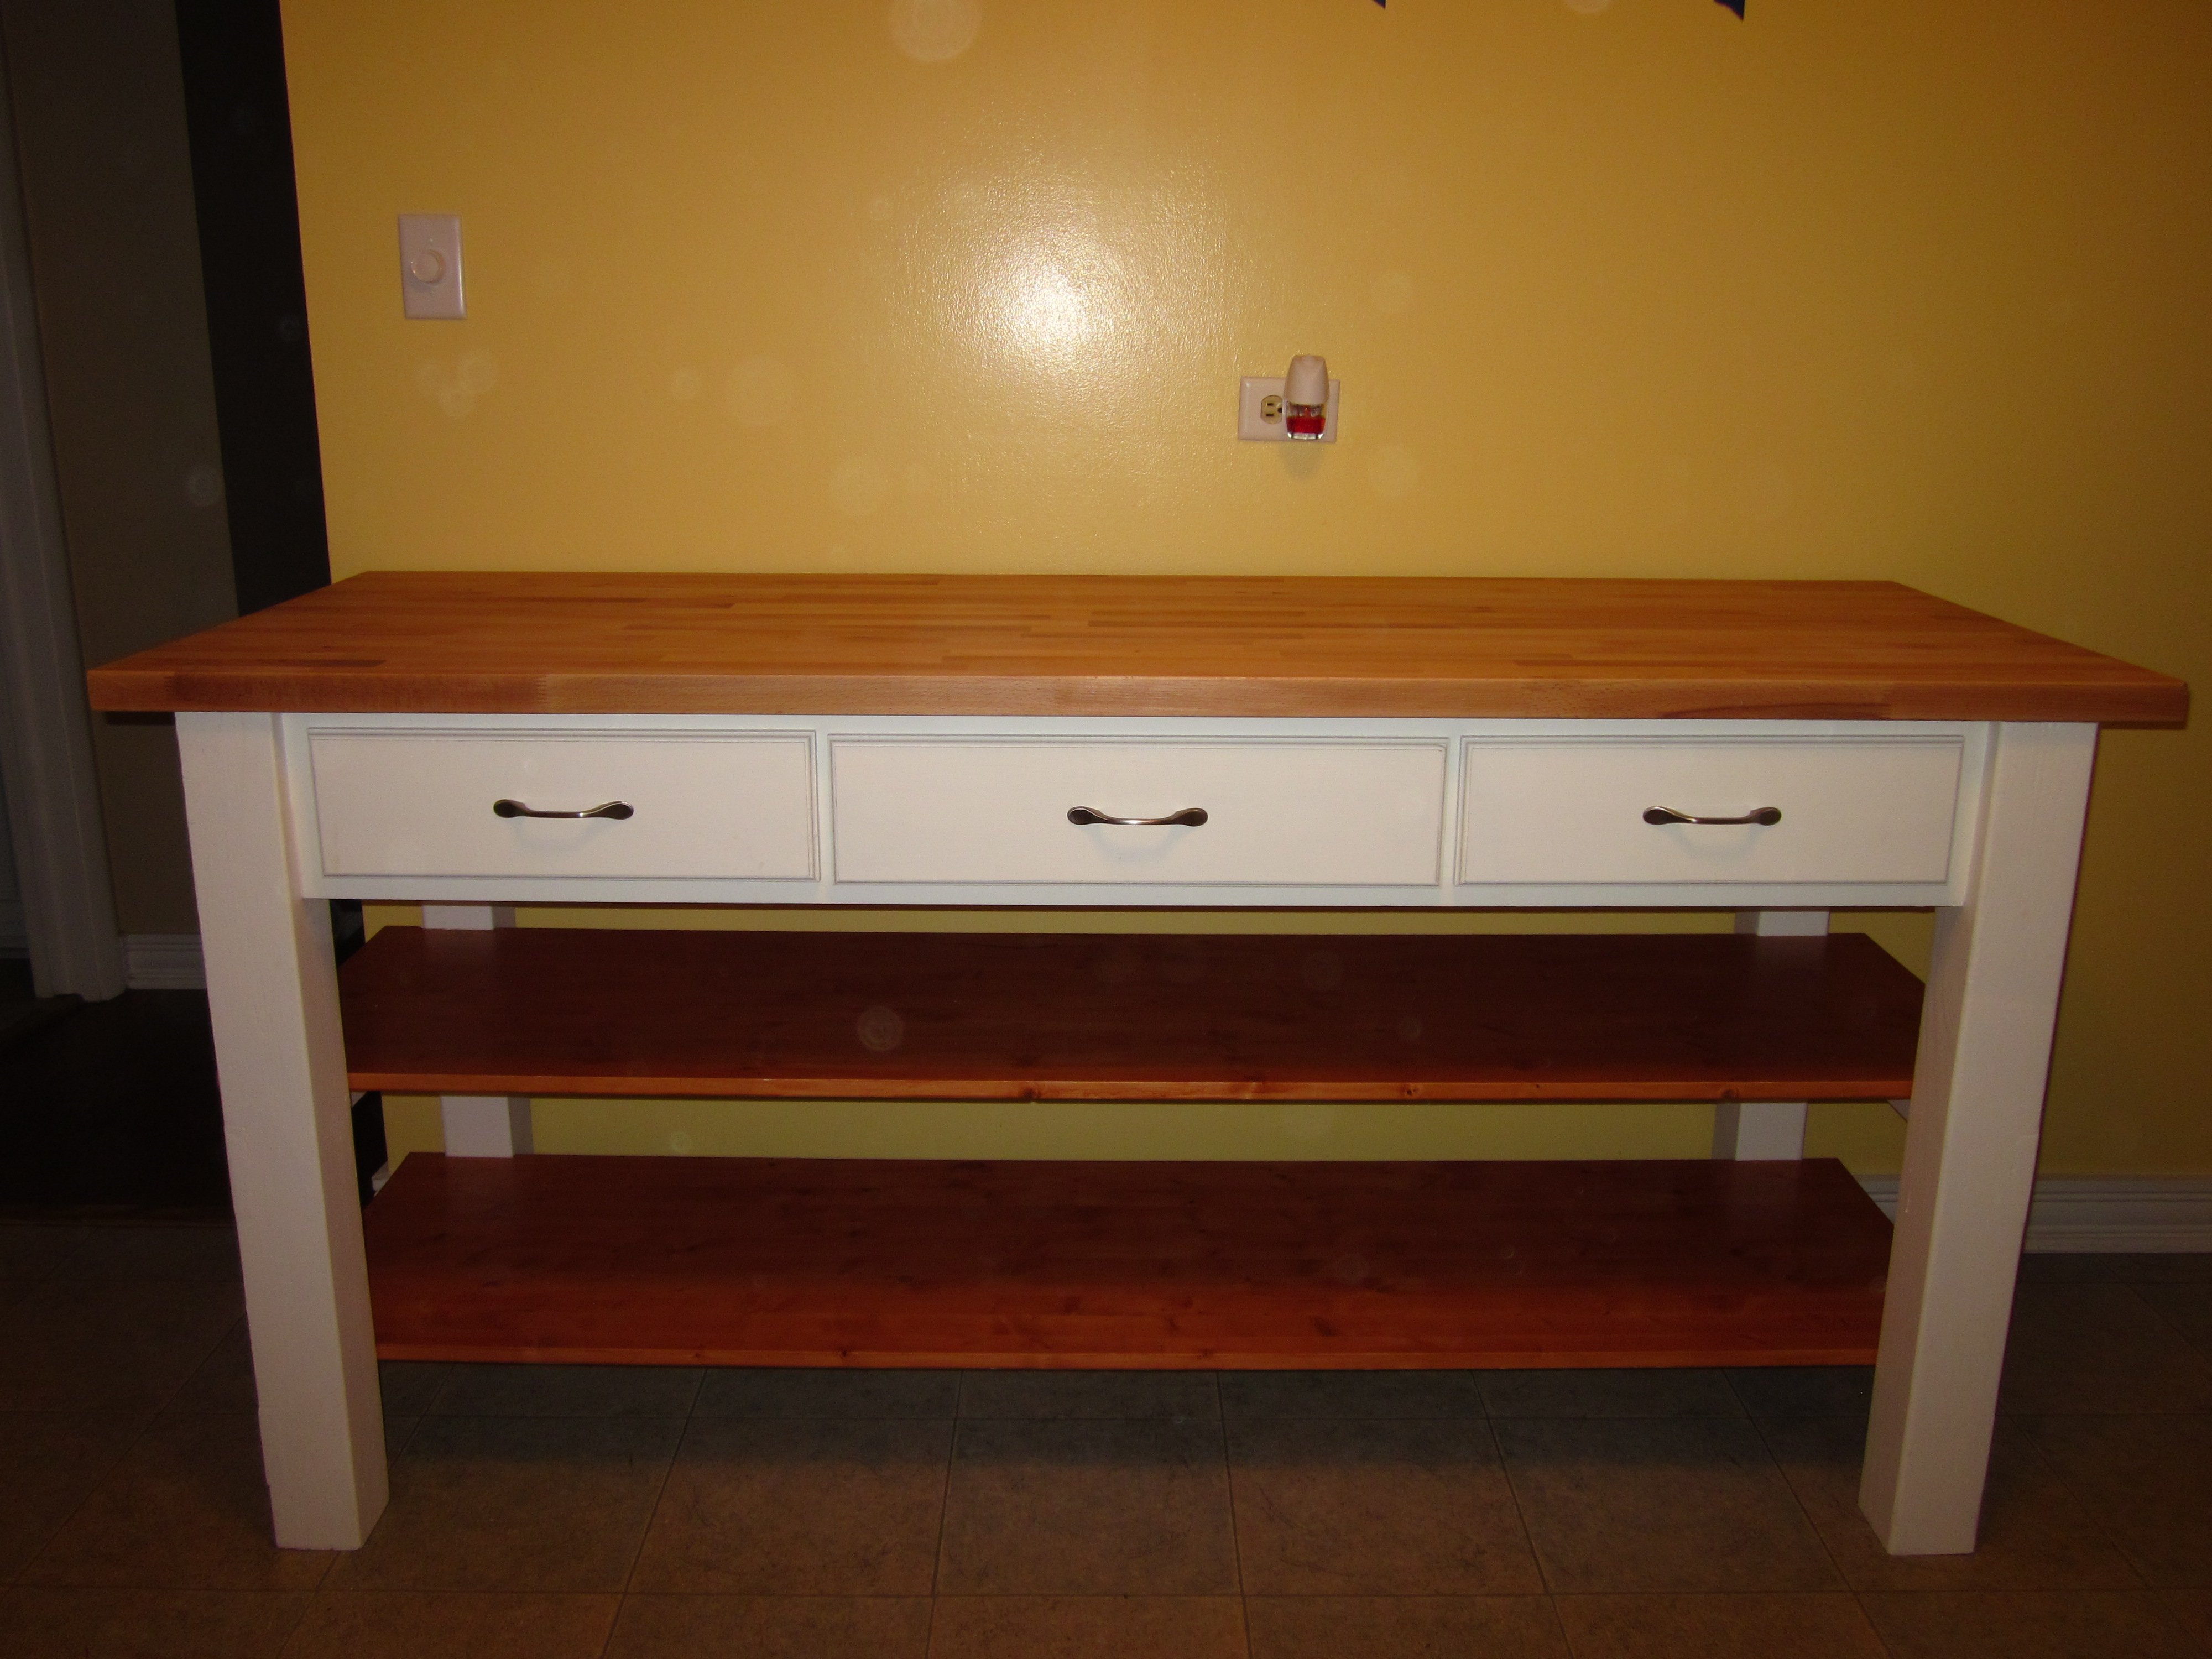
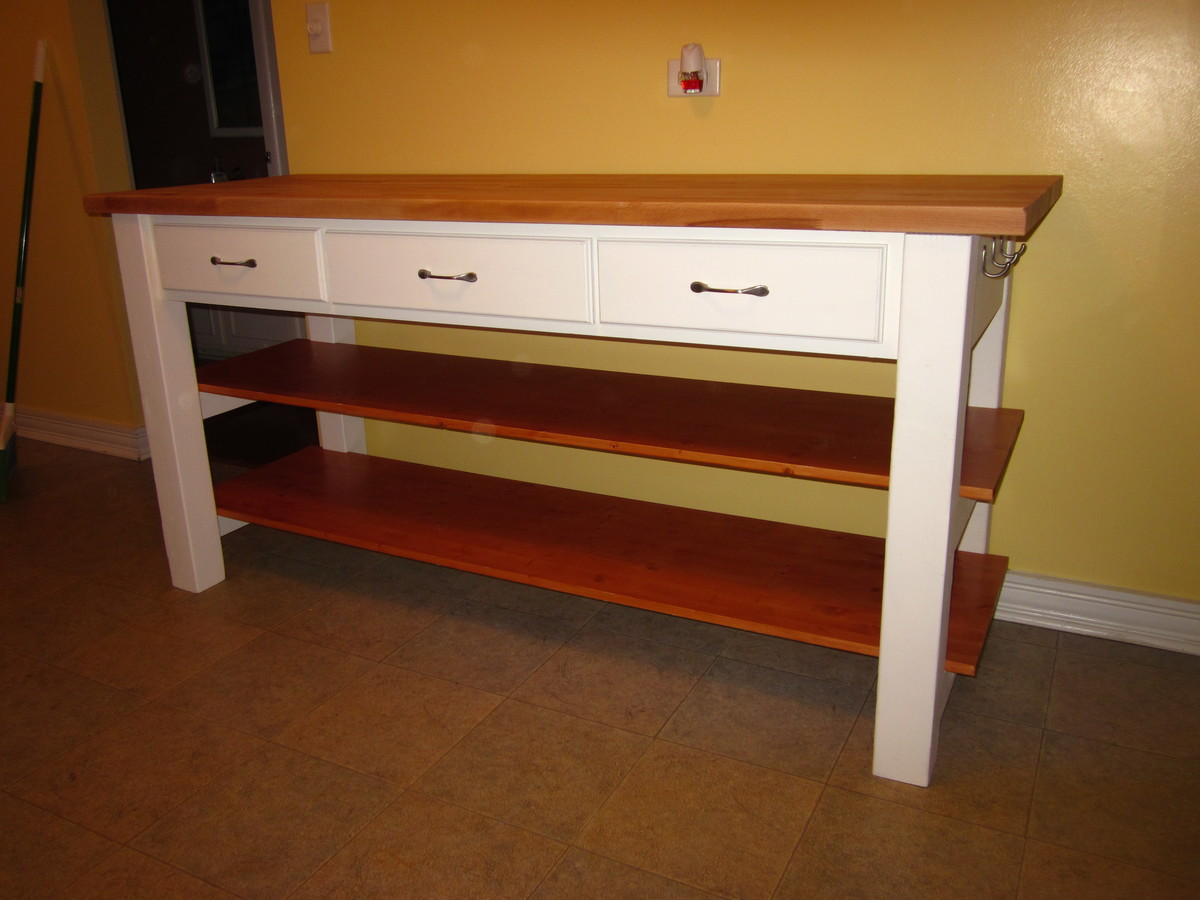
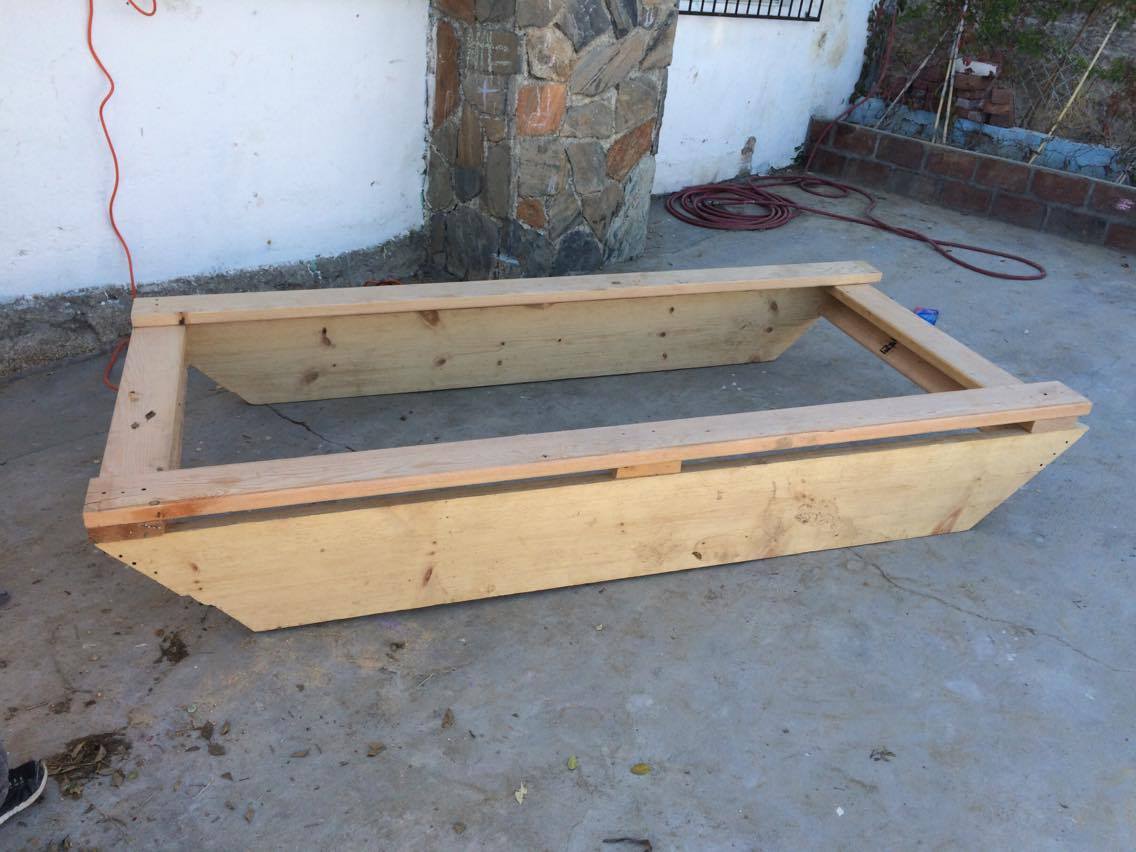
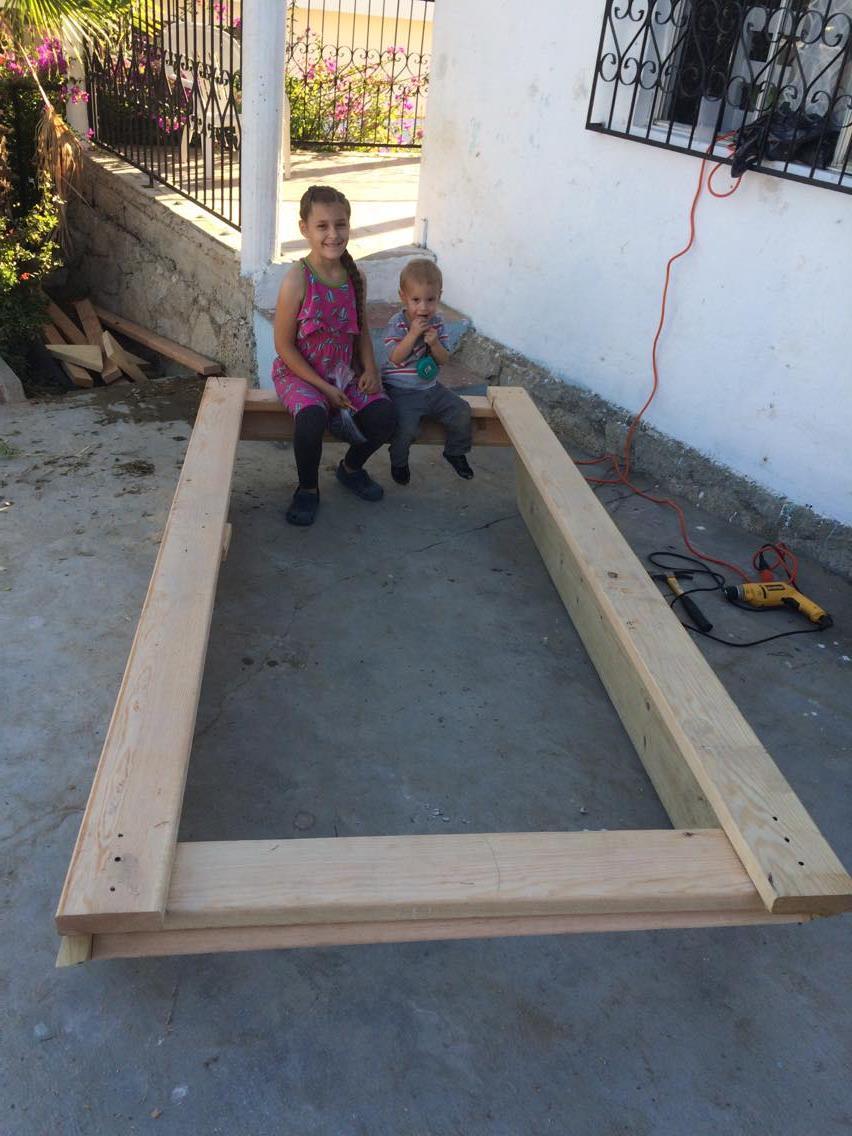
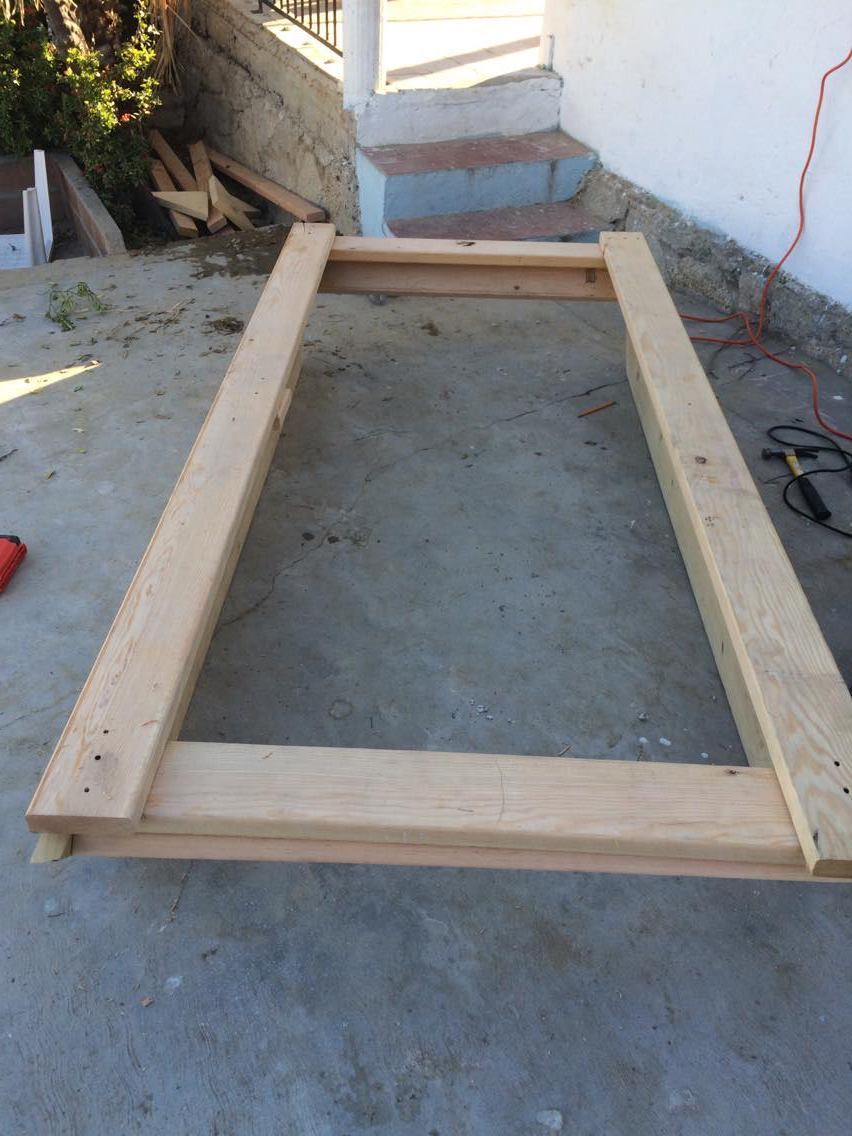
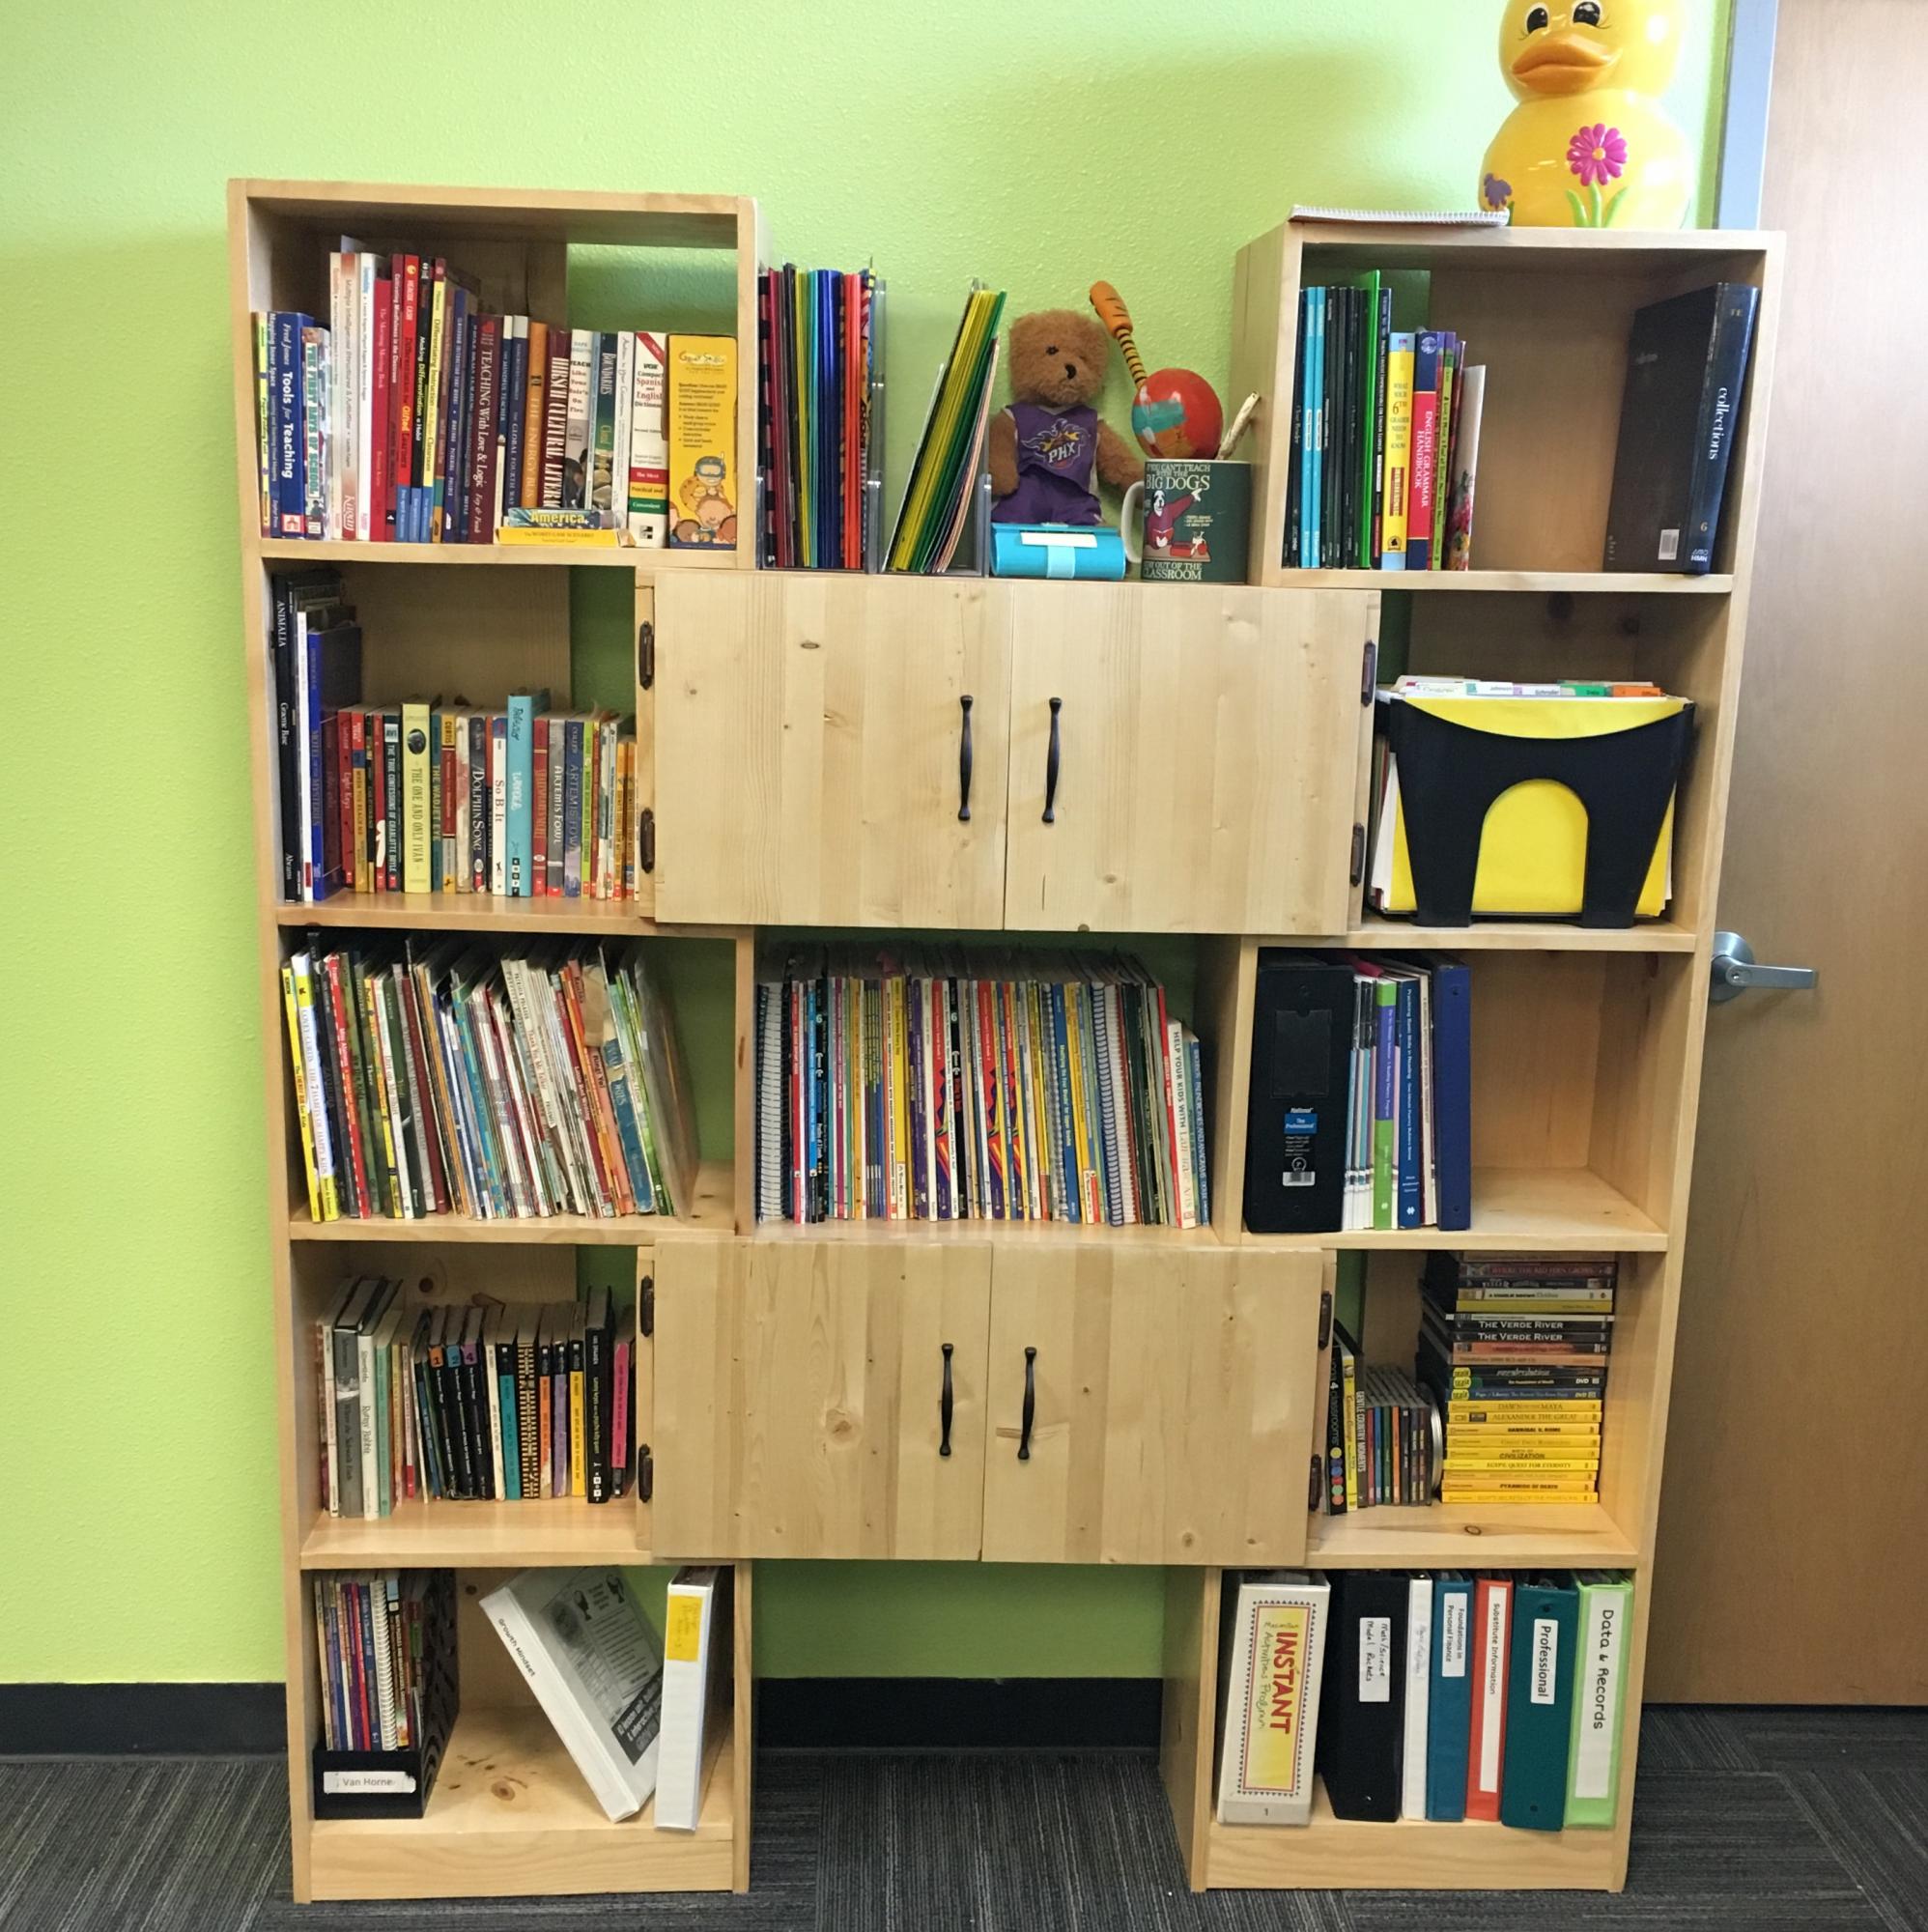
I didn't want to be rushed so I started this project in the fall. I built the basic "boxes" in a day but took my time finding accessories and doing all the finishing touches(sanding, painting, adding handles,etc). For the sink and stove I used Ana's plans but for the fridge I took a short cut and started with a shelving unit we already had, cut it to size and added doors.

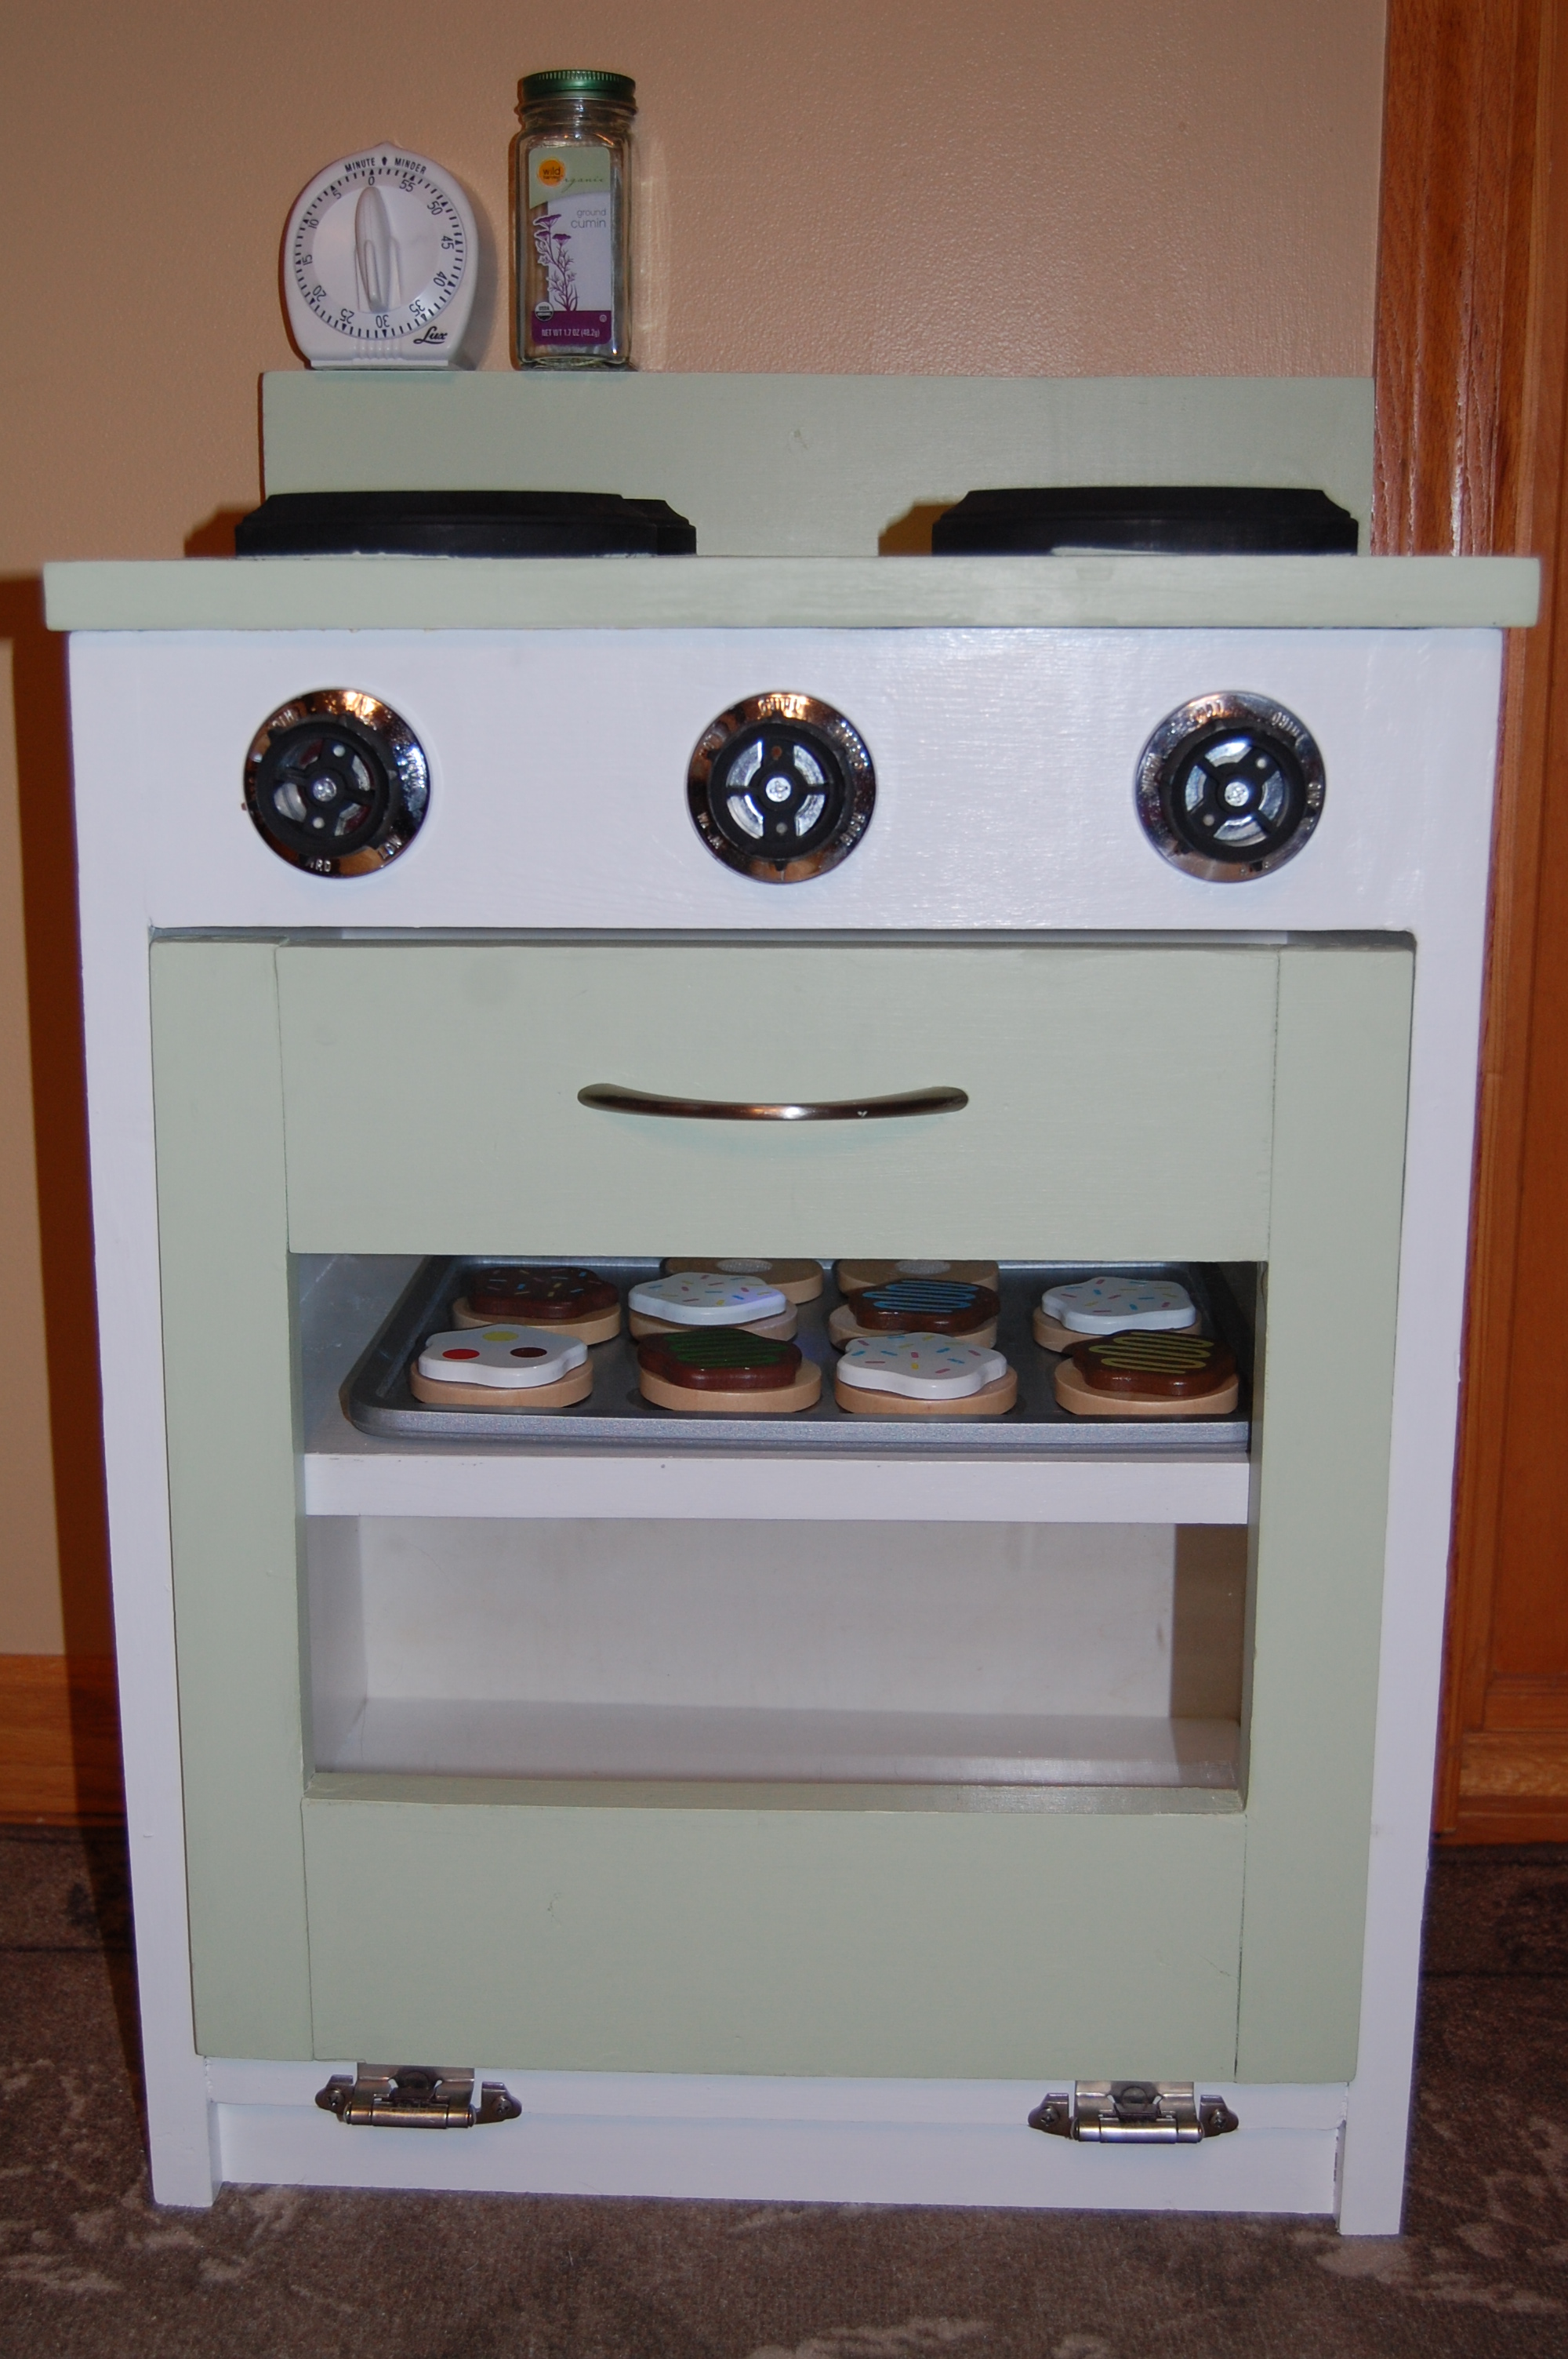
It was fun a fun project. I loved having a great starting point and then being able to make it my own with paint and accessories. My in-laws live on a farm so scrounged their junk piles and found the sink faucet and the stove knobs (free, gotta love that)!

Estimated Time Investment
Week Long Project (20 Hours or More)
Finish Used
I bought some durable white paint and then used left over green paint for the accents (countertops, fridge doors and over door).
Recommended Skill Level
Beginner

Comments

laurakc181

Sat, 12/31/2011 - 04:29

I love the faucet!!!! Why didn't I think of that ;) And my daughter saw the cookies in the oven and yelled....my cookies! lol....We got her the same play set along with some other Melissa and Doug wooden play food :) Great job btw!

My first work

Submitted by psilver on Sun, 11/17/2013 - 18:29

I built this to fill a large space in our new kitchen. I extended the plan to 6ft. and added a drawer. We topped it with a beech-wood butcher block from Ikea and I used 2 6'x18" pine boards for the shelves.

Built from Plan(s)
Estimated Time Investment
Week Long Project (20 Hours or More)
Finish Used
The butcher block is oiled and the shelves are finished with 3 coats of Minwax PolyShades in Satin Pecan. The frame is Dutchboy satin.
Recommended Skill Level
Beginner

Comments

Sailboat playhouse in sunny Baja California Sur, Mexico!

Submitted by Anonymous (not verified) on Wed, 02/03/2016 - 15:56

We live in Los Cabos, Mexico, and the sun is hot and bright! My kids love playing outside in our backyard, but we had no shade. I started looking around, found this site, and though I have few tools and only helping experience with carpentry, decided to give it a go. It's a big hit with the kids and they assure me that it's a nice shady place in the yard! No sand added as we have plenty of dirt and cactus as it is. Tools used: a hand saw (!) and a drill. I really enjoyed it, so I need to go buy a circular saw soon.

Built from Plan(s)
Estimated Cost
$50 or less, not sure as I bought some tools at the same time.
Estimated Time Investment
Afternoon Project (3-6 Hours)
Finish Used
None
Recommended Skill Level
Intermediate

Classroom Central

As a teacher, I rarely sit at my desk. I usually end up just piling stuff on it! I have a podium I use for my laptop and resources as I teach. This unit replaces the secondhand bookcases I’d had as well as the storage for items like post-its, highlighters, pencils, etc. that were in my desk drawers. I have so much more space without the bulky teacher desk! Note: the doors are not on the original plan. I bought special project pine that was 16” wide, and cut them to 14 3/16” width.

Built from Plan(s)
Estimated Cost
$250
Estimated Time Investment
Weekend Project (10-20 Hours)
Finish Used
I stained it with brewed tea, then finished it with Spar Urethane.
Recommended Skill Level
Intermediate

A successful build!

Submitted by Anonymous (not verified) on Sun, 04/30/2023 - 14:52

I decided to make beds for my kids after looking at ones to purchase that all had bad reviews about the sturdiness.
Thank you for providing such comprehensive plans here. I have never built anything from scratch before, and this project was a lot of fun. I'll be starting a second one this week.

Comments

Mail organizer

Submitted by lbadger on Mon, 01/02/2012 - 12:58

I came across the mail organizer brag post based on Ana's Numbered Cubbies plan and thought it was a great idea. Also, I had some new Annie Sloan Chalk Paint that I was very eager to test out!

I have to say, I love my new process for creating furniture in the house:
1. Cut boards
2. Give them to my 2 & 4 yo daughters to "whack on"
3. Invite the girls to paint
4. ENJOY!

Thanks Ana for all you do!
p.s. Note "Industrial Chic Reclaimed Shelves" in last photo, thanks again Ana!

Built from Plan(s)
Estimated Cost
~$10
Estimated Time Investment
An Hour or Two (0-2 Hours)
Finish Used
Annie Sloan Chalk Paint. If followers of this site haven't checked out ASCP, you should! I've just started using it and love it! It is amazing for painting furniture - no prep, sanding, priming etc. required. Very unique finishes can be created. For this piece I used a combo of Old White, Paris Grey and Duck Egg Blue, followed by clear and dark wax.
Recommended Skill Level
Starter Project

My Amazing Gallery Wall, thanks hubs!

My husband built this for me while the government was shut down and he was furloughed. He rocks. The frames are from ikea.

Estimated Cost
45
Estimated Time Investment
An Hour or Two (0-2 Hours)
Finish Used
Trim Paint
Recommended Skill Level
Beginner

Storage bed

Submitted by Firemedic on Fri, 02/05/2016 - 20:49

First time posting on here, made several items from this site. Thanks for all the plans. I modified this to a twin size for my daughters first bed and added a few features so I wanted to share. Twin is 39x75 so I just made it 21 inches narrower and almost 5 inches shorter. I say almost because I made the storage boxes 75 3/4 so that the drawer boxes would divide evenly into 3 to be the same size. The height of the bed is the same as Ana's plans. A few other small additions I made were webbing stapled to the slats and a small peice of scrap wood at each end to keep them taught so I didn't have to screw them all in. This makes it easier to move later as well. I also attached scrap wood 3 1/2 inches from the bottoms of the boxes so that they can easily rest on the 2x4s from the head and foot board. This makes it easier to assemble, especially if you plan on moving the bed in the future. just rest them on those 2x4's and screw together. My daughter loves her new bed.

Estimated Cost
300
Estimated Time Investment
Week Long Project (20 Hours or More)
Finish Used
Sherwin Williams latex paint
Recommended Skill Level
Intermediate

modern bar stools & outdoor chairs

Submitted by Anonymous (not verified) on Sun, 08/18/2019 - 17:19

great plans, thanks! a girl can do. used scrap 2x4s from a concrete pour for the bar stools (ran them through table saw) and leftover 2x12 cutouts from pool deck framing so they are not as perfect as with new wood but it’s great to recycle

for the outdoor chairs I used scrap 2x4s as well but for the seat went with new 1x4

Estimated Cost
all scrap wood
Estimated Time Investment
Weekend Project (10-20 Hours)
Finish Used
stain. mixed 3 parts of “onyx” & 1 part of stonehenge to get to that grey (did not like the grey they had)
Recommended Skill Level
Beginner

Fancy Jewelry Box

Submitted by dland41961 on Fri, 05/05/2023 - 07:59

Fancy Jewelry Box it came out very nice. Made with white oak.

Built from Plan(s)

Comments

Storage Day Bed

Submitted by SophieW on Thu, 01/05/2012 - 07:34

My first project using Ana's plans. Quite a learning experience with a few rookie mistakes but all in all I think it turned out pretty ok.

I followed the plans to the T. Trusted my lumber yard to make most of the cuts since I was not really equipped and that was a HUGE MISTAKE. So I went out, bought some tools, recut some boards and whatever mistakes I made, at least they were mine.

I followed other people advice on this site and added some casters under the boxes after I screwed them together. Makes it a lot easier to move around.

Thank you Ana - your website is truly inspiring.

Built from Plan(s)
Estimated Time Investment
Weekend Project (10-20 Hours)
Recommended Skill Level
Starter Project

Comments

SophieW

Fri, 01/06/2012 - 07:35

Thank you:) I ordered the mattress online - Futon mattress - can't remember where from though... But for $118 I'm REALLY happy with it!

kids vanity stool & slipcover

I used all scraps to construct the stool modifying the leg height to 12 1/2" and the seat to a 12" diameter to fit properly at the kids vanity. See the complete details on the slipcover in my blog post link.

Built from Plan(s)
Estimated Cost
$10
Estimated Time Investment
An Hour or Two (0-2 Hours)
Finish Used
no finish
fabric slipcover
Recommended Skill Level
Beginner

Modified Rustic X Console

Submitted by Anonymous (not verified) on Sun, 02/07/2016 - 21:55

I started the project on a day off and finished it over a few long nights in the garage after work. It turned out pretty nice. I ommitted the middle legs, shortened it from the original plan to 65" long, and made it 31.5" tall. I also added breadboard style ends to the top to show less end grain. It is shown with a 55" TV on top of it for perspective. 

Built from Plan(s)
Estimated Cost
$70-90 including lumber, sand paper, stain and poly
Estimated Time Investment
Weekend Project (10-20 Hours)
Finish Used
Minwax wood conditioner, Minwax Dark Walnut, and Minwax Satin Polyurethane
Recommended Skill Level
Intermediate

Jurassic Park Cabin Bed

Submitted by Anonymous (not verified) on Tue, 09/03/2019 - 07:36

My son is really into dinosaurs so I thought I'd make him a Jurassic Park themed cabin bed. This was a great plan and my only regret is that I didn't paint the pieces of the roof BEFORE assembly. I definitely spent the majority of time on finishing but it came out wonderfully and my son is totally in love with it!

Built from Plan(s)
Estimated Time Investment
Week Long Project (20 Hours or More)
Recommended Skill Level
Intermediate

Washer Dryer Pedestals Bases

This pedestal base for the washer and dryer really created the perfect opportunity to organize and declutter our tiny laundry room. Had to resize it a bit to fit the space but it turned out perfect! I added a super easy top for an even counter space and bought some stock laundry room cabinets to sit in the back for extra storage. Such an upgrade!

Nathan's Montreal Canadians bed

Submitted by Corinne67 on Fri, 01/06/2012 - 16:04

Our nephew Nathan really wanted a captain's bed like his friend. We built him one even better for Christmas this year. I couldn't find one plan with everything we wanted to I used the plans for the Storage Daybed for the base, and used the plans for the Cozy Corner twin bed collection wide bookcase unit. We combined both the headboard and sideboard into one unit (by extending the top to the short end) giving him an L shaped headboard for all his hockey stuff :) The only thing we messed up on was the height of the bookcase. He wanted it higher so it's on blocks for now to raise it. My sister did all the final painting to match his room and it looks AWESOME!!!

Steve had everything cut at work and we put it together in one 12 hour day! Nathan LOVES his new bed. Thank you Ana!

Estimated Cost
about $125
Estimated Time Investment
Weekend Project (10-20 Hours)
Finish Used
Nathan is a HUGE Montreal Canadian's fan. He applied 2 coats of wood primer, then his mom, my sister did the finishing paint with the official Montreal Canadians colours to match his room. A couple of little touch ups to be done but it looks great.
Recommended Skill Level
Beginner

Comments

Lou-Anne (not verified)

Fri, 01/06/2012 - 21:24

The colors are the official Montreal Canadiens hockey team's colors, My son is a HUGE fan! Nathan LOVES his bed. and it is very solid.

Guest (not verified)

Fri, 01/06/2012 - 20:29

Ummm... The bookcases were too short because you didn't take the mattress height into account. Looks really good though.

Princess Castle Loft Bed

We used the plans from this site to build this for our daughter. We did however make the bed part a bit more sturdy to ensure that no one would get hurt and to make sure it could support any weight. We added 4 2x4s across the bed like rafters and screwed the slats on top of them.

Estimated Cost
$350
Estimated Time Investment
Week Long Project (20 Hours or More)
Finish Used
Paint
Recommended Skill Level
Intermediate

Guest/All Purpose Room Closet Makeover

Submitted by JessMN on Wed, 02/10/2016 - 13:31

We are slowly remodeling our 1972 townhouse and it was time to do the guest bedroom closet so that we could get a bit more storage in the house. I contemplated getting a pre-made organizer but decided to make my own after perusing Ana's site. Its my first "from scratch" furiture-type of project and I chose the cheapest quality plywood, which was a mistake and cost me extra hours in trying to "pretty" up the wood. but overall I'm happy with how it turned out!

Built from Plan(s)
Estimated Cost
$30
Estimated Time Investment
Weekend Project (10-20 Hours)
Finish Used
enamel paint
Recommended Skill Level
Beginner

Potting bench

Submitted by Anonymous (not verified) on Sat, 09/21/2019 - 08:52

My good friend asked me to build her a potting bench for her garden wedding reception. She shouted me a photo of one from the internet. I used your plan and made a couple modifications. This is the color she requested and I used Cabot solid stain. I’m not a fan of solid stain and won’t use it again. She loved it.

Built from Plan(s)
Estimated Cost
$85
Estimated Time Investment
Weekend Project (10-20 Hours)
Finish Used
Cabot solid stain

Vanity Hutch

Submitted by billwentz on Thu, 05/18/2023 - 13:48

Bathroom had a huge mirror. Looked like it required 2 men and a small boy with proper tools to remove it. So a riff off the vanity plan covered 2/3 of the mirror and made for a much nicer look.

Comments

Princess Bed with Stairs and Slide

Made a princess bed for my little peanut. We adapted the idea of the stairs with storage and then added a slide. I hung LED Christmas lights underneath with a foot switch so she has light in her play area.

Estimated Cost
$350
Estimated Time Investment
Week Long Project (20 Hours or More)
Recommended Skill Level
Beginner

Comments

Guest (not verified)

Tue, 01/10/2012 - 19:20

Please tell me your roof pitch is 12:12 - we are building a house and I have already promised my children to build them both this kind of bed. But I'm fretting that I won't have enough head room - but seeing this picture gives me hope! Our roof pitch is going to be 12:12 and our house is 28 wide, witch will make the upstairs rooms about 20 foot wide I believe at the base of the wall....sorry for rambling....just excited to see your pic. Great job by the way:)

trenthenderson

Fri, 01/13/2012 - 07:17

I made another comment but forgot to hit reply. You can see it below this one. But the point at the ceiling-wall intersection you see in the picture is 72". Hope that helps on perspective.

Trent

trenthenderson

Wed, 01/11/2012 - 14:11

If our pitch isn't 12:12, it's dang close because it's steep on that side. The general layout can be found on Ana's site. I had to modify extensively on height and width to accommodate the room and the play kitchen and the slide. My dimensions are 67" high at the posts, 114" wide from outside slide to outside stairs, and 42" deep. With her mattress on there, she has 8" of railing to make sure she doesn't tumble out. Hope that helps.

If you have other questions, let me know.

Trent

Guest (not verified)

Sun, 01/22/2012 - 17:23

Can you post the plans and dimensions for the slide? I love this bed, and I'm planning to start on it for my daughter.

trenthenderson

Sun, 01/22/2012 - 18:24

I honestly don't know how to post plans here. My email is trent henderson at hotmail dot com. If you'll email me the request, I'll put it on a PDF or something and send it to you.