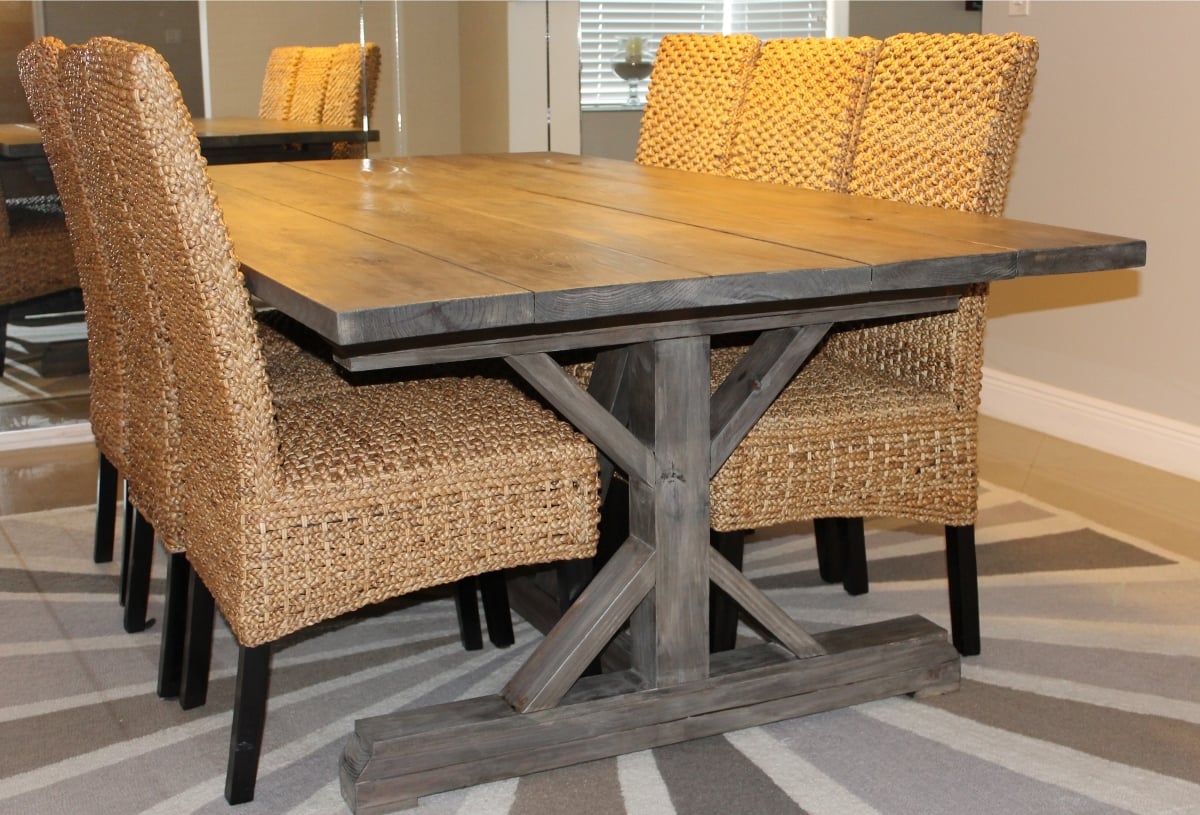
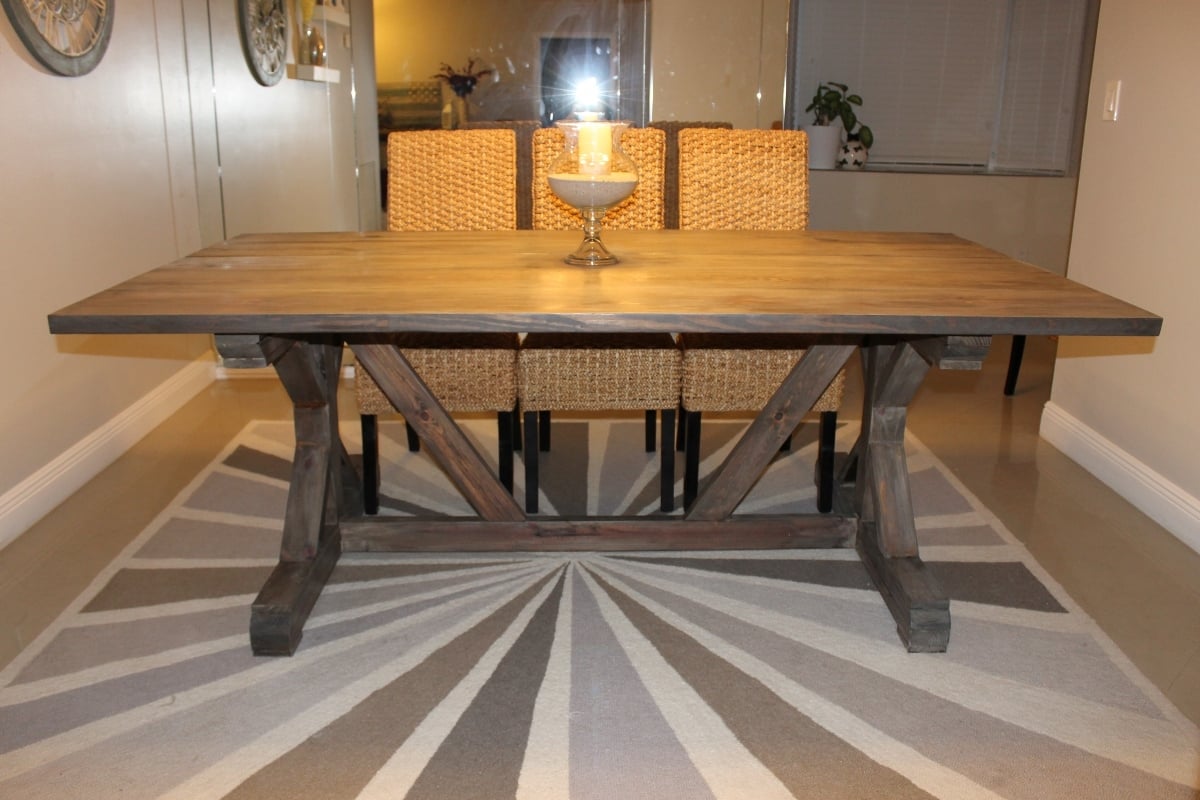
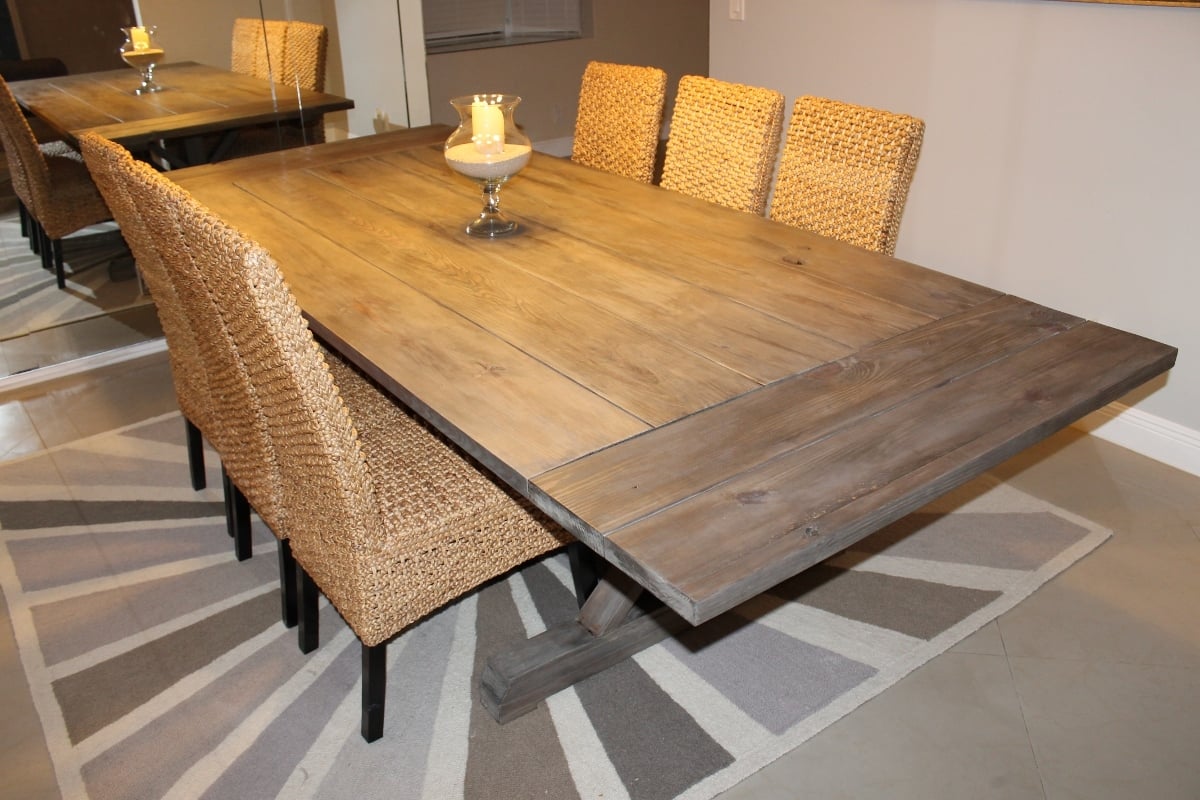
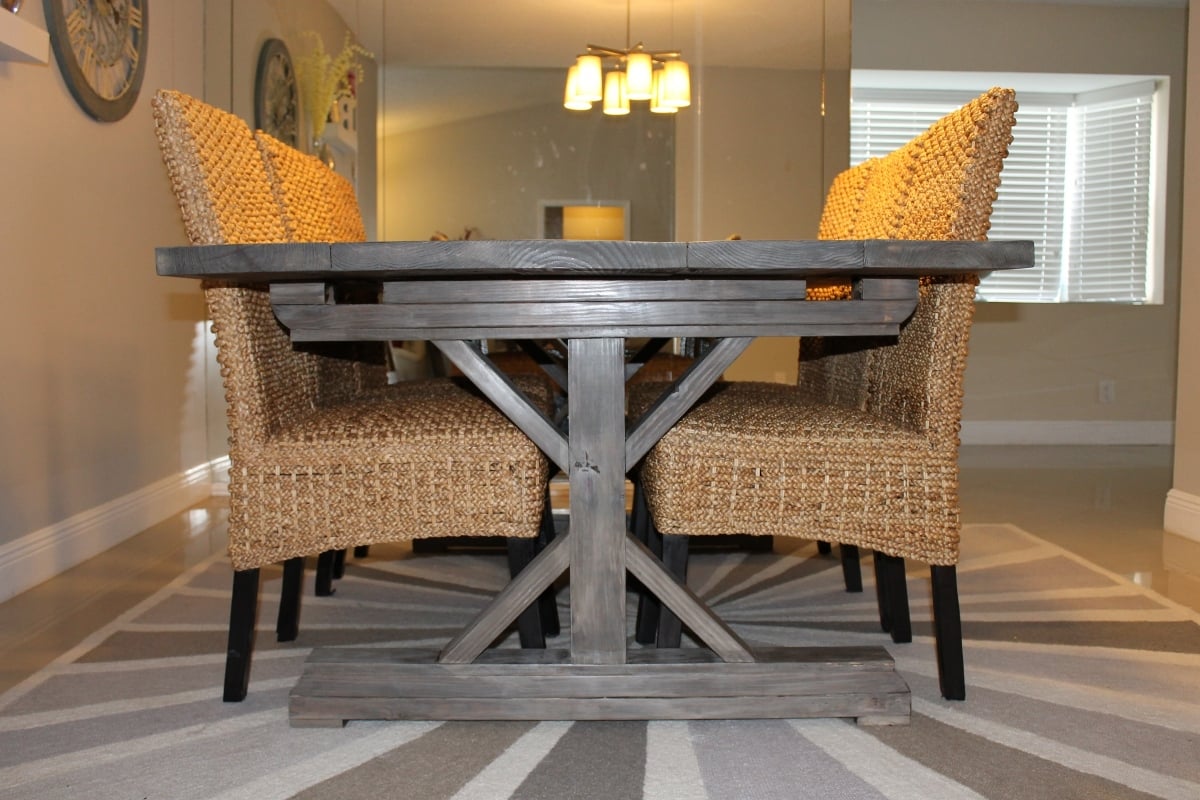
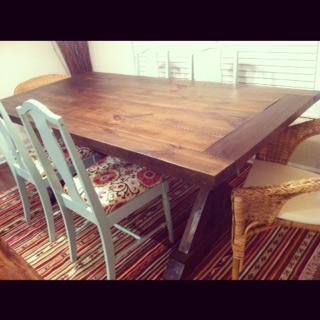
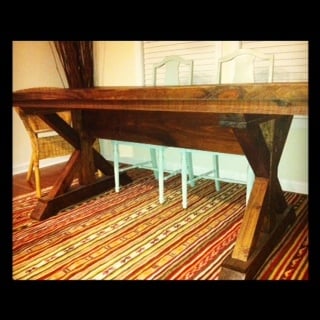
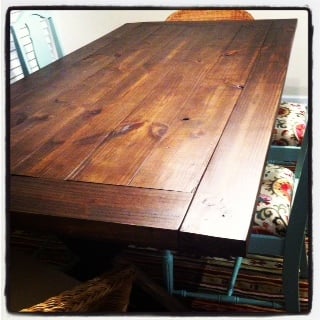
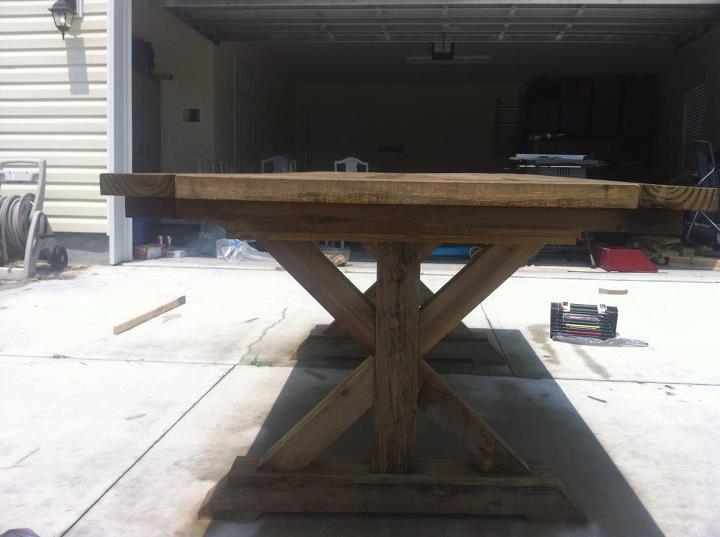
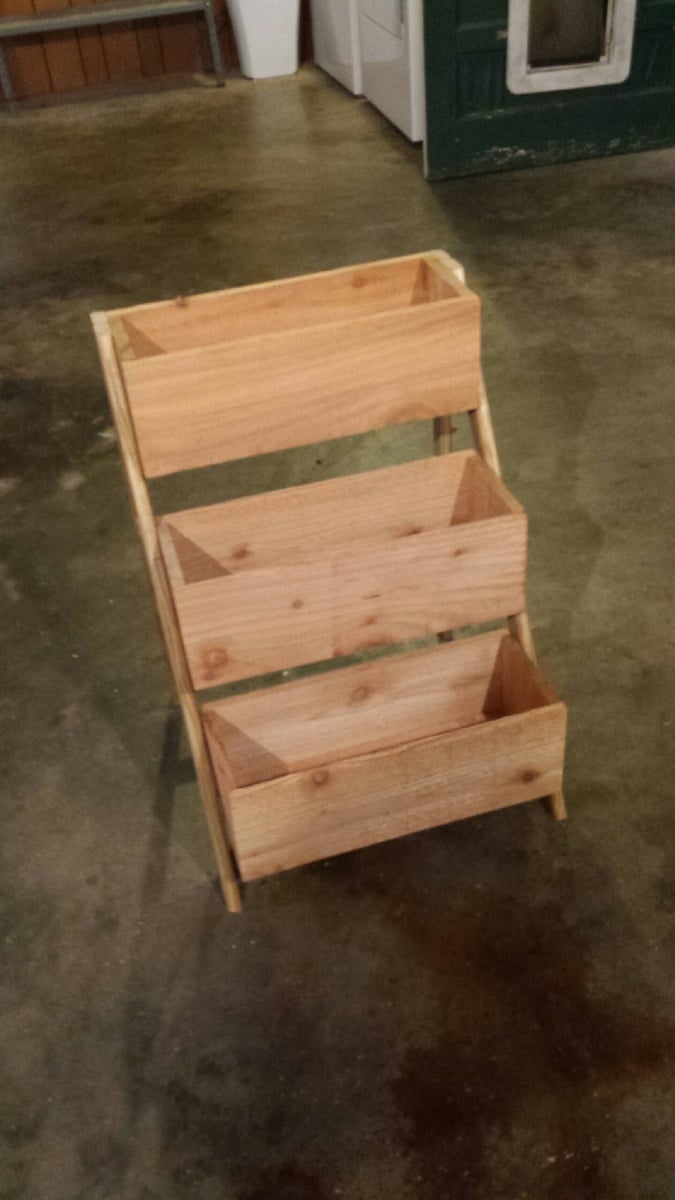
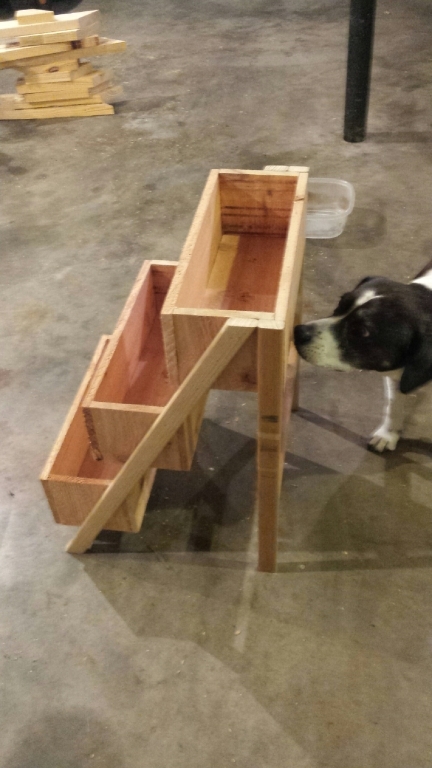
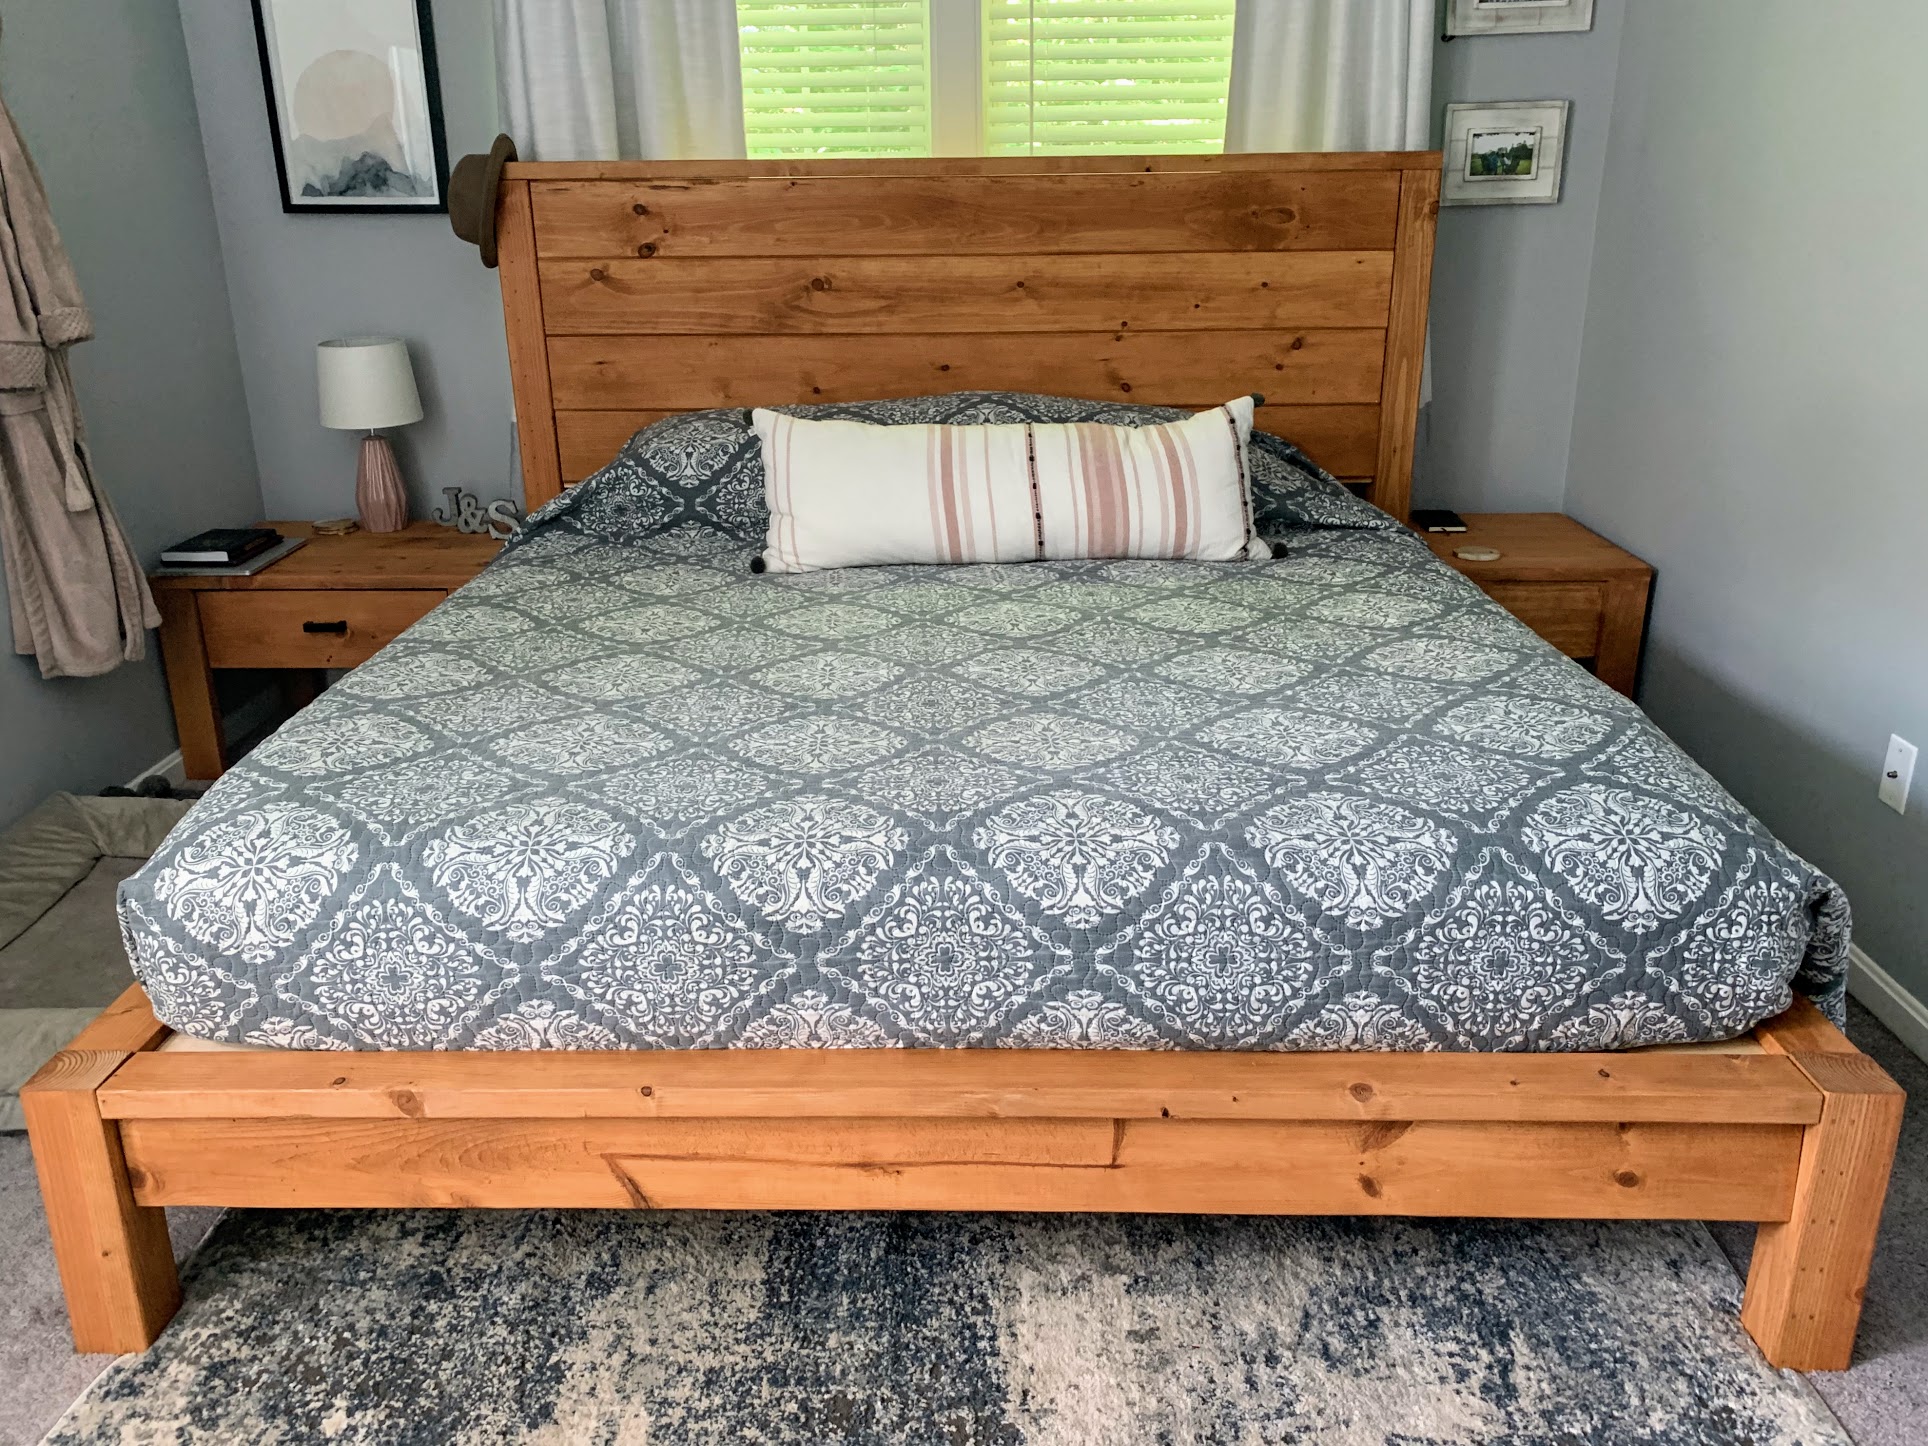
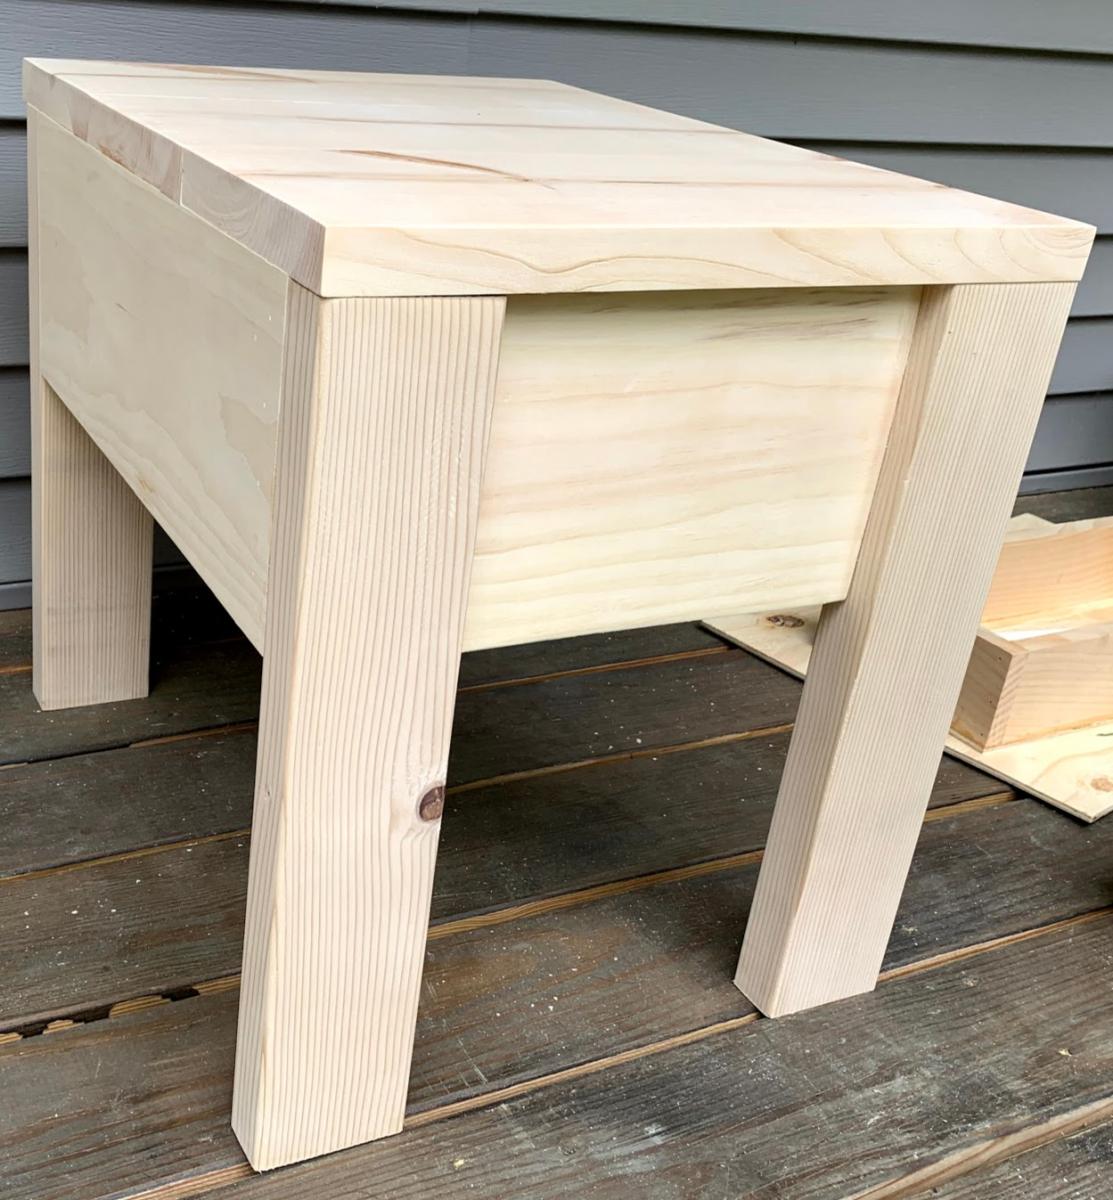
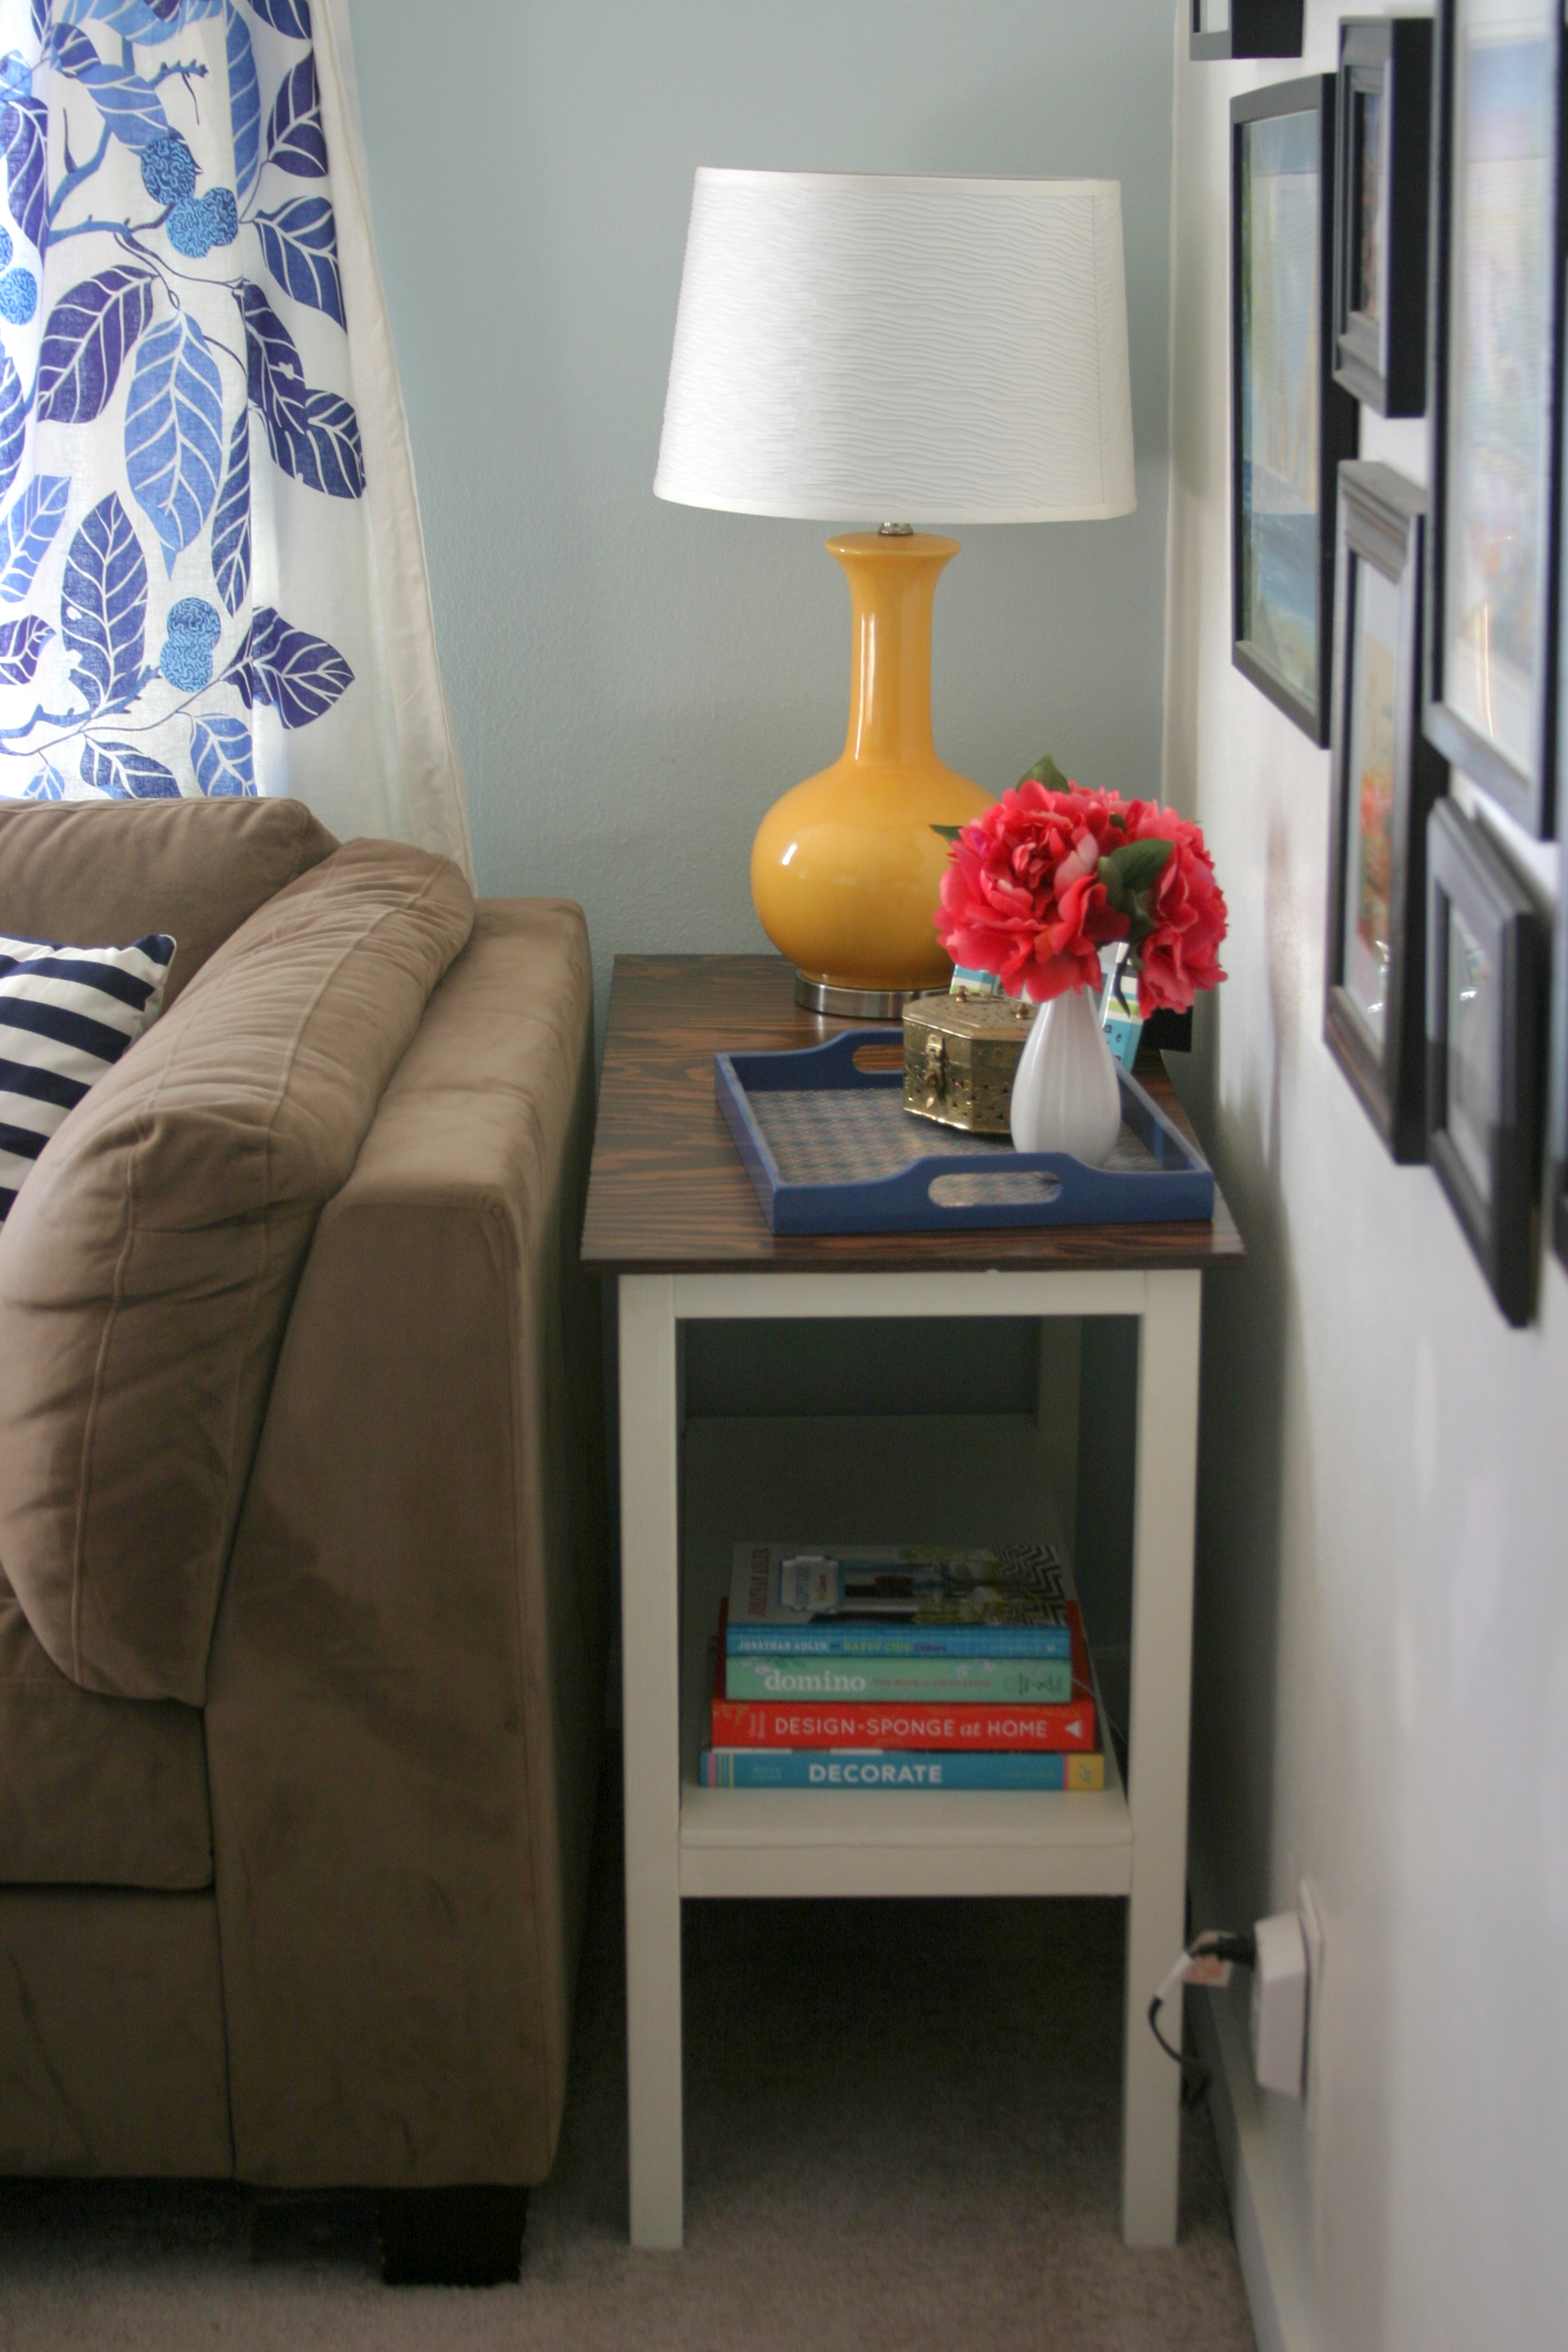
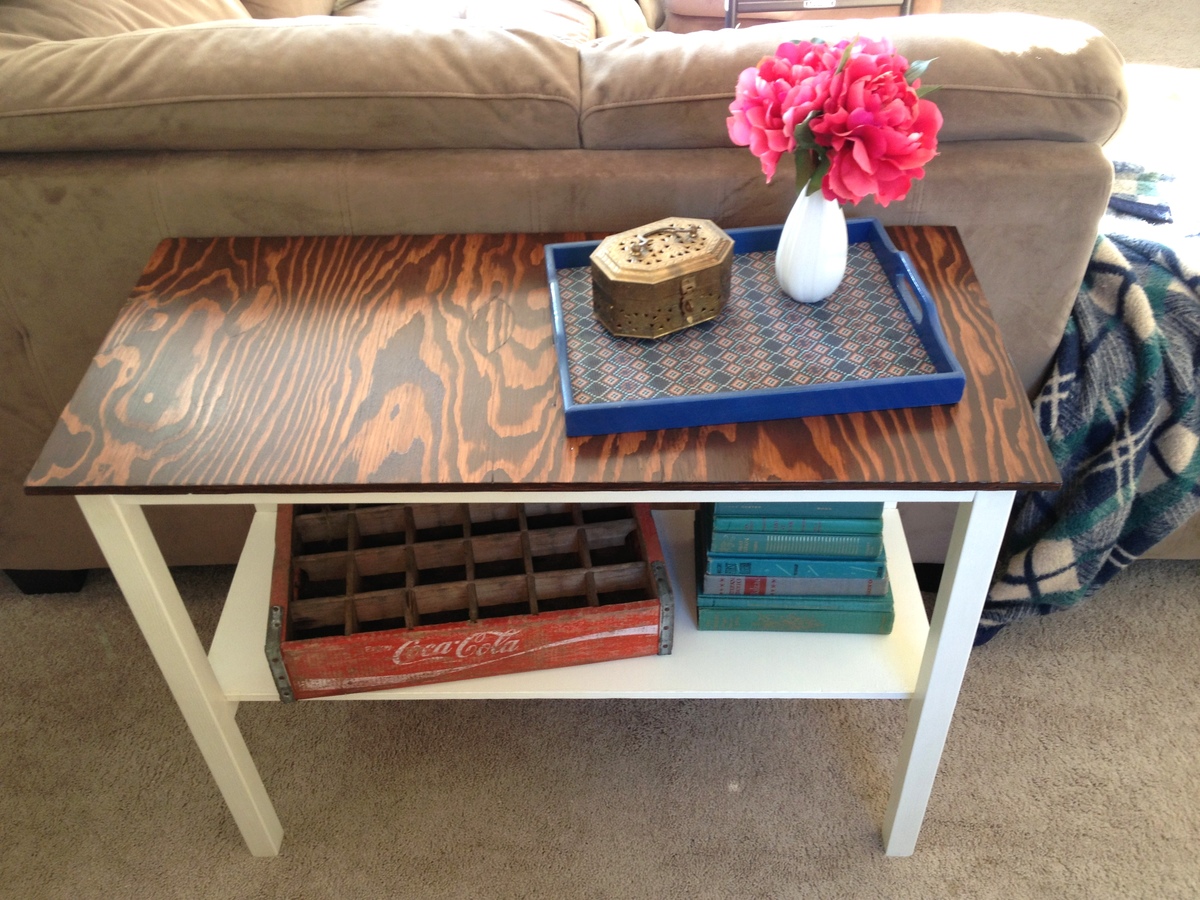
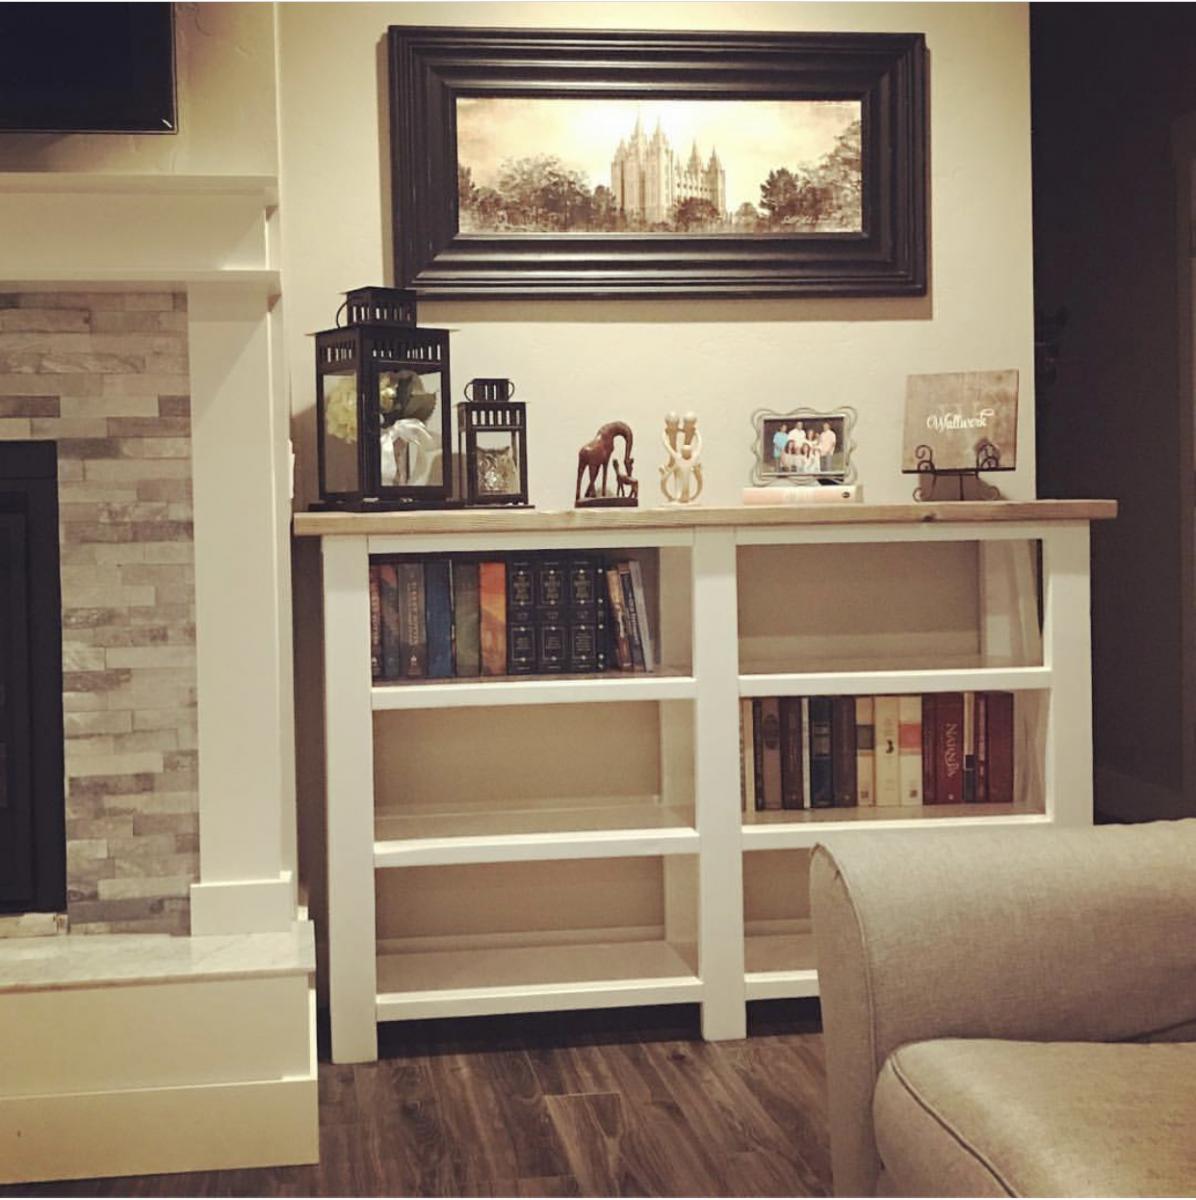
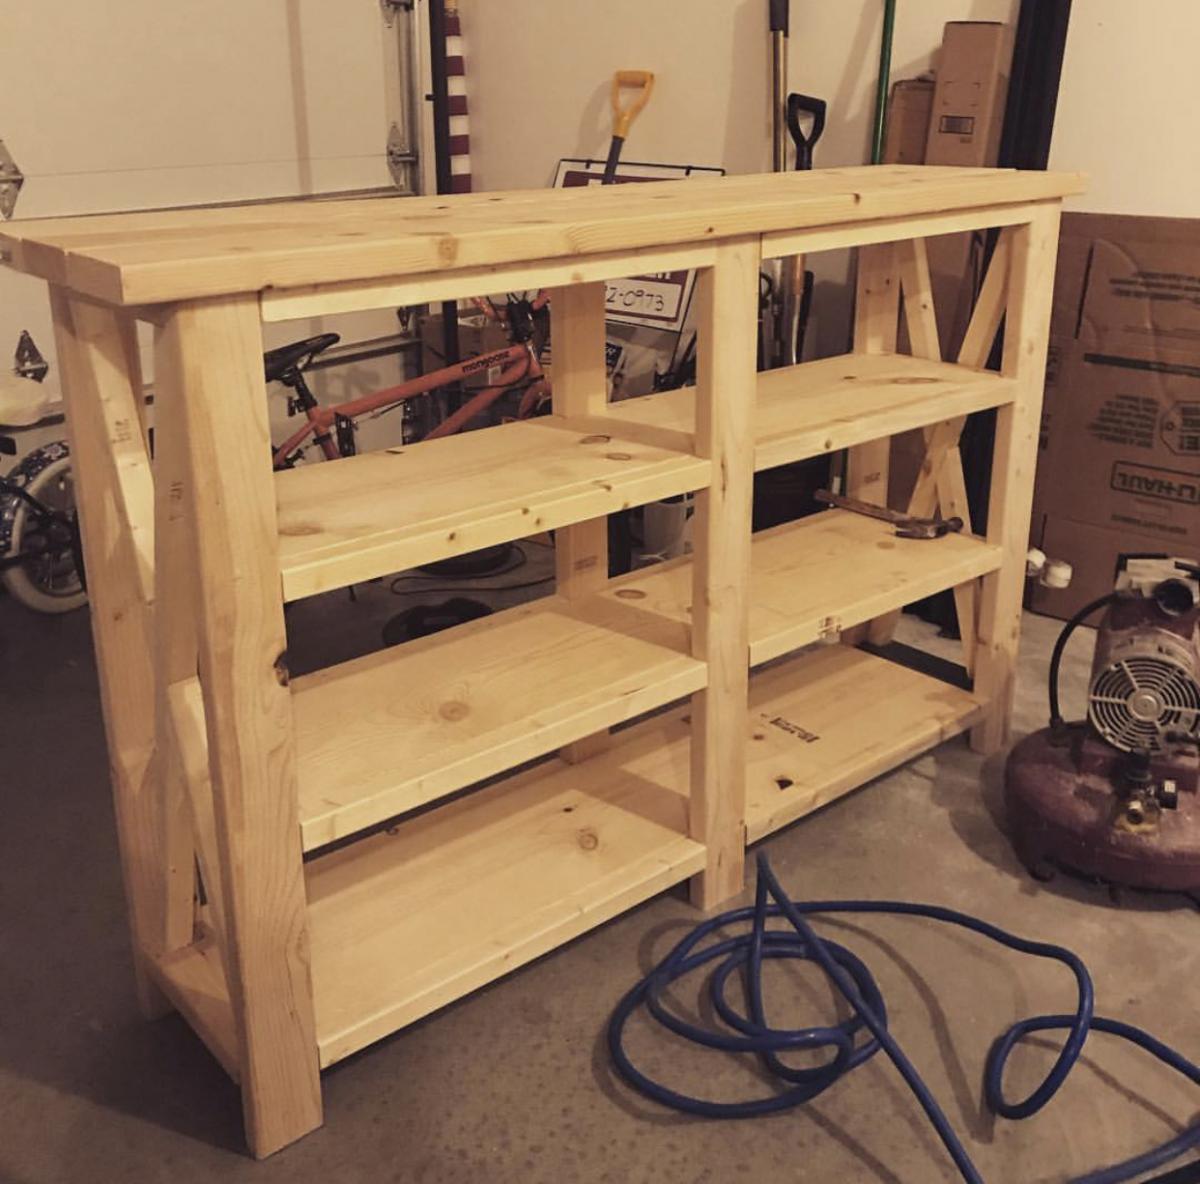
Rustic X Console with changes
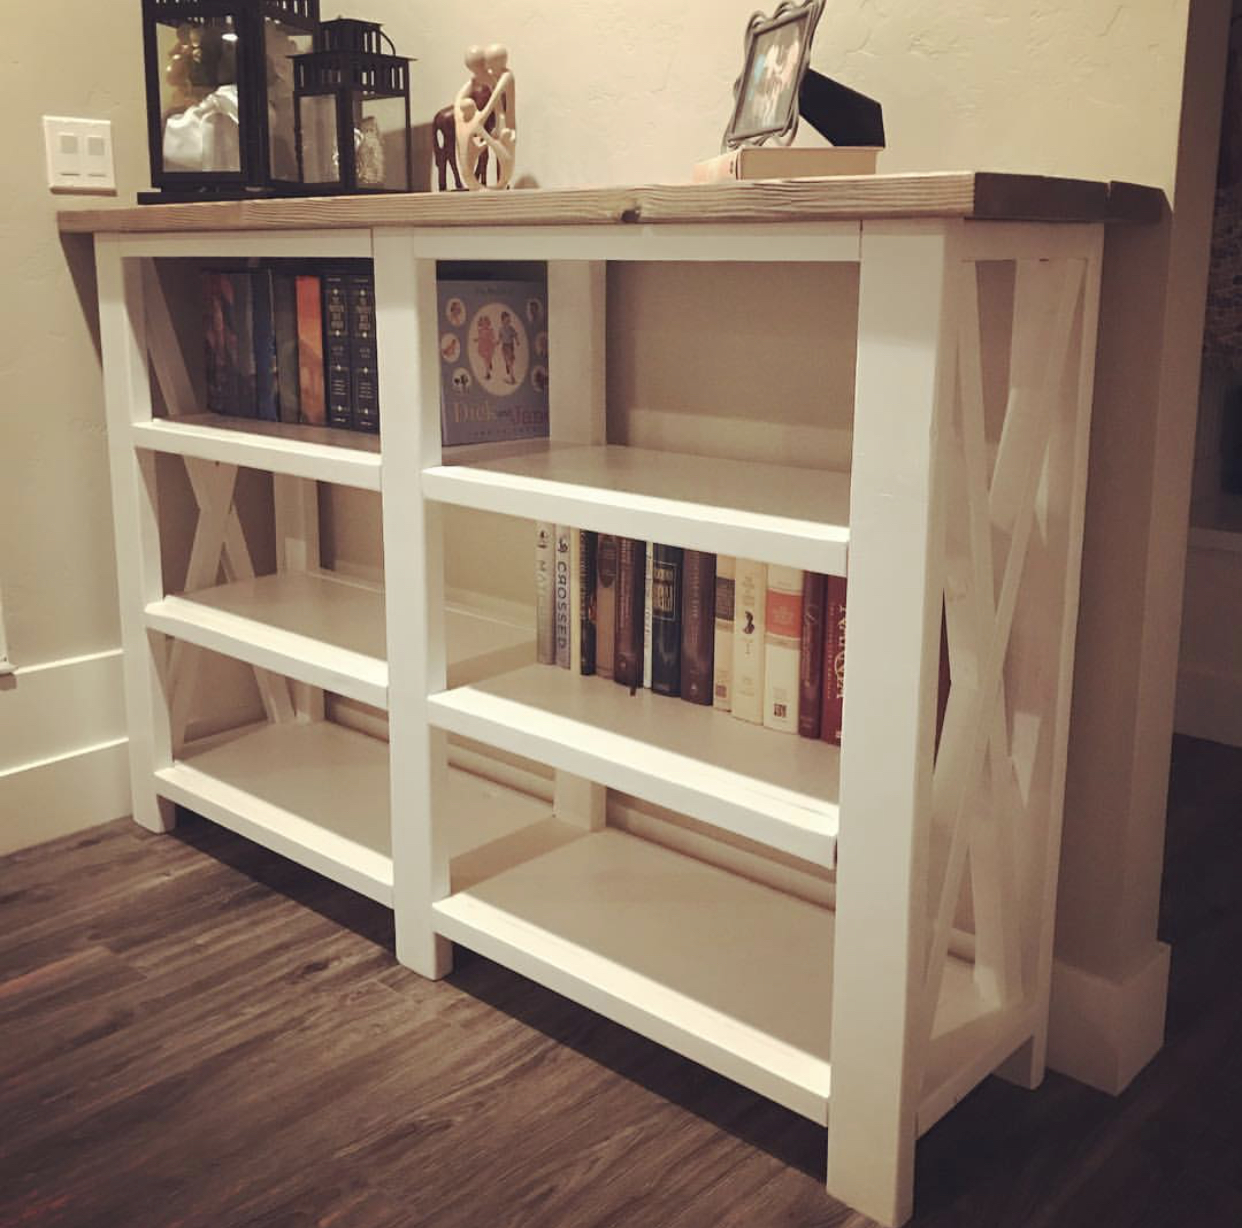
Wanted to make shelves to put on both sides of our fireplace but had to alter the dimensions. So I added another shelf and made it shorter in length. I was a bit nervous because I’ve always just built per the instructions. It turned out perfect! Just don’t look too closely at the X’s!
Built from Plan(s)
Estimated Cost
$80
Estimated Time Investment
Day Project (6-9 Hours)
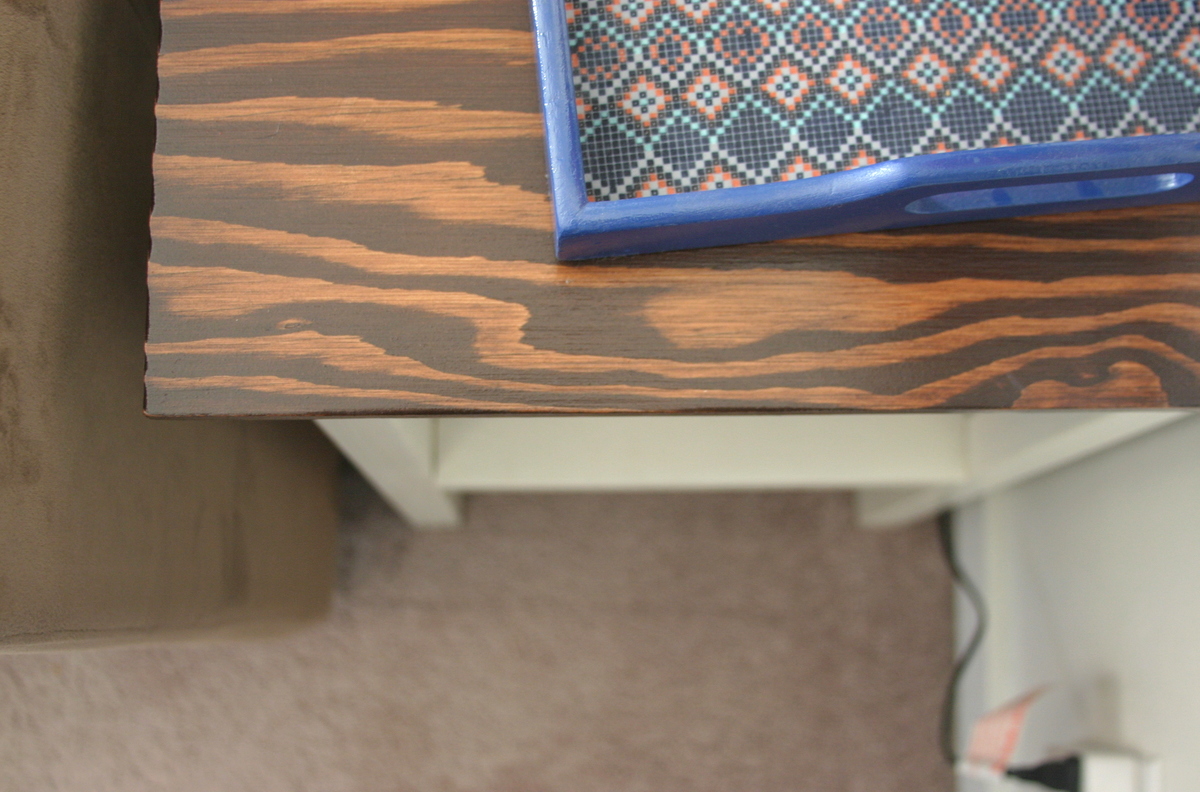
Finish Used
Minwax Classic Gray
Paint-some leftover white I had
Paint-some leftover white I had
Recommended Skill Level
Beginner