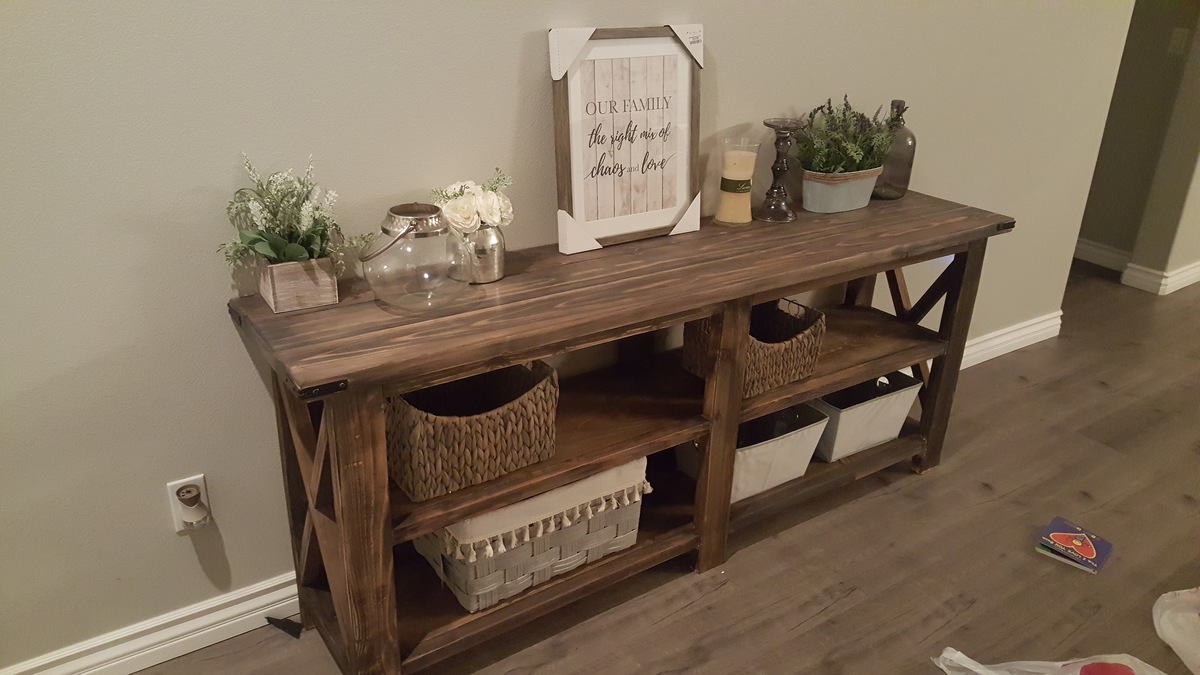
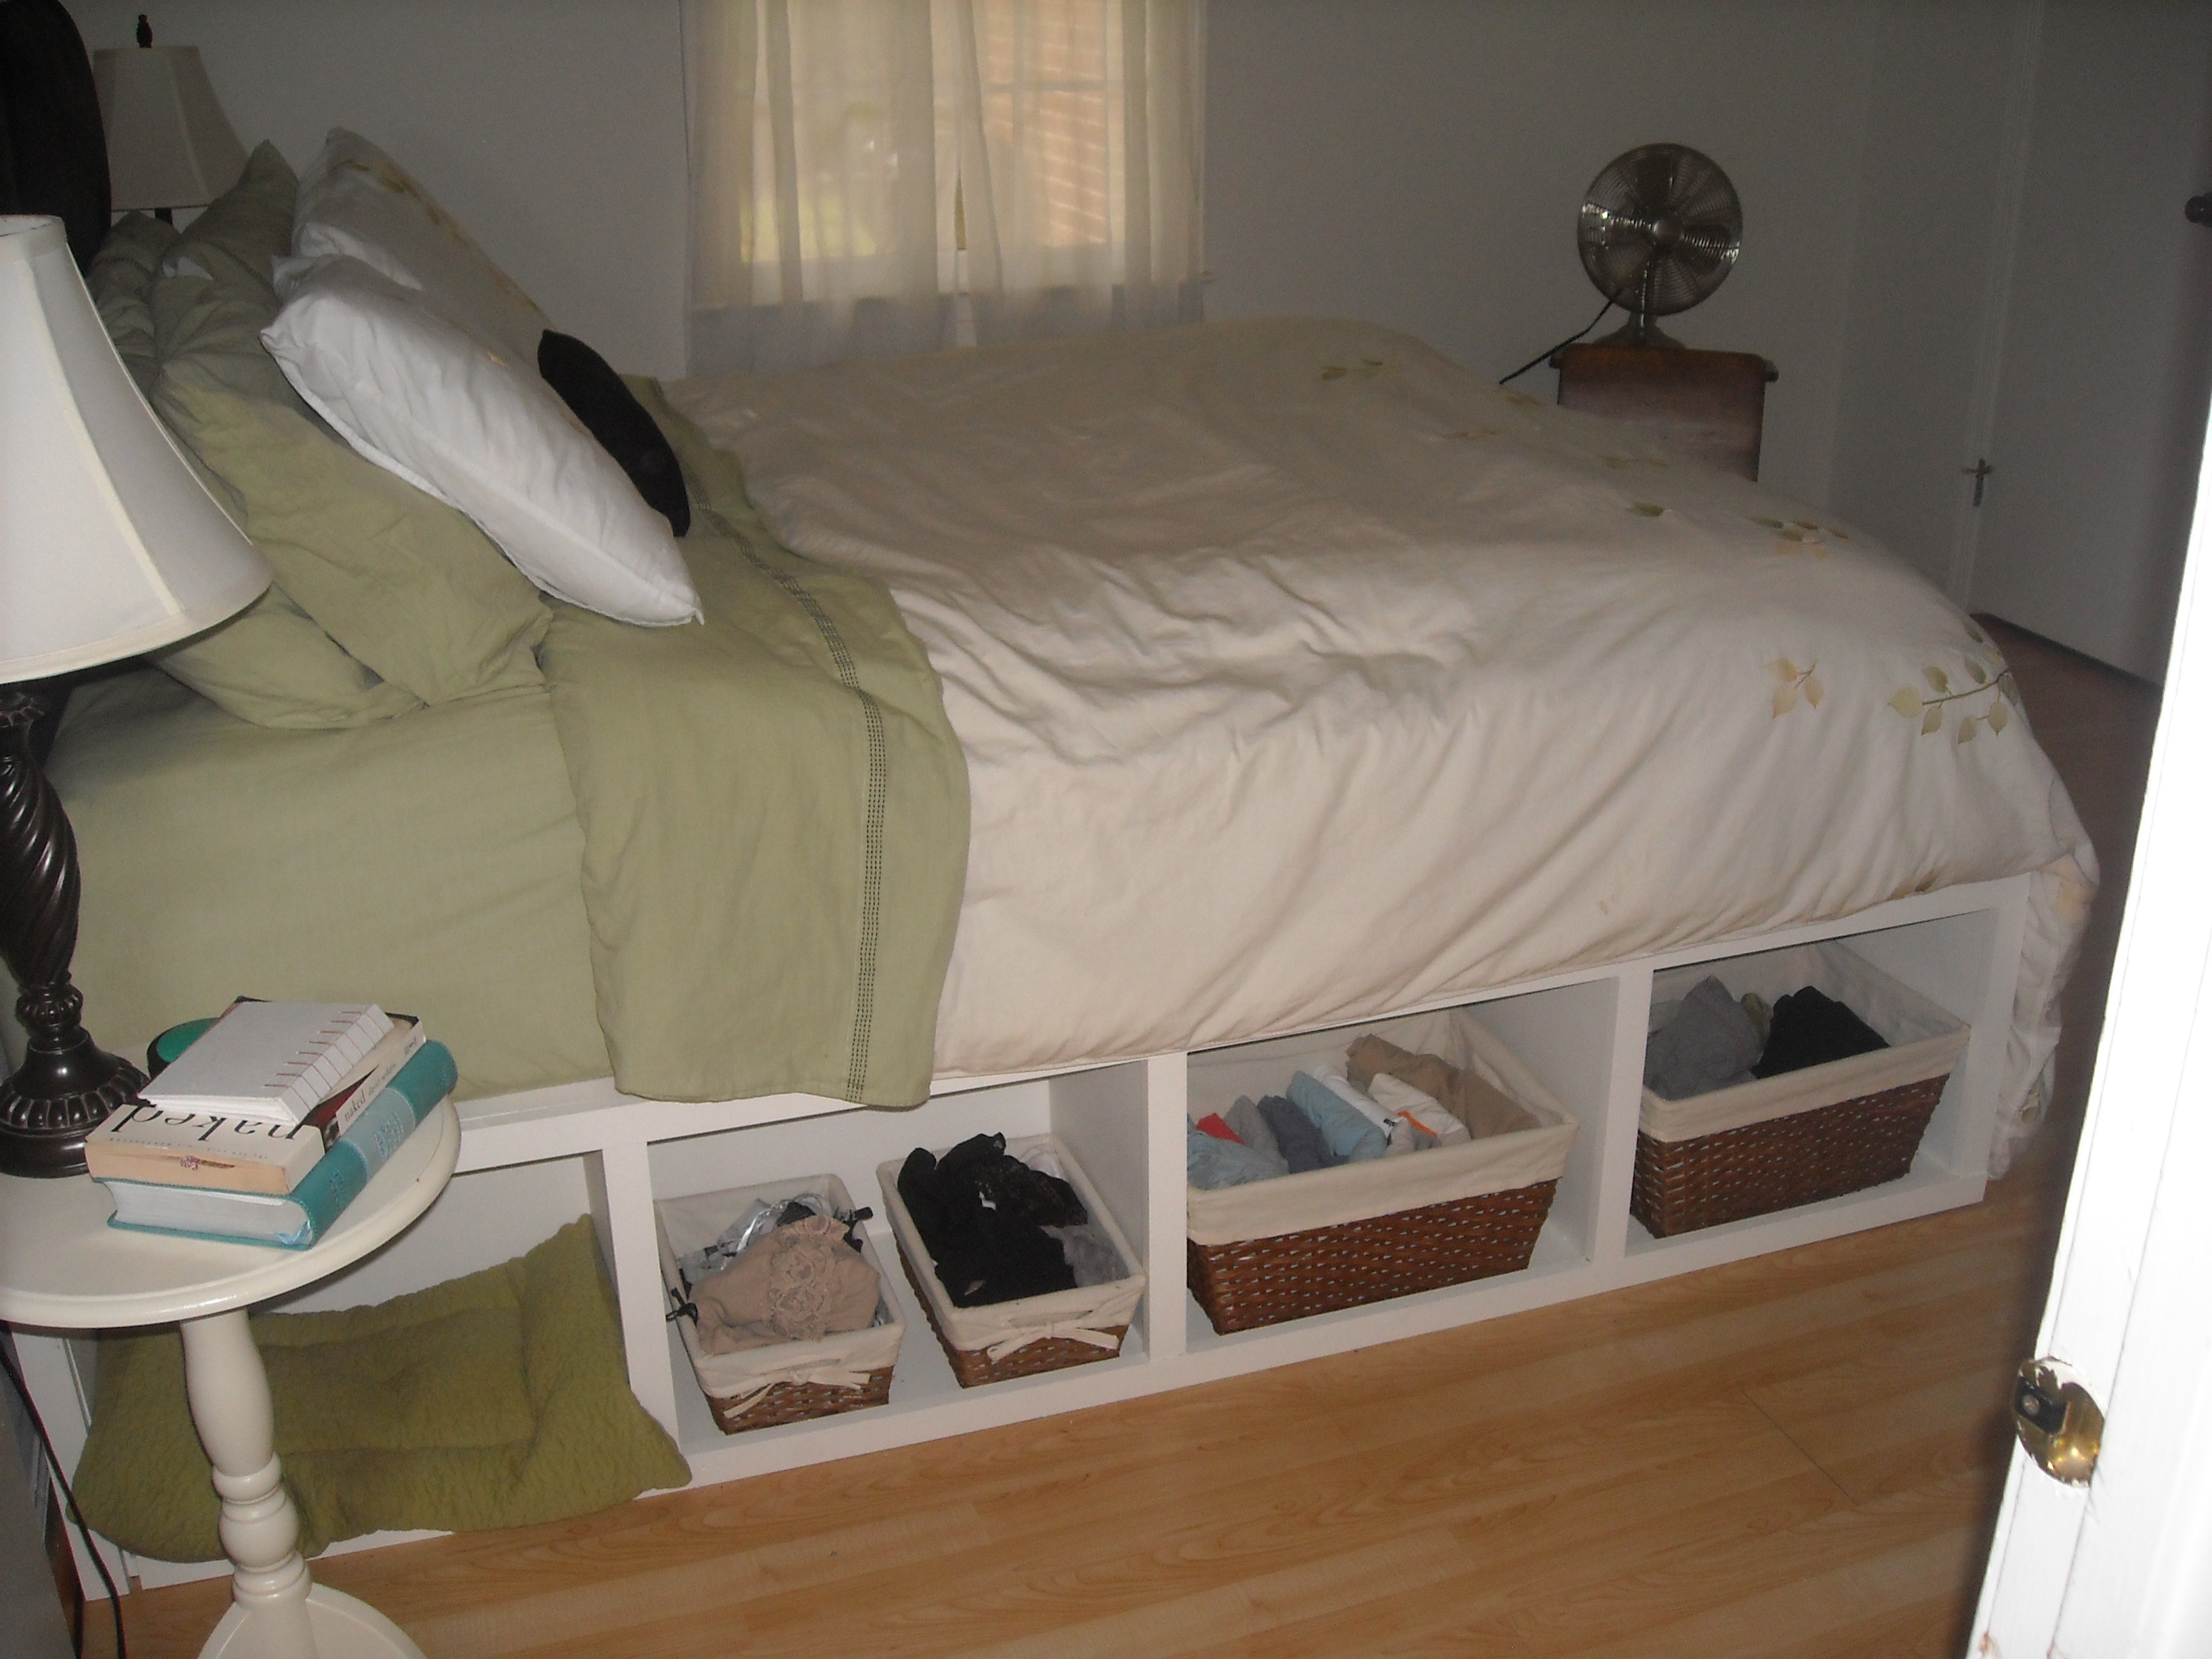
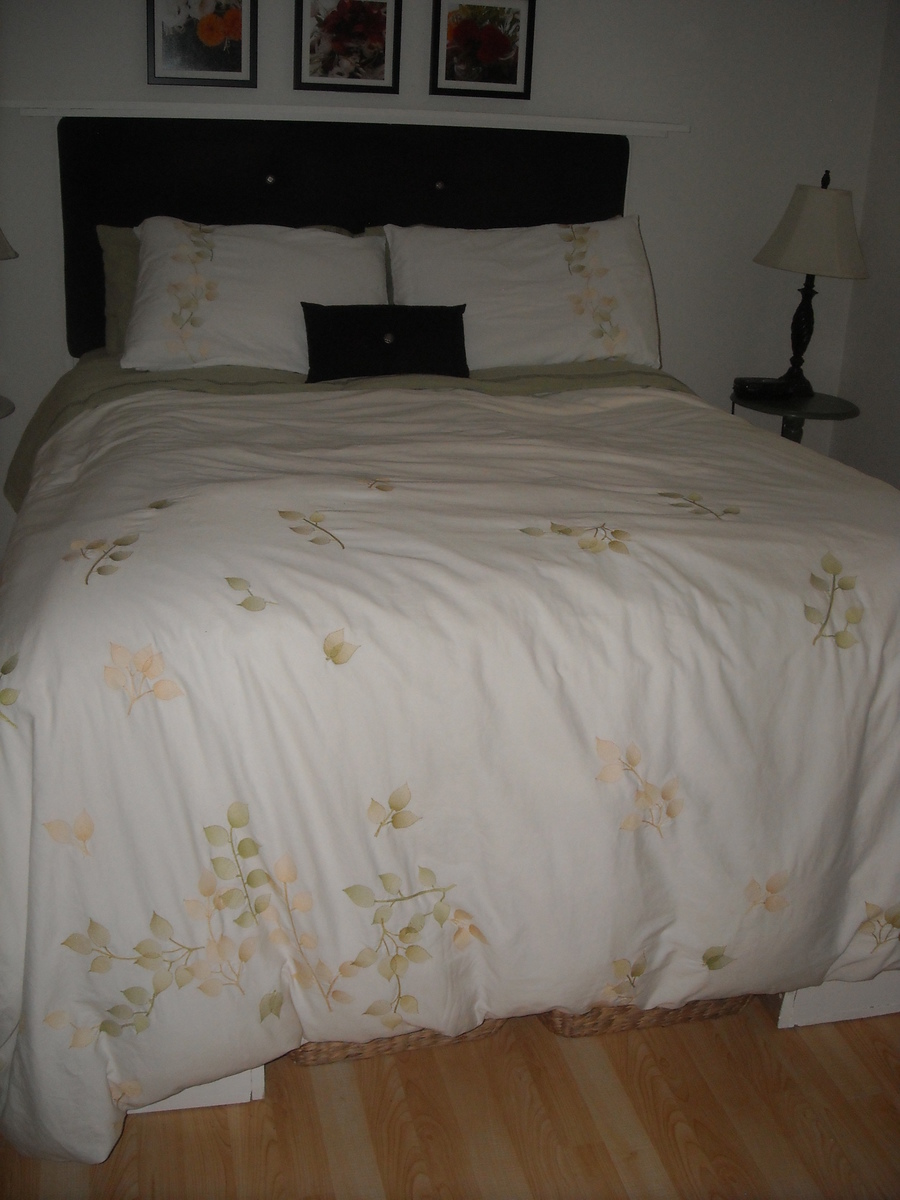
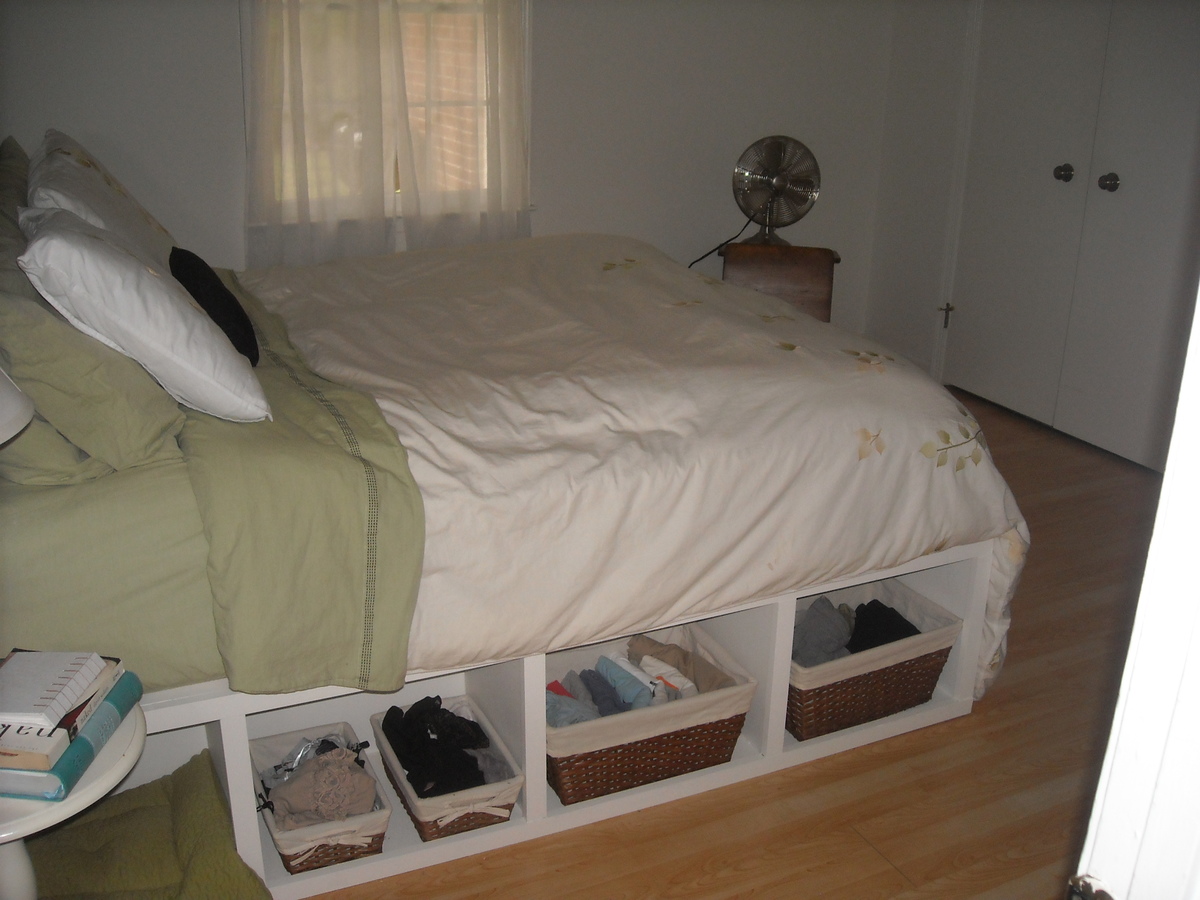
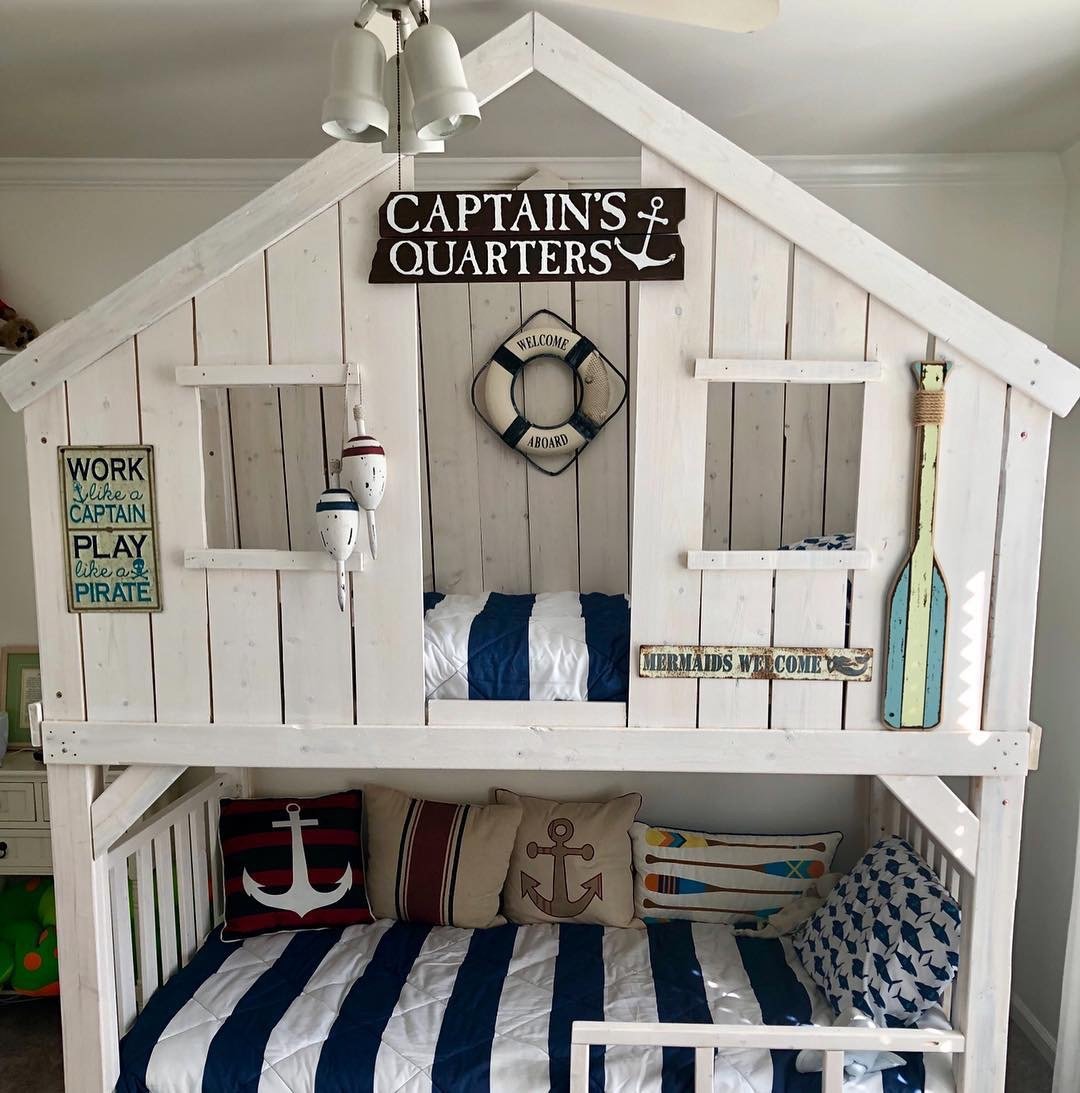
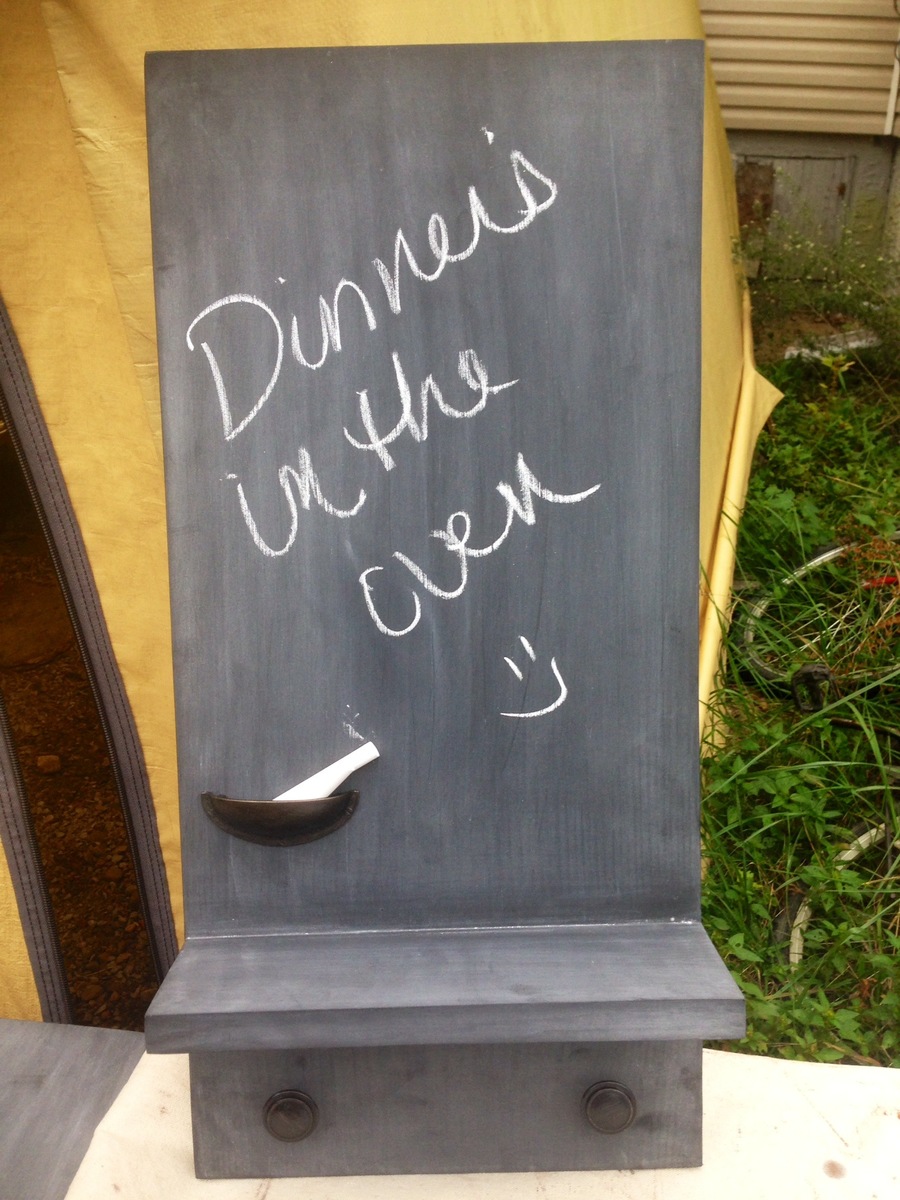
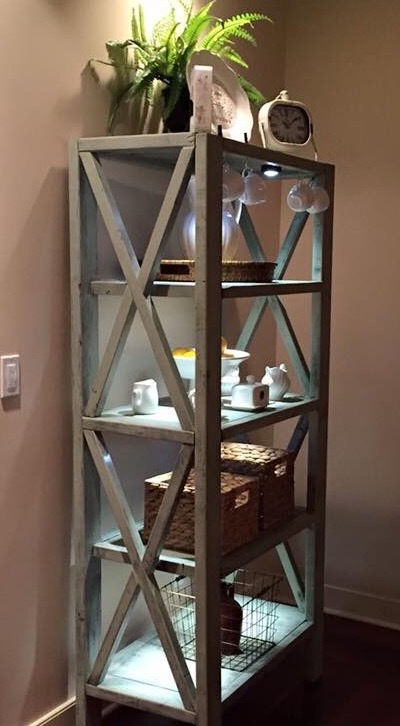
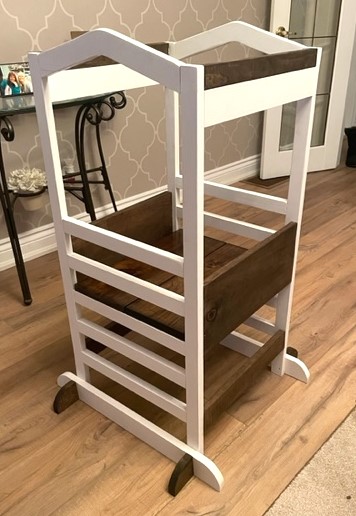
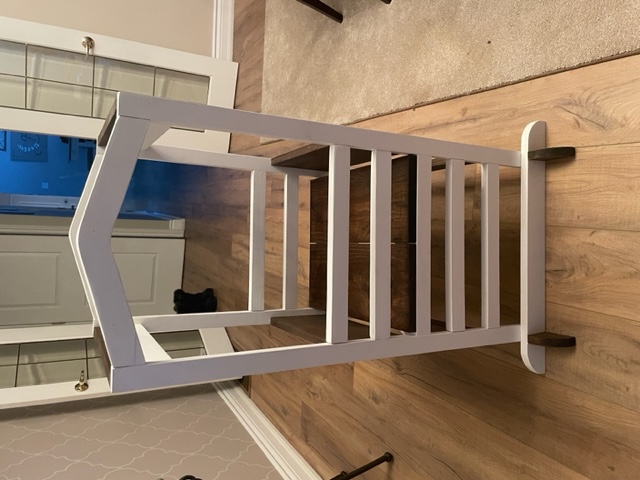
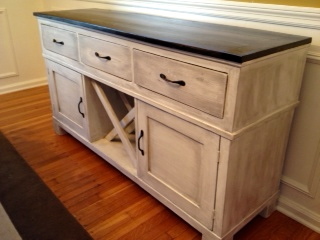
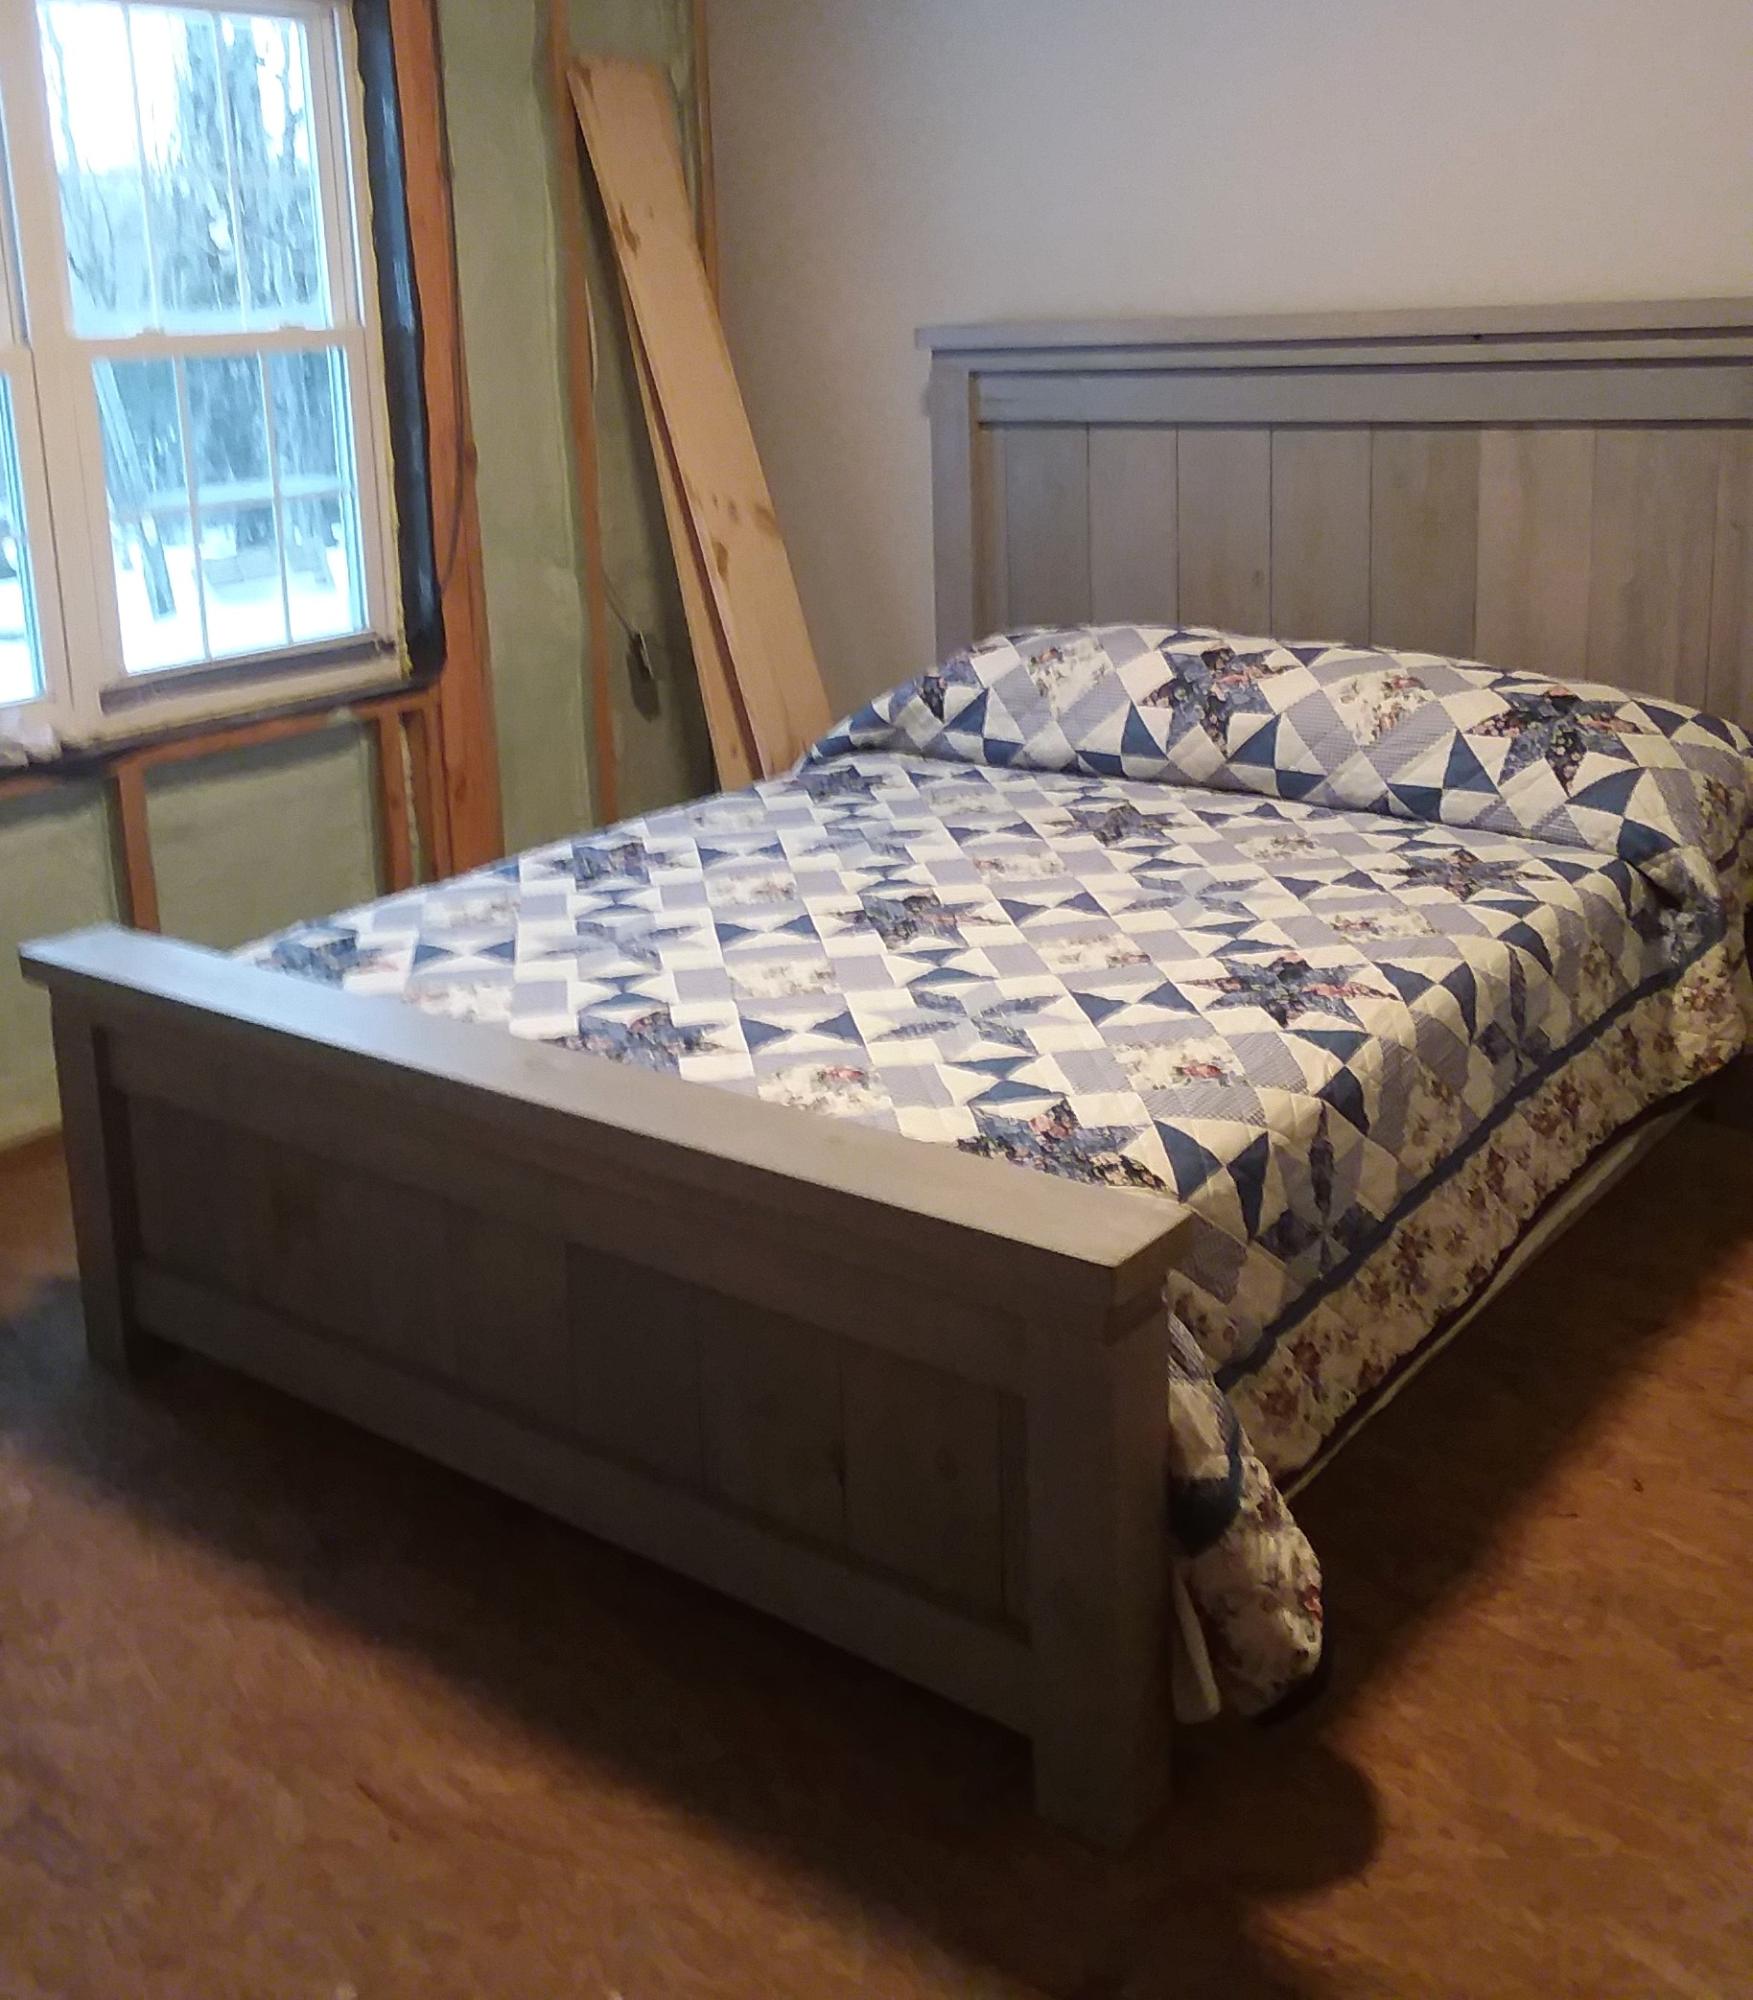
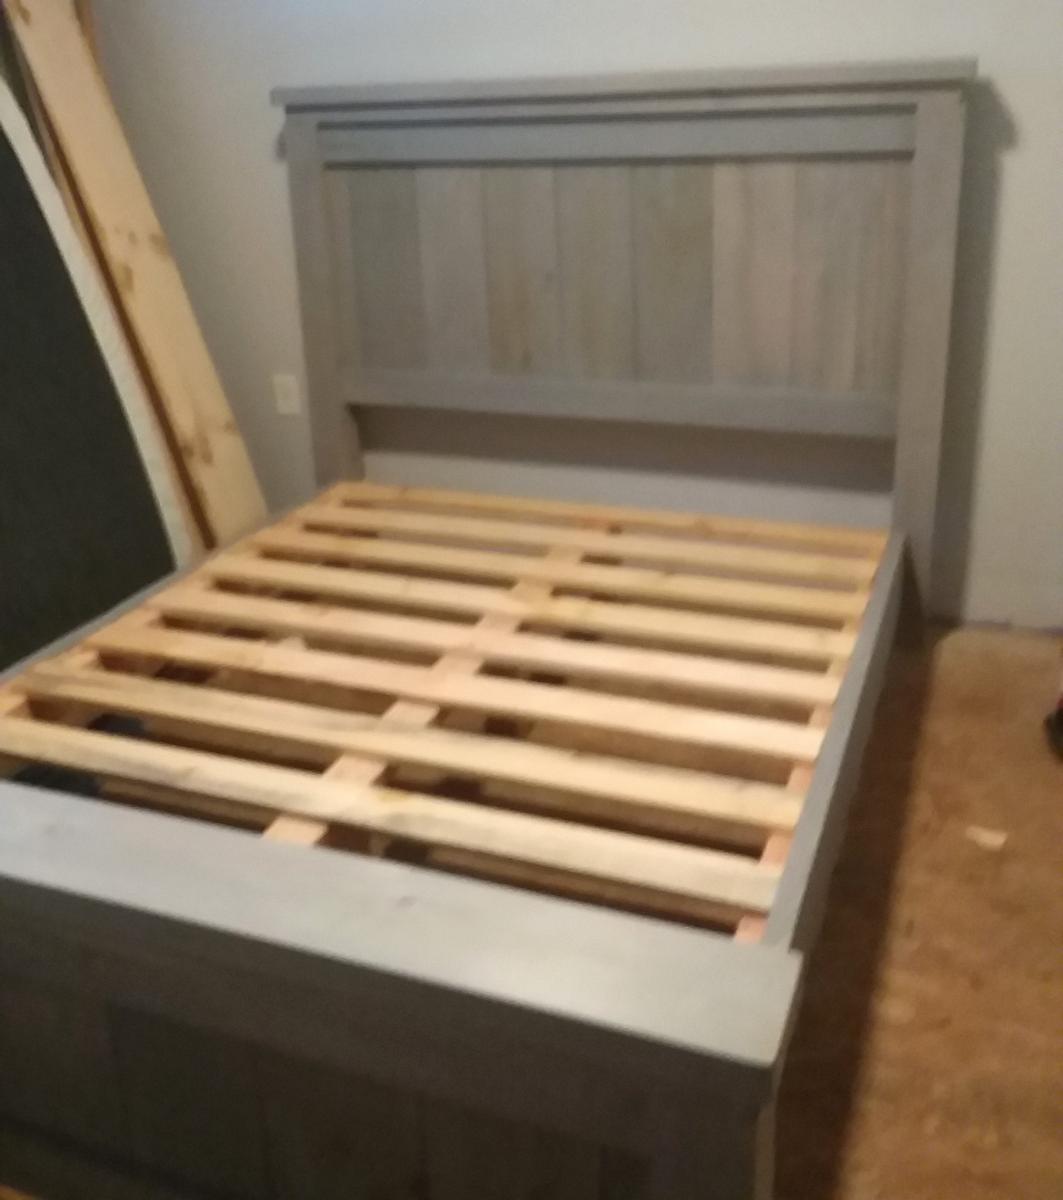
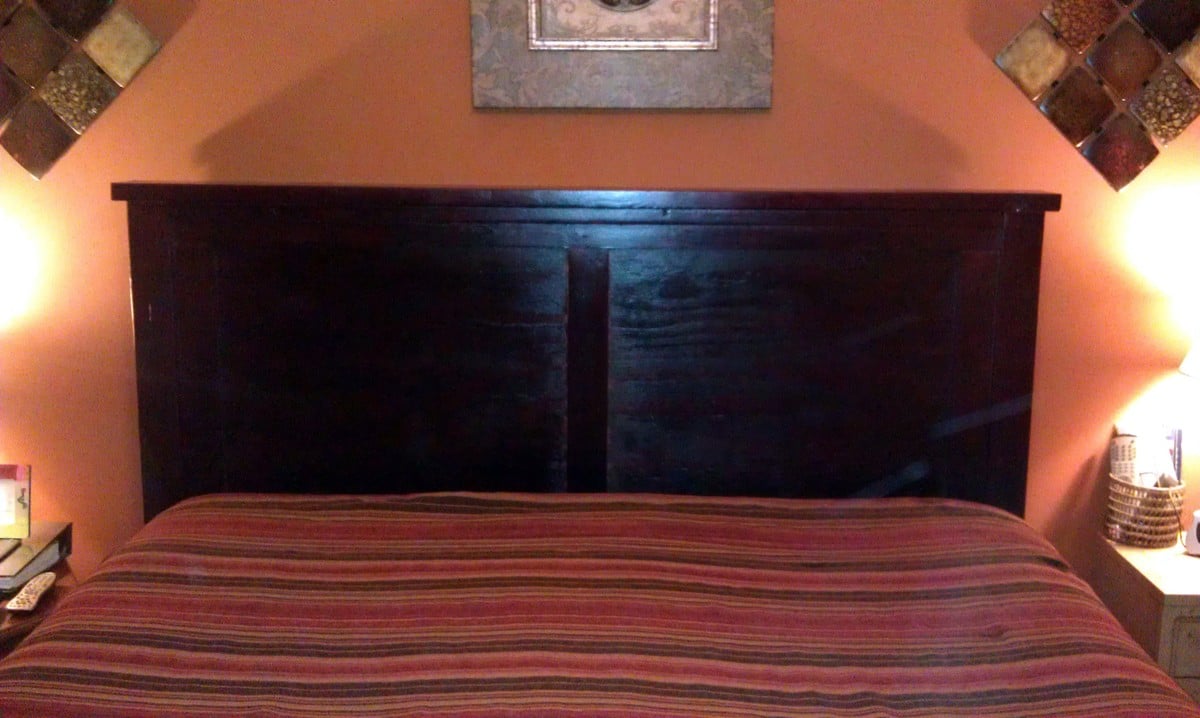
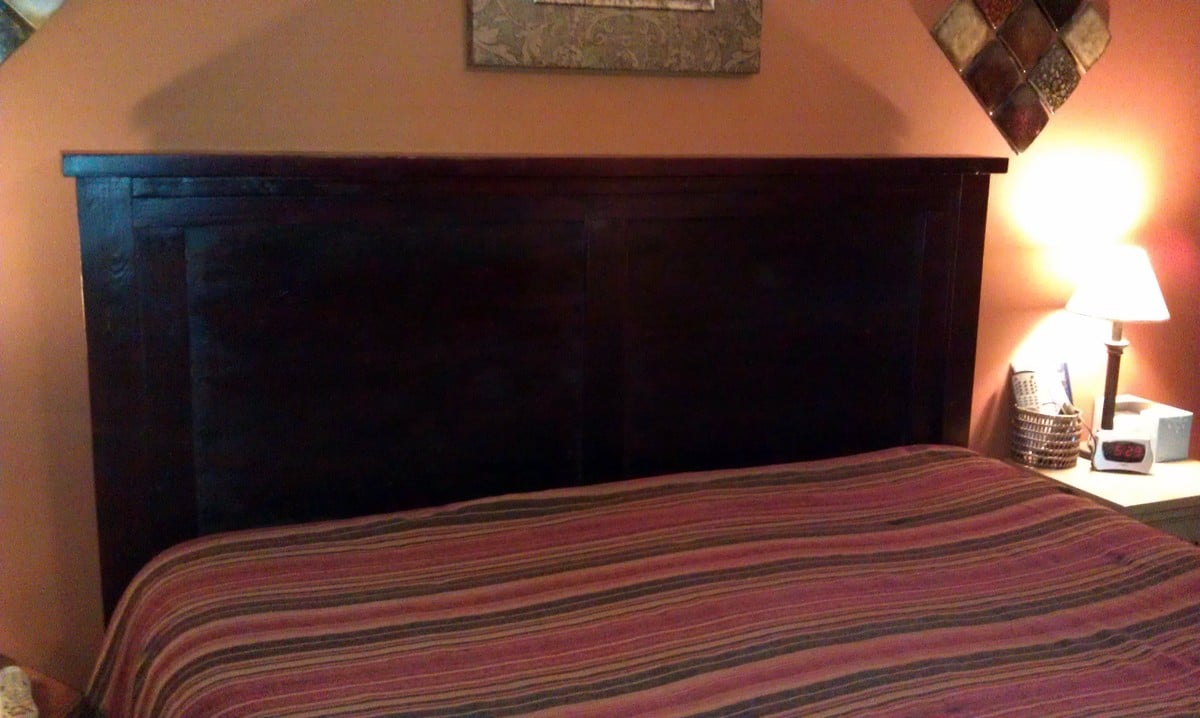
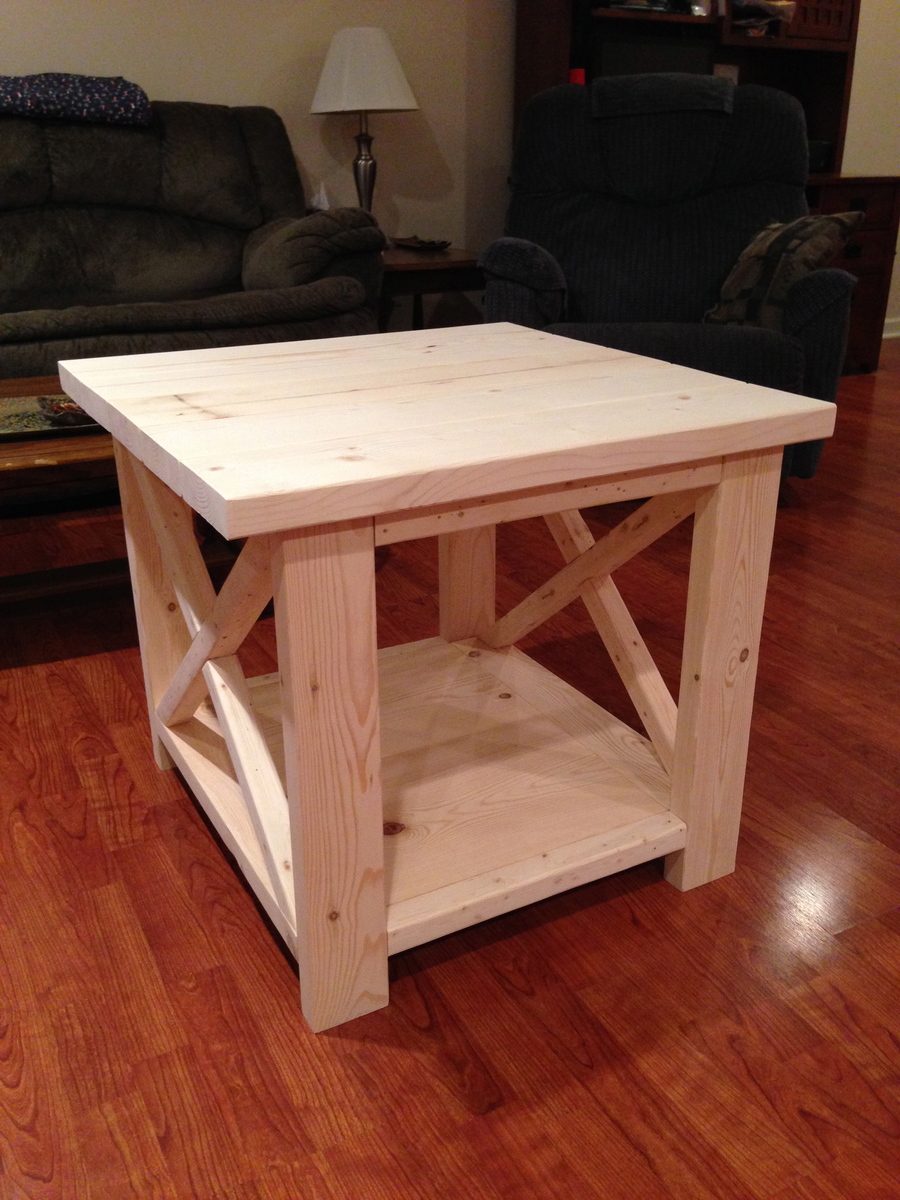
Distressed white
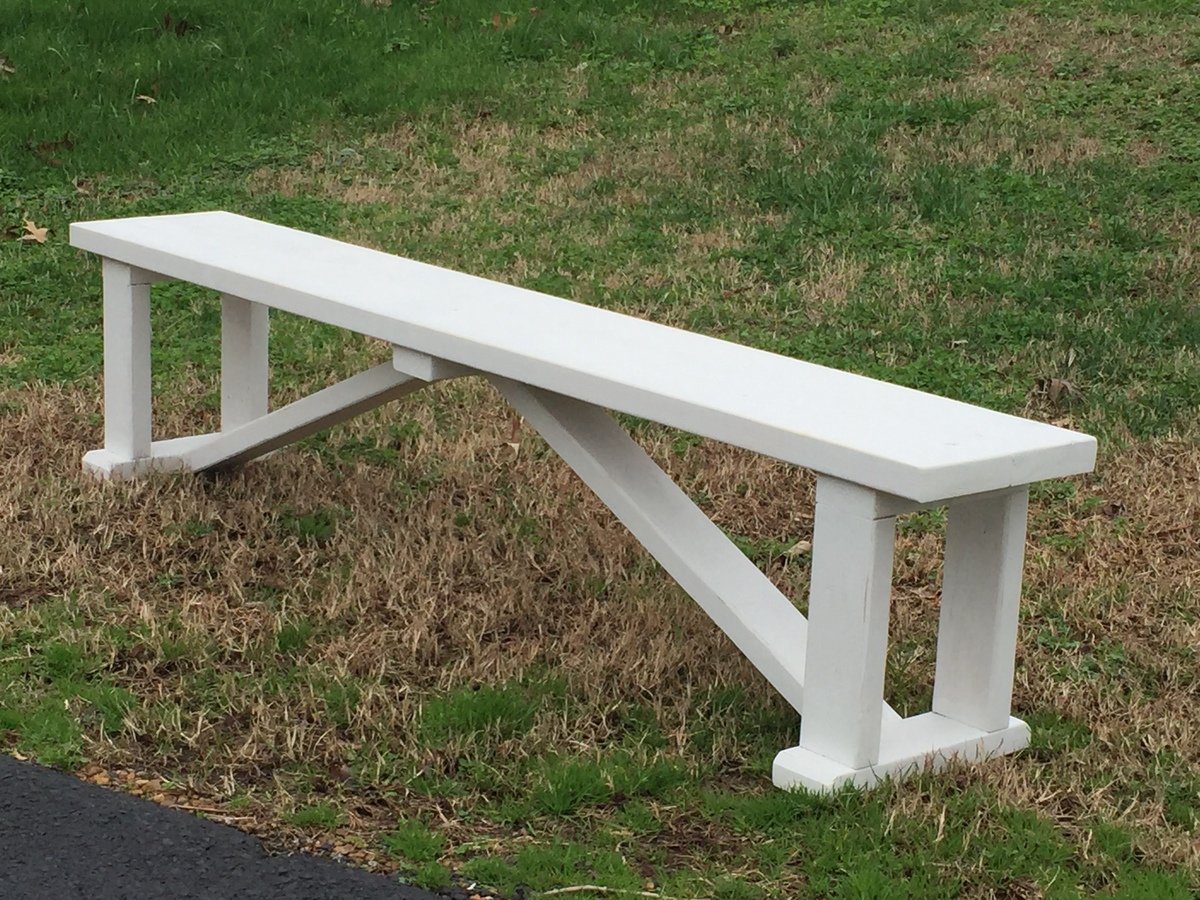
Easy project and fun to do!
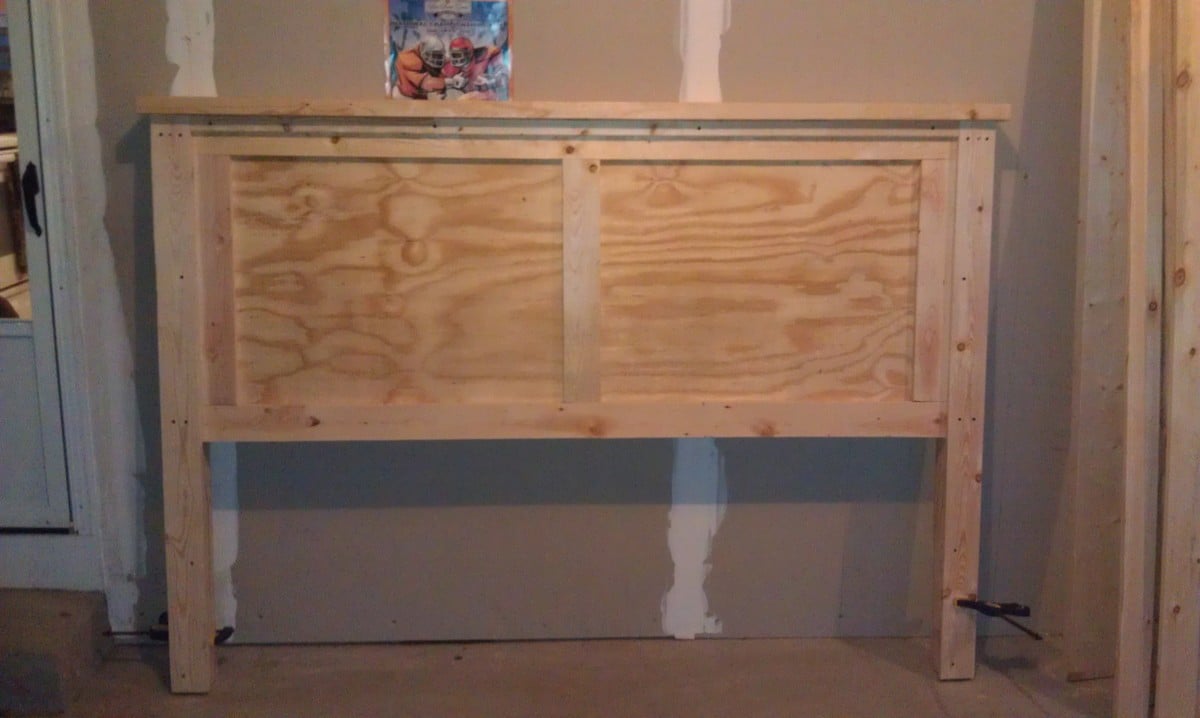
This is my first ana white project and my first woodworking project. I think i like this new hobby i just picked up.
I built a couple of these for the garden area and they are wonderful to sit in. As an experiment I painted these with chalk paint then finished them with several thin coats of spar urethane. After a couple of years in the sun, they seem to be holding up pretty good. I may sand and apply more spar urethane this summer just to keep them looking good.
Fri, 02/03/2023 - 12:45
Looks fantastic, thank you for sharing, so glad you are enjoying them!
When I saw someone post this sand box request on Ana's facebook page, it was like the sand box of my dreams! Our backyard is a work-in-progress, and we're constantly in different areas, so I knew that I would need a much smaller, transportable size. When the back yard is finished, I'll definitely build the full-sized sand box... But until then, I've got this 2' x 2' box, some sand in an IKEA bag, and a happy little toddler, who cries every time I try to close this to get photos. :-)
Wed, 10/19/2011 - 08:45
Awesome sandbox, may have to try this in the spring. I am home on maternity leave (in Canada where we get a year) and luckily managed to score one of those happy, content babies who don't need a lot of my time... so I am bored to tears and looking for projects. I found Ana's site which lead me to your sandbox and the picture of your gorgeous little girl crying when the sand box was closed; that made me laugh so much I had to comment; too cute!!
You and Ana look like the Charlie's Angels of DIY! Thanks for the pictures, inspiring.
In reply to Awesome sandbox, may have to by Andy O (not verified)
Thu, 10/20/2011 - 14:08
Your comment about the Charlie's Angels of DIY TOTALLY cracked me up! I LOVE THAT! Wouldn't really say that I'd make the cut, though... But thanks!!! :-)
I'm SO jealous of a year maternity leave. My baby was also VERY undemanding, and I built my first project when she was 5 weeks old. Yay, go us!!! :-) I'd love to see this if you do build it! What other projects are you planning?
Sorry there aren't more pictures of the building of it. We ended up rushing through it because a storm was moving in. In total it took about 4 hours to build the boxes and headboard. We already had the upholstered portion of the headboard that I made from scrap a few months ago so we made the bed to fit around it. We decided to leave it without a footboard so that we could slide things underneath easier. This has made storing things underneath very easy, we even keep our laundry baskets tucked underneath and we can have easy access. By making the cubbies slightly smaller we were able to make a total of 4 cubbies on each side and we can store all of our clothes and were able to get rid of our dresser.
This is my first attempt at a rustic coffee table build based on Ana's designs. I used redwood (mostly) and pine for the bottom shelf. The solution was created using white vinegar and 00 grade steel wool. The solution was not diluted (should have done 50/50 with water) and sat for about 15 days (only needed 5-7 to dissolve all wool).
Hope you enjoy!
Used the Clubhouse Plans as the base. Added length to the 2x4's for the second bunk. Made upper and lower railings. Used 2x4's between the legs with 2x2's screwed in for the lower bunk. Hobby Lobby for the nautical swag. So now me and the grandkids have a place to hide!
I made one set for my son, the one with the stained top. His friends liked it so much and kept borrowing his set, that he wanted to surprise them with their own and asked me to build them one with the LSU colors. Thought they turned out great! Thank you for the plans!
Thu, 02/09/2023 - 09:40
These look fabulous, ove the paint/stain job! Thanks for sharing.
One of the first projects from my new "workshop". I added a mirror to one end and hooks to the front and other end. My 3 year old was ecstatic about helping build it and I enjoyed every minute of it! What a fantastic way to bond and teach and grow, for both of us! Thanks for the site and the plans Ana!!!
I have made so many of these and love it. Different colors for different people. Making your own chalkboard paint is so easy also. Thanks Ana!
easy to follow steps. Good weekend project for a beginner. I just got tools for Christmas and I tackled this without prior building experience. Excited for more projects
I let my kindergartener choose the color, so we have a pink sandbox! I live that this has a full lid, as the sand generated a lot of interest from our chickens! Plan egg followed as written, with a few minor detail changes, love it! Note, 320 pounds of sand was a just right amount for this sandbox!
I built this Tower from plans found on Ana's site.
Decided to do with a two tone colour.
I'm very happy how it turned out.
All three Grand Kids fit in there and love it.
Thanks Ana
We recently built our version of the Salsa console to use as a buffet/sideboard in our dining room. It turned out beautifully and we couldn't be happier with it! Check out our blog for more details :)
This was my second build (easier than my first project...the Adirondack chair). Its a heavy piece and plenty sturdy as a birthday present for my one year old nephew and his sister and cousins to play on. Bought a plastic steering wheel from amazon.com. the textured paint (Anchor Gray - textured metallic by Martha Stewart was perfect for the wheels). Couldn't find the plans on ana-white but did get them from http://www.morelikehome.net/2012/10/day-26-build-little-car.html?m=1
I built this table back in May so a little late posting. It is the second Modern Farm Table that I've built. The first was built for my sister and this one for my nephew and his partner. I am very happy and so are they with how it turned out. Thanks again Ana for your plans.
We modified the farmhouse table and bench to make a table for our daughters apartment. We made the table 54” long which turned out to be the perfect size for the apartments dining room space. You may also notice we built a dog bowl table to match the farmhouse table style. Love the design!
Thank you for all your instructions for the farmhouse bed. It was amazingly easy since you outlined everything.
After finally getting my husband on the Ana White bandwagon, He cut all the wood for me and we assembled it in one afternoon. We used plywood instead of the planks, omitted the 2x4, using just the 2x6 on top, and we also attached 1x4s to the front of the "posts" that we made with 2 2x4s to cover the seam. I took about 2 or 3 days to sand and stain it and now he wants to build more!
have not put a stain on this yet, waiting to make a pair before doing that
This was my first project, probably a little ambitious for a first project but the plans made it super easy. As soon as I was done with the 4 chairs (two armless and two corners), I immediately made two tables that we have used as side tables, as a single table and as seats. It was dirt cheap to make, probably less than $100 for everything, that’s a complete steal. The cushions cost twice as much as the entire build.