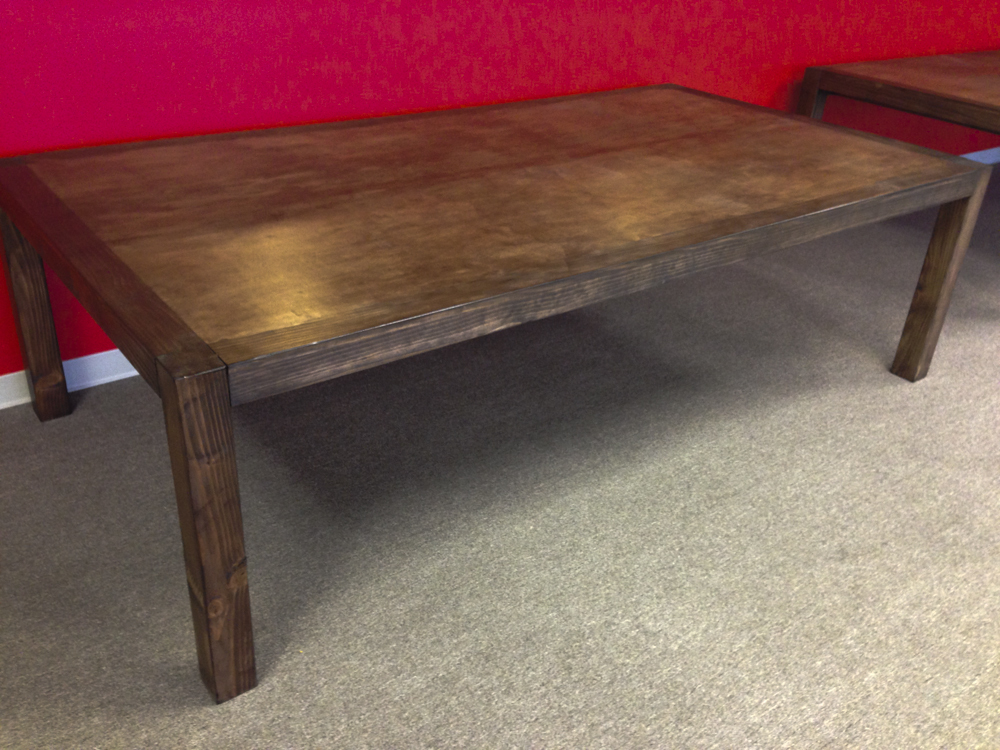
Dining table
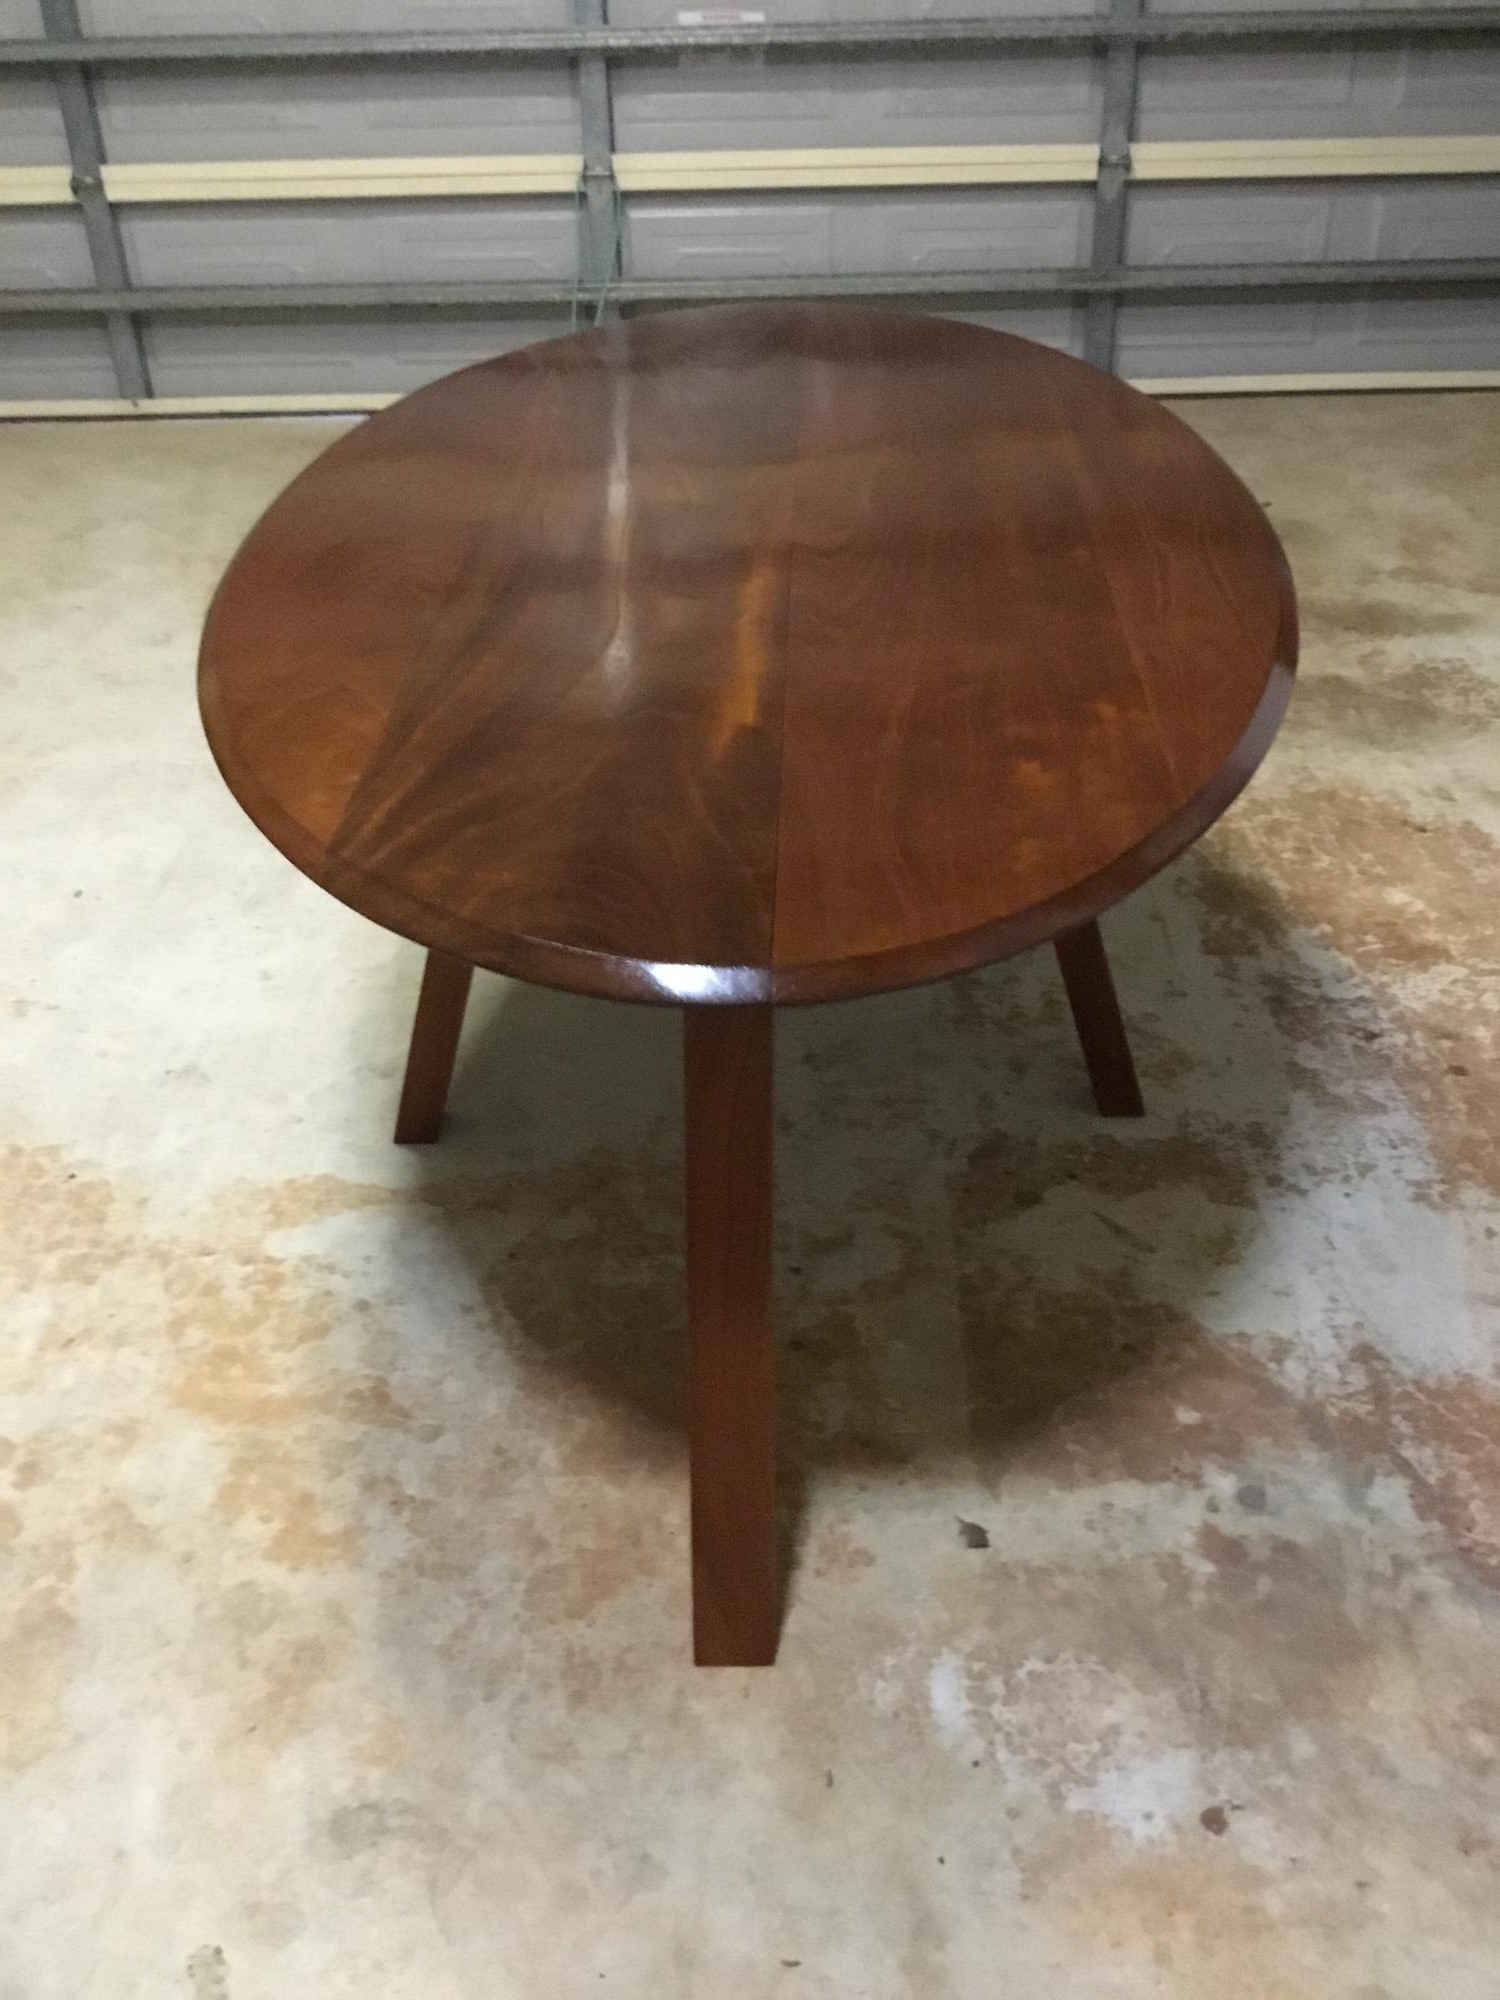
Hi Ana, this is not your design but one I just made up. The timber is Queensland red cedar and about 30 years old, I was given a tree and had it cut up. Came out great
Regards
Karl Penna, Queensland, Australia
Estimated Cost
Zero, I was given the wood
Estimated Time Investment
Week Long Project (20 Hours or More)
Finish Used
Norglass polyeutherene satin finish, 4 coats, put on 4 days apart and sanded at 320 inbetween
Recommended Skill Level
Starter Project