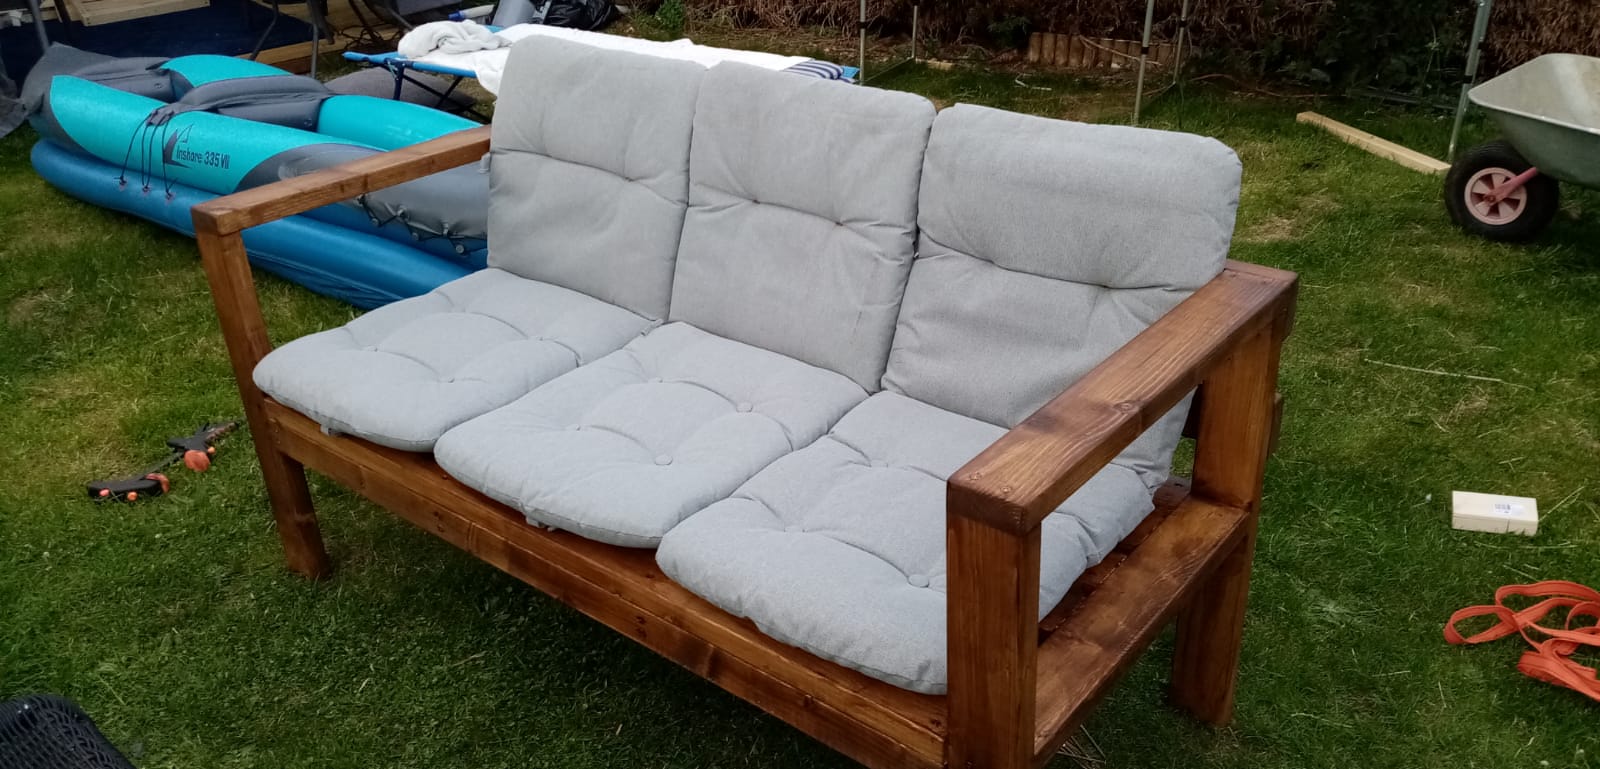
Outdoor Sofa Sectional
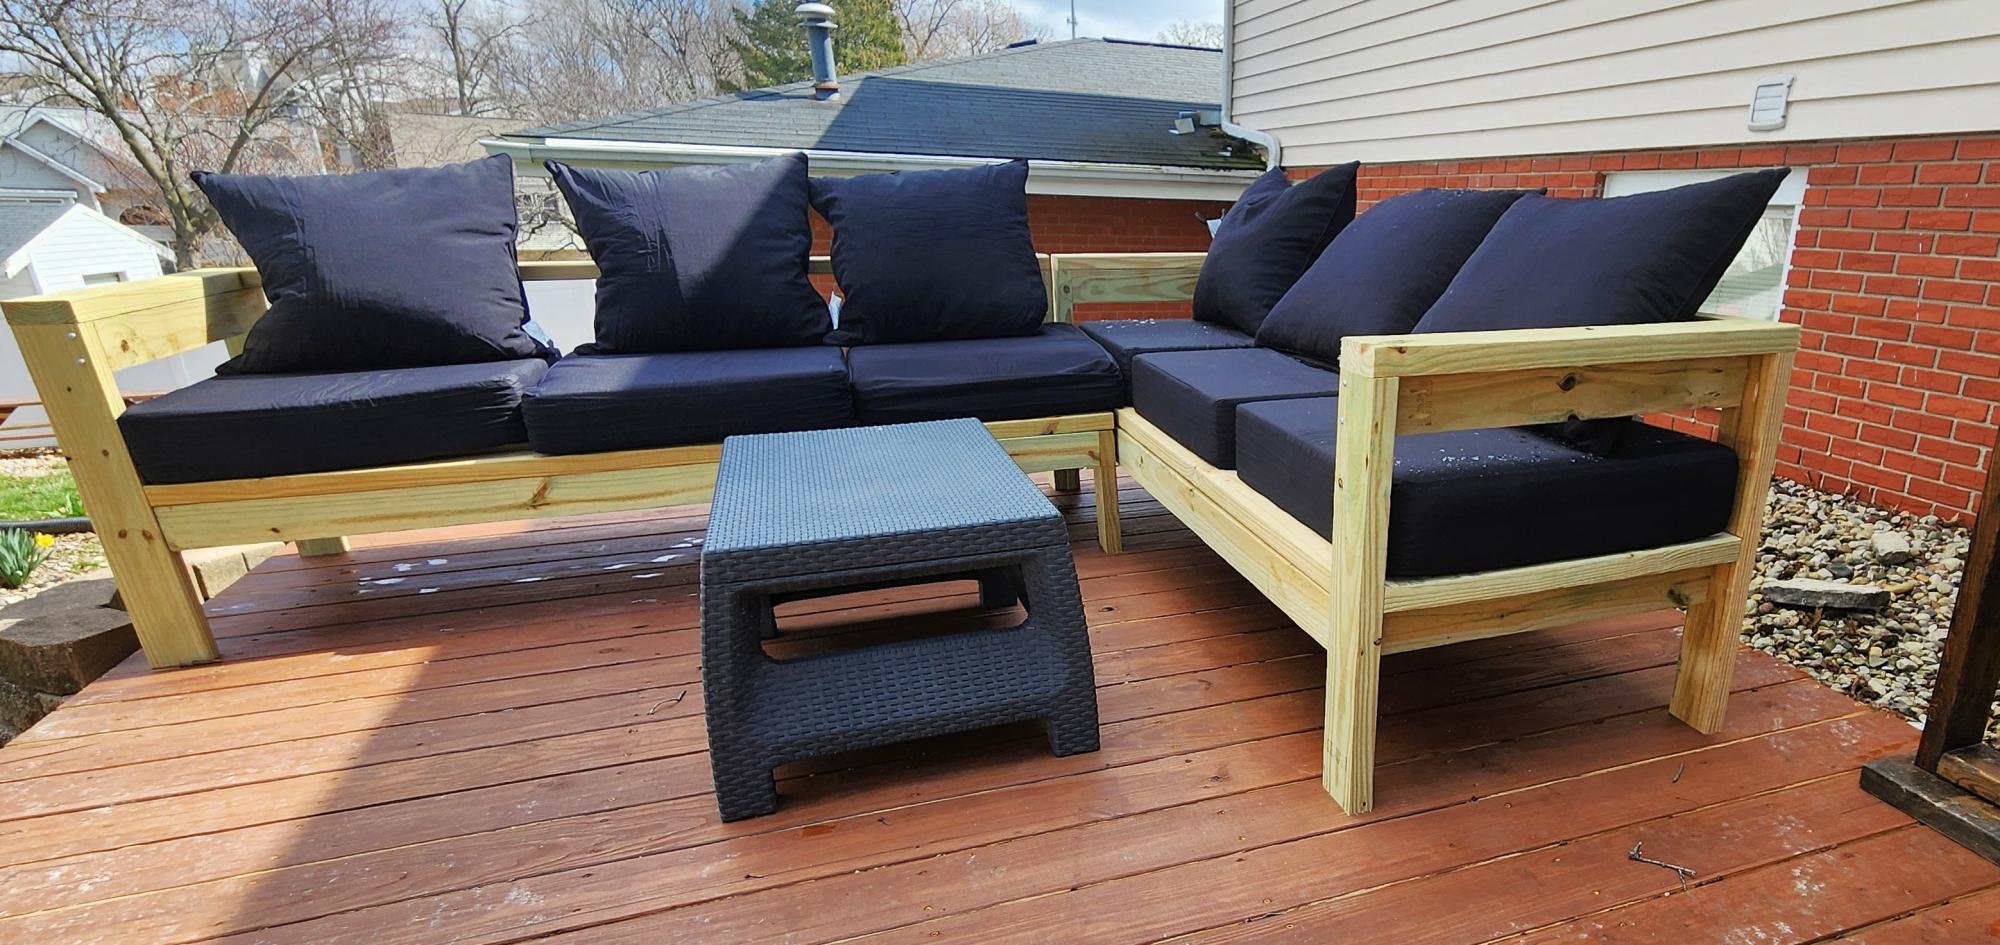
Thanks for the inspired design! Went together simple and quick. Your site rocks.
Garycates
Built from Plan(s)
Thanks for the inspired design! Went together simple and quick. Your site rocks.
Garycates
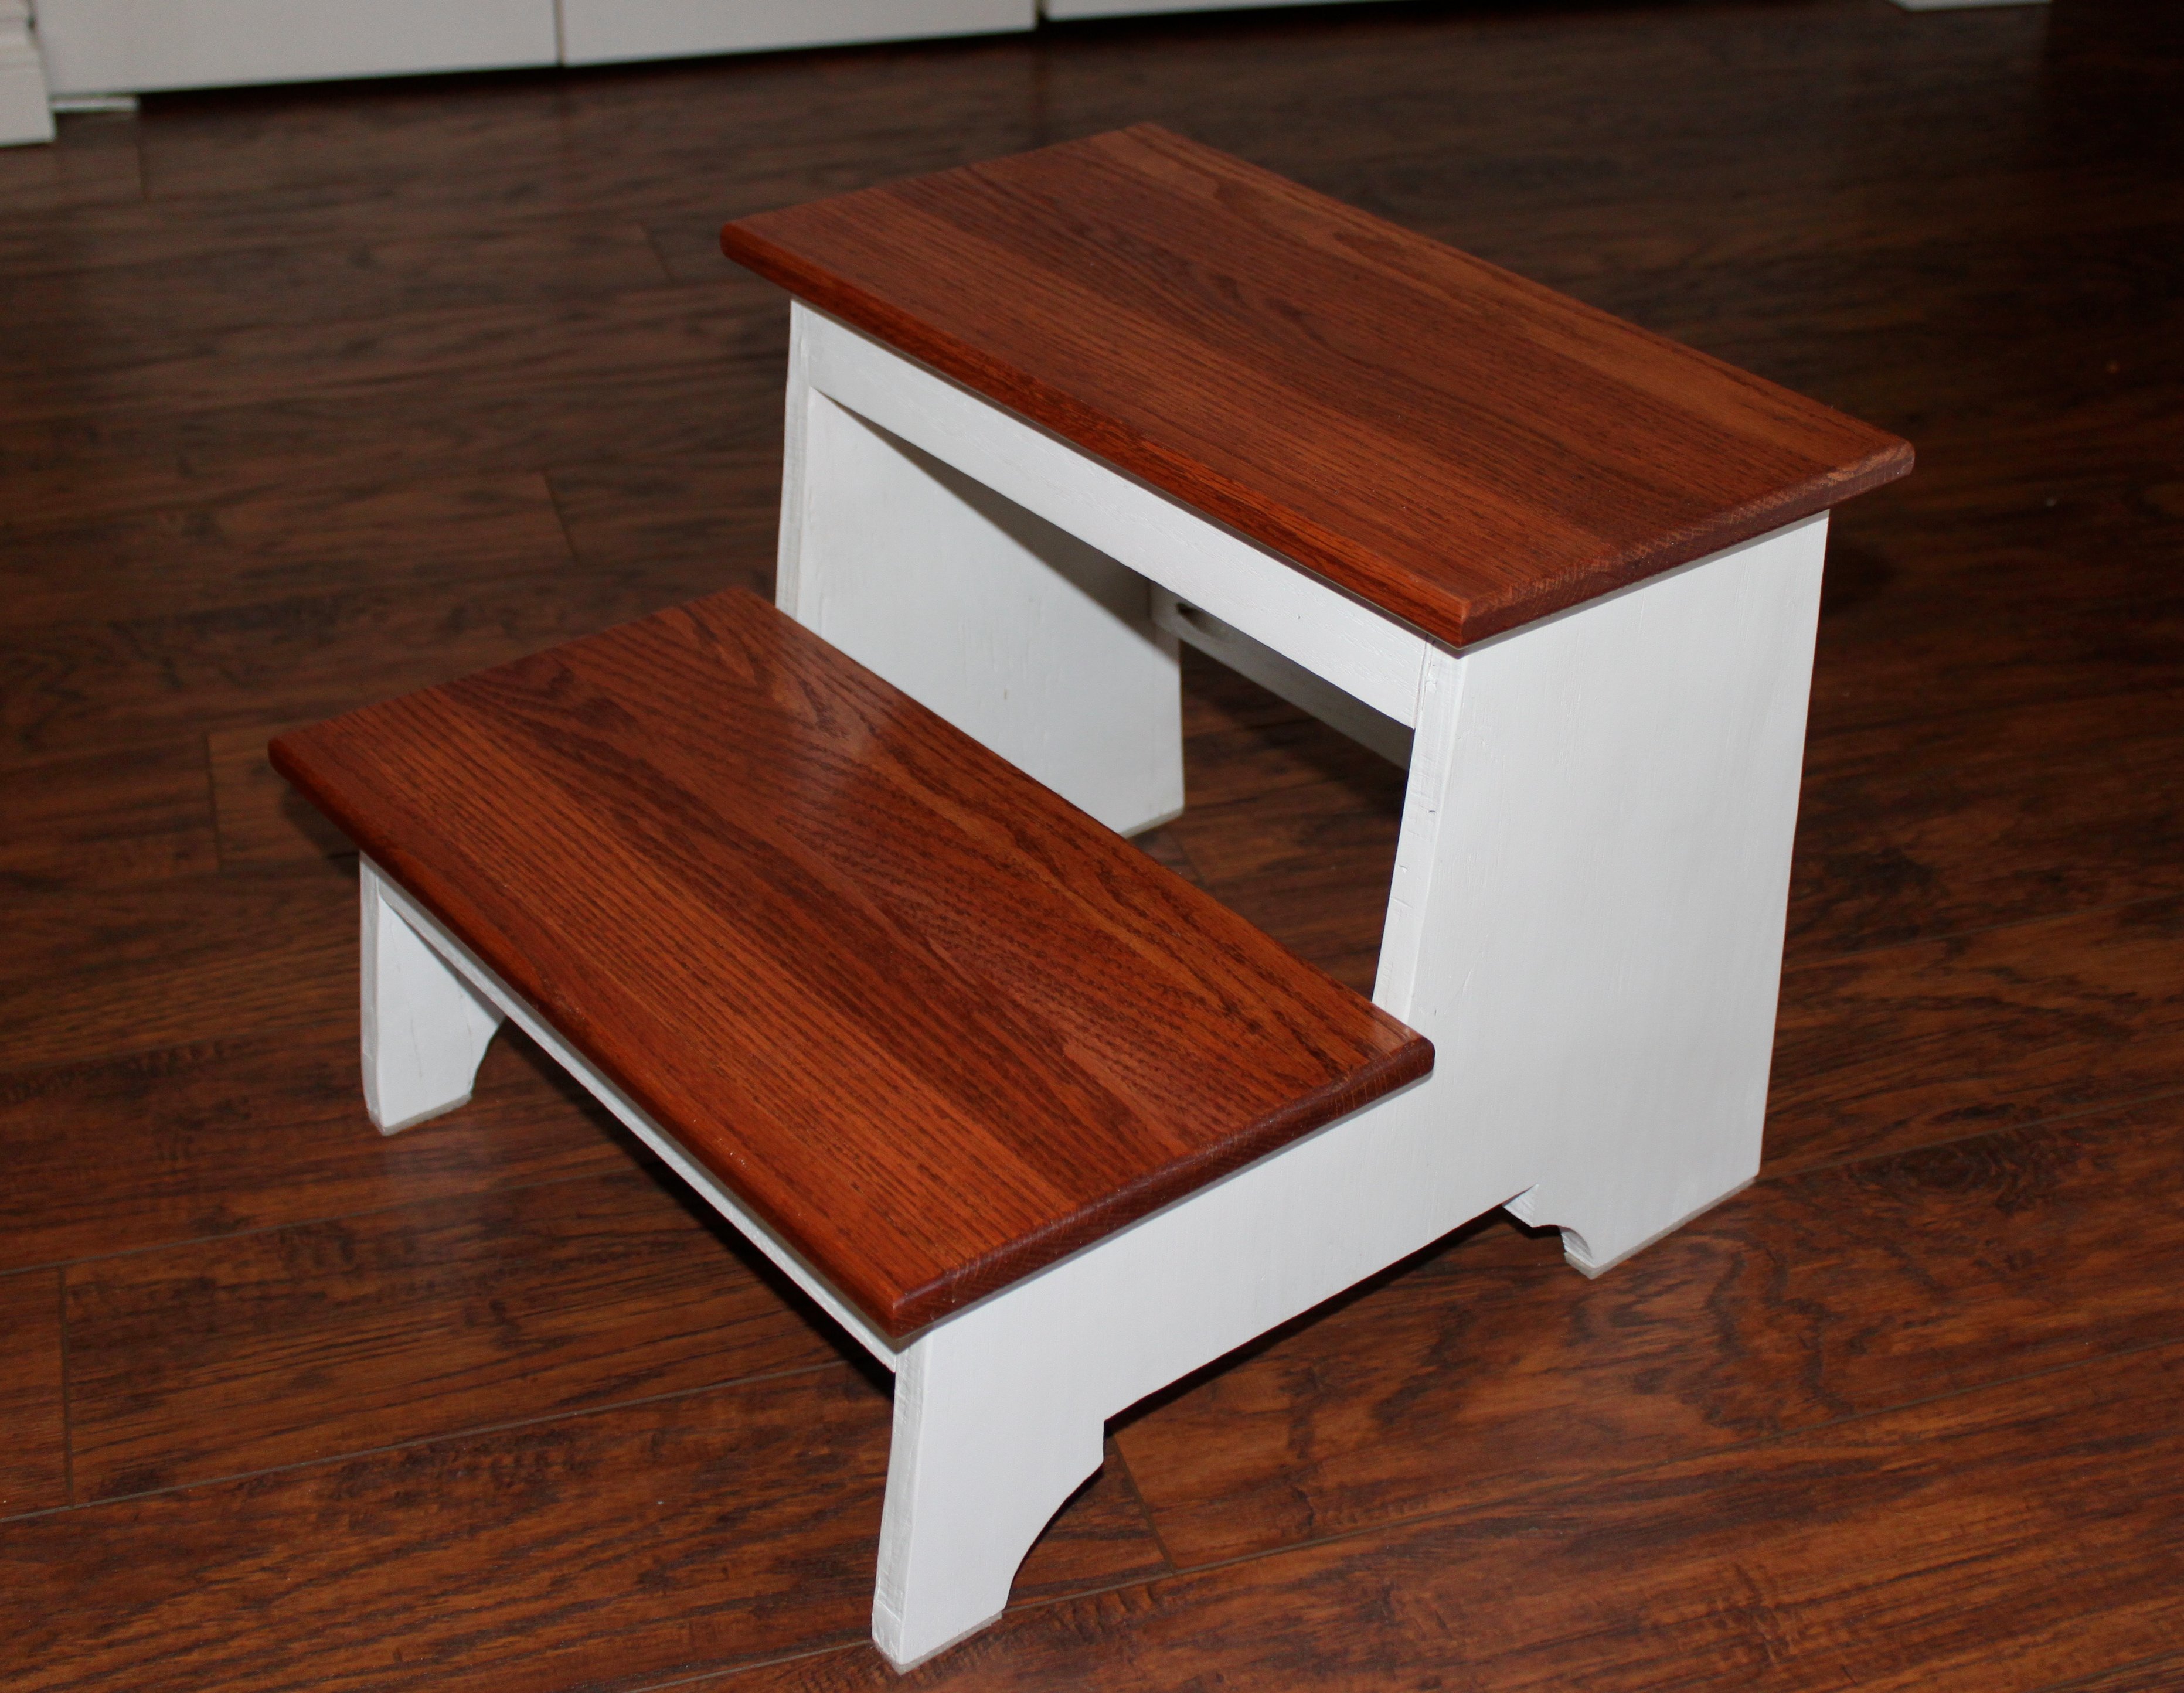
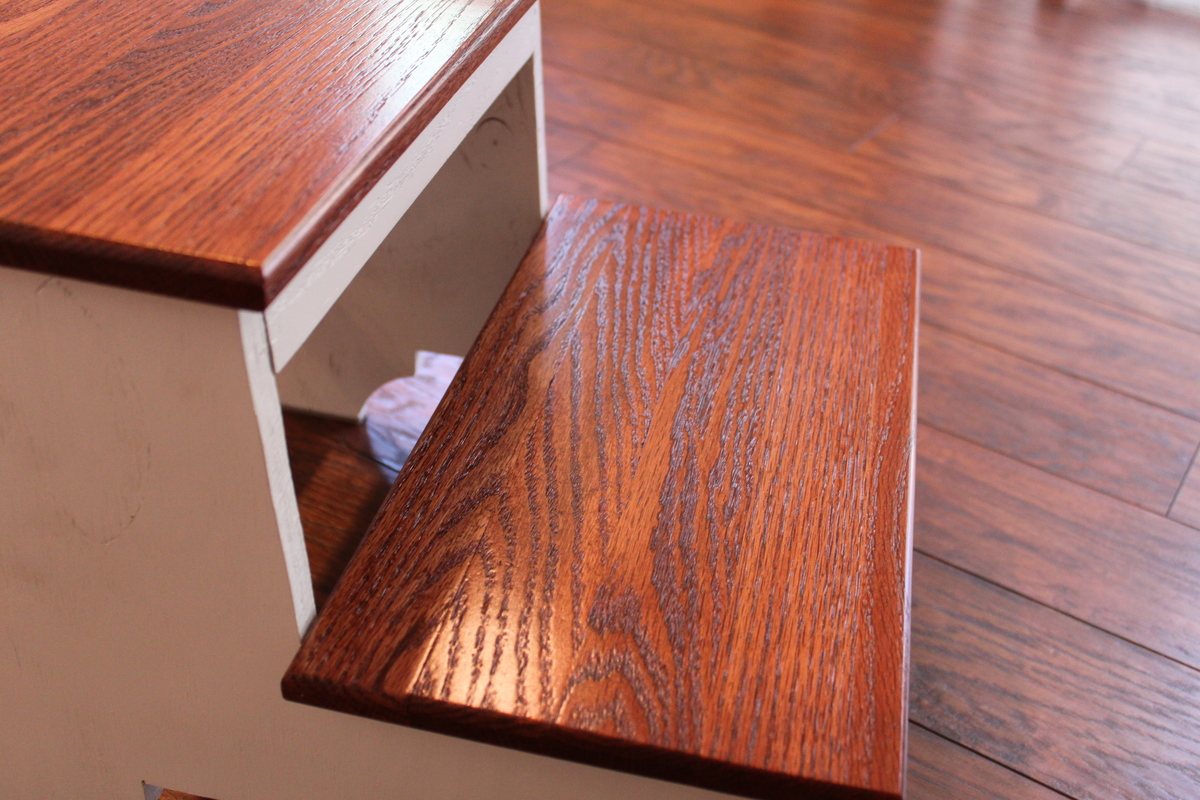
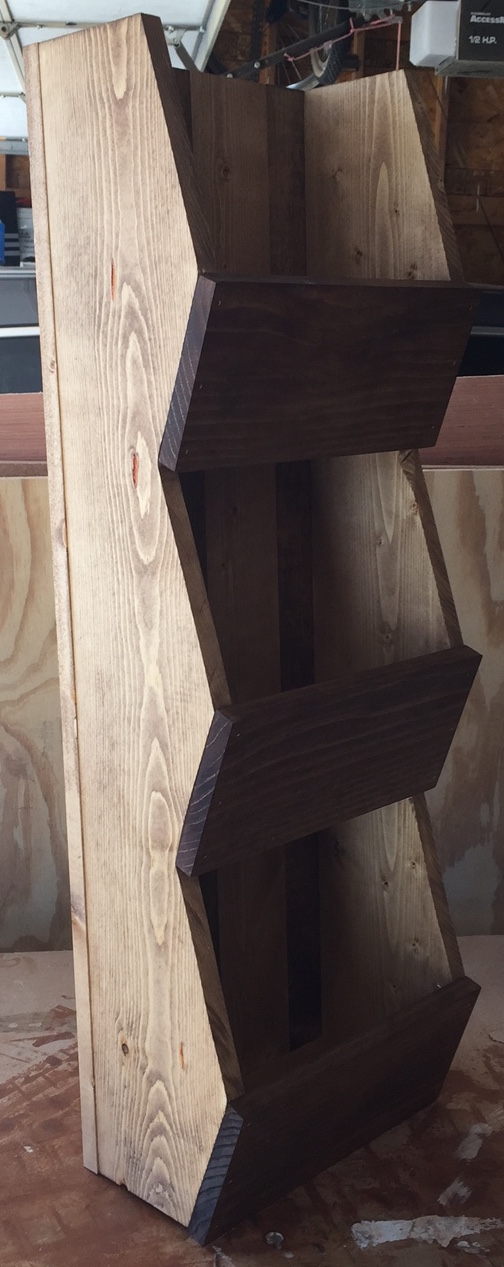
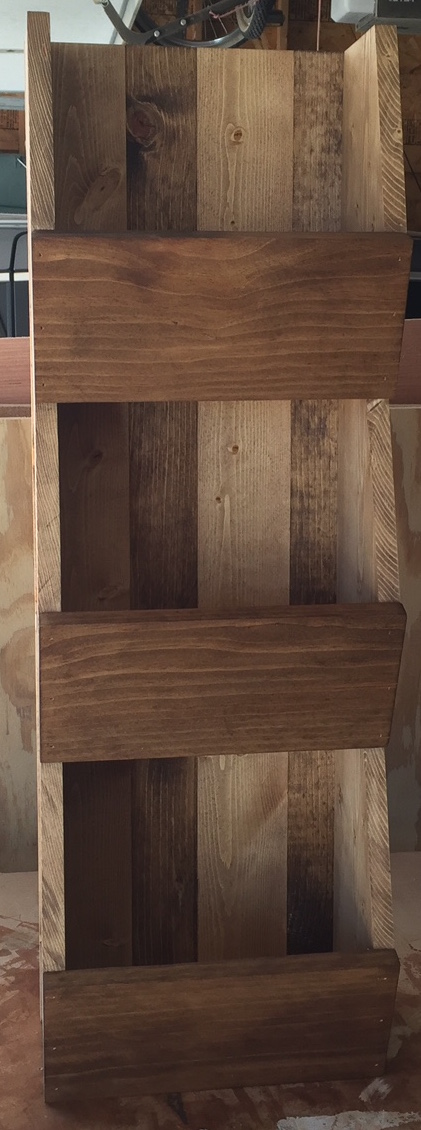
Very sturdy and stylish step stool built for my son in a style to match the kitchen and bathroom in our house.
This entire project was built using scrap plywood from a previous project and reclaimed oak boards that we demoed from our house while remodeling.
The sides were simply cut using a table saw to the rough dimension and then I added the details using a bandsaw. The stairs and rails were rough cut on the tablesaw and then milled using a jointer and planer to the specifications in the plan. Once cut I used a pocket screw jig to drill all the necessary holes before finishing assembly on the base. Each section was finished separately and then I used pocket screws to attach the steps last.
Very easy project that I made slightly more complicated by using reclaimed wood and a 2 tone design. Would recommend pocket screws to ensure strength and durability...I can stand on this and it doesn’t even budge!
Thanks for the plans!!
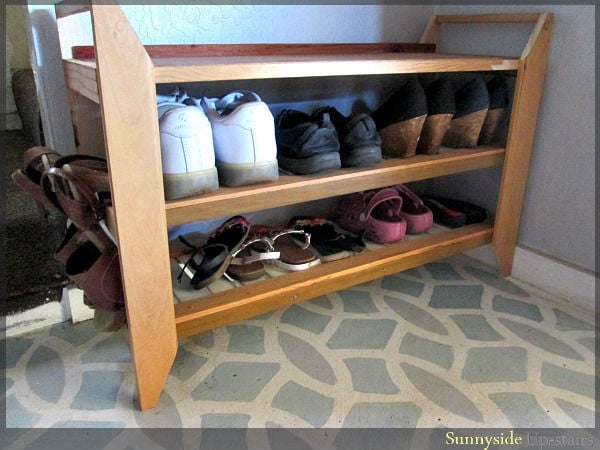
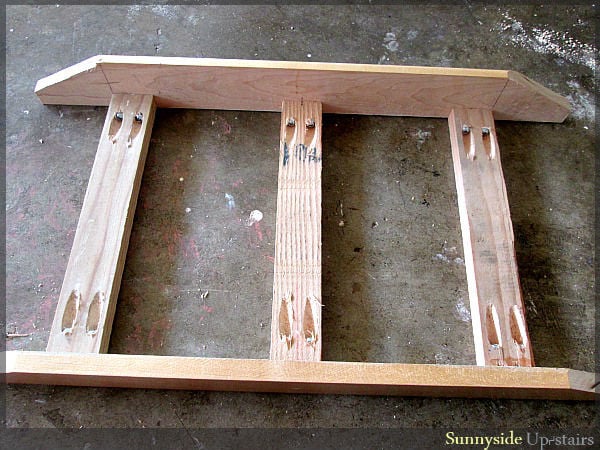
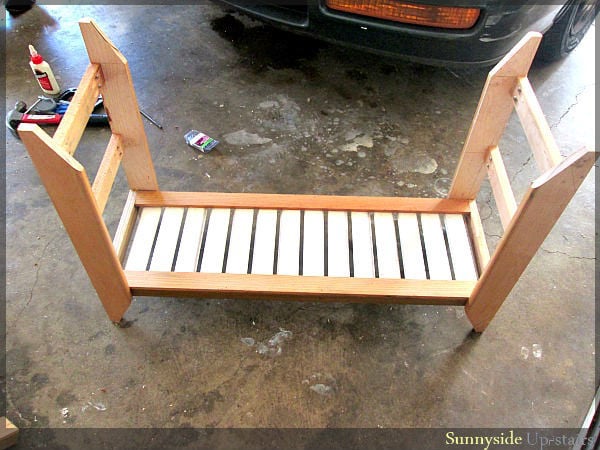
I love the legs on Crate&Barrel's Boardwalk Bench, but I was on a tight budget (under $10), so I needed to make many modifications so that I could use the random pieces of wood I had accumulated from my local deconstruction warehouse, including free wood louvers for the slatted shoe shelves. If you'd like to make your own, more photos of my process are on my little blog: http://sunnysideup-stairs.blogspot.com/2014/05/boardwalk-shoe-bench.html


Tue, 06/10/2014 - 17:06
Great use of materials! The lines are elegant, it's a wonderful build! (Also, I love the floor!)
:)
Joanne
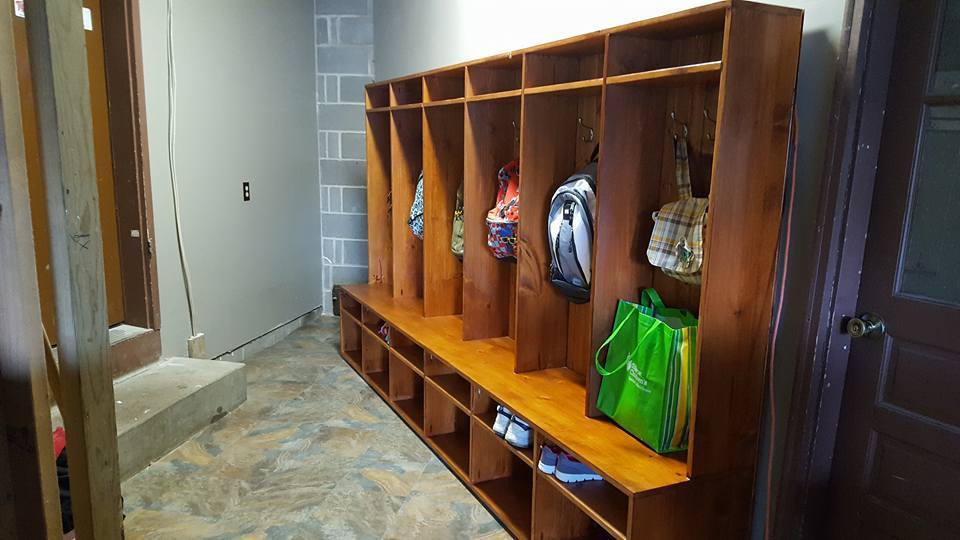
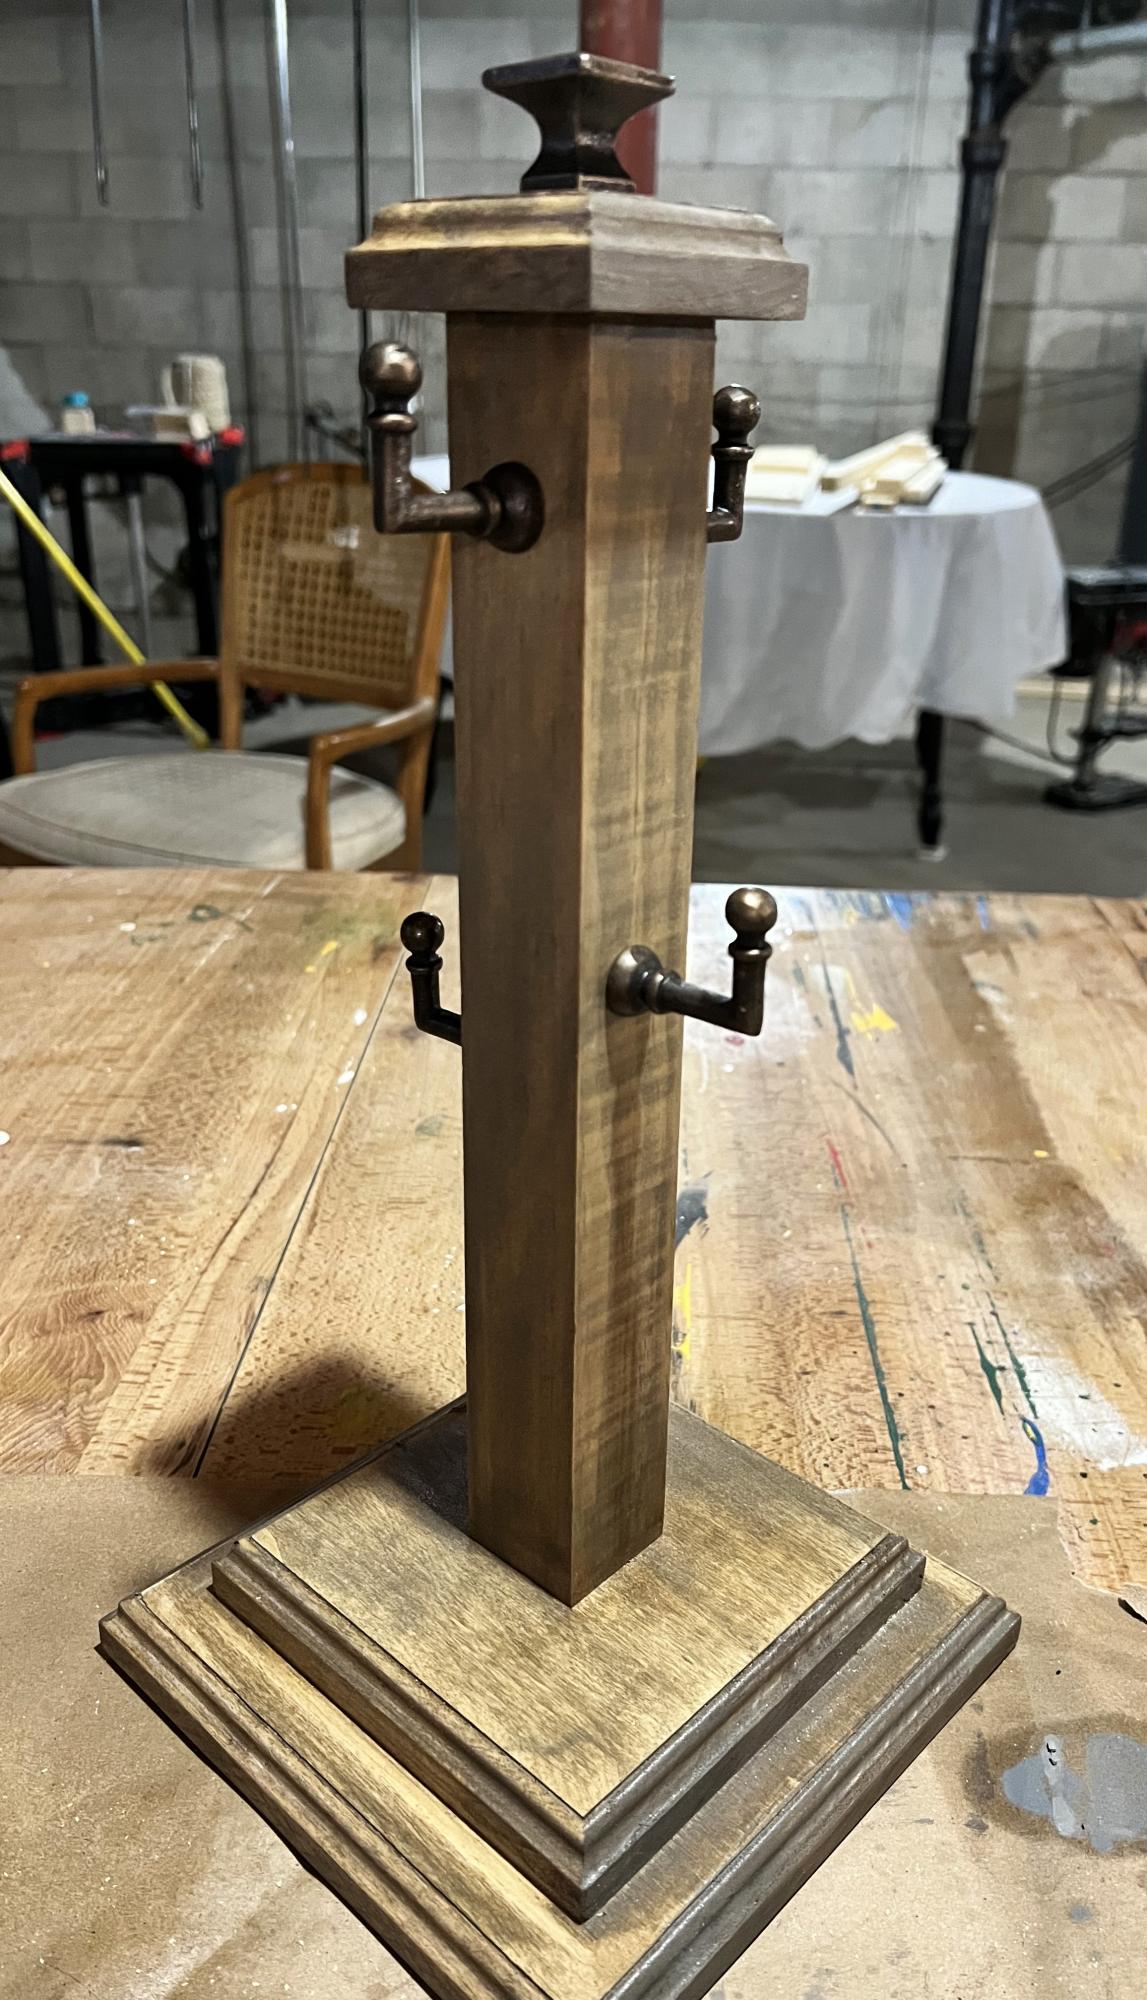
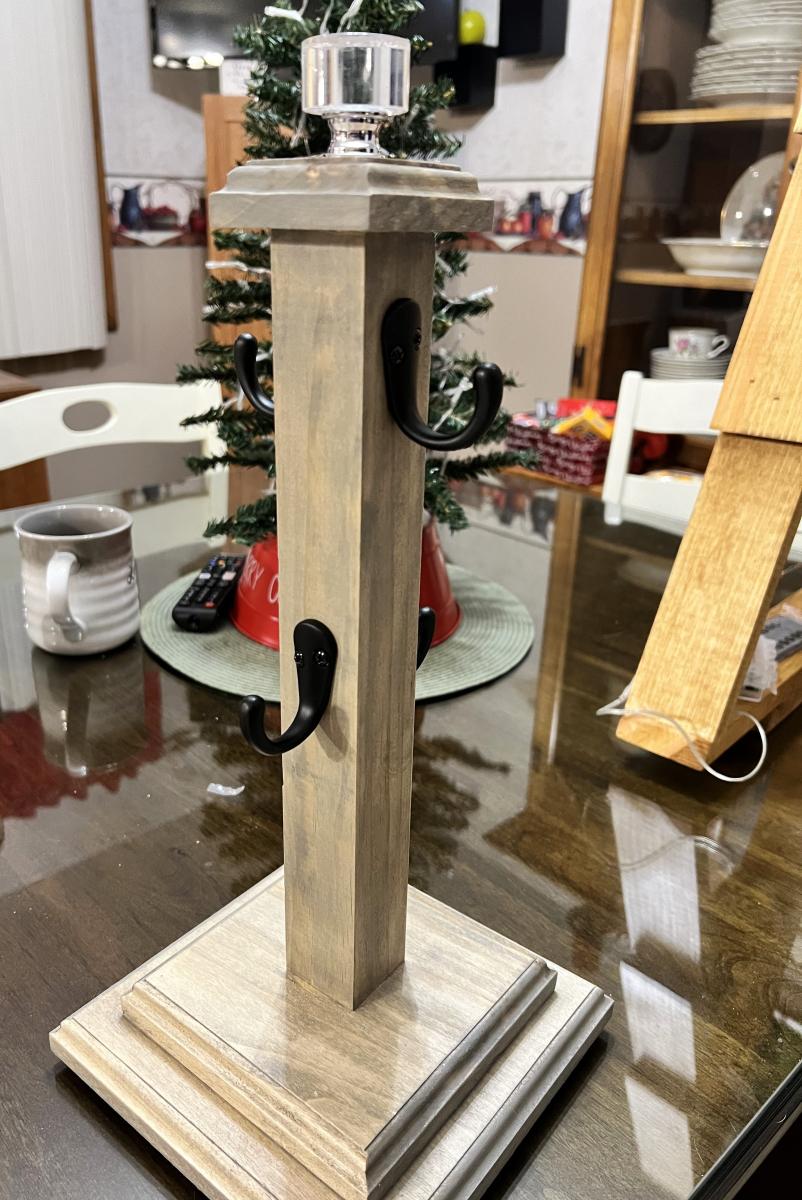
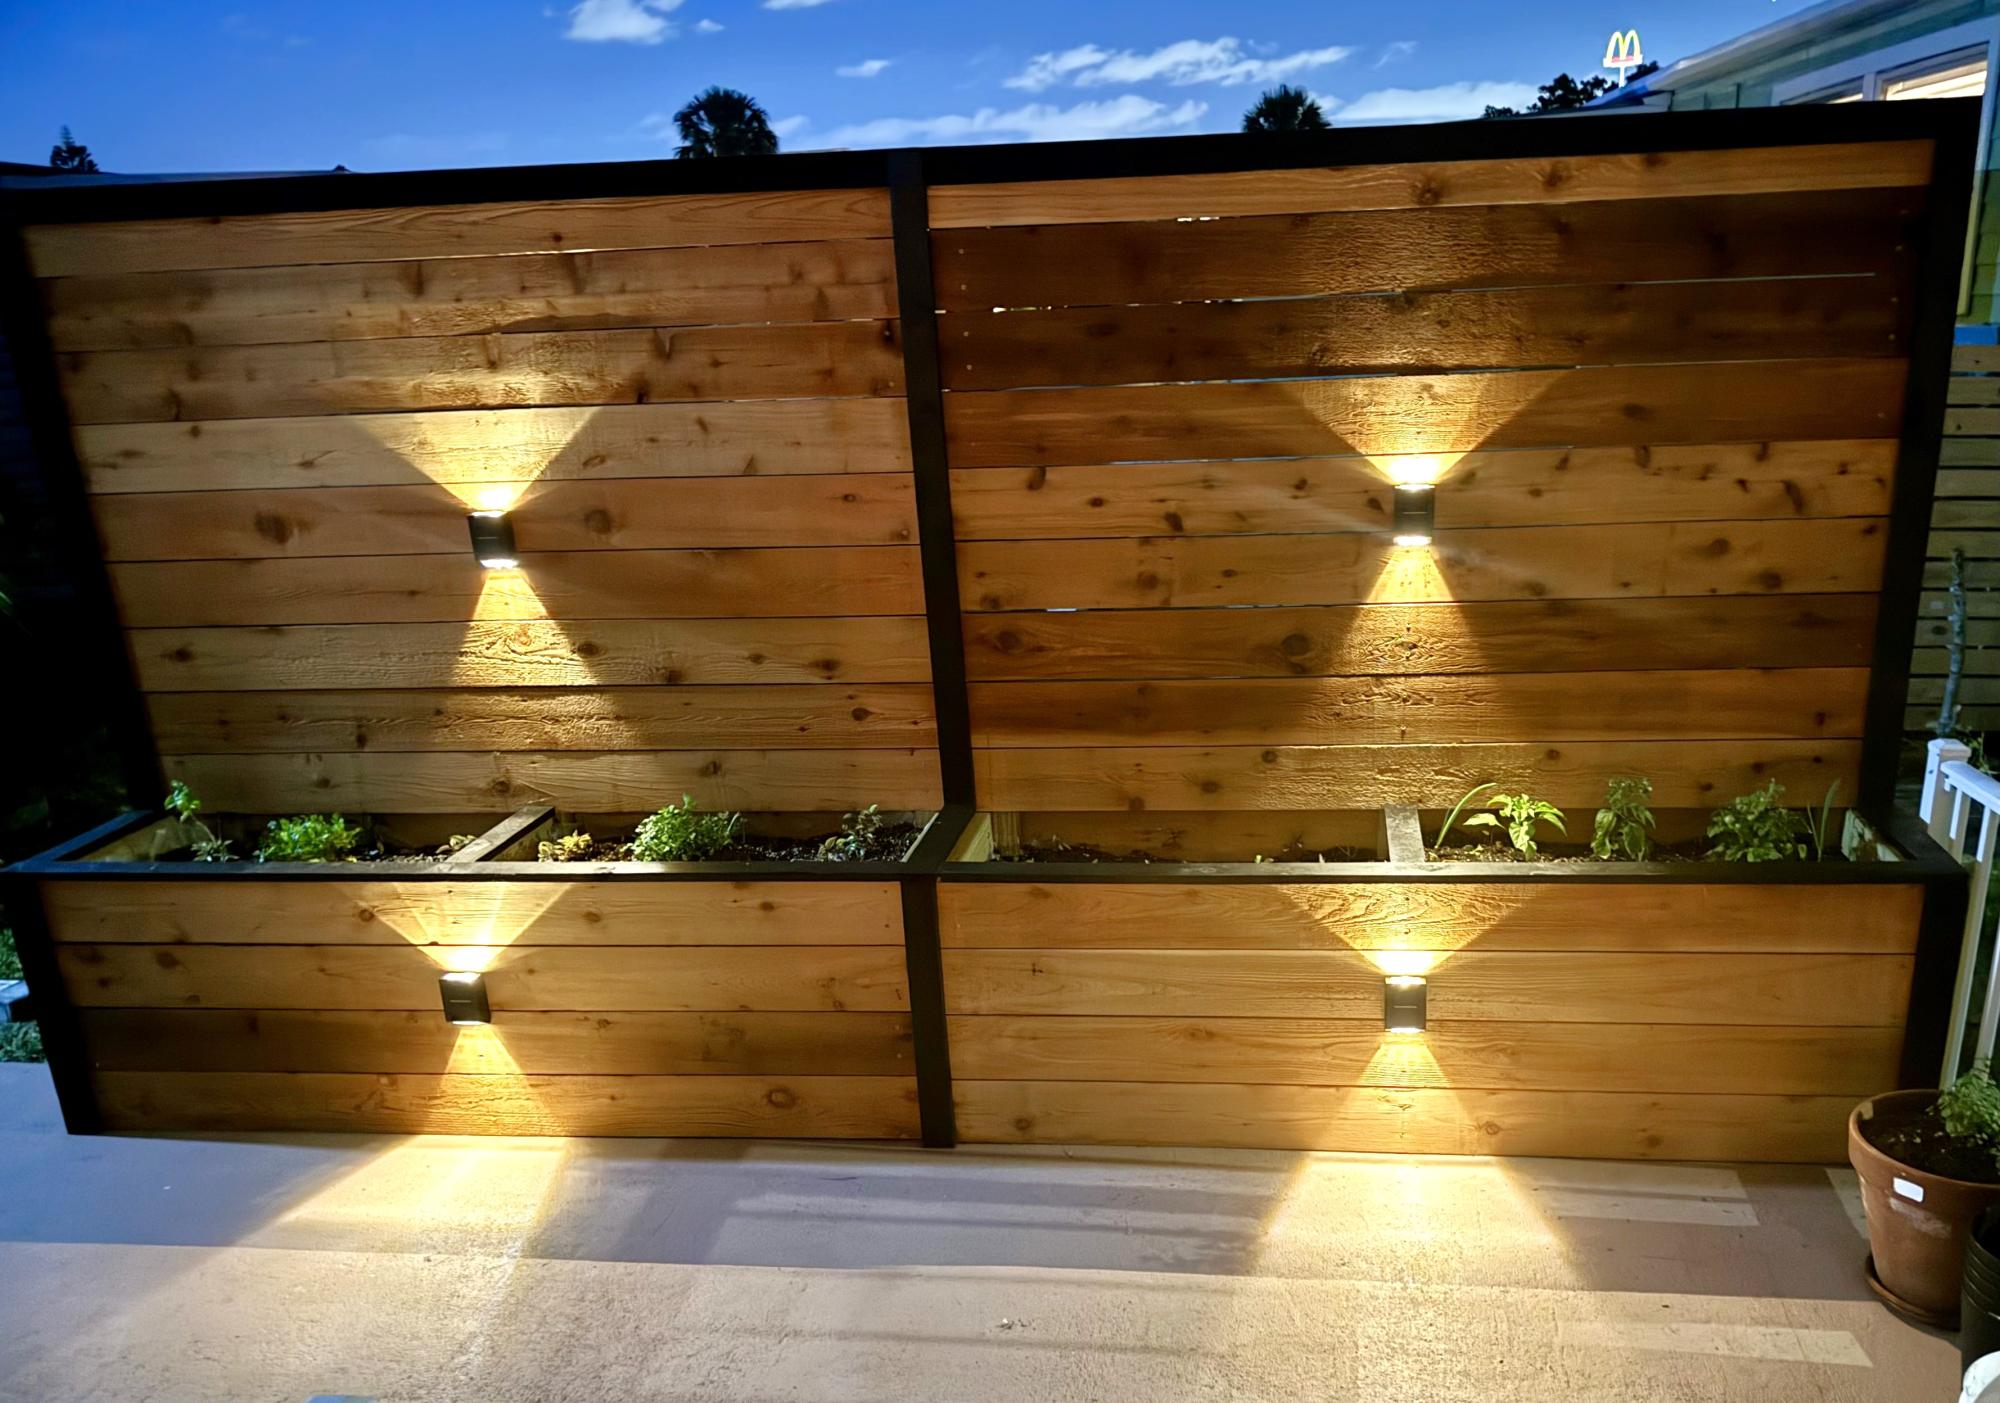
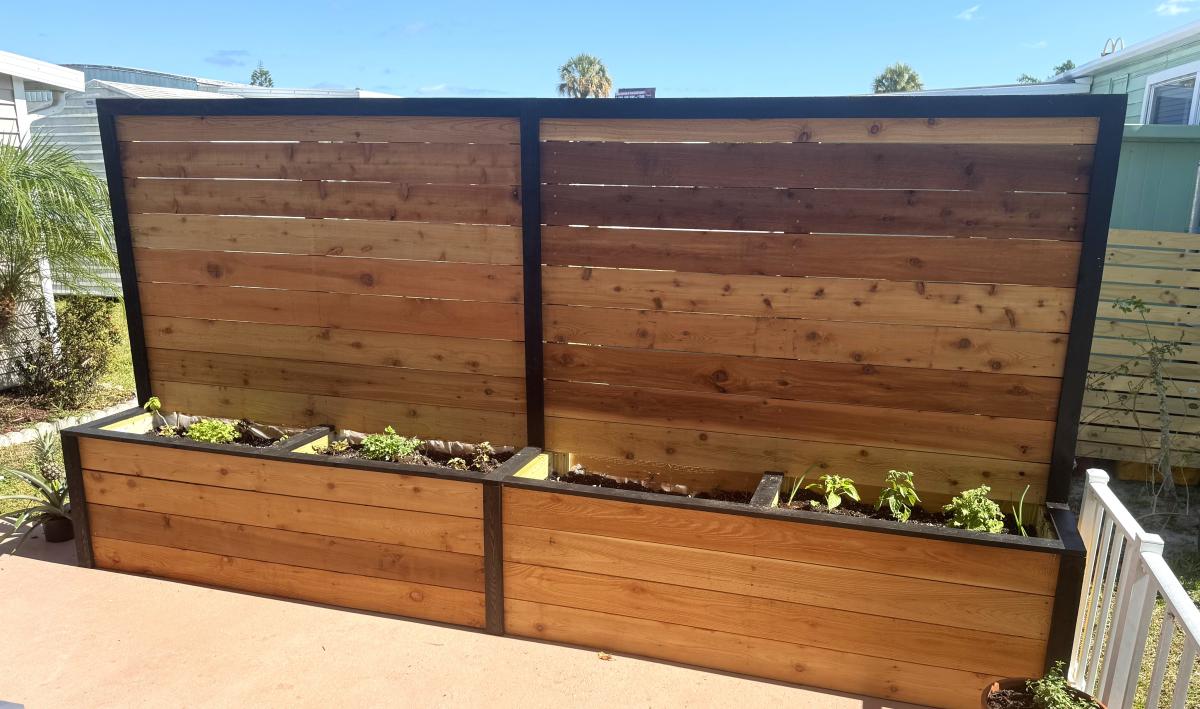
This is 10 feet long and 5 1/2 feet tall. Made using a Kreg Jig.
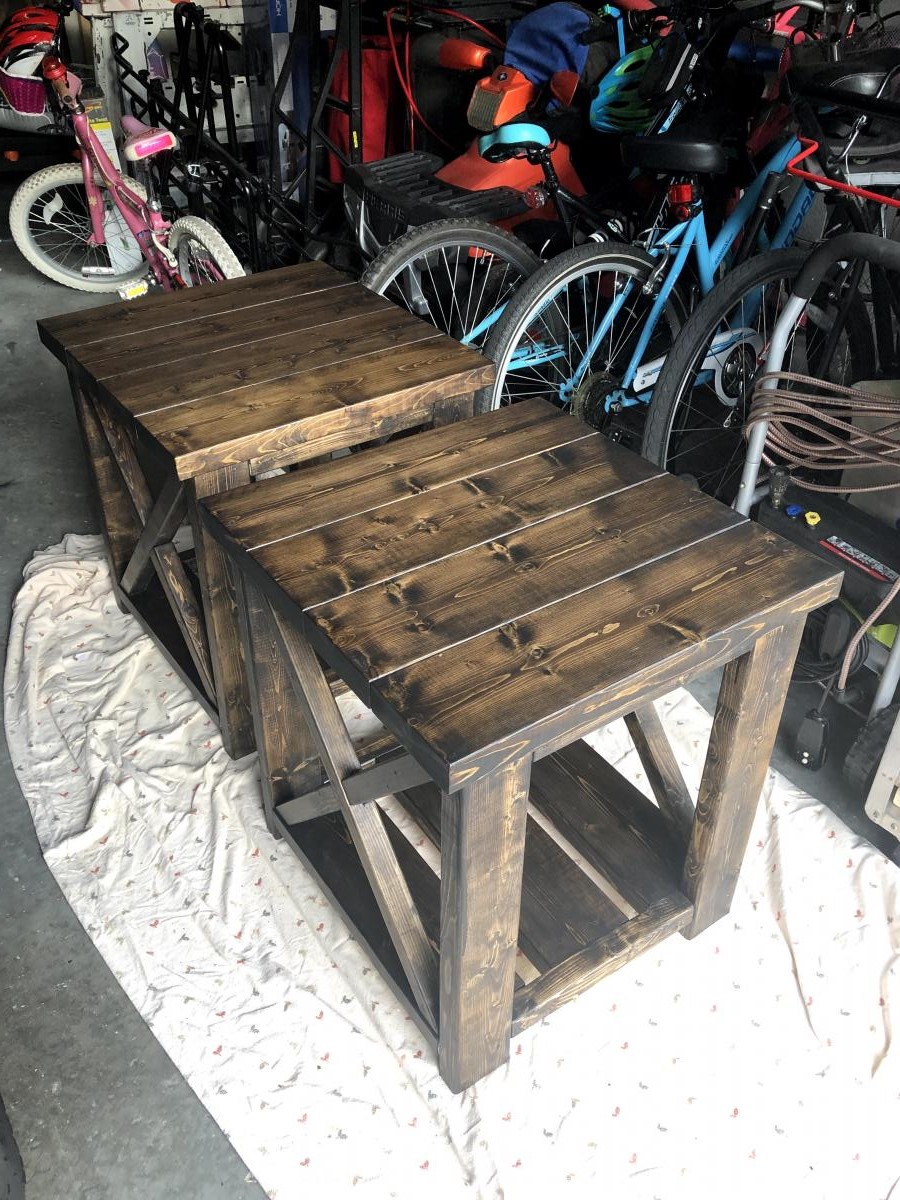
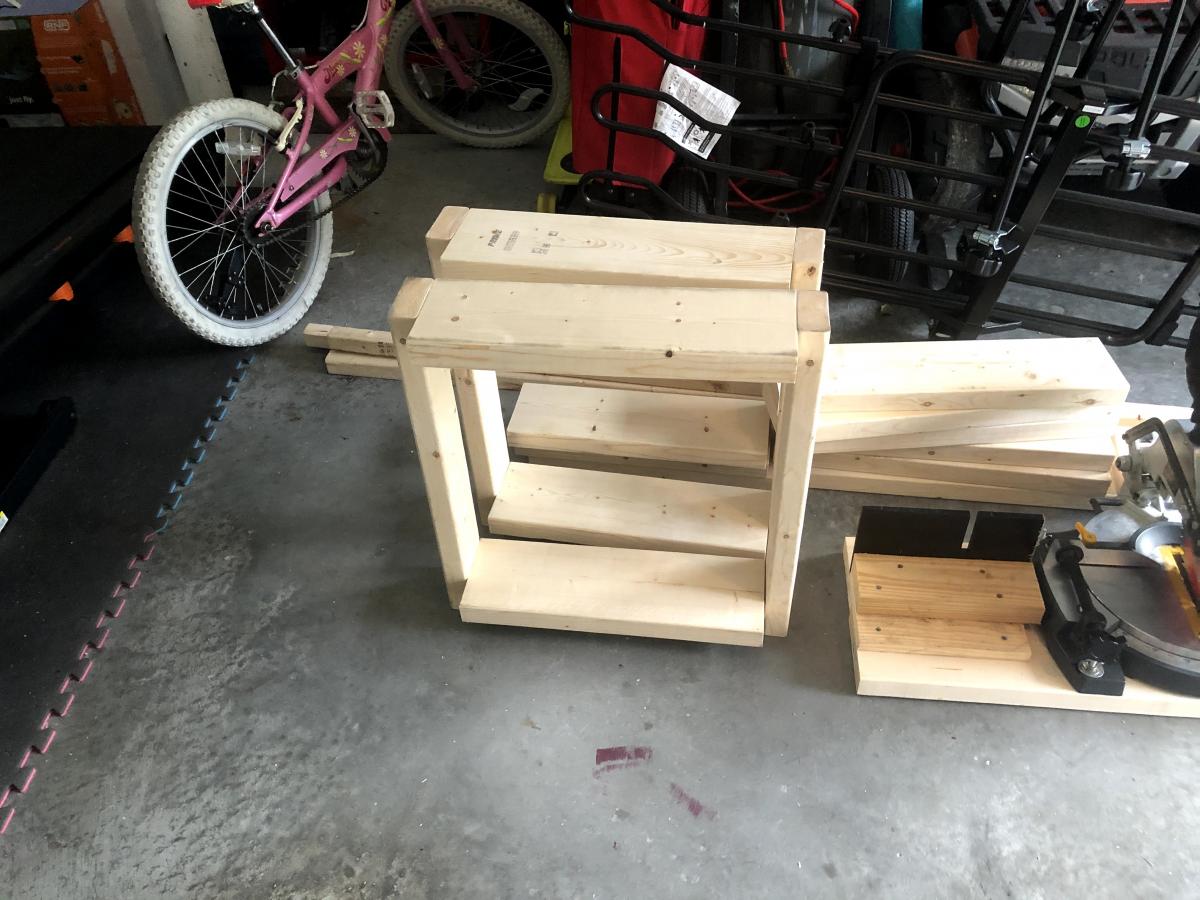
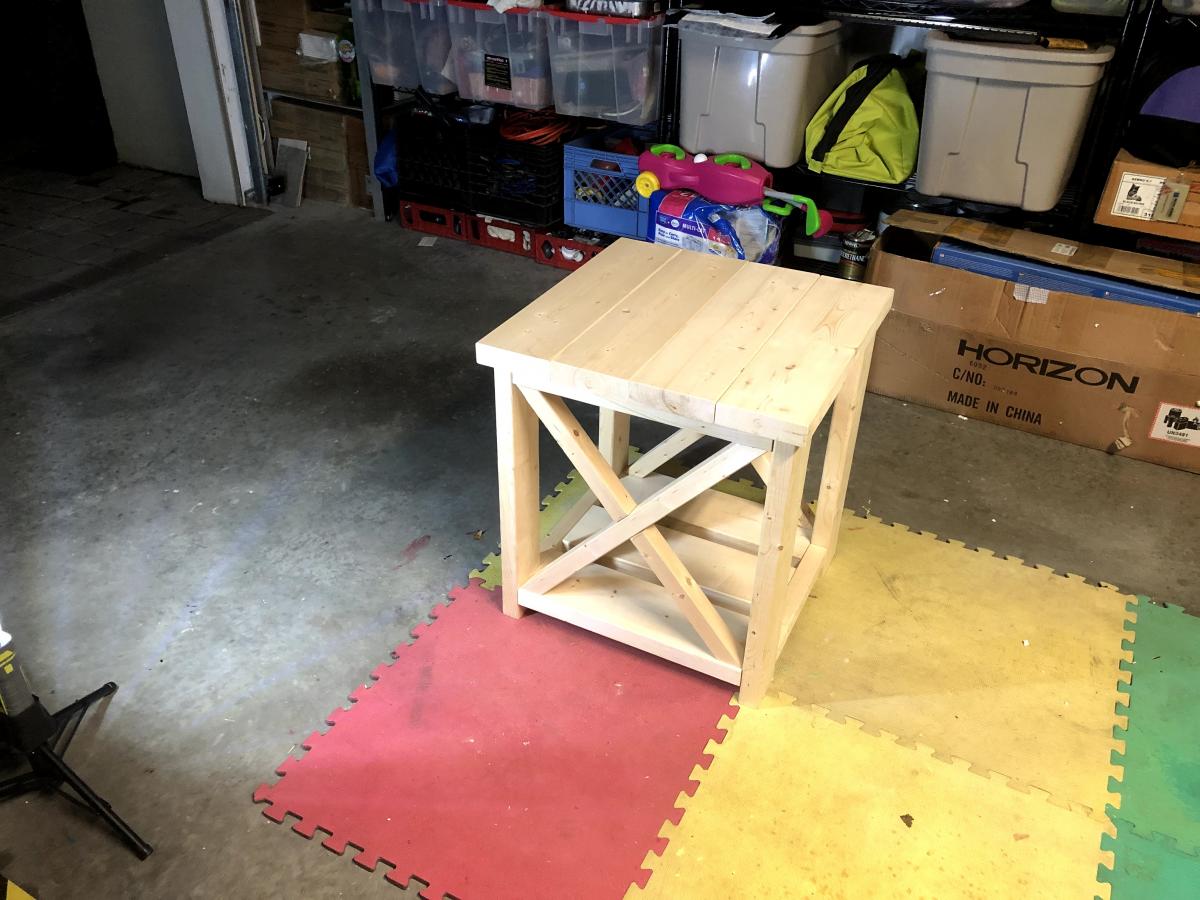
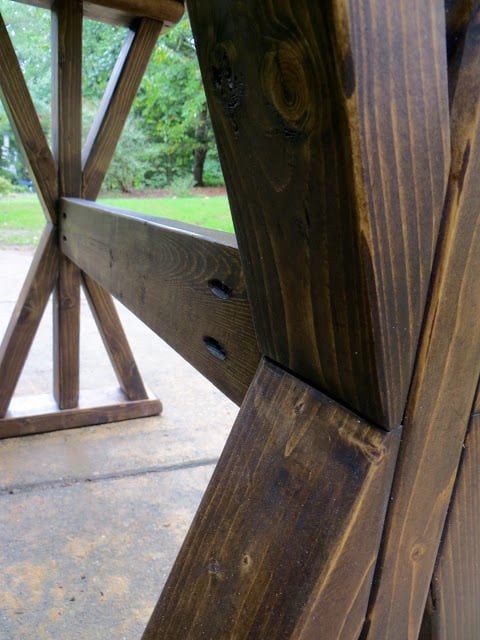
First it was the $40 Coffee Table, after it was finished my wife asked for the matching side tables see my other Brag Post. This time I built and used a proper miter saw stand, as well as purchased a new 60t saw blade for cleaner cuts. My wife didn't think they were tall enough so I increased the height by 2" with no need of additional wood. I took my time with these and even bought wood filler to even out and fill the knots. Ana does make it look easy having a workshop, but it wasn't that hard to build in my garage. I hated making the Xs on the Coffee Table and tried a different technique. I decided to notch them using my circular saw and my multi-tool as a plunge cutter. Sanded all the wood stained with Jacobean 2750 tint Minwax and sealed with Satin Polycrylic. See Photos for Details.

My husband, Daughter and I built this loft bunkbed for our seven-year-old granddaughter‘s birthday. It turned out wonderful and she squealed when she saw it! Thanks so much for your online plans.
Jan Ott
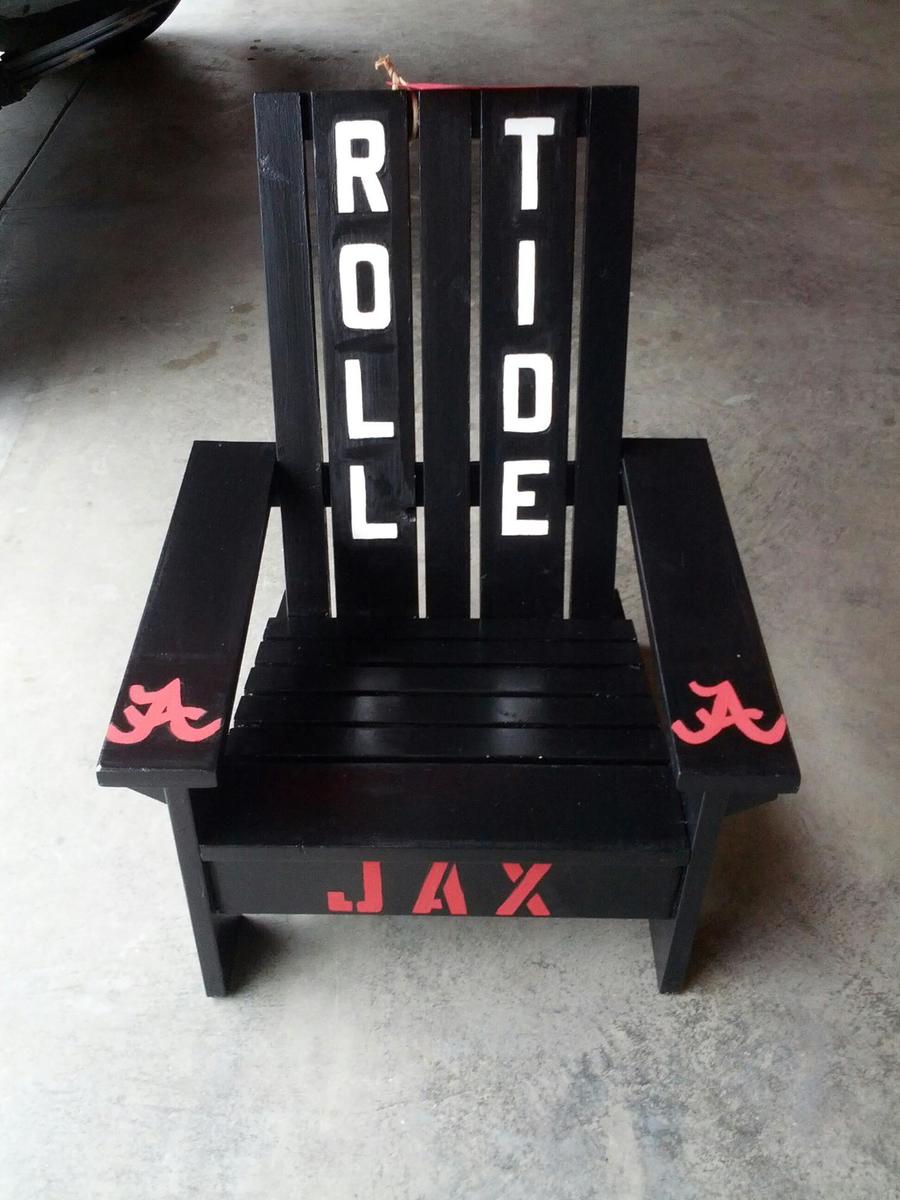
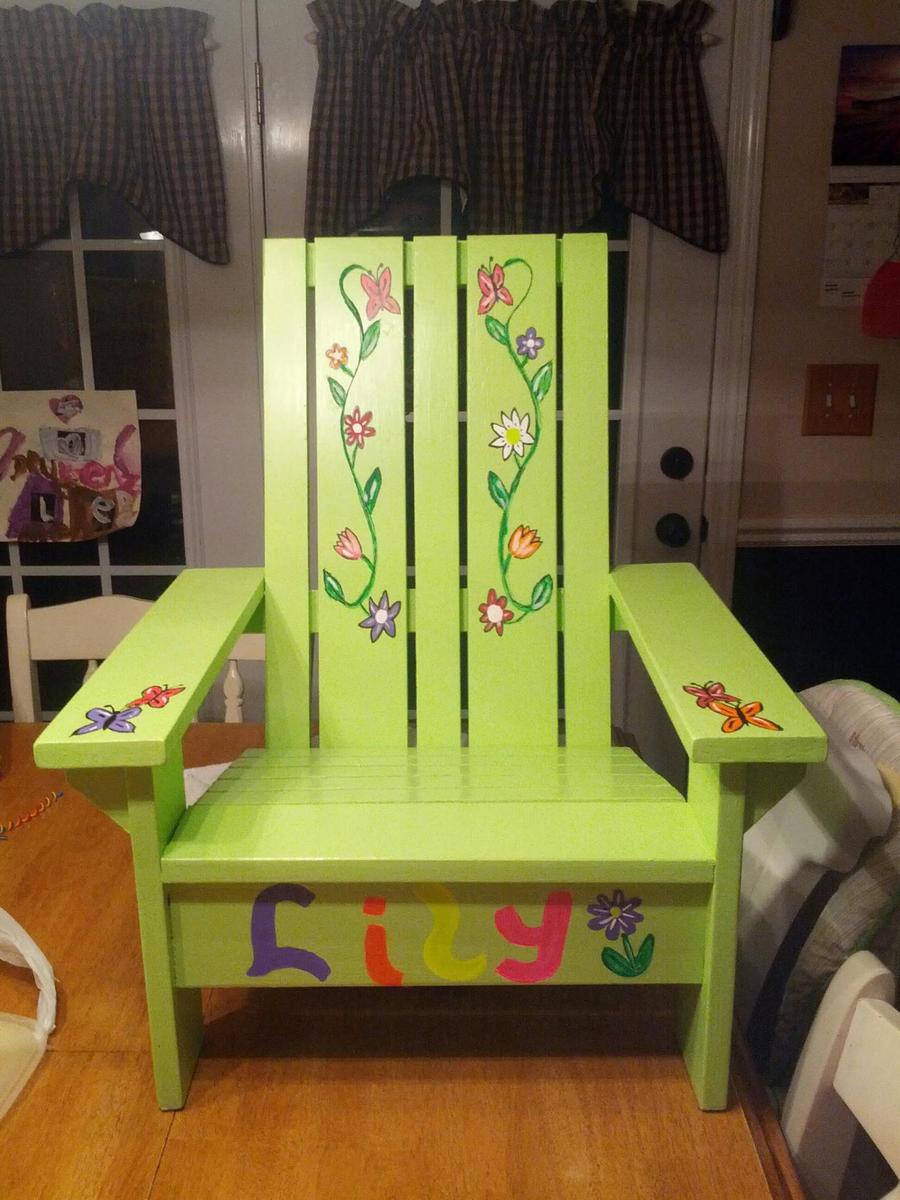
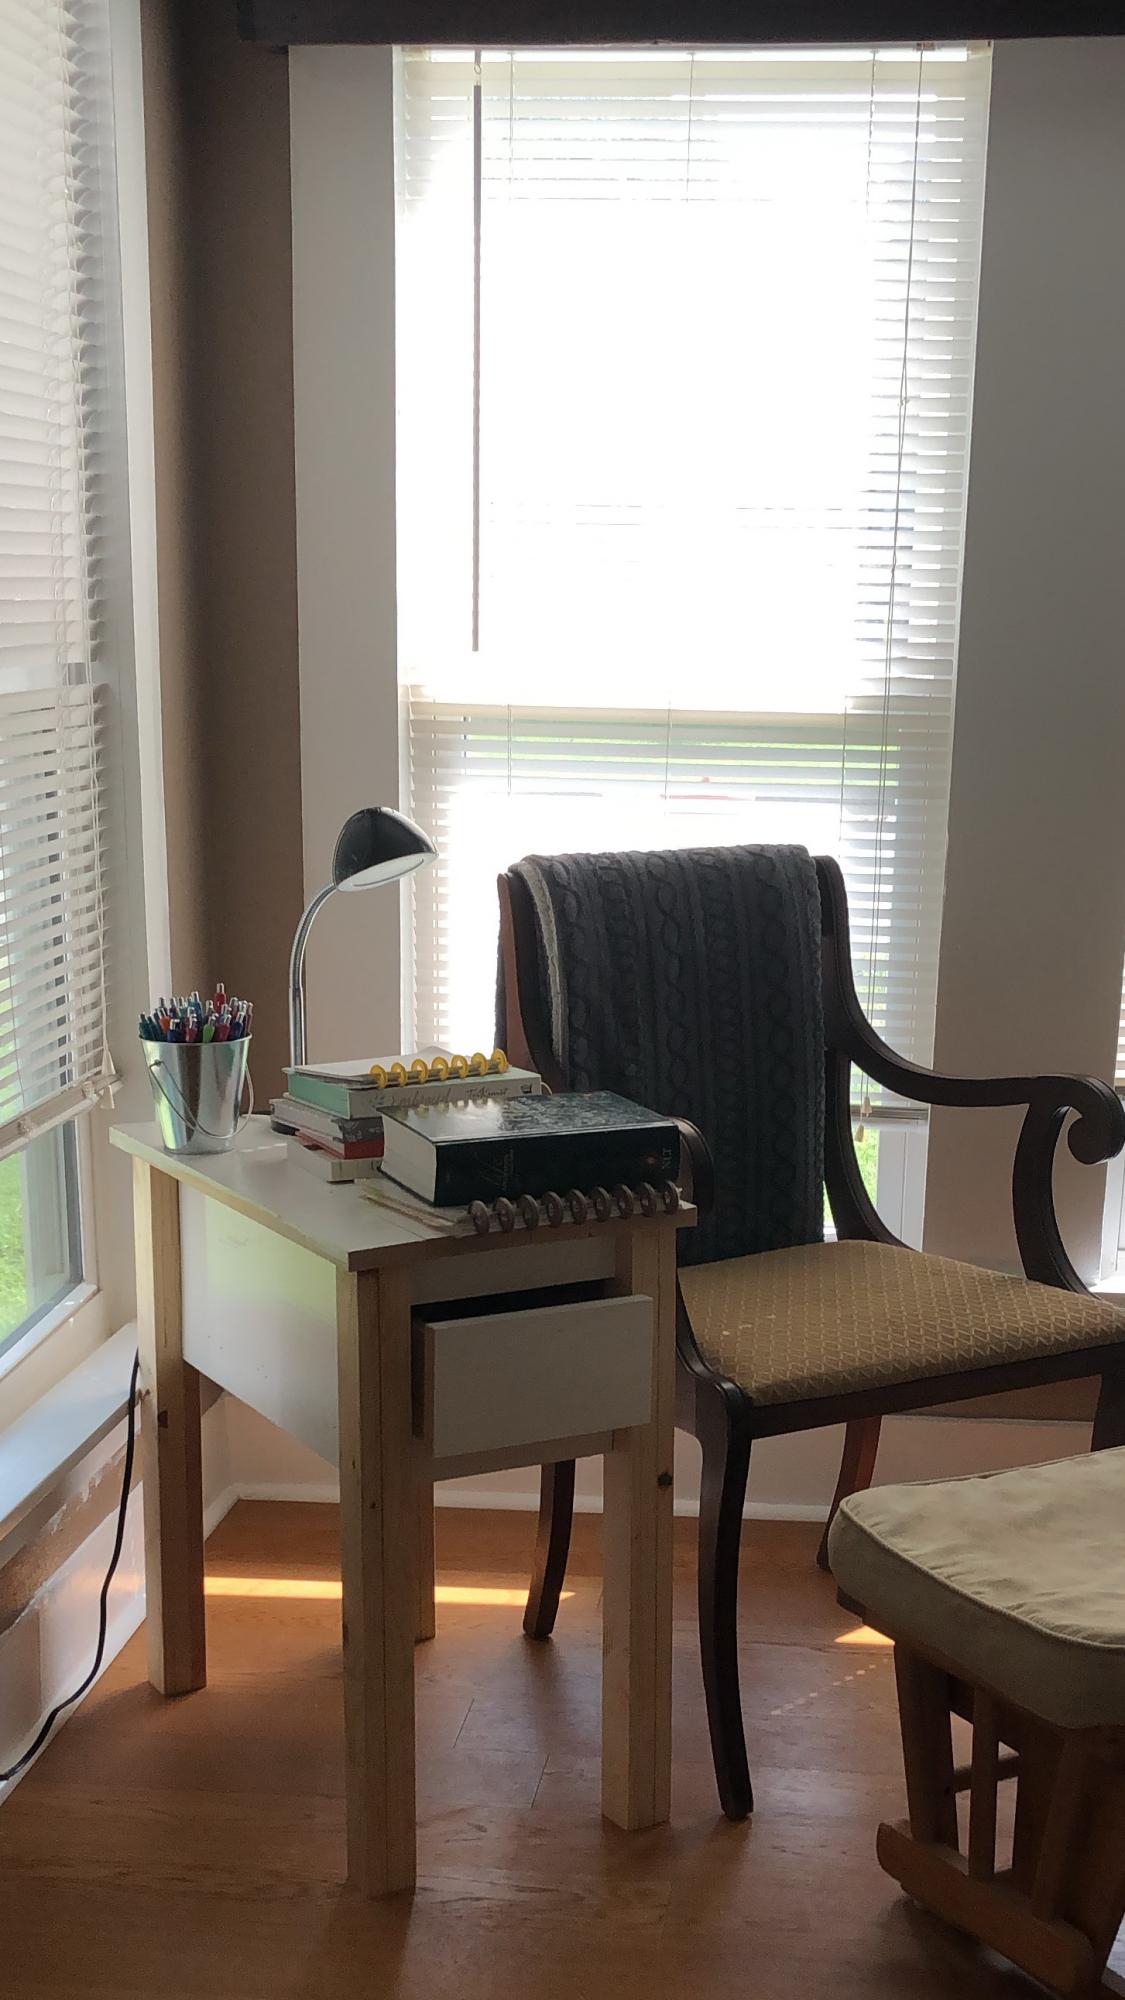
Chairs made as birthday gifts.
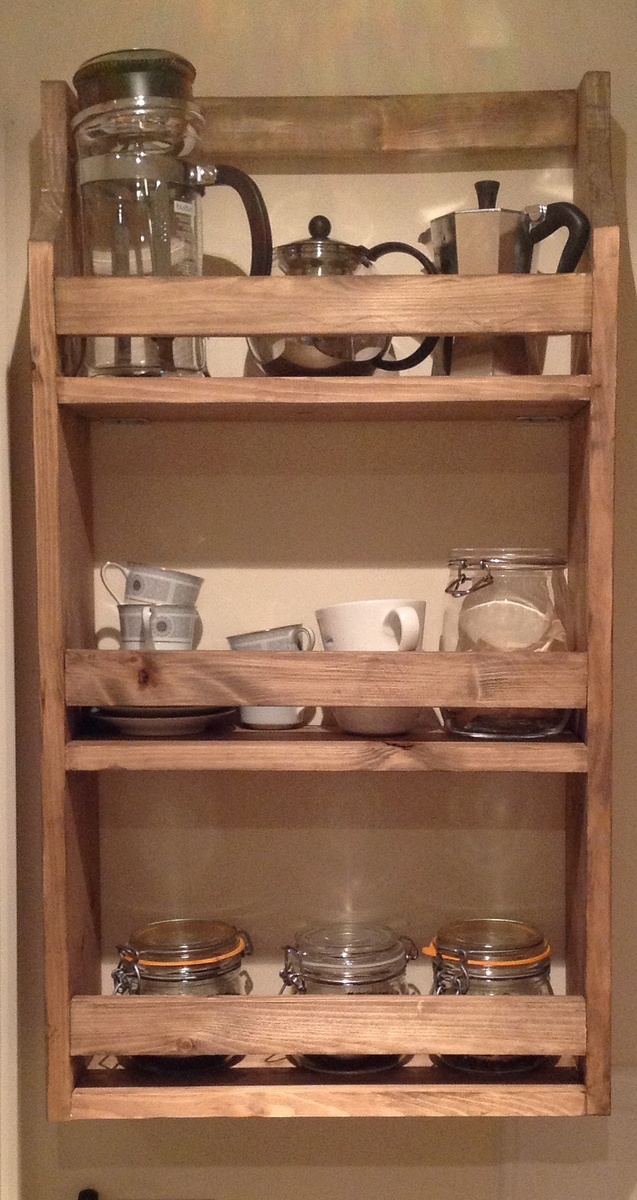
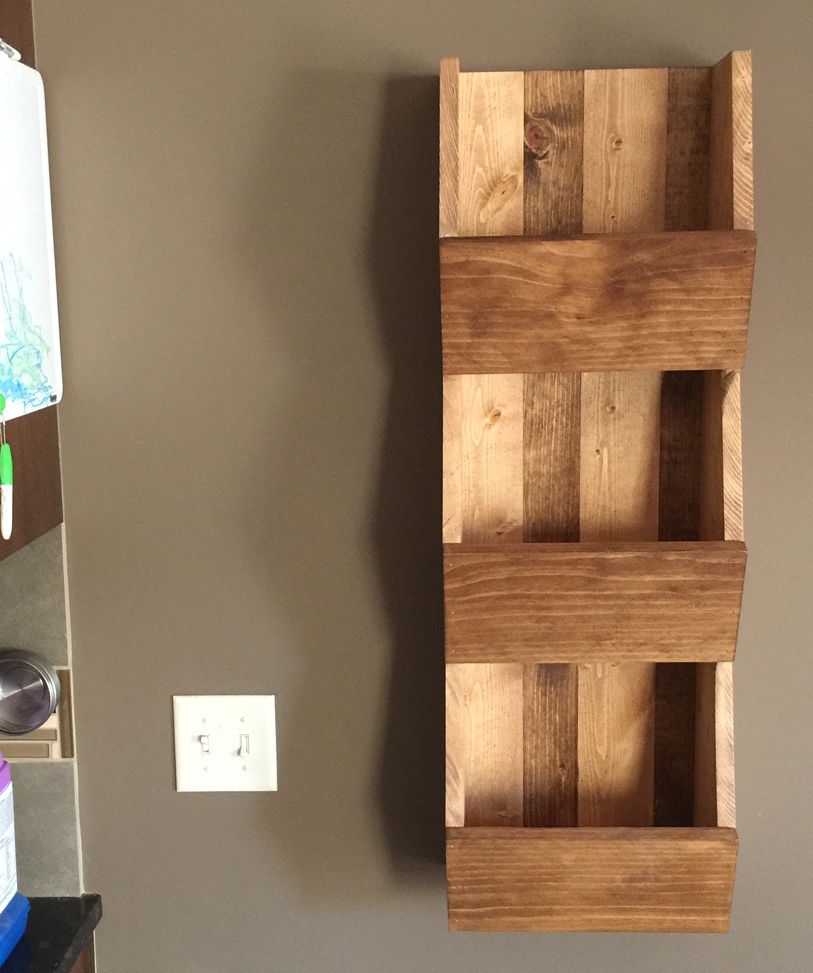
This was my first ever project. I initially intended to use it for office storage but it ended up taking its place in the kitchen - and proving most useful for storage there too!
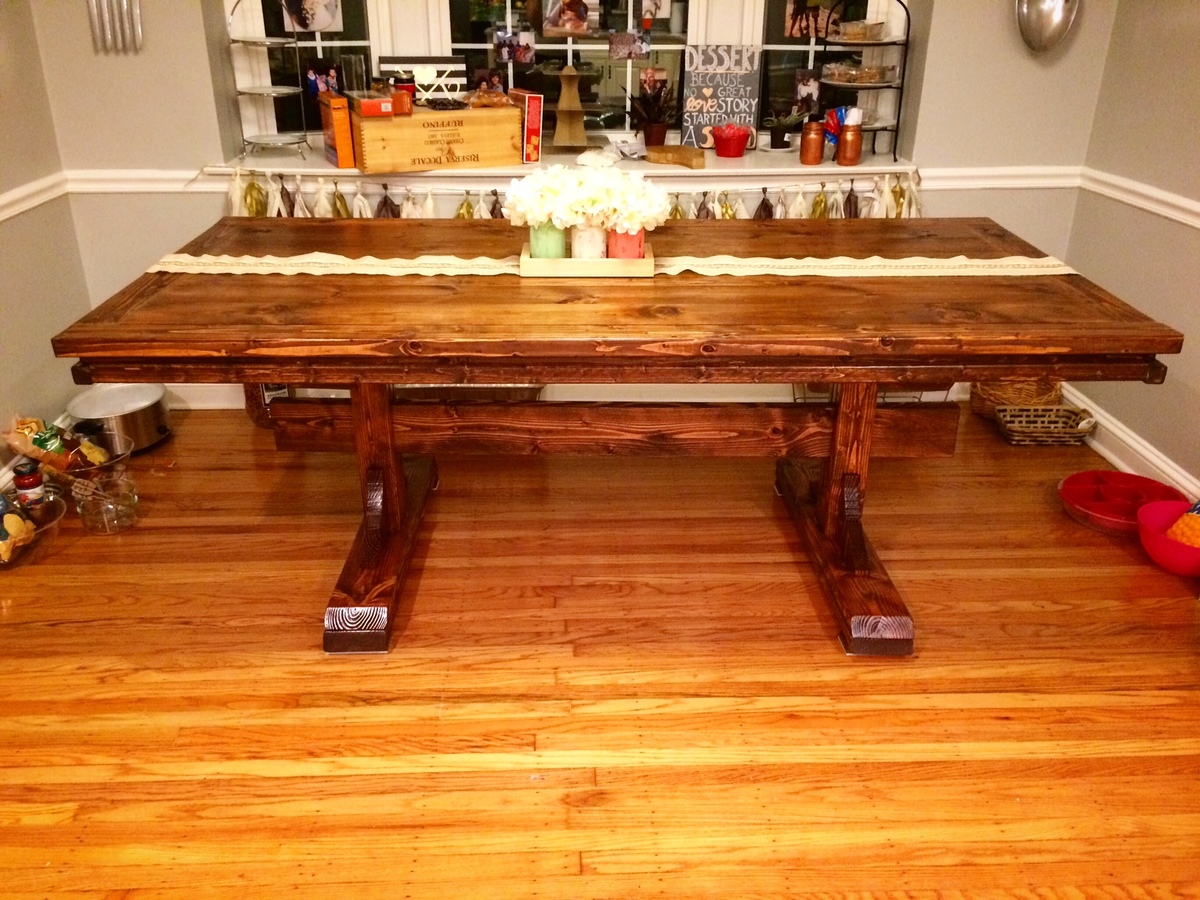
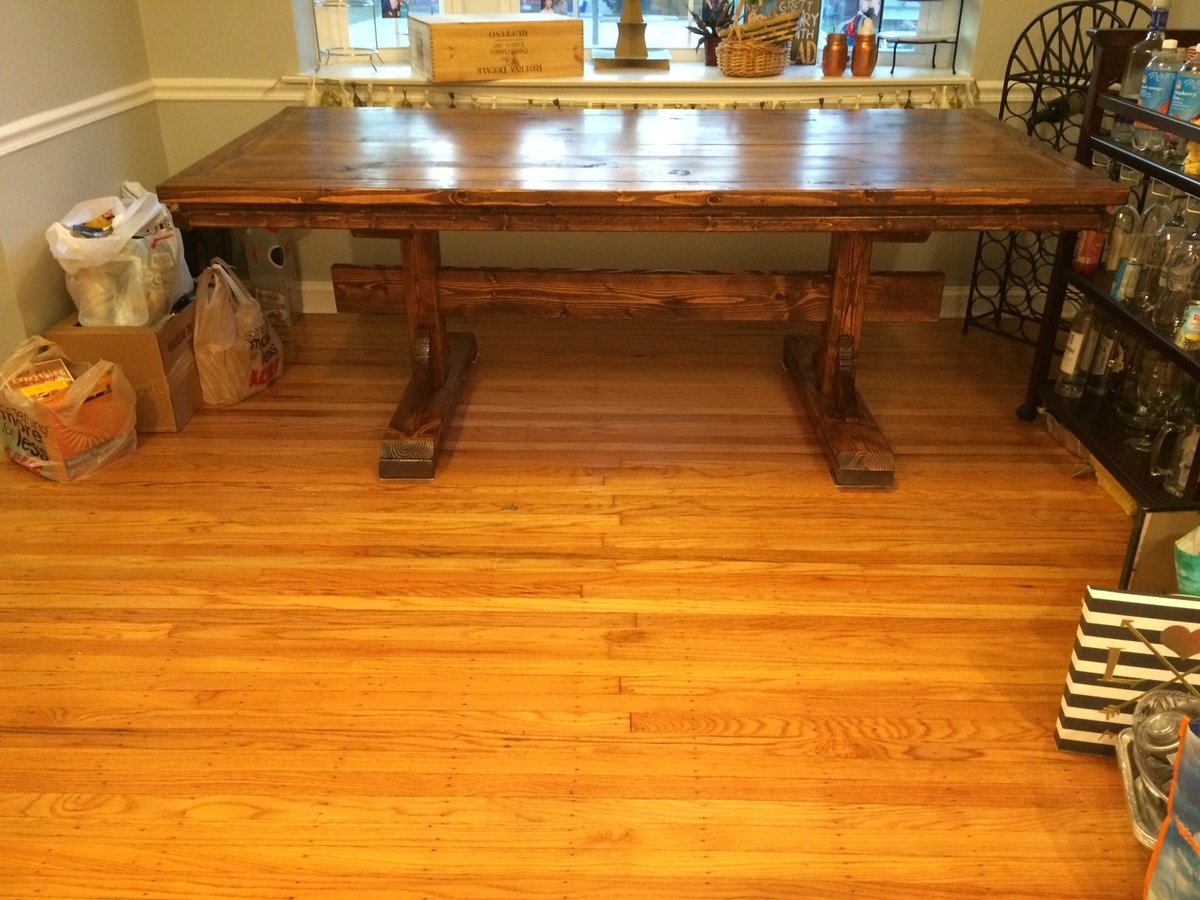
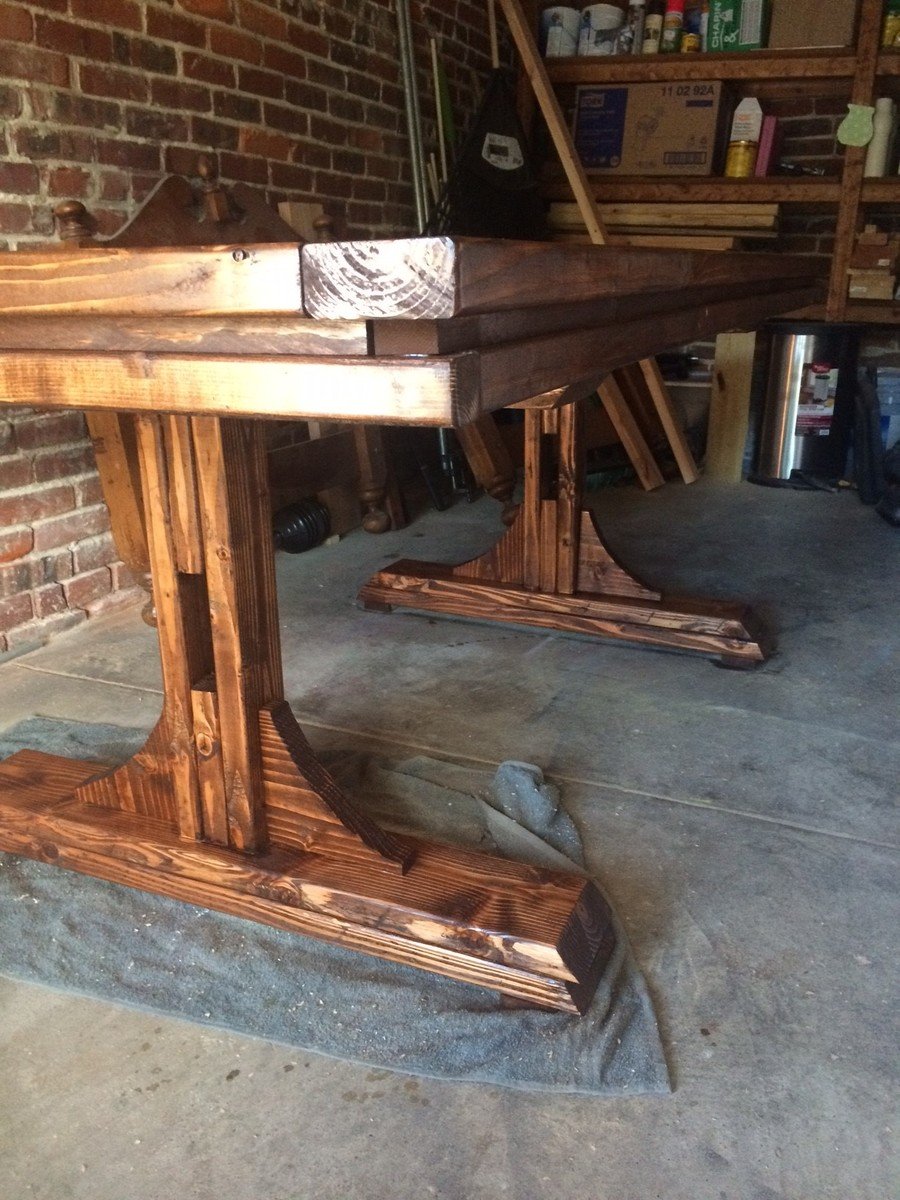
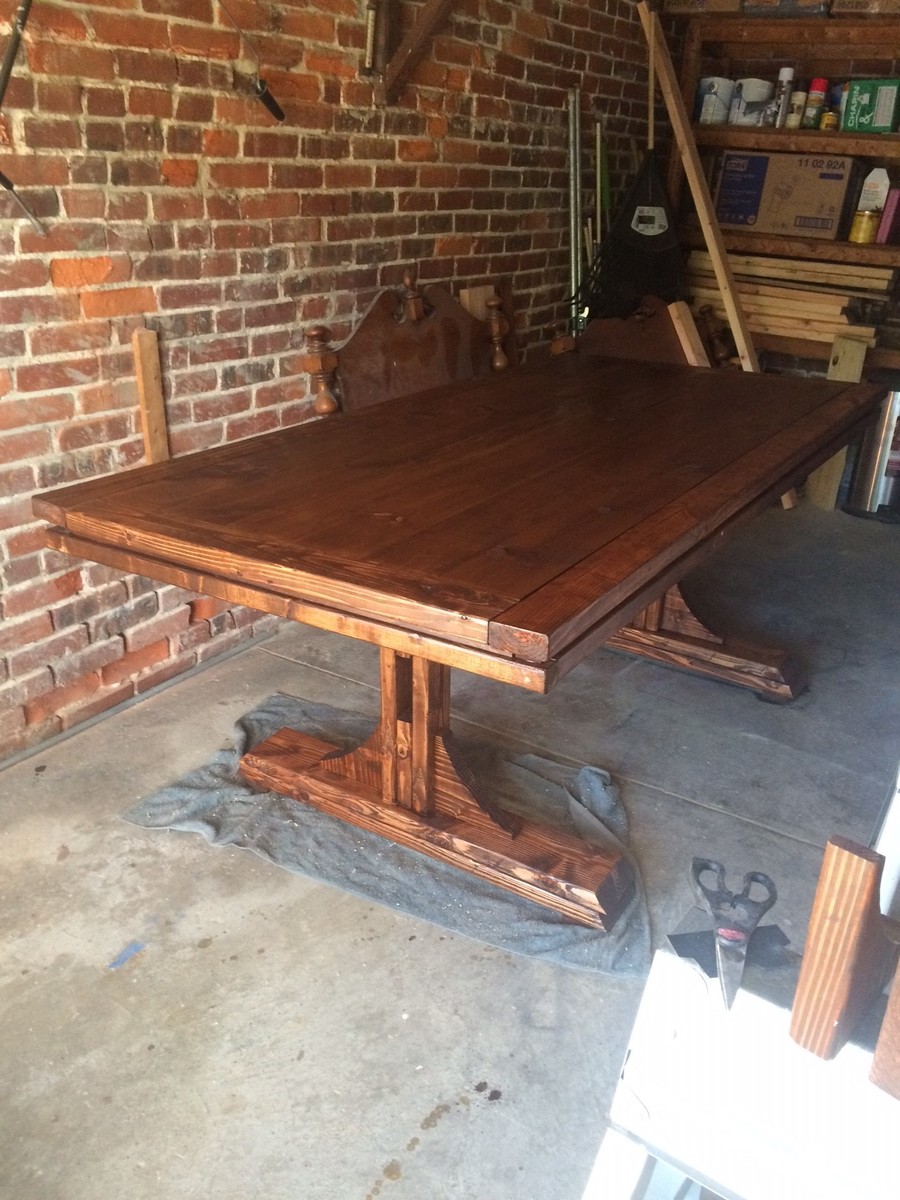
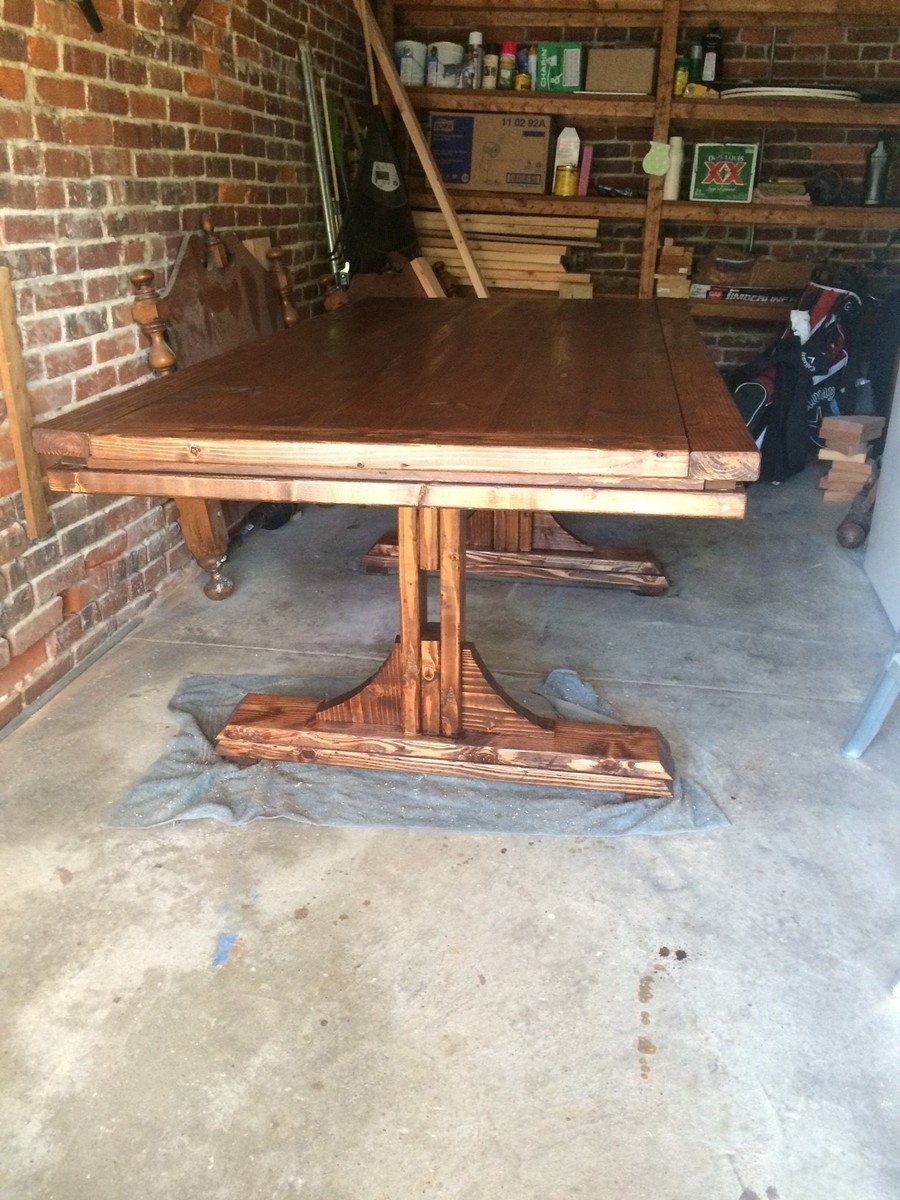
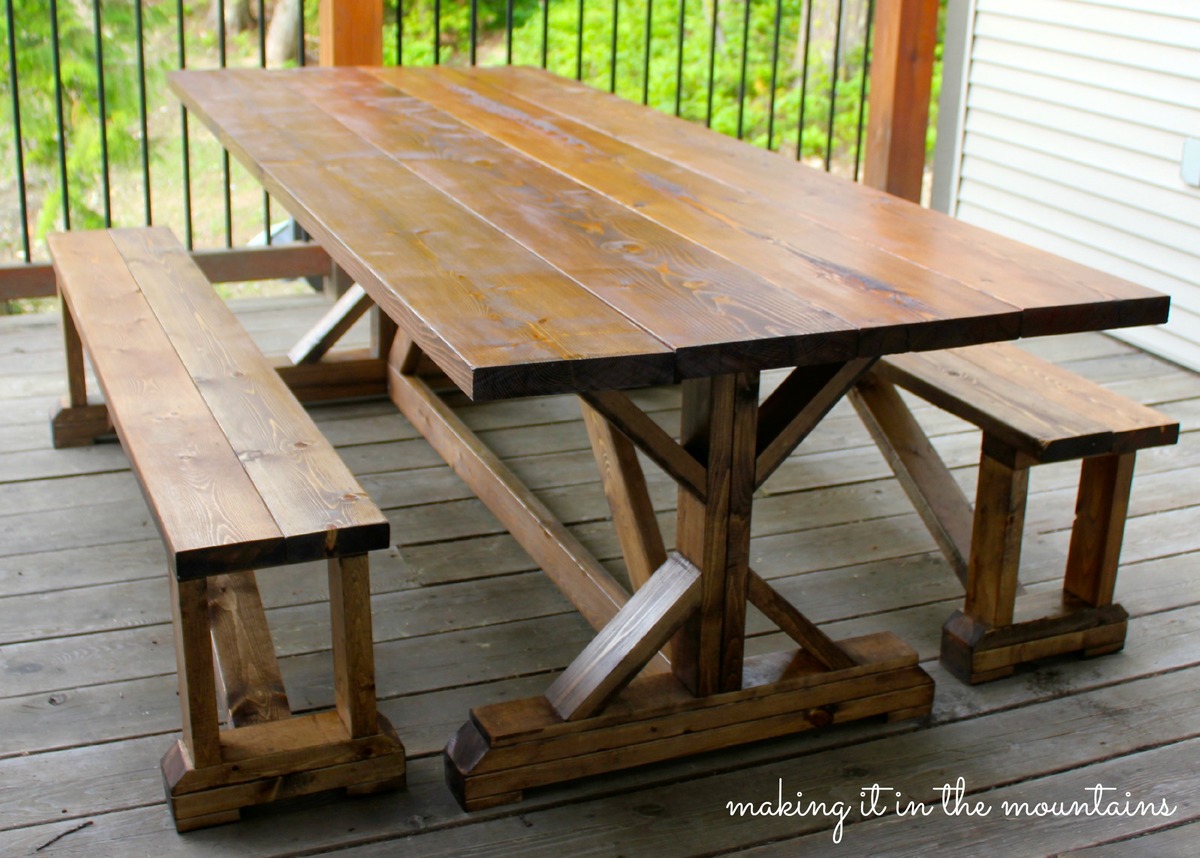
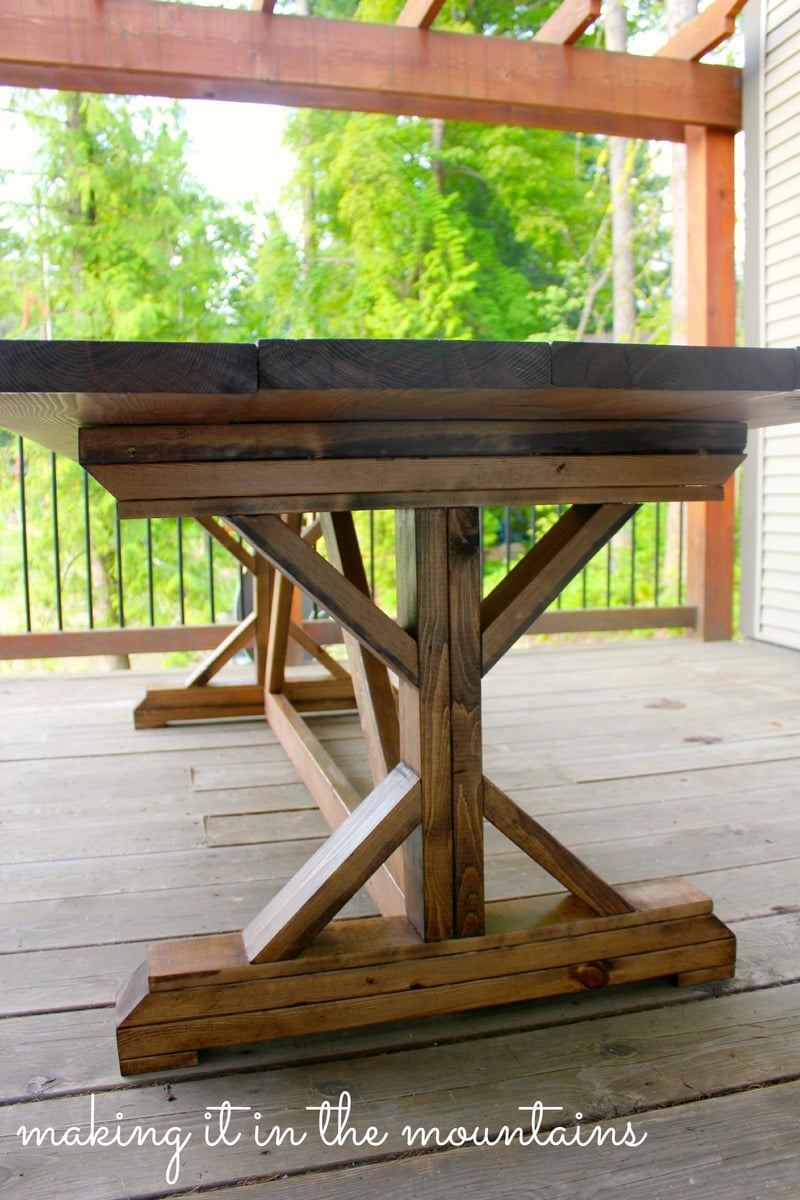
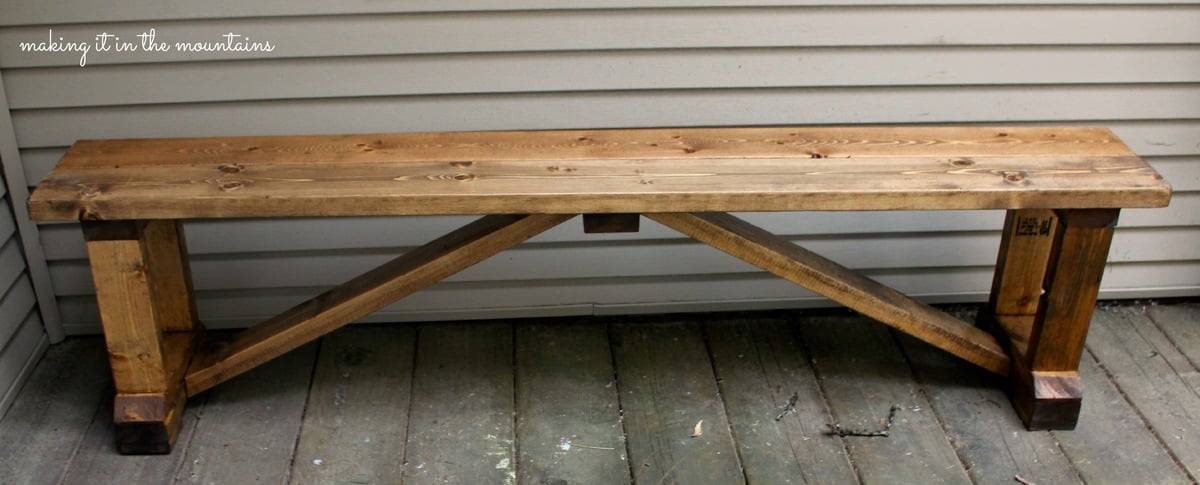
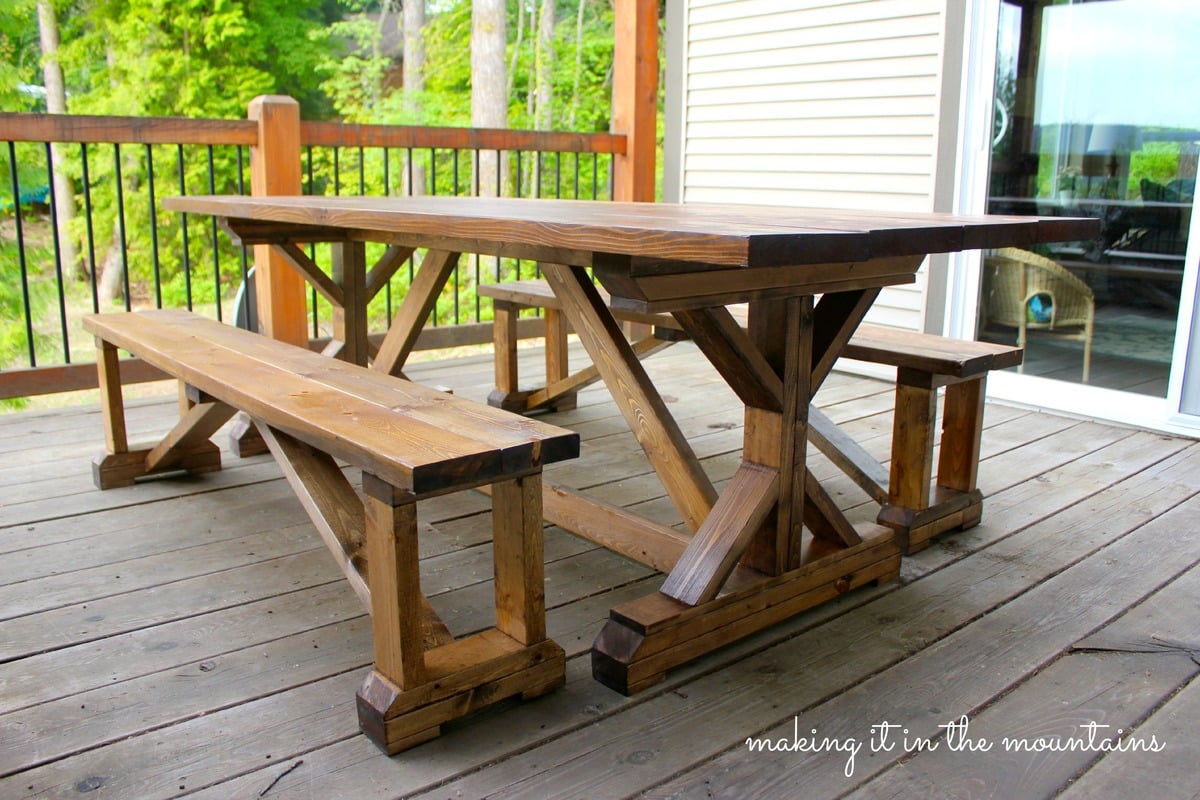
We altered our plans as my dining room could only accomodate a 7 ft table! This was out first DIY that was this large of an undertaking and we love the way it came out. If we can do this as woodworking novices you can definately do it!
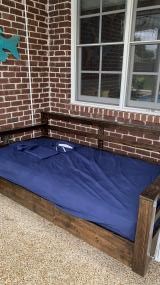
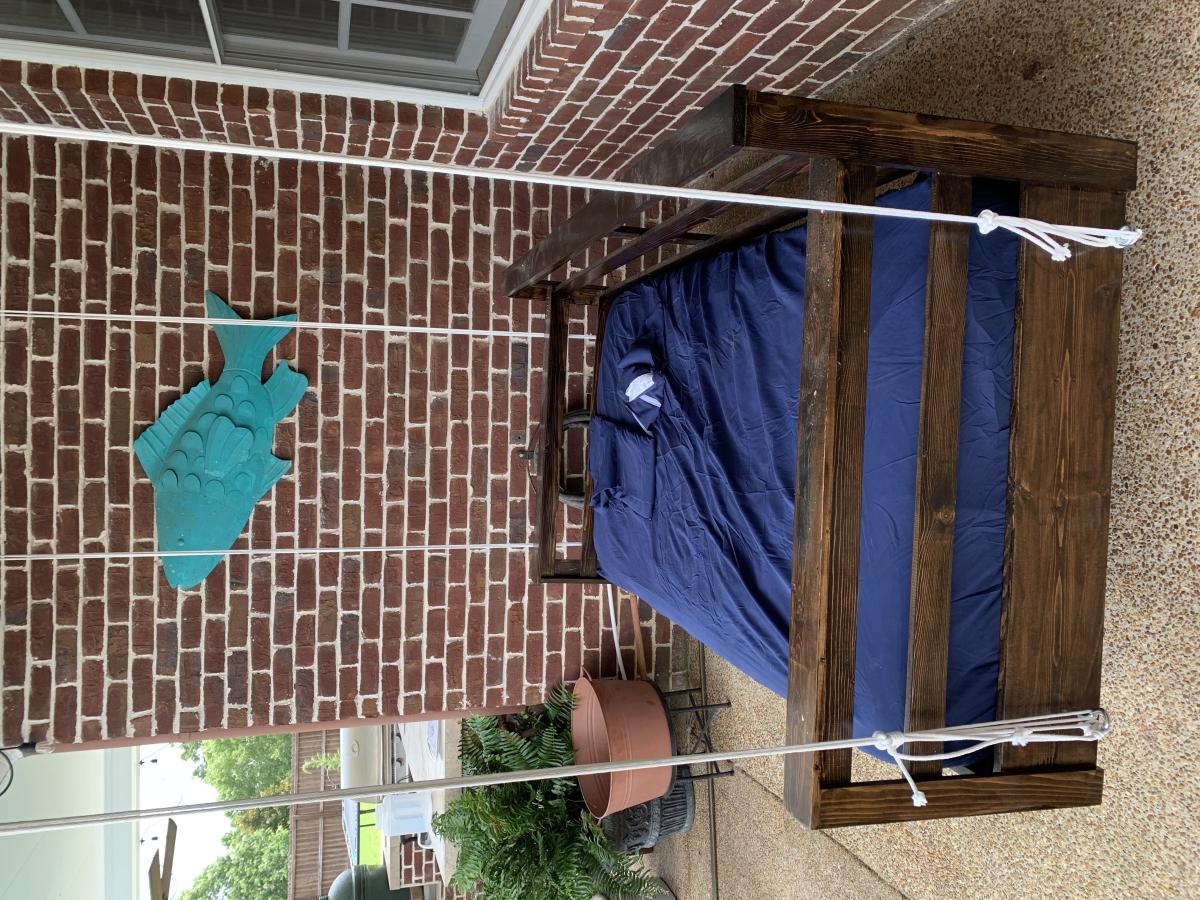
Utilized your plans for this porch bed swing! Looks great on the porch. Couldn’t find anything solid in the ceiling to hang it from so I installed my own joists with rafter hangers attached to the walls. Should hold long term.
I'm homemade woodworker. This is my first job!

Thu, 06/19/2014 - 21:49
Very nice looking! I really like the blonde stain.
My wife found this post on Pinterest and asked if i could build it. The hardest part was cuting the angles wit the jig saw because i can never get it to cut square and i have a little OCD about that sometimes. I ended up using my table saw a little. I would not recommened that though. If i had acess to a band saw stand that would have ben perfect.
I loved this project so much!! The best part of it for me was I didn't spend any money! I literally used scrap boards I had from rehab projects I had completed around my little cozy cottage. Some of the boards were already painted in Polar Bear by Behr in gloss finish. The other boards are unfinished common boards. Including this room I finished 2 weeks ago!
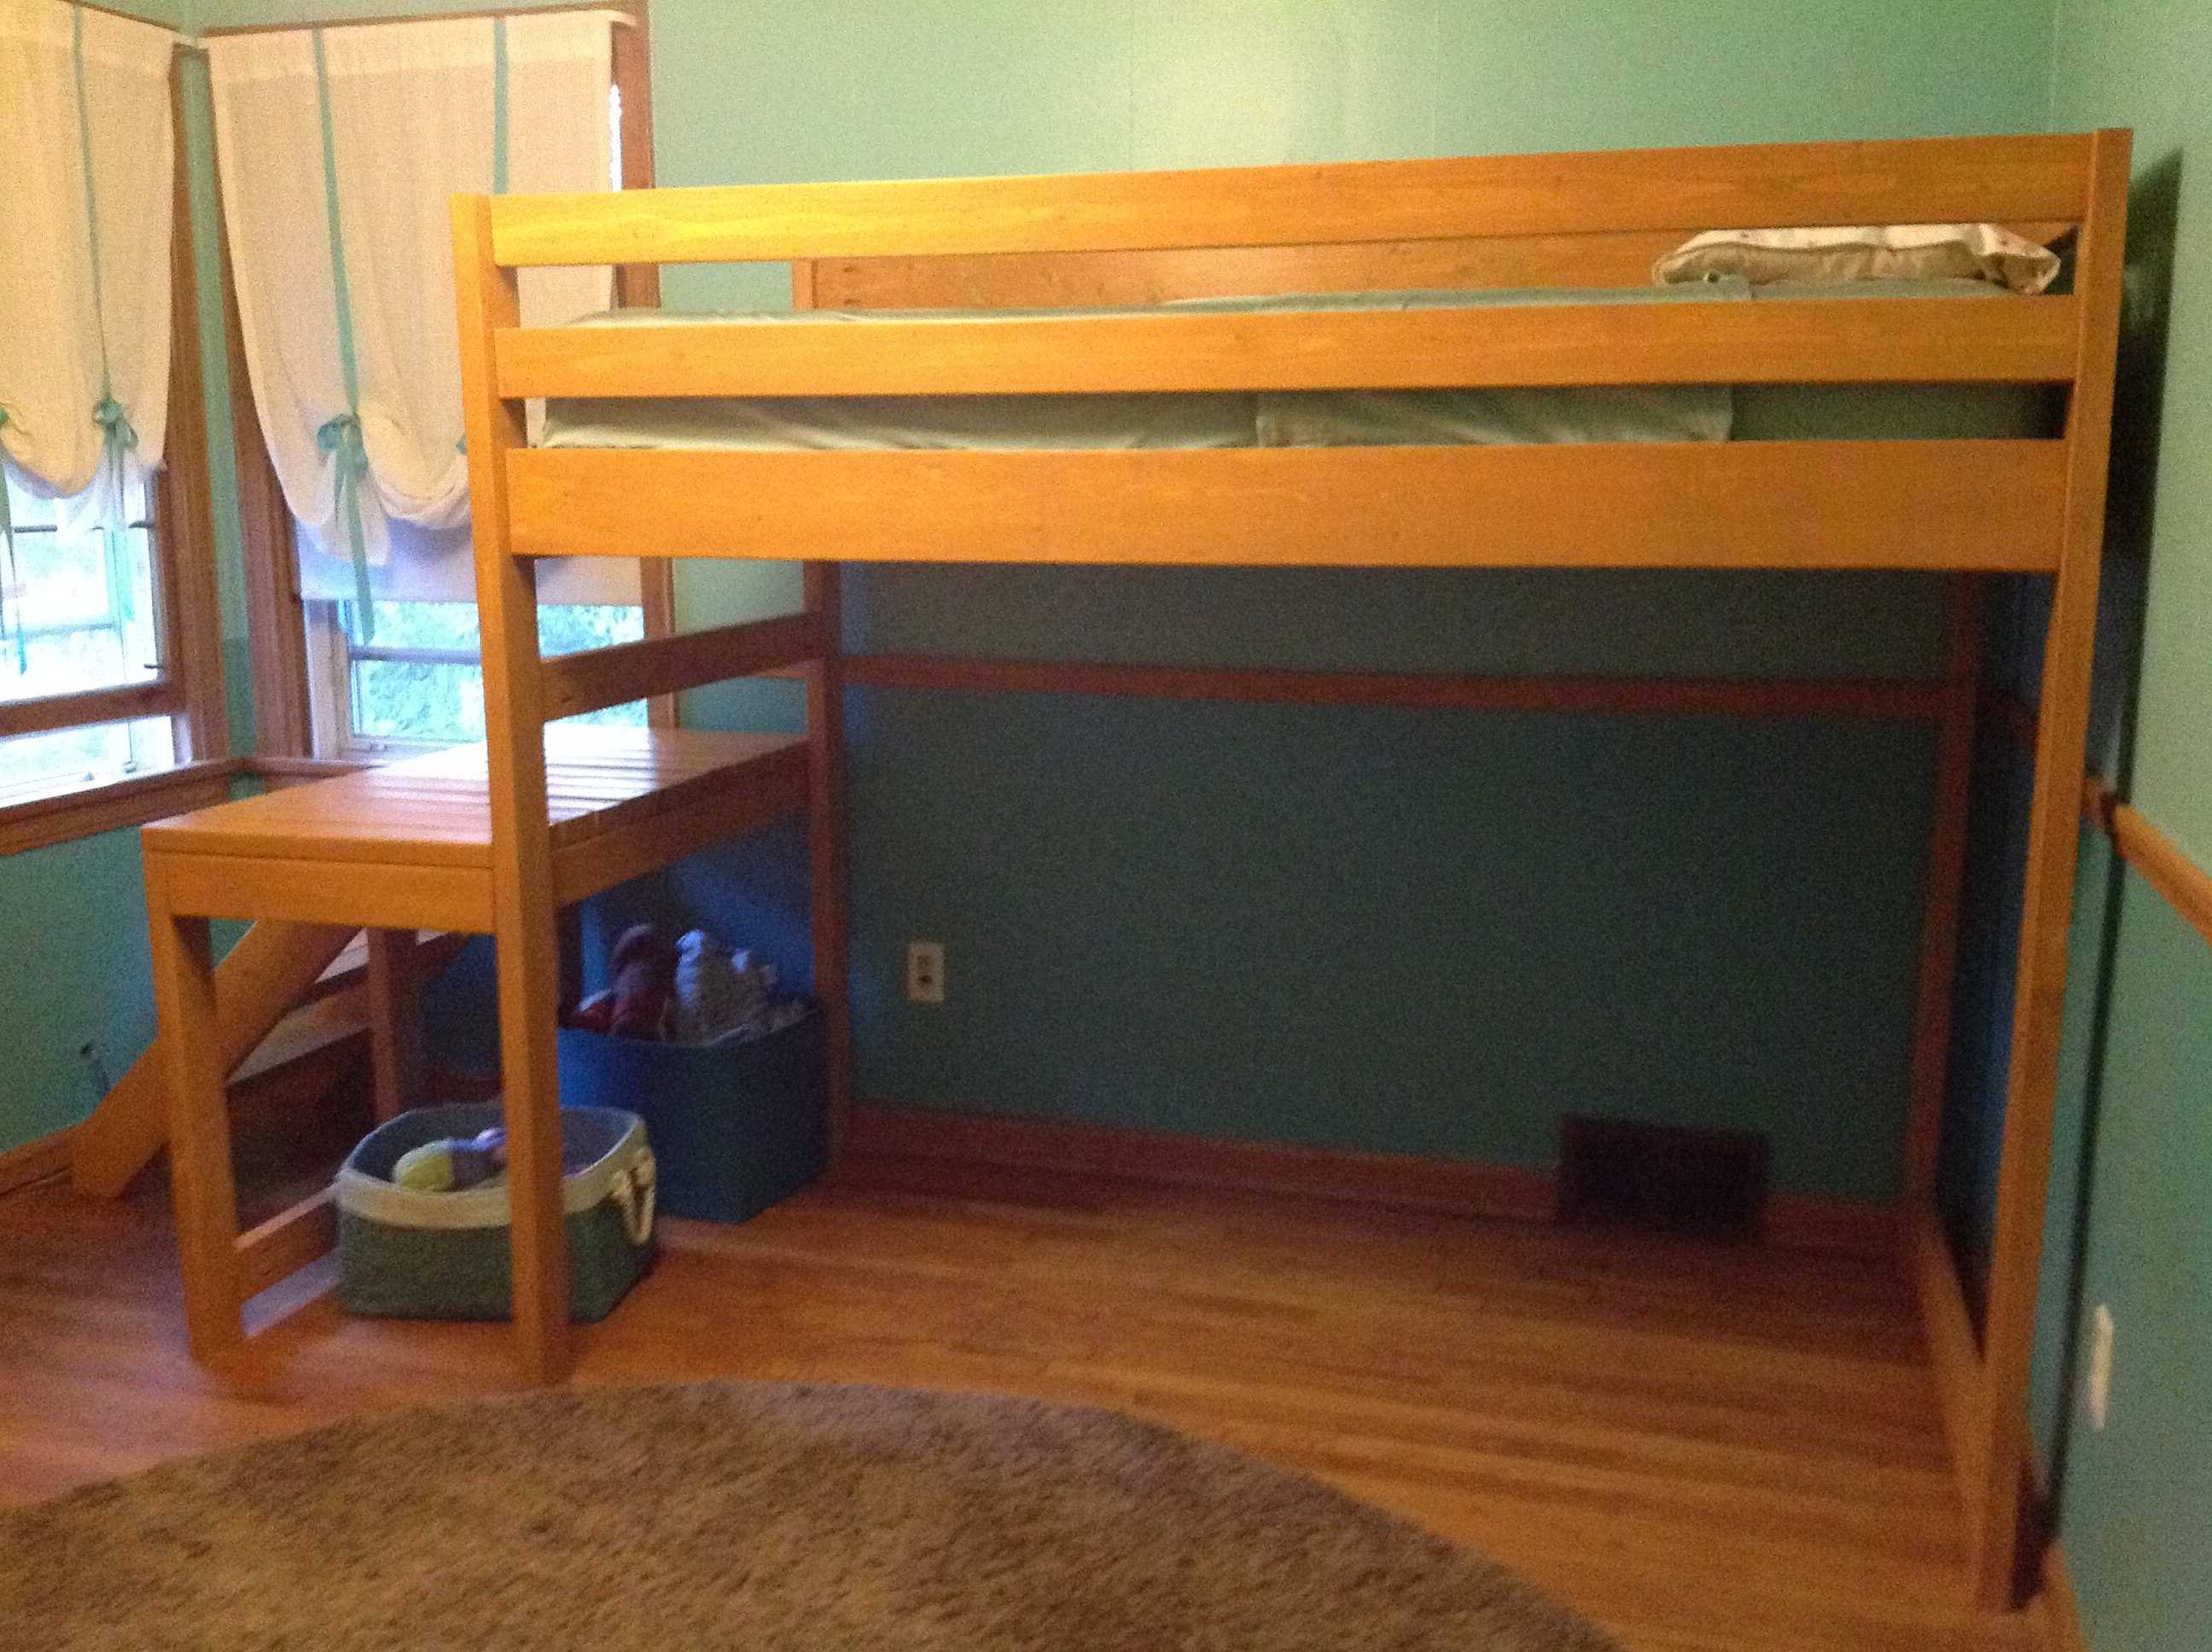
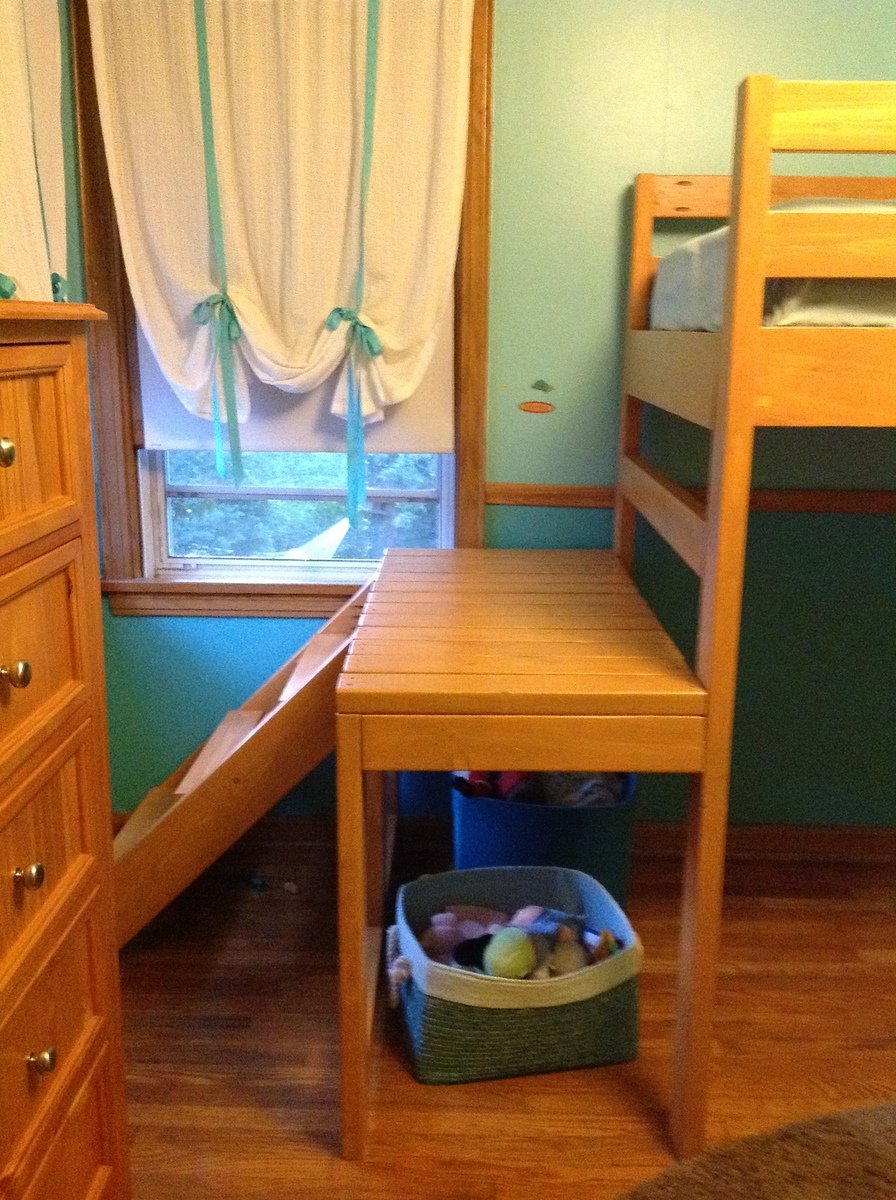
I finally decided I was going to make the fort bed for my daughter and was about to print off the materials list to take to the lumber yard and the junior height camp loft was front and center on the webpage. Though significantly more bed, it looked perfect my little girl. We really wanted her bed high enough to avoid the only heating vent in the room and didn't want to lose the floor space for play, this seemed to be an ideal fit. When I finally put the bed together I realized that keeping the staircase as in the original plans resulted in a bowling alley sort of space left over. It was awkward and really shrunk the room as the 'alley' wasn't usable for much of anything. I played around a little bit and my husband and I decided that we would put it on the side. It fit perfectly to the wall and was much more space efficient for the room. I am a little nervous about the new openness of the deck portion, but both kids have found it a fun place to read and pretend fish. It was my first project of this size and I did everything until the final assembly by myself and I am so glad to have done it. It took more time than I imagined, but again I am a true novice.
I really wanted it stained so that it would camouflage the wear a little better, but I had a great deal of trouble finding a low VOC stain in my town. I used the lowest I could find and a low VOC water based poly. It matches her dressers and trim nearly perfectly. Her older brother likes the bed so much that nearly everyday he tries to convince her that she wants to switch beds with him.
Tue, 08/28/2012 - 11:28
I love your bed so much! And I love the idea of having the stairs on the side like that. :)
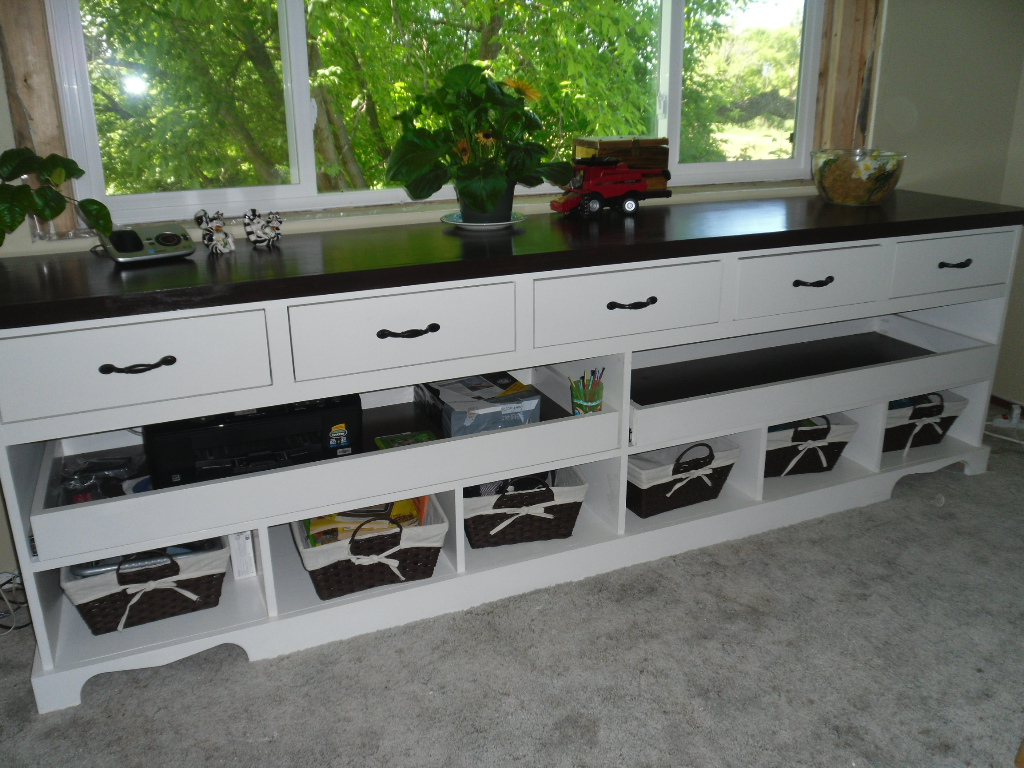
This is our first build. Instructions were easy to follow but we didn't go much on the bottom center drawer runners!
I love the second layer of slide out drawers we use for the printer , paper and electronic gadgets!

Wed, 06/25/2014 - 05:37
Love this. What great mods and you even tackled drawers for a first build?! I'm too chicken and still haven't tried. Especially love how you used slide outs in the middle. Clever!
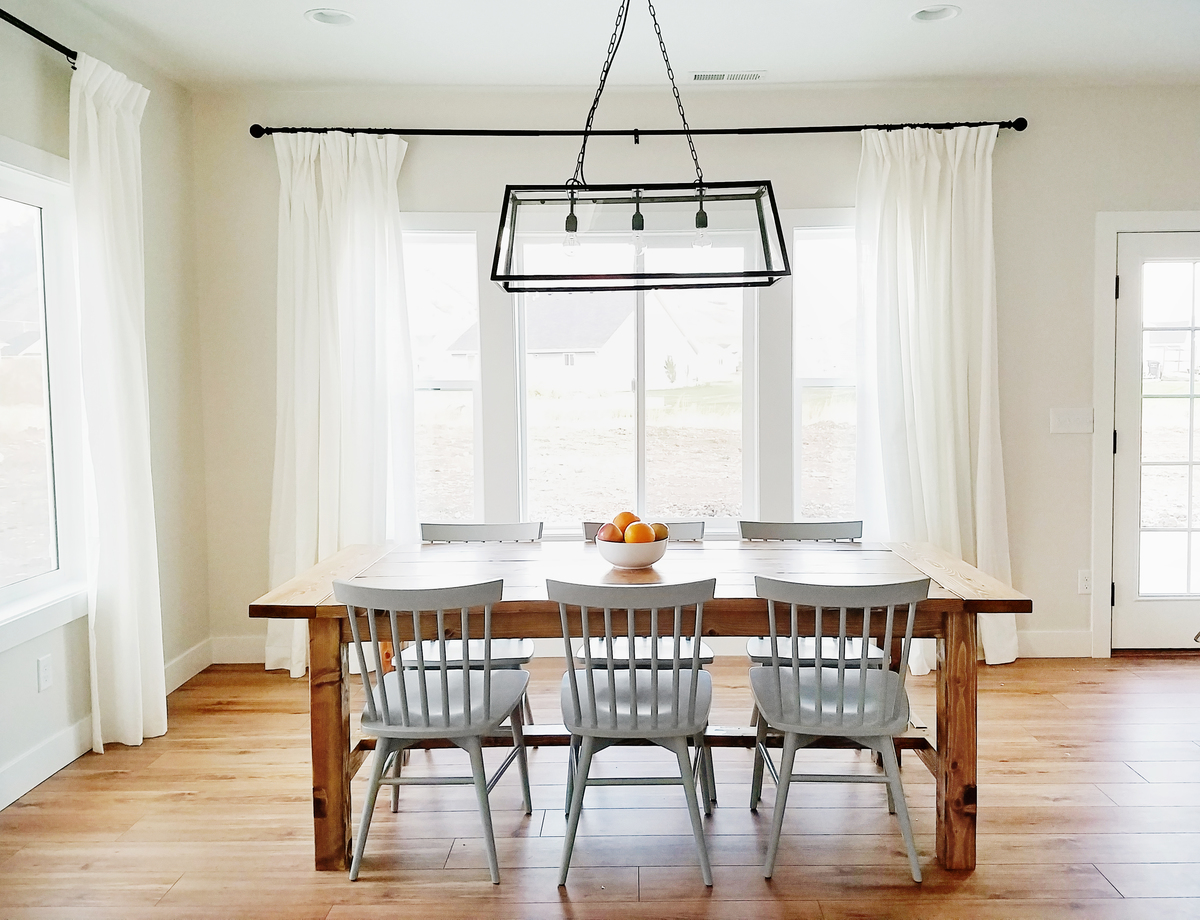
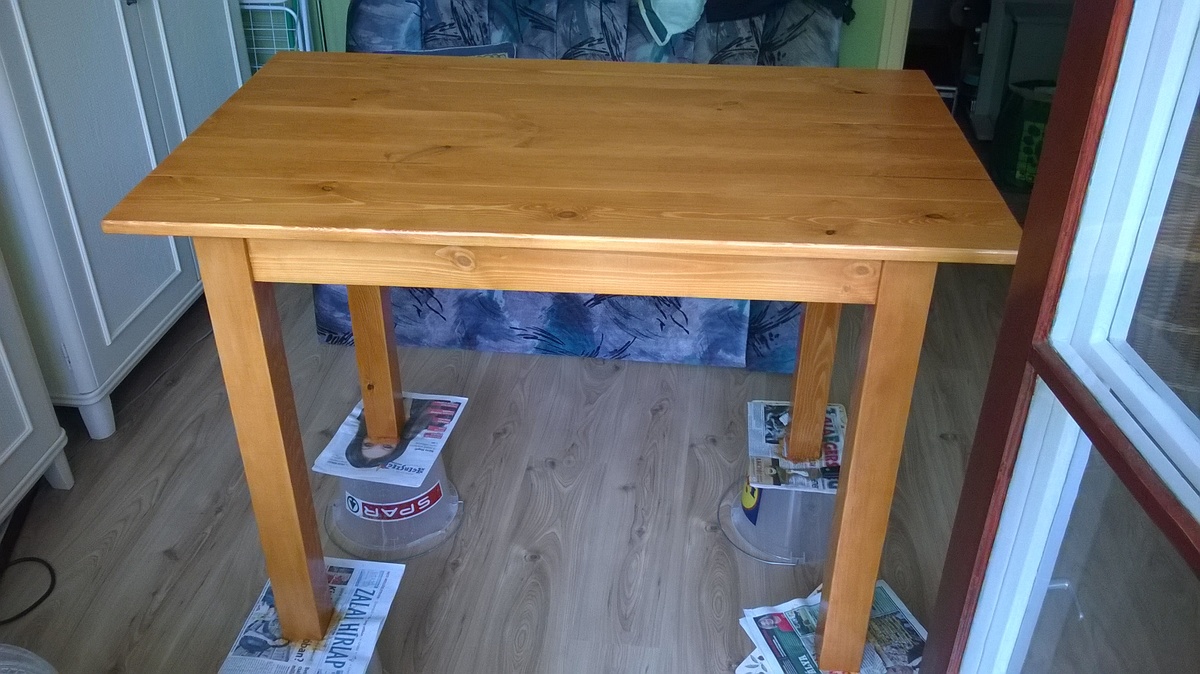
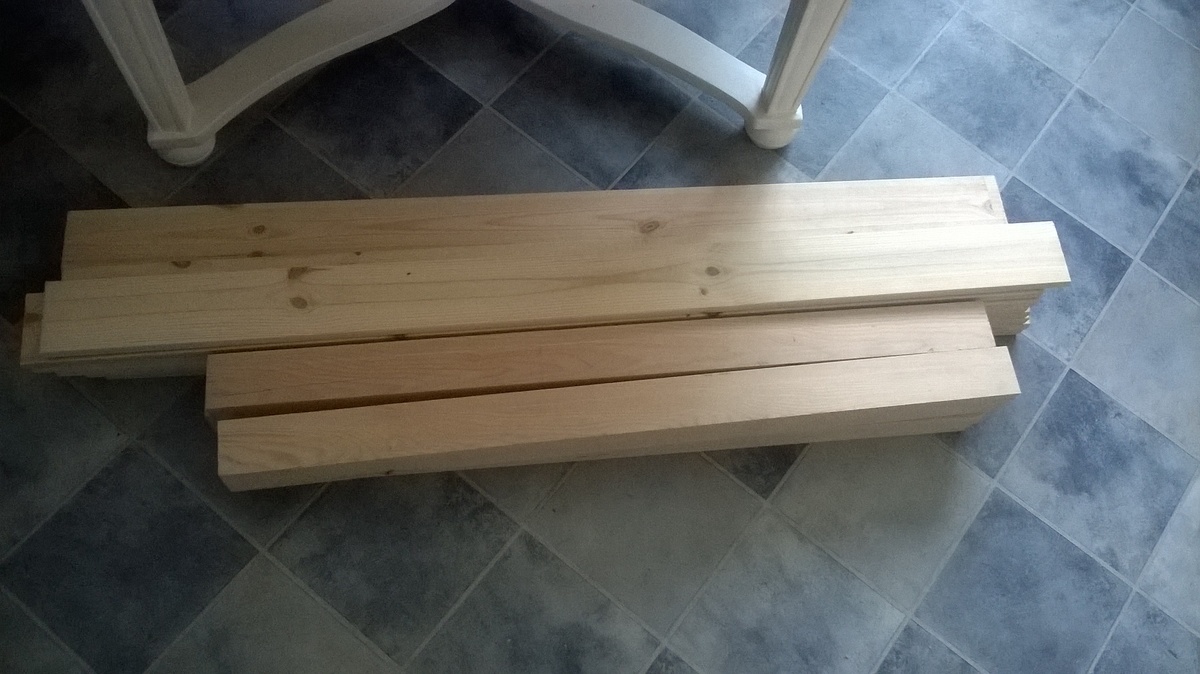
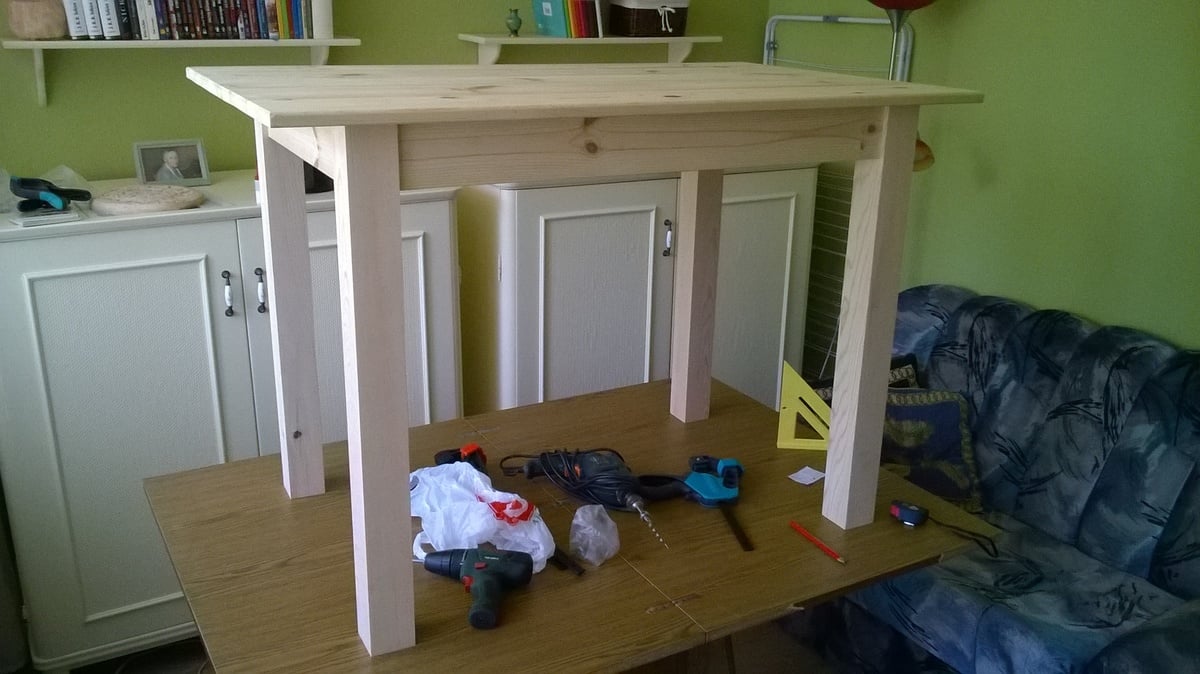
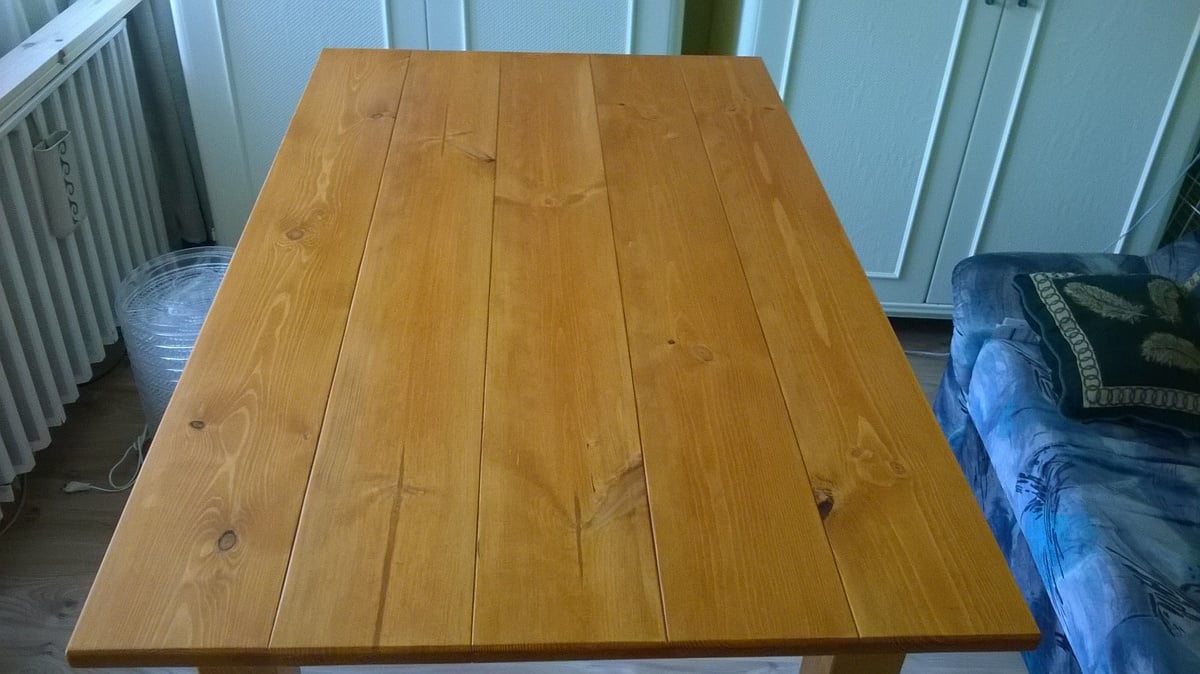
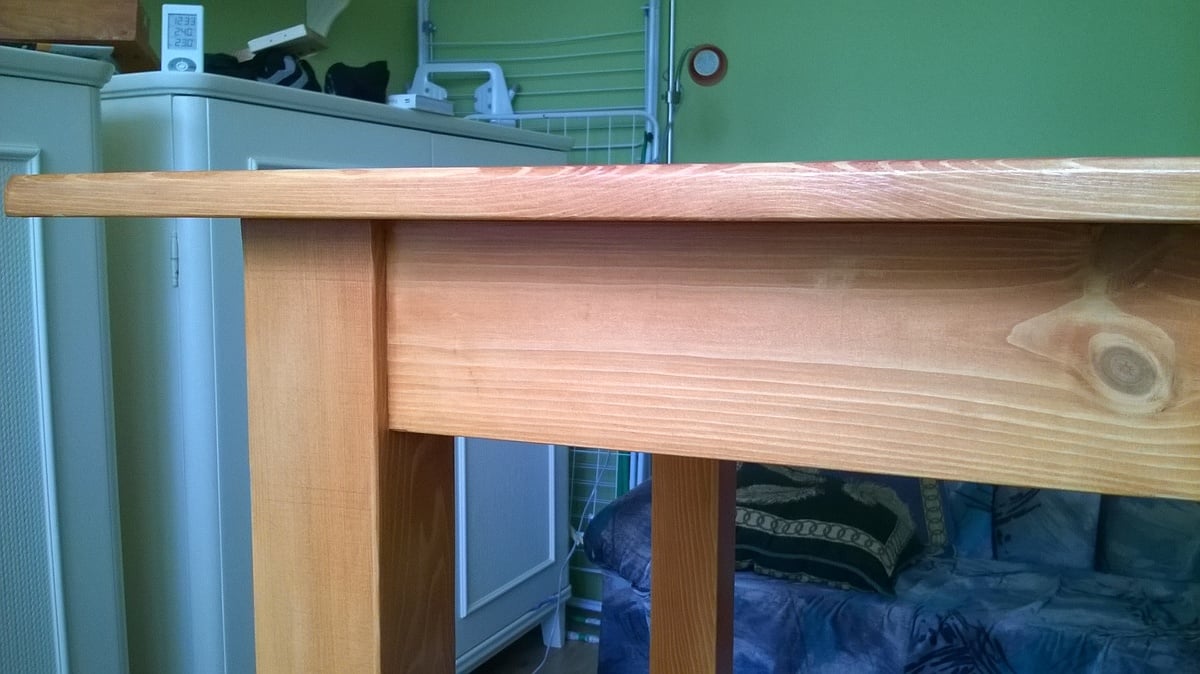
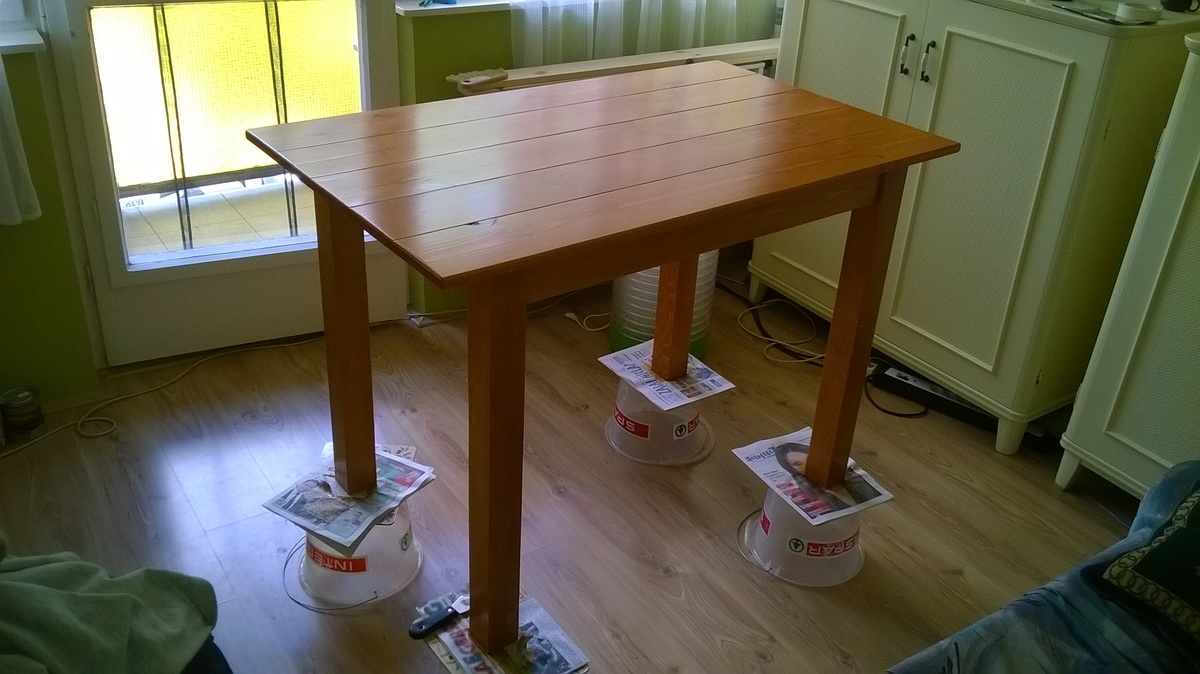
We love the look of farmhouse tables but we wanted to try building our own rather than spending over $1500 on one.
We saw this tutorial on pinterest and we decided to make it our first woodworking project, we love how it turned out!
Wed, 09/21/2016 - 20:22
You did a great job, can't believe it's a first project! What's next?:)

Thu, 09/22/2016 - 09:15
Truly amazing first project! Can't wait to see what's next for you guys! Ana
Used your plan as a start and improvised from there. Thanks
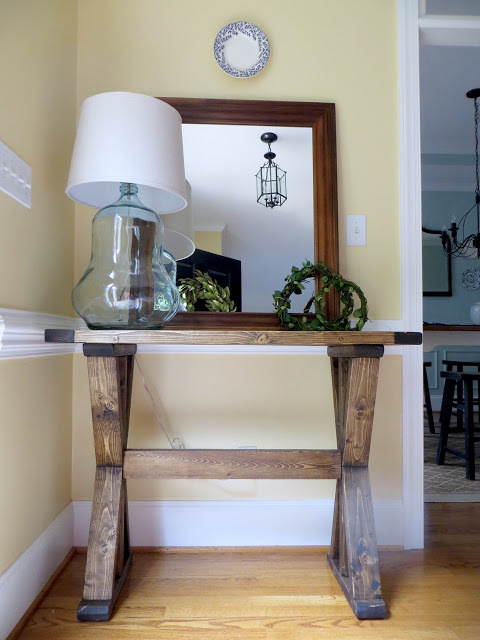
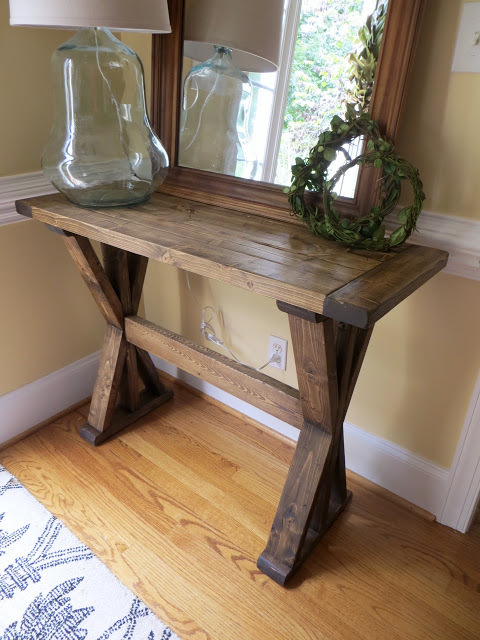
I cannot believe how easy and inexpensive it was to get the Pottery Barn look for SO MUCH less!
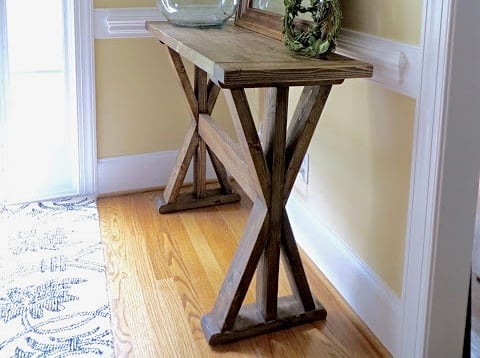
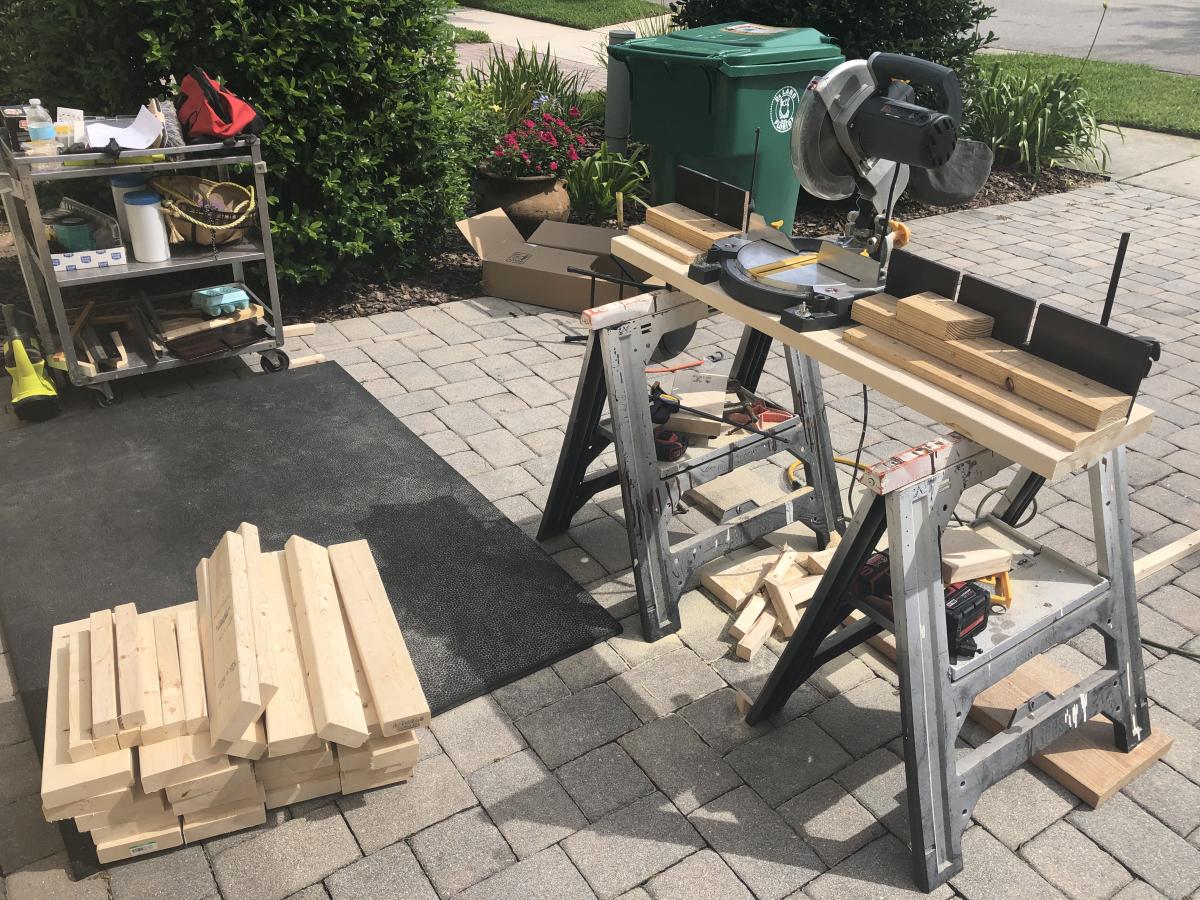
This table is built out of only 2x4's - that's 5 boards for about $15! It was pretty easy and took half a day. If the fancy angles are too hard to cut safely I recommend doing 45-degree angles! I'm happy to have a nice entryway - first time my whole life! :)
I've created a post on my project blog wth instructions & pictures for anyone to make their own.

Sun, 09/25/2016 - 09:42
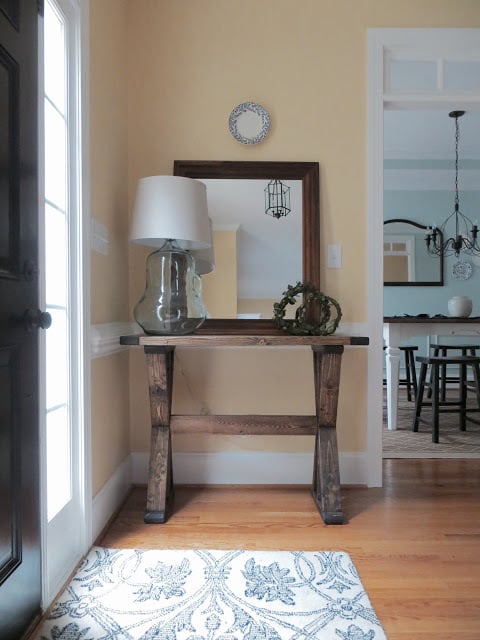
Your entryway is beautiful! Love this console, it is gorgeous!

In reply to Your entryway is beautiful! by Ana White
Tue, 09/27/2016 - 12:16
Thank you Ana! You made my day! It was such a treat to see it posted on your Facebook page! I told my husband that NOW that "I am famous" (haha) that I should be able to get the jointer & planer I've been begging him to let me buy! I'm thinking maybe a direct message from you would be just the trick! :)
Wed, 01/29/2020 - 13:54
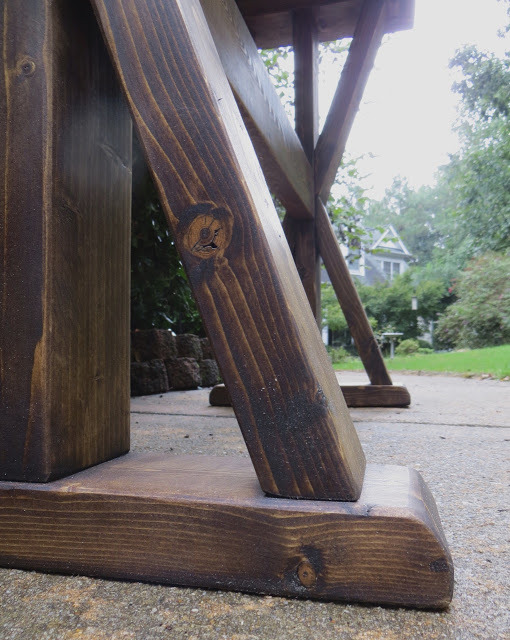
What angle were the leg cuts? More than 50* because my saw wont go that far. Please let me know.