My Master Closet
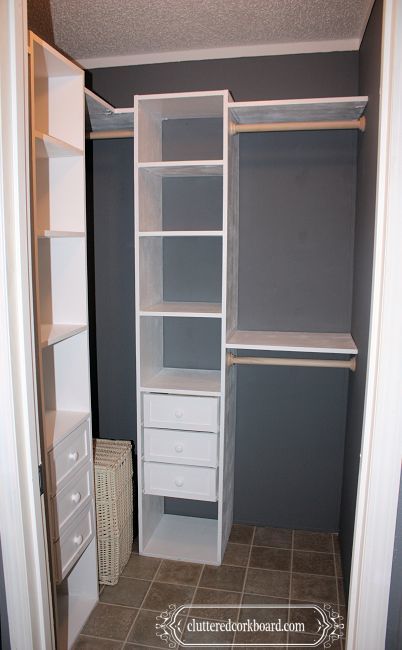
I modified the plans slightly to fit our walk in closet.
(made the towers taller, placement, shelving etc.)
We just love how it turned out!

I modified the plans slightly to fit our walk in closet.
(made the towers taller, placement, shelving etc.)
We just love how it turned out!
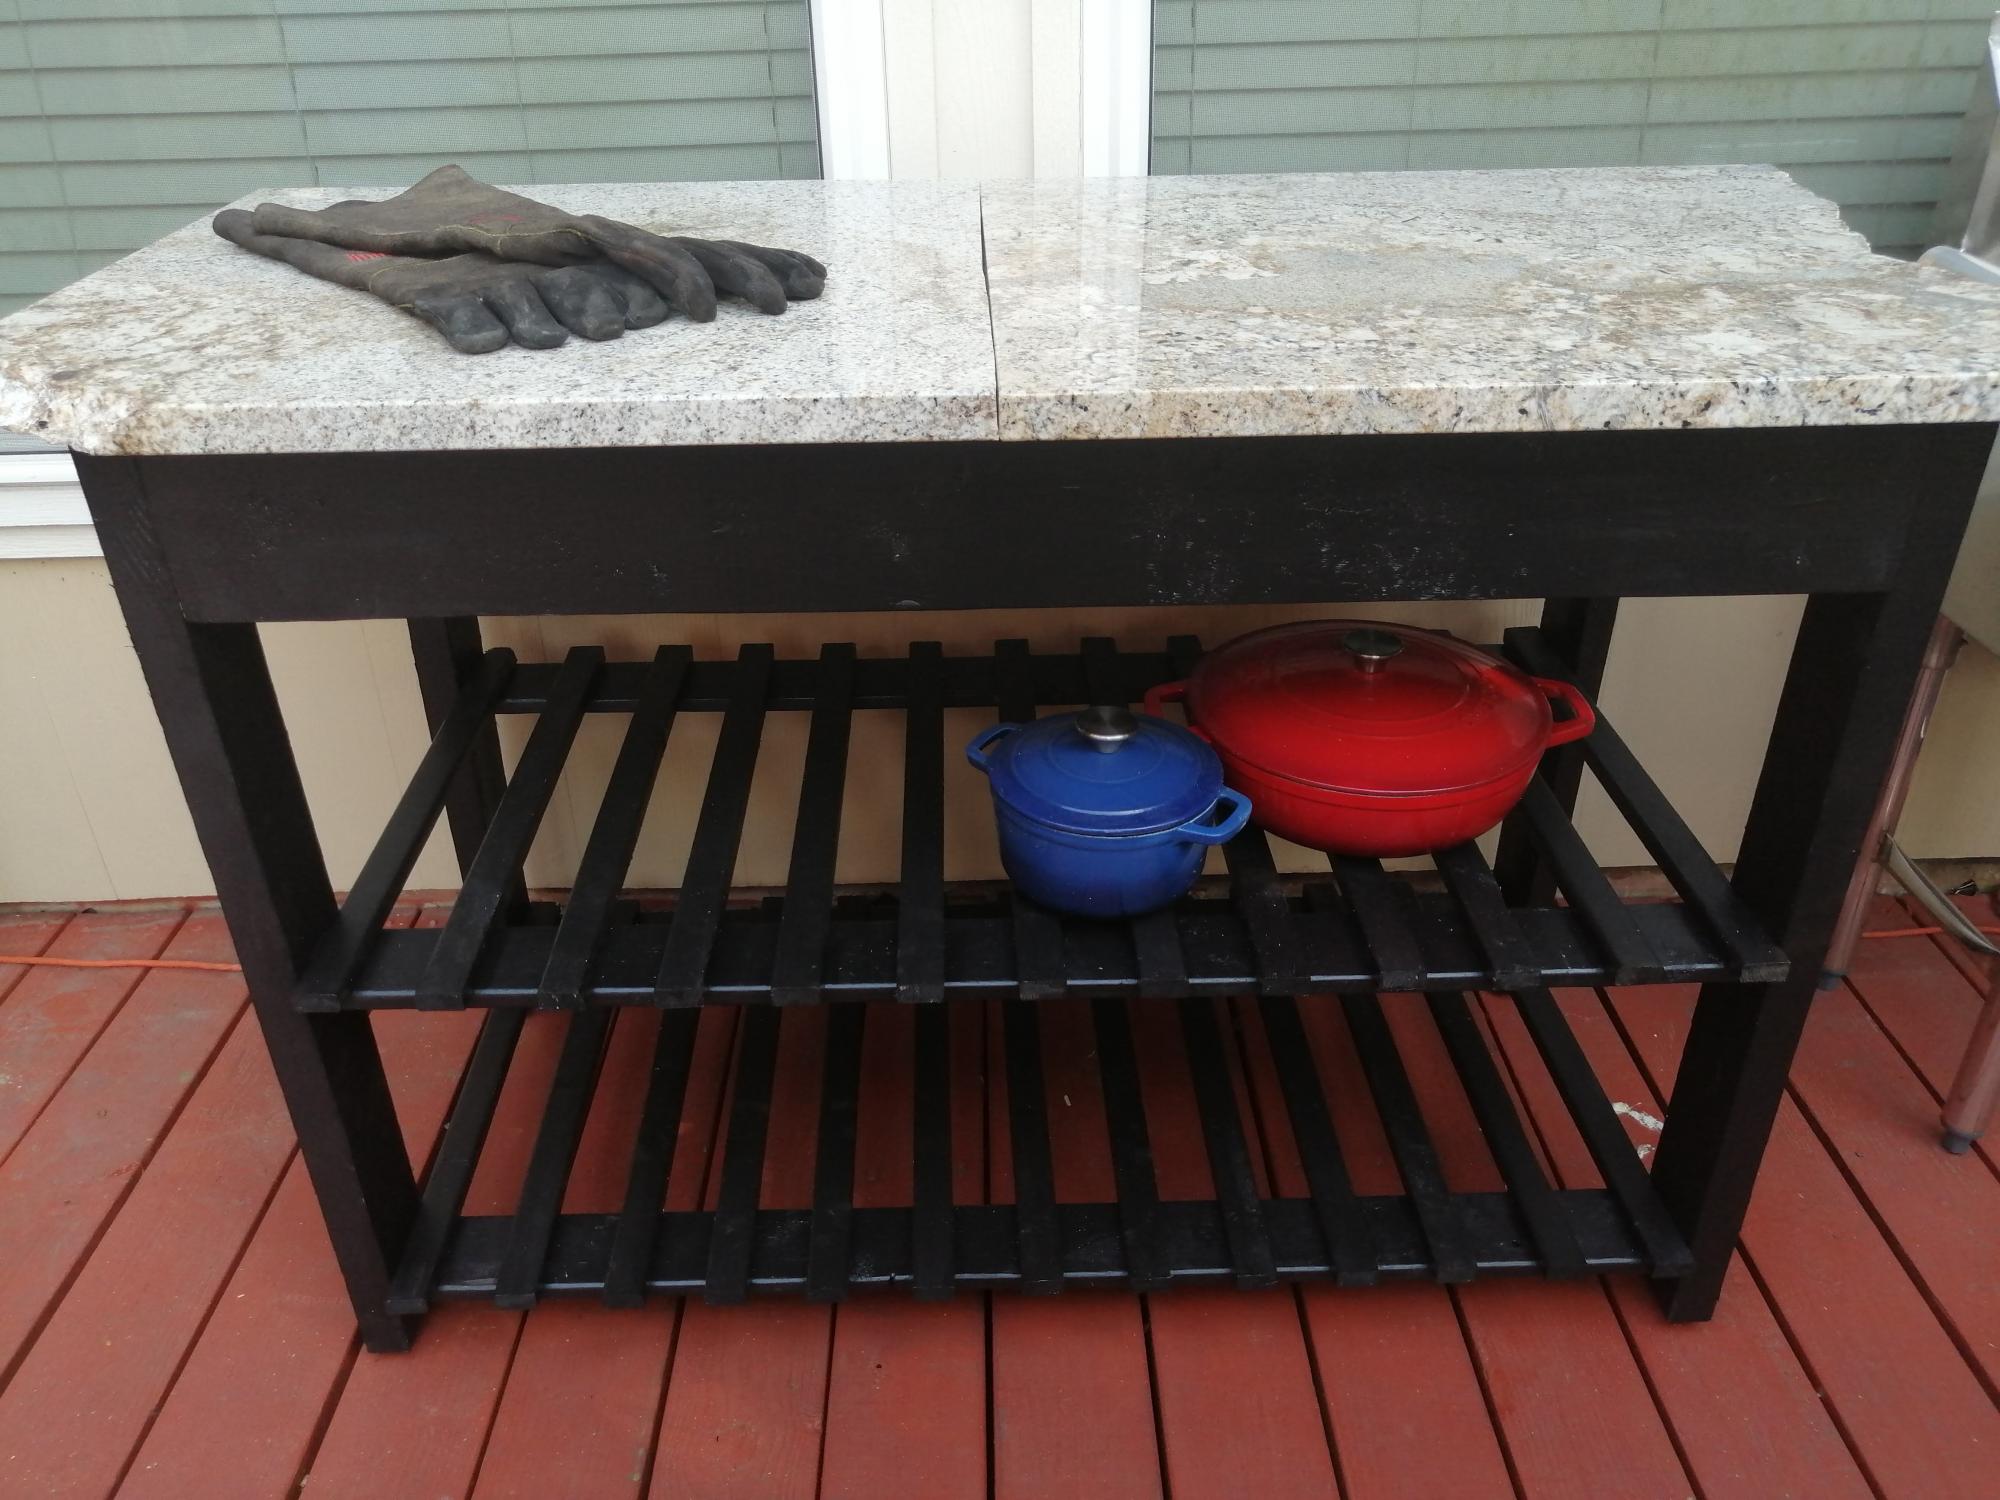
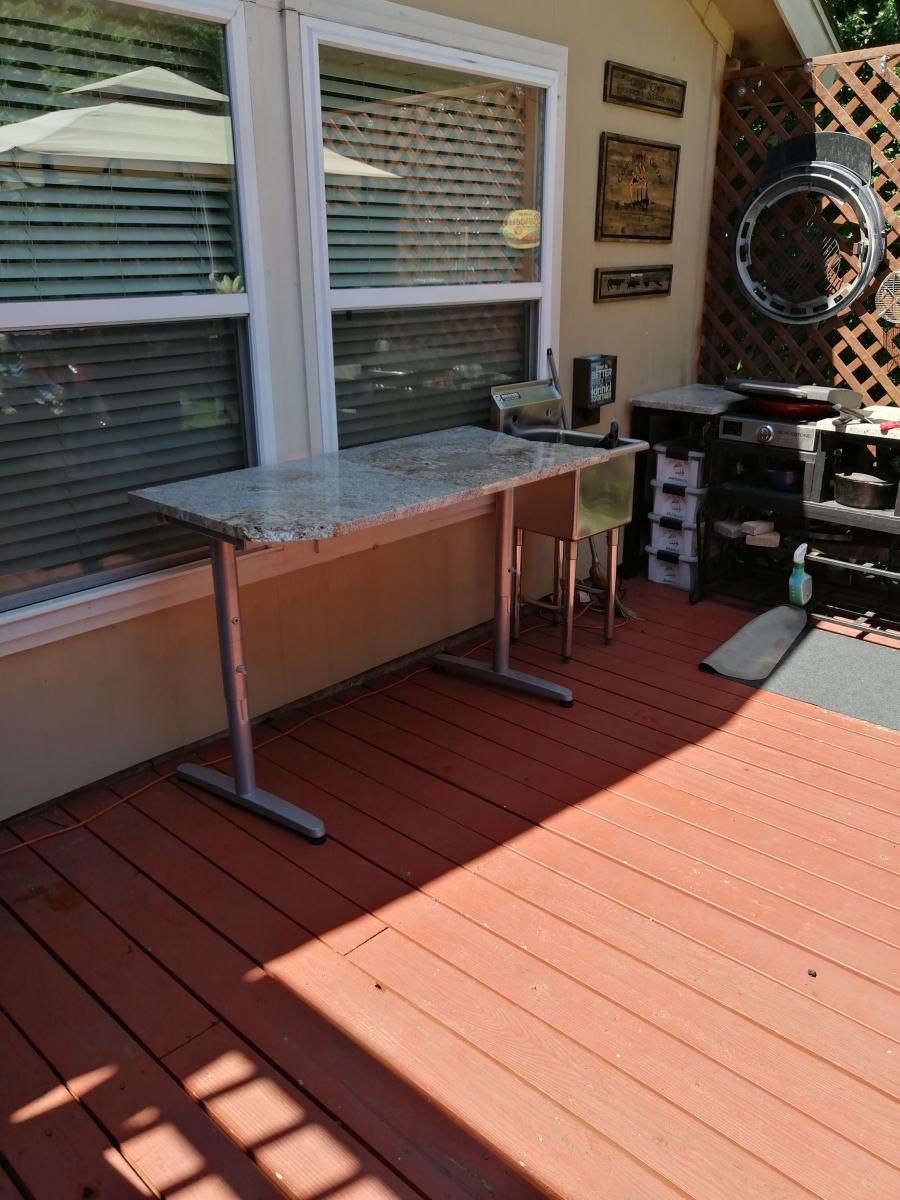
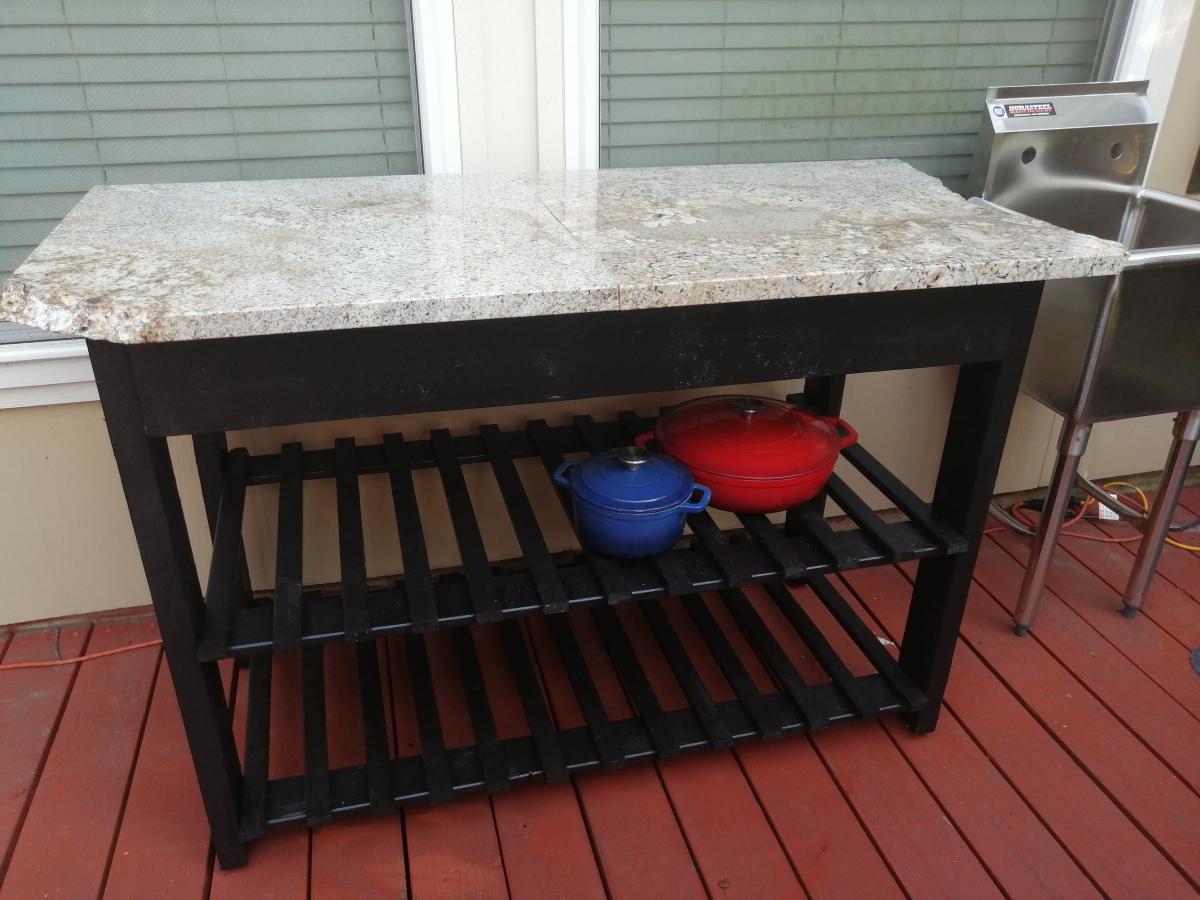
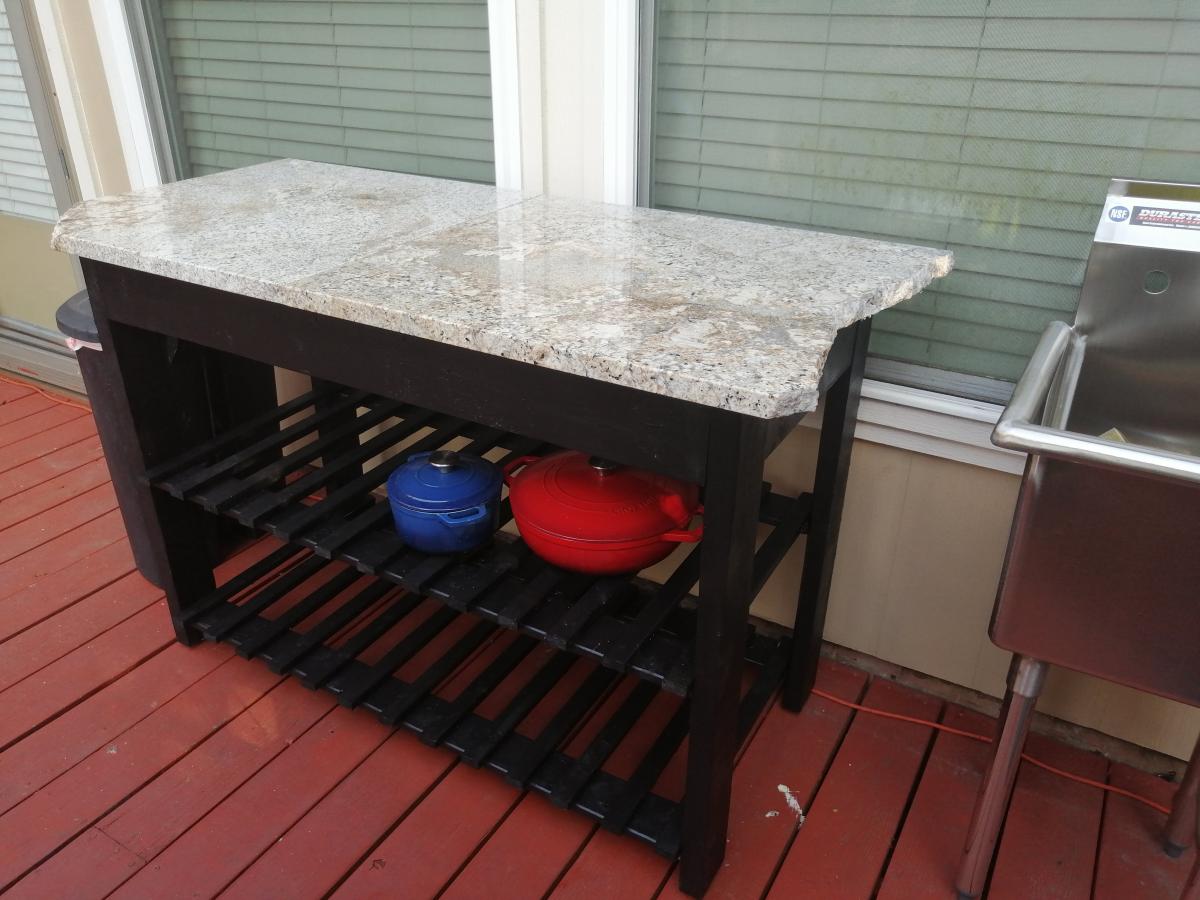
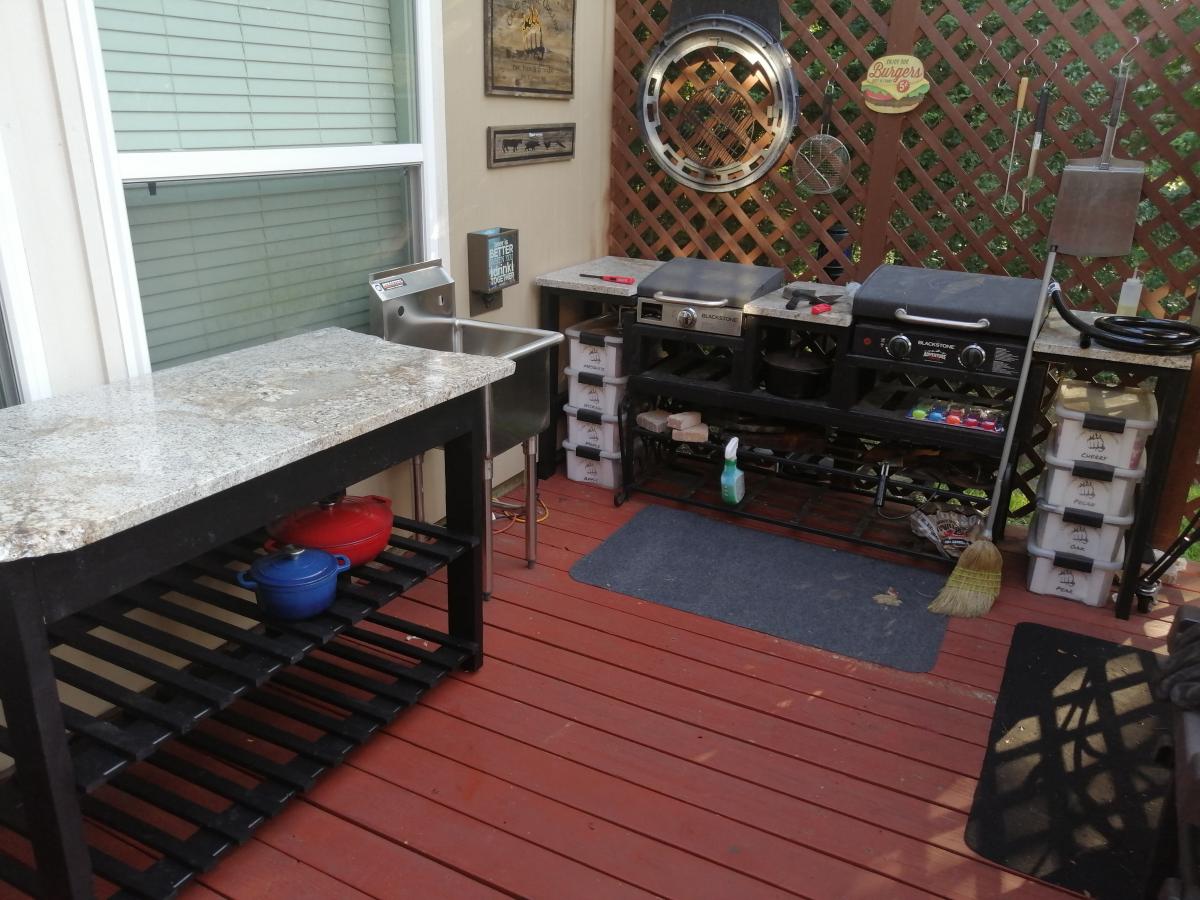
I've had these granite pieces that I got incredibly cheap from a remnant place last year for another project. A few weeks ago, I put them on some spare IKEA desk legs to make a workspace on my deck. I hated the look AND they were a little wobbly.
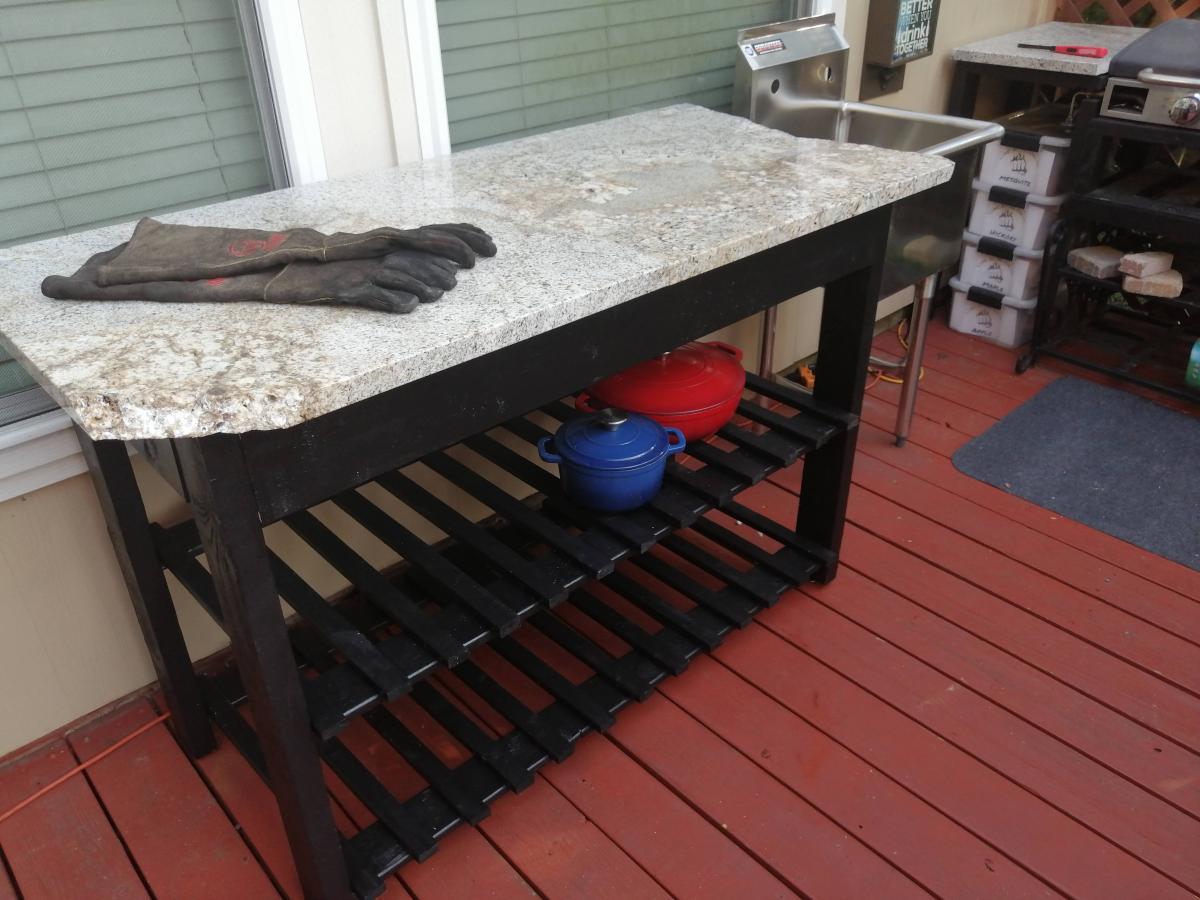
I spent some time searching the web and thankfully stumbled upon these plans. I modified the dimensions to fit the granite tops, used fewer pickets on the shelves and painted the whole thing black.
I think it looks great and adds awesome outdoor counterspace on the grilling deck!
Thu, 06/24/2021 - 09:30
Looks great and much more sturdy! Thanks for sharing:)
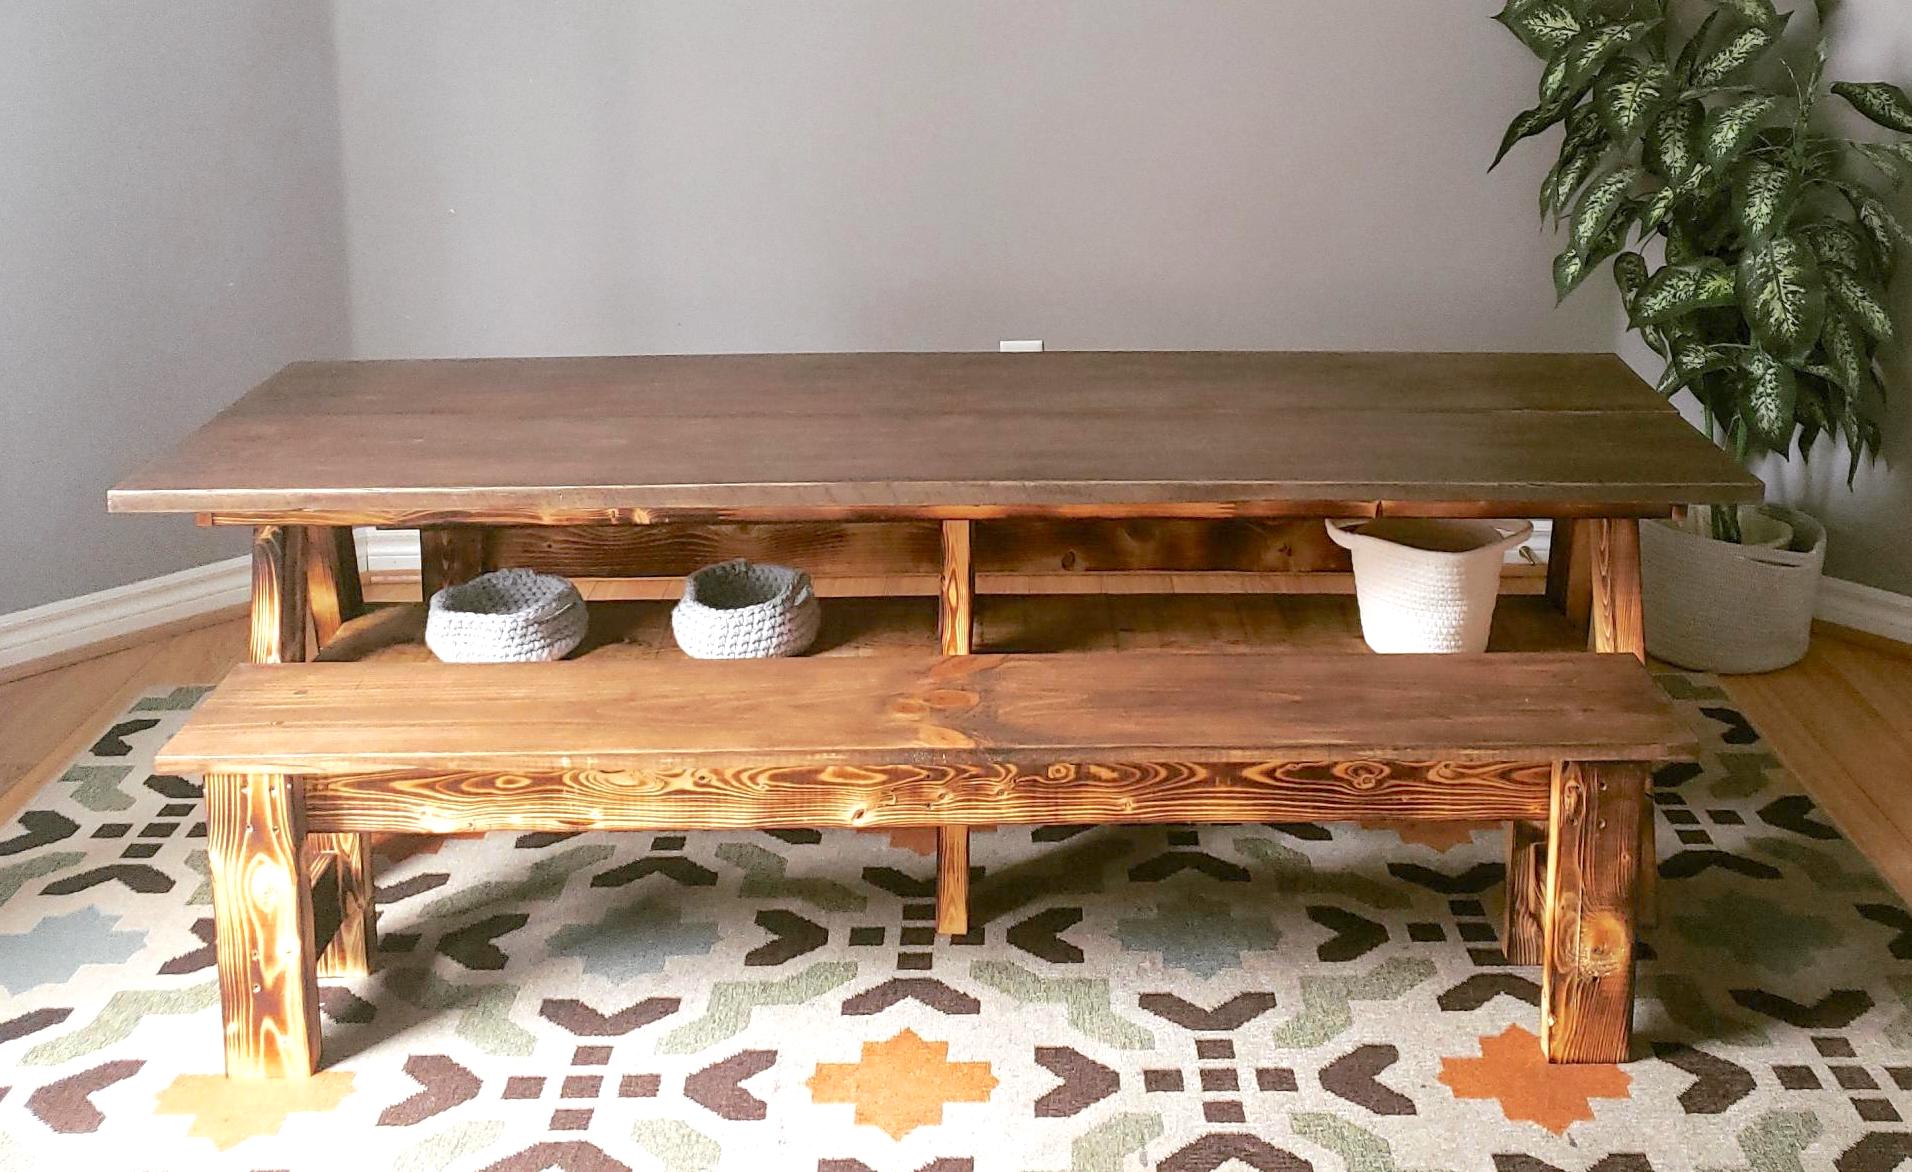
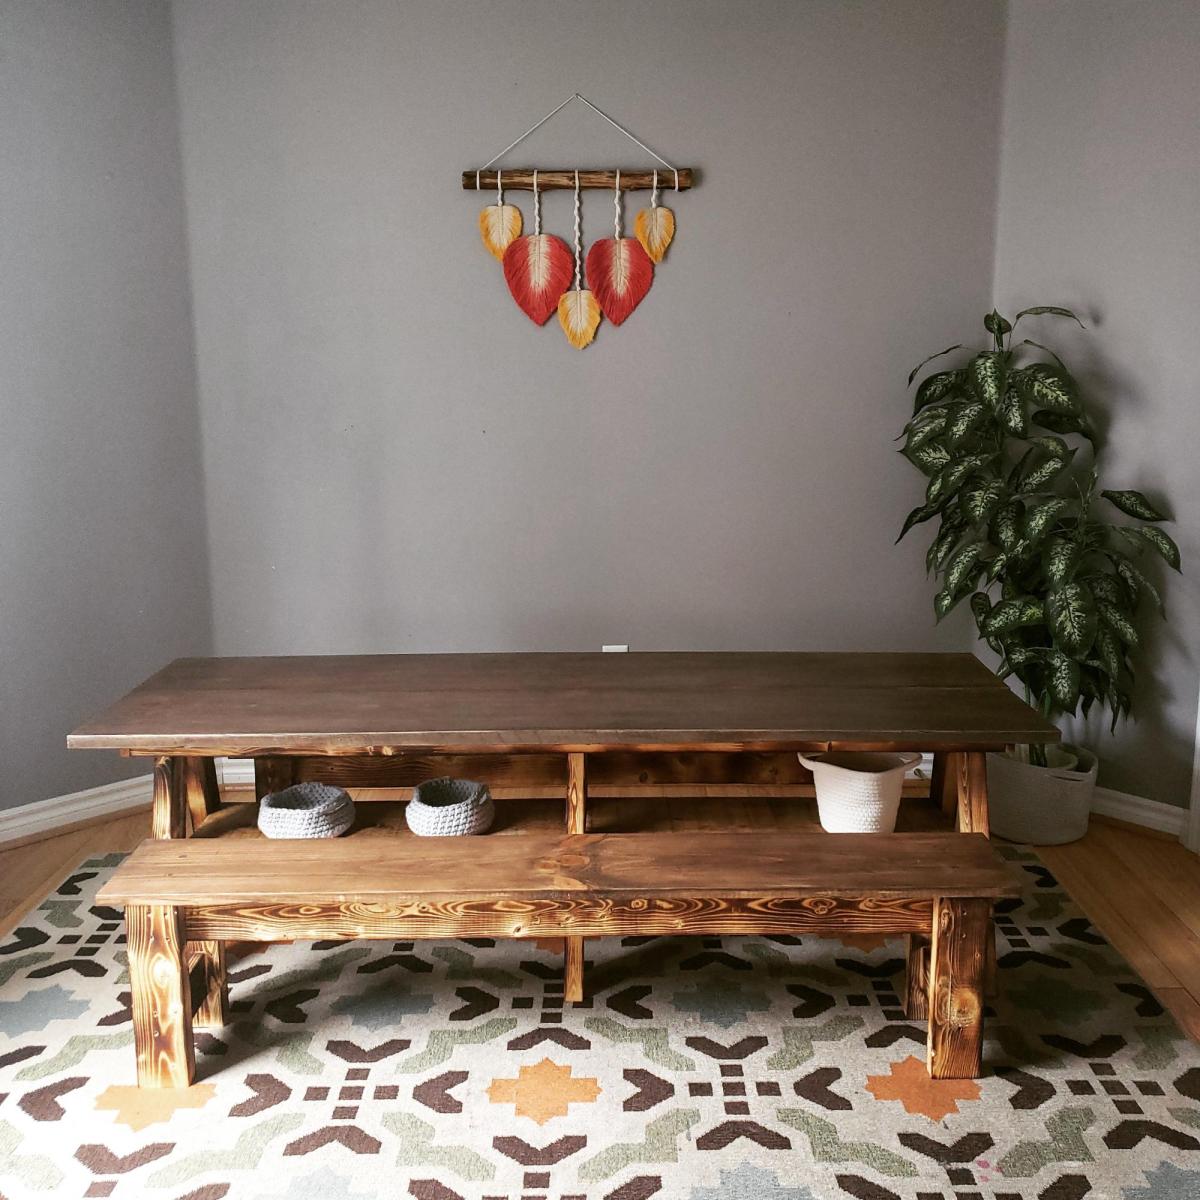
I loved this project!!! And am so happy with how it turned out!! I have 4 kids and this has so much space for everyone!
We paired the double trustle table with the farm table benches ( which I adjusted the length and height of the legs to make it kids size.)
The table top instead of a solid top we used 2 1x12 boards. And for the beaches we used 1x10 board for the seat.
Thank you for the amazing plans!
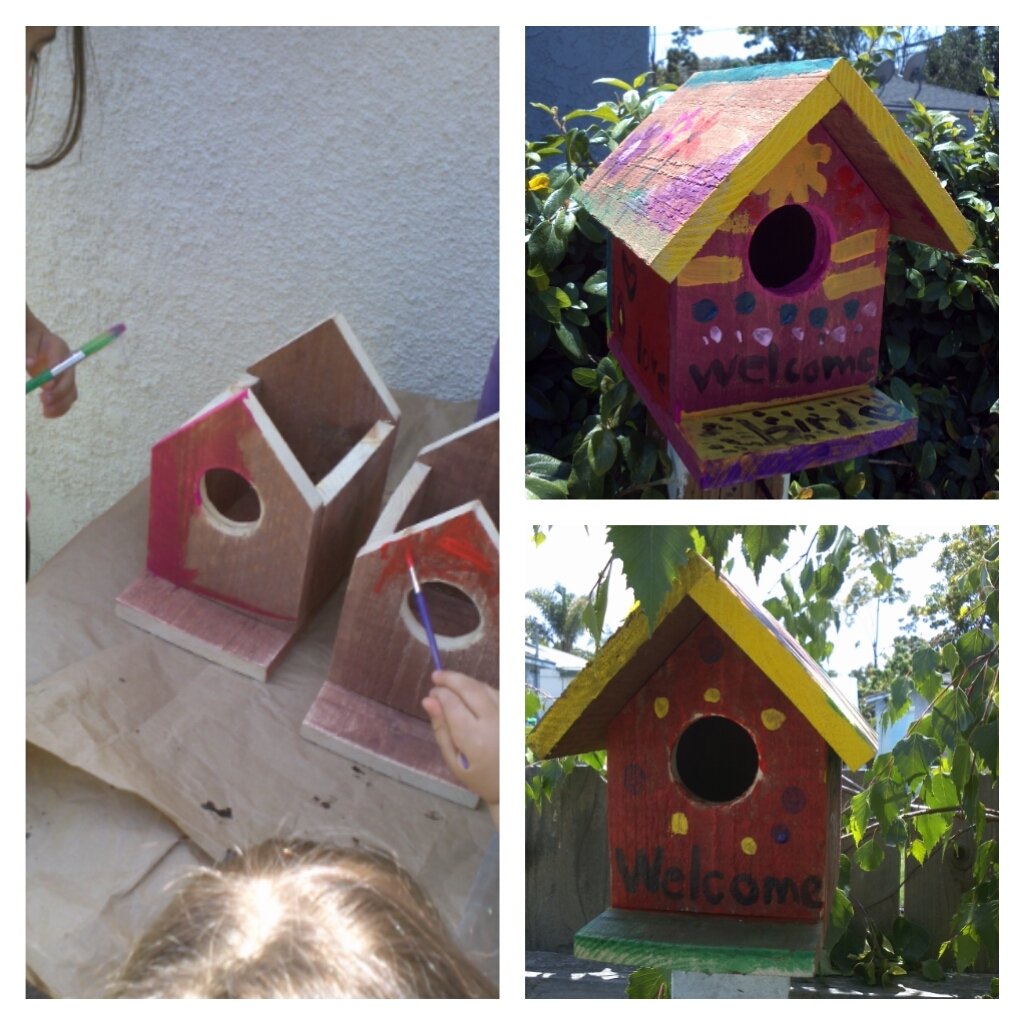
My two daughters really enjoyed helping daddy make these birdhouses but most of the loved painting them.
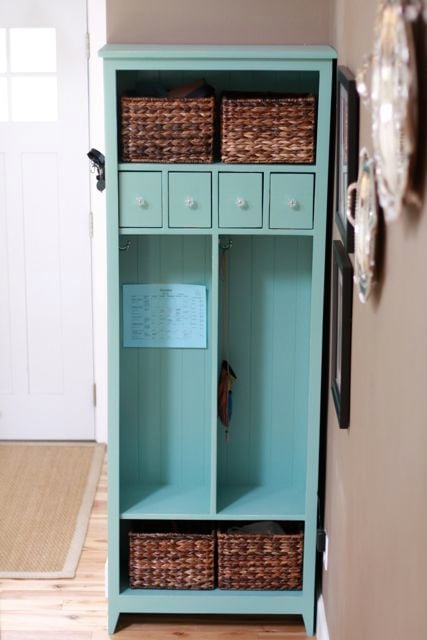
This locker cabinet was my first build and I learned a ton. For example:
1. Use the Kreg face clamps while drilling into the Kreg Jr.
2. Buy straight wood.
3. Buy wood that is not warped.
4. Do not try to buy wood with grouchy kids in tow.
Are you seeing a theme? Yep, your project will only be as square and perfect as the wood you buy.
I modified the locker plan to include apothecary-style drawers for our cell phones, sunglasses and chapstick. I also drilled through the back of one of the drawers to turn it into a charging station for our cell phones.
The locker has been super useful so far and is such a great way to keep my kids' backpacks and lunchboxes organized. The baskets are designated for my purse, stuff I need to return to stores, the dog's leashes, and library books. It's so nice to have all this stuff near the front door and never wonder where any of it is!


Needed a table for food prep with my grill and found your plans! I used treated lumber for the base and nice cedar planks for the top. The treated lumber had a whiter than usual color which made the base really pop out. I put a nice pecan stain on top and a few coats of poly so the BBQ sauce wouldn't stain it! This was so easy, literally took 2-3 hours to build, stain and poly was done over the next few days. Ready for my next ana-white project. Thanks for posting these plans.
Wed, 07/09/2014 - 16:24
I was looking on Pinterest and found this table. It was exactly what I was looking for. You inspired me to go out and buy a miter saw and some wood and make the table. It turned out wonderful. It now has a permanent place on my patio and gets used when I grill mostly. I was hoping to be able to upload a photo but don't see the option to do so. Anyway, I want to say thanks for the great plans/instructions.
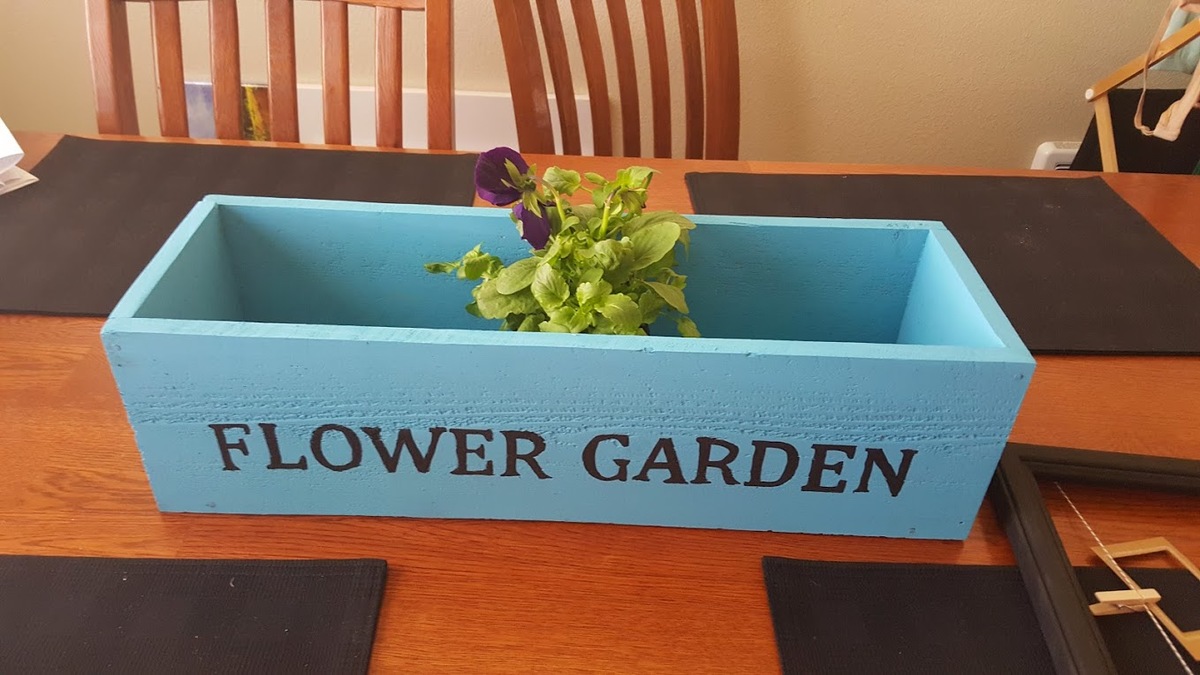
My version of the Herb Garden Planter.
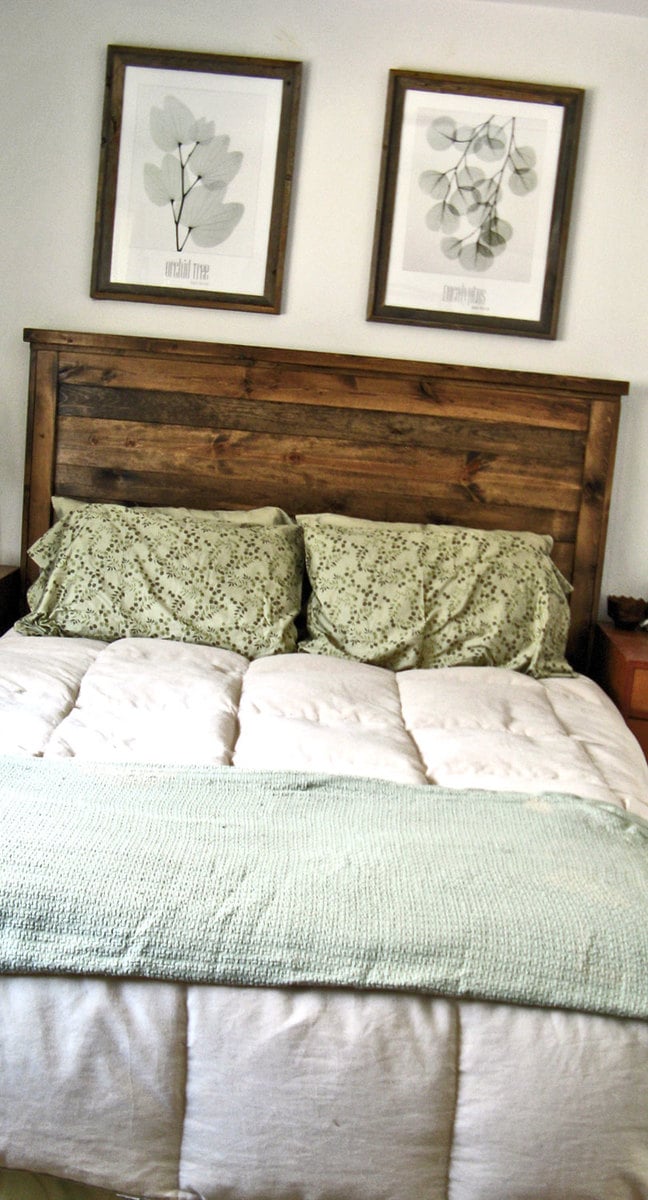
My first build!!!! I live in an apartment, so I was nervous to undertake any project... luckily I was able to borrow a garage one weekend to build it, and then moved it in and finished it. It took more than just the weekend to complete. It probably took me a lot longer than if I had more experience and knew what I was doing...I stopped every two minutes to double check myself and reread the directions lol. I'm so happy with how it turned out. I used the IKEA center beam from my old bed for the center support, and cut wood slats for my mattress to rest on so I don't have to use a box spring. It looks so much more expensive than it was. my next project is a headboard...as soon as I have a space to build it in :)
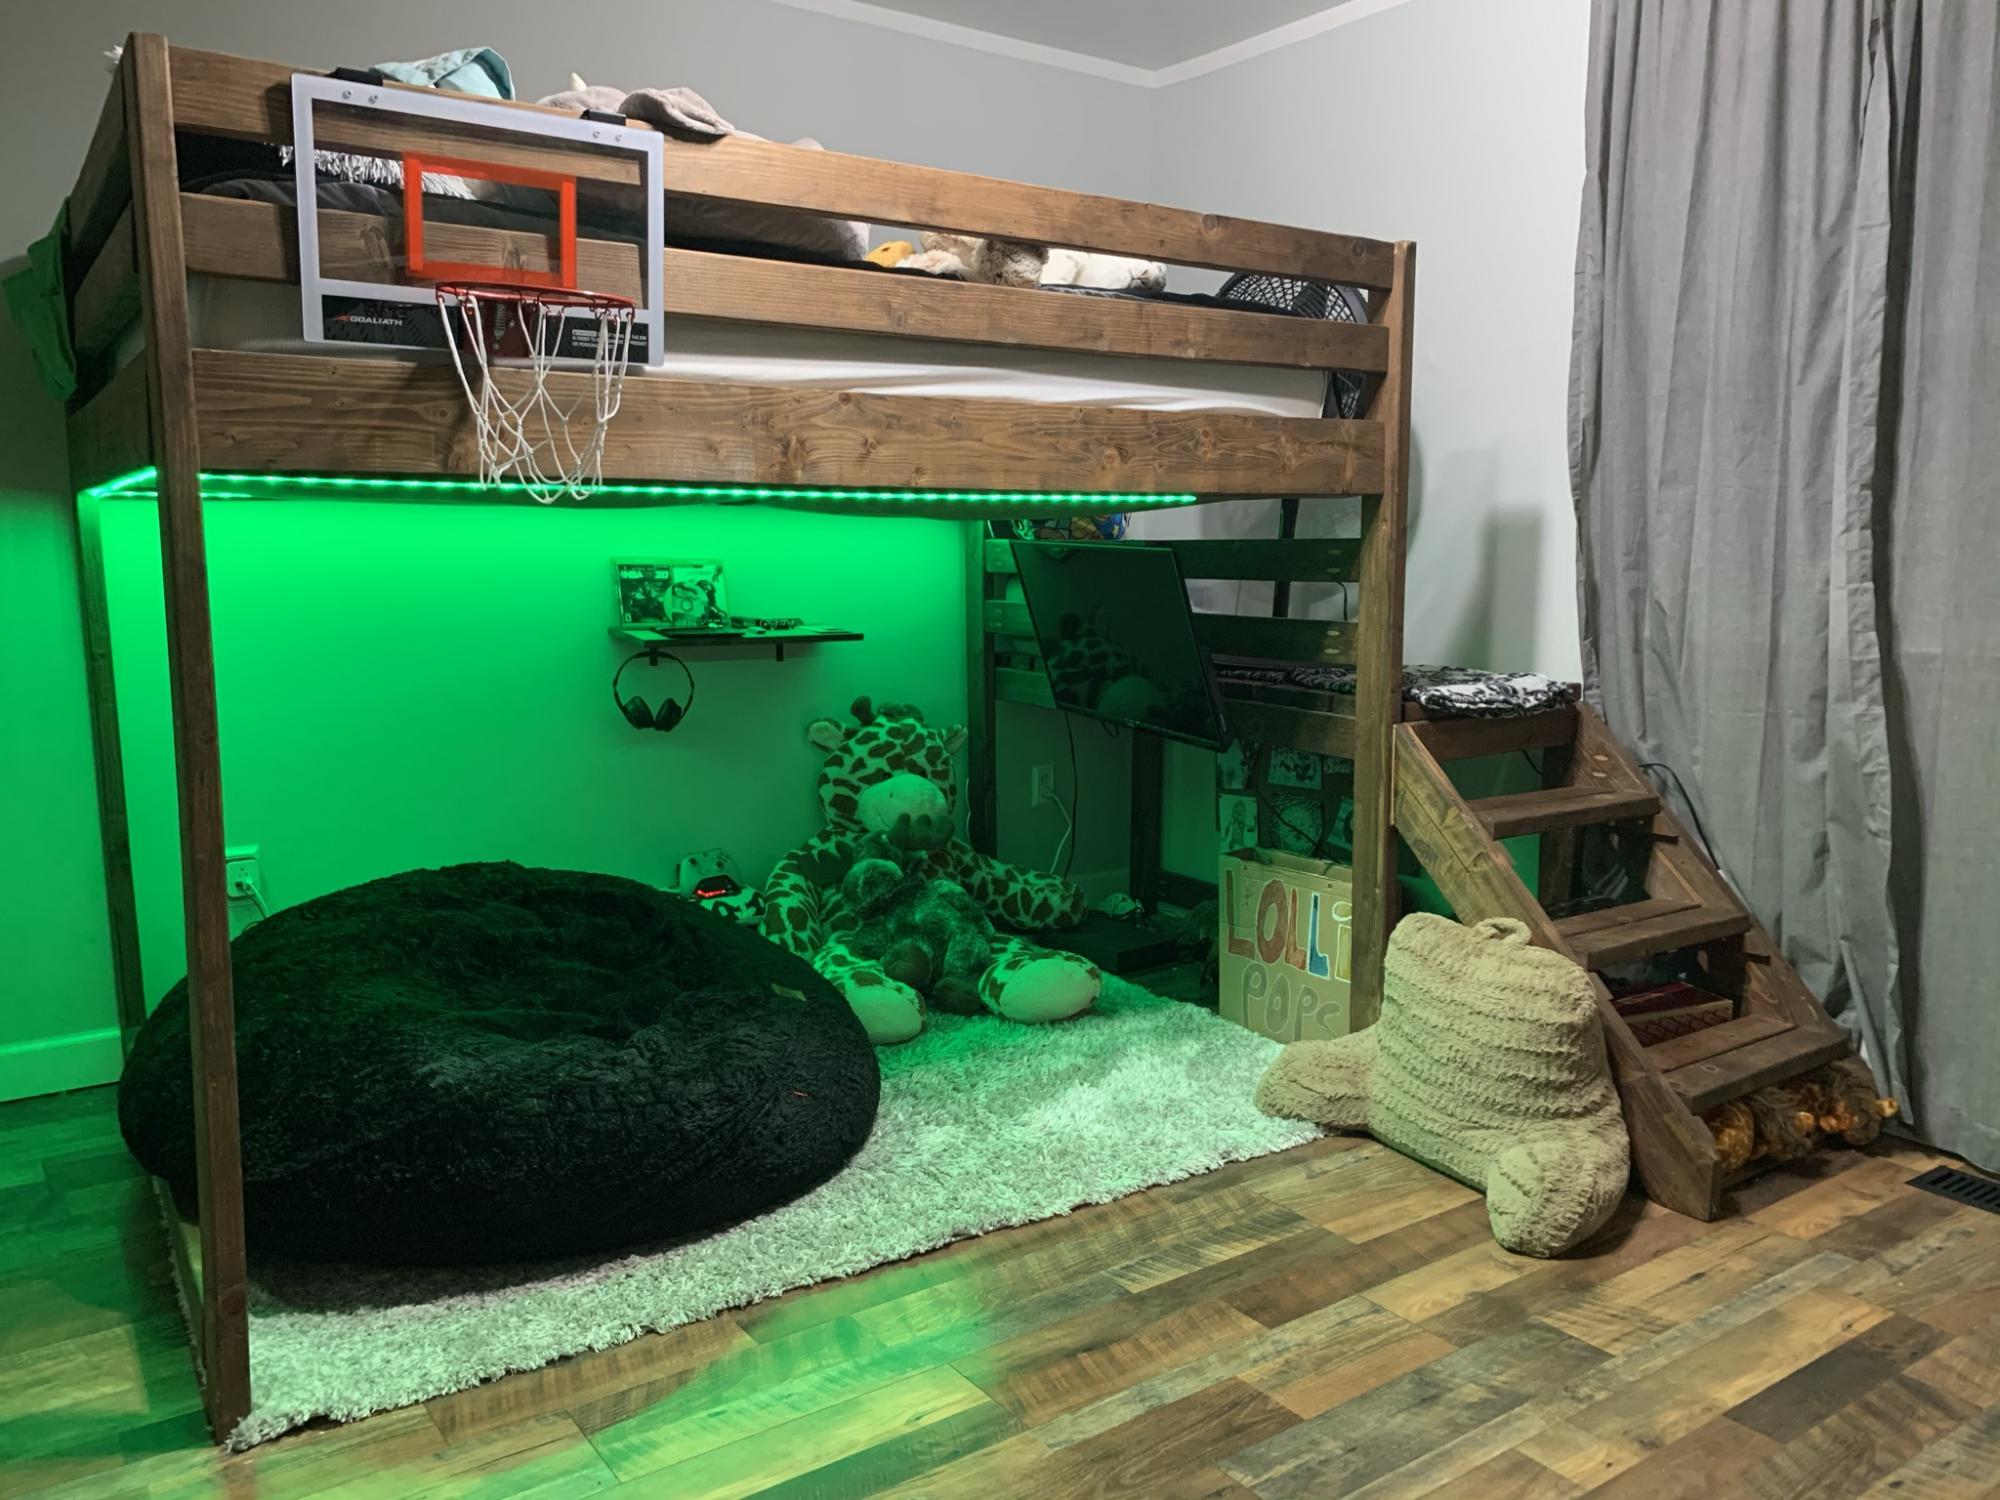
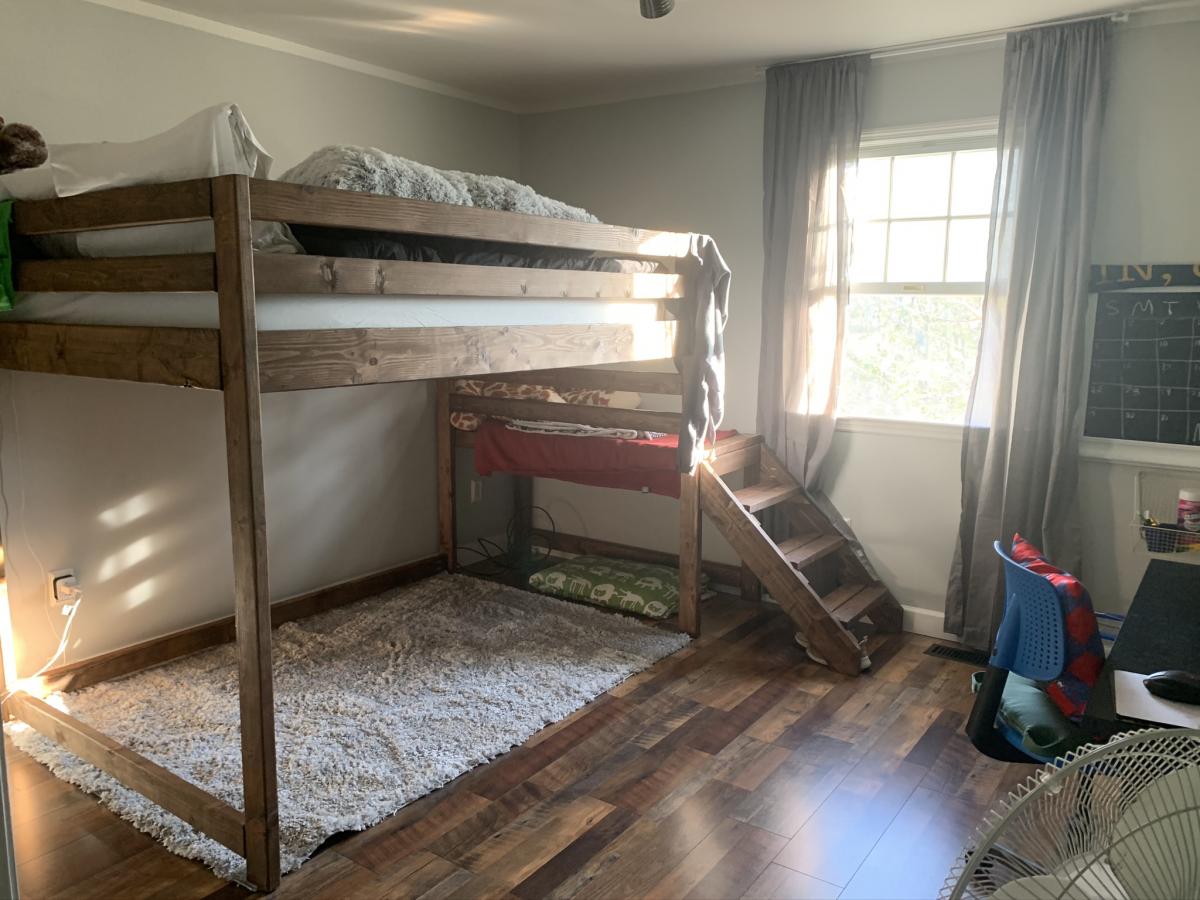
Made this Loft bed for a full size mattress in 2019 and it is still strong. I added a stretcher on the bottom of bed across the length of the the bed added strength.


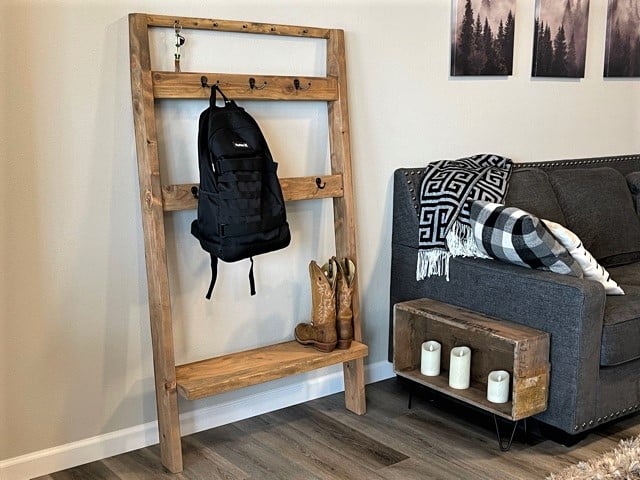
I had a small piece of 2x10 left over from this plan's original post, as well as some 2x4's and a scrap 1x2 laying around, so added the top key hook and stained instead of painted. Love how it turned out. I did the top angle a little different too, so it sits a bit closer to the wall, making it awesome for a narrow entryway or space. Easy to modify for whatever the need.
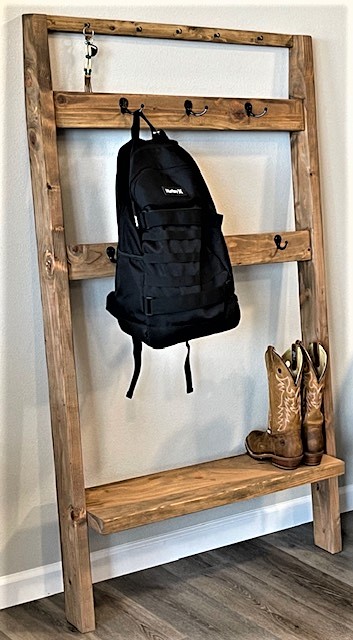
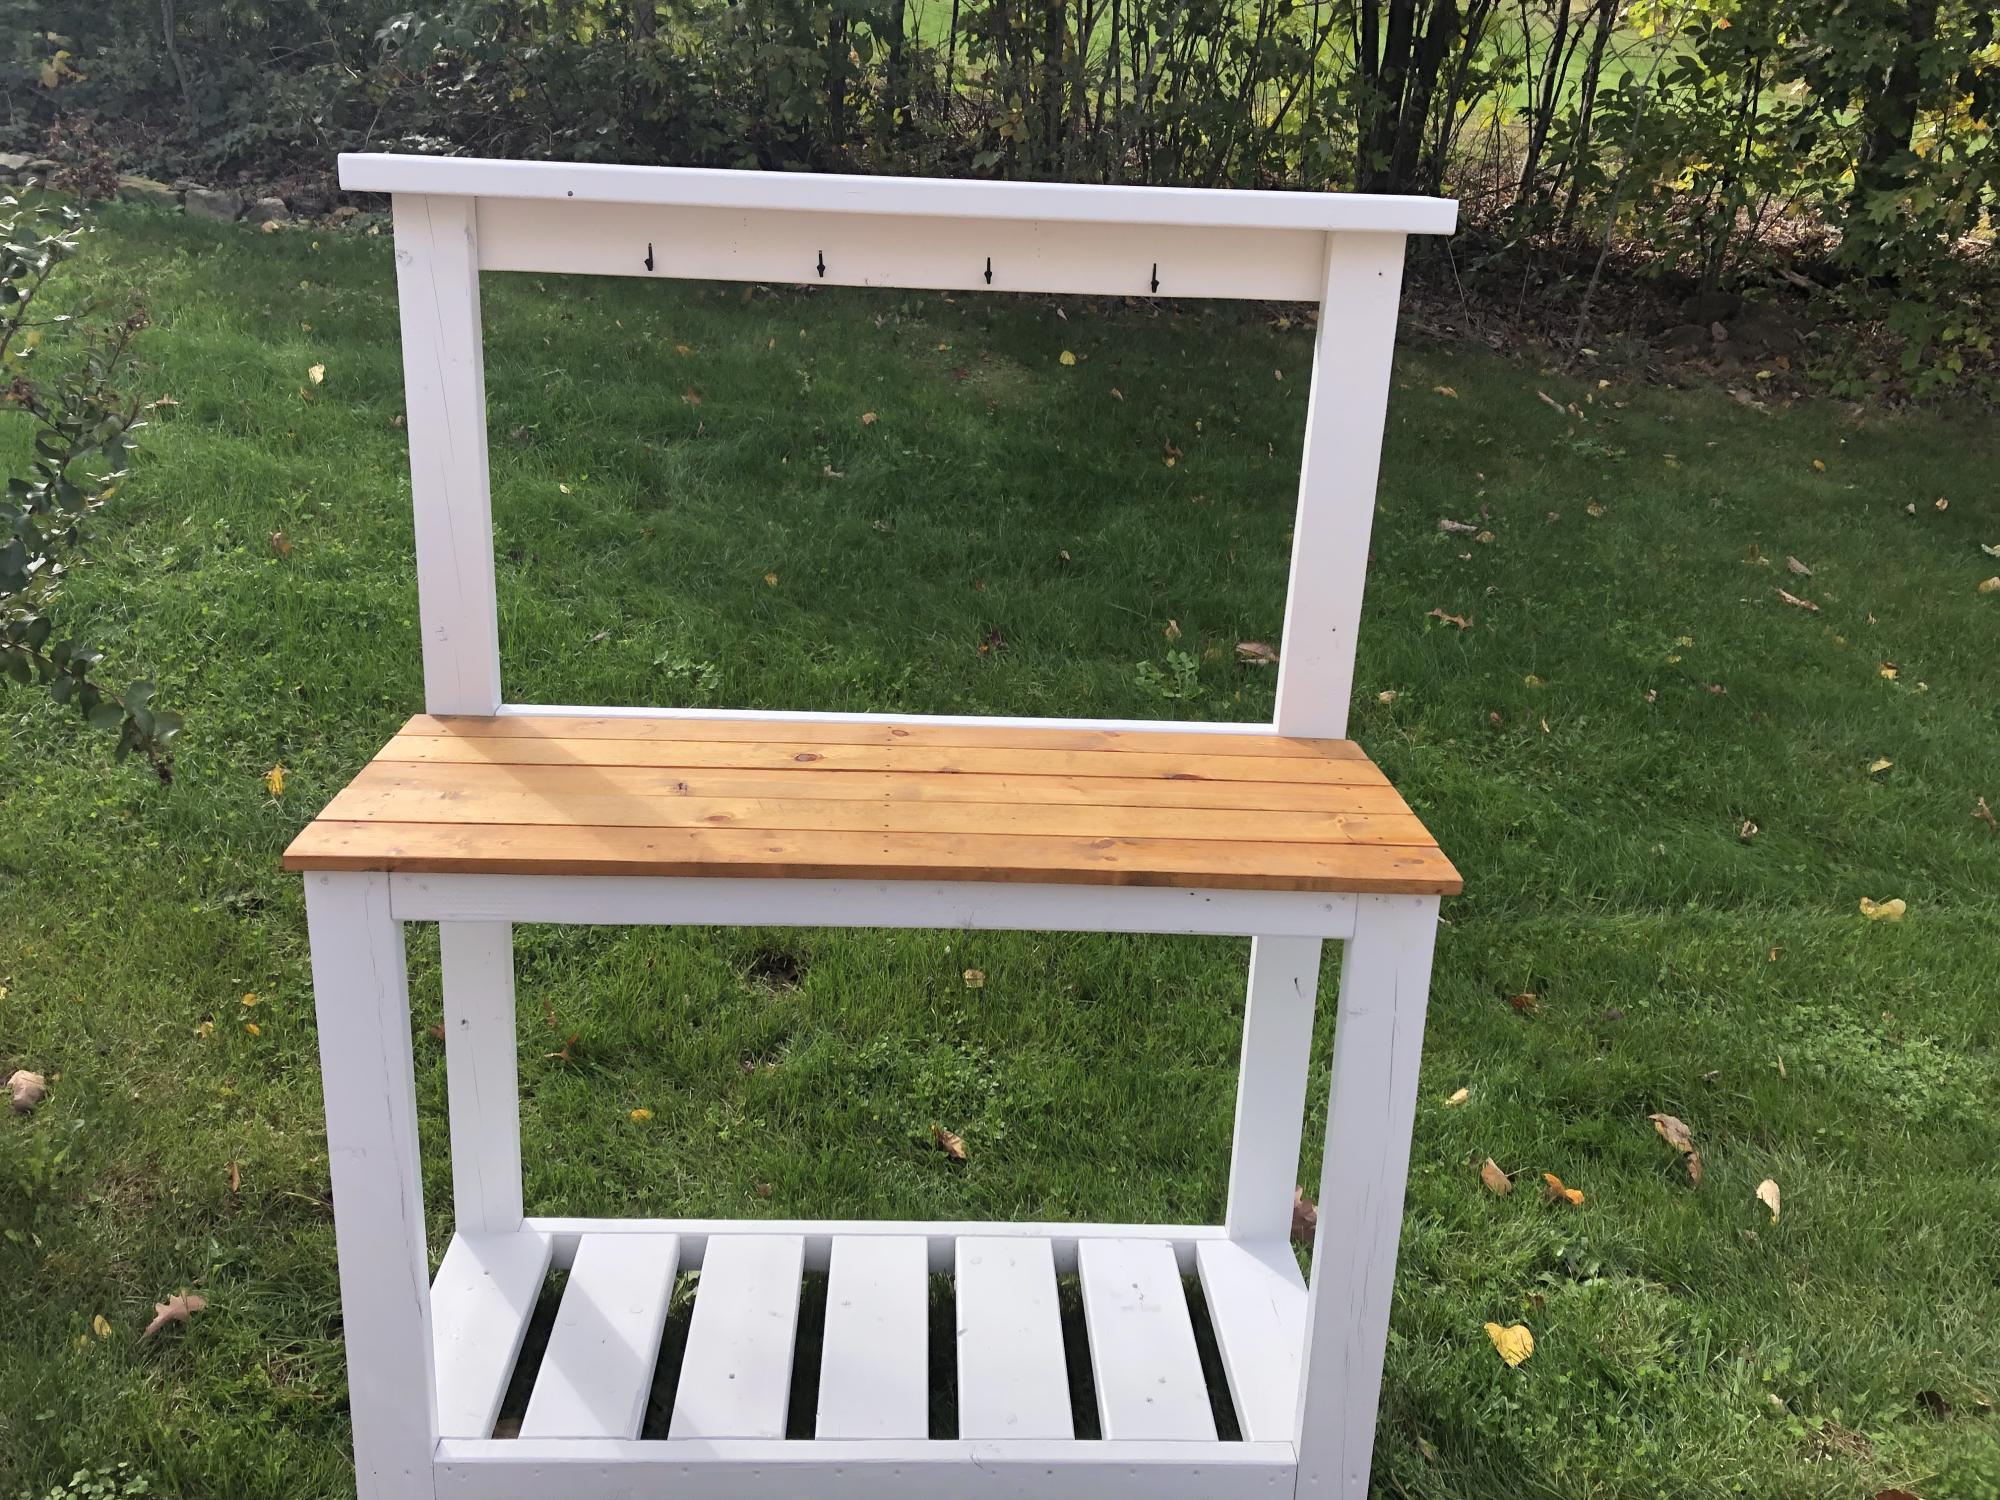
I used 1x4 for the top and stained with dark walnut danish oil
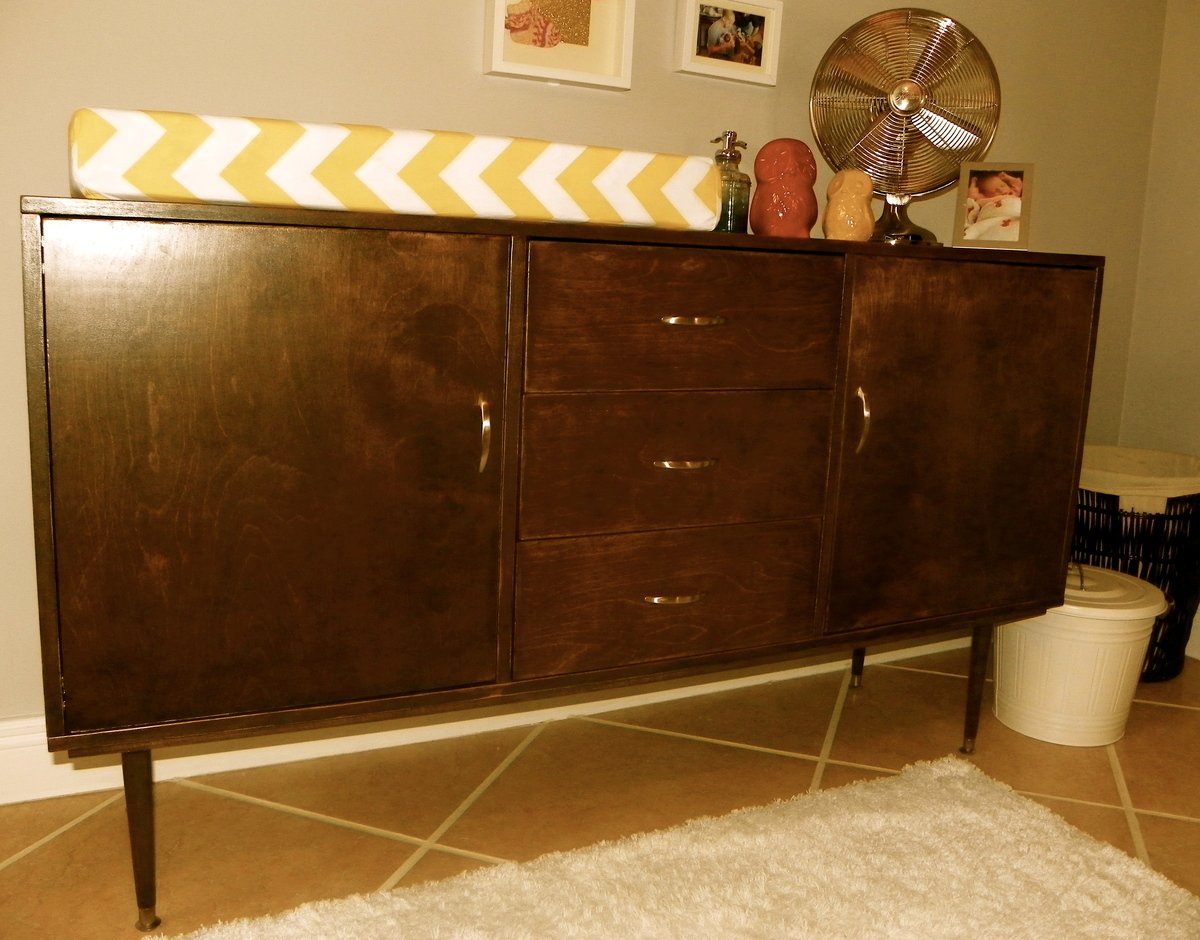
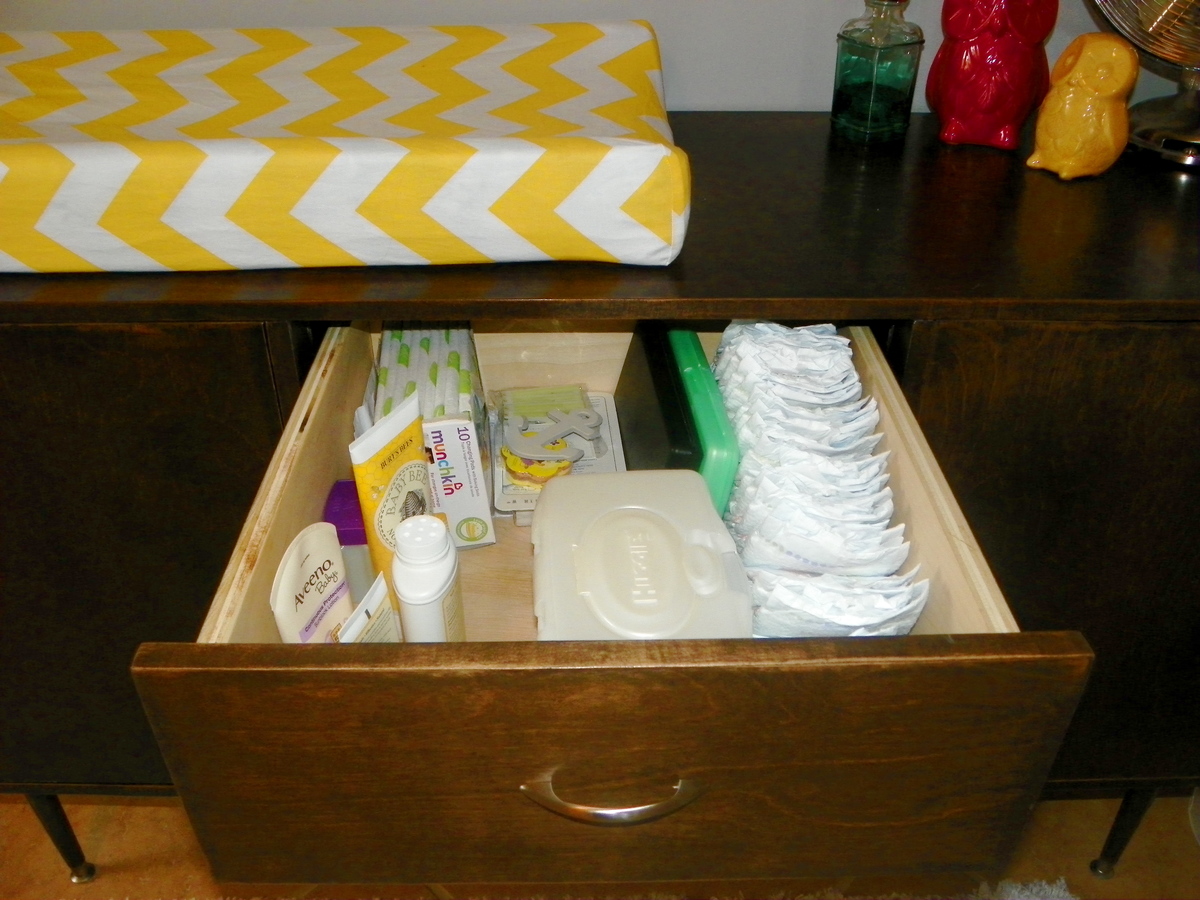
I had been looking everywhere for an antique Mid Century Modern buffet table to use as a changing table for my daughter but found that these vintage pieces ran about $1200 to $3000 and still needed refinishing. That was out of my price range so I came here and found plans for a console table that had the look I was going for.
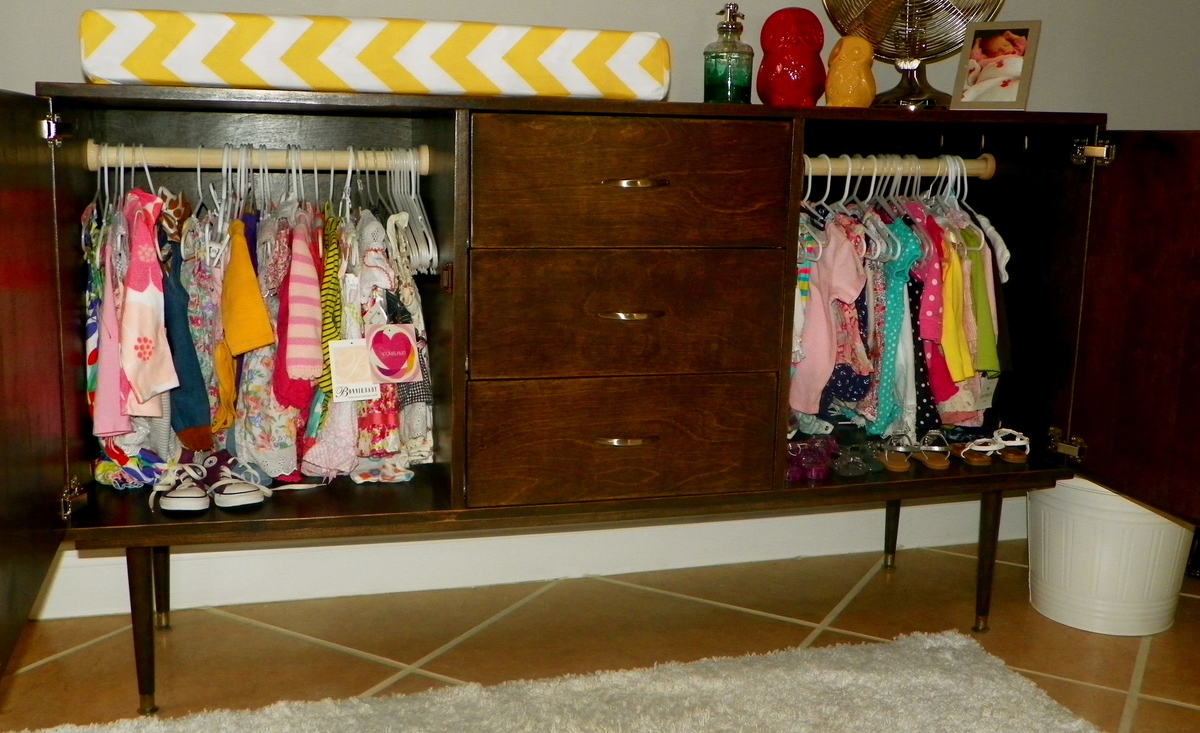
The plan I found was too short in length and height so I reworked them a little to fit my needs. I just added a second cabinet in the same dimensions as the first onto the other end of the drawers to increase the length and bought 12" legs instead of 6" ones to increase the height. I used the same hardware that was recommended in the original plans but added a magnetic door stopper to make the cabinet doors flush with the frame when closed. I also added dowel rods in the cabinets because my daughter doesn't have a closet and I needed a place to hang her clothes.
It is great to have 2 cabinets because the left side holds clothes that are too big for her and the right holds all of the clothes she wears now. The drawers are nice and deep so I can put all her changing stuff like diapers and lotion in the top and fit all her socks, diaper covers, and pajamas in the other drawers.
I will say that I used 1x6's to make the drawers first but found that I am really bad at picking straight boards as there were a lot of gaps between the sides and the bottom of the drawer. I went back and used scrap pieces of 3/4" plywood for the drawer sides and they came out much better with no gaps, plus, the exposed top of the drawer sides look better.
This was a fairly fast project. I put it as a weekend project due to the down time between staining and poly coats. It was my first time working with edge banding and I loved it. It was super easy and kind of relaxing! Over-all, this project was easy and fun! This table meets all of my needs AND it looks great! Thanks Ana for the plans and thanks Brooke for the inspiration and tips!
Fri, 06/28/2013 - 11:02
Wow, really great job. I love mid century mod, and you pulled it off perfectly!
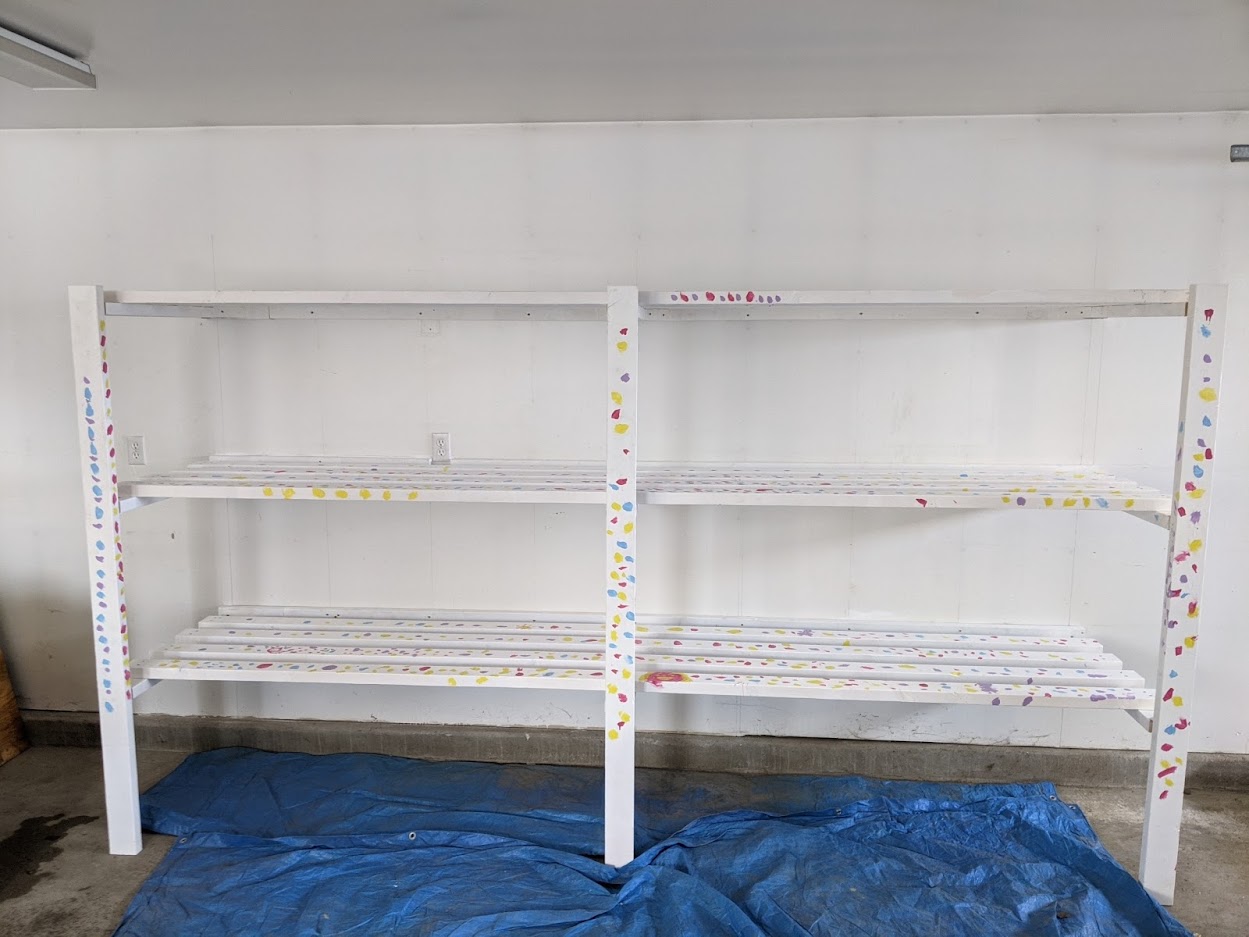
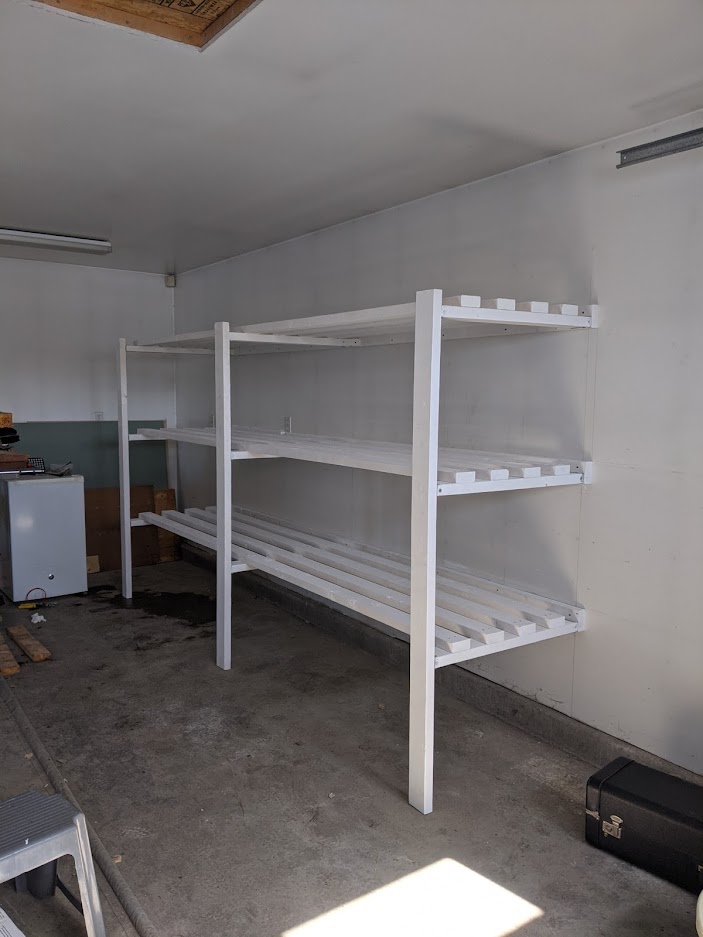
I made these shelves - following the plans on the site - with my kids who helped with the painting. What a straight forward way to organize the garage and have fun introducing kids to building. The shelves are deep enough for storage tubs, access items easily and are very sturdy. I would fully recommend this plan to get things sorted in your garage and have more room for other projects!
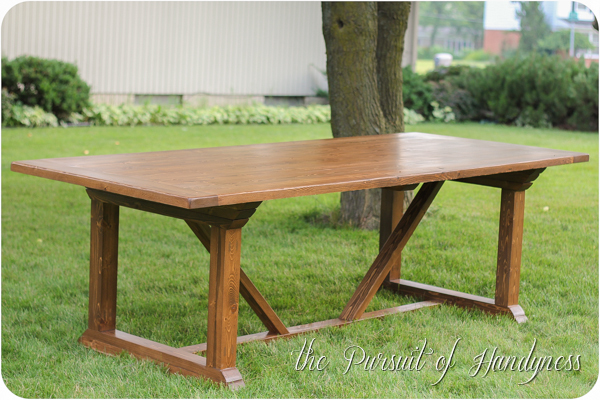
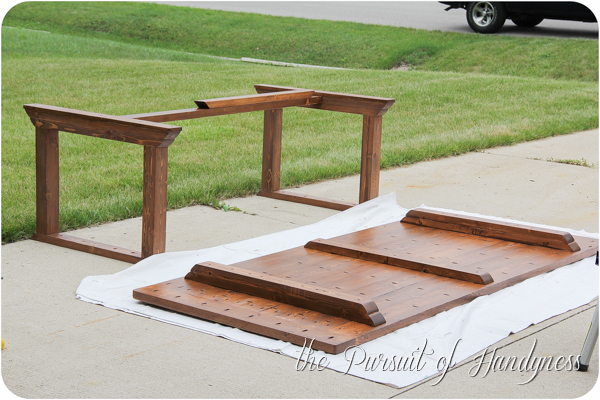
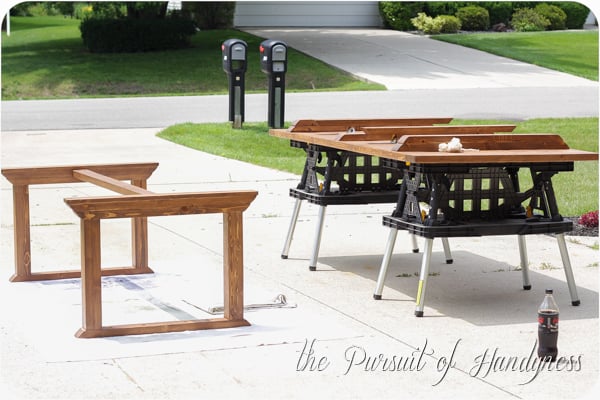
I used Ana's plans and only made one adjustment. I could not cut the 50 degree angles on my miter saw so I just borrowed the "V" design from one of her other plans. This table is really heavy and sturdy. A helper is necessary to flip the table top back and forth.
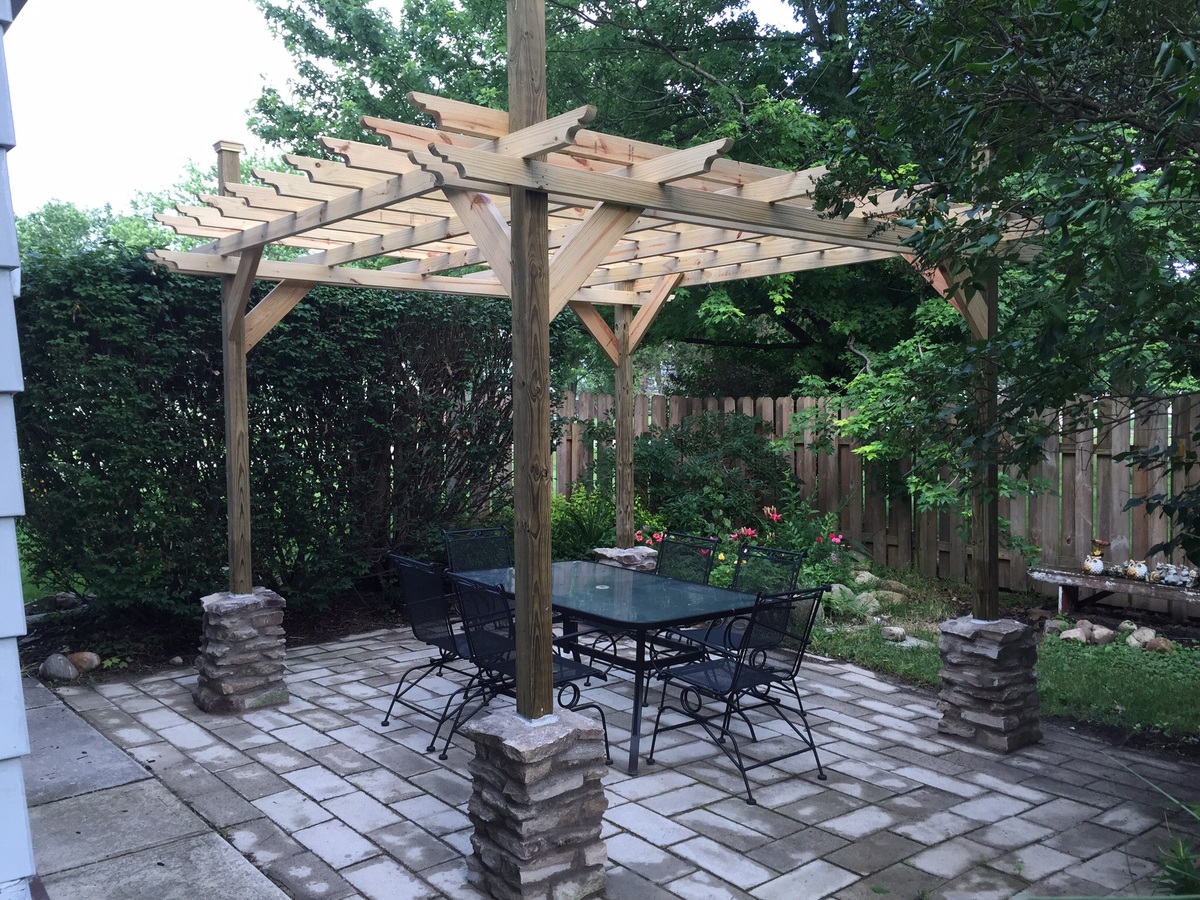
I used flat stone and a masonry circular blade for the base of the corner posts. I also used 2 x 4's for both layers of the top boards. It was a lot of fun to build.
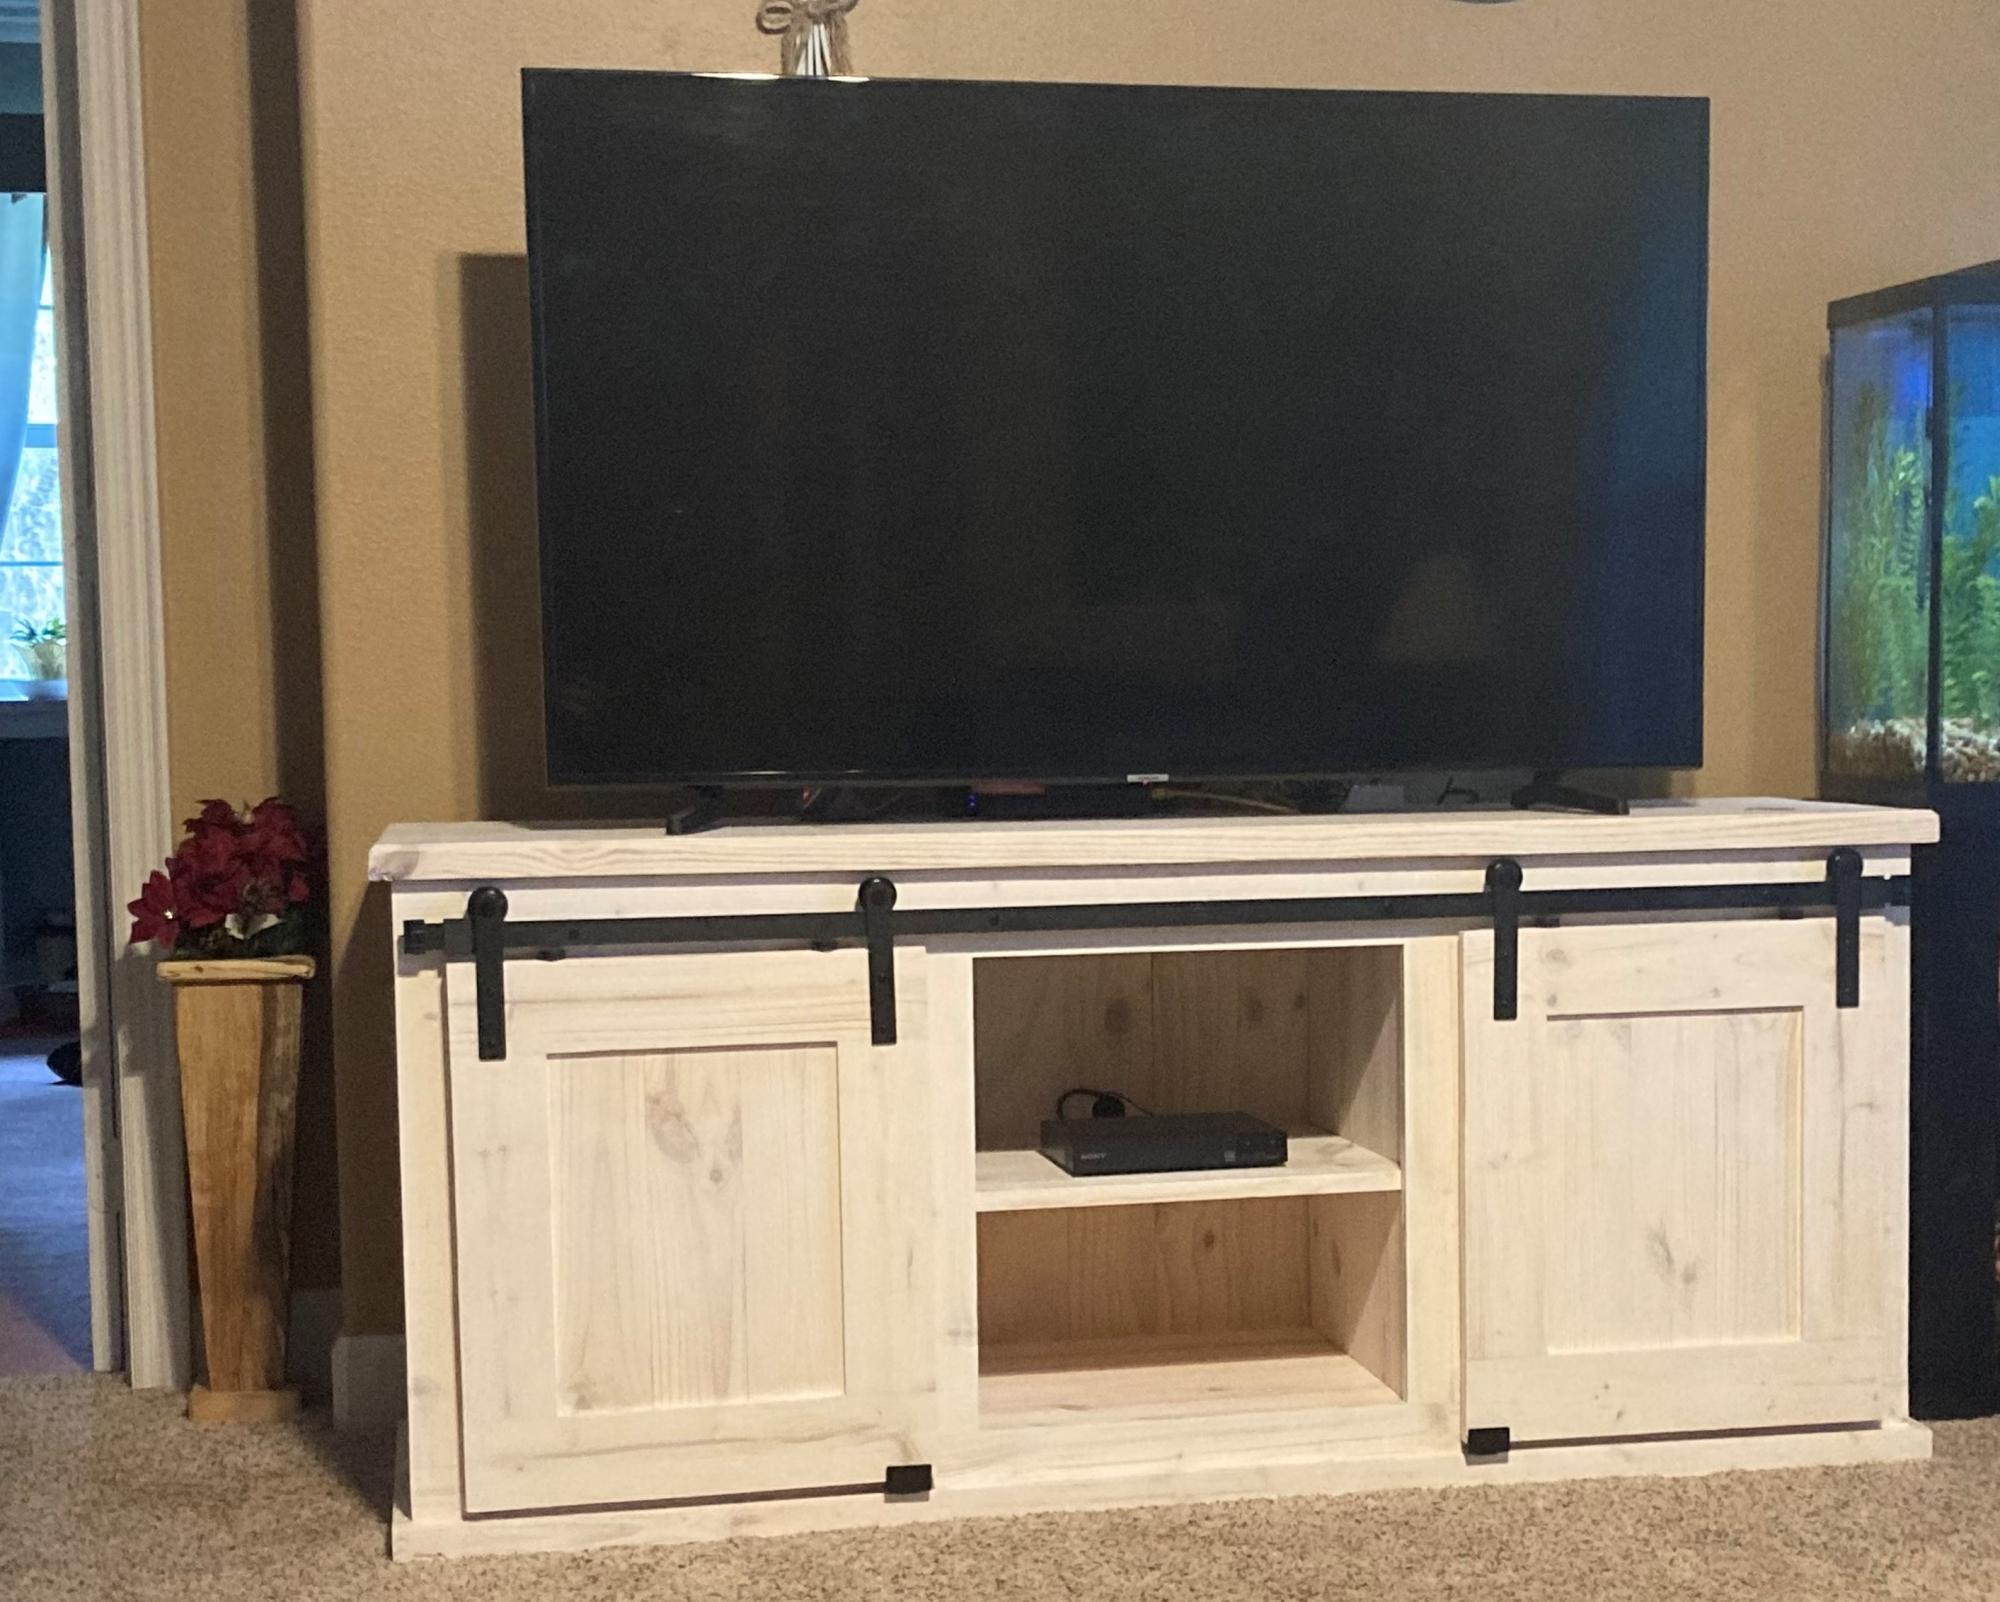
My wife wanted a new TV stand. I found some plans online but ended up using the basic plan then added my own ideas to it. Used all pine boards. Then finished with Minwax Simply White.
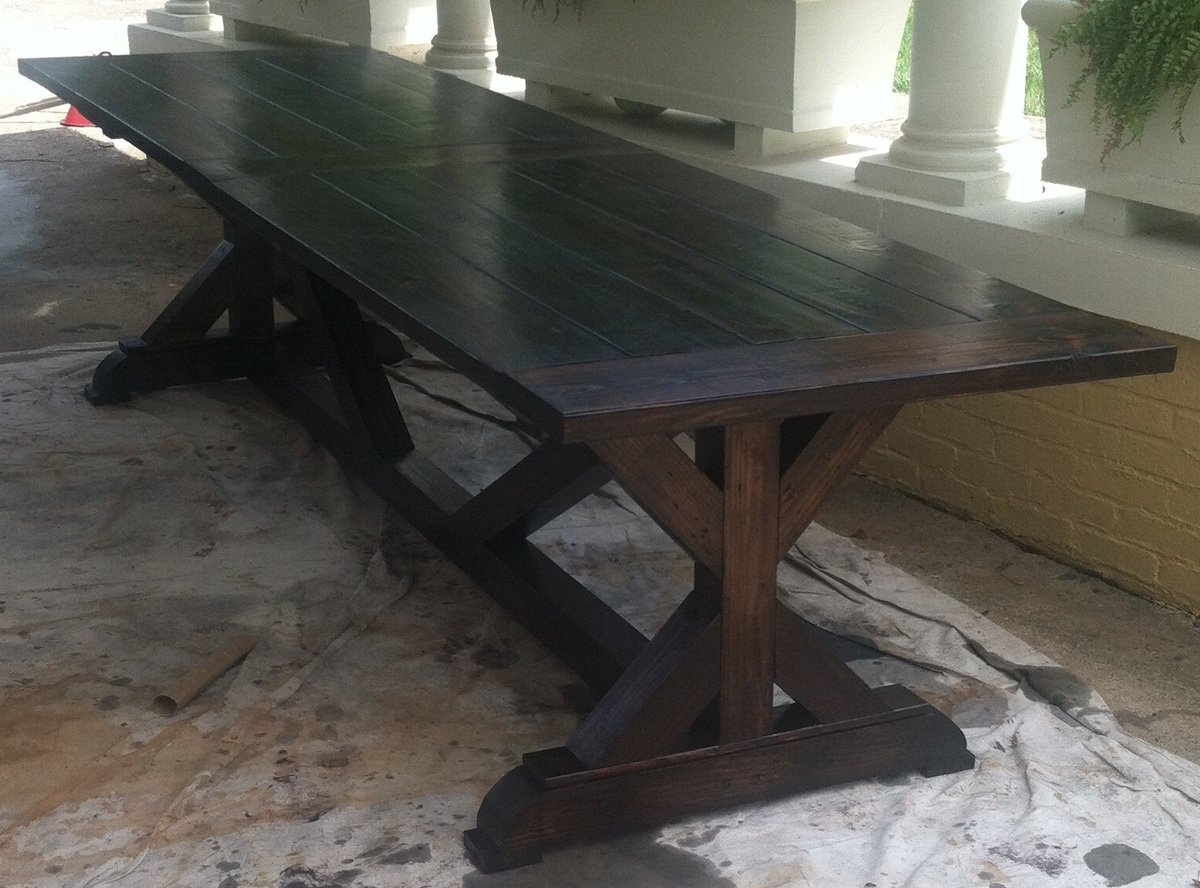
I built this 10.5' farmhouse table for my aunt and uncle's dining room. I modified the plans slightly to try and look more like the Restoration Hardware version, using 4x4's for the beams and side supports and rounding the sides of the side supports. I also modified the top by adding an extra sideways board in the middle. The rationale for this was that I was worried about finding boards at the length I wanted that were perfectly straight from end to end, so by adding the center sideways board I only had to find boards that were perfectly straight for about half the full length. Also, we liked the look of the extra board in the middle. My little cousins had fun helping me distress the wood with hammers and other tools laying around. We love the way it came out, thank you Ana!
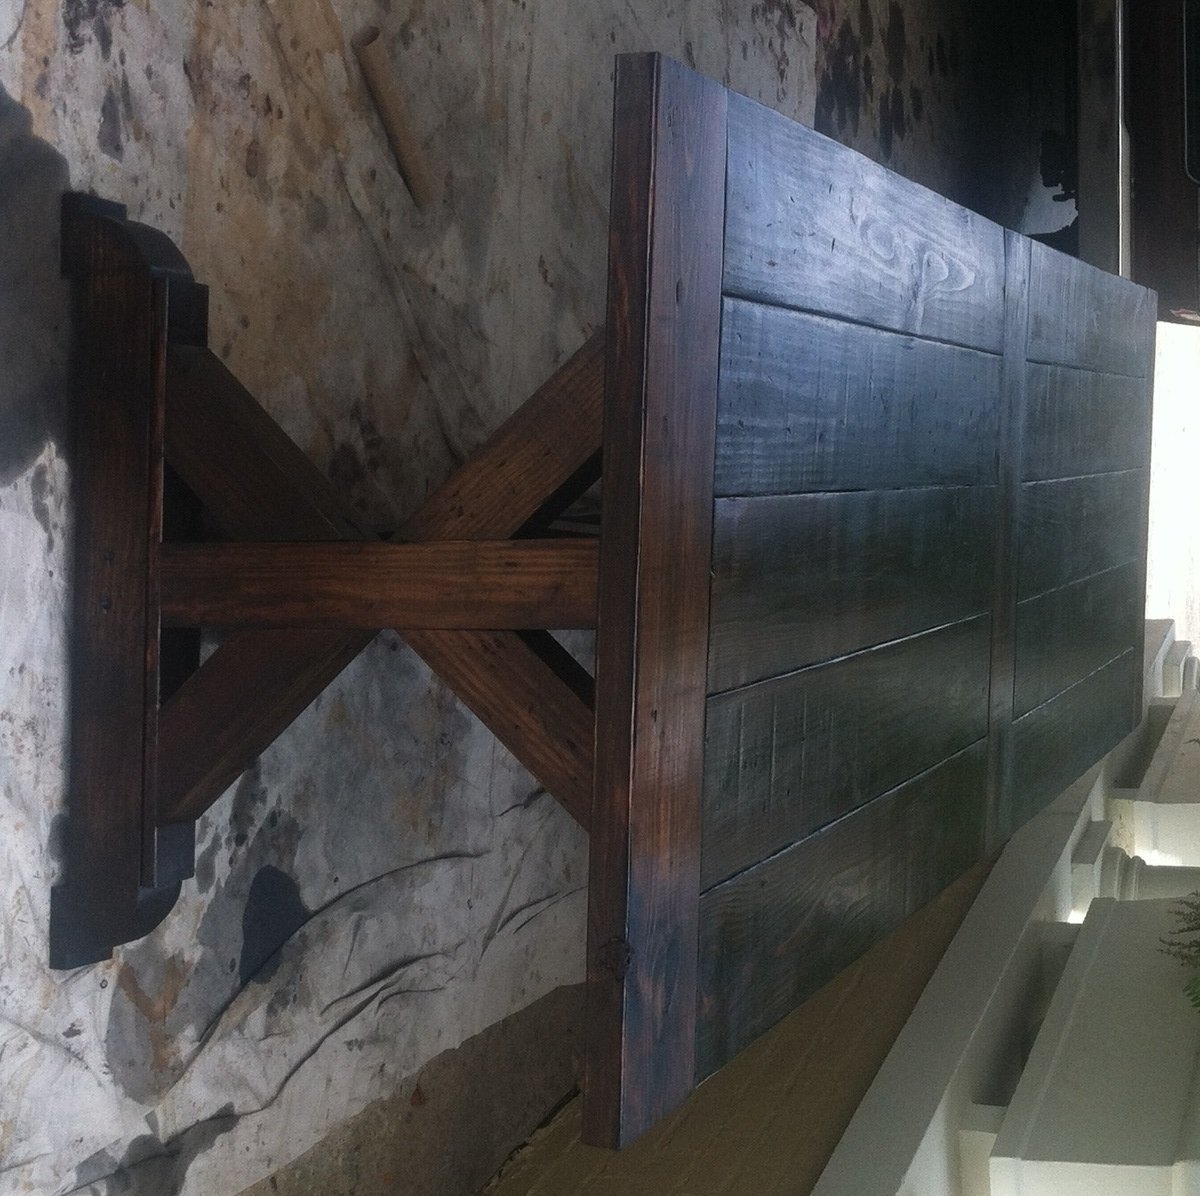
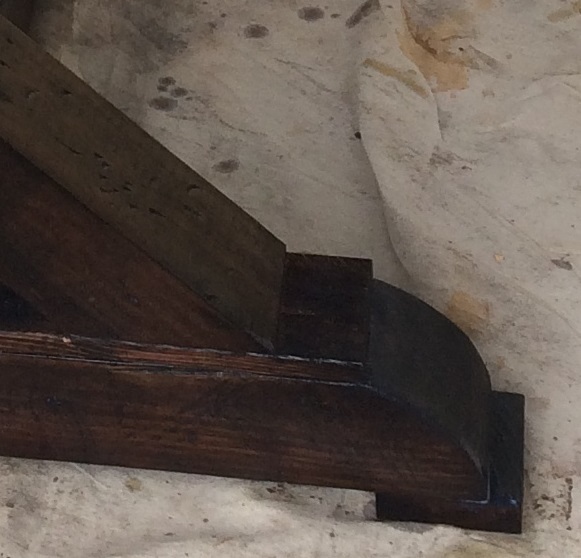
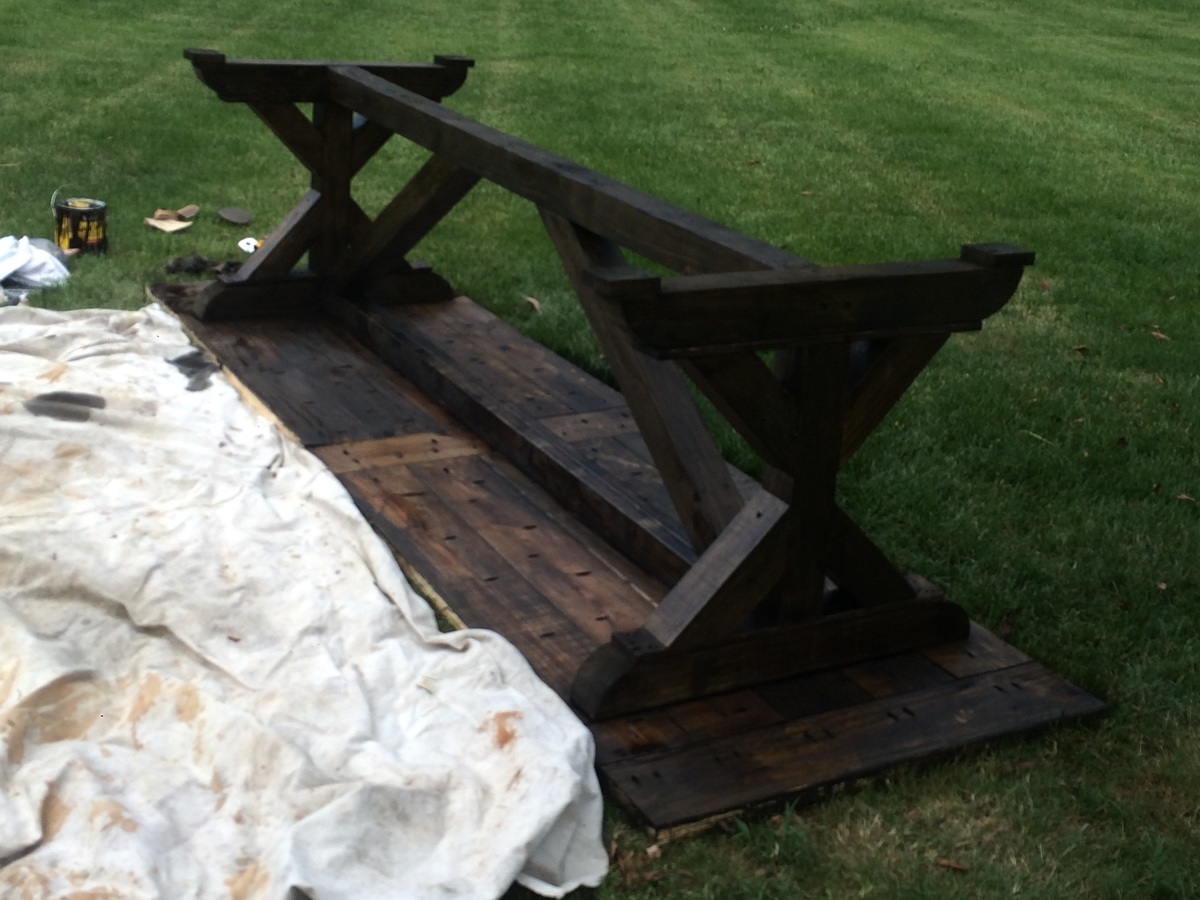
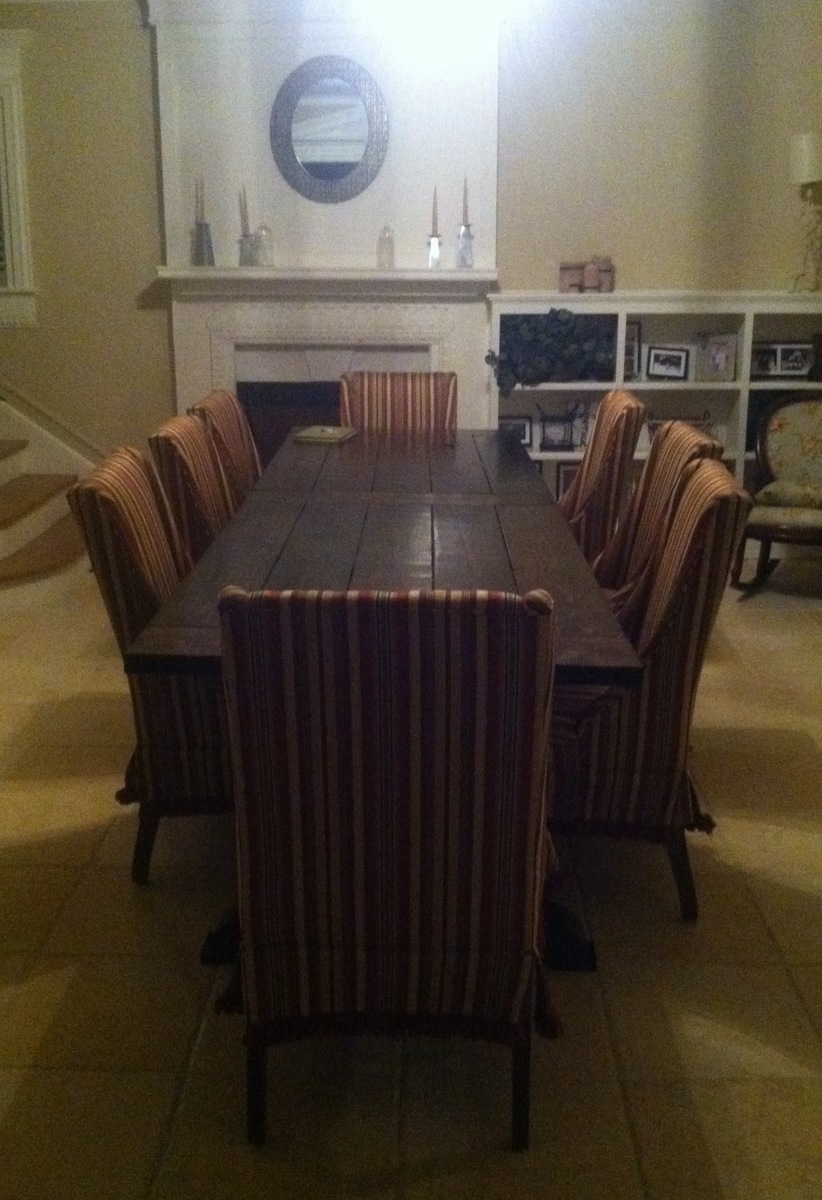
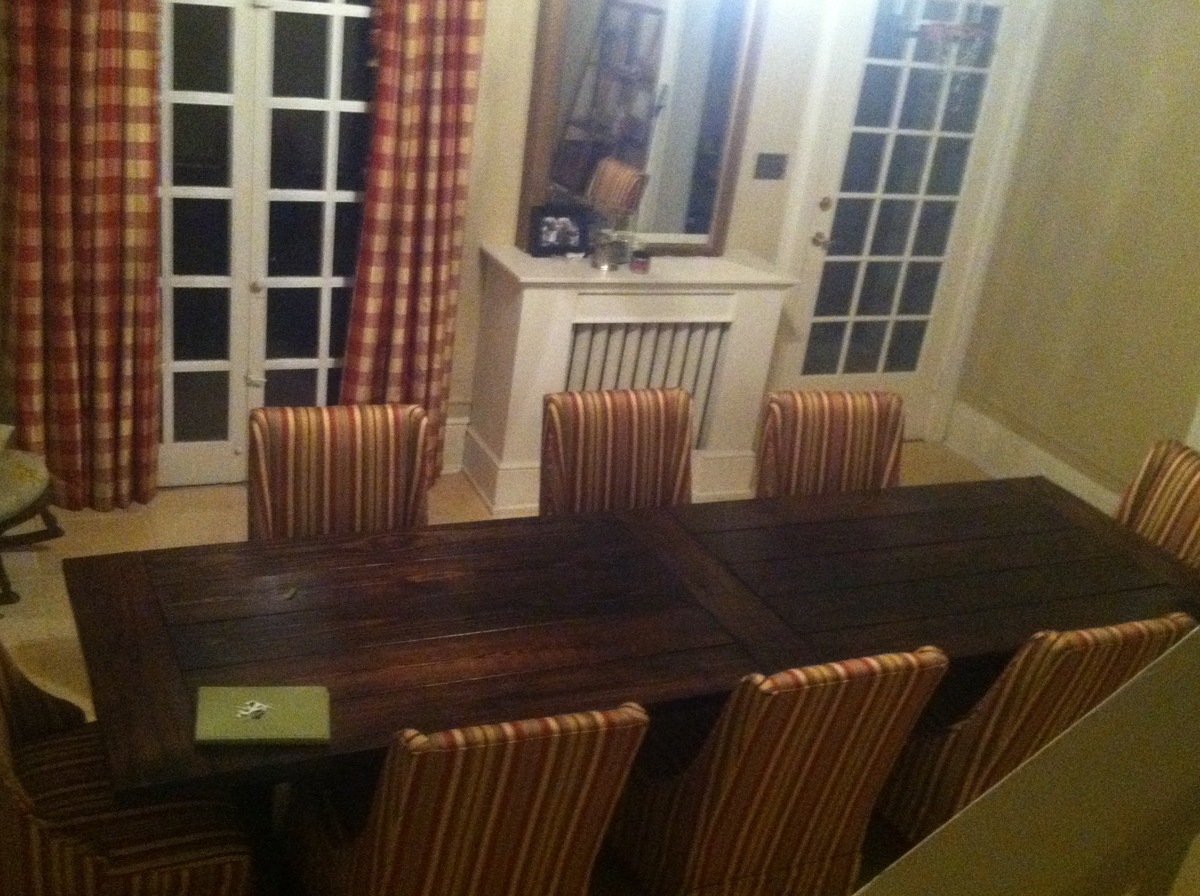
Another great tutorial and project done. Thanks Ana
This was the first project my husband and I attempted. I'm new to building but he has lots of experience. Went real well, I should have taken the advice though to measure and cut trim at the end. I did it at the start to get it sanded and we ended up needing to redo it all with new wood. So happy with the end result though, tons of storage for baby's toys.
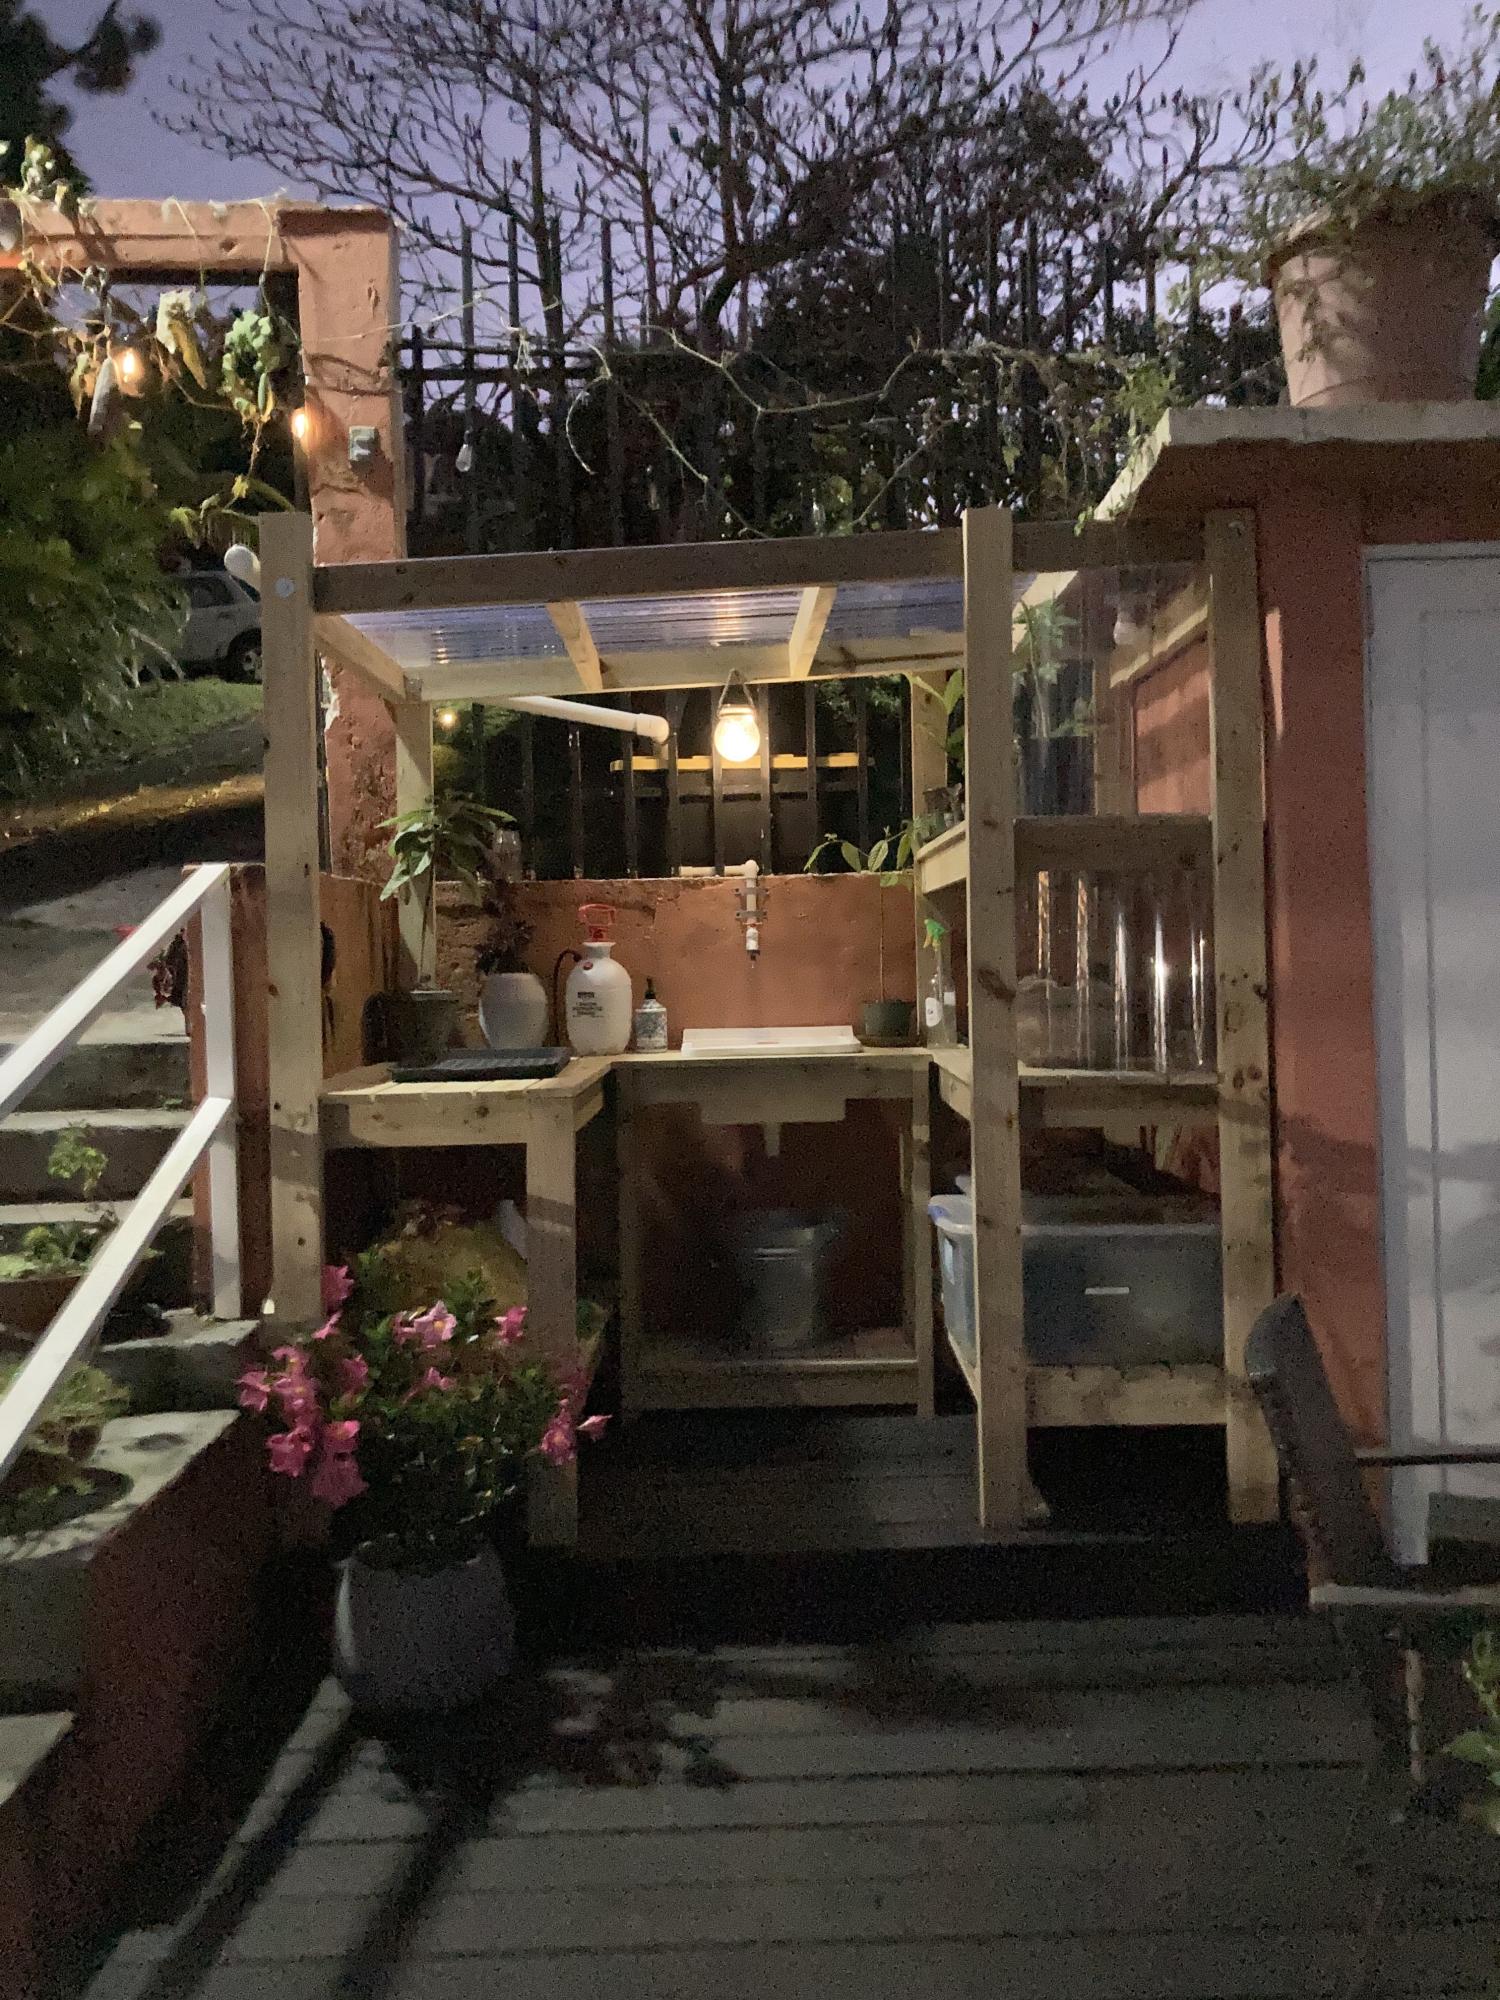
I modified the simple potting bench into 3 components. The potting bench, a place for seedlings and a sink.
We get a ton of rain up here in the mountains of Puerto Rico. So much so that it tends to drown seedlings if they aren't covered. So I took the Simple 2x4 Potting Bench plans and modified them to fit the space I had picked out for the project. Since we get so much rain I wanted to collect it. So I added a clear pvc roof and with a gutter made with pvc pipe which flows into a 27 gallon storage container. This disperses into the sink. There is a bucket under the sink to collect the water.
Note: I had to add a 2x4 support under each shelf. I made the two big shelves a little longer so it needed it to support the 1x4s.
I am an avid gardener so I should have given myself this gift after years of not having any level/proper space to work.
Tue, 03/15/2022 - 09:34
Thank you for sharing your wonderful project, looks great and super functional!