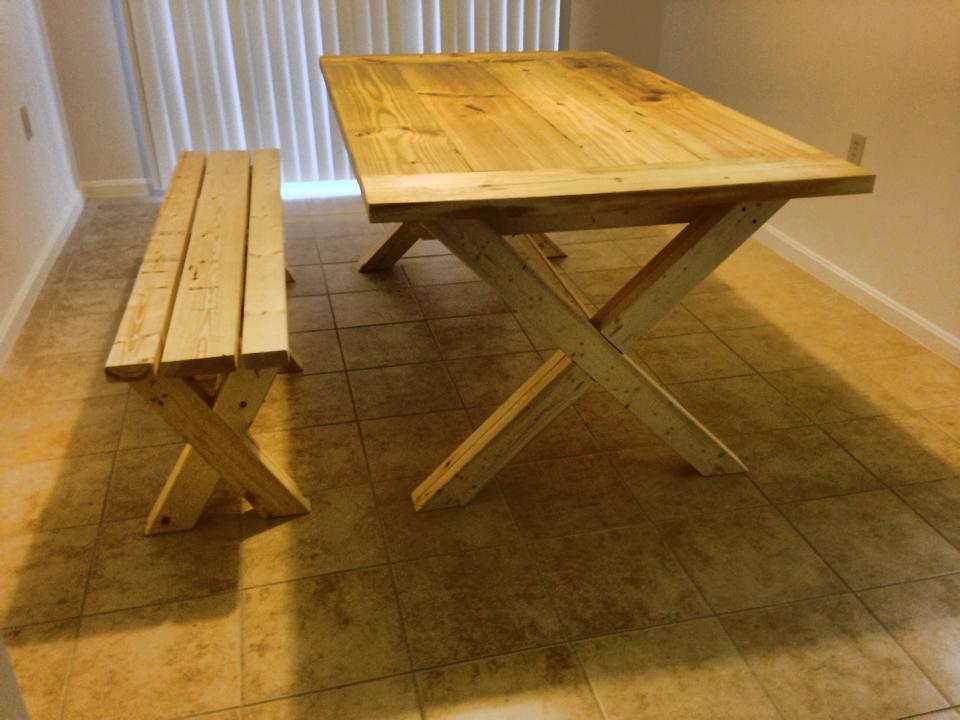
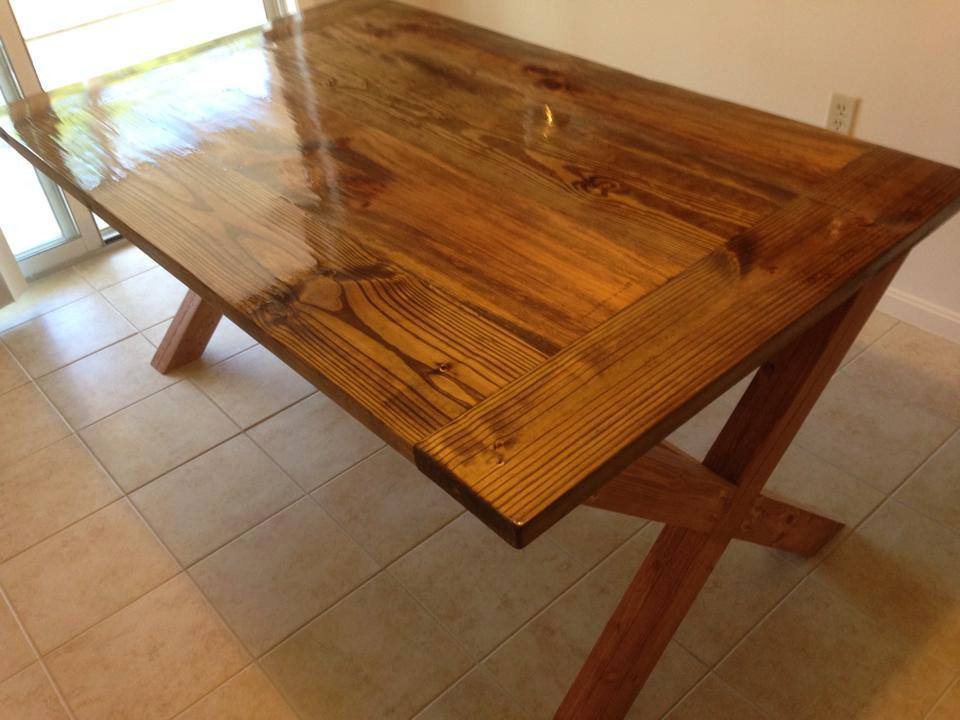
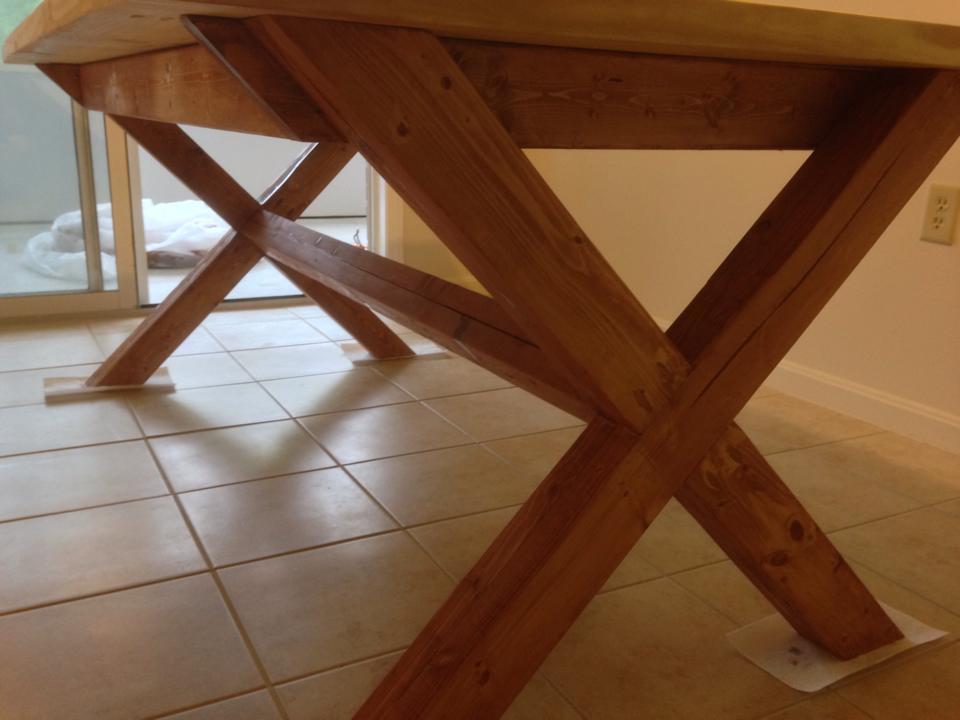
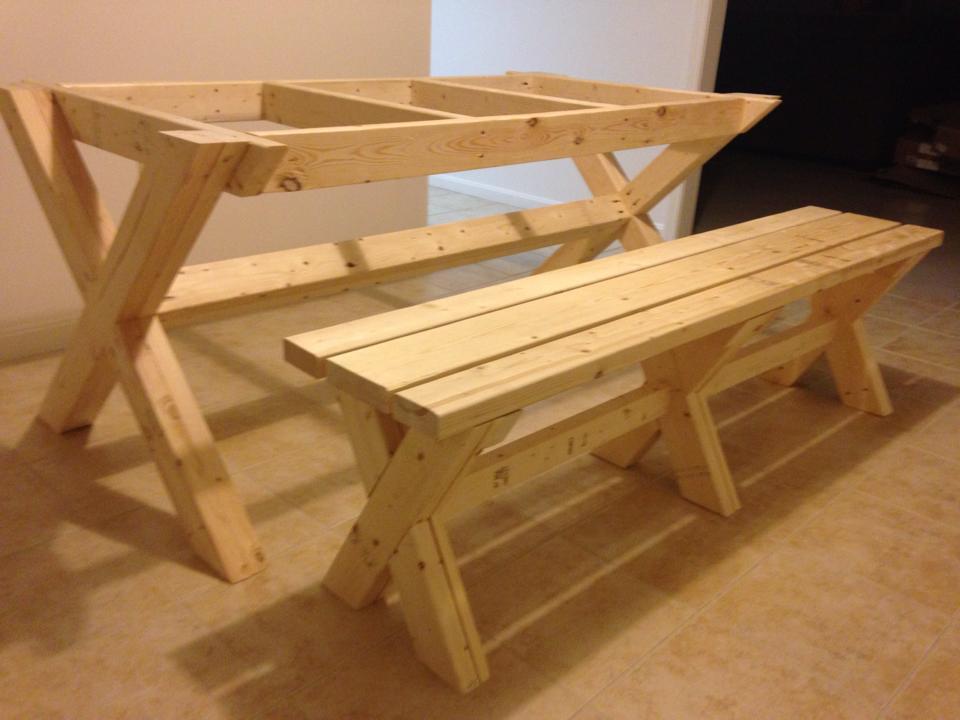
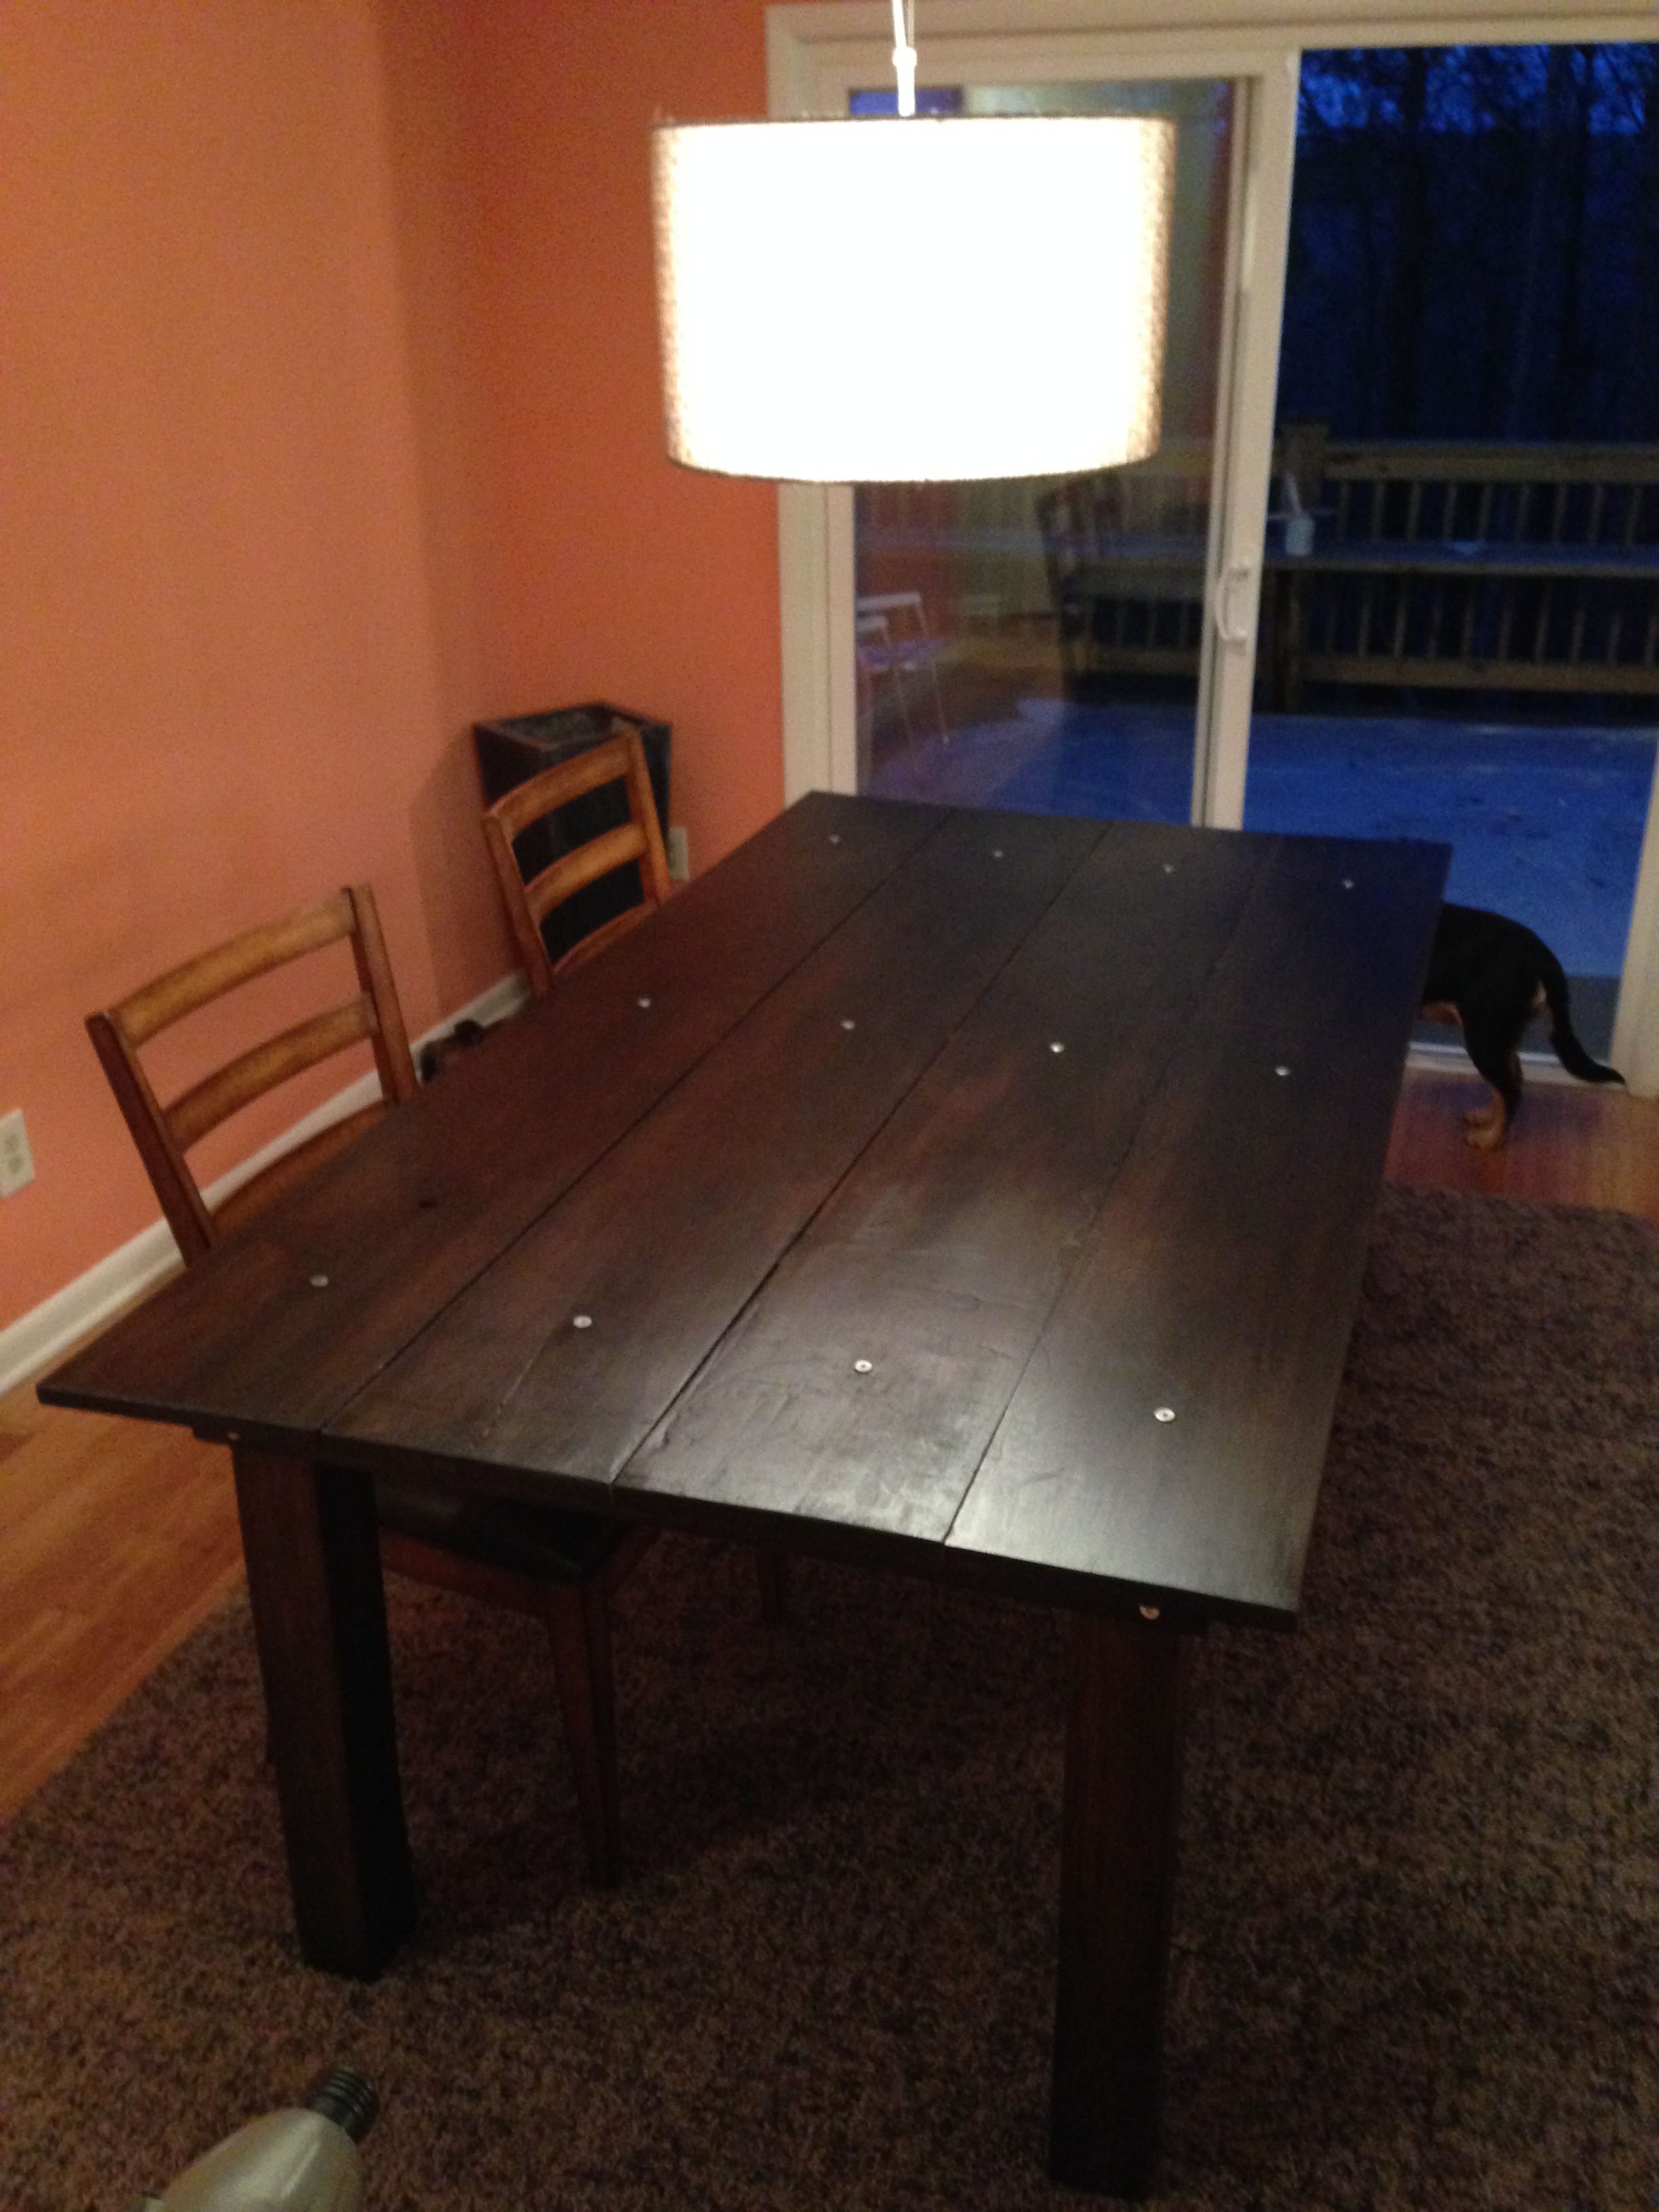
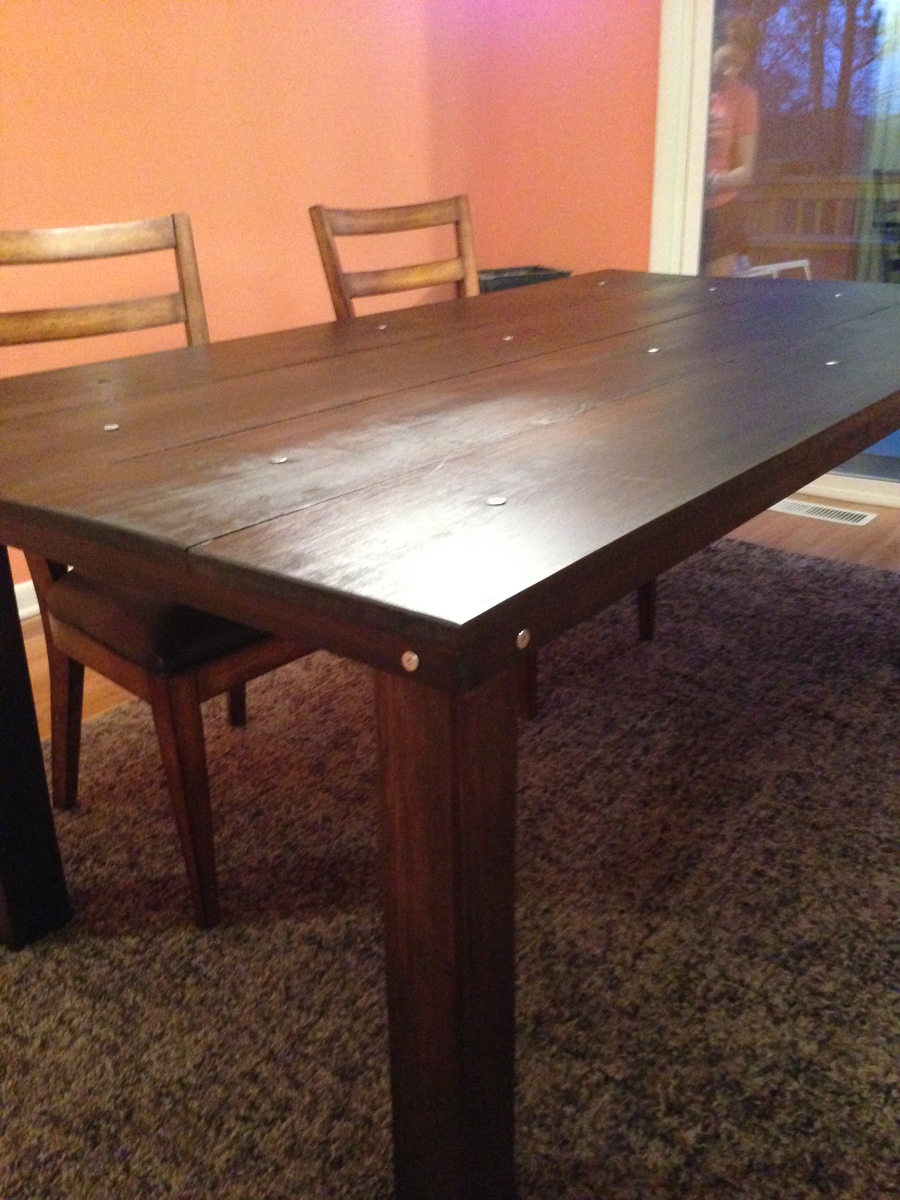
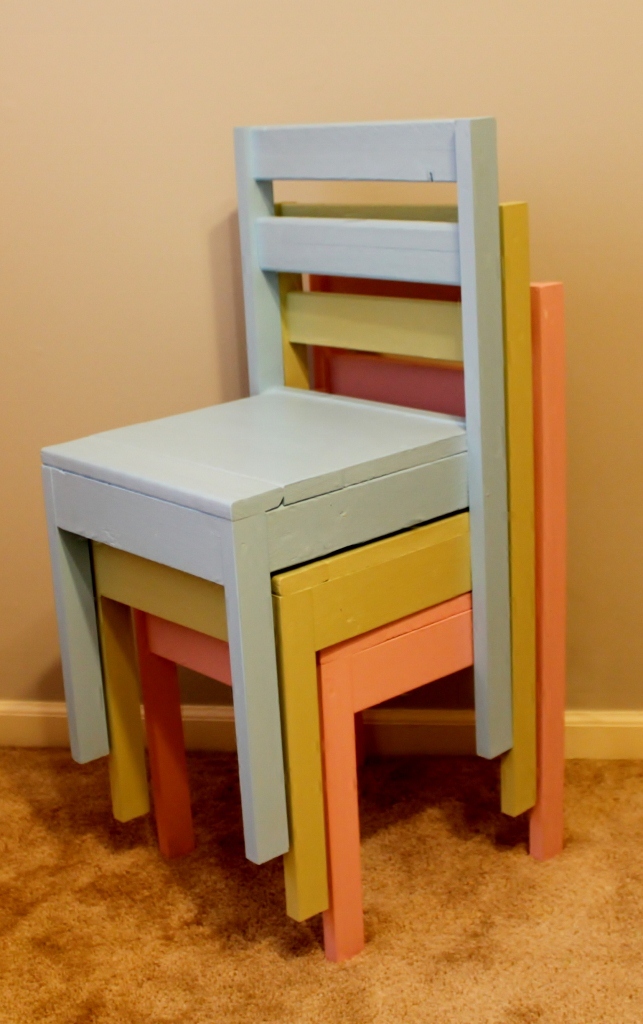
Clara Table and Stackable Chairs
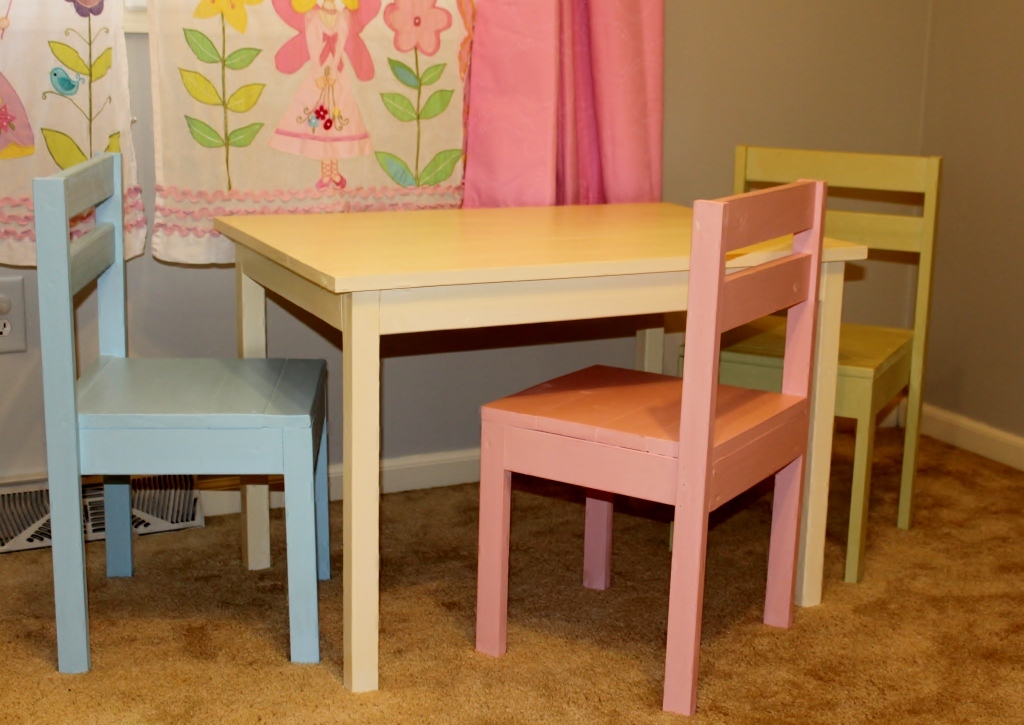
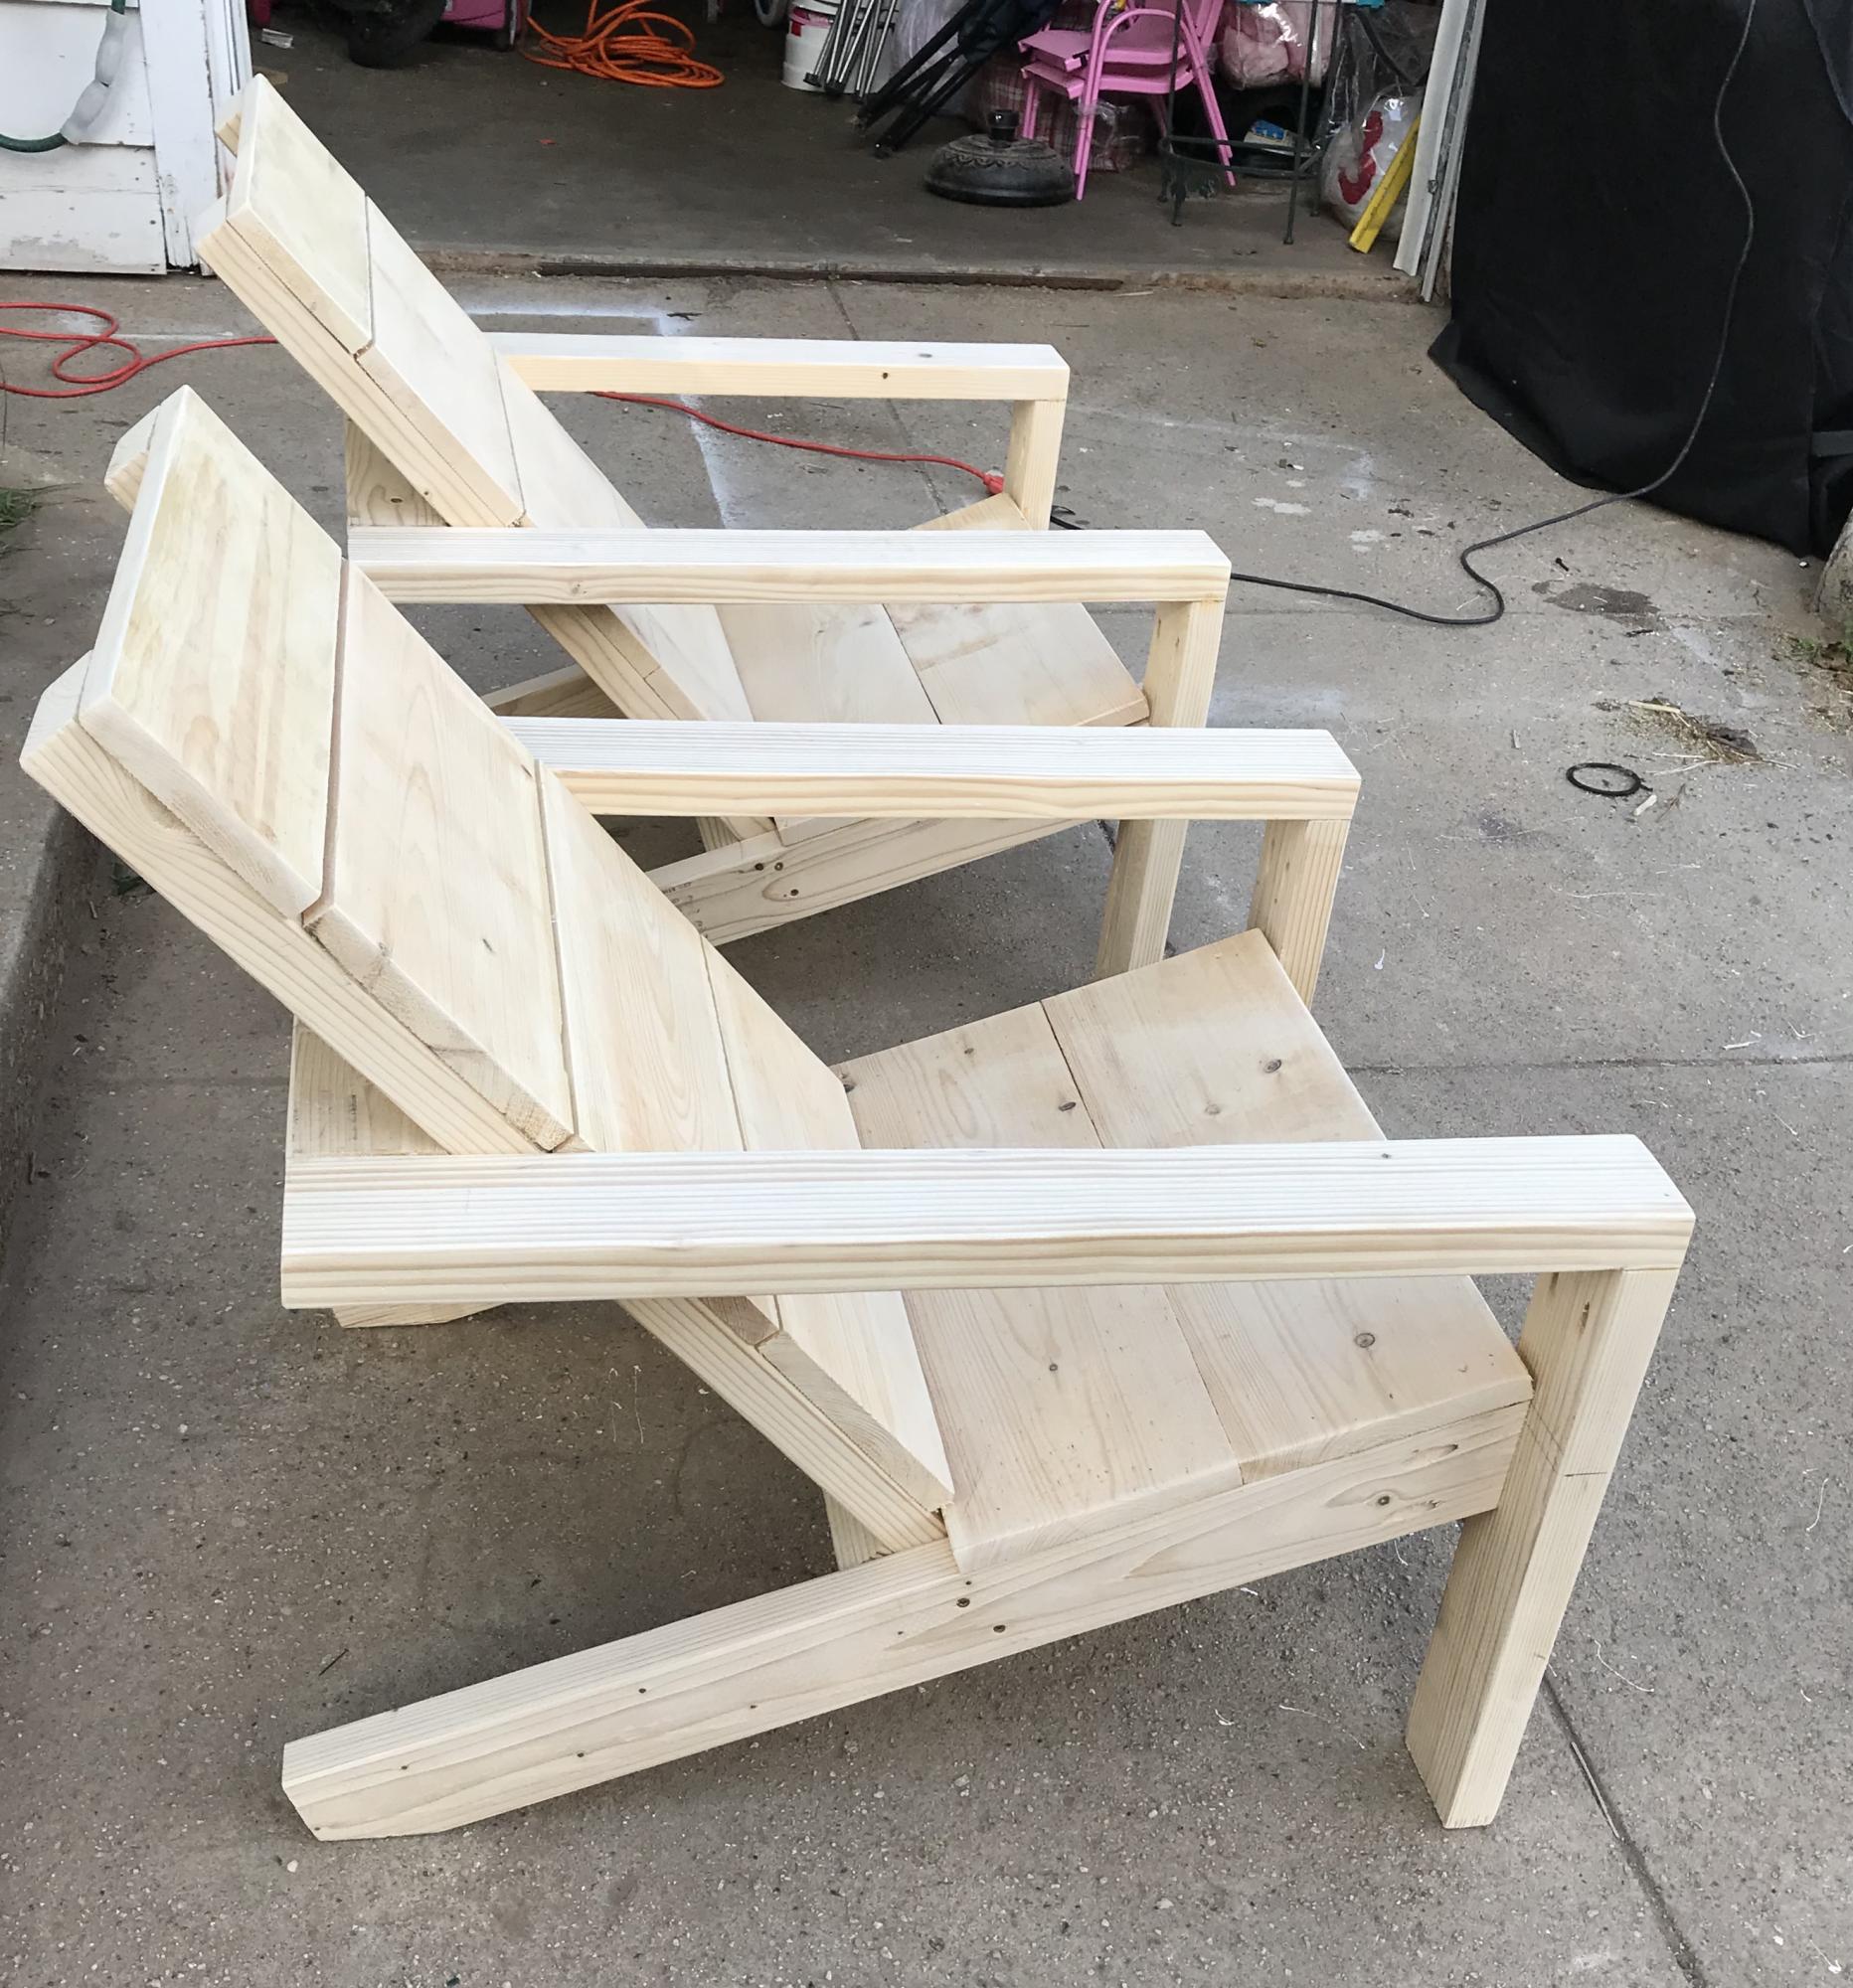
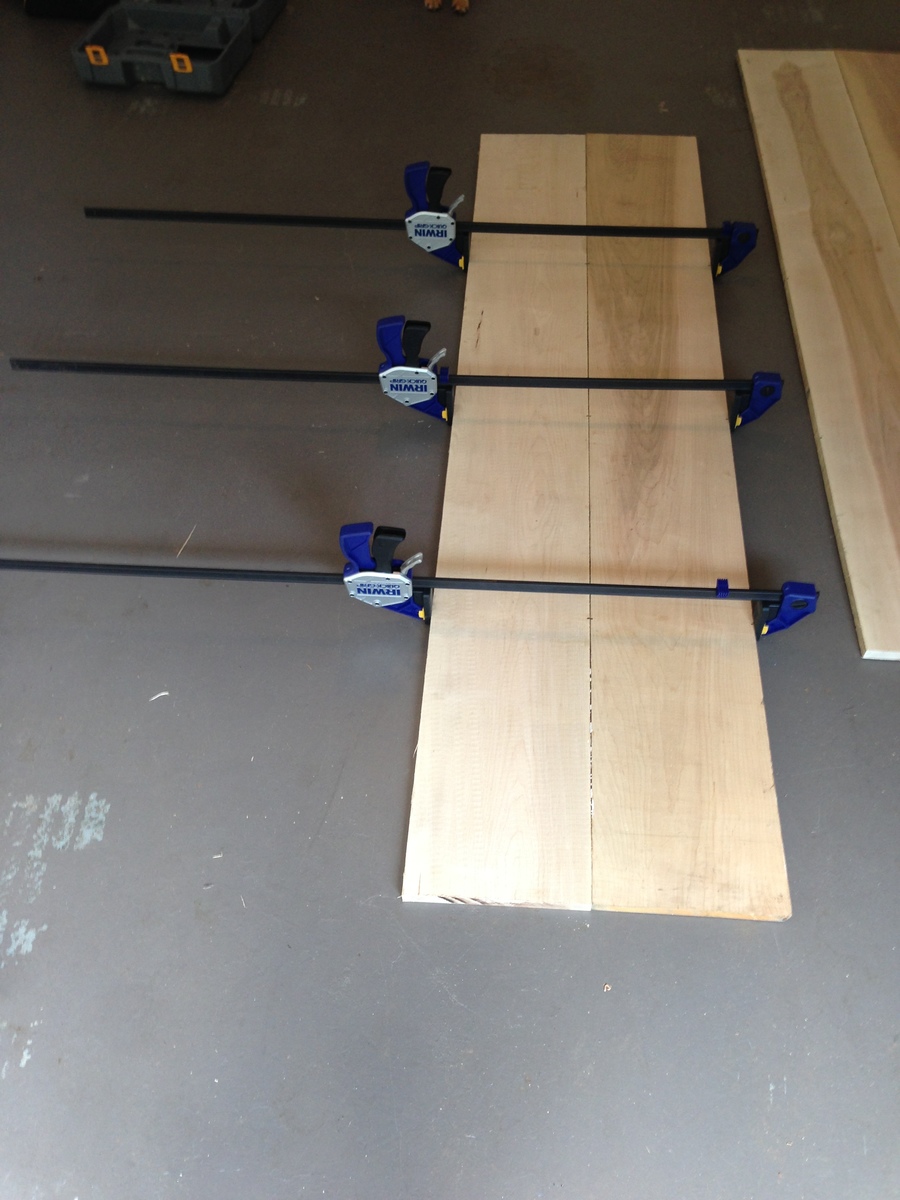
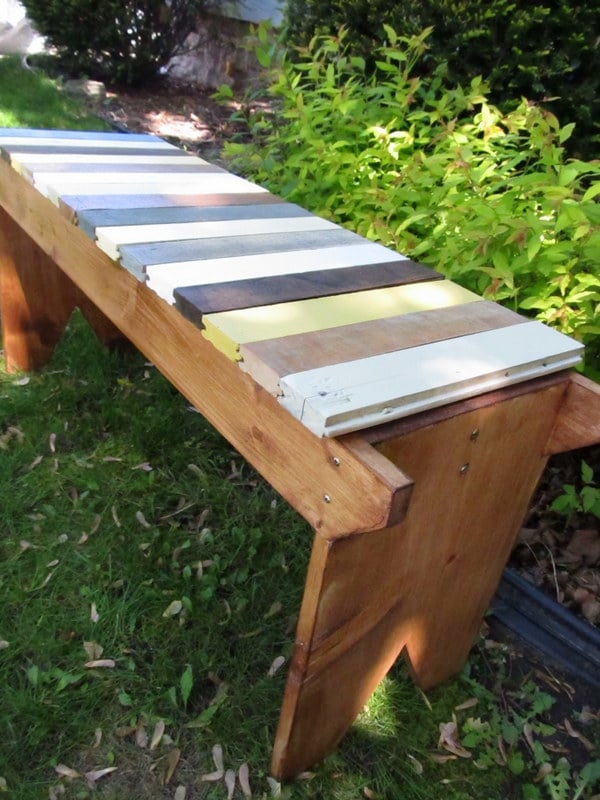
I made this table and chairs set to go with my daughters new playhouse bed. I used mostly of scrap wood for the chairs so they each have a slightly different look. The chair seats are solid rather than slats.
this is my intro to woodworking by myself and i think the table turned out ok. ana's website sure helped allot.
Hands down one of the most popular items I get asked to build!
Thank-you Ana for the awesome plans.
~ Alexis Rustic Decor
Thank you Ana White!
A medicine / bathroom vanity I built for my son’s master bathroom. Constructed of 3/4 oak veneer , 1x2 and 1x3 red oak for the face frames and doors. I used a combination of dowels and dominos to assemble. The metal for the doors was purchased at The HD. Finished off with Minwax English Chestnut stain and 4 coats of Shellac.
Gary Fox
This small vanity is having a huge impact in our powder room! We were thrilled to remove the builder's grade prefabricated vanity and replace it with this custom built table finished in multiple layers of homemade chalk paint and that will soon house a vessel sink.
I built the computer desk for mom to replace on of those cheap press-wood desk. This was not build from an existing plan.
Used the flower box pattern from the $10 Cedar Tiered Flower Planter, and added hanging loops and wire to make planters to hang on our fence !
Hi Ana Chris Burt, Belmont NSW Australia
Well, was inspired from your plans on sand pits, so I made a custom one for my first Grandson Brax, it's around 2 meters square. With larger seats etc., was made completely out of recycled pine timber pallets. used waterproof glue, stainless screws and hinges as we live in Belmont NSW which we have lake Macquarie one side ocean on the other so it a battle with salt air. Finished it with a marine clear lacquer. Still lots to do like a pool fence keeps the dogs out and a shade over it. Love your site has great ideas and projects.
Your simple outdoor bench but a bit revised...I made it out of wooden pallets! the pallets were free from a local hardware store so the total cost of my bench...$9.00!
Mon, 07/23/2012 - 11:33
Loved the design of this bench! I am very much a diy person so I decided to try the pallet...it worked beautifully! Can't wait to get on to the next pallet project! good luck with yours!
Rustic console -first project..plan on adding X to ends
Thu, 05/15/2014 - 10:35
Love the finish and decor! Great job on your first build!
Love love love how this table and benches turned out!
I made 4 of these chairs for around our fire pit. I chose to sand stain and poly before assembling and plan to add another coat of poly now that they are assembled. Sanding was the longest part of the process for me, but if you aren't as particular as I was about the finished project the time investment would be substantially reduced. I also of course had drying time for the stand and poly. Assembly itself was simple and the finished chairs are comfortable and sturdy without being overly heavy and bulky.
My wife and I built this fireplace wall using Anna White’s plans. We get complements by all that see it!
Keith
This is my first project. I made a lot of mistakes but also learned a lot as well. I have very little counter top space and so wanted an island for additional work space. I had to downsize it due to my small kitchen but it seems to be about right. I got a kreg jig for this and it makes for a solid project. Next up, a platform bed!
This was my first project in regards to building anything. I had some old milled wood from my grandfathers farm that needed some attention. The wood itself was milled about 60 years ago and sat under his house in a crawlspace ever since he moved from his farm in Kentucky to the city of Atlanta, Georgia. The wood itself was in rough shape and since I didn't have access to a planer, I had to sand the rough cut wood to the smoothness of my liking. I was very limited to the amount of wood I had so I took various ideas from your website and came up with my own version. I would not have even attempted the project had I not been inspired by your site. Overall I was distracted numerous times by life so it took about 6 months to finish. Speaking of finish, I highly recommend testing several large pieces of scrap before staining. I went with a driftwood color to a weathered grey before I finally finished with a darker kona color. By the time I was done, I had sanded the table 3 separate times. I love the table and made it to where I can remove the legs for easy transport. It is solid as a rock and very heavy.
I used Ana White's awesome design, but needed access for my printer scanner combo, so I modified the design and created sliding shelves. I also substituted a sheet of butchers block for the top in lieu of plywood.
Thank you for an incredible design, that has been used by at least 3 of my friends because they loved mine so much!!
Hey Ana,
I saw your raised bed planter and decided to tackle it for ourselves. It measures 2'x8' and stands 28" to the bottom of the planter. I used redwood fencing for the sides and bottom at a cost of $1.79 each. I didn't use the wire mesh for the bottom but drilled 1/4" holes in the redwood fencing for drainage.
Thanks for the idea!!
Mike Howell
Upsized to a king. Couple of changes:
Mitered all the trim. Routed a rabbet in the back for the plywood panel. I mount to the wall with an offset to clear the baseboard (I attach wood blocks on the back and use adjustable furniture feet for leveling and floor protection.
5 board bench with a few extra boards.
I had some leftover hardwood flooring pieces that i cut for the seat of the bench. I love color so this was a lot of fun!!!
Thanks!