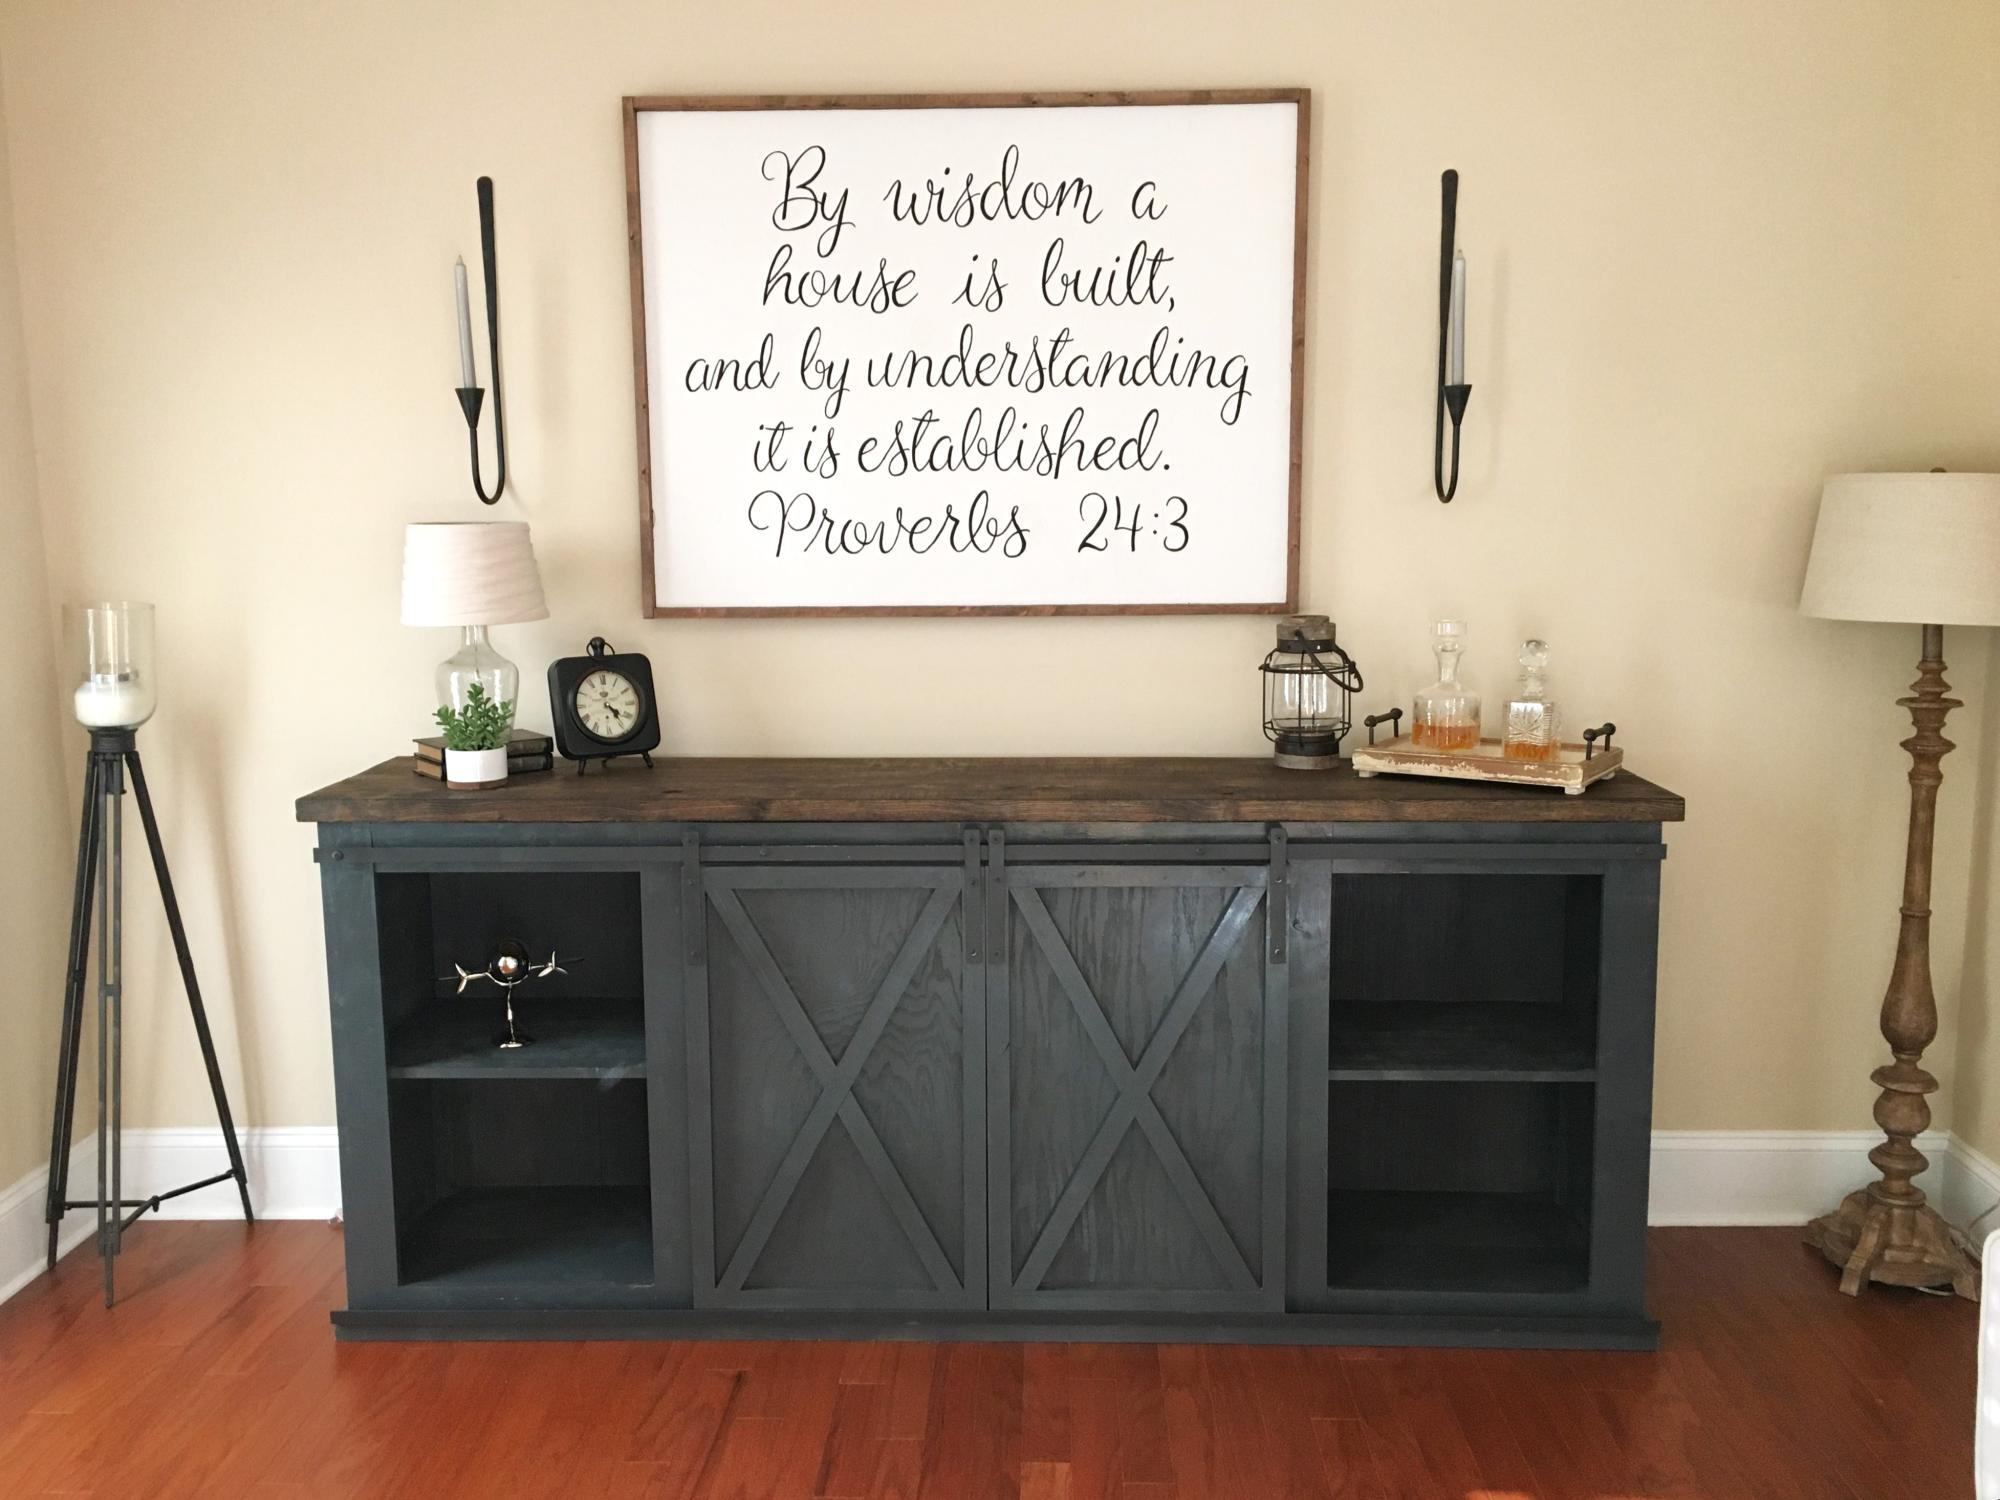
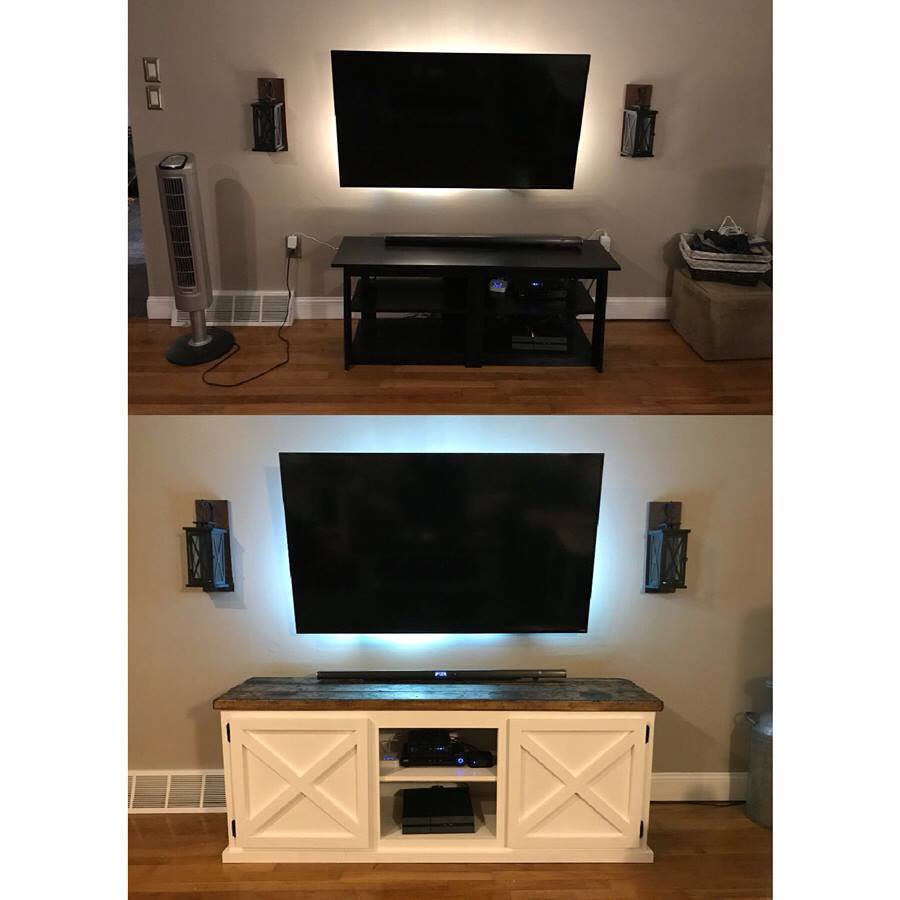
Community Brag Posts

Loft Media Console

Submitted by kristyzed on Mon, 07/06/2015 - 17:05

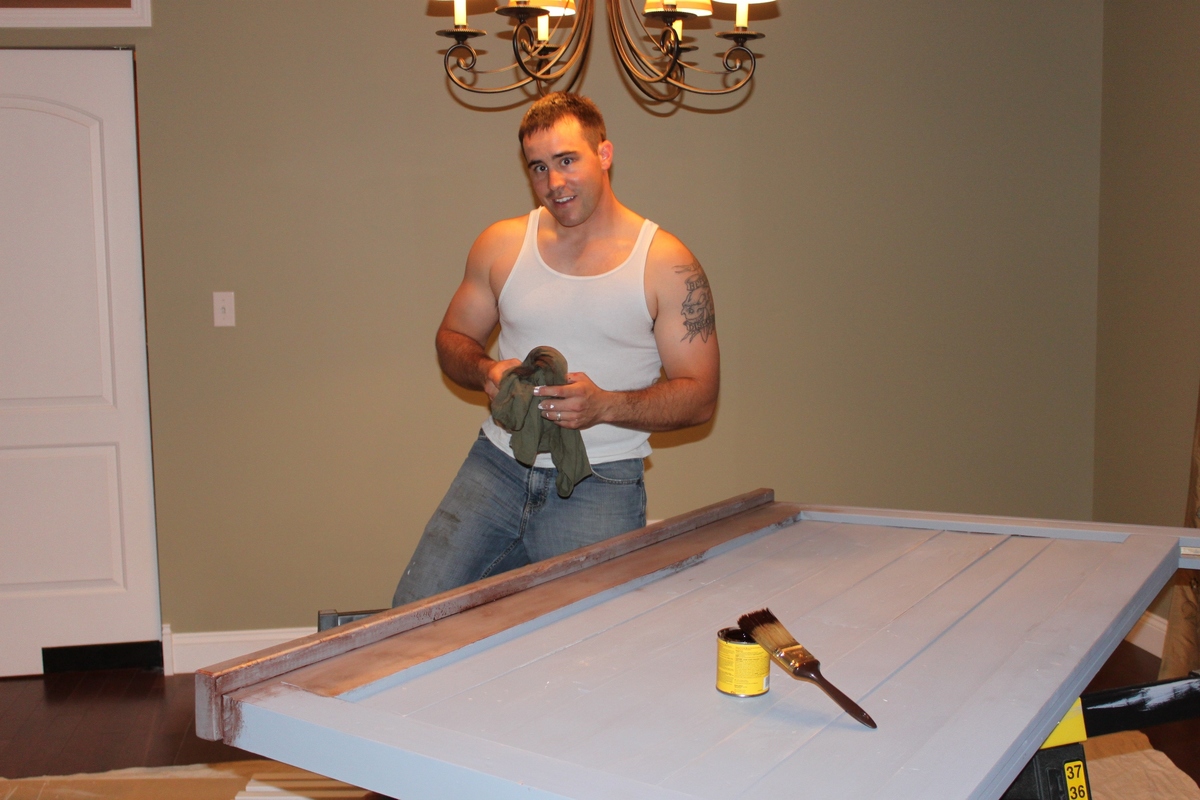
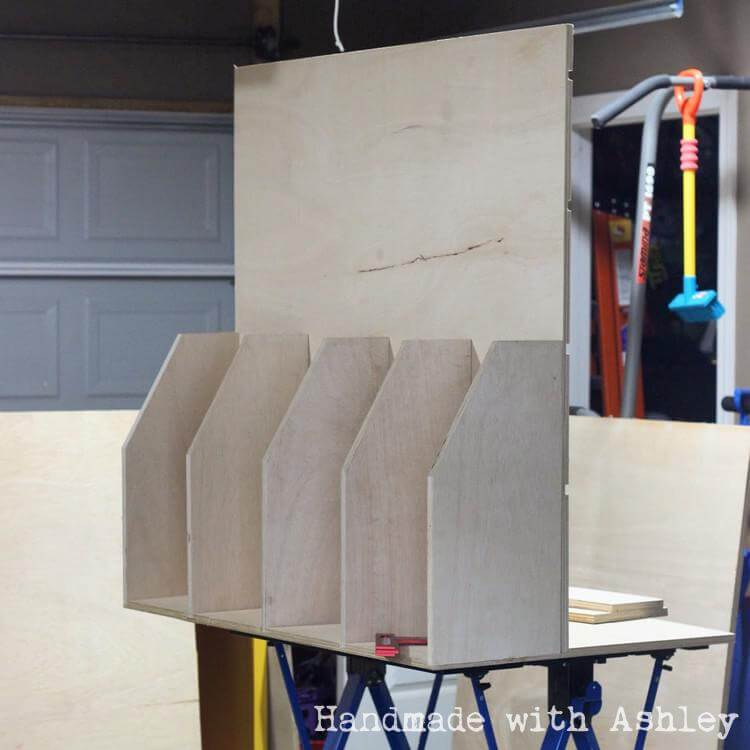
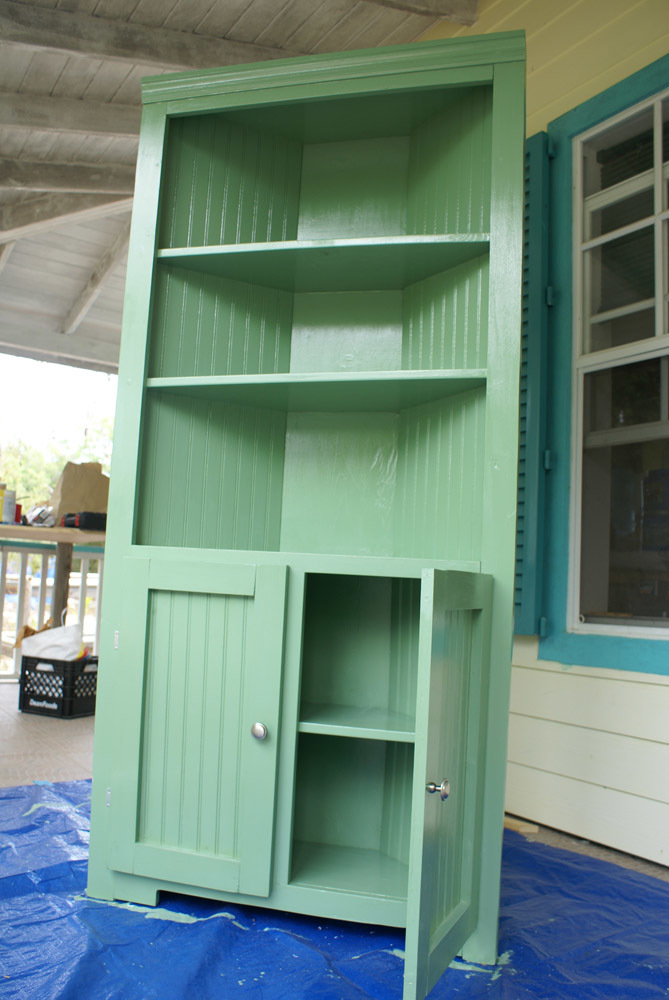
This is the first time I attempted a project with doors, and was rather intimidated by that. I managed to get through it without a square and ended up with a square piece in the end. I installed shelves behind each door so that DVD cases would fit both on the bottom and on the shelf.

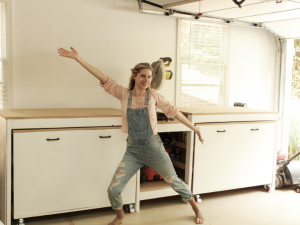
I customized the middle section to accommodate our cable box and PS3, while still allowing for storage of controllers in the bottom portion.

This was a fun project.

Built from Plan(s)
Estimated Cost
$140 for lumber and stain
Estimated Time Investment
Weekend Project (10-20 Hours)
Finish Used
MinWax Espresso stain
Recommended Skill Level
Advanced

Grandy Sliding Barn Door Console

I pretty much followed the plans to the T. I did use 3/4" plywood for the middle shelf instead of the suggested wood. The hardware was the hardest part and mostly followed the previously posted DIY from Jamie's website with a few modifications. 

Built from Plan(s)
Estimated Cost
$250ish including all hardware, paint and stain.
Estimated Time Investment
Week Long Project (20 Hours or More)
Finish Used
Dark Walnut on the top and charcoal spray paint for the body.
Recommended Skill Level
Intermediate

Ladder Shelf

We modified this project to fit our space. We also made the shelves sturdier by cutting a groove for the bottom of the shelves to slide into. This project is much easier when completed by two people.

Built from Plan(s)
Estimated Cost
$35
Estimated Time Investment
Day Project (6-9 Hours)
Finish Used
Glossy black paint.
Recommended Skill Level
Intermediate

White Farmhouse Bed

Submitted by mtubin on Sat, 07/13/2013 - 07:40

I'm done building my first ever bed. It was a little expensive (Around 350$).
I had a lot of fun; I made some changing in the connection between the bed frame and the footboard.
I also had to convert the measurement to centimeter and to the European mattress measurement.

Estimated Time Investment
Week Long Project (20 Hours or More)
Recommended Skill Level
Intermediate

Comments

DIH Adirondack Chairs and Table

Submitted by ktprinkey on Thu, 07/09/2015 - 13:26

I built 4 chairs total. A set for my mother and another for my mother-in-law for Mothers Day. The first set I built are the green ones with the cushions. The second set are the stanined chairs. The second set went a little easier than the first because I learned from my mistakes. What I did differently on the second set was mainly to sand and stain before assembling. I had a hard time getting in between all of the nooks on the painted chairs. I ended up using my paint sprayer to paint them because it was just going to take forever otherwise. The side table was very easy and straightforward. No issues there. All in all a pretty easy project. Both moms were very pleased with their gift! Thank you Ana and Home Depot once again for the awesome plans!!

Estimated Cost
About $90 per set of chairs plus a side table. So 4 chairs + 2 side tables = $180
Estimated Time Investment
Day Project (6-9 Hours)
Finish Used
Painted chairs are Sherwin Williams Softened Green. Stained chairs are Rustoleums American Walnut.
Recommended Skill Level
Beginner

No-slide Grandy

Submitted by Ryan in NH on Mon, 01/29/2018 - 07:42

After building and hanging a barn door, I realized I did NOT want to do that on a piece of furniture. It looks cool, but getting it to work right wasn't worth it. 

I altered the dimensions a bit to 25"H x 16"W x 61" L

I also used 1x3's instead of 1x4's since I was doing a smaller scale

Built from Plan(s)
Estimated Cost
$100
Estimated Time Investment
Weekend Project (10-20 Hours)
Recommended Skill Level
Intermediate

In love with the Parsons

Submitted by avls on Wed, 01/26/2022 - 10:43

Love the result! Your plans for this is fool-proof for someone like me. Easy to build… only after attempting use (4) 1x6 for top and messed up the corners to attach legs with my terrible jigsaw skills, I scratched the 4th board and went with the (2) 1x4’s on each side surface. I’m now in love with this style and plan on (finally) having matching new furniture, once I build some of the other pieces in this Parson style collection! Thank you for the plans

Comments

Leaning Wall Shelf - My First Build

Submitted by dhrider33 on Sun, 05/22/2011 - 17:23

Finally I drummed up enough courage to try a project ... the leaning wall shelf. My husband and I had a great time working on it together.

Estimated Cost
$50
Estimated Time Investment
Day Project (6-9 Hours)
Finish Used
Primer / Paint
Recommended Skill Level
Starter Project

Headboard Benches

Submitted by LARMO on Sun, 07/14/2013 - 13:11

Both footboards were cut in half attached with Kreg jig frames built for the seats out of leftover 1x2 and the seats were from leftover 1x6 fence boards cut to fit. Both headboards were oak the first was stained using 3 coats of pittsburgh exterior stain . The second was originally painted white so I left as is and added the seat as the other and left it rustic looking.

Estimated Cost
under $30 for both stain and phs
Estimated Time Investment
Afternoon Project (3-6 Hours)
Finish Used
Pittsburgh barn red
Recommended Skill Level
Beginner

Amazing Ana White Couches

Submitted by Chris_Jen on Tue, 07/14/2015 - 05:14

I did add slats to the back as well as the sides as you can see in the photos. This was to hold the cushions in place and make sure they didn't fall out. Worked out very well. The 5 additional verticle slats were 11 1/4 inches and required no further purchase as they were made from the scraps. I also added the additional horizontal slat on the sides using 5/8 decking board left over from building the deck. The sides measured 25 1/2 to fit inside the arm and was 1 1/2 inches from the inside of the couch. I simply screwd them in from the front and back. The rear horizontal piece measures 75 inches and create additional support for the back cushoins, which in this case I used 17x17 inch pillows. I simply screwed this piece into the rear verticle slats. I finished all of it off with a 1/16 roundover bit with my router to make "soft" edges. All-in-all I think that the small changes made for a very polished looking and stout piece of outdoor furniture! 

Estimated Cost
$300 for both couches, cushions and specialty tools included in that cost. I used pressure treated lumber.
Estimated Time Investment
Afternoon Project (3-6 Hours)
Finish Used
None yet. Will be using Woodrich Timber Oil.
Recommended Skill Level
Beginner

Comments

Addison’s room

Submitted by aderosa on Thu, 02/01/2018 - 12:45

It was time for Addison to get a big girl bed. We used the Kentwood design and the trundle bed plans. 

Estimated Cost
140
Estimated Time Investment
Weekend Project (10-20 Hours)
Finish Used
Valspar cabinet paint
Recommended Skill Level
Beginner

Loft Bed

The rooms in our house are not as big as we would like; so, we needed to maximize the space in our son's room. This was an amaze plan and not too difficult to build.

Built from Plan(s)

Comments

Guest Room update

Submitted by nlaupp on Wed, 05/25/2011 - 15:18

Our guest room had to be ready for some friends coming in town for the week. Before this room had no shelves and worse yet; no head board. Turned this boring room into...well a less boring room. In the picture are my first two projects; the Ten Dollar Ledges and the Reclaimed-wood headboard.

Estimated Cost
$200
Estimated Time Investment
Weekend Project (10-20 Hours)
Finish Used
The ledges were just painted with a glossy white and the head board was painted with a flat charcoal, distressed, and finished with a mahogany gel stain.
Recommended Skill Level
Starter Project

Sweet Pea Bunkbed - Modified

I took the basic plans for the Sweet Pea Bunk Bed and modified them to make a loft bed for my daughter. She dreams of opening her own restaurant when she gets older. The bed is on top and her restaurant is below. I made a chalkboard on the back wall of the bottom section. Curtains will be added sometime in the near future in her restaurant as well. Now she wants a cafe table and chairs as well.

Estimated Time Investment
Week Long Project (20 Hours or More)
Finish Used
Olympic One Gloss and Valspar Chalkboard paint
Recommended Skill Level
Beginner

Comments

Teaching Easel

Submitted by vlane2014 on Fri, 07/17/2015 - 20:32

My father-in-law built this for me using Anna White's plans. He tweeked a few things to add somethings I wanted to add. A huge sheet of white board bought from Lowes was used to make both easel sides and the shelves. Once he had it built for me, I painted the lilac paint color onto the wood and whiteboard shelves. The black chalk board side was made by using black chalboard paint. I wanted it to look cute so, I added a black boarder on the white board, and then used a cotton ball with the lilac paint to make the paint blotch style on both sides. I cannot wait to use this in my classroom!

Built from Plan(s)
Estimated Cost
$60.00
Estimated Time Investment
Weekend Project (10-20 Hours)
Finish Used
Lilac Valspar paint and black chalkboard paint.
Recommended Skill Level
Intermediate

DIY Mobile Lumber Cart

I followed plans from Woodworking for Mere Mortals. Steve Ramsey has a great build video for the project. You can check out the video on his YouTube channel. This lumber cart replaces a previous one that I built a few years ago. My old lumber rack could not store sheet goods and took up too much floor space in my garage.  I disassembled the 2x4s from it and hope to recycle them for a future shop project.

For complete build details continue reading my DIY blog here.

Estimated Cost
$100 - 125 for two sheets of plywood, screws and caster wheels
Estimated Time Investment
Day Project (6-9 Hours)
Recommended Skill Level
Beginner

British Telephone Booth Bookshelf

So I wanted to make a bookshelf for a friend who's having a baby. Her husband is British. The invite to her baby shower said, "Bring a book, not a card" so I knew she was going to have a lot of books. I took the gas pump bookshelf plans and added an arched roof, plexiglass door, and some fluted trim to make it look authentic. I found a vintage rotary phone for $20 and added a battery operated puck light to complete the look. My kids loved it!

Comments

Corner Cabinet--Perfect for practicing corners

This was my second project. I wanted to get practice working with corners so I could do a media cabinet eventually and this was a great starting point. This cabinet is a great addition to our dining area too! My little helpers were never far away :)

Estimated Cost
$150 (higher costs thanks to island living)
Estimated Time Investment
Weekend Project (10-20 Hours)
Finish Used
Randomly mixed (flat interior based) paints in a shade of green (left over from another project).
Recommended Skill Level
Beginner

Perfect Trestle Table/Desk

Submitted by c-e-fogus on Thu, 07/18/2013 - 11:16

My husband asked me to make a small and inexpensive table for our new TV. I decided to make a desk so it would be able to be used later when we move the TV. Very easy plans. Easy assembly. Great beginner project. I used 1X6 for the top instead of 2X6. It was less expensive and seems to work just fine. I also threw together a small TV stand so the DVD player can go under the TV and not clutter up the table. It's 3 1X4's @ 20 inches. And I made the sides by ripping the leftover 1X4 in half the same width as the top. I spent $30 in wood and have some scraps left over for another project.

Built from Plan(s)
Estimated Time Investment
Afternoon Project (3-6 Hours)
Finish Used
Minwax stain in Early American. Minwax fast drying polyurethane in clear satin.
Recommended Skill Level
Starter Project

12 ft farmhouse table with extensions - reclaimed wood

I had no experience building furniture prior to this project but I wanted a 12 ft outdoor table and could not find one.  This tables center section is 8 ft and was built roughly following the plans for the farmhouse table.  I added two 2 ft extensions at each end making the overall table 12 ft.  The extensions included aprons so when installed they look to be part of the table.  The extensions just plug into the end apron of the center section with 2x4 oak braces which engage in the apron and under the table approximately 2 ft from end.  There is no visual sagging of the extensions. I finished the table with Sikkens DEK finish.


Estimated Cost
The lumber was reclaimed and cost approximately $400 for this project.
Estimated Time Investment
Week Long Project (20 Hours or More)
Finish Used
Sikkens DEK transparent
Recommended Skill Level
Beginner