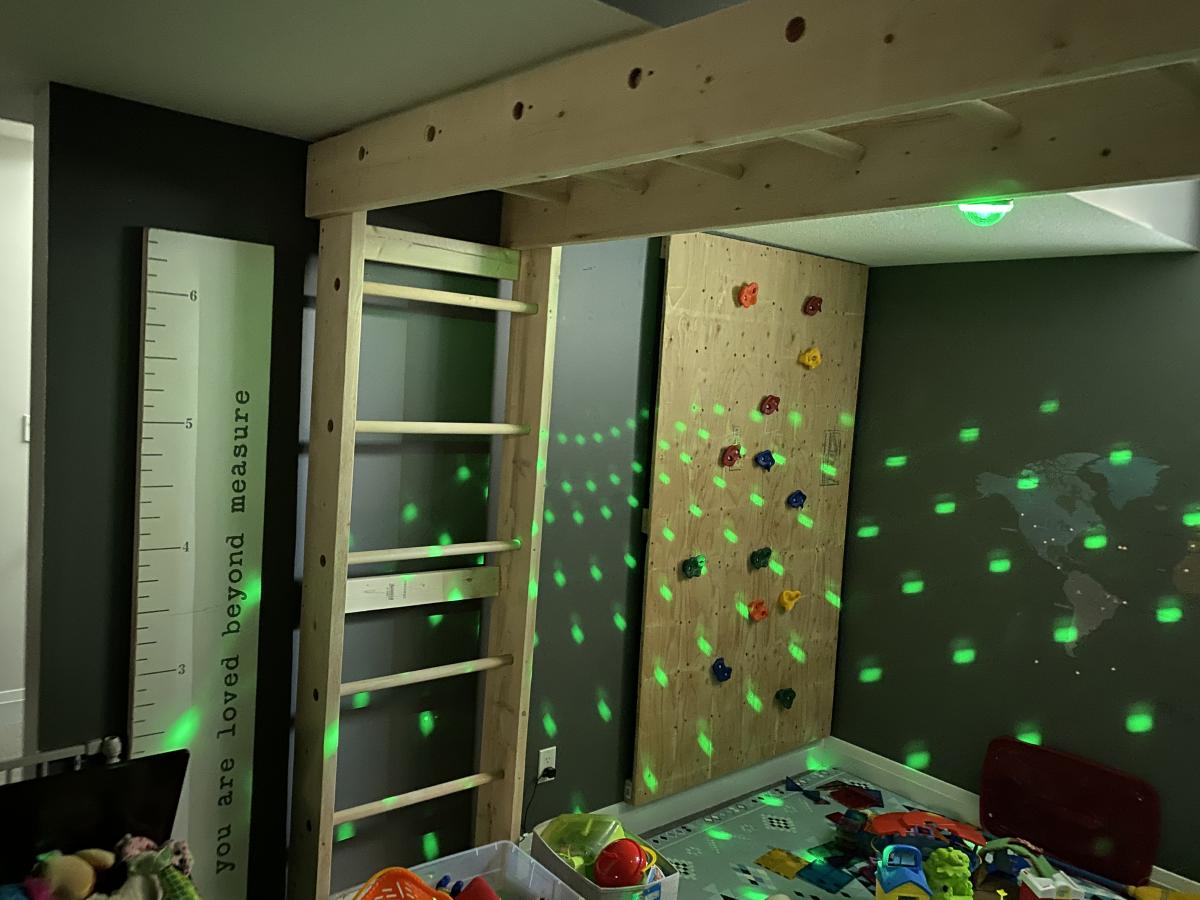
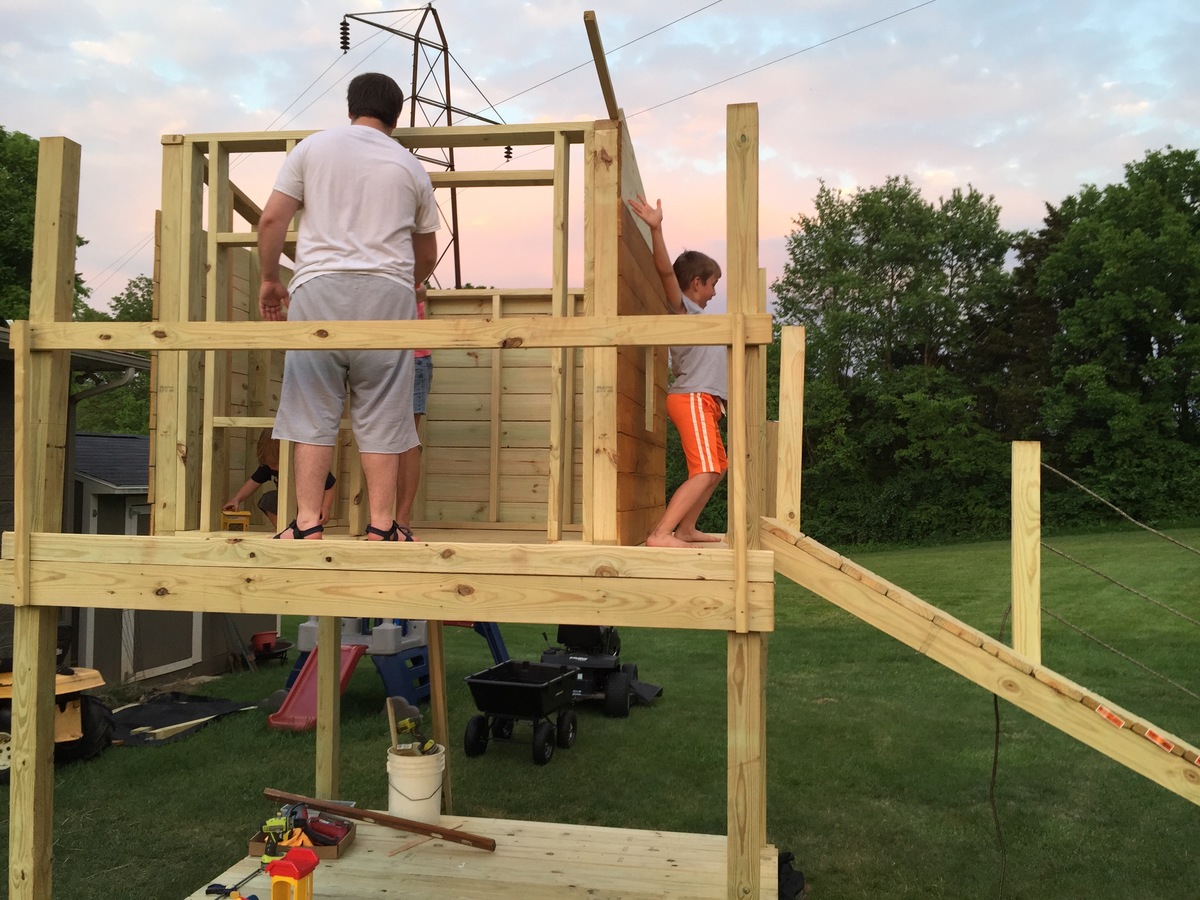
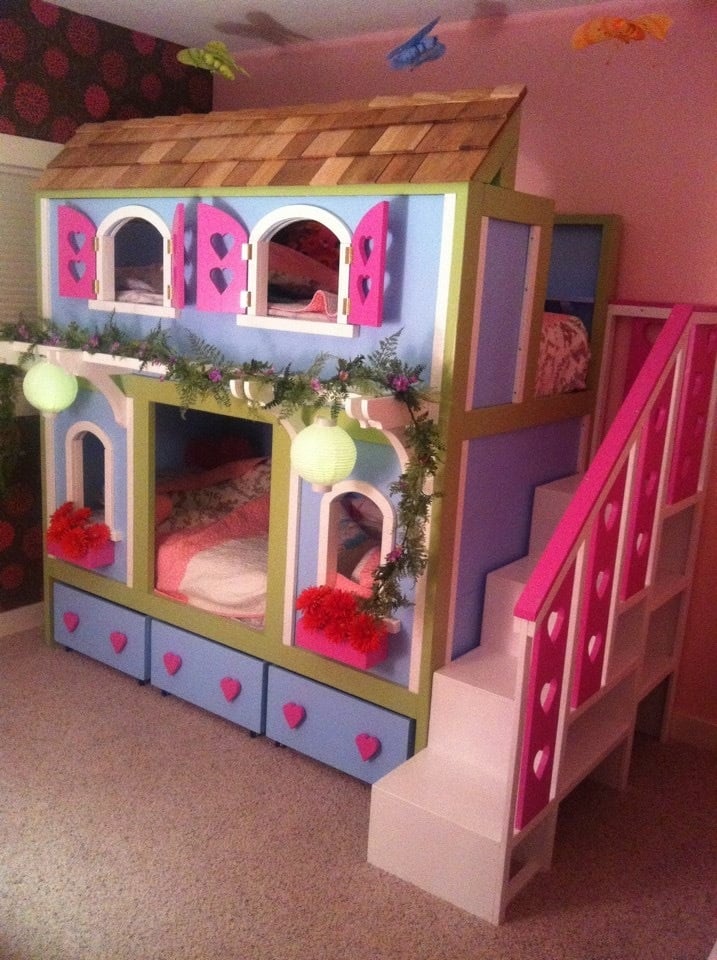
Monkey bar and play house
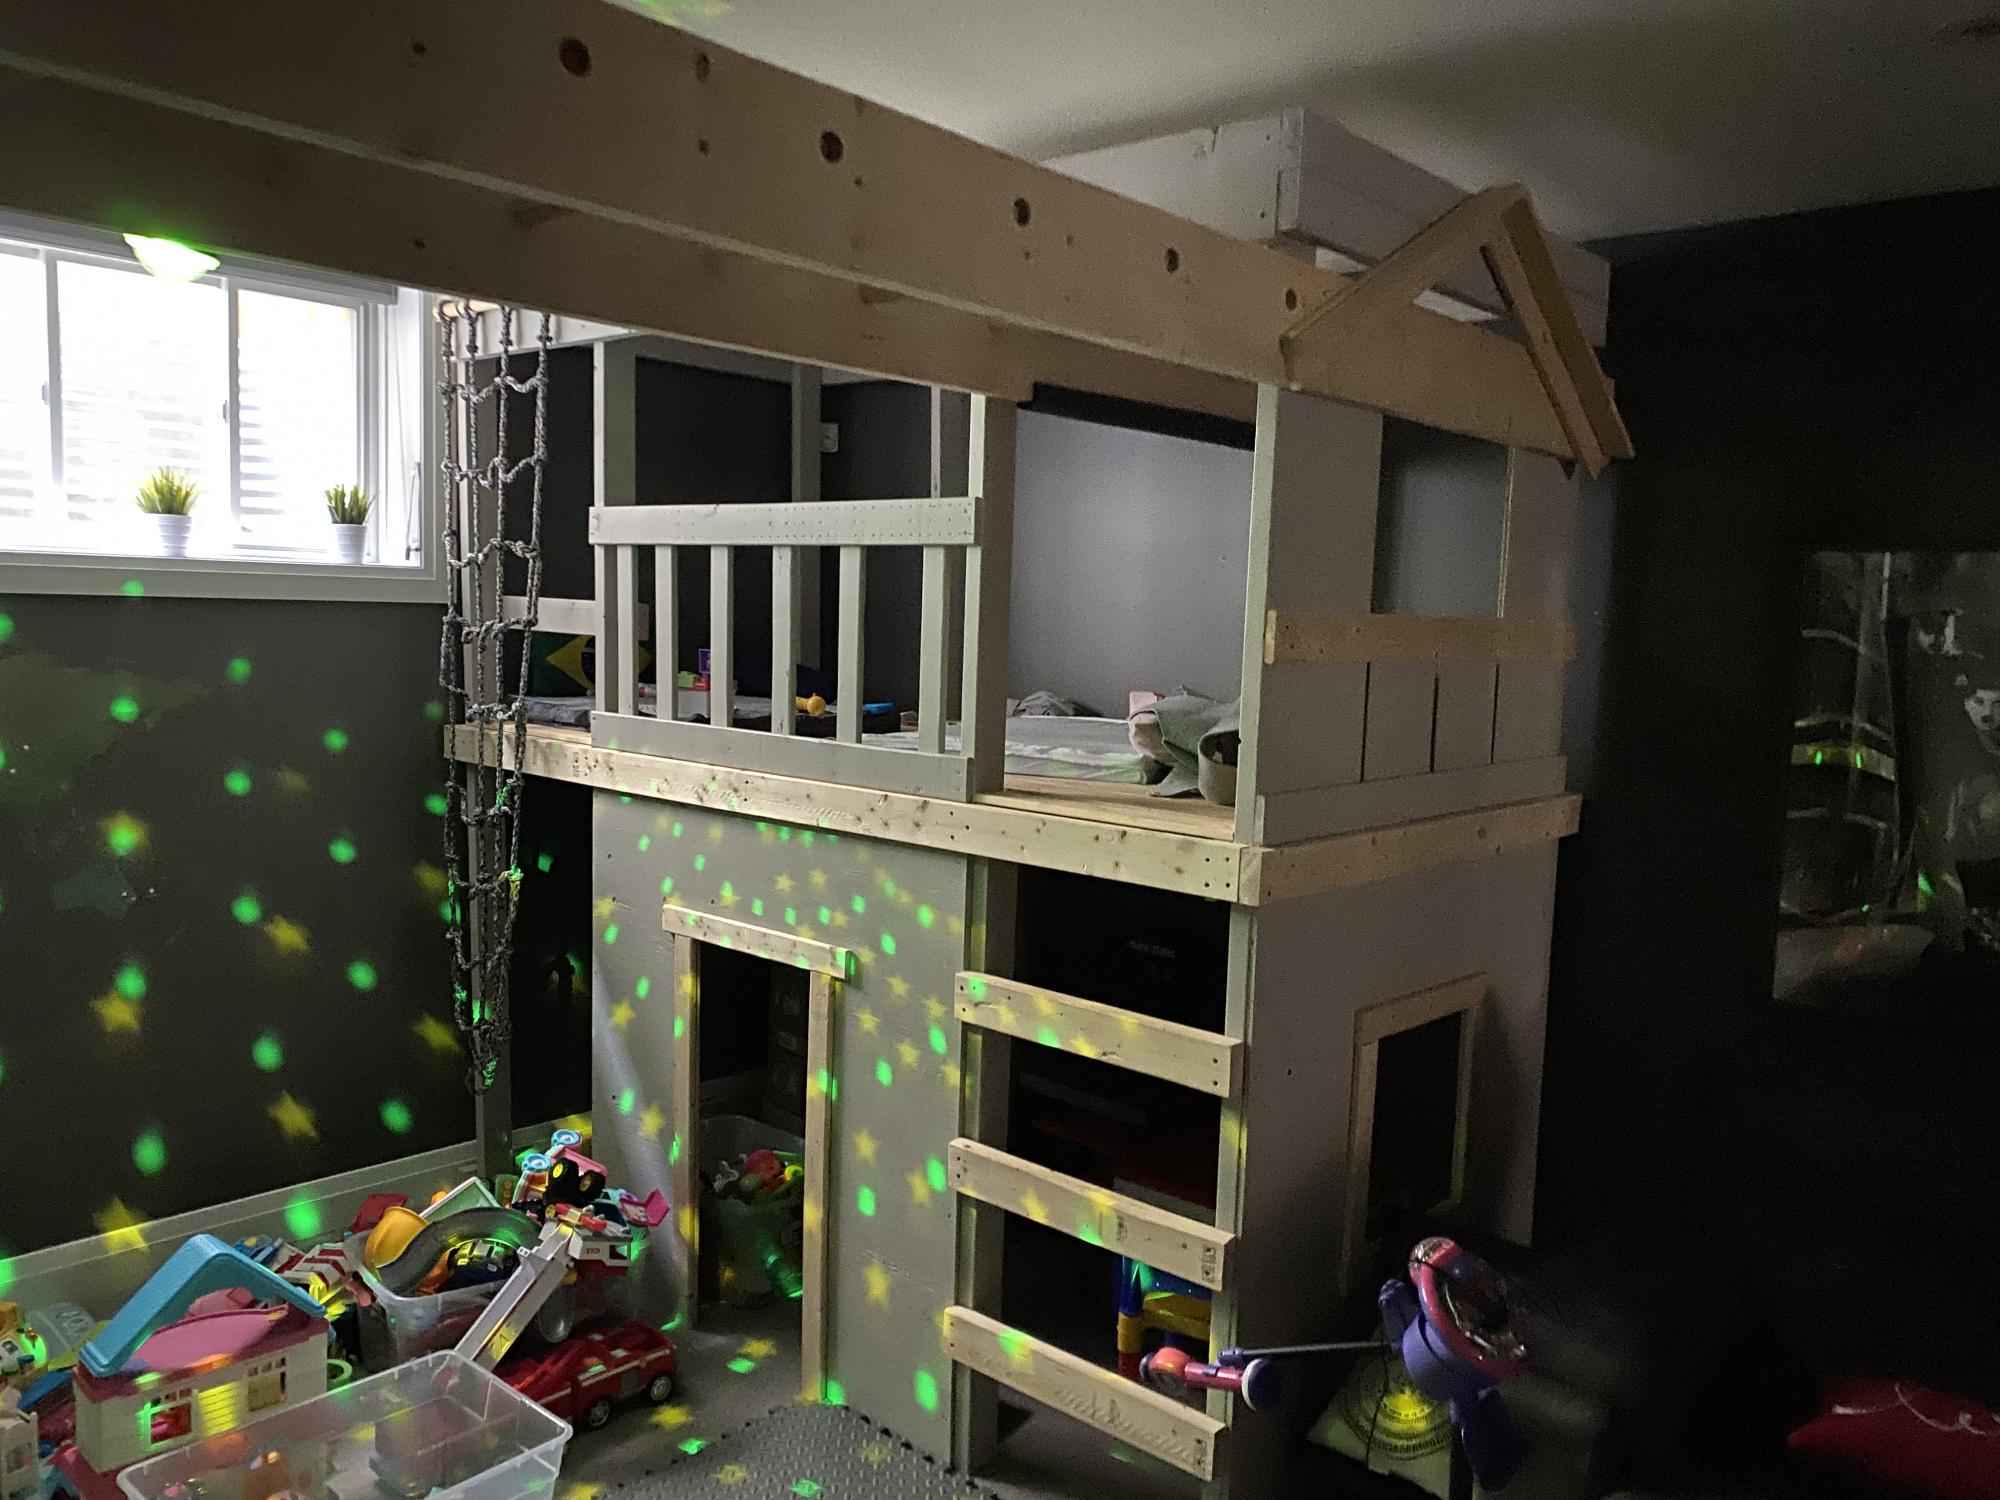
Inspired in one of your projects this was my first project with wood and turned out a go to place for the kids and guests to play all the time.
Thank you for the plan. Kids appreciate it too.
Built from Plan(s)
Inspired in one of your projects this was my first project with wood and turned out a go to place for the kids and guests to play all the time.
Thank you for the plan. Kids appreciate it too.
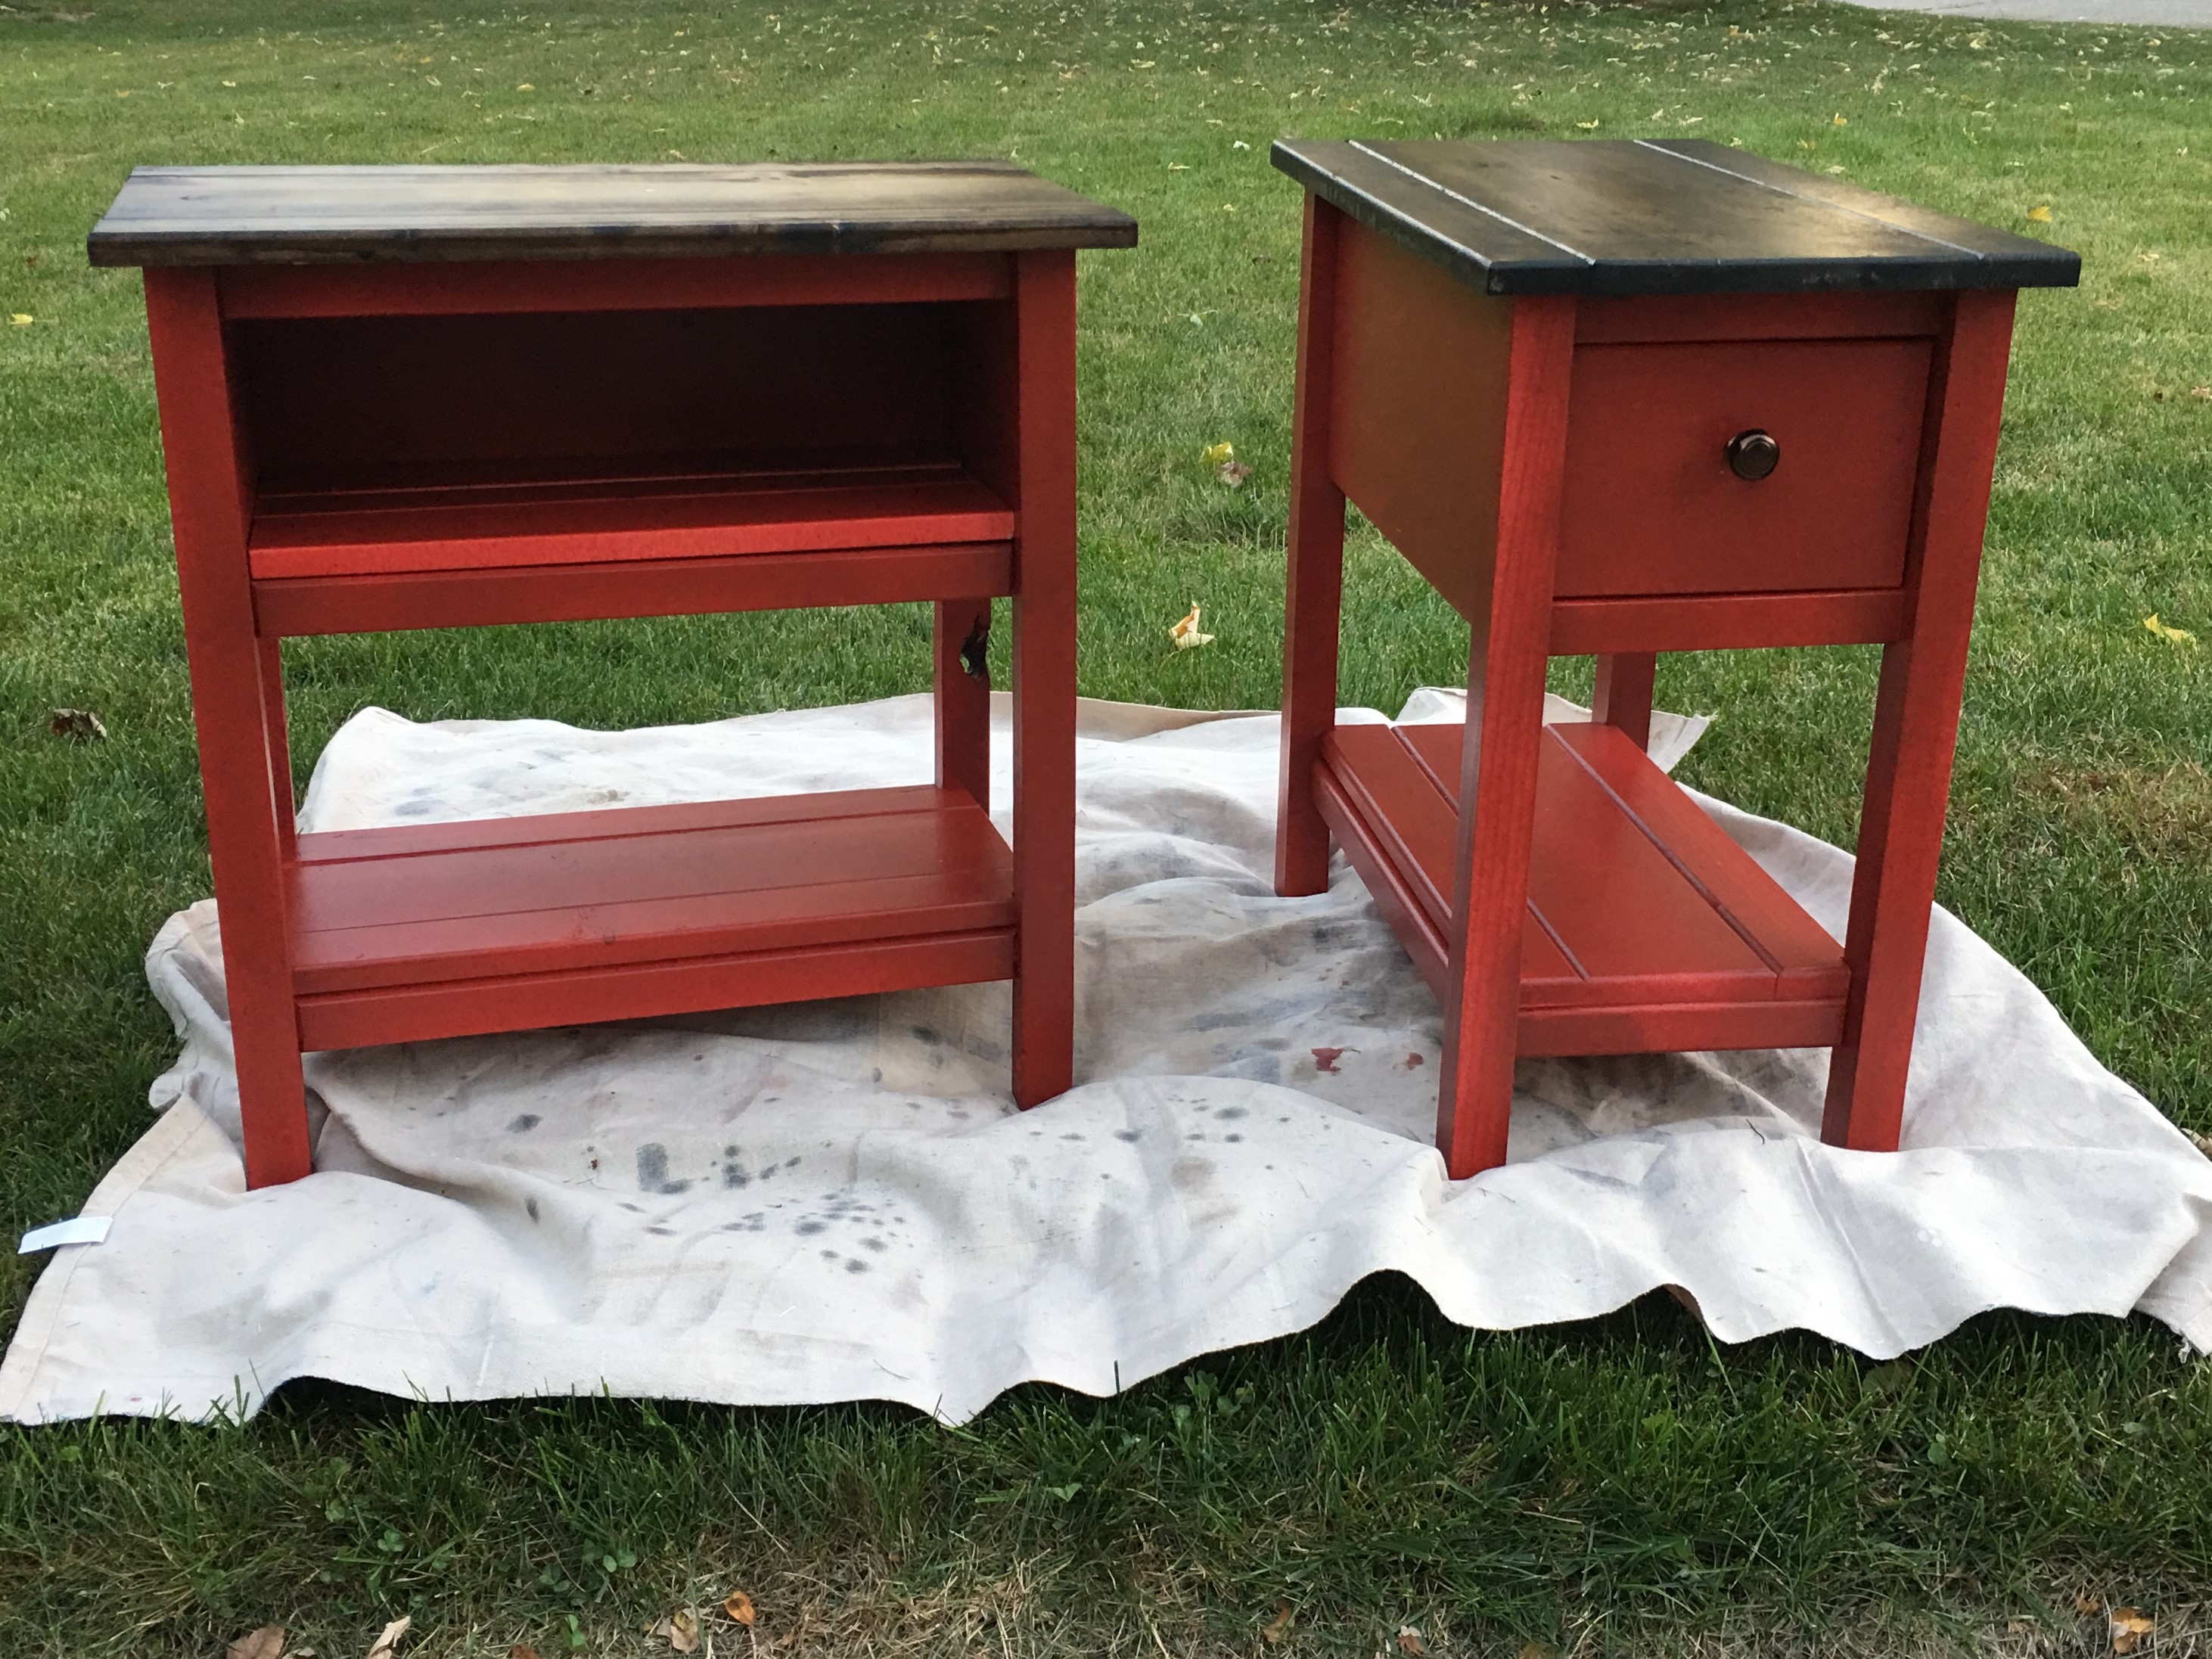
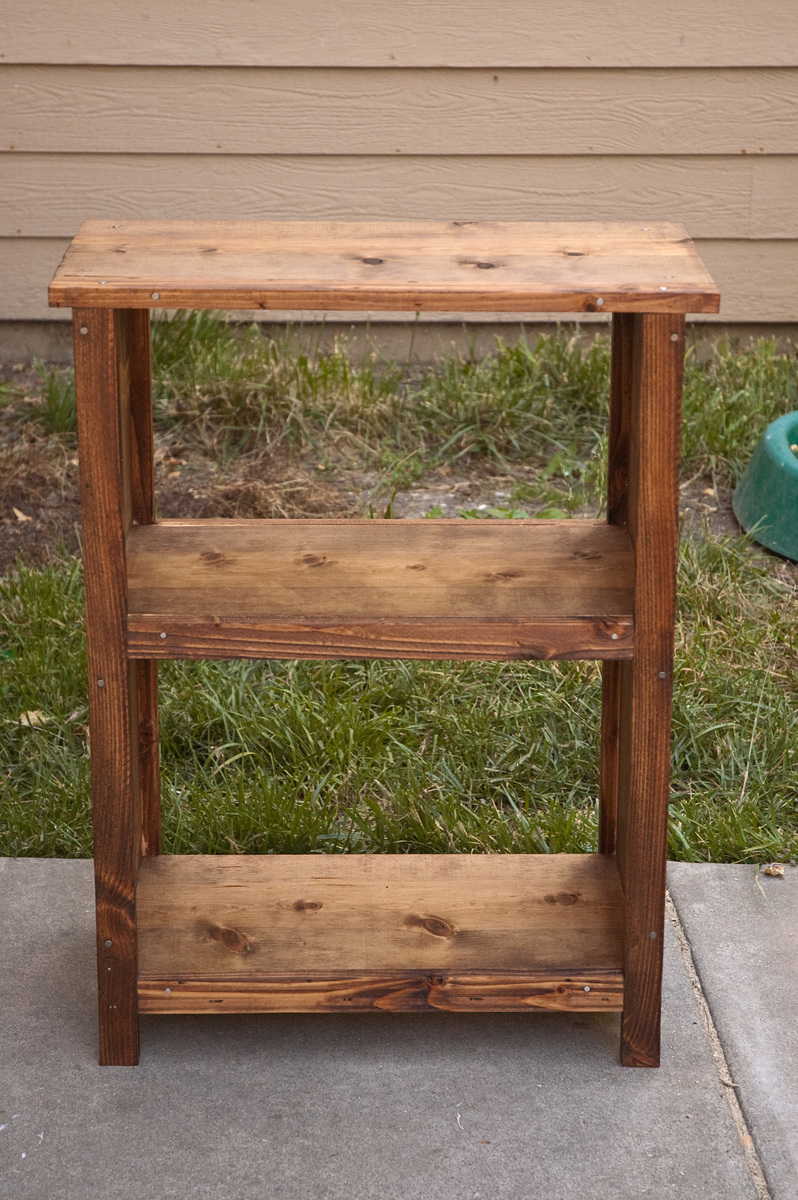
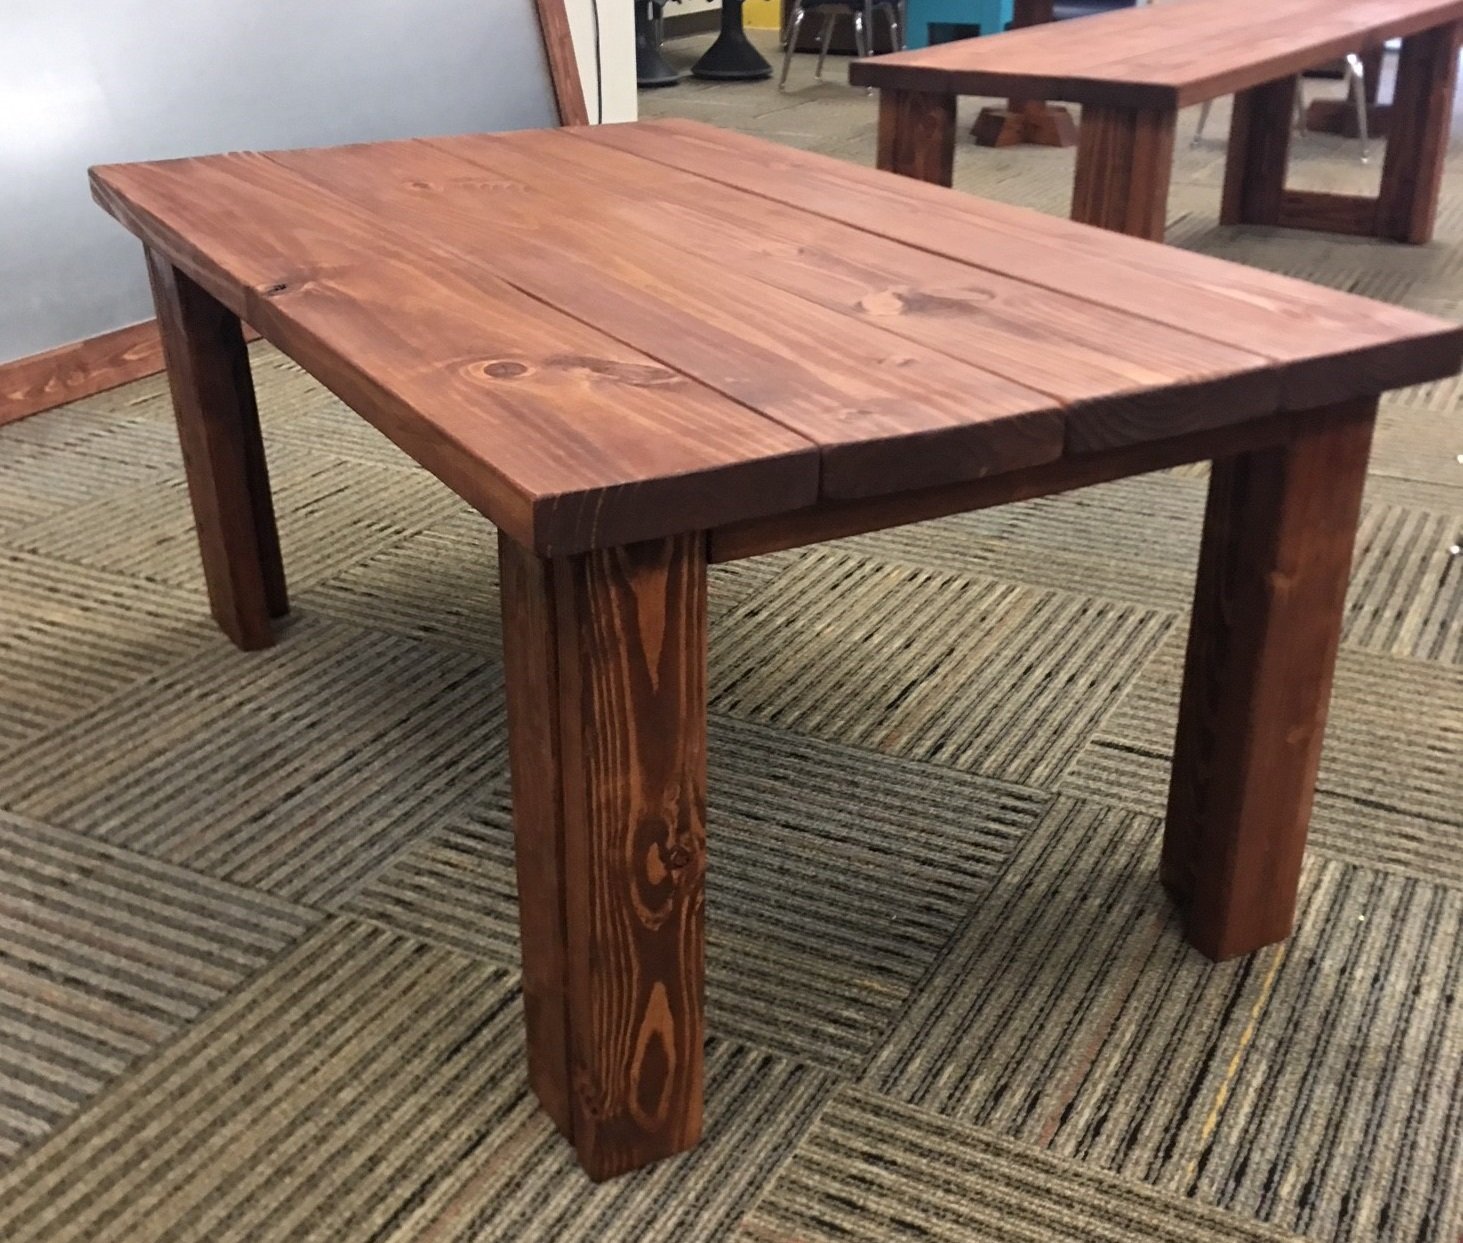
This is my take on the Narrow Cottage End Tables. Painted the bottoms and stained the tops. Added the shelves towards the bottom for added storage and stability. The bottom shelf is 'let in' around the inner legs. The shelf boards rounded over to give them a batten look.
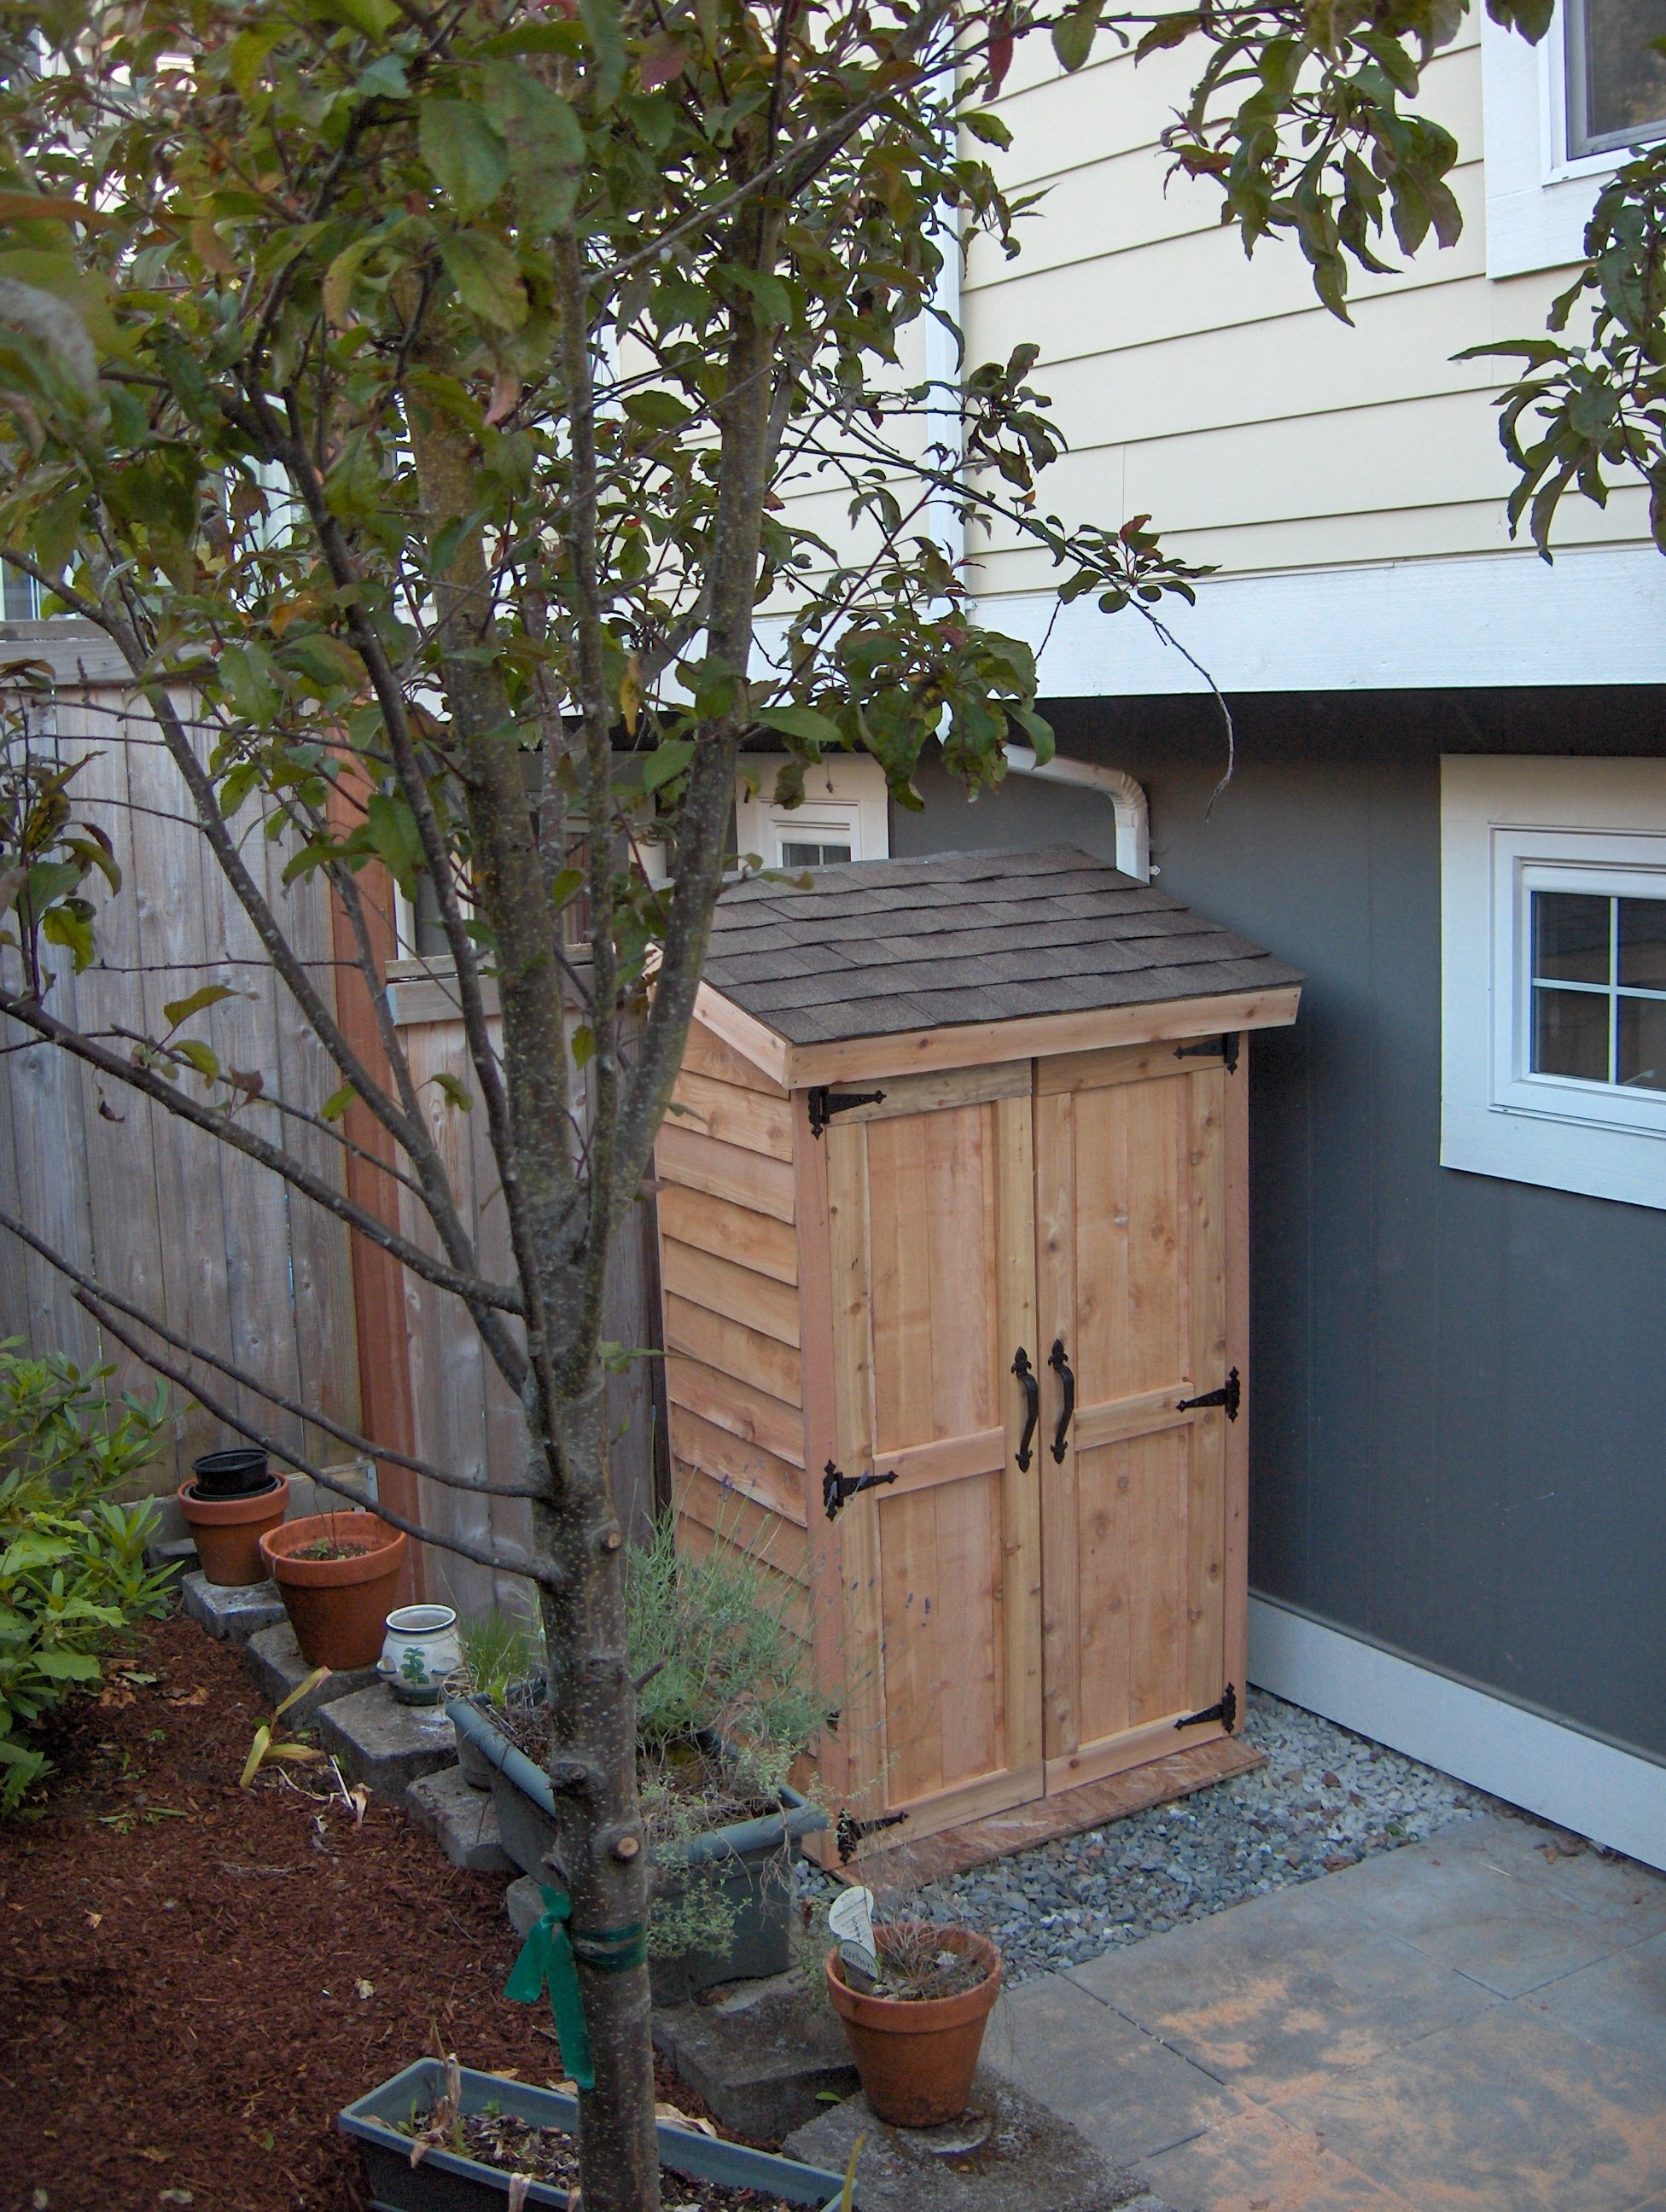
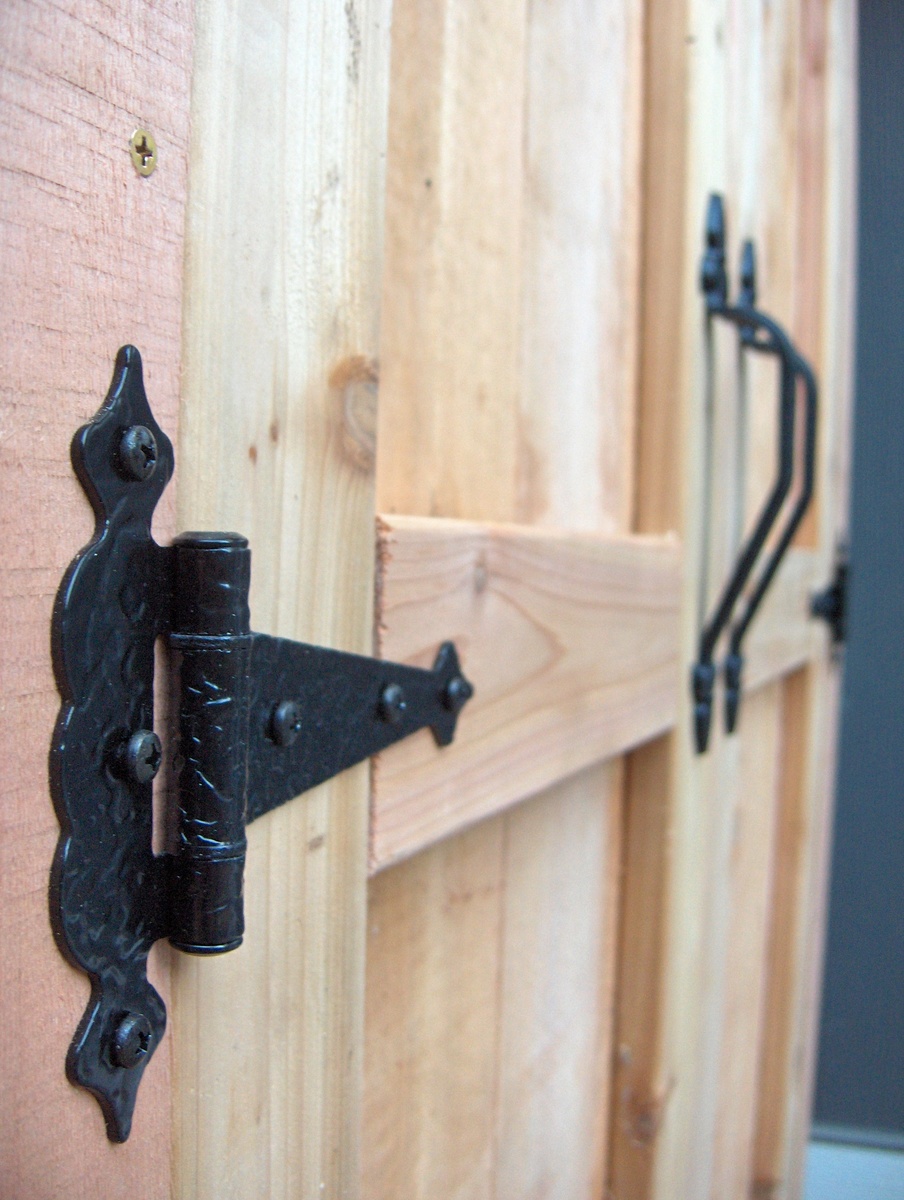
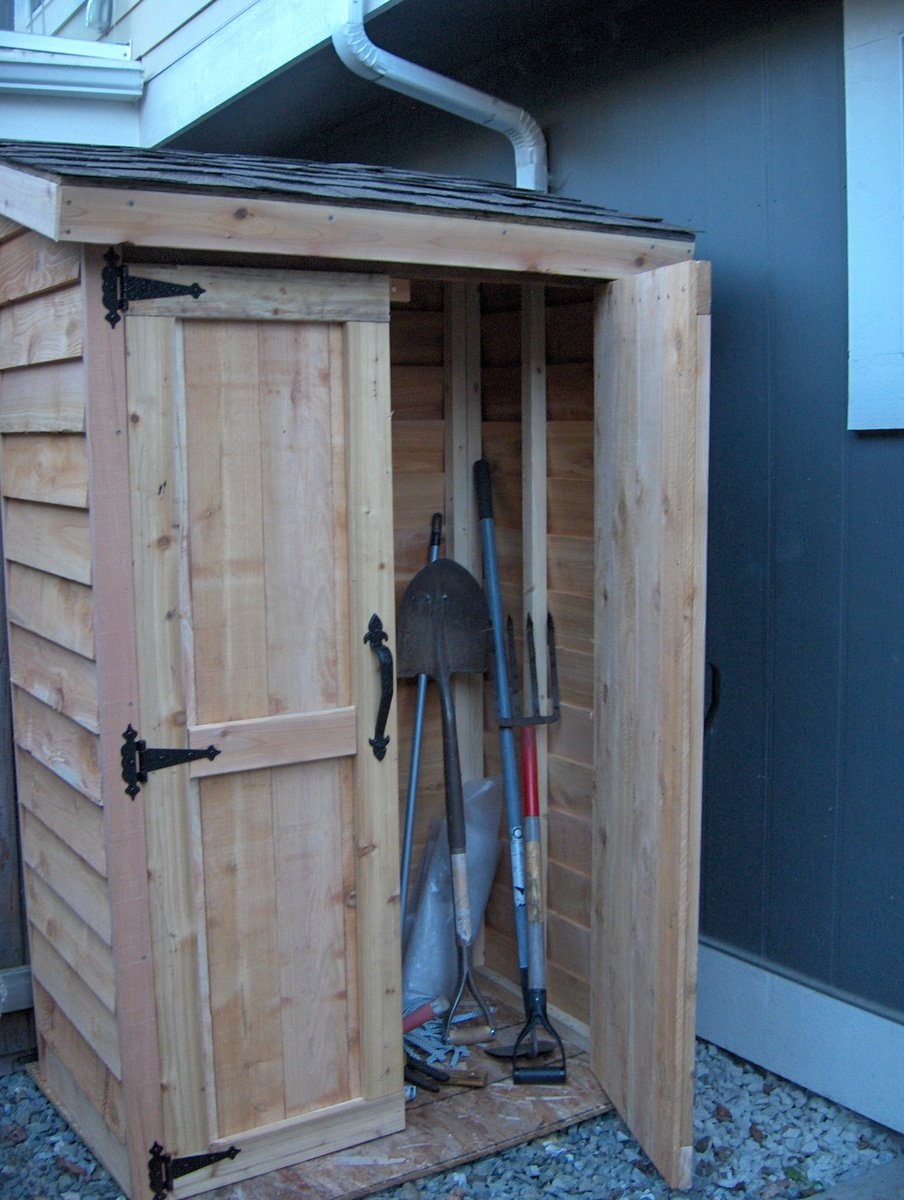
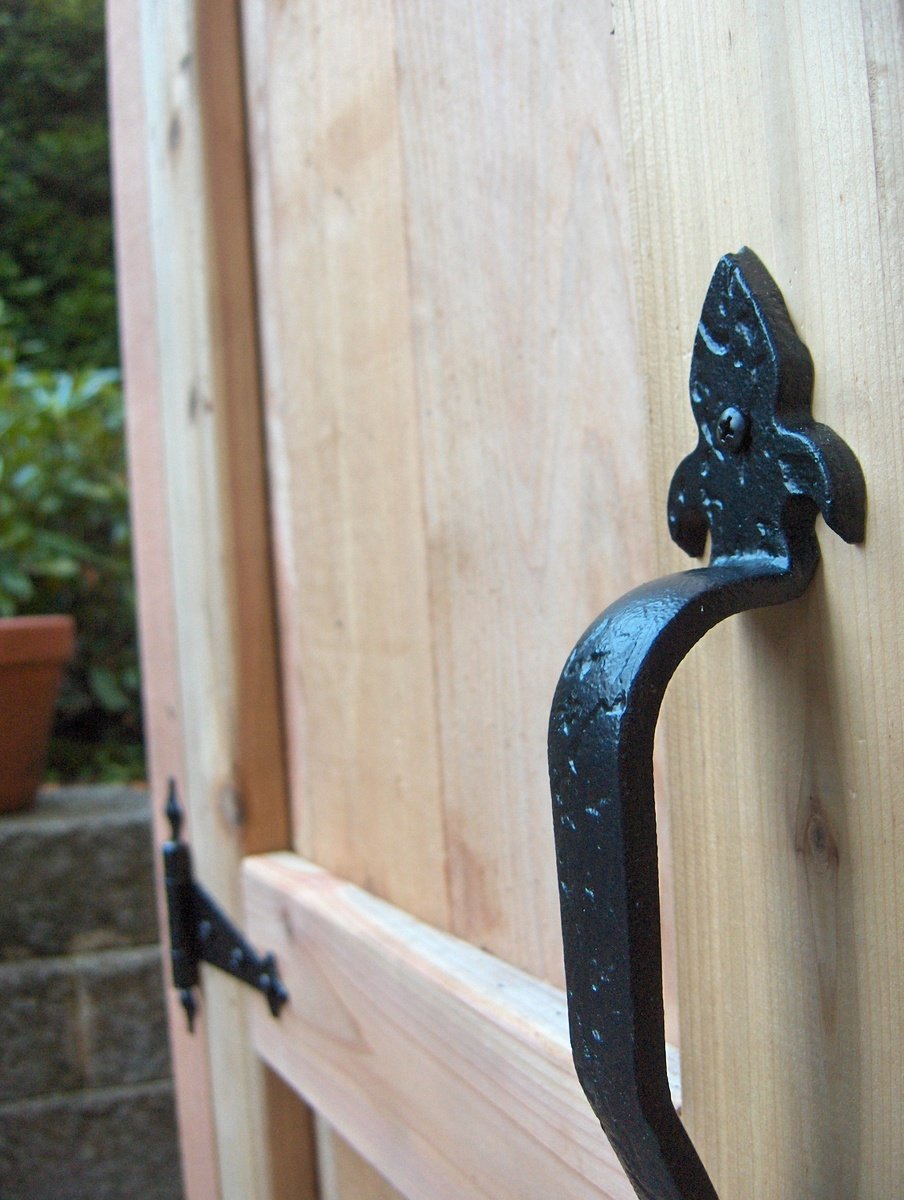
I loved the idea of re-purposing fence pickets as siding for a cedar shed, but the plans on the website were much too big for the space I have. I ended up modifying the design to make a smaller shed, with approximately a 4 foot by 2 foot footprint. It turned out beautifully! Cedar is expensive, but I was able to save money on the project by buying much of the material at local salvage and second-hand stores.
Sun, 03/29/2020 - 09:59
I'd also love to know what modifications you made to create the mini version. Did you just take out one of the sections of the back frame and adjust the side widths? Thanks!
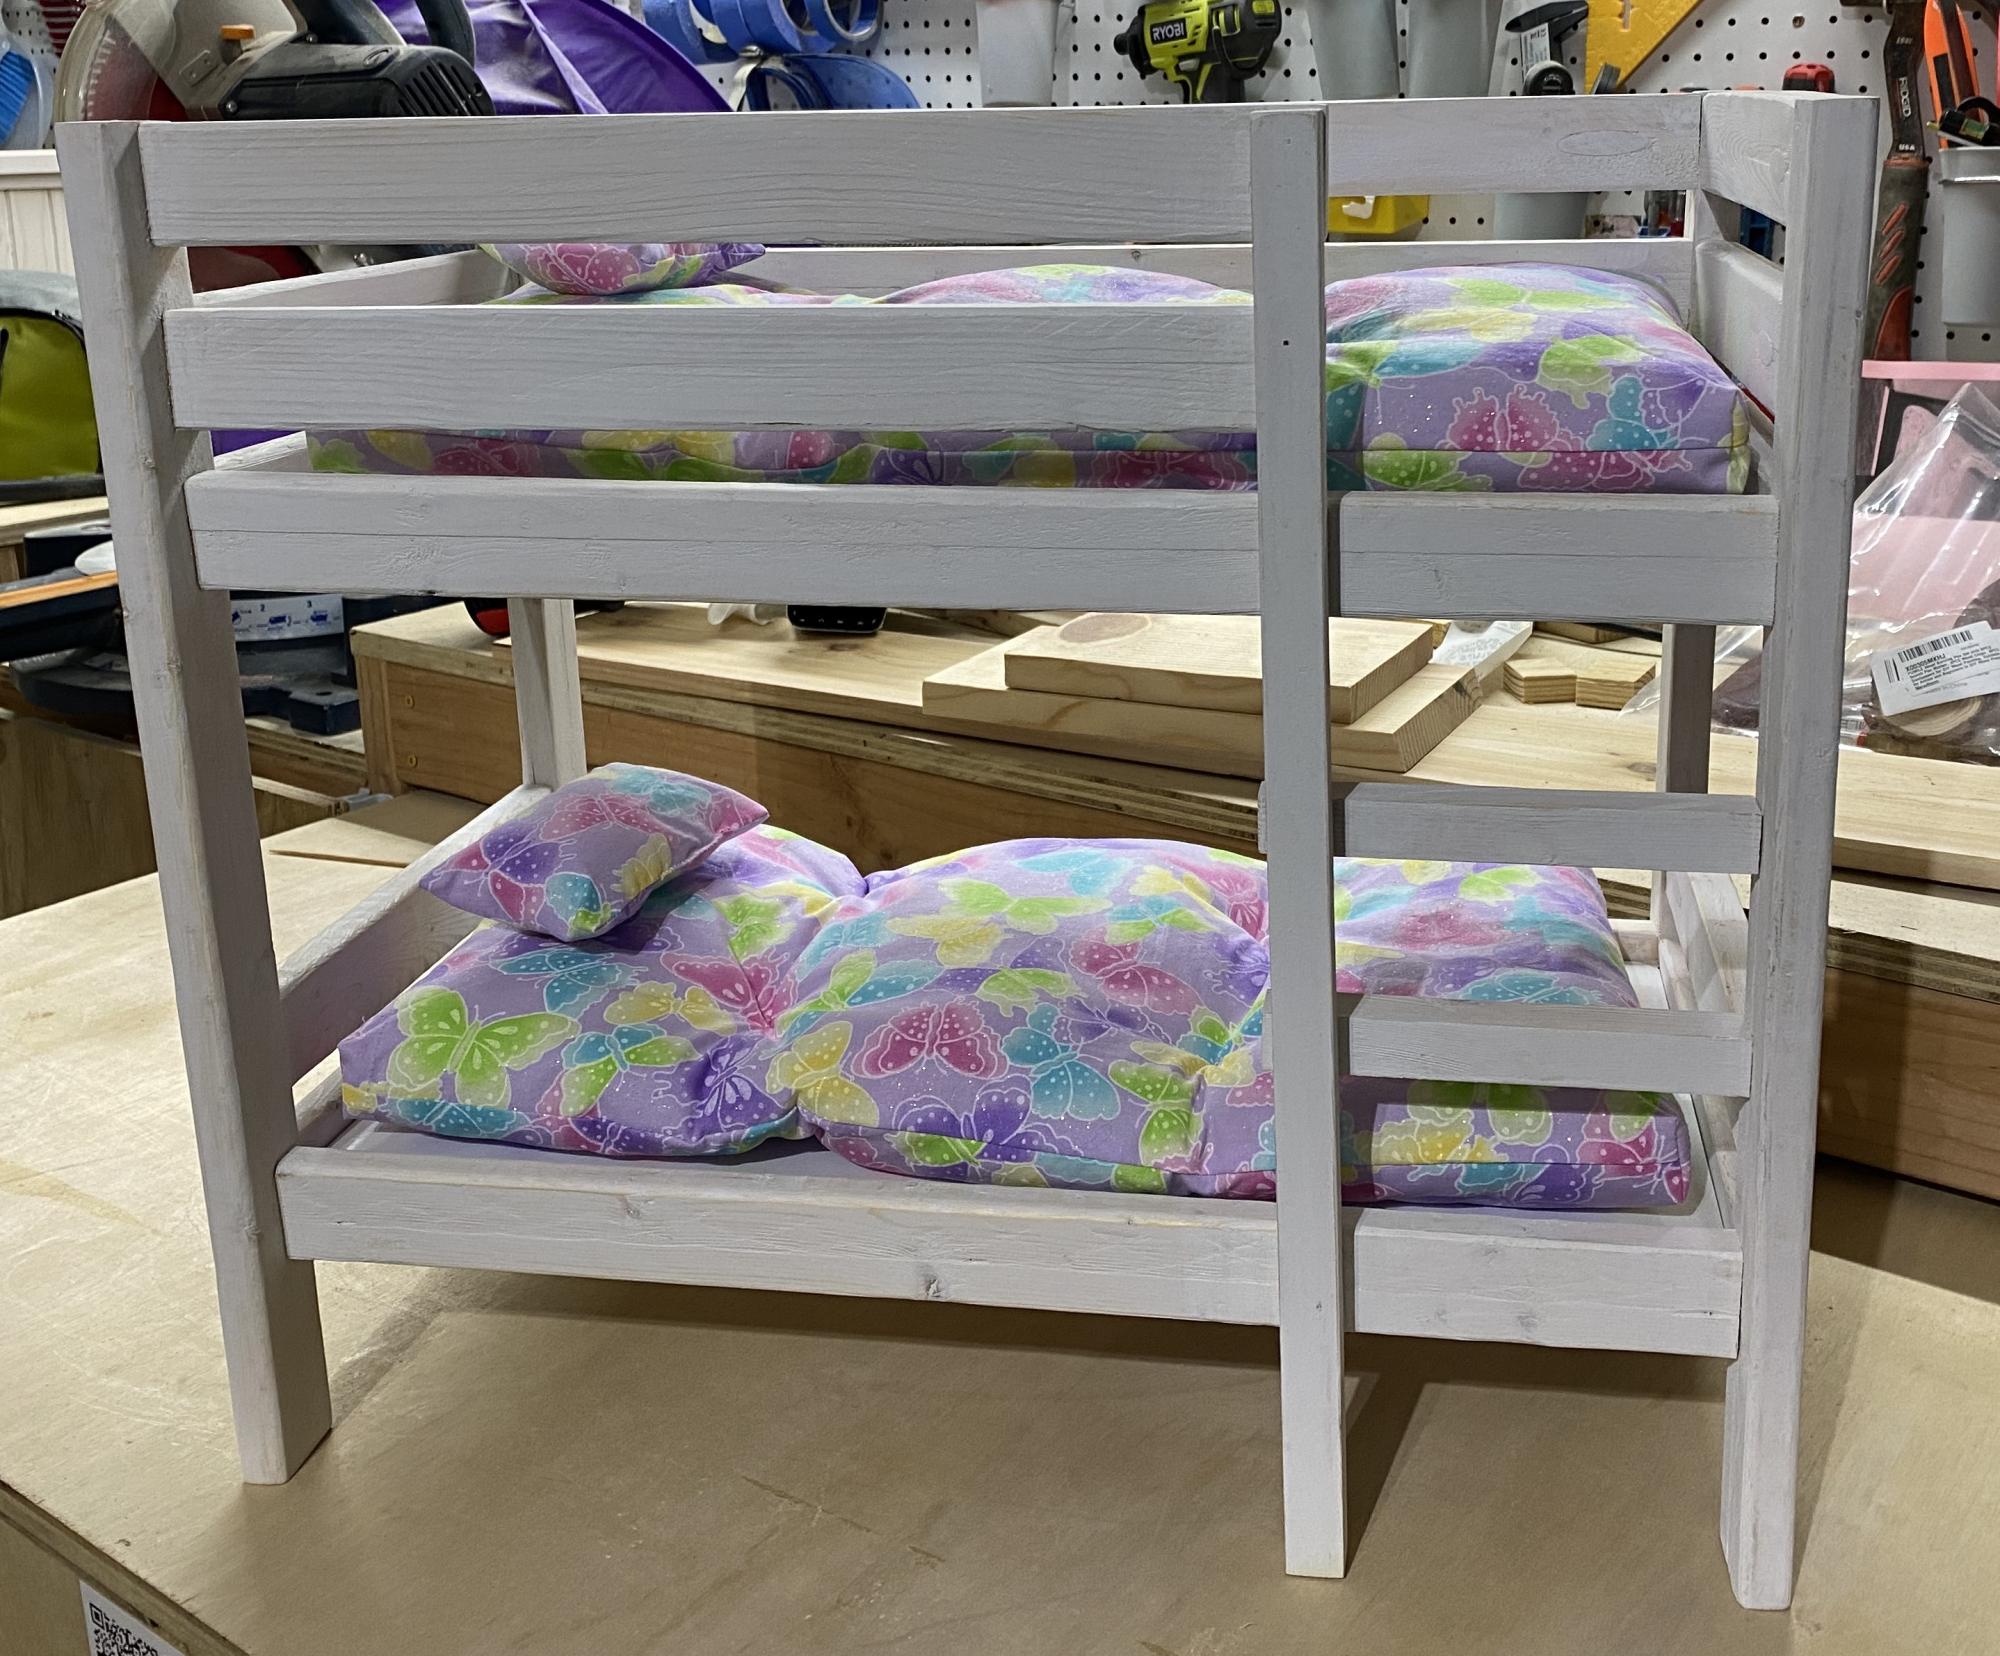
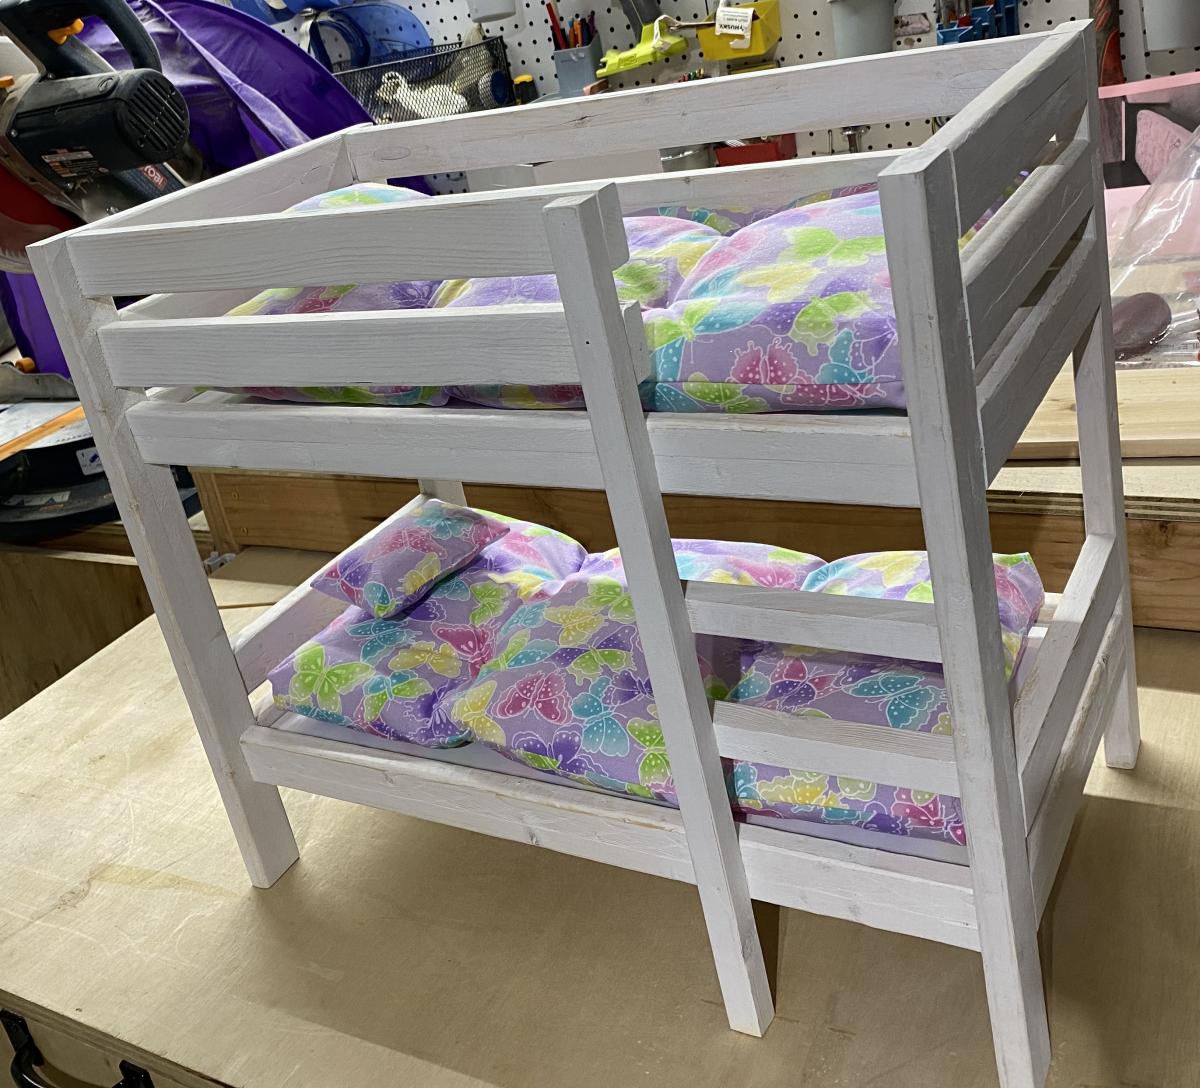
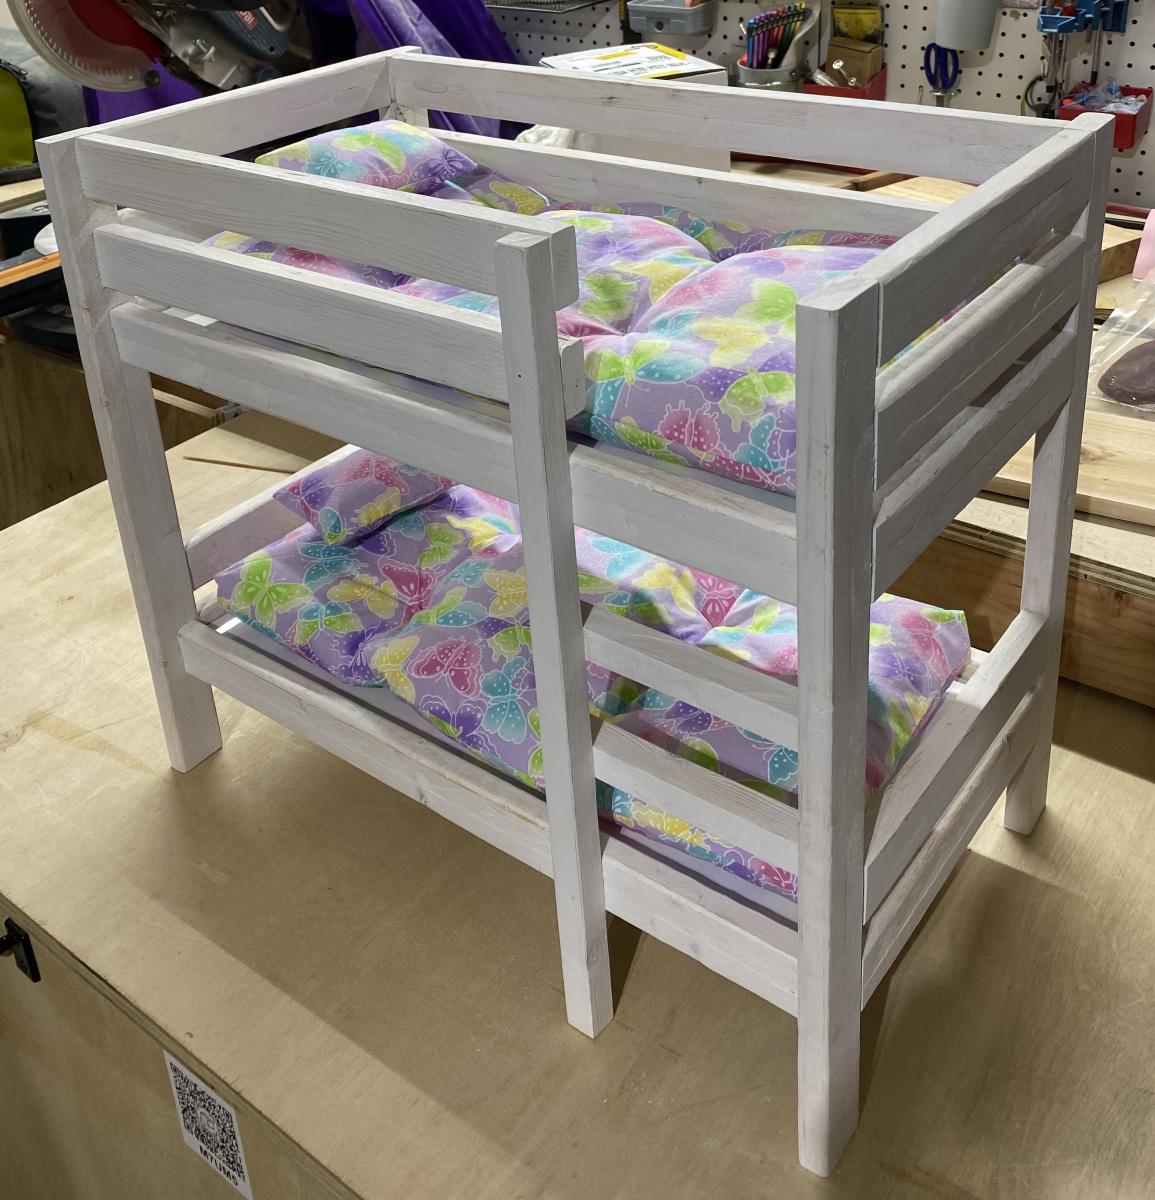
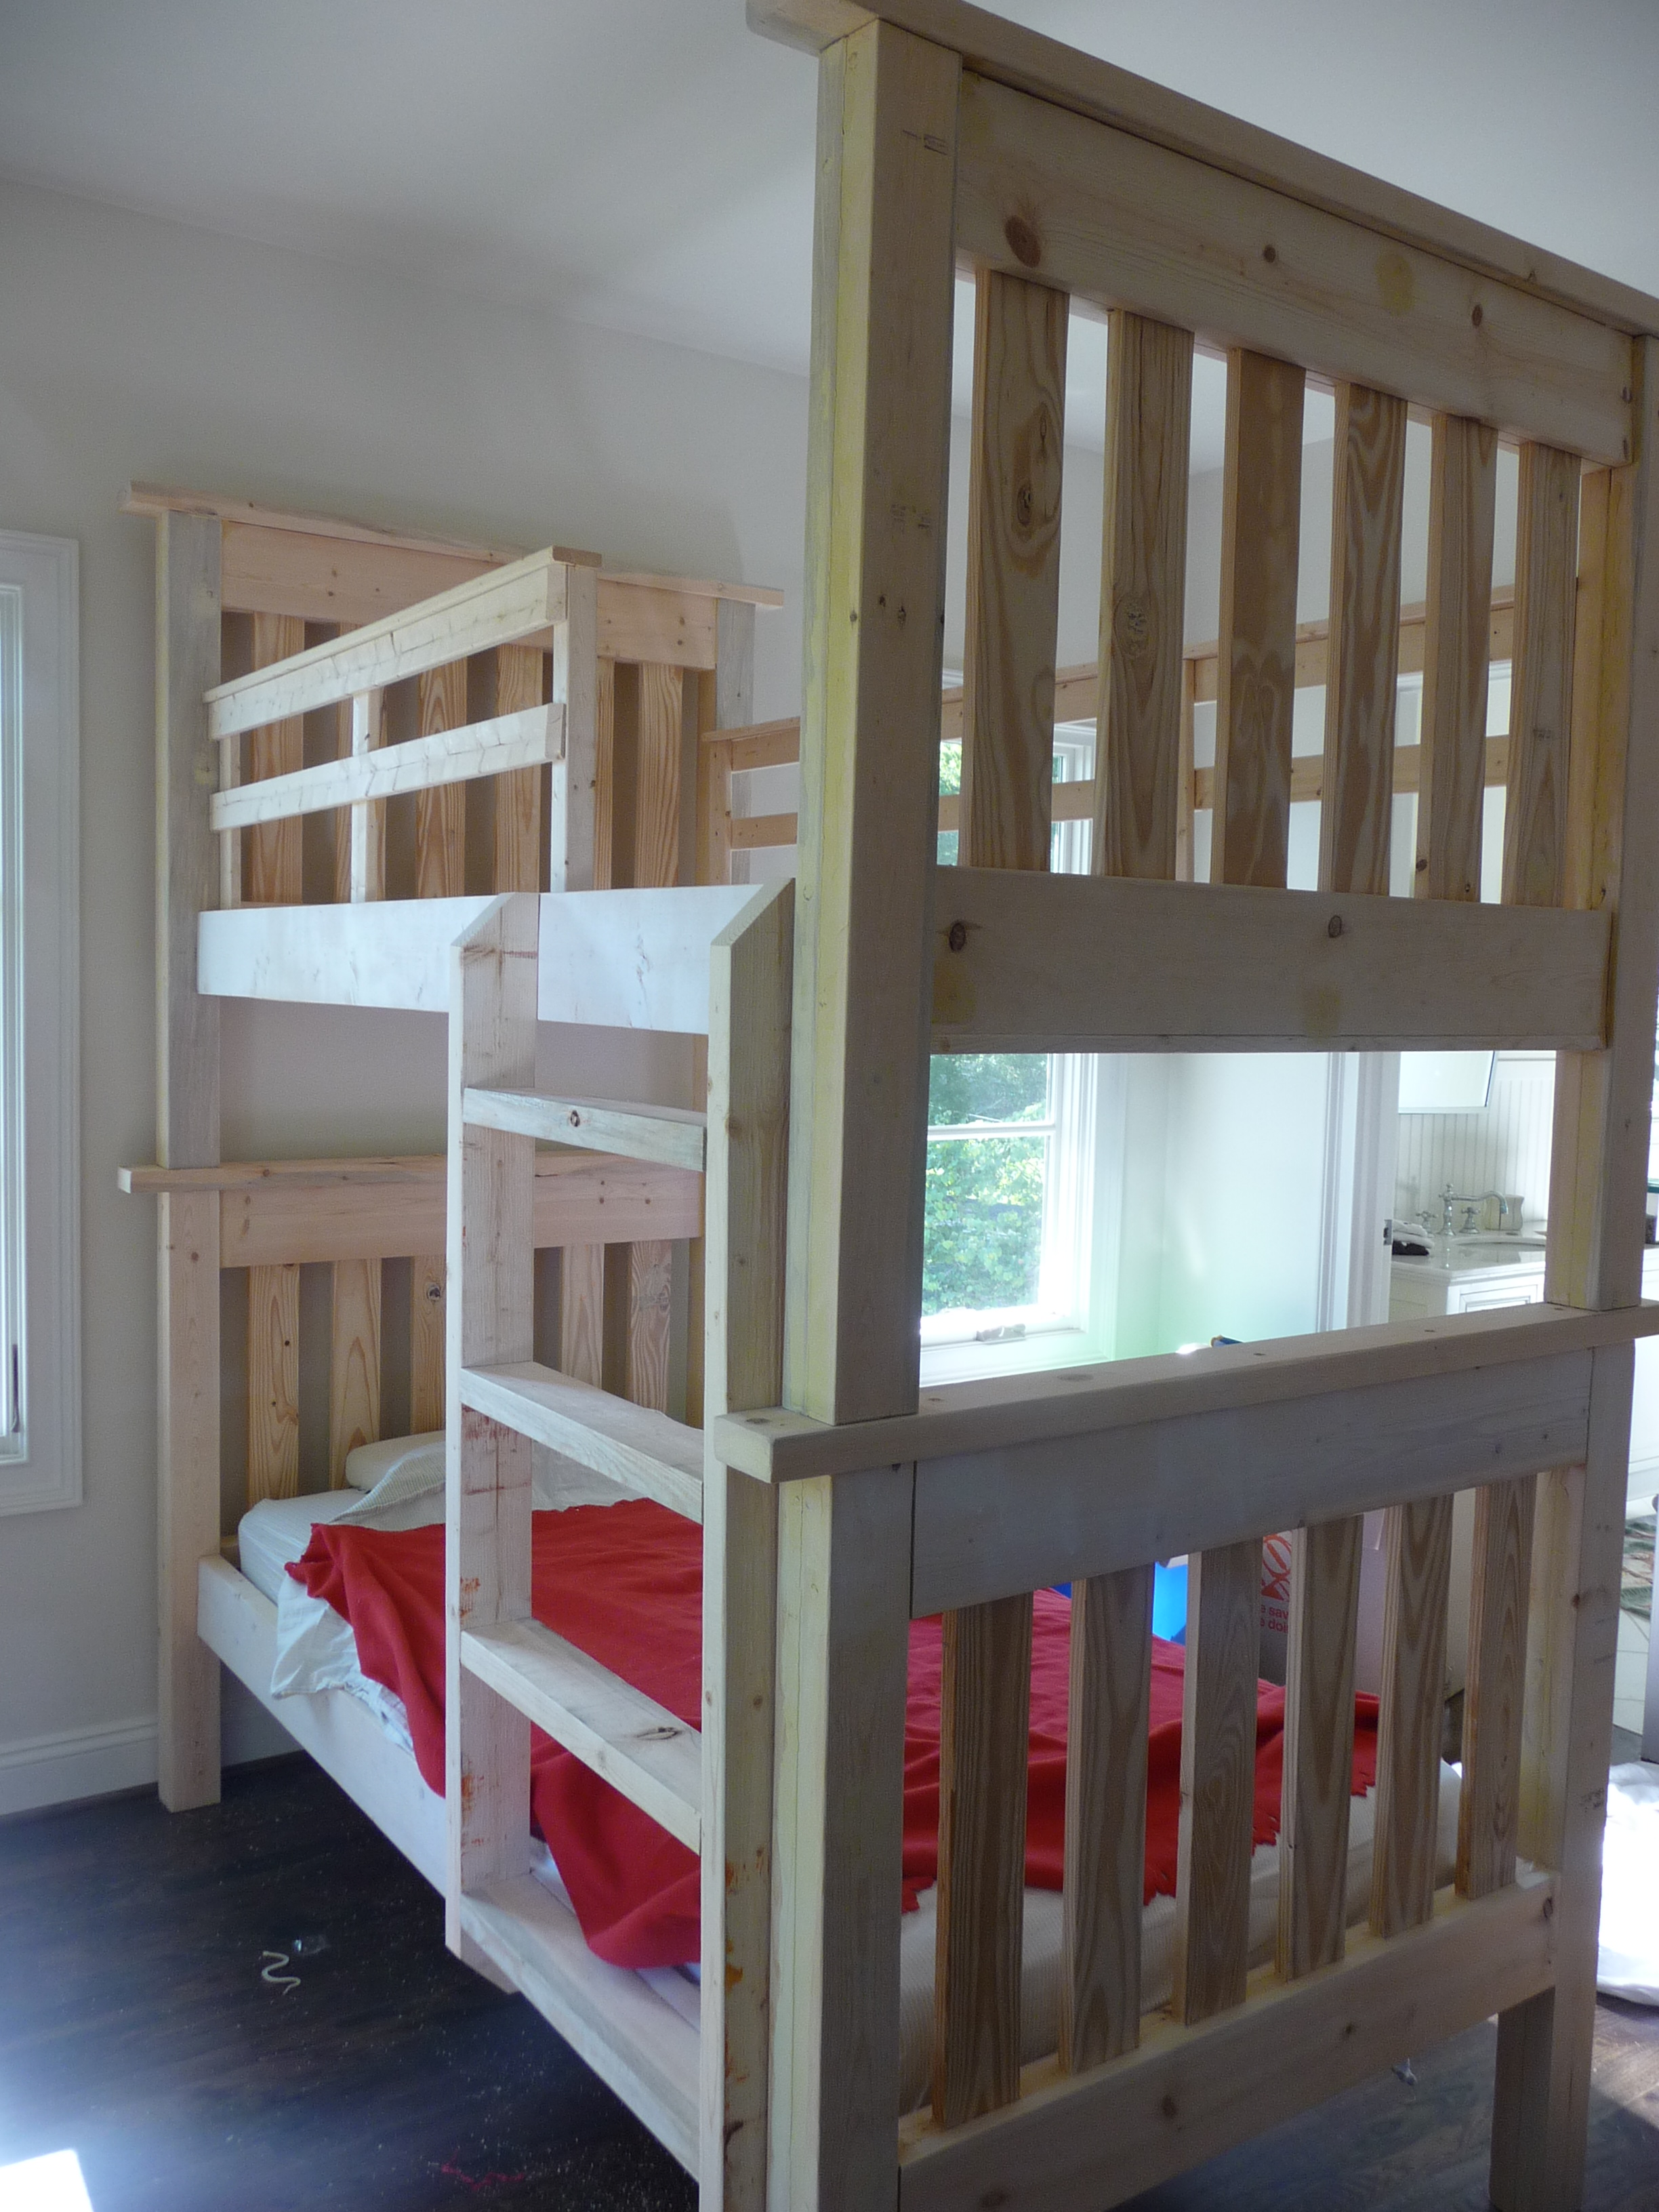
What a fun project! I used Ana’s plans for the bunk beds and the mattresses. The bed is finished with a whitewash.
Thu, 12/23/2021 - 20:08
Looks fantastic, love the finish, thank you for sharing!

Fri, 12/24/2021 - 14:36
Thank you! As you can see by my workbench, we are blessed by many of your plans.
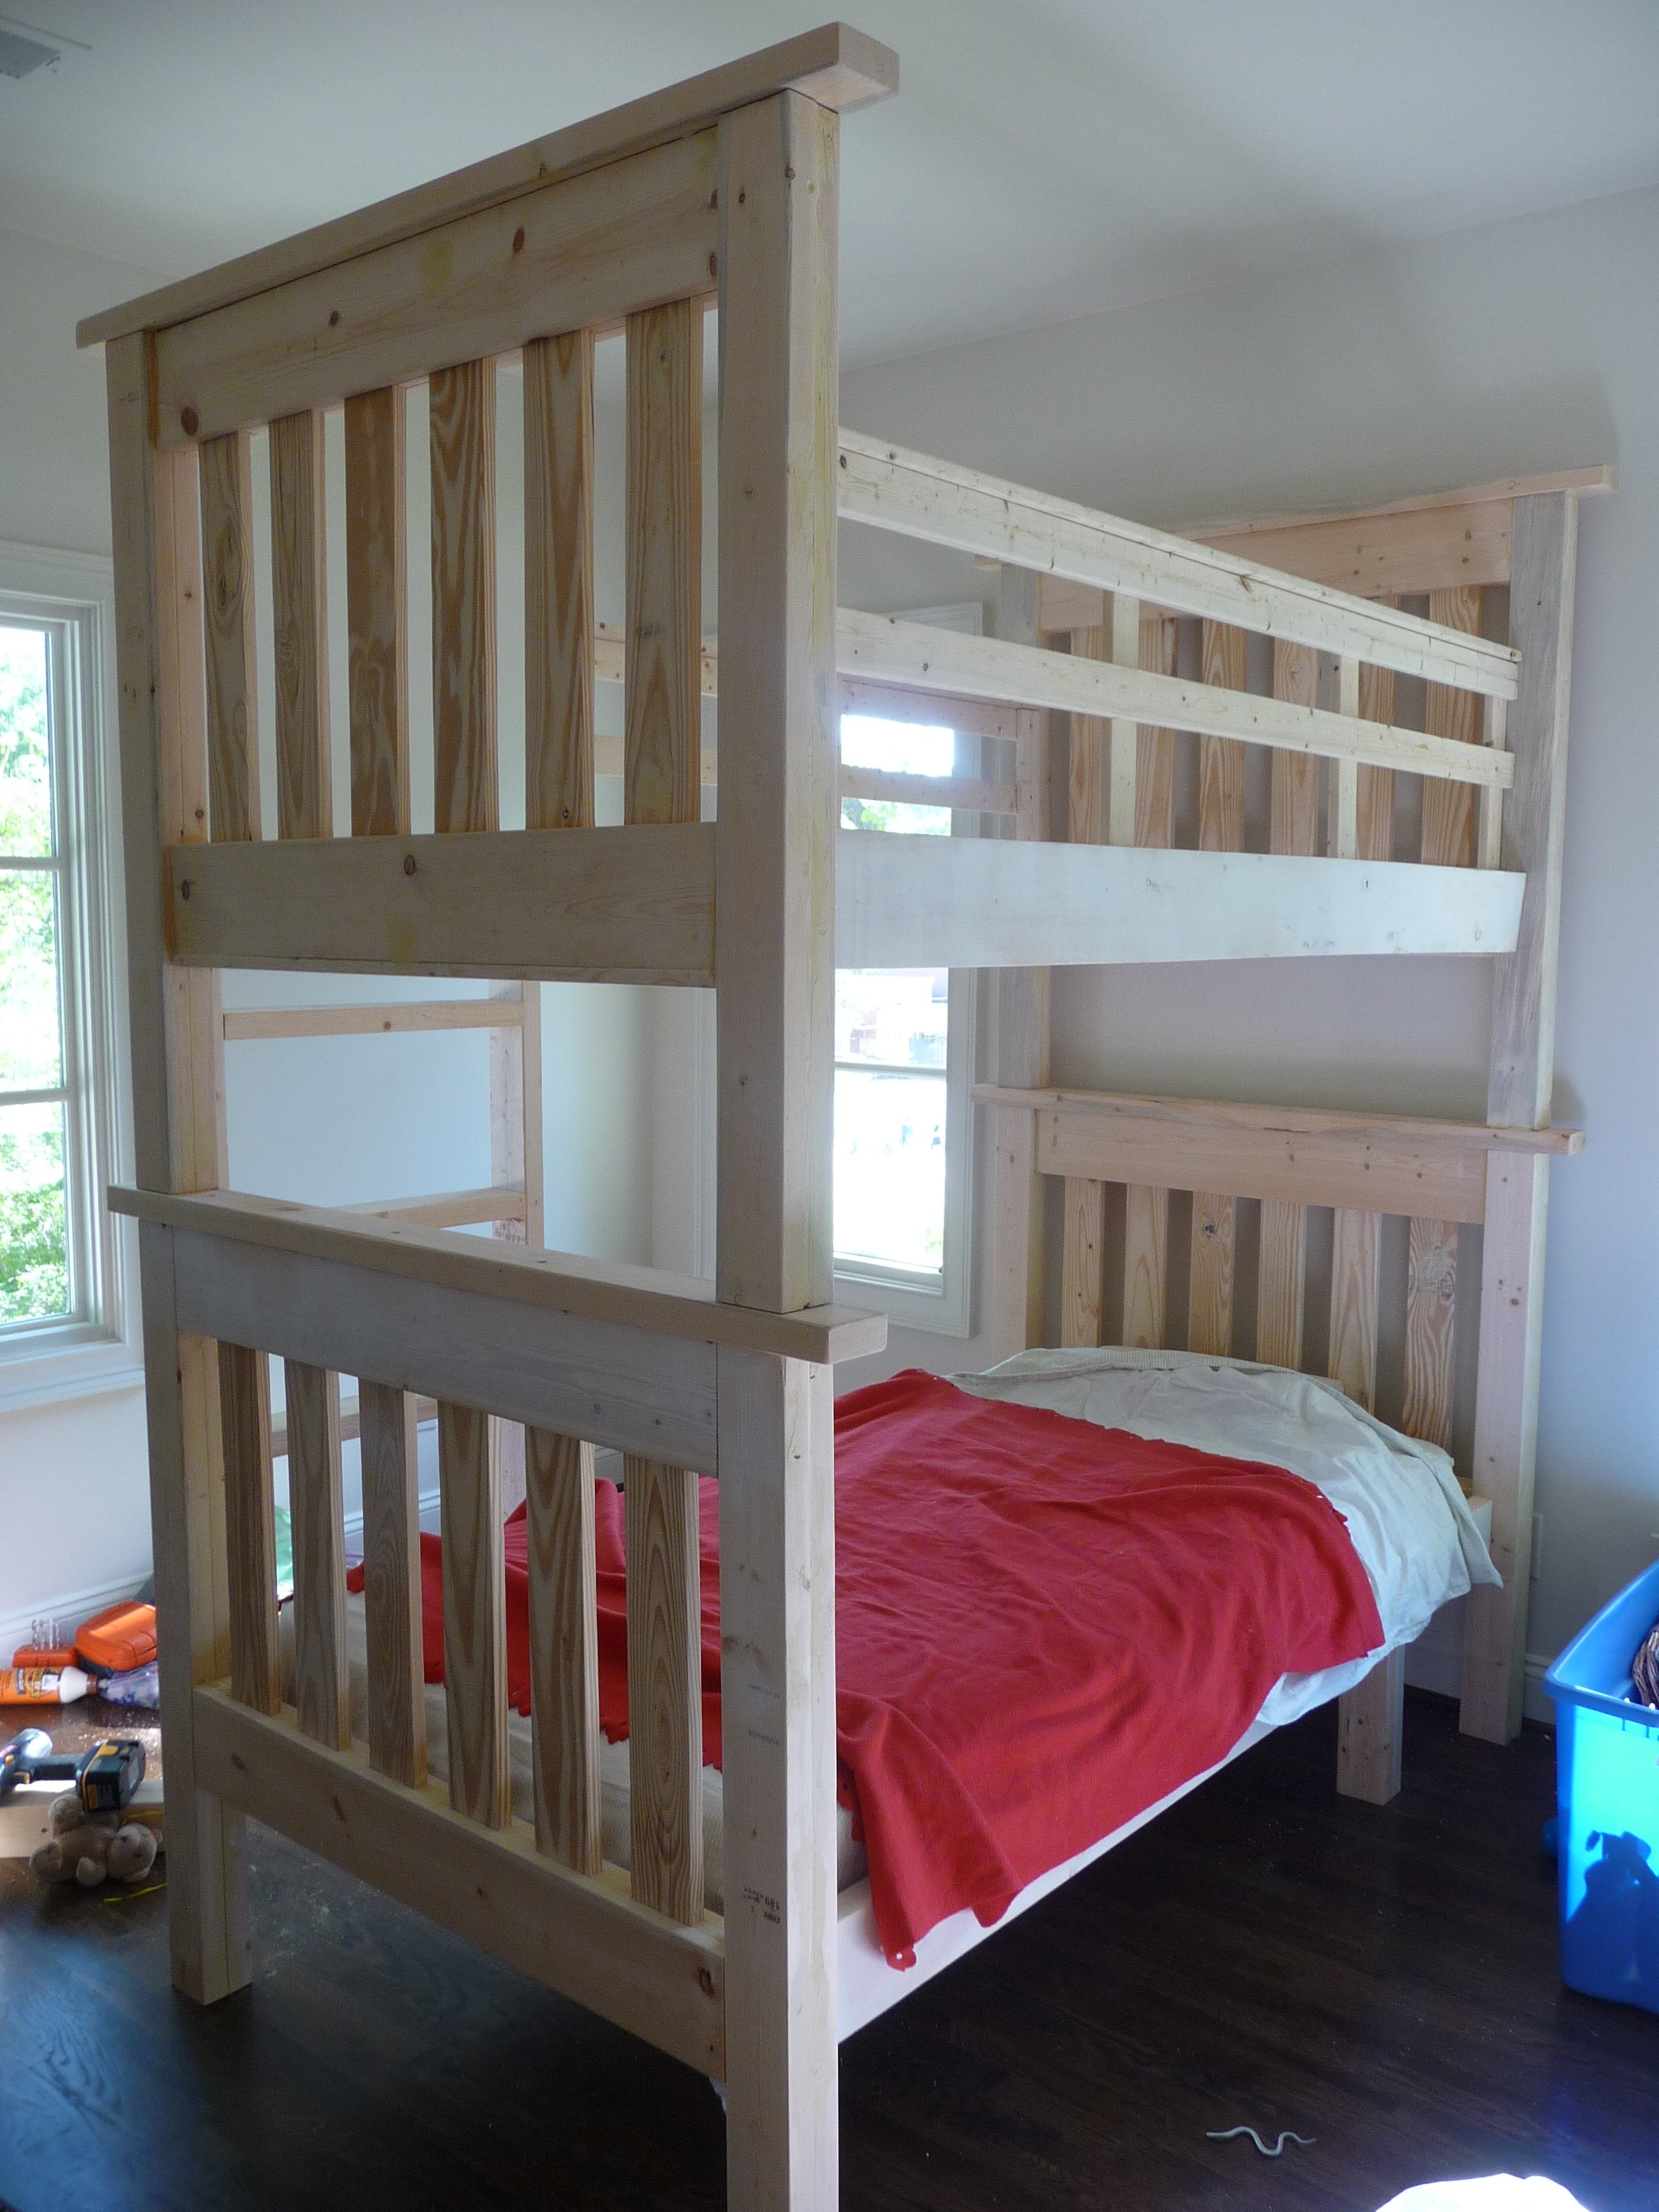
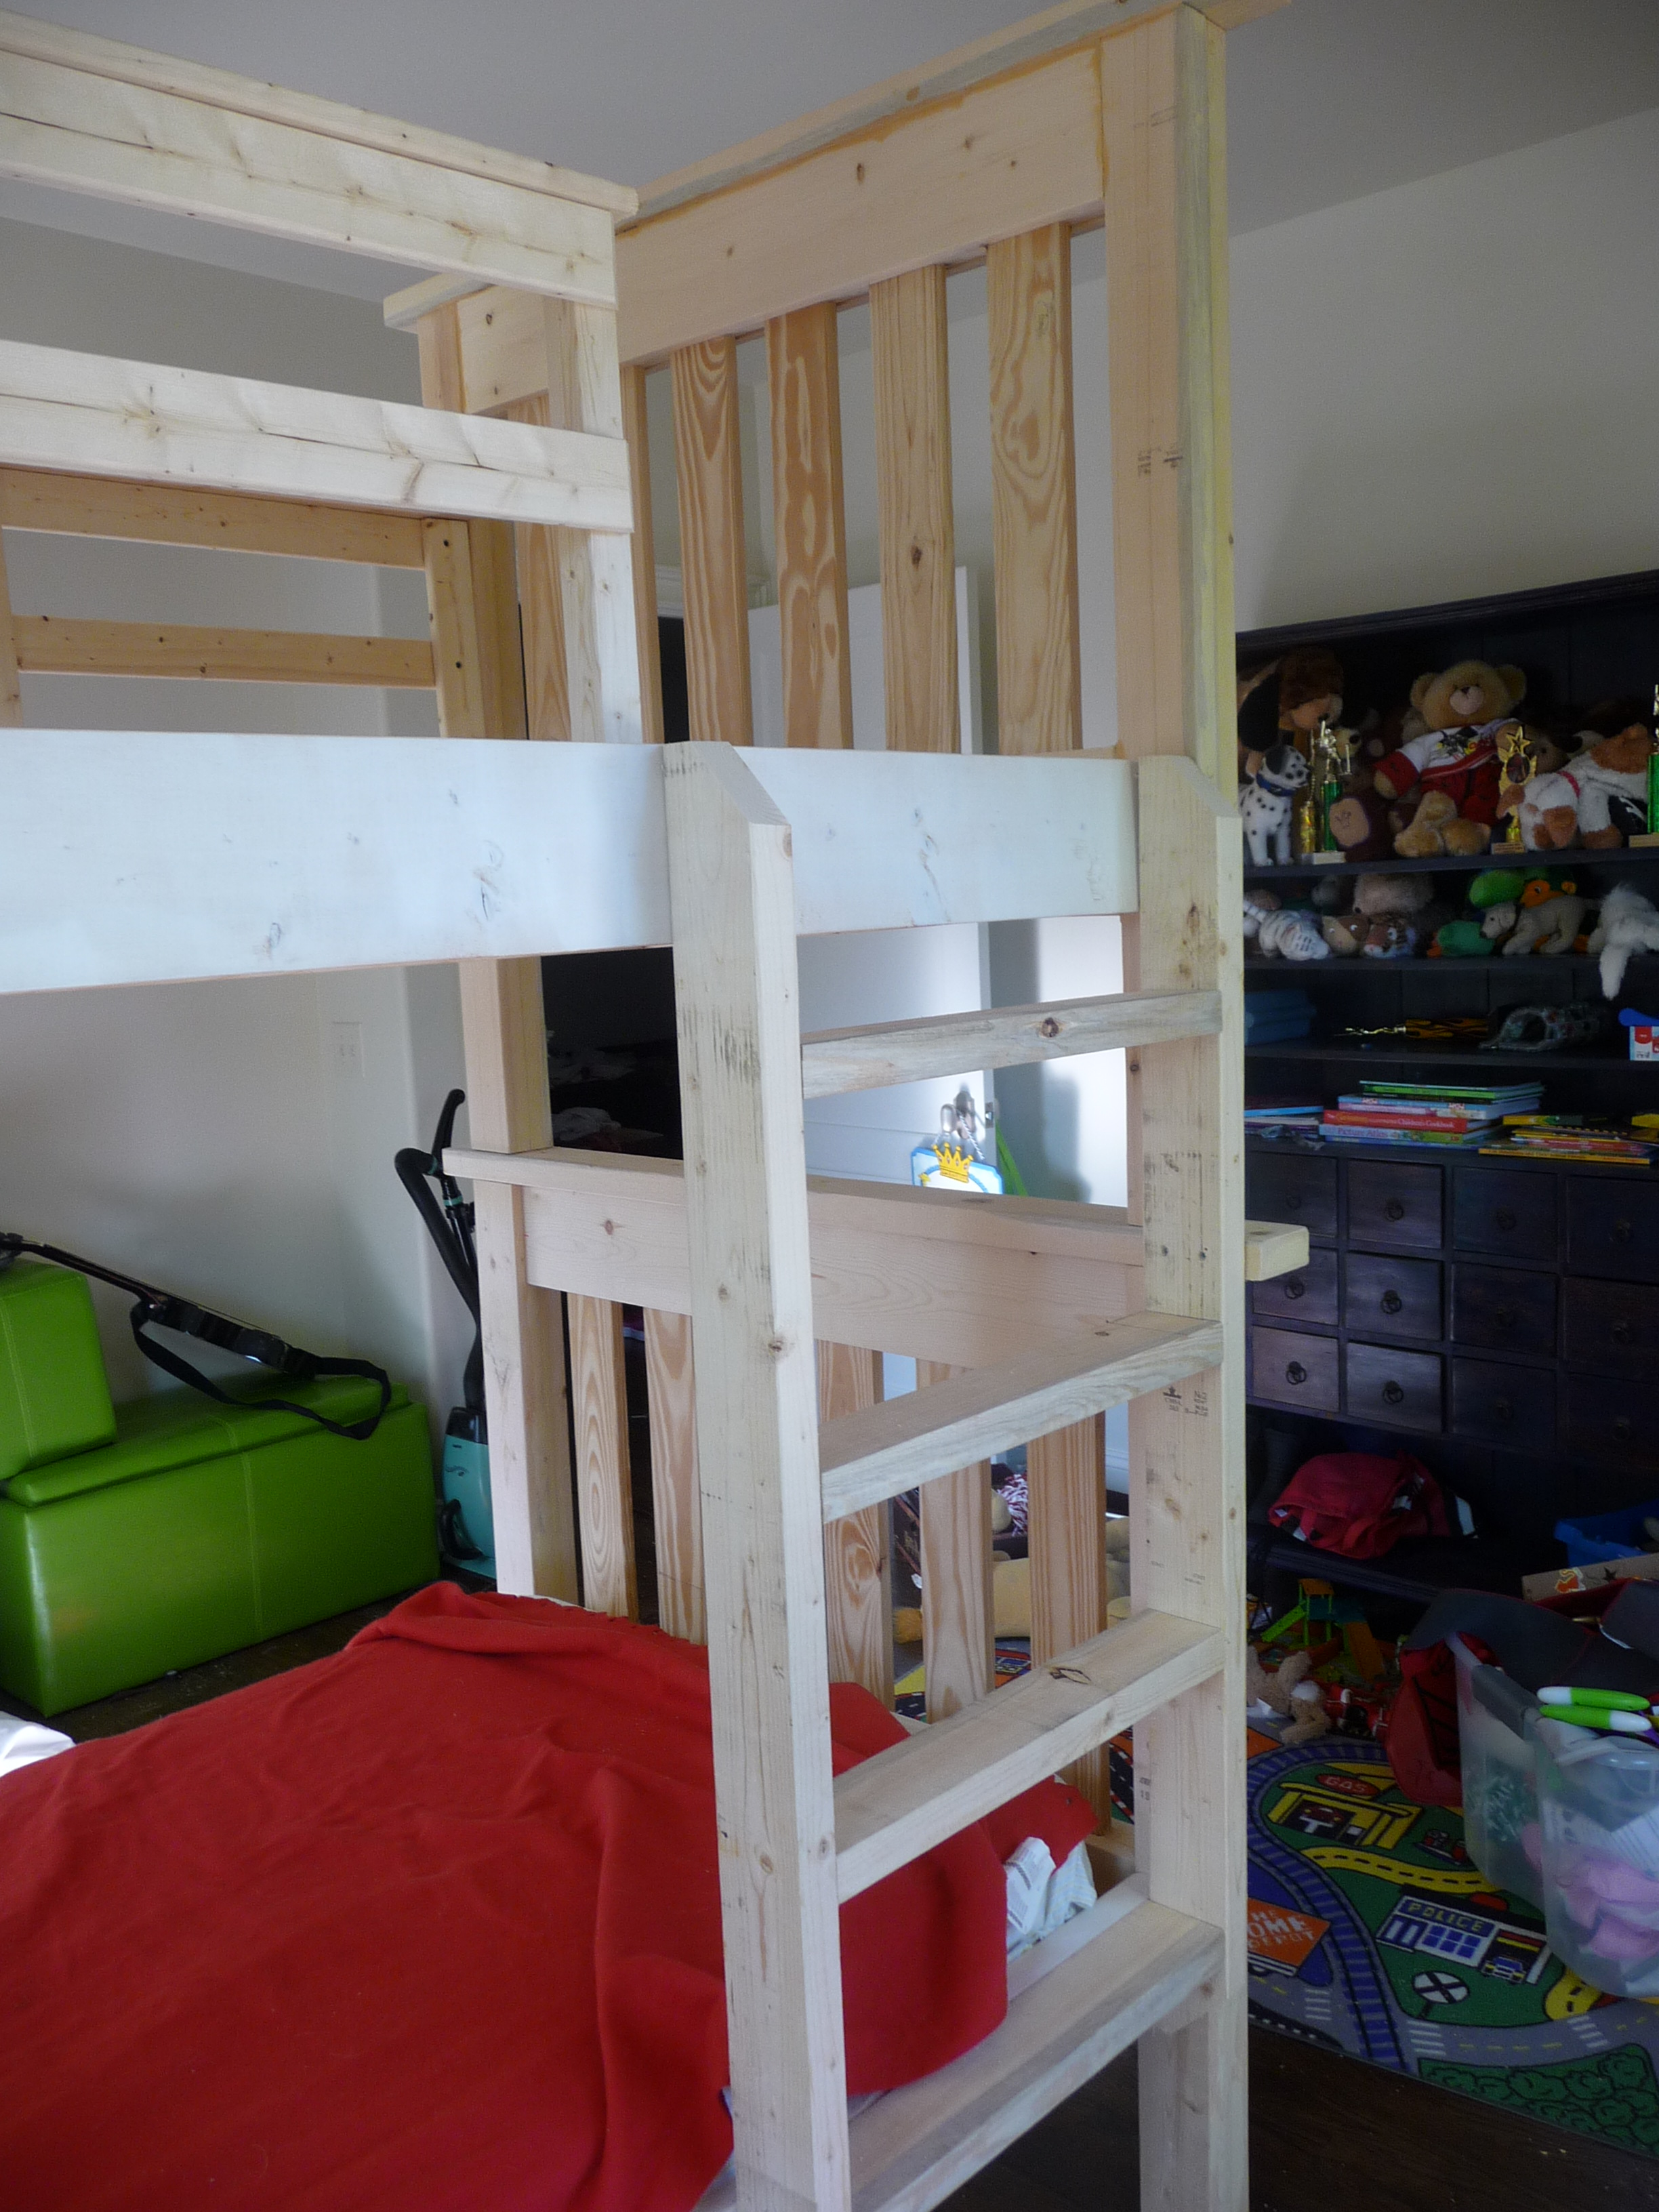
I made the bunk beds from the simple bed plan, following tips from others who turned them into bunks. Instead of headboards on bottom and footboards on top, I used all headboards to add height, and made the posts a little longer so that an adult can sit up on the bottom bunk to read during bedtime. (the room has 9' ceilings) I used 2x4s glued and screwed together, as I could not find 4x4 non-pt posts. I made the ladder out of scrap 2x4s and the railings from scrap 1x3s. I did as suggested and attached the bottom header to the bottom of the top bed, which made it easy to attach. This bed is super sturdy! It will be painted one of these days!!
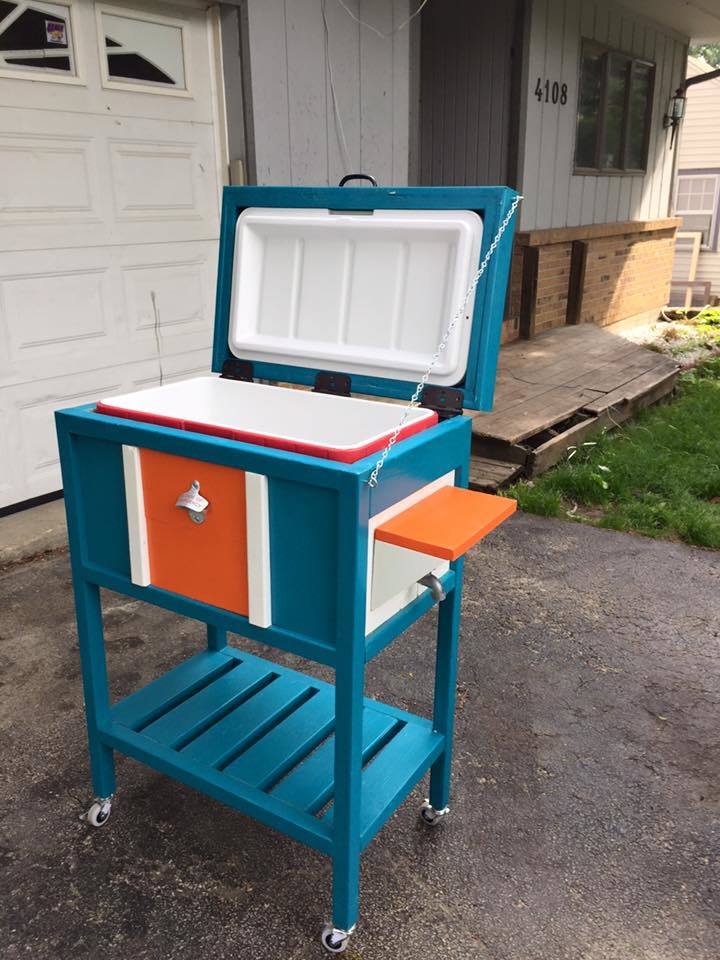
I'm new to woodworking but I'm already obsessed. I was looking for something I could make for Father's Day and came across this. I thought it'd be perfect for my dad especially if I did it in his favorite team's (Miami Dolphins) colors. It's definitely not perfect and there was a lot of frustration when it came to putting the cooler inside... but I'm proud of the finished product.
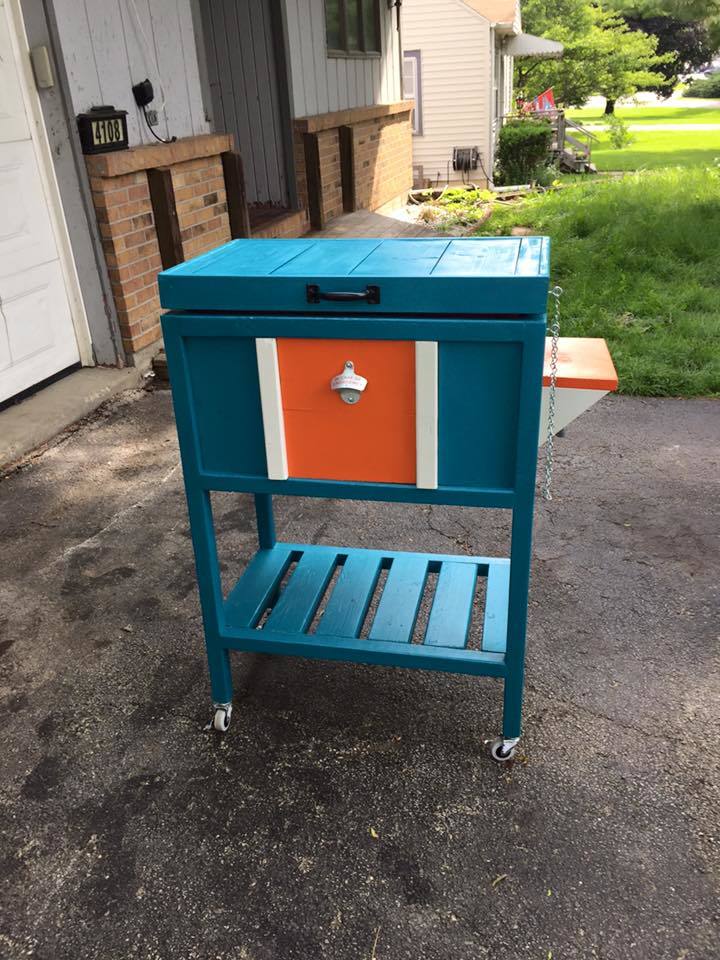
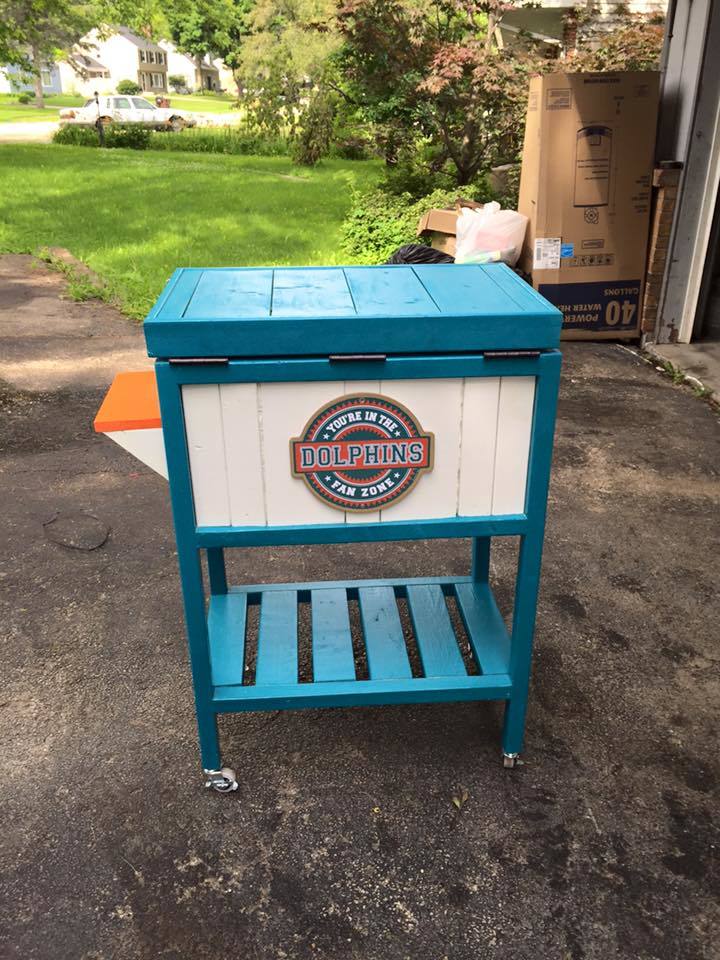
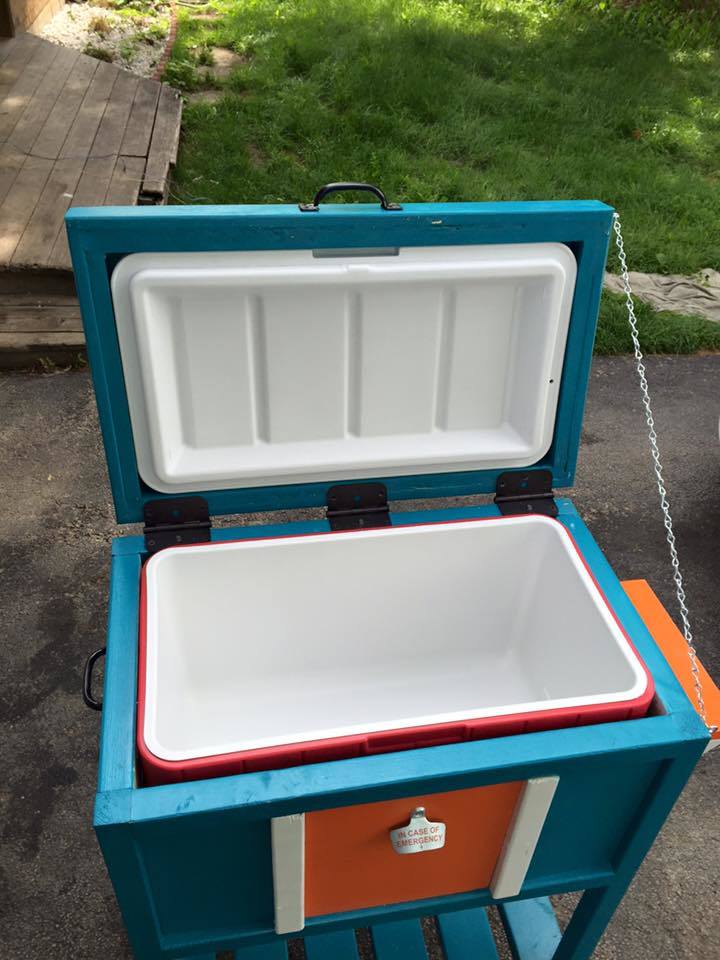
Came together pretty easily. Took about half a day.
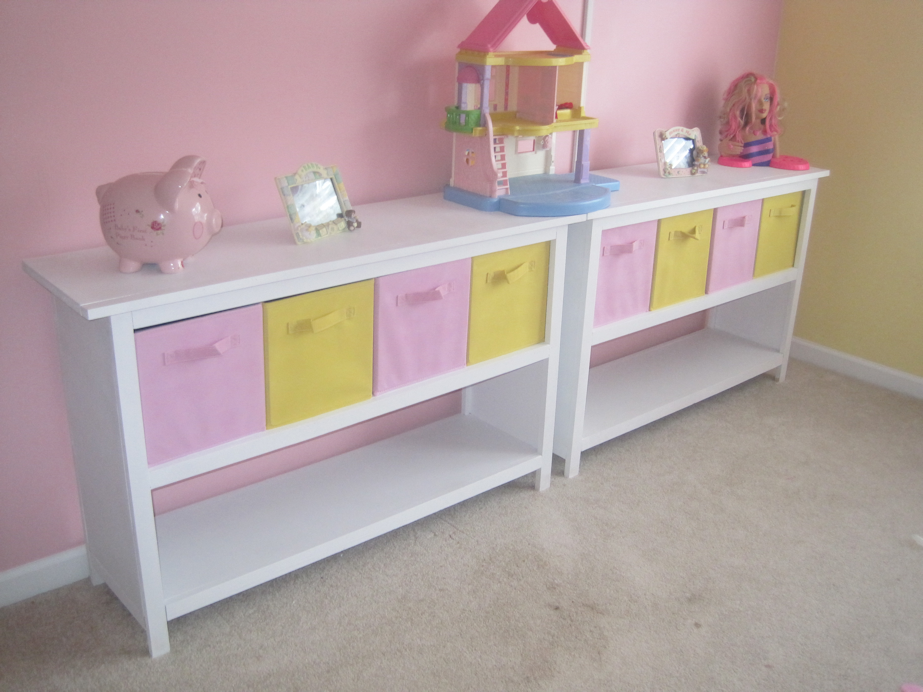
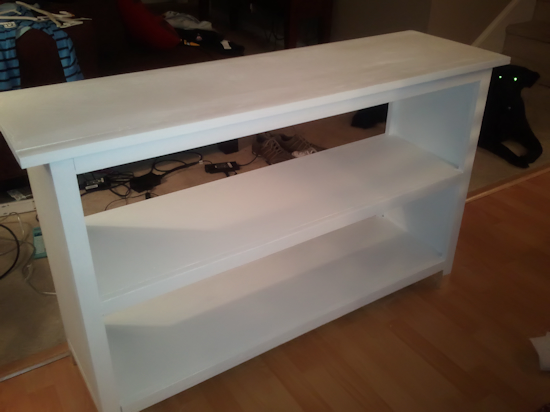
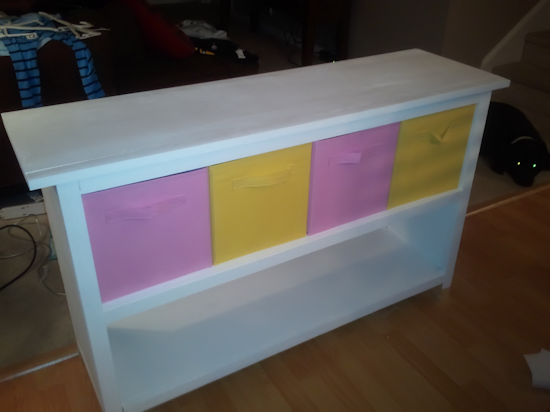
Had a Blast making these shelves for my daughters room last Summer! (sorry for just posting now) She had such a long plain wall I thought what a perfect way to take up space but still have places for her toys! She loves them as much as I do!
Wed, 06/15/2011 - 12:05
They look awesome! Love how the bins fit so perfect.
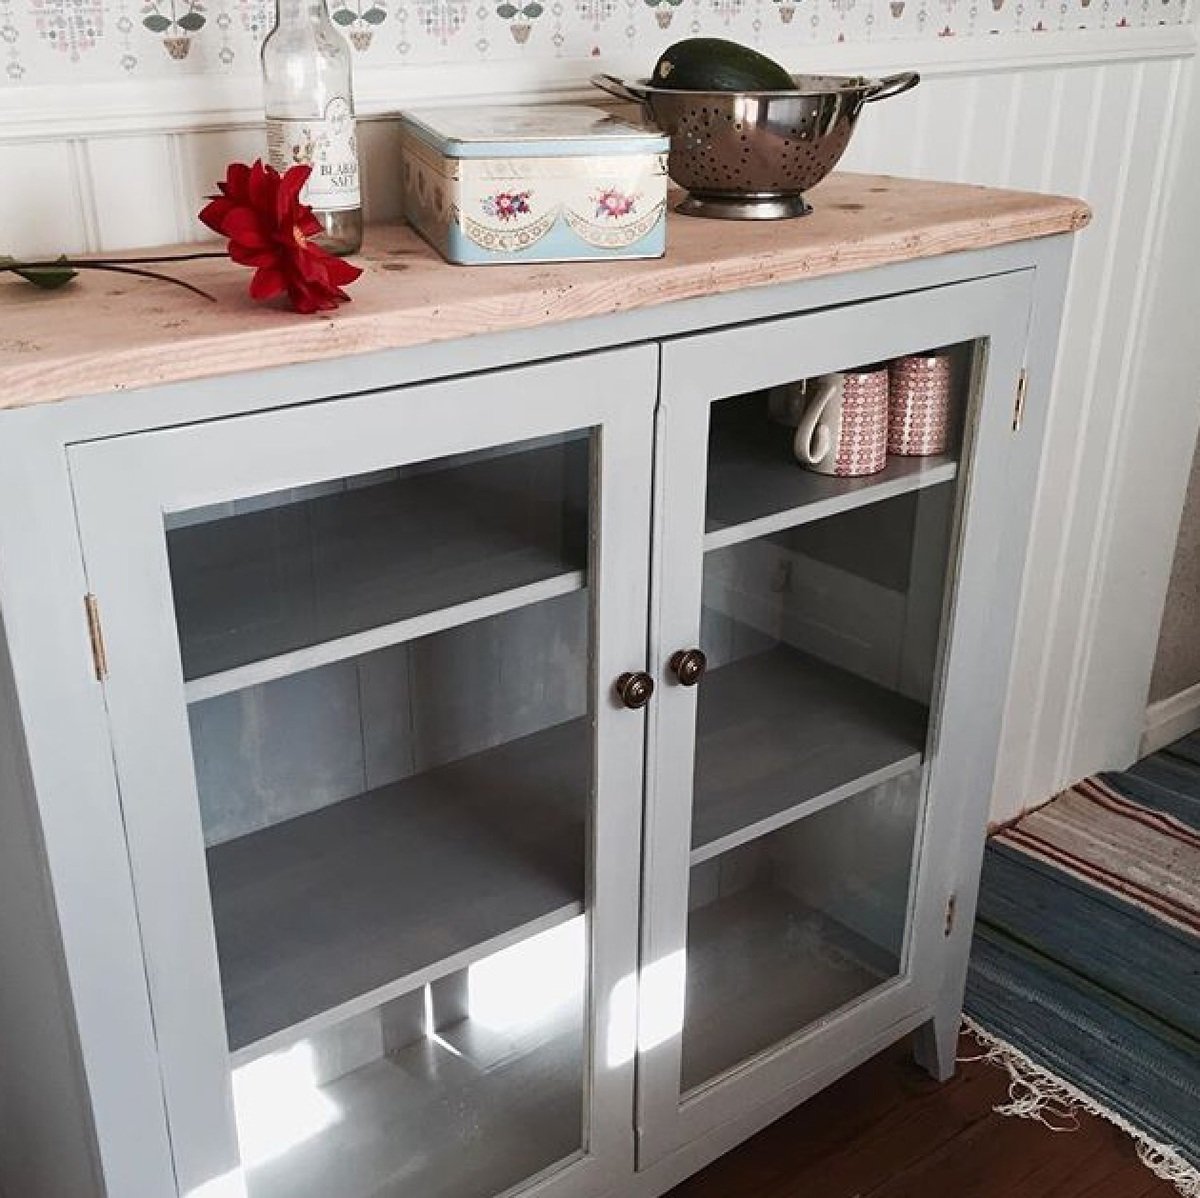
Spend some time on pintrest and made this nice Cupboard hard to find the right plan but its my first furniture so freebasing and a few misstake later.

Thu, 03/11/2021 - 06:08
No glass, replace with barn door look. Fix the bottom to look like dresser bottom.
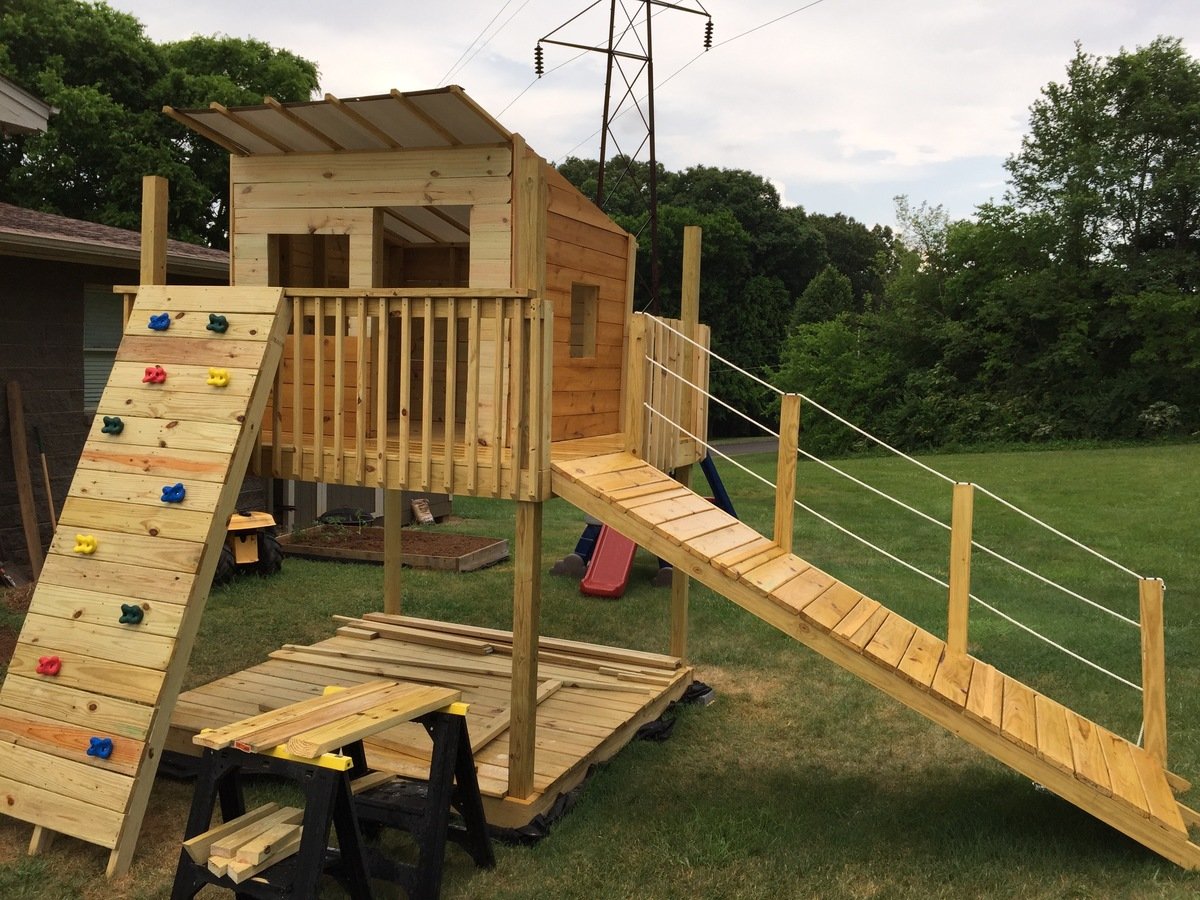
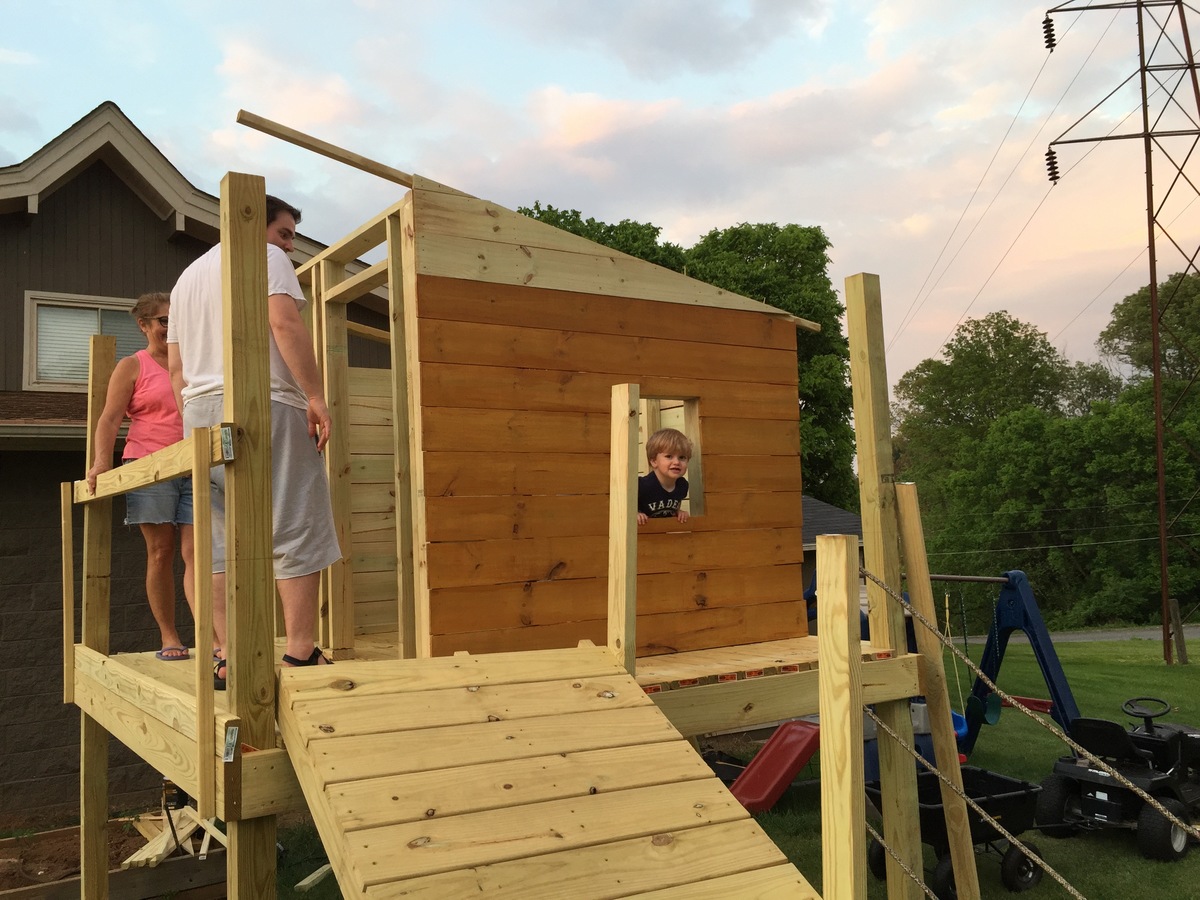
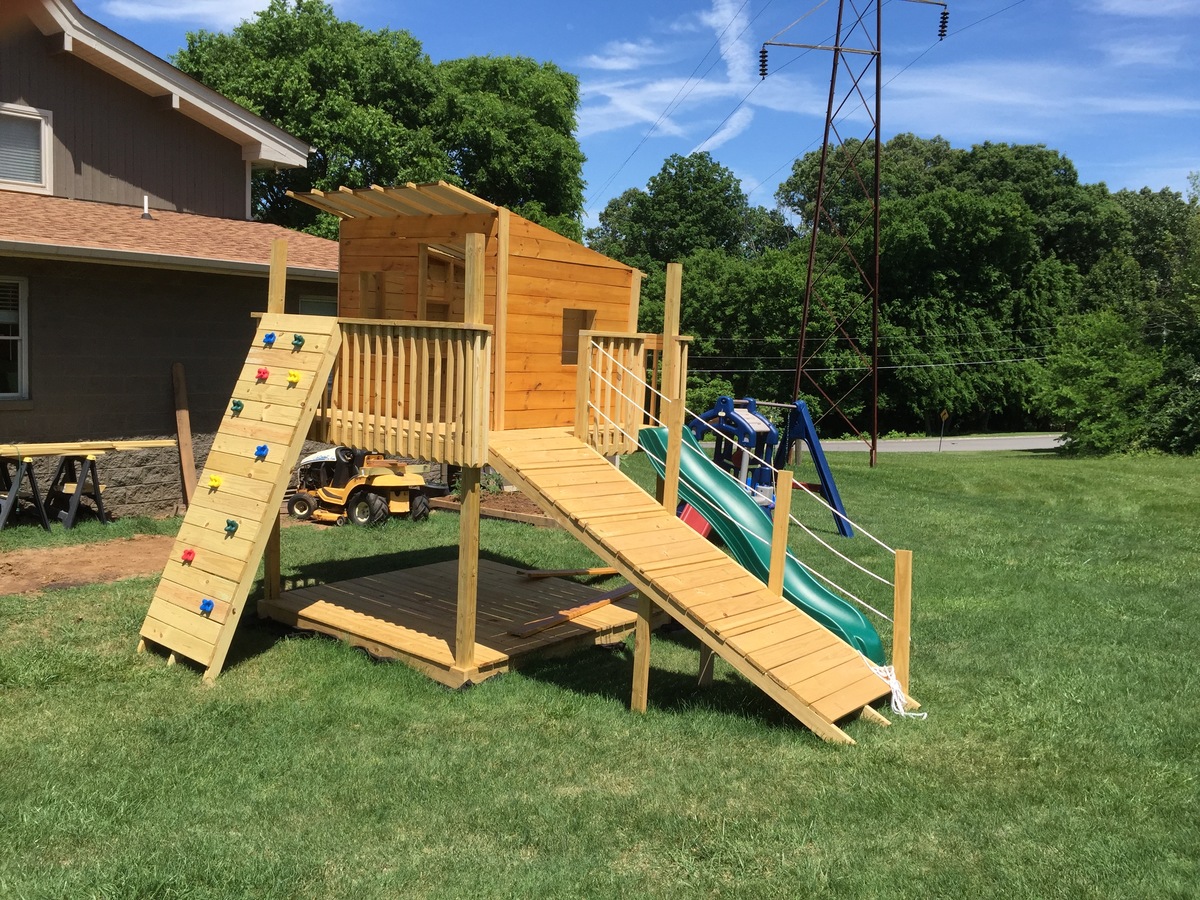
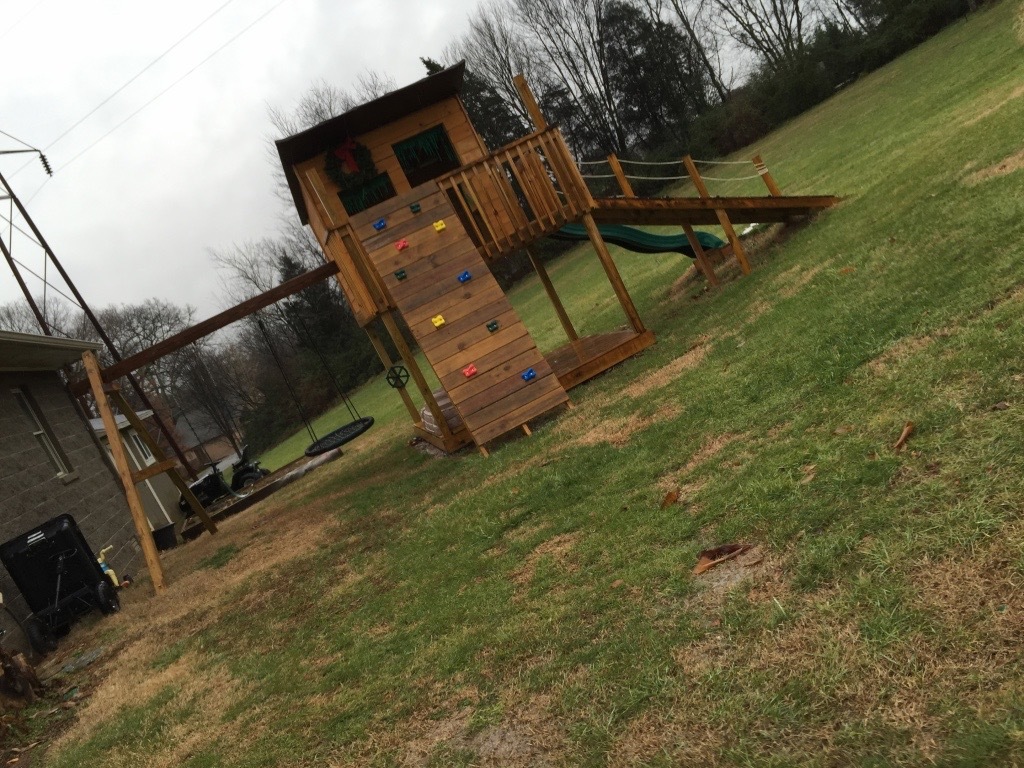
I wanted to build a structure for the kids to play in and on. I used the playhouse deck design and made it 8 feet by 8 feet. The "roof" is removable to provide shade when it's sunny. It's just 2x2 and a tarp - pretty simple, but it does the job. I used treated posts, dog eared fence boards andlots of screws. I stained and built the walls in my garage before assembling it. Once all of the wood at been stained, it came together pretty quickly with the grandkids help...Lol
Tue, 05/05/2020 - 06:43
What is the estimate cost of the entire playhouse with swing?
See more photos and details here https://instagram.com/tom_morgan_nc?igshid=YmMyMTA2M2Y=
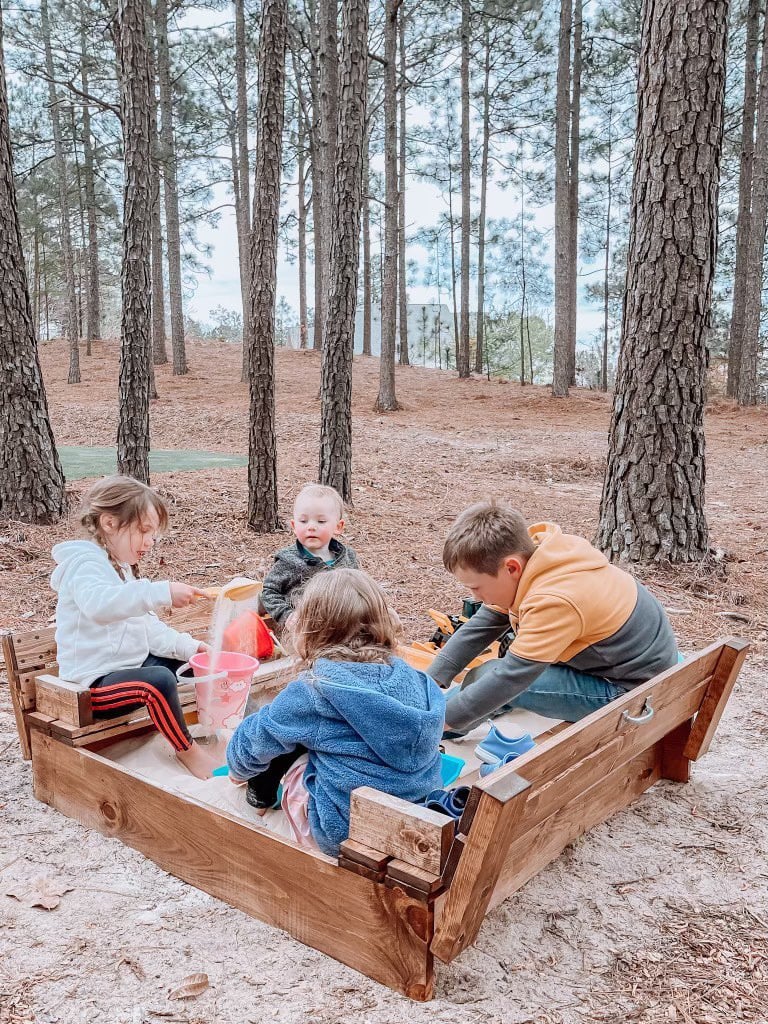
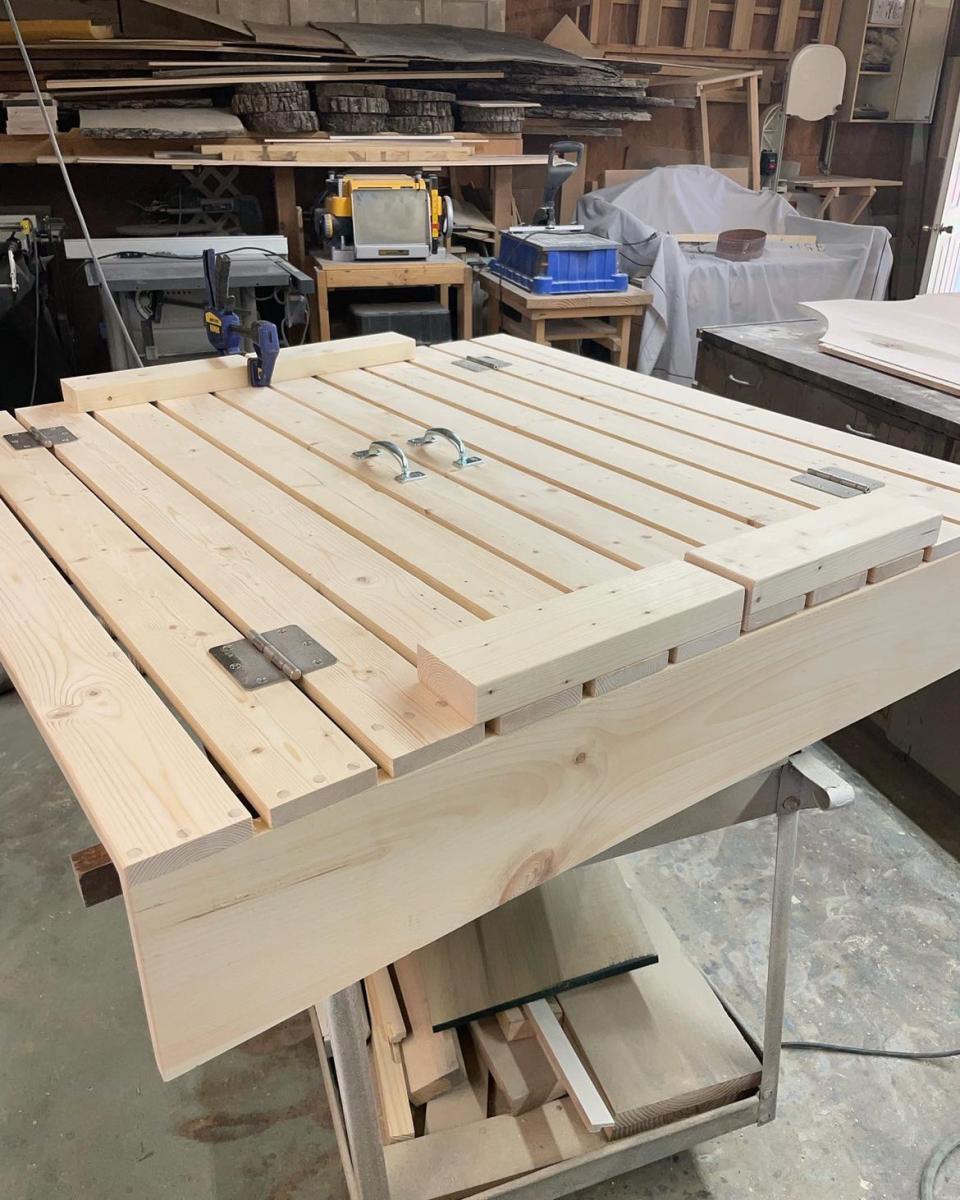
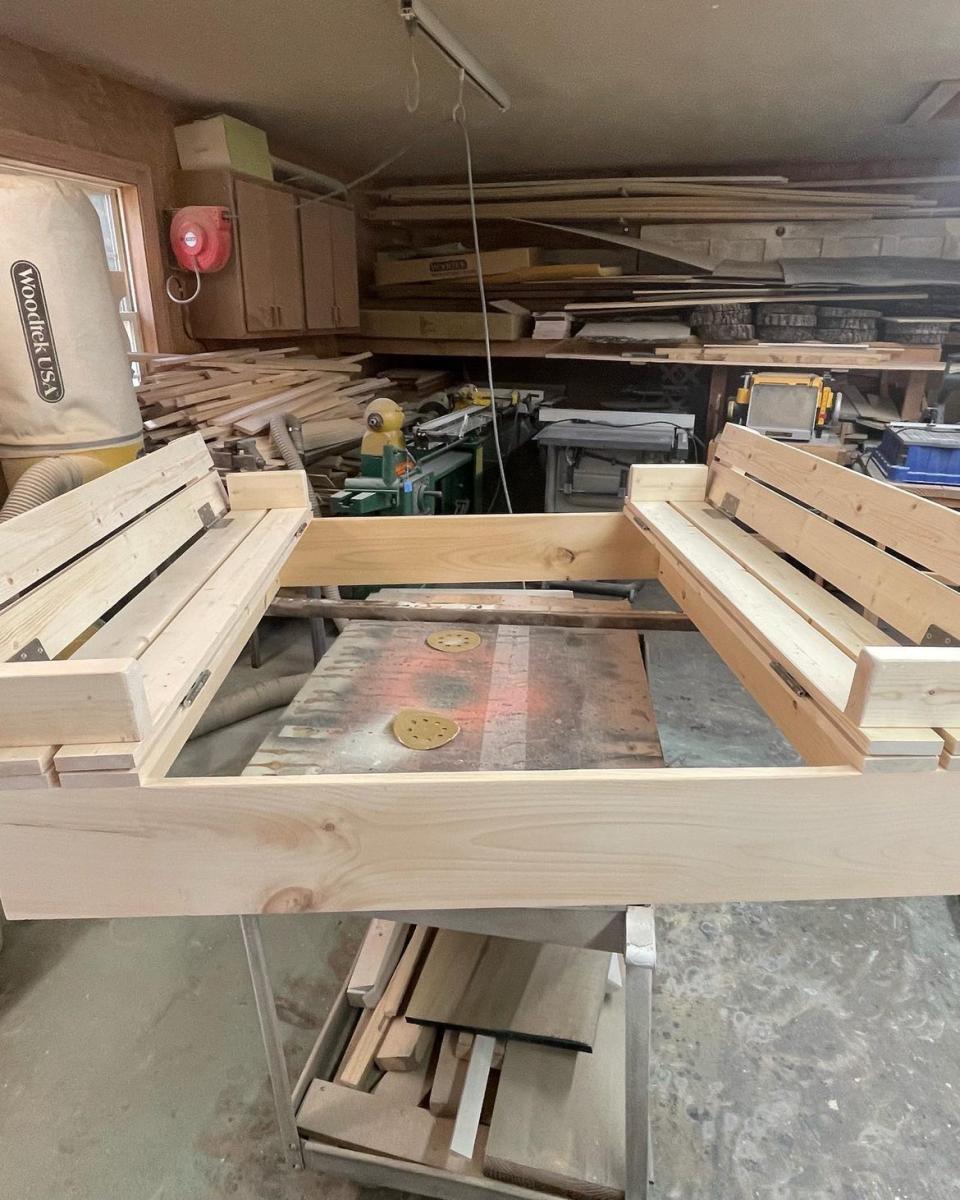
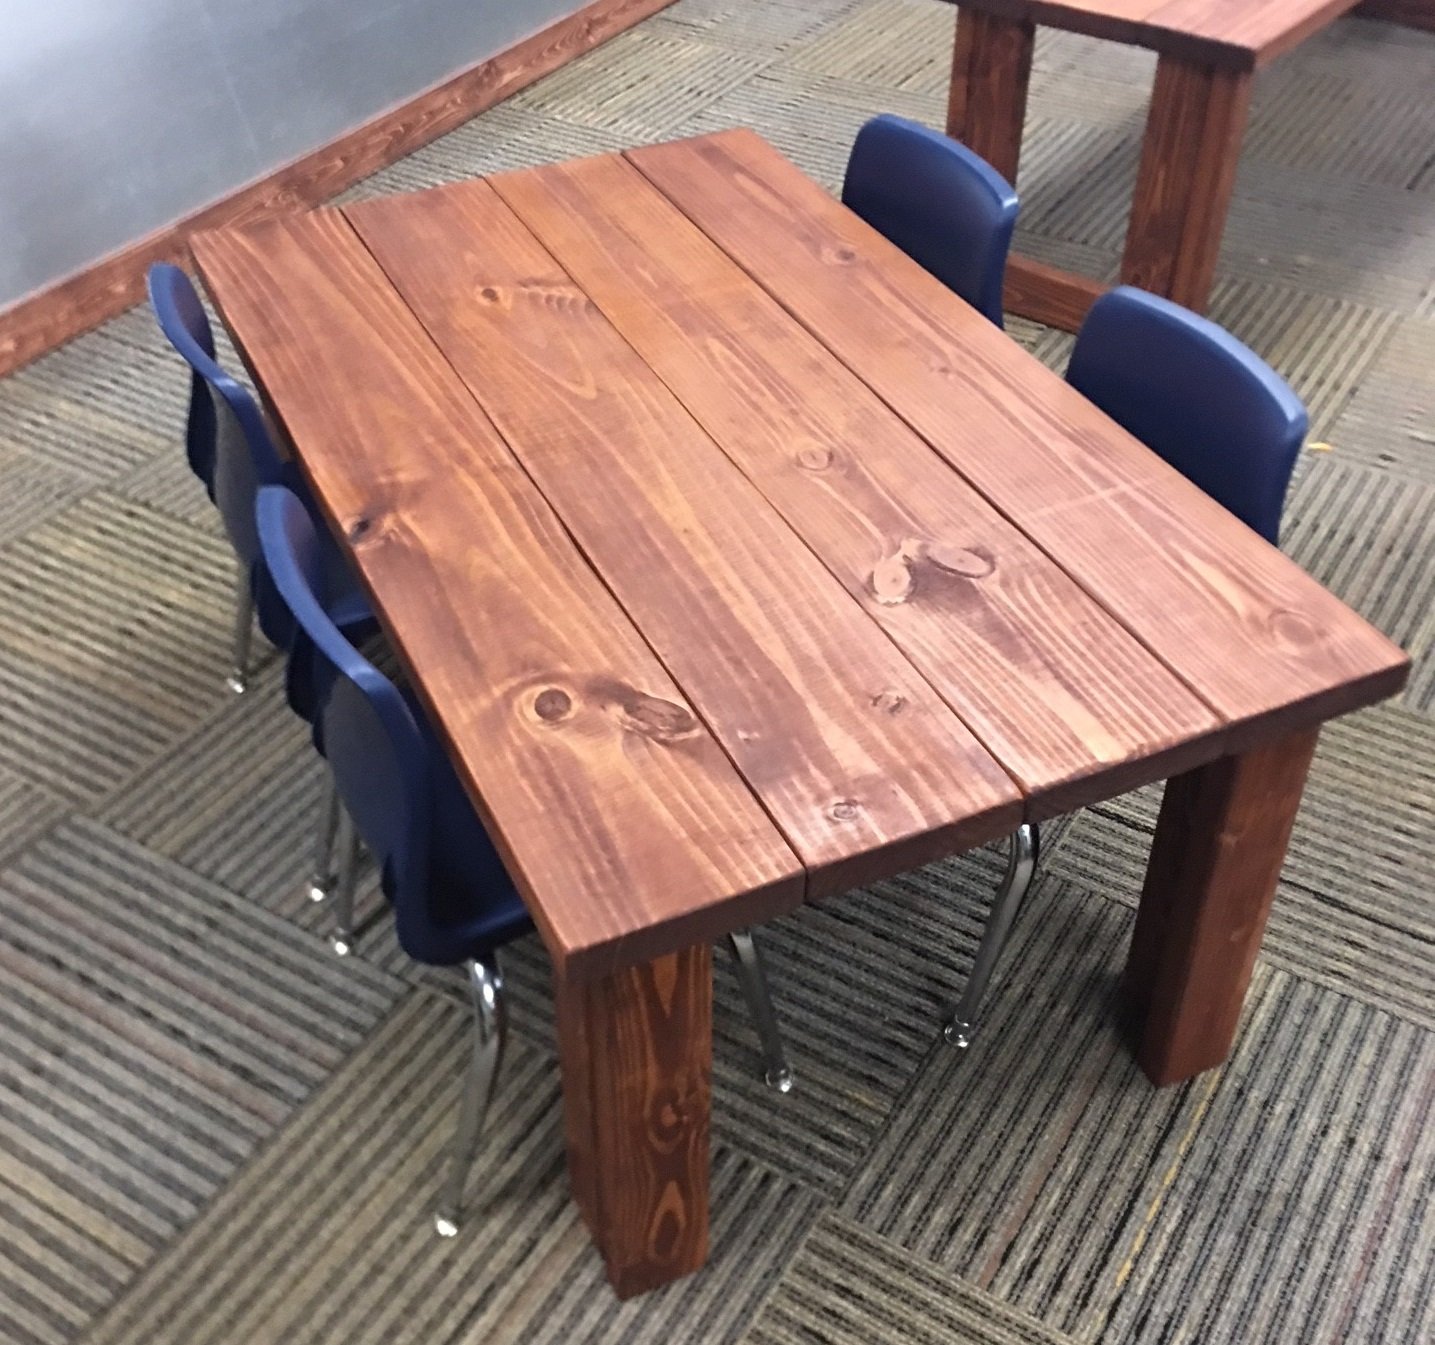
Been a while since I had time to actually build anything worth posting about! My wife wanted some items for her Kindergarten classroom this year, so built several items, most inspired by the Farmhouse family.
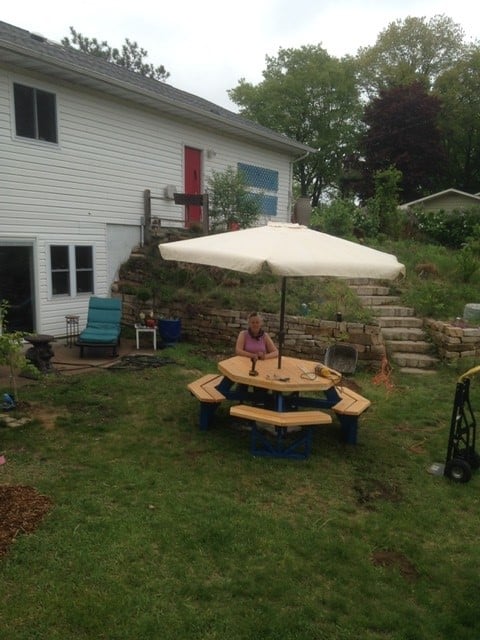
Just completed the Octagon picnic table. I added a couple of features to mine, namely a center hole for an umbrella and support blocks around the center point under the table to lock in the umbrella post on the lower base. Finished it in time to have lunch AND dinner on it today. This took from Monday through Thursday morning for me, but some of that time was me waiting for supplies along the way. In reality, I think this can be built in one day, with paint/stain curing overnight and final set up on the morning of day two.

Modified the plan to use 2x2 with pocket screws to support the shelves.
Shelves were made edge glued board from Lowes https://www.lowes.com/pd/Common-1-in-x-24-in-x-4-ft-Actual-1-in-x-23-25…

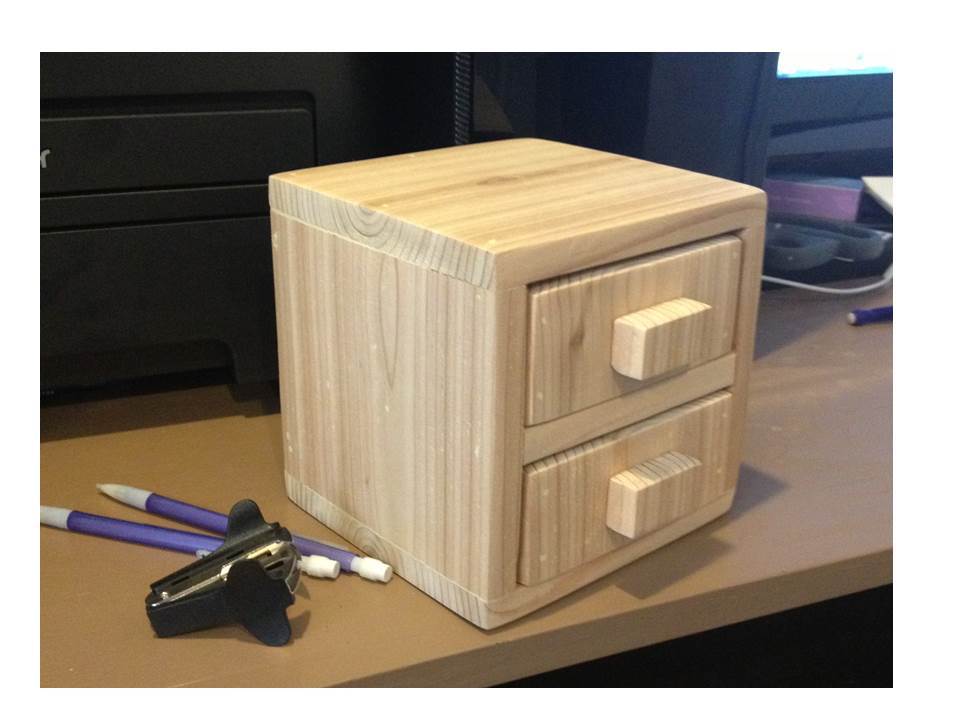
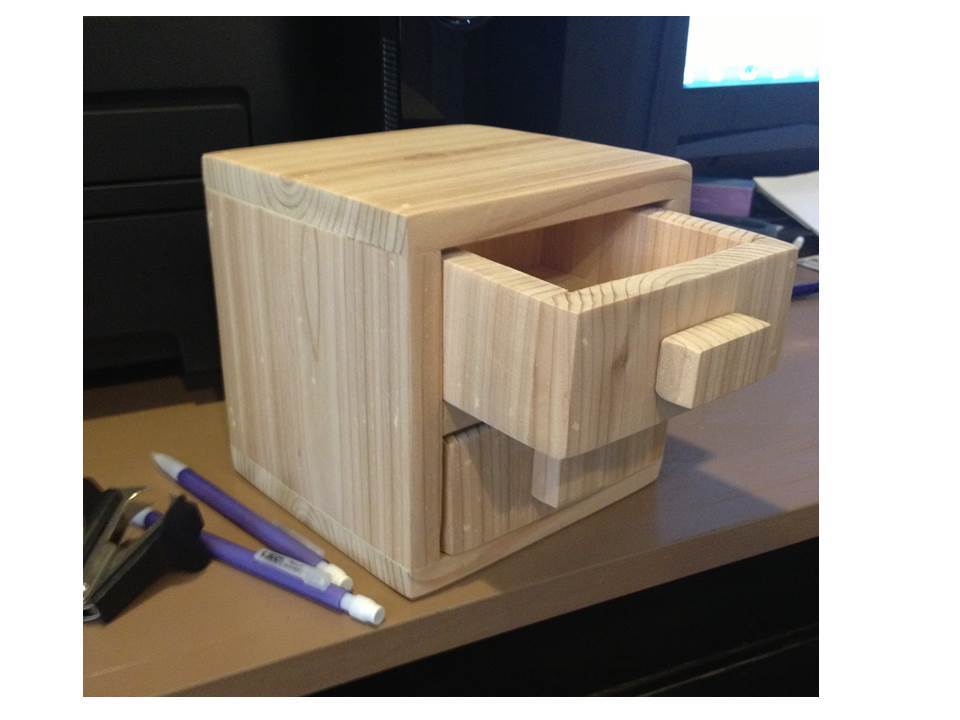
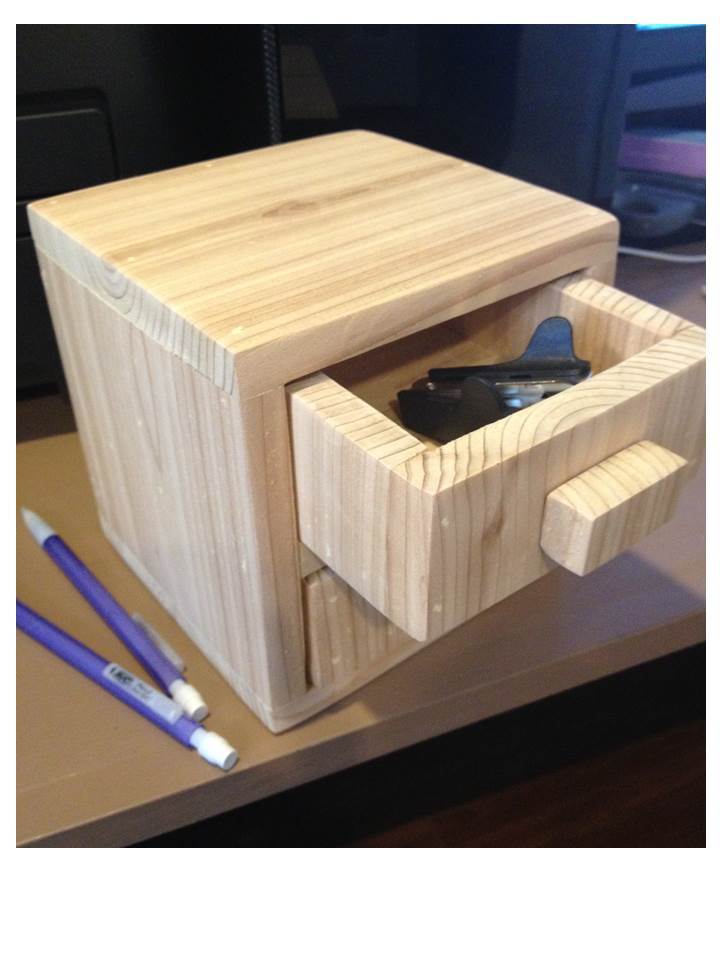
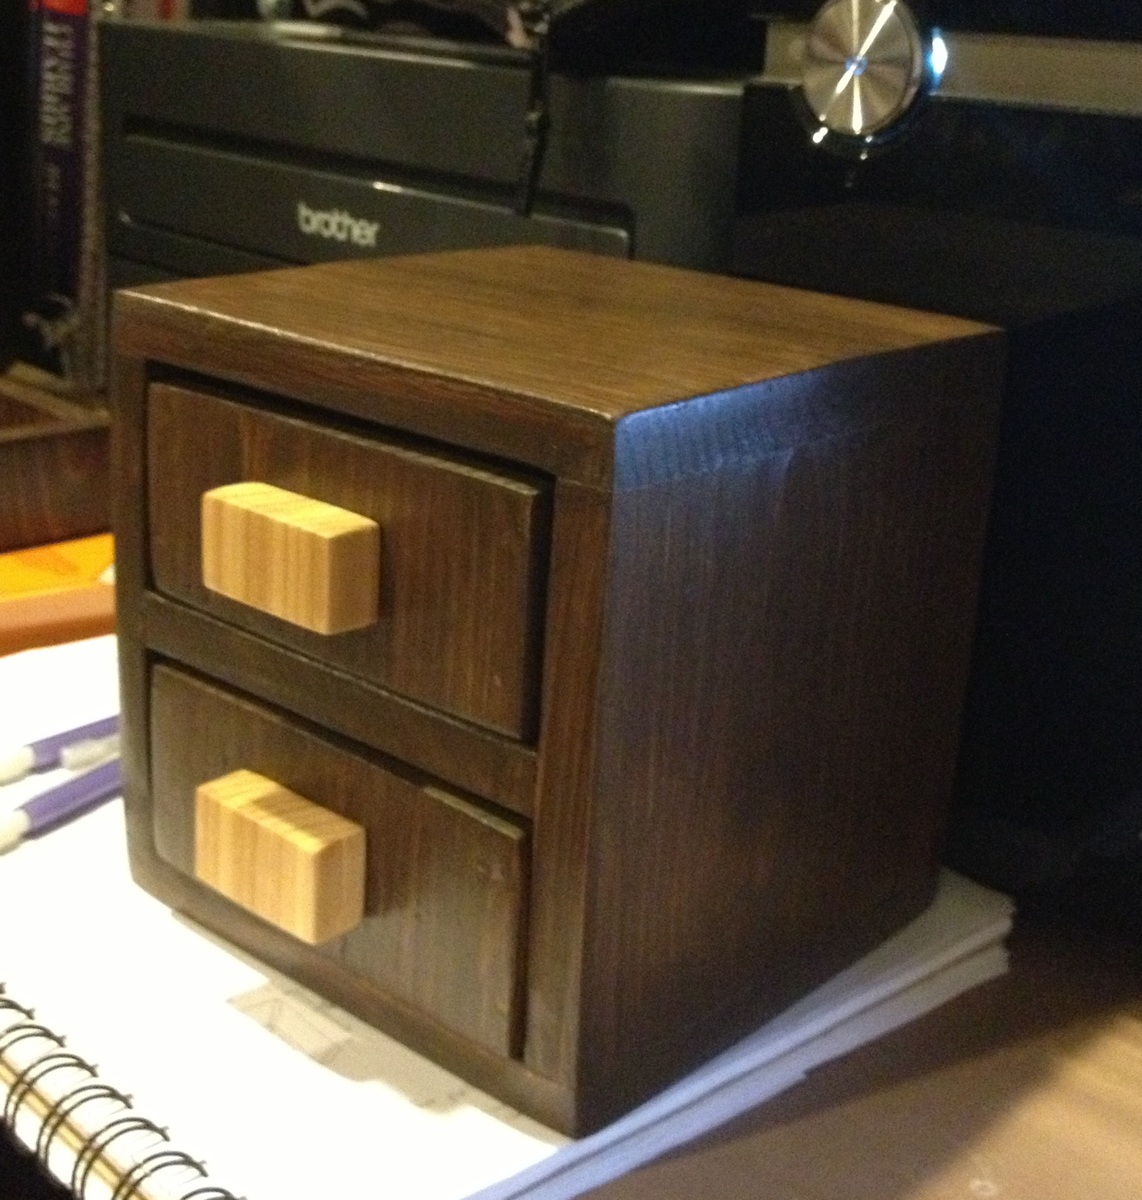
This is the prototype build for the Cedar 2-drawer desktop storage cube. It is made from 1 piece of ½” x 5 ½” x 6’ fence picket, about $3 for wood. I had based this plan on a board that is ½” thick and 5 ½” wide, and had identified areas in the plan where you’ll want to measure and cut as you build. I found this especially important on the prototype build, since it turned out the picket I bought was 5 3/8” wide, which affected the depth of the shelf, length of the drawer sides, and the size of the drawer bottom. Measuring and trimming as you go gives the best fit for all the pieces. Probably the most helpful thing besides keeping the measuring tape handy, was some 60-grit sandpaper. After everything was assembled, I used 60-grit sandpaper with my palm sander to sand down any high spots caused by cupping, to get the outsides nice and smooth. Followed up with some 220-grit for a nice smooth final sand. The pulls are some ¾” x 1 ½” pieces of the cedar, sanded well on all sides. I just cut these from the scraps, and they are glued on. You can use regular knobs or pulls if you like. You may need a shorter screw or a ¼” spacer, since the drawer face is only ½” thick. The screws for regular knobs are normally sized for a ¾” thick door or drawer face. This build took about 3 hours. Finishing time will depend on the type of finish used. My words of advice for building this would be: Take your time measuring. Measure twice before cutting. Sand thoroughly. Have fun!
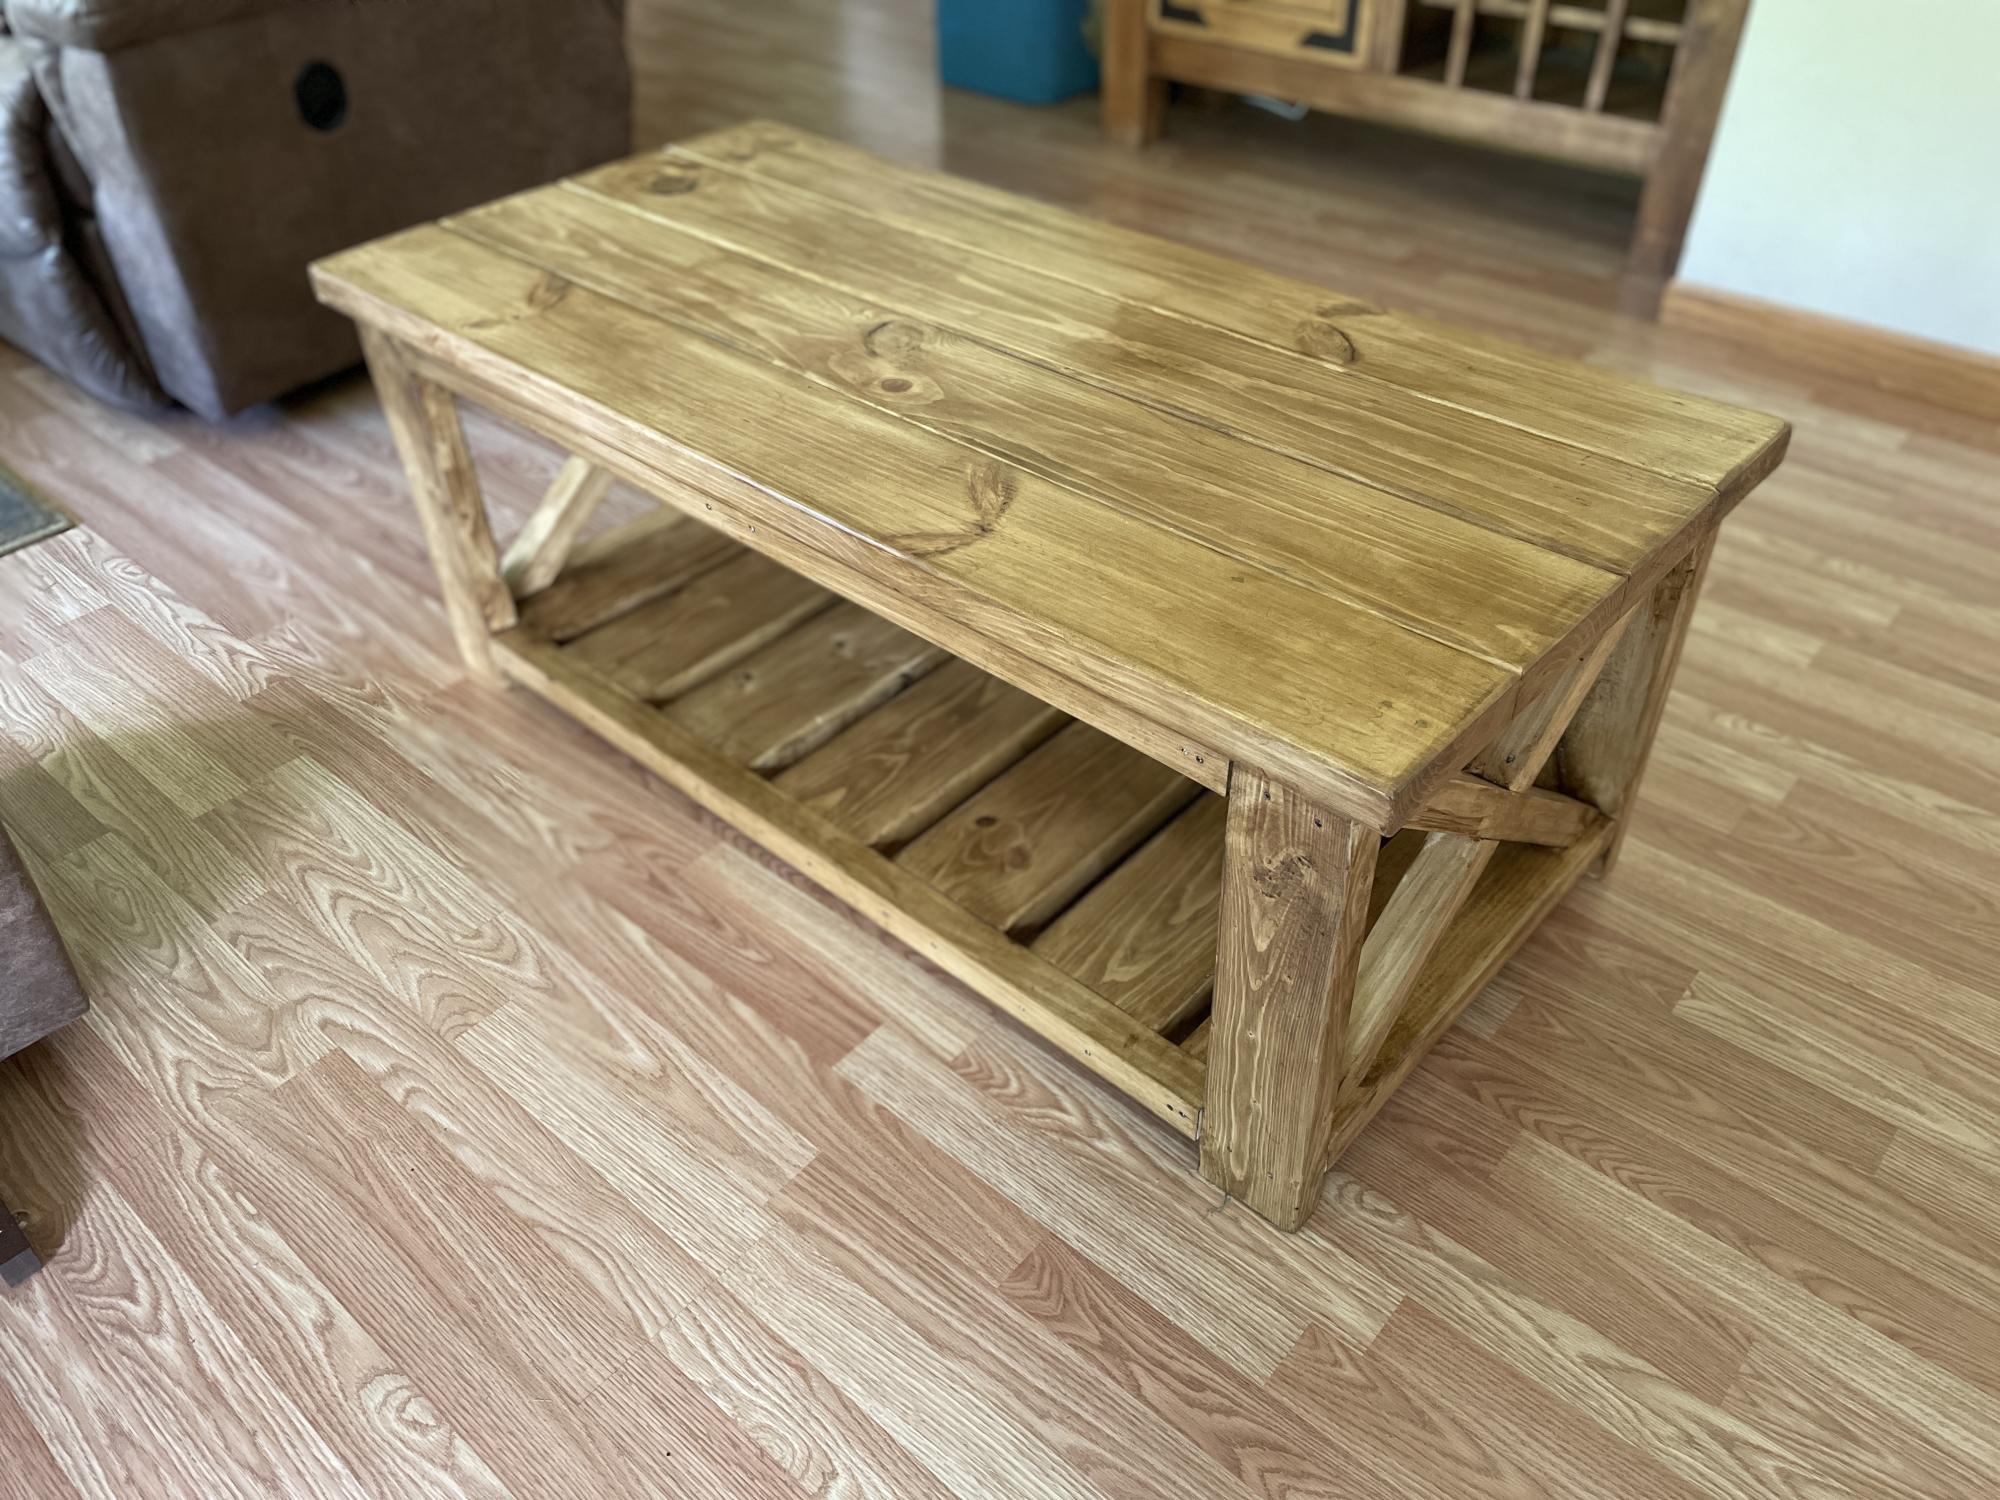
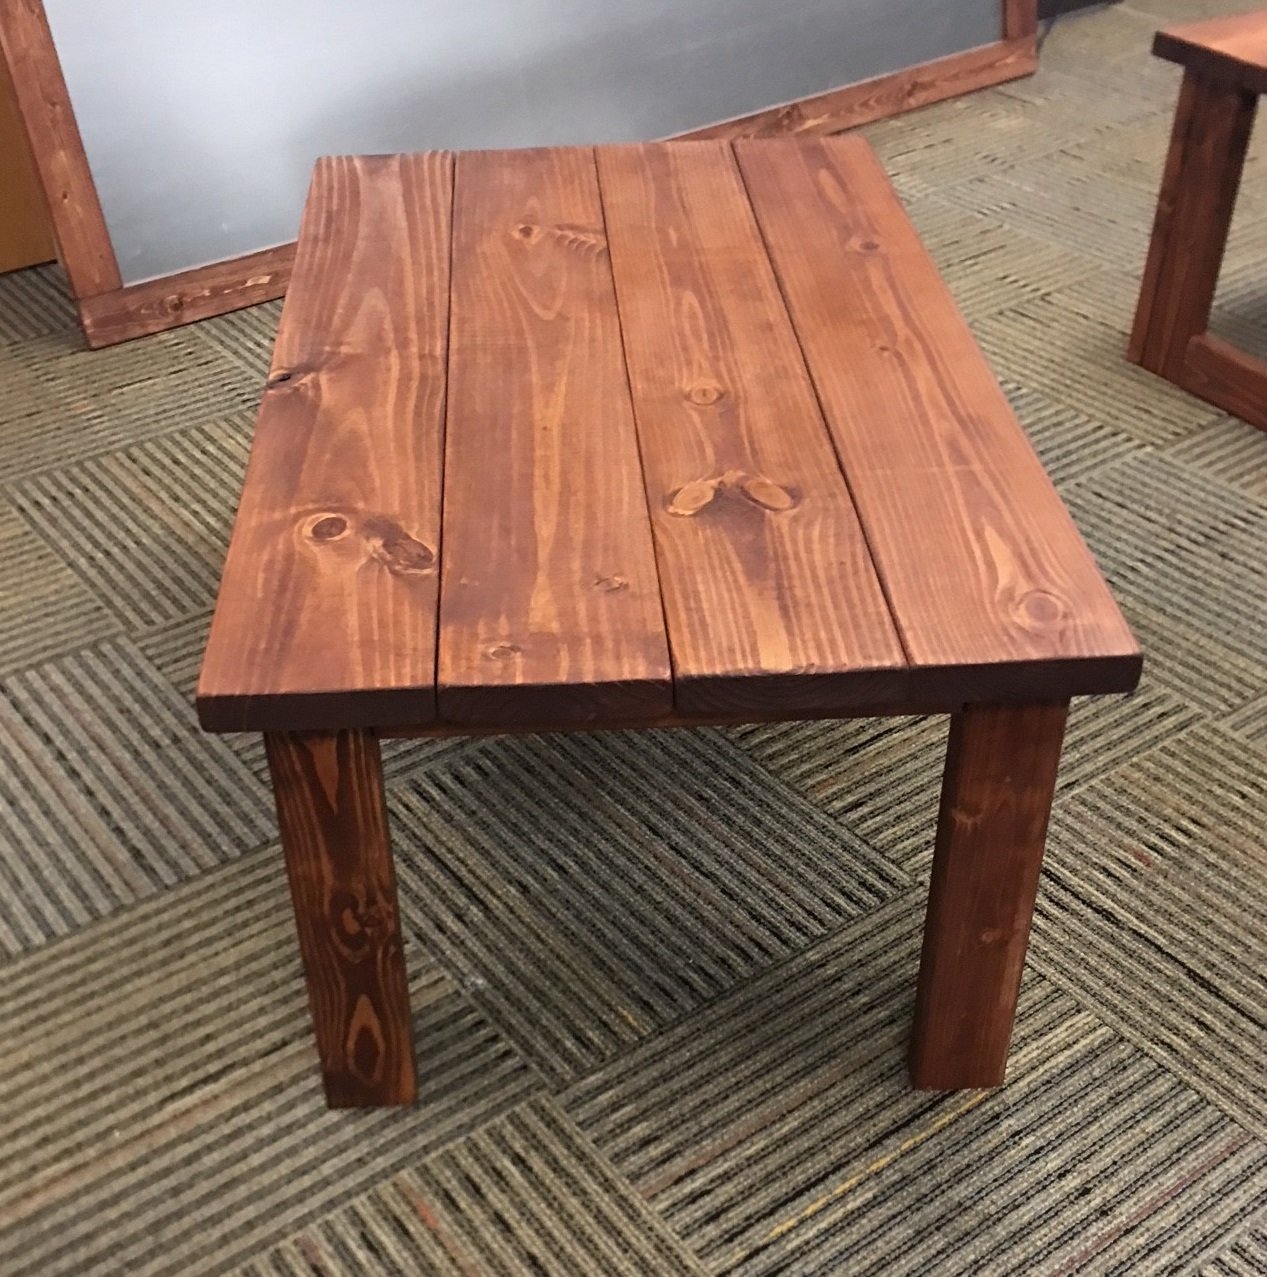
My daughter and her room mate were looking for coffee table that is small enough for their dorm and able to store items underneath.
This plan was easy to follow and I completed it within a weekend. I even took the pocket hole suggestion for the table top.
The Golden Oak stain looks great on the 2x6xs. I added two coats of polyurethane to make that top as smooth as glass.

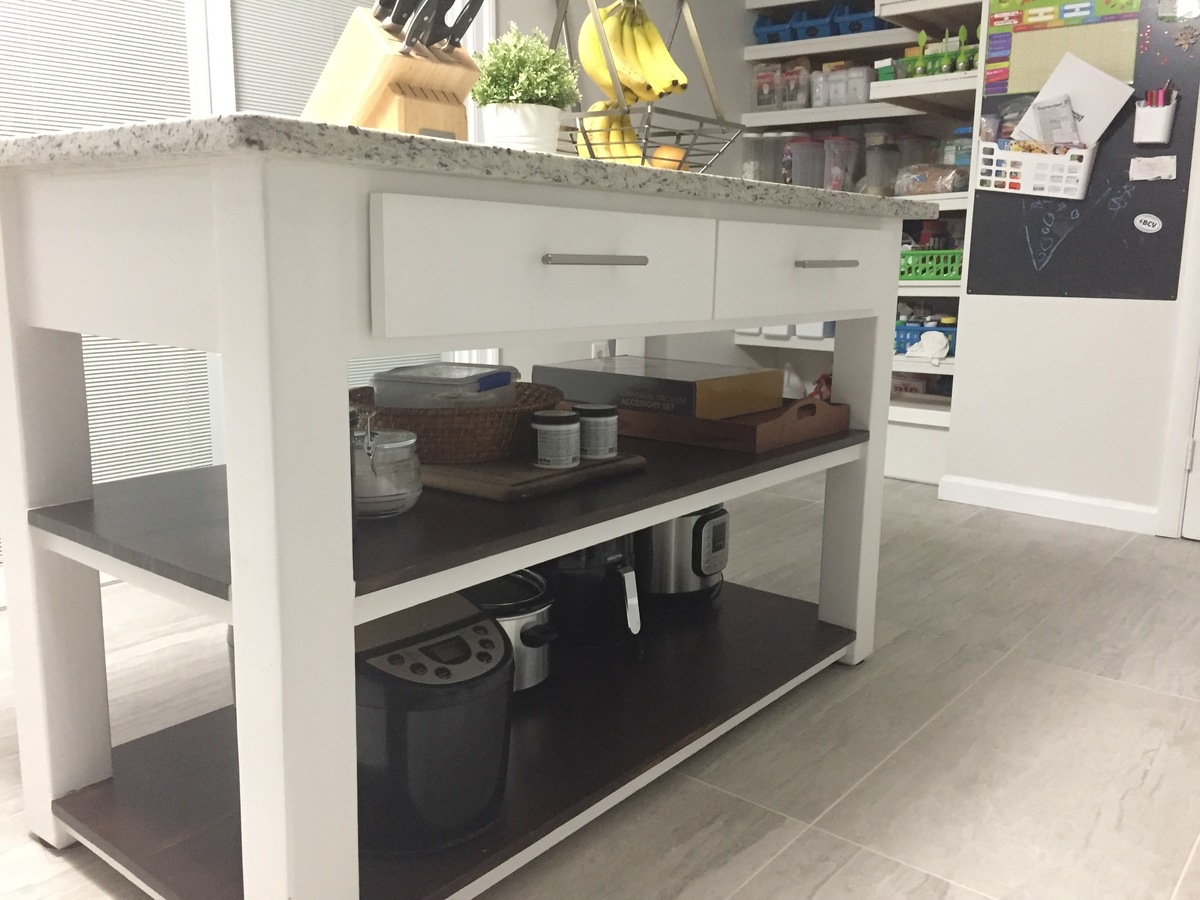
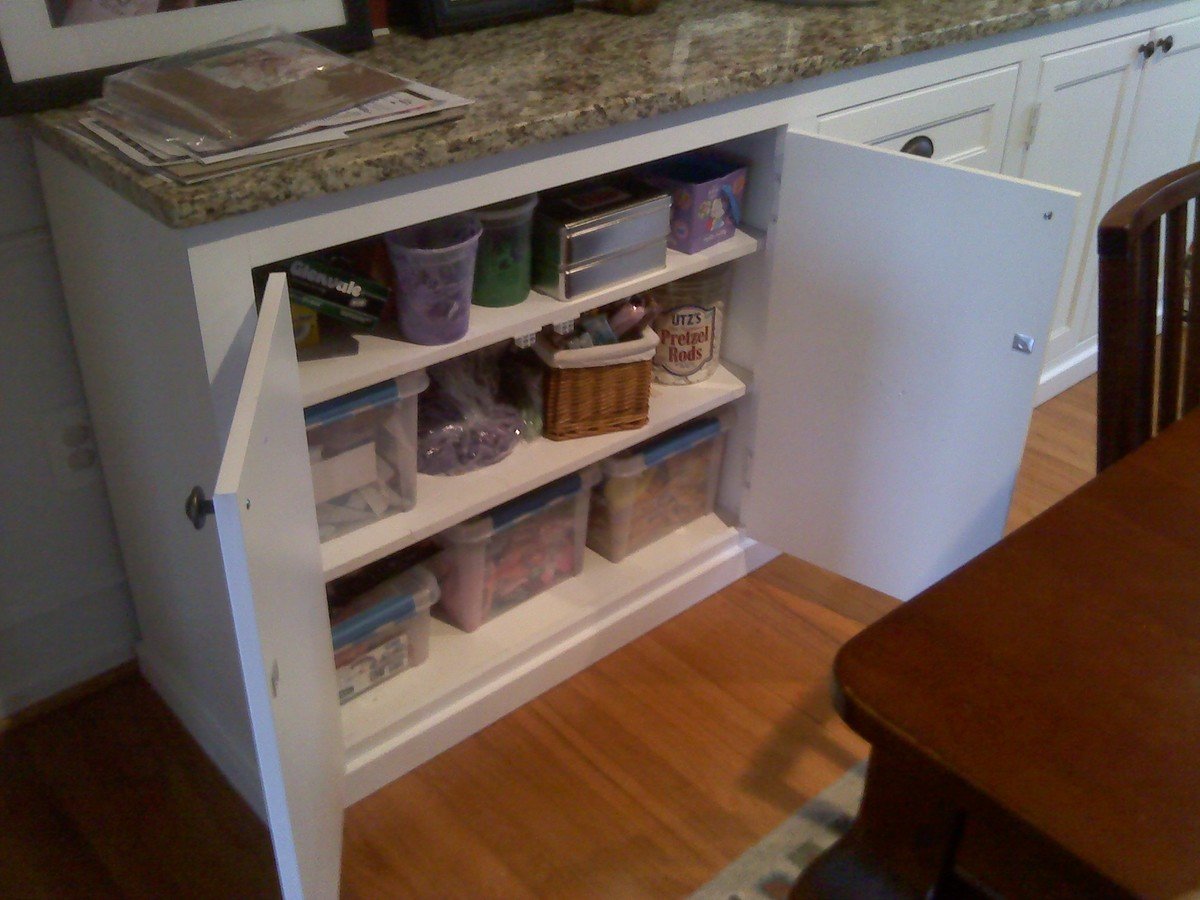
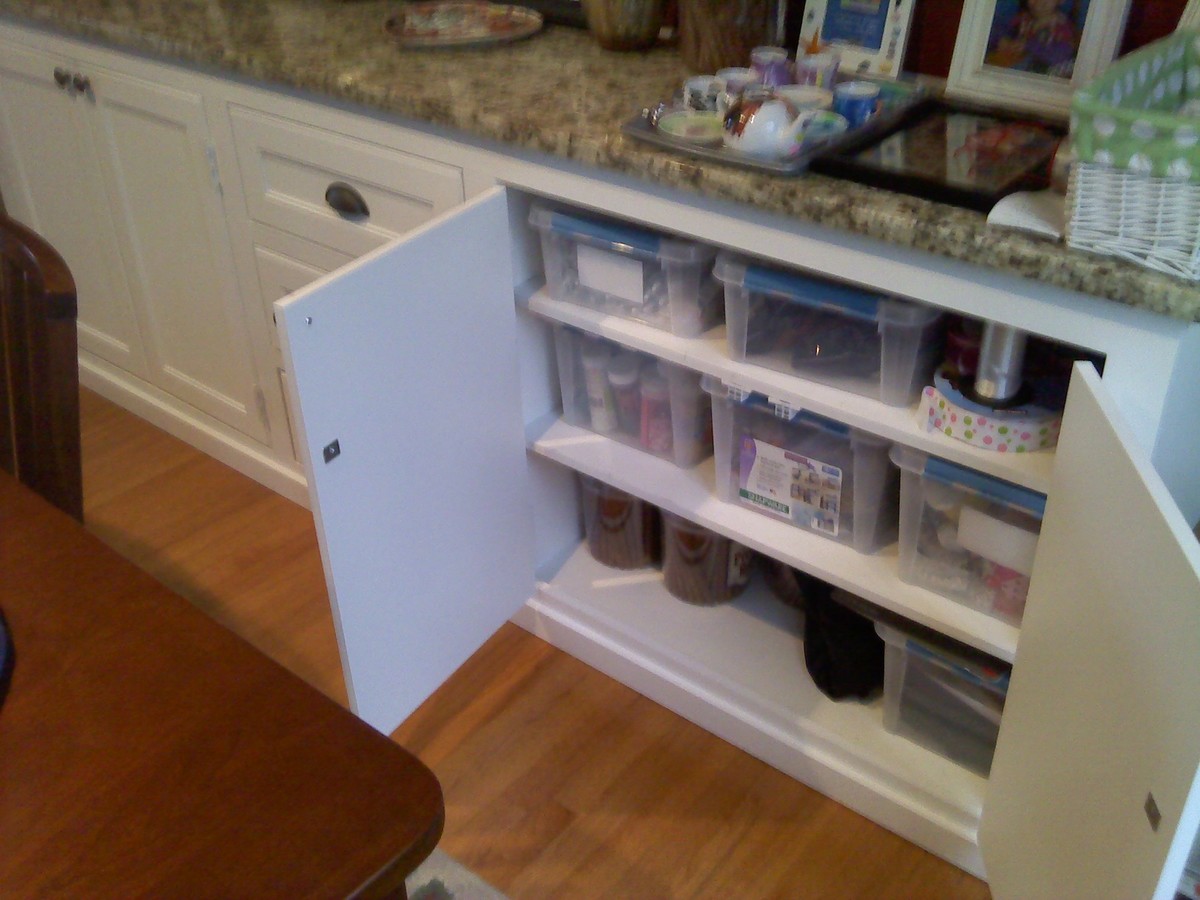
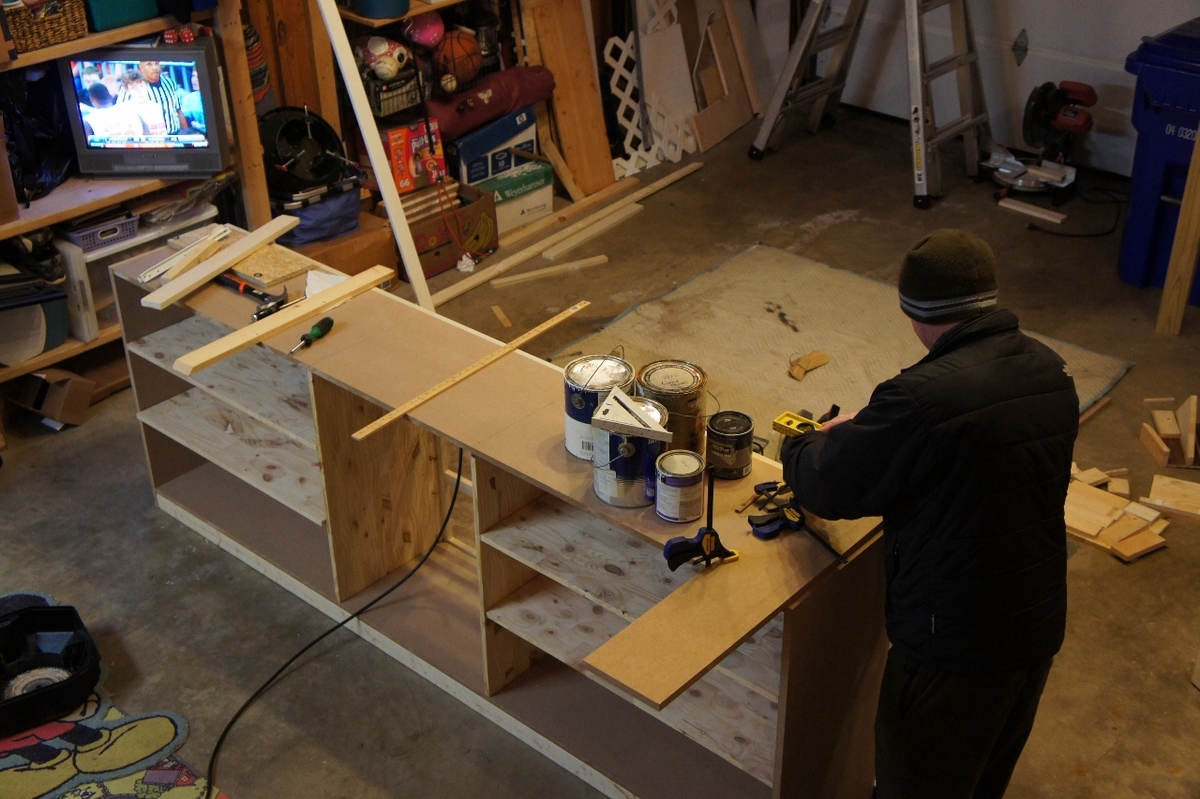
I scoured the web unsuccessfully for months trying to find a cabinet big enough to store everything we needed to store. I wanted something huge and bright and simple, and so I decided to just build away. It's 8'4" long, 18" deep and 36" tall. Topped with a slab of Giallo Napoleon granite and painted a nice plain white. Took me only a few nights to build and paint, thanks to my power nailer and power paint sprayer. Thanks to a great deal on a remnant granite slab, this was just about $400 total start to finish. I winged the entire plan and didn't really use any plans in particular, though I have gathered many great ideas and tips from this site.

Sat, 08/13/2011 - 14:51
Wow - looks great! You would think it was done by a pro! You should be very proud of your finished product.
Tue, 12/04/2018 - 06:43
Trying to find cabinets like this. Did you buy them or build them?
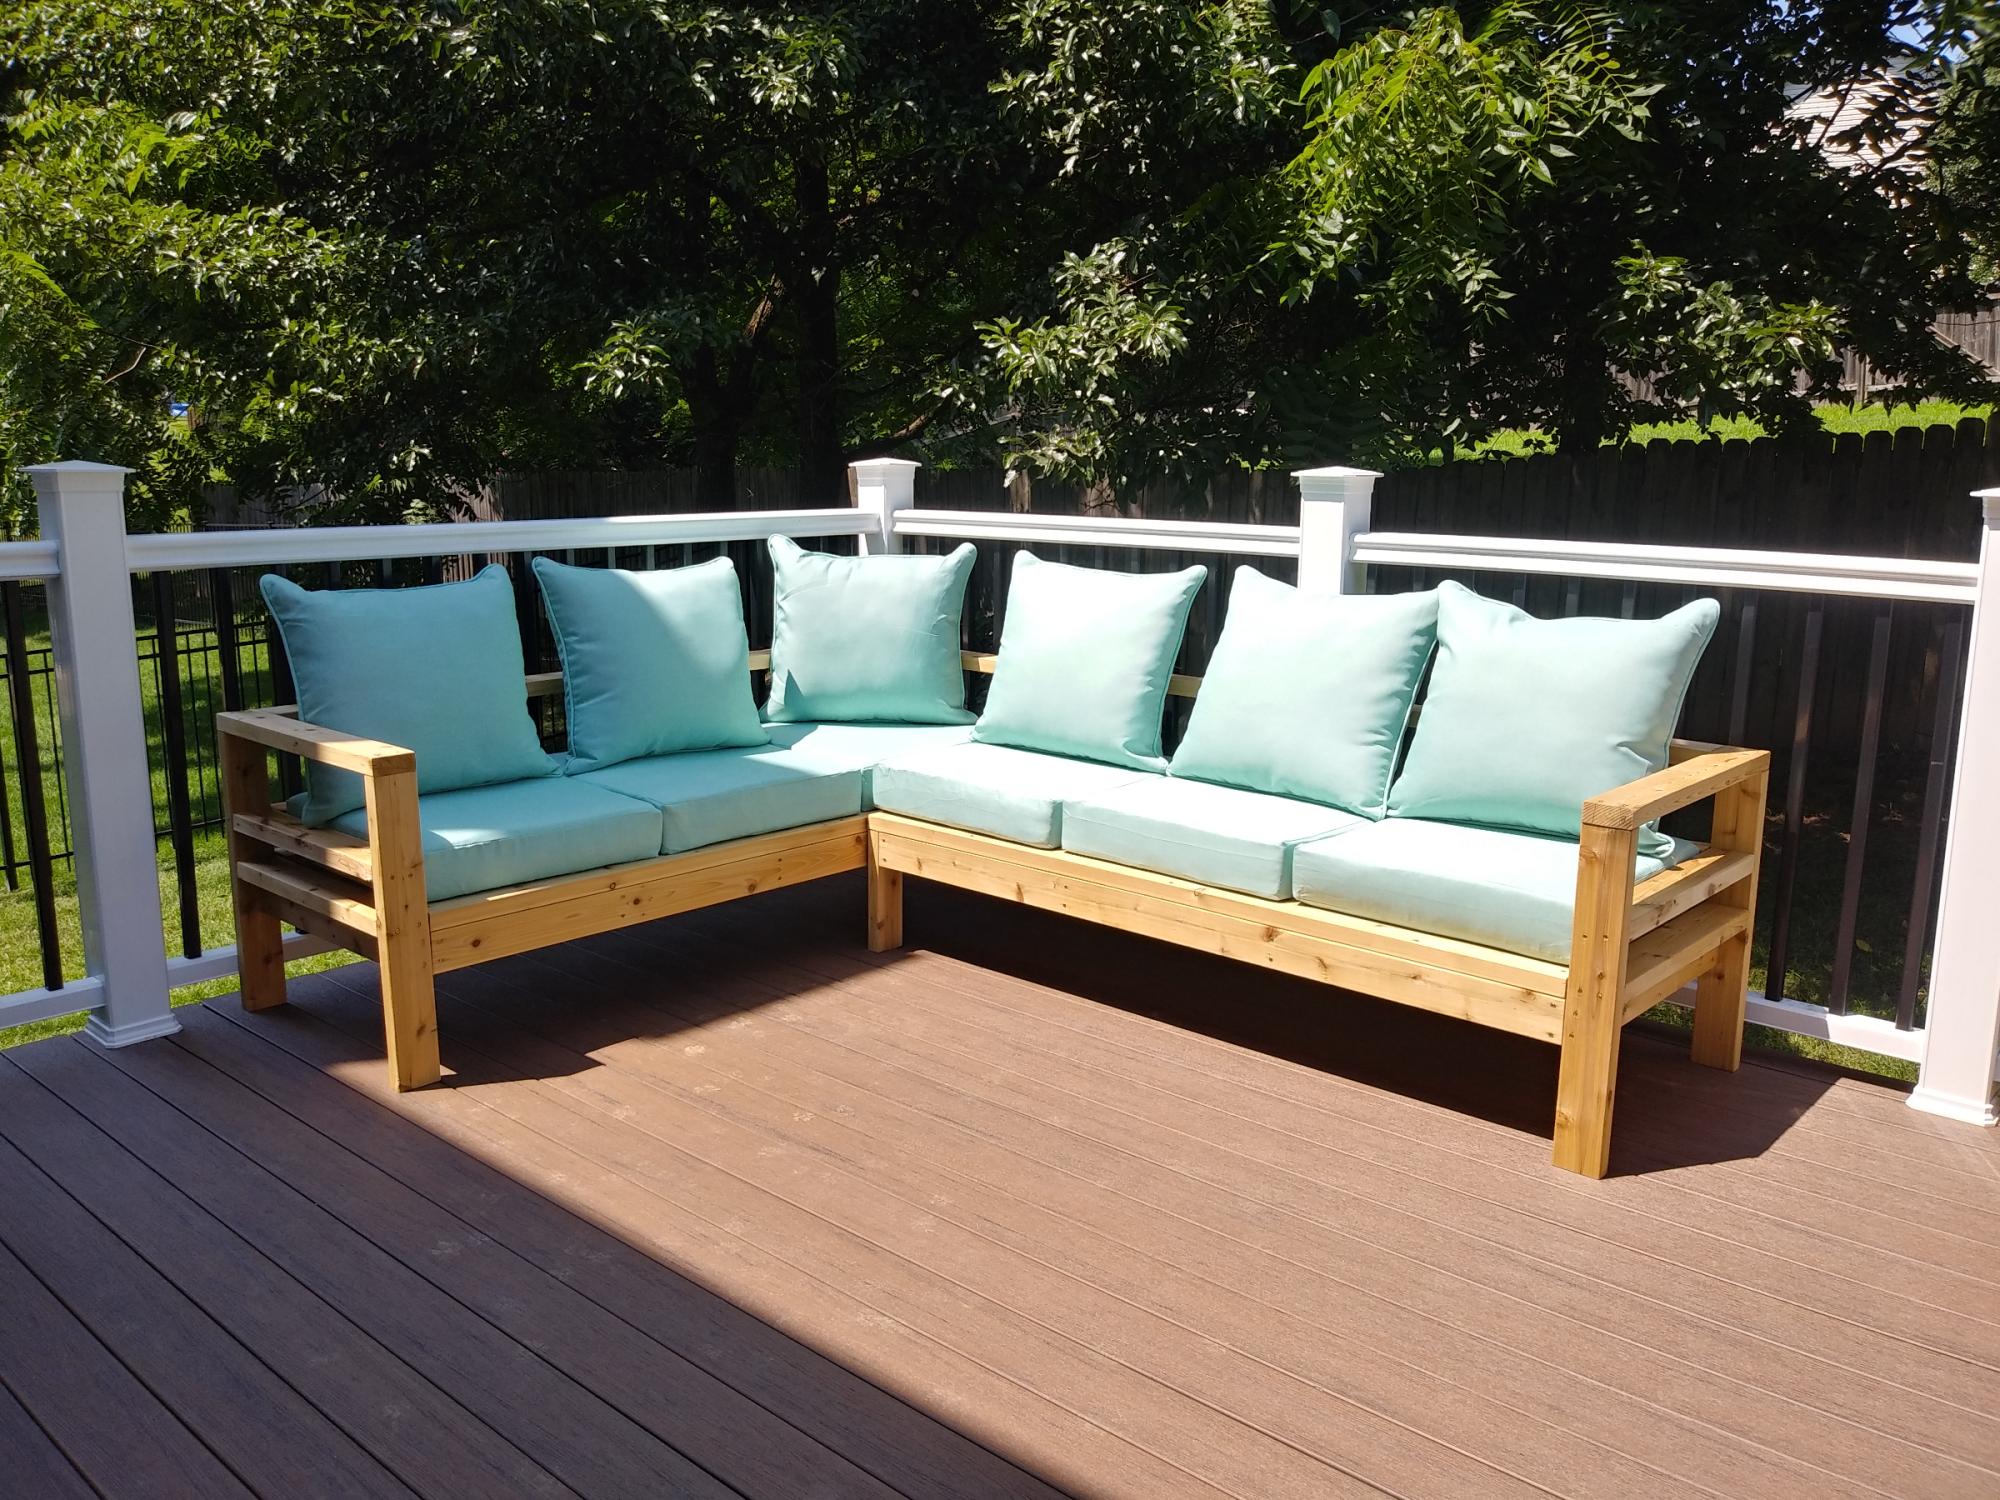
After we built our deck we needed furniture...so I headed to see what projects Ana White had. These benches were so easy and quick to build and look great on our deck!
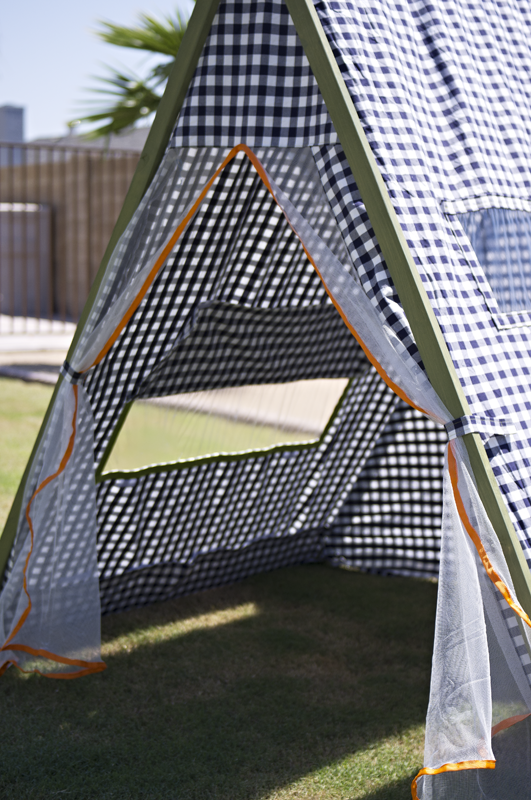
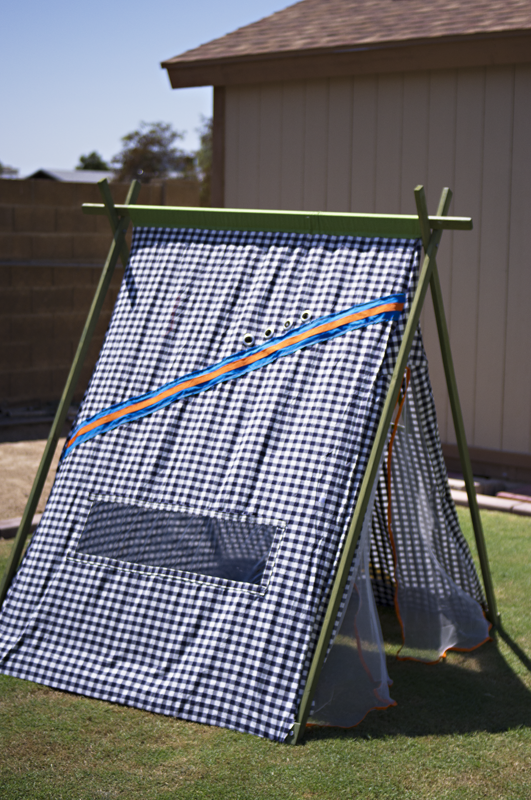
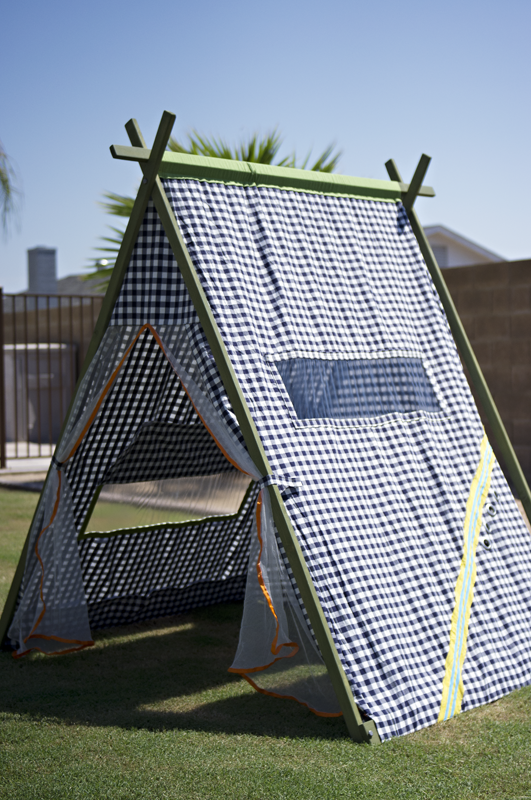
I made this for my boy who's turning four tomorrow! (Sep 1st) He loves building forts and I don't mind rearranging the furniture, but set up and clean up is so time consuming, we'd both rather spend more time playing. This is an indoor tent, but I took it outside for pictures. Aside from the obvious difference of adding doors and a back, the changes I made from the original plans are: using an 8 foot 1x3 so the tent is 4 feet deep instead of 3. Instead of stapling the fabric on the 1x3s at the bottom, I wrapped the fabric around and used velcro so I could remove it for washing. I sewed a tube of fabric and attached it at the top to make removal easier. Time Investment is so long because of the sewing involved for the tent. If you have an Ikea near you, they've got this stuff called glaze paint (more of a stain, I think) in all different colors - it doesn't need a top coat (unless you want it shiny), it's solvent free and, are you ready? $6 for 12.something ounces, MORE than enough for this project. To make it even easier if you're using fabric instead of curtains like me and you've got the room, cut a 8ft 1x3 in half so you've got two 4ft pieces. Most quilting cotton at fabric stores is 44-45 inches wide selvedge to selvedge (the ends that don't fray) and if you follow the plan according to where to drill for the top bolt, you'll need 4-4.25 yards of fabric, depending on whether you are going to use velcro or staple. I would use 4.25 if using velcro, the fabric can go right over the top bar and over the other side if you don't want to sew a tube like I did. If you don't want to sew at all, use iron-on hem tape on the cut edges and iron on velcro. Make sure of placement of the velcro before ironing on. More pictures on my blog =)
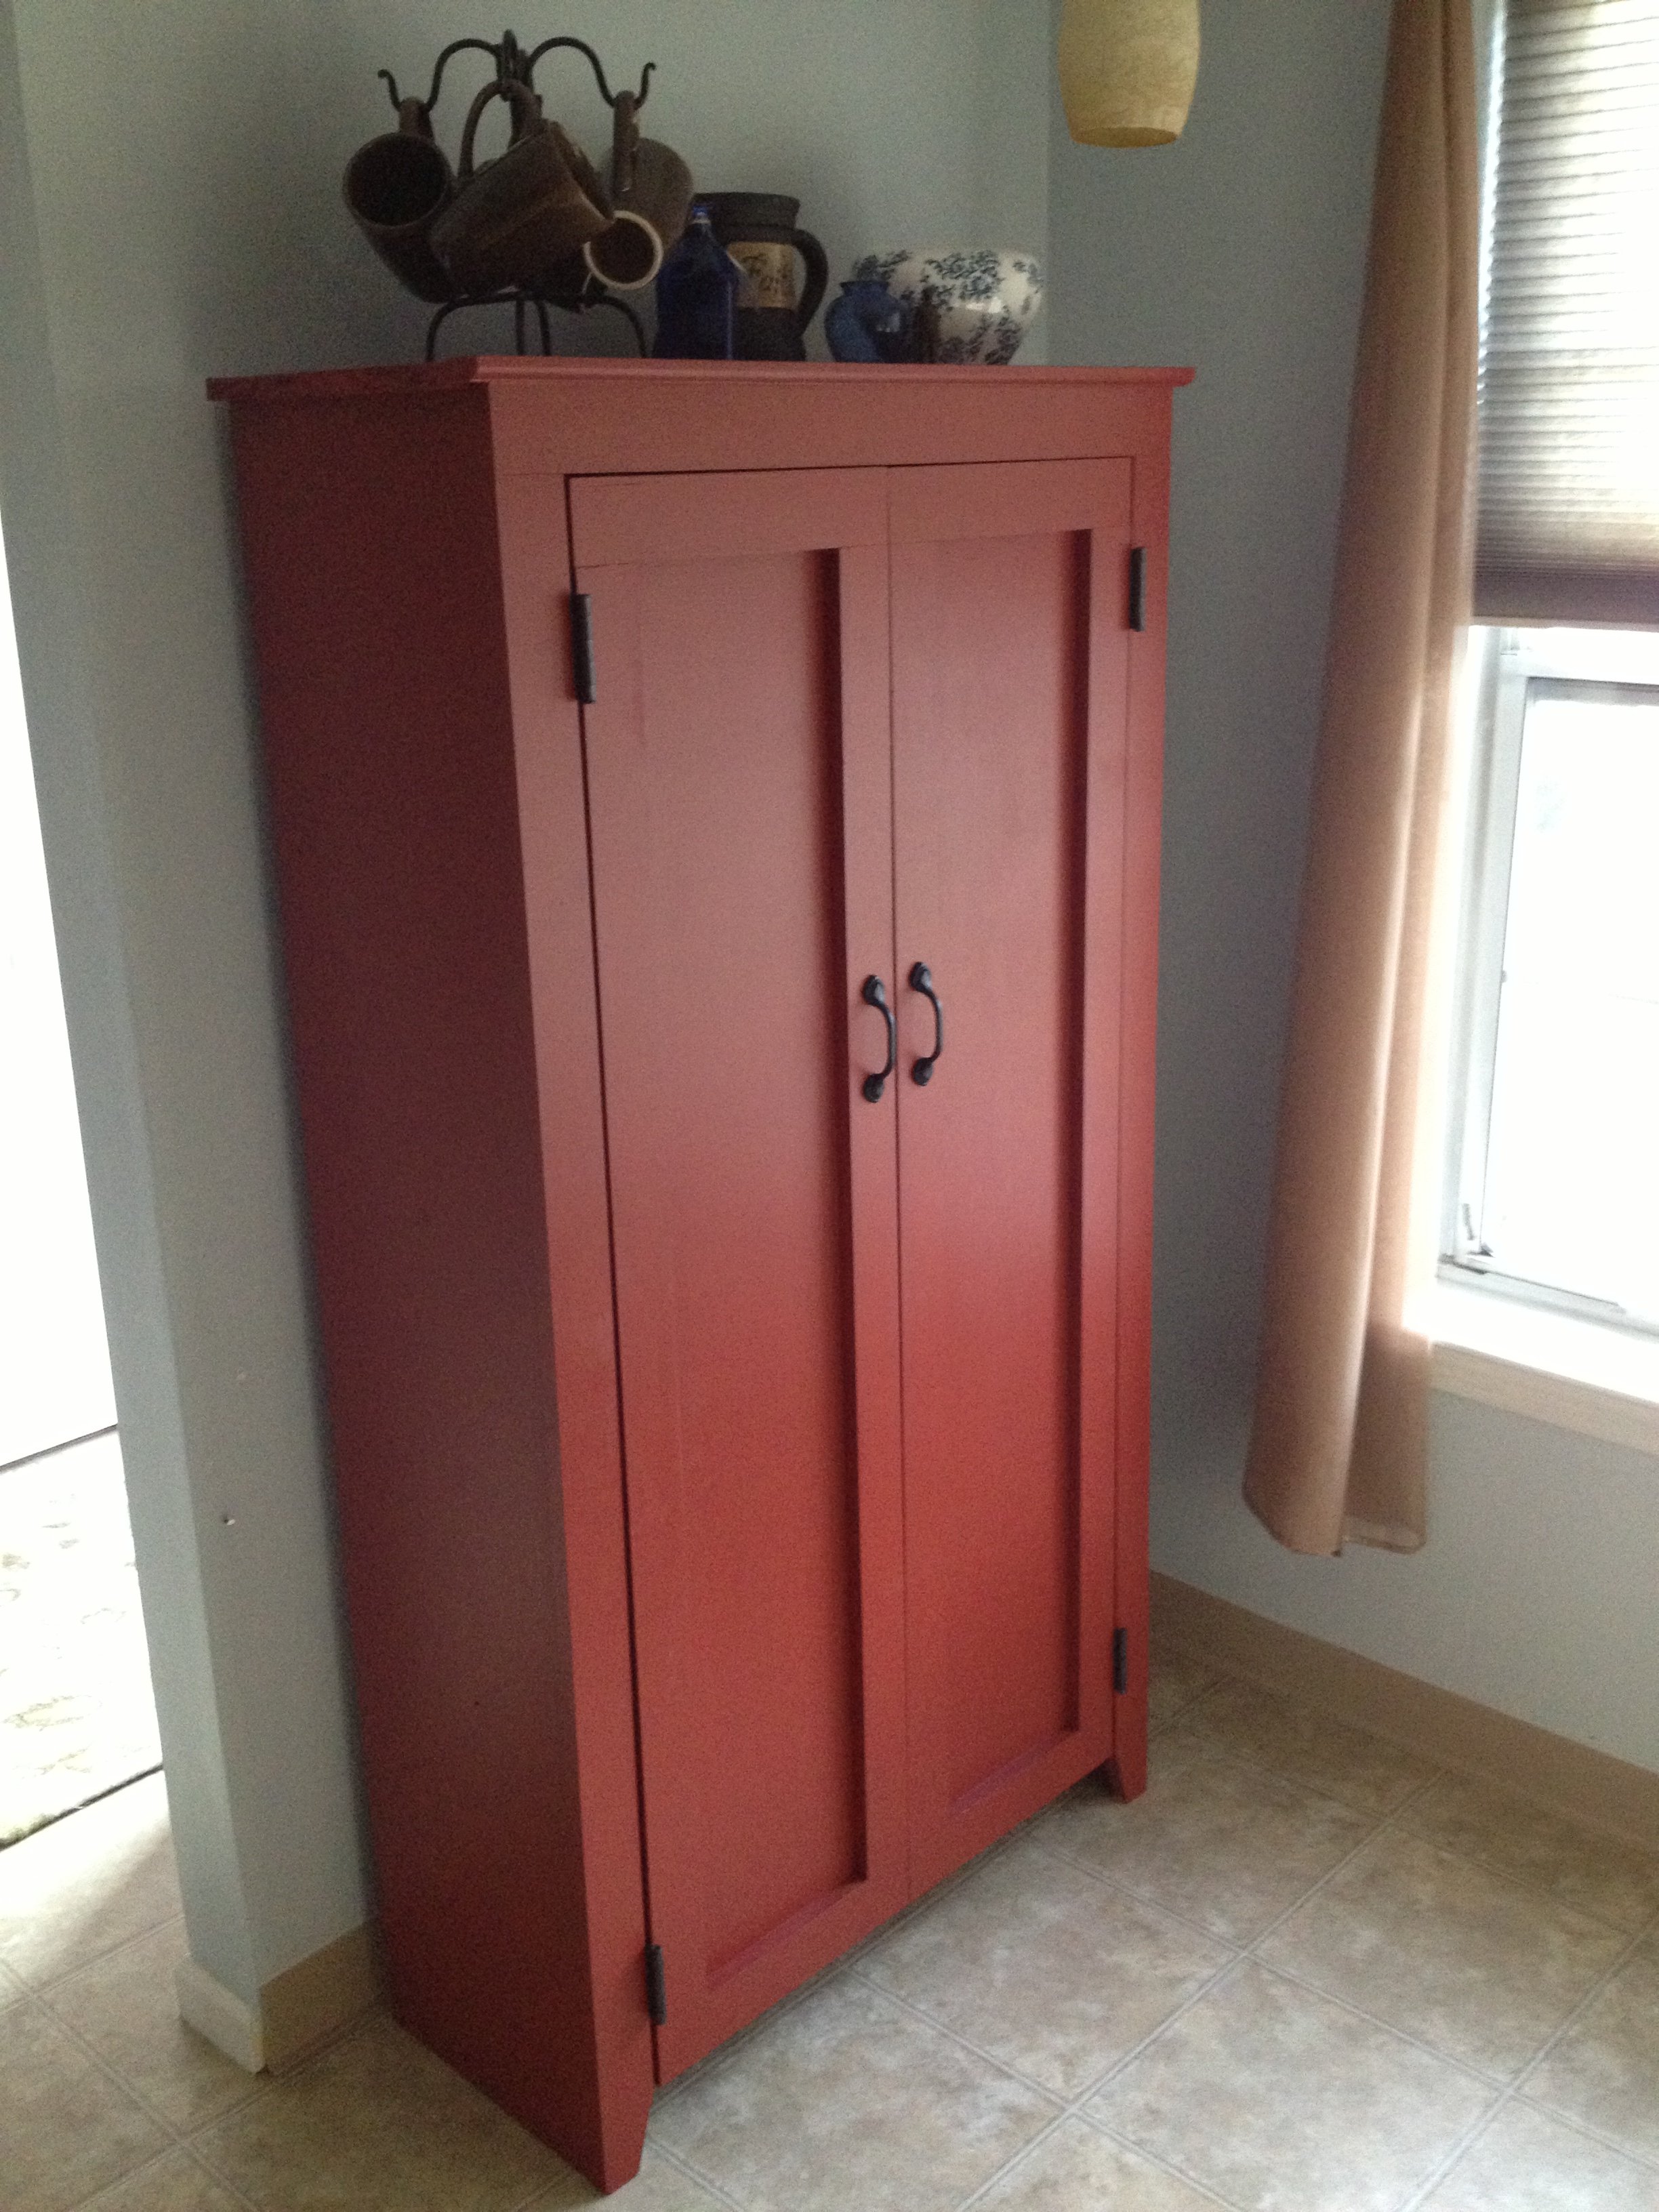
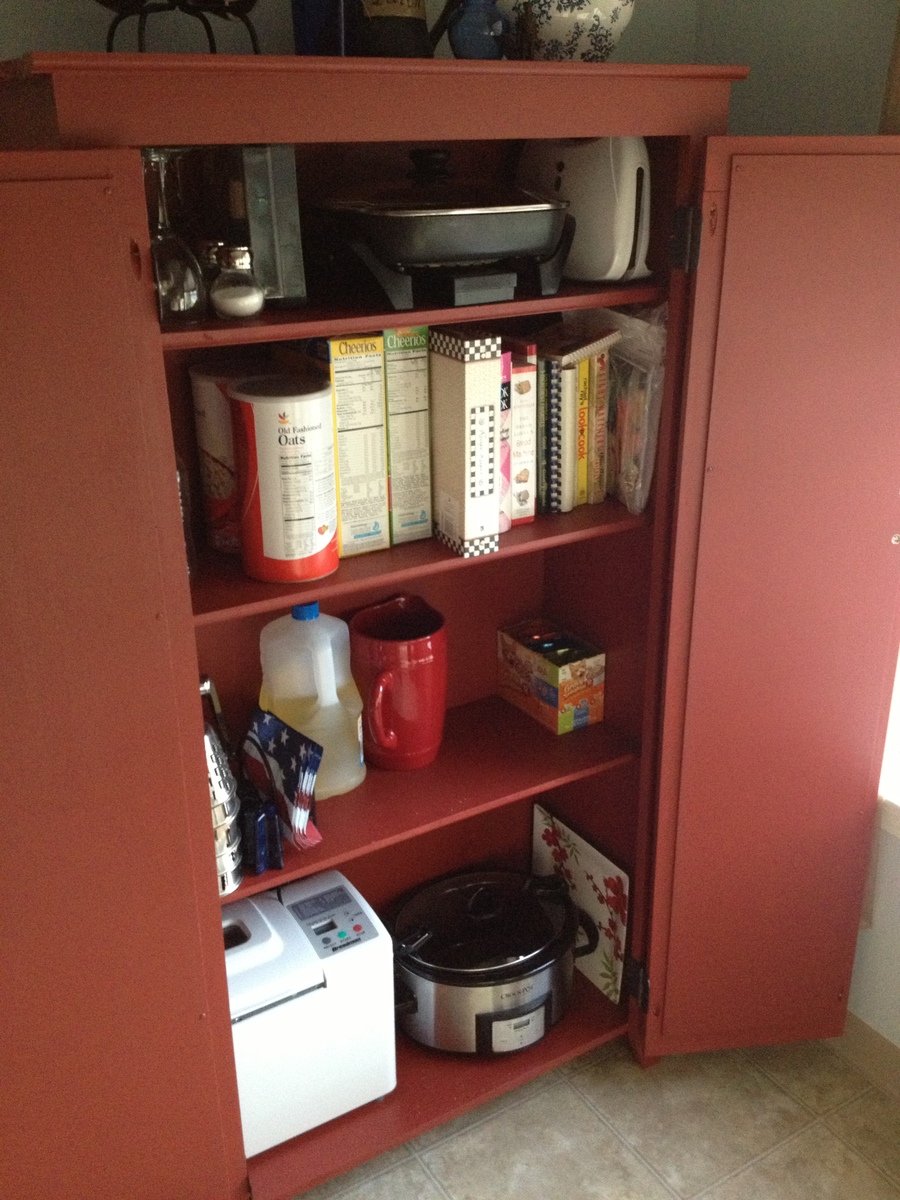
My wife and I needed space in our kitchen to store various items. This cabinet works perfectly for that purpose.

Fri, 09/27/2013 - 21:17
That paint colour is beautiful. As is the pantry, very well done. I wish you could find out the name and brand of the colour. It is stunning.
Fri, 09/27/2013 - 21:17
That paint colour is beautiful. As is the pantry, very well done. I wish you could find out the name and brand of the colour. It is stunning.
Mon, 09/30/2013 - 05:30
I believe this was the color. Red Brick S-H-170 by Behr. Hope that helps.
Project took on by my dad and painted by myself and my mom...LOVE how it turned out!


Comments
Ana White Admin
Sat, 10/09/2021 - 12:37
FUN!
Great first project, there will be hours of play!