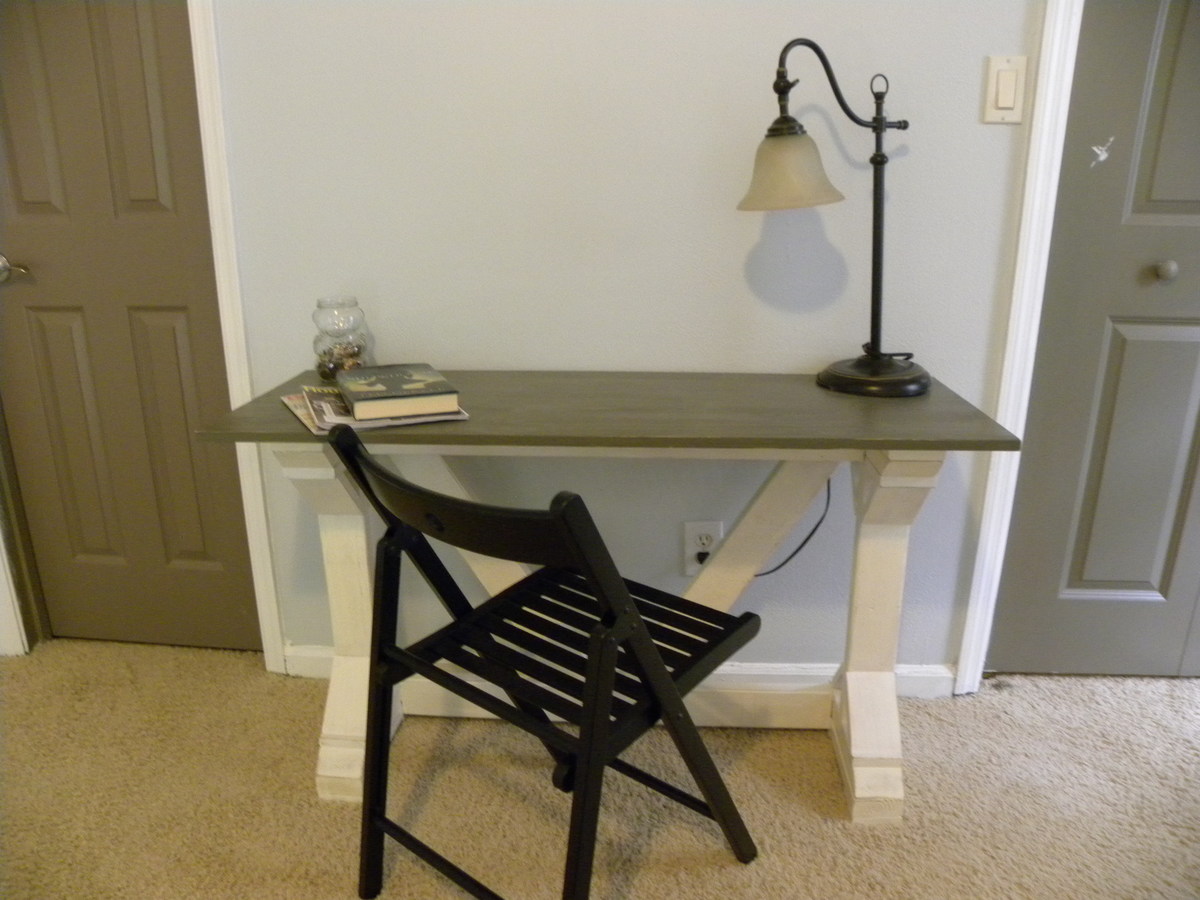
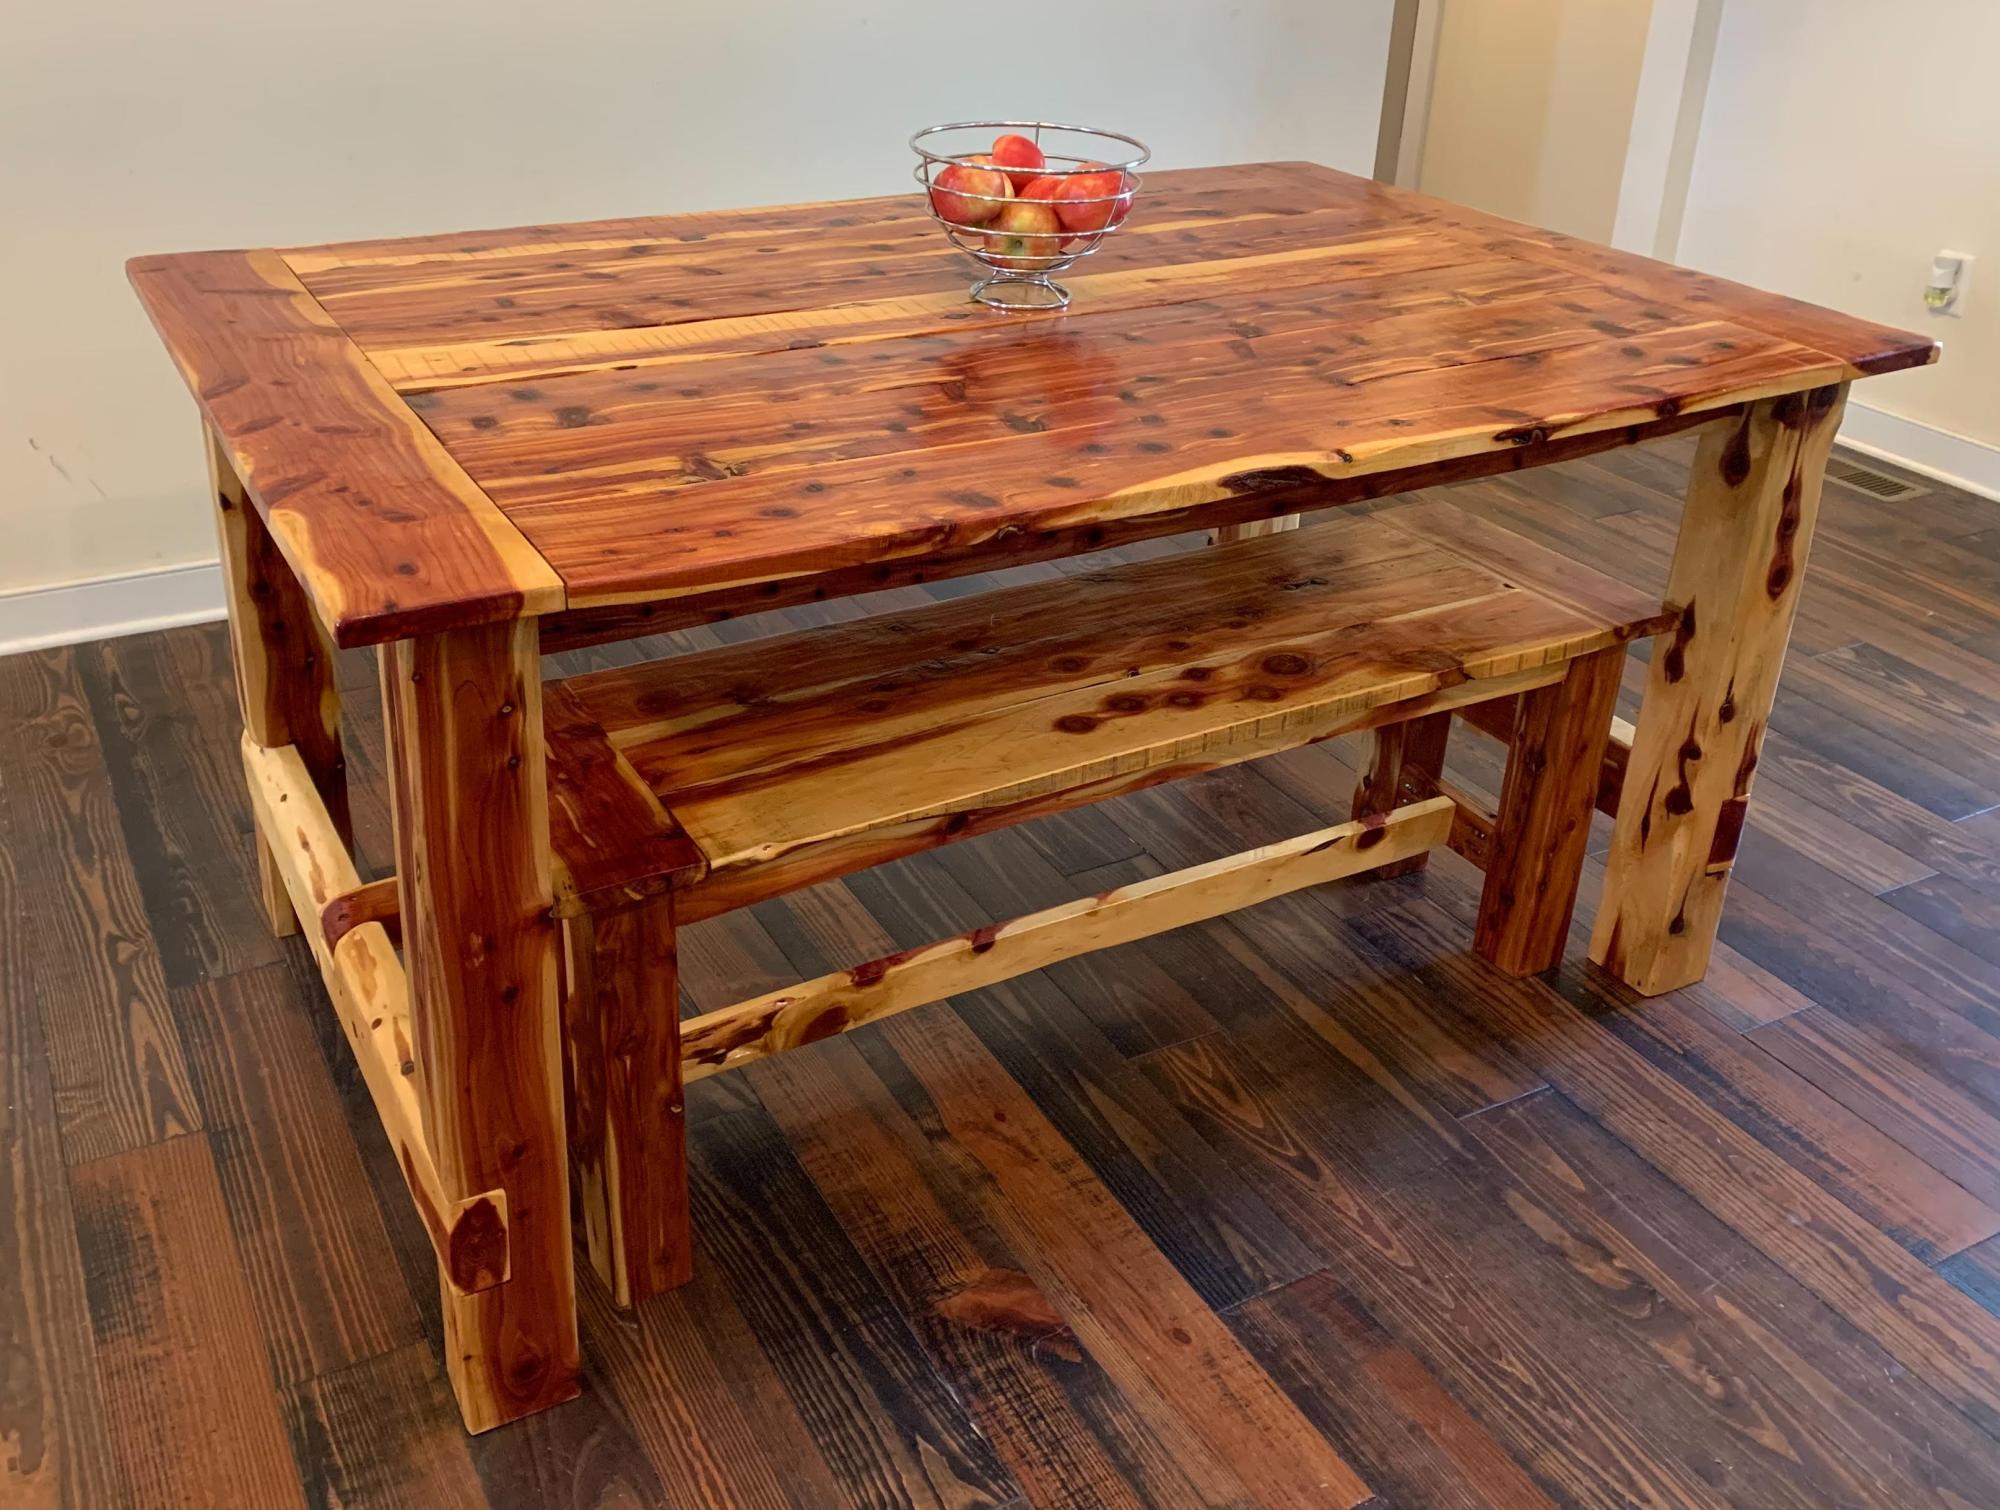
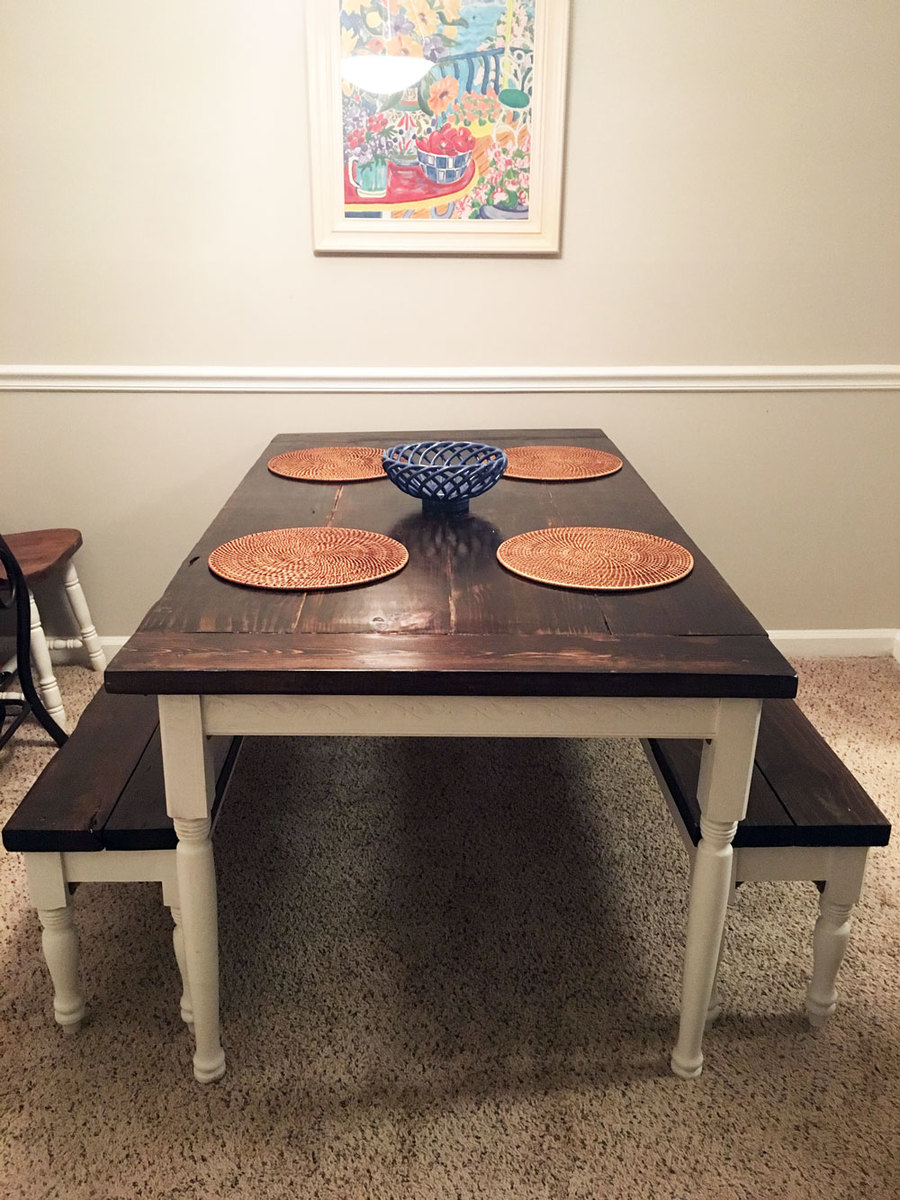
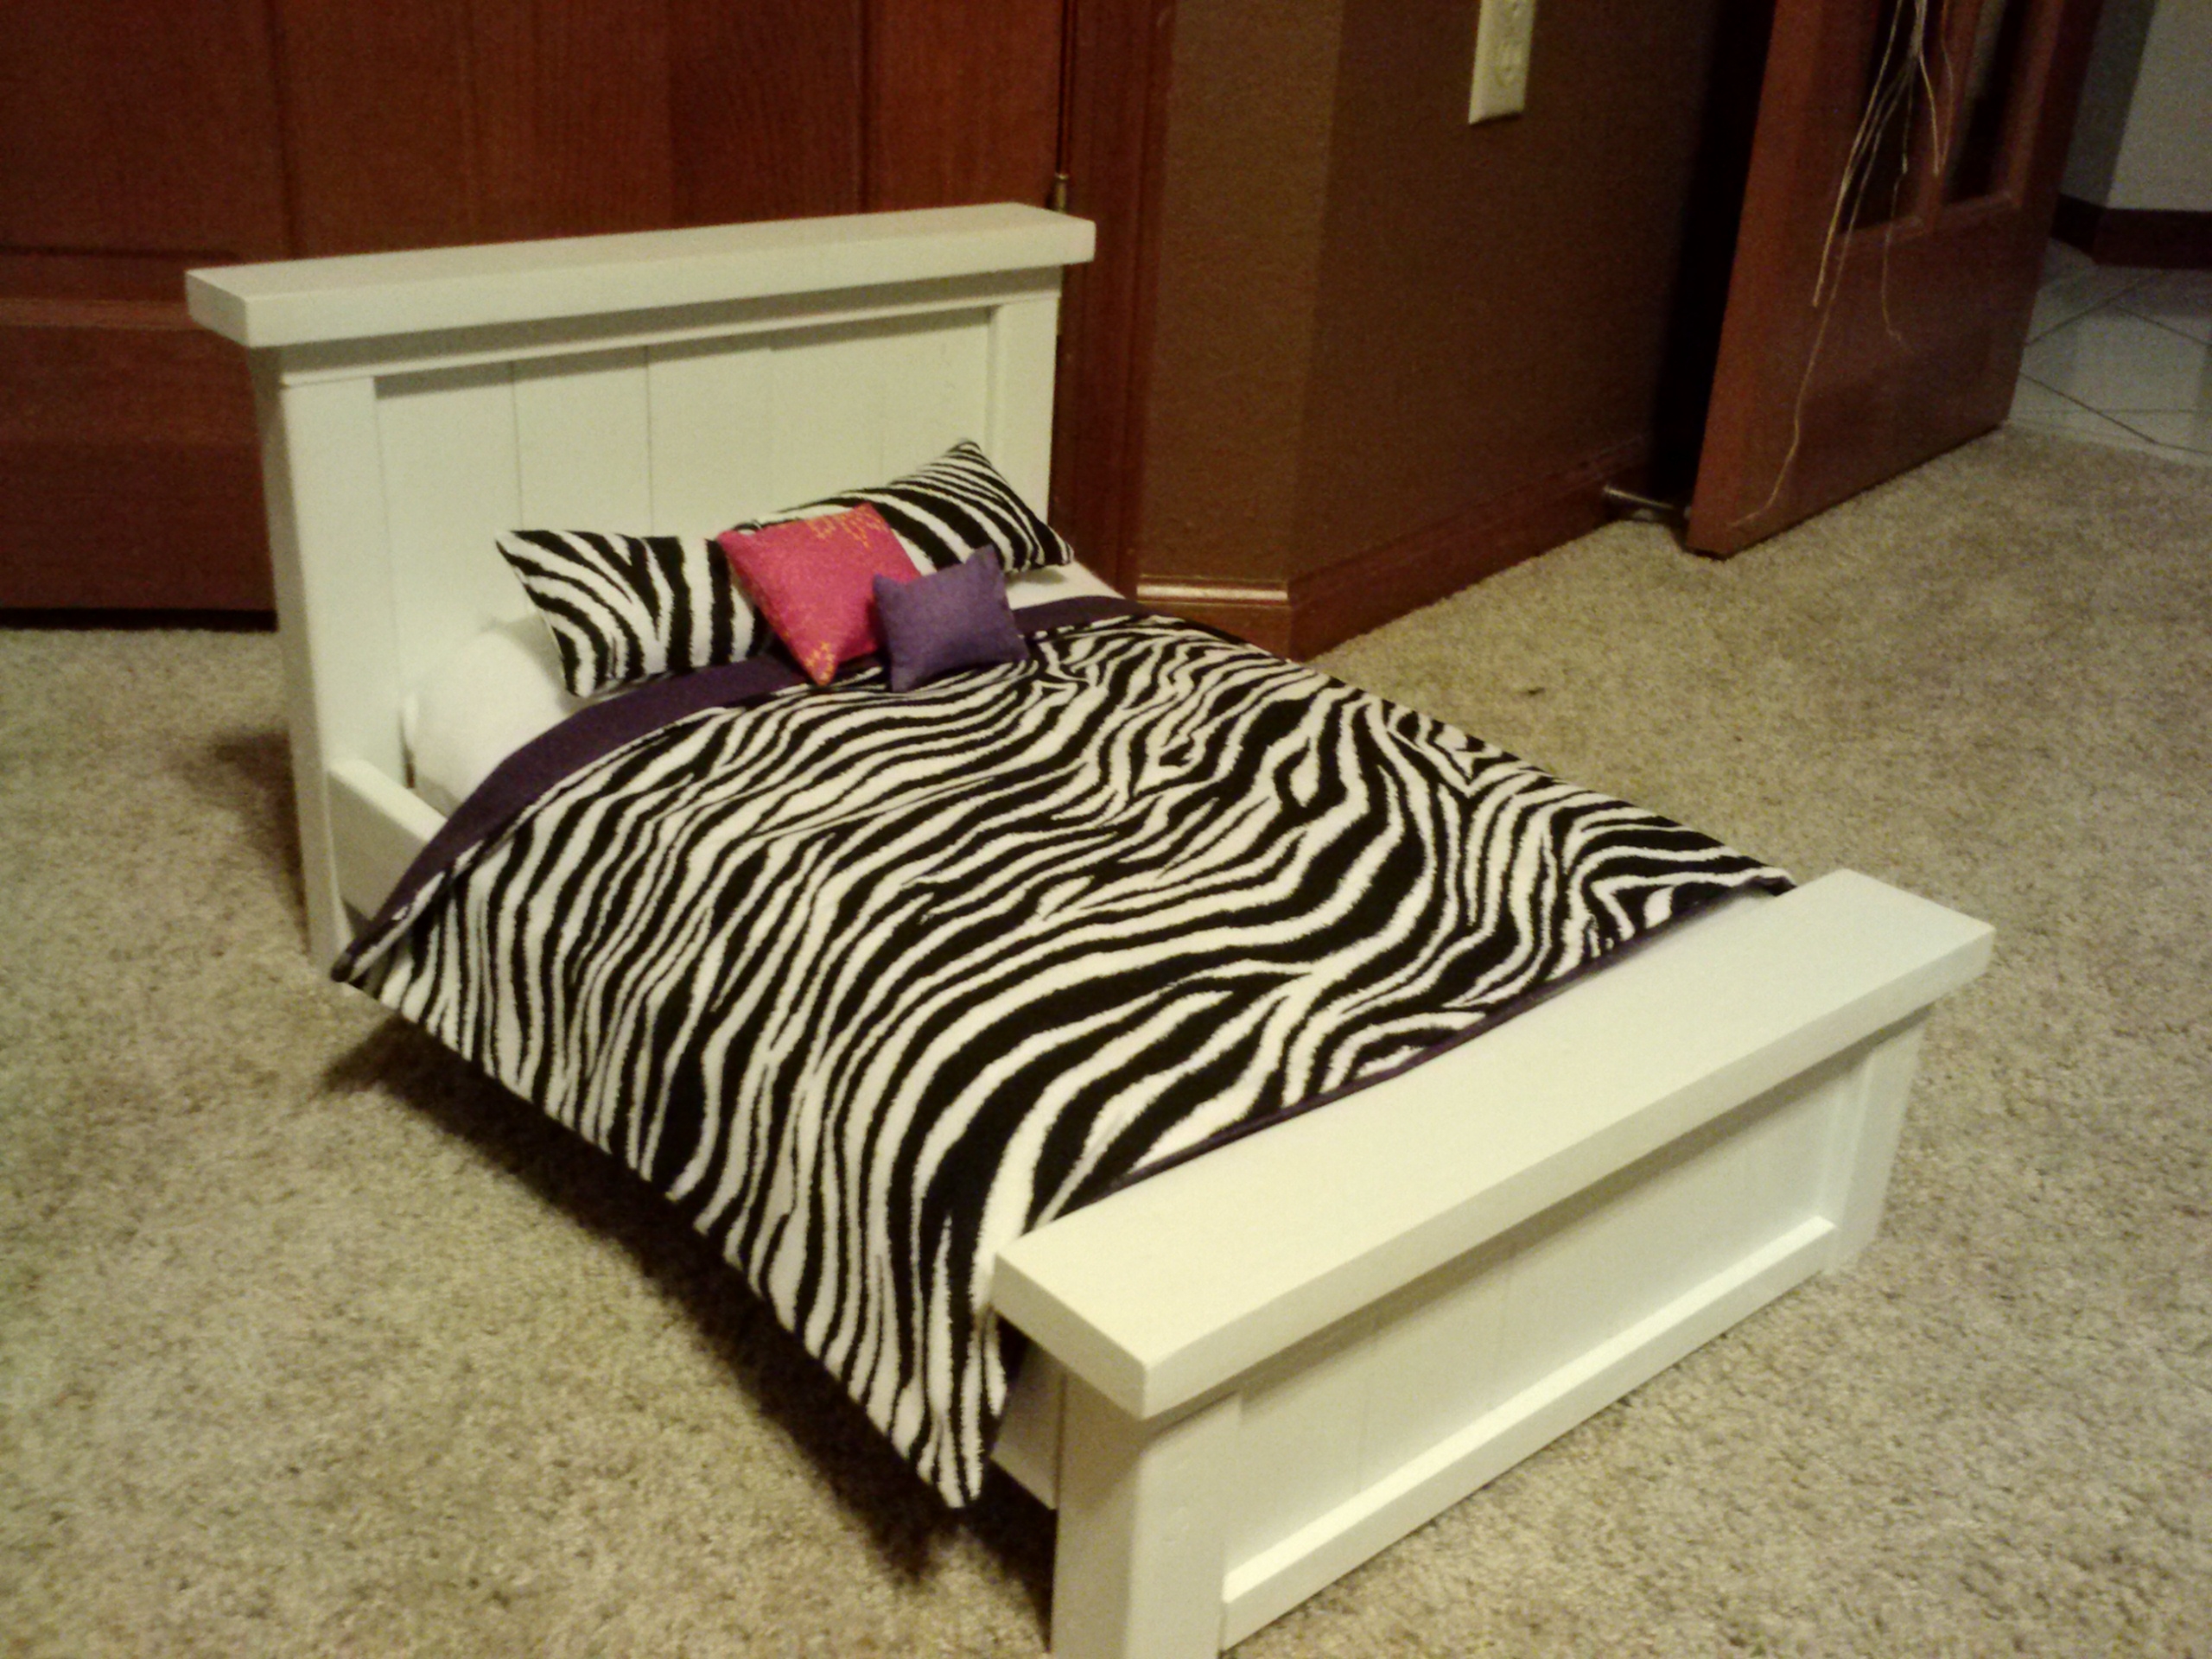
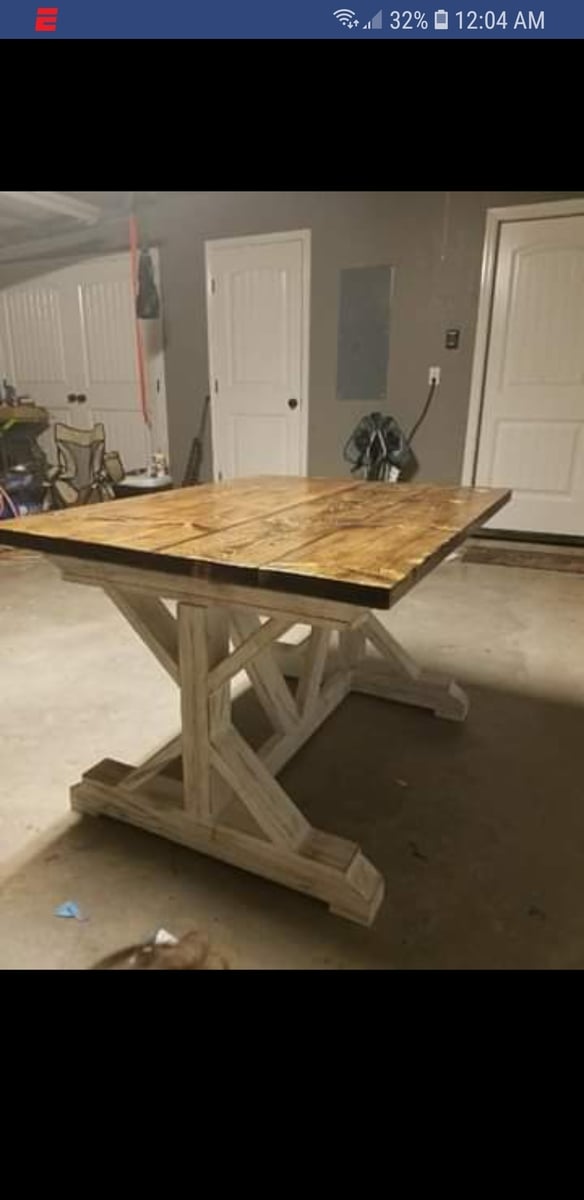
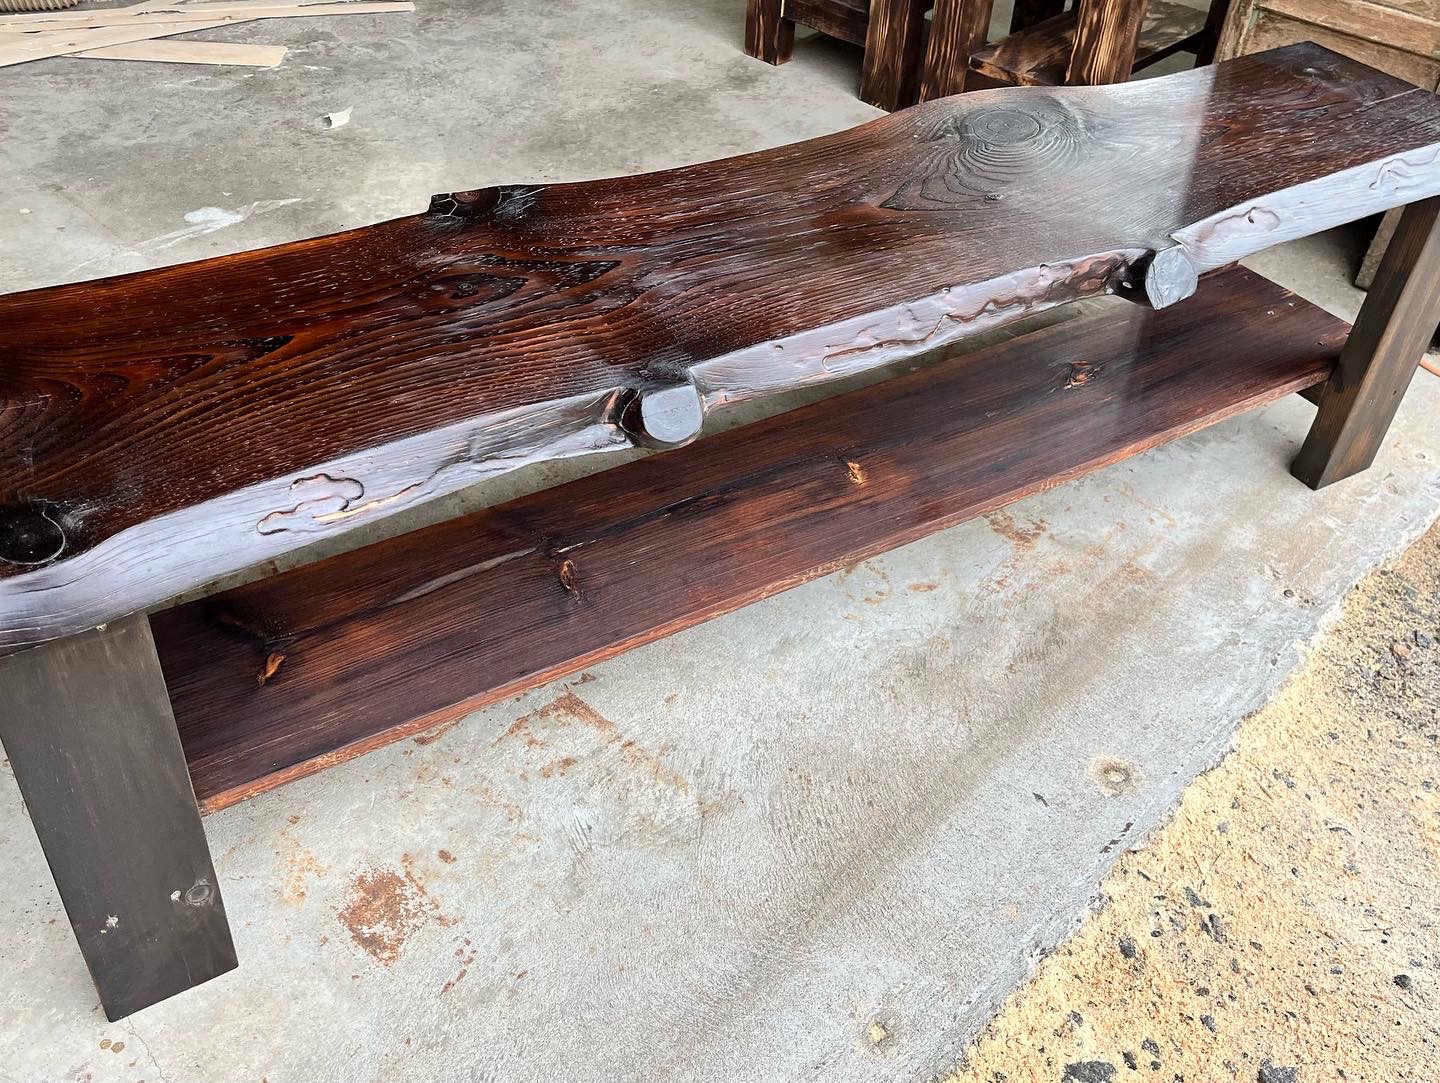
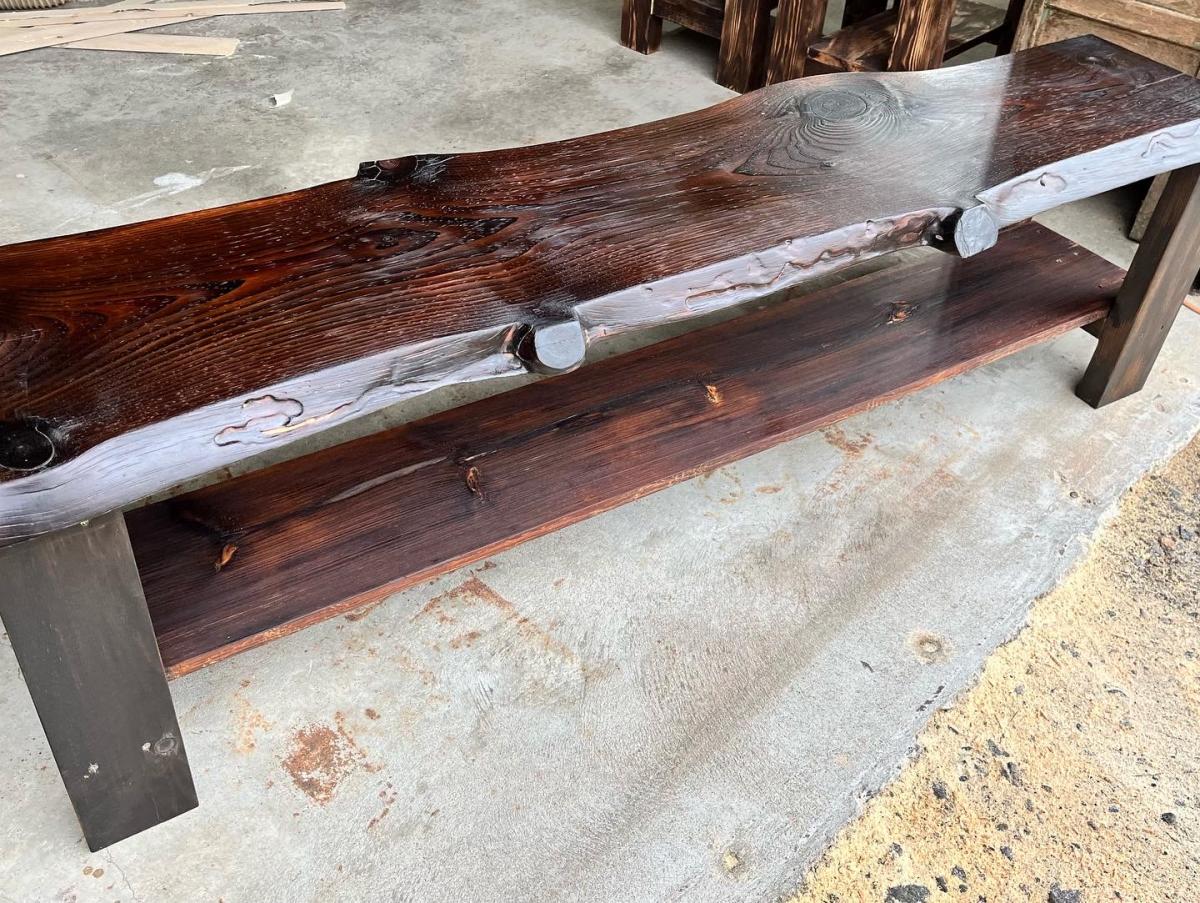
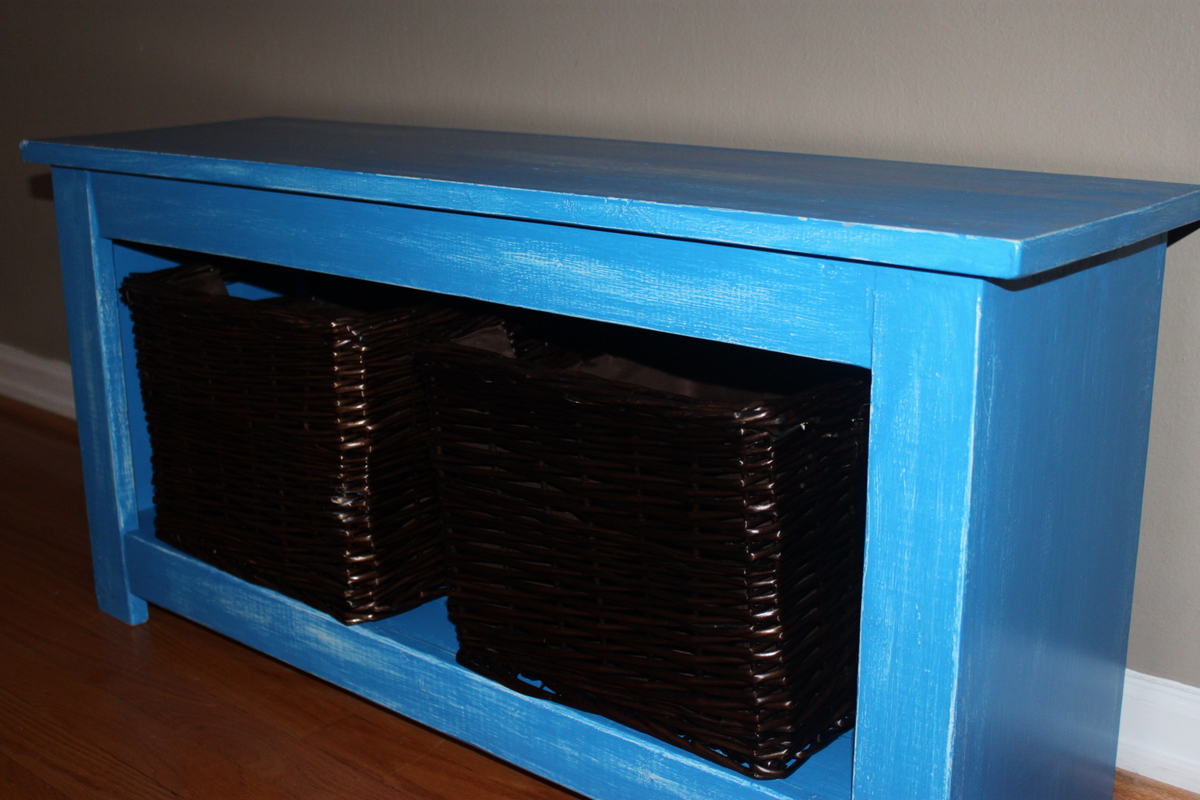
Farmhouse Queen Bed and Fancy X desk
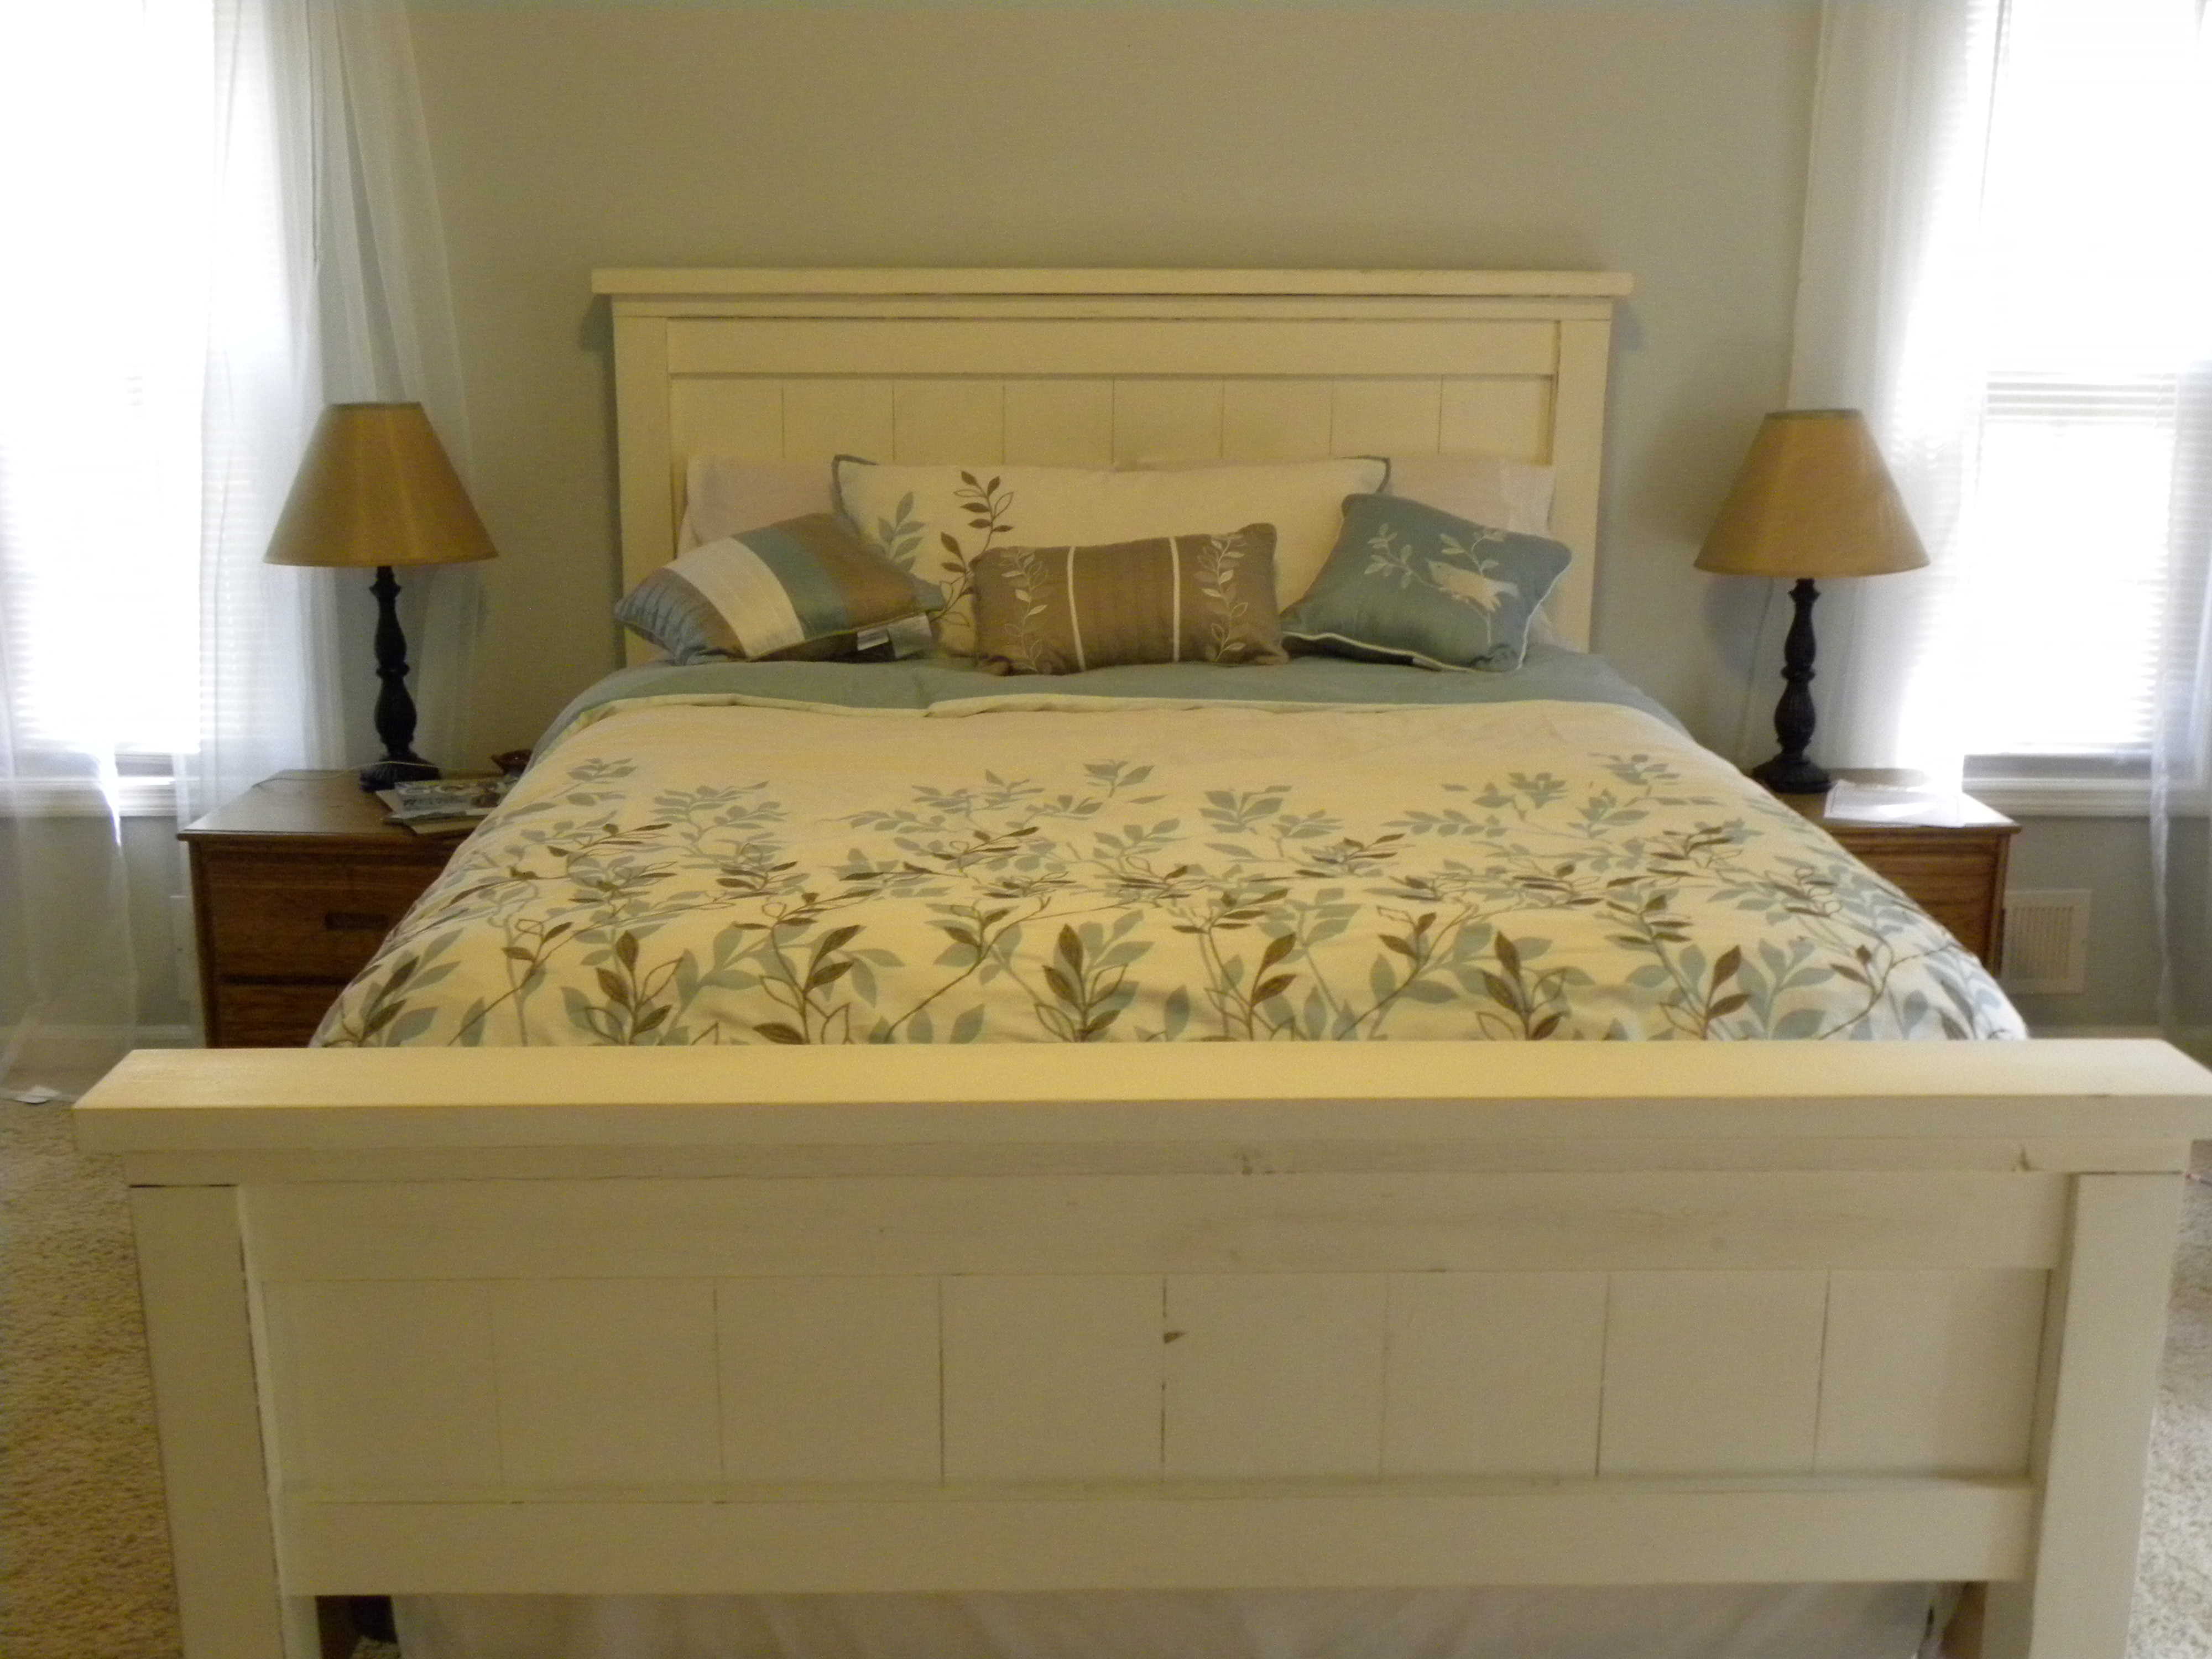
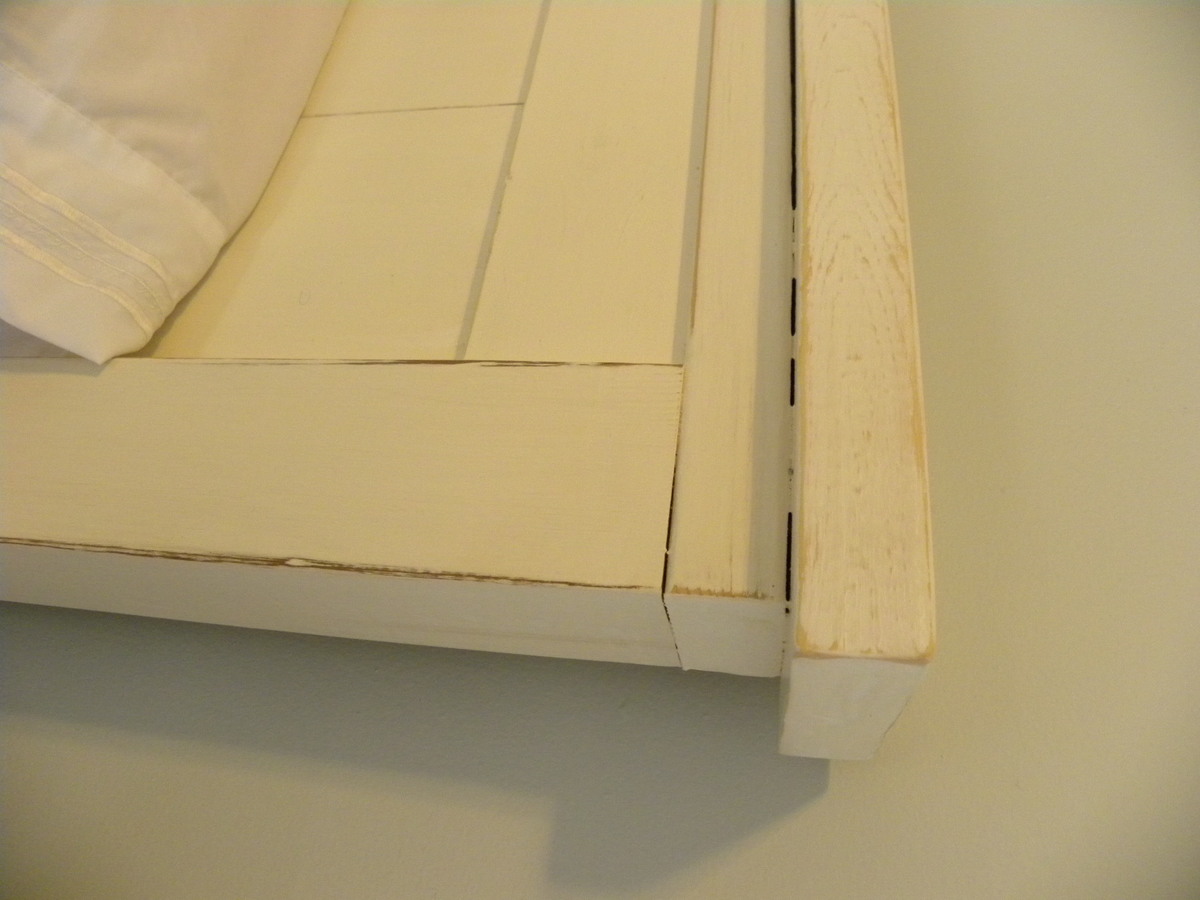
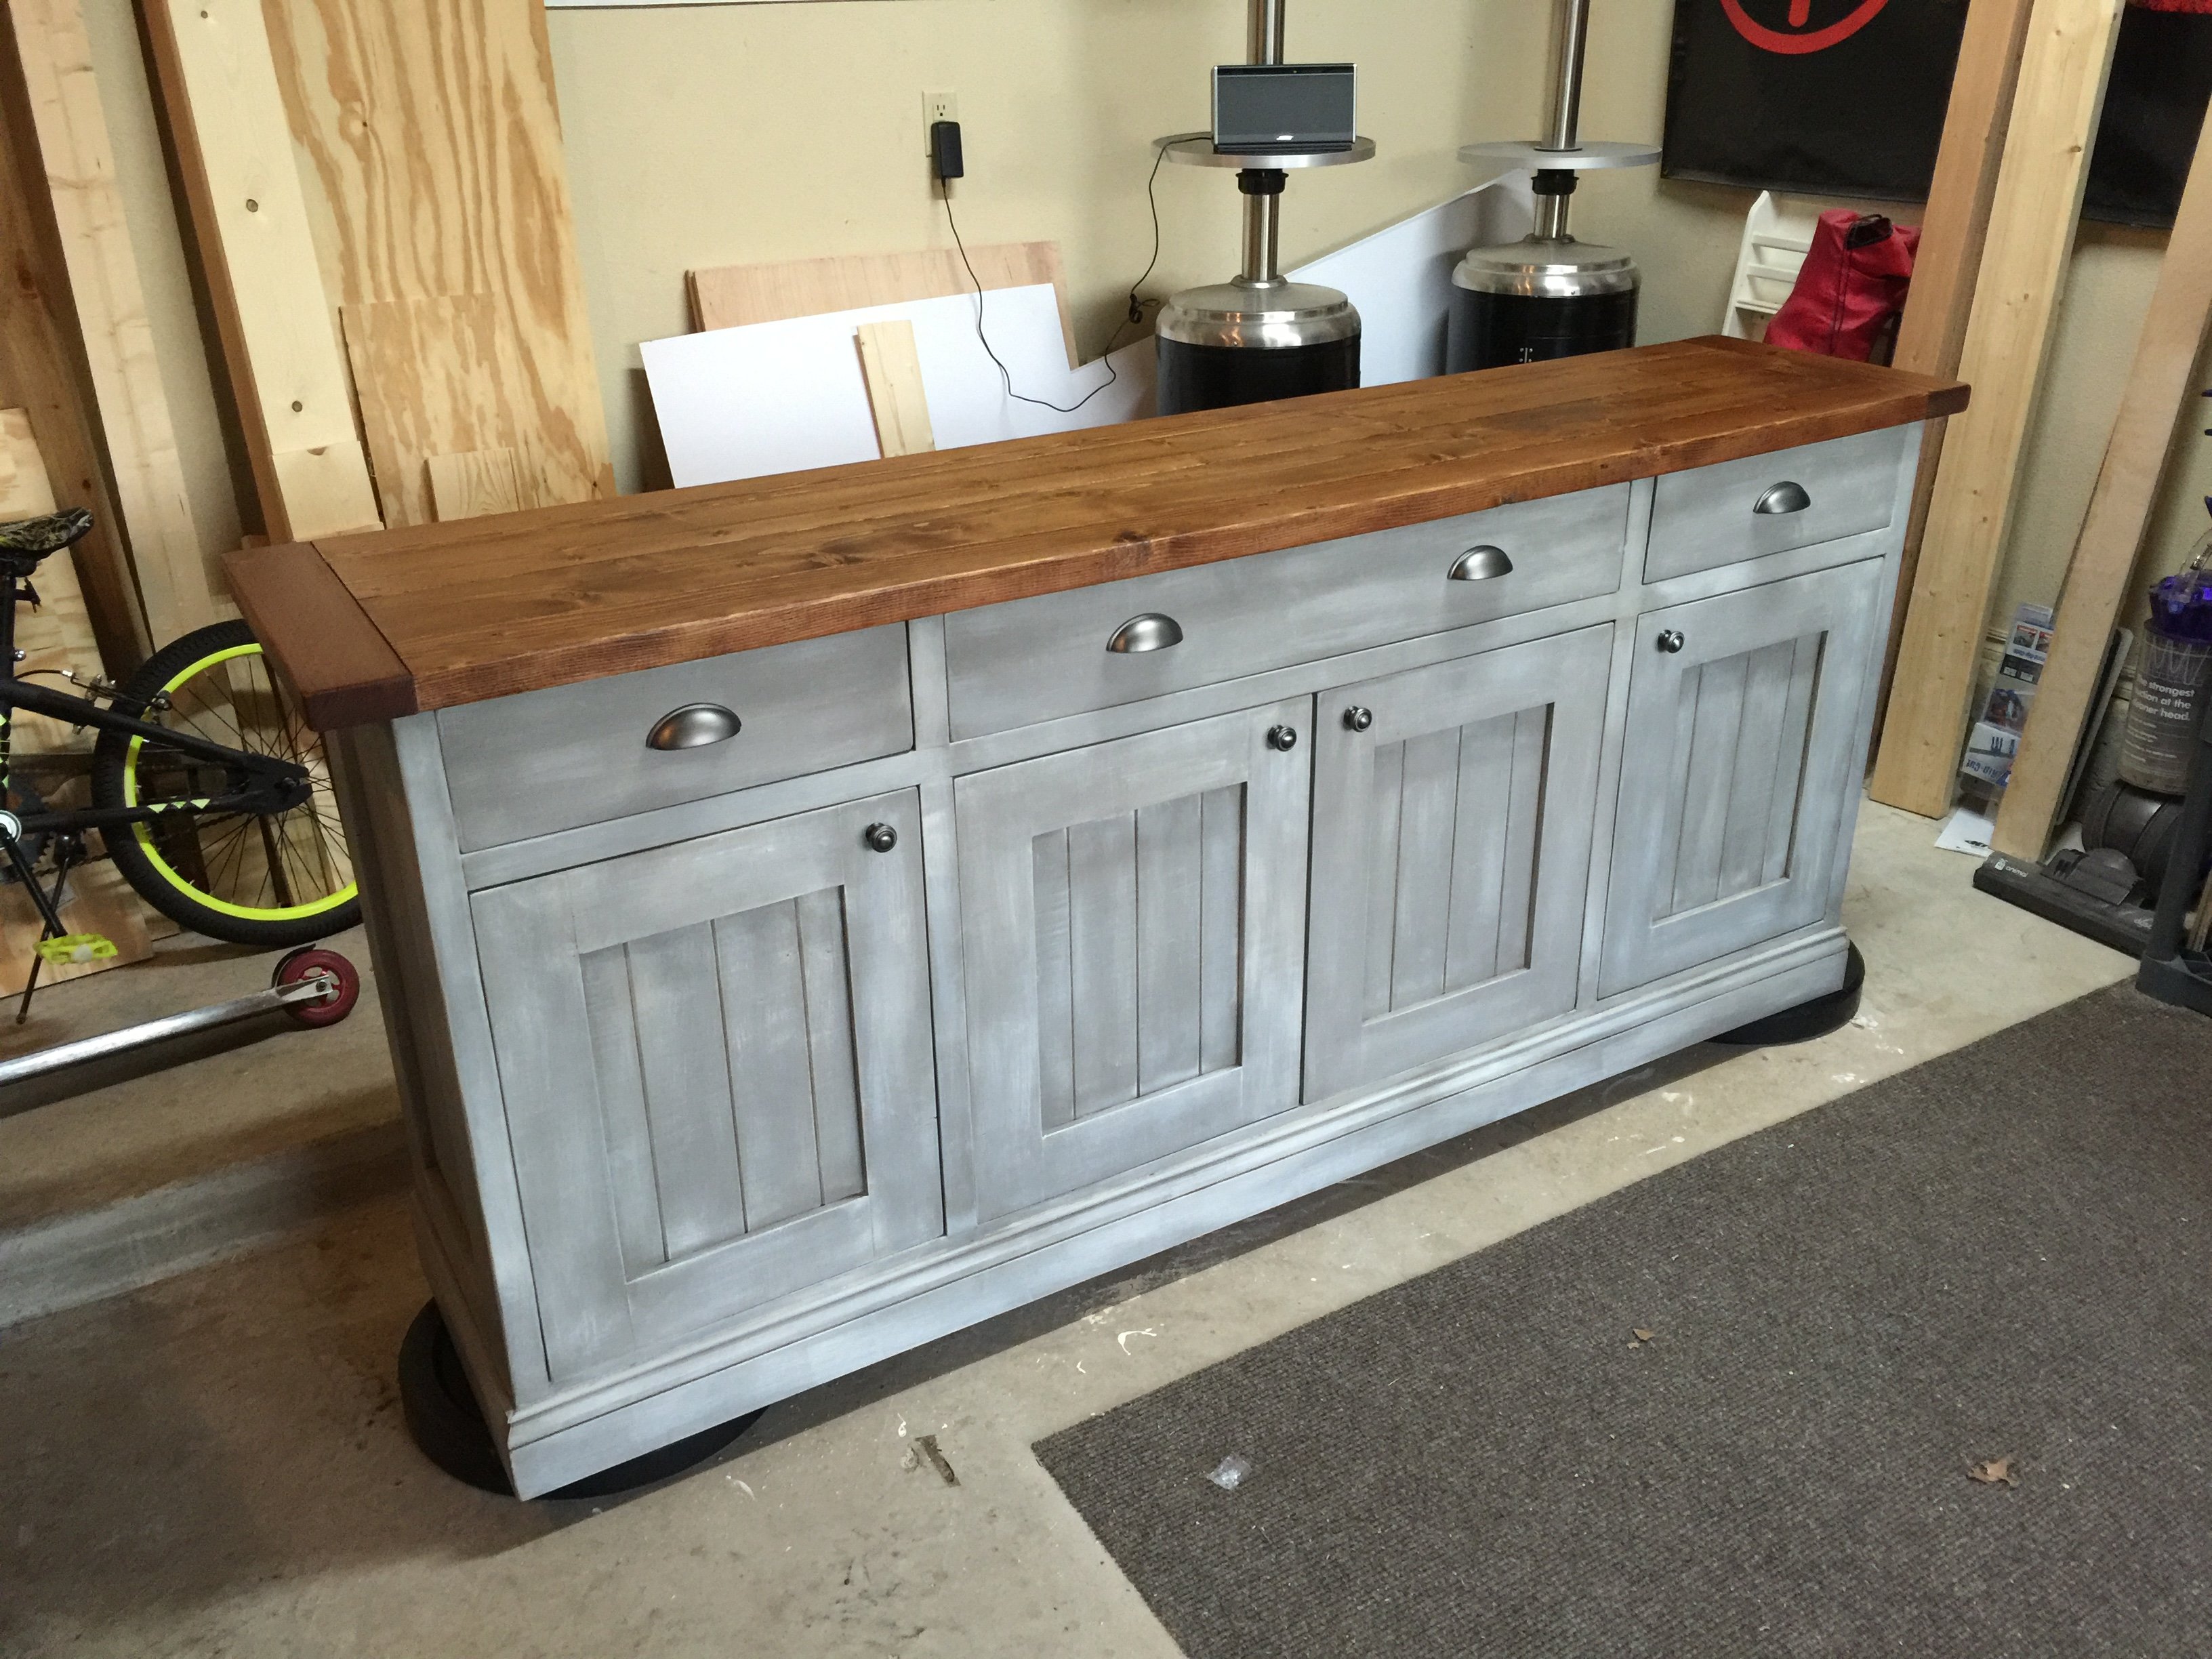
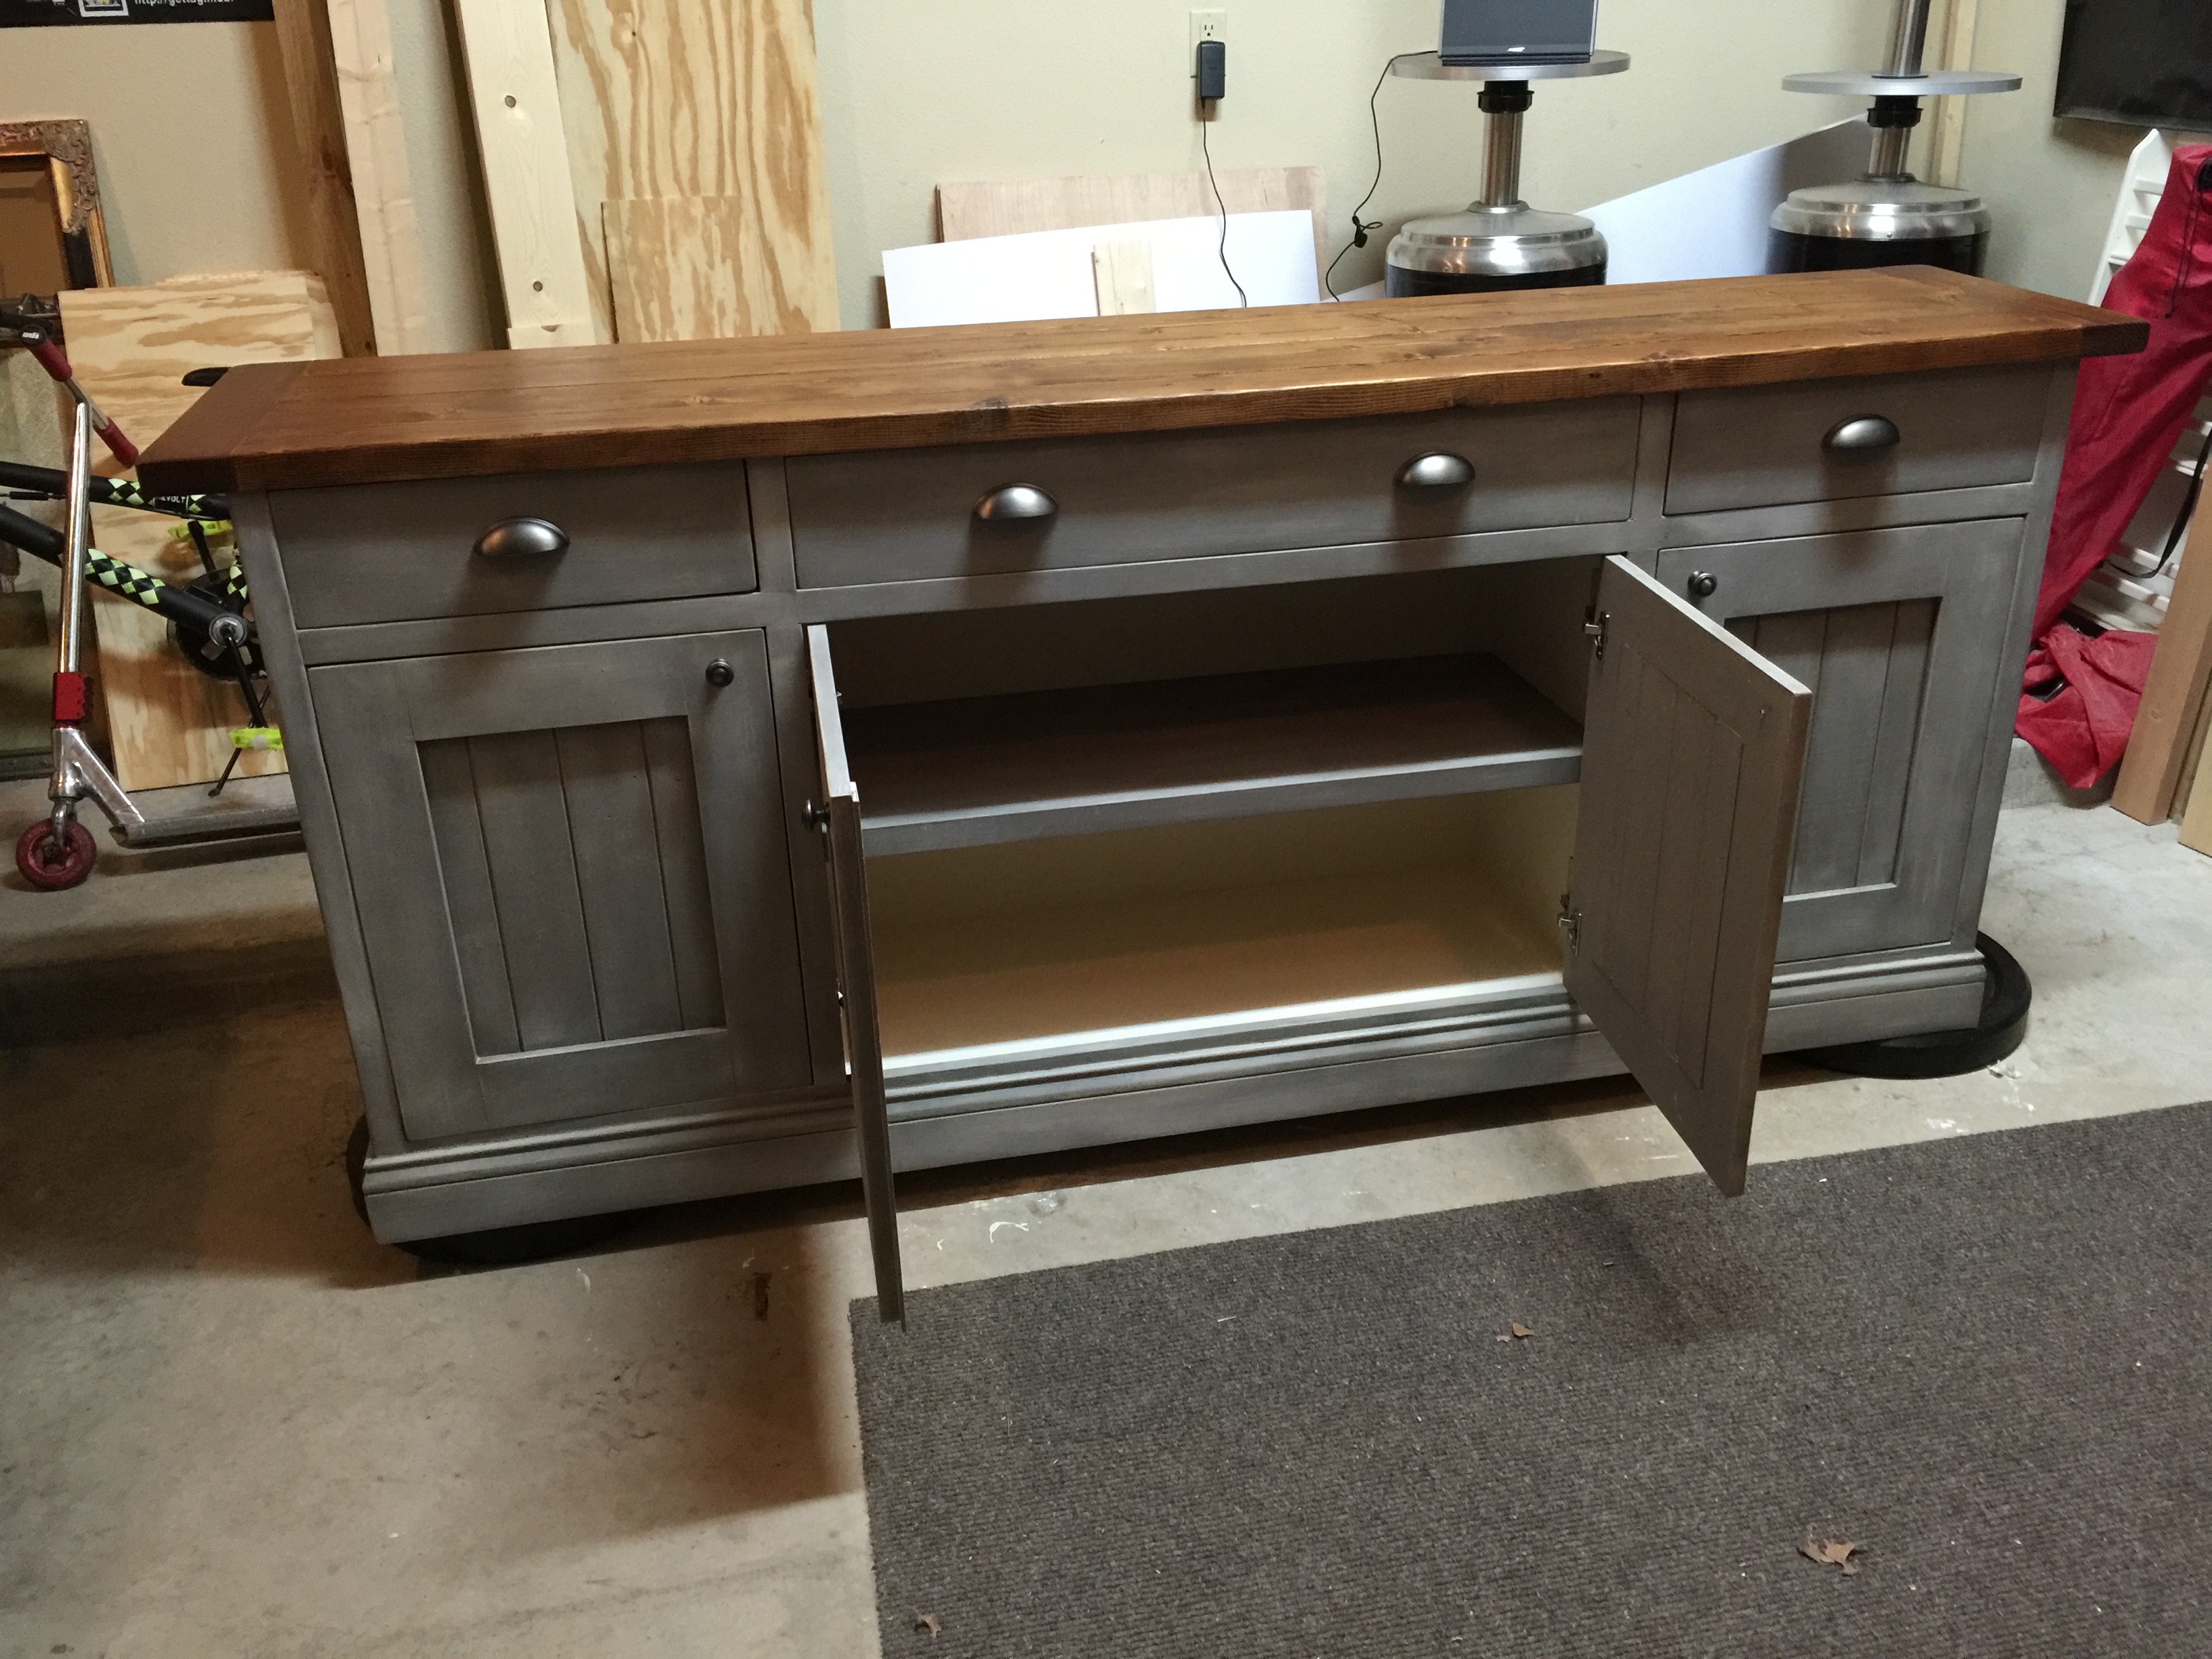
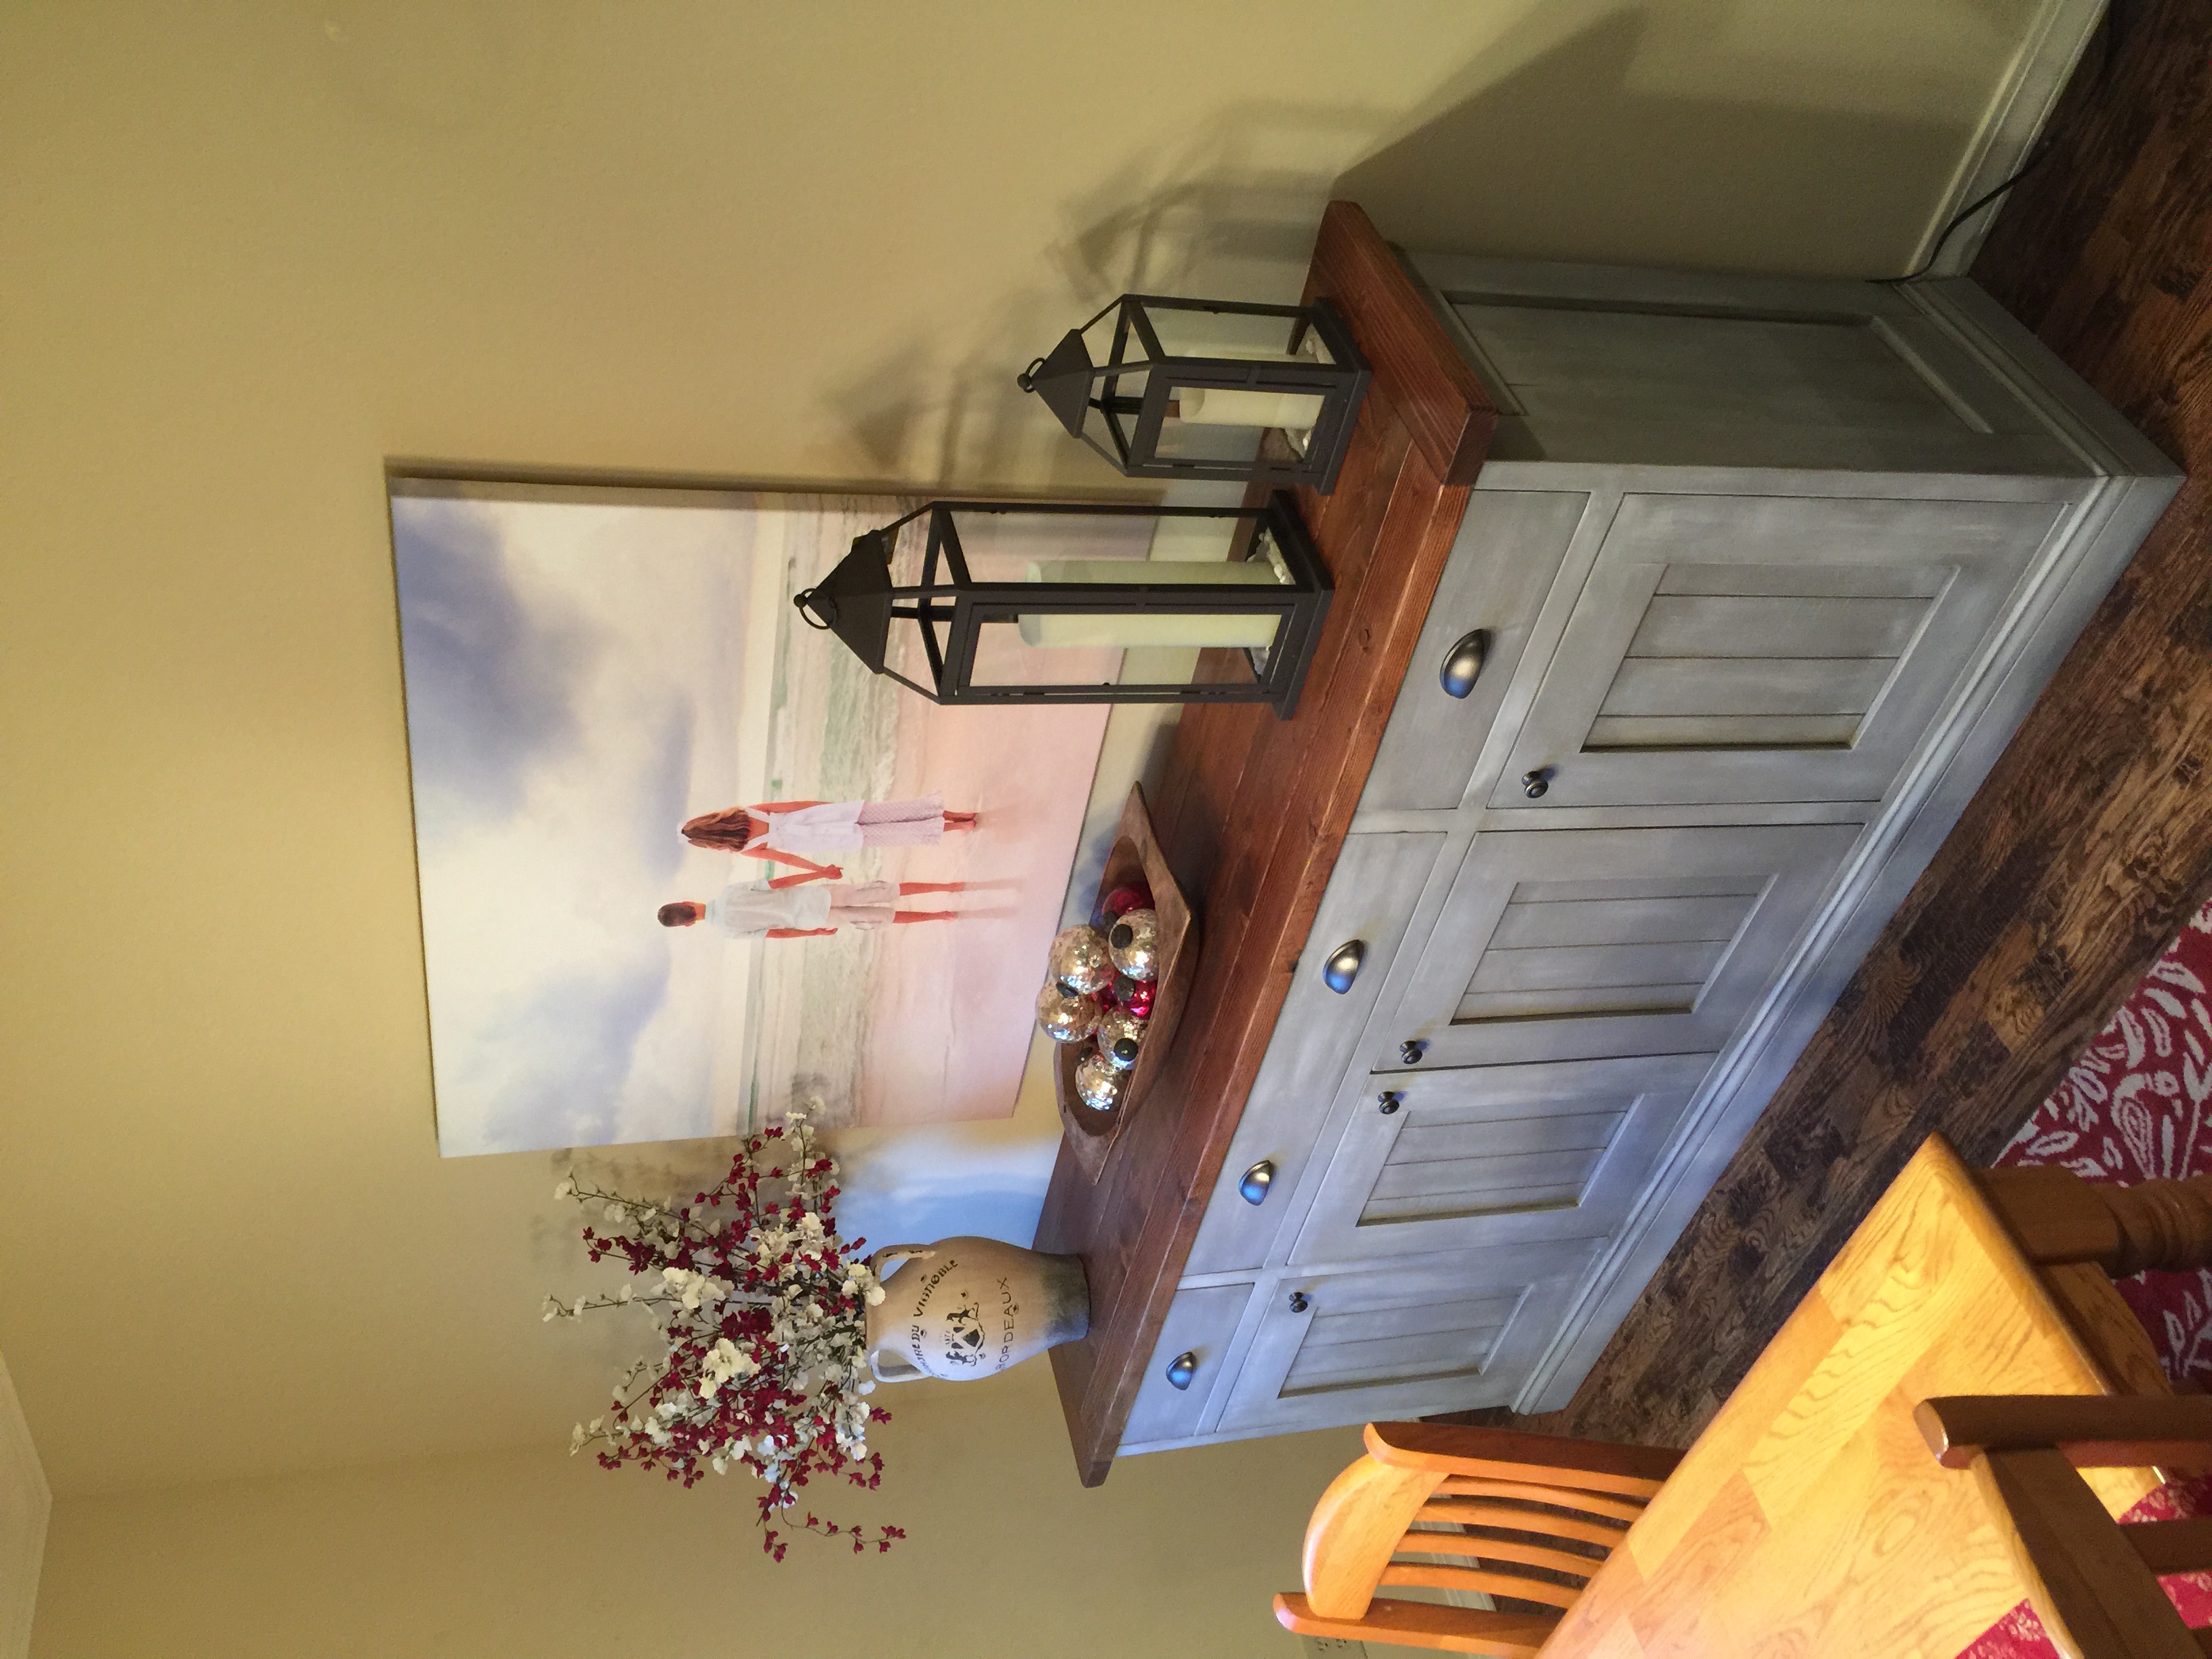
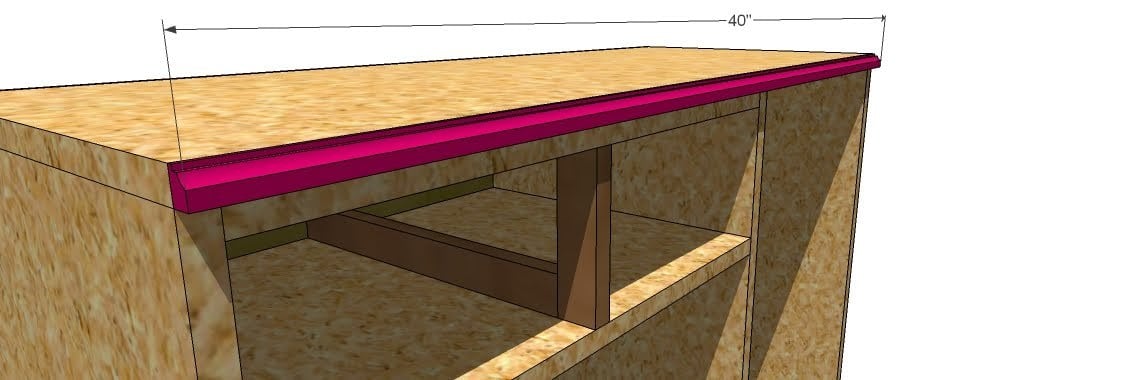
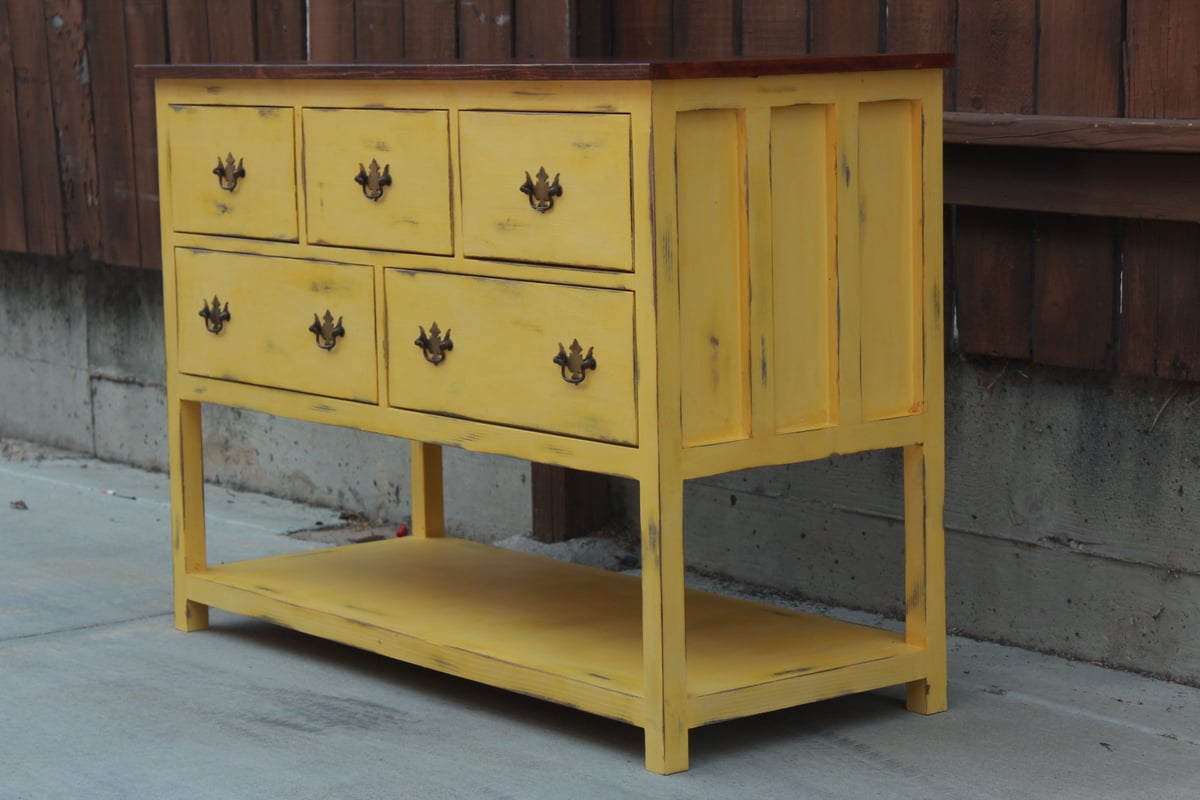
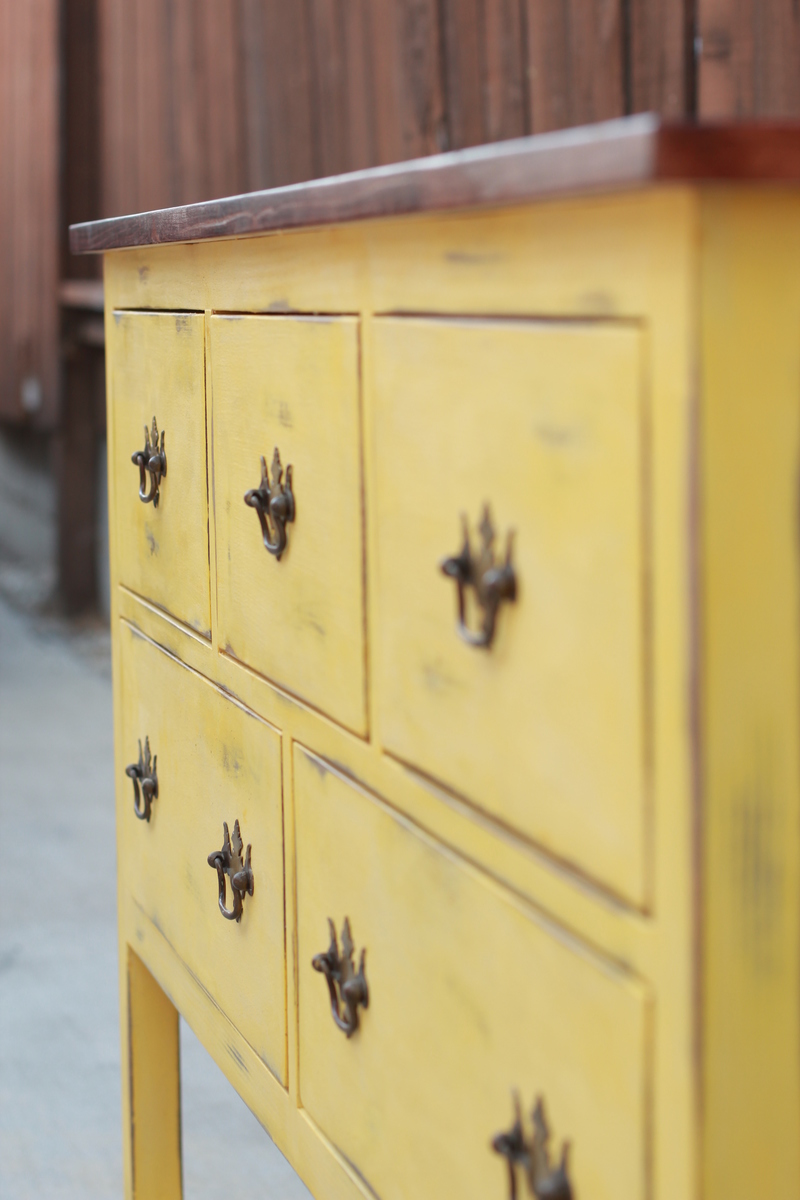
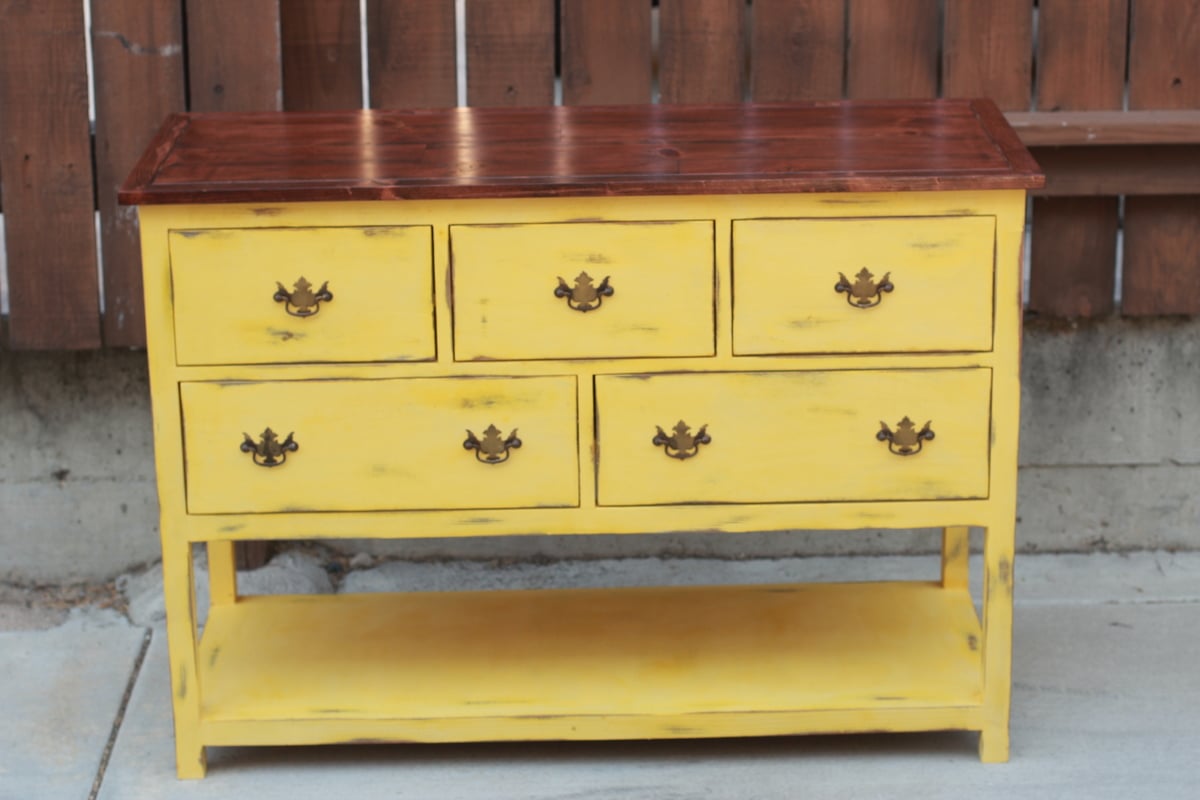
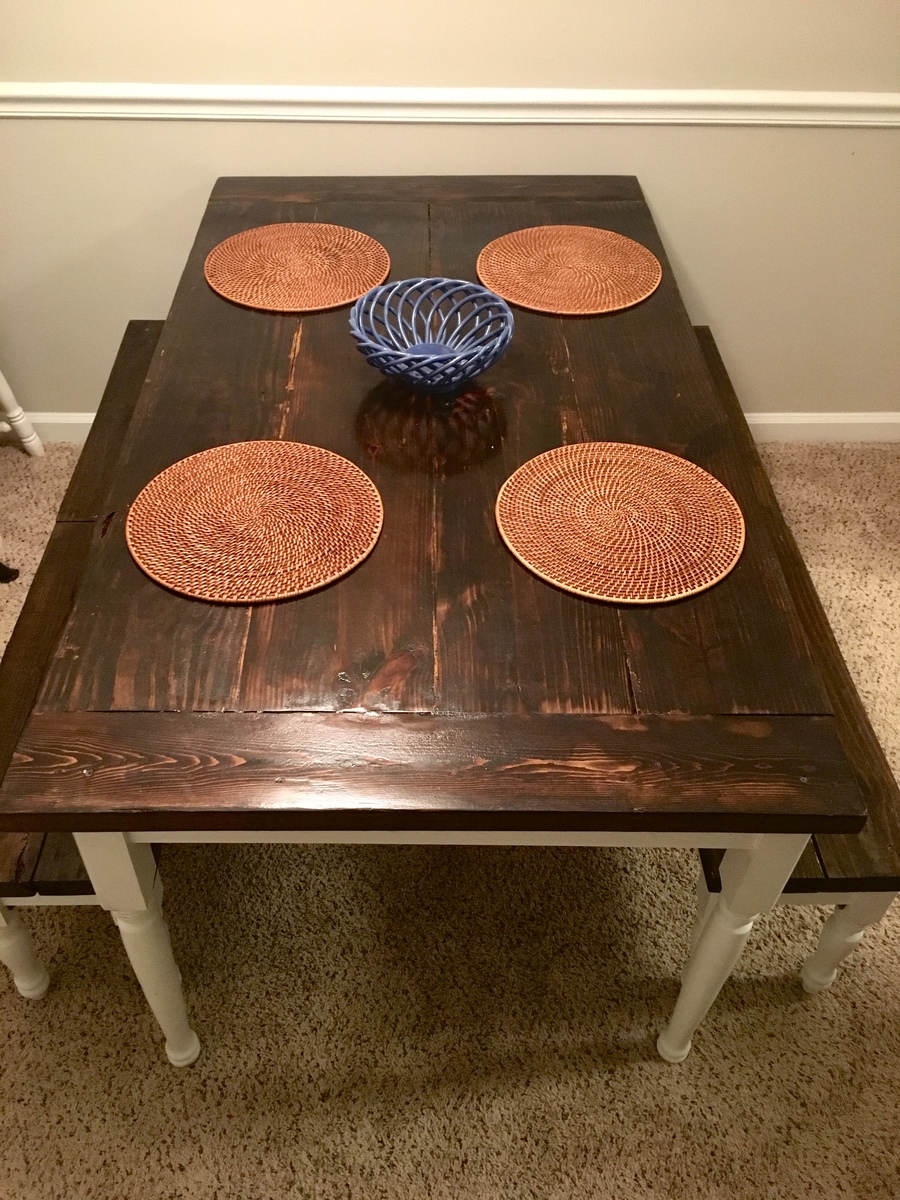
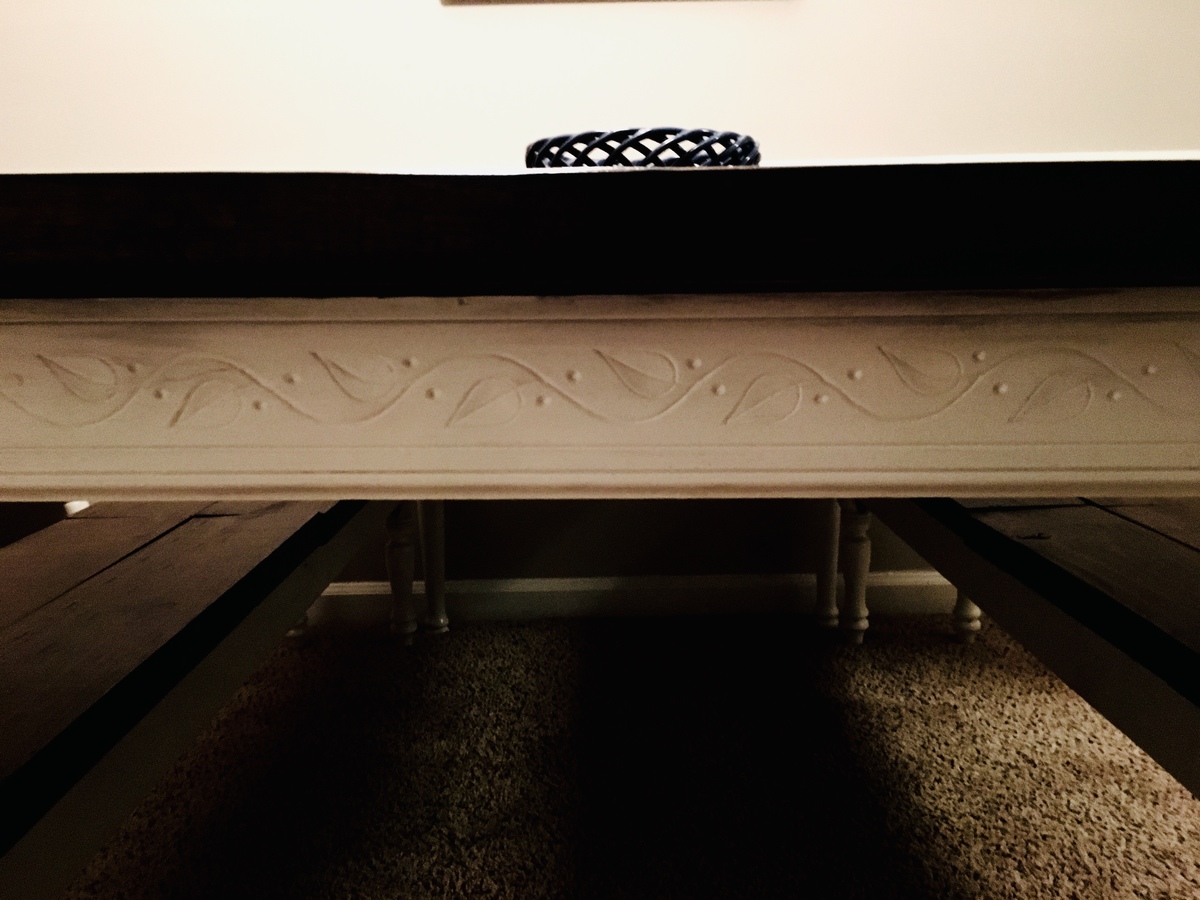
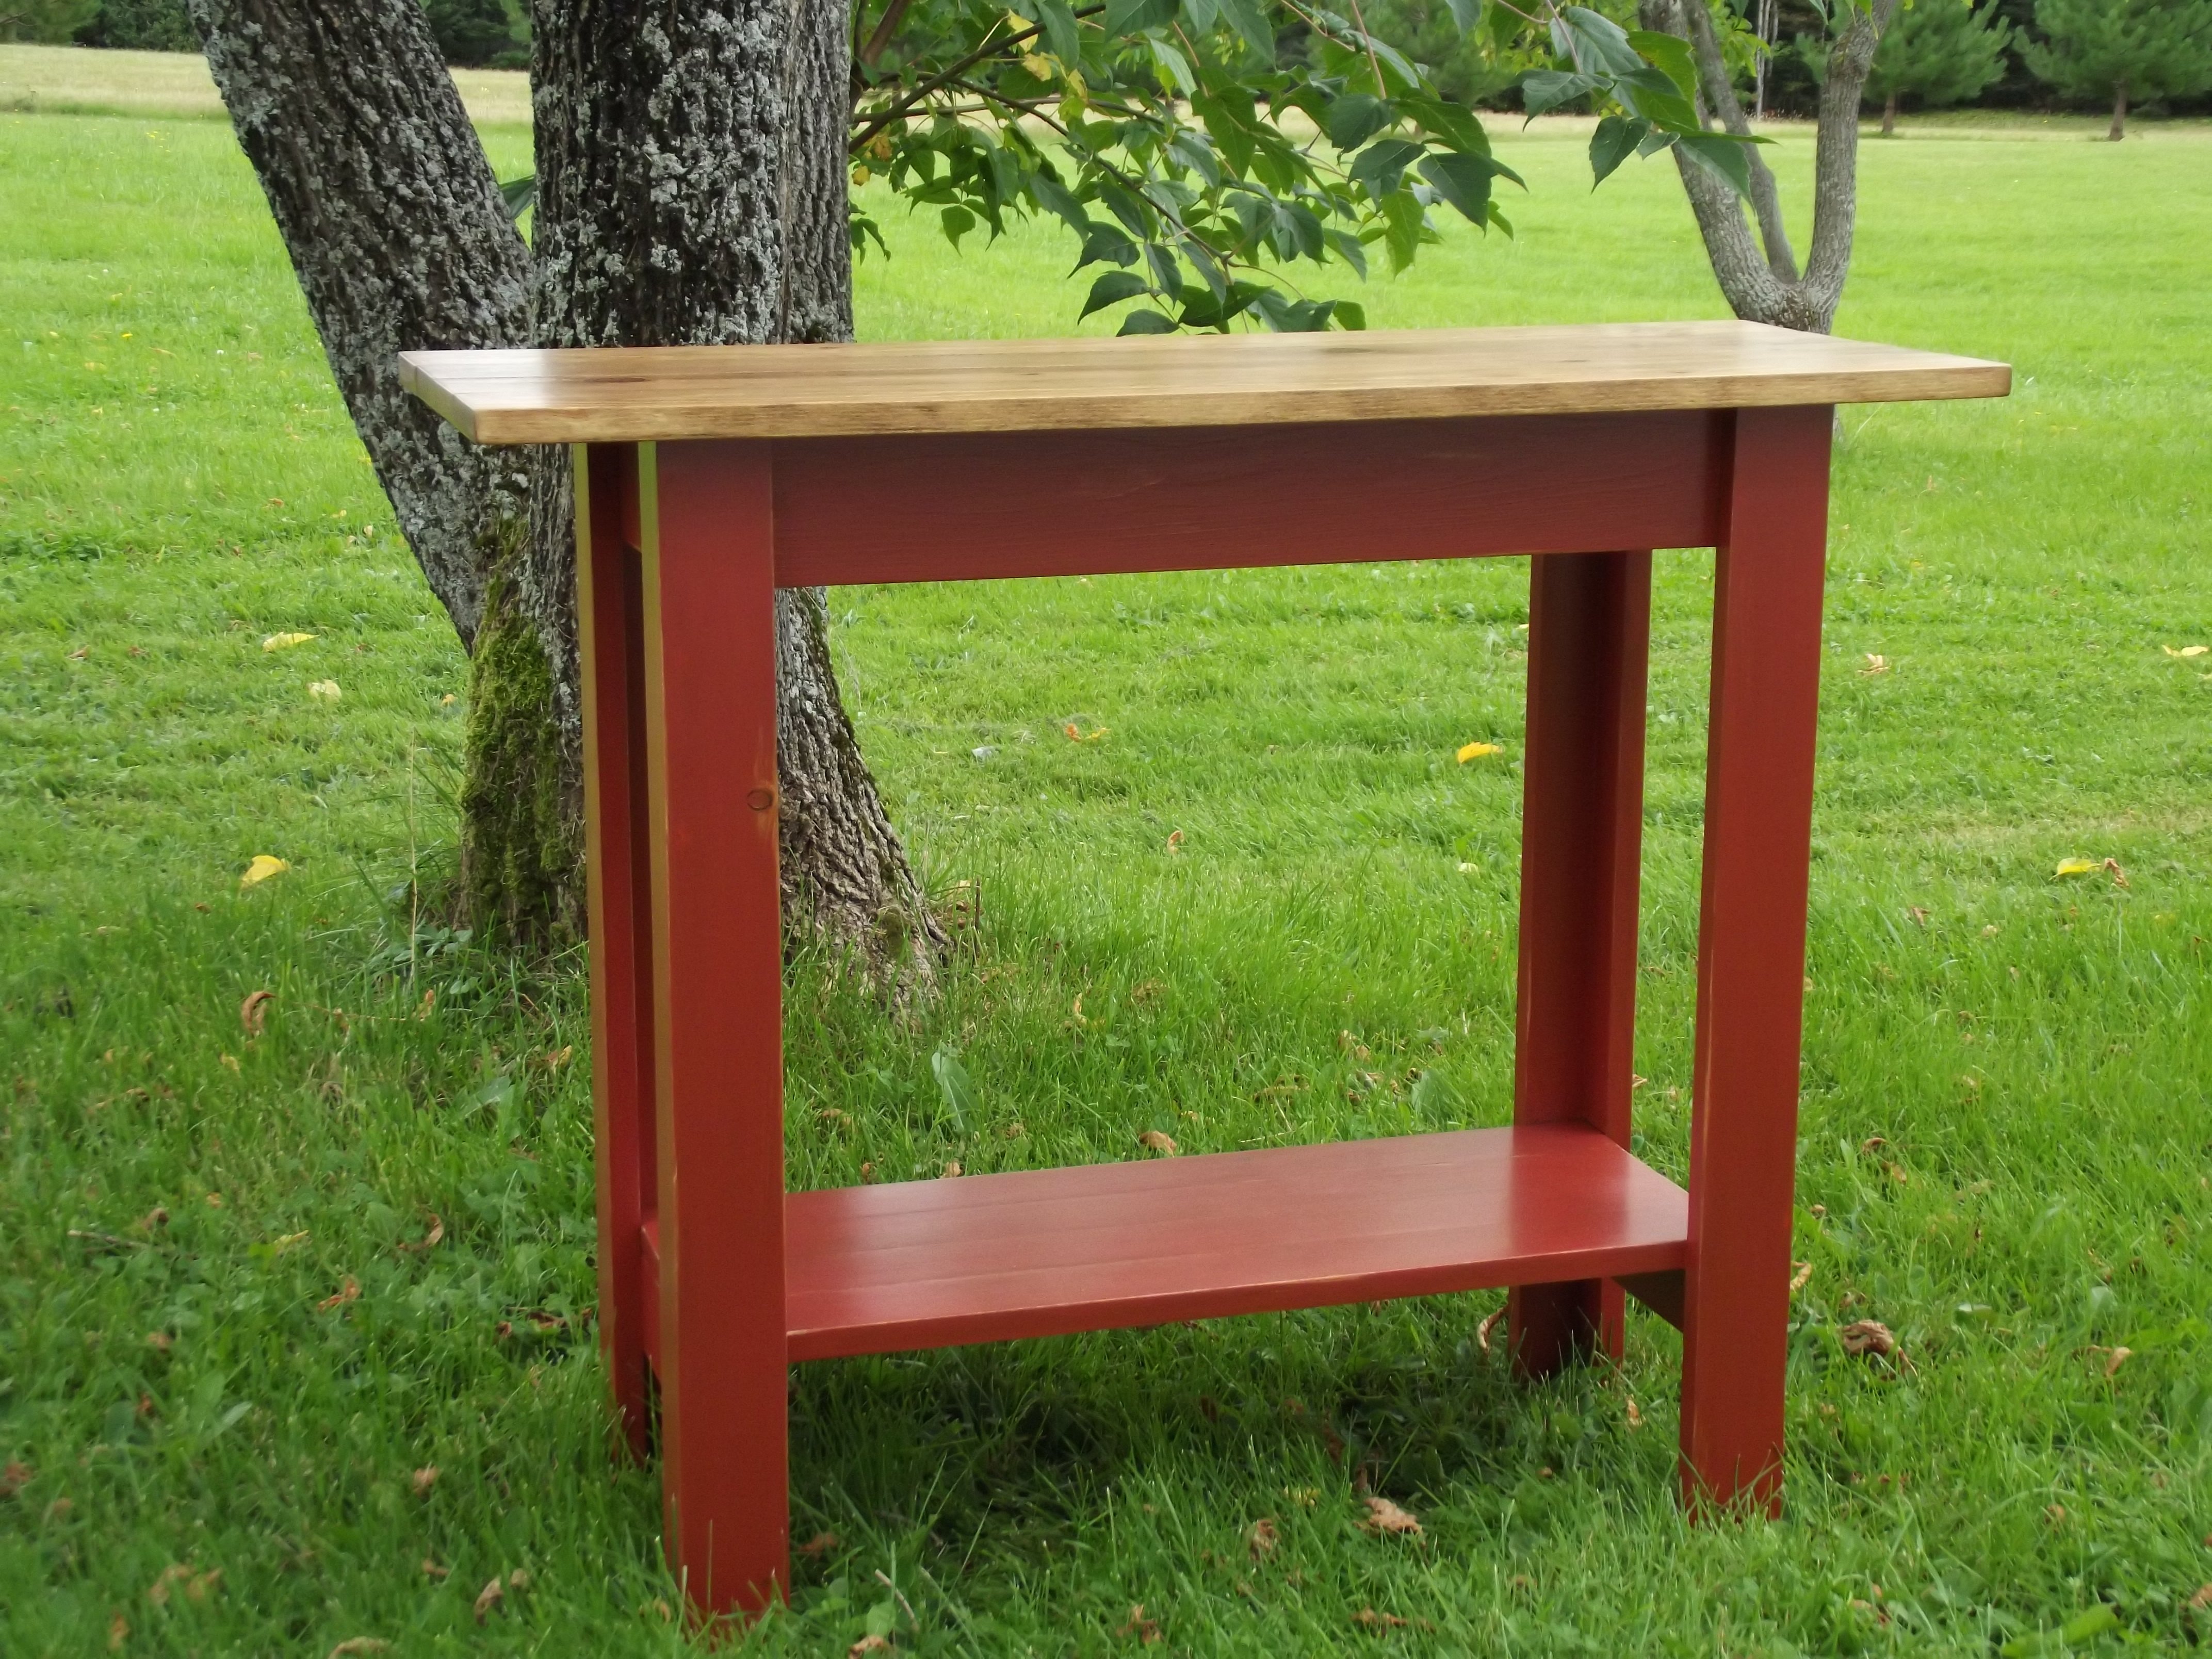
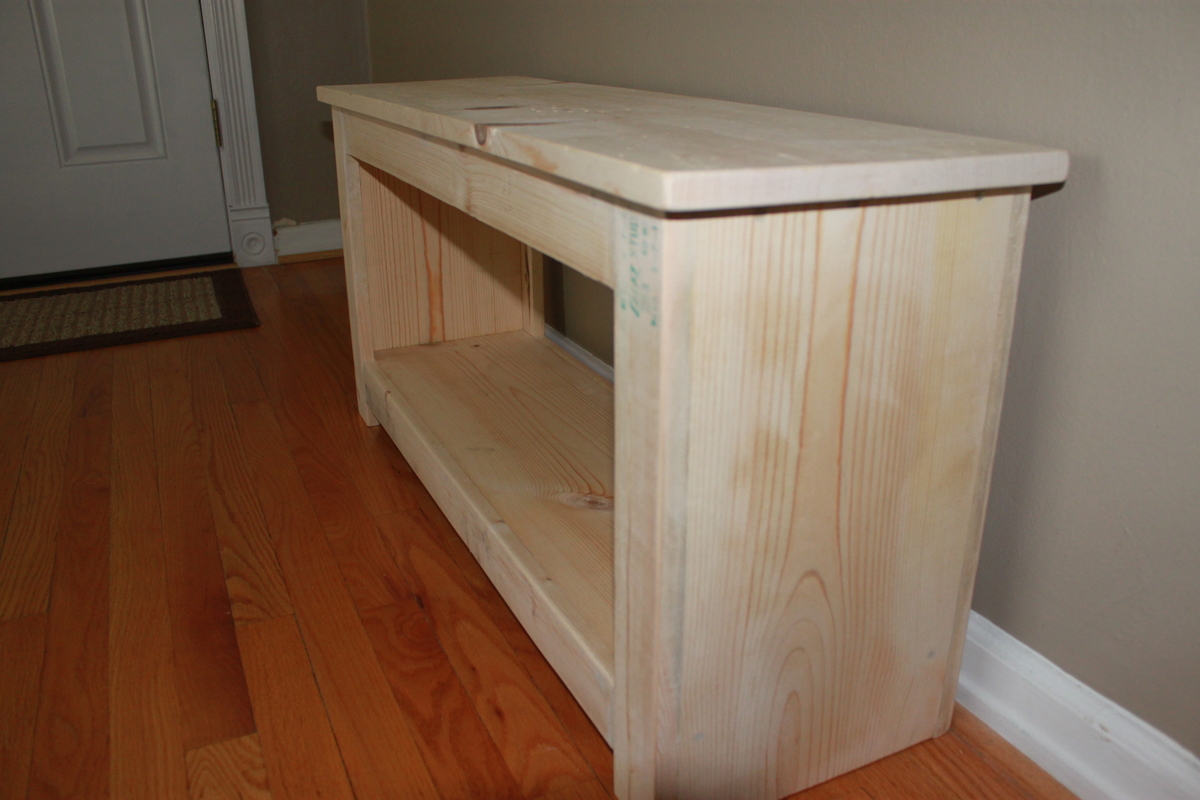
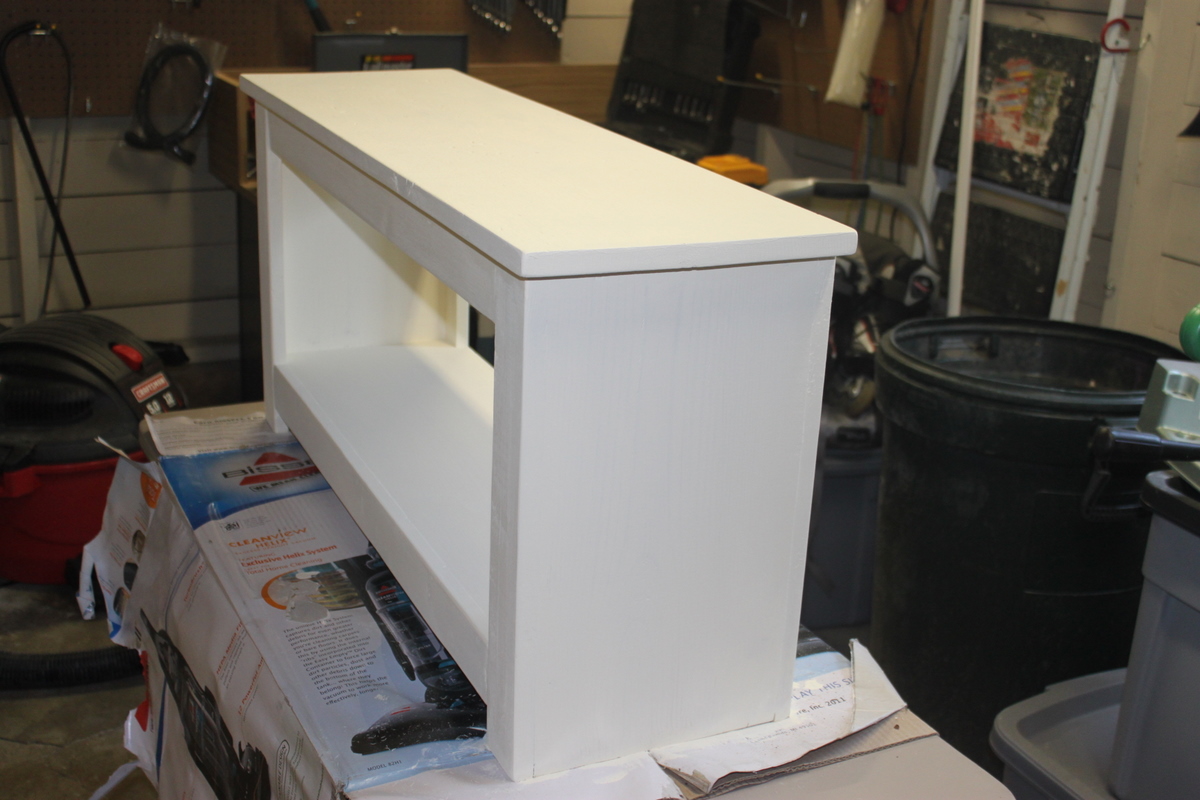
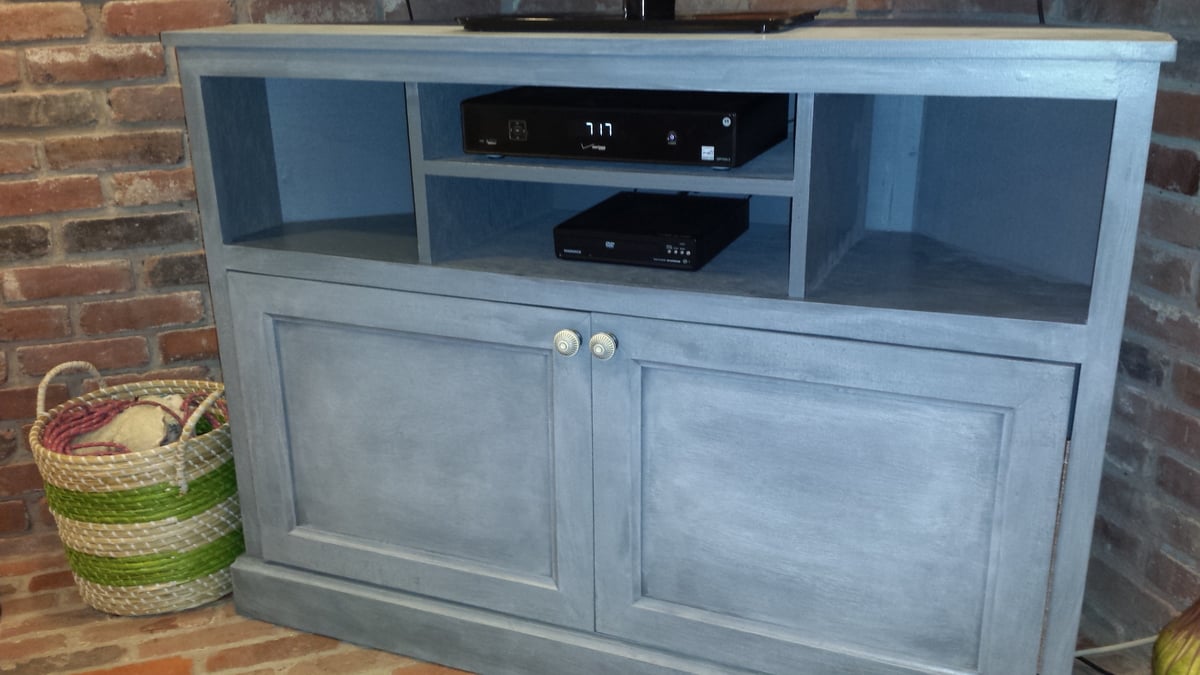
We built the Farmhouse queen bed and fancy X desk for our bedroom. It was relatively easy and looks so great! The bed is made of pine and cedar. (It is really really hard to find pine 4x4 posts that aren't pressure treated around here.) We used pine for the desk. Paint color on the bed and base of the desk is Behr "Polar bear" with a coffee stain distress. The desk top is Benjamin Moore "Dash of pepper." The bed cost about $175 to build and the desk cost $30. (We used a lot of scraps for the desk.)


Built from Plan(s)
Estimated Time Investment
Weekend Project (10-20 Hours)
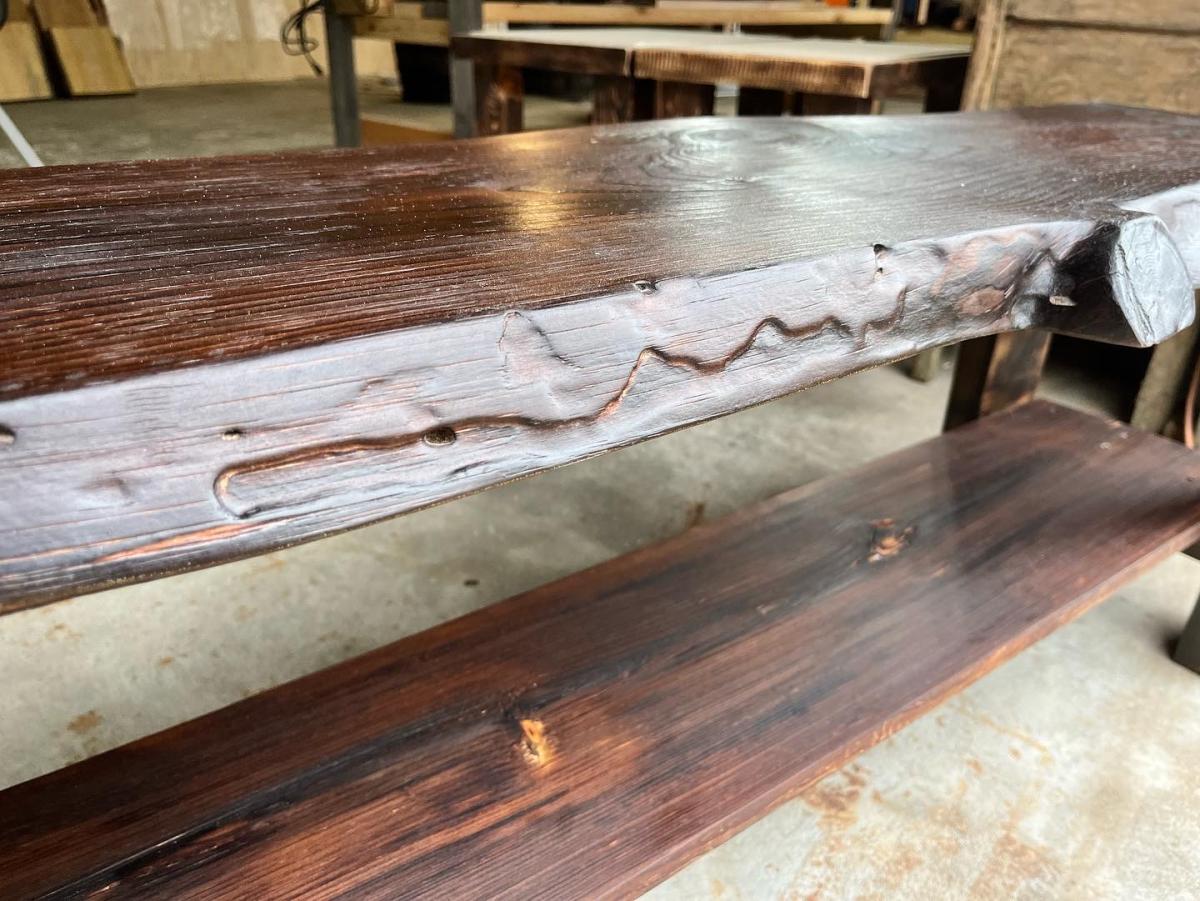
Finish Used
Behr Polar Bear paint, Benjamin Moore Dash of Pepper paint, coffee stain distress.
Recommended Skill Level
Beginner


Comments
JoanneS
Thu, 09/05/2013 - 17:03
Beautiful!
Your bed and desk are beautiful! Great job on this build, and I love the colors!
wjc129
Mon, 09/23/2013 - 10:23
Did you prime before you
Did you prime before you distressed?