Community Brag Posts

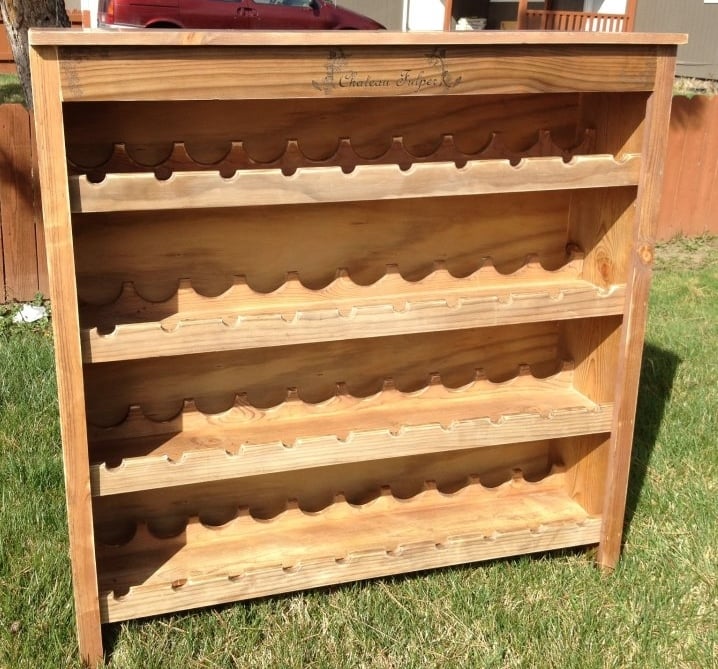
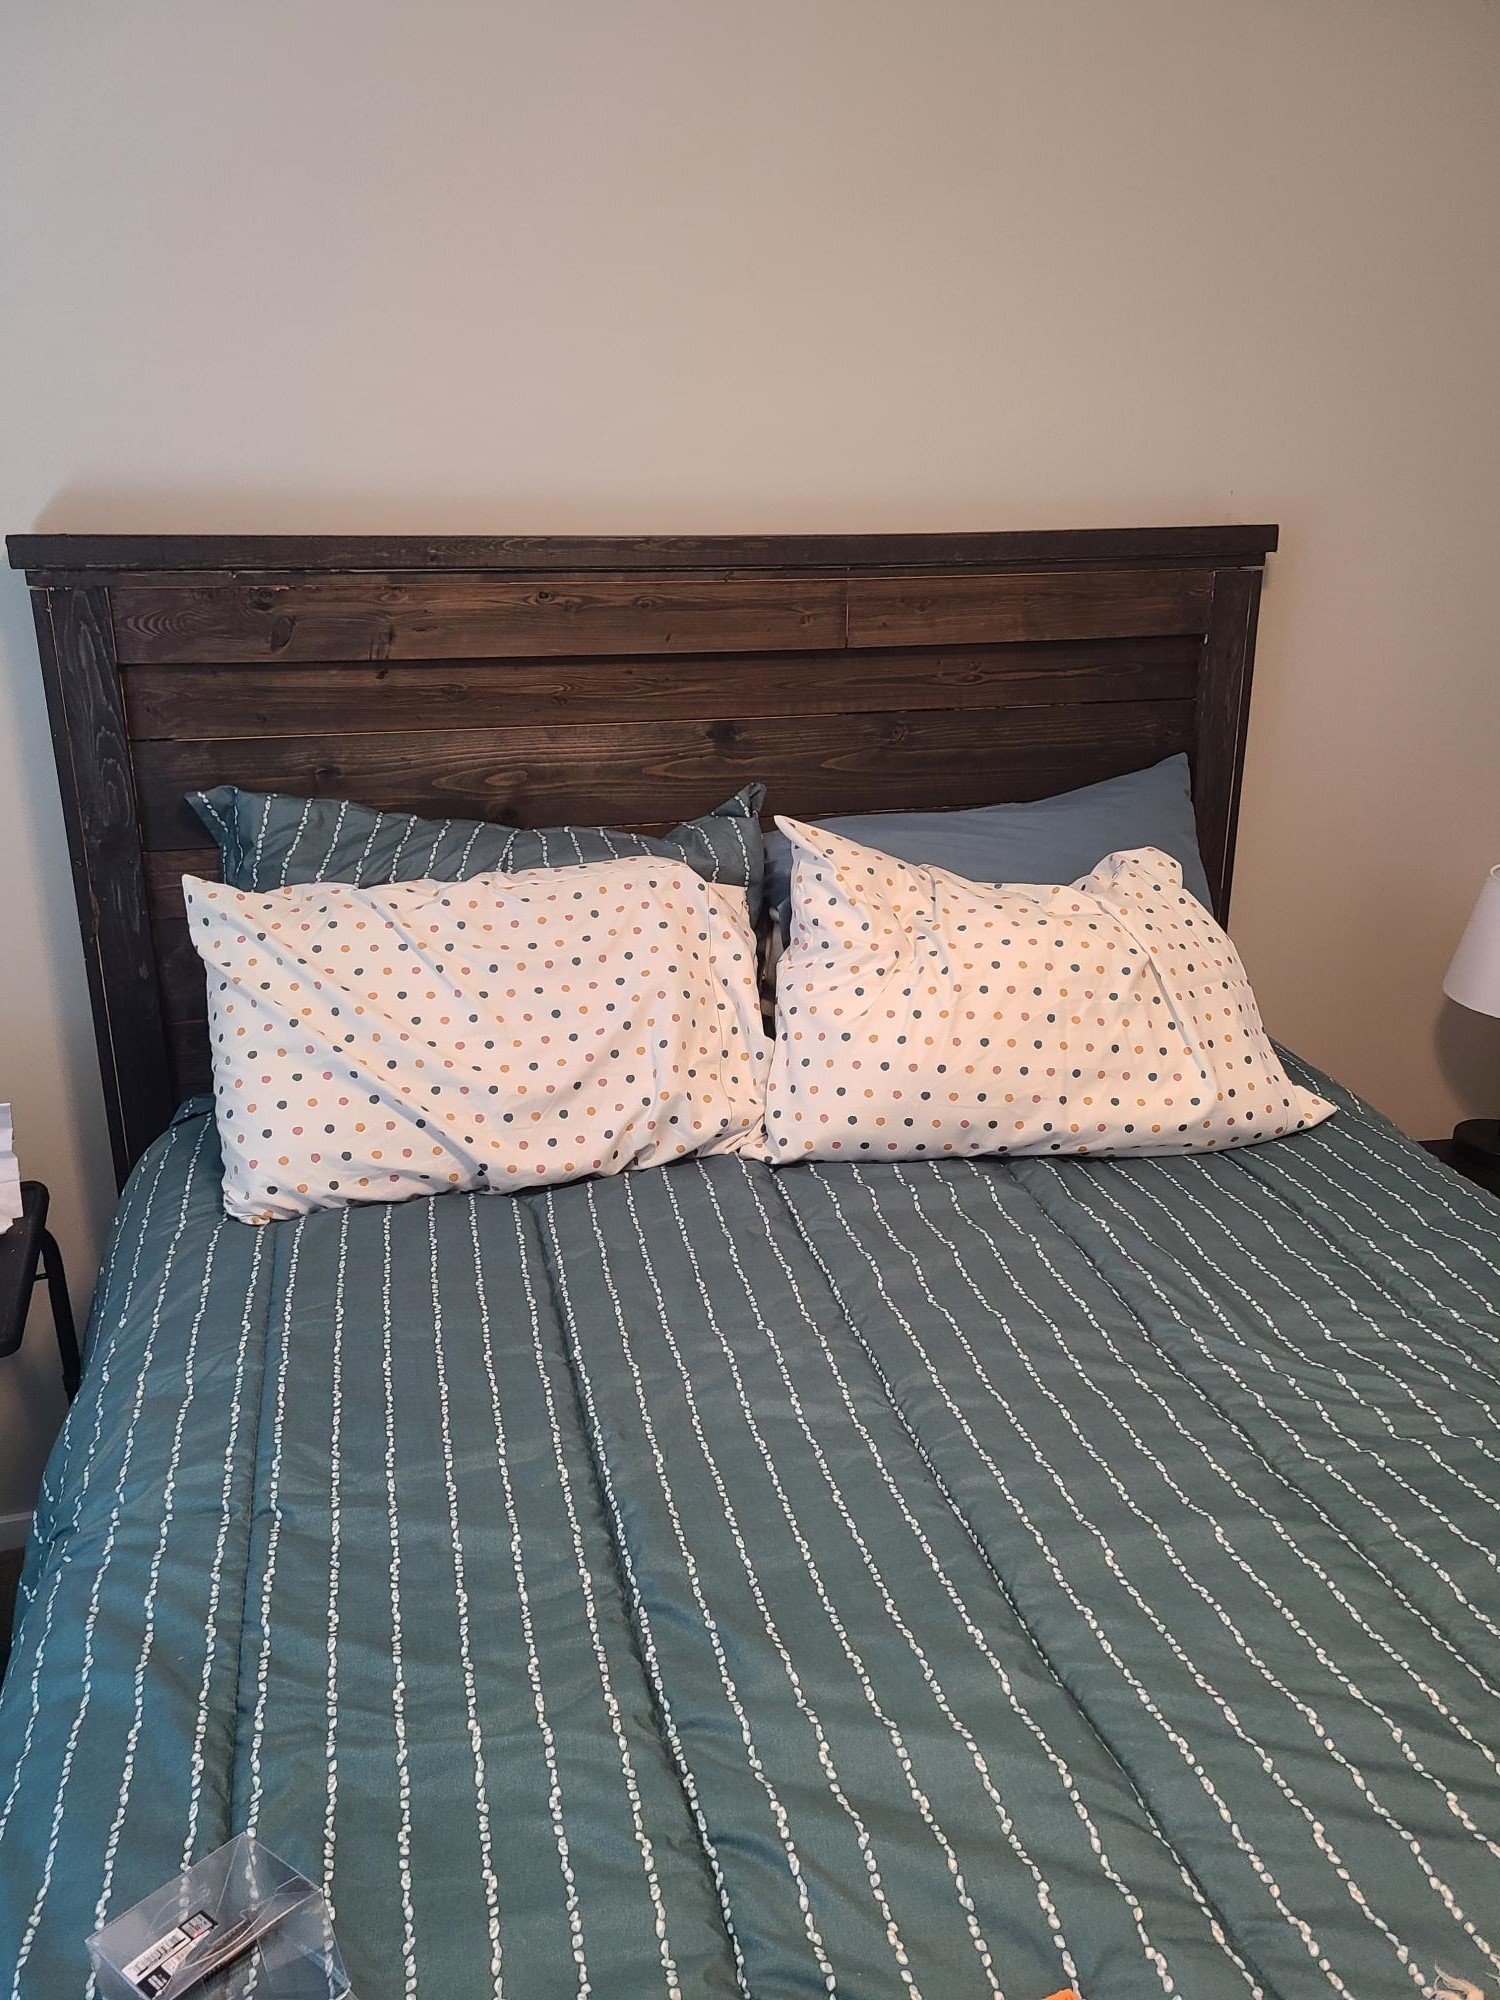
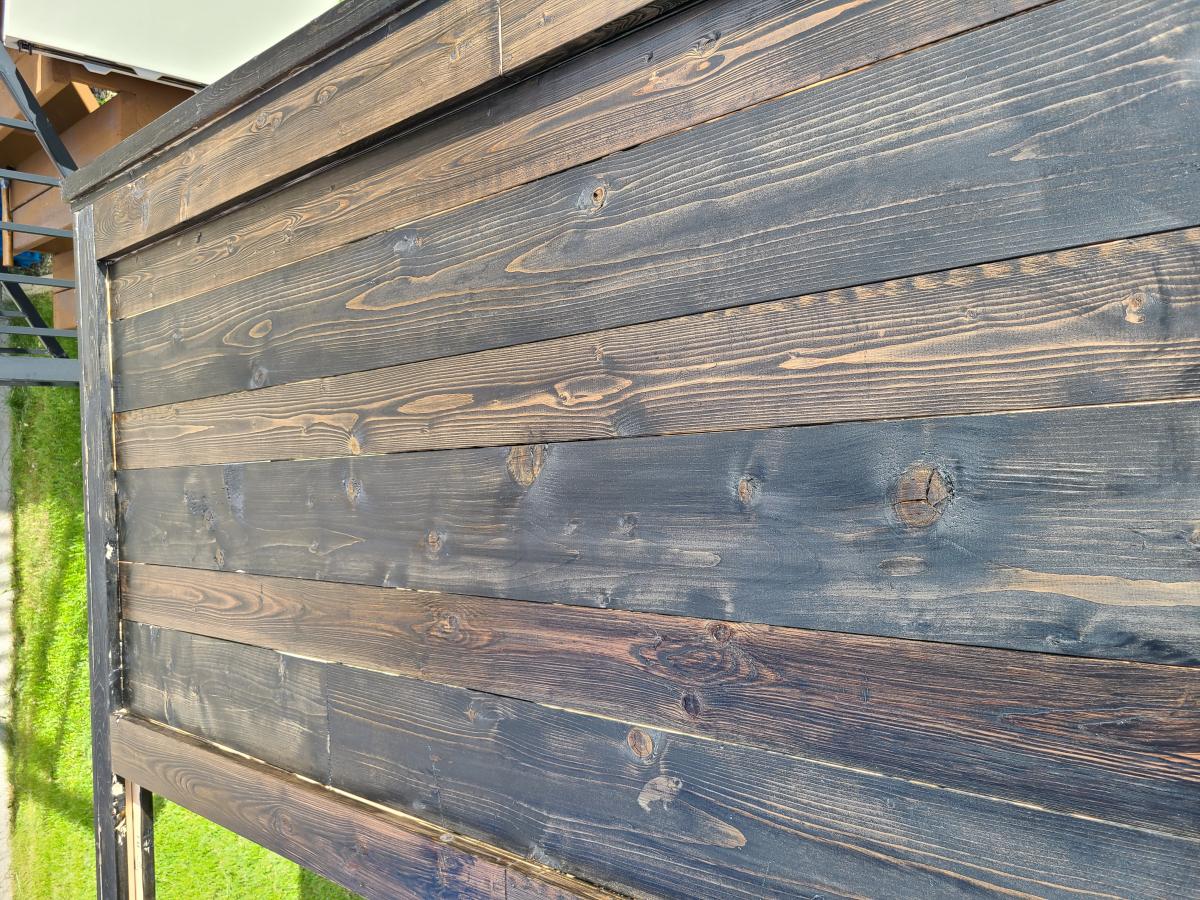
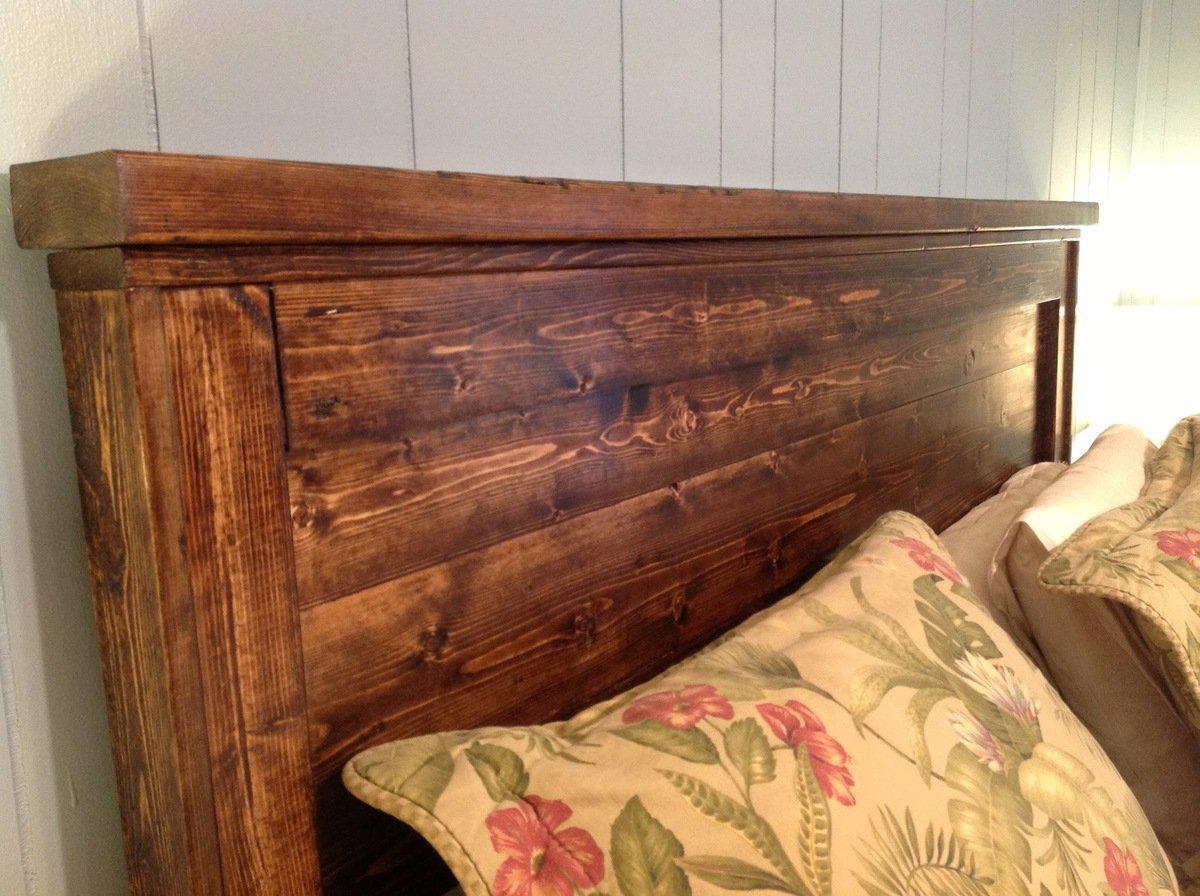
Reclaimed-wood headboard queen

Submitted by dianek on Fri, 01/25/2013 - 07:25

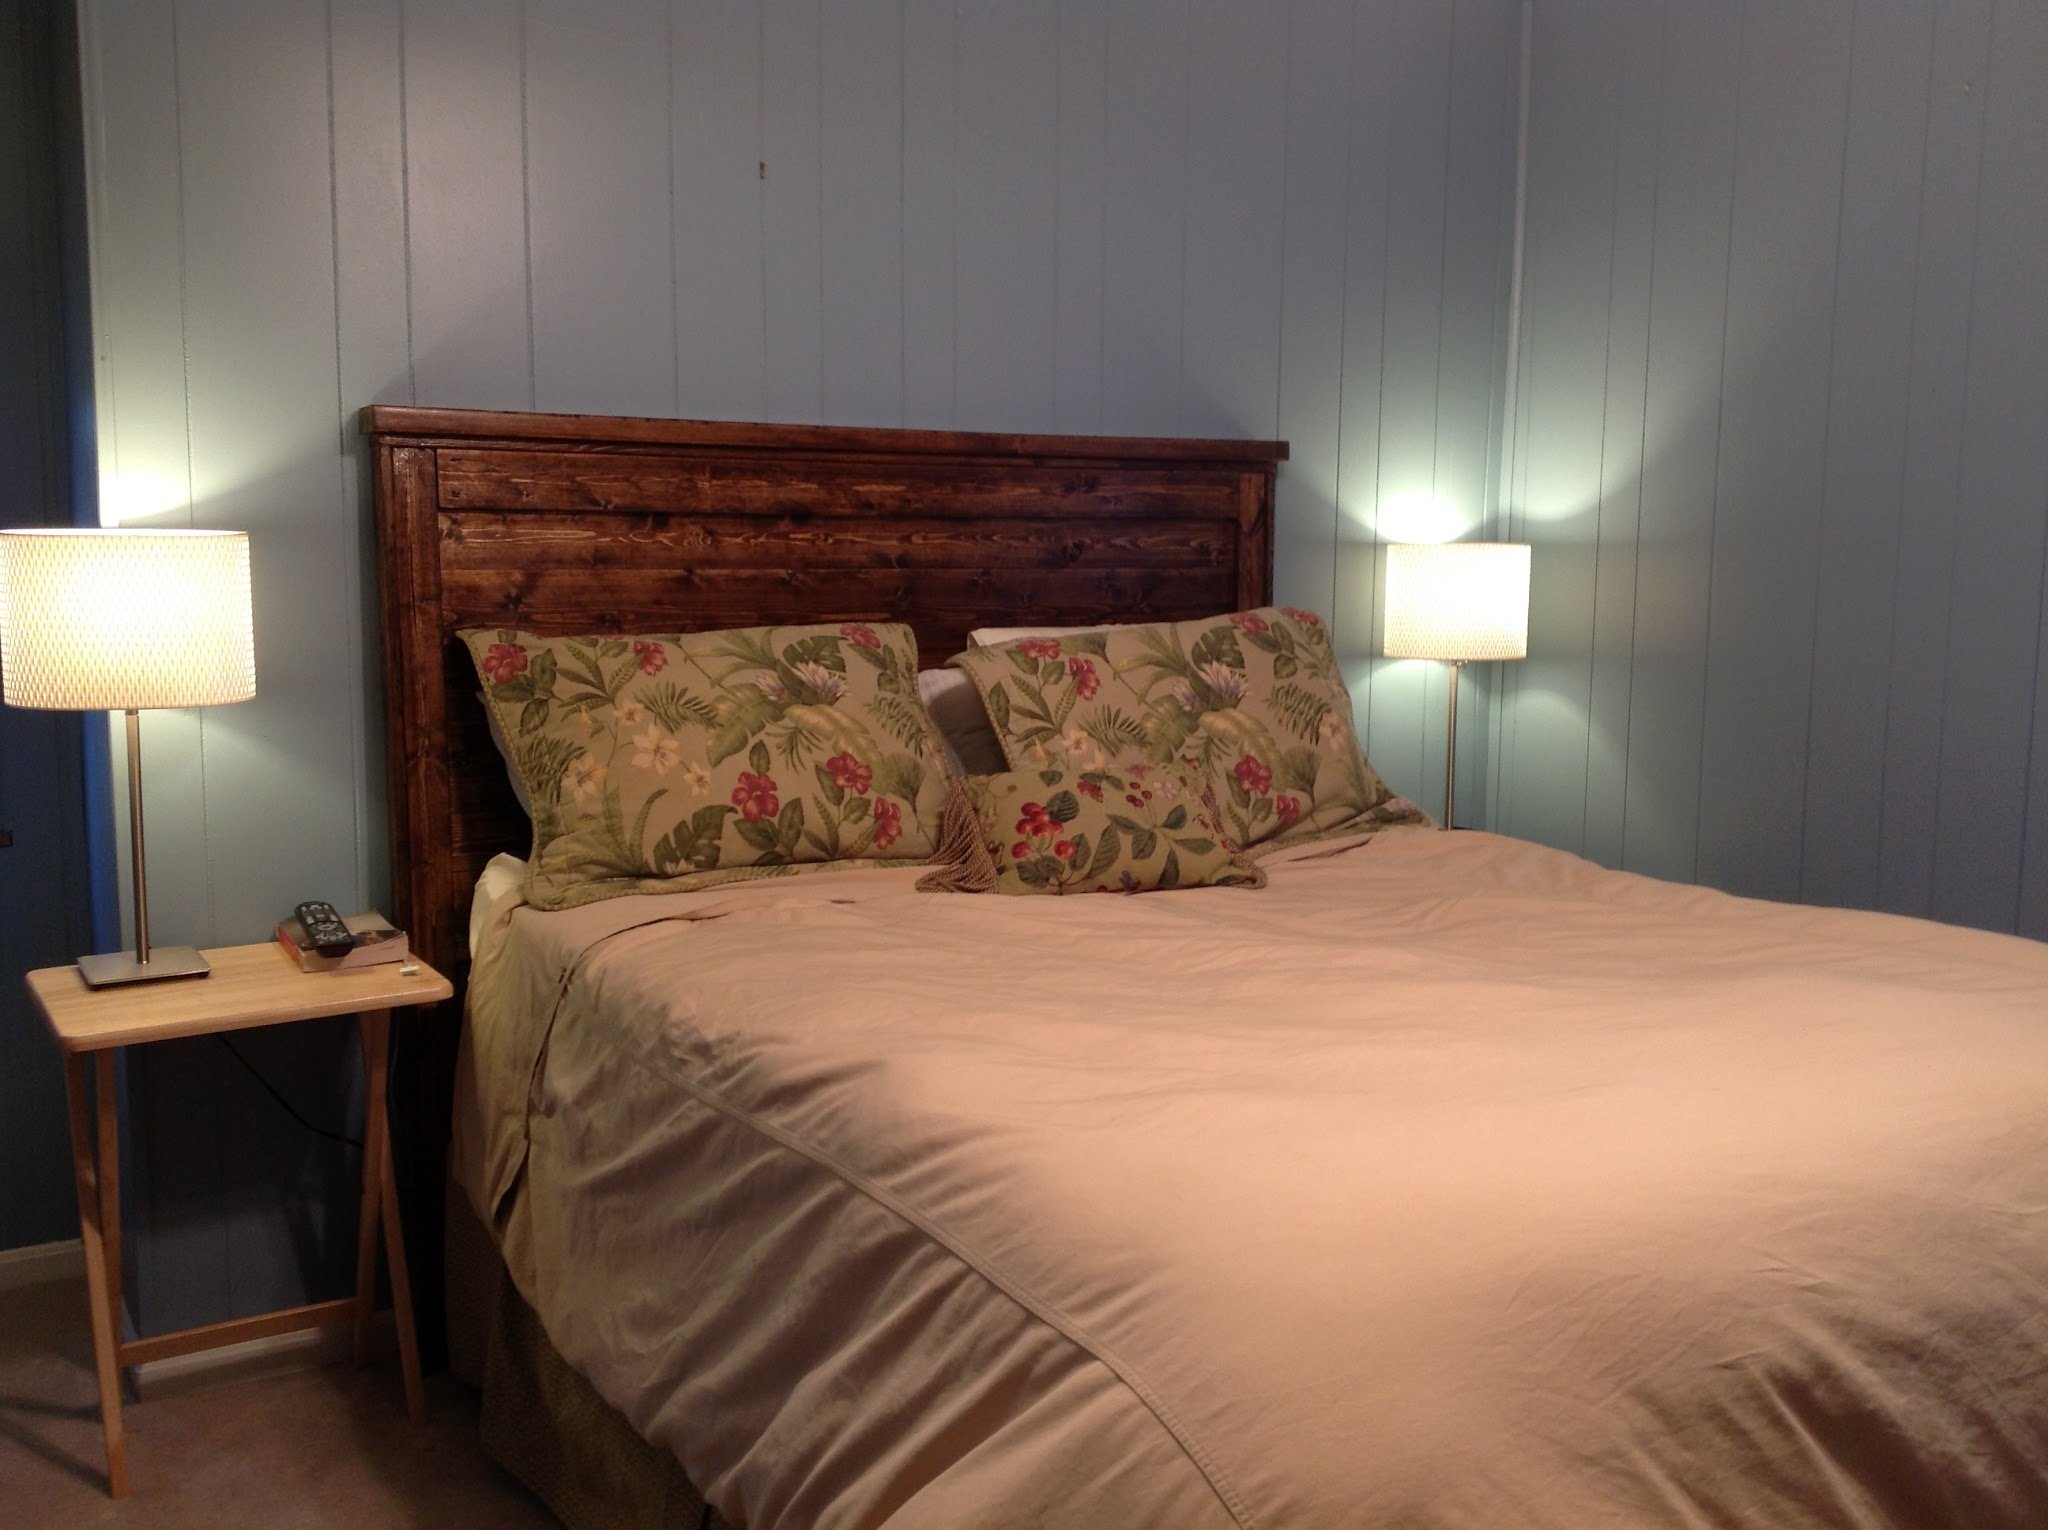
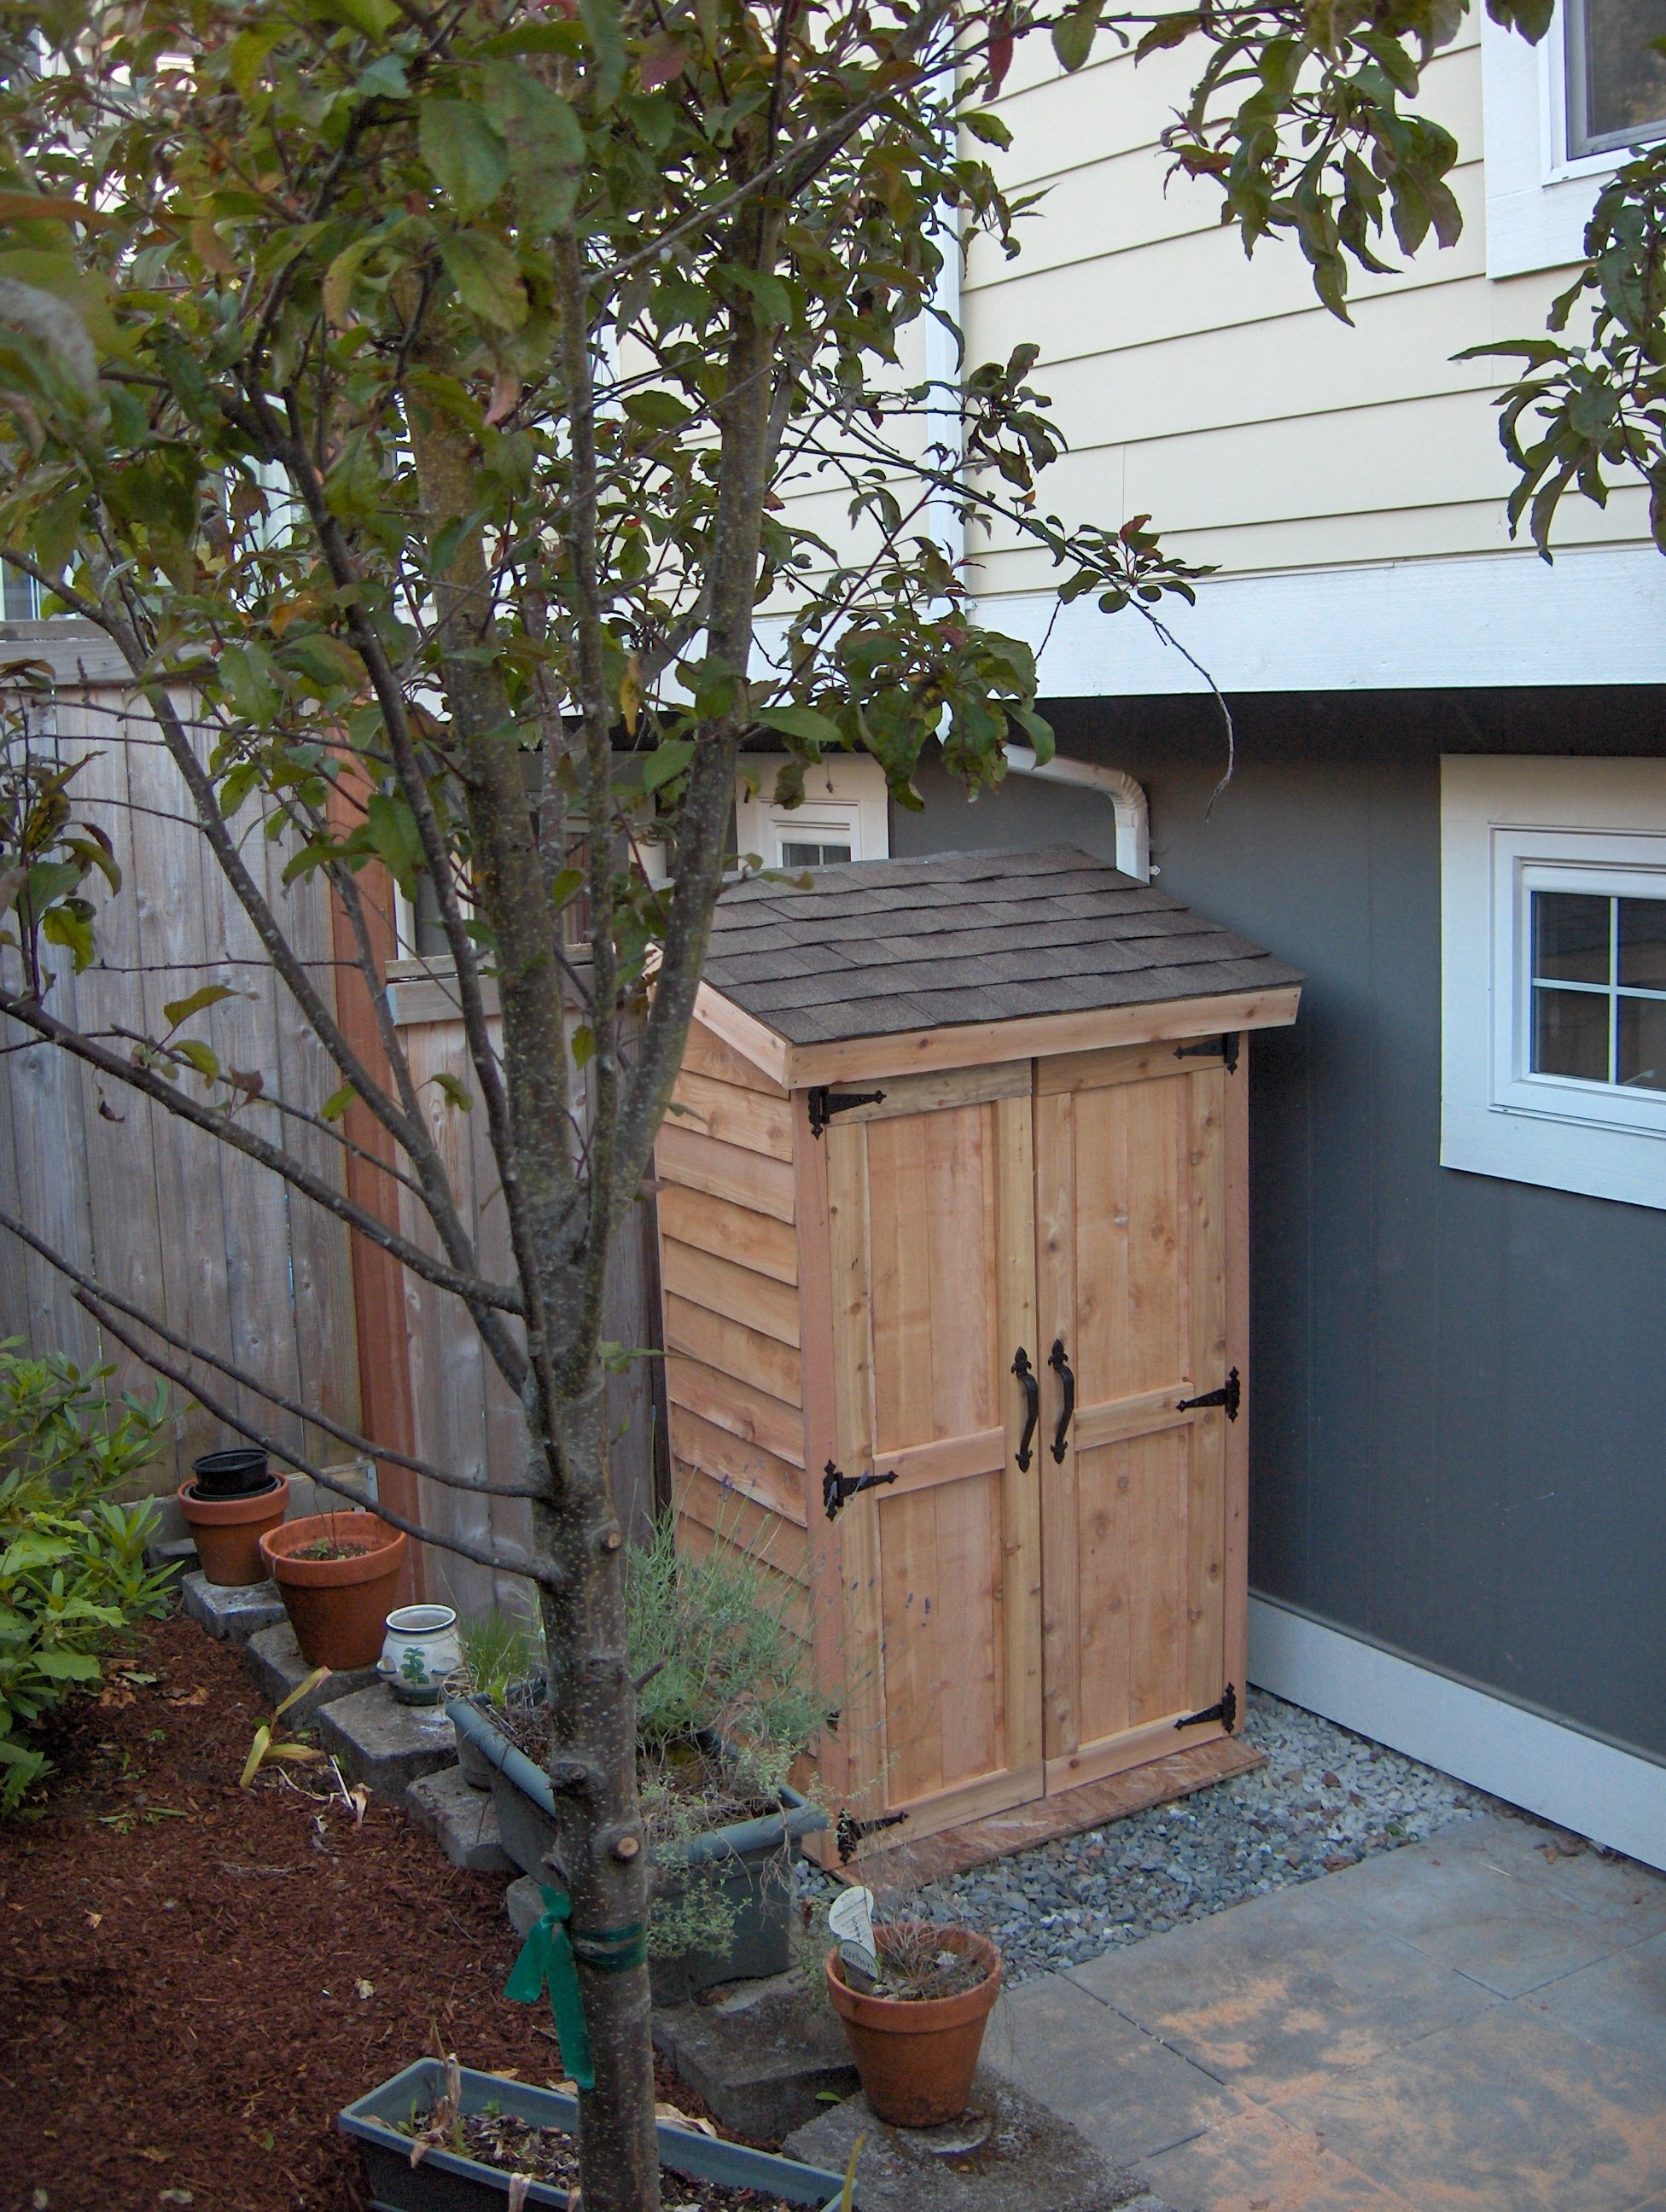
Super easy project with huge results!

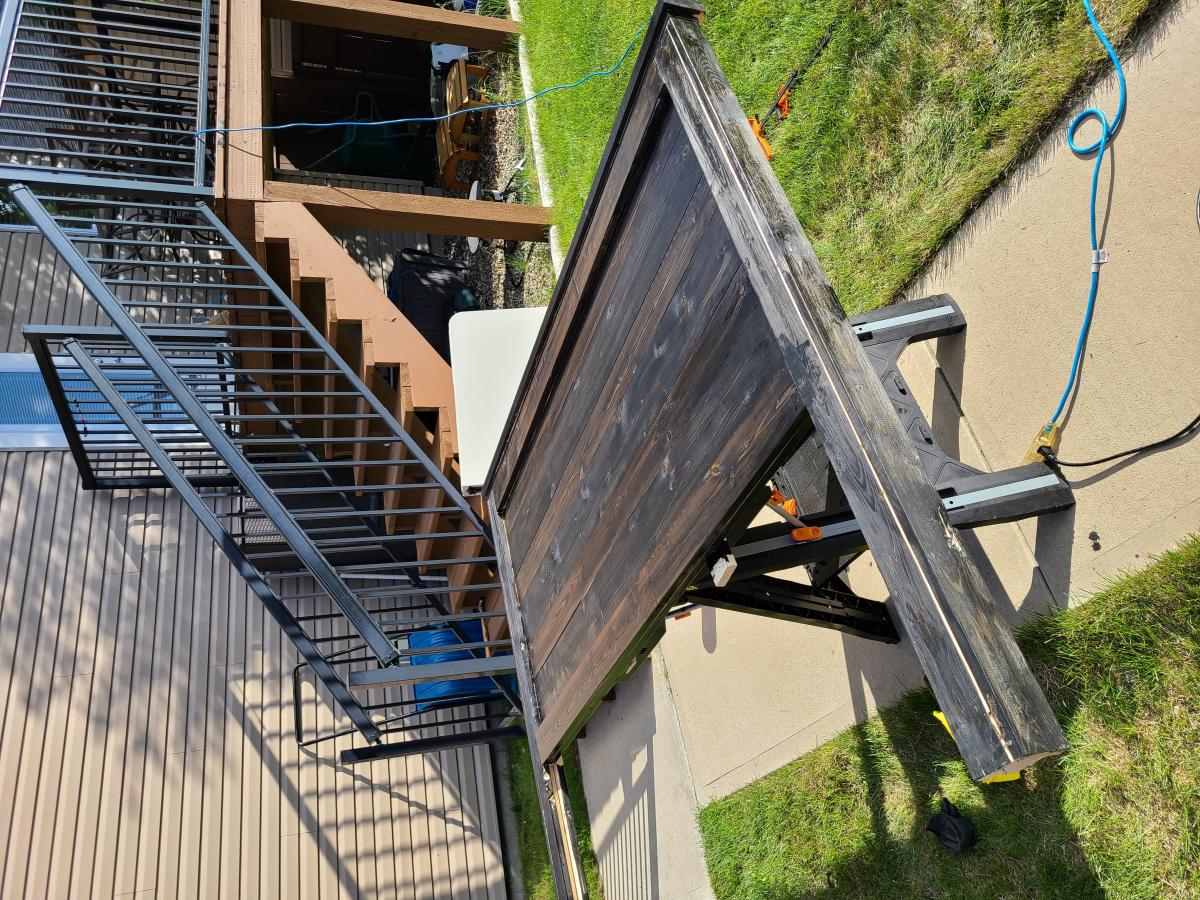
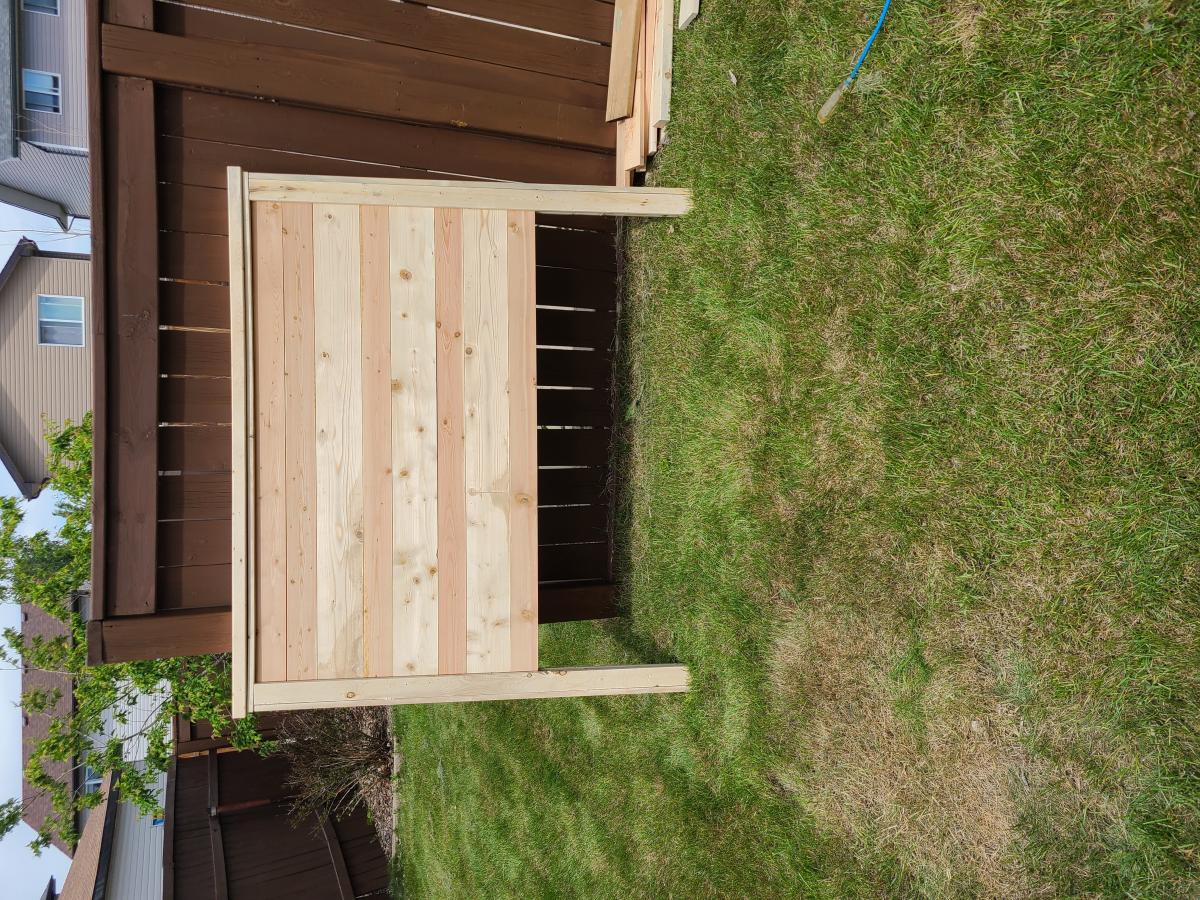
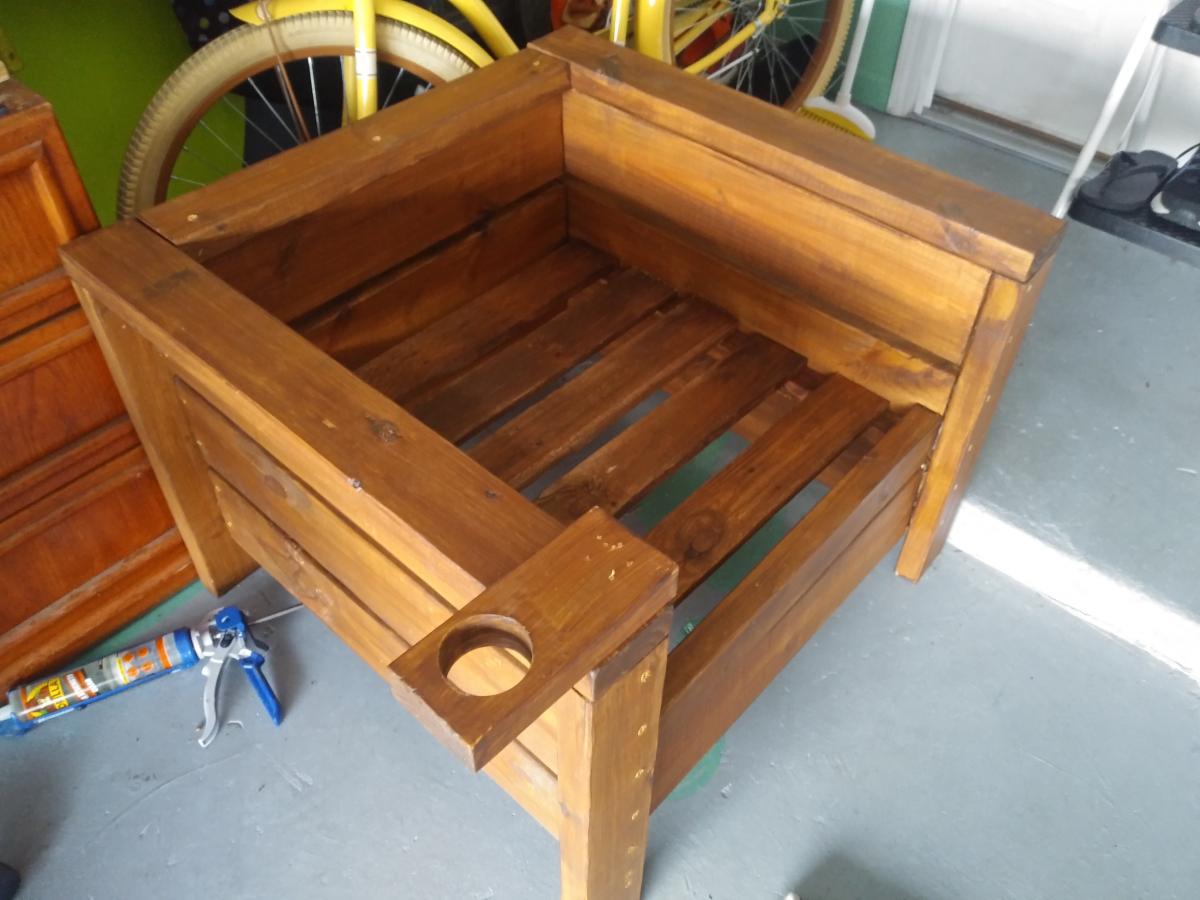
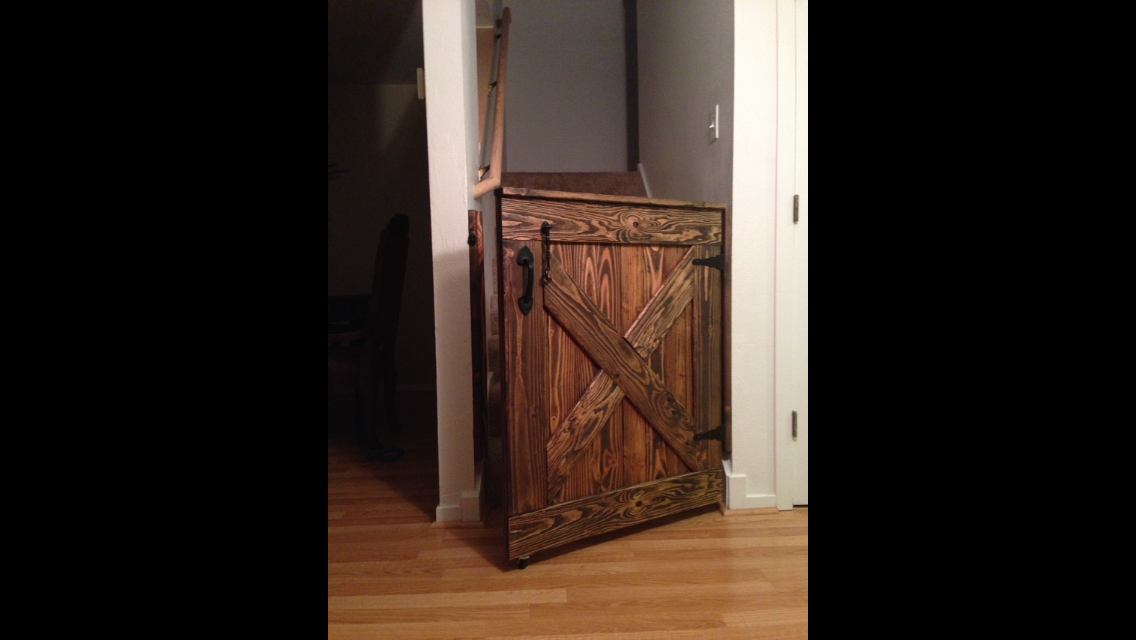
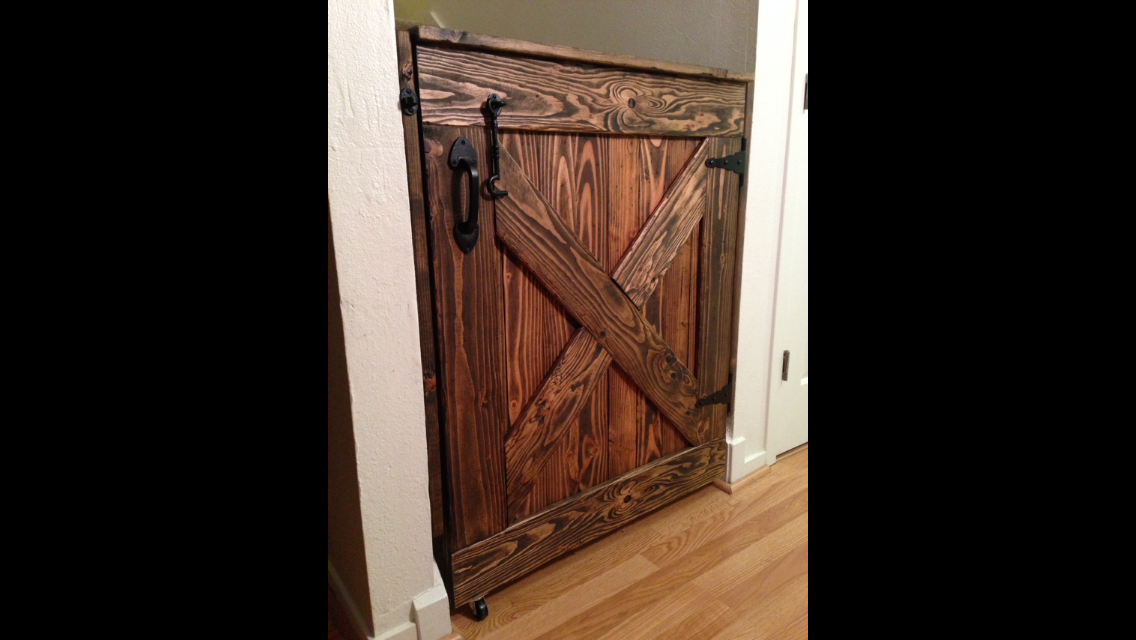
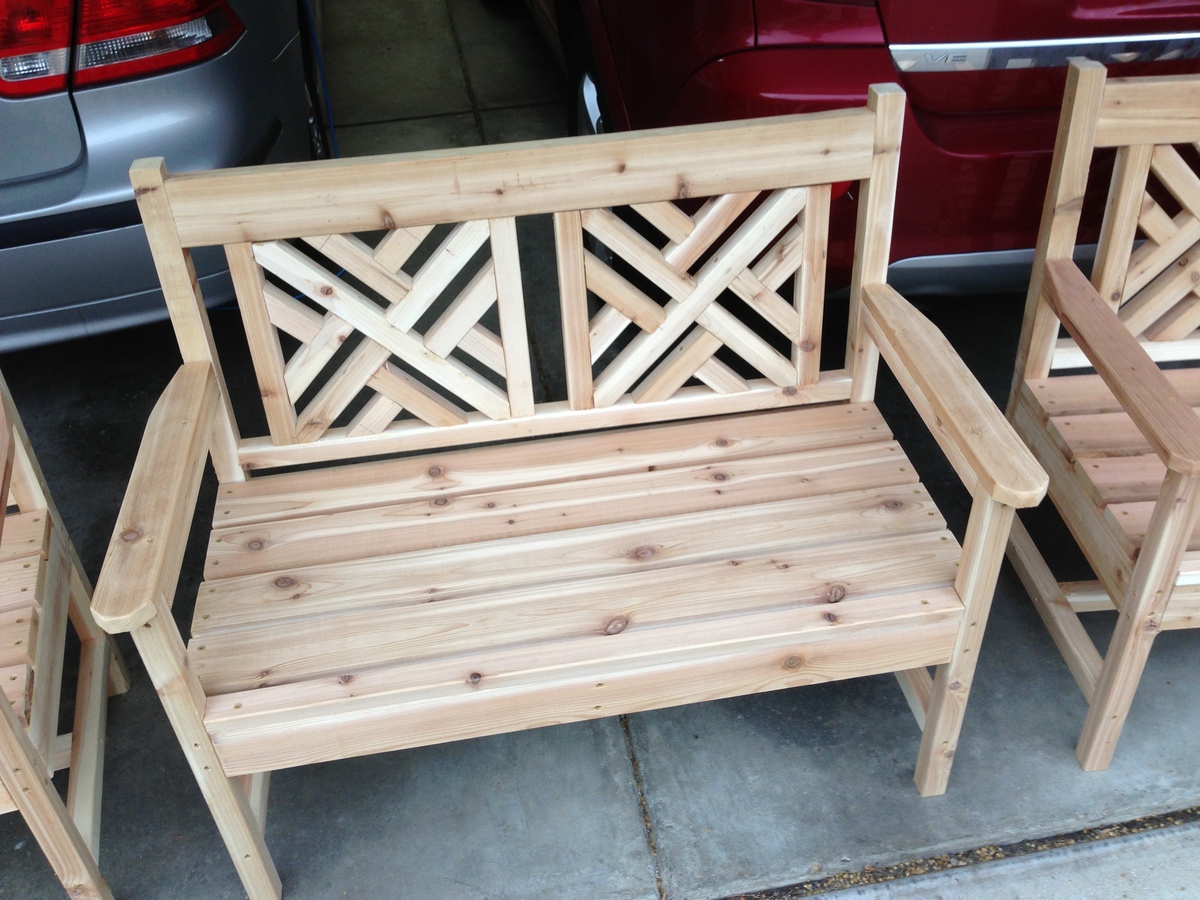
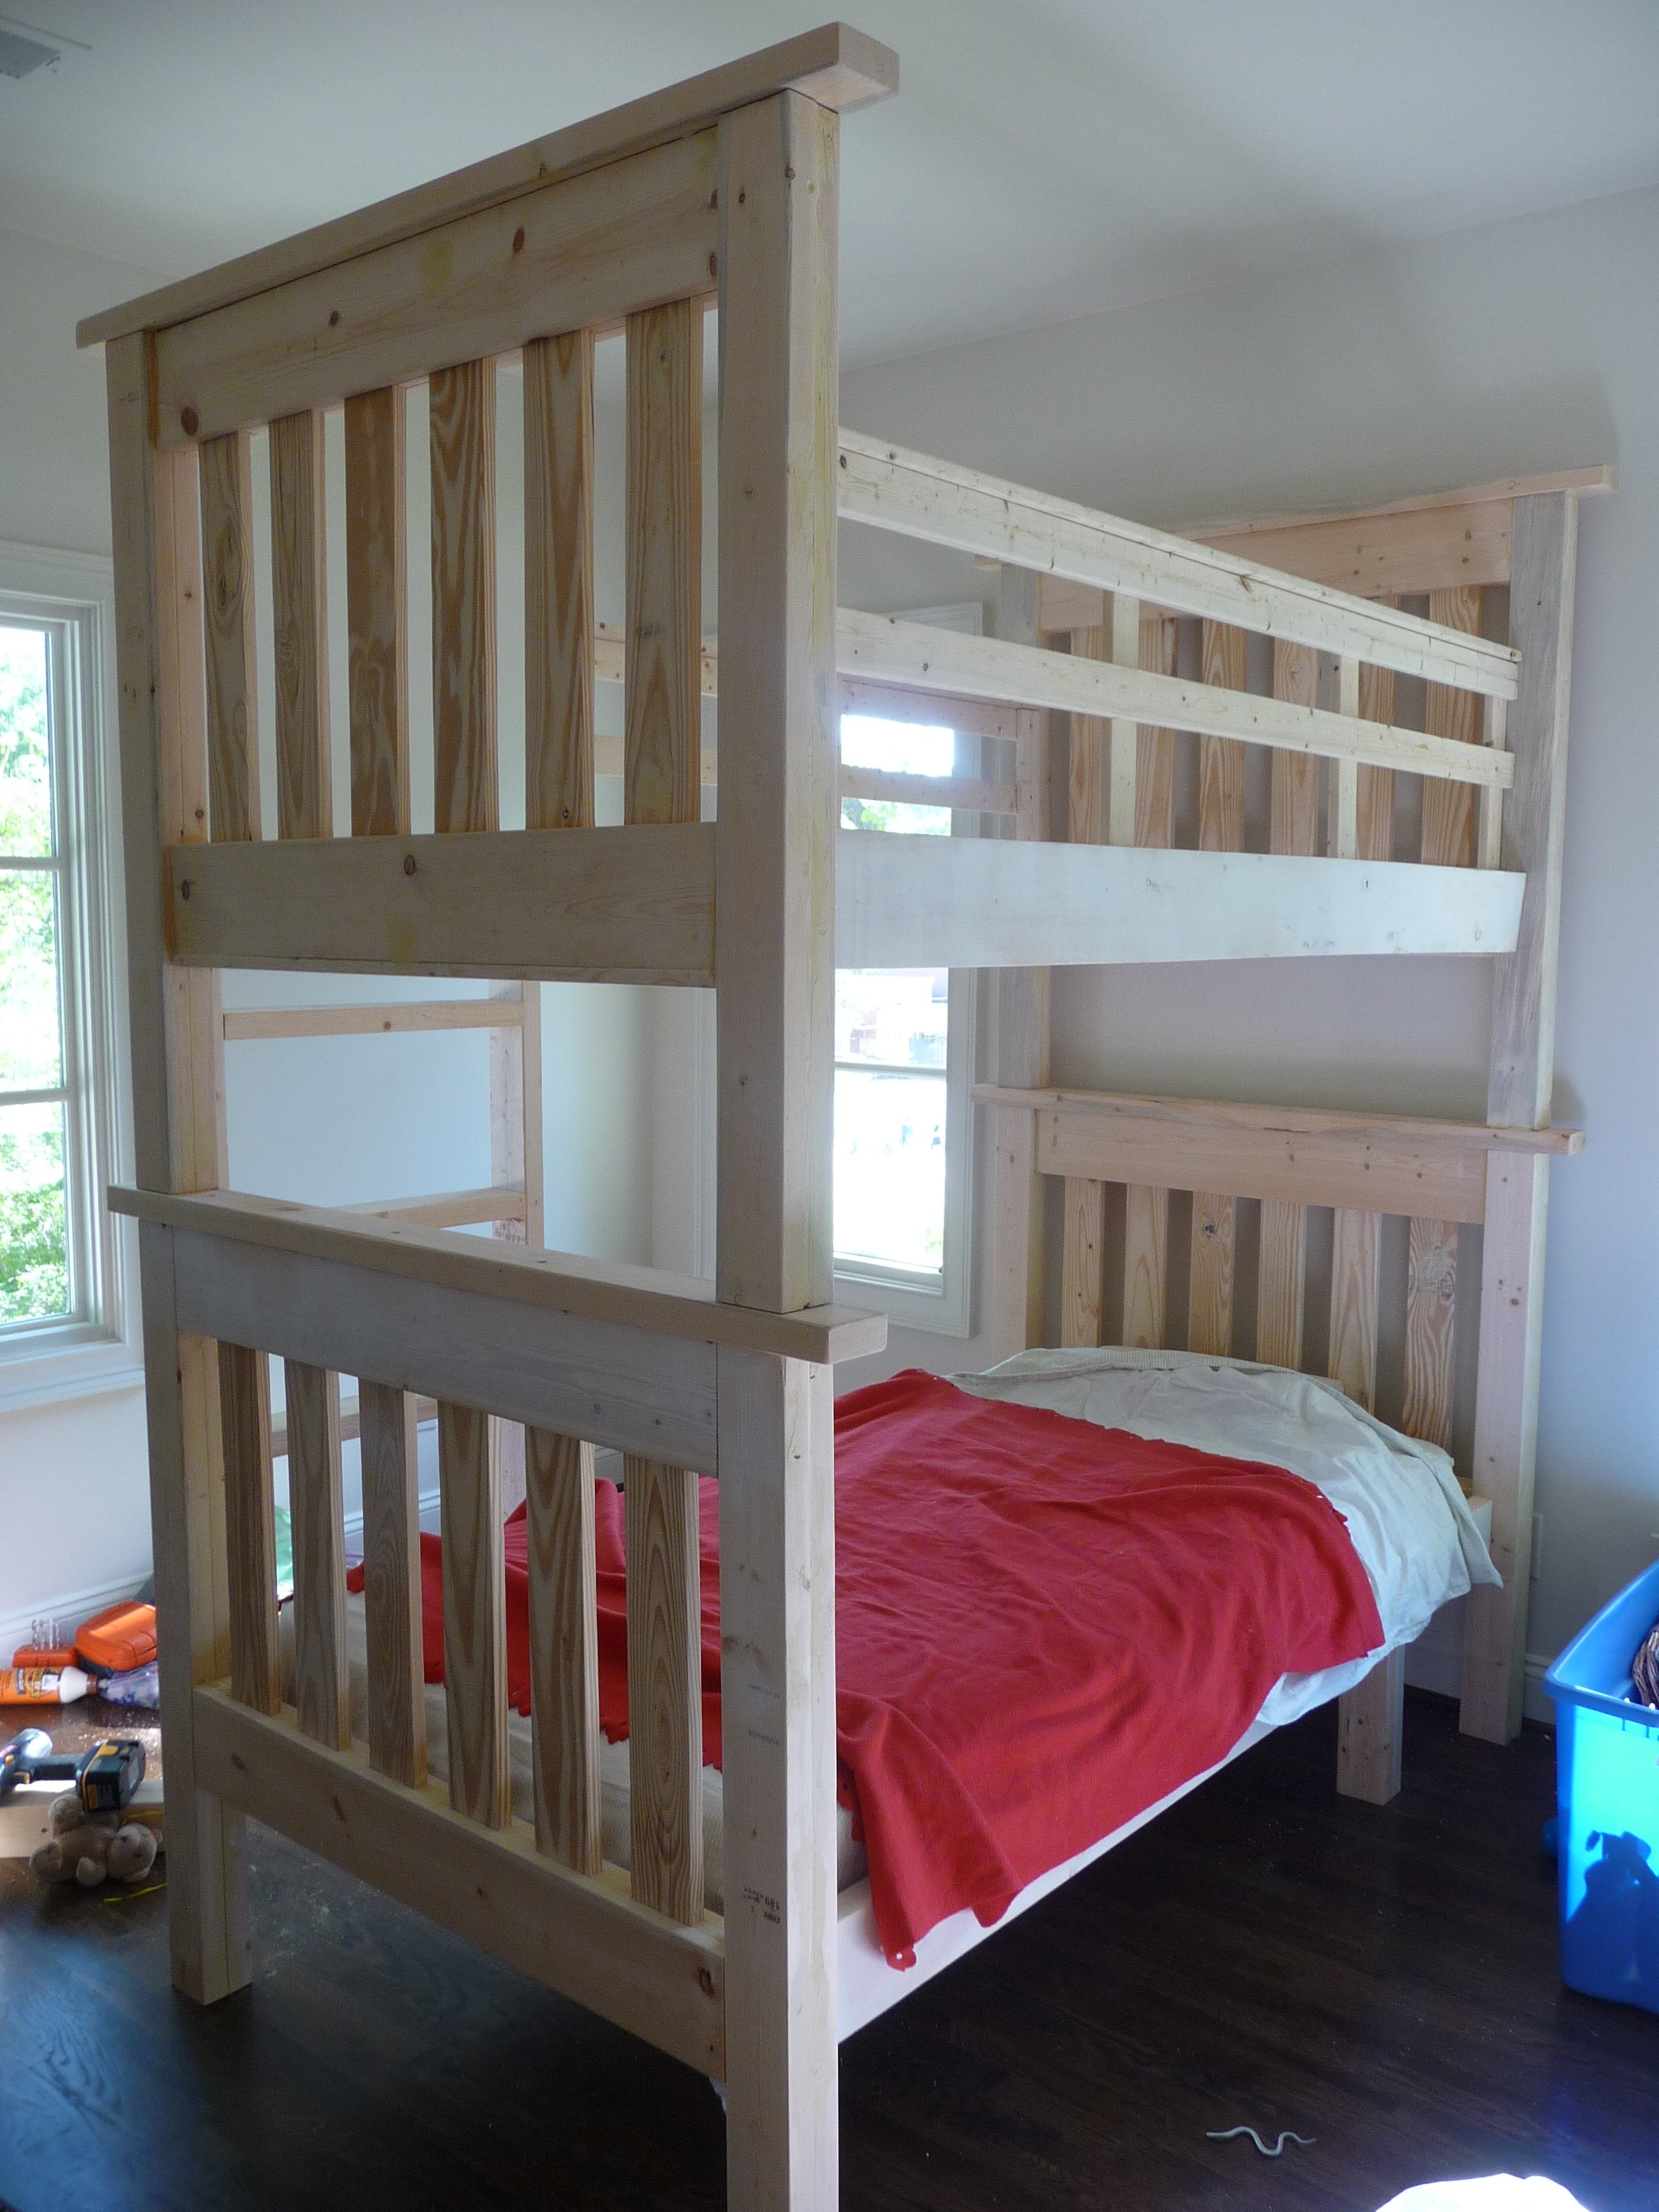
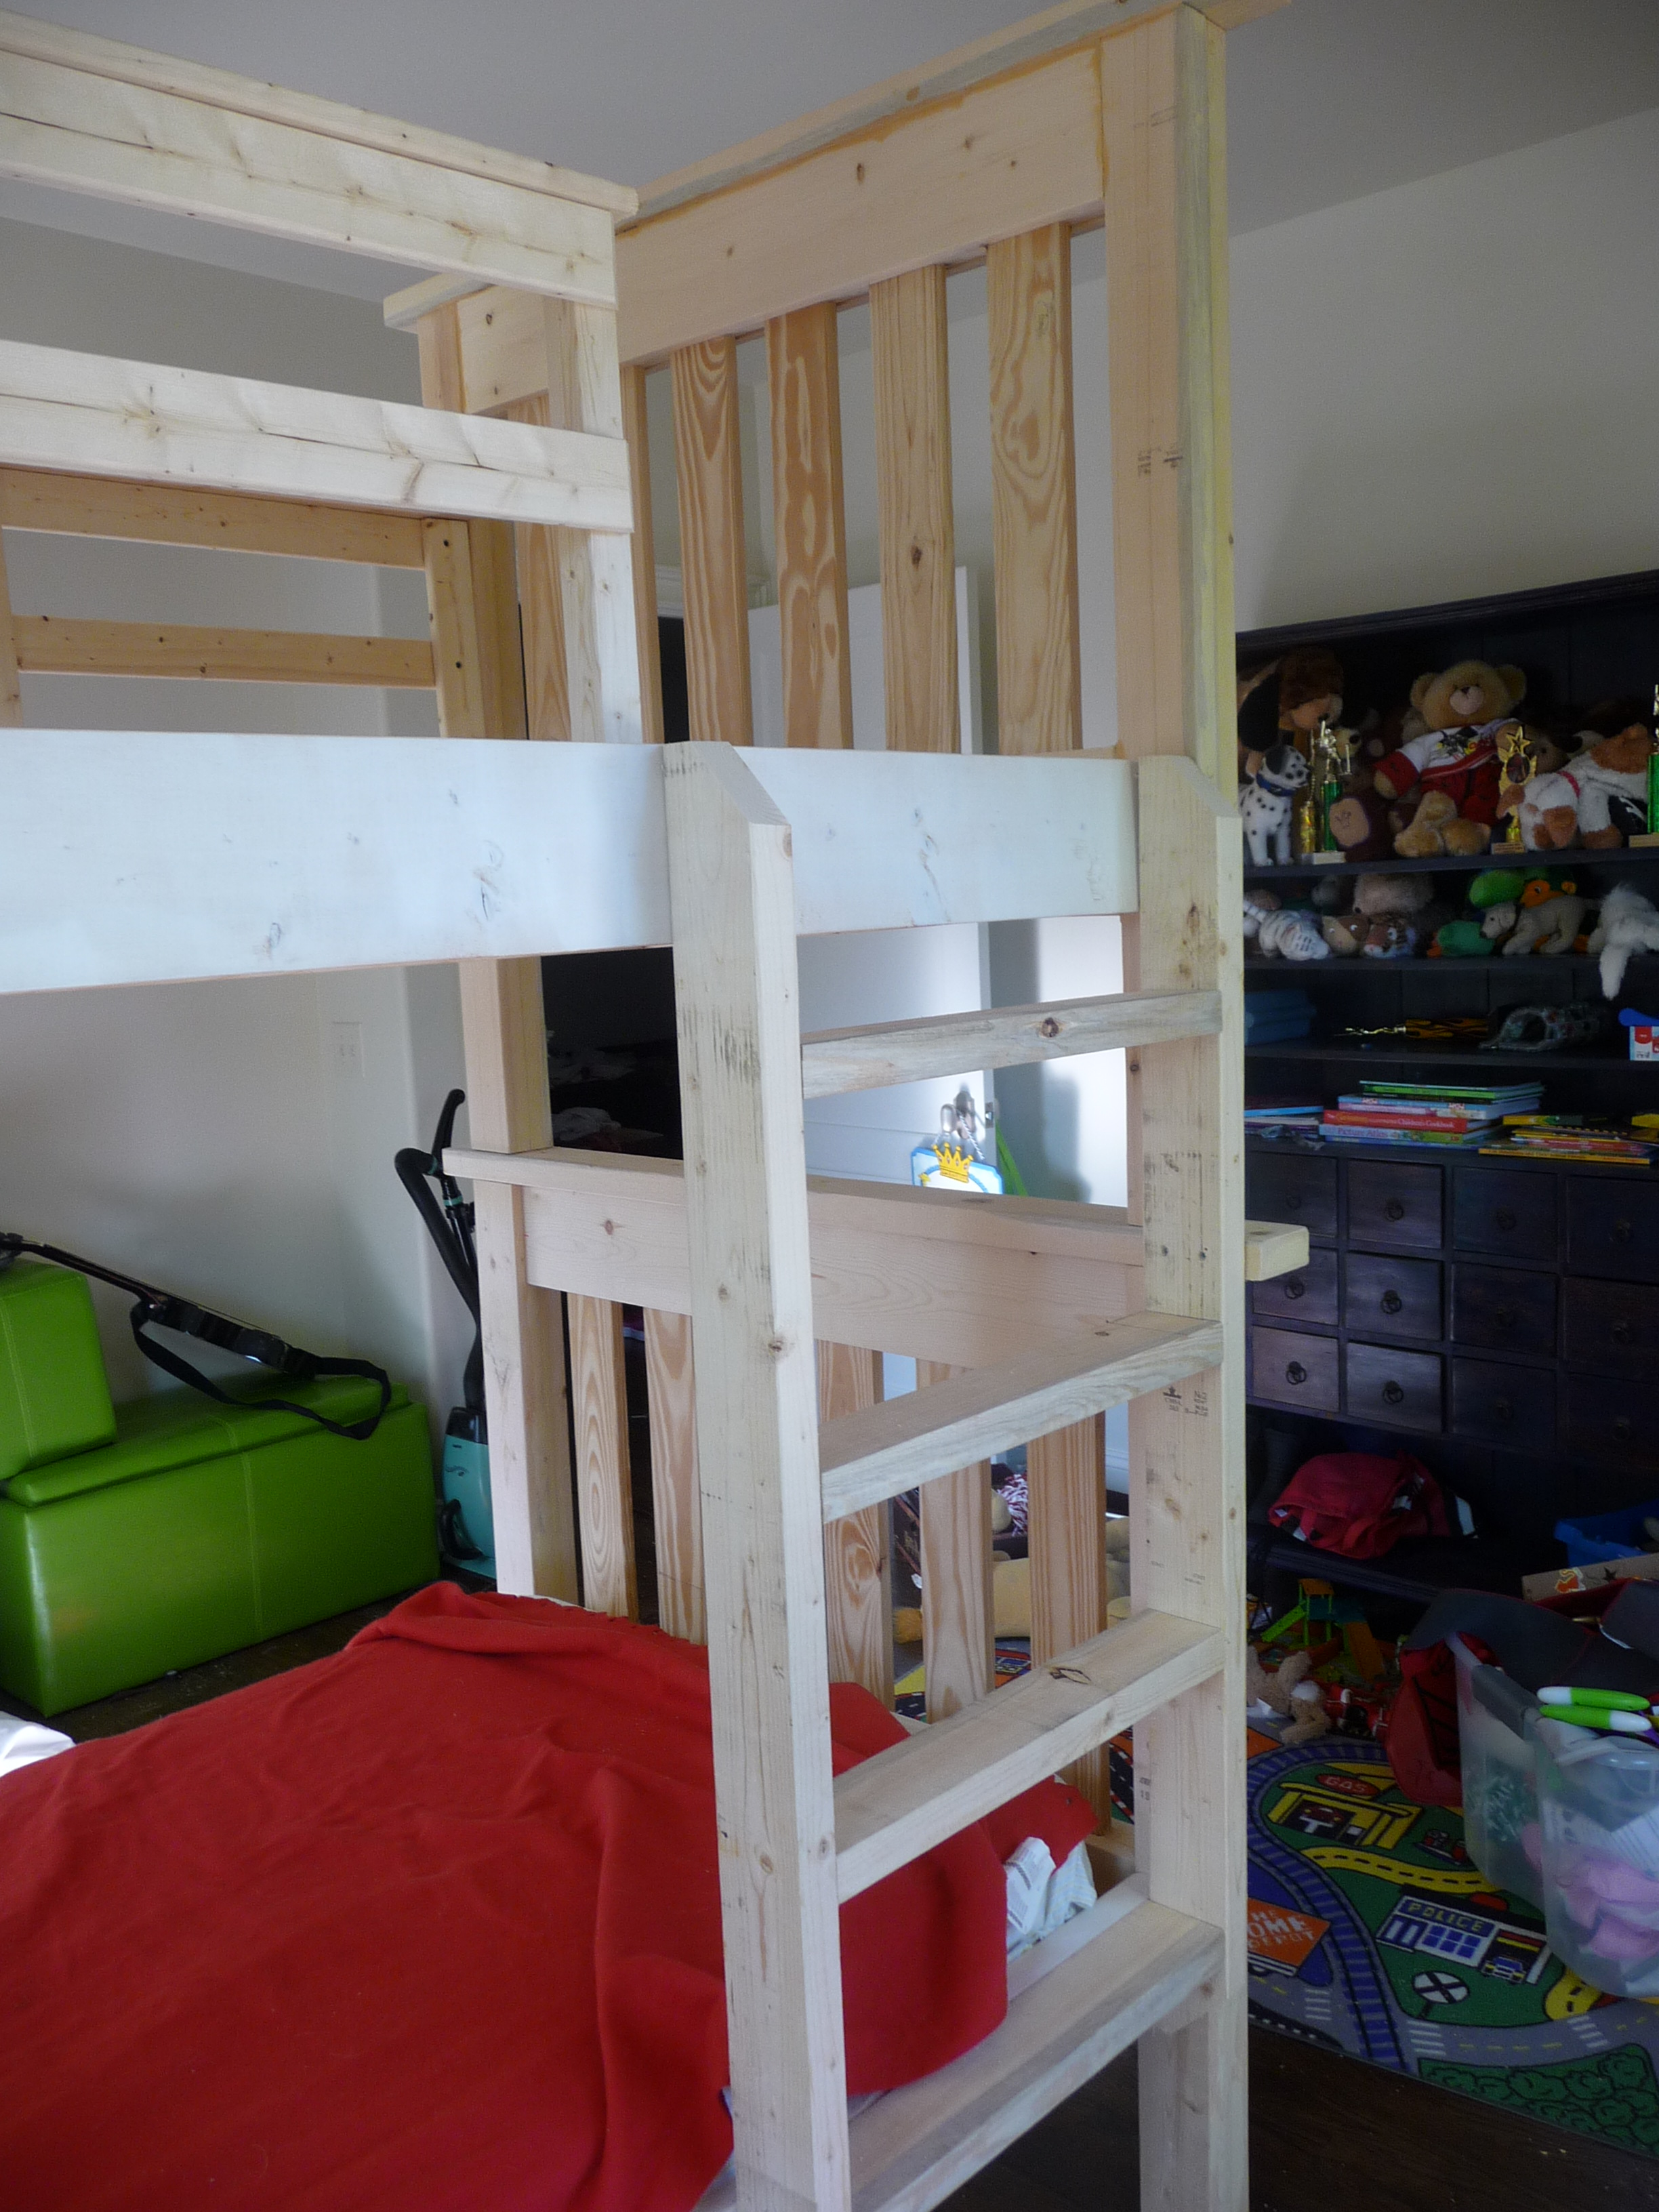
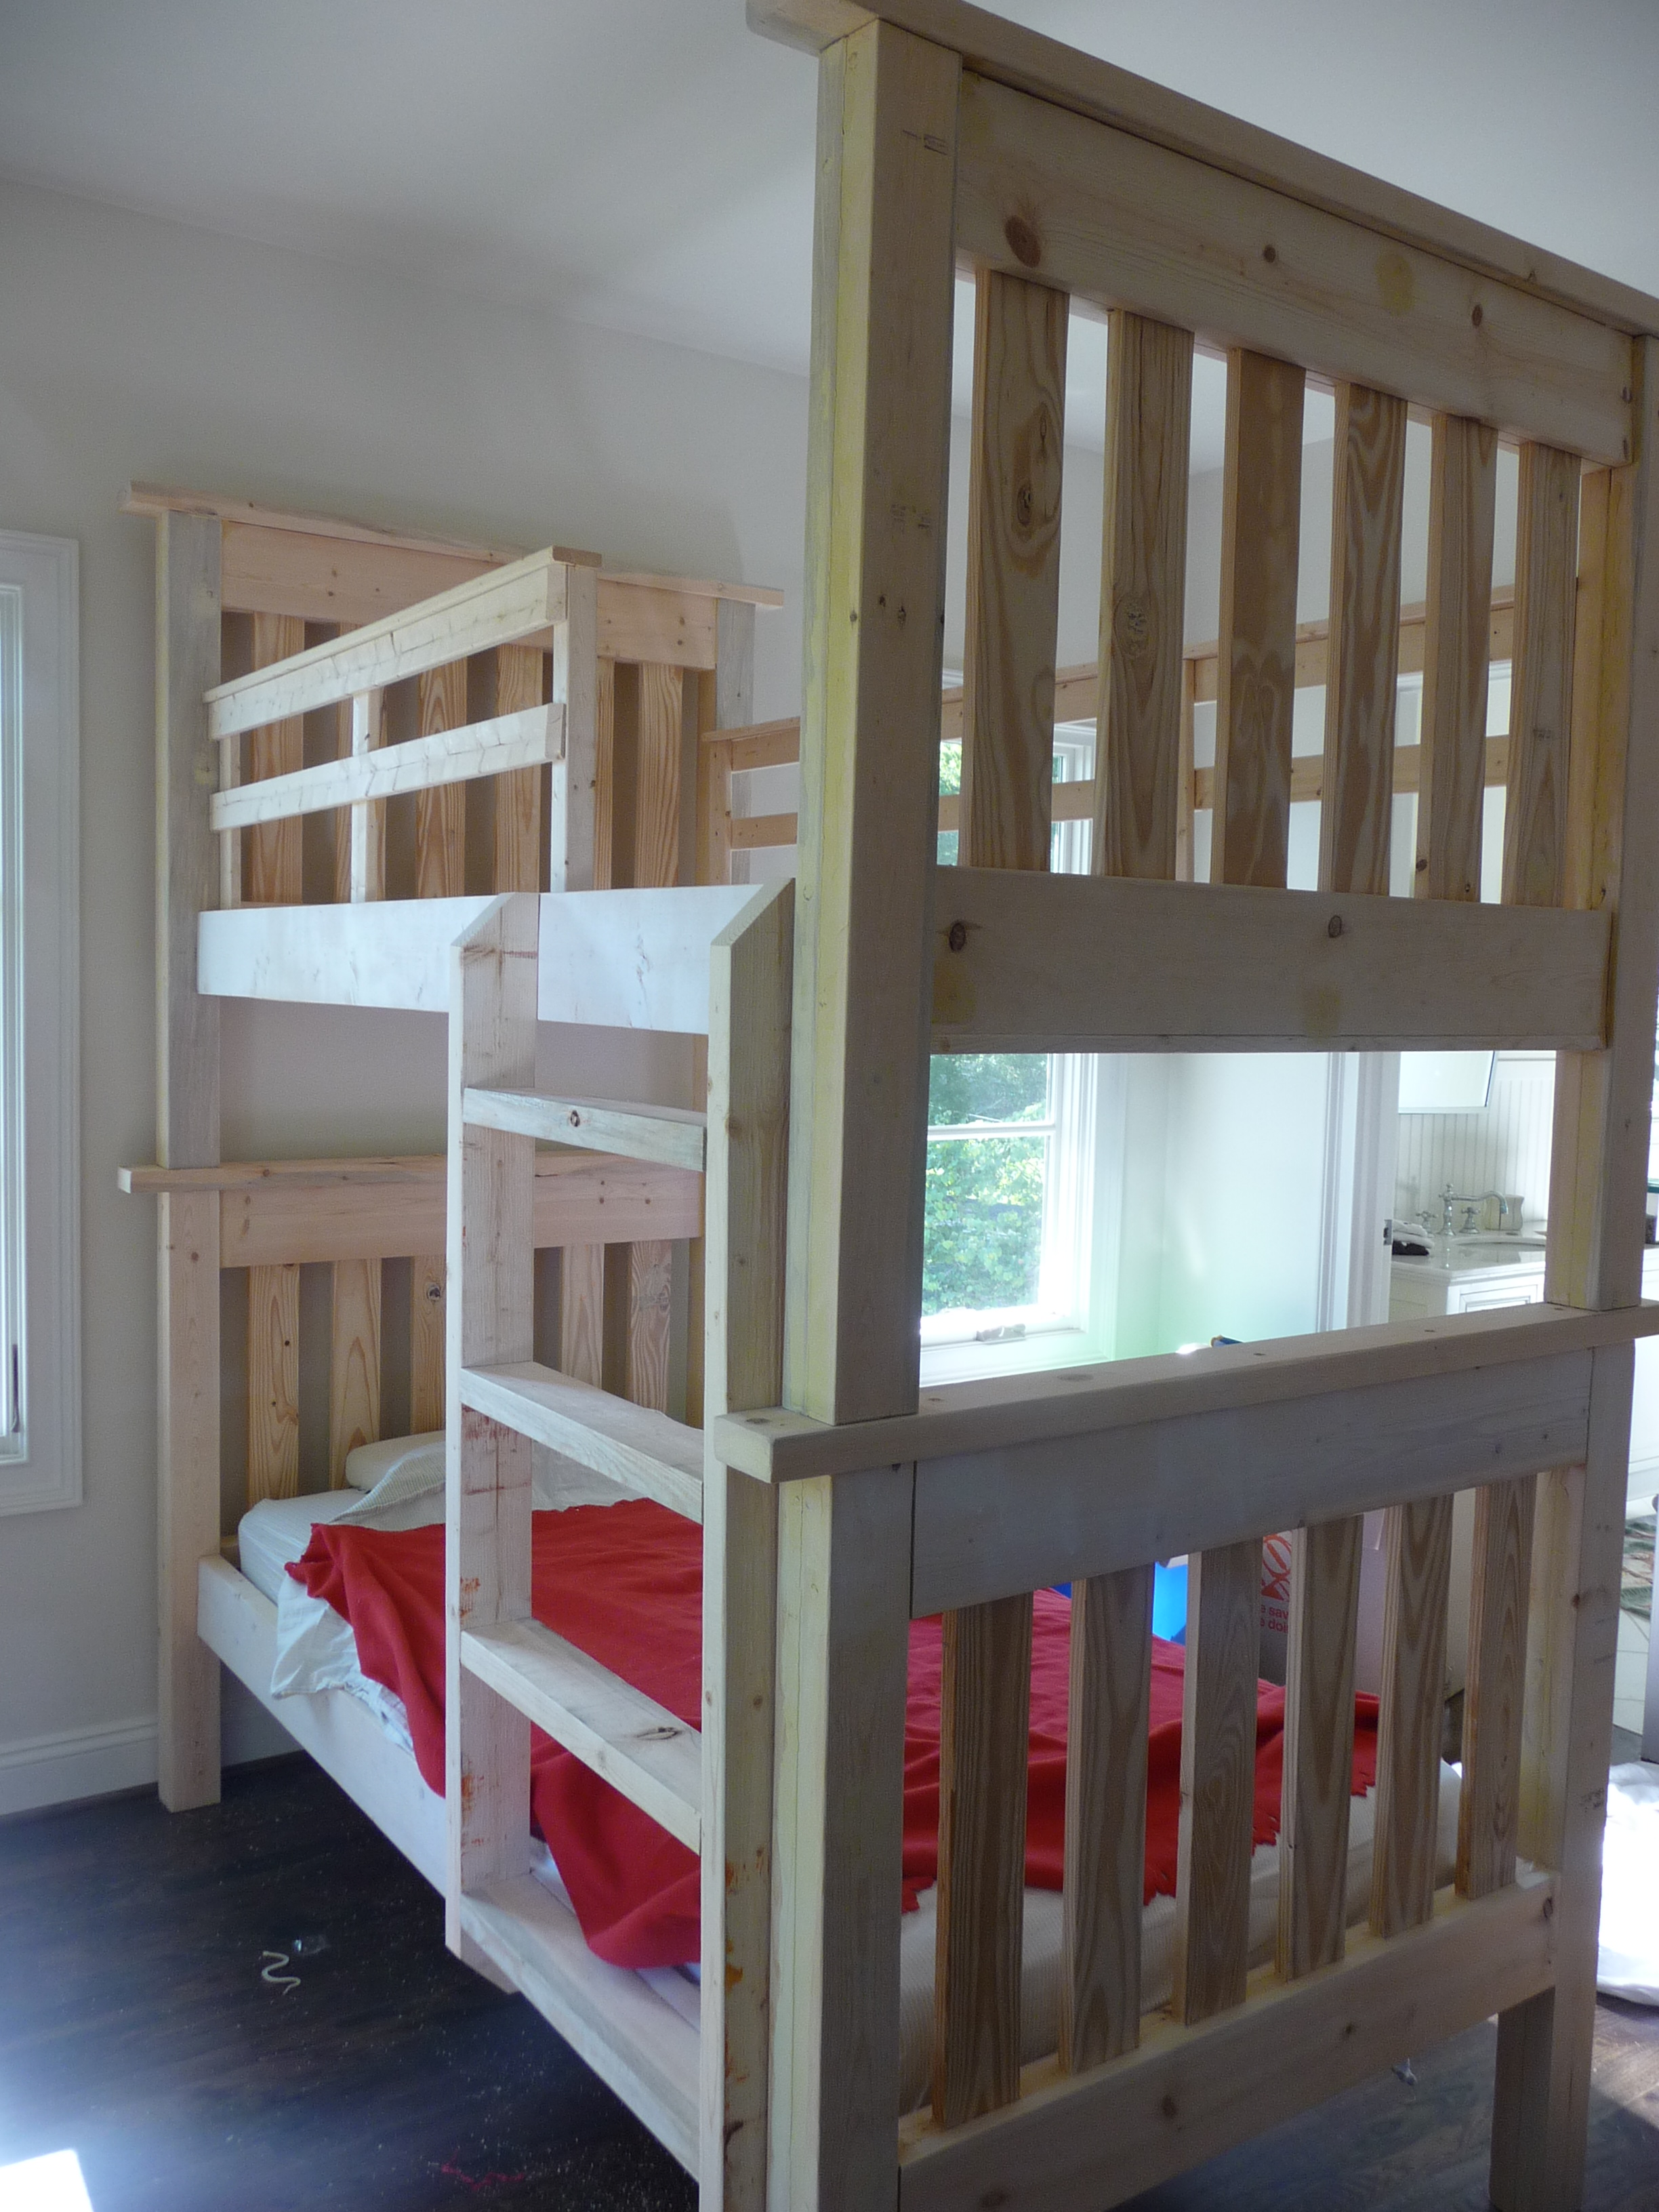
Took us 2.5 hours to build and about 2 hours of finishing work. Be sure to use a square as you position each panel.

Thanks Ana!

Estimated Cost
60
Estimated Time Investment
Afternoon Project (3-6 Hours)
Finish Used
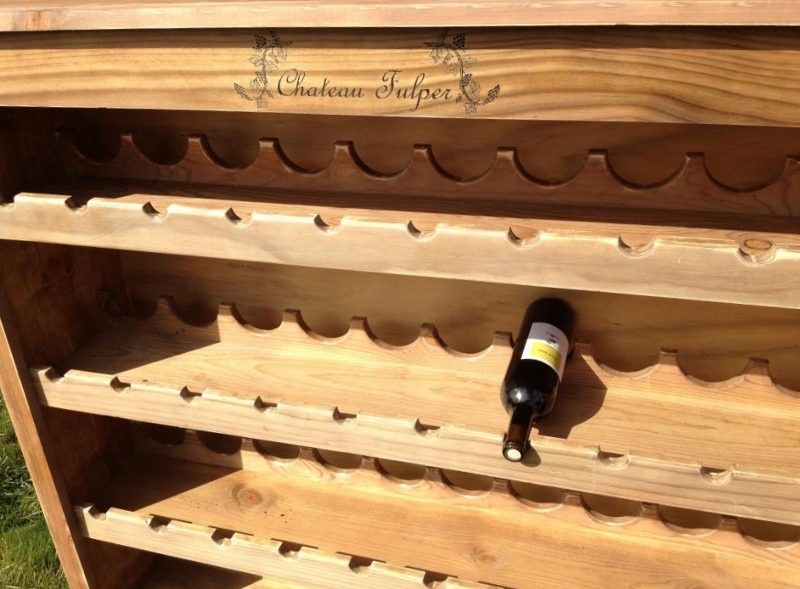
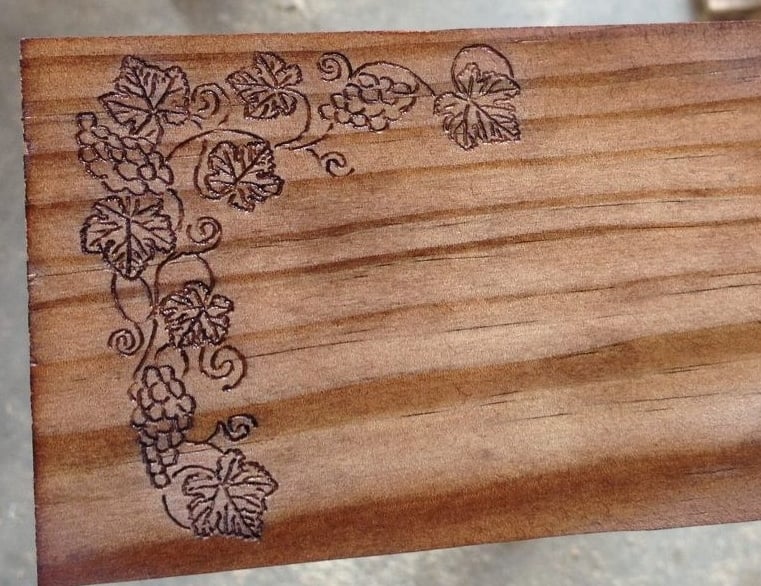
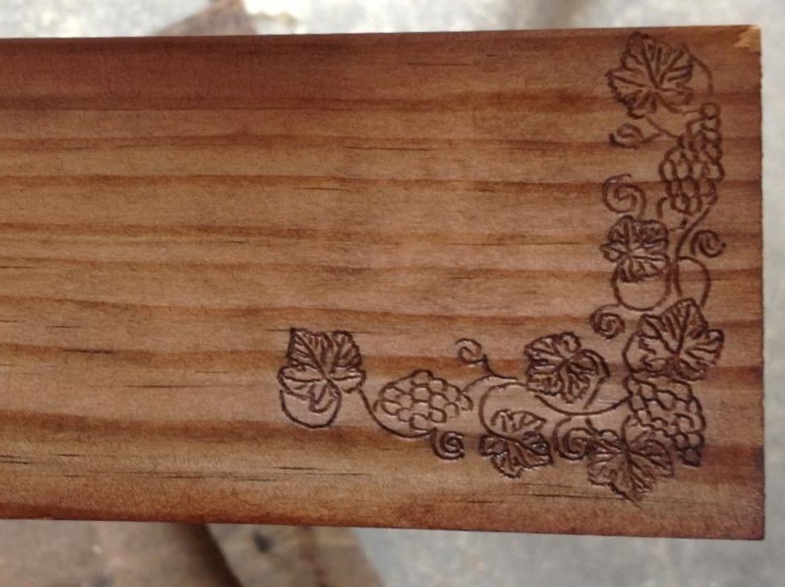
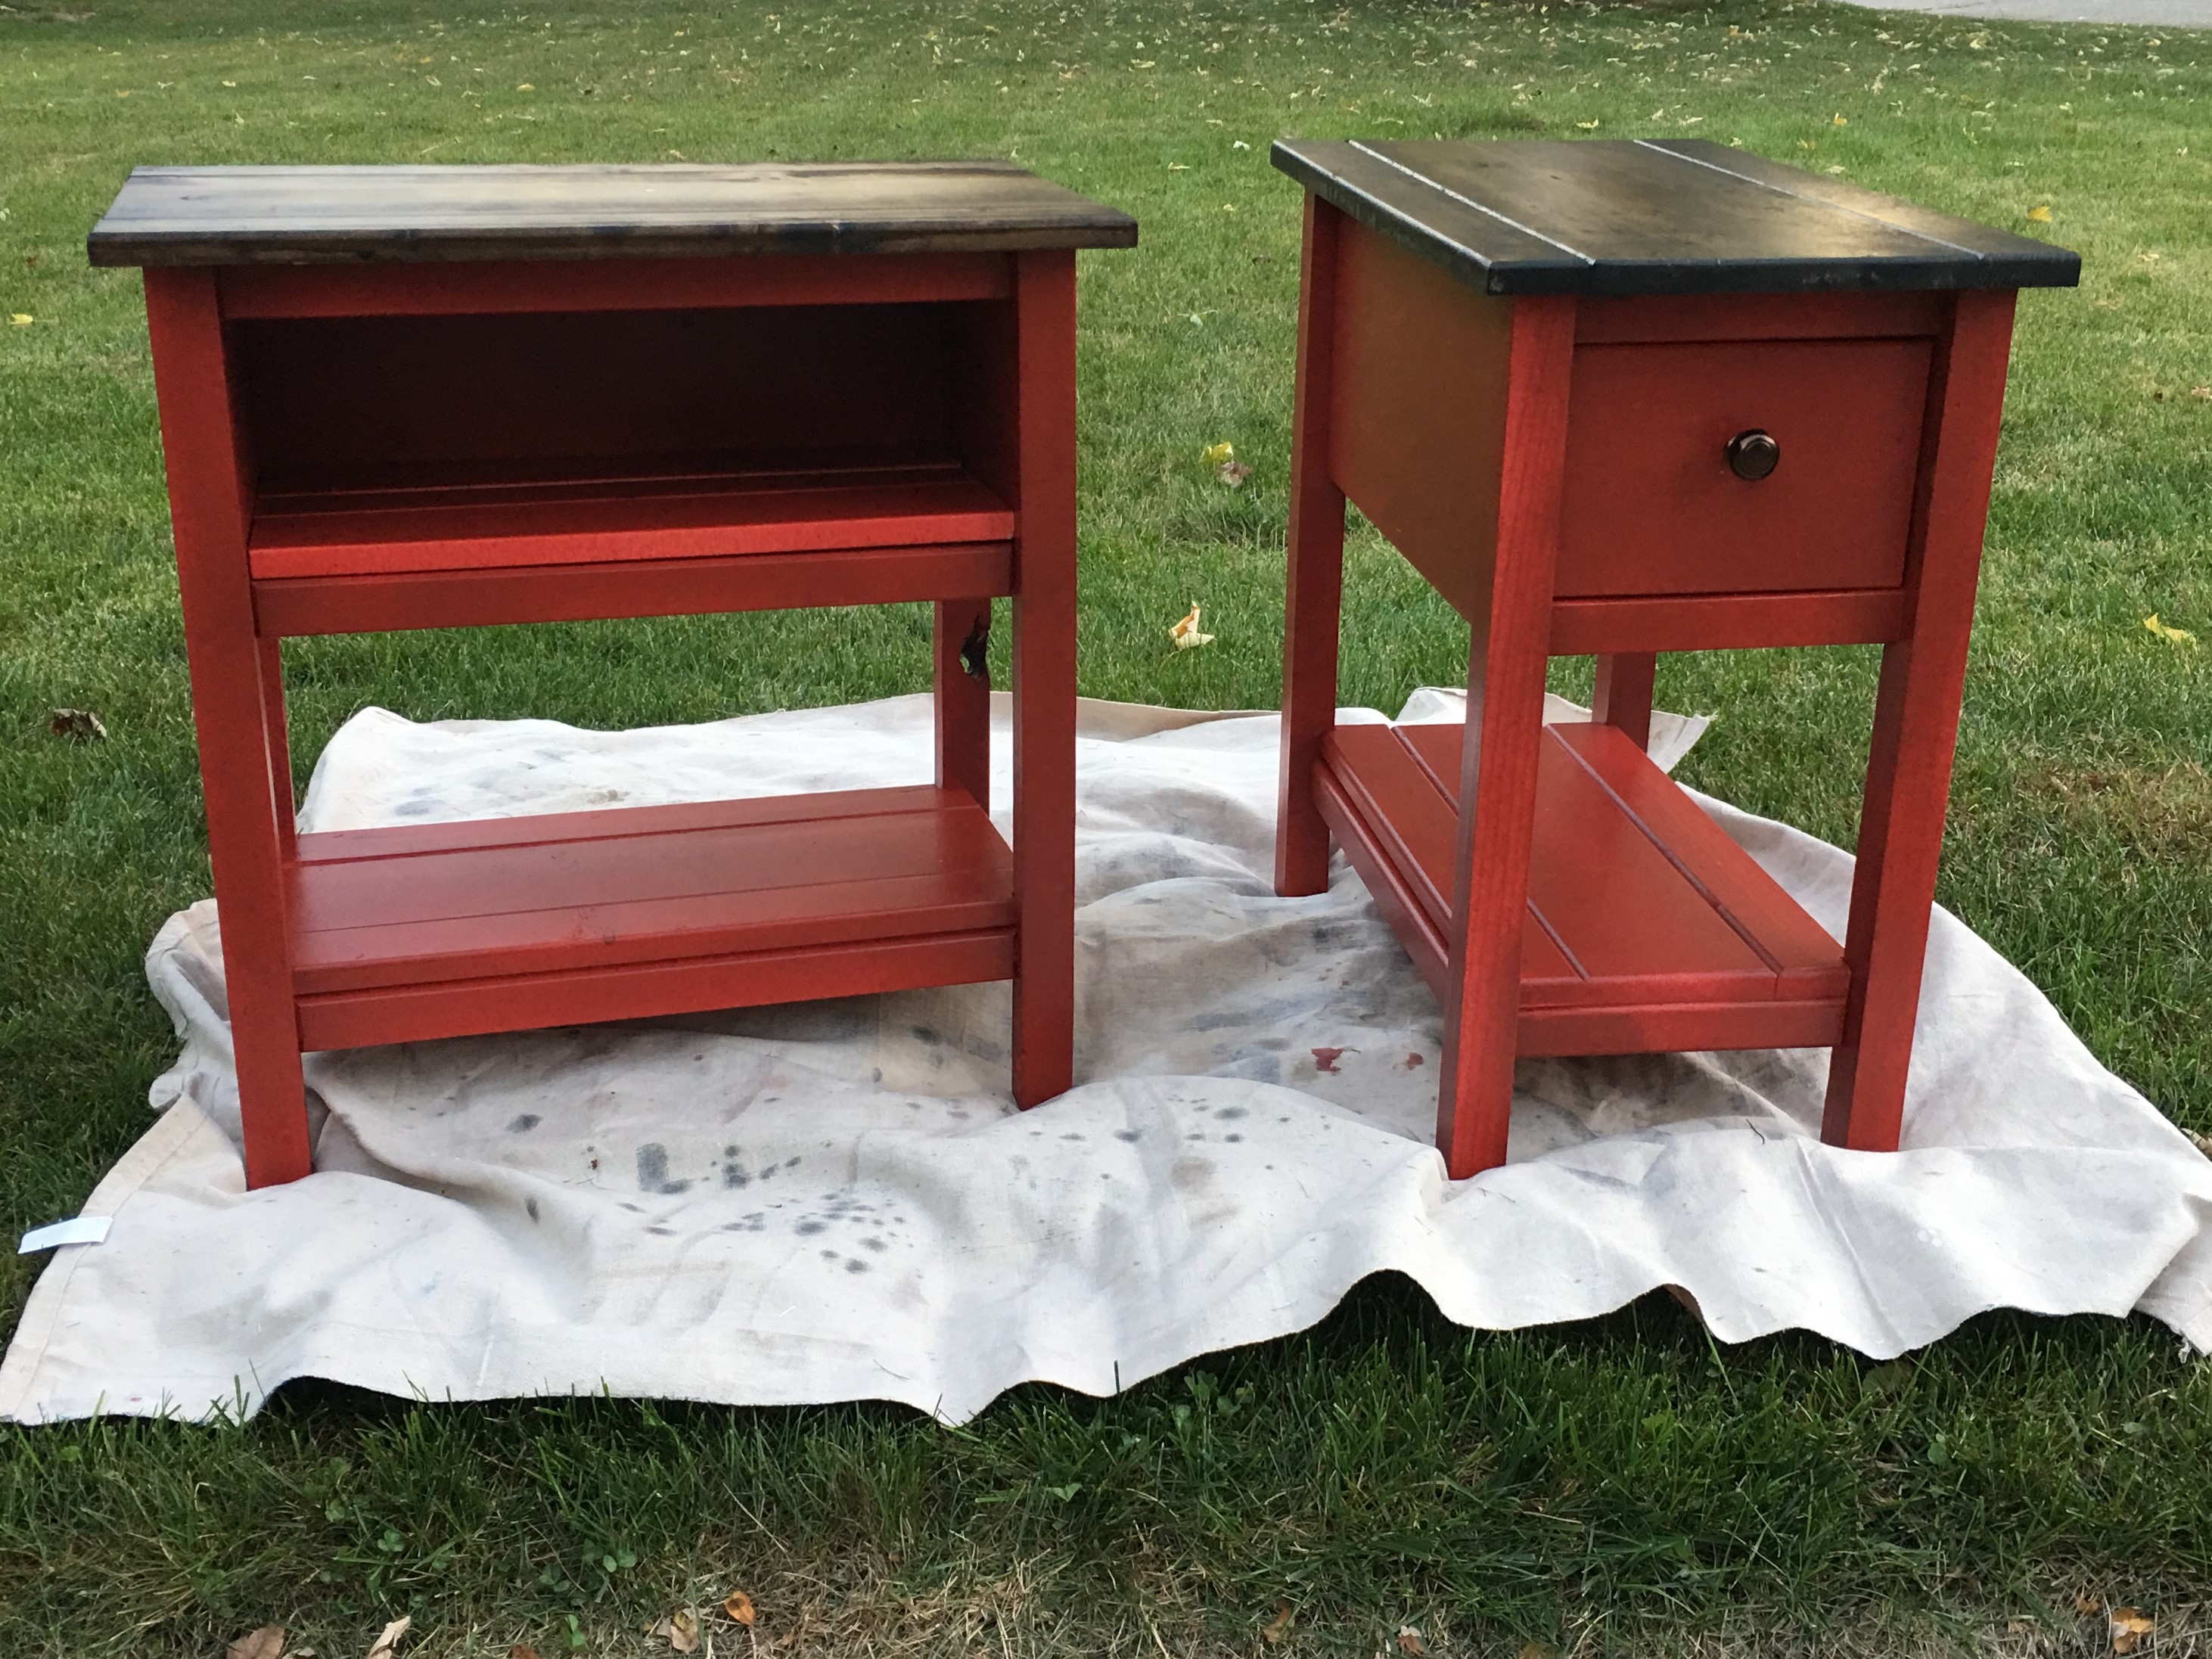
Mix of dark walnut and golden oak and 2 coats of poly
Recommended Skill Level
Beginner

A Big Huge Desk for My Son

My adult son needed a bigger computer desk for the new computer with double monitors and lots of accessories that he received for Christmas from his Dad. I ripped a sheet of plywood in half length-wise using Ana's tip of clamping a 2x4 to the board to be cut in order to get a long, straight line with a circular saw. The front edge of the plywood desktop is covered with flat trim to make it smooth and give it a finished look. I built two basic bookshelves to hold up the ends of the desk for storage of software and other accessories. Since the desktop is 8 ft long and will be supporting a lot of equipment, I decided it needed a 2x4 framework in the middle to keep it from sagging. My son wanted space between the desktop and the wall for lights and wires, etc., so that's why there is a 6inch gap between the back of the desktop and the wall.
The bookcases and desktop are stained with MinWax "Golden Oak" and sealed with Varathane Premium Polyurethane. I didn't use any wood prep because I was going for a more rustic look. The underside of the desk and the 2x4 framework is painted with Benjamin Moore "Copper Mine" in a Pearl Finish.
I didn't use any particular plan, but put together several ideas that I've learned from following Ana's blog for a few years now. My son is thrilled with his desk and we both are looking forward to furnishing his entire apartment with hand-built furniture from this site.
Thanks, Ana!!!!

Estimated Time Investment
Day Project (6-9 Hours)
Finish Used
MinWax "Golden Oak" Stain
Varathane Polyurethane
Benjamin Moore "Copper Mine" paint
Recommended Skill Level
Beginner

Comments

Linda7

Fri, 02/08/2013 - 09:17

Pam,
This is such a neat build for someone who has to really "spread out". That's what I'd like to be able to do, but don't have the room. Your son's a lucky man.

Linda

Farmhouse table

Submitted by Anonymous (not verified) on Fri, 03/17/2017 - 13:17

We were so excited to stumble across your plans on Pinterest for this farmhouse table. We literally seen the same table for 1600.00 on Wayfair's website. We can not wait to tackle another one for outdoors. Thank you. 

Built from Plan(s)
Estimated Cost
We only spent 115.00 on this table but it did help that we already had the stain and paint in our garage to finish the table with.
Estimated Time Investment
Afternoon Project (3-6 Hours)
Finish Used
Jacobean finish and white chalk paint.
Recommended Skill Level
Beginner

Storage Bench For the Mudroom

Submitted by romanweel on Fri, 02/22/2013 - 11:00

This was for our mudroom, obviously. I wanted to use up some ply that I had ill-advisedly had the store cut into quarters, so each of my storage compartments are 48" long, supported in the center by that divider piece you see in the second pic.

The beauty of DIY of course, is that you can modify everything. But if you do, you spend a week on a 4-hour project (but you do use up a lot of scraps). I cut nearly every piece out of plywood with the exception of the 1x3 front legs. It was time-consuming, but I think it was worth it as it allowed me to impulsively deepen the storage from 3.5" to 5". It also meant I only had to purchase the cedar, one pine 1x3, and a hinge.

The top is bare cedar boards which we'll allow to weather naturally. The hinge is the longest piano hinge they had at the blue store at about $7. The white is just a base Behr ultra with no tint because it's classic and we already had it.

Estimated Cost
$30
Estimated Time Investment
Weekend Project (10-20 Hours)
Recommended Skill Level
Starter Project

Comments

yurra-bazain

Mon, 03/18/2013 - 10:41

Now I may have to copy you on this one, some day in the distant future when I finally get to our garage entry renovation. :) Looks great!

Dog Bed

Submitted by Veronica P on Thu, 01/22/2015 - 15:47

Here's a dog bed that my boys and I built about a year ago (our very first build). Pretty basic but our pups love it! 

Estimated Time Investment
Afternoon Project (3-6 Hours)
Recommended Skill Level
Starter Project

Comments

Candace Cappel-Mapes

Tue, 03/22/2016 - 11:46

I love this dog bed and wanted to make it for my daughters new puppy but the plans don't come up. Could you repost them? Or paste them in an email? It would be greatly appreciated.

DaPebble

Mon, 02/06/2017 - 06:53

This is an amazing bed, I attempted to download the plans to make for my pooch, but the plans were not in the PDF. Is there a way I can acquire them?


Thanks a ton.

Alavila13

Fri, 01/12/2018 - 20:45

This is such a beautiful dog bed. But I can’t download the plans. Help!!!  Any chance you can email them to me?  Thank you!!!

Karey Thompson

Thu, 01/18/2018 - 22:59

Hello, 

I love this design! I have tried everything I could think of to find the plans on building this bed for our two dogs to share. Our boxer thinks he’s a lap dog and is getting to heavy to sleep on my legs haha. How can I get plans for this bed?

Brittney0410

Sun, 03/11/2018 - 08:42

Absolutely love this bed for our pup, sadly the plan will download. Is there any way to get it emailed or re posted? Has anybody had any luck obtaining the plan that could send it my way? Email is [email protected]. thank you

Brittney0410

Sun, 03/11/2018 - 08:53

Absolutely love this plan for our pups dog bed, sadly it will not download. Has anybody had any luck retrieving it? Is it possible to get the plans he mailed to me? Email is [email protected]. Thanks so much for any help

Brittney0410

Sun, 03/11/2018 - 08:53

Absolutely love this plan for our pups dog bed, sadly it will not download. Has anybody had any luck retrieving it? Is it possible to get the plans he mailed to me? Email is [email protected]. Thanks so much for any help

Cabin Sectional

Submitted by Anonymous (not verified) on Sun, 04/23/2017 - 07:40

Spent my time home from work building this for the cabin this summer. will be using coushions from ikea that are water and uv resistant as well as double sealed with removable covers for washing. 

Estimated Cost
120 dollars
Estimated Time Investment
Week Long Project (20 Hours or More)
Finish Used
dark walnut and an oil based varnish
Recommended Skill Level
Beginner

Rustic Wine Rack

Submitted by tracysmith on Fri, 03/29/2013 - 11:17

I've built many custom pieces for local folks but this one with all it's half circles really threw me - how was I going to do those, make them precise and not spend 3 days doing it. It's simple really.... I cheated!! LOL I used a 3 1/8" hole saw for the larger ones and a 1" hole saw for the smaller ones. I also took two boards and clamped them together with pipe clamps and then drilled two at once! It gives it a more consistent look and cuts the time literally in half!

I used a home brew for the stain. Had a friend of mine do the engraving for the front header piece. I think the whole project took between 10 - 15 hours to do because there was a lot of experimenting with the stain and there was also readjusting the sides and top to look how I wanted.

The client loves it and I'll post a pic on my Facebook page of the whole thing loaded up with wine, later today.

Estimated Cost
$250 was retail on this
Estimated Time Investment
Weekend Project (10-20 Hours)
Finish Used
The finish used was steel wool dissolved in vinegar with a secret ingredient added. :-)
Recommended Skill Level
Advanced

Wooden Lanterns

Submitted by mrich_d60 on Fri, 05/14/2021 - 15:39

I made 7 lanterns - 6 with 18" uprights and 1 with 13". They were originally just for my daughter's backyard wedding. They aren't decorated yet because she's going to use them on the patio now and is waiting for the solar lights and LED candles to arrive. They were too nice not to use them right away!

Estimated Cost
About $9.00 each
Estimated Time Investment
Afternoon Project (3-6 Hours)
Finish Used
Varathane Ultimate One Coat coverage stain + Varathane Triple Thick one coat clear finish on entire lantern. Thompson's WaterSeal Waterpoofing Stain semi-transparent for underside and feet.
Recommended Skill Level
Beginner

Comments

Headboard

Submitted by RobRN4 on Tue, 06/15/2021 - 12:16

My parents just moved into an apartment and needed a headboard. I had some time off work so I made them one. I'm still a beginner (and probably always will be); this project was perfect for me. I used new wood, miter saw, hammer and nails. Took me about three hours total. Epresso stain. My parents love it! Thank you so much for the plans Rob

Recommended Skill Level
Beginner

Comments

2x4 2x6 chair with 1x4 slats and a cupholder on a hinge.

Submitted by Anonymous (not verified) on Mon, 07/12/2021 - 16:34

Great project! Added a cup holder and due to lumber prices uses 1x4 for seat slats from a free pallet. This also allowed the thick cushion to sit lower in the chair and made the chair lighter, and did not have purchase an extra 2x4.

Comments

Dog gate

Submitted by colleenps on Tue, 03/31/2015 - 10:30

After searching all over the internet, we came up with this. I love how it turned out and how it change the look of the room.

Estimated Cost
About $60
Estimated Time Investment
Day Project (6-9 Hours)
Recommended Skill Level
Beginner

Rustic Bench as Wedding Guestbook

Having already built a rustic bench to go with my Farmhouse Table, I knew it would be the perfect guest "book" bench for my wedding. For only $15 (I had the lumber for the top on hand), and the help of all my bridesmaids during my bachelorette weekend, we built this bench in just about an hour. Everybody had a hand in it, which makes it even more meaningful. It sits at the foot of the Farmhouse Bed my husband and I built from reclaimed barnwood from my father. I love that we have something so hand-made and sentimental to commemorate our wedding celebration. It makes me smile every time I look at it!

Estimated Cost
$15
Estimated Time Investment
An Hour or Two (0-2 Hours)
Finish Used
I sanded the entire bench with 80,150,200. I primed the entire bench (including the underside, just to cover all my bases) then painted 2 coats of semi gloss white, sanding with 200 between coats. To make the center design, I printed out my art onto computer paper, covered the back with graphite (just scribbling with a pencil) then taped it to my bench. Trace the outline of your art with a pencil and a firm hand. When you remove the paper, you'll see the outline of your design. I traced it with silver paint pen, then filled it in. After I had all my signatures I sealed the top with two coats of Mod Podge (but polycrylic would probably work too).
Recommended Skill Level
Starter Project

Patio Furniture

Submitted by shoverbj on Tue, 05/28/2013 - 06:25

Memorial Day weekend project for my wife and I. These will go around our firepit out back, but it was raining so we just took pics in the garage where they were assembled. I built the woven back bench and used the plan (and SketchUp) to modify the plan for 2 chairs as well. I mirrored the weave on the bench and the 2 chairs for a bit of visual contrast.

I also used the plan for the folding camp chairs but simplified it a bit by removing the upper strechers and dowels and just making the fabric on there permanently. These will only be pulled out if we have more than 4 around the fire.

Estimated Cost
175
Estimated Time Investment
Weekend Project (10-20 Hours)
Finish Used
No finish, just the natural wood
Recommended Skill Level
Intermediate

Comments

Monkey bar and play house

Submitted by Anonymous (not verified) on Sat, 10/09/2021 - 06:21

Inspired in one of your projects this was my first project with wood and turned out a go to place for the kids and guests to play all the time.
Thank you for the plan. Kids appreciate it too.

Comments

End Tables

Submitted by RITWood on Sat, 09/30/2017 - 17:20

This is my take on the Narrow Cottage End Tables. Painted the bottoms and stained the tops.  Added the shelves towards the bottom for added storage and stability.  The bottom shelf is 'let in' around the inner legs.  The shelf boards rounded over to give them a batten look.  

Built from Plan(s)
Estimated Cost
$35 each
Estimated Time Investment
Afternoon Project (3-6 Hours)
Finish Used
Sprayed on latex with two coats of clear water based poly.
Recommended Skill Level
Beginner

Comments

Mini Cedar Storage Shed

Submitted by jakevdp on Sun, 06/09/2013 - 23:10

I loved the idea of re-purposing fence pickets as siding for a cedar shed, but the plans on the website were much too big for the space I have. I ended up modifying the design to make a smaller shed, with approximately a 4 foot by 2 foot footprint. It turned out beautifully! Cedar is expensive, but I was able to save money on the project by buying much of the material at local salvage and second-hand stores.

Built from Plan(s)
Estimated Cost
$140
Estimated Time Investment
Weekend Project (10-20 Hours)
Recommended Skill Level
Intermediate

Comments

HOWsMom

Thu, 04/30/2015 - 05:44

This is exactly the size I want - did it take much to modify the plans to be smaller like this ?

RenoRustic

Tue, 05/19/2015 - 11:19

My mom just asked me about building her a garden shed in a small area. This looks perfect for what she is looking for. I'll have to show her this. Great job!

BeckfordRVA

Sun, 03/29/2020 - 09:59

I'd also love to know what modifications you made to create the mini version. Did you just take out one of the sections of the back frame and adjust the side widths? Thanks!

Simple Bunk Beds - My First "Ana" Project!!

Submitted by margjack on Fri, 04/29/2011 - 07:17

I made the bunk beds from the simple bed plan, following tips from others who turned them into bunks. Instead of headboards on bottom and footboards on top, I used all headboards to add height, and made the posts a little longer so that an adult can sit up on the bottom bunk to read during bedtime. (the room has 9' ceilings) I used 2x4s glued and screwed together, as I could not find 4x4 non-pt posts. I made the ladder out of scrap 2x4s and the railings from scrap 1x3s. I did as suggested and attached the bottom header to the bottom of the top bed, which made it easy to attach. This bed is super sturdy! It will be painted one of these days!!

Estimated Cost
$200
Estimated Time Investment
Weekend Project (10-20 Hours)
Finish Used
None yet - will be painted!
Recommended Skill Level
Intermediate

Thin Book Display Ledges

Using scraps I originally purchased from a Re-Use warehouse on my island (O'ahu), I put together two book display ledges for my daughter's bedroom. They are made with 2- 1x2s (lip and bottom) and 1- 1x4 (back). I was able to make two 28 3/4" ledges from first cut to installation in the 3 hours my daughter had gone on a "field trip" with my mom and brother and surprised her with new book ledges when she got home. :)

Built from Plan(s)
Estimated Cost
$1.40
Estimated Time Investment
Afternoon Project (3-6 Hours)
Finish Used
Olympic (No VOC) Semi-Gloss White
Recommended Skill Level
Starter Project

Wood Cooler Box

Submitted by AK1013 on Wed, 06/24/2015 - 12:02

I'm new to woodworking but I'm already obsessed. I was looking for something I could make for Father's Day and came across this. I thought it'd be perfect for my dad especially if I did it in his favorite team's (Miami Dolphins) colors. It's definitely not perfect and there was a lot of frustration when it came to putting the cooler inside... but I'm proud of the finished product.

Built from Plan(s)
Estimated Time Investment
Weekend Project (10-20 Hours)
Recommended Skill Level
Beginner

8 foot long shelf with a little twist

Submitted by Daniel_ram on Mon, 01/03/2022 - 17:25

I just made this shelf using 2x4s 8 ft long wood. It is very strong and looks great. My garage size required the shelf to be max 16 in deep, so I used a 1 plywood sheet divided by 3 equal parts for the upper 3 shelfs. Since I made a 4th shelf, I used 3 1x2s for the 4th bottom shelf instead of a new plywood sheet and avoided having extra 2/3 of the sheet around and also saved like 30$ since the 2x1s were only 2$ea. That touch makes it look a bit stylish too so a win win. If you do that, here's a tip: use the outer 2x4s as rails - make sure that the cleats on the lower shelf are placed a bit lower ~ 1in. In such way, you can place the three 1x2 rails at the same level as the outer 2x4s and this you end up having 5 rails total in the shelf. Do use the wooden screws with star head if you can, they were muuuuuch easier to use compared with the regular ones. Note, this shelf is very strong, probably too strong for my needs. For a 8ft long, and my storage needs (camping, Christmas stuff, other lighter things), I'd probably use 2x2s instead of 2x4s. That would save costs, specially since wood isn't cheap these days( I spent ~$150 in materials Jan 2022).

Comments