Community Brag Posts

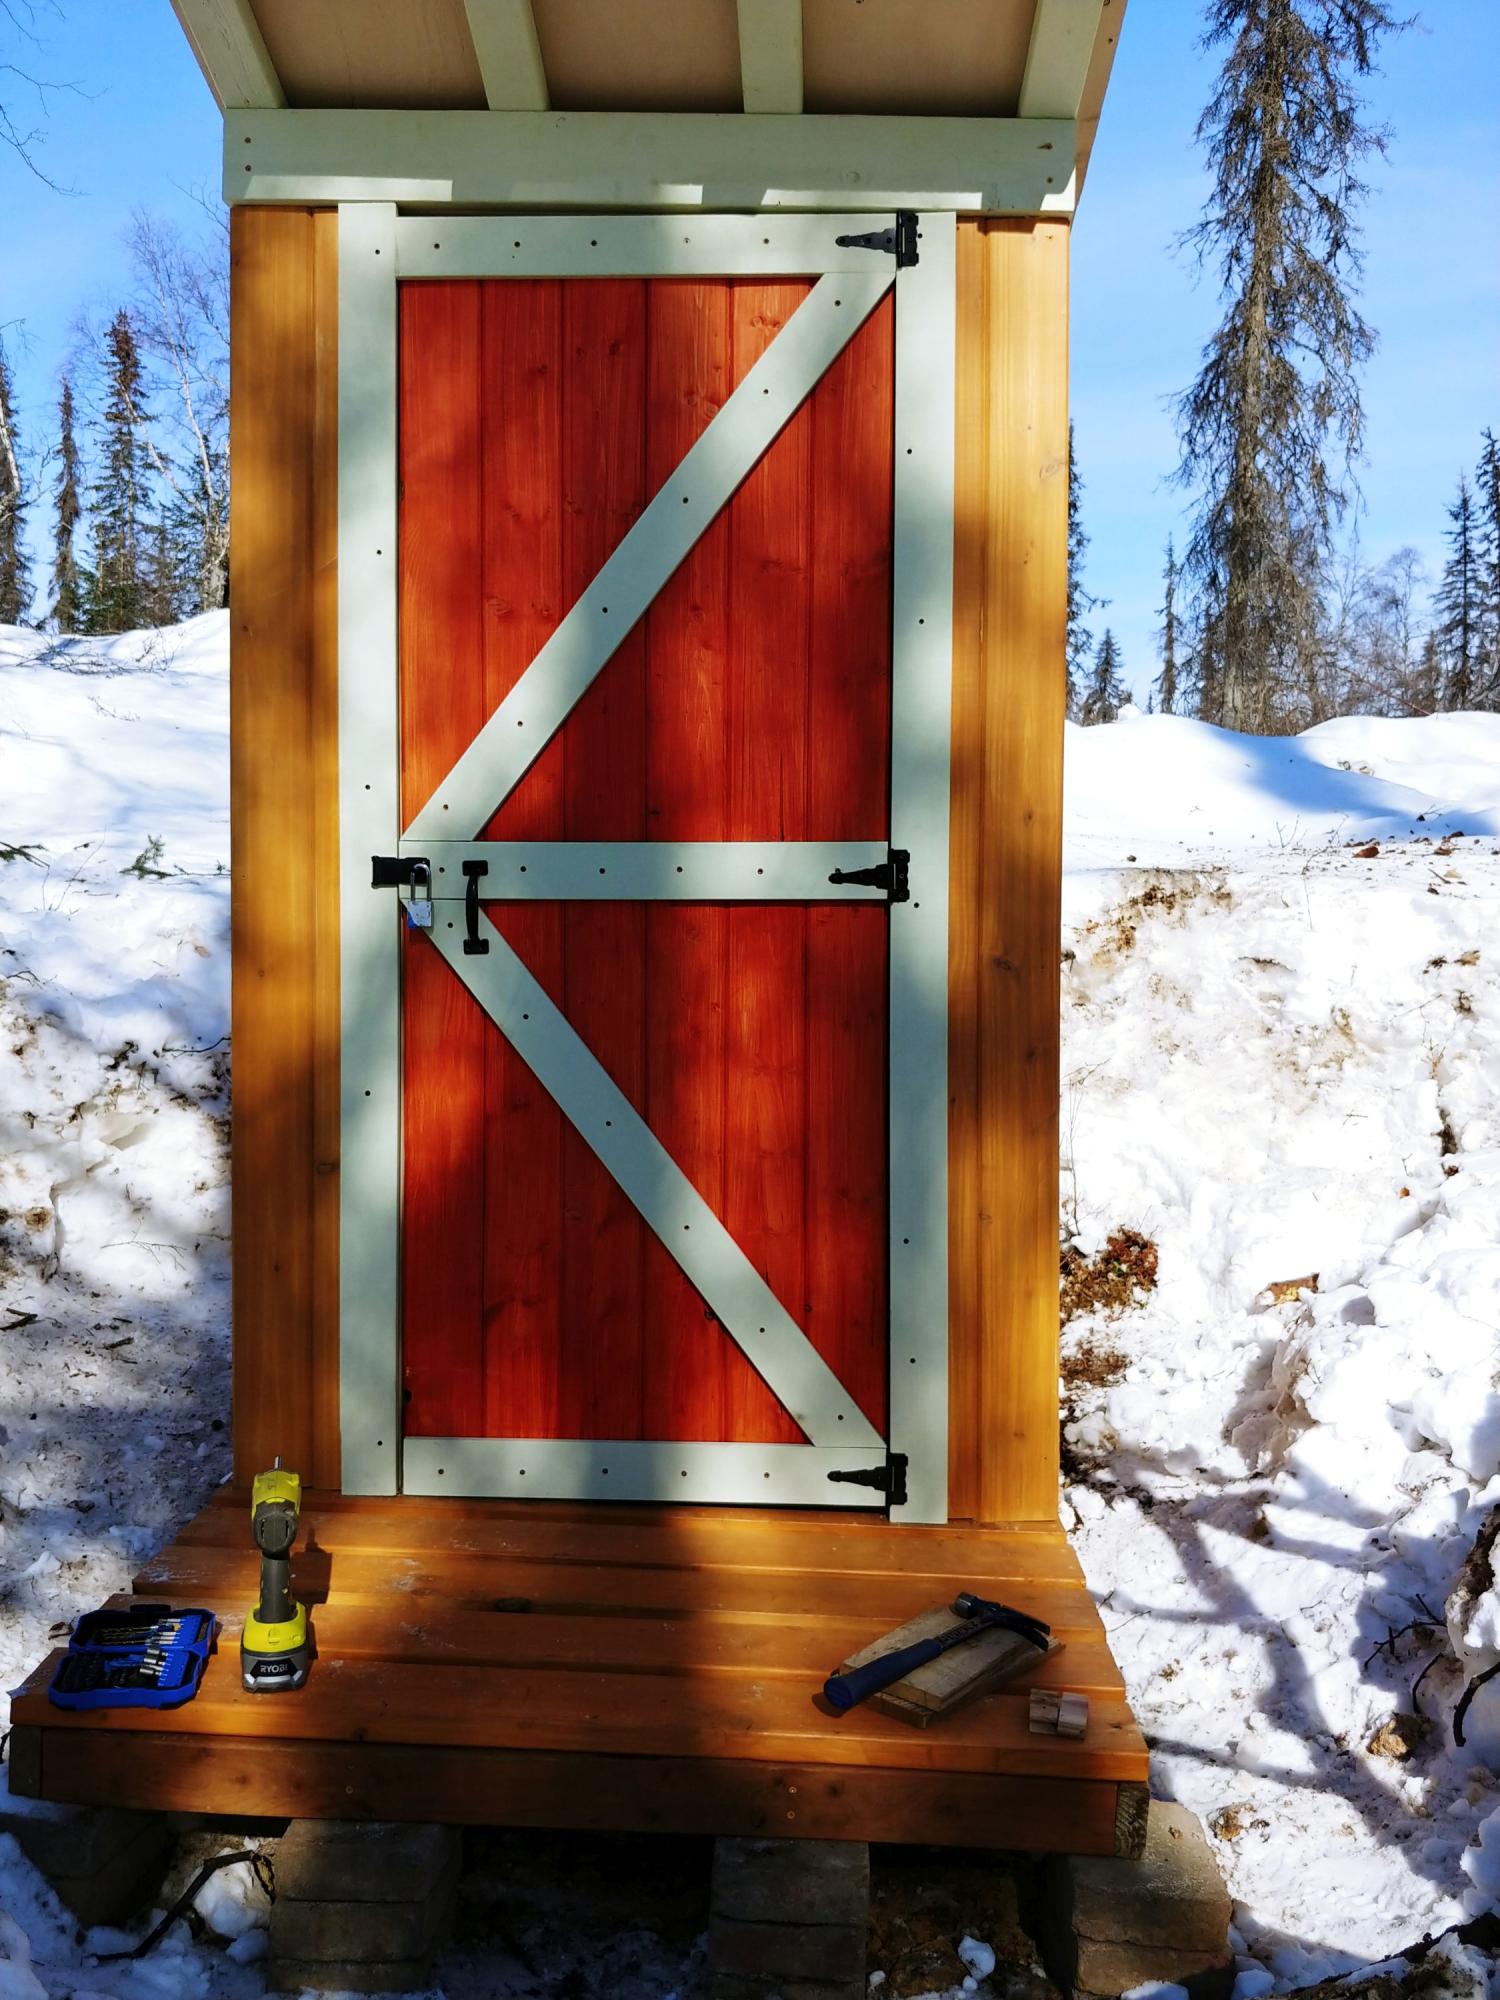
My version of "Outhouse Plan for Cabin"
Submitted by johnseigle on Mon, 06/06/2022 - 15:00

Hi Ana and Family,

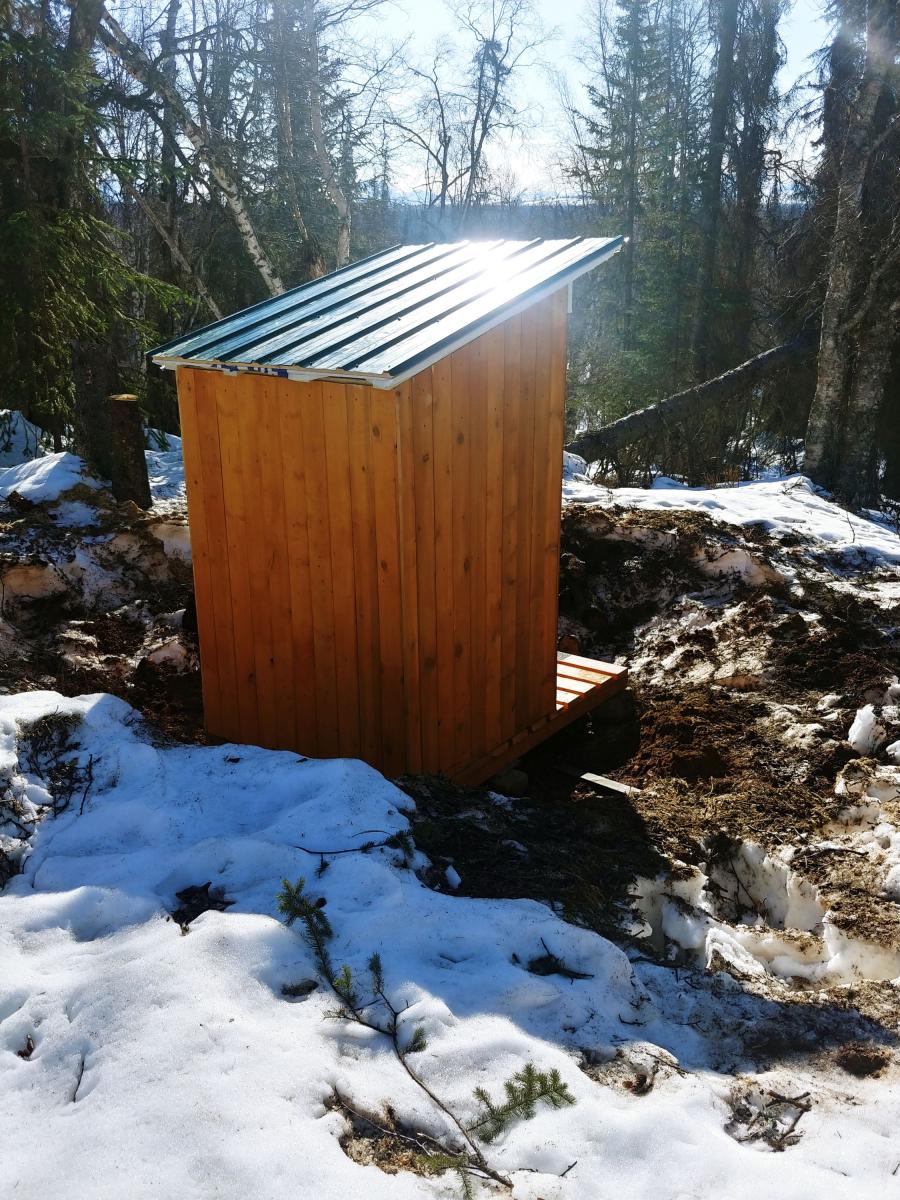
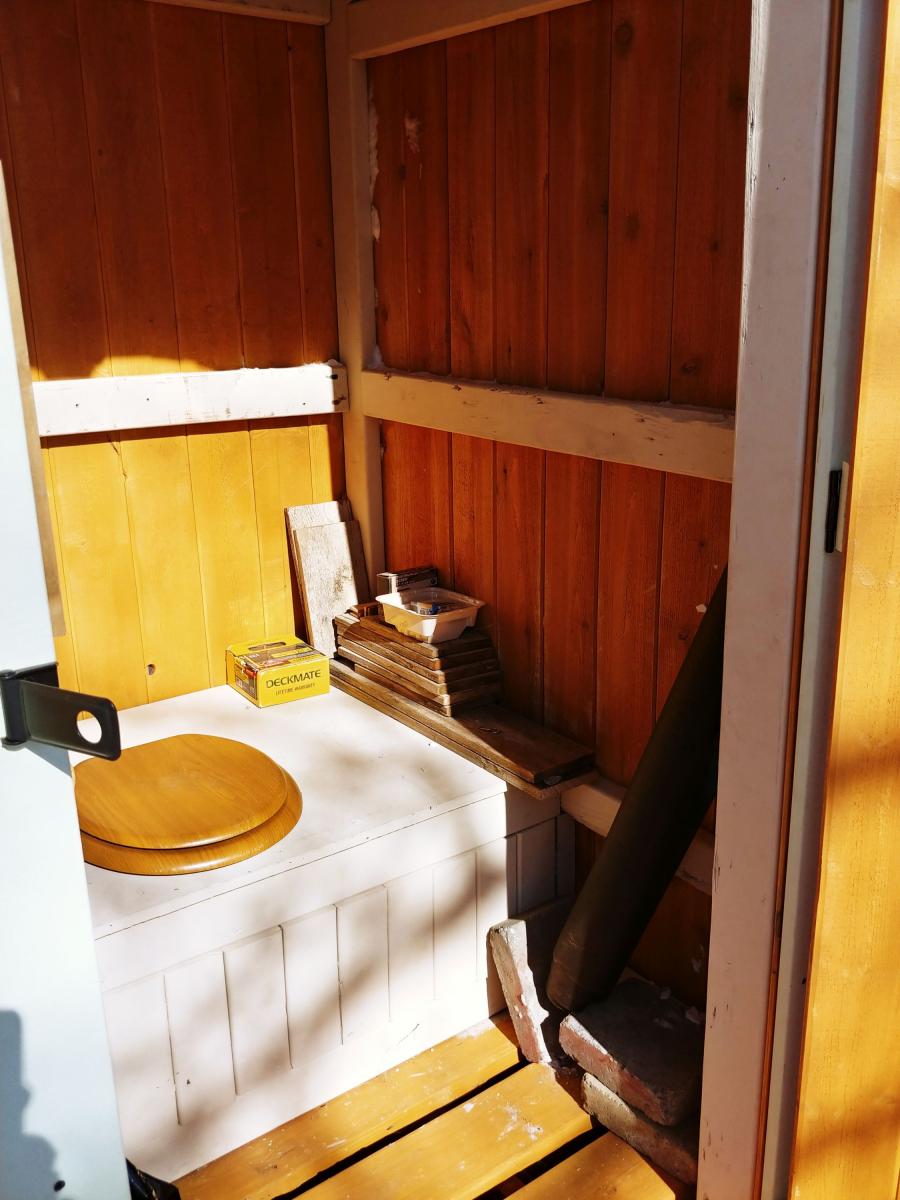
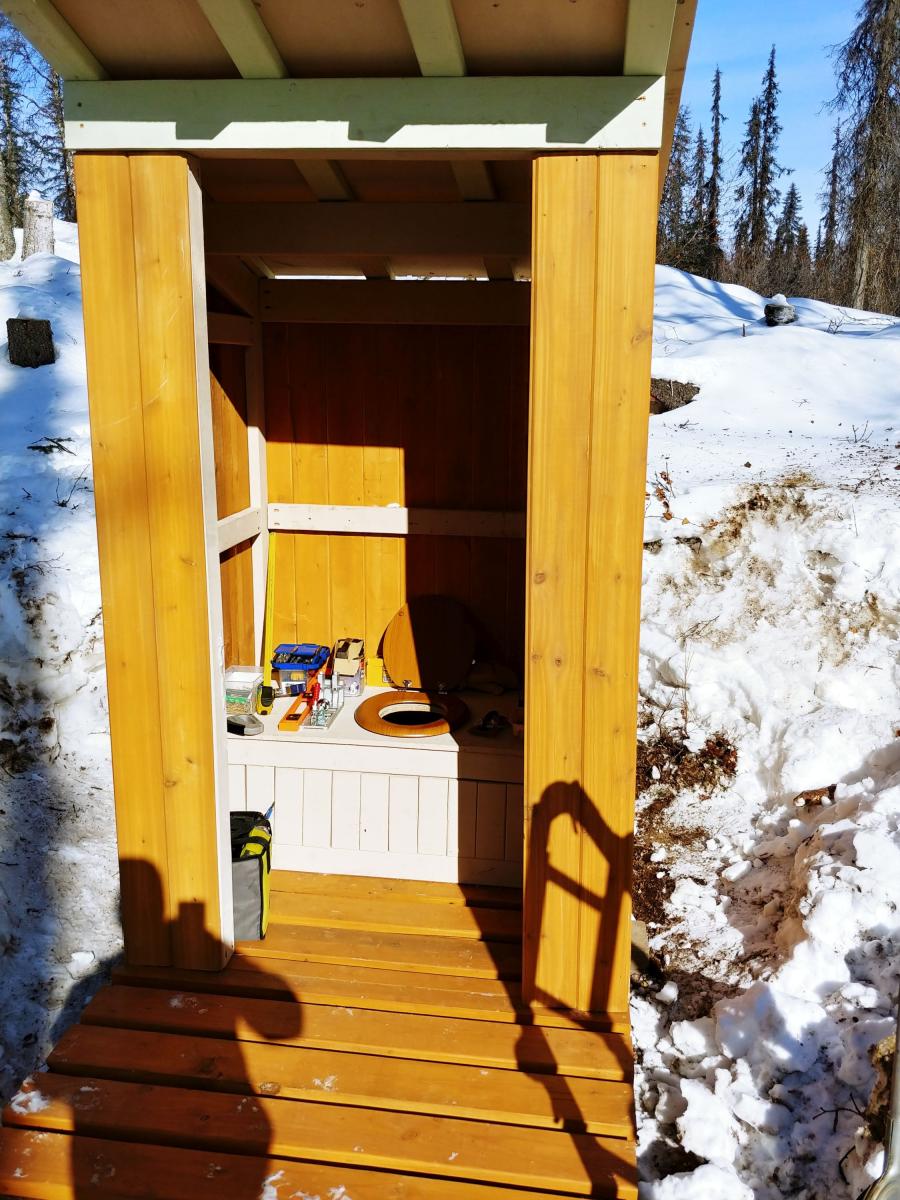
I mostly followed your plans for my remote Alaska property outhouse build, with slight modifications. Our property is 7 miles from any road (and 2.5 hr drive from Anchorage) and I typically go there in the winter via snowmobile (December-April). I built this on my back deck in Anchorage and then took it apart and transported it in sections (back wall, 2x sidewalls, floor parts, door, roof parts, seat parts). It took me 5 trips to get it all up to my property from the truck at the trailhead via snowmobile!

The hardest part was digging the hole under 5 ft of snow! I cut several dead spruce trees in the area I planned to situate the outhouse and started a big fire (really big). We kept that going until we had melted out about a 15ft wide area down to bare soil. The next morning, while the ground was still warm from the previous evening's fire, we dug the hole (only about 3.5x3.5ft). Then I cribbed in the hole with old cedar fence slats to help prevent the inevitable ground cave-in that we often see with soil melt and rains in Alaska. Then, I pieced the outhouse together, with the frame sitting on small pavers.

I used a combo of T&G pine and cedar for the walls. I used metal for the roof. As I built this in January and February over several weekends (in Alaska), it was very cold and I would take the pieces inside and paint/stain them. As such, this basically took me all winter from start to finish. It doesn't take that long if you build it on site in warm weather. Once transported to the cabin site, it took parts of 3 weekends to get it in place and useable, including site prep. I've still got a little touch-up work to do (e.g., window for light in winter and bird block to keep the spring and summer nesters out). I put some anti-slip tape on the frame so that I don't slip on the frame base.

There is some waste wood if you follow the plans directly (especially 2x6), but I am using that to build a small firewood cover at home. This was not an inexpensive outhouse even without pandemic prices (I could have chosen a less expensive siding), but I wanted a nice outhouse and I'm very pleased with the outcome, so it was money well spent. Great plans! Thanks.
Built from Plan(s)

Comments

Adirondack side table ~ using recycled pallet wood

Submitted by Sharon L. on Sun, 07/24/2011 - 06:37

This was a very fun and one of the easiest projects I have made from Ana's plans! This makes me want to see if I can make matching chairs as well!

If you have seen my other projects, you know that I try to keep the lumber cost of my projects as close to free as possible. Living on the Eastern Shore of Virginia, pallets are not free, so I did have to pay $2 for each pallet, being VERY choosy about the slats being all the same size and straight. The hardest part of the project was taking the pallets apart! Check the blog link for more details.
I used 1 1/2 pallets for this project, and the following tools:

Jigsaw (to cut the ends off the pallet)

Pry-bar (to loosen the slats from the center of the pallet)

Miter saw

Drill

Table Saw (ripping the 2x4 sections of the pallet, to make the legs and spacers of the table)

Palm sander

Estimated Cost
less that $20
Estimated Time Investment
Day Project (6-9 Hours)
Finish Used
Gripper Grey primer by Glidden (leftover from other projects)

Brilliant Red Acrylic by Benjamin Moore (also leftover)

I use the Gripper Grey primer/sealer on most outdoor projects because it is a nice one-coat sealer and great for underneath darker colors.
The Brilliant Red is an off-the-shelf color.

I would recommend removing and priming/painting the tabletop pieces separately(after assembly)so that you can assure great coverage between the slats, being careful to remember where each piece belongs.
Recommended Skill Level
Beginner

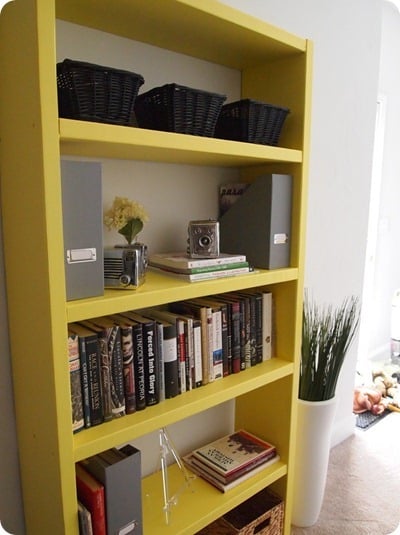
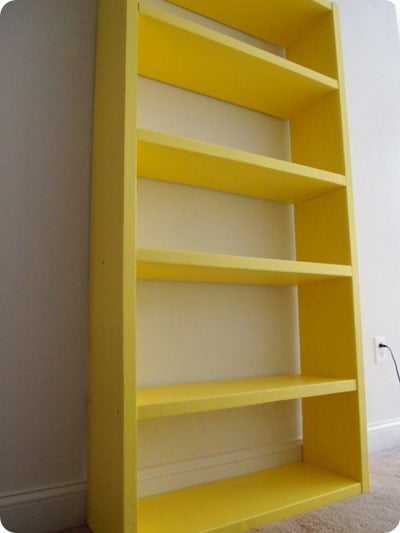
My Ikea Lack Inspired Bookshelf

This was my third project, but it is my favorite to date!

Estimated Time Investment
Day Project (6-9 Hours)
Finish Used
2 coats of Benjamin Moore Natura paint in Banana Yellow
2 Coats of poly acrylic
Recommended Skill Level
Beginner

Comments

joyreneeb (not verified)

Tue, 09/20/2011 - 12:16

Can you give a price estimate on your project? Looks great, btw!

In reply to by joyreneeb (not verified)

CapriciousElle

Fri, 09/30/2011 - 21:21

The lumber was about $25 and the paint I ordered online with a few other colors, but it is listed at $21.99. I only ordered a quart. Everything else I already had around the house. I hope that helps!

Finally Built a Platform Bed!

Submitted by Anonymous (not verified) on Mon, 07/25/2022 - 10:39

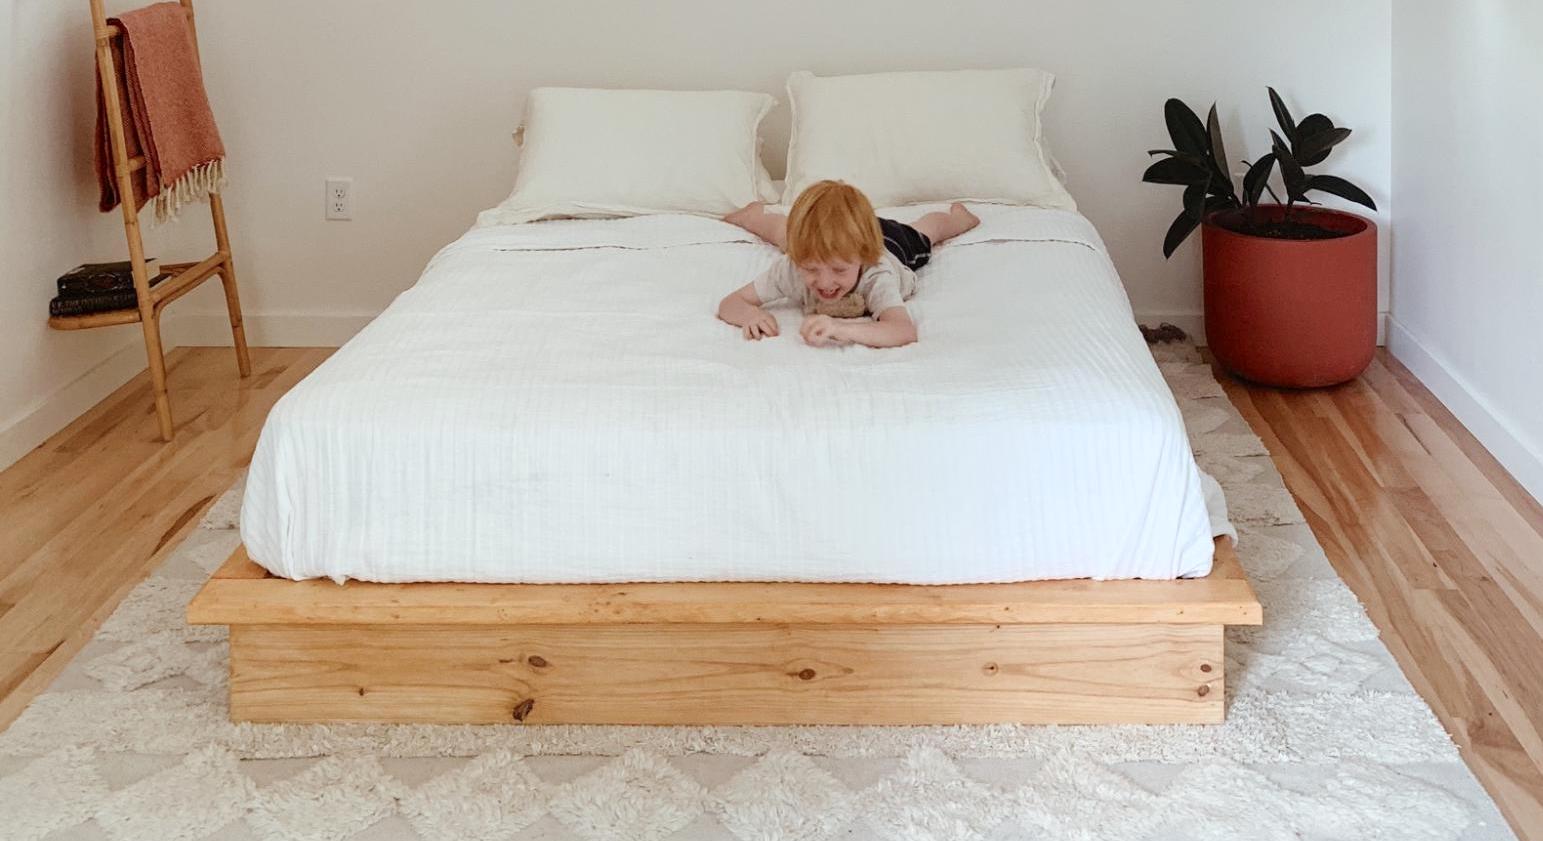
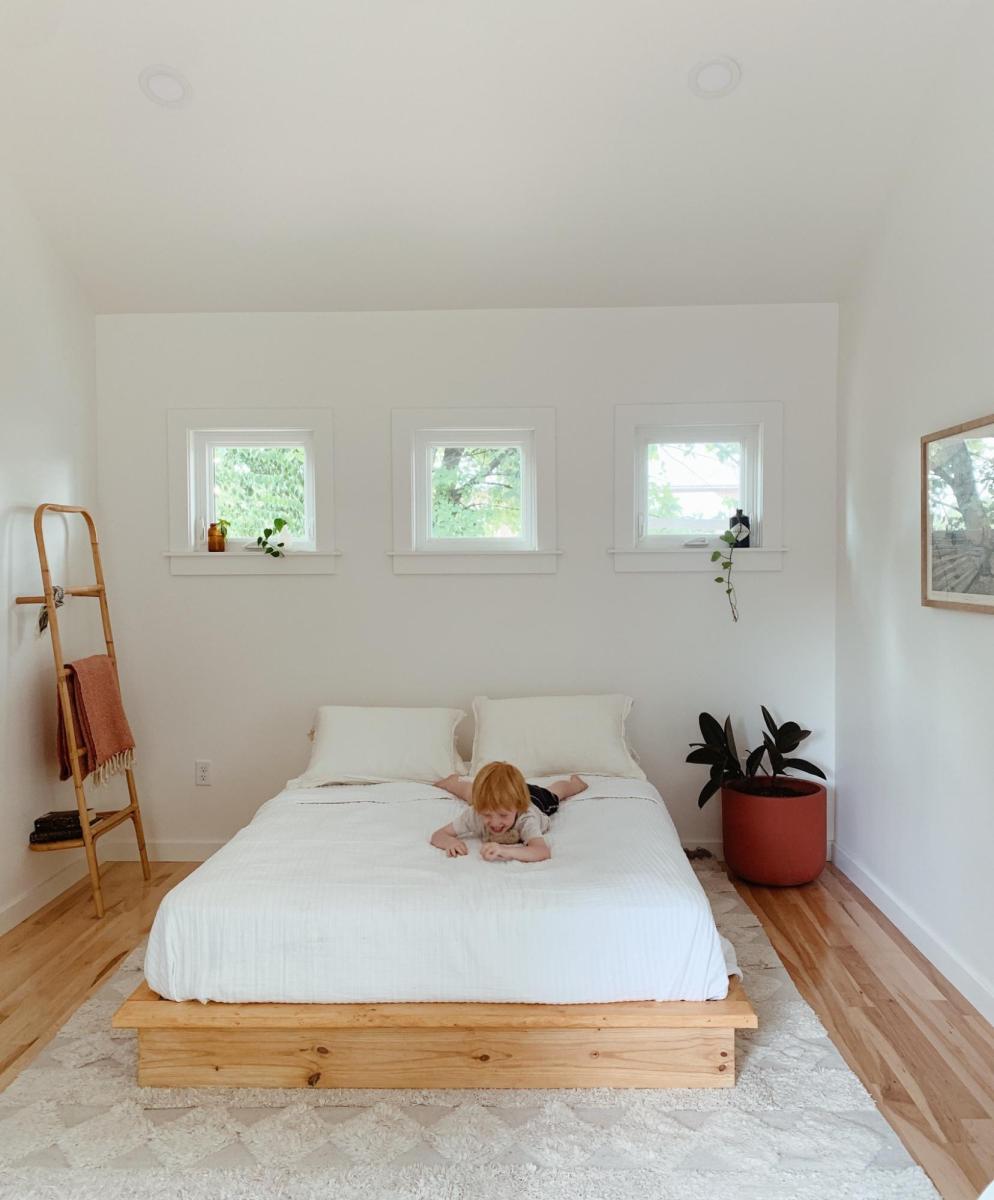
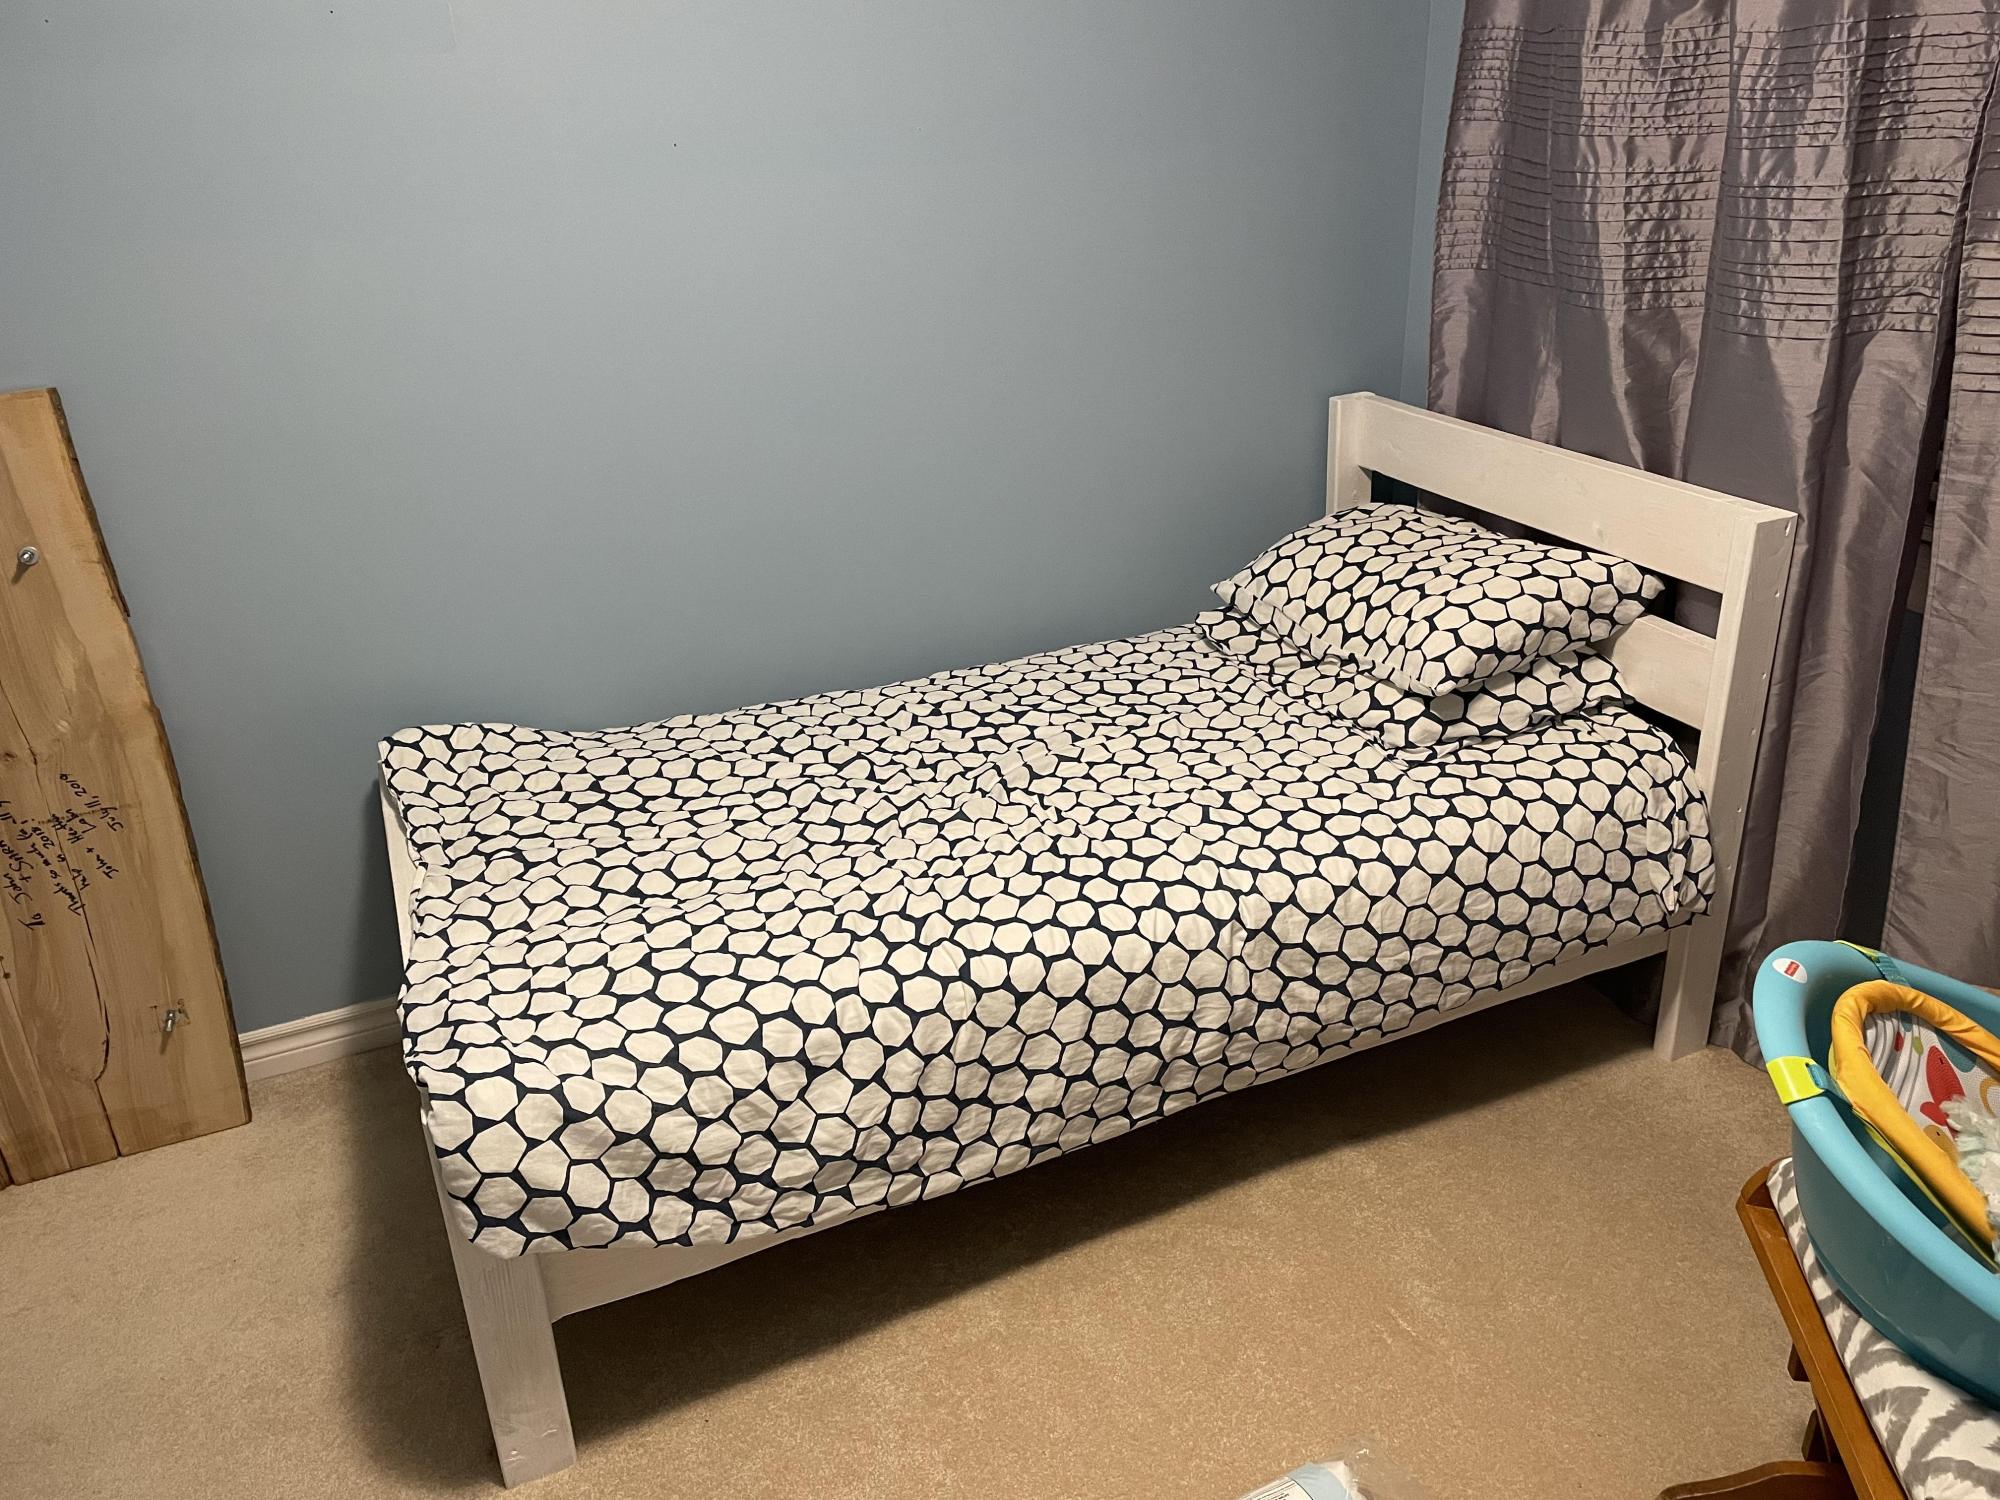
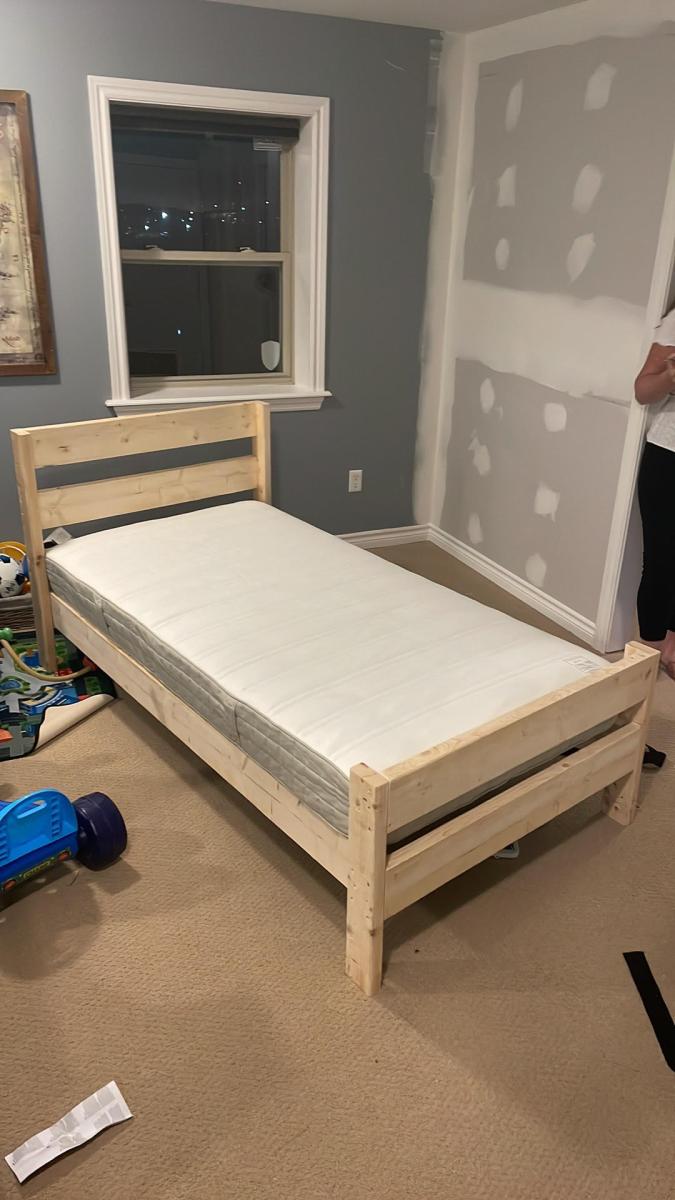
I've been wanting to build this bed for awhile and finally got around to it. I made a few small changes to the plans:

-I used 2x8's instead of 2x6s, so it wouldn't be so low to the ground.
-I ripped 3/8" off of the 2x8 supports in the middle so the mattress would nest inside the frame and not slide around
-I didn't add the headboard because it seemed a bit chunky/rustic for my taste. I will come back and do something else for the headboard. Maybe a cool paneled wall with built in sconces? We'll see!

Love these plans though, appreciate it!

Comments

Fancy Farmhouse Bed to attach to existing frame

Submitted by Kboshers on Wed, 11/07/2018 - 10:00

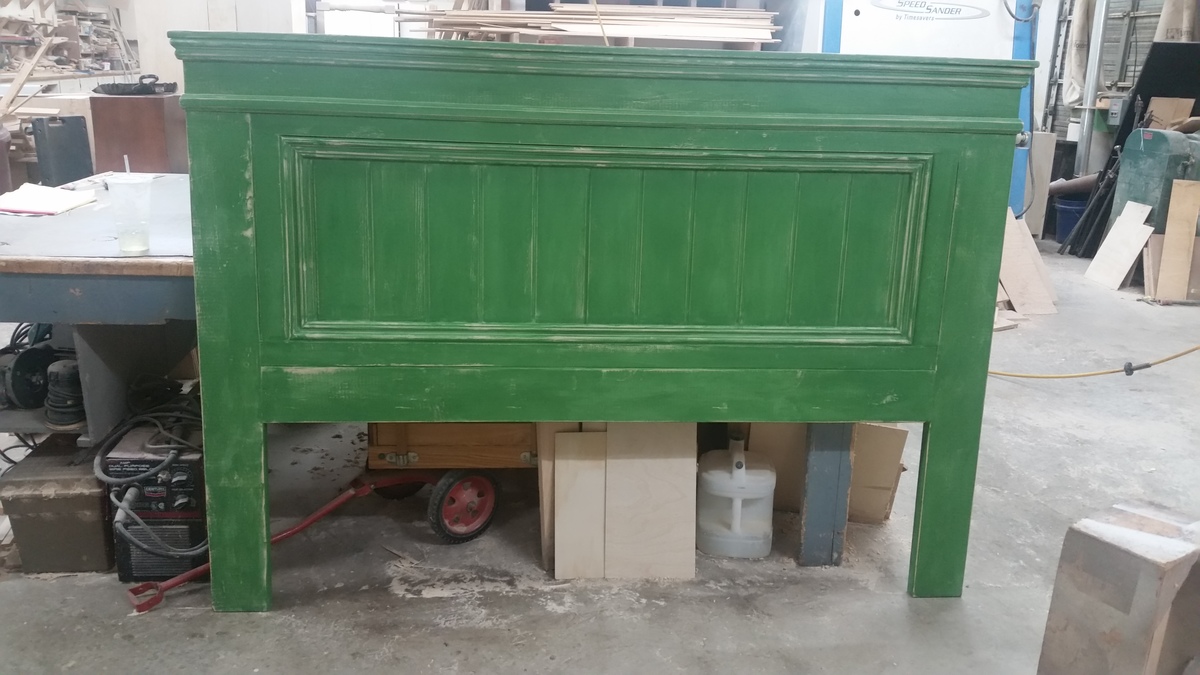
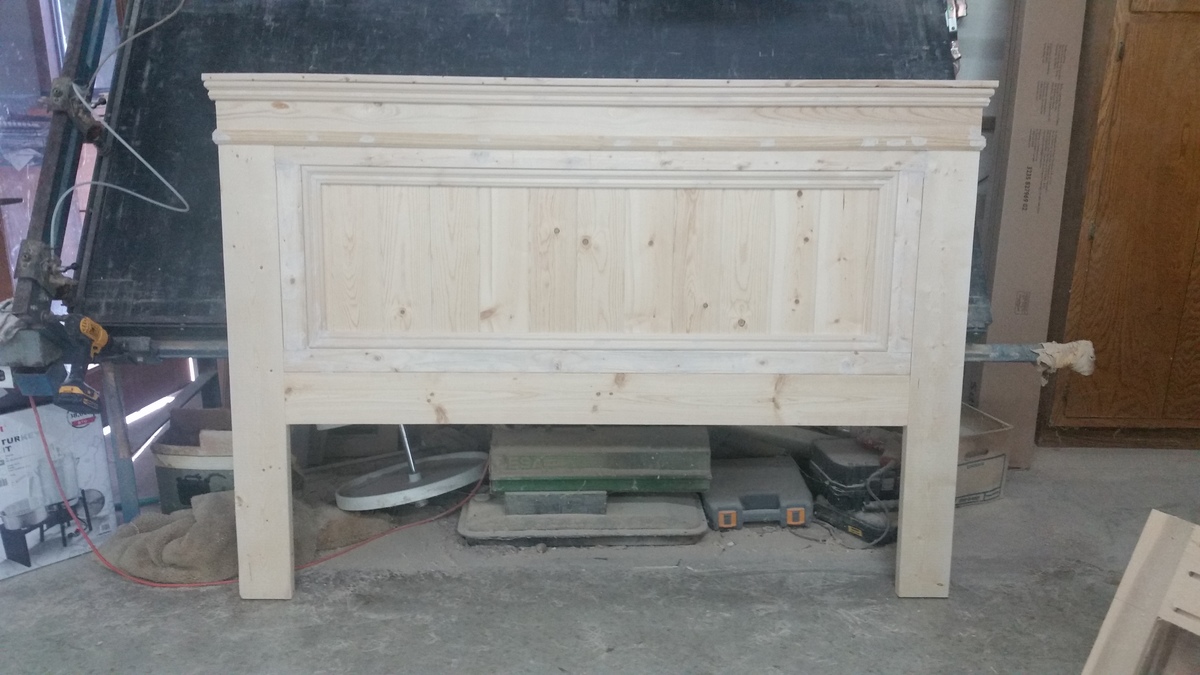
This was a fun and quick build!  Because I had an existing bed frame (and didn't want to headboard to stick out past the mattresses) I narrowed this by eliminating (1) tongue and groove board and changing the "legs" to 2 x 6 boards instead of the 2 x 4's in the plan -- overall width ended up at 76-1/2".  Before framing out the tongue and groove, I cut the exposed tongue off of the last board so the frame would attach better. After getting it all together, I wished I had used a 1 x 4 (or perhaps even a 2x4) as the very top piece so it hung over the moulding more.  I painted it with Old-Fashioned Milk Paint in Tavern Green and sealed that with Howard's Citrus Shield.  The wax turned it a little too John Deere green so I'm thinking I'll go back with a Burnt Umber Wax to darken the color a little.  Overall this was a great project that got me back in Dad's wood shop and refueled my love of building things.  I'm searching out my next project now.

Built from Plan(s)
Estimated Cost
Boards were just about $40 but mouldings almost doubled that price to just around $75 total (I had all the needed fasteners). There were much cheaper moulding available in narrower widths, but I wanted them to be more substantial.
Estimated Time Investment
Afternoon Project (3-6 Hours)
Finish Used
Milk paint and wax
Recommended Skill Level
Intermediate

My wife's new Craft table

Submitted by MattB on Tue, 08/09/2011 - 23:29

This is actually my third project from your site Ana.

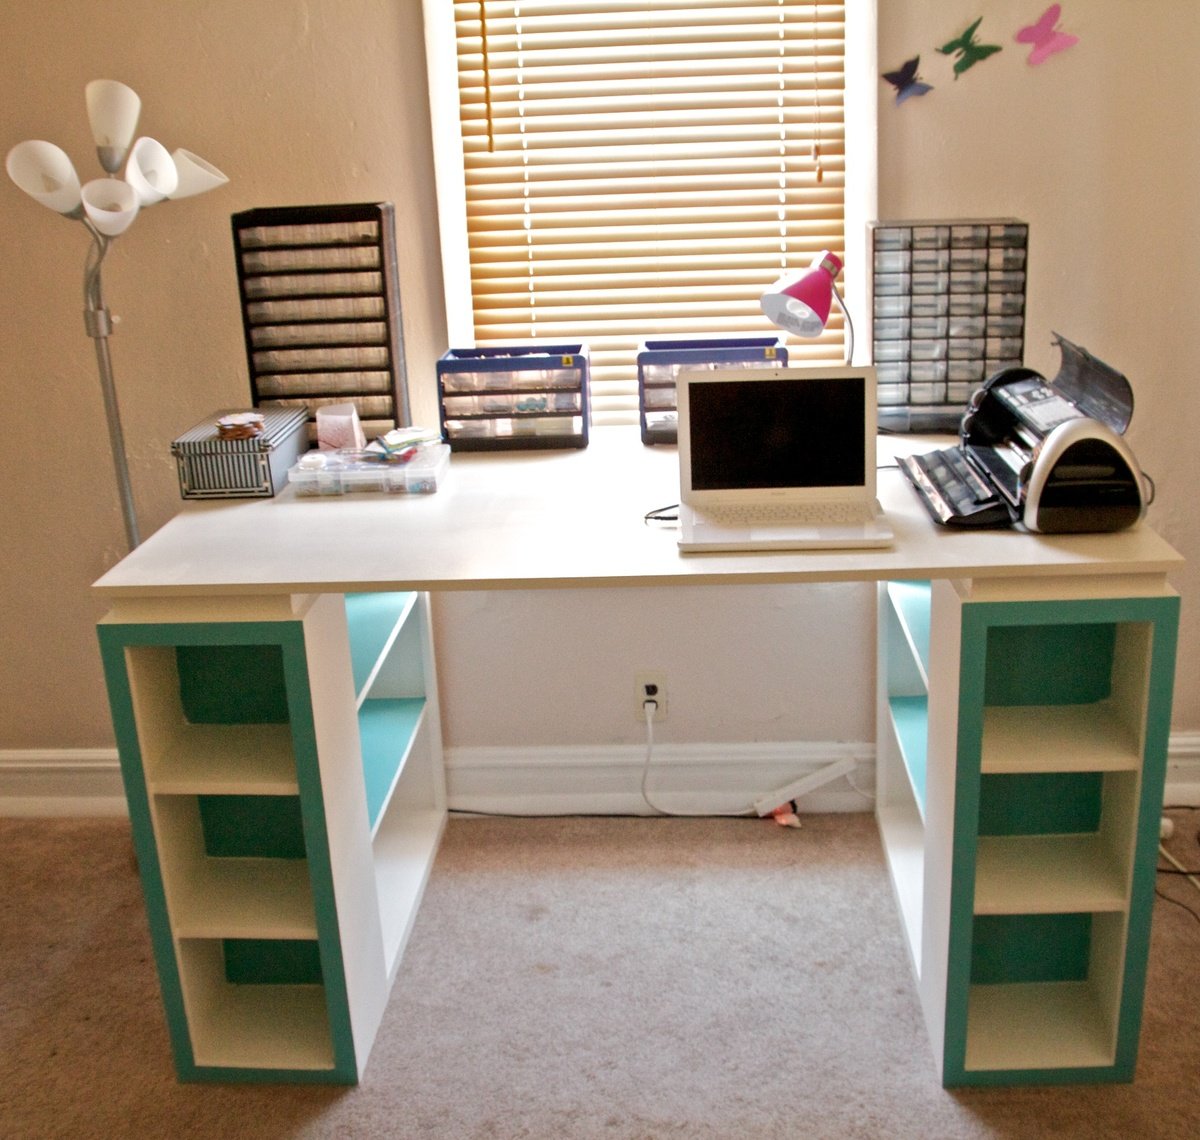
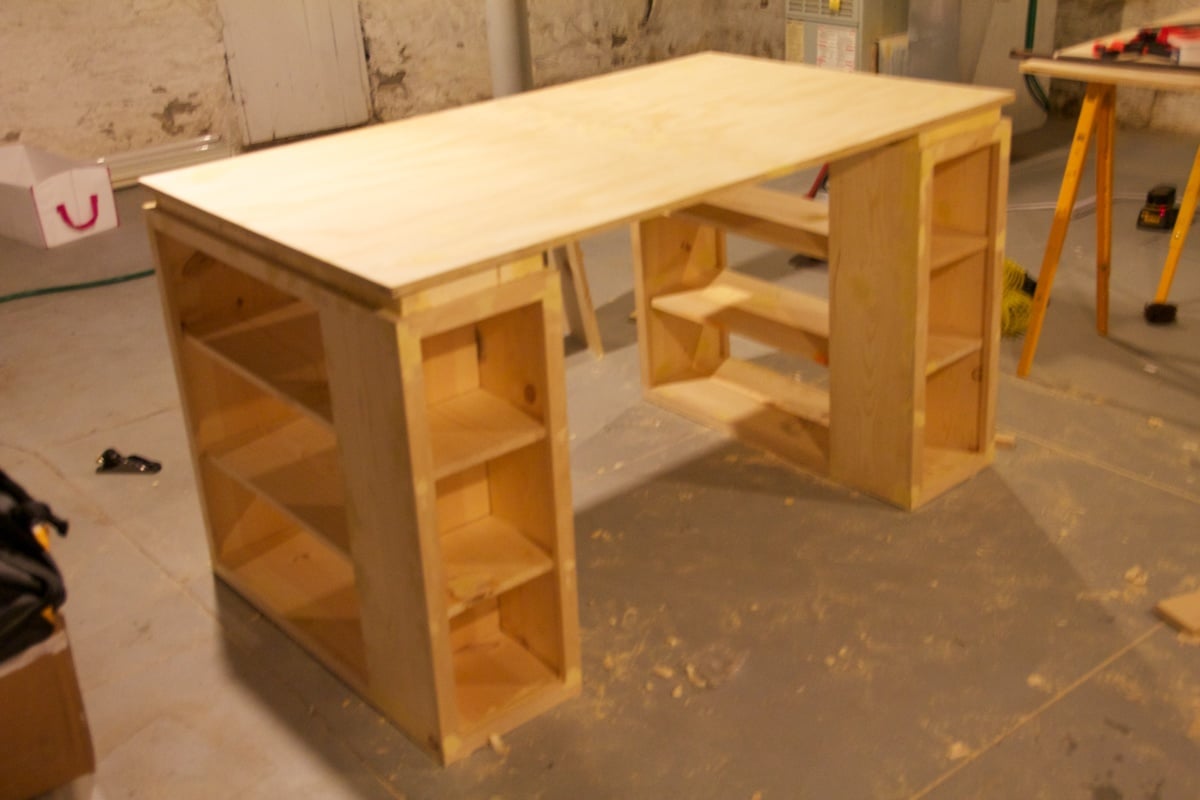
I acctually decided to make this table ten inch wider since my wife has a loooooooot of crafts :)

This project took a little longer then I thought.
It was my own fault!!! I thought I would safe some time and get some of the wood cut buy the clerk at Home Depot. That turned out to be a really bad idea. Most of my cuts were uneven and even after I gave the clerk the exact measurements, a few of the boards were up to 2 inches too long. At the end I had to buy two more boards because I had to cut peaces away to have straight edges.
Lesson learned!!!

I love building wood furniture. And I already got my next plan from your site that I'm going to build.

Built from Plan(s)
Estimated Cost
$160
Estimated Time Investment
Weekend Project (10-20 Hours)
Finish Used
Valspar-Dove tail white(Eggshell)
Behr- Surfer(eggshell)
2 coats of clear Polyurethane Semi-Gloss
Recommended Skill Level
Beginner

Comments

Guest (not verified)

Wed, 09/07/2011 - 04:18

awesome job! im in the middle of making one of these at the moment. but just to be a tad different i have put a small cutout hole on the top, theres a little bin that sits on the shelf under it, so all i have to do when ive finished with all my paper cuts is swipe it down the hole! hehe how nifty. oh and where did your wife get the black cricut machine?? lol

clubhouse loft

Submitted by oterojaime on Mon, 10/26/2015 - 05:26

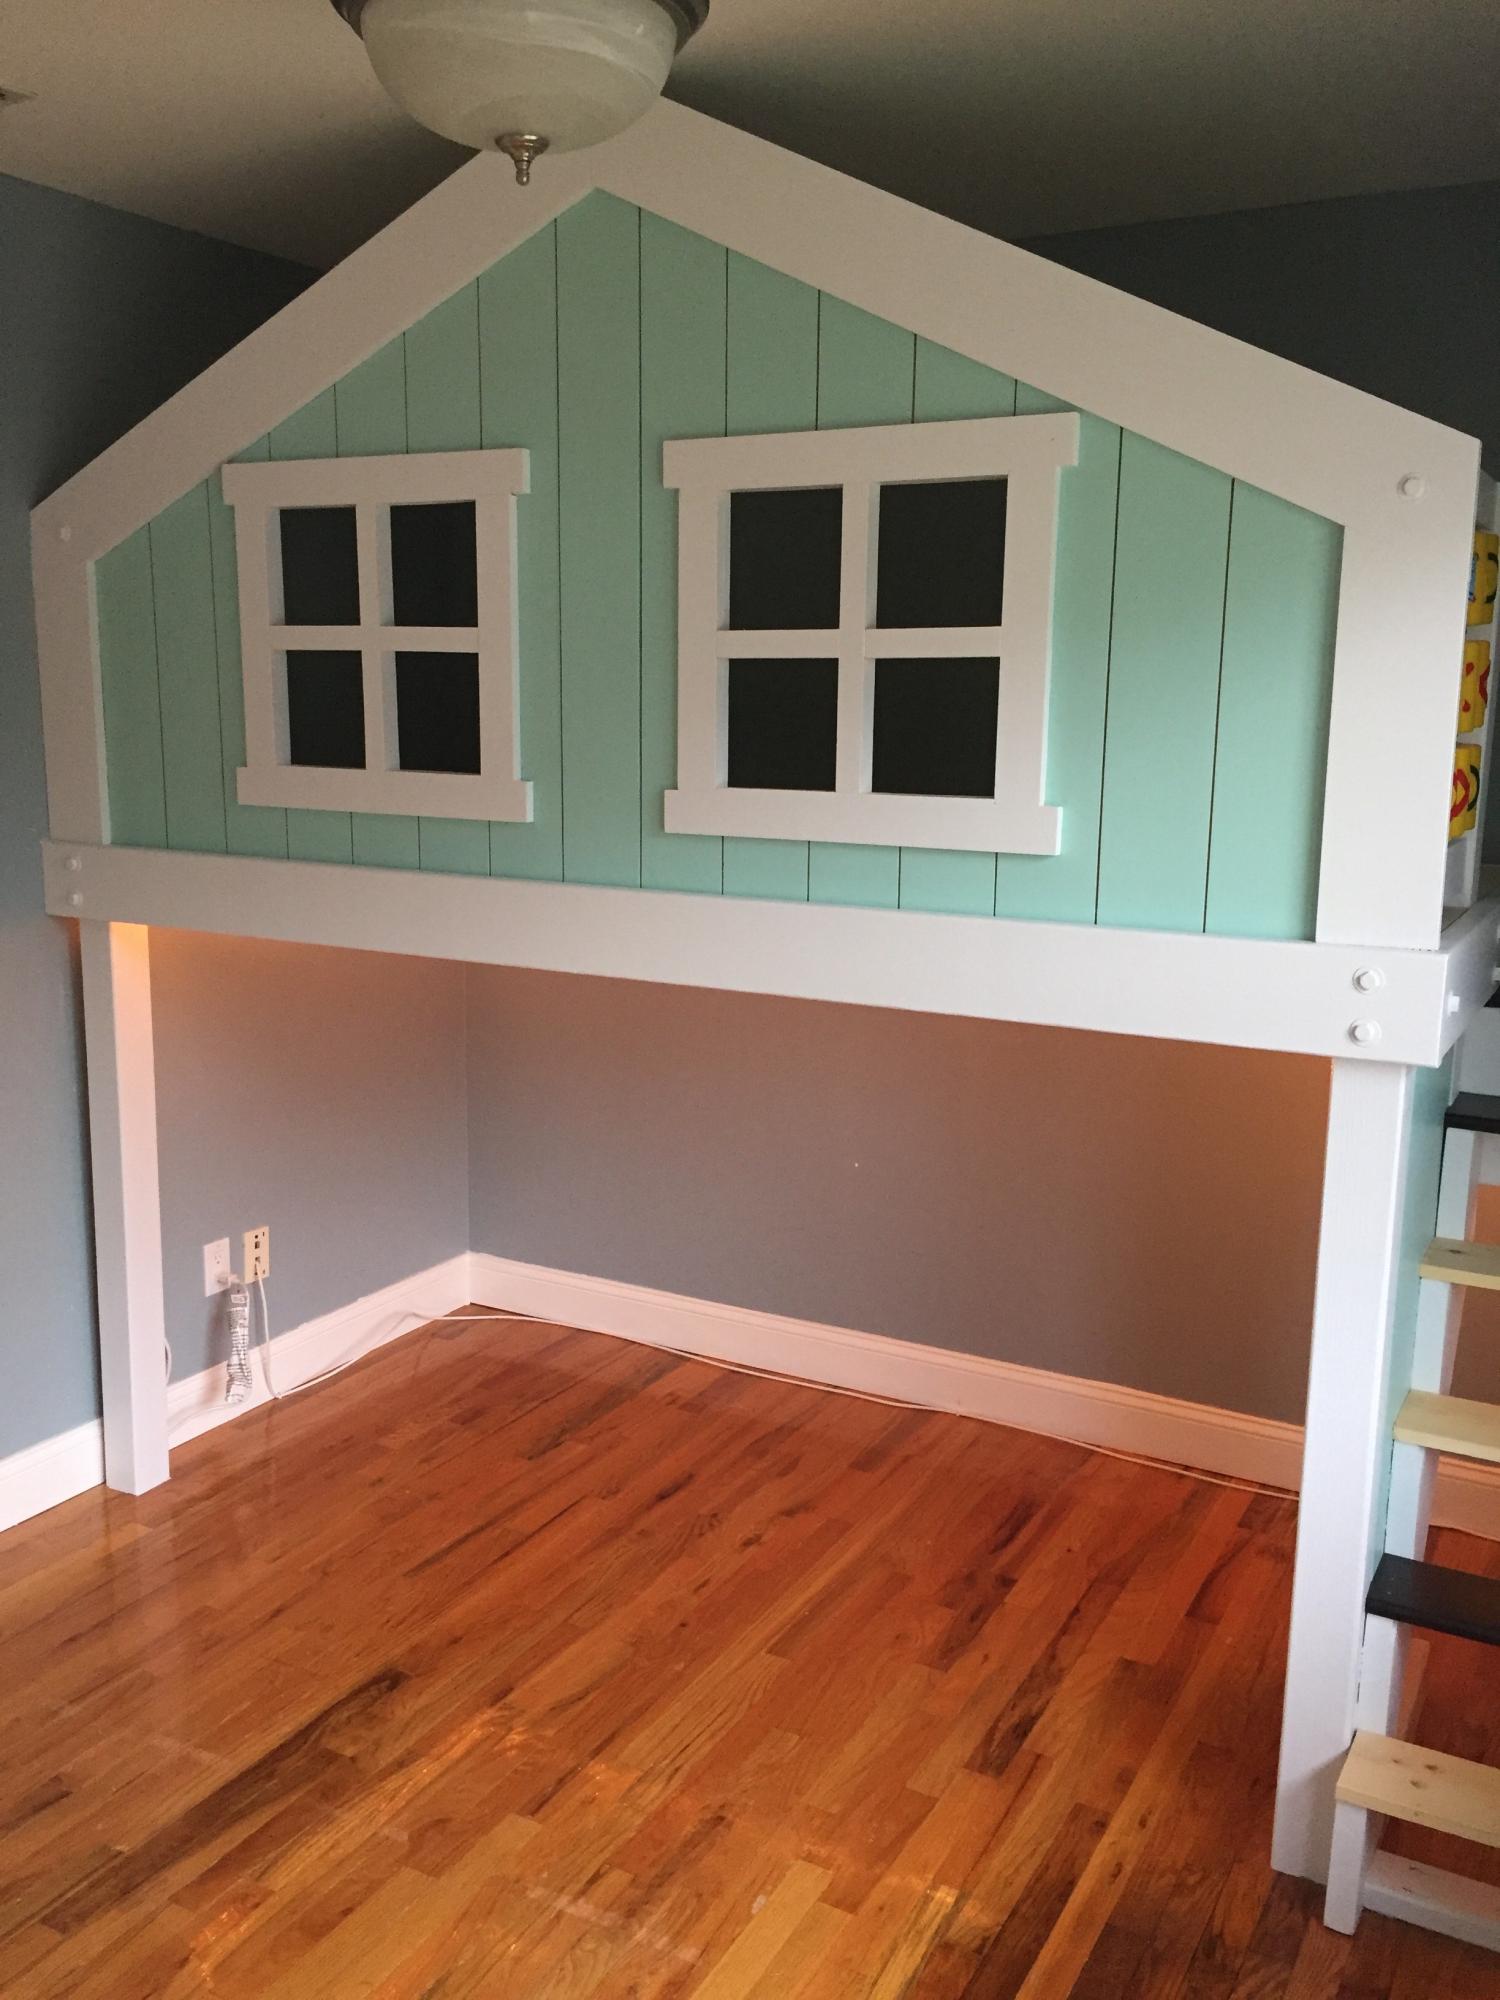
This is just a loft I made for my kids. I didn't want to spend over $1500 at PBK for a twin bed size bunk bed. the size is 4x8 enough for them to have fun.

Built from Plan(s)
Estimated Cost
350
Estimated Time Investment
Week Long Project (20 Hours or More)
Recommended Skill Level
Intermediate

Building Built In Bookshelves

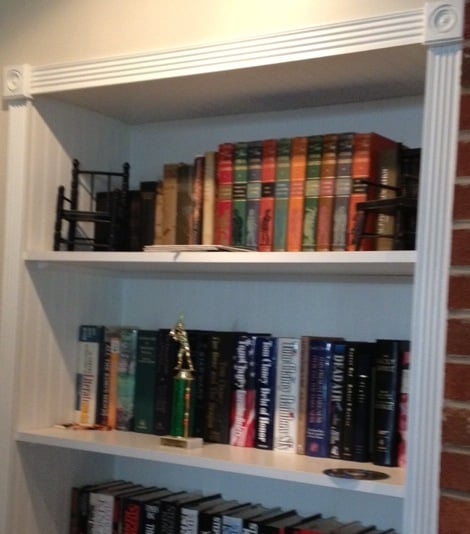
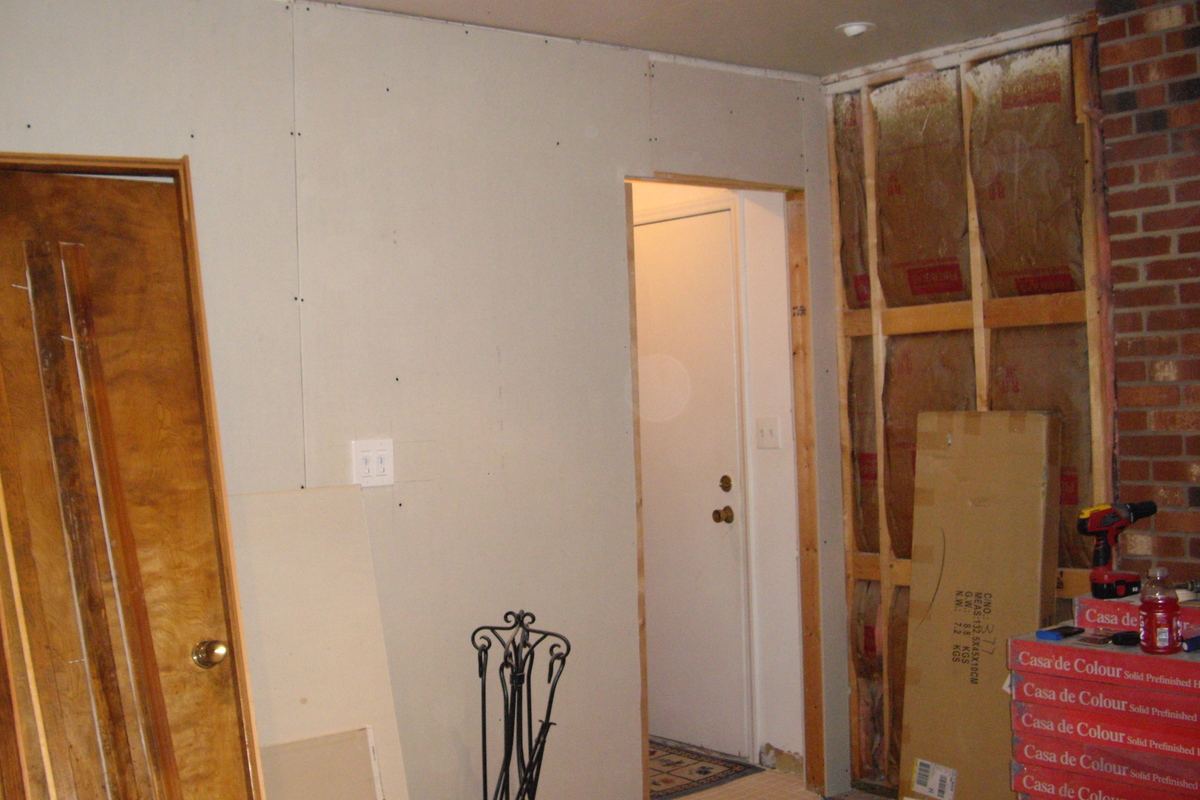
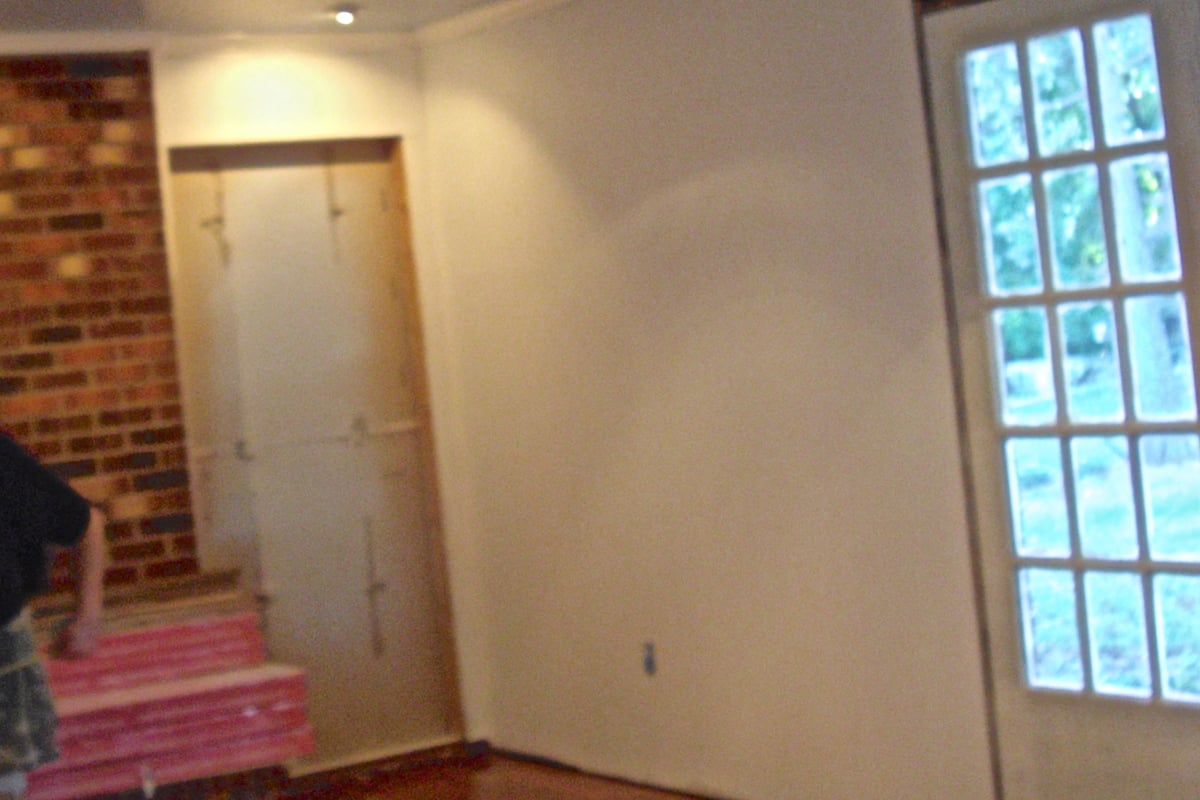
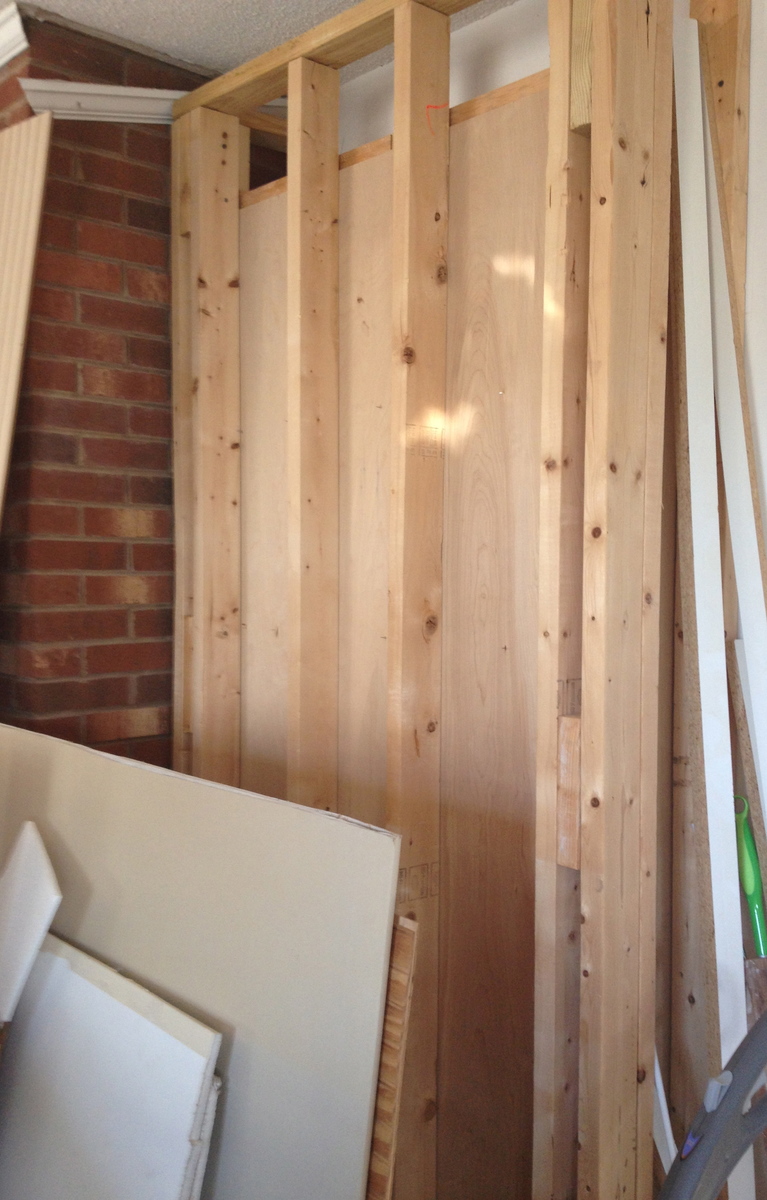
I decided to build bookshelves on either side of the fireplace, where it was just drywall. I wanted them to be flush with the wall, and the garage is behind the wall. So, I built them into the garage.
I put headers above where the bookshelves would be, and framed the back side in the garage with just 2x4's. I used full sheets of bead board to cover the backs and sides, and tops. Then I bought pre made shelves and put them up using quarter round to support the shelves on all three sides.
I then bought a door frame kit that I liked, that came with fluted pieces for the sides and top with decorative squares to put at the corners. I caulked and painted it all once it was built. I used a circular saw, framing nail gun, compressor, trim nail gun, chop saw and a hammer total. It was a pretty simple project but has made the space much more useable and pretty. My next project is to build a mantle and surround that matches the bookshelves.

Estimated Cost
$200
Estimated Time Investment
Weekend Project (10-20 Hours)
Finish Used
glossy white paint, Behr Polar Bear white.
Recommended Skill Level
Intermediate

Antiqued TV frame

Submitted by kbdesigns on Tue, 11/17/2015 - 15:03

Me: Hey can we get a new TV?

Wife: No, there is nothing wrong with ours.

Me: Darn, ok. Hey what if I build this cool frame around it?

Wife: <3 <3 <3 OK! <3 <3 <3

Me: Win.


So this is a project from quite a while back, one of my first builds that got me hooked on woodworking actually. I made a few modifications (obviously) since our TV was super thin it just wasn't going to work the way I wanted. I decided to go with more of a tapered look instead. It was my first experience with the "antiquing" technique, after lots of trial and error I ended up getting the look we were going for. It was overall a fun and fairly easy build, with a few learning moments along the way. The only time any of these projects seem "complicated," is when you over think everything, like I do :)

Estimated Cost
$75 (I used the fancier 1x4s from Home Depot)
Estimated Time Investment
Day Project (6-9 Hours)
Finish Used
White paint, antiqued with dark walnut stain.
Recommended Skill Level
Beginner

Comments

Ashlin

Sat, 03/26/2016 - 08:42

This looks beautiful! Was wondering where you purchased the barn door hardware? Been looking everywhere to find some that won't break the bank.

Greenhouse

Submitted by Anonymous (not verified) on Tue, 11/15/2022 - 10:12

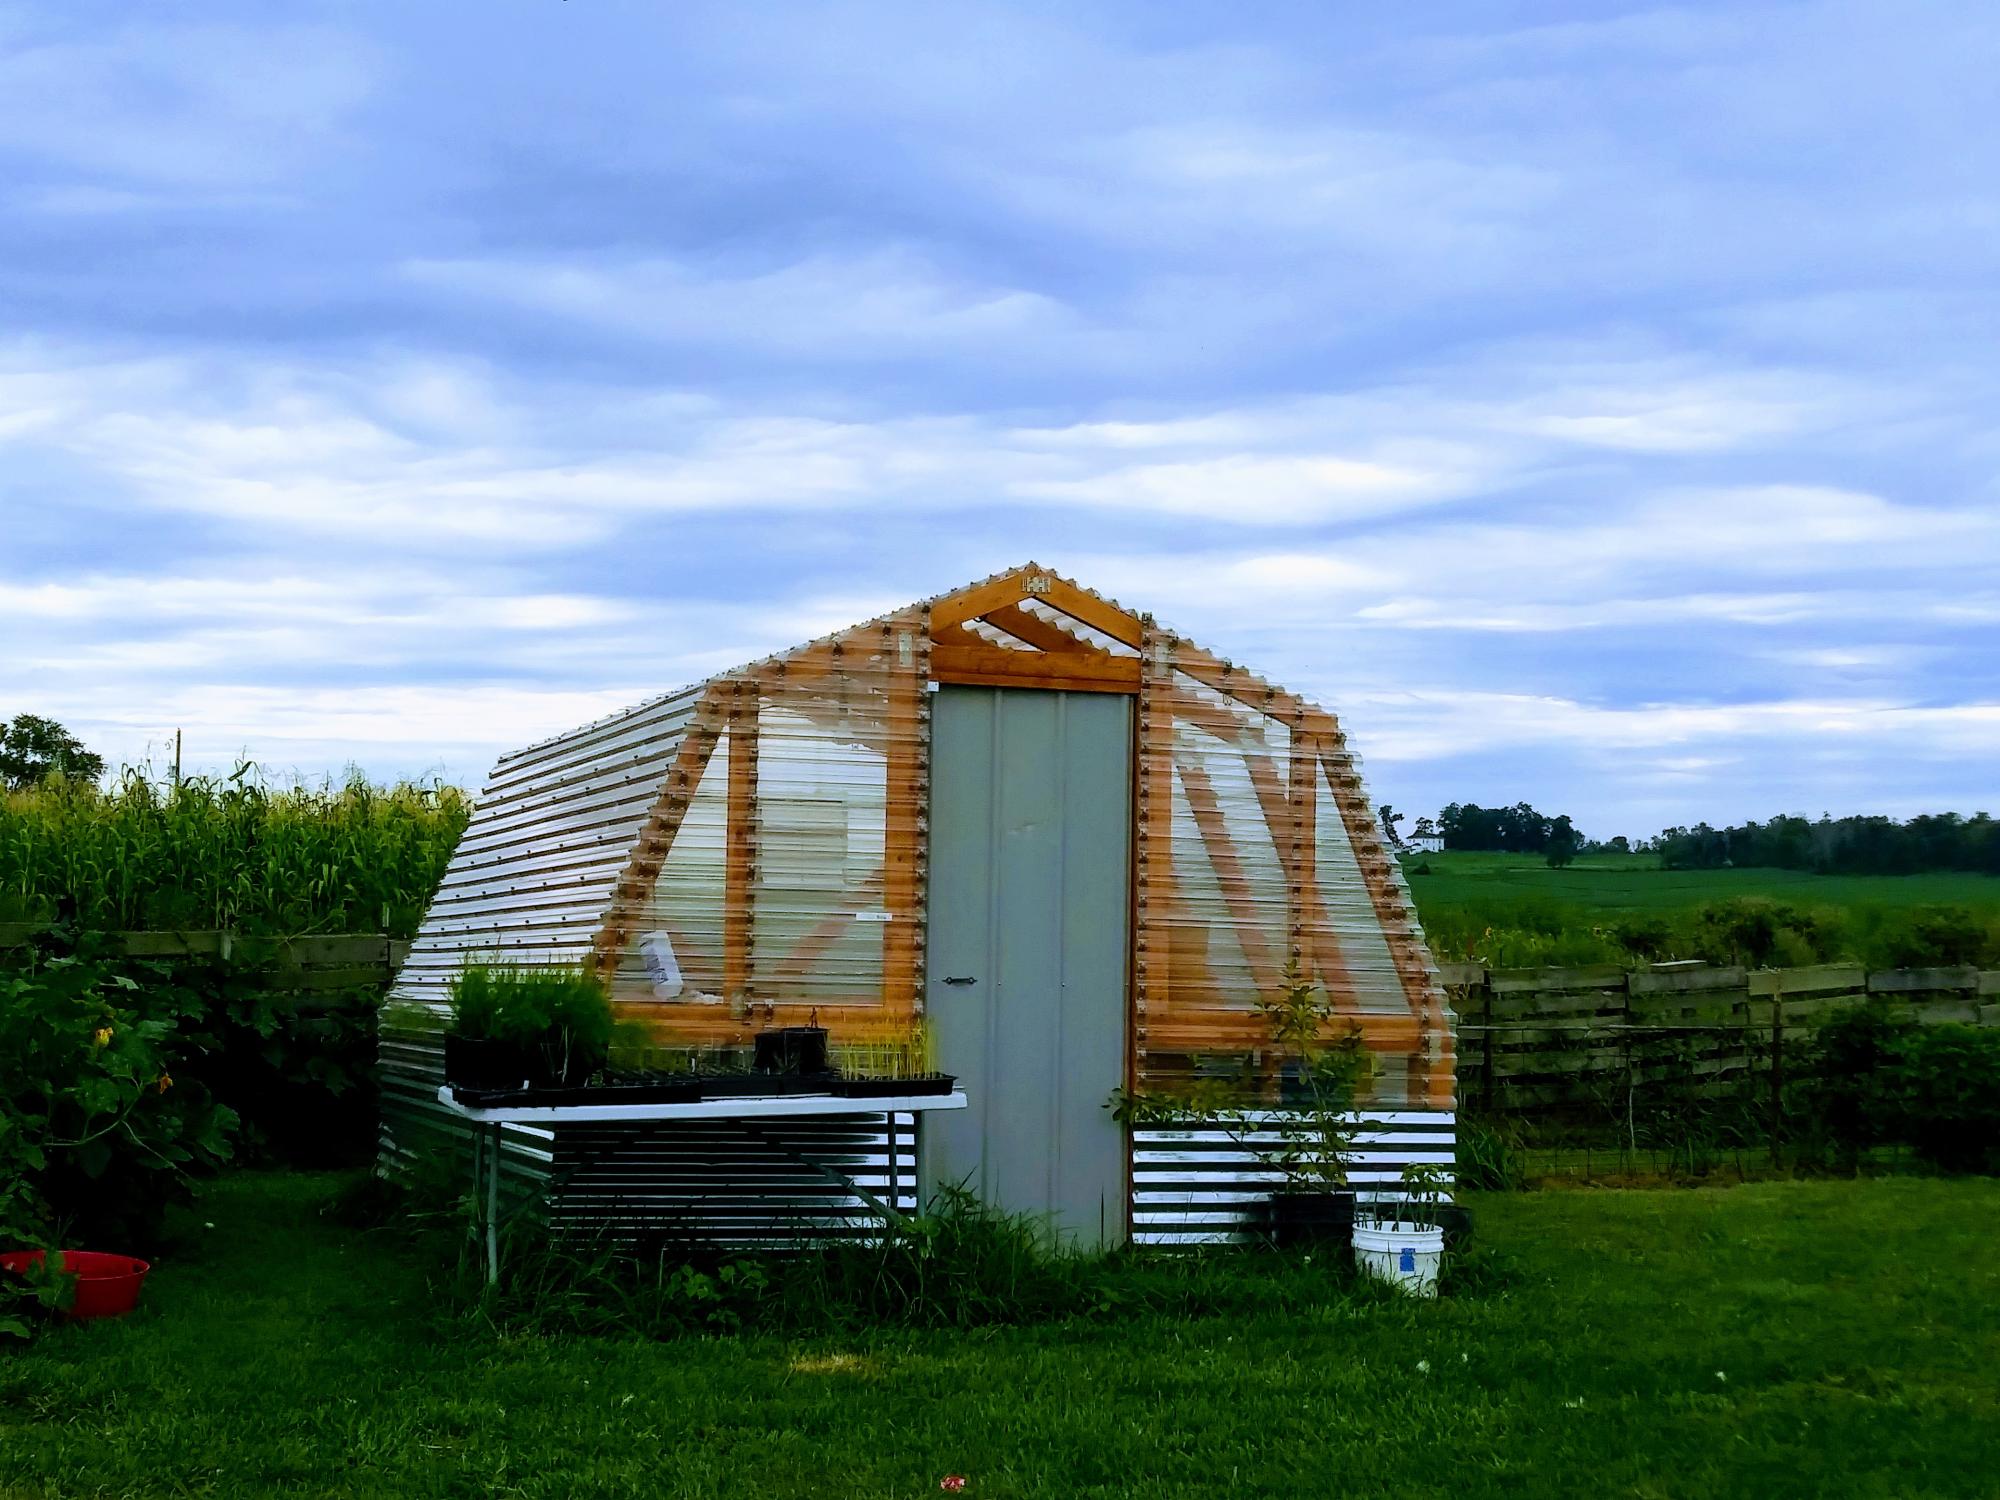
The plans from Ana White were excellent! I worked on this greenhouse through last winter and finished this past March. It worked perfectly for my needs through the entire growing season. I highly recommend this plan for a cost effective greenhouse, even if you have no prior building construction experience (I didn't before I built this). It only cost me $1,100 or so when all was said and done. The cheapest I could find a comparable greenhouse of this size to purchase was $2,500.

Built from Plan(s)

Comments

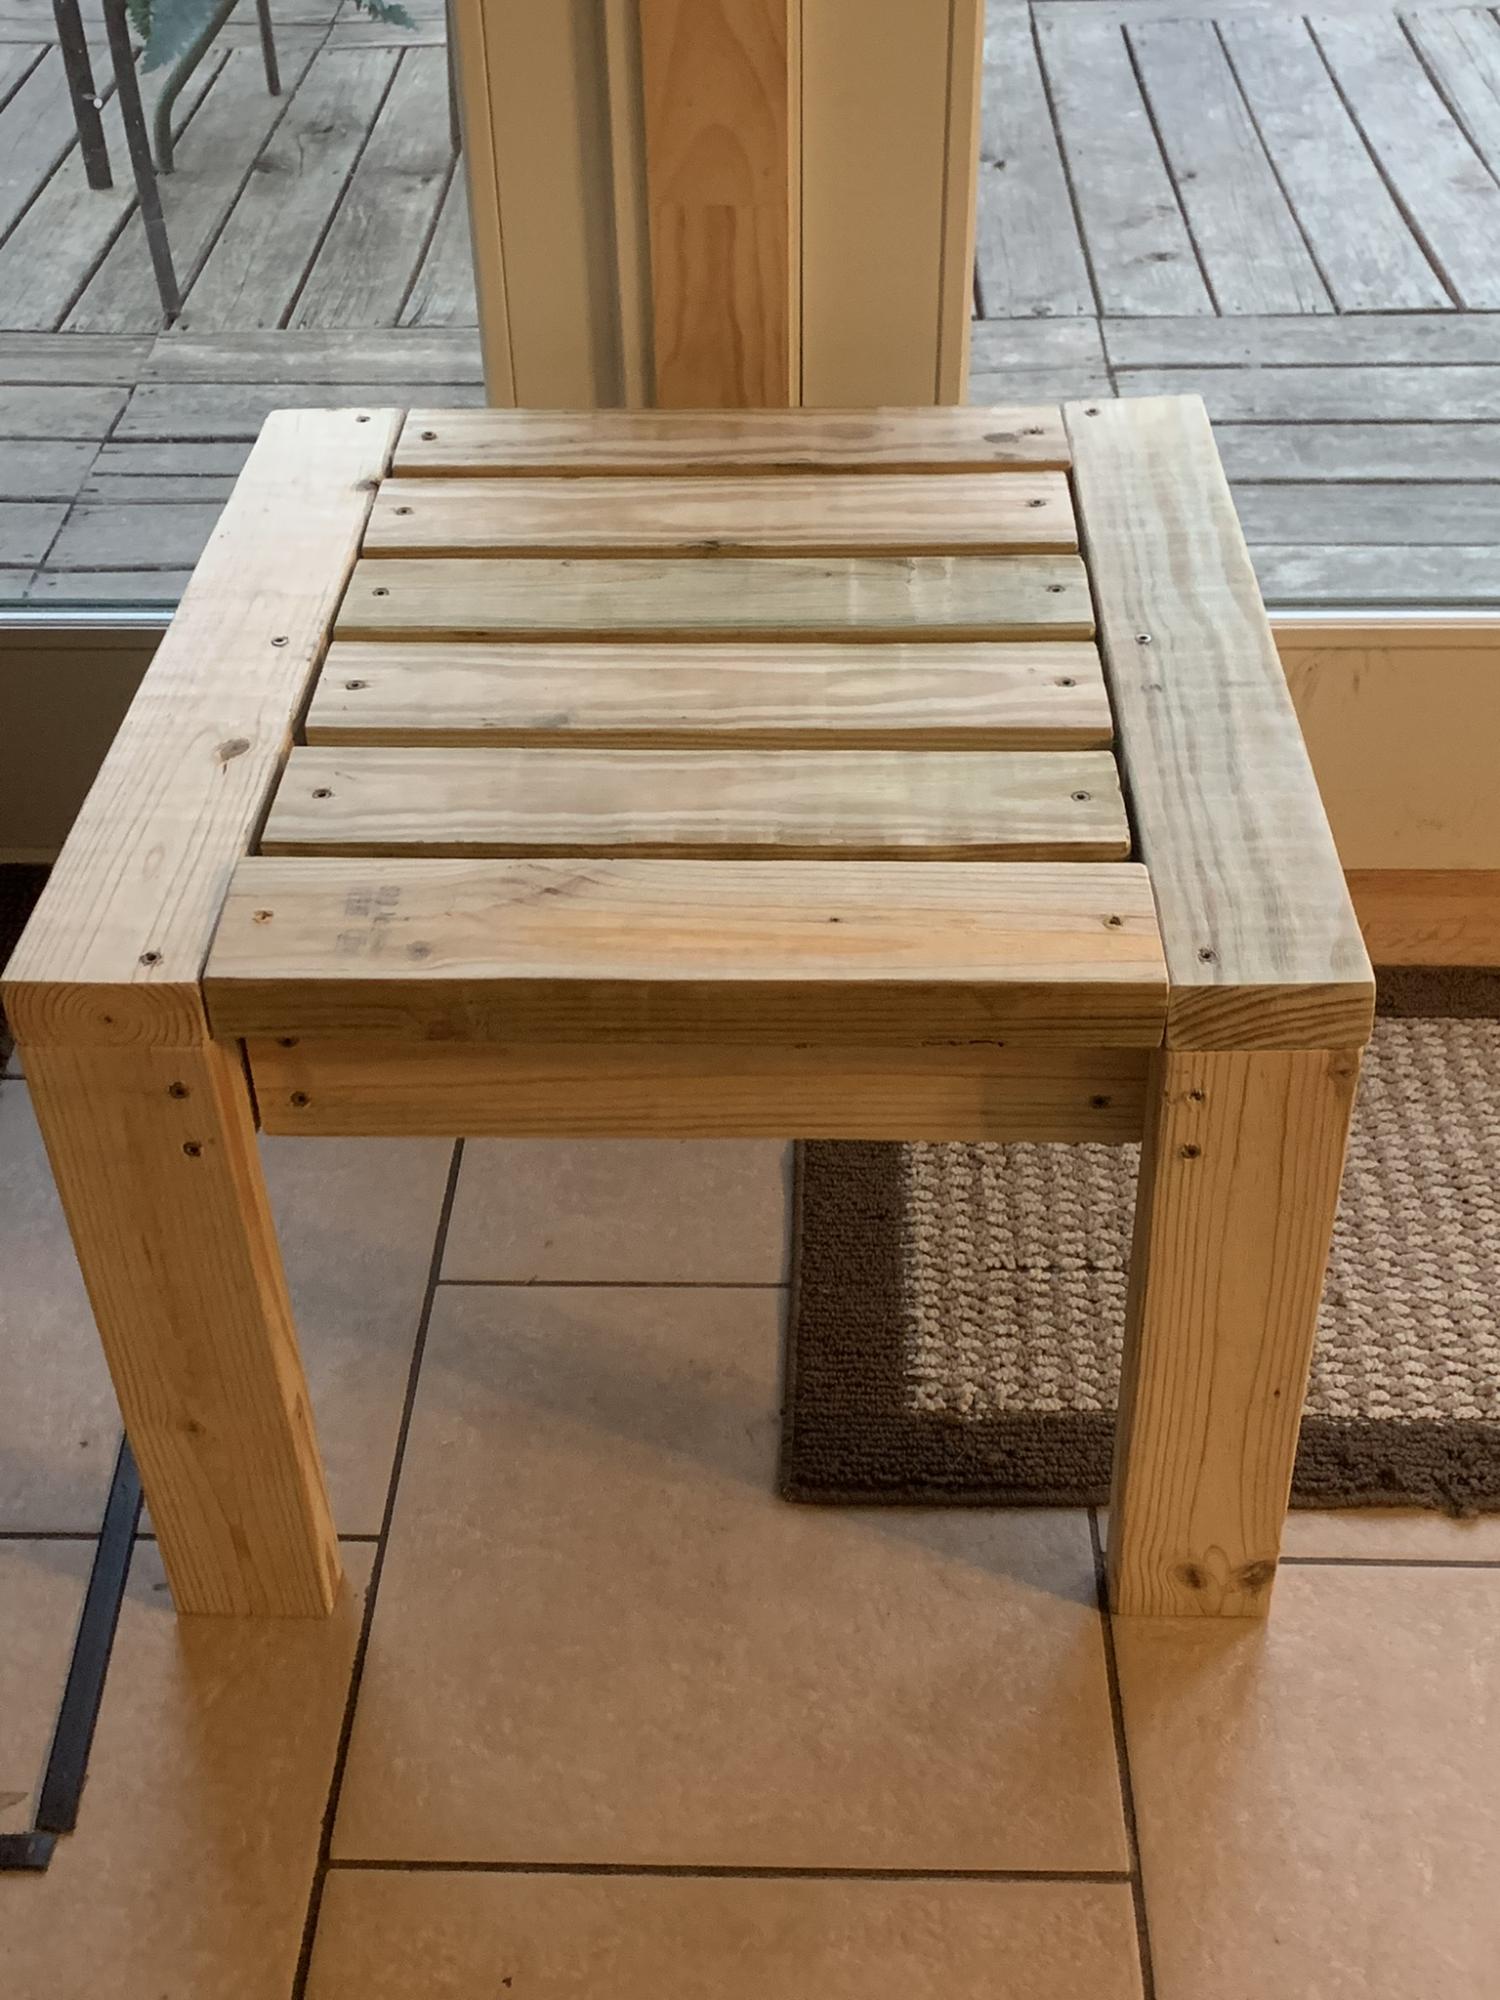
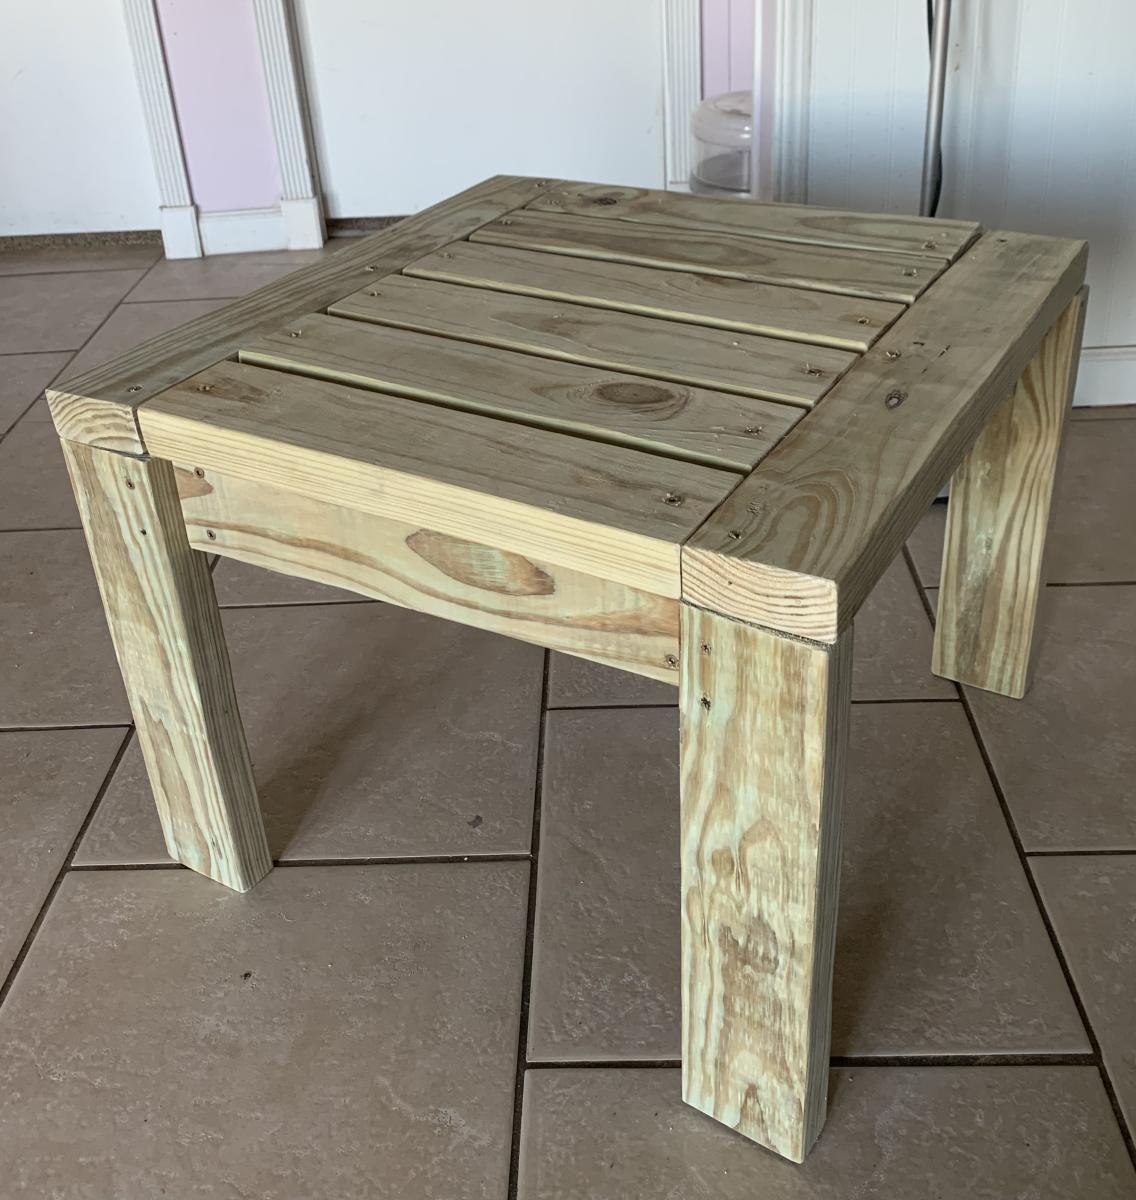
Outdoor end tables

I made these two Ana White outdoor end tables for my patio. Next up will be the matching coffee table

Built from Plan(s)

Comments

Planter

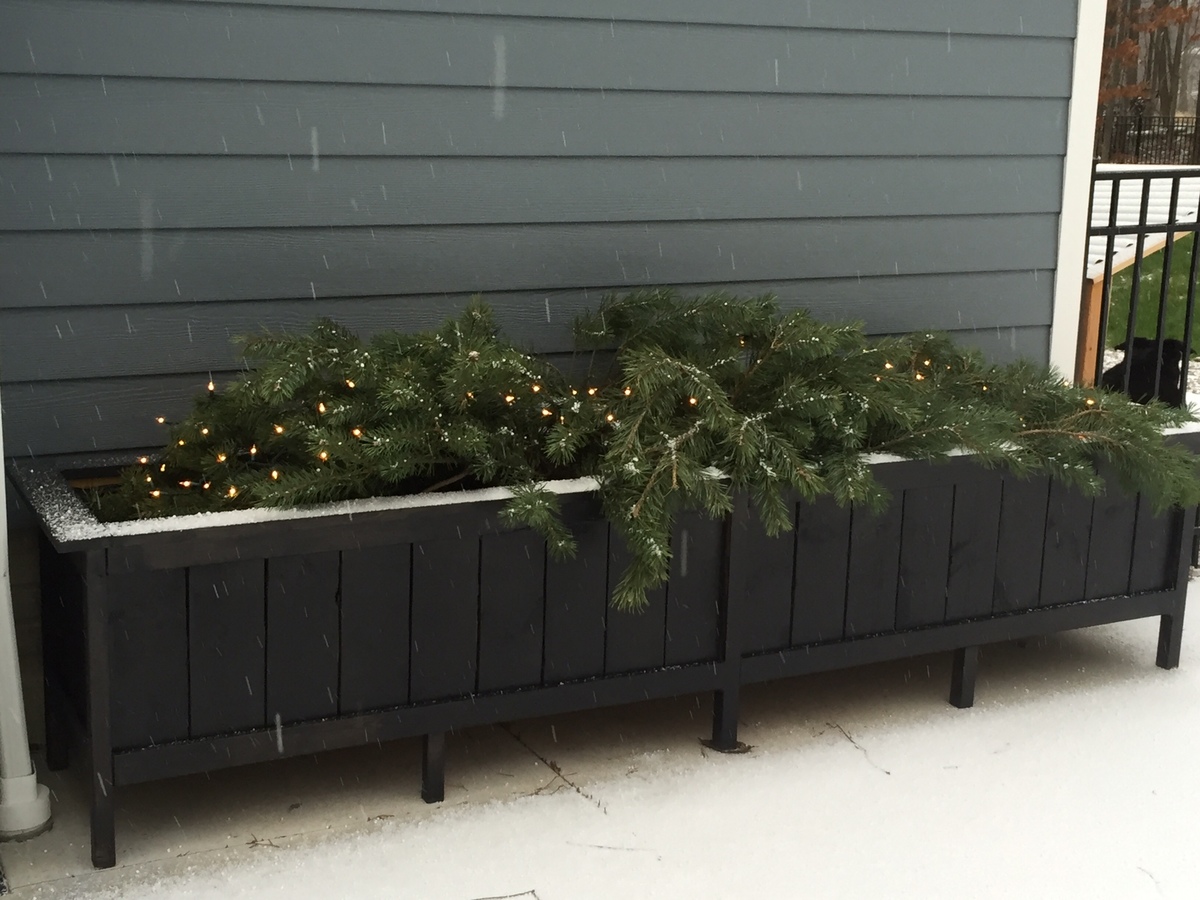
Submitted by Anonymous (not verified) on Sun, 01/03/2016 - 09:35

Tripled the dimensions, filled with mums for the fall. Now pine boughs and fairy lights! Love!

Built from Plan(s)
Estimated Time Investment
Weekend Project (10-20 Hours)
Finish Used
Outdoor stain, poly
Recommended Skill Level
Beginner

Chartreuse Moving Double Pull Out Trash Can

Submitted by pjfessier on Thu, 05/02/2019 - 17:25

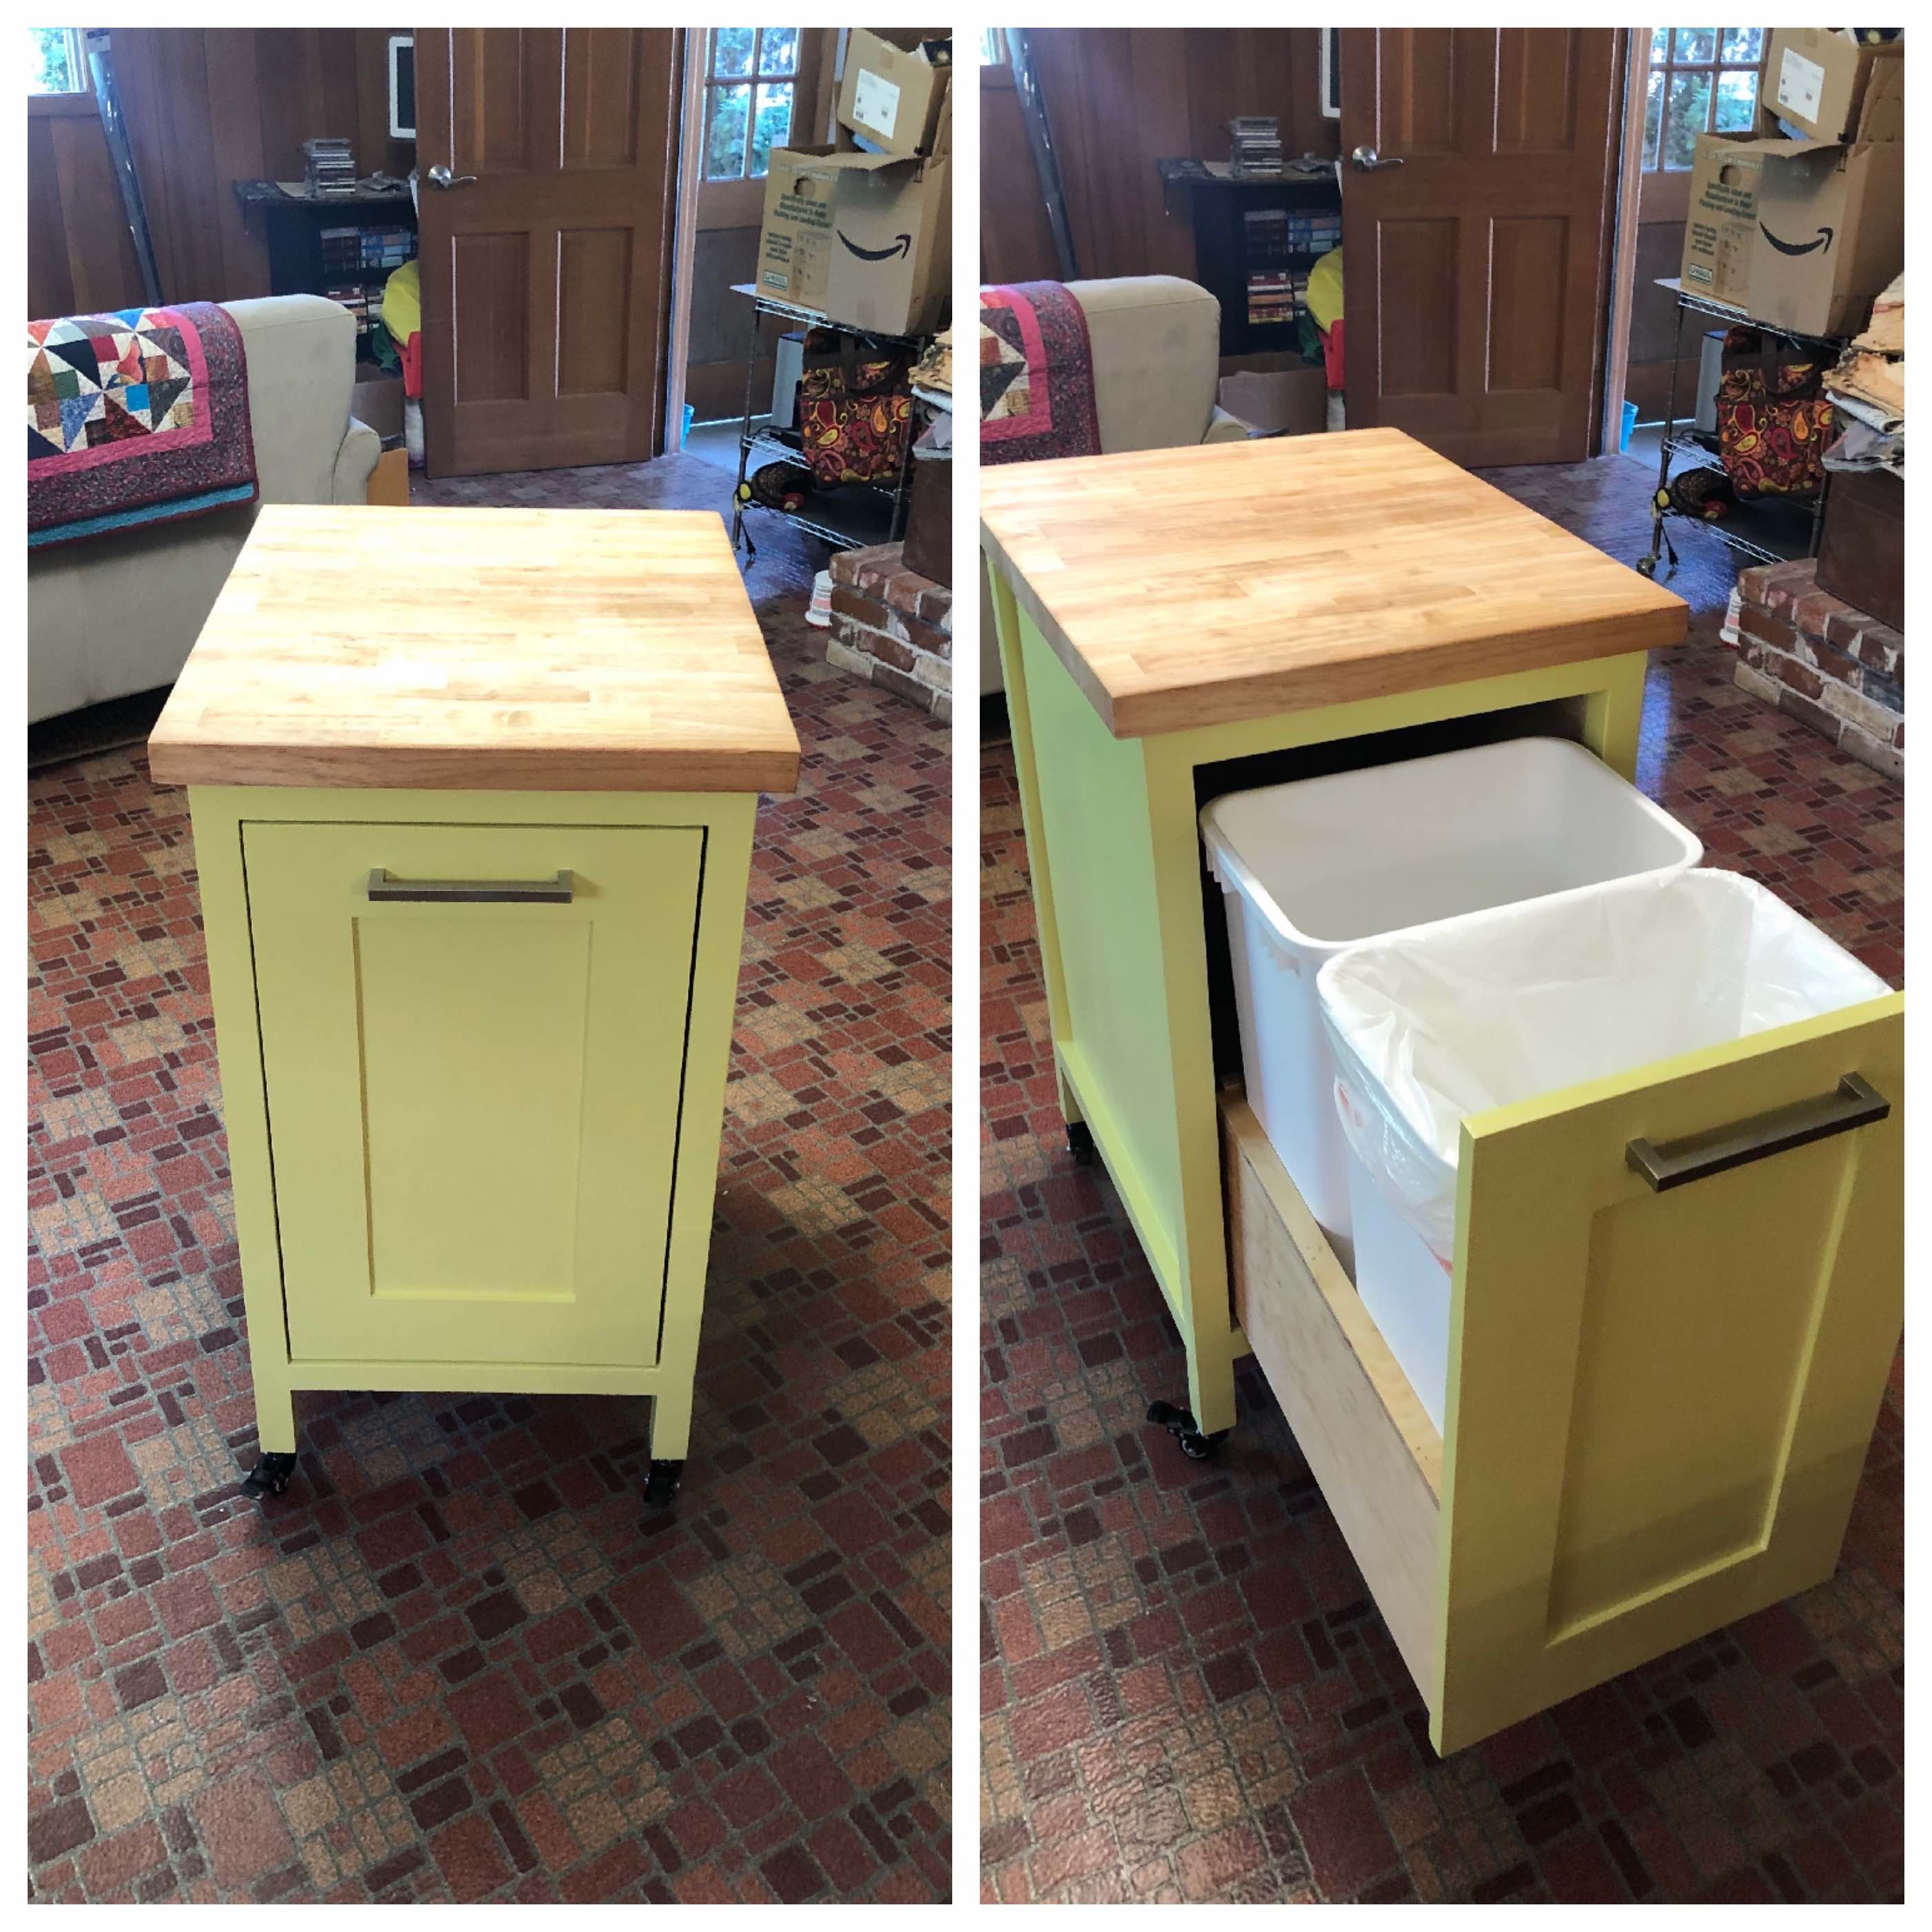
I replaced all of the drawers in our 1960's kitchen with custom built new drawers that have full extension slides.  I can't afford a complete remodel, but the new drawers allow the kitchen to function much better. The old drawers had wood slides that would allow you to pull them out about 2/3 of the way. Any more than that and the whole drawer would slide out and go crashing to the floor. 

I had wanted to build a cabinet like this, but I couldn't figure out how to pull it off. I'm an amateur with basic tools working out of my garage. I found Ana's plan and combined it with my experience making drawers to make this cabinet. I use Blum soft close slides and the cabinet is working great so far. 

The butcher block top is left over from countertops I put in the kitchen. The project basically started with me wanting to put that last bit to good use. It's 1 1/2 in thick acacia. I wish I'd have gone for maple but the acacia is okay. 

I don't know if you can see it in the photo, but it has locking casters on the feet so that we can move it around when we need to clean the kitchen floor, but it doesn't move when you pull on the drawer. I guess it can also double as a little island when we have dinner parties. 

Estimated Cost
$100.00 I'm really not sure. The slides and paint were pretty expensive. Of course I didn't use all the paint so if something else needs to be chartreuse I have more. The wood was poplar and some high quality plywood. It's 3/4 ply on the slides but only 1/4 on the back. The drawer is made with left over baltic birch 1/2 in ply that I had left over from my other drawer projects. I guess you could consider the varnish and nail free too as I already had those. Building the drawer is really a whole separate project that takes as long as the cabinet. And the Shaker door is also its own little project.
Estimated Time Investment
Week Long Project (20 Hours or More)
Recommended Skill Level
Beginner

Comments

Farmhouse Toybox

Submitted by Anonymous (not verified) on Fri, 03/10/2023 - 05:56

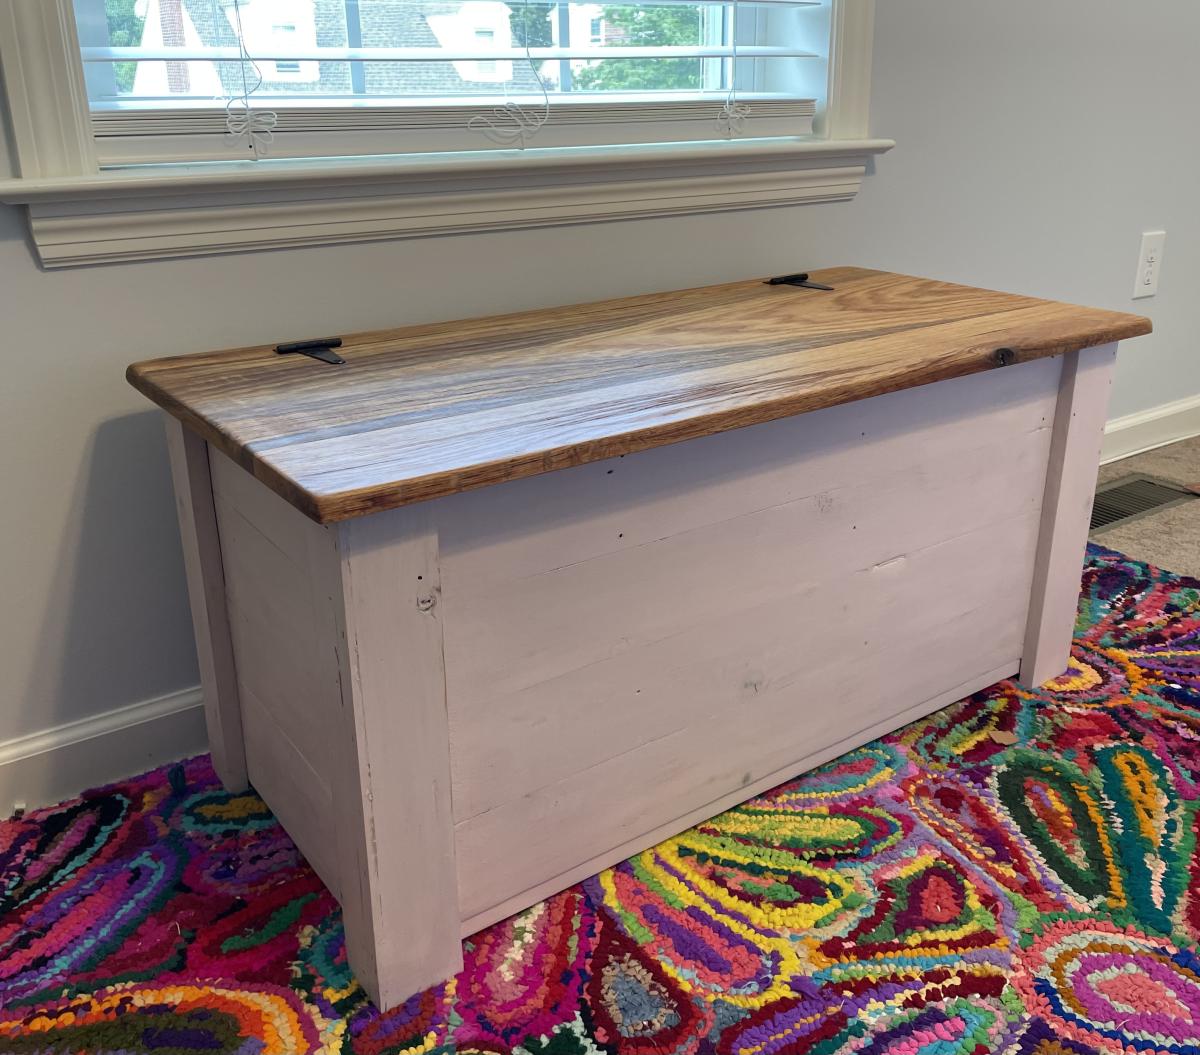
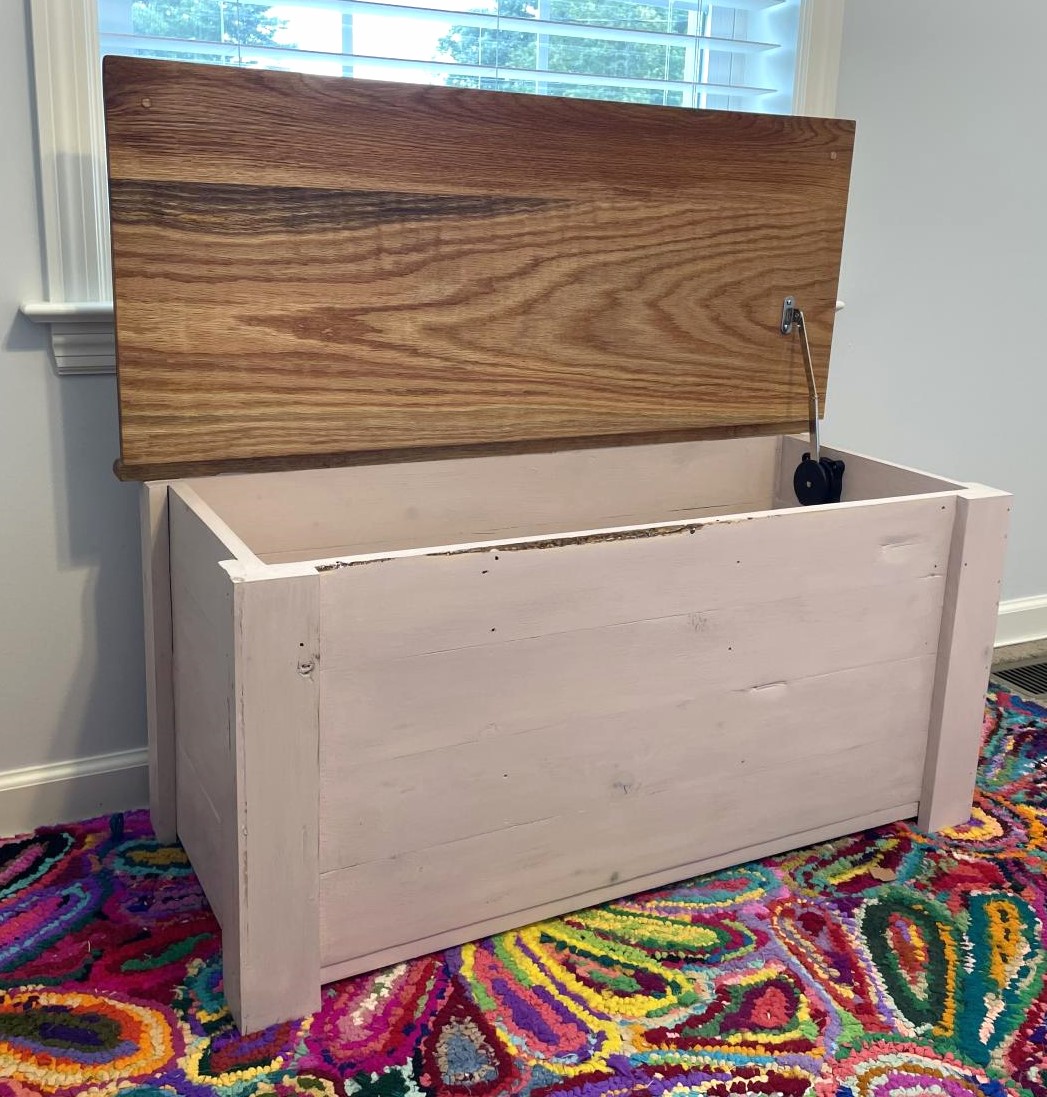
I've wanted to build a toybox for our daughter as soon as she was born, and Ana's plan was my favorite. It took a couple of years to finally get the supplies and start building it, and I was able to build it last year. I used recycled wood (I believe it's pine) I had and used a couple of nice pieces of oak for the top. I ran into a few snags with the box itself, with the wood splitting easily in some spots (used a lot of wood filler!), but was able to get it looking the way I wanted keeping a distressed look . I rounded out the corners of the top by hand with a rasp plane and sandpaper. The box was lightly painted with Annie Sloan Chalk Pain (Antoinette/Pink) and finished with Annie Sloan Clear Wax. The top was finished with three coats of linseed oil (24 hours between coats). The slow closing hinge was found on Amazon after a long time spent searching; I ended up using just one which works great. I'm very happy with the end product and my 3-year old daughter loves it! I was very pleased with how simple the plan was to follow, thank you Ana!

Built from Plan(s)

Comments

Adirondack chair

Submitted by Davis_Reed on Fri, 05/24/2019 - 07:10

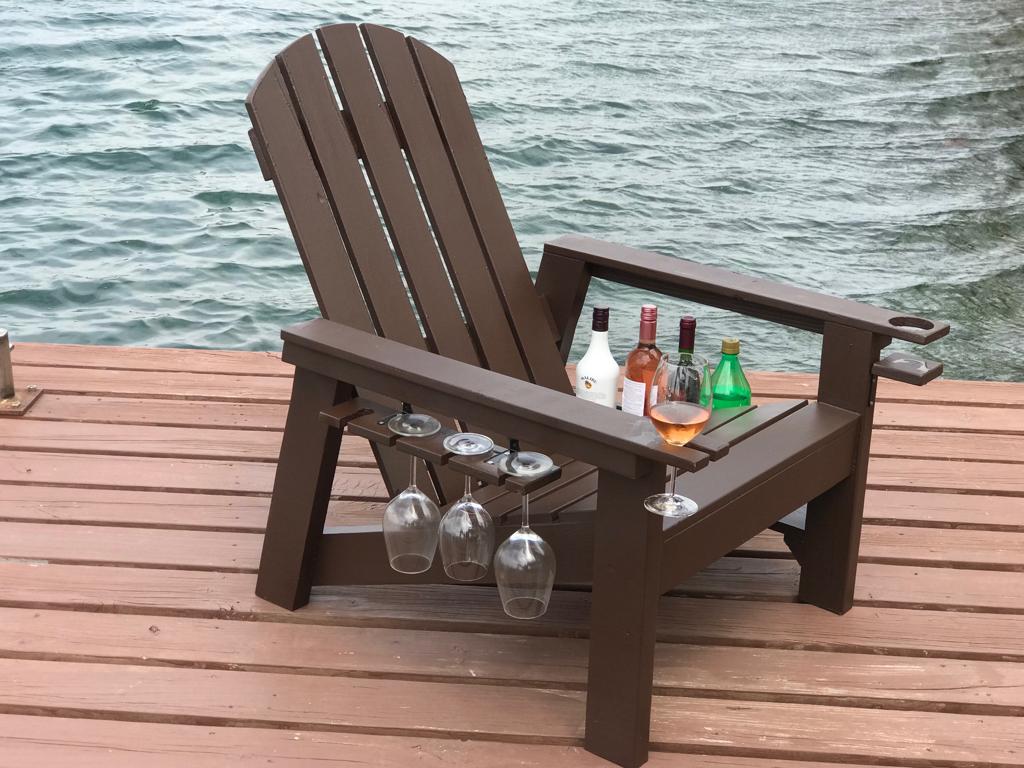
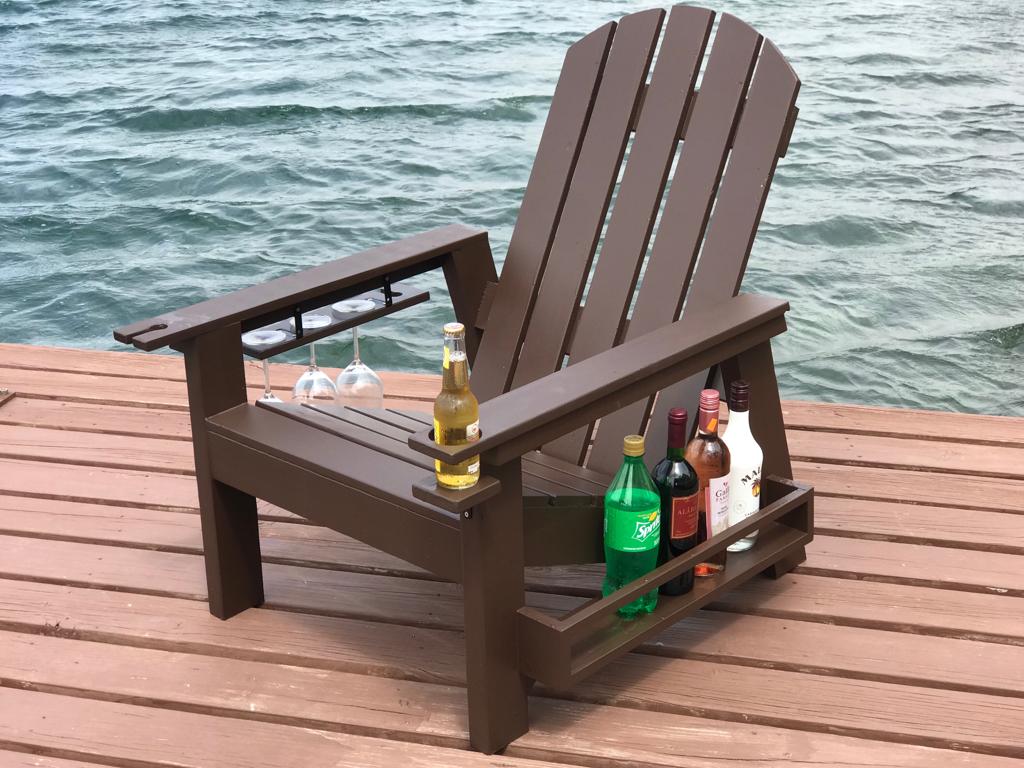
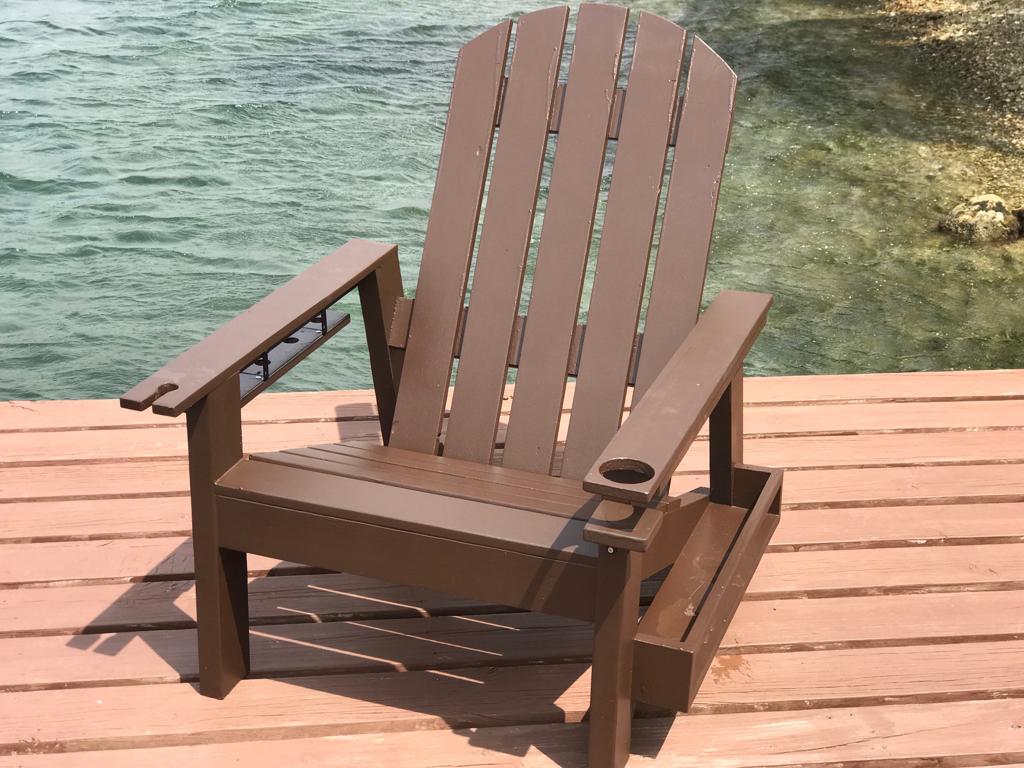
These are the adirondack chairs and I took the basic model and added a wine glass holder and also a bottle/snack bag holder.

Estimated Time Investment
Weekend Project (10-20 Hours)
Finish Used
Benjamin Moore wood primer and then Benjamin Moore oil based paint.
Recommended Skill Level
Beginner

Comments

King Size Headboard

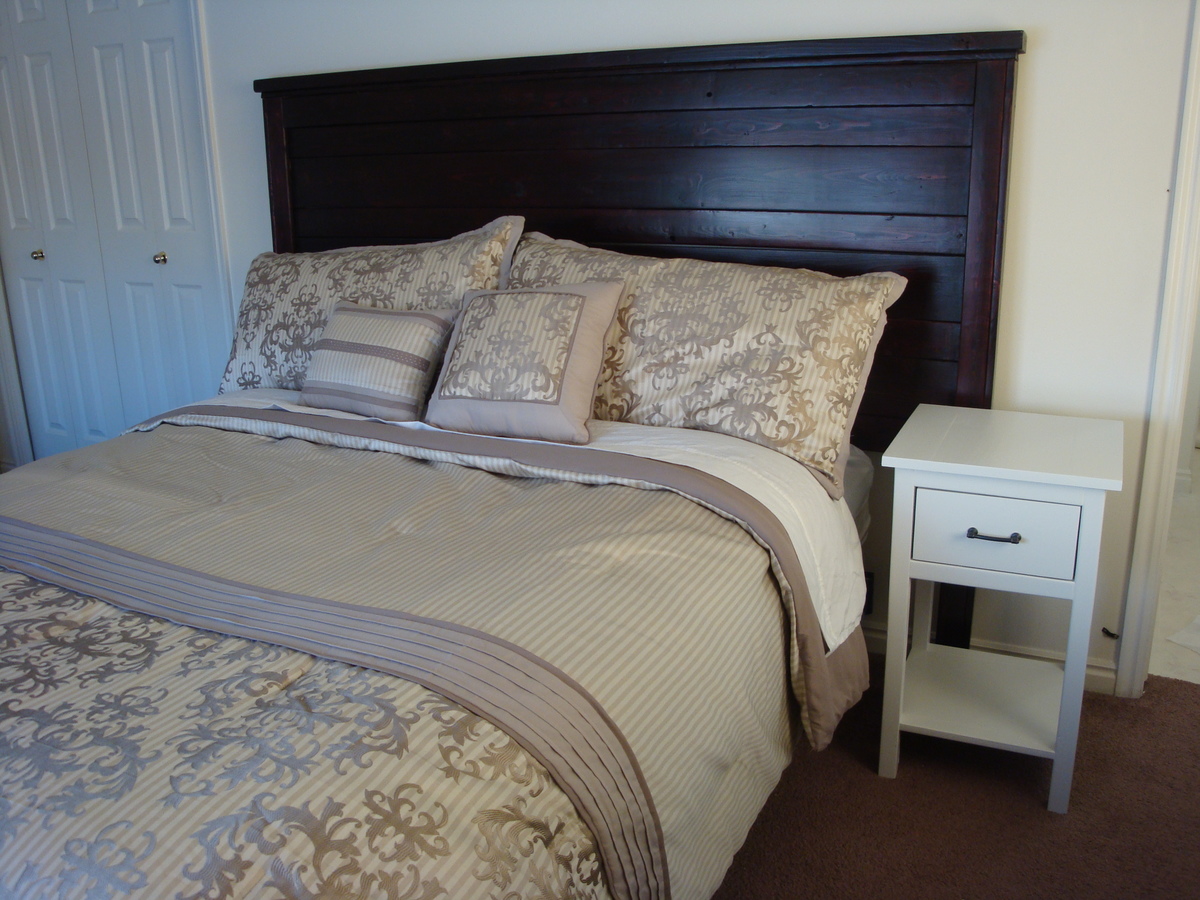
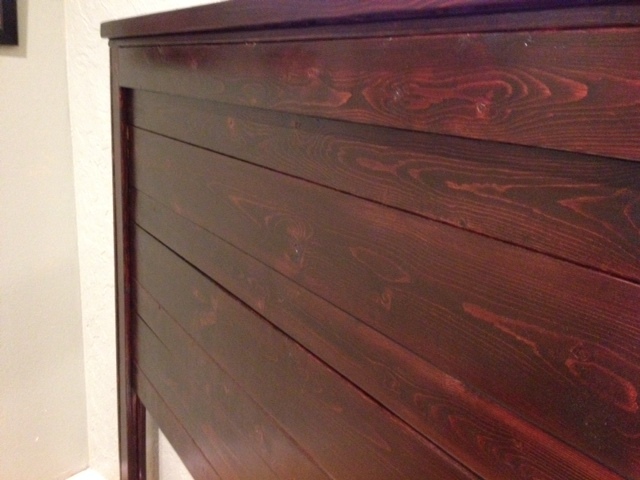
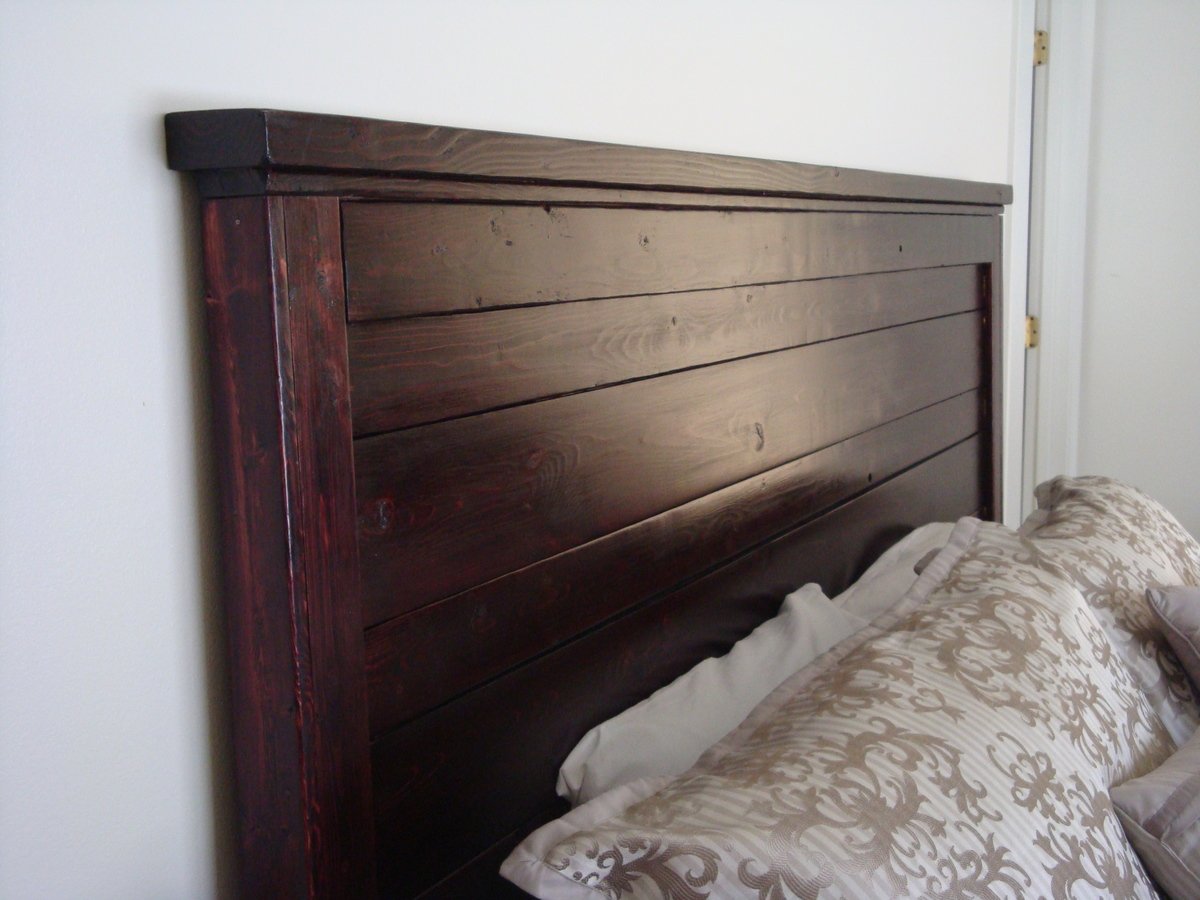
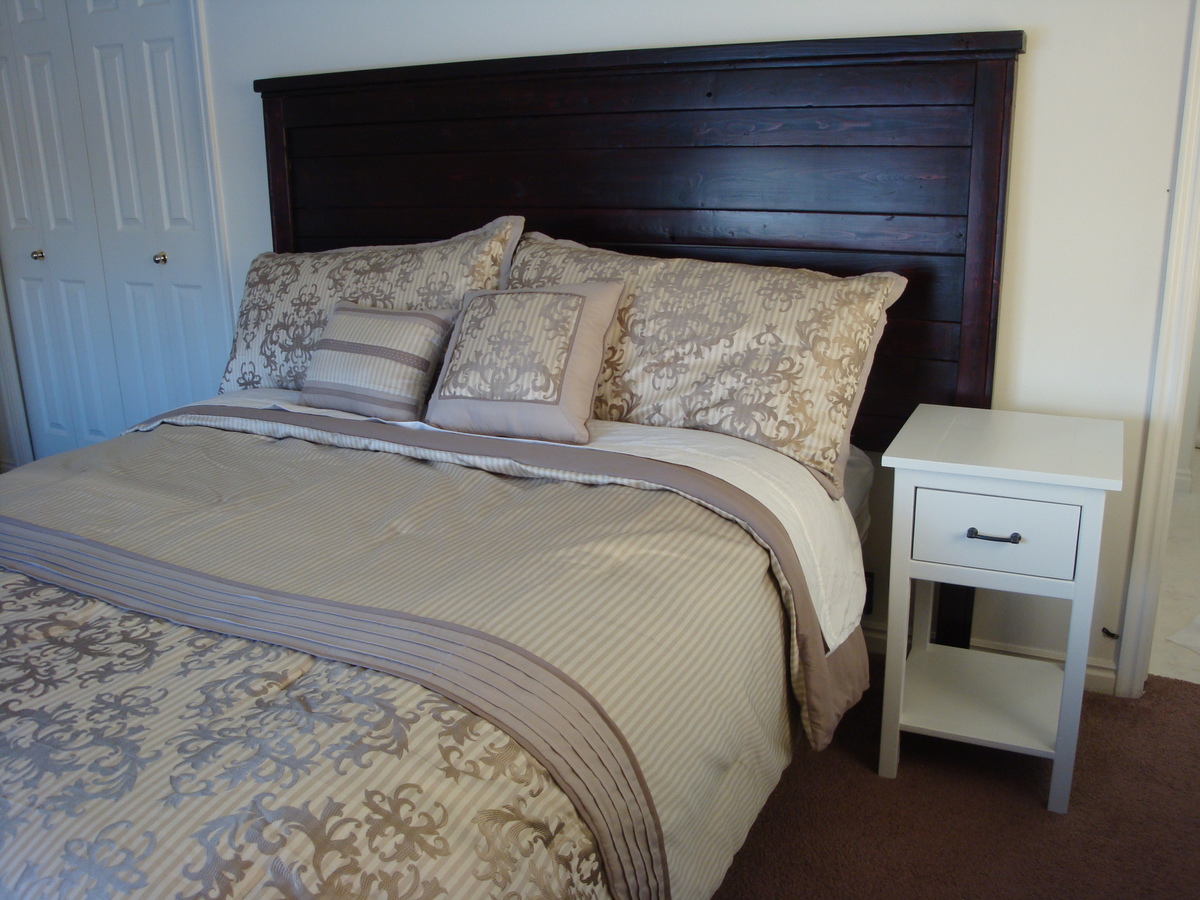
I am so happy about how this headboard turned out. It is exactly what I have always wanted. I am so excited that it is sooooo much cheaper than buying the one from Pottery Barn. I would never have been able to afford that one. This one only cost me about $50 for the wood, and then I was able to make an end table and a picture frame from the leftover scraps!

Estimated Cost
$50
Estimated Time Investment
Day Project (6-9 Hours)
Finish Used
Minwax prestain, minwax red mahogany stain (2 coats), minwax polyeurethane (2 coats).
Recommended Skill Level
Beginner

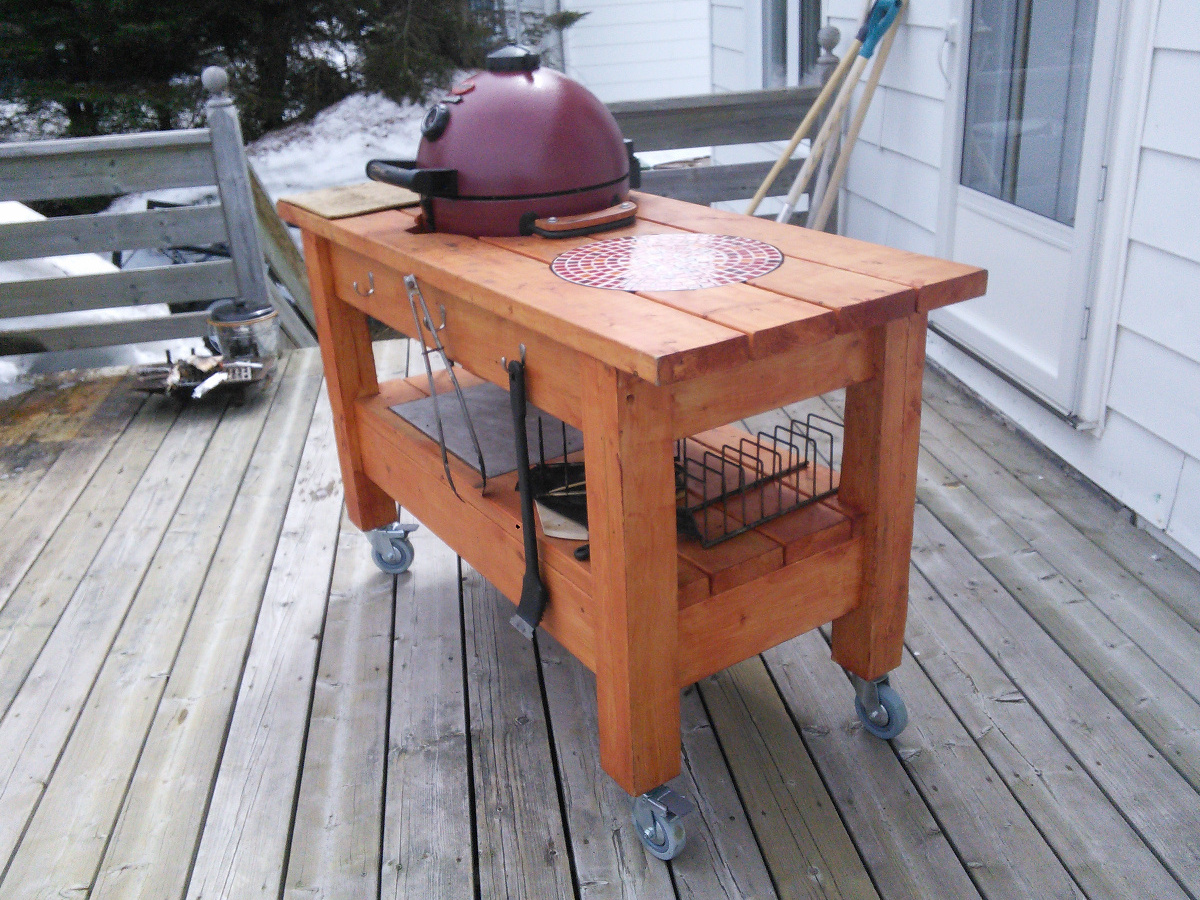
Kamado table

Submitted by lmarco191 on Sun, 05/16/2021 - 14:47

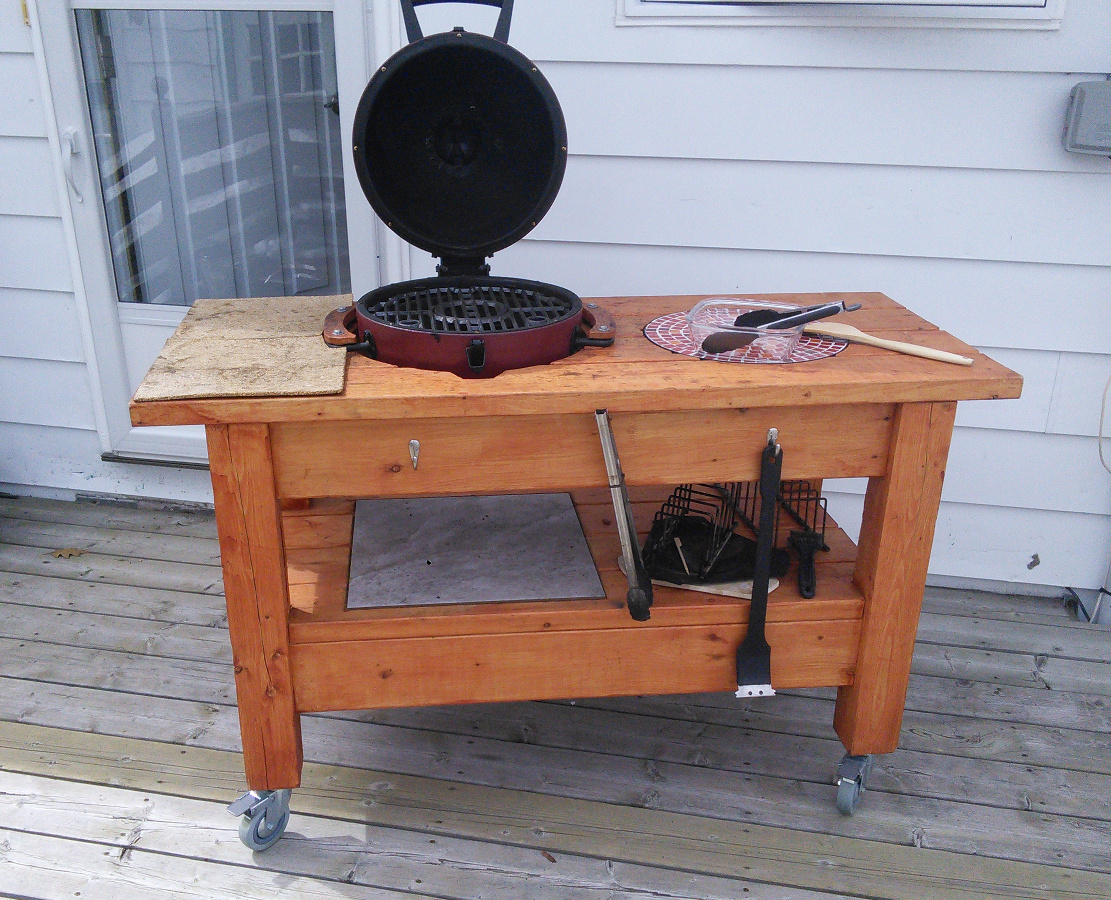
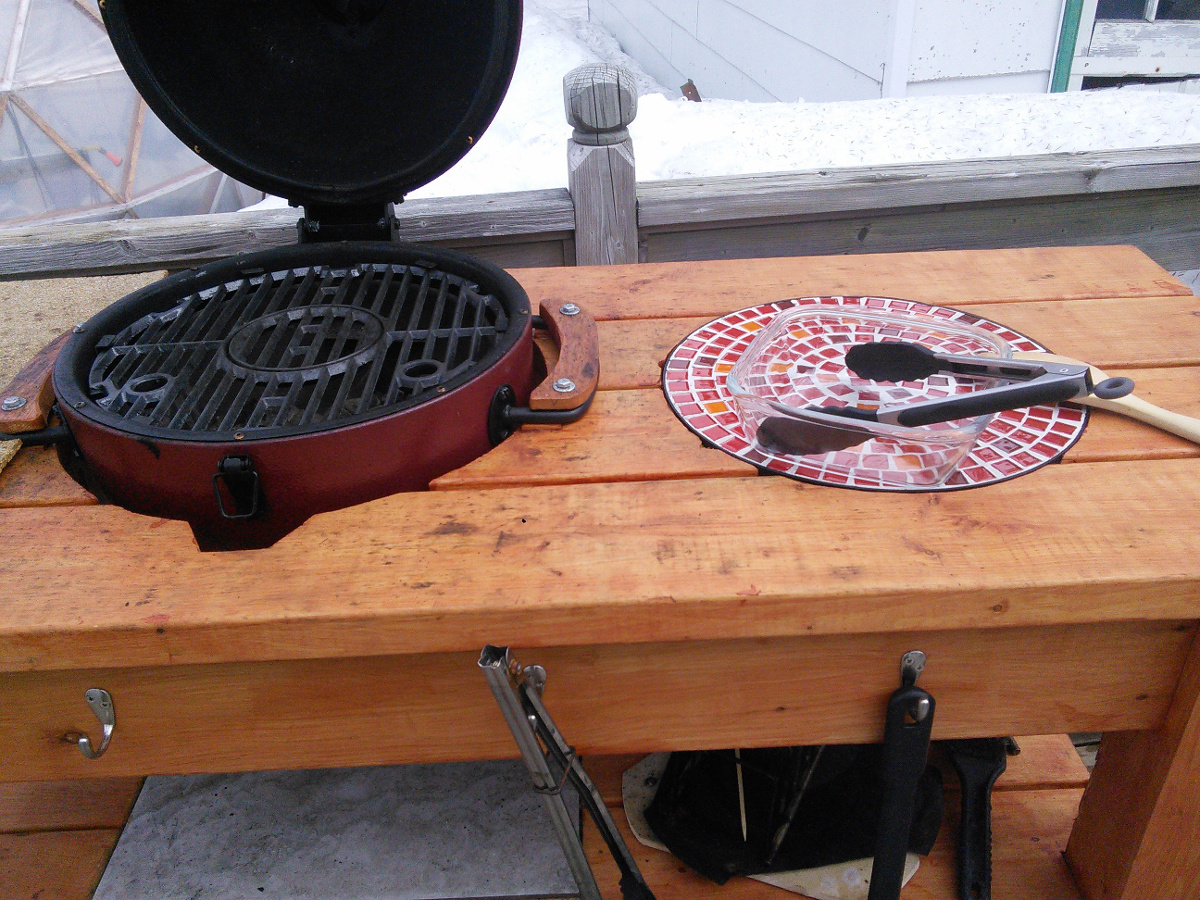
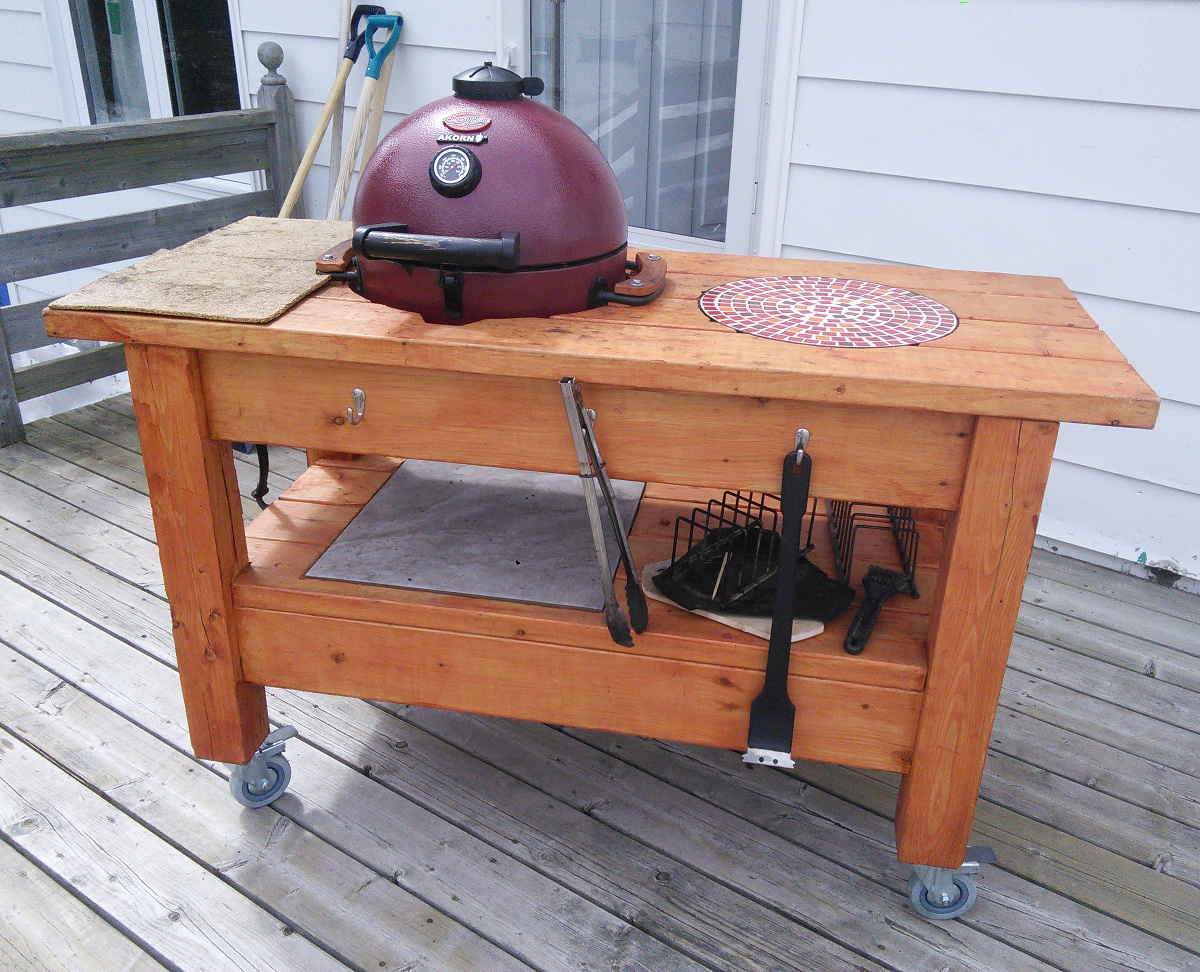
The table assembly was Inspired by farm table and workbench plans. It was built from construction grade untreated 4x4 and 2x6 and assembled using Kreg pocket screws and glue. Finish is semi-transparent wood stain. Rather heavy, the table have locking wheels to help move it. The lower shelf is used to store accessories.

The small kamado is just the right size for two people. I added a large ceramic tile under the firebox plus a small inlay next to the grill. That was the top of a small patio table. A few hooks were added as a final touch.

We built it last year; it gets a lot of use as a grill, smoker, bread and pizza oven.

We are very satisfied with the outcome. Many thanks for the plans and inspiration.

Built from Plan(s)
Estimated Time Investment
Week Long Project (20 Hours or More)
Finish Used
Semi transparent wood stain
Recommended Skill Level
Intermediate

Comments

Jacob1234

Mon, 08/02/2021 - 23:34

Your grill is very beautiful, but I prefer cooking in the kitchen, I will explain why, I recently read a lot of Kitchenotic.com here, what connects me and the kitchen most of all is the answers to my any questions, no matter how stupid they are and the answers were always correct

Farm house bench

Submitted by Builder J on Tue, 11/19/2013 - 08:40

Made from scrap wood left in the empty lots besides me, from framing crews.

Cost me just the time, screws, sand paper and stain.

Made all the cuts with a skillsaw, by saving the $$$ I have now went and bought a mitre and table saw. YAY!

Built from Plan(s)
Estimated Cost
$5
Estimated Time Investment
Afternoon Project (3-6 Hours)
Finish Used
2 in 1 Miniwax PolyShades, Bombay Mahogany. 2 coats.
Recommended Skill Level
Beginner

Kitchen Storage Shelf

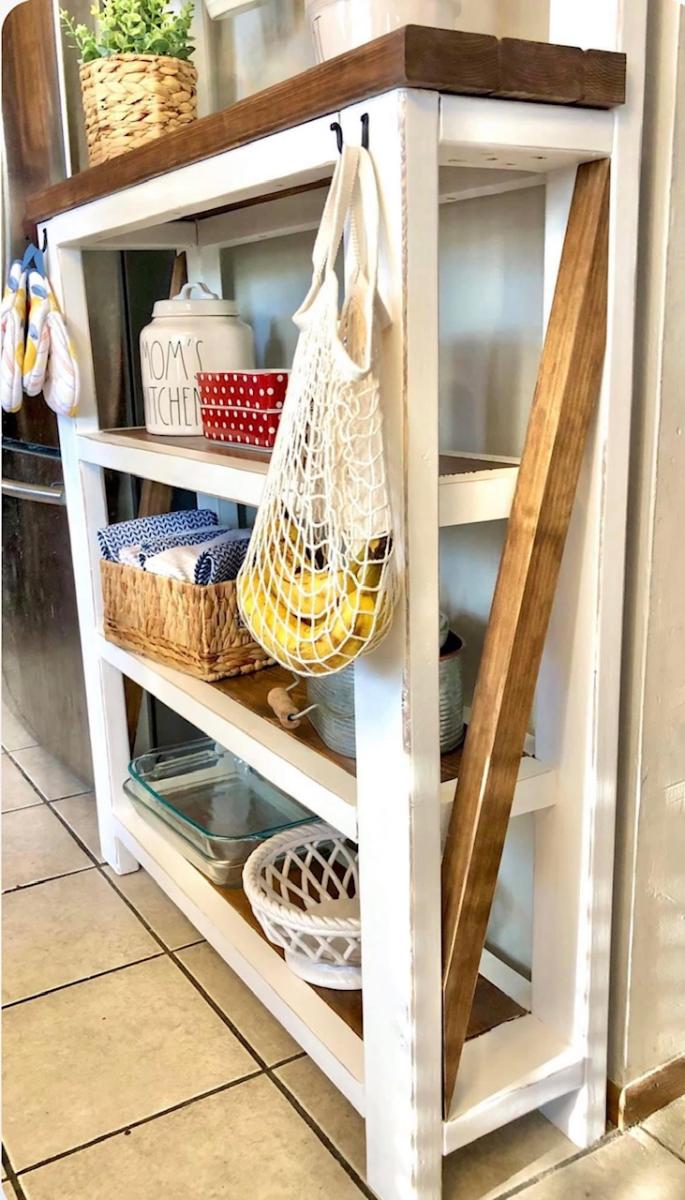
Thanks to you we were able to build my mom a shelf for her kitchen with a combination of two of your plans! My mom loved the top of the “Farmhouse Potting Bench” but also wanted shelves like the “Rustic X Console Table”. We combined the two and adjusted measurements to fit our wall space. We didn’t do a complete X on the side because we wanted it with one slant, but loved how it turned out over all! 

Kayla