Community Brag Posts

Reclaimed Wood Night Stand

Submitted by bRick on Thu, 06/11/2015 - 21:48

These (matching set) were a pretty straightforward build based on the Reclaimed Wood Night Stands. http://ana-white.com/2011/08/reclaimed-wood-night-stand. The hardware I used was designed to match the Printer's Console that I built previously. I cheaped out on the drawer slides, which I wouldn't recommend doing because it gives the drawers a cheap feel to them. Plus, there's not that much of a price difference.

Estimated Time Investment
Week Long Project (20 Hours or More)
Finish Used
Rustoleum American Oak
Recommended Skill Level
Beginner

Comments

blue72vette

Fri, 04/08/2016 - 13:54

Hello, your project looks nice. Did you use regular #2 lumber from Home Depot or Lowes? If so how are they holding up?

bRick

Wed, 10/05/2016 - 16:59

But yes the lumber was straight outta Home Depot. I would say its doing pretty good at this point. It sees pretty light duty (e.g. alarm clock, books and glasses of water), but no water rings. I did throw a number of coats on the top of it though. It's soft wood, so if you wanted to you could engrave your name with your thumbnail. You just have to resist the urge.

Pantry Shelves

Submitted by DIYAZMOM on Wed, 12/29/2021 - 09:03

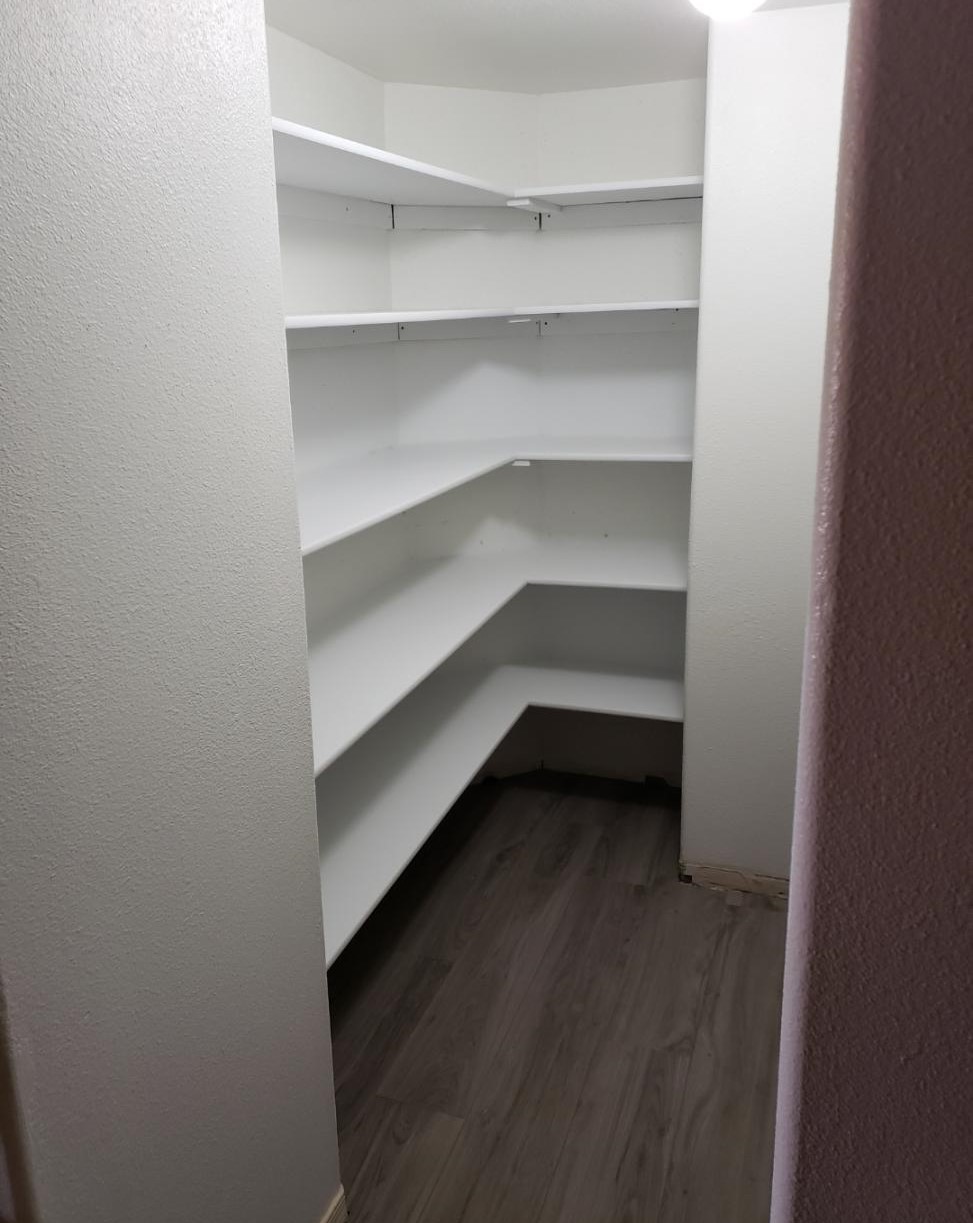
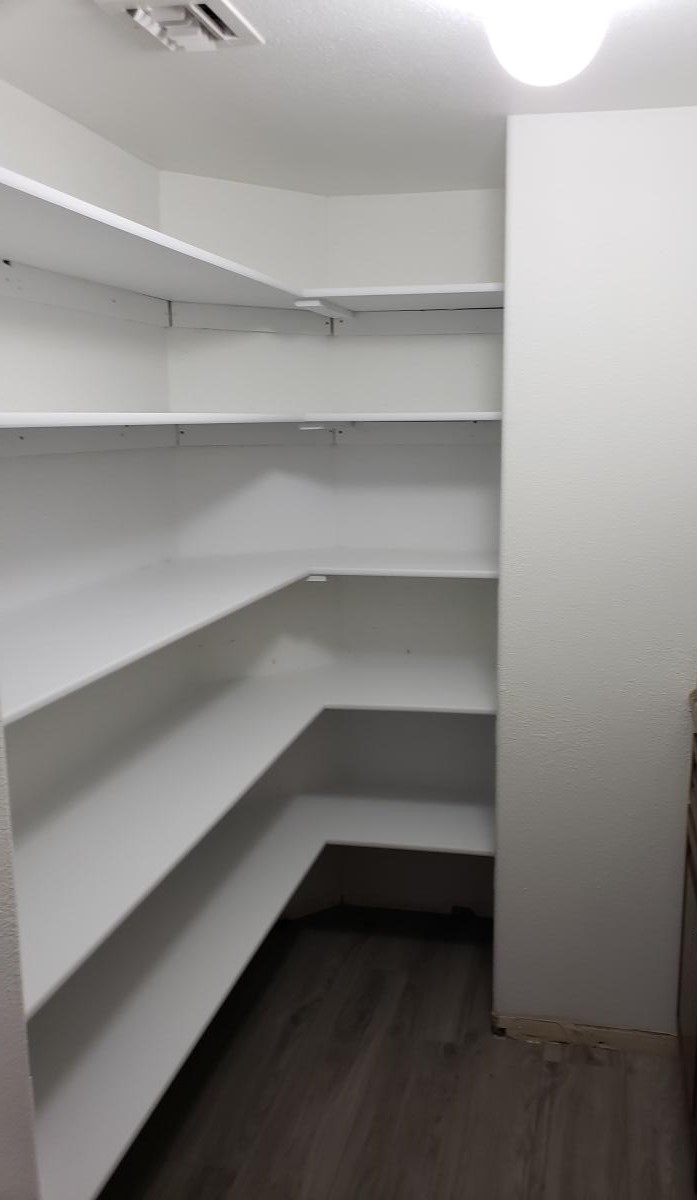
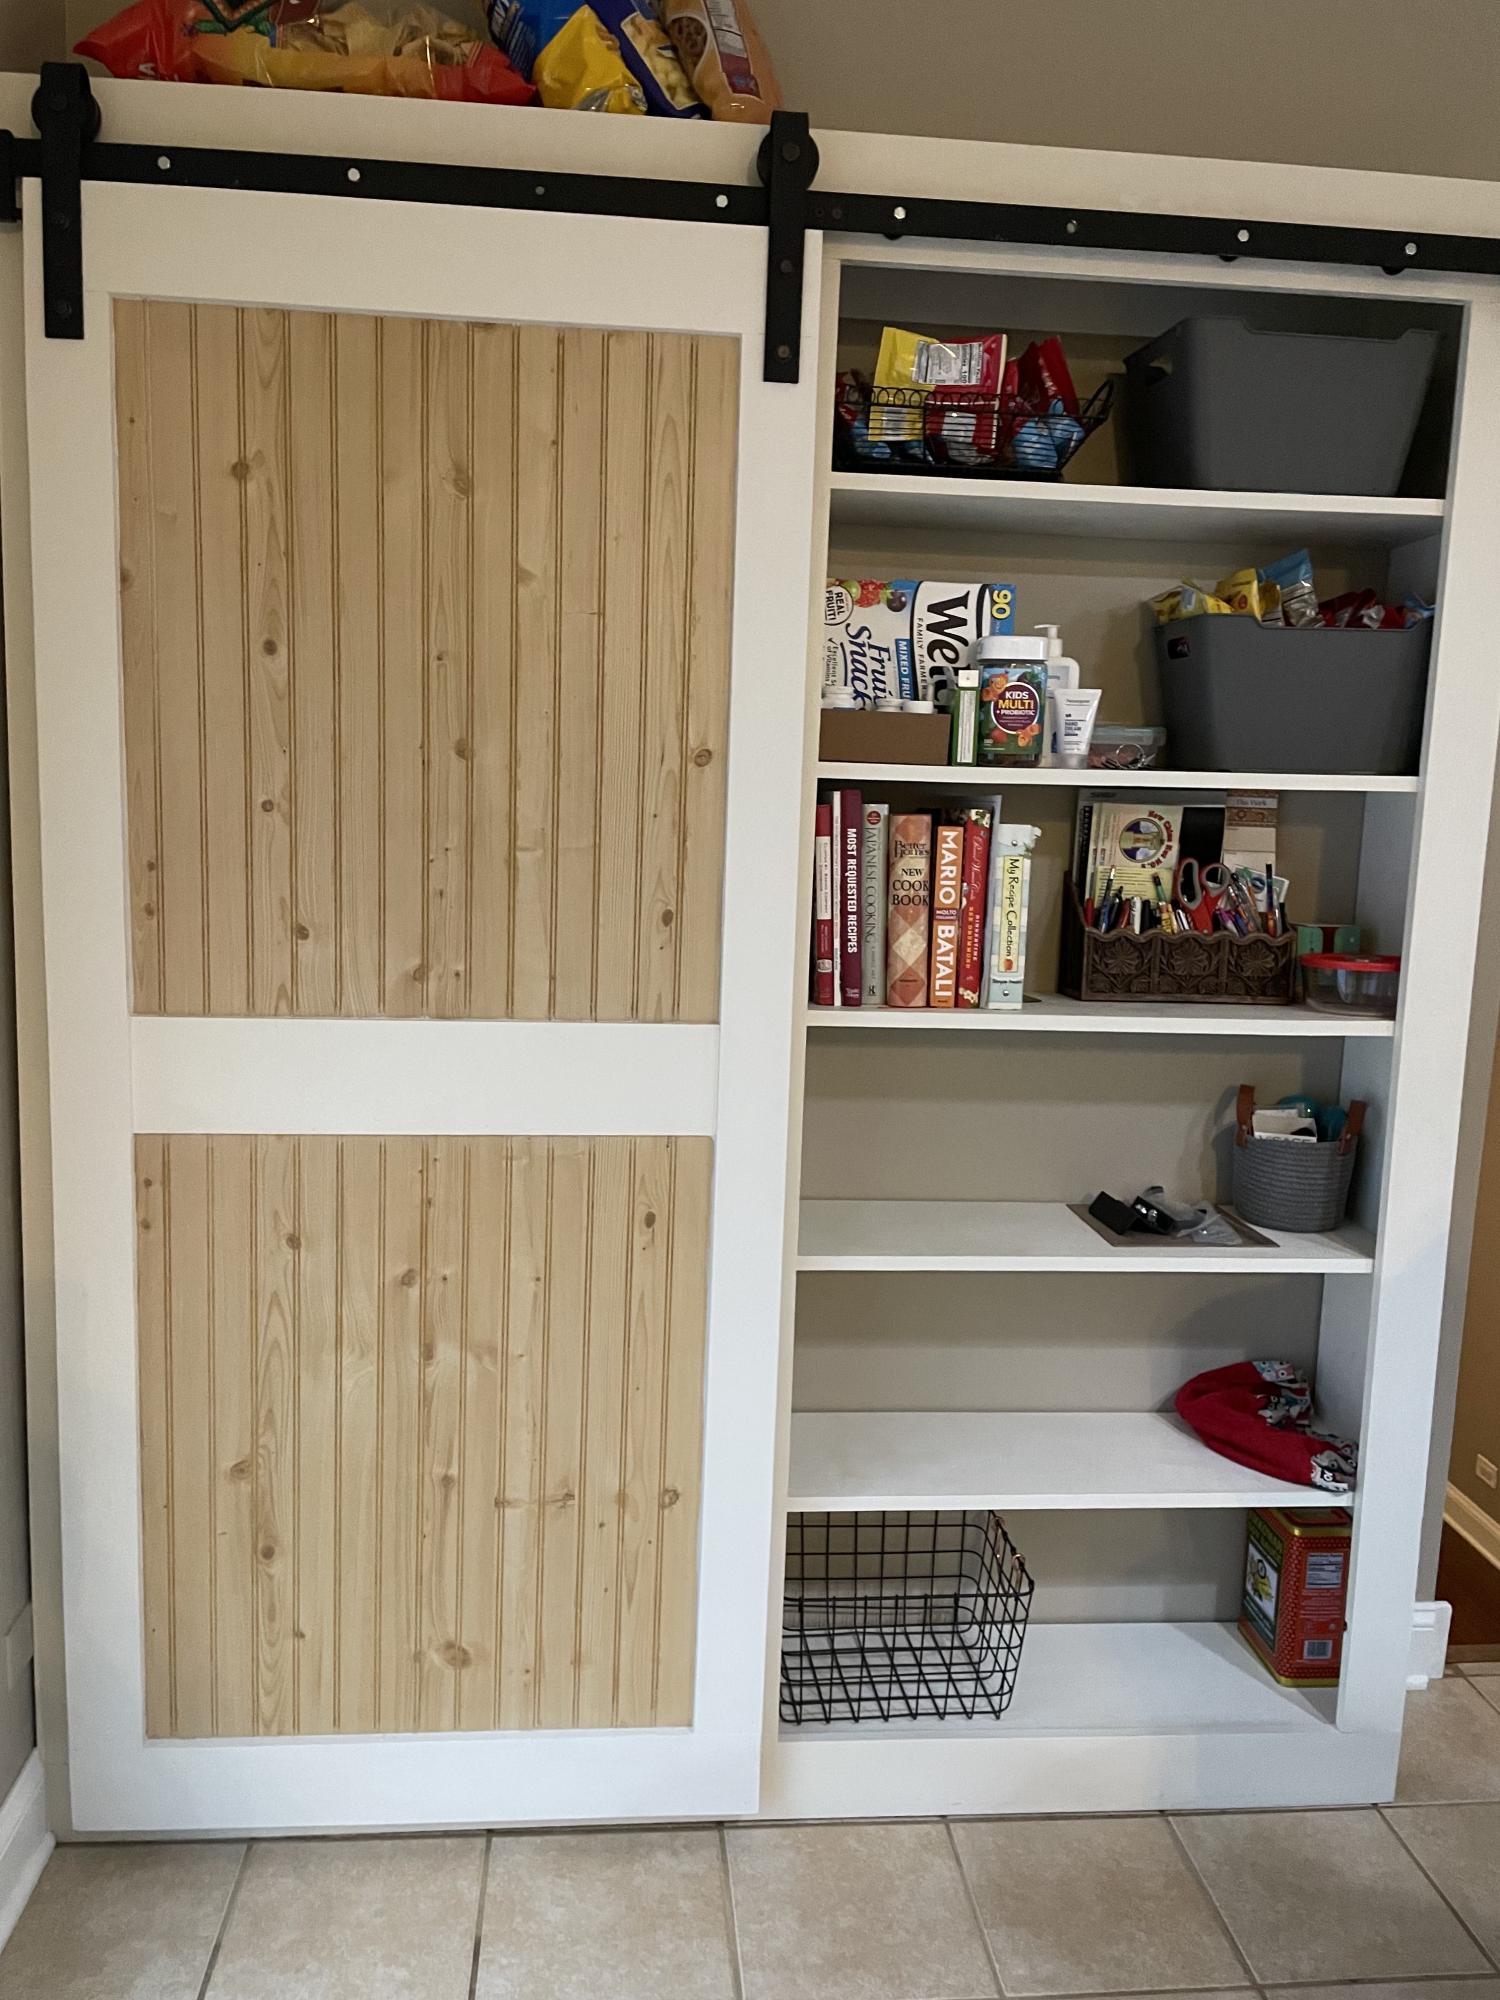
We enclosed an unused wet bar and then I built the shelves to make it into a pantry.

Built from Plan(s)

Comments

Farm House Table

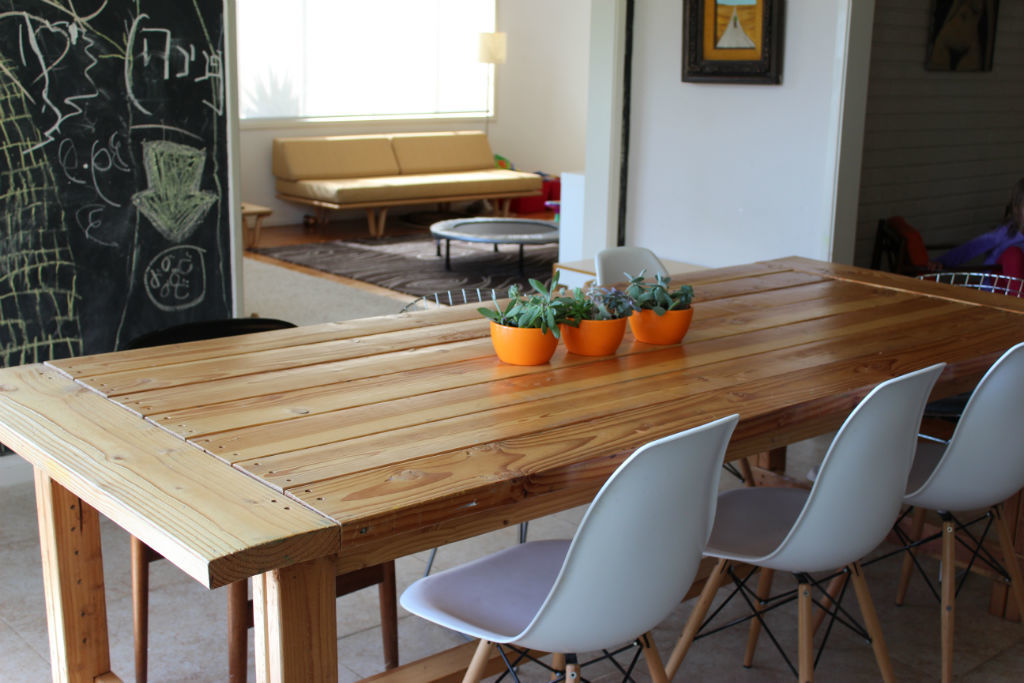
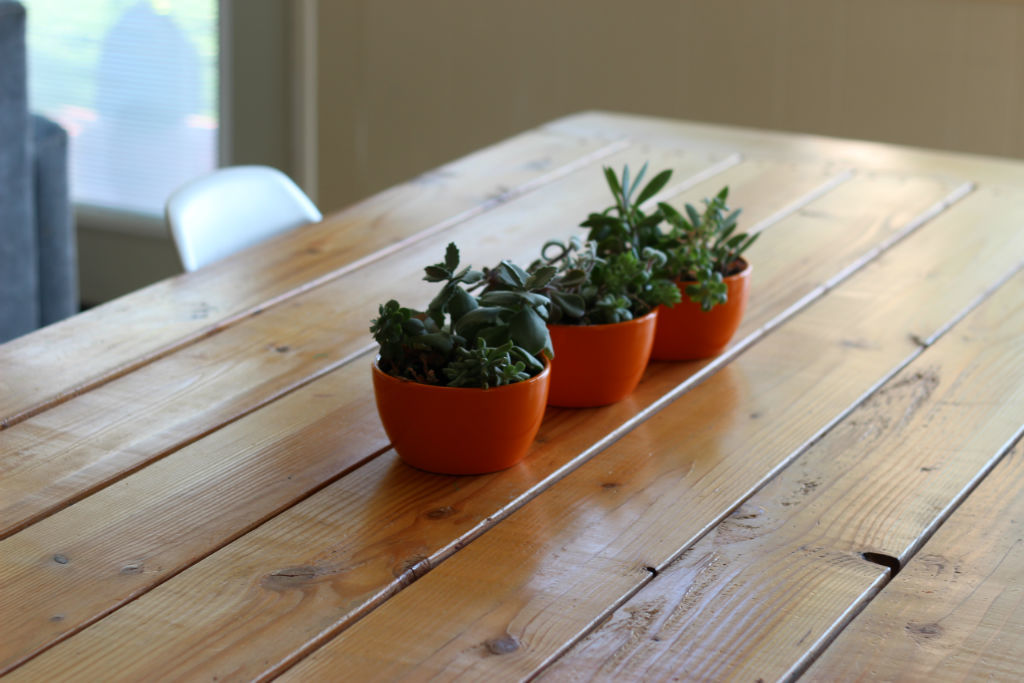
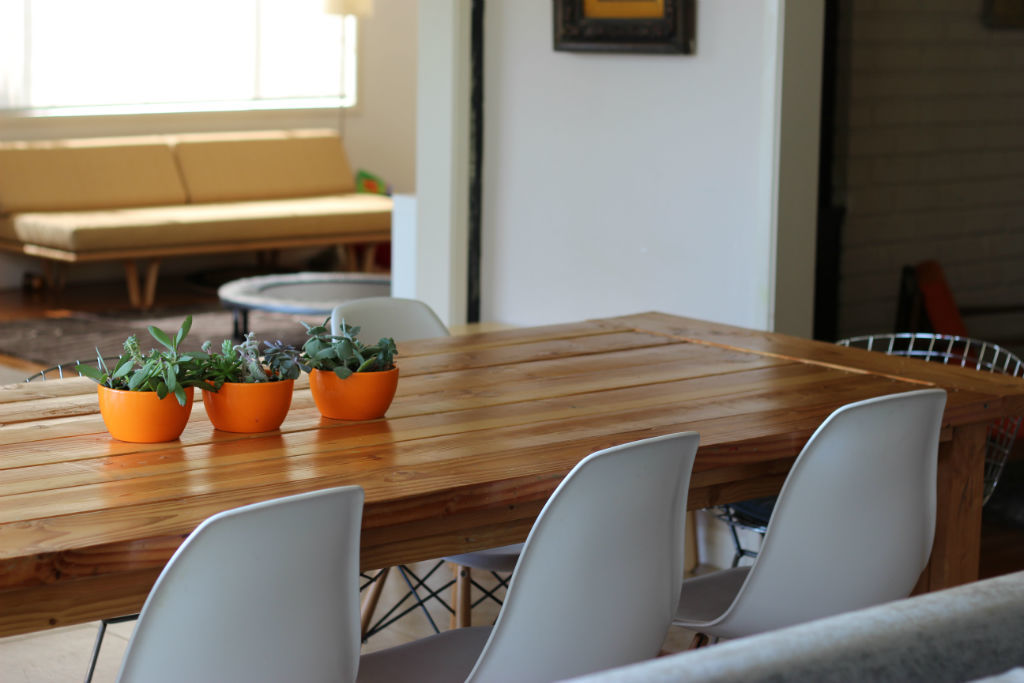
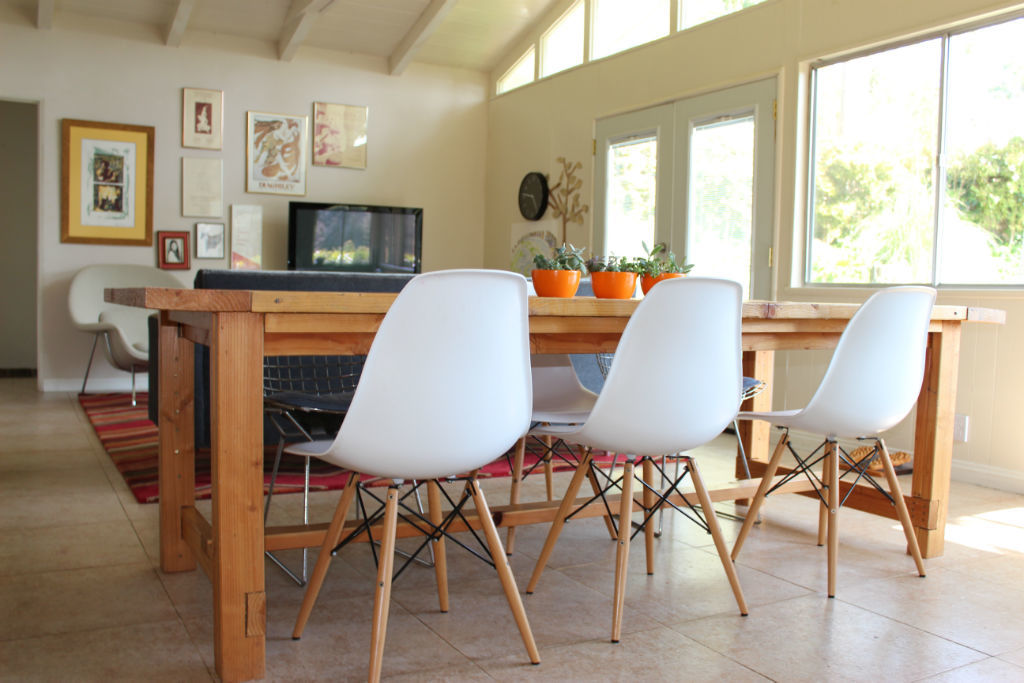
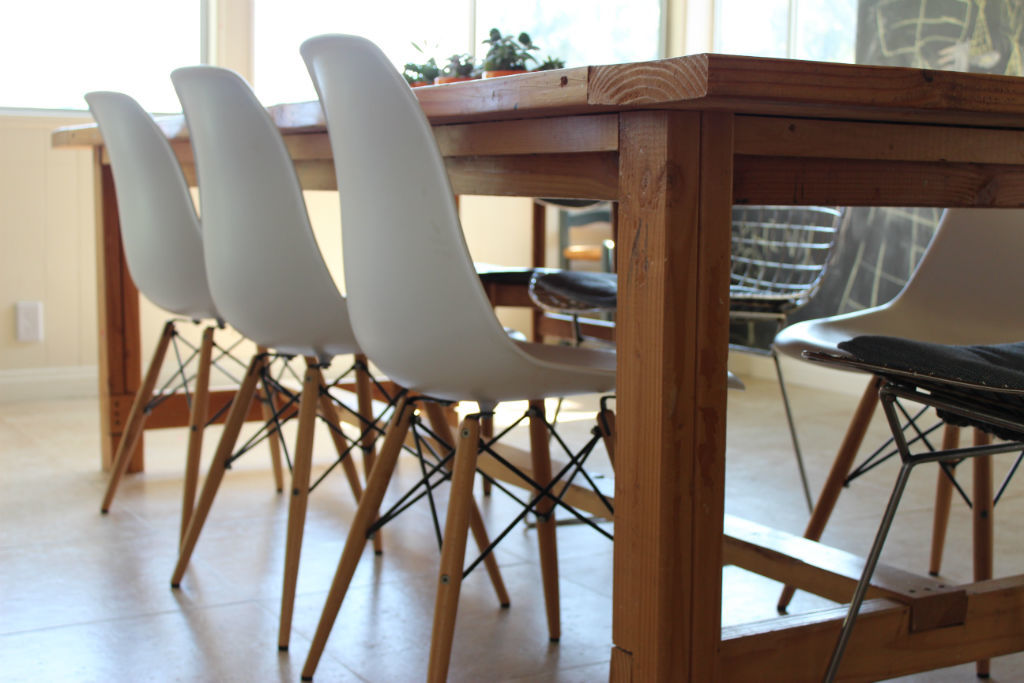
Inspired by Ana and driven by a desperate desire to nest, I made this table in my first-trimester. We live at this table. It's where we eat, play, and craft. On special occasions we stand on top of it, and sometimes we even eat under it. We love the way it looks in our mid-century ranch house with modern chairs. Thank you, Ana!

Estimated Cost
$100
Estimated Time Investment
Week Long Project (20 Hours or More)
Finish Used
natural water-based poly
Recommended Skill Level
Beginner

Comments

Fancy x farmhouse table... my version!

My version is a 7' table. I made the distance between legs 60" with a 8" overhang on each side. The stain is Olympic Driftwood. I also added 1 x 2 pcs on the ends for a more finished look & to secure the 2 x10's. One last thing, I used a router to round out all the outer edges of the table top and the legs.

Highly recommend....

I used some T braces/plates on the bottom of the table to connect legs with 60" pcs. Otherwise there is nothing to keep the legs square with the table.

Love the look...thanks so much for the plan!

Other notes: I used treated lumber so it's VERY heavy.

Built from Plan(s)
Estimated Cost
$130 ($100 lumber, $30 stain)
Estimated Time Investment
Day Project (6-9 Hours)
Finish Used
Olympic Driftwood
Recommended Skill Level
Intermediate

Comments

stepdiva

Sat, 08/30/2014 - 19:33

hi there..your table is great! can i ask if u think there is enough room at ends of table for a chair with the 8 inch overhangs that u did? i would like to do the same. thanks so much!!!
Tanya

Bedroom Dresser

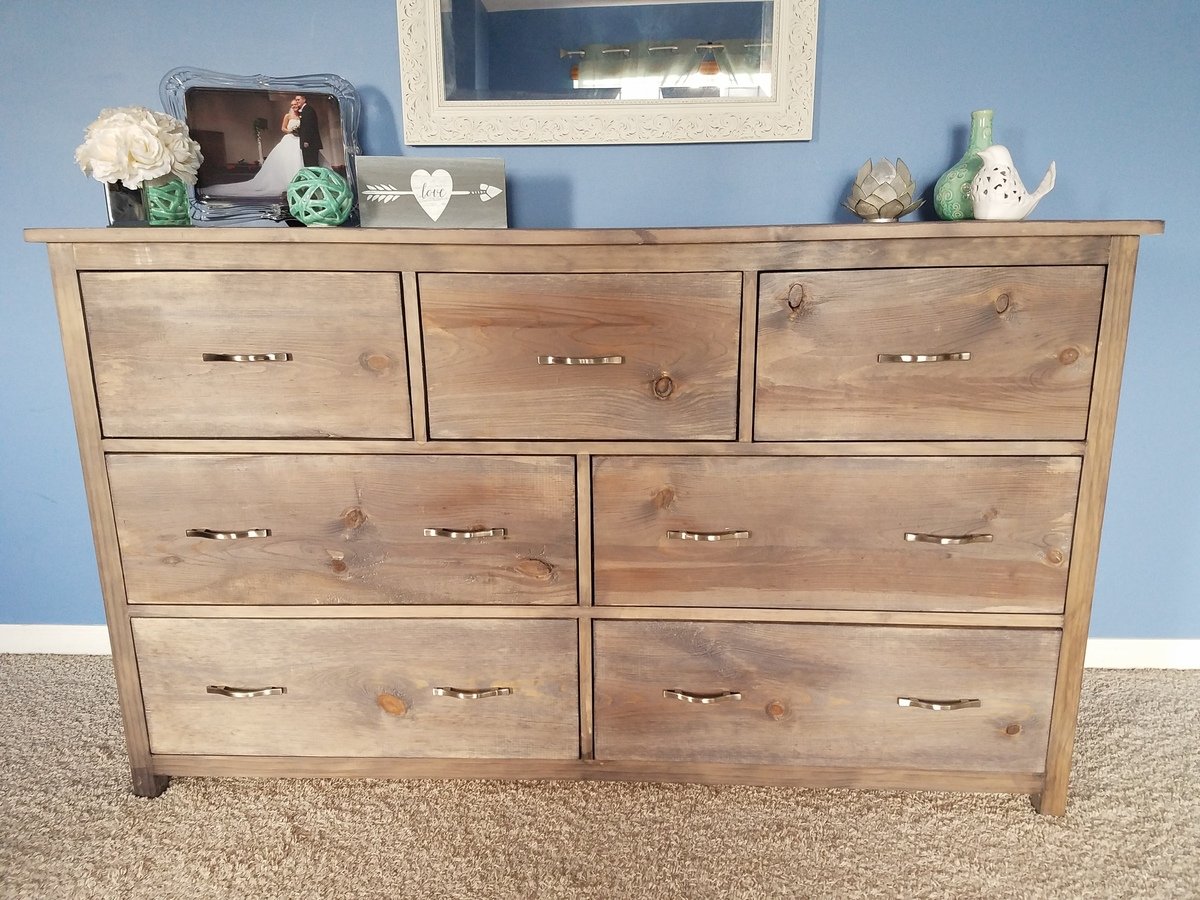
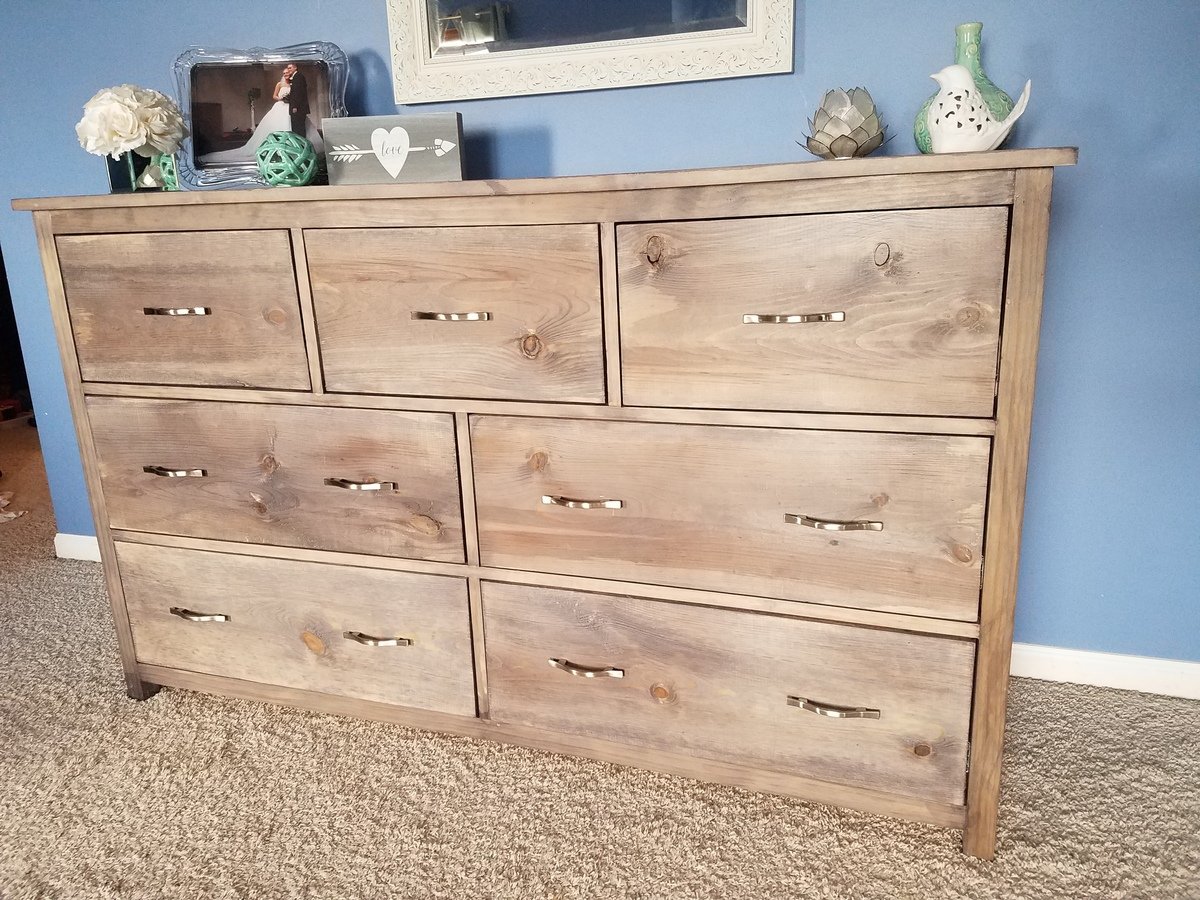
First time using drawer slides, and what a learning curve it was! The color is Varathane Weathered Wood Accelerator. This piece is huge and heavy! Absolutely love it and rebuilding other bedroom pieces to match this color. I also built a matching dresser which is taller and much more narrow. It can be found here: http://www.ana-white.com/2018/08/DIY_furniture/tall-bedroom-dresser

Estimated Cost
$200-$250
Estimated Time Investment
Weekend Project (10-20 Hours)
Finish Used
Varathane Weathered Wood Accelerator, Varathane Poly
Recommended Skill Level
Advanced

Comments

Simple Stool

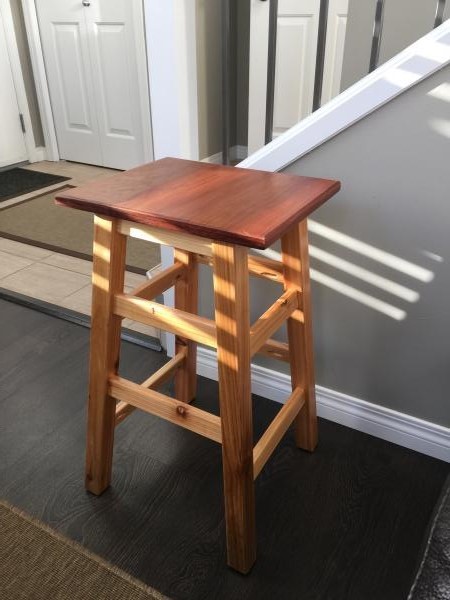
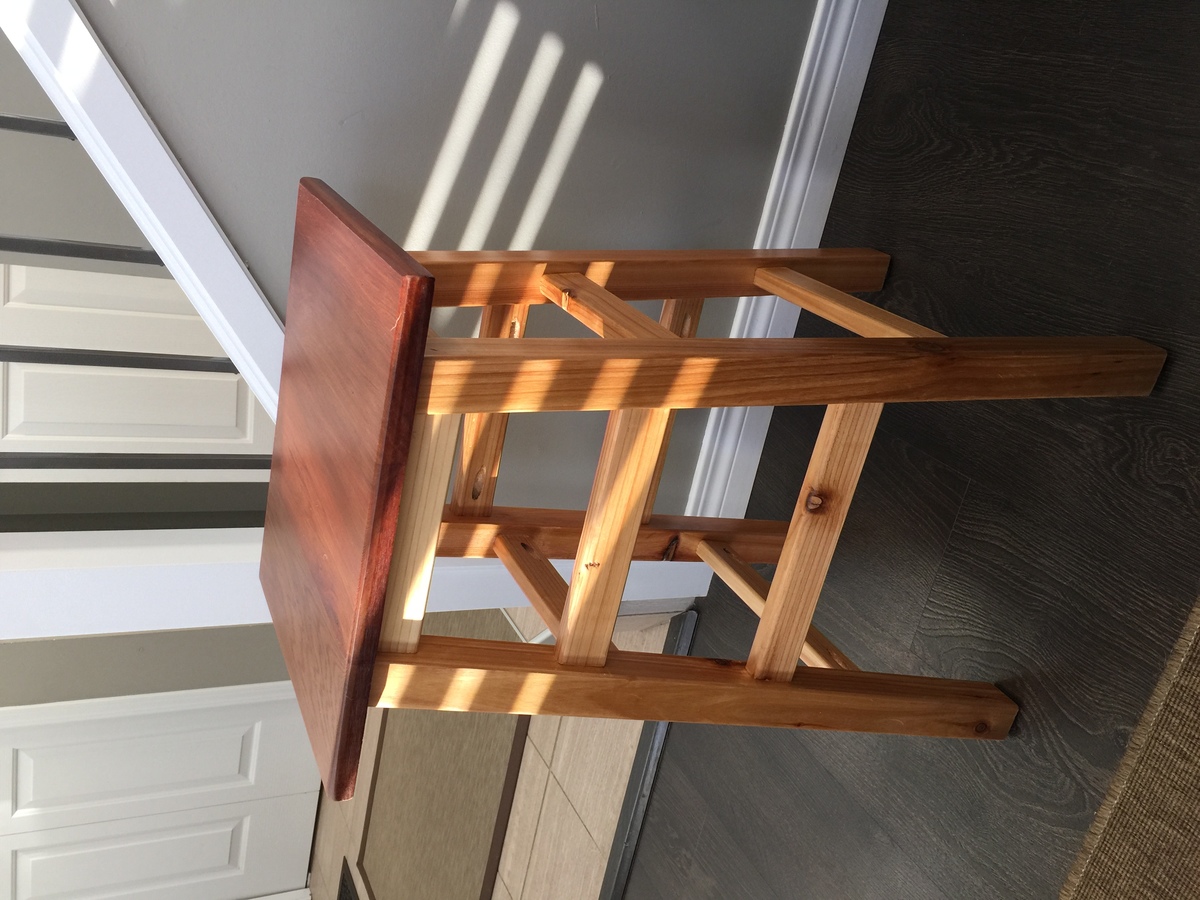
Made with Western Red Cedar 1x6 fence boards and 2x4. Finished with General Finishes Arm R Seal. 

Thank you Anna. 


Estimated Cost
Less than $15
Estimated Time Investment
Day Project (6-9 Hours)
Finish Used
Varathane Wood Conditioner
Varthane Natural Oil Finish -1 coat
General Finishes Arm R Seal 3 coats.
Recommended Skill Level
Beginner

Modified Rustic X Coffee Table

Submitted by PamC03 on Sun, 10/18/2015 - 22:28

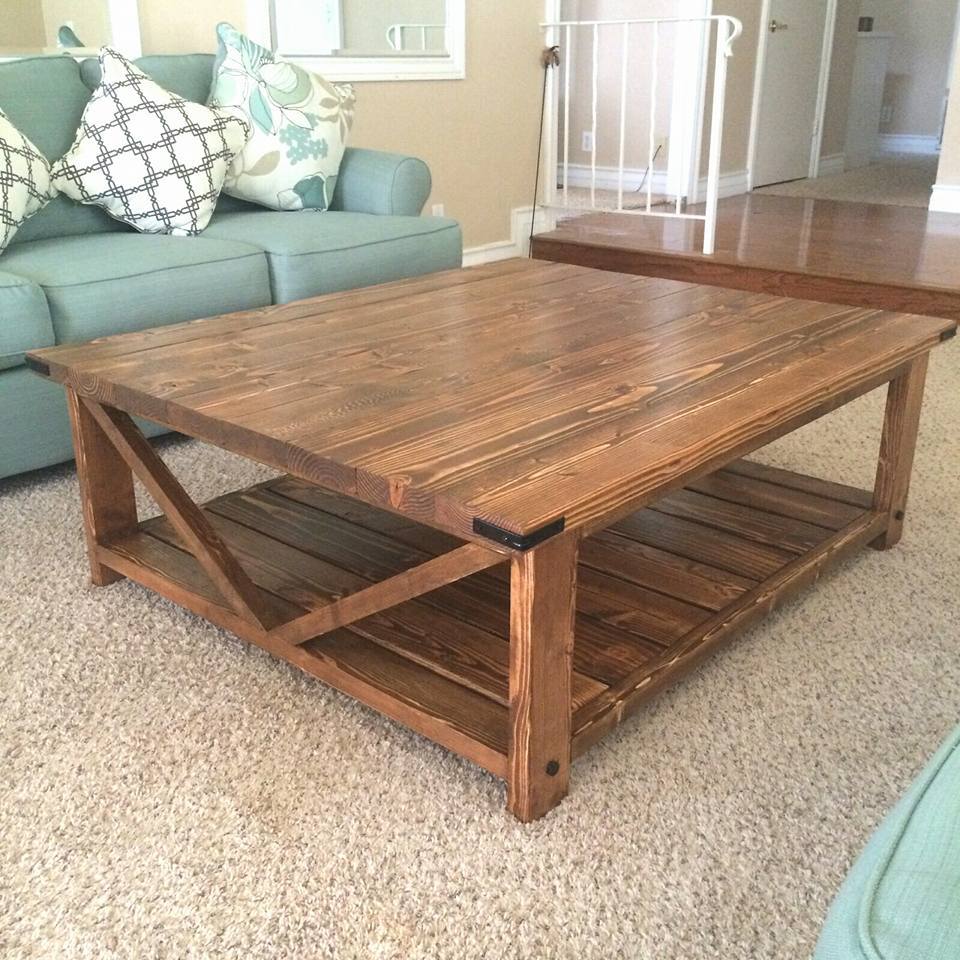
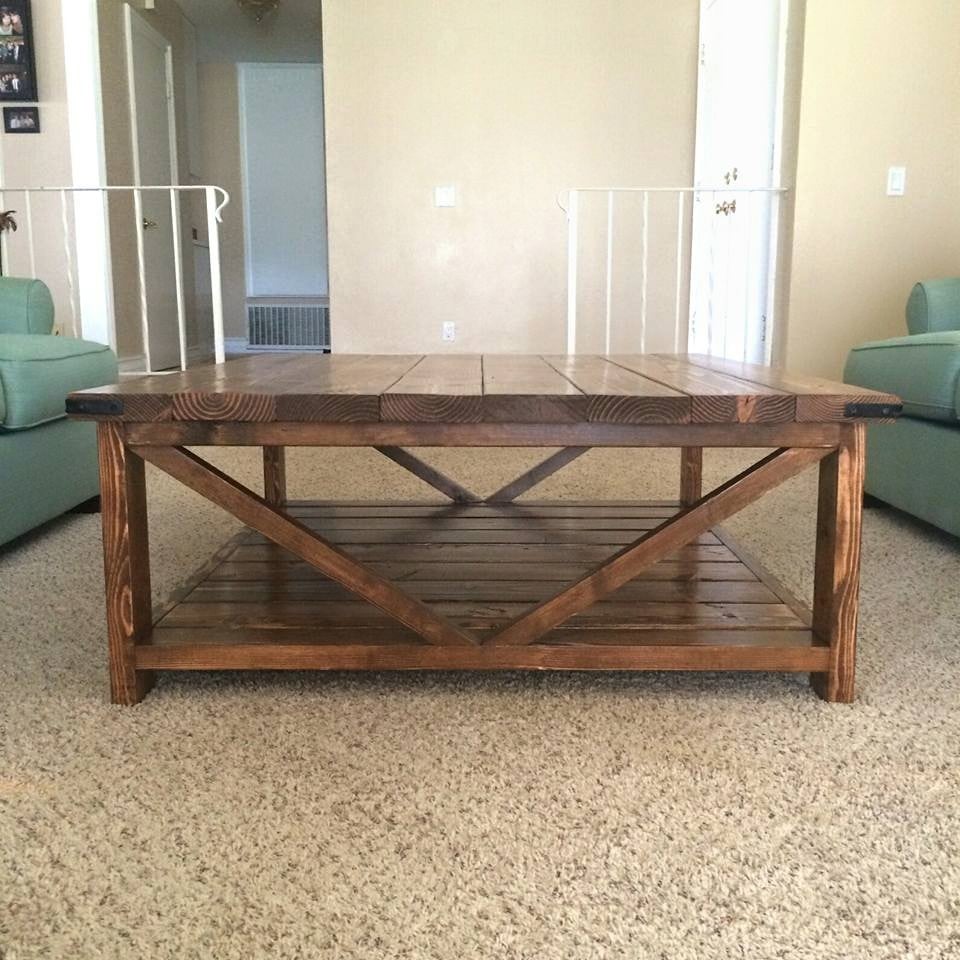
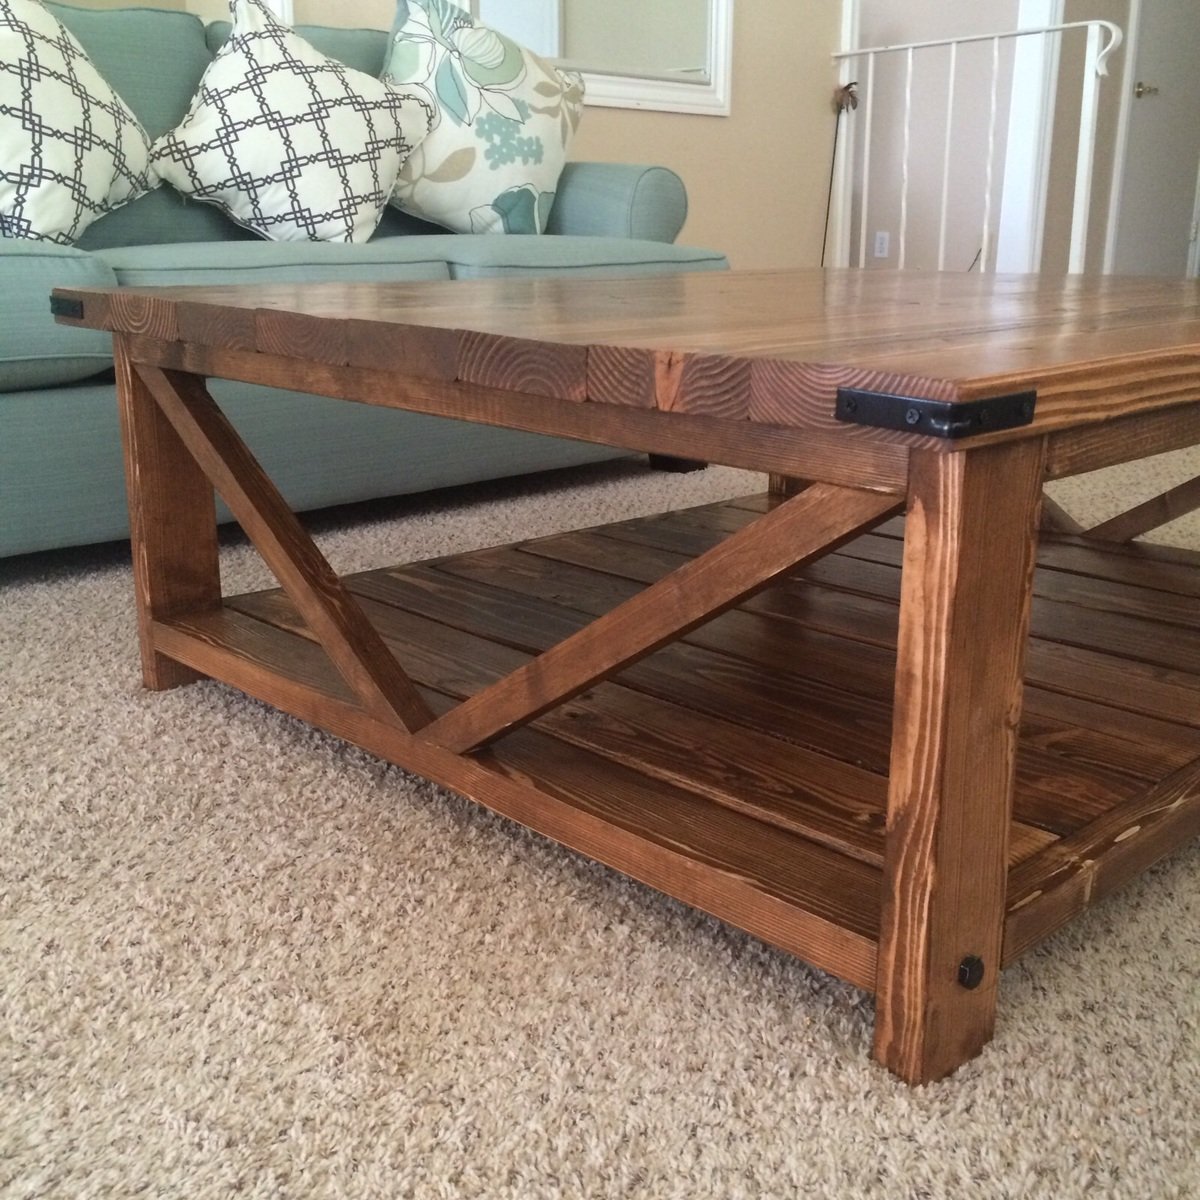
As a beginner at woodwork, this table was pretty easy to make. The instructions were easy to follow. I modified the table by adding 2x6 planks on the bottom and changing up the "X" design. The angles are tricky to get right, but i used scrap wood until i got the perfect angles then used my 2x2's for the final cuts. I also changed the finished dimensions of the table to fit in the room I was making it for, so this table was quite a bit wider than the original. It took me about a day and a half/two days to fully build and then I finished slowly over the rest of the week by staining and using a satin poly finish (I gave the top 4 coats so it took a little longer than normal). I'm so happy with the finished table I've already bought the wood to make another smaller one!

Built from Plan(s)
Estimated Cost
$70 for wood and hardware
Estimated Time Investment
Weekend Project (10-20 Hours)
Finish Used
Varathane Early American w/ Satin Poly
Recommended Skill Level
Beginner

Comments

Audrey Wright

Thu, 10/22/2015 - 05:02

For a beginner, you'd done a great job. I'm a beginner too and I can hardly do this in two days.. 

Adirondak Chair and Stools

Submitted by Anonymous (not verified) on Wed, 09/14/2022 - 21:00

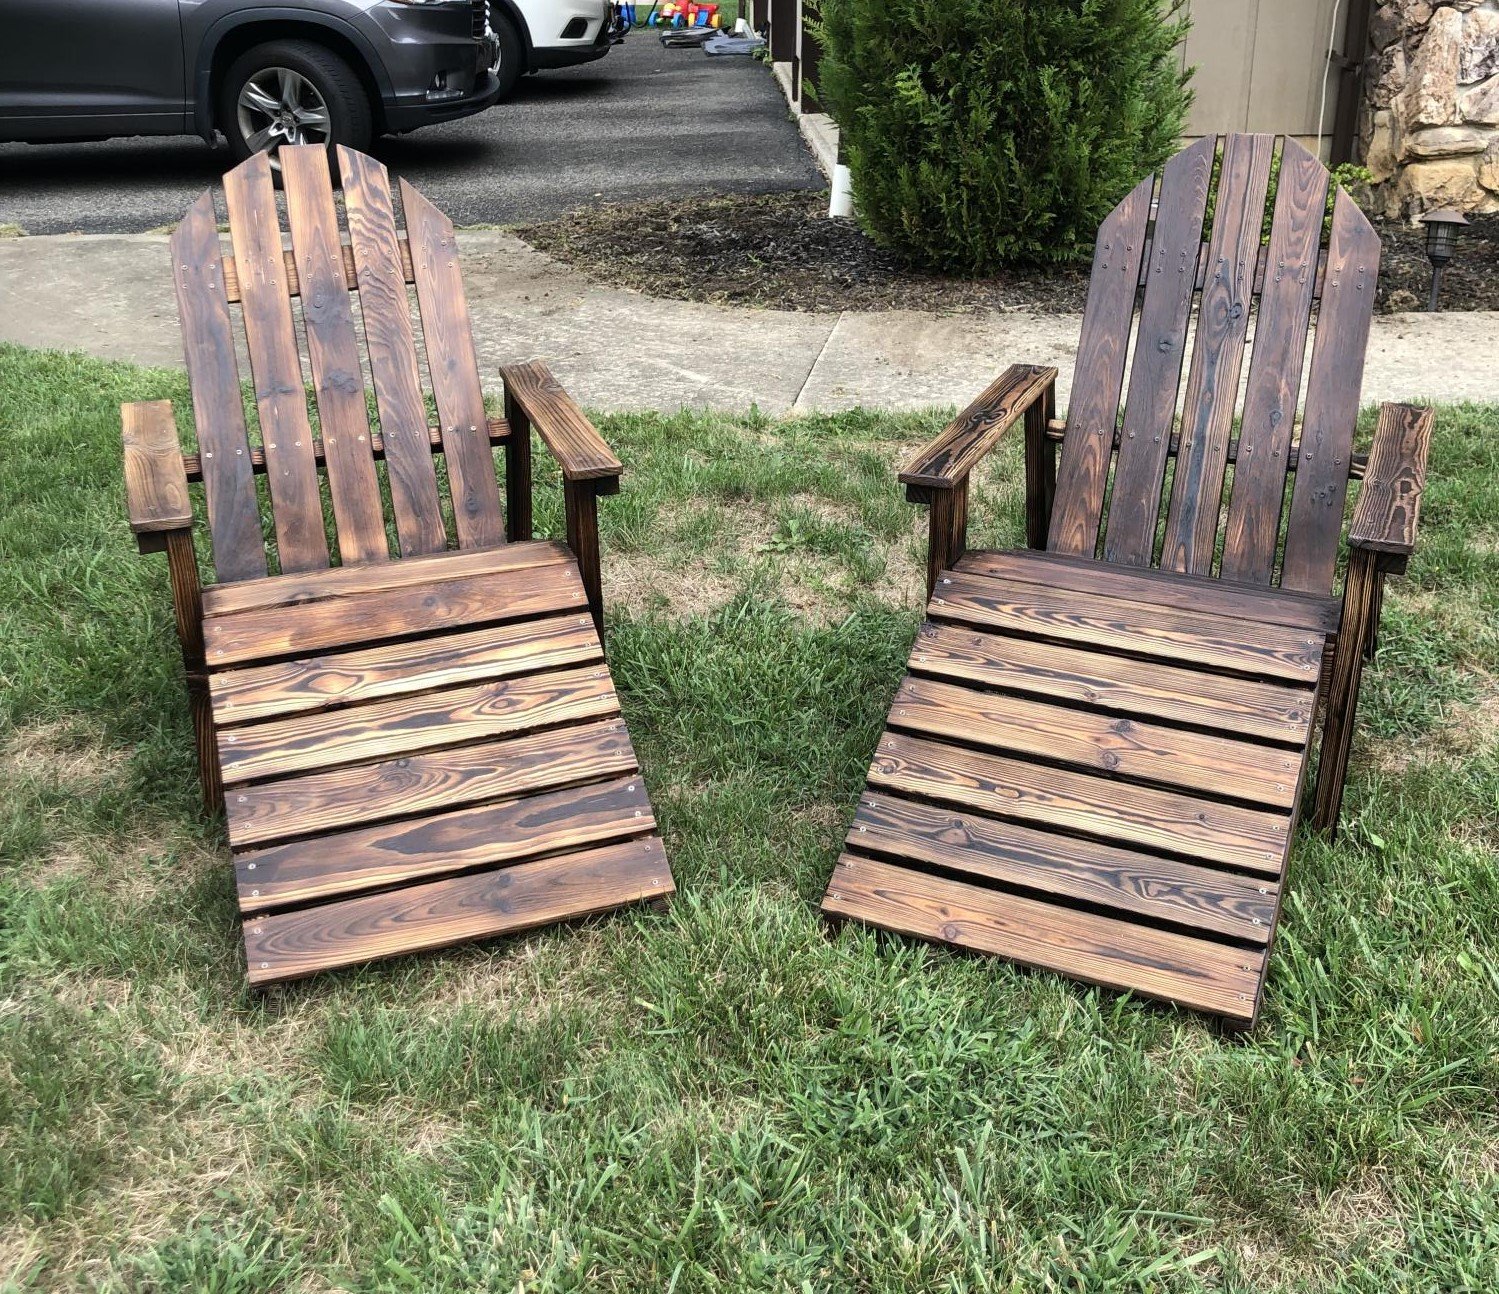
Plans were super easy to follow. I finished the chairs by using the Shou Sugi Ban technique. I burned the chairs and stools completely, than wire brushed them. I repeated the process a second time. I finished by adding a coat of poly which I believe gave the chairs a little more depth. They are so comfortable and plans were perfect. Thank you Ana!

Teaching Easel in the Classroom

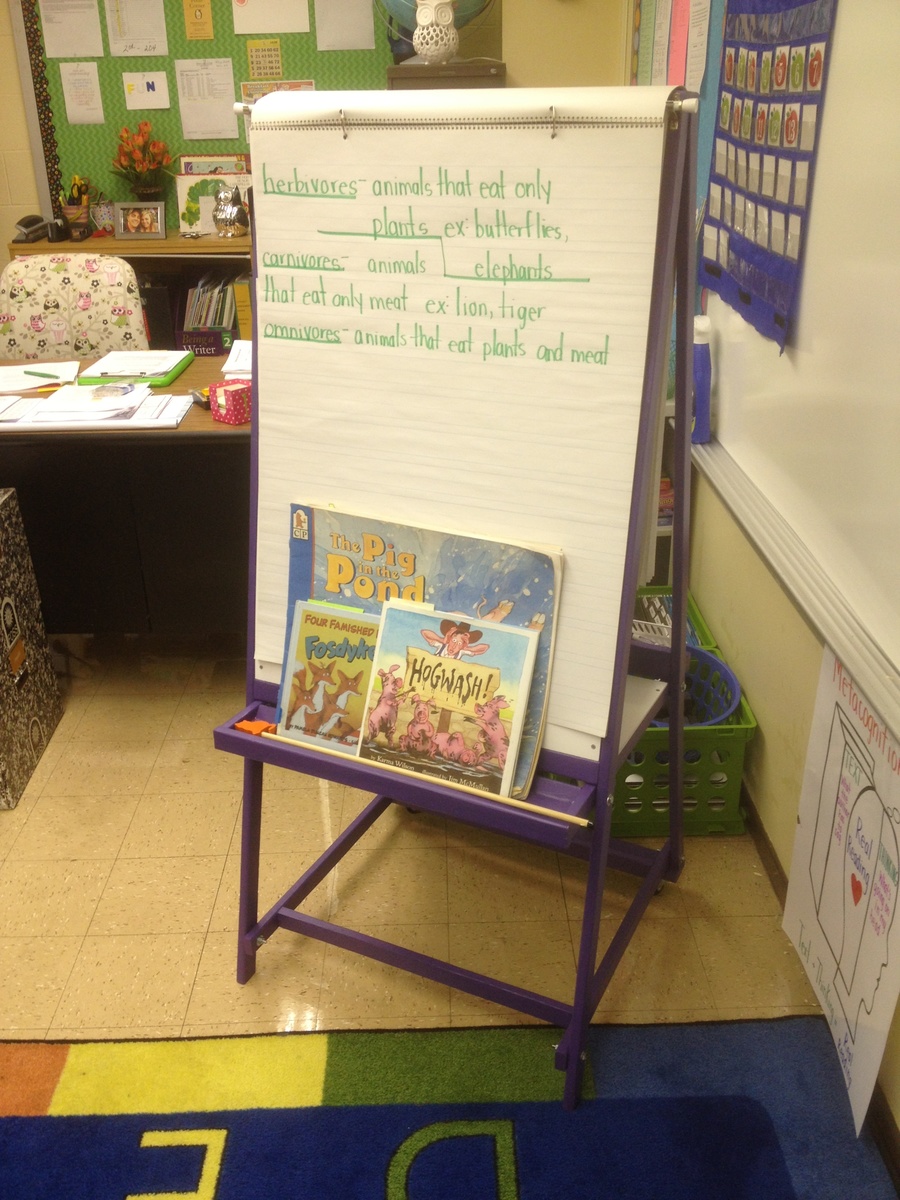
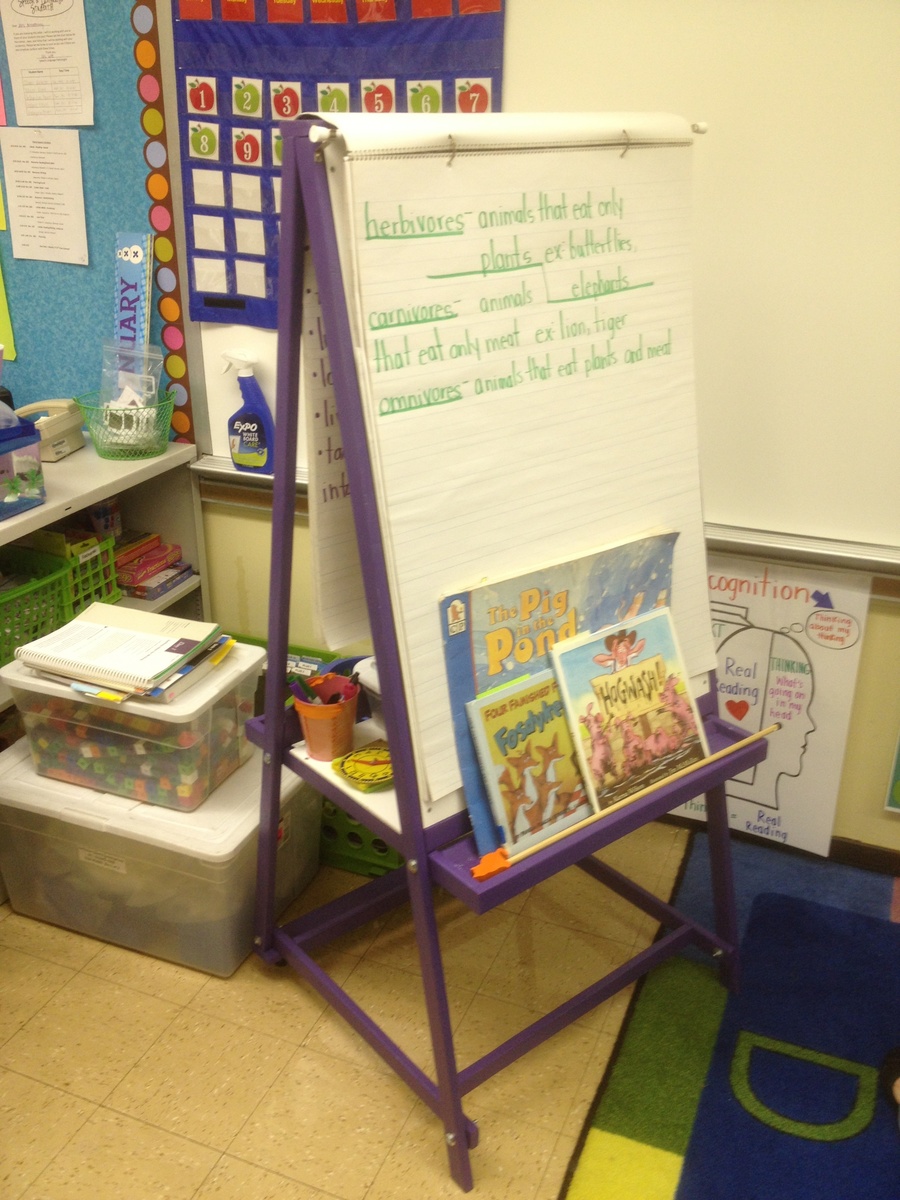
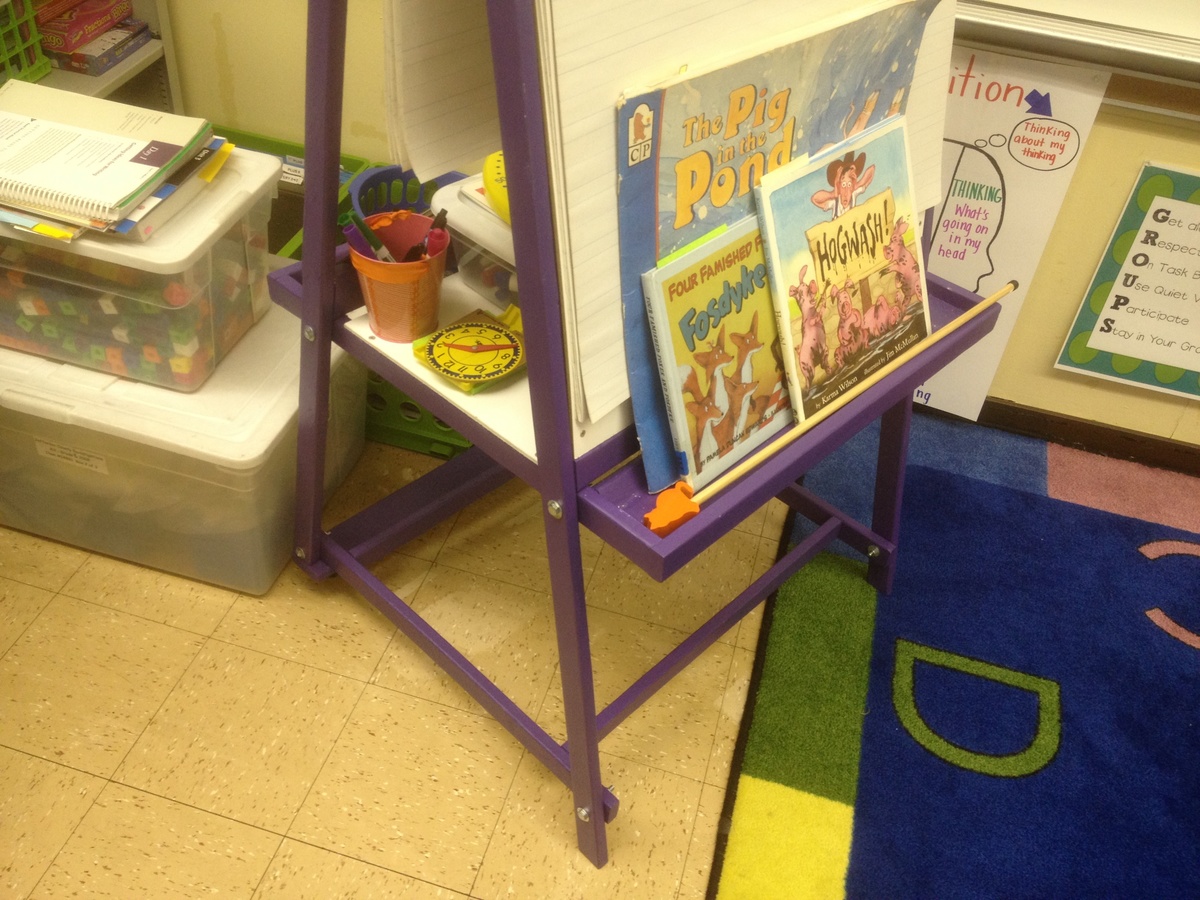
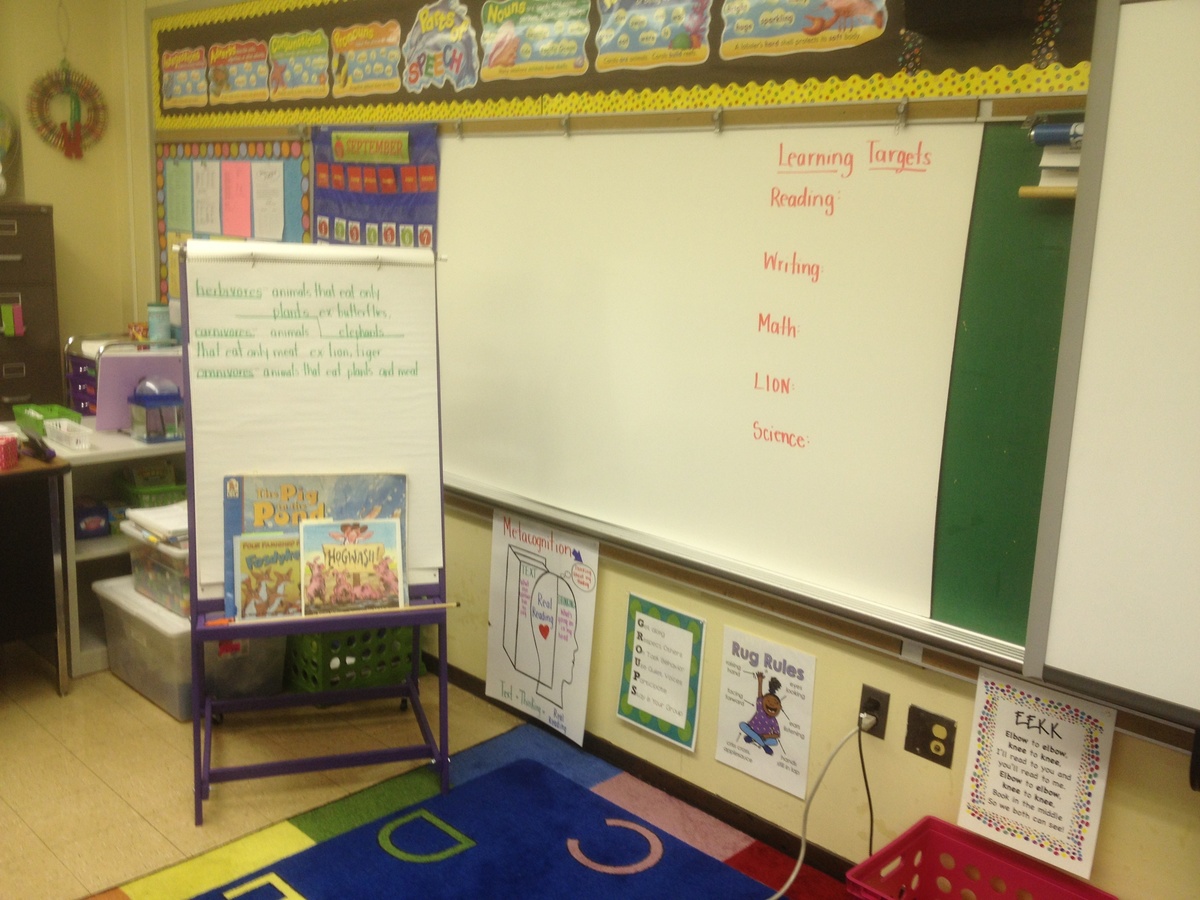
I built this easel for my wife who teaches 2nd grade using the plan on this site. I used a jigsaw to make all the cuts which is why some of them are not perfect. All holes were countersunk and covered with wood filler as I have not yet purchased a Kreg Jig. One sample jar of paint was just enough to cover the whole project with 2 coats. Home Depot sells the whiteboard in 2' x 4' pieces for about $10 in my area. The toughest part was getting the holes to line up just right for the bolts that fix the four main pieces together. Some of them I had to use a little bit of force to make fit. The plan was easy to follow and worked well. I added a curtain rod to the top to hang a paper pad from which I bought for about $5. The big whiteboard behind the easel was hung over the existing chalkboard using industrial strength velcro strips. I bought the whiteboard material from Home Depot for $13 for a 4' x 8' sheet (it is actually called a "hardboard panel board". It works very well with dry erase markers and was an easy, cheap way to install a whiteboard over the current chalkboard.

Built from Plan(s)
Estimated Cost
$40
Estimated Time Investment
Day Project (6-9 Hours)
Finish Used
Behr purple paint sample
Recommended Skill Level
Beginner

Rustic X Bookshelf--Short

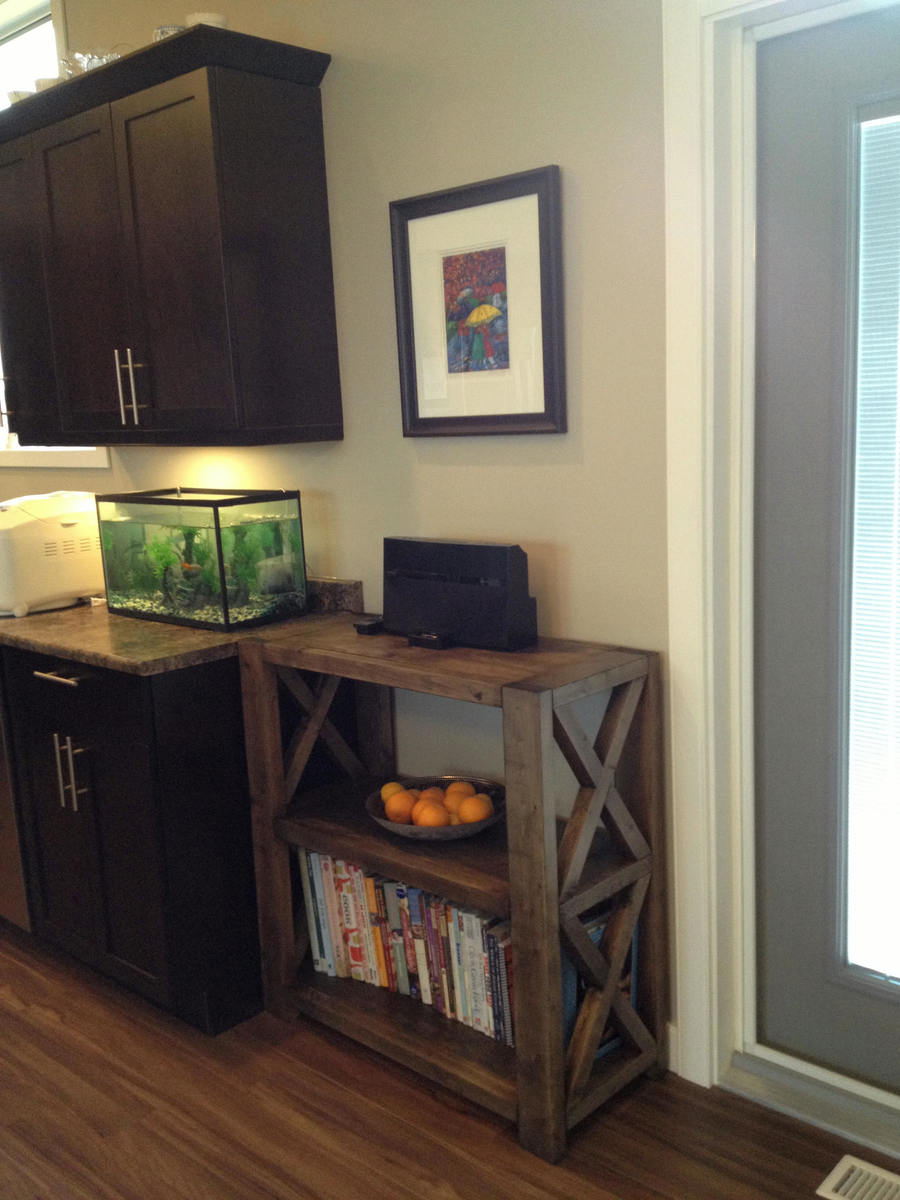
I've loved the Rustic X series from the first plan (the console table) but none of them were things I needed for my home. So when I saw the Rustic X Tall Bookshelf I was thrilled since I have been needing a cookbook shelf in my kitchen, and had been trying to design my own using some form of the X construction. I still needed to customize it, but it was much easier to do from the existing plan. I made it half the height since I wanted it to be flush with my counter, and also wanted it narrower. I had leftover 1 x 12s from another project so I used those, and decided to make two Xs instead of one because of the narrower width. I cut the X's to fit, and used wood glue and 2" nails to secure them from the bottom. Perfect fit for my space!

Built from Plan(s)
Estimated Cost
$25 in new wood, plus leftovers for shelves
Estimated Time Investment
Weekend Project (10-20 Hours)
Finish Used
I used a technique for oxidizing wood which I read about at The Friendly Home. Hillary does a great detailed tutorial (http://thefriendlyhome.blogspot.ca/2012/07/how-to-oxidize-wood.html) on how to use tea, vinegar and steel wool to give new wood an aged weathered look. Cheap and beautiful! I will absolutely do it again! But it was a bit lighter than I wanted, so I used Minwax Polyshades in Tudor to darken them up and seal the wood.
Recommended Skill Level
Beginner

Comments

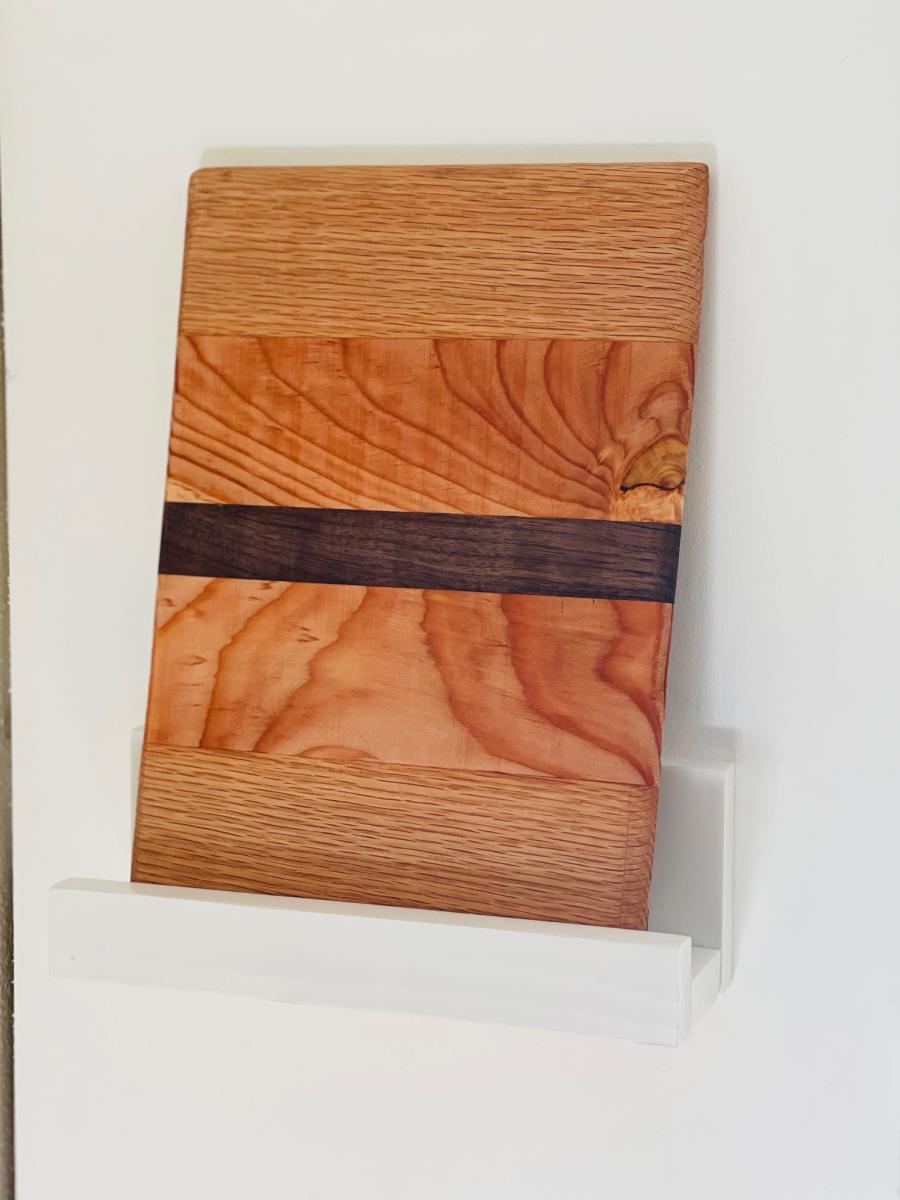
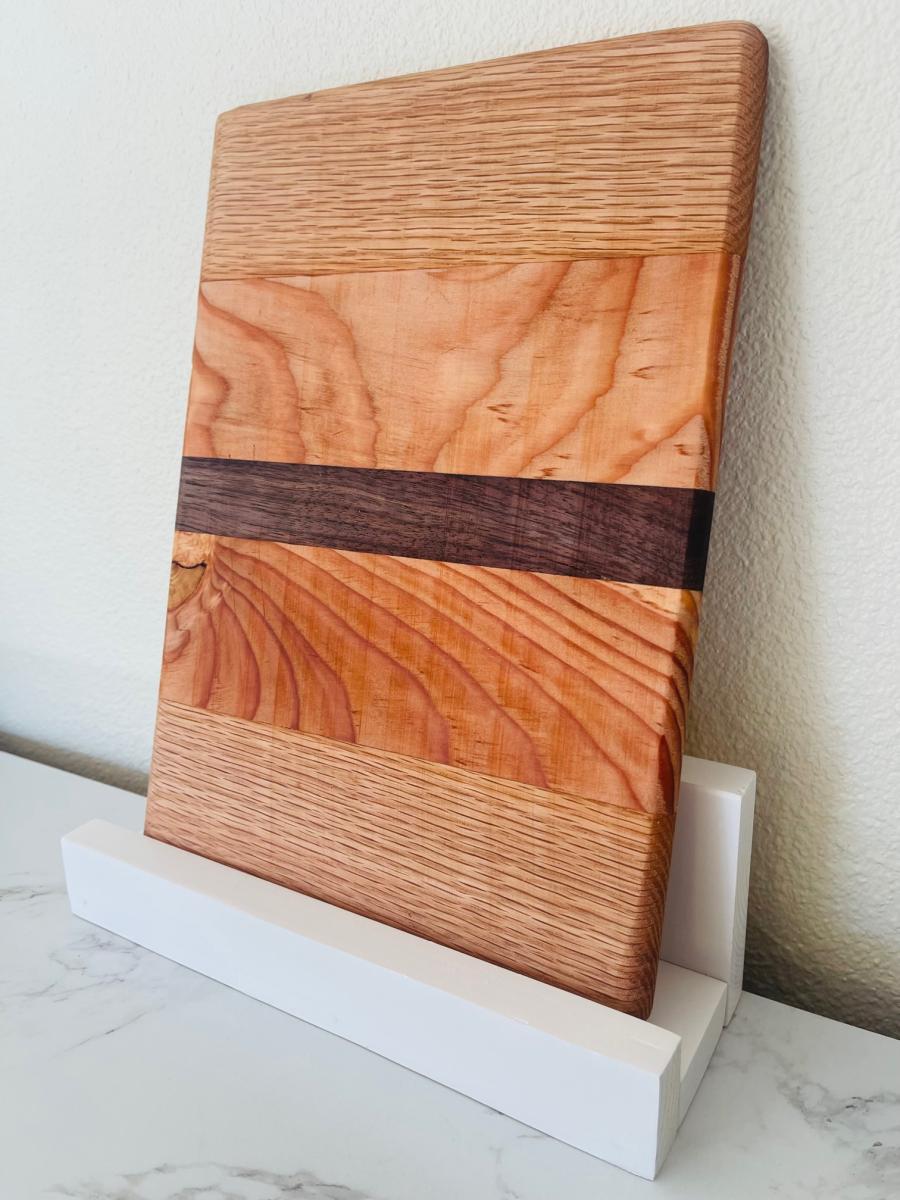
Picture Ledge for Cutting Board Display

Submitted by vendo on Fri, 11/18/2022 - 10:19

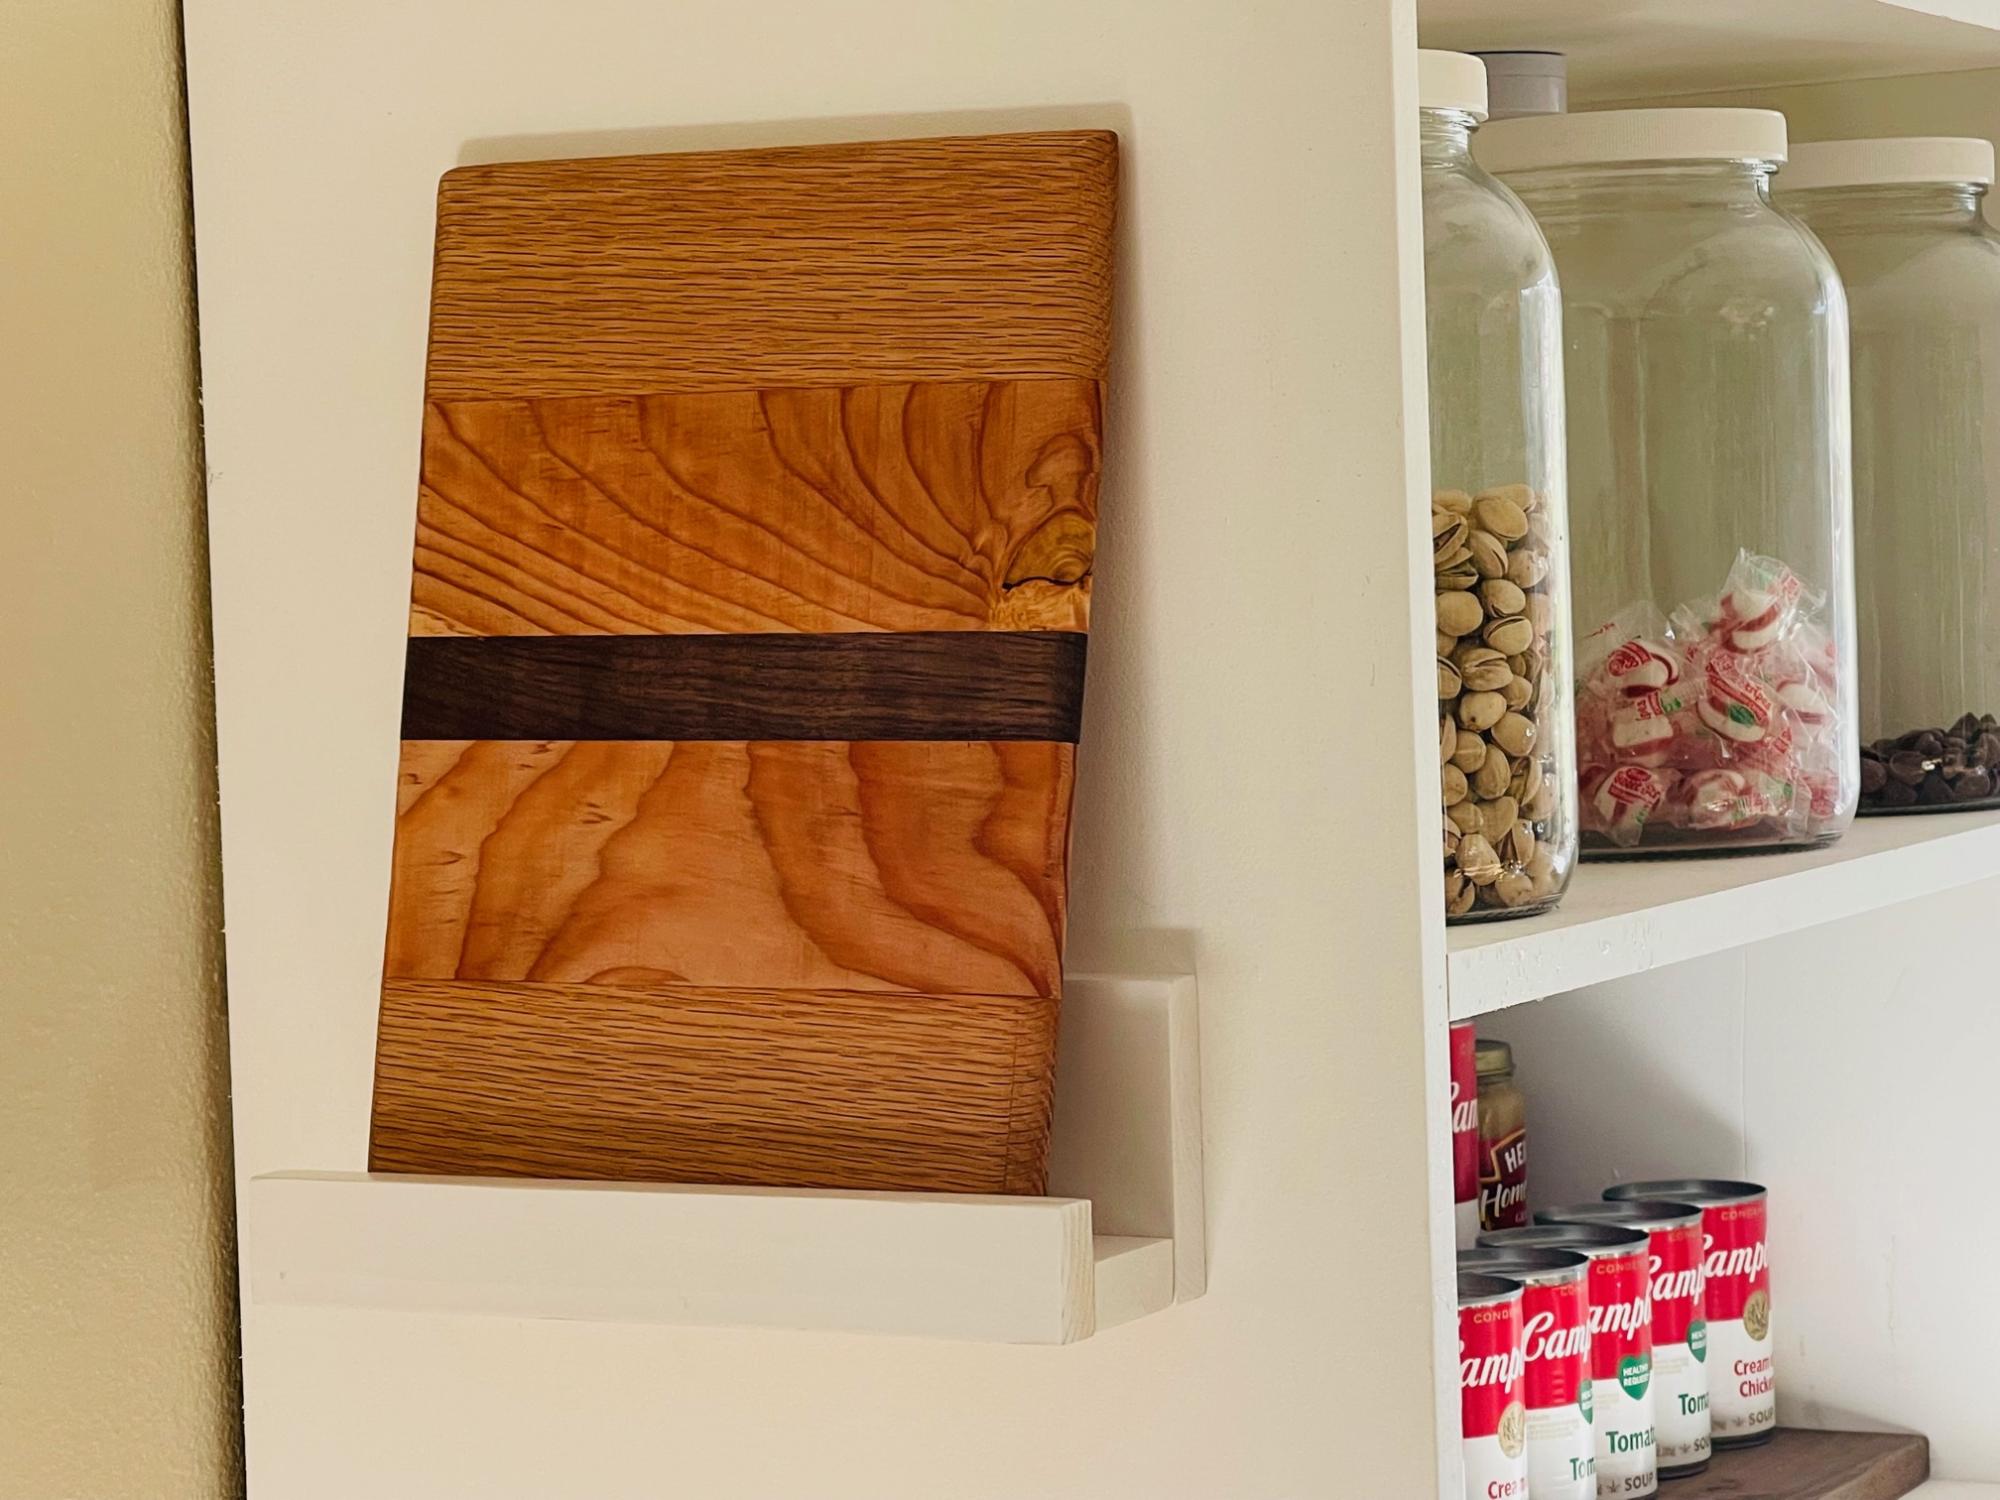
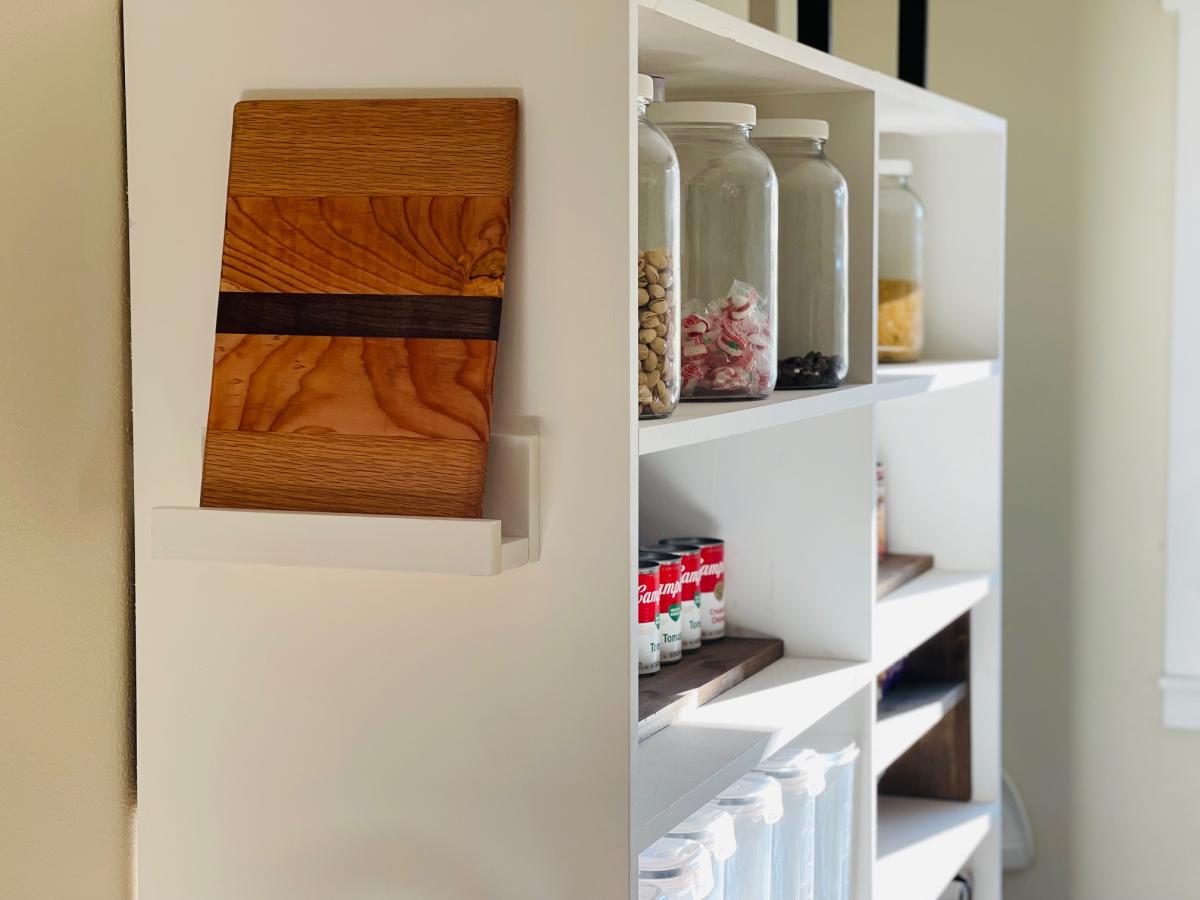
My sophomore daughter built a cutting board in woodworking class. She did a beautiful job, so I wanted to display it. Took me about 10 minutes to build this little shelf. Can be used on the counter, or attached to a wall or pantry shelf. I decided to attach to the side of my DIY freestanding pantry that I built using Ana's Shelf Help service. I'm happy the whole family is able to enjoy her beautiful cutting board and this makes it easy to use and put up when not in use. 

Built from Plan(s)

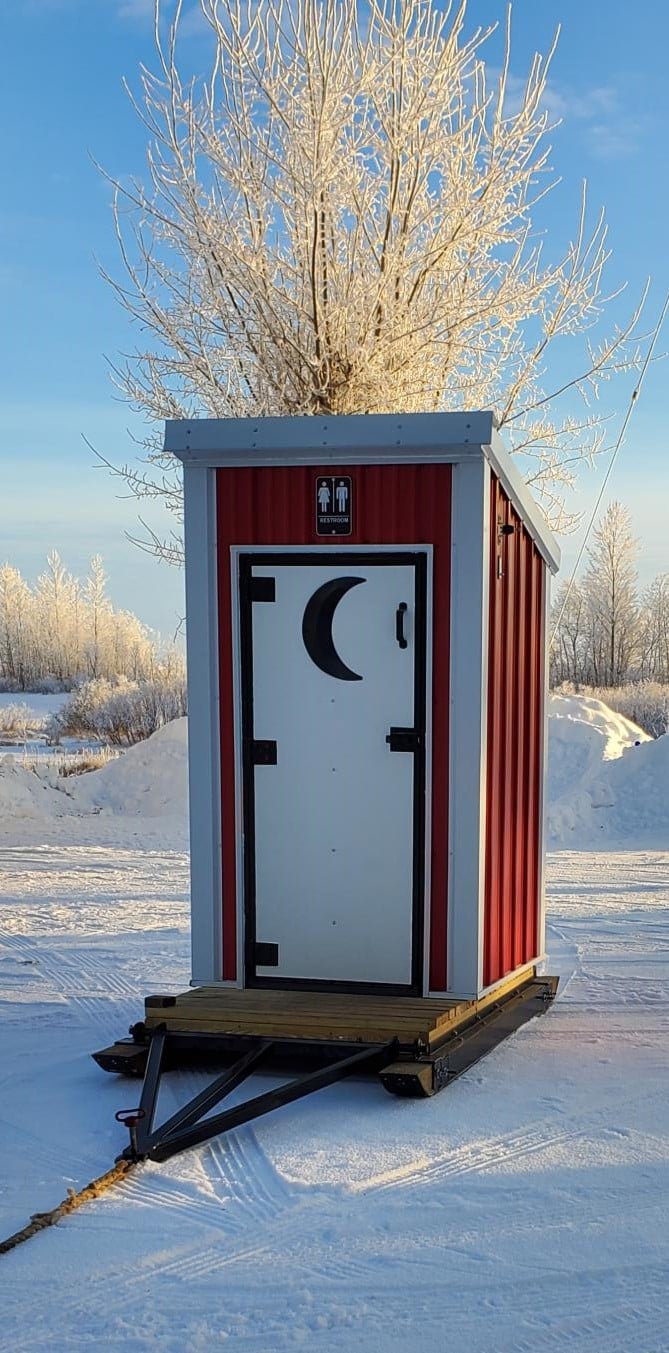
Solar Outhouse - By Deb

Your outhouse design was modified for a snowmobile club project as the building needs to be towed across a lake to a site next to a warming shelter.  An LED light with a timer switch and solar battery charger were installed to provide light in a remote area of Lake of the Woods.

A steel hitch and skids with hyfax were added to the design.

Thank you for providing a design that allowed us to make modifications for winter outdoor recreation accommodations.

Built from Plan(s)

Reclaimed Wood-look Headboard

Submitted by mom of 4 on Mon, 10/14/2013 - 08:38

Pretty much followed the plans for the reclaimed wood-look headboard, but without legs. I built it of pine and topped it with a purchased piece of moulding. I hung it from screws into studs with D-rings on the back. Super easy to put together with the Kreg Jig!

Estimated Cost
$30-$50
Estimated Time Investment
Afternoon Project (3-6 Hours)
Finish Used
I sanded the bejeebers out of the rough 2X4's on the sides, top and bottom. Everything else got sanded before and after assembly. I punched down the nails on the trim and then filled the holes. Primed everything and then put on two coats of a dove-white trim and cabinet paint.
Recommended Skill Level
Beginner

Twin Over Queen Loft Mod

This is the nightly sleeper for our 6yo (queen) and 4yo (twin) boys, but we have in-laws who visit from out of town frequently and we also wanted a place to allow them to be comfortable as couples.


To accomodate adult headroom on the queen, I raised the entire loft 7" (72" high) and to fit the queen beneath, I had to lengthen the loft rails by 9" (84" long). To fill the resulting gap, I just used some 39" scraps of 2x4 and 2x6 overlapped to create a 4x10 landing which actually ended up a cool addition since it gives the kids a spot lower than the mattress to make the transition from the ladder to the mattress. It also has given us adults a spot to sit off the mattress while comforting them to sleep when needed, so we don't end up waking them when we leave.


I based the height of the queen legs (made four of them) off the size of a standard storage tote, which was ~13". We can fit 12-16 totes of clothes or other random storage under the bed as a result. The queen frame was just a simple 64"x84" rectangle out of 2x6s with 7 2x4s used as crossbeams to hold the mattress.


Note on the mattresses - these 8" memory foam mattresses are just as comfortable as our expensive name brand king mattress, but MUCH cheaper!

https://www.walmart.com/ip/Mainstays-8-inch-Memory-Foam-Mattress-Multiple-Sizes/47826185


Despite raising the loft, I kept the height of the stair platform the same, but just added a second 'ladder' rung to get up to the loft (refer back to the 4x10 landing spot on the loft). To keep with the using available storage space theme, instead of attaching the stairs permanently, I used 1"x4" hinges to that we could swing the stairs up and put 4 more storage totes under there. (However, we quickly found that the kids liked that area as a 'fort', so we've left it open for their use.)


In the picture, you'll note there are four treads/steps on the stairs because I thought to myself "little feet, little steps" would be better. I soon learned that the littles are more than capable of using adult sized steps while adults nearly killed themselves coming down the little feet, little steps. As such, I ended up removing one of the middle steps and moving the new singular middle to a spot between the other two. Much better, stay with 3 steps.


While the queen can stand alone, I still attached it to the 'legs' of the loft so that our rambunctious boys didn't 'sweep the leg' and bring the whole thing down on themselves while under it.


Estimated Cost
Only need an additional 8 2x4s and 6 2x6s from the original plan.
Estimated Time Investment
Week Long Project (20 Hours or More)
Finish Used
Actually no stain on this. Instead, used a Benzo torch and burned every board to produce the grain patterns seen. Just sealed it with a standard clear poly to lock in that grain and protect the wood a little.
Recommended Skill Level
Intermediate

Barn Door Pantry Build

Submitted by Anonymous (not verified) on Sat, 03/18/2023 - 14:54

Using the Barn Door Pantry plan, I partially built this in my shop then took it apart and transported it to my son's house where we reconstructed it. This is a massive project and I recommend that you have enough room (and help) to build it and move it. The door is built with 1/2 inch plywood, framed with 1 by 4's with bead board inserts.
Built from Plan(s)

Comments

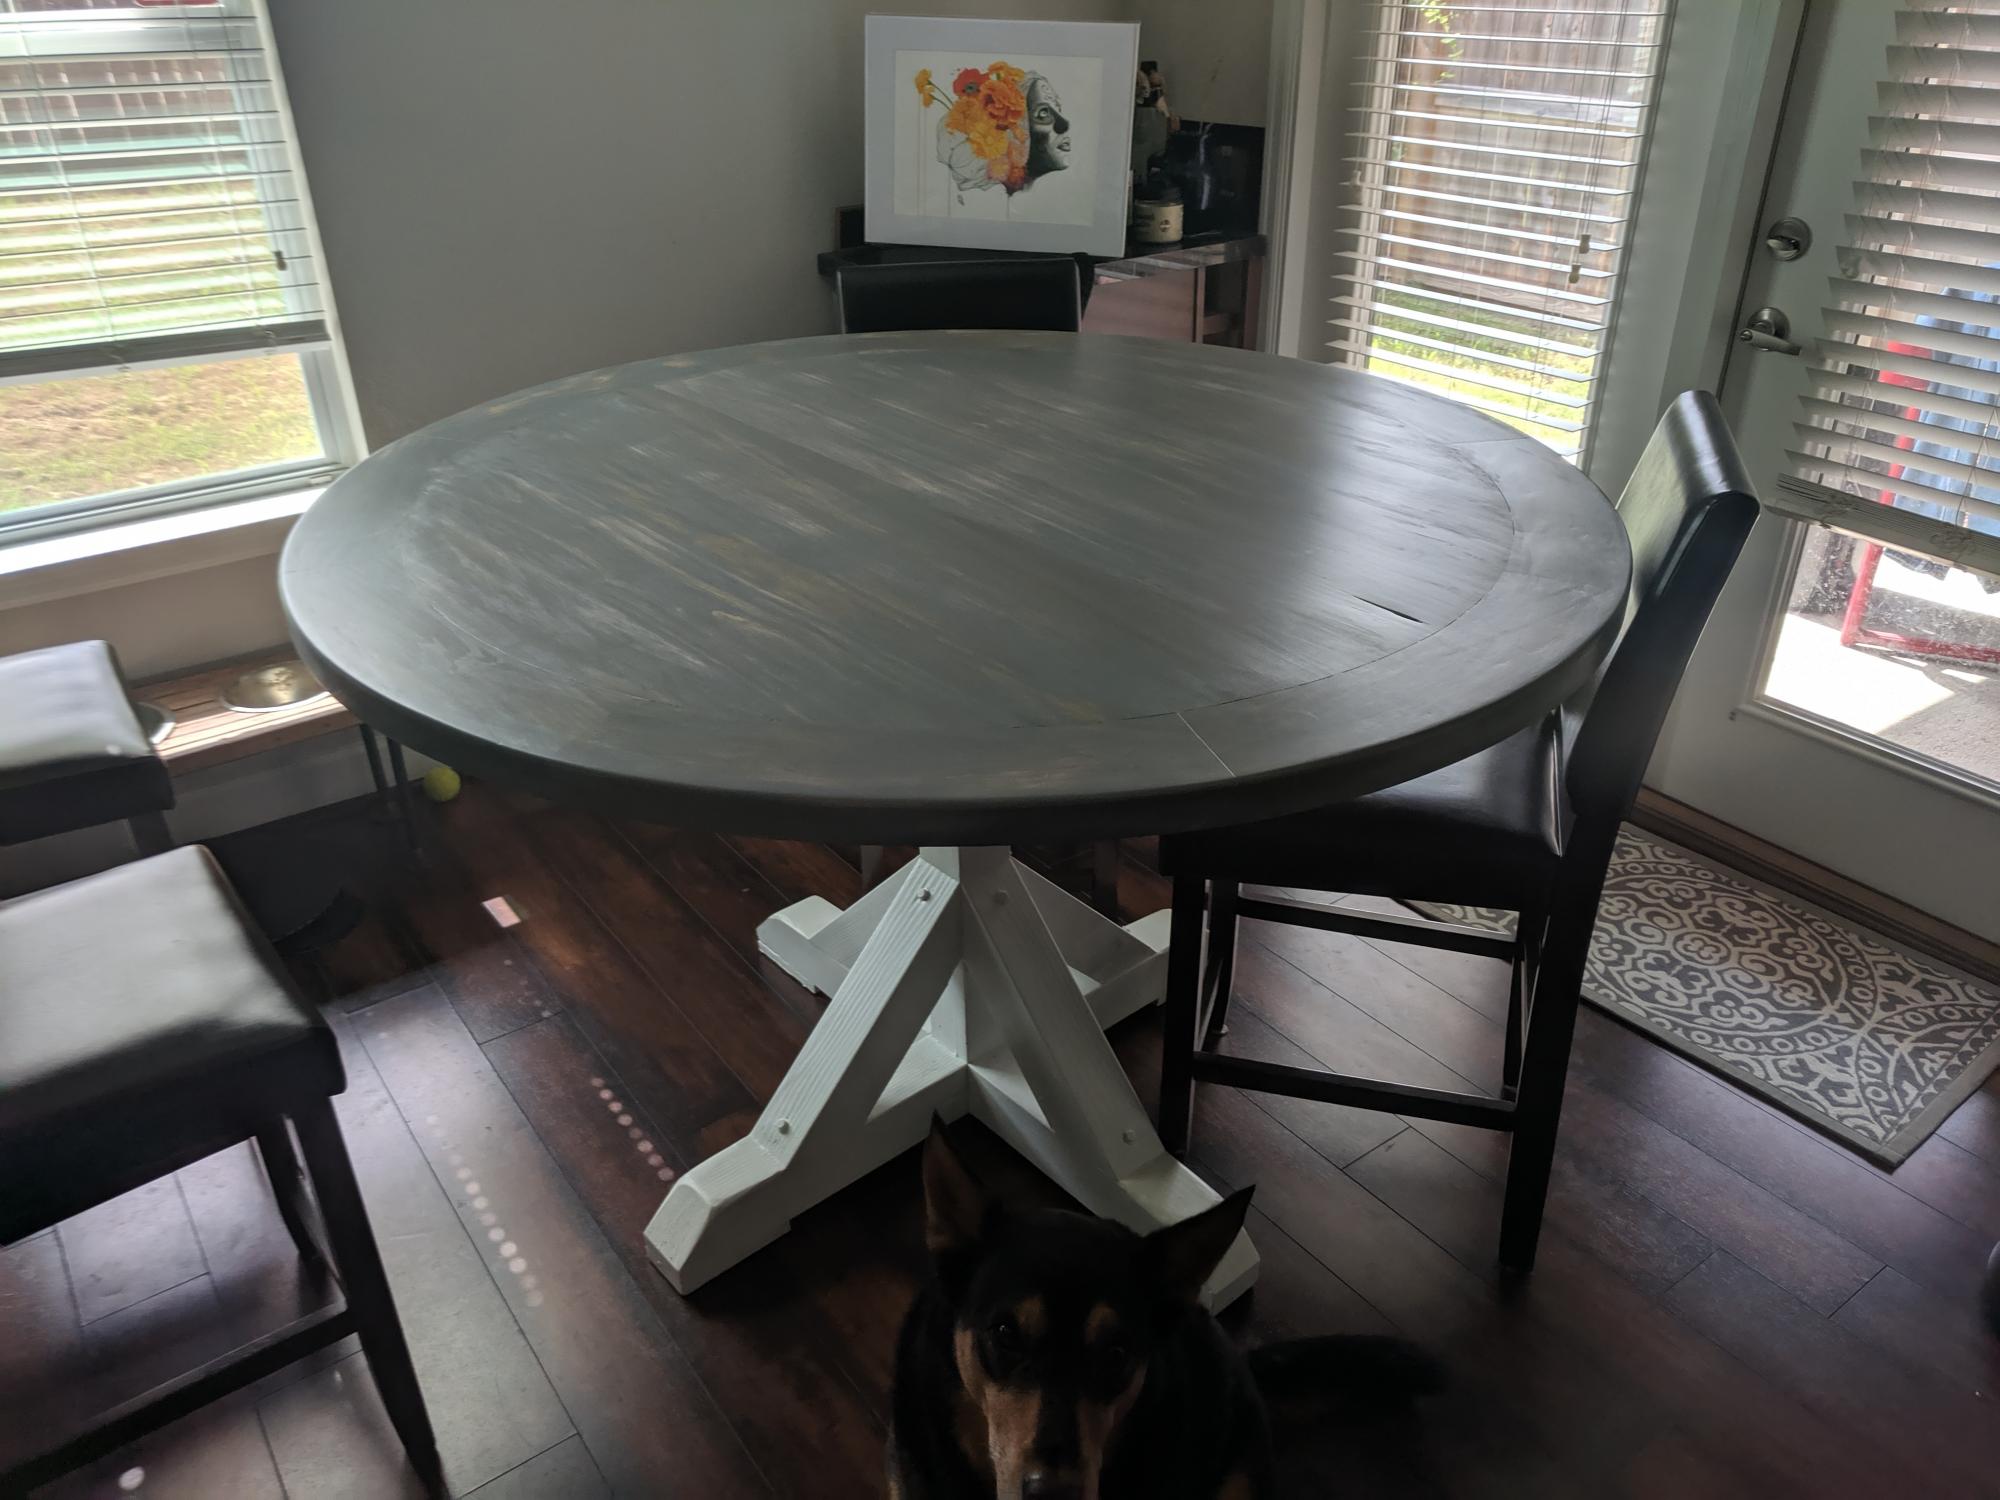
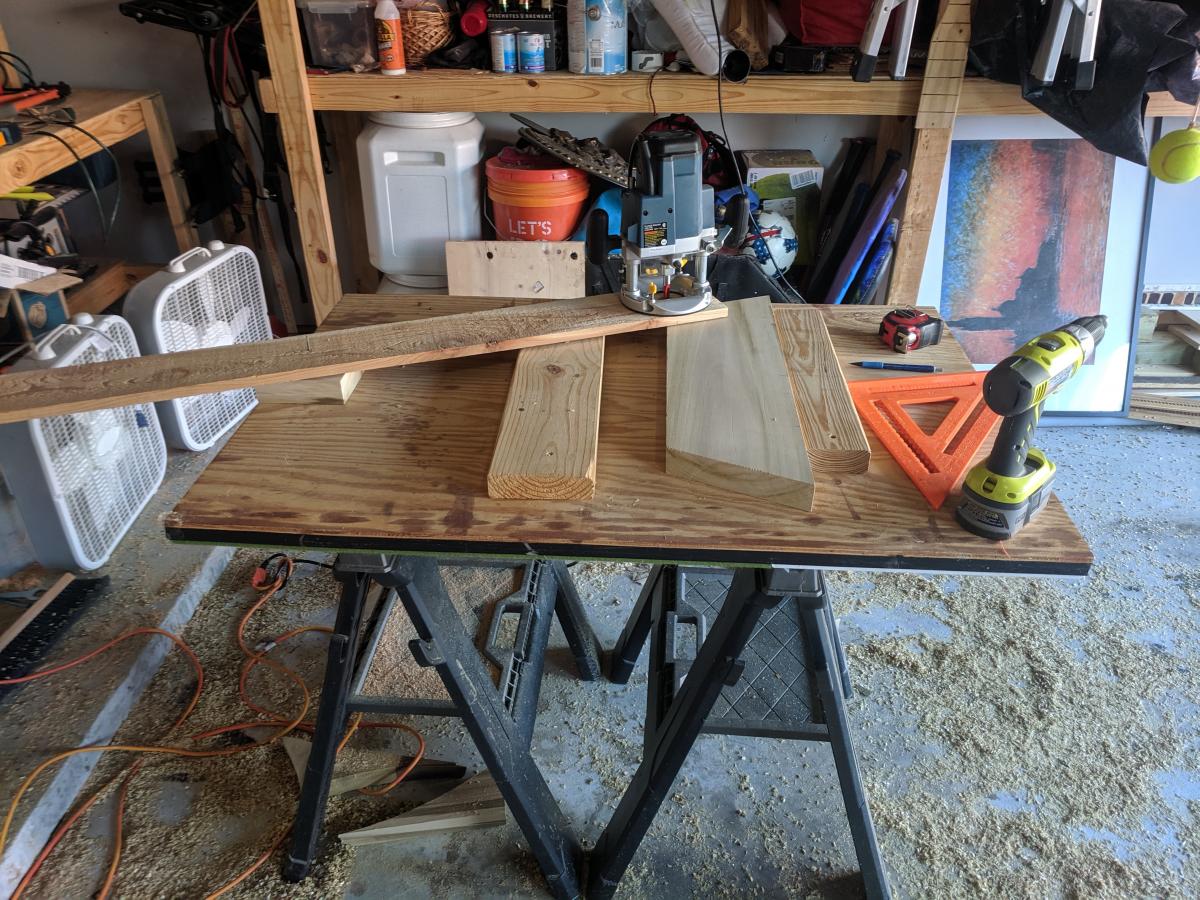
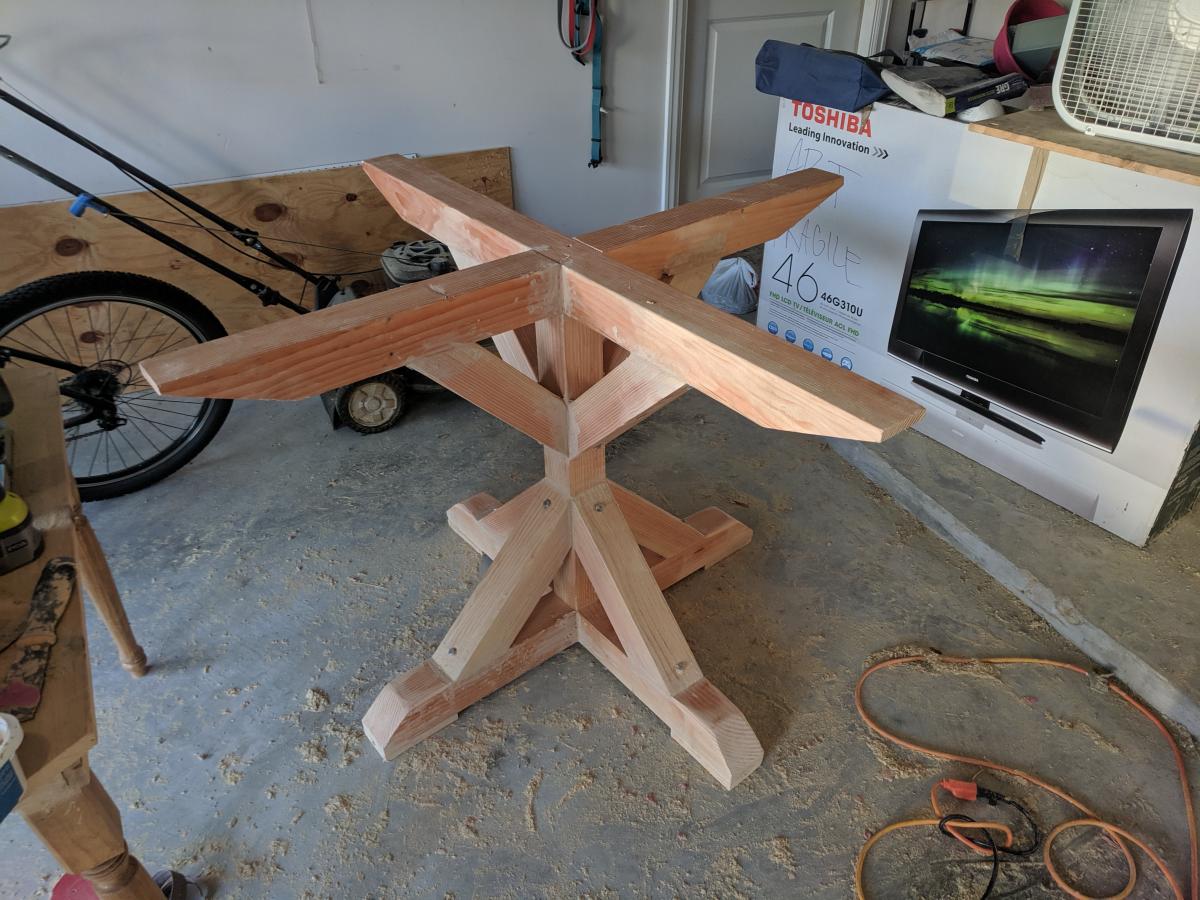
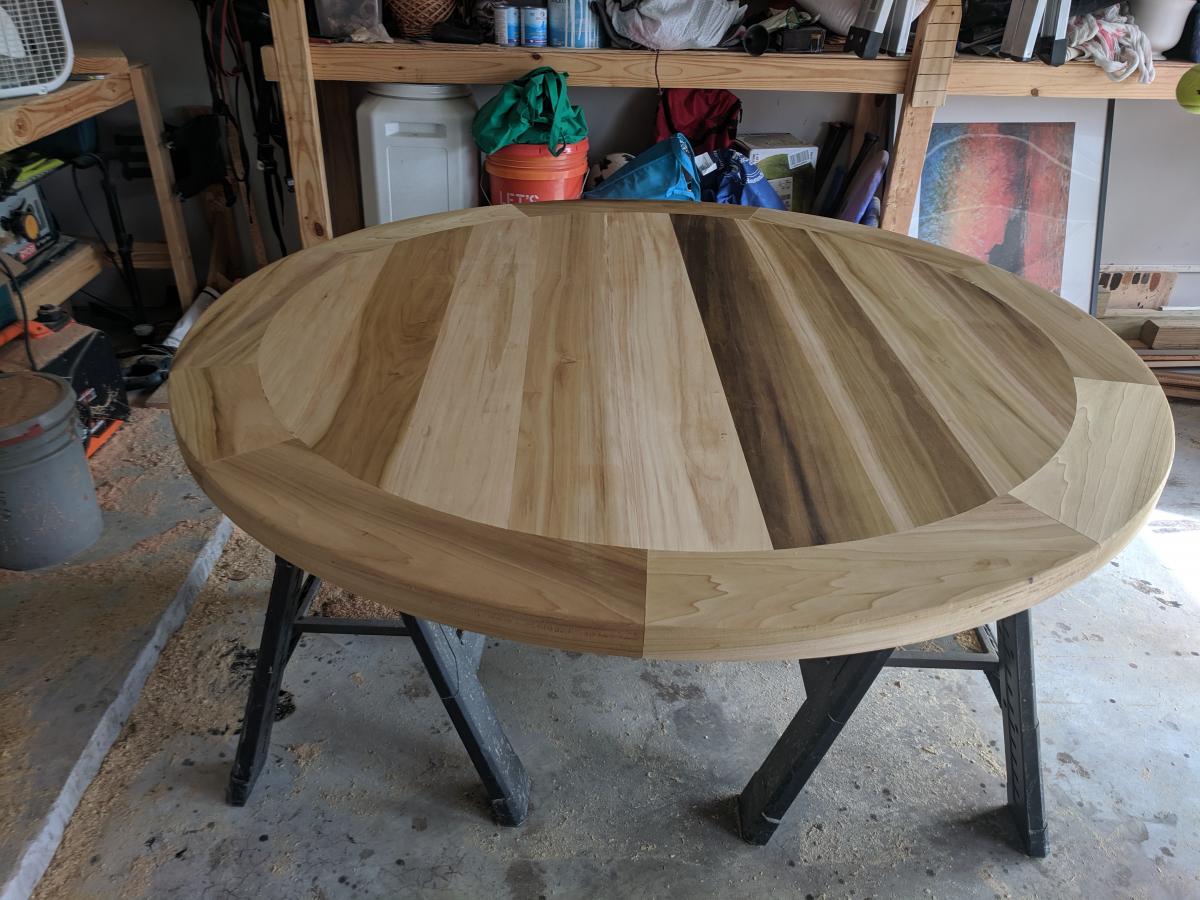
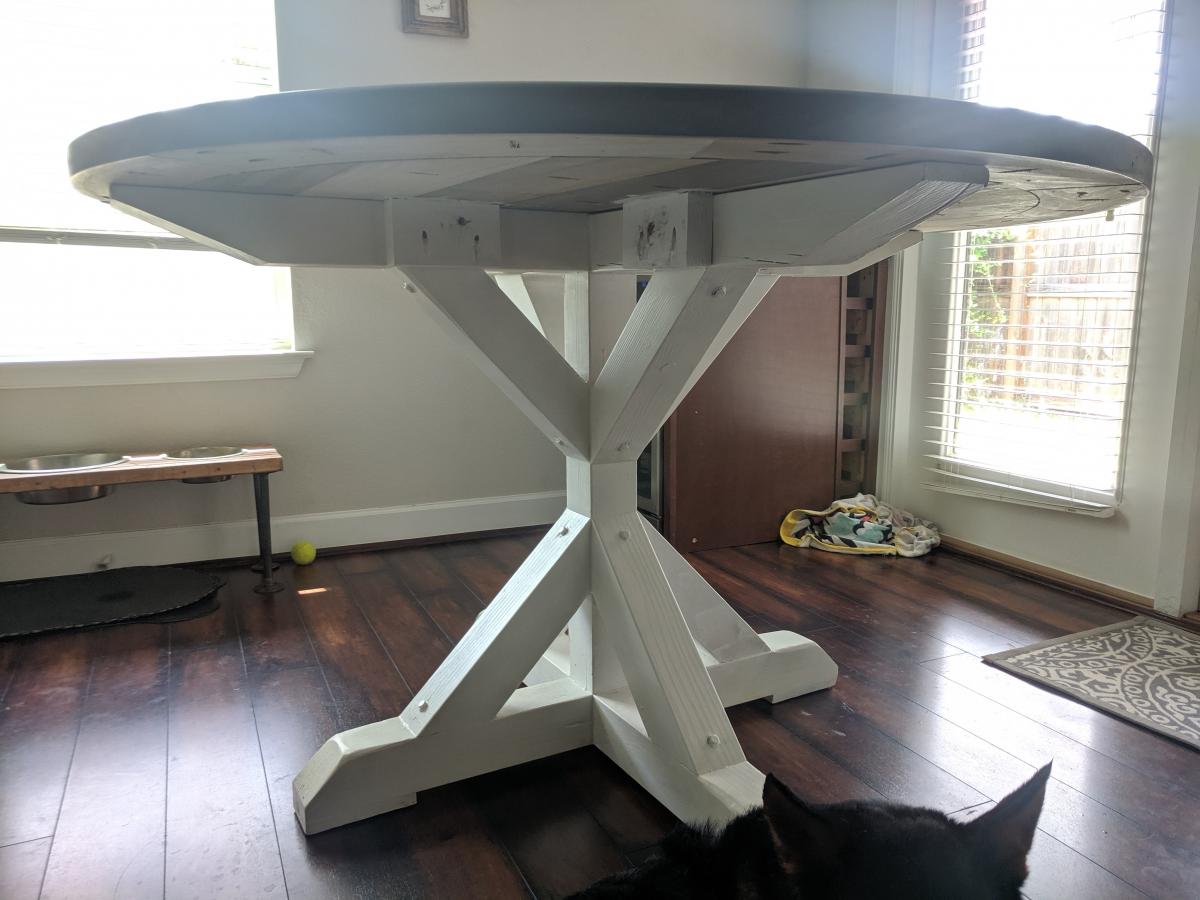
60" Round Table with Pedestal Base

Submitted by NachoDog on Fri, 07/05/2019 - 10:21

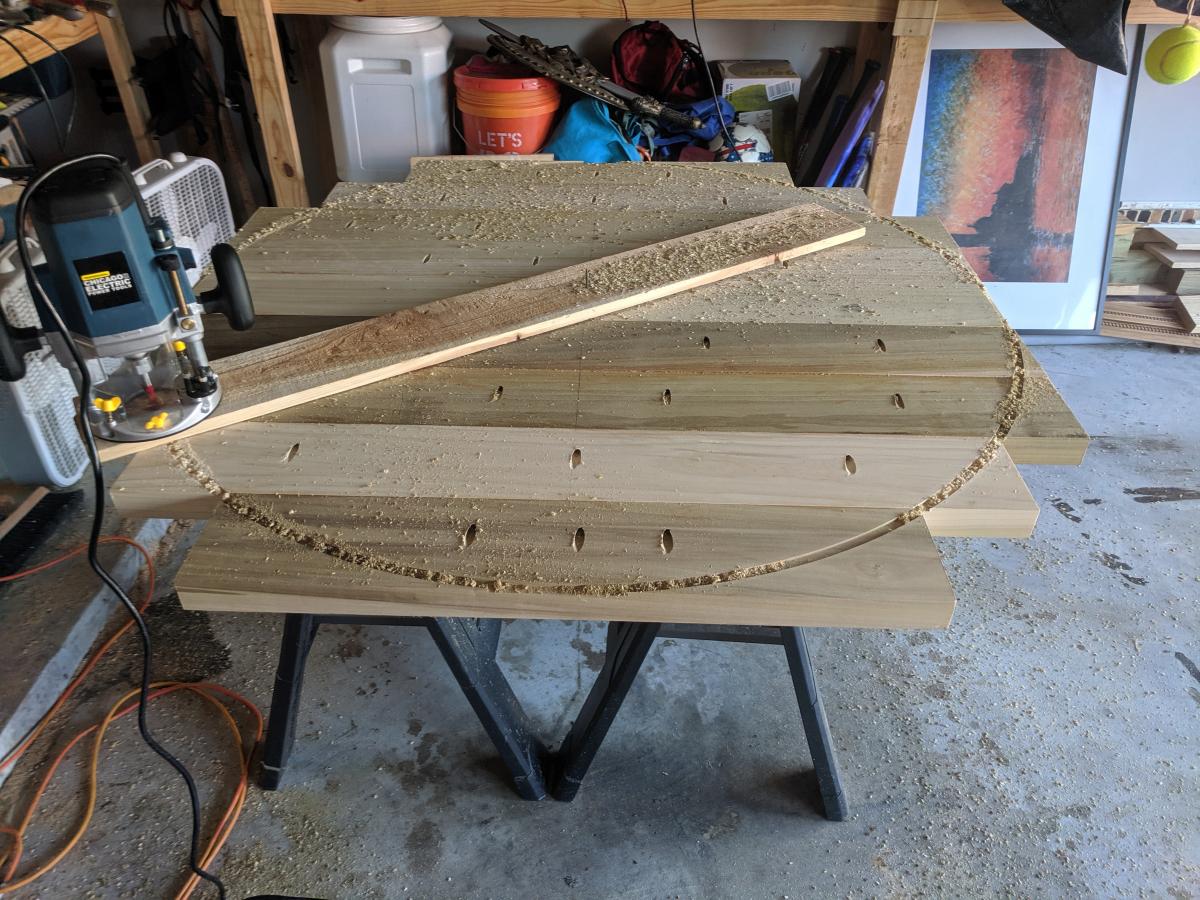
I modified a couple of plans I found on this site. If anyone is interested in instructions or cut list, I can post it later.

Estimated Cost
$650
Estimated Time Investment
Week Long Project (20 Hours or More)
Finish Used
Sanded everything down to 120 grit, used prestain conditioner, stained the top with Minwax coastal gray stain, lightly sanded with 120 grit for extra weathering, and then did six coats of poly while sanding with 220 grit in between coats.
Recommended Skill Level
Intermediate