First project - Farmhouse Coffee table
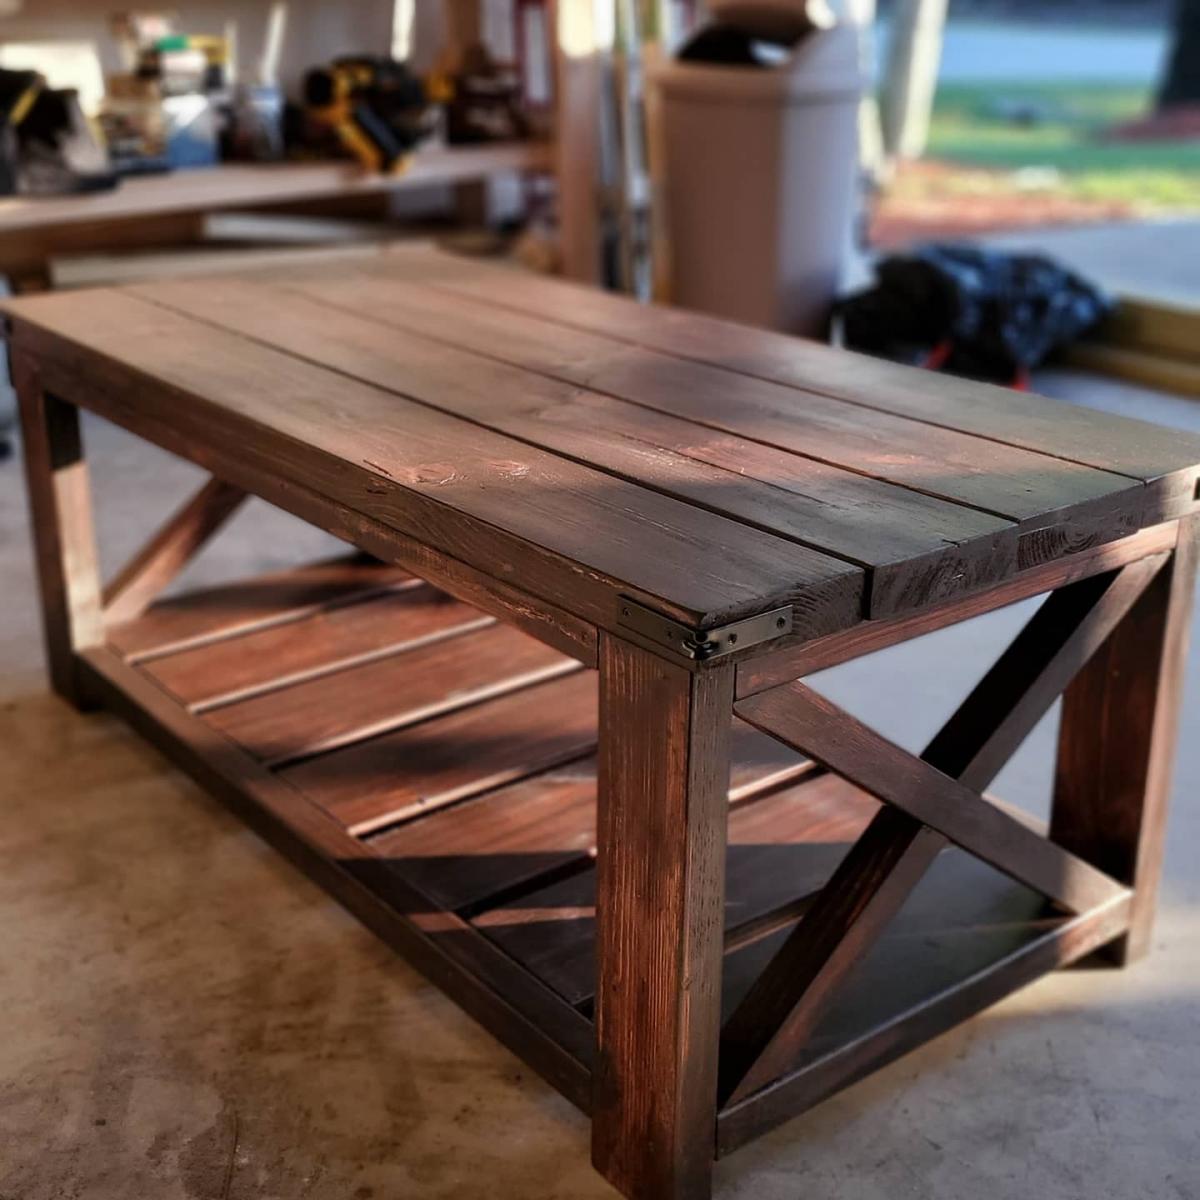
Thank you for the awesome coffee table plan. Love the finished project on it. Can't wait to do something else.
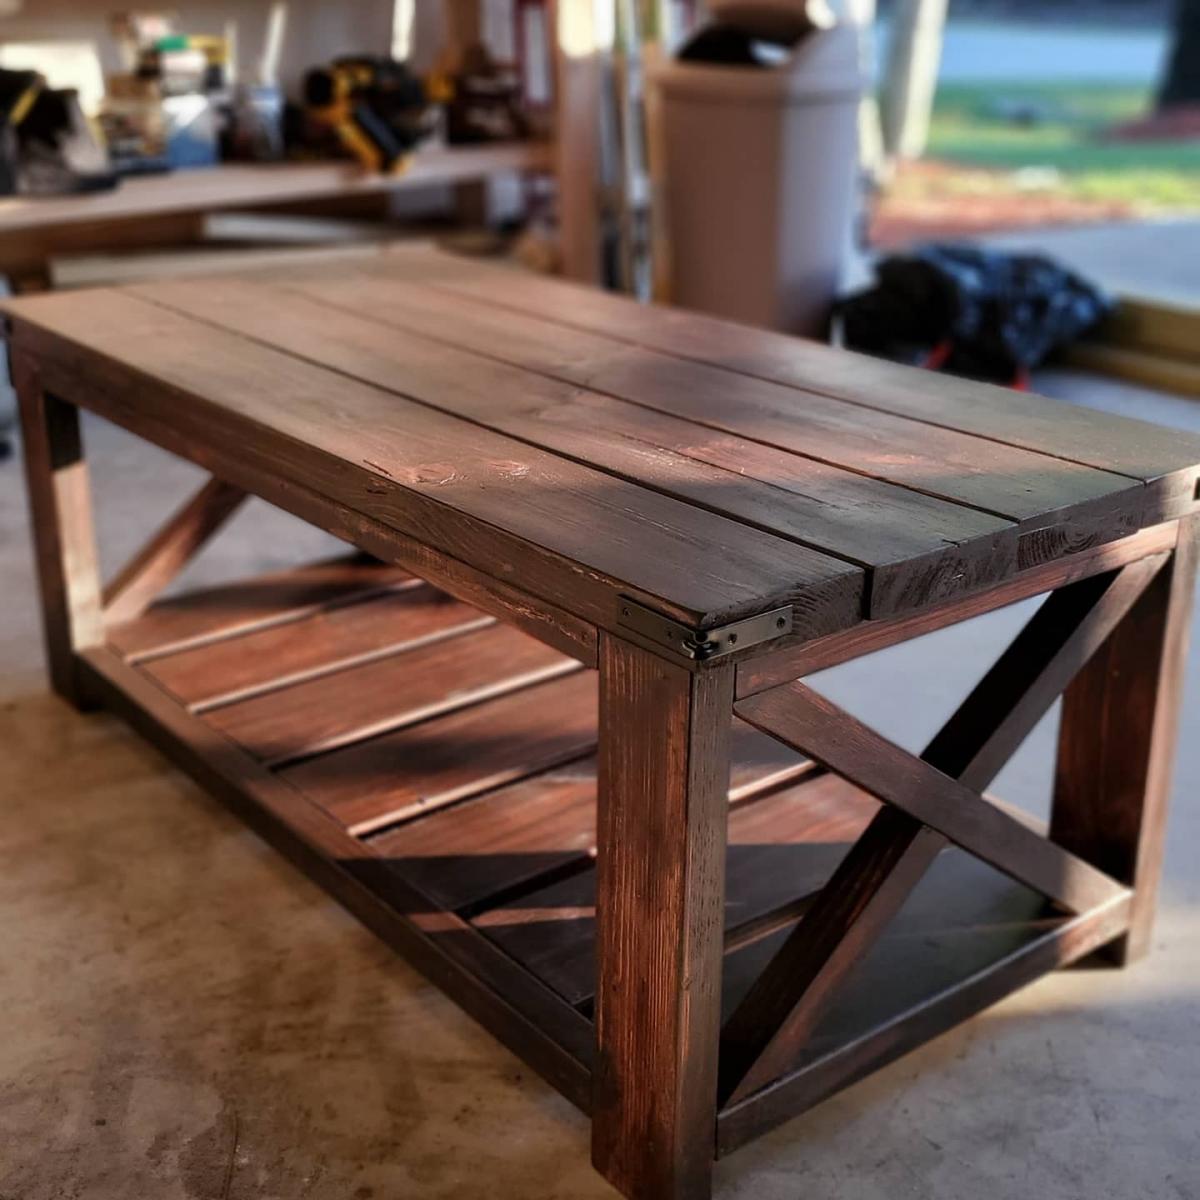
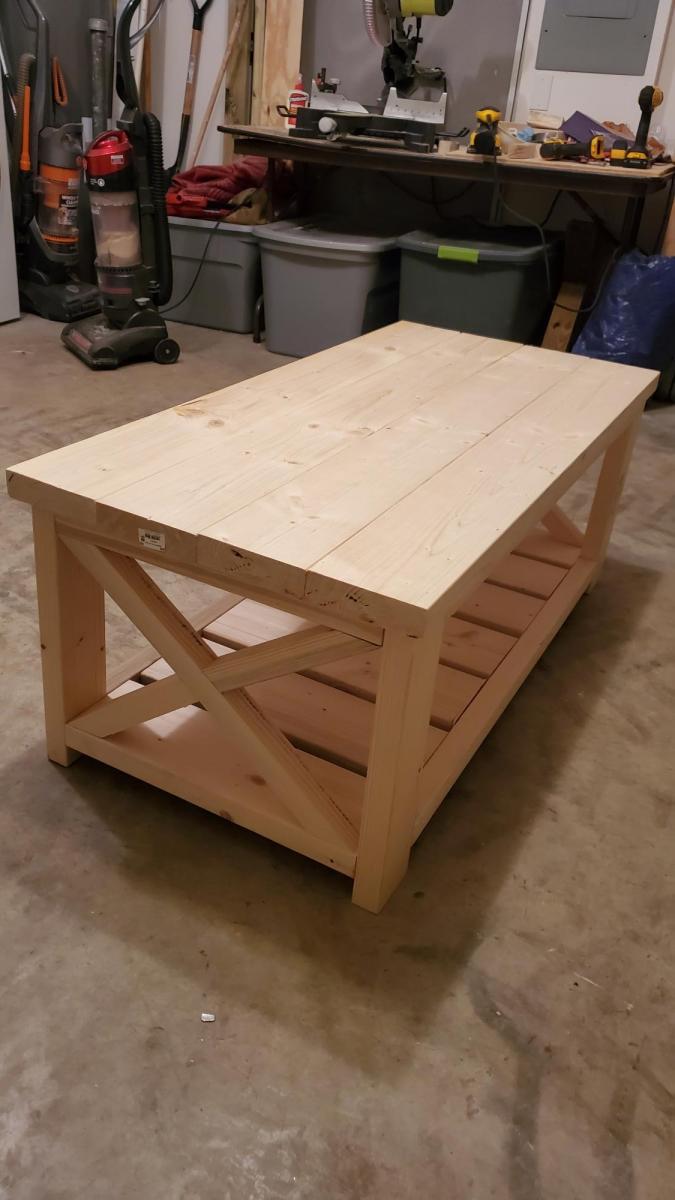

Thank you for the awesome coffee table plan. Love the finished project on it. Can't wait to do something else.


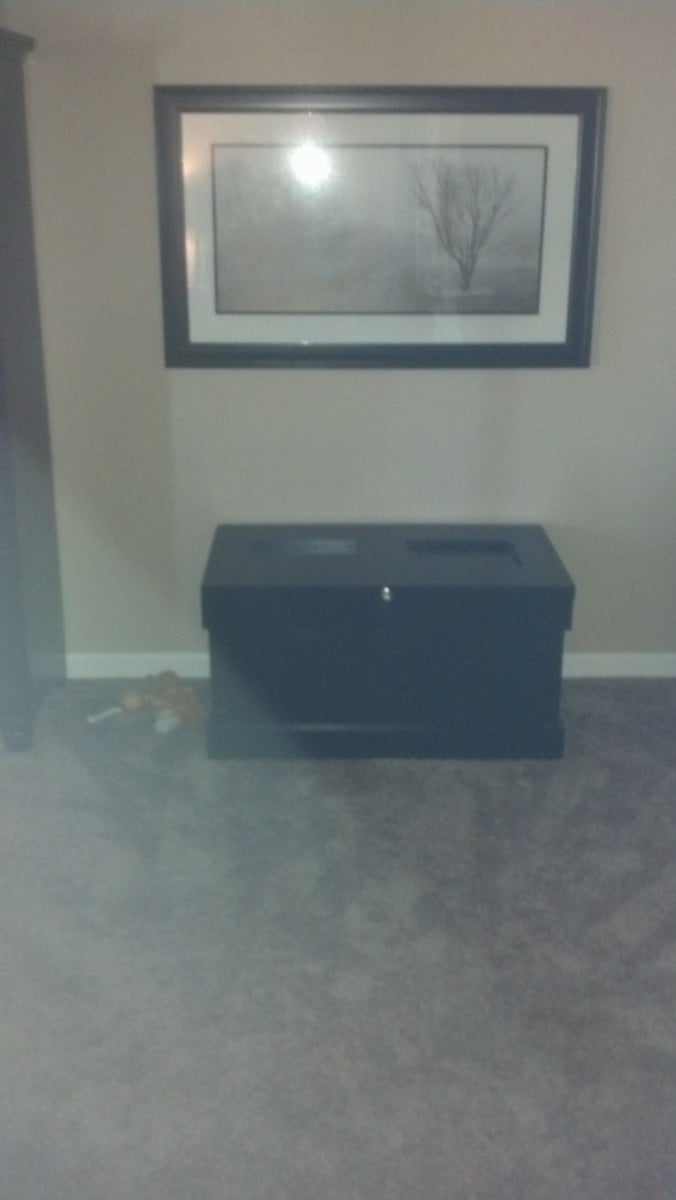
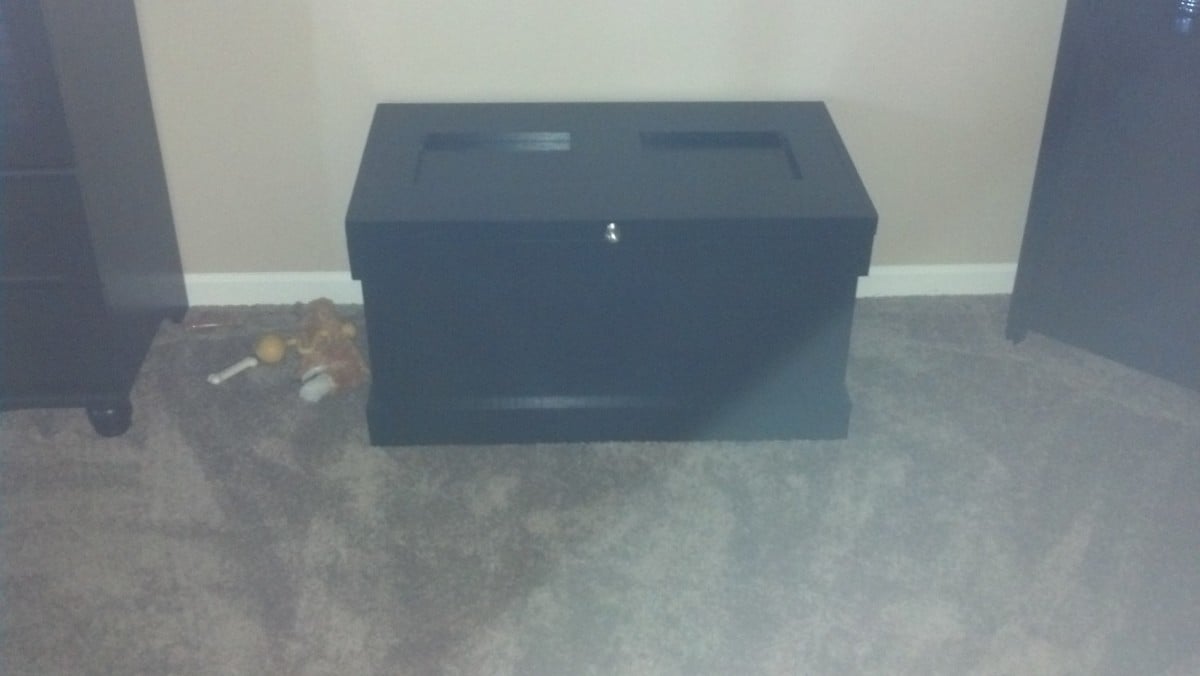
My wife wanted a new chest to store blankets in. I saw the plans for the Becca and thought it would be perfect for what we were after.
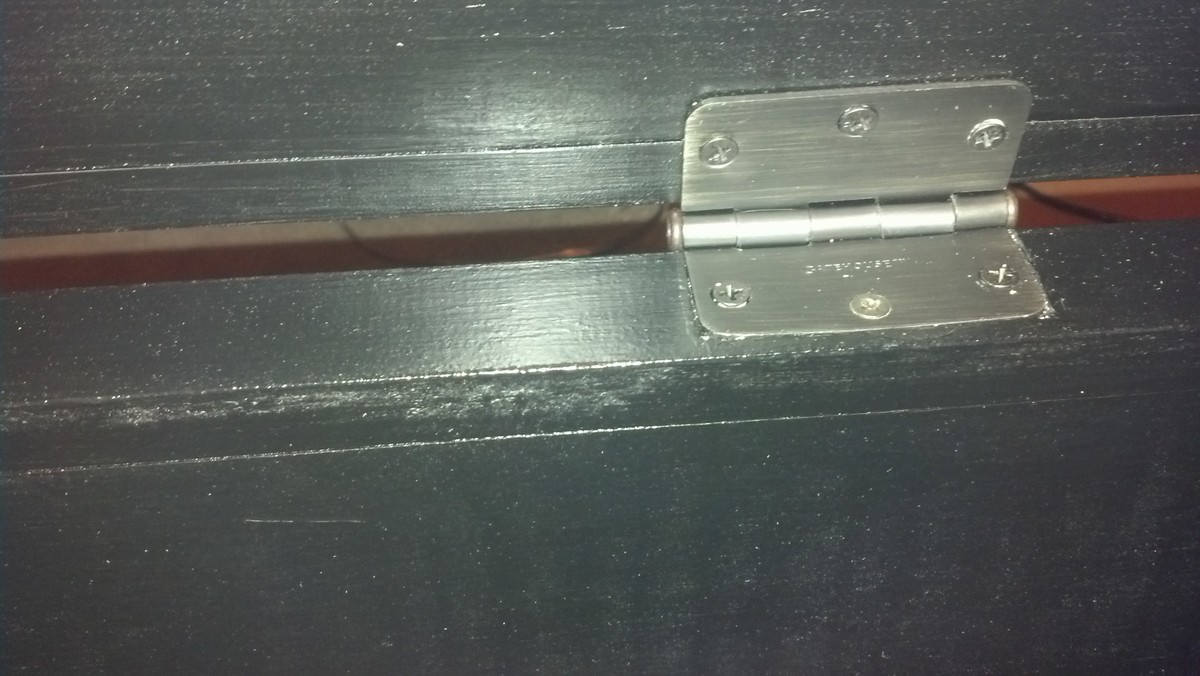
I used some regular plywood I had laying around and some select pine for the trim. I liked the look of the top in the plan but wanted some more texture to it, so I used a solid piece of plywood for the top and layer pine for the trim features. I tested my new chisels to recess the hinges to minimize gapping under the lid.
We painted it solid black to match the rest of the basement furniture. A few coats of poly finished it off for durability.
This took about 2 months for me to get around to finishing. That's probably about...12 hours of actual work, plus finishing.
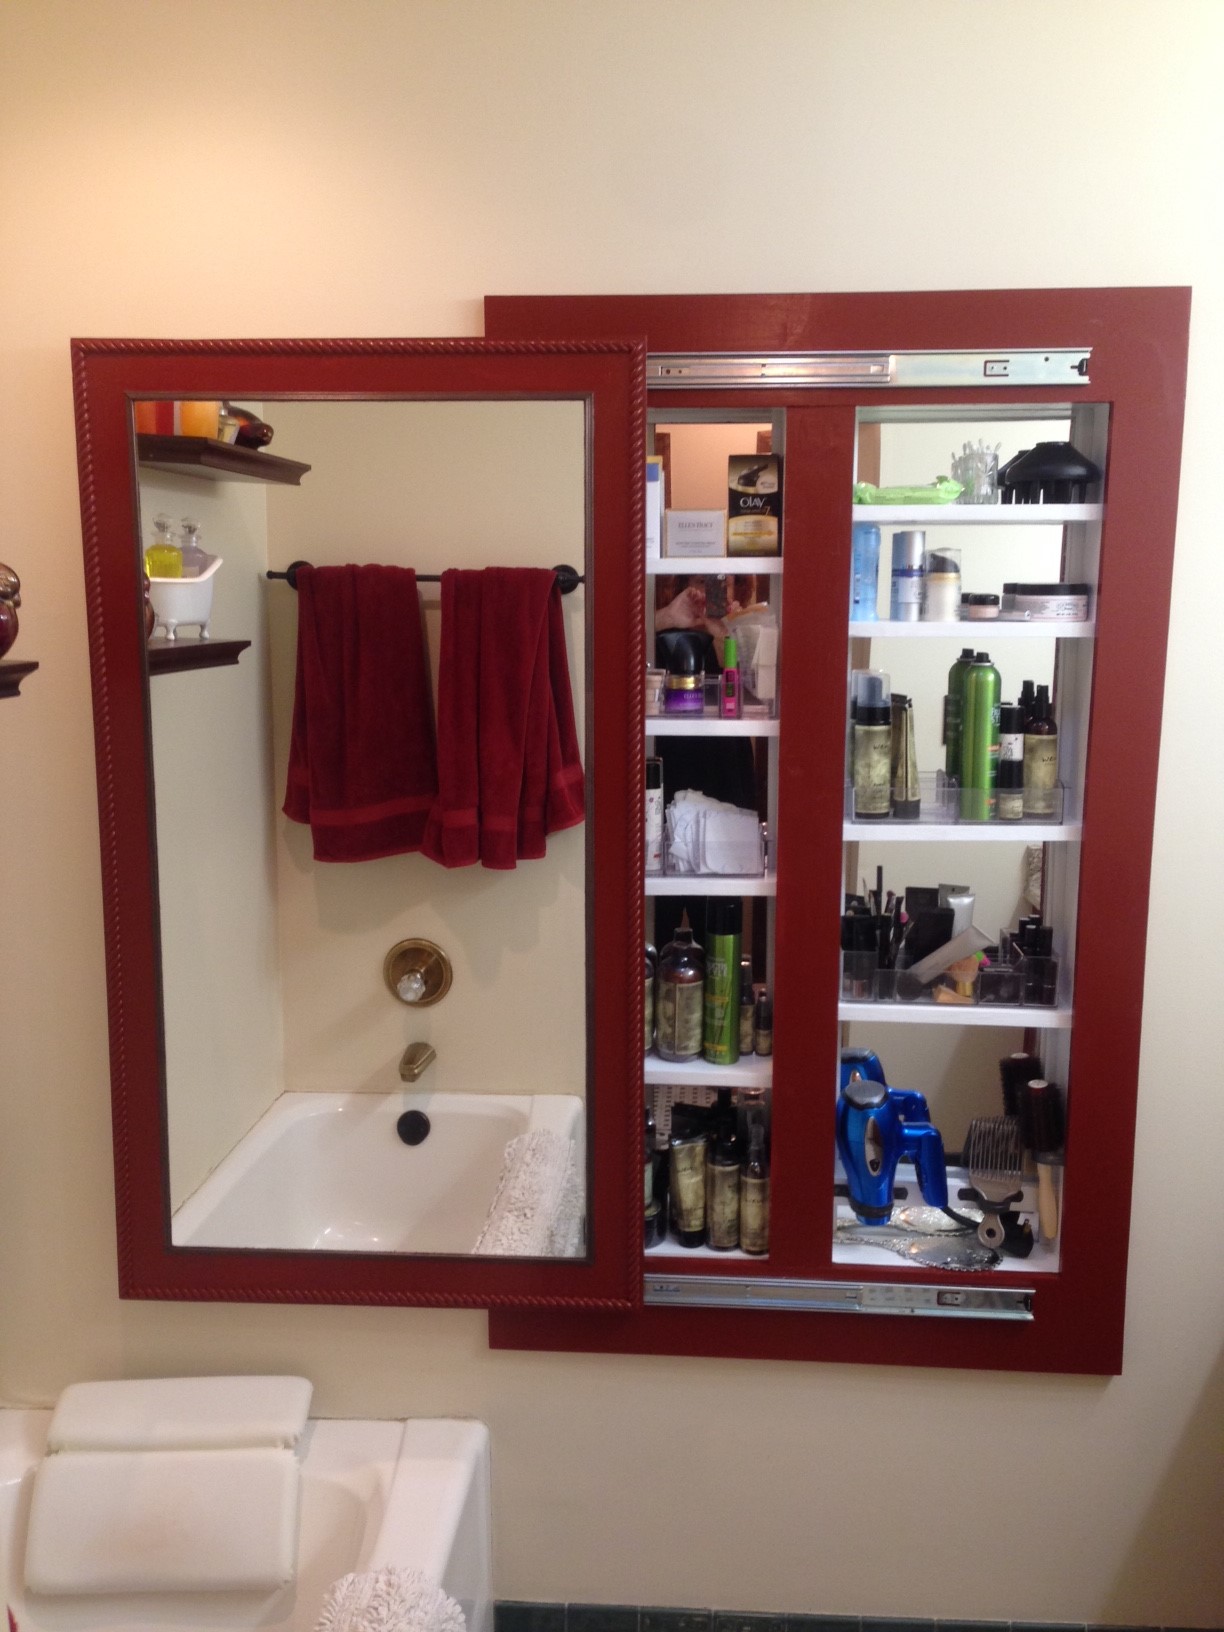
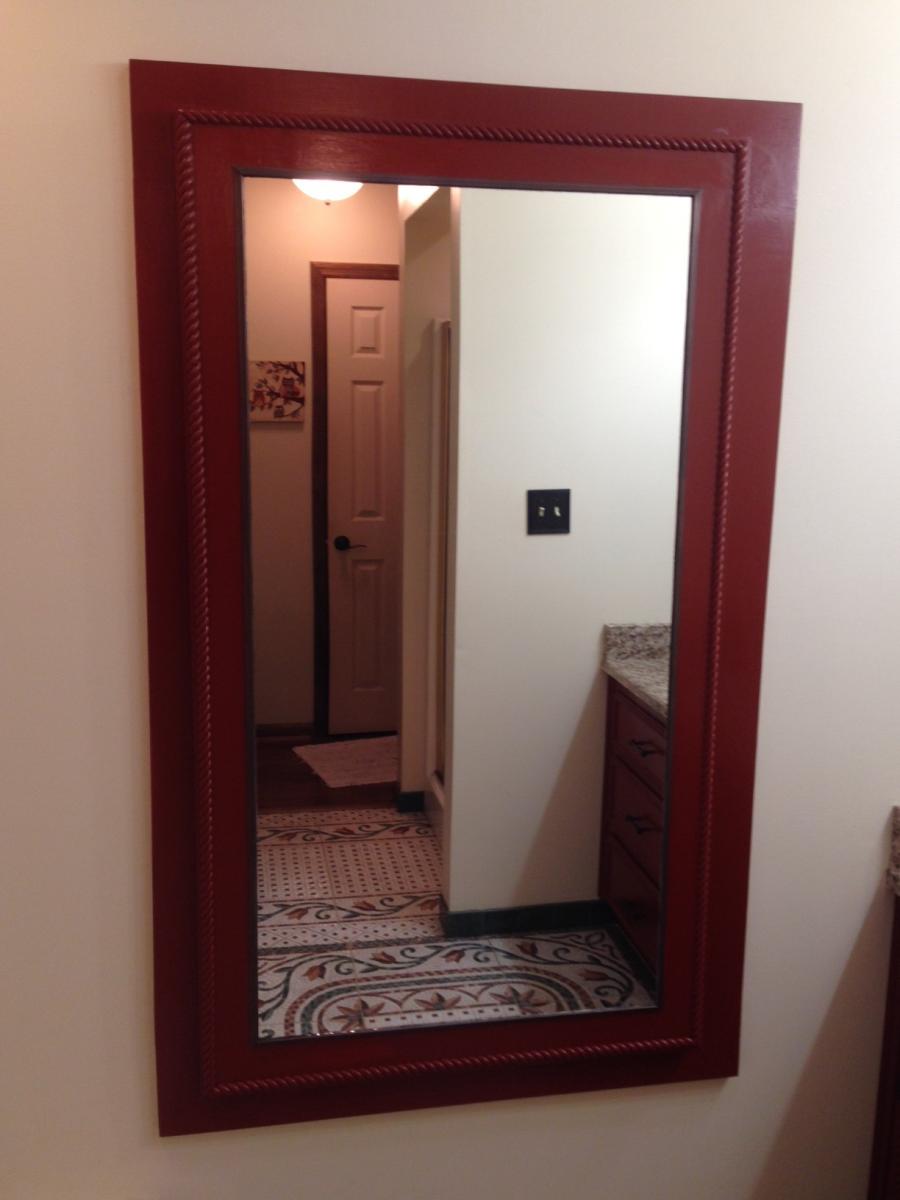
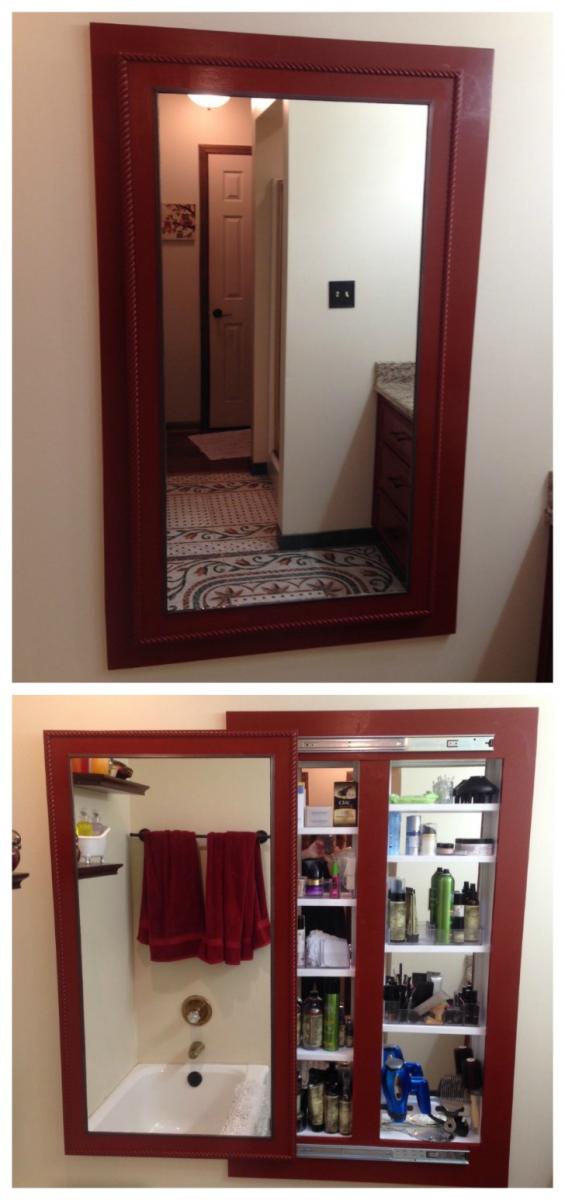
Adapted Ana's full length mirror storage idea. I needed to recess the cabinet into the stud cavity to save needed floor space. Opened two cavities and made the interior the same length as the cheap $6 behind the door mirror. Was able to just sit them on a ledger board and the shelves hold them from falling forward.
The cabinet looks wonderful and holds a TON of things. Thanks Ana for the inspiration!
Thu, 07/25/2019 - 18:20
I love this!! So smart to make it recessed. Thanks so much for sharing the photos!
Sun, 02/27/2022 - 15:58
I am wanting to build a thin or recessed cabinet for an incredibly small area in my bathroom and knew to go right to Ana White! The combination of these two projects is perfect and exactly what I was looking for! Now here’s to praying I can pull it off!! 😬
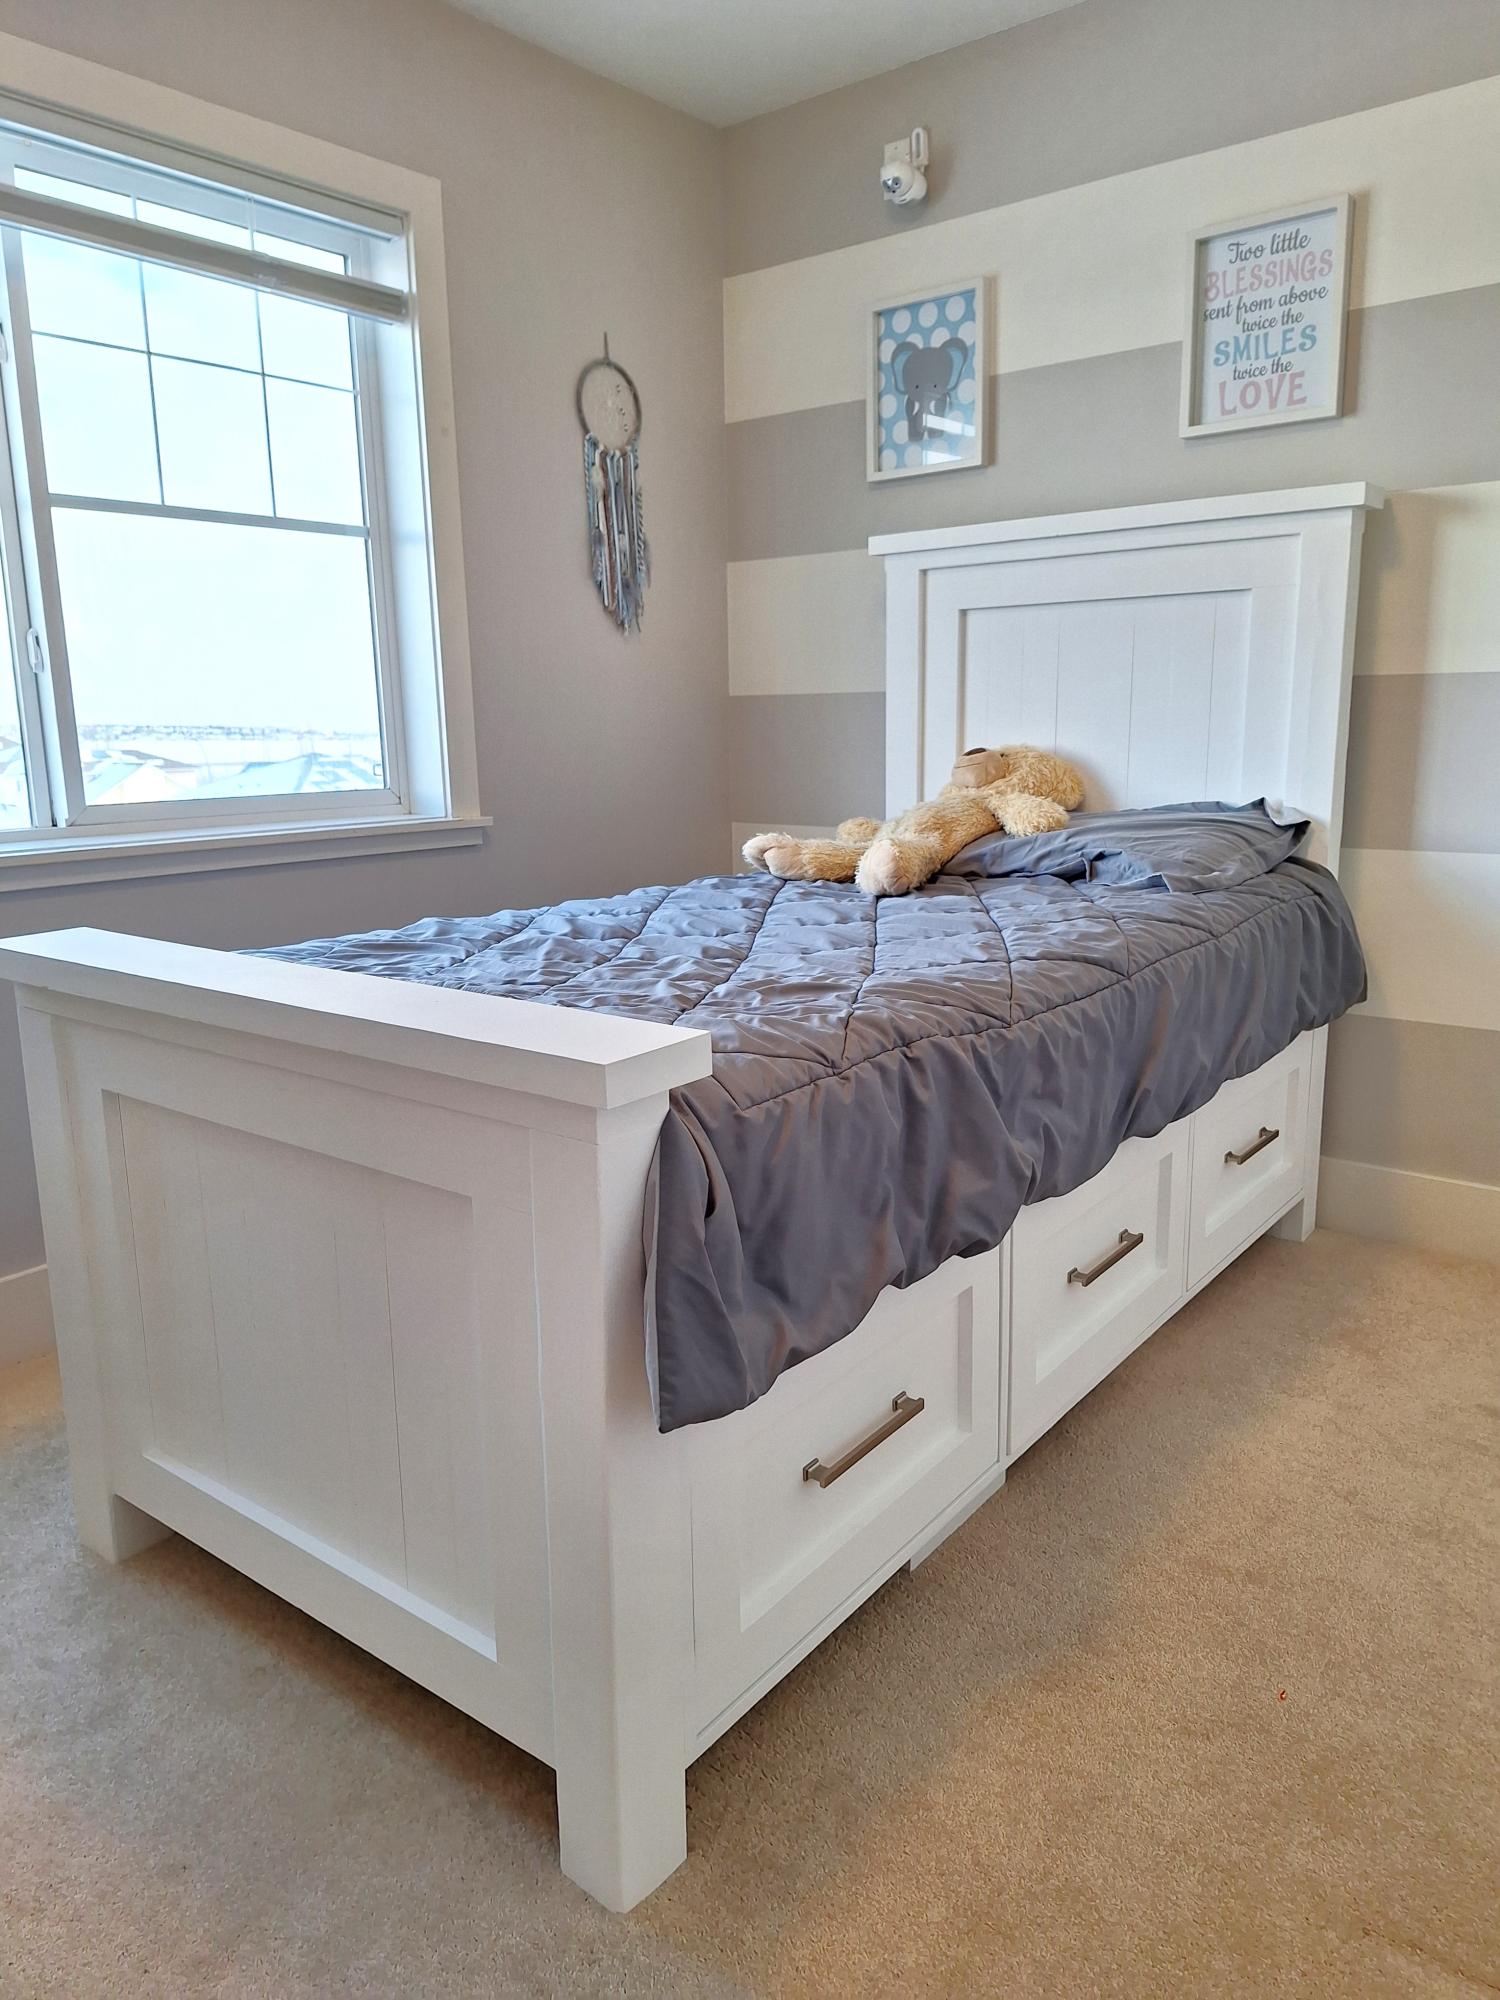
I love these plans, and my son loves his new bed!
Adam
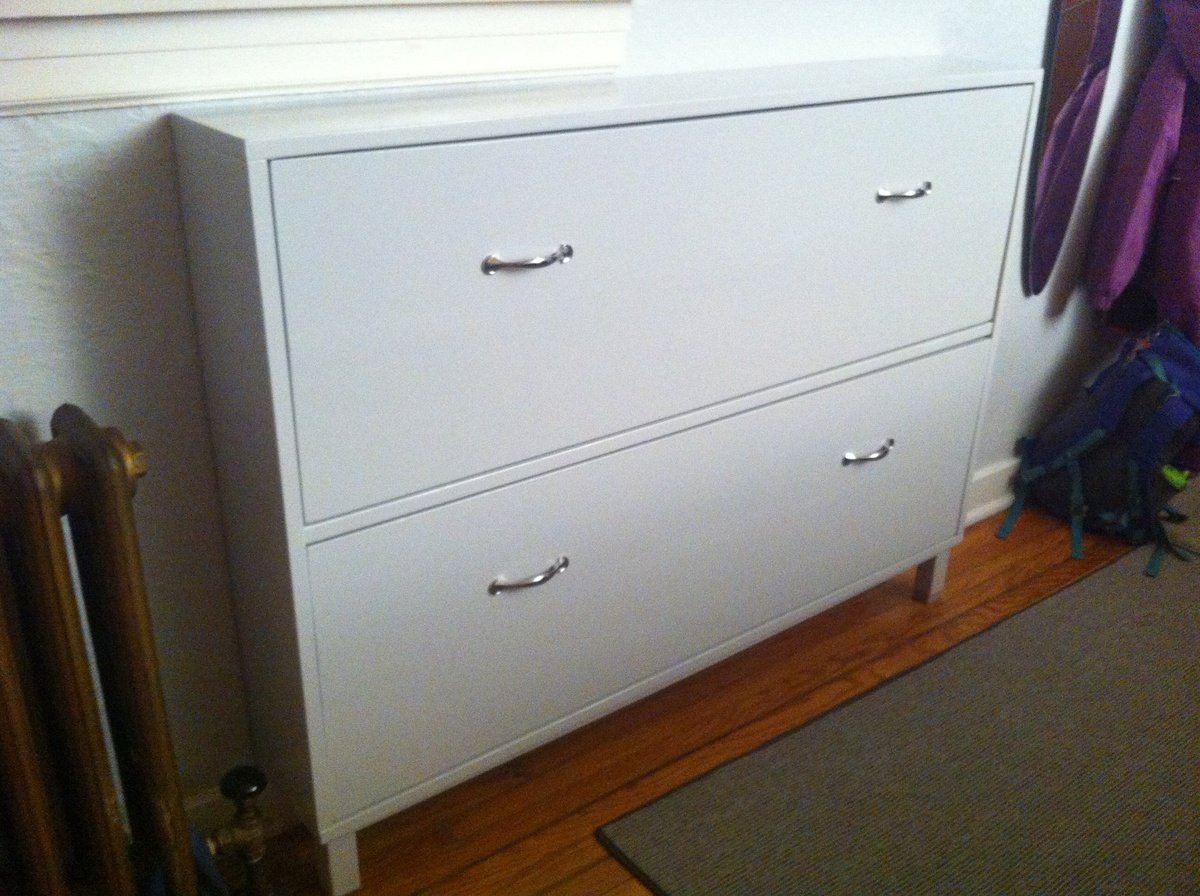
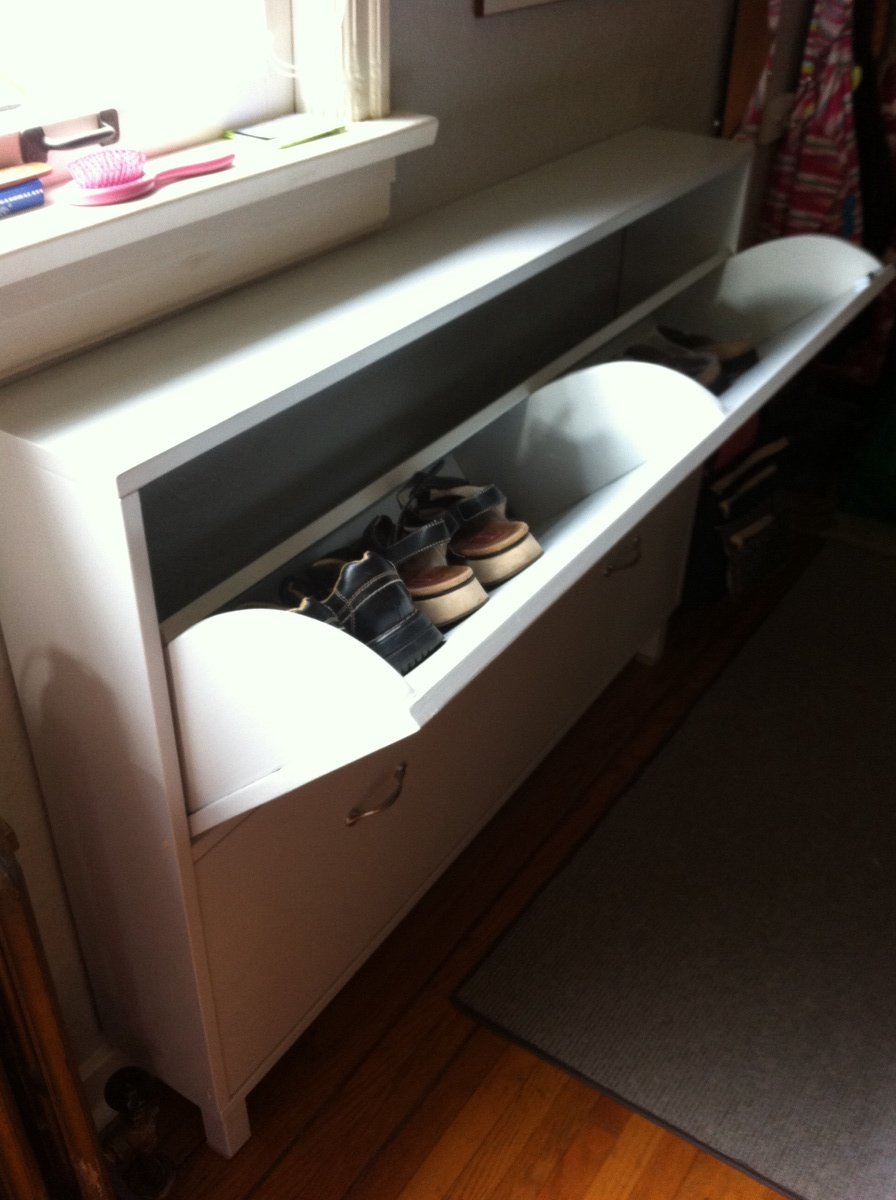
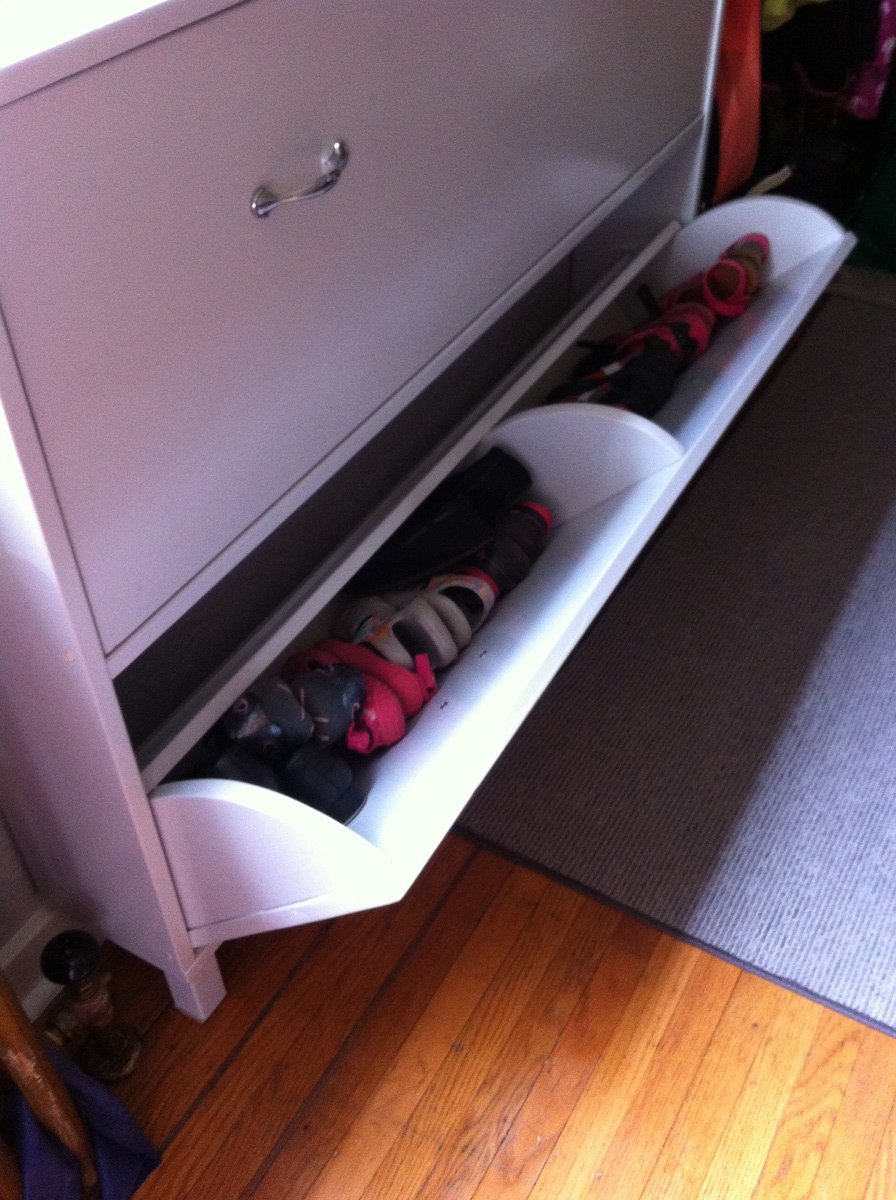
Had a horribly messy front entrance so really needed this shoe cabinet. It's dimensions suited my space better than an Ikea one, and accommodated more shoes. This being my first project, I am glad I started with this instead of a loft bed, since I made alot of mistakes (& corrections) along the way. Although some of the problems occurred because of pieces that ended up being convex. I chose to fill in the gap between the two boards on the front of each bin. It worked out really well.
Really love the Kreg Jig! So worth the investment.
Could not figure out how to properly use magnet catches. Did apply one to one side of the top drawer but it doesn't work too well--pulls the bin too far in.
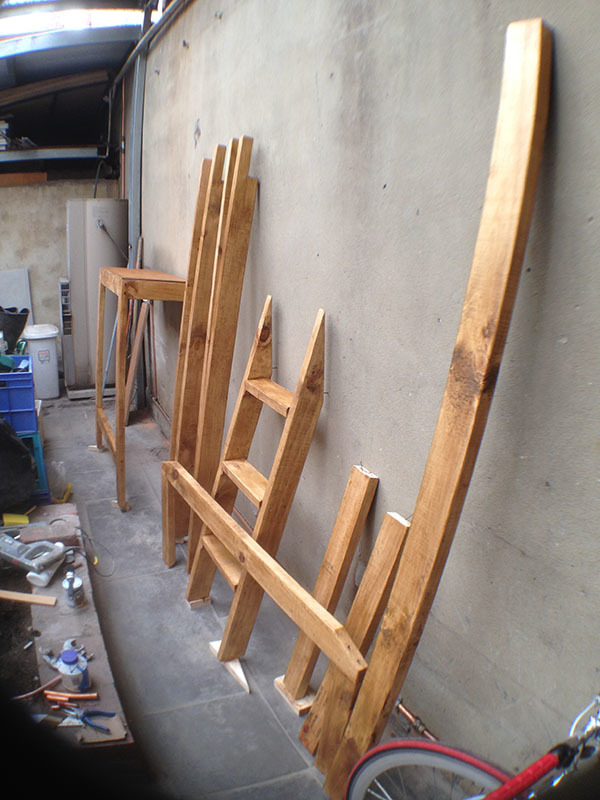
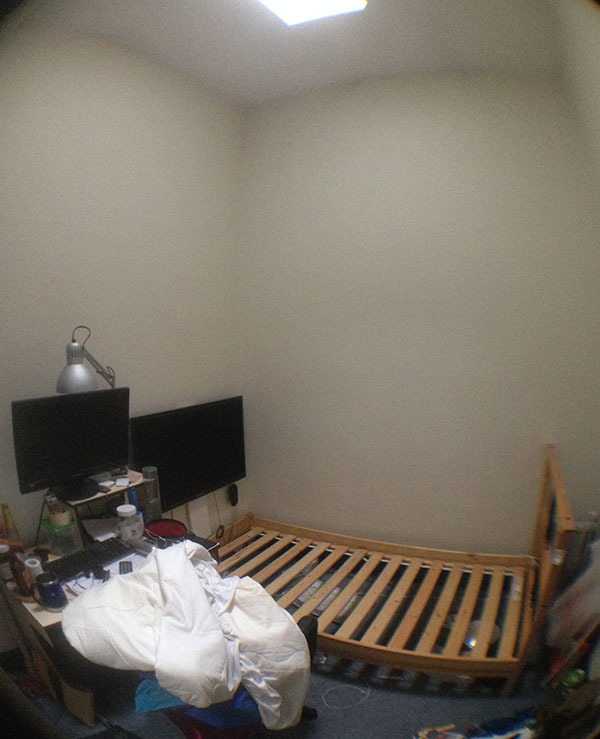
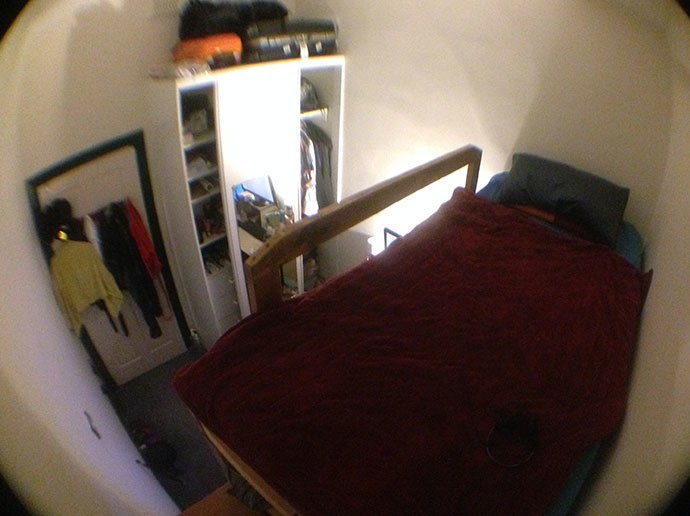
So I had an IKEA DELSEV single bed frame which i bought off someone who didn't need it anymore. Great sturdy bed for $25, but I wanted more space in my rental room, so I decided to go loft given the generous ceiling height. I did some research for ideas to convert my current bed, and found the perfect one at your site! I made modifications to your plans so that I would be able to walk underneath without having to slouch, and adjusted some measurements to integrate the IKEA bed frame. The project only cost me $38 worth of timber, screws were pinched (with permission!) from my landlord's stash, and this was the result after 3 days of cutting, sanding, partial assembly, staining and varnishing, and final assembly! The small tin of stain and varnish was originally for a wooden rack project for my vintage bicycle, and i managed to cover both rack and bed frame with the entire tin, down to the very last drop!
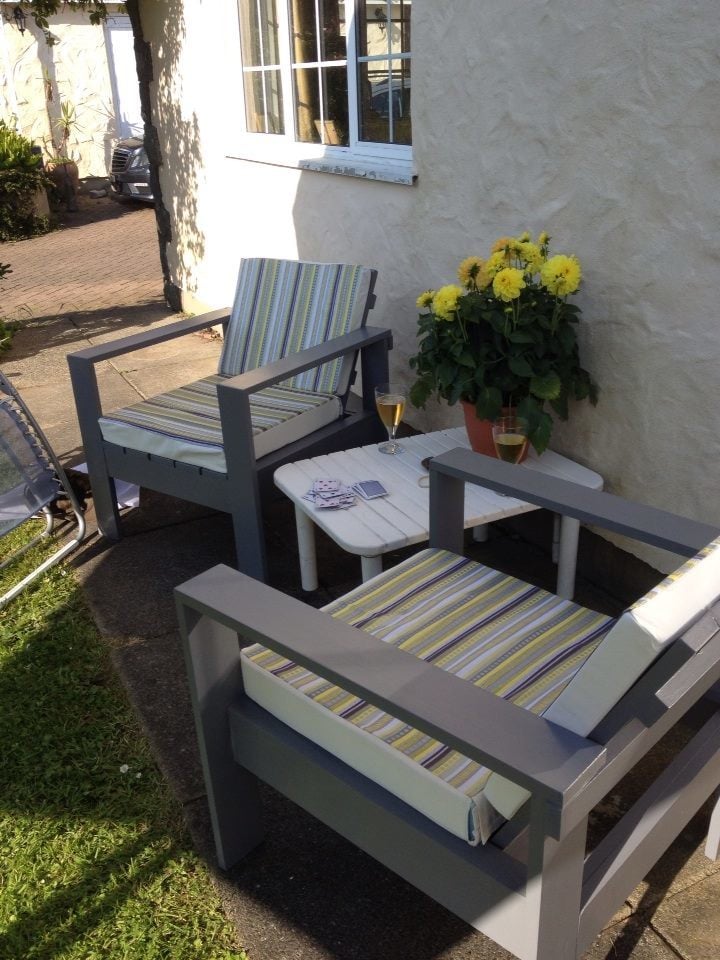
After finding Ana's plans on how to make these outdoor chairs we decided to give it ago one long weekend. The plans are easy to follow and the end result is the most comfortable chairs, we've spent hours relaxing in them. It took 4 hours to make two chairs and the rest of the weekend painting them. The only thing that I would have done differently is to paint the wood prior to assembling the chairs. My partner then decided to use the left over wood to make a matching table (not shown)
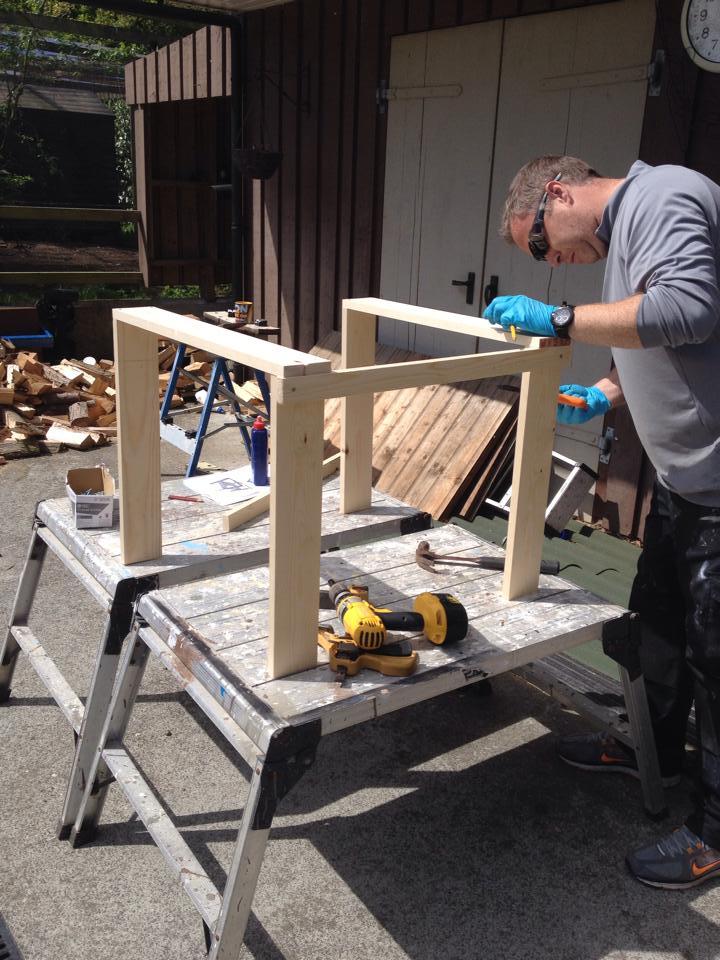
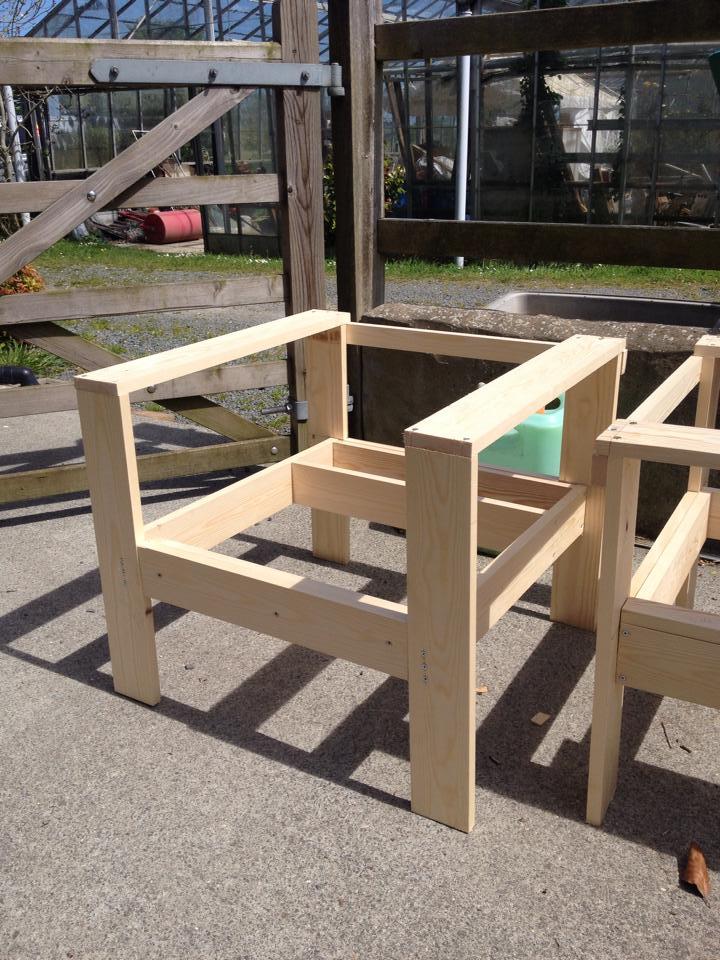
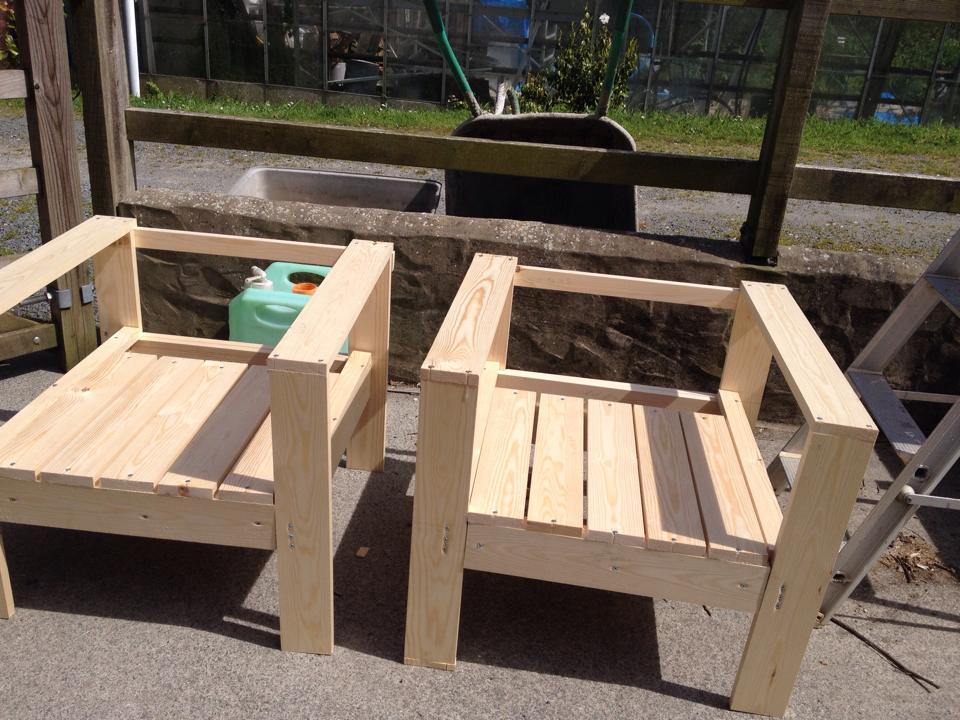
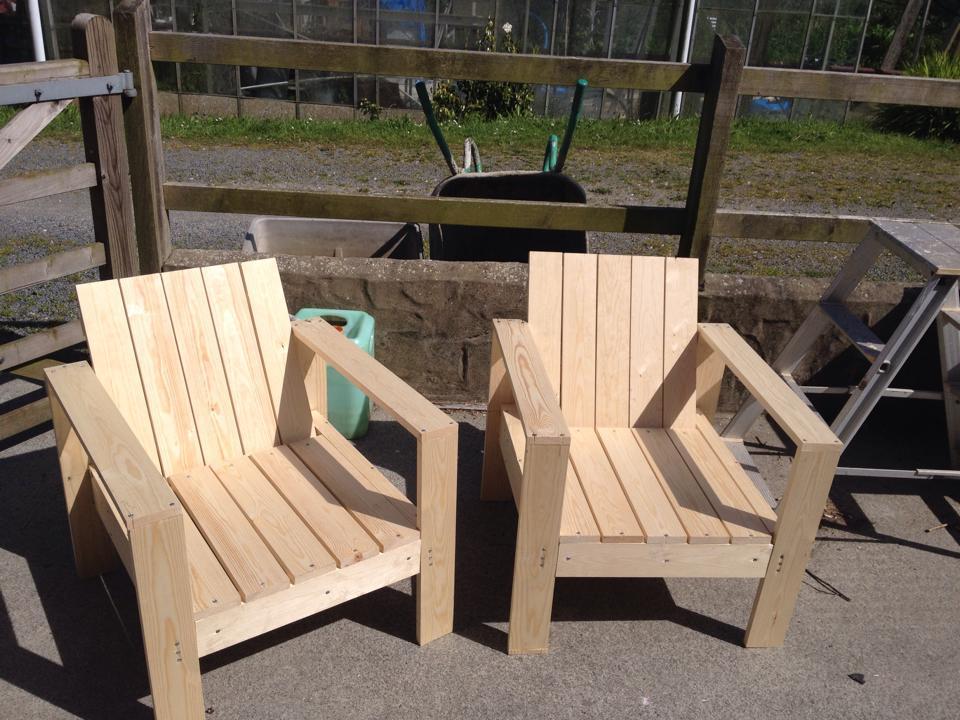
Thu, 06/05/2014 - 09:01
I hand made the cushions, had to dust off the sewing machine. The foam and the fabric were more expensive to buy than all the wood. We're going to make the two seater sofa next and I'm going to buy pre-made, it's not the same but we live in an isolated area with limited shopping..
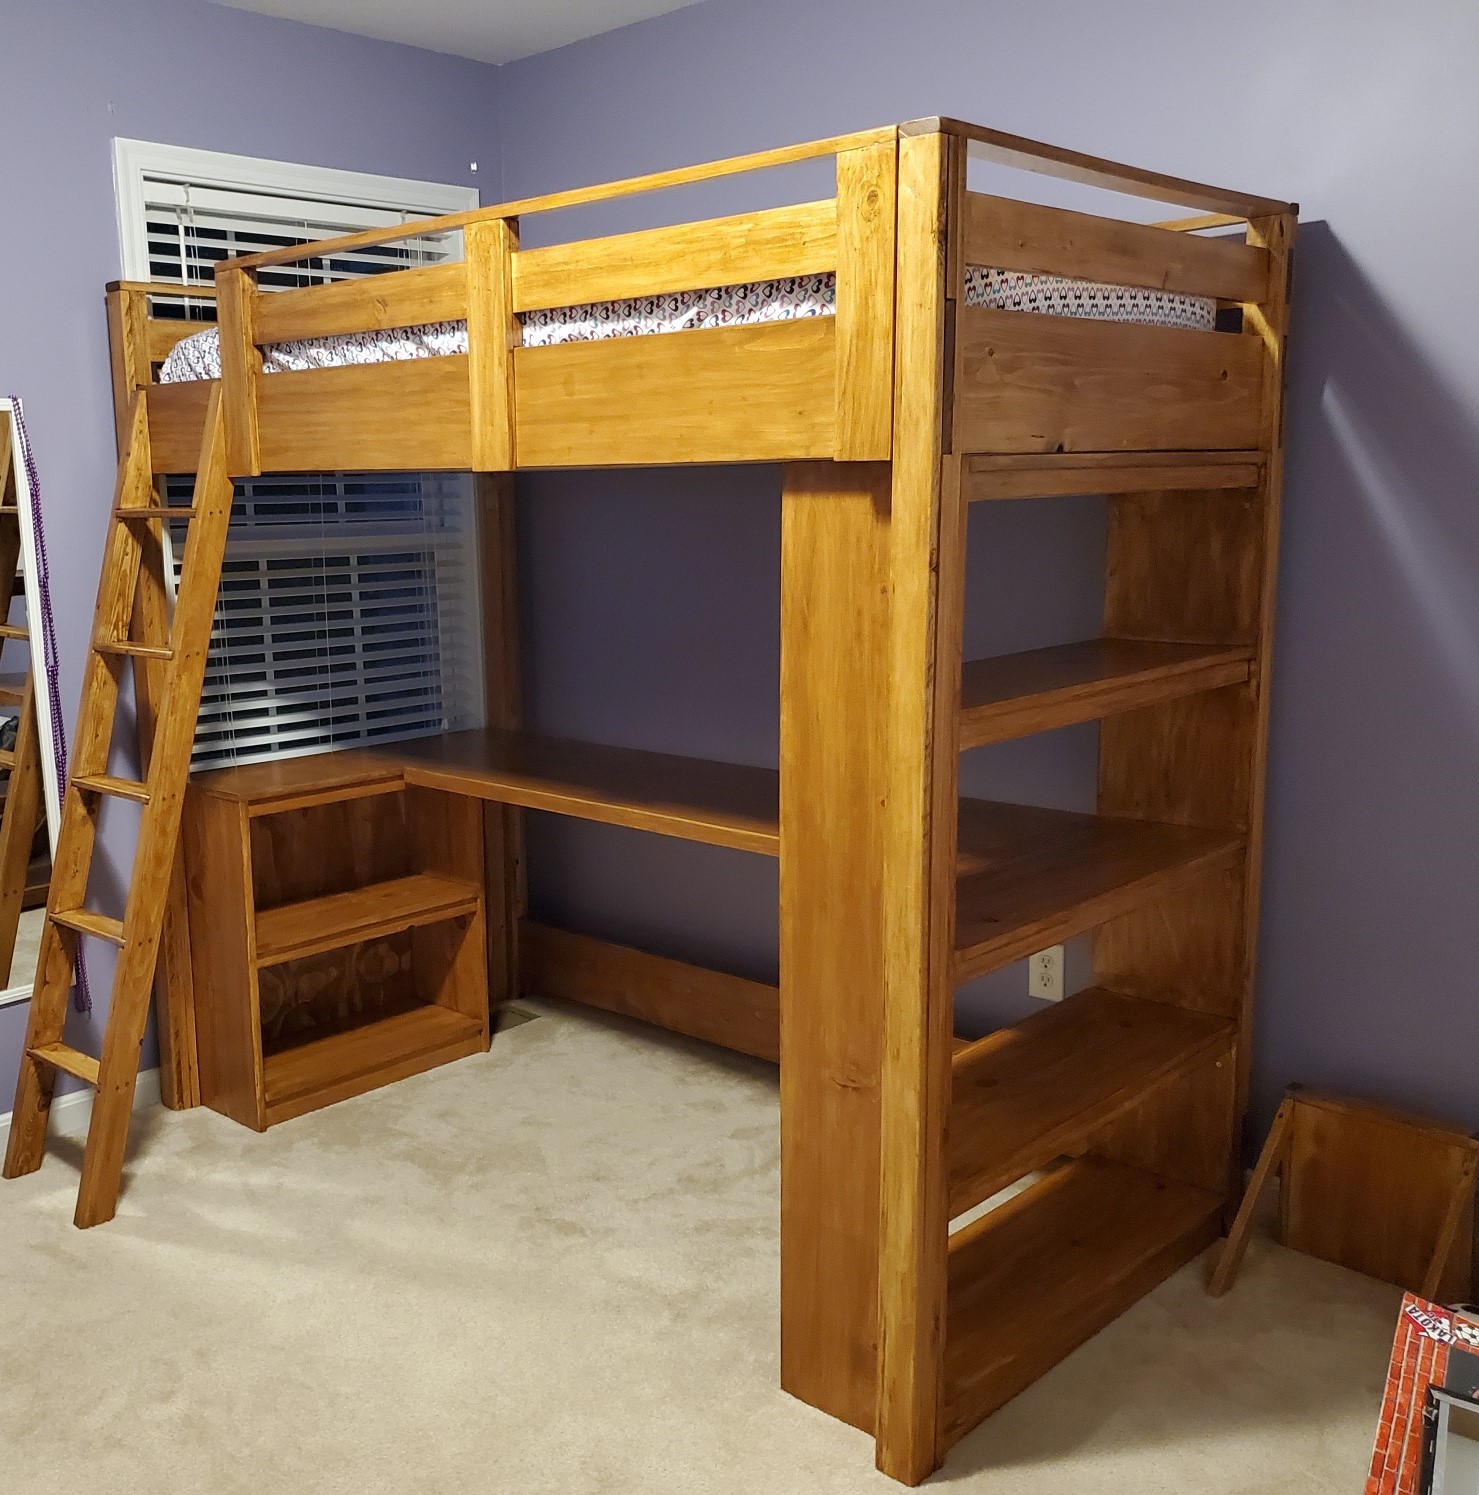
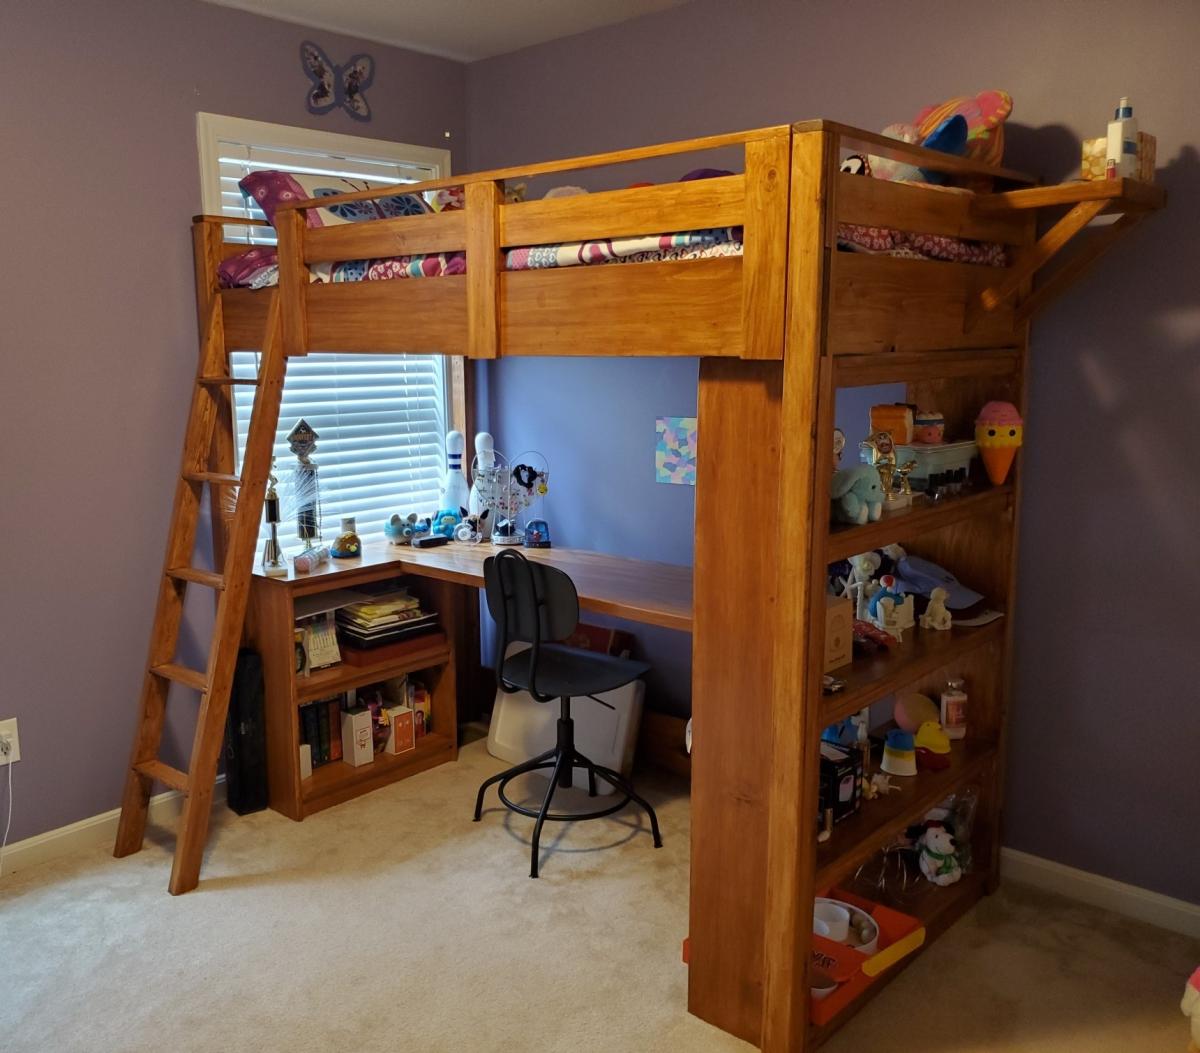
Combined two plans found on this wonderful site with our own revisions to provide a larger desk work area (20" deep). I also added a small shelf to allow for setting a book, water, whatever on it without getting out of the bed. As my first "indoor" project there were several lessons learned - one is to buy the higher grade lumber for the primary components including legs and beams. I did not do this and I had to spend more time than I should've finding good square, straight wood. Another lesson was that staining and polyurethane coating are a skill that requires a lot of practice and time. I and my daughter are thrilled with the final result but choosing to stain/poly it likely doubled the overall build time. Still no regrets, though. My 12 yo daughter just loves her new bed and thanks to this site for the spectacular ideas.
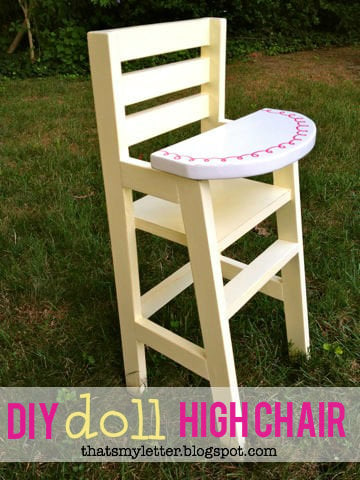
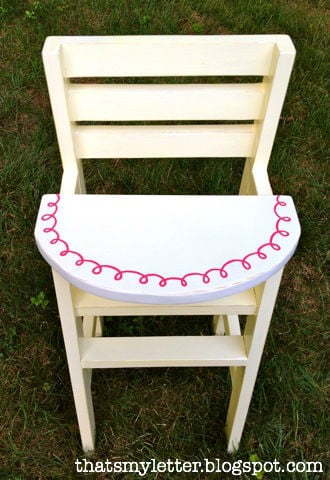
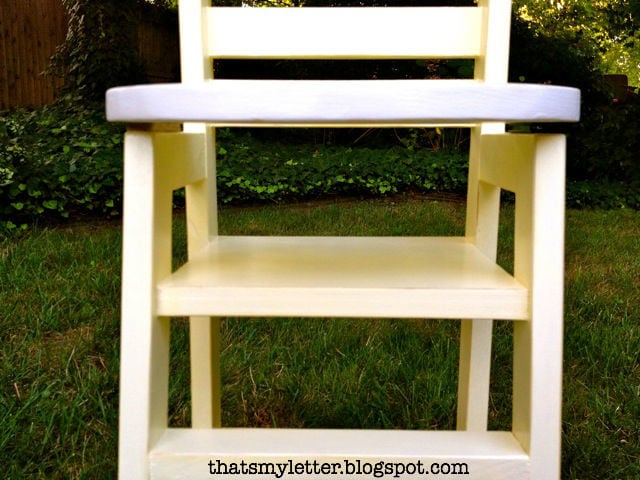
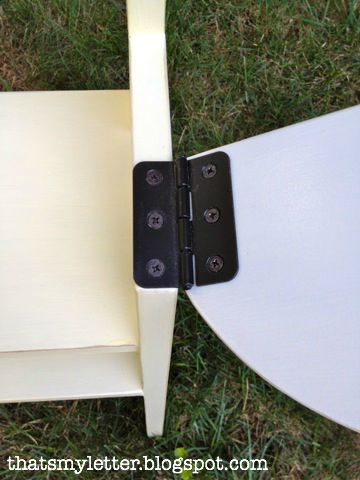
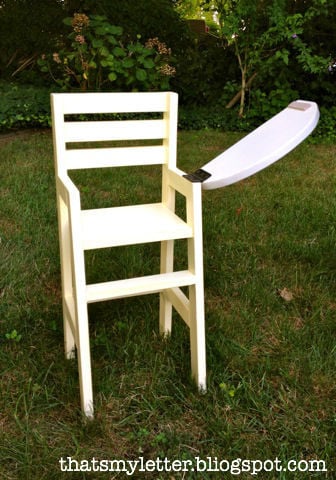
doll high chair with movable tray

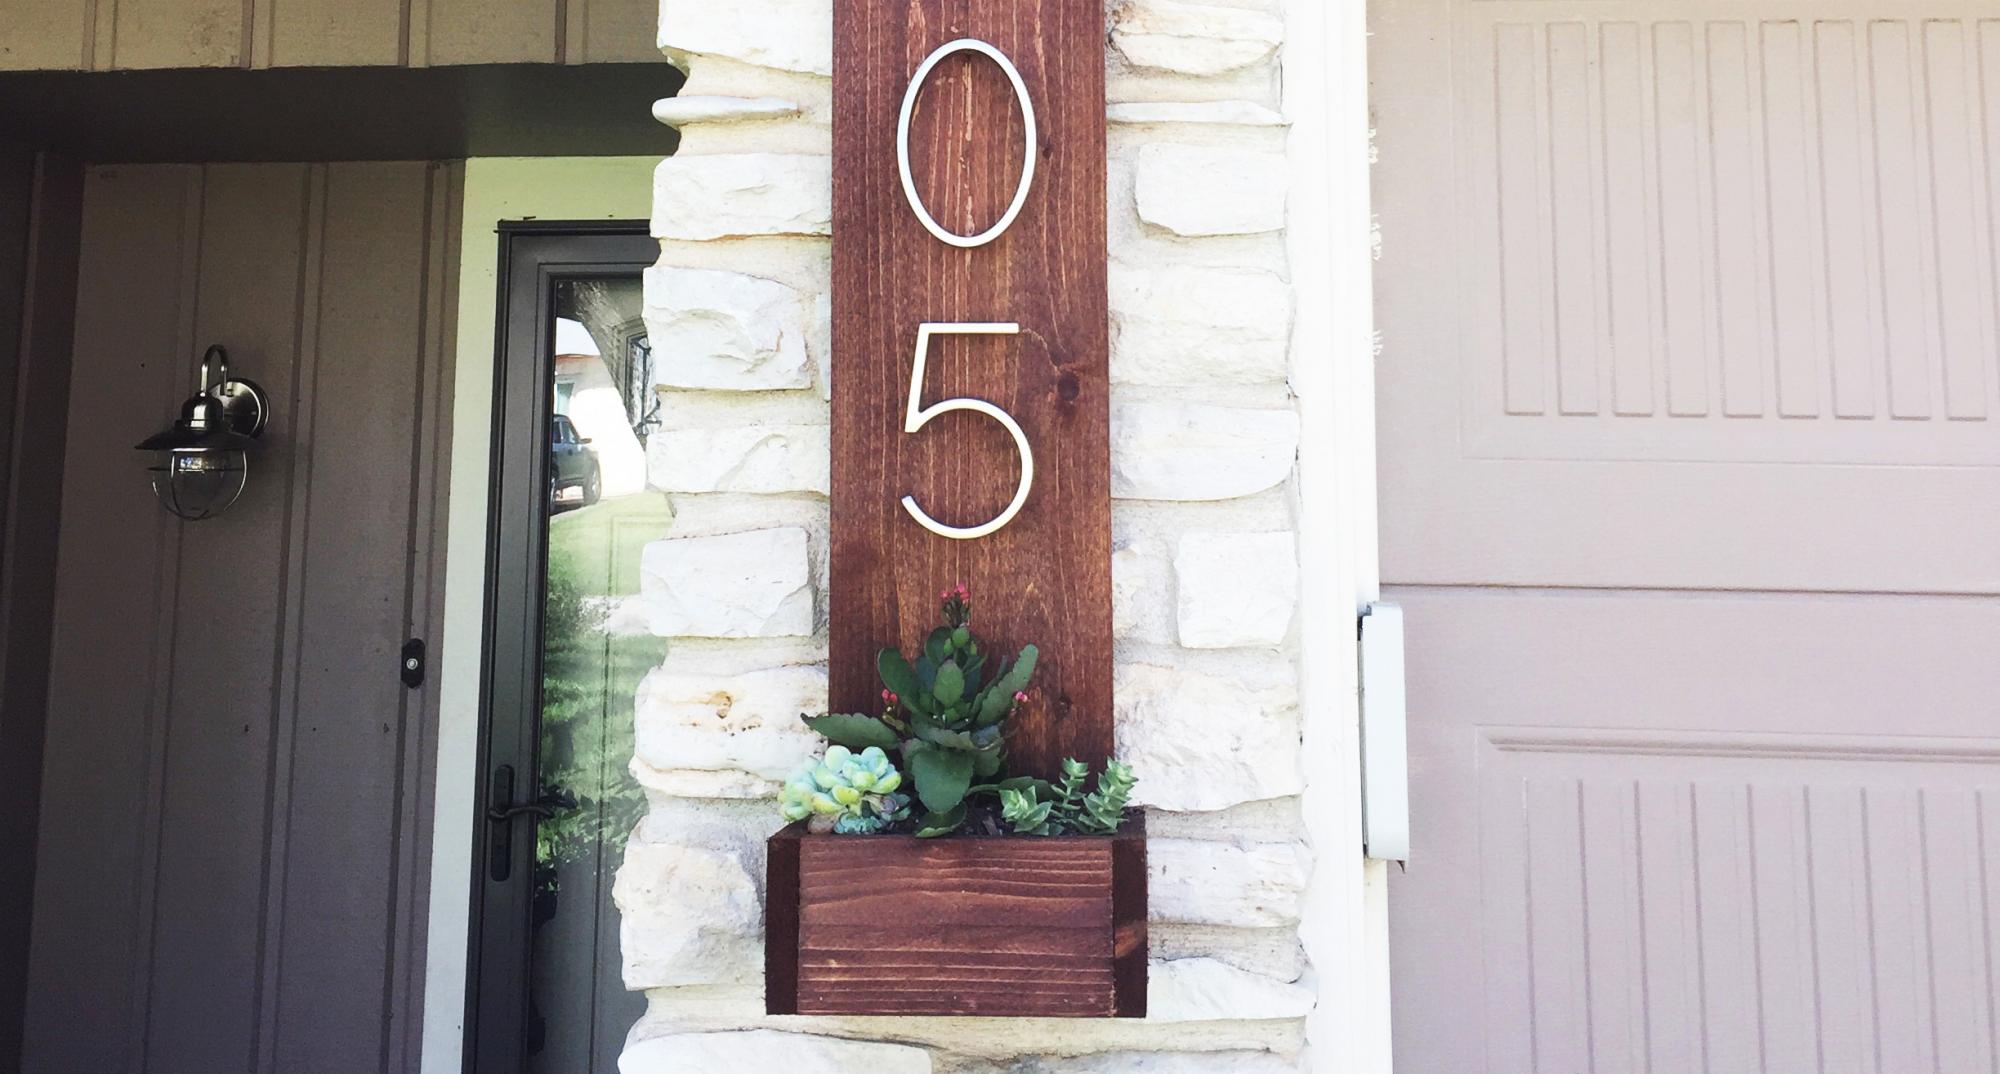
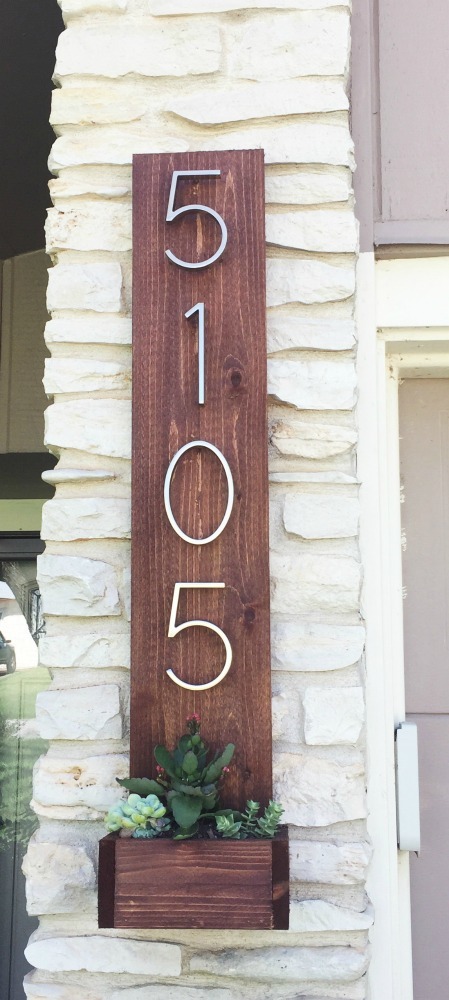
I was looking for a way to give our house some better curb appeal and decided our stree numbers could use a facelift. The majority of money spent on this project was for the numbers since I had enough spare cedar laying around.

In reply to Numbers by jesseamber
Mon, 10/10/2016 - 09:02
I got them from Home Depot. I think you can also probably find them online through Amazon.
In reply to Numbers by jesseamber
Mon, 10/10/2016 - 09:03
I got the numbers at Home Depot. I'm pretty sure you can also find them online through Amazon.
Mon, 10/24/2016 - 15:34
So pretty! What are the measurements. Did you use real plants ?
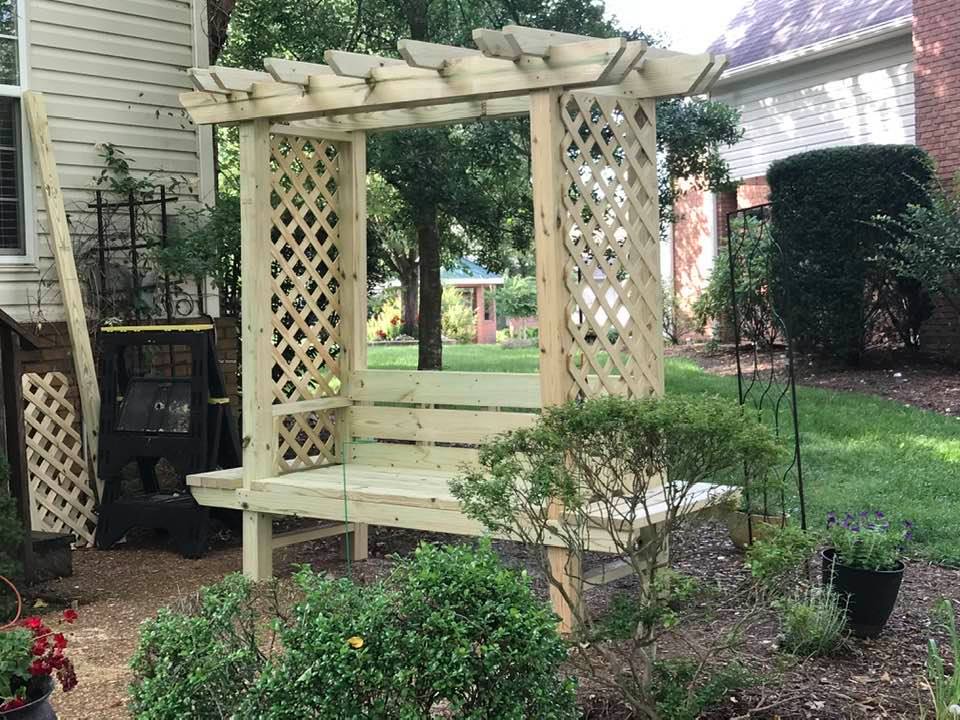
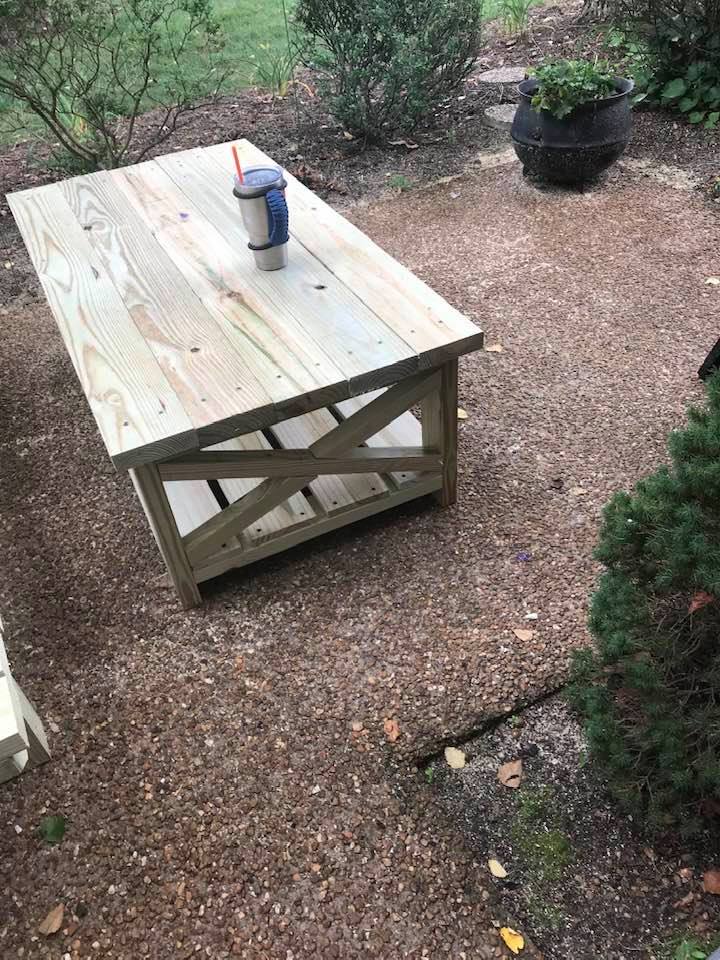
I built the arbor bench first, and was very impressed at how complete the instructions were. I enjoyed it so much, that I found the plans, and built the outdoor rustic coffee table to complement it. I ended up using pressure treated pine, and am now waiting for the wood to completely dry out enough to put a stain on both pieces. The plans for both were very comprehensive.
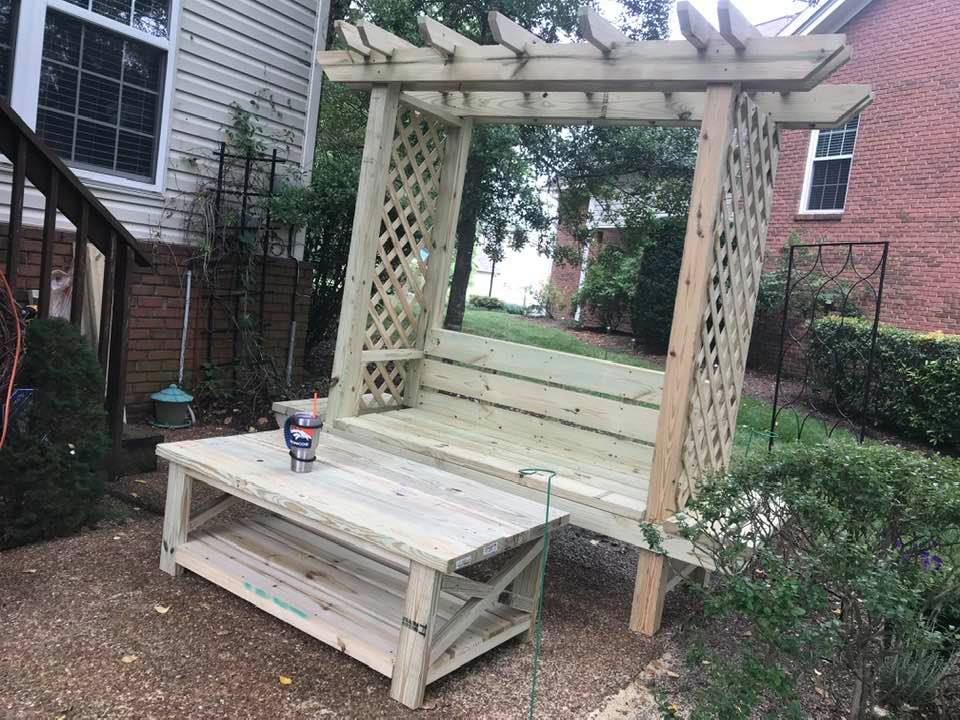
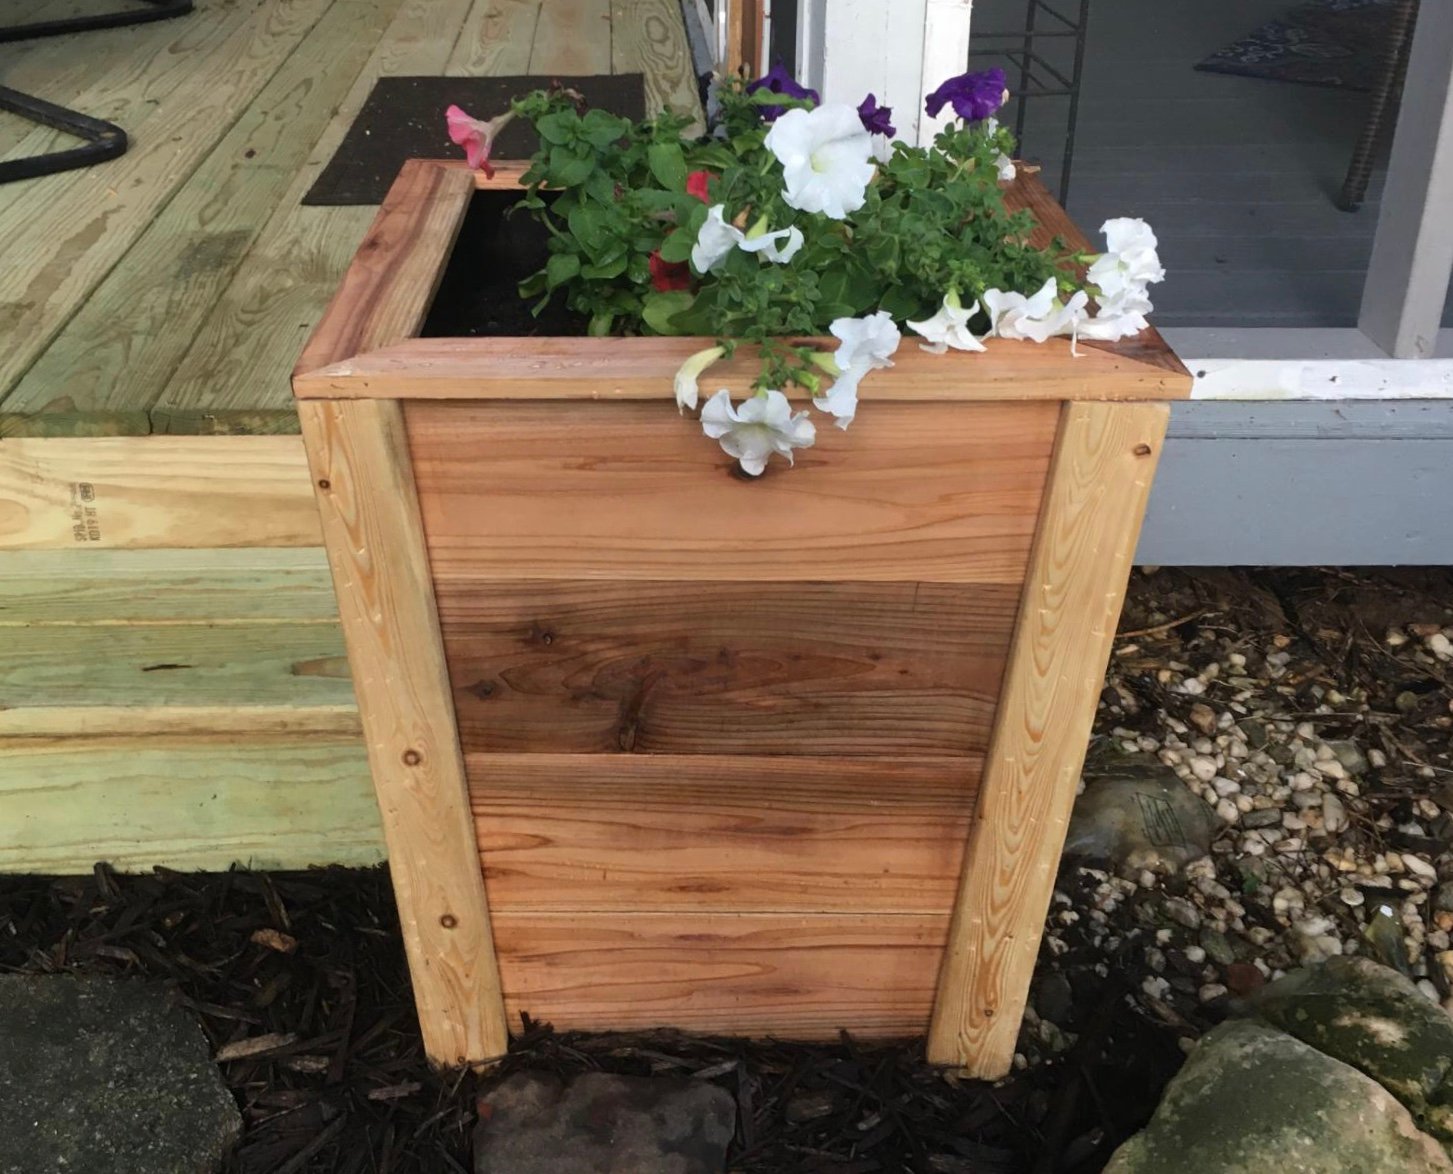
Next time, I will cut the 1x2 and 1x3 at the 5 degree angle to match the top and bottom planes...
Thanks for the idea! It is great
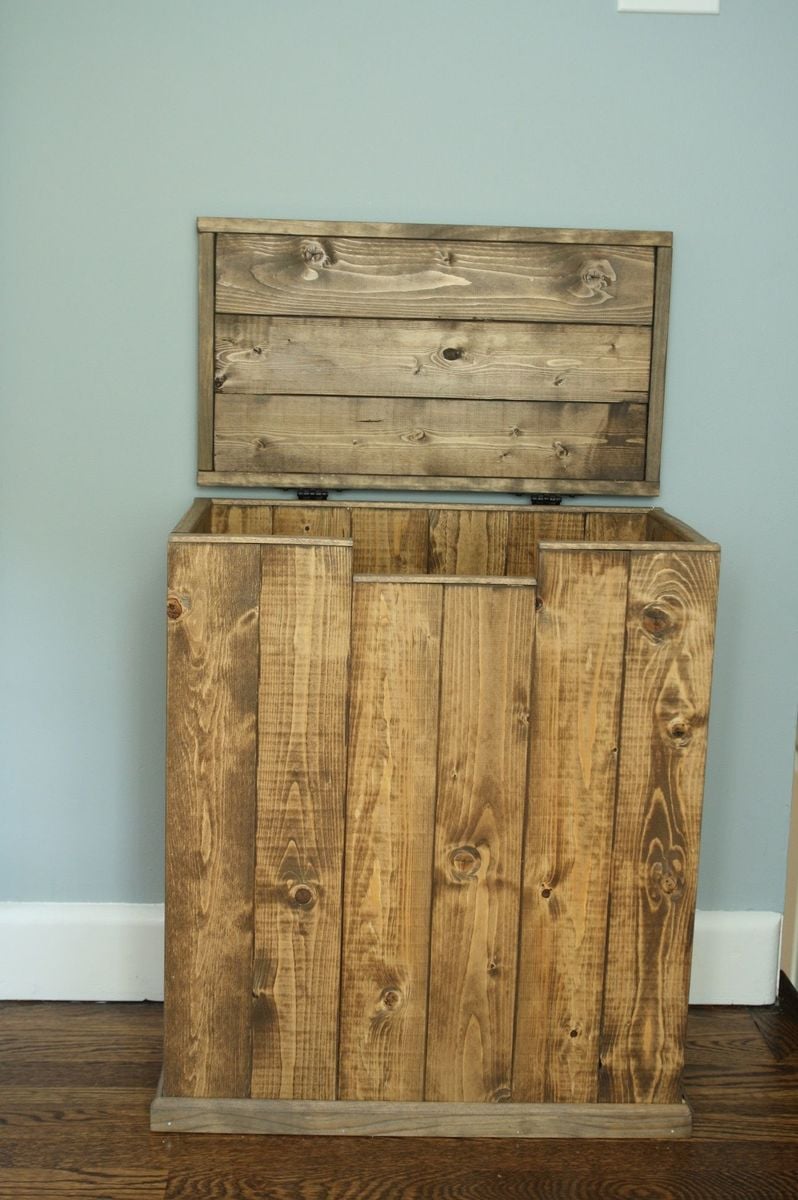
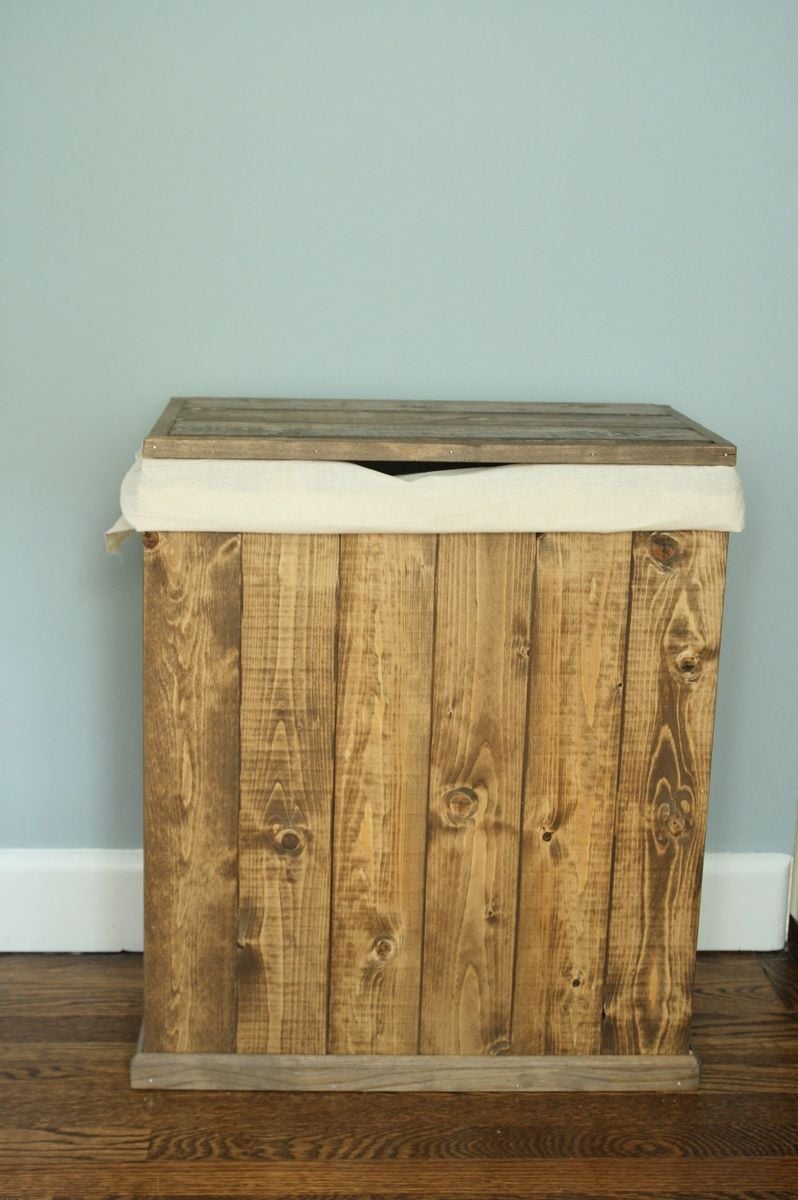
My family is expanding, which means more laundry! (I am 39 weeks pregnant now) So I decided to build a big enough hamper for us (two adults, one toddler who constantly dirties his clothes). For finish, I tried to mix two stains "weathered oak" and "dark walnut" and I think it came out really nice! I must admit I love my new hamper!
Tue, 07/16/2013 - 12:54
I would love to replicate!! It is beautiful :)
Wed, 04/01/2015 - 05:00
I liked this design of hamper you made. After looking at your photo and doing some figuring I started working on my own yesterday. So far I like it, although I think mine maybe taller. Again I really like your idea here.
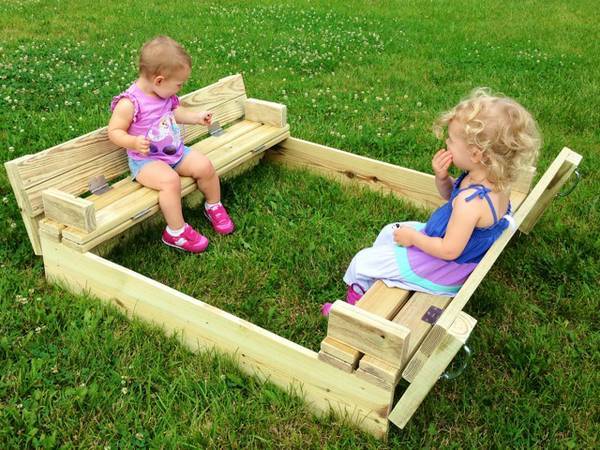
I make and sell kids picnic tables on craigslist and a buyer asked about making one of these. I took it on and found the plans on here very easy! I now list these on craigslist also and hope to sell more before the summer is over.
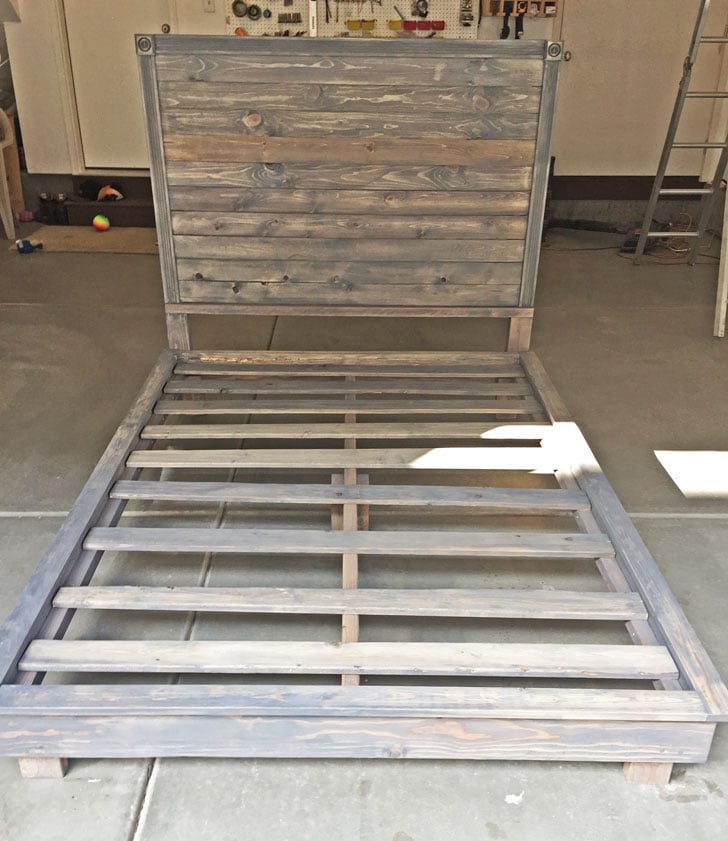
I love this bed and it was really easy to build!
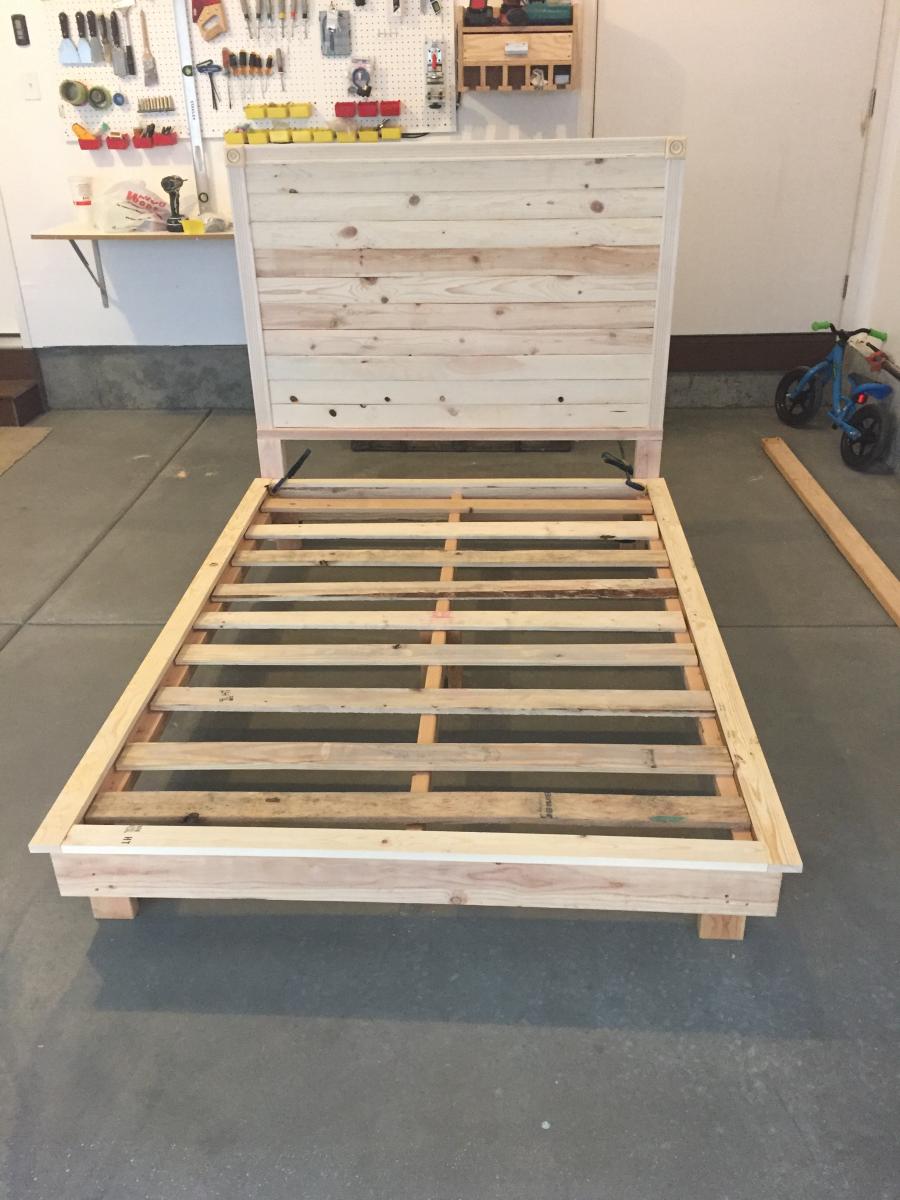
As a beginner this was a pretty fun and easy project. I did use wood screws to hold the edges together since the fence boards are typically curved and brad nails didn’t seem to hold on my first try. Ultimately I really enjoyed the results!
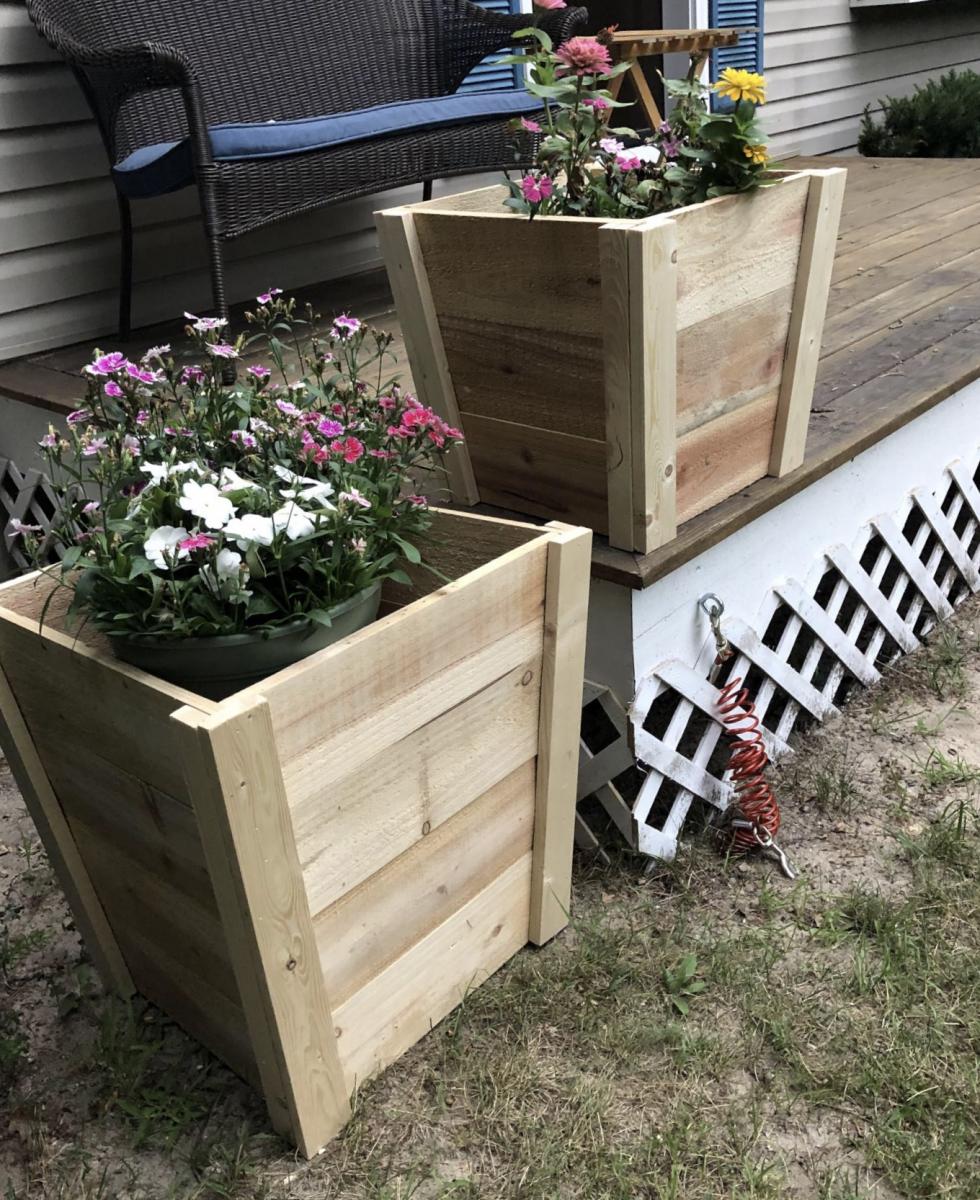
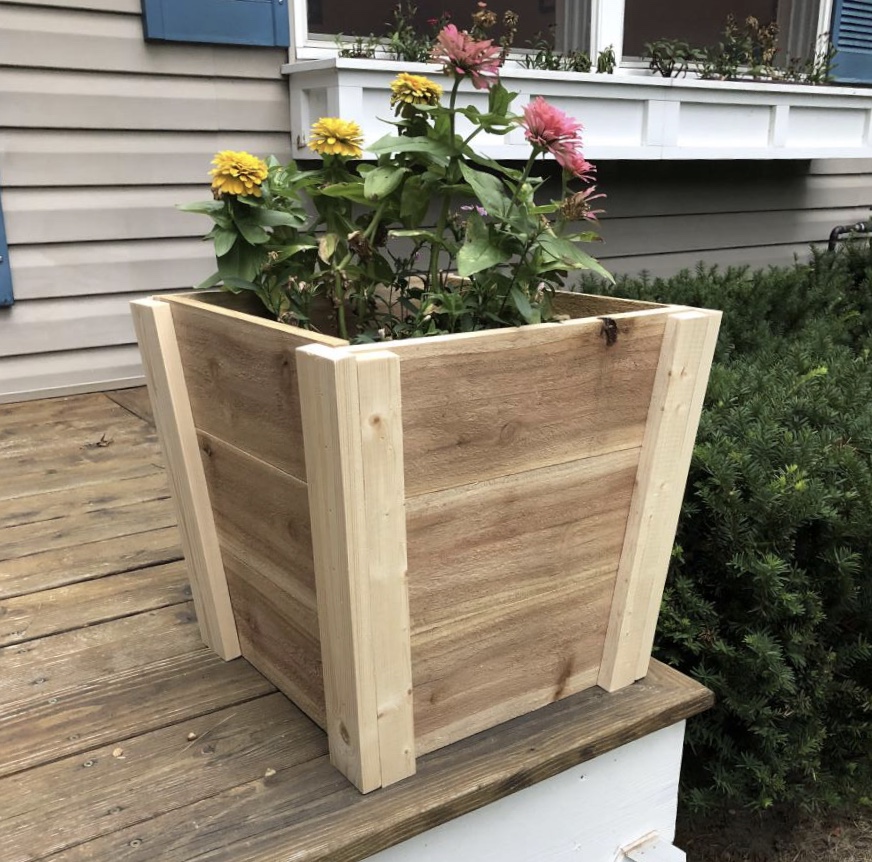
Hi Ana!
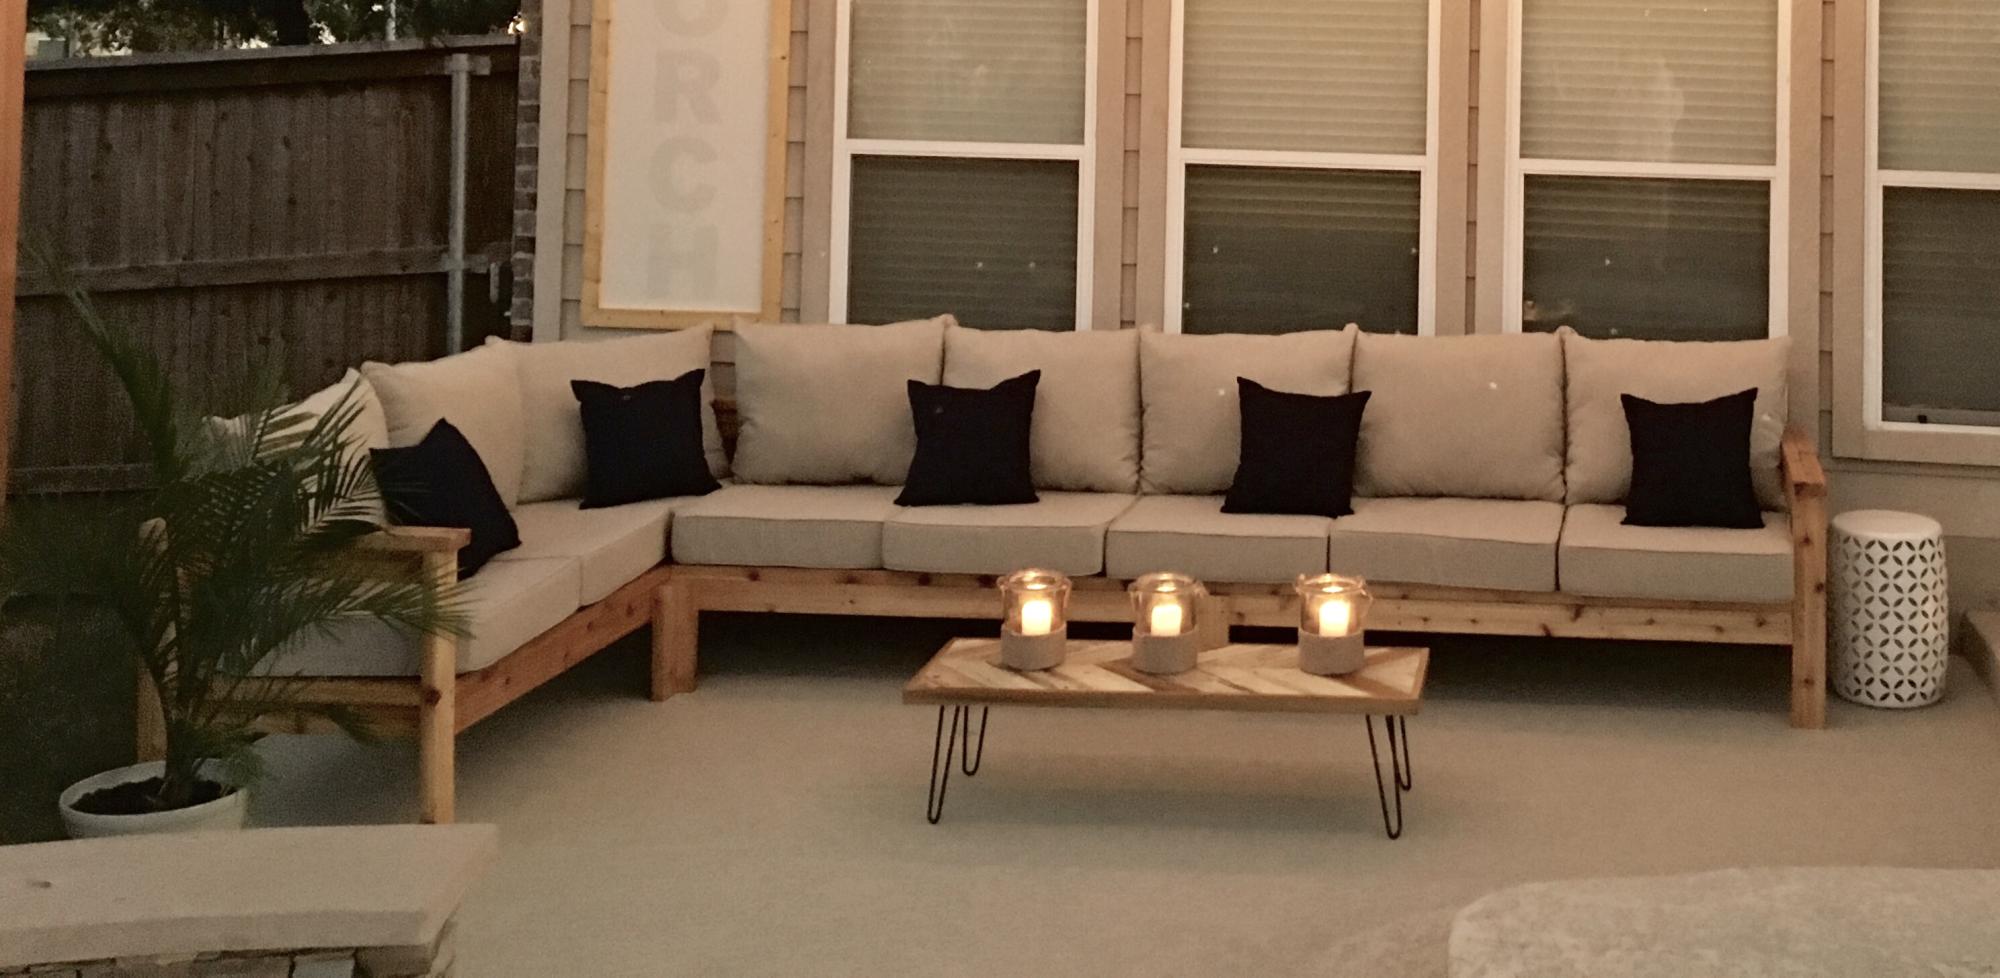
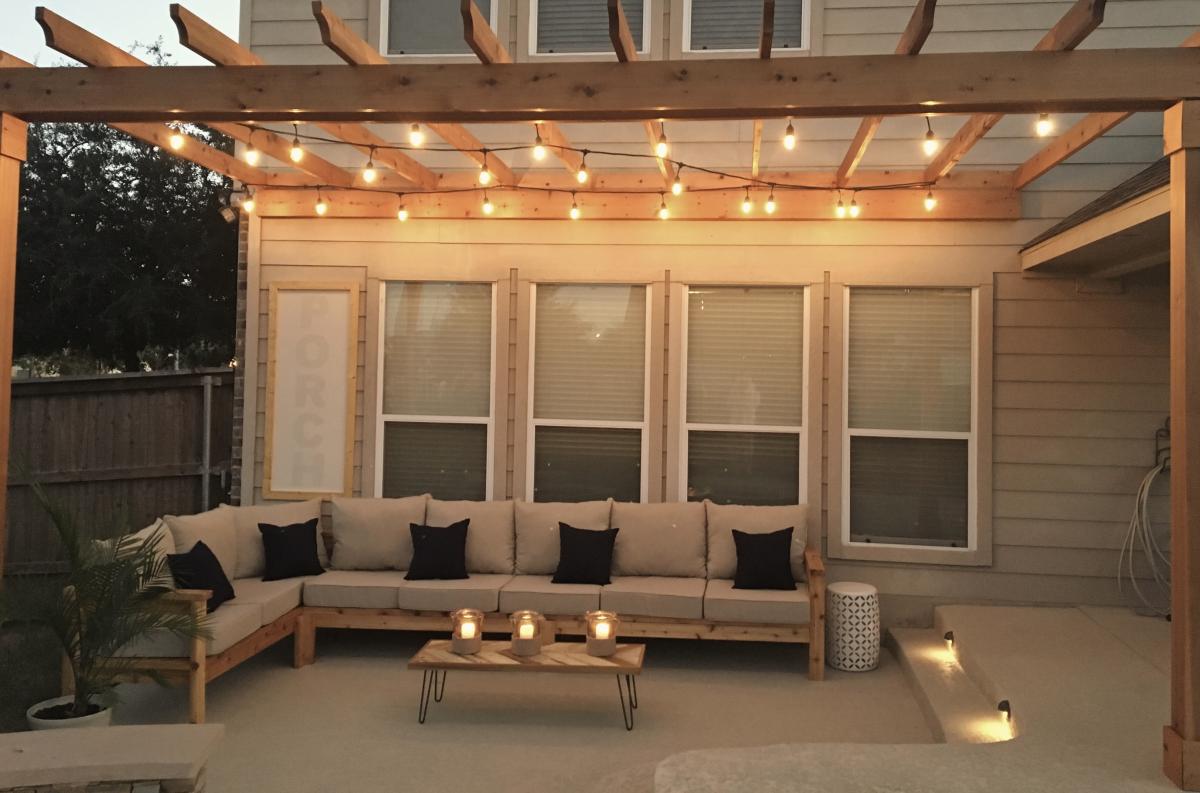
My husband used your plans to build the 2x4 outdoor cedar sectional :) He did it in 1 day and it couldn't have been easier! He even tried first time working with pallets to make a small table and it came out perfectly too! Can't wait to enjoy family time on our new back porch.
Thanks Again & Love From Austin ❤️
Kathleen
Thu, 10/24/2019 - 16:35
Hi, your furniture is beautiful. May I ask: Where did you find your cushions? And what color/ brand stain did you use? Lovely job.
My grandson wanted a set of peg dolls and a house to play with them in. I wanted to build something that was gender-neutral - so many doll houses are pink and feminine! This doll house is sized just right for his peg dolls and playmobil people. It's made from 1/2" poplar, although it could also be cut from a sheet of 1/2" plywood.

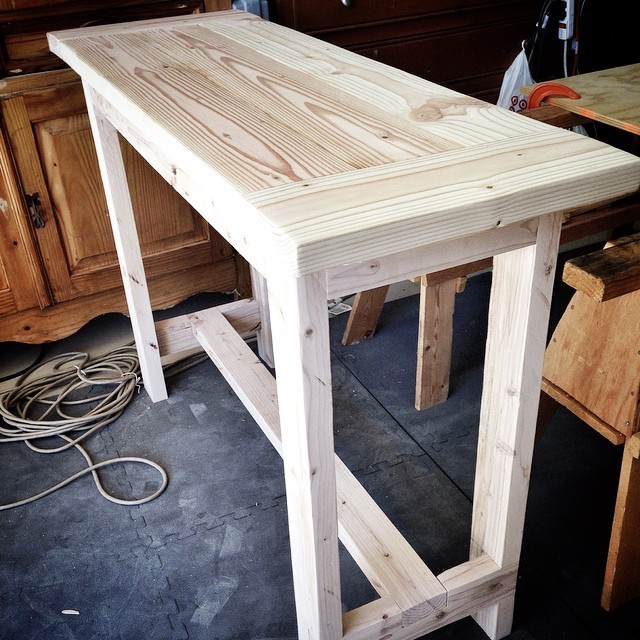
The Tryde Console table was the inspiration piece. Used kreg jig to join the top boards and connect the legs and aprons. The bottom stretchers were similar to the Farmhouse table plans. I plan on using this outside for a grilling table. I am not going to apply a finish - I want to see how the wood changes when exposed to the elements - hopefully it gets a nice Restoration Hardware-type finish.
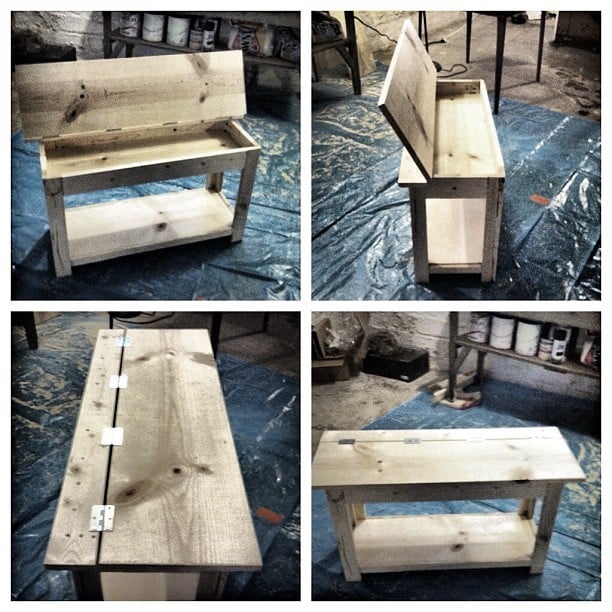
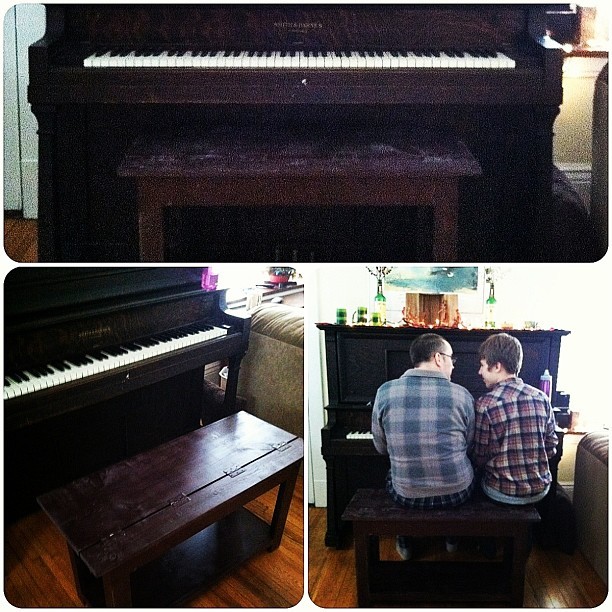
This was my first DIY build. Having been inspired by my good friend, the brilliant Jen Woodhouse of The House of Wood, I decided surely I could do this too. So I picked something that looked like a challenge, but that we also needed. We have an old piano we bought from Craigslist that has heretofore been benchless. So I used the Flip Top Storage Bench plans, headed to Home Depot, collected the wood (and let them cut it - but made a few of my own cuts, too), and got to work.
I had a little trouble at first, simply because, after assembling the sides and aprons, the unit did NOT square up. I took a few pieces apart and realized it wasn't user error (what?), but warped wood. That's right: one of my 1x3s was warped and bendy. So I rebuilt that side with some of my leftovers, and made sure to square up after each step, and lo and behold it came together!
It's not perfect - one of my legs is a bit off, so it wobbles when no one's sitting on it, but there's no issue when it bears weight - but for my first build, I'm quite pleased! And now that I know I can do this...well, this is just the beginning!
Total time it took me was probably around 15 hours, which includes practicing using my circular saw and kreg jig (both of which were straight out of the box when I started), along with my rebuilding the side.
I used Minwax pre-stain wood conditioner after sanding, followed by two coats of Rustoleum spray stain in Kona. I sanded with 400 grit sand paper after each coat of stain, and finished with one coat of semi-gloss polyurethane. I considered a few more coats of stain, but so fell in love with the weathered look that evolved from the staining and sanding that I just left it!
I also spray painted the hinges - that was a bit of an accident (I didn't know how NOT to cover them in stain...), but turned out to my liking!
My estimated cost is about $100, which covers the wood (including the extra 1x3s and an extra 1x2 I needed for a screw-up), nails, screws, three cans of spray stain, polyurethane, wood conditioner, paint brushes, two packs of sandpaper, and my hand sander. All but the wood will be used in my next few projects too, so that cost covers QUITE a bit!
Wed, 01/30/2013 - 08:19
Hey Angela,
The Kreg Jig is a tool that creates pocket hole joints on all your boards - whether you're joining vertical to horizontal pieces, or two horizontal or two vertical, etc.... - and made this build, as my first, INFINITELY easier. You don't *need* the Kreg Jig to build this bench, but Ana recommended it, my good friend Jen Woodhouse, who contributes a lot of plans and builds to this website recommended it, and I highly, highly recommend it. It's about $100, and worth every penny.
Here's the video I used as a tutorial on how to do it. And seriously - it made this job SO much faster than it would have been without the Jig! :)
We did it!