Woven Back Bench
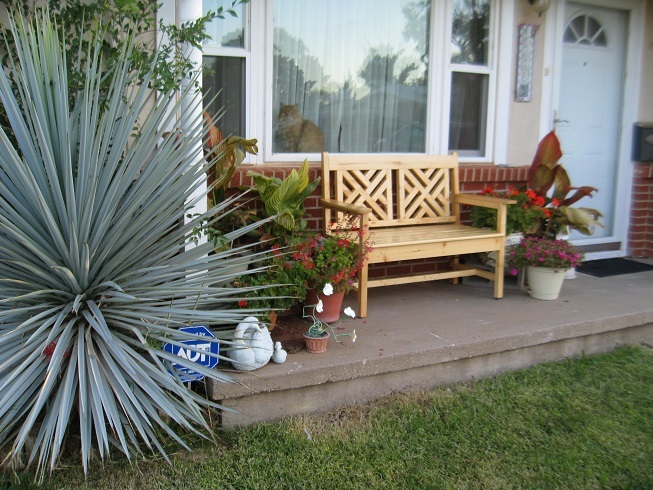
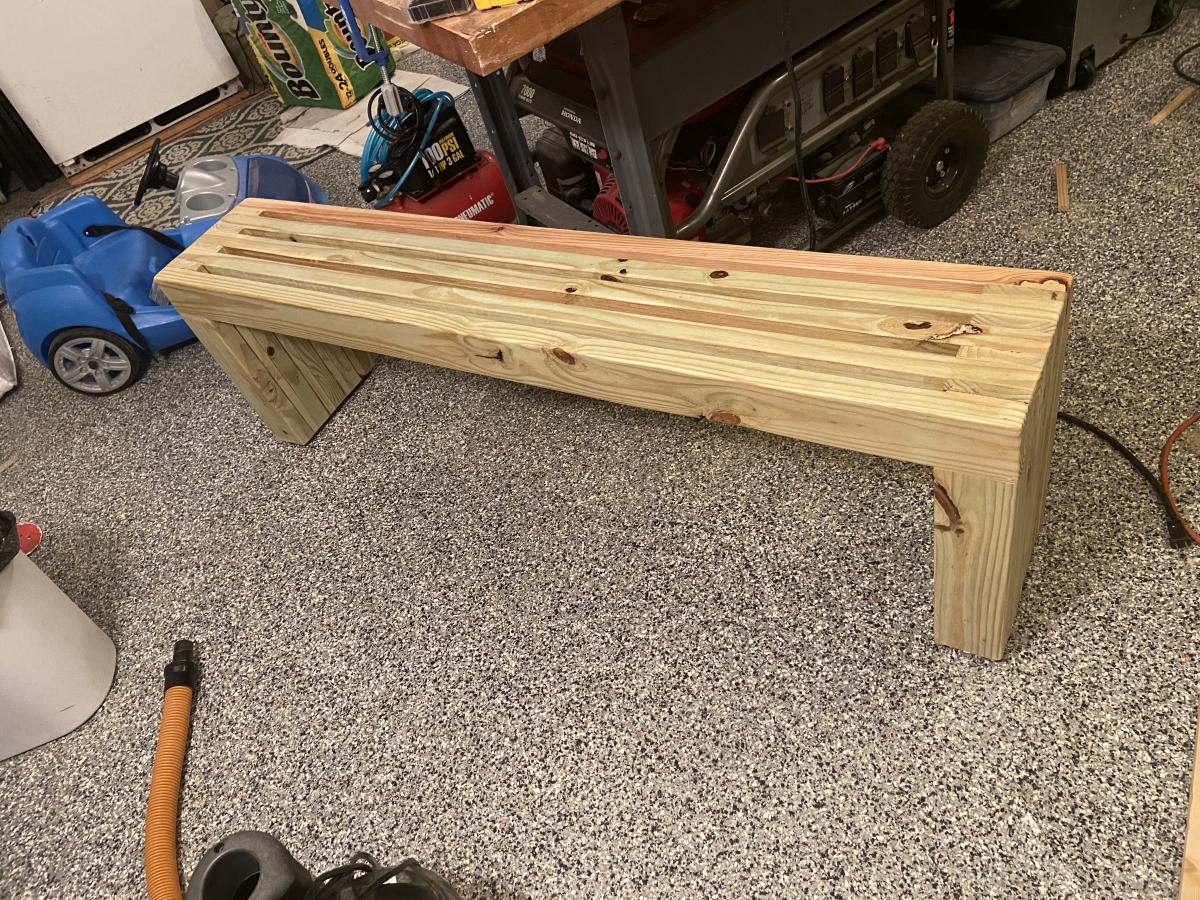
This took approximately a week to build, but was fairly simple. Drew arm rests freehand and applied 3 - 4 coats of Helmsmen.
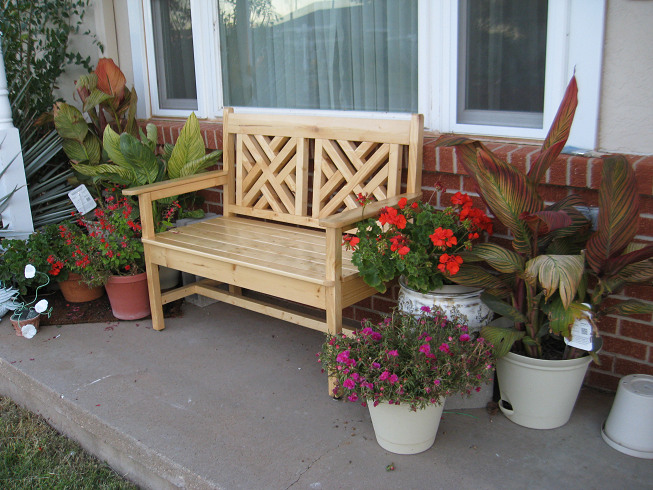
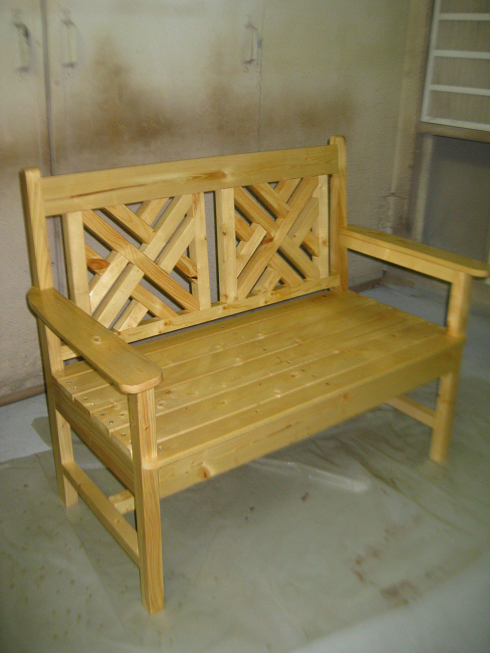

This took approximately a week to build, but was fairly simple. Drew arm rests freehand and applied 3 - 4 coats of Helmsmen.


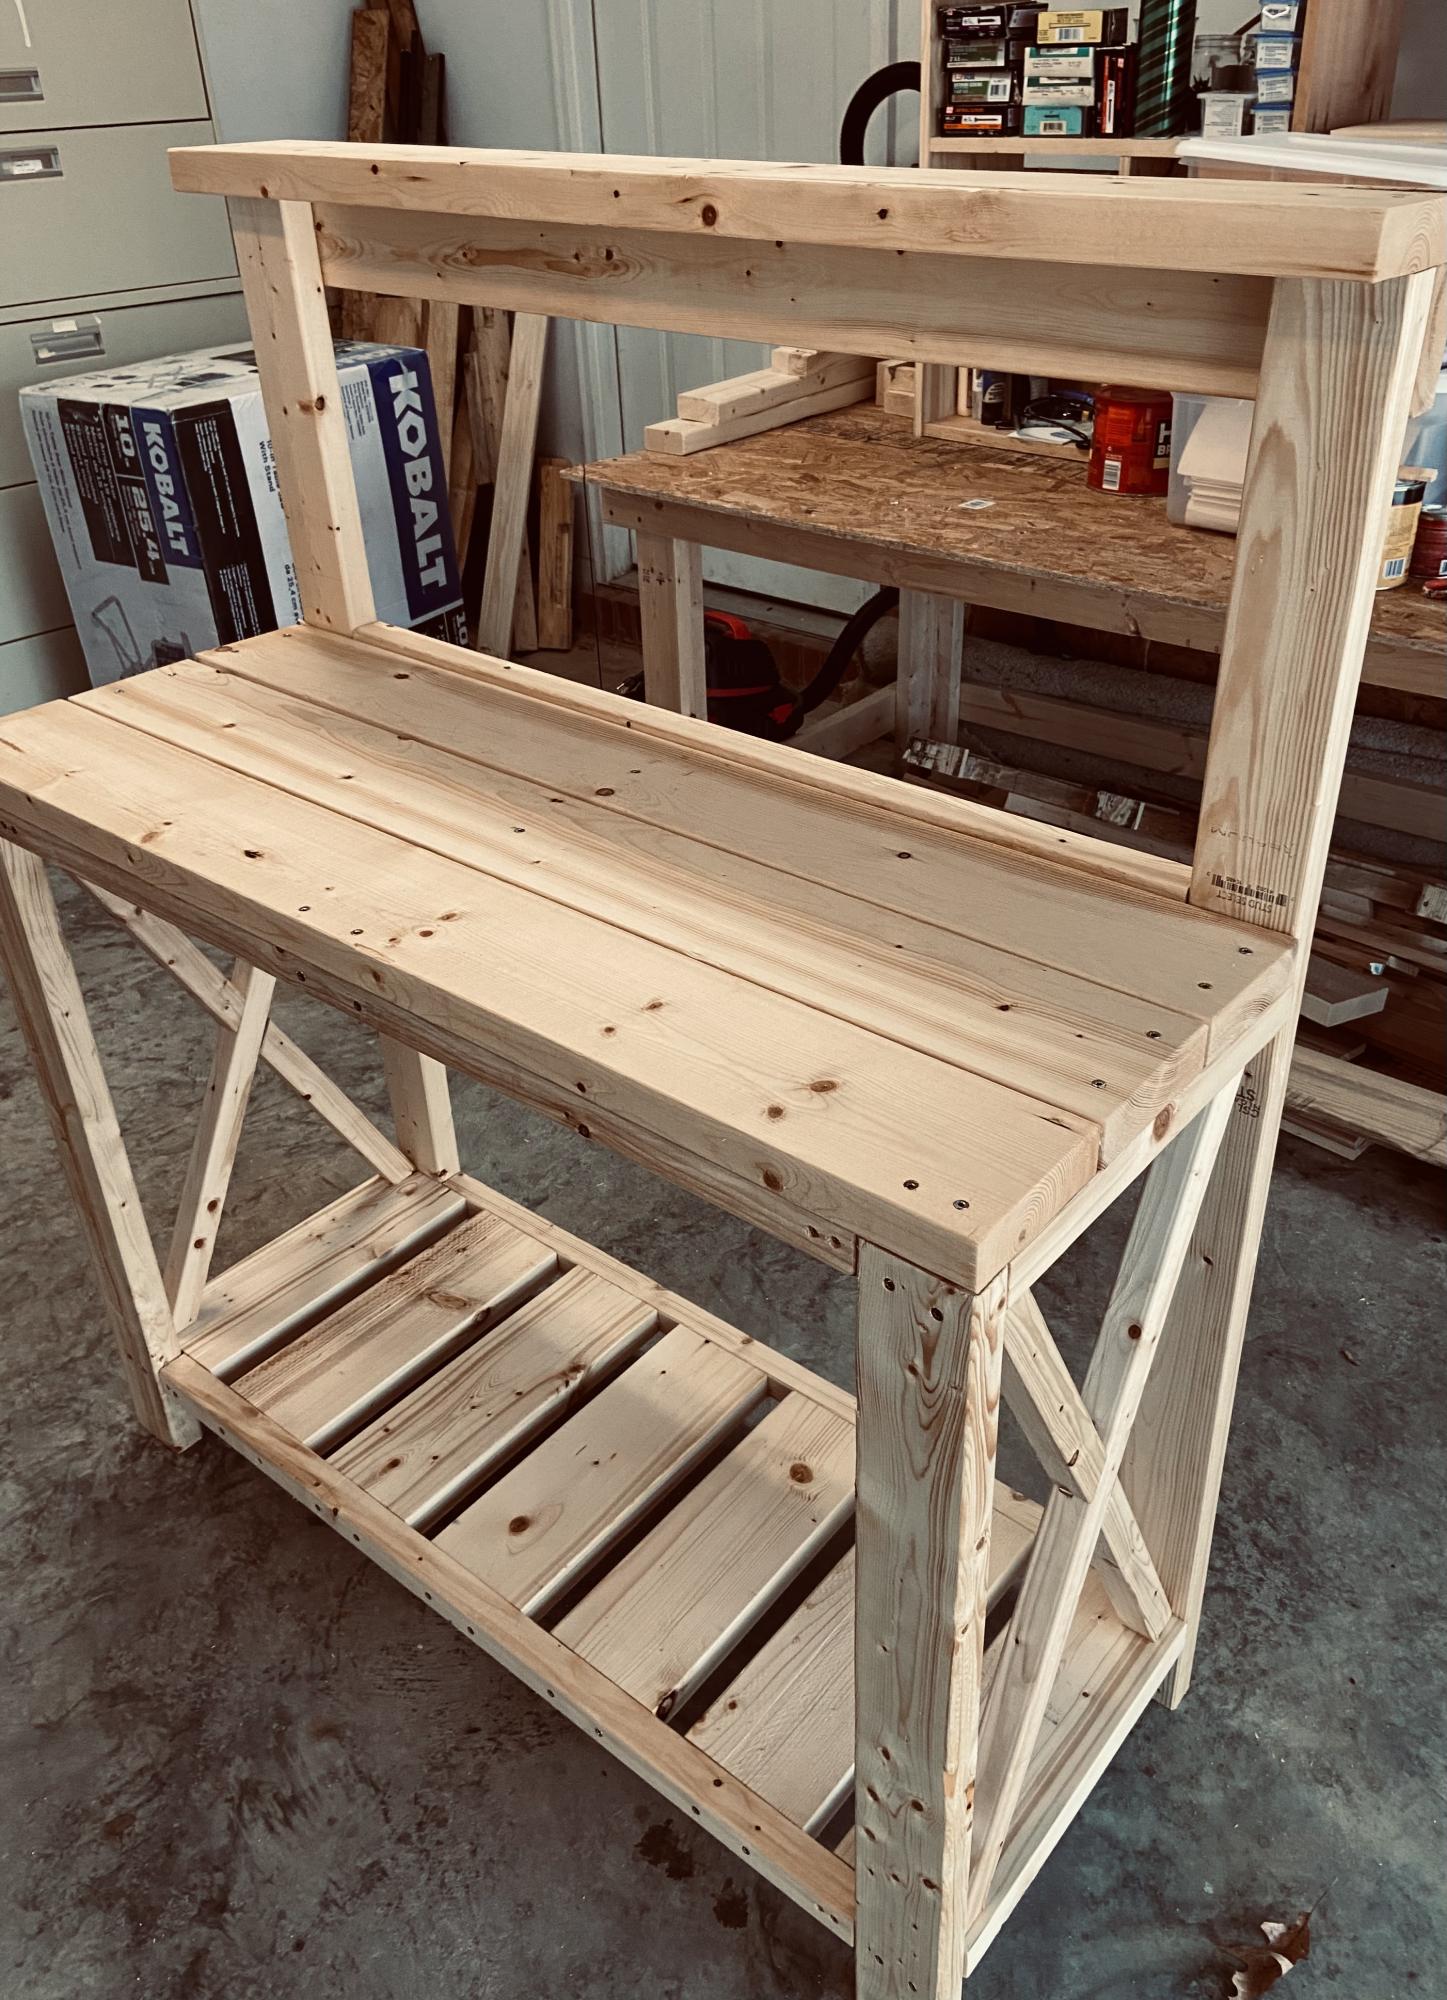
I am a complete newbie to anything woodworking. I just turned 60 and used a drill for the first time about 9 months ago. Thanks to Anna and her plans and videos, I have developed some some self confidence in this art and absolutely loving it.
Farmhouse coffee table and king size bed is next.
Thank YOU Anna!!! You totally rock!!!!!!!!
In reply to Amazing! by Ana White Admin
Tue, 01/19/2021 - 14:31
Awwwww thank you sooooo much! That means so much coming from you! I appreciate you. 🤗🤗
This is a chair I made from the Super Easy Adirondack Chair plan from your website.
Fri, 12/05/2014 - 18:01
This has to be T H E cutest chair I've ever seen! Keep up the great work.
Built this using Anna White's "MIMI'S FAUX MANTLE" but instead of using crown molding I elected to use STONE TILES in neutral tones and finished the surround and mantle in white giving the piece a nice soft appeal. The building plans were easy to follow and took about 2 days to complete the whole process (because of drying times) not to mention how reasonable the cost was. I already had the tiles, adhesive, and paint from left over projects.
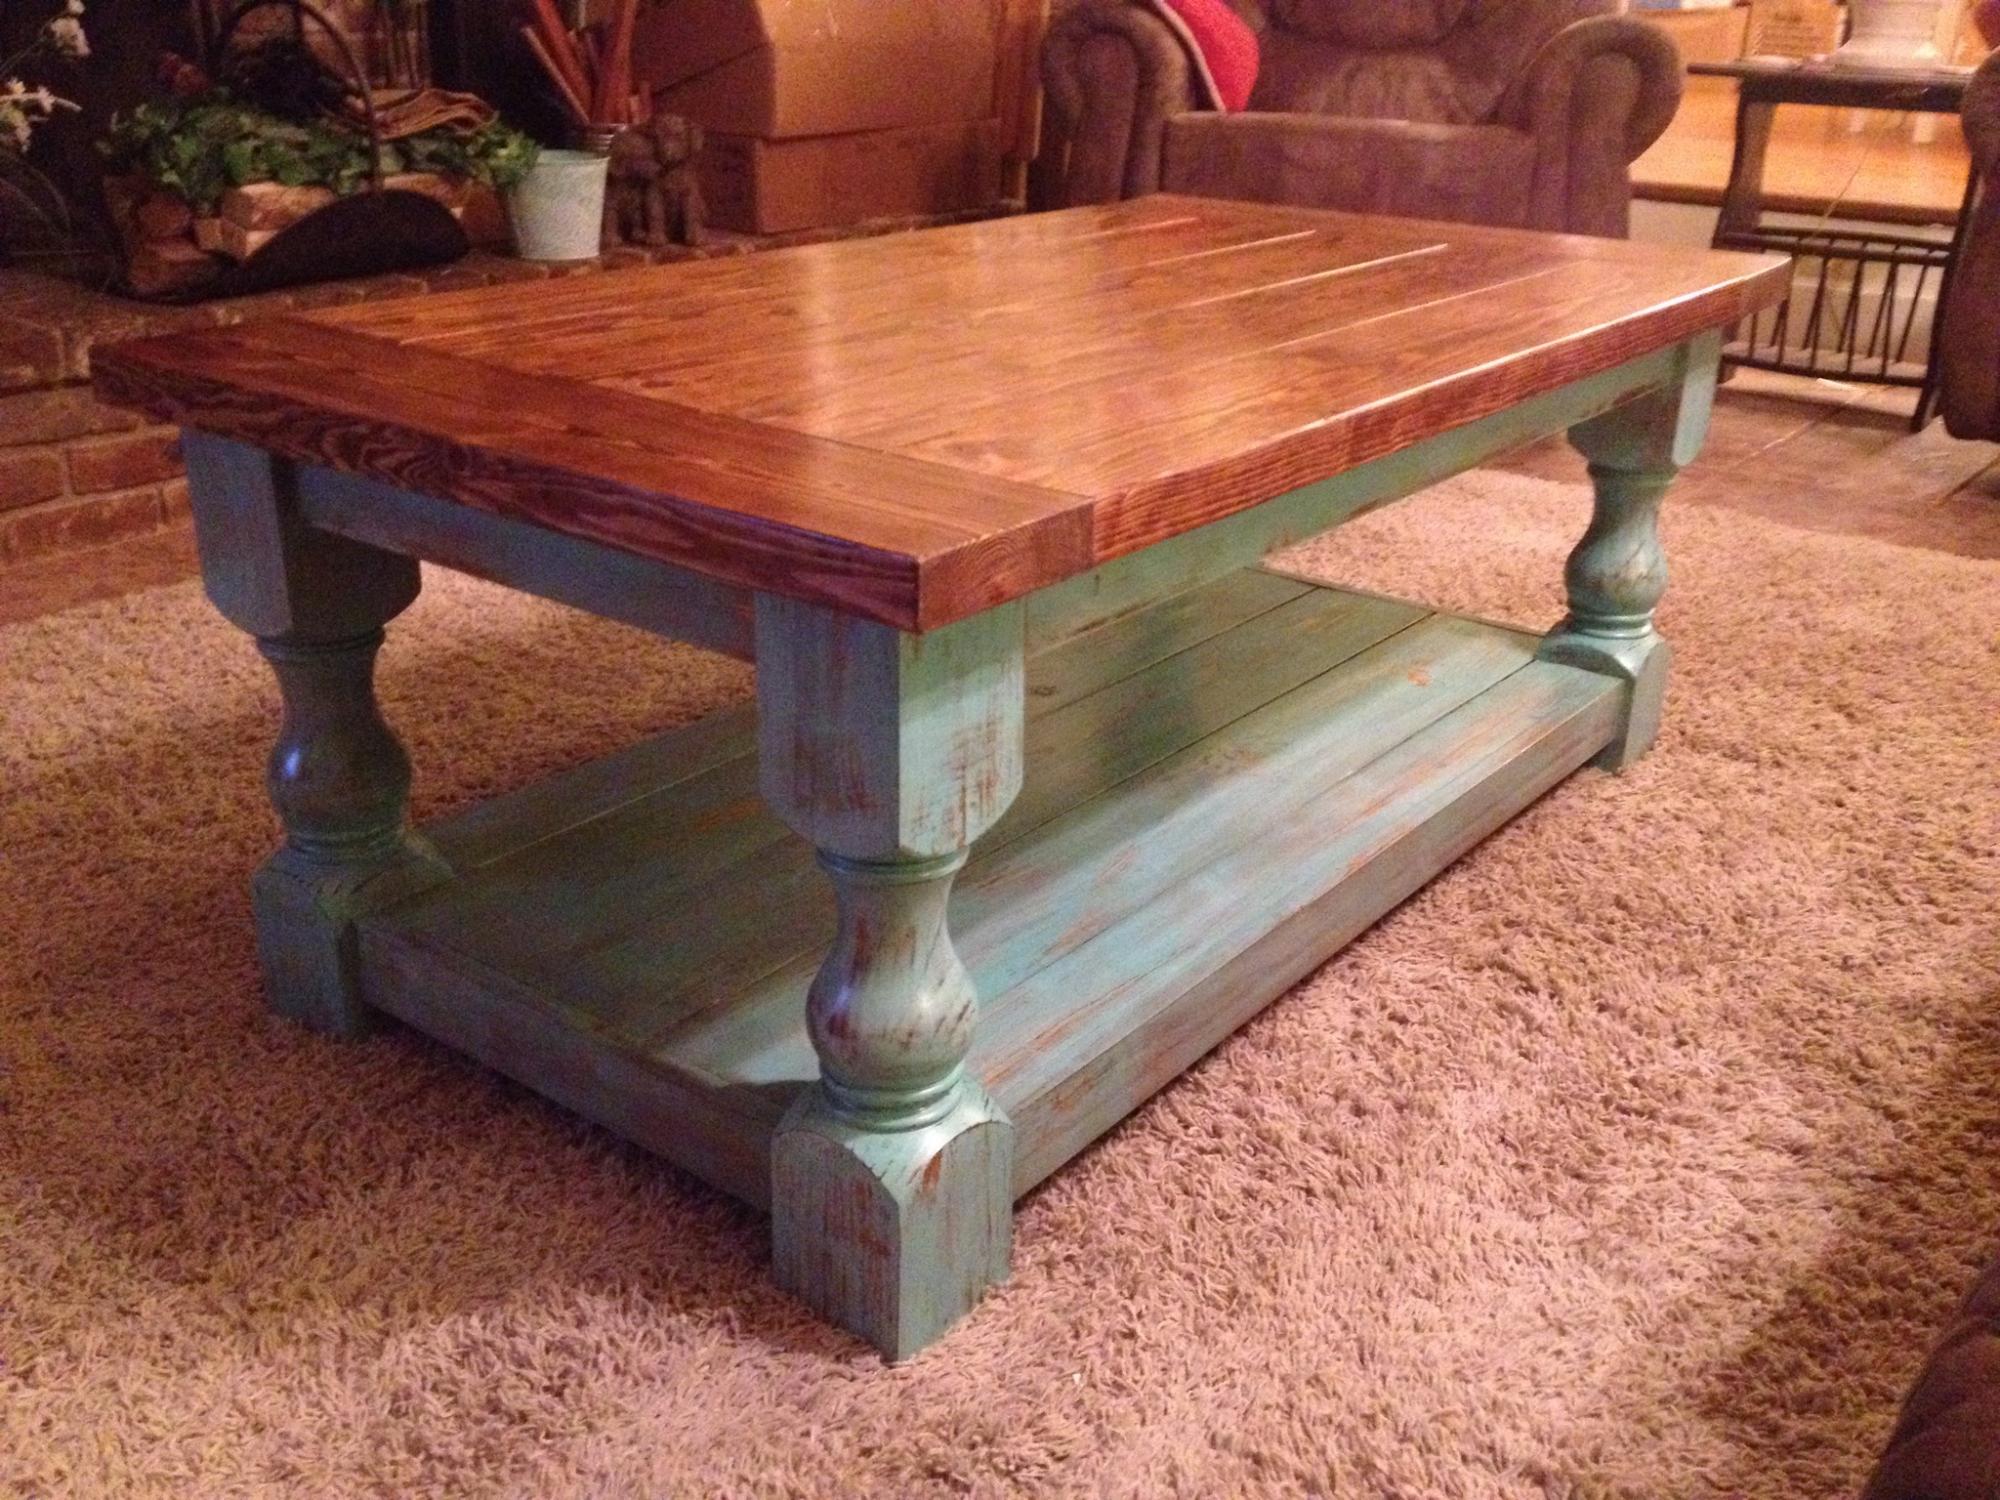
I ran across this when looking for ideas for a coffee table. My wife wanted a rectangular table, rather than a square - simple adjustment. I ordered the legs from
Osborne - great selection and good service.
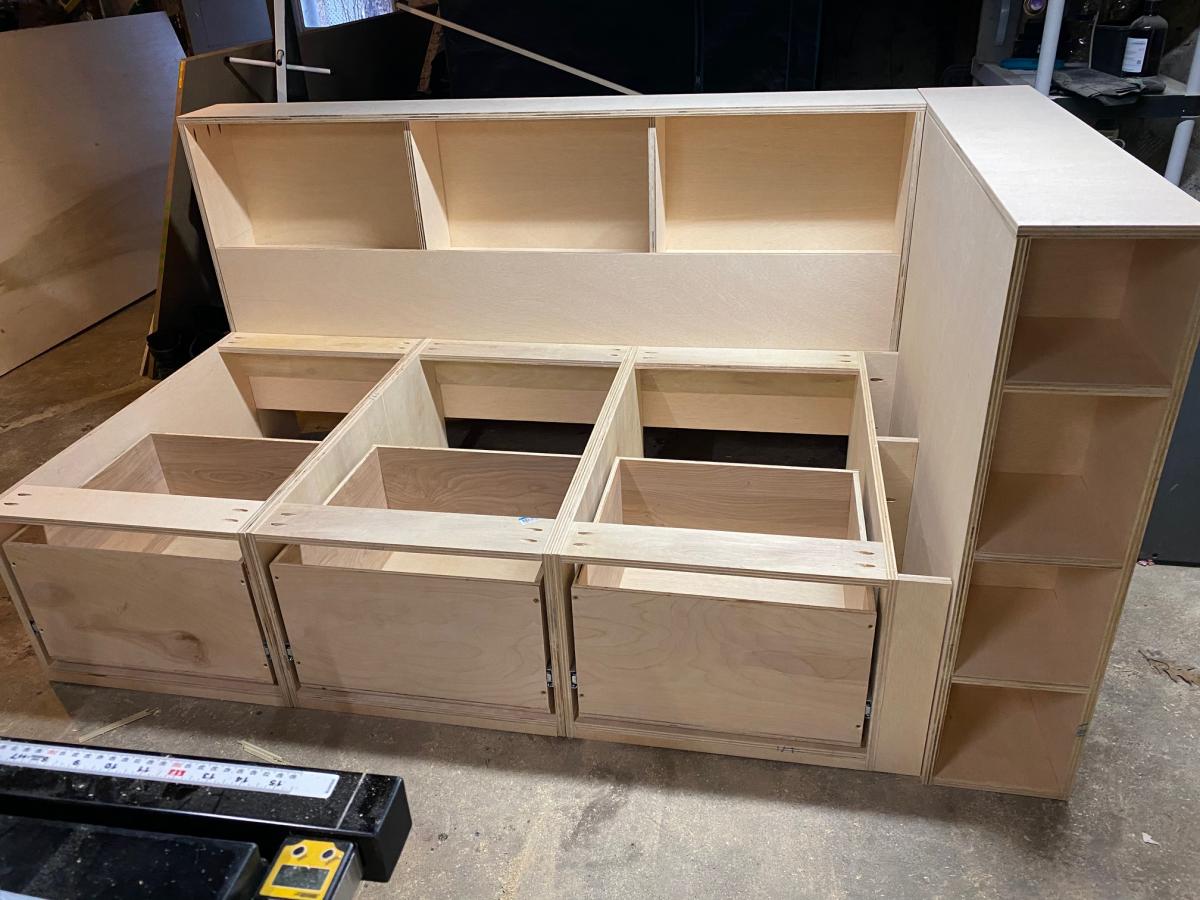
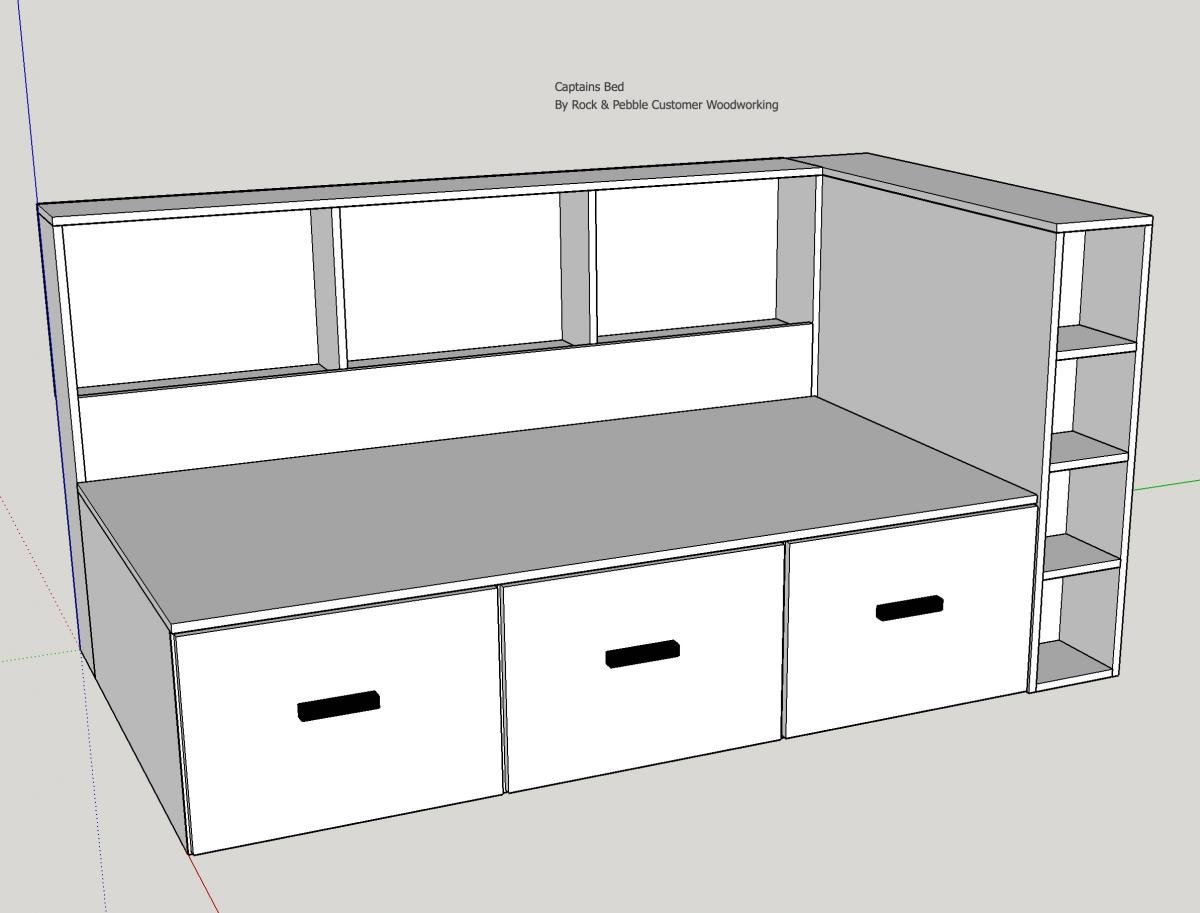
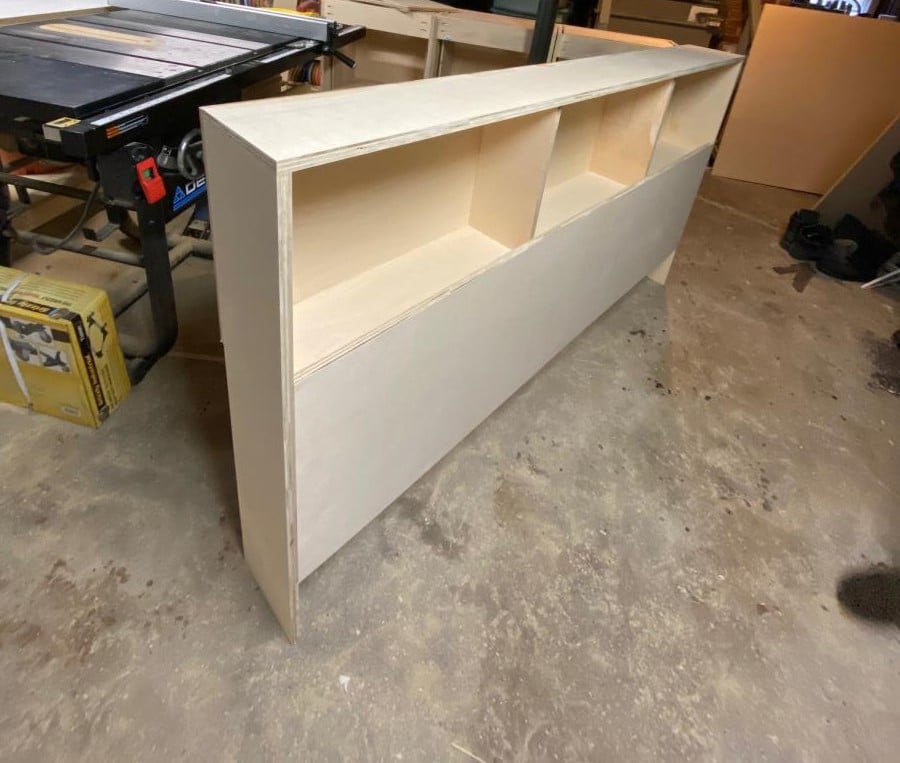
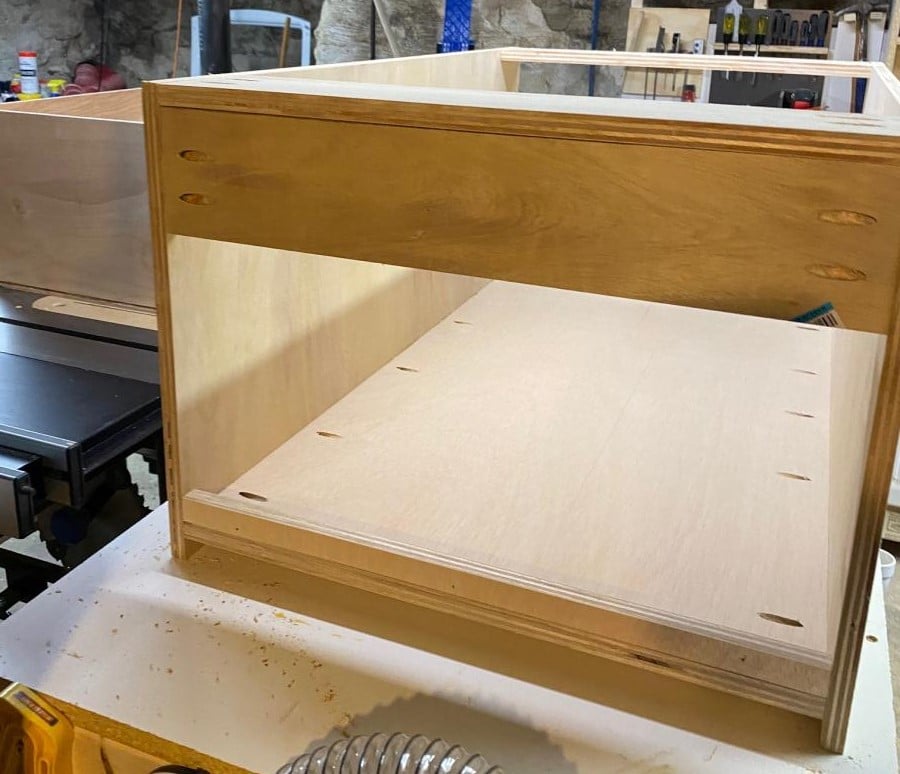
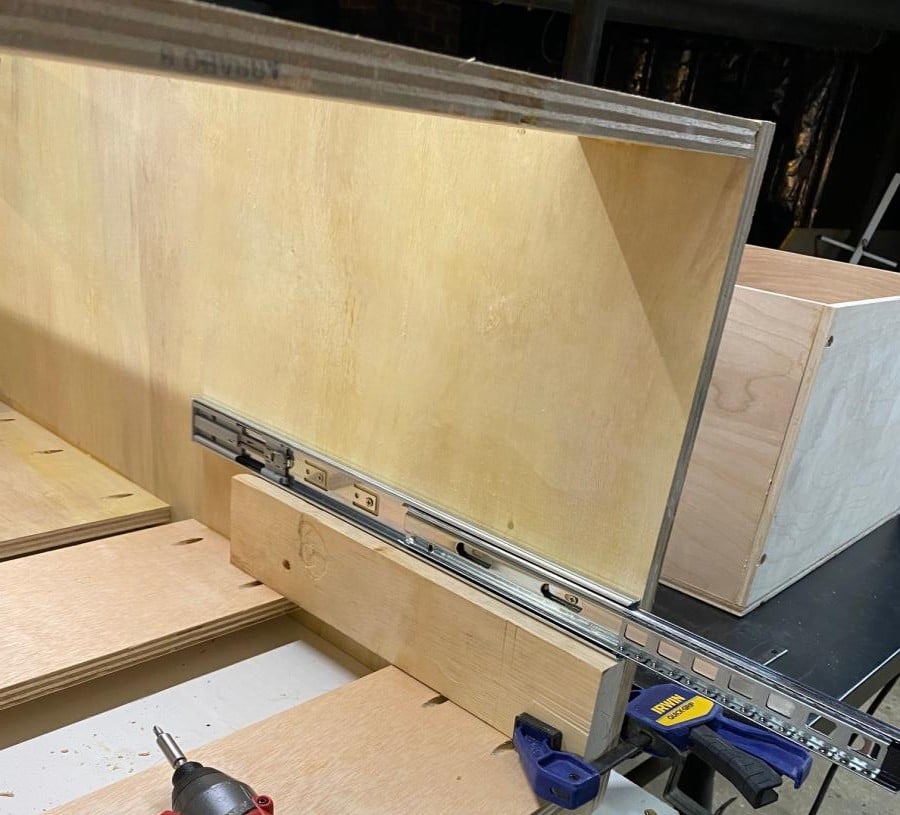
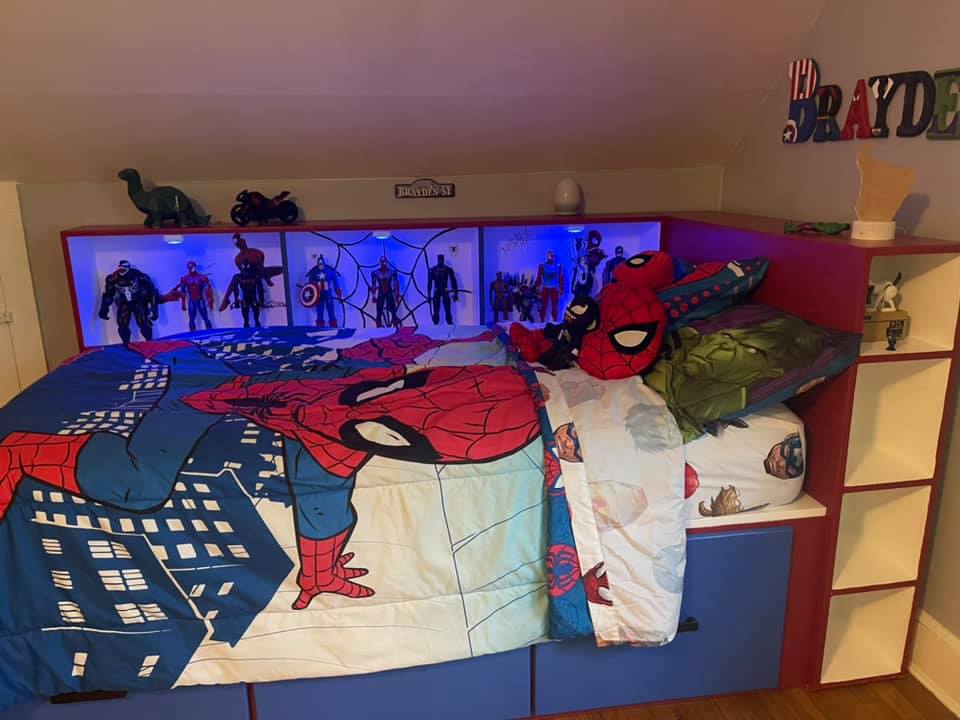
So this was a really fun project from start to finish, I wanted a storage bed with a place for my son to showcase his Super Hero collection!
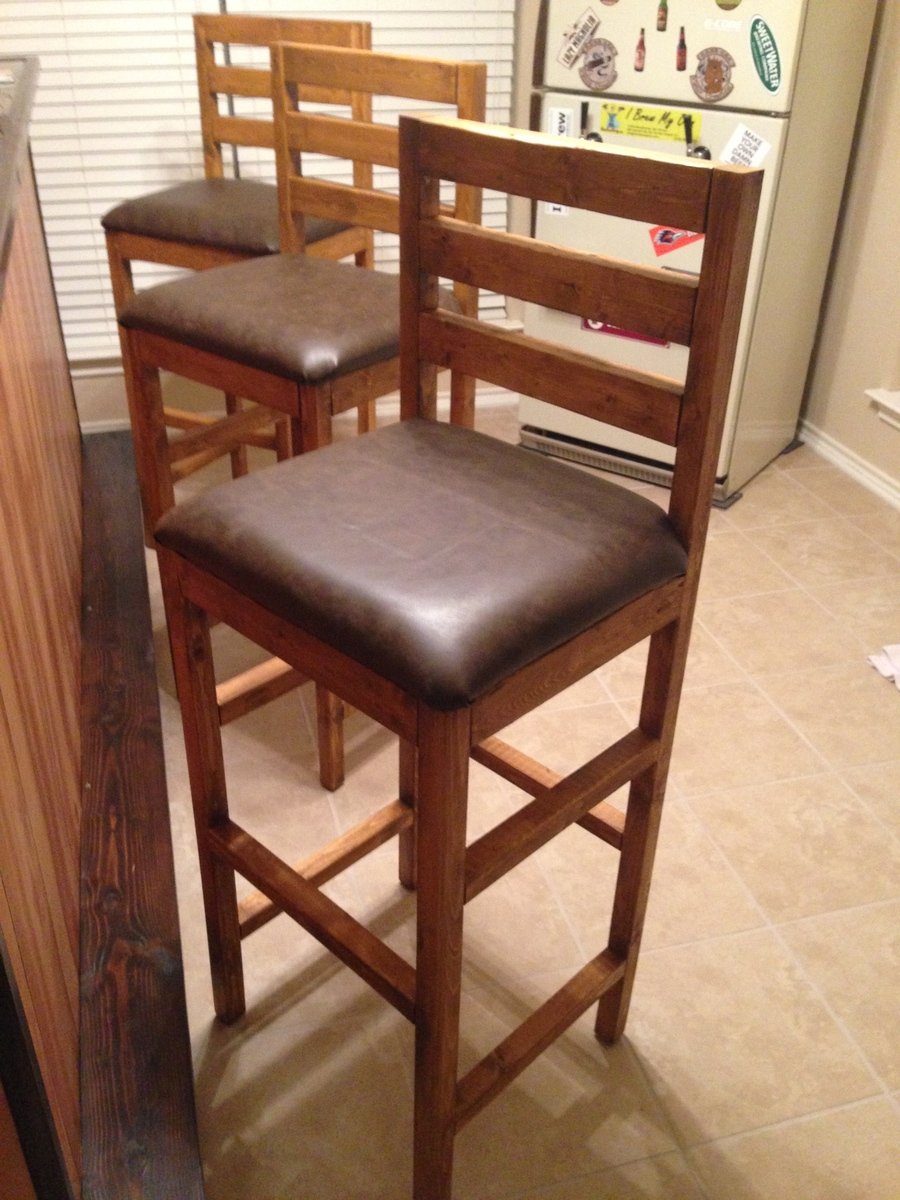
My wife and I built our whole bar, from the shelves, bar, and the kegerator! We needed stools to round out our endeavor but we werent willing to shell out the kind of money required. My wife found this plan and we morphed it a bit to meet our needs. The KREG JIG saved us big time! The seat upholstry took us a bit of time, but we figured it out thanks to YouTube. Great project for a weekend, took us a tad bit longer due to the arrival of our daughter but, we still got it done!


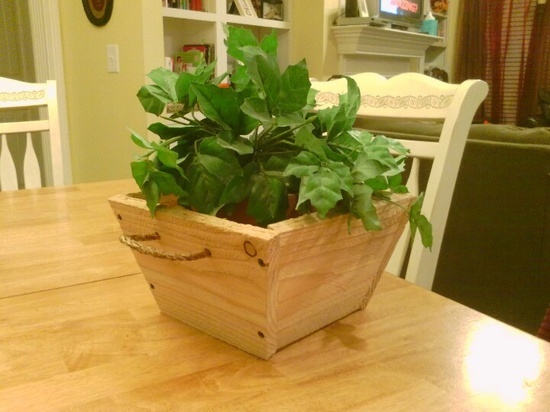
You were right, this really was super-easy and super-cheap!
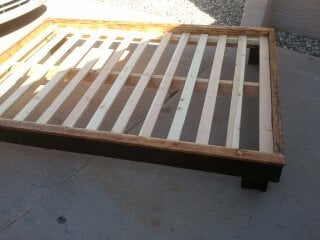
Easy Peasy!
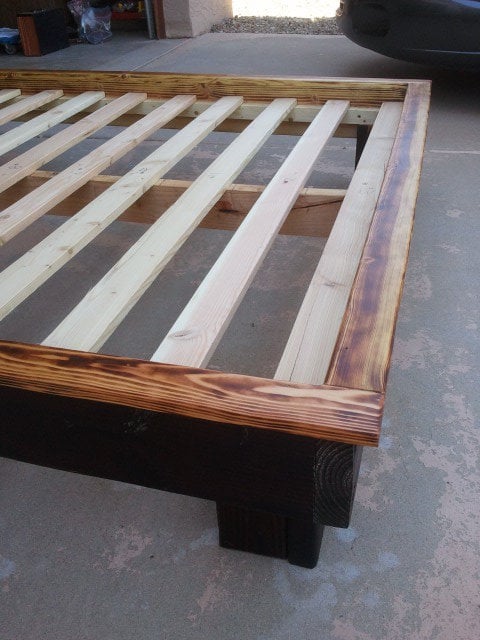
Materials & cost: Framing grade pine and 1x3 furring strips. $110 including finish materials.
I used some of the excess 2 x 6 that I had left over to make the feet square instead of just using 2x4s like in the plans. just cut them to the same length as the 2x4 feet, then butt them up against the 2x4 feet and mount them to the frame.
Also, I made the support beam removable by using face-mount 2x4 joist hangars to hold it instead of bolts.
Total build time = less than one week
Next project will be a custom headboard for it..
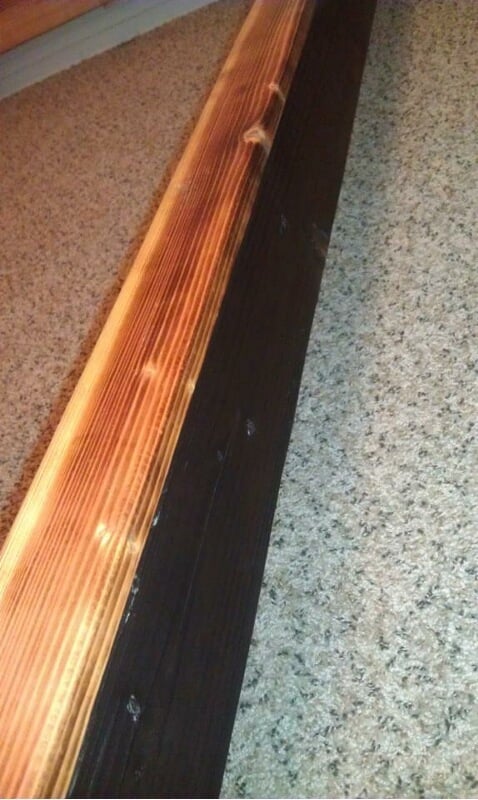
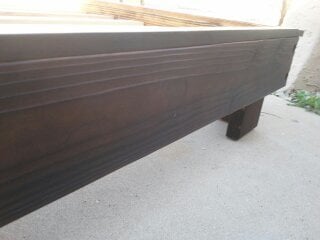
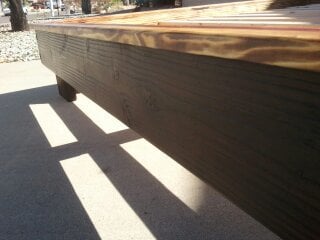
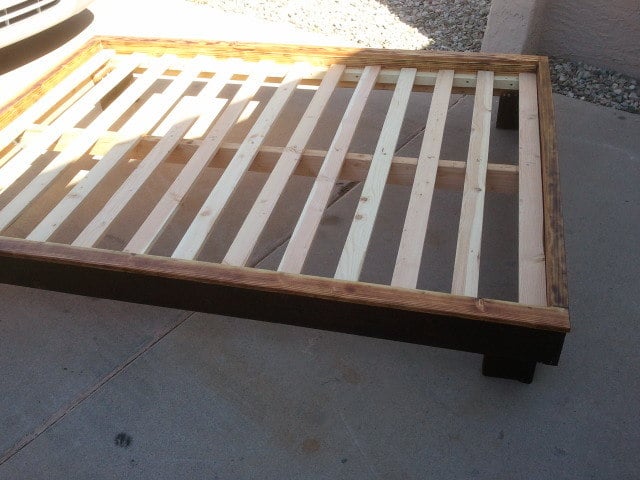
I built this for my sister in law this Christmas from Ana's plans. I can't wait to make a second one for myself! The overall build was easy and I would consider myself a beginner level. Sadly, I didn't get a picture of the final product before I gifted it, but I distressed it to allow some forgiveness in the white paint detials and hand-painted decal on the top. It turned out great and they loved it!
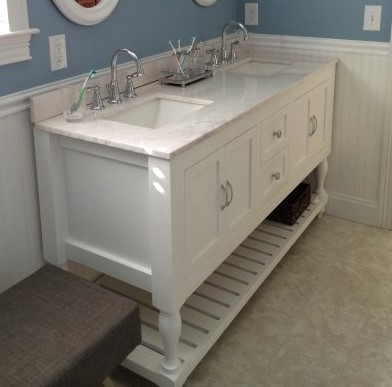
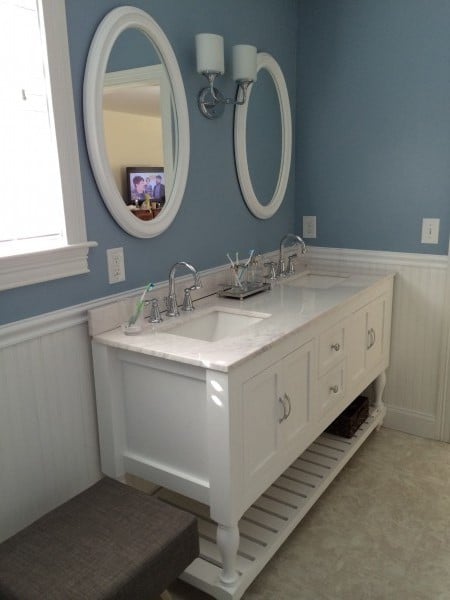
First time visitor. I recently built this modified 48" Turned Leg Vanity for my wife.
We expanded it to a 62" double sink with drawers in the middle and opening below the sinks.
Thanks for the great site Anna.
Wed, 01/21/2015 - 13:51
Great job! Such a beautiful bathroom, I bet you can't stop smiling!
Wed, 06/10/2015 - 09:35
This looks great! I am going to work on one very similar and use this sink http://www.us.kohler.com/us/Ceramic-Impressions™-61-rectangular-double-bowl-vanity-top-bathroom-sink,-single-faucet-hole/productDetail/Styles-of-Bathroom-Sinks/1006992.htm?categoryId=651428&skuId=1006846&hash=id%3Dfilters%26chk-183%3D183%26startIndex%3D20%26scrollTop%3D411
Did you save your plans for this size vanity?
Fri, 10/23/2015 - 09:55
Gwphoto, do you have plans for this project that you would share? Have been wanting to modify this 48" vanity just as you did. Thanks so much!
Mon, 03/14/2016 - 07:47
Hi Schuzog, looks like I can't find the plans on my computer. Sorry.
Greg
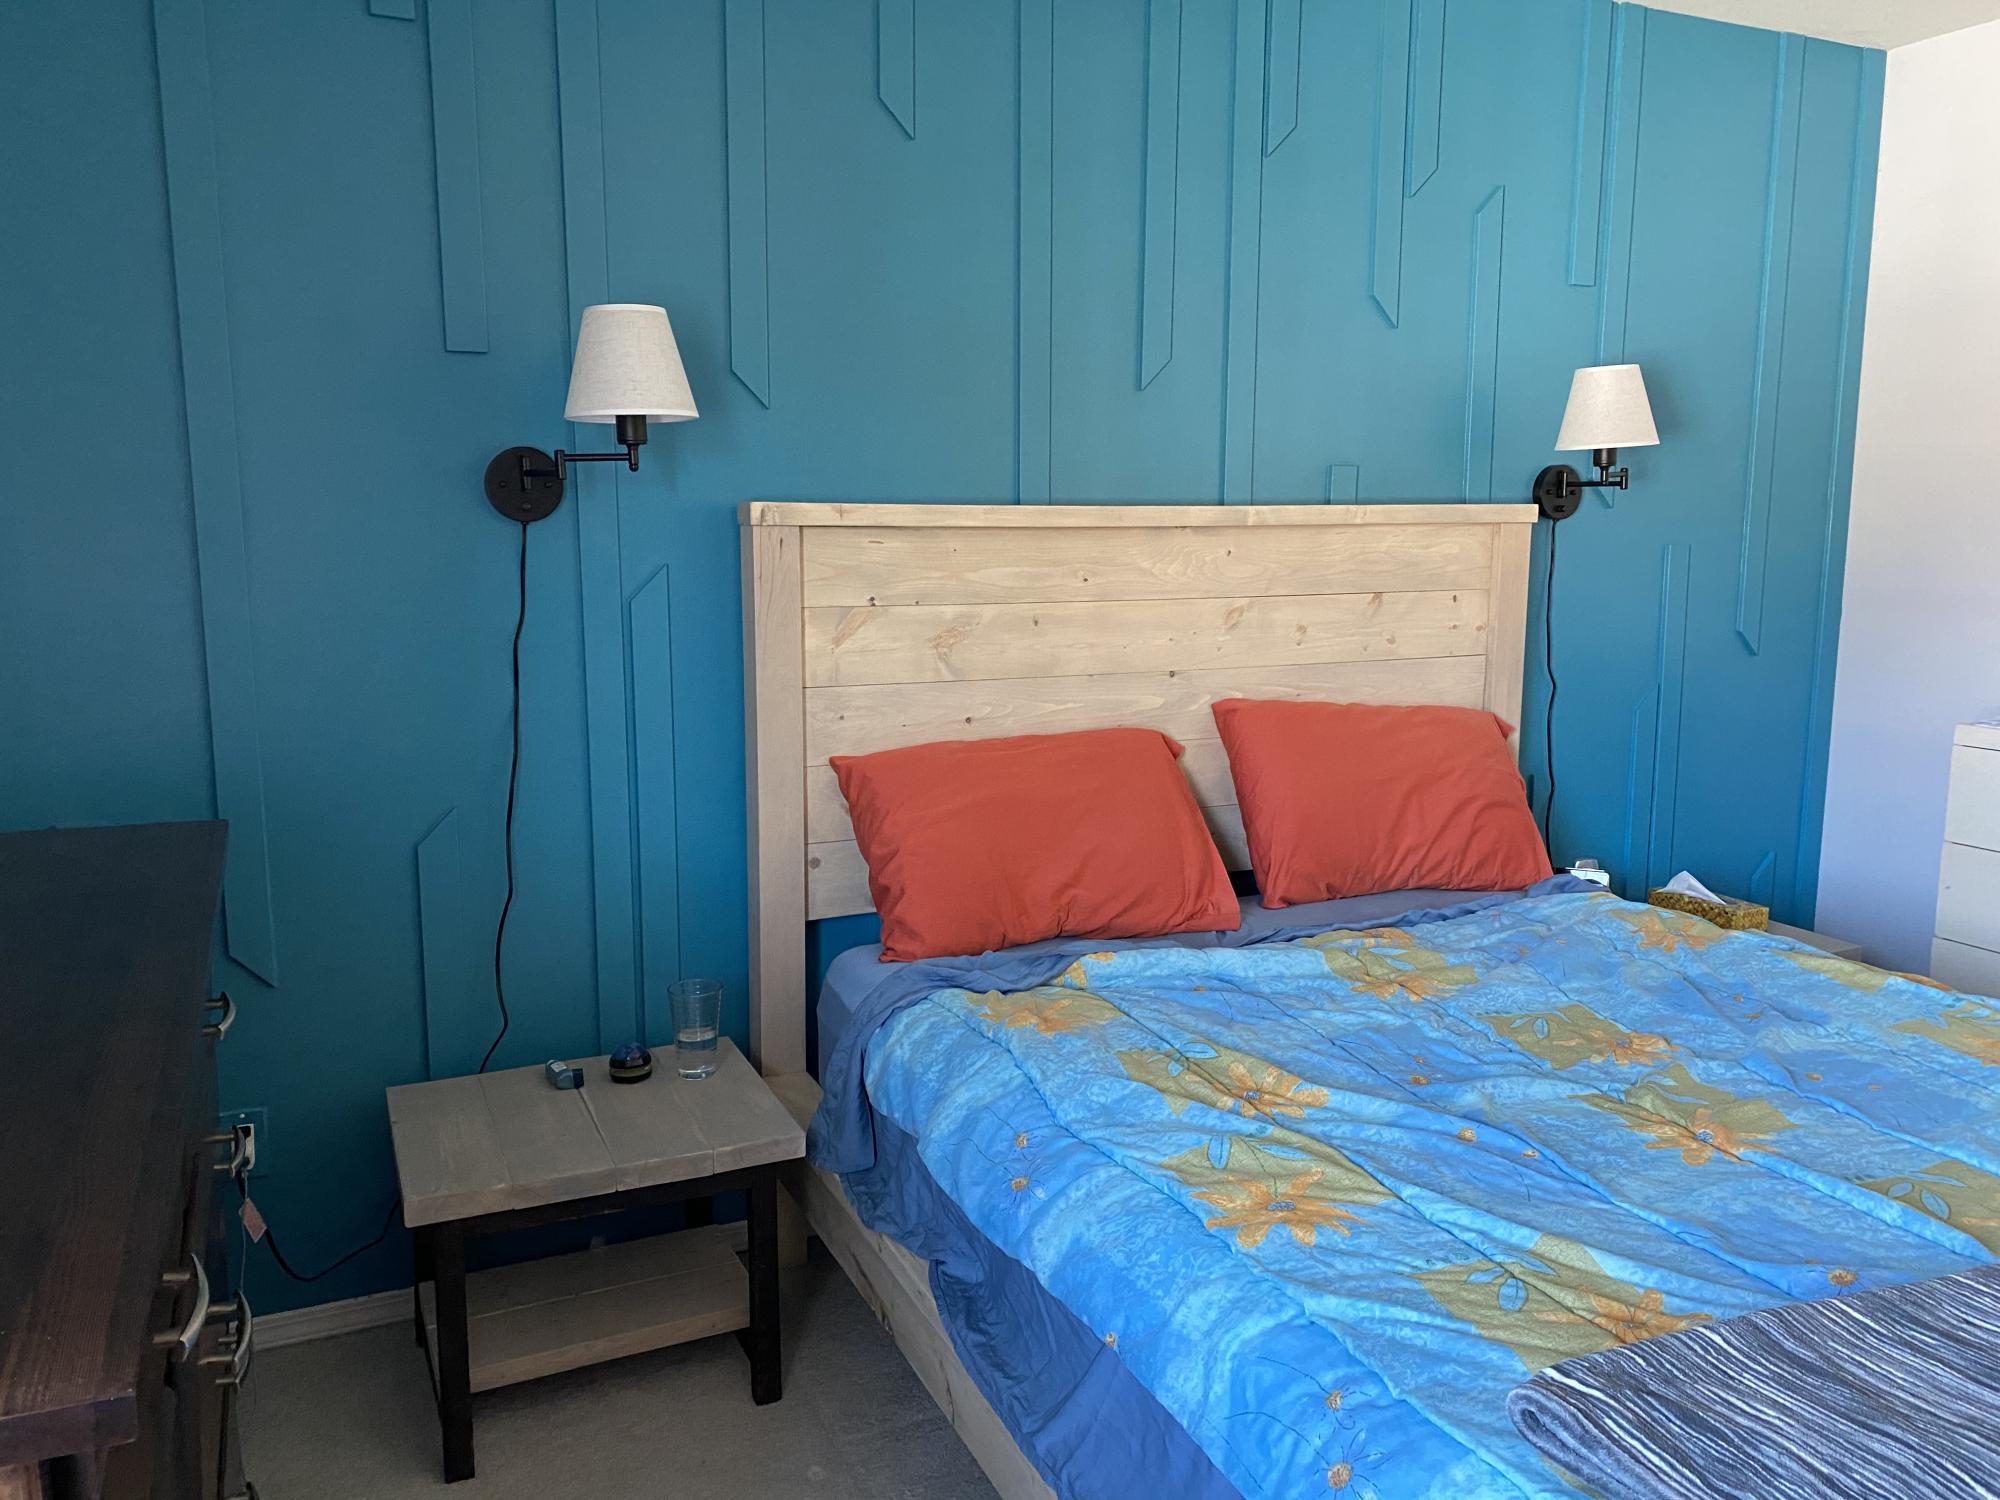
Built this farmhouse Queen bed as an anniversary gift to my husband 🥰
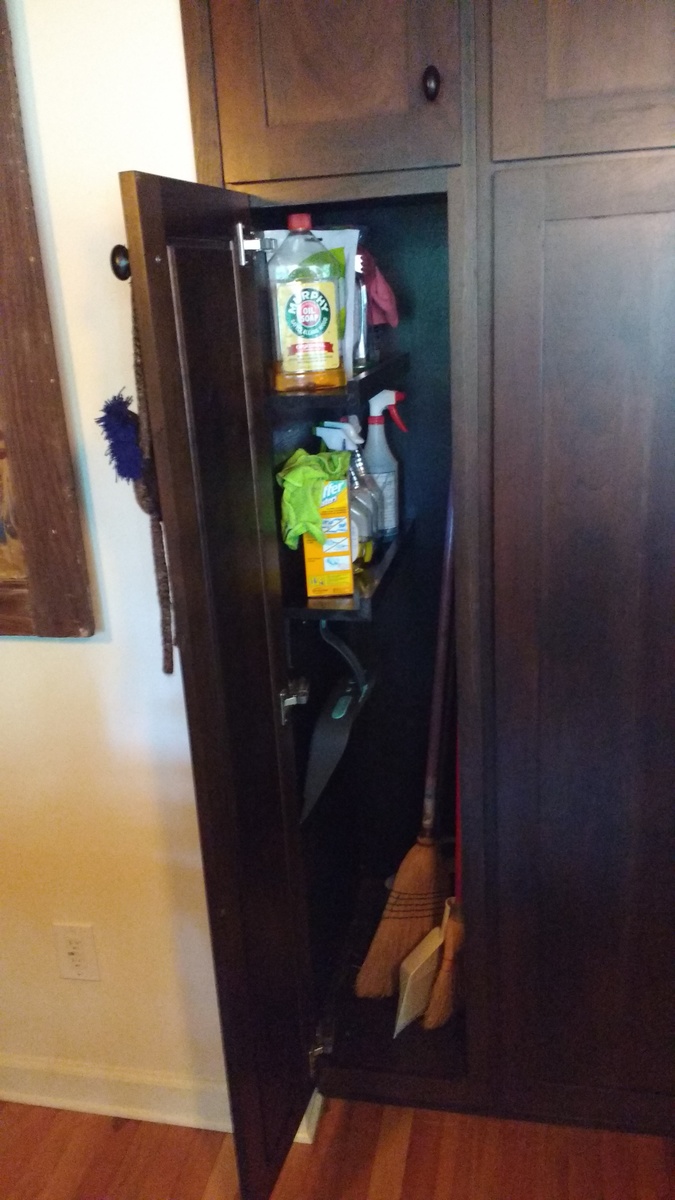
got a kreg jig for mother's day and tried it out on that dead space in my broom closet. I made $10 shelves, but in a "Z" shape instead of a "U" shape so I could attach from below and have more room on the shelf for cleaning supply storage.
I used a 1x6 for the shelf and spray painted them black with some paint I already had. So easy! I used a 1x4 with a block of wood to hold up one end of the shelf so I could screw it into the cabinet. Then leveled it and added second screw. Awesome first project! I learned a lot and got a place to put my spray bottles.
Sorry for the dark photo, my cabinets are black cherry.
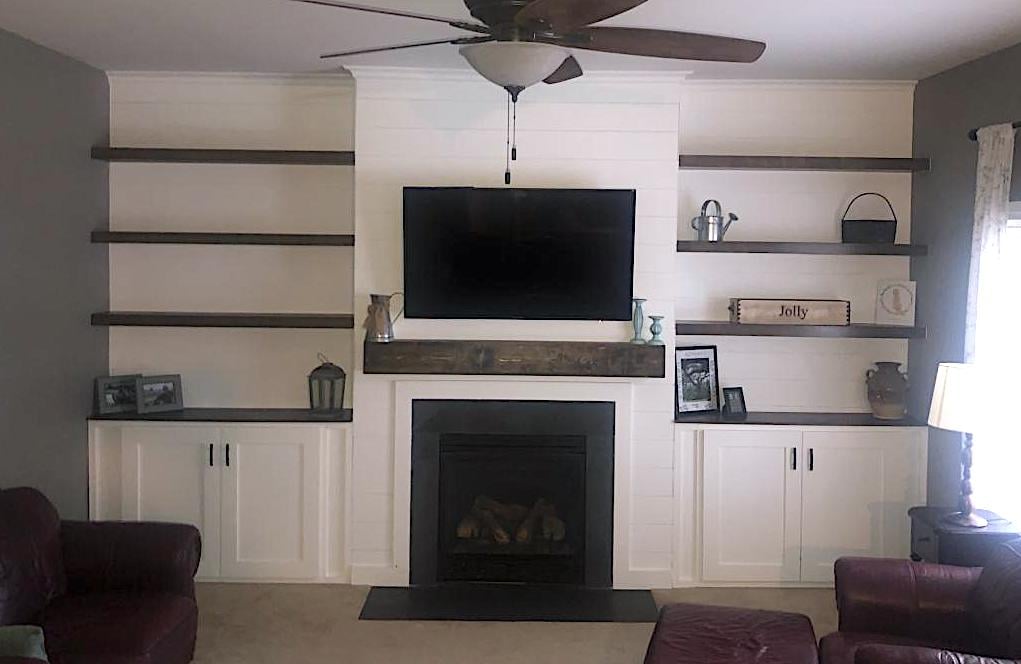
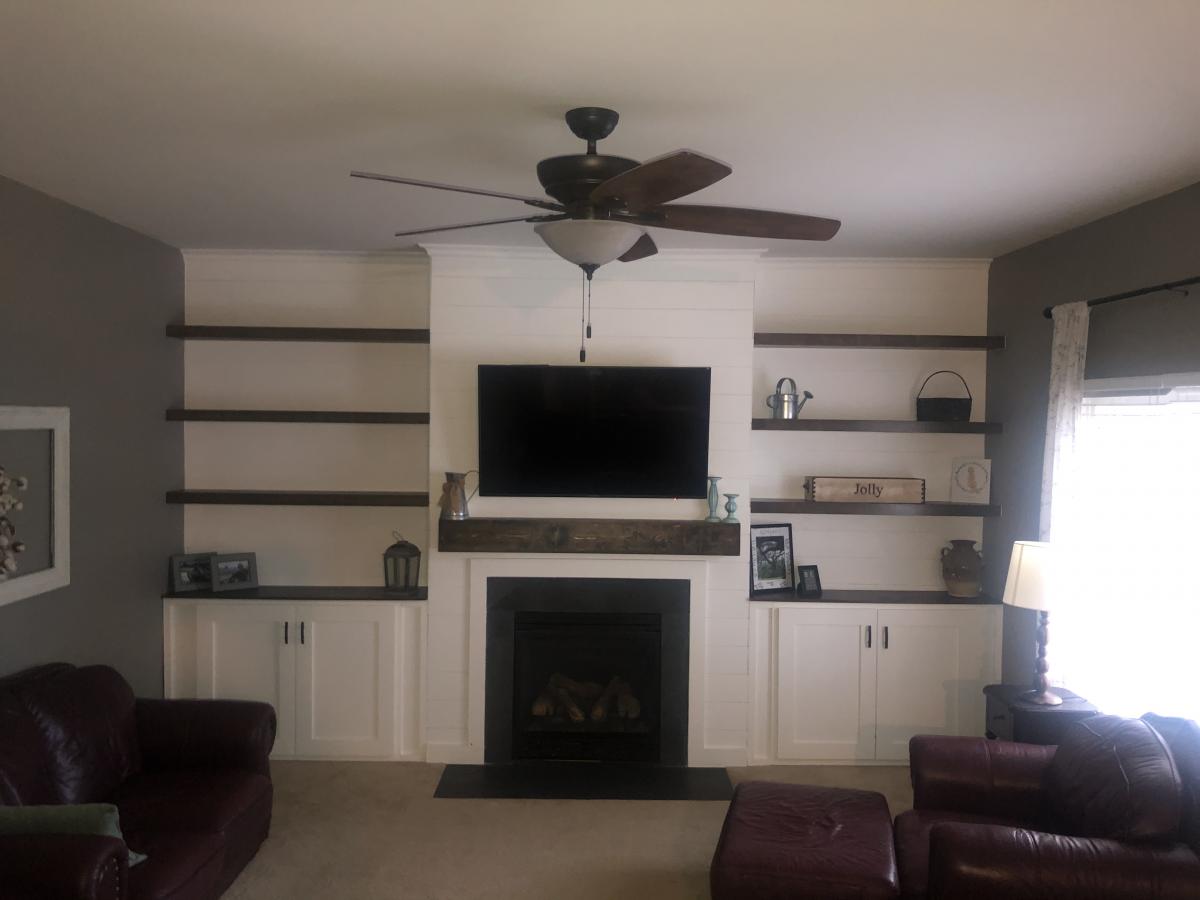
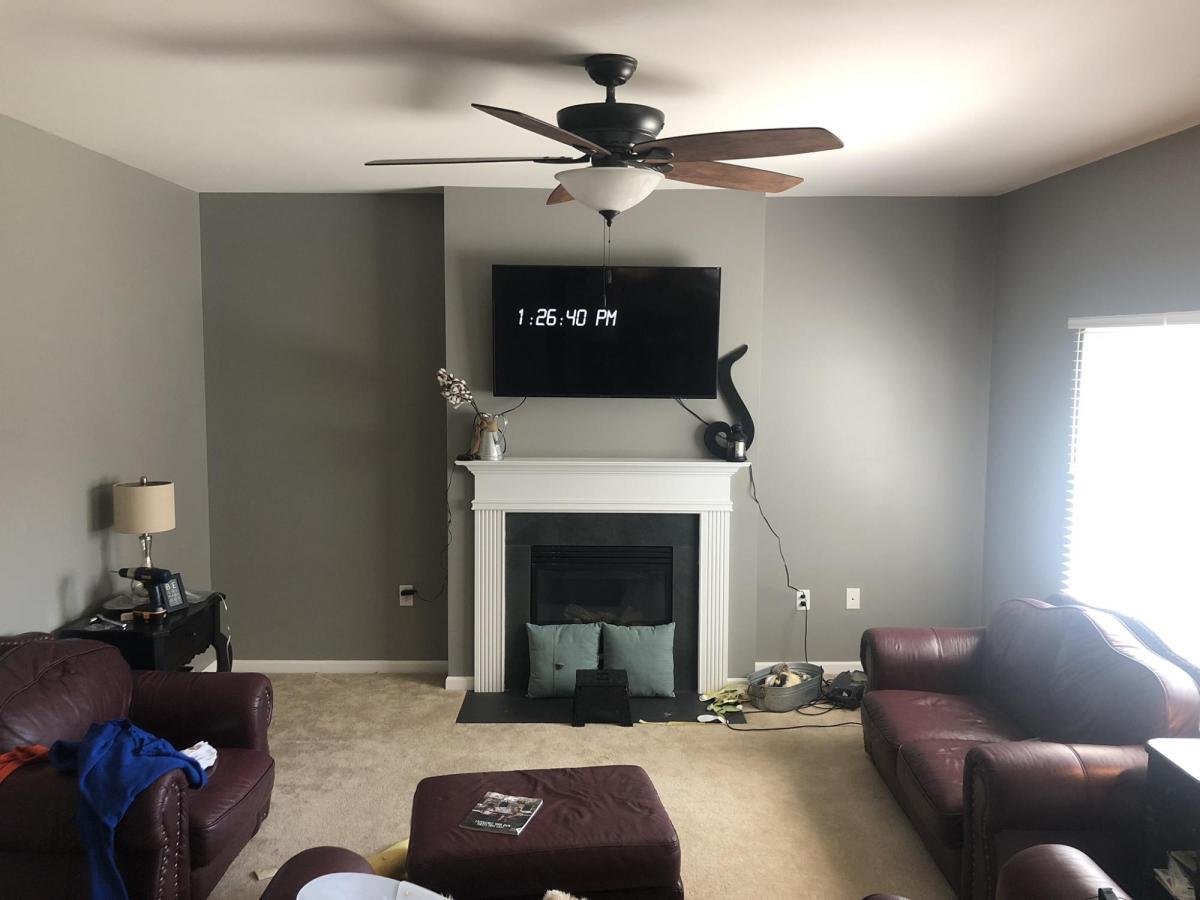
We have lived in our home for 2 yrs now and have been trying to figure out what we wanted to do with the plain boring wall with cords handing from out behind the tv due to no power outlet on that wall. We finally decided to do the whole wall in shiplap but the the cost of lumber going through the roof I went with 1/4 underlayment that I had ripped down to 6in strips at my local hardware store. I cut them down to size with my miter saw the painted them white before I attached them to the wall with 1 1/4 brad nails and used nickels for my space in between each row. The cabinets are 36 in tall. The carcass is made fro 3/4 in MDF and the face frames are made from 1x3 pine and attached with wood glue and brad nails. Cabinet doors are made from 1x4 pine for the frame and 1/4 underlayment for the center. I used my hand router to route out a 1/4 deep groove for the center to drop into the frame I used wood glue and brad nails to attach it to the frame and filled in any gaps with paintable caulk. They are attached to the studs in the wall with 3 in wood screws. The mantle is made from 1x6 pine boards and attached to a wall bracket made from 1x6 that are attached to the wall in each stud with 3 in wood screws. The mantle is attached with wood glue and 1 1/4 brad nails. The shelves were made out of 1/2 Poplar 4x8 plywood sheet ripped down to size. The wall brackets are made from 1x2 pine attached to studs with 3 in wood screws. And the shelves are attached with wood glue and 1 1/4 brad nails. I added 3 1x2 spacers to each shelf between the top and bottom board to prevent them from sagging before attaching the face of the shelves with wood glue and 1 1/4 in brad nails. This project took about a month to complete because I worked on it during free time. Also this was the first major build I have ever done so I was also learning along the way. Some parts were frustrating but most of it was fun and a great learning experience. Also this project evolved as I was building it. My wife loves the finished product. Now it’s time to find my next project.
Sun, 05/30/2021 - 11:05
What a beautiful space you created, thank you for sharing!
Tue, 12/05/2023 - 11:47
Surprisingly makes your living room appear so much larger compared to the before picture! Thank you for sharing your photos with us and congrats on a great result!
I'm still getting to know my Compound Miter Saw, so I wanted to get another small project under my belt. Not to mention I had a whole other picket and a half left over from yesterday's project. This just seem to be the perfect project to do. And needed since we actually needed a few more planters.
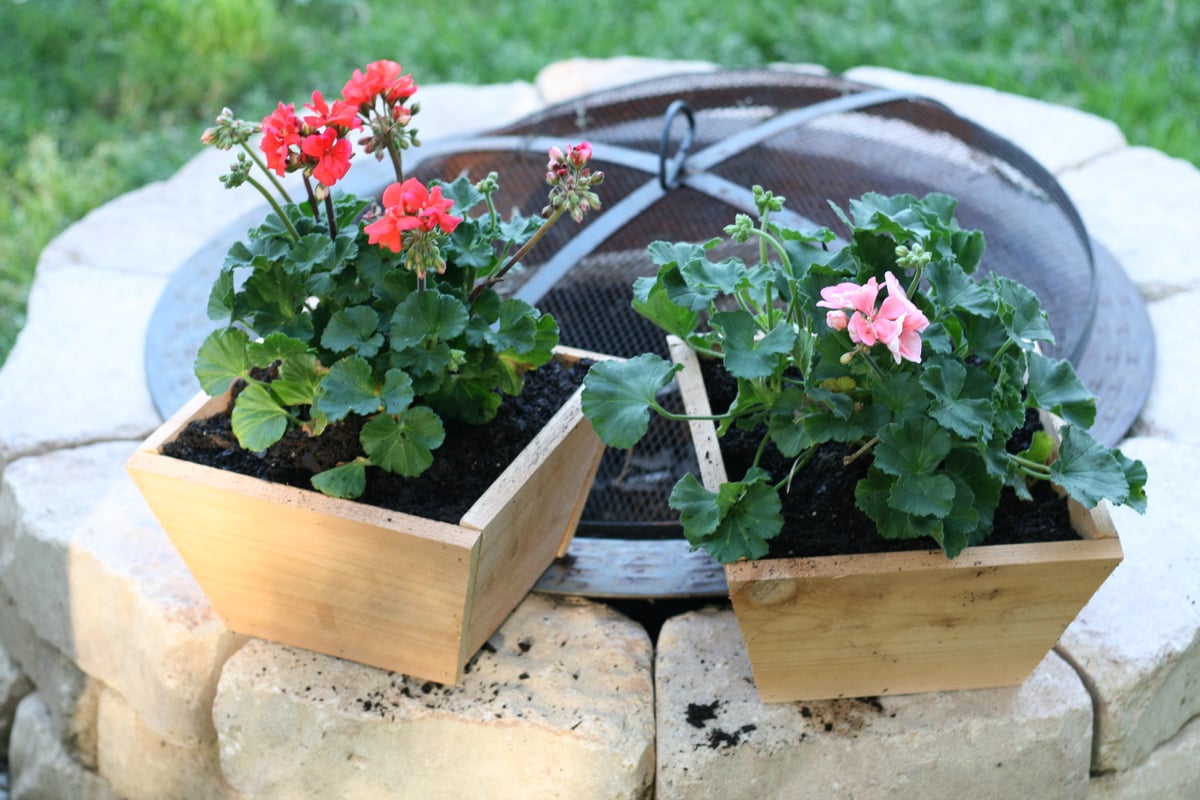
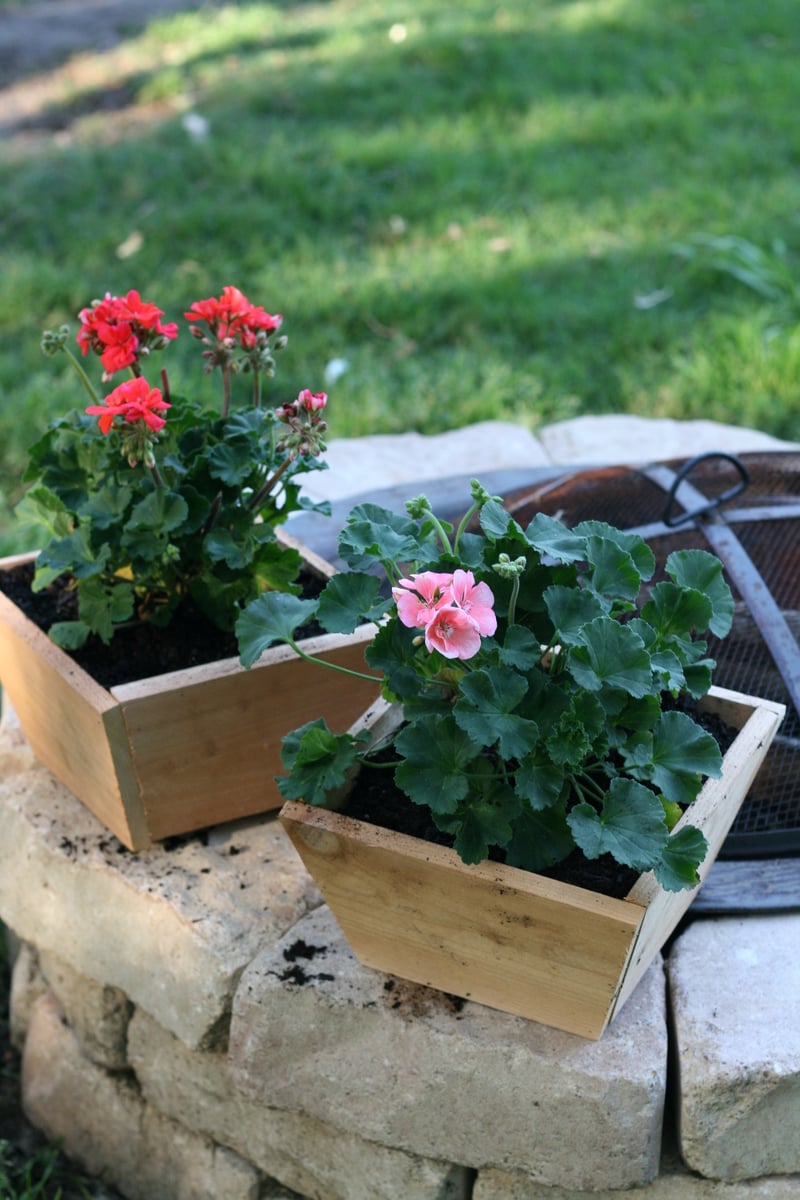
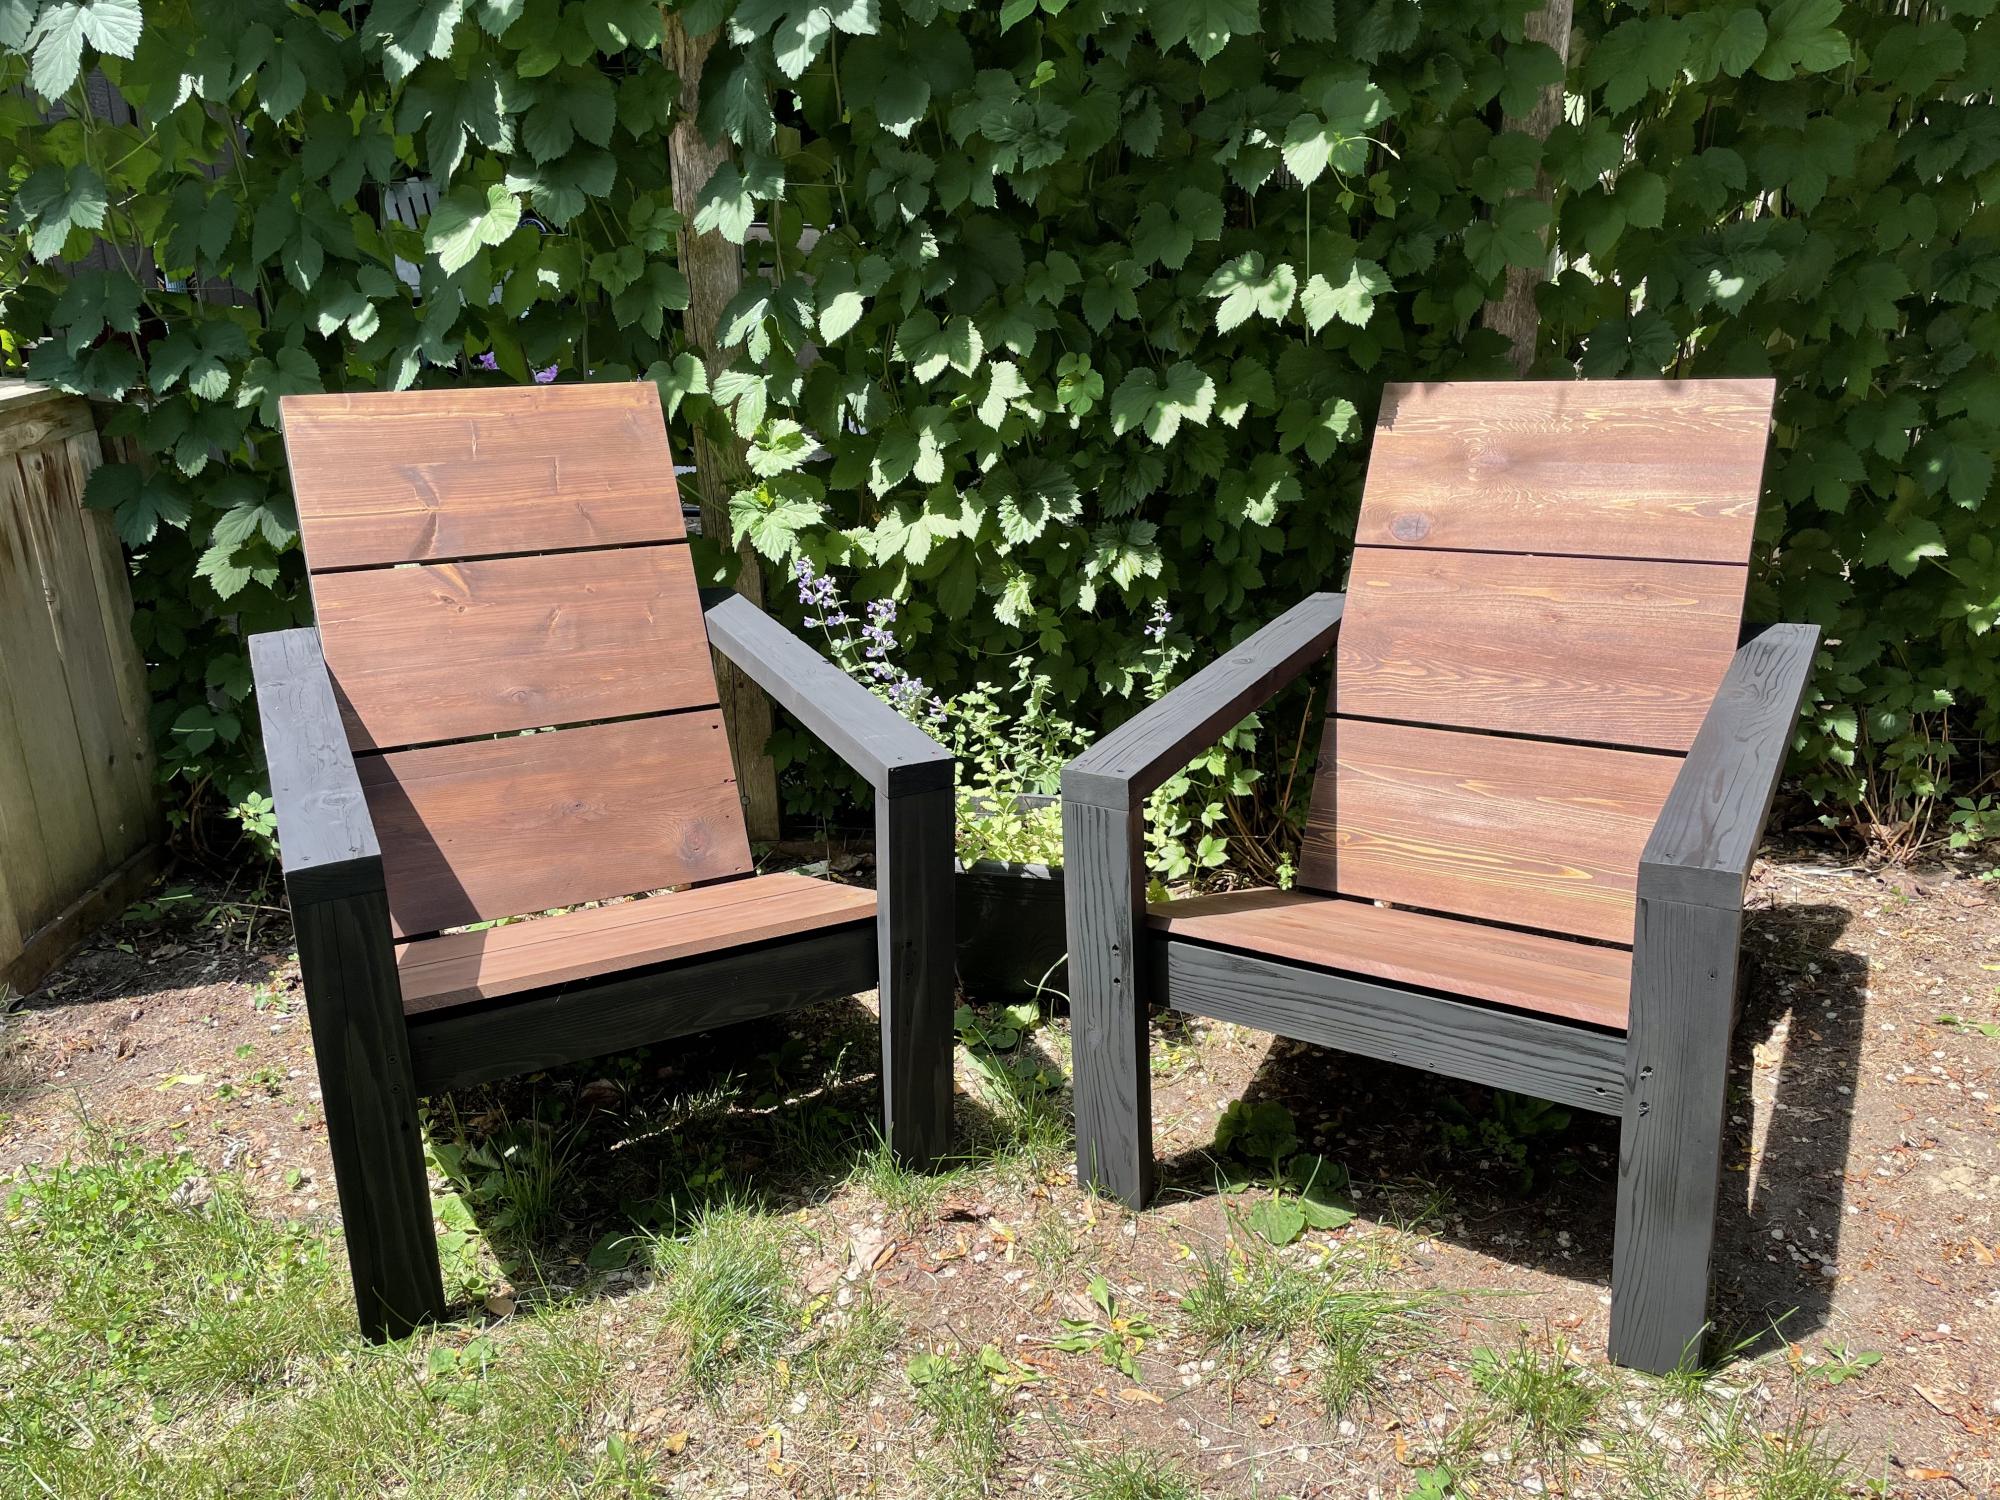
Given the crazy price of wood (2021), I'm glad I saved some old deck boards and fence panels we replaced last year, so I could build these! Love the design.
I mostly followed Ana's plans but used 1 5/8 screws and had a problem with wood splitting so for the ceder I used a finish nailer instread which worked great. I also painted before nailing the ceder pieces so they would really stand out and I also cut a few inches off the front ceder piece as I think 5.5in is too high and covers too much of the entrance.
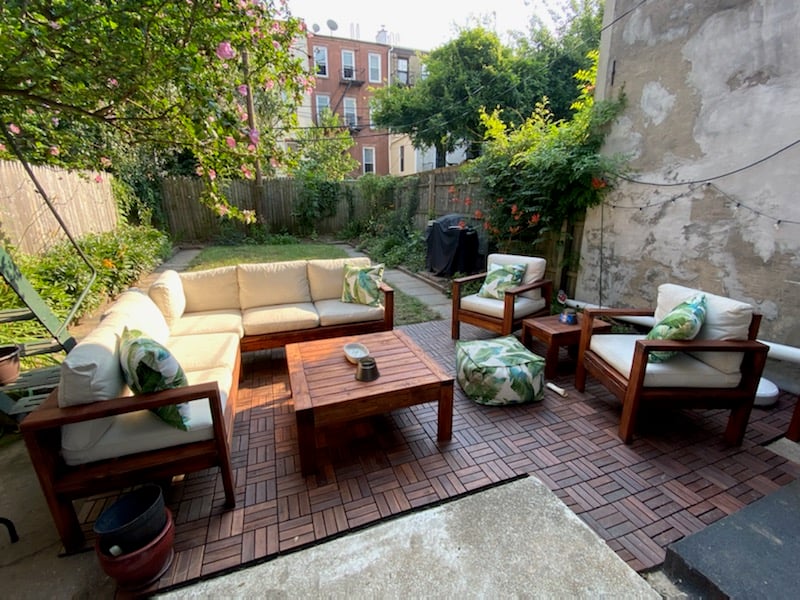
Used the plans for the 2x4 outdoor sofa. Modified the dimensions to better fit my personal needs. Made the coffee table a square instead of the rectangle plans posted here
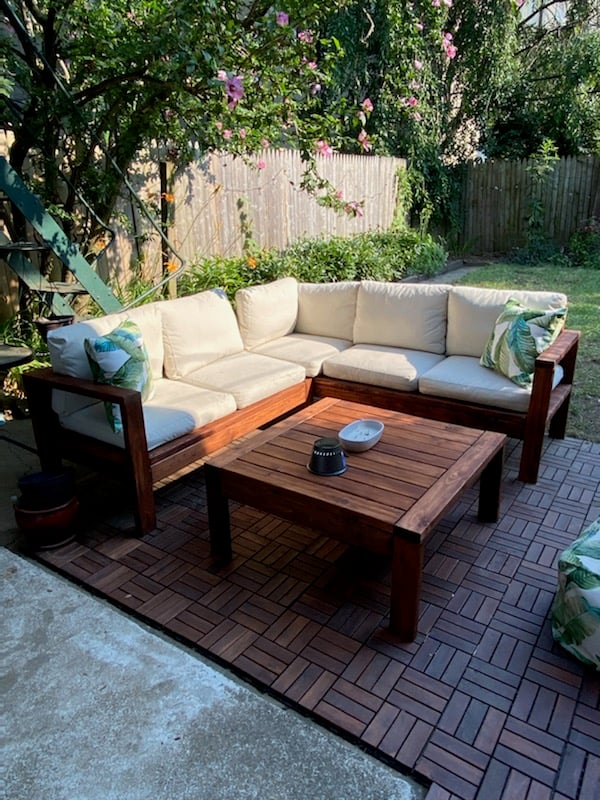
Wed, 07/07/2021 - 10:16
That is amazing, love the square table for the space! Thank you for sharing:)
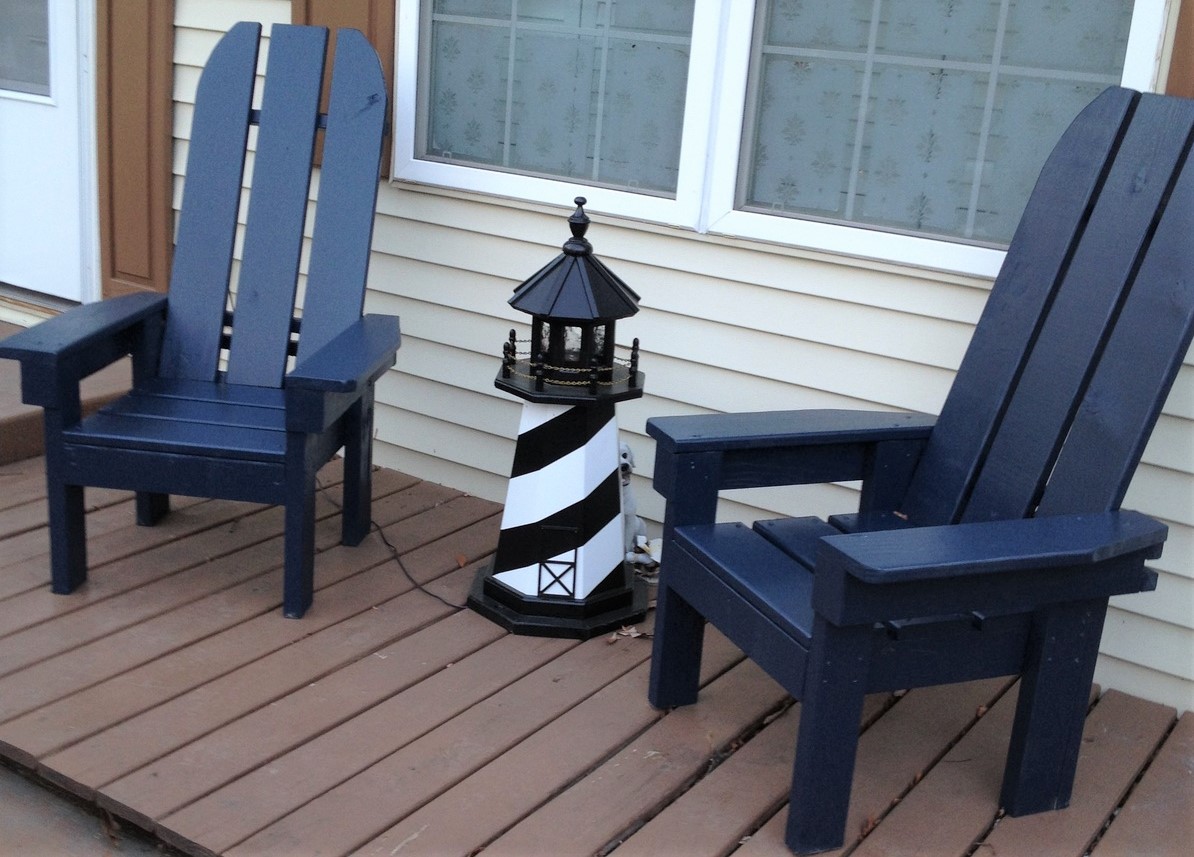
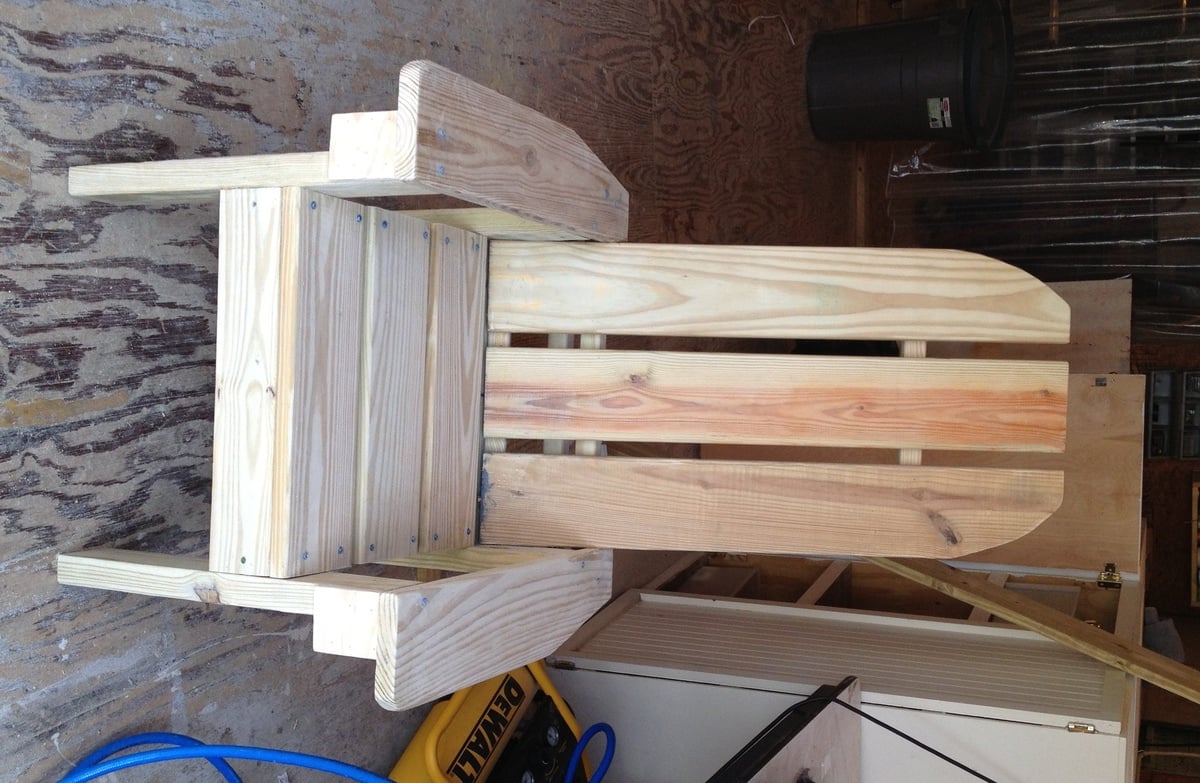
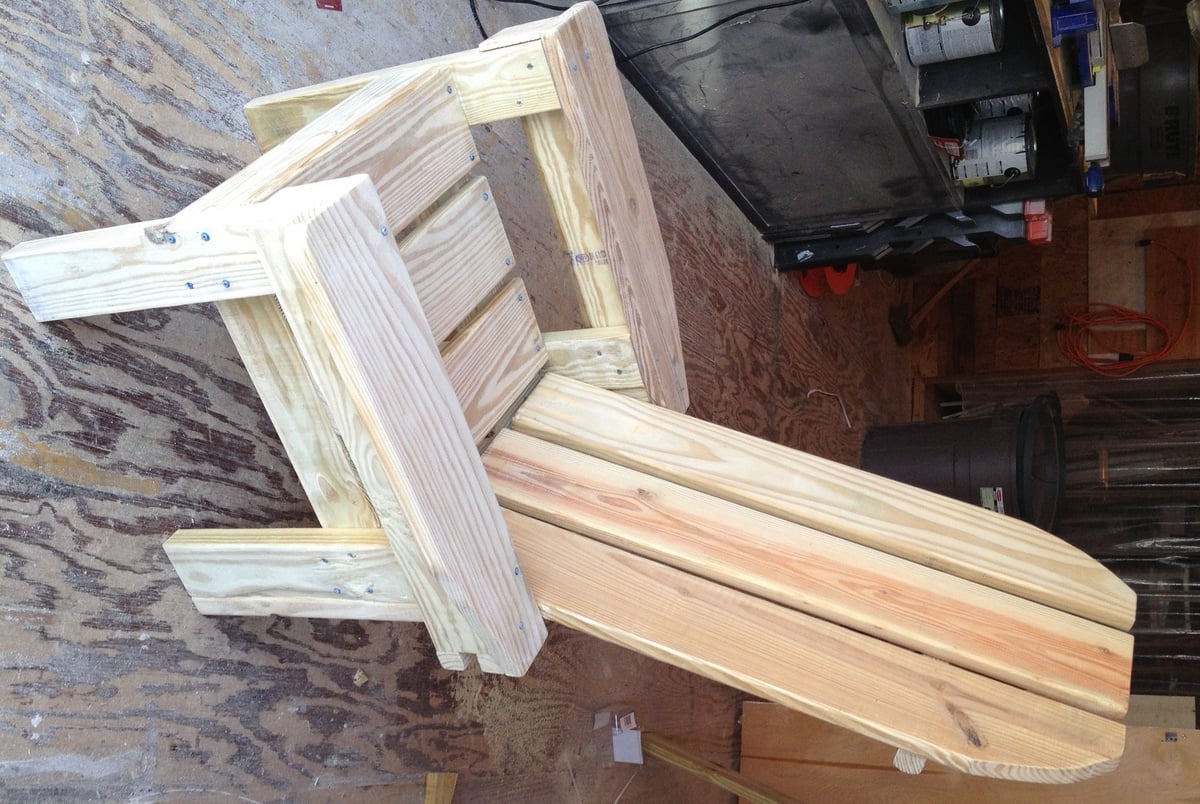
These sturdy chairs are a wonderful replacement for plastic deck chairs! They are nice and heavy, and won't blow over in a storm! This project is a mix of Ana's Adirondack Chairs and the Simple Outdoor Lounge Chair. I combined ideas from the two plans to use the extra lumber we had left over from an outside project from last year. Left-over lumber included some 2x4 for the bottom frames, some 5/4 decking board for the seat, back, and arms, and a few balusters at the back. Most of the lumber was left over, so I only had to spend $20 for 2 boxes of Kreg screws and 2 pc 5/4 x 8 decking board. Finished with some left over exterior latex semi gloss paint. This was a fun weekend project - built the chairs on one day, and finished the sanding and painting the next day. My next project is a little outdoor table to go with them, and I have a few scraps left over to use for that. These chairs have received lots of compliments, and we've given Ana's web site name to several admirers. Ana, thank you for your wonderful plans!
Sun, 09/28/2014 - 18:15
Hi Mepaganjr,
I used the plan for the Simple Outdoor Lounge Chair
http://ana-white.com/2010/05/plans/simple-outdoor-lounge-chair
as my guide for the seat part, and the slant of the back,
and used Ana's Adirondack Chair
http://ana-white.com/2010/05/furniture-plans-adirondack-chair-ana.html
as the inspiration for the tall chair back and front legs. I did several adjustments to fit the mixture of sizes of 2x and 5/4 scrap wood that I had available. I traced a paint can lid to make the curve on the top of the chair backs.
A great plan that has a similar seat and legs is the Adult Adirondack Chair, which is in Ana's book, The Handbuilt Home, on page 174. That's a great plan because it only uses six 1x4's an one 1x2. If I hadn't been using up the mixed scrap lumber, I would have used the Adult Adirondack Chair plan.
Happy building! :) Joanne
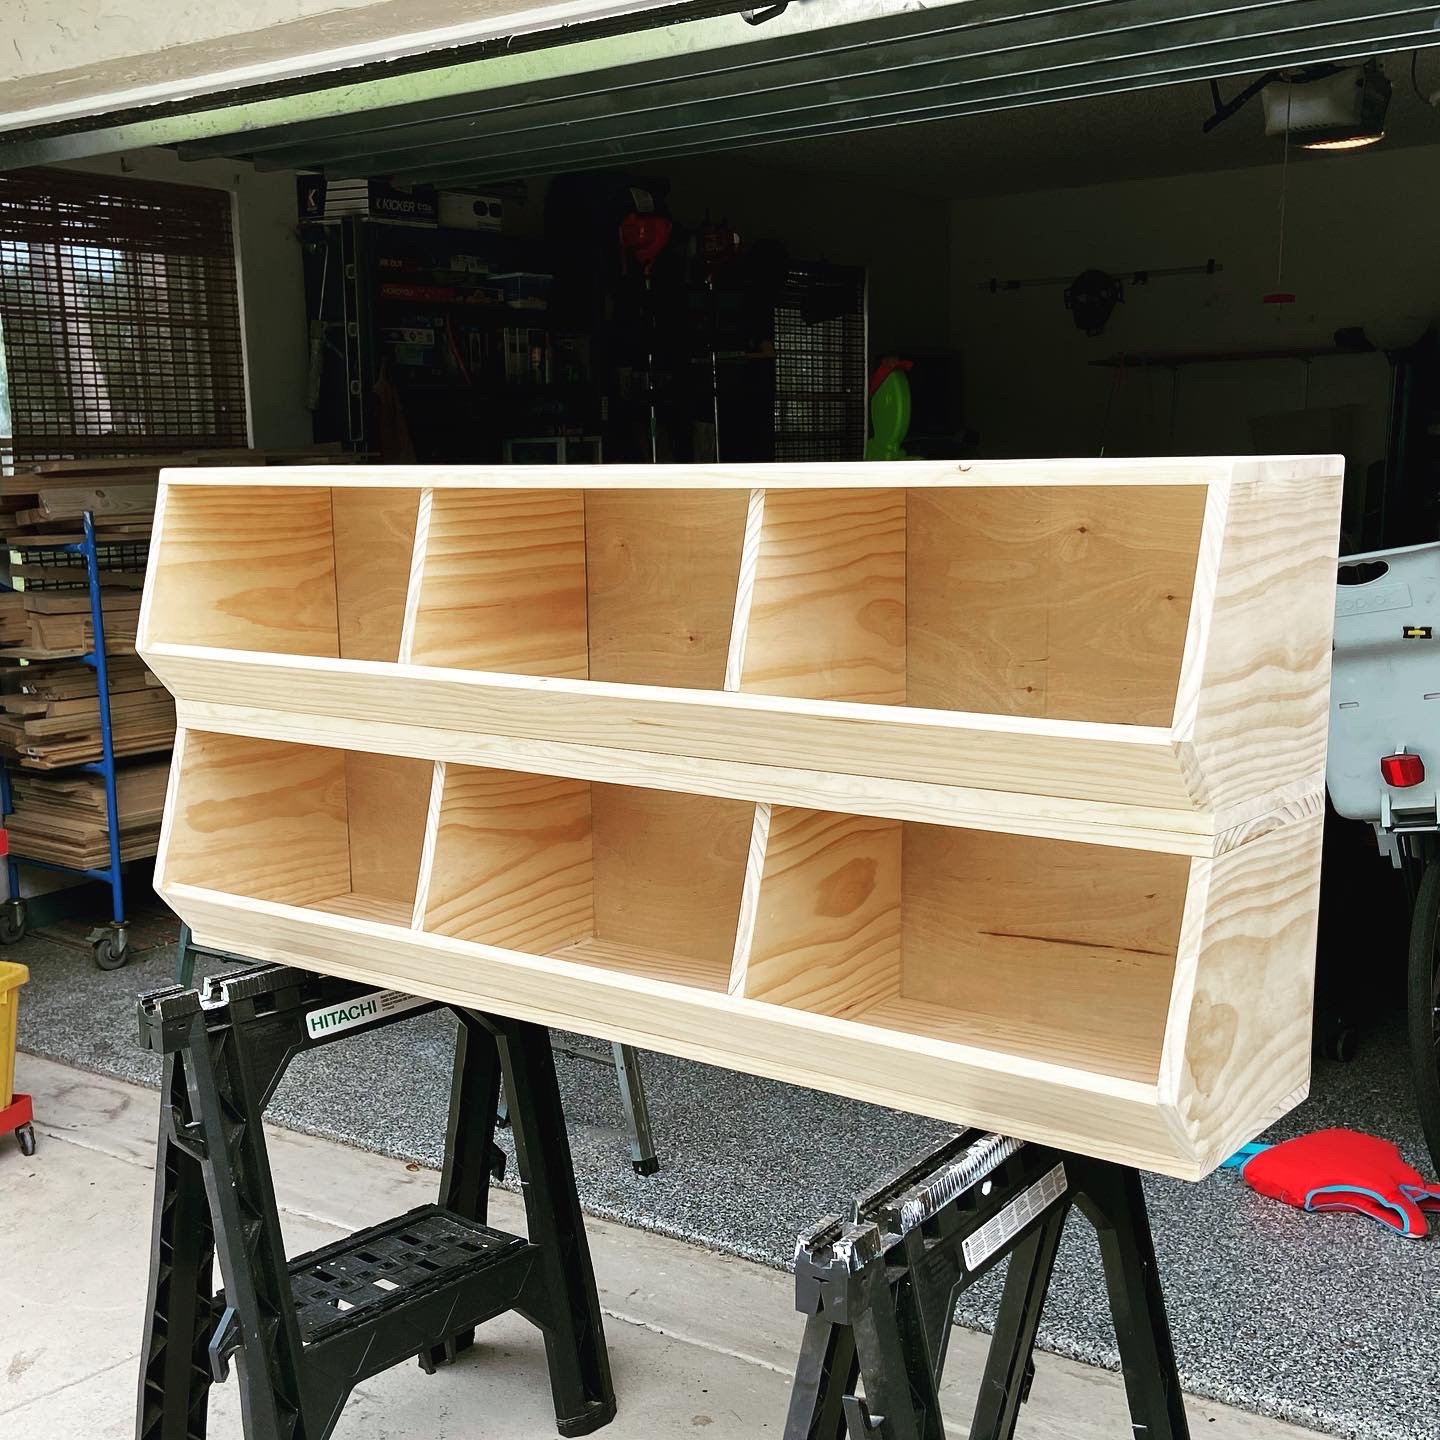
I have built all these recently with the help of your plans! Thank you!!
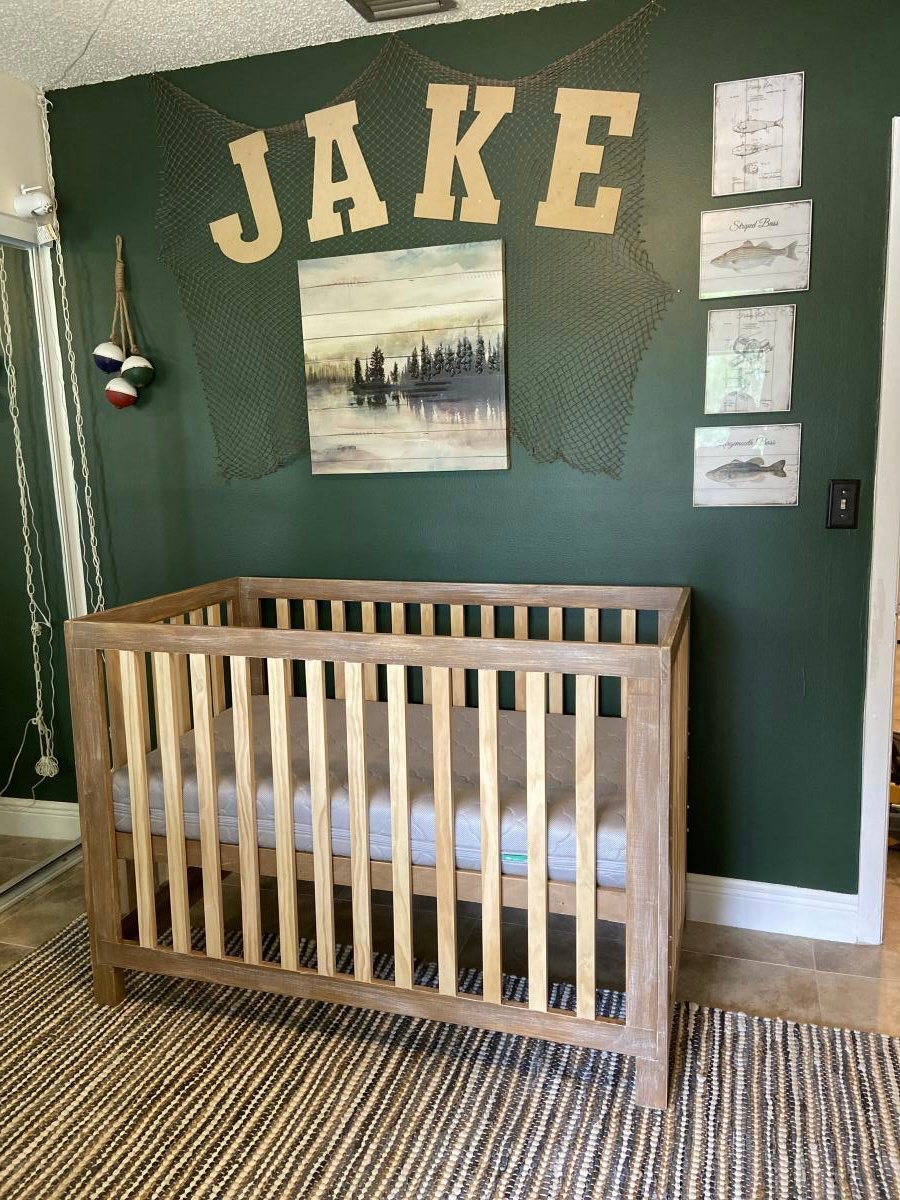
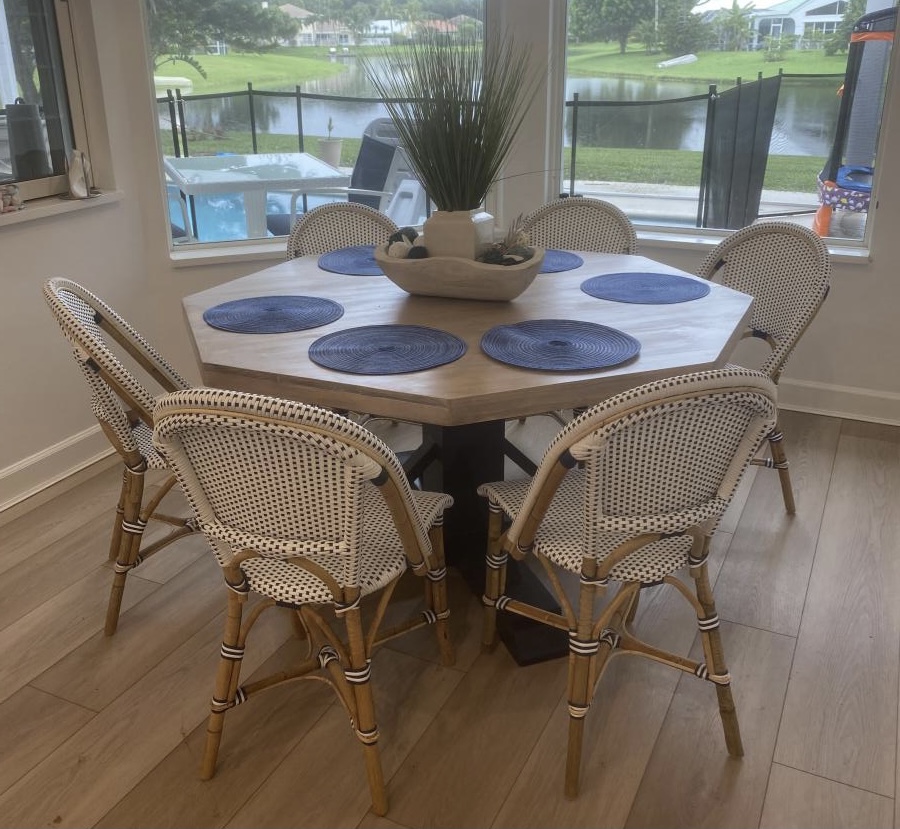
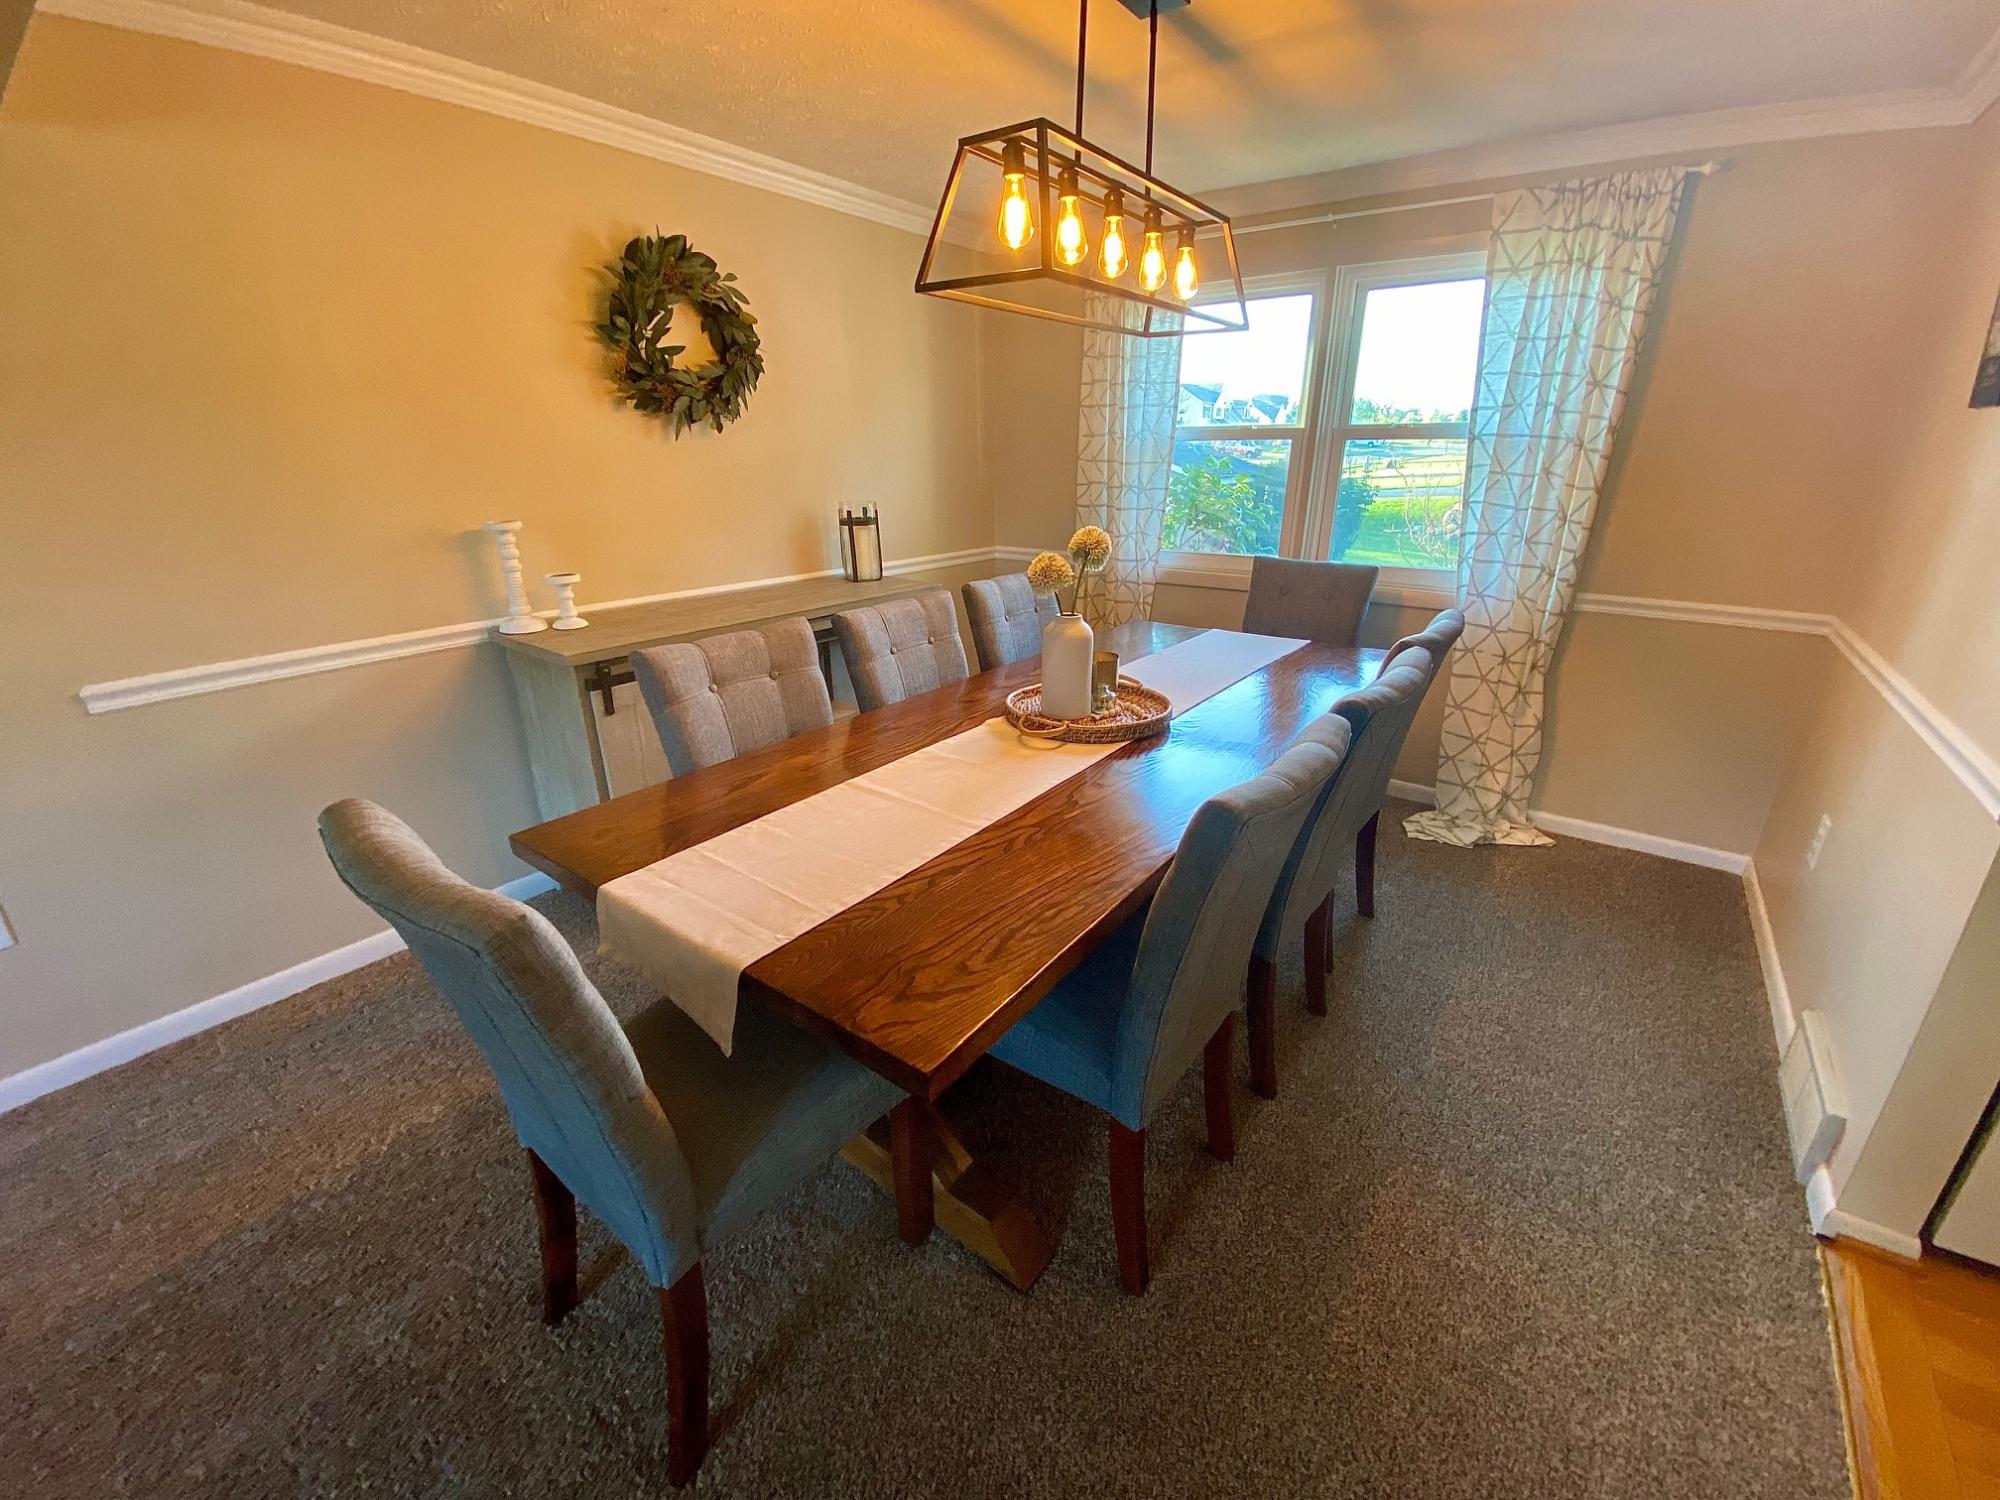
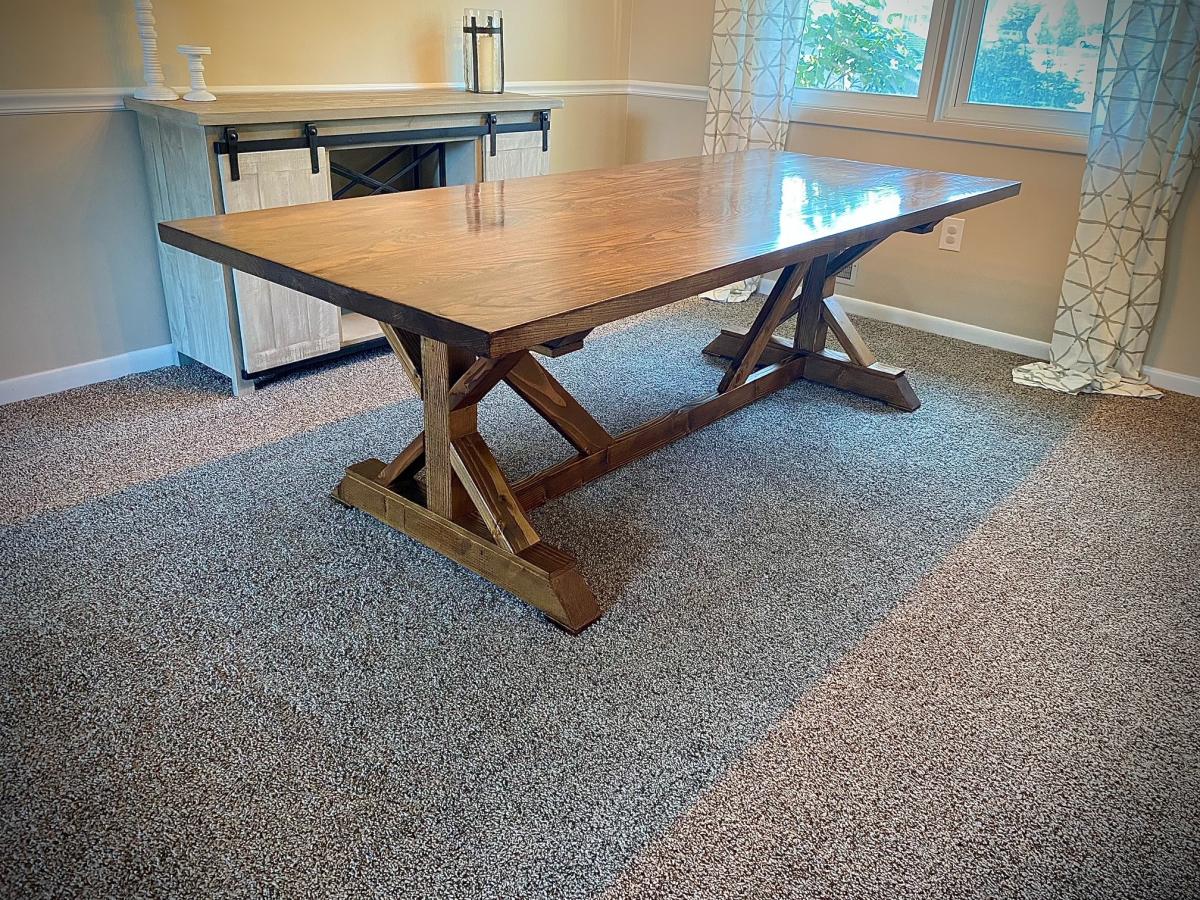
First AW project - very easy to follow with the plans, comments, and some basic problem solving. We like others did substitute some 4x4s for her stacked 2x4s.
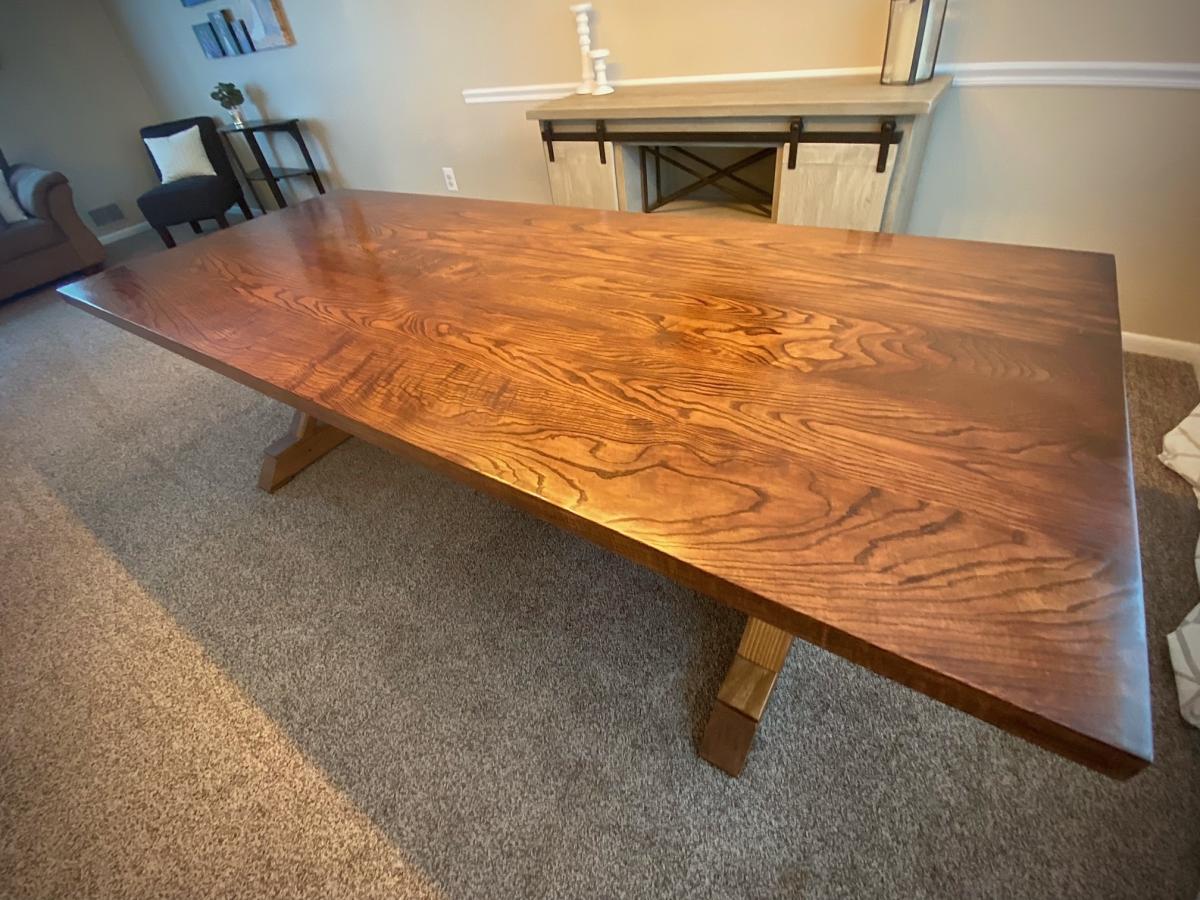
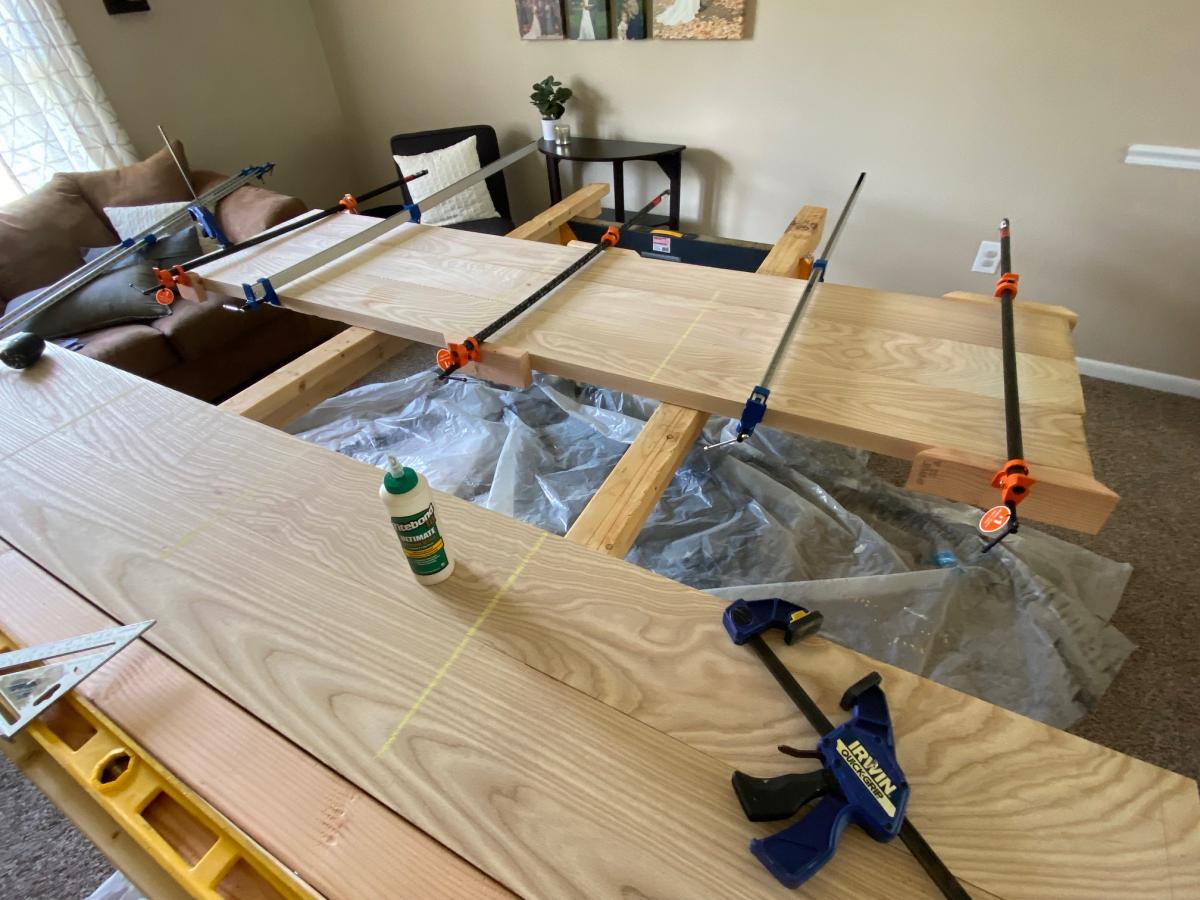
We used 2x8 Ash boards for the top, rough milled down at a local hardwood depot. ($600...Ouch). The lumber was glued up with Titebond iii and clamped with pipe clamps. Then used a combination of electric planer and belt sander to make sure it was completely flat and even after the glue up. Finish sanding was done with a 6" orbital, and the ends were cut flush with a circ saw.
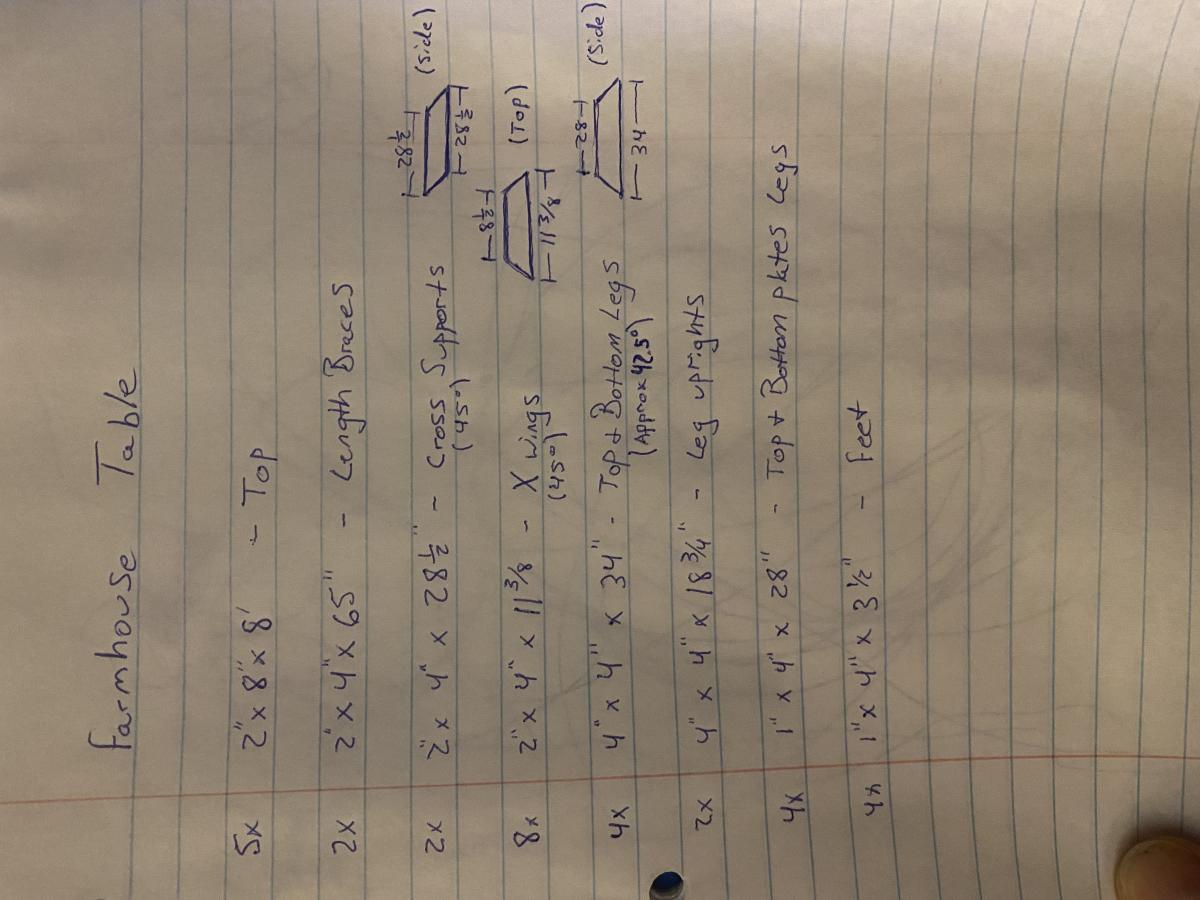
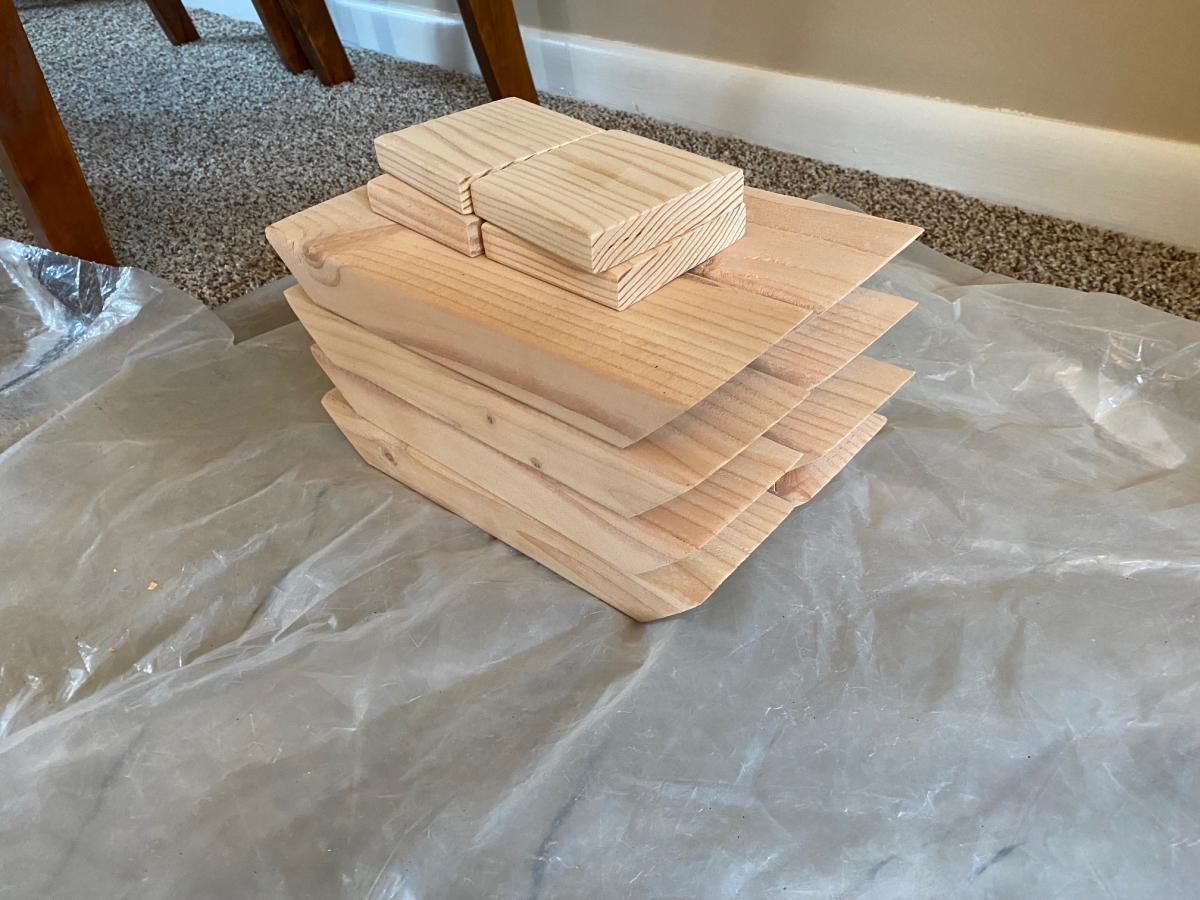
The base of the table was the easiest (and cheapest). It is made of kiln dried Doug Fir from the blue big box store. A photo of the cut list we used is attached. Used a chop saw for everything. This video helped visualize everything even though ours were not exactly the same. We used similar screw selection as this video as well:
https://www.youtube.com/watch?v=qg_hwoekV80
We used a kreg bit to predrill/counter sink our screws. Then purchased Douglas fir wood plugs from this etsy user. Didnt feel like cutting our own. This user has a lot of other species as well.
https://www.etsy.com/listing/991000659/douglas-fir-clear-tapered-wood-p…
A lot of people had questions about how to connect the top to the base. We routed a groove on the top of the base on each side and connected the two with Z clips. We used this method:
https://www.youtube.com/watch?v=J7Z69COtzzw
And these clips:
https://www.amazon.com/Table-Fasteners-Connectors-Screws-Brackets14/dp/…
Finishing was the most stressful part. Our first staining attempt was very blotchy despite being sanded very well and using a preconditioner. Since we spent so much money on the top and wanted this to be a perfect heirloom piece, we ended up re-planing and sanding the whole top (Kill me). We then used this method to precondition the wood by The Wood Whisperer - which worked great:
The table final coat was finished using these methods by PMK Woodworking. 3:2:1 ratio of
Mineral Spirits: Oil Based Poly: Boiled Linseed Oil:
https://www.youtube.com/watch?v=MxP5YuTHyic
https://www.youtube.com/watch?v=J_6g4oGEJ5s
Overall very happy. Took way longer and cost way more than expected. But hopefully will be our forever table that our kids will fight over one day. If you wanted to do this cheap and have it look rustic with imperfections, that would also be great and very doable.
Thanks to Ana, all the links above, and all your comments!
Good luck
Comments
Ana White
Thu, 12/04/2014 - 22:37
This is really nice! I love
This is really nice! I love the yard too!
earthbybike
Sat, 12/06/2014 - 12:27
Thanks!
I built this at the local college woodshop and I am very happy with how it turned out. Our comminity is so very lucky to have a community college that has a wood shop and a huge spray booth. (Wood Shop 1 & 2 as well as Cabinet Building 1 & 2)