Community Brag Posts

Square Fancy X Farmhouse Picnic Table and Benches
Submitted by MicheleV on Sun, 06/09/2013 - 16:25

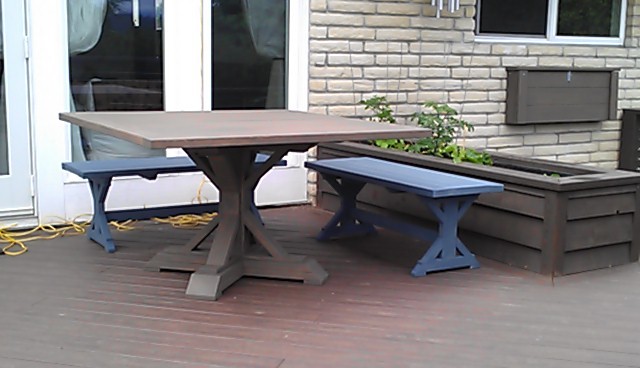
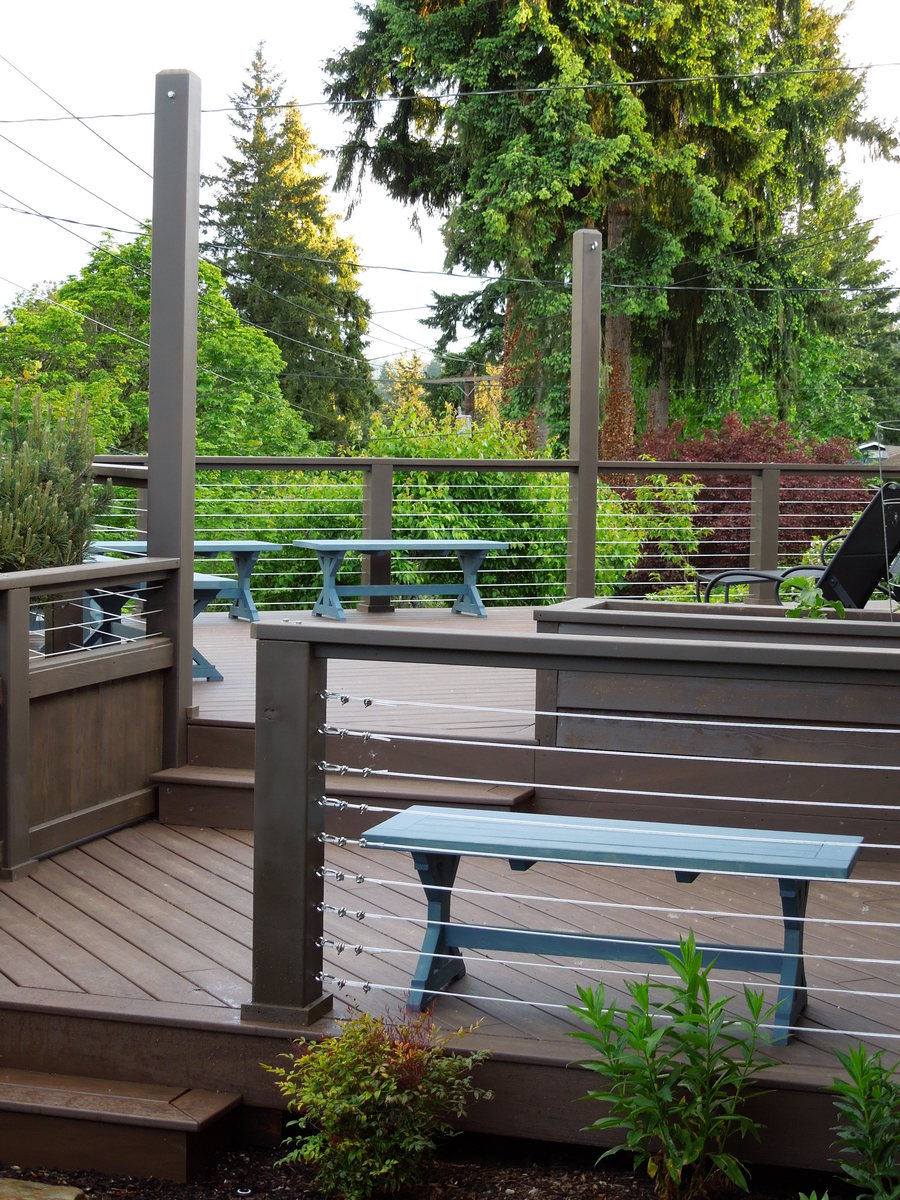
When we resurfaced our deck last year we had to remove the built-in benches due to code regulations, so I knew I would get to make new benches this year. We wanted them to be a flexible size so we could rearrange the deck easily for eating, entertaining, enjoying the sun and the shade. Based on the size and shape of our deck, a square table for 6-8 people was going to be the best option.

After looking at a couple design plans, I decided to combine a few plans to get exactly what we wanted. To get a mid-sized square table I used the leg structure of the Fancy X Table with the construction method and the stability from 2x6s of the Square Pedestal Table. The top is joined from seven 45.5" lengths of 2x6 and two lengths of 2x4s. It ends up being 52.5" square. It is snug for eight people, but comfortable for six. We didn't end up using the skirt boards so there would be more knee room. The base is mounted on the diagonal for the same reason.

For the benches, I used the supports from the Fancy X Benches, with the bordered top from the Triple Pedestal Farmhouse Bench, since it would match the table top better. The benches are 48" long, and only two supports were used for each, inset 5" from the end of each bench. Likewise, I used a single stretch of 2x4s for the seats rather than seam them in two parts like the 106" long original plans. I did add an extra 2x2 support board under the seat platform to keep the 2x4s even over time. Overall, I made five benches - four for around the table and one for next to the BBQ. They are blue so they provide some color against the brown deck and green tree tops that surround the deck.

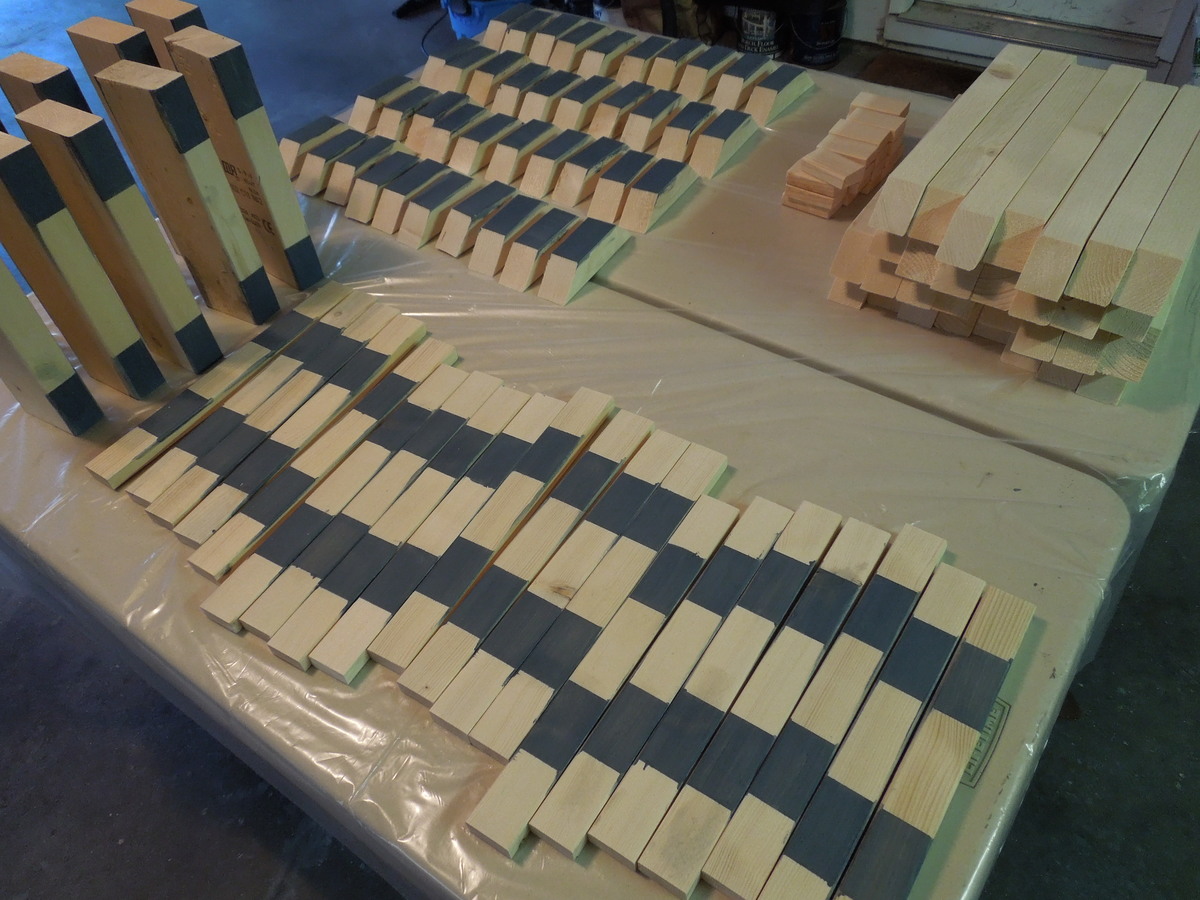
For both the table and the benches, I pre-stained the surfaces that make up the inside of the Xs. It made it easier to get good coverage there.

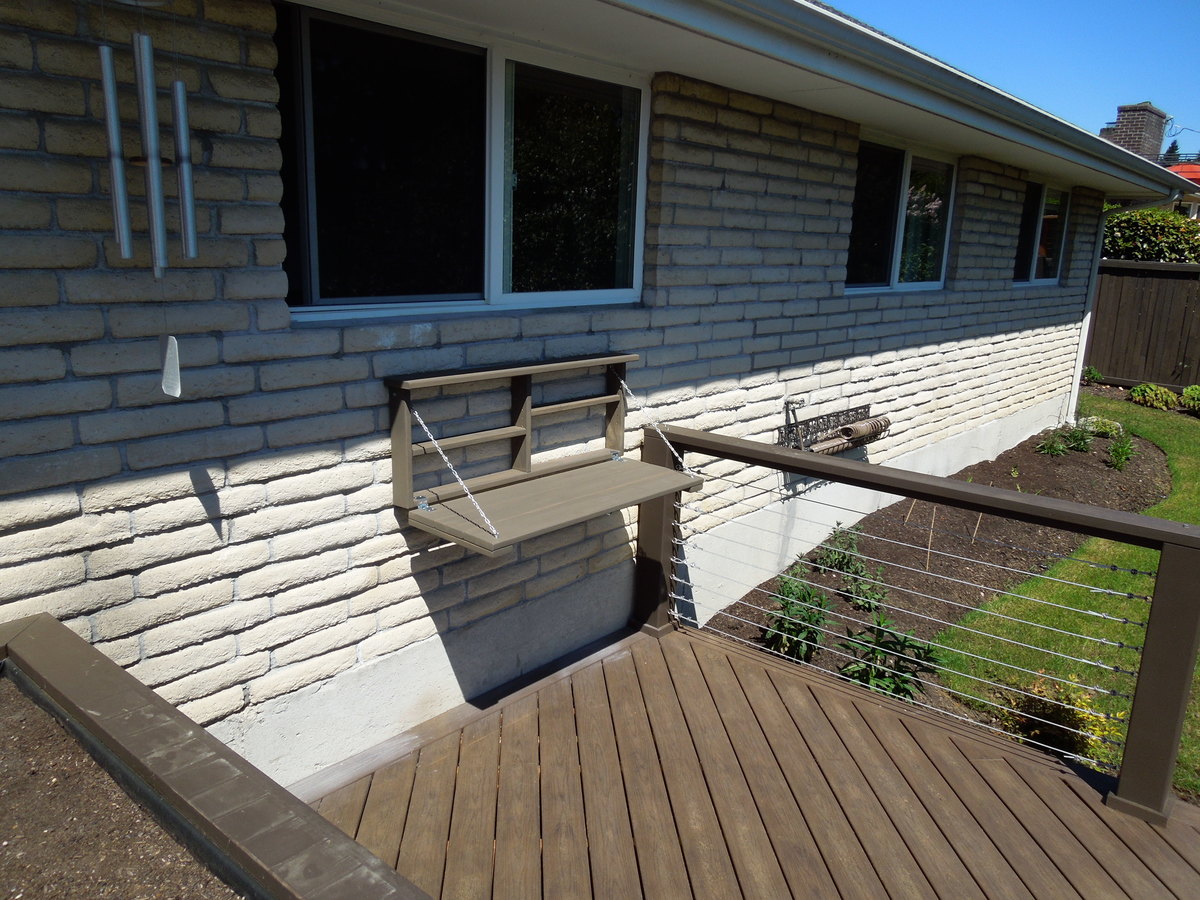
I also made a quick flip-down BBQ prep station, on similar lines to the Flip-down Wall Art Desk out of two 5/4x6 and two 5/4x4 cedar boards. The shelves are on adjustable pegs.

The costs broke down - with all hardware, screws, putty, sandpaper, stain, etc. - as: $90 for BBQ station (lots of hardware), $200 for 5 benches, and $155 for the table. I did a lot of sanding and filling to get the rough 2x4s smooth. In the end, there was about 50 hours in the benches, and 20 in the table. The BBQ station was less than a day, including mounting.
Estimated Cost
$450
Estimated Time Investment
Week Long Project (20 Hours or More)
Finish Used
Benjamin Moore Semi-Solid Arborcoat in Spanish Moss (table and drop-front BBQ station) and Spellbound (benches)
Recommended Skill Level
Intermediate

Comments

Harvest Table DIY

Submitted by Anonymous (not verified) on Mon, 10/23/2017 - 10:18


Submitted by Valeria Green -

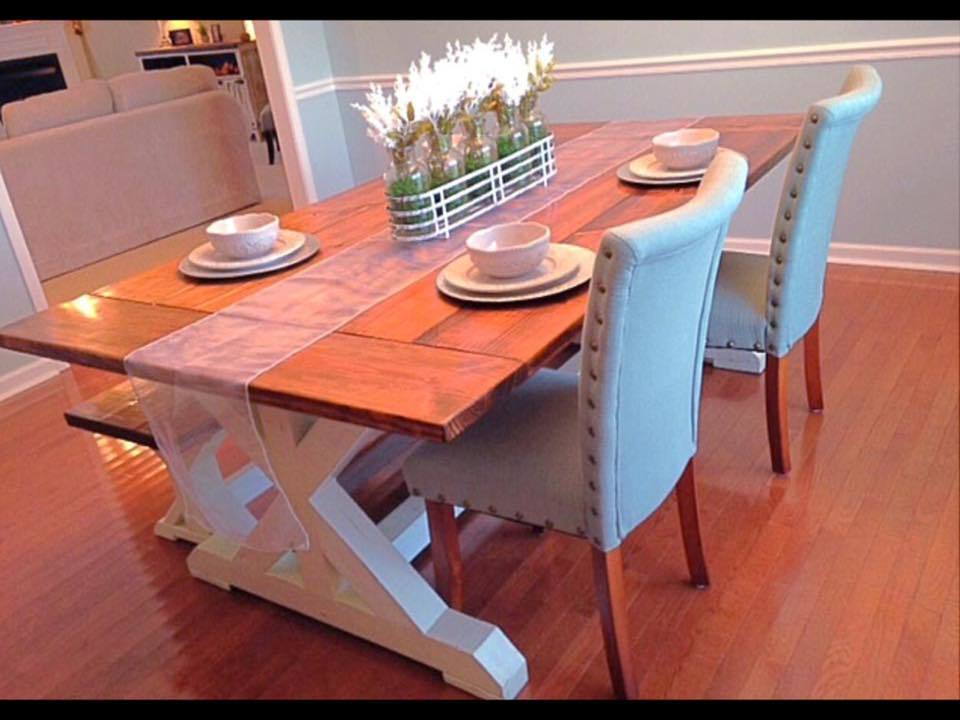
My husband built this table and bench for my son and his wife. He is presently building another by request for a young couple.

Built from Plan(s)
Recommended Skill Level
Intermediate

Comments

amberfro

Thu, 10/25/2018 - 11:01

I love the use of the 4x4s instead of the 1 and 2 x 4s. How did he attach the 4x4  used for the width to the 4x4s for the side braces and height? Thanks in advance

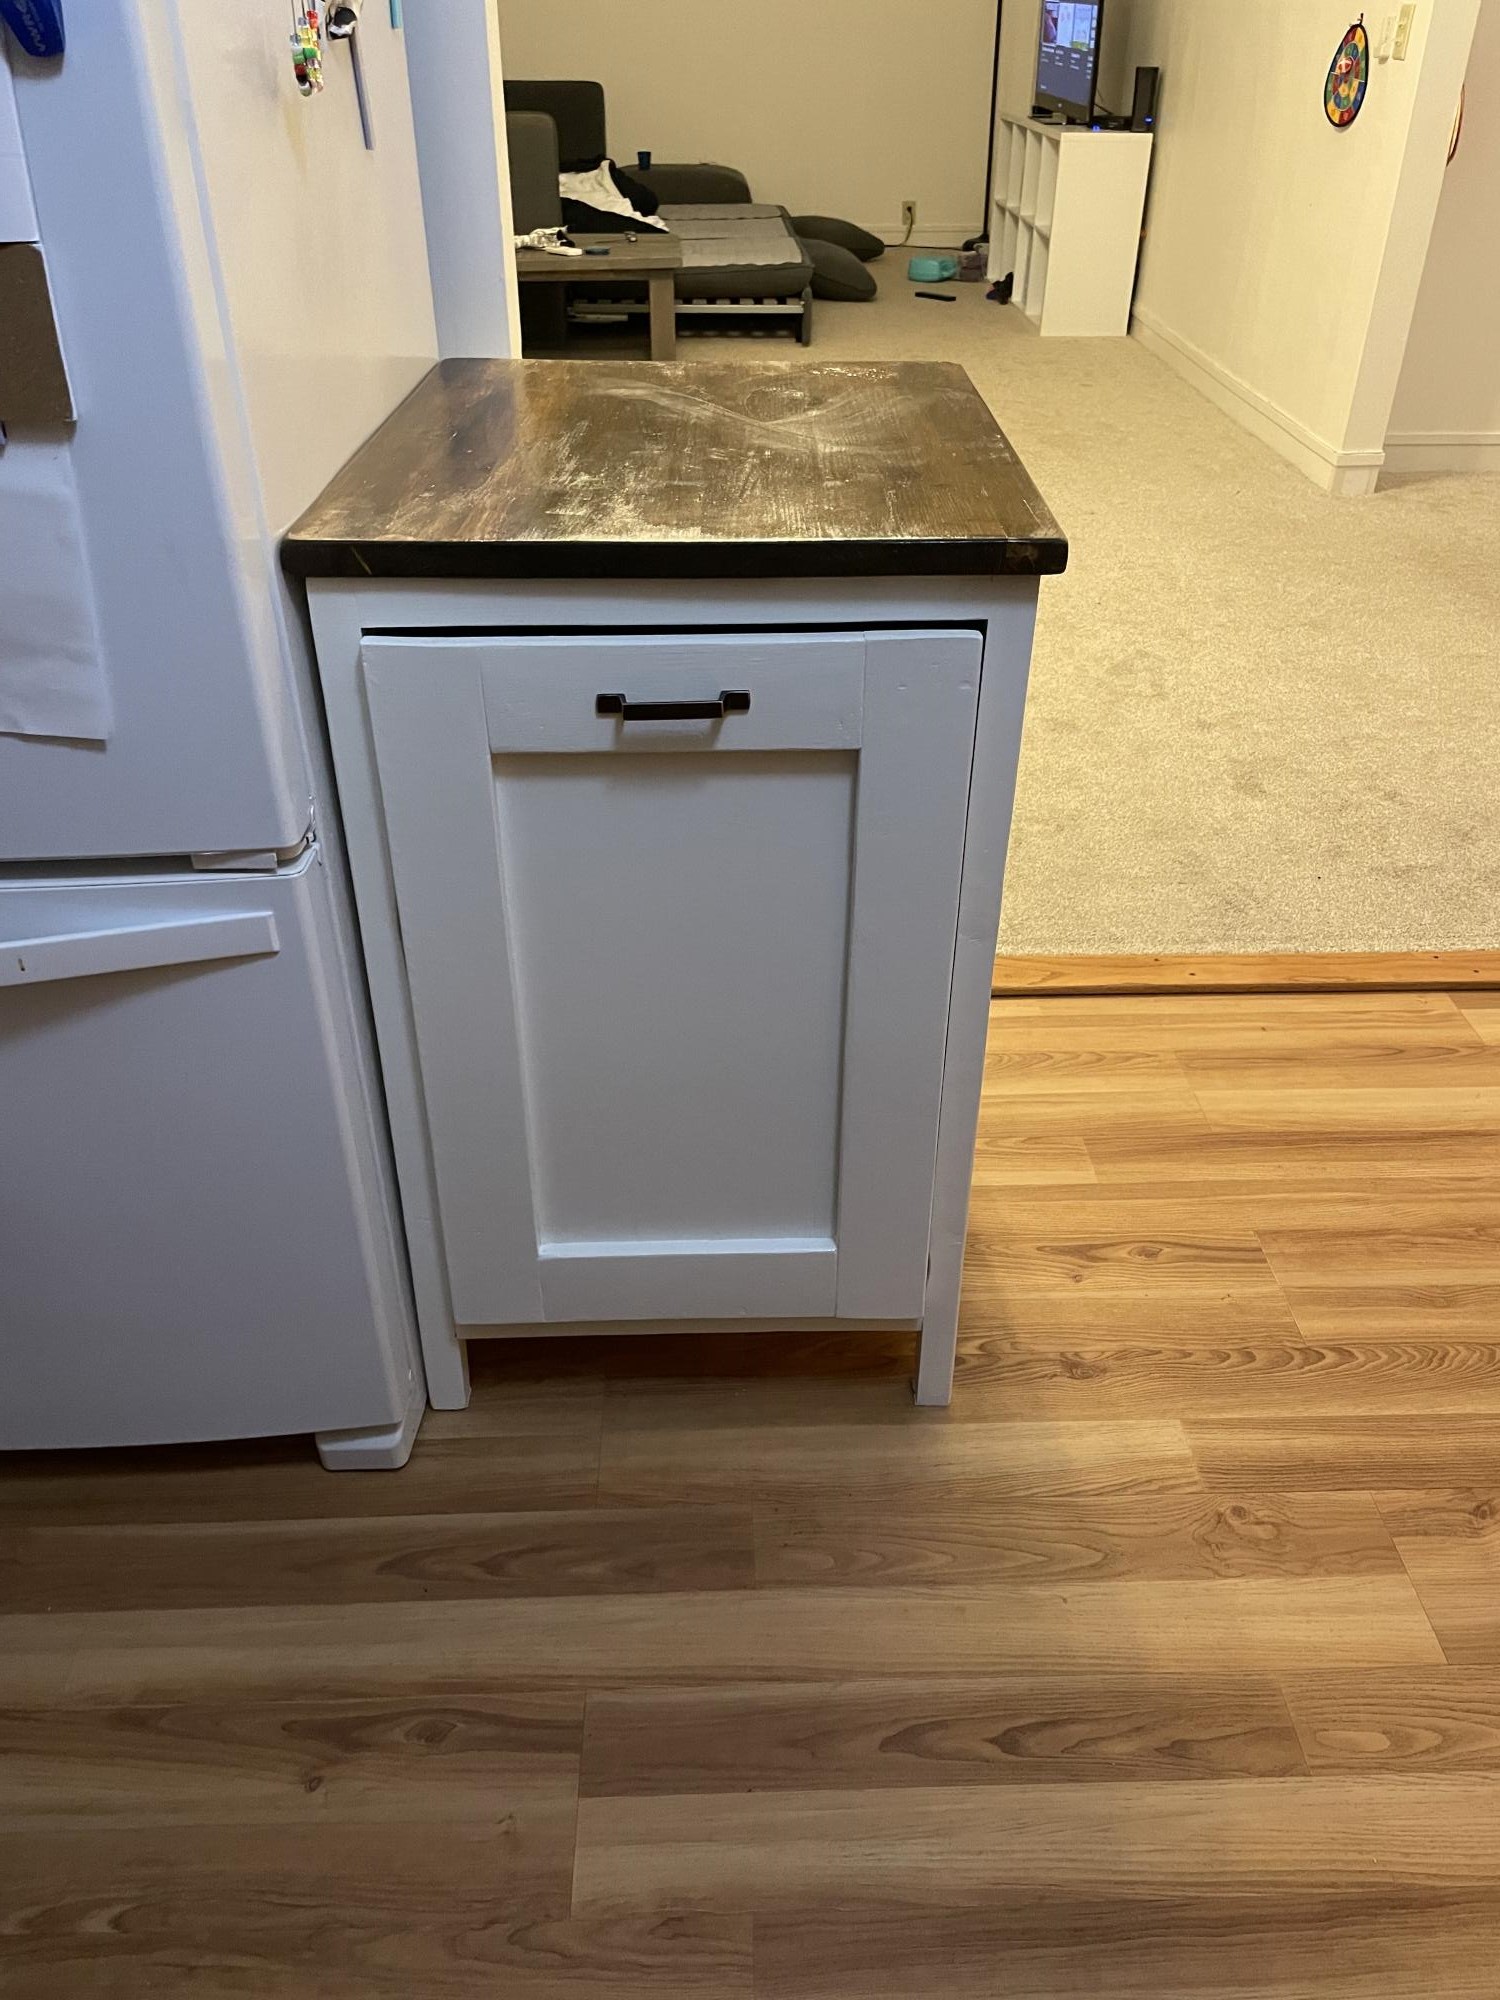
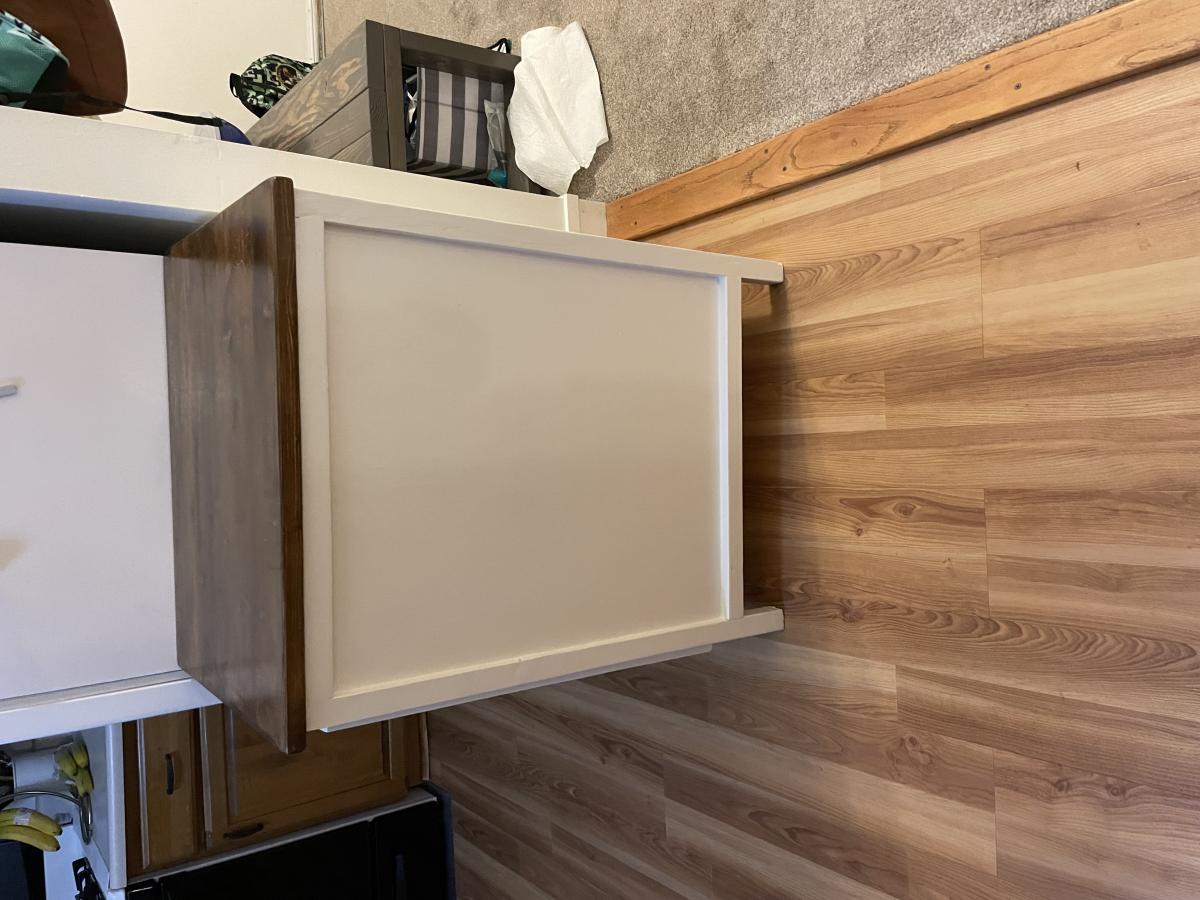
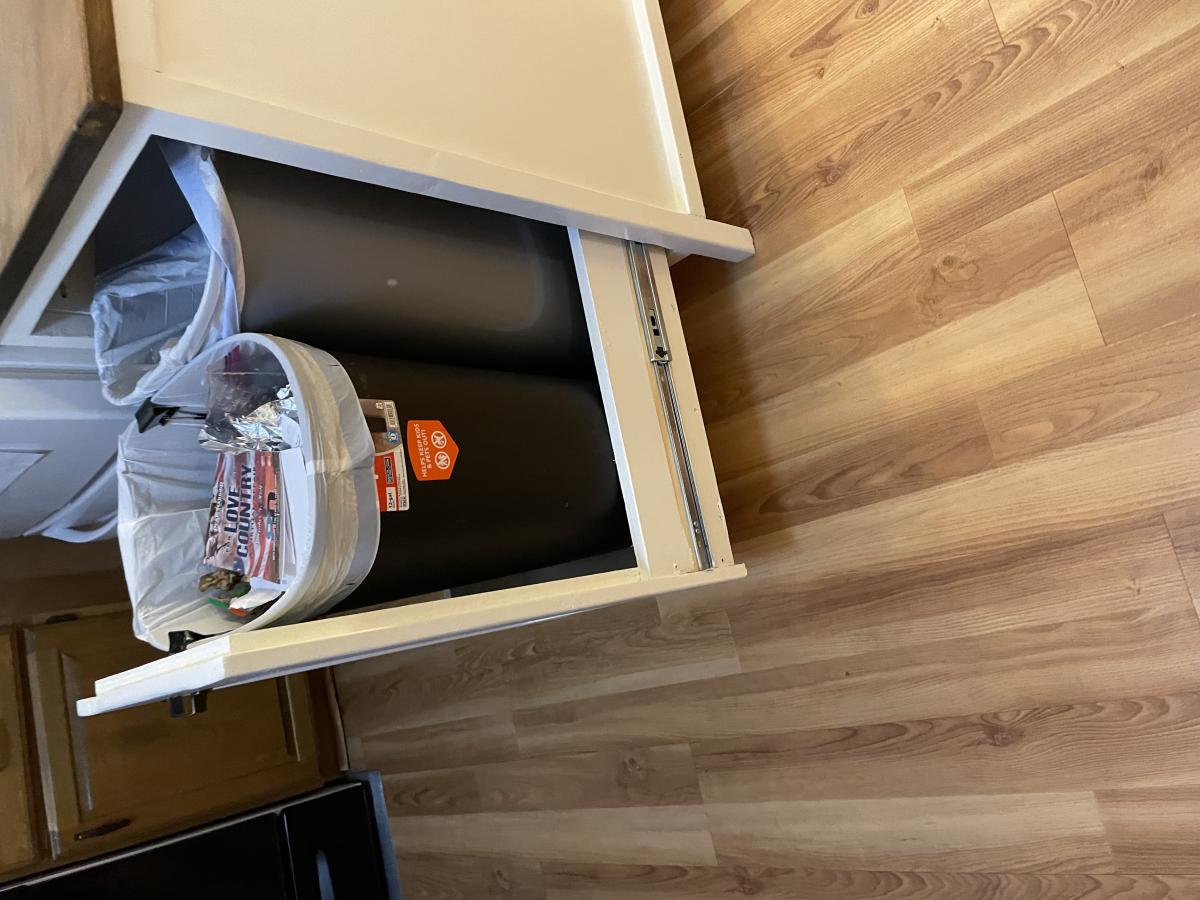
Kitchen Island, Trash Can Storage

Submitted by Anonymous (not verified) on Thu, 11/11/2021 - 21:46

I absolutely love this kitchen island/trash storage/prep station. I had so much fun building this with my father in law who is a professional carpenter. I had built several other projects, but with this project and his help, I feel that I can finally say I am an "advanced" builder :)

I had so much fun with this, and I can't believe how it turned out.

Comments

Small Dog Bed

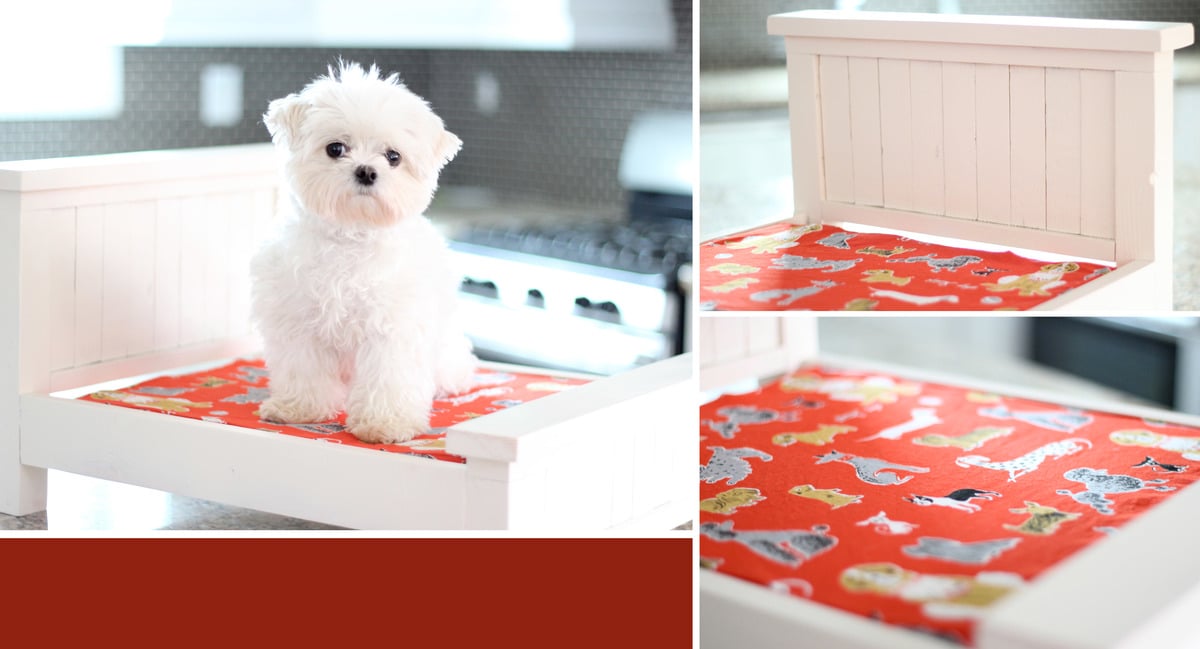
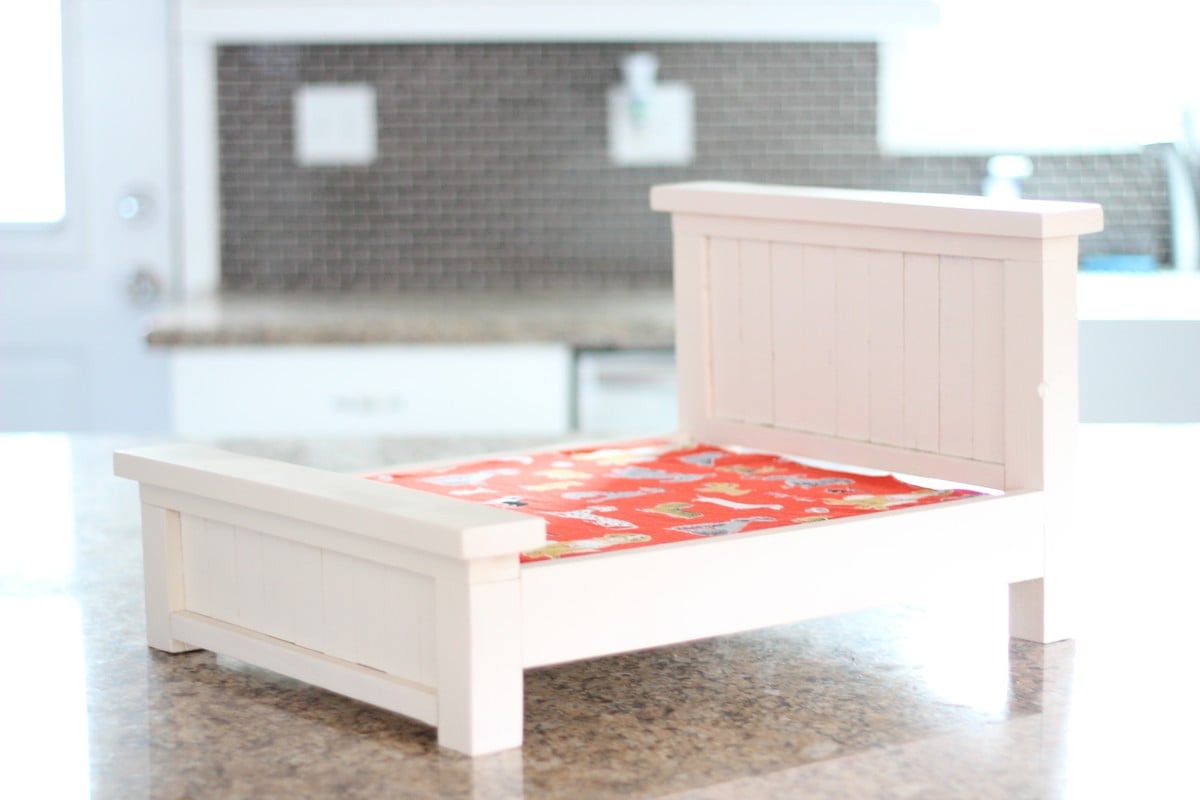
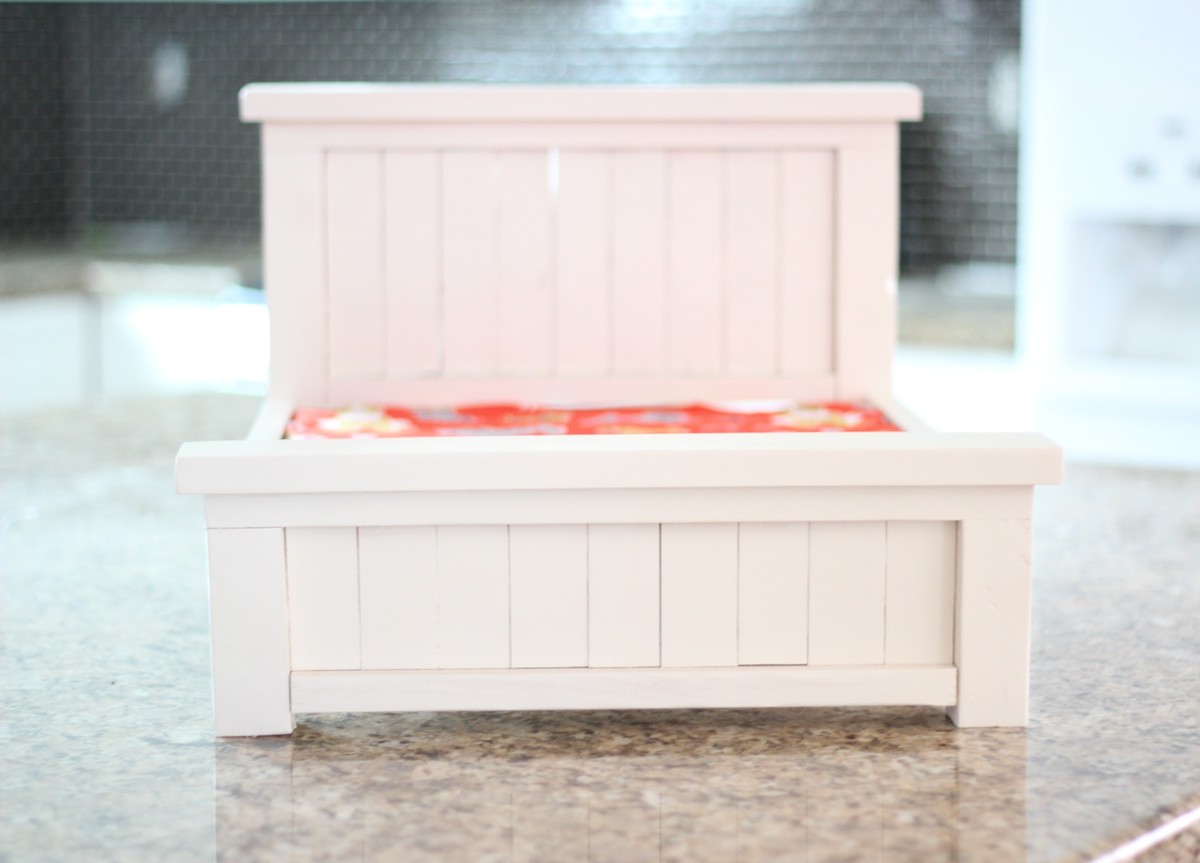
My mom really wanted me to build her a bed for her dog and was coming to visit in a week, so I jumped on the project immediately.  (Although it is for her pup, mine is modeling the bed:-).)  I took the Farmhouse Doll Bed plan and used that as a base for a modified version.  I went to Joanns and grabbed a standard 15"x17" piece of 2" medium density foam for about $5 and built around it.  Instead of using the 1x3s for the headboard, I used 9 1x2s to even out the space.  This was also my first time ever sewing, so that was probably the most time consuming part of the project!  (That's what took it over the edge from being an "hour or two project" to an "afternoon project".)  I also modified the plans for Ana's Outdoor Cushions to fit the smaller piece of foam.  (I fell in love with the dog fabric from Tonic Living, so I HAD to make my own!)  I finished it off with 2 coats of spray paint.

Estimated Cost
$25 - including foam and fabric for cushion
Estimated Time Investment
Afternoon Project (3-6 Hours)
Finish Used
2 cans of Rustoleum Spray Paint in Antique White
Recommended Skill Level
Beginner

Child Size Beach Chair

Submitted by sueslager on Thu, 06/13/2013 - 13:08

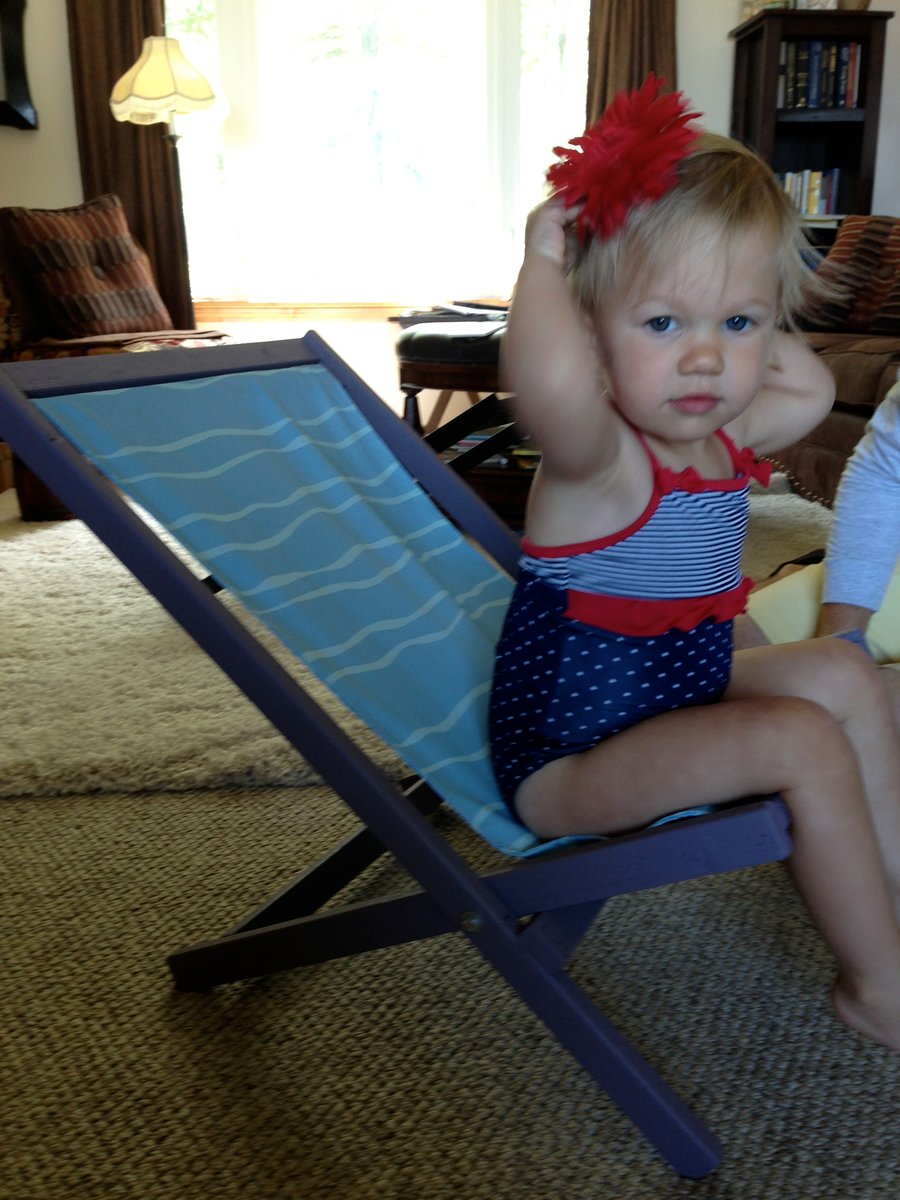
This project goes together very easily. Had my adult son come by and make it for his daughter.

Did make one adjustment ... the supporting bar on the small frame ... the one that determines the opening angle ... at 6" the chair was too open ... at 6 1/2" it was more comfortable for the little ones. We used glue and air-gun brads for joining ... once dry I was able to sit in the chair without collapse!

Estimated Cost
$10
Estimated Time Investment
An Hour or Two (0-2 Hours)
Finish Used
ace hardware, clark & kensington, pale purple
Recommended Skill Level
Starter Project

Chunky Media cabinet

Submitted by redhead_61 on Tue, 12/05/2017 - 22:43

This was loosely based on one of the media cabinets on this site.  I built it to fit this spot exactly and used many of the same design elements as in the Leighton media Suite I built several years ago.  One thing I want to mention I did with this design that is a FABULOUS idea in all media units.  Inset the back of your lower section.  I hate not being able to run the top of my "counter" flush with the wall because the back of my unit or bookcase is running into all the plugs in the outlet.  I left a little larger of an overhang than I normally wood to clear the baseboards and I inset the backing of this peice about and inch inward to leave lots of room for all the chords to just hang there but be hidden.  They are much more accessible and now the top of my unit is flush to the wall.  

Estimated Cost
$80
Estimated Time Investment
Weekend Project (10-20 Hours)
Finish Used
Acrylic hard finish white paint.
Recommended Skill Level
Intermediate

Foldable Farmhouse Table 2

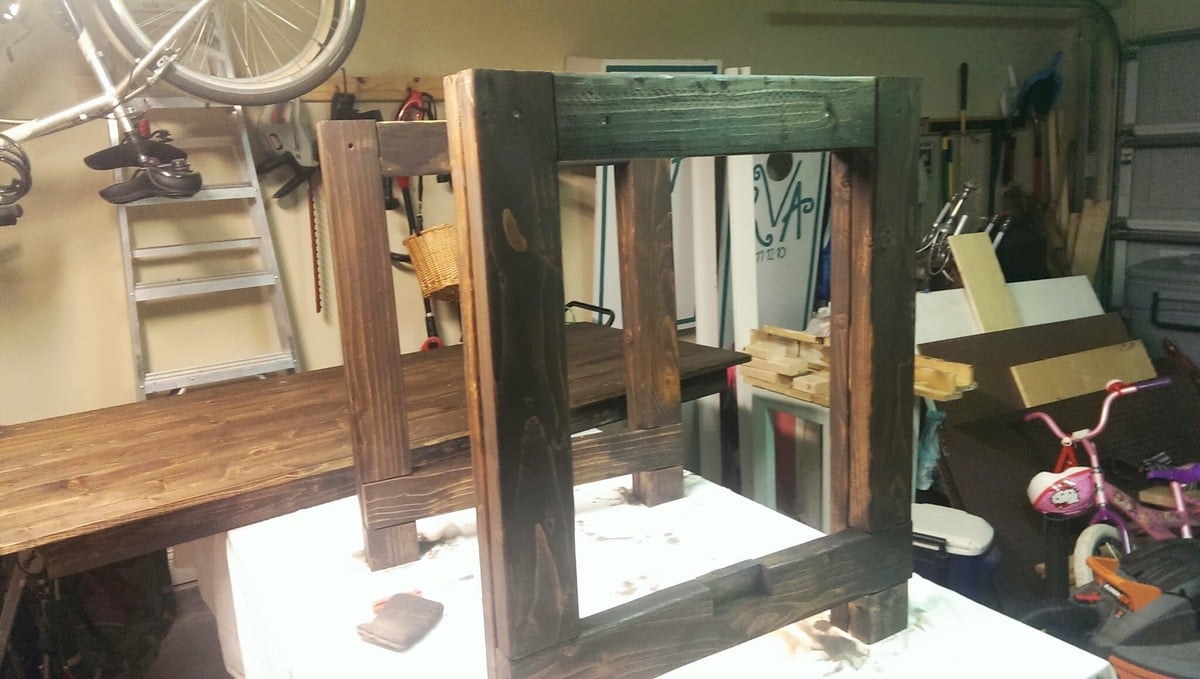
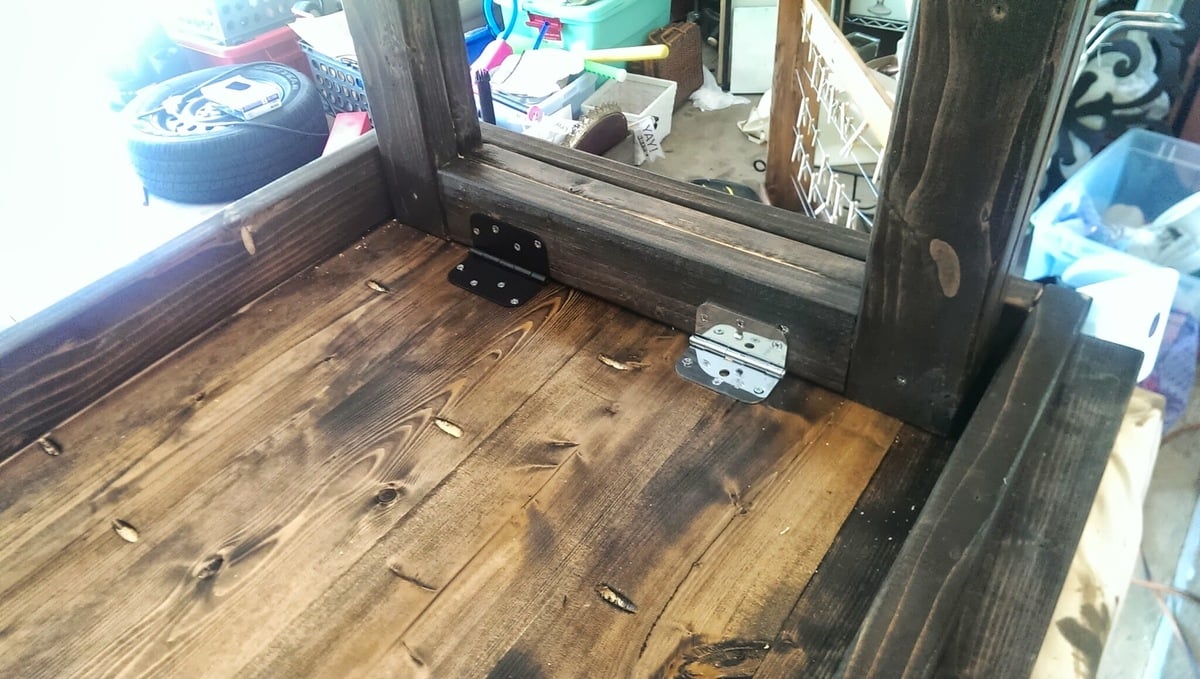
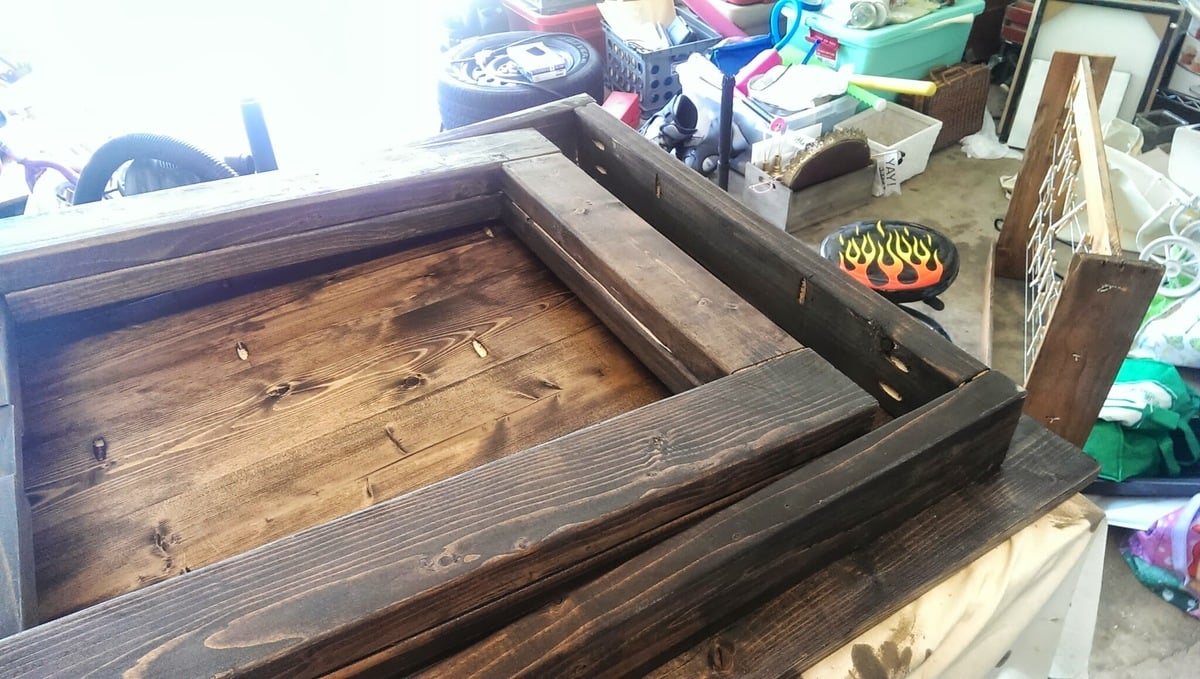
I recently published my first foldable farmhouse table last week here: http://ana-white.com/2013/06/foldable-farmhouse-table The first one I made was very heavy because I used 2x6 tops and 4x4 legs. I decided to make another one that would be lighter and easier to transport. The plans are basically the same just instead I used 1x6 for the top and put 2x4s together for the legs. I also shorted the length by about a foot. The only issue with making the table shorter length is that the legs don't fold completely flush. You could easily make the legs short enough to fold flush, but then the table was a little too short from the ground up for us. The same as before I simply used kreg joints to join the top boards together. I then made a 2x4 frame and attached it to the bottom. I made each of the legs separately by joining 2x4s together and sanding everything down. Everything was stained before putting the legs on using Miniwax Dark walnut stain. I used 2 coats of Miniwax water based clear coat to seal it. A notch was cut out on each of the bottom 2x4 supports on the legs and I glued in a small piece of wood cut to size. These are so I can put in a 2x4 support board under the table so that the legs do not fold in on themselves when it is standing up. The legs are just attached using door hinges you can buy in packs in the hardware section. Be careful when screwing into the 1x6 top not to use too long of screws or else you will over screw and have them come through into your table top. Table design was by Amber Veatch Designs and photographed by Andi Mans Photography

Estimated Cost
120.00
Estimated Time Investment
Day Project (6-9 Hours)
Finish Used
Sand to finish and then used Miniax dark walnut stain followed by Miniwax water based clear coat.
Recommended Skill Level
Beginner

Comments

Freddyflis

Tue, 07/07/2015 - 06:41

We have built something very similar and we have a good bit of wobble at the top, even though the stretcher down the center of the table is holding solid in there and secred with clasps. Were thinking of some sort of sliding pin into the top of the leg to the apron. Anyone run into this before?

Seasonal And Holiday

Modern Farm table

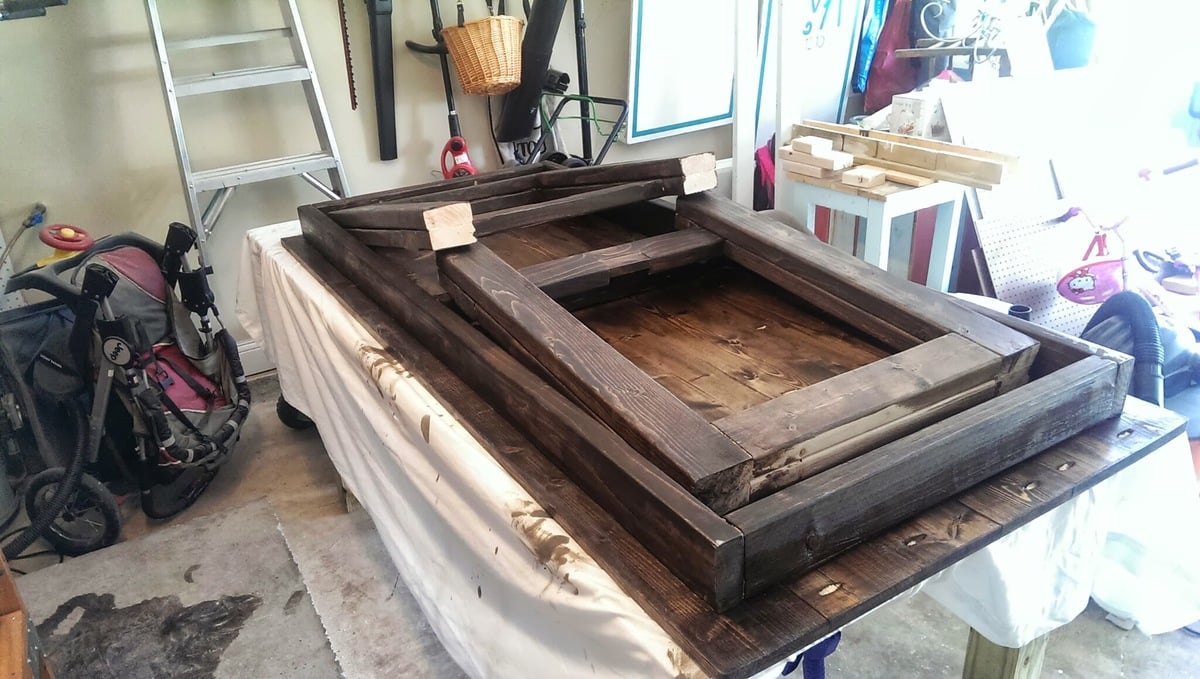
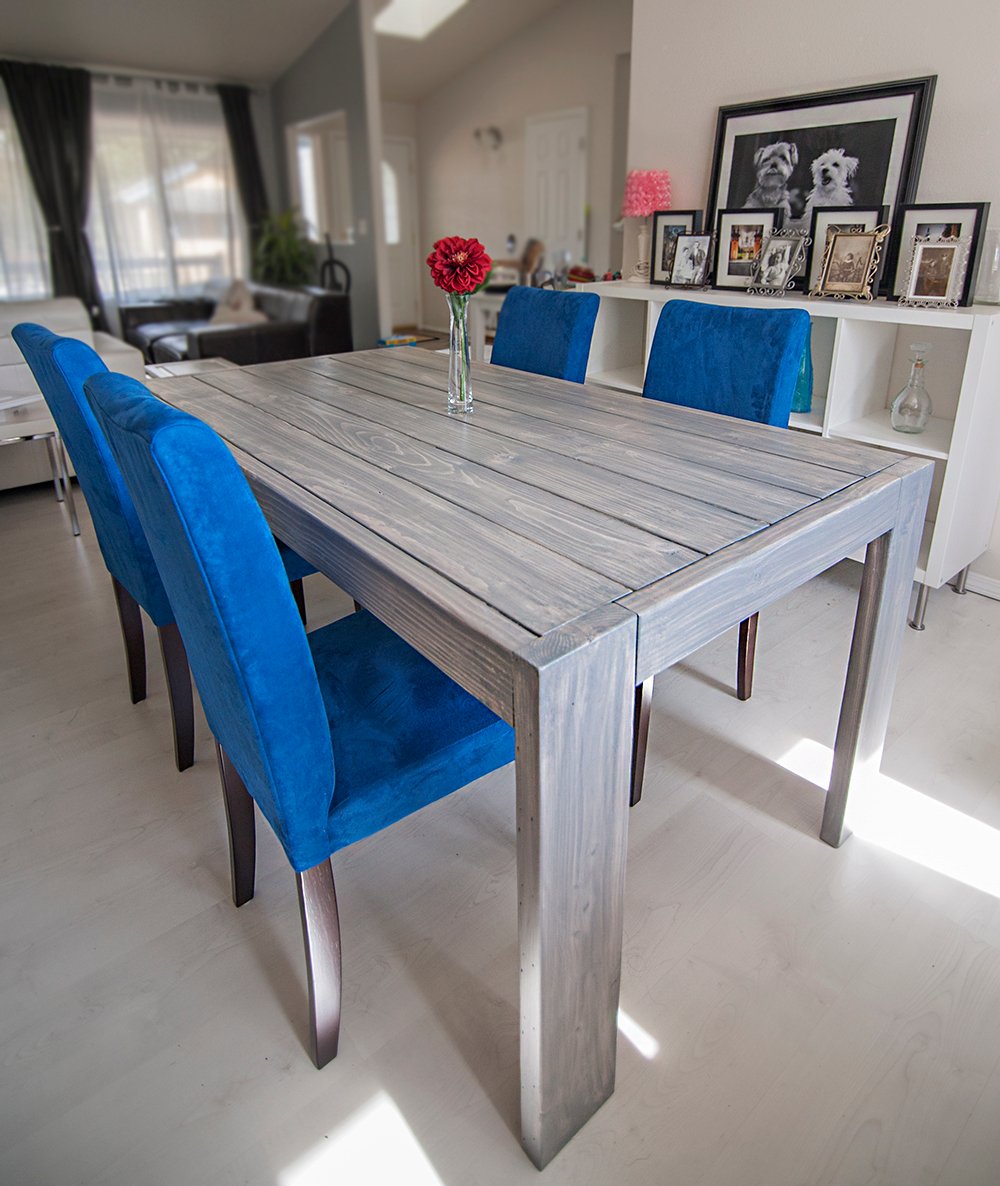
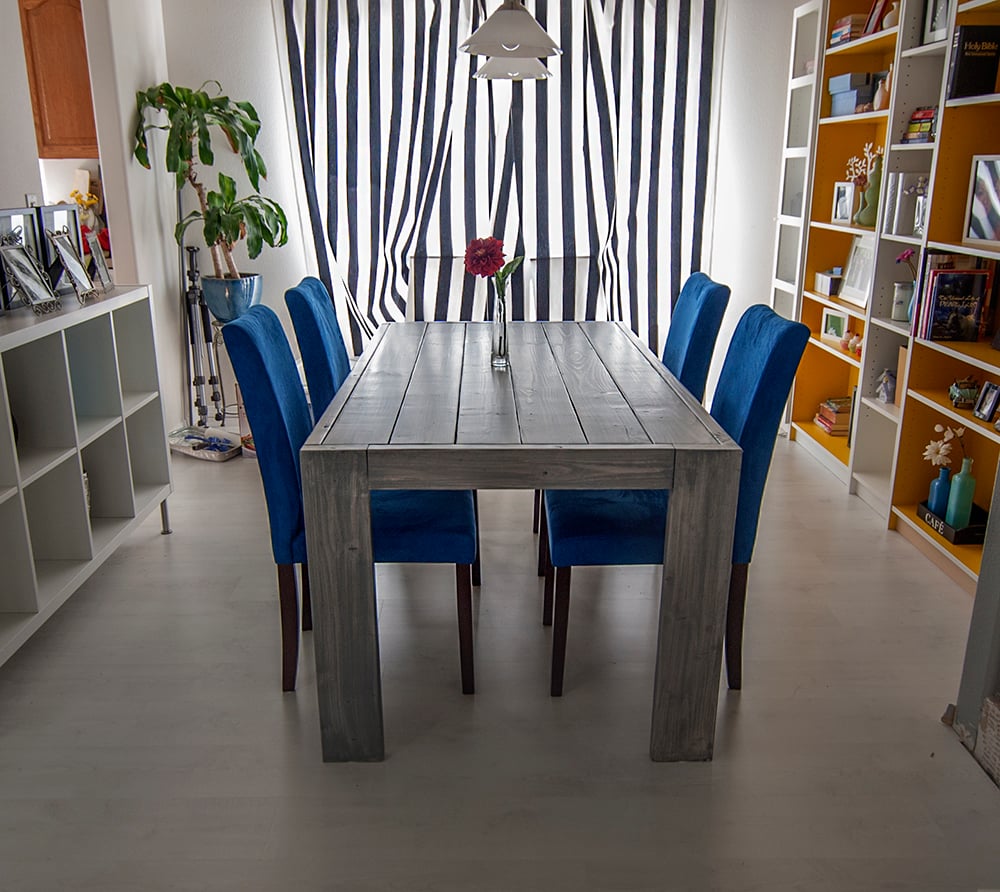
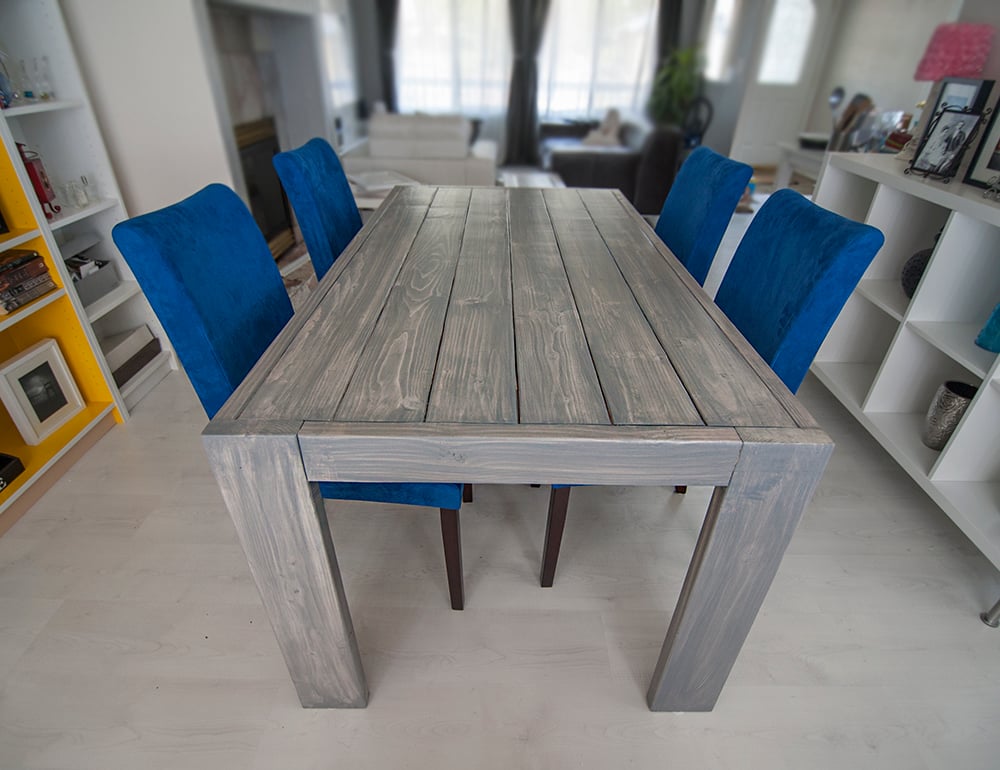
My first real project, can't wait to do another one.

Built from Plan(s)
Estimated Cost
70.00
Estimated Time Investment
Day Project (6-9 Hours)
Finish Used
White wash/weather oak grey stain
Recommended Skill Level
Starter Project

Comments

leejinhaeng

Tue, 06/02/2015 - 12:38

Great job!!
I was wondering how did you do the finish on the Pine to come out like that?

cris_stroud@ya…

Thu, 06/04/2015 - 03:15

Thanks! Sorry for the late reply. Didn't get a notice.
1. 3 coats of white wash
2. 3 coats of weathered oak grey stain
3. 2 coats of polyurethane matte finish.

RobA

Thu, 06/02/2016 - 11:00

I know this is an old post. But just wondering about your finish as well. So when u say white wash what did you use?

Beautiful by the way!

easy deck lounge chairs anyone can make

Submitted by lorasolis on Wed, 04/20/2011 - 11:53

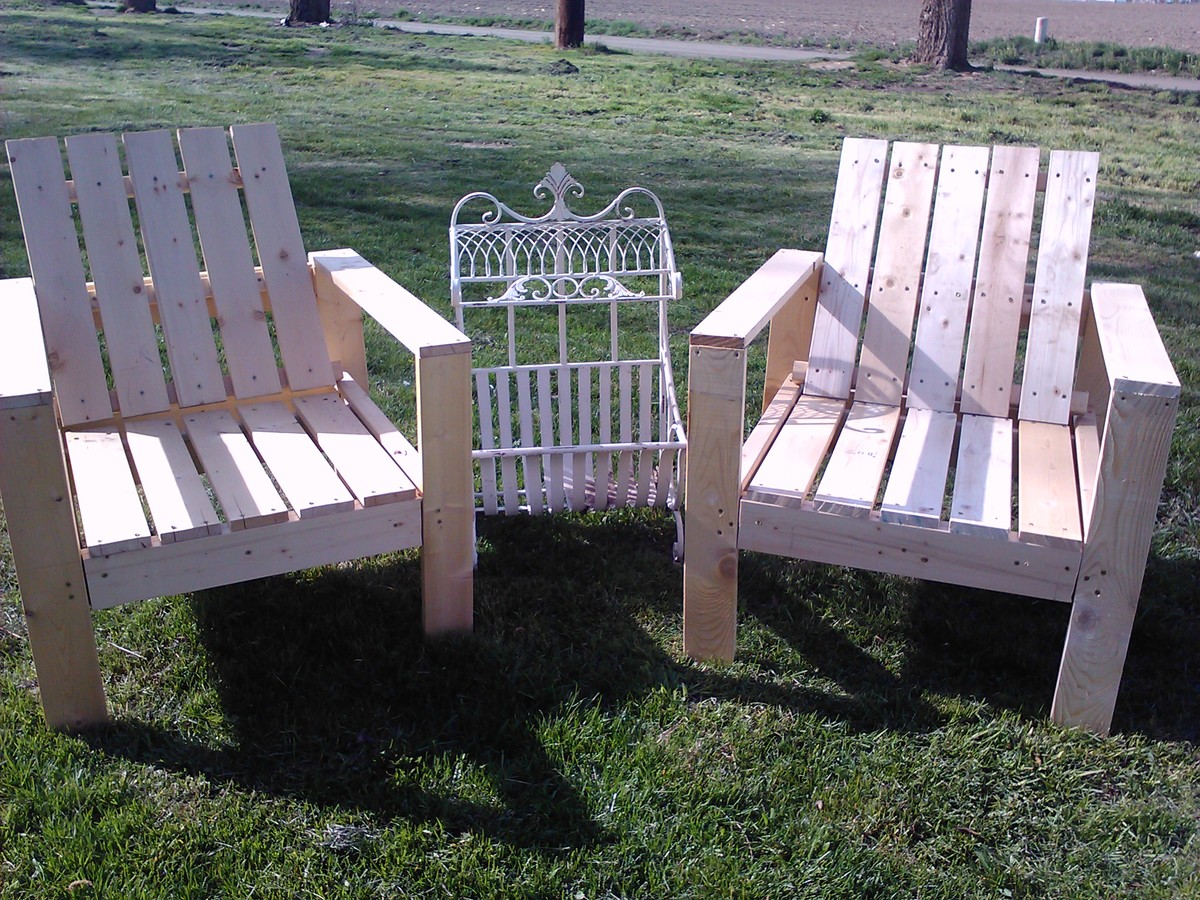
Love these chairs. Simple to construct. most important thing is to predrill! These boards will most definitely split if u don't. I always have 2 drills out when I'm building.
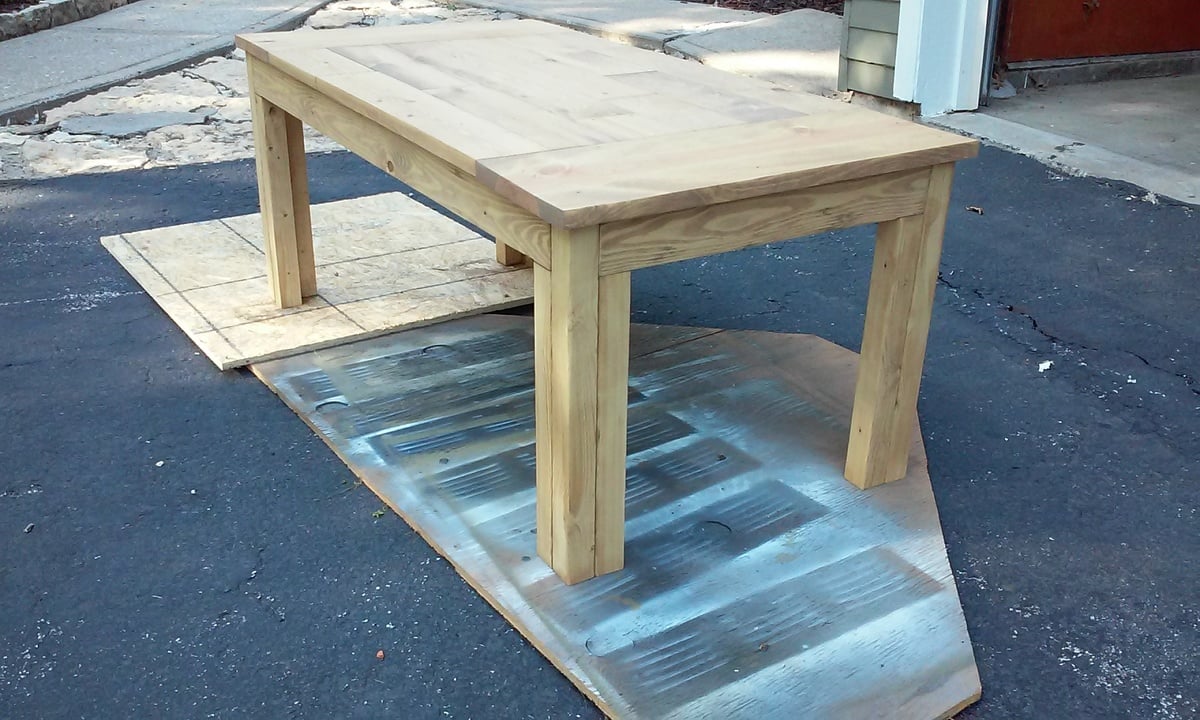
Not sure on how to finish yet. Whether o paint brightly or use a deep poly finish. I'll keep you posted!
Estimated Cost
around $20 each
Estimated Time Investment
An Hour or Two (0-2 Hours)
Finish Used
Shown unfinished.
Recommended Skill Level
Beginner

Kid's Adirondack Chairs

Submitted by tlcbbp on Sun, 04/24/2011 - 16:43

The first one I built (the white one) was a terrible failure because I rushed through it and didn't read directions! Also, I used only scraps that I had on hand. The blue one went smoothly because I used the right materials and took my time.

Built from Plan(s)
Estimated Cost
12 - 15 dollars
Estimated Time Investment
Afternoon Project (3-6 Hours)
Finish Used
The blue paint is oops paint from Lowes & the white is spray paint
Recommended Skill Level
Beginner
Seasonal And Holiday

Reclaimed wood Farmhouse King bed

We removed the roof off an old chicken house in the heart of South Carolina. 100+ year old heart pine was the treasure we were able to use! Had to buy the 4x4's but we were able to use the old pine for the rest. Use natural oil stain on the heart pine and had Sherwin Williams do a custom stain to match the new 4x4 posts. Plus 2 coats of polyacrylic and sanded with extremely fine paper after stain and both coats for a wonderfully smooth finish.

And then attached our son's sidecar cosleeper back to the bed) that's what is over to the side.

Estimated Cost
$100
Estimated Time Investment
Week Long Project (20 Hours or More)
Finish Used
Natural oil stain + custom stain +2 coats of polyacrylic
Recommended Skill Level
Beginner

My first Easy Build Headboard, King Size

Submitted by andreak on Thu, 05/12/2011 - 16:15

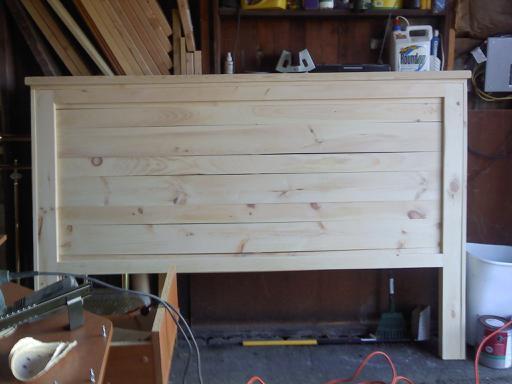
This was my first project and it come out beautifully. I did learn a valuable lesson - if you are going to build something in the basement, make sure it fits up the stairs. Not sure if you can tell from the picture but this ended up 6 inches shorter than the plans. Can wait to find my next project!

Estimated Cost
$150
Estimated Time Investment
Day Project (6-9 Hours)
Finish Used
MinWax Wood Finish Red Mahogany 25 - Minwax Polyurethane
Recommended Skill Level
Beginner

Pantry Bin Storage

Submitted by vendo on Tue, 01/18/2022 - 10:21

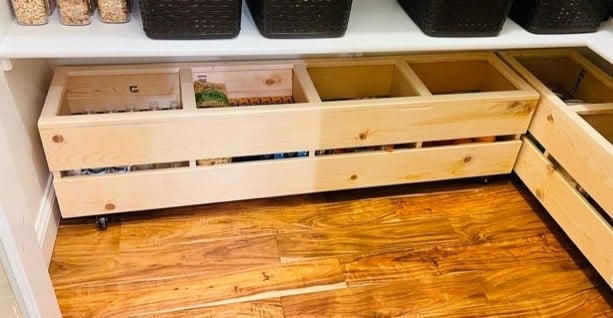
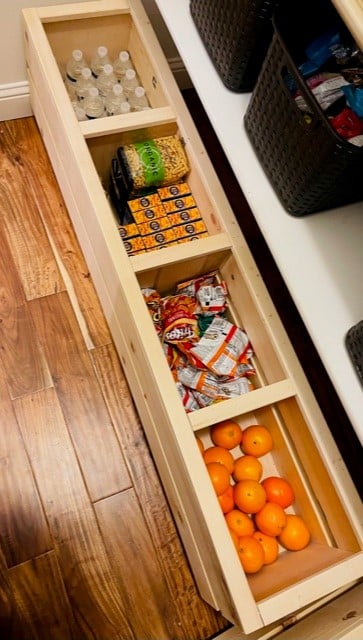
I used Shelf Help for the plywood pieces, then planked the sides with some 1x's, and added a face frame for the top edge. Casters allow for it to be moved easily and cleaned under. This is a great way to add extra storage under the pantry shelves and this design is super easy to modify for any size and height!

Comments

Pottery Barn Benches with X Table...Modified

Submitted by AJW on Thu, 05/19/2011 - 13:18

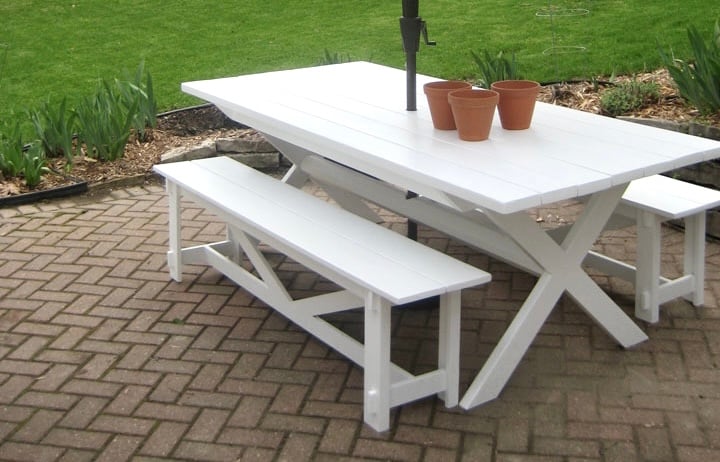
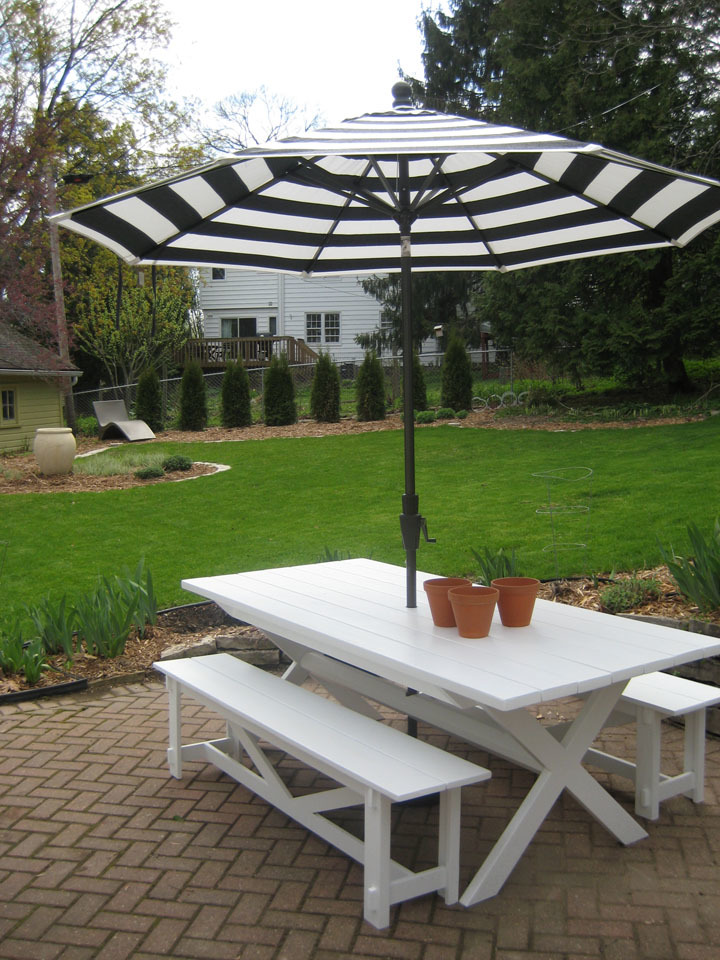
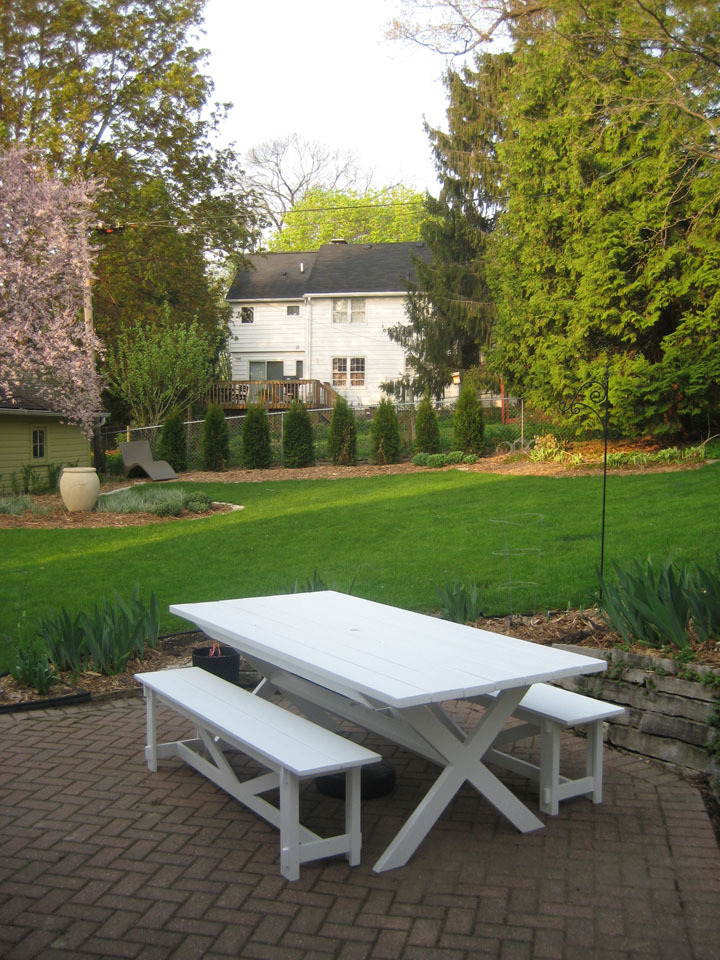
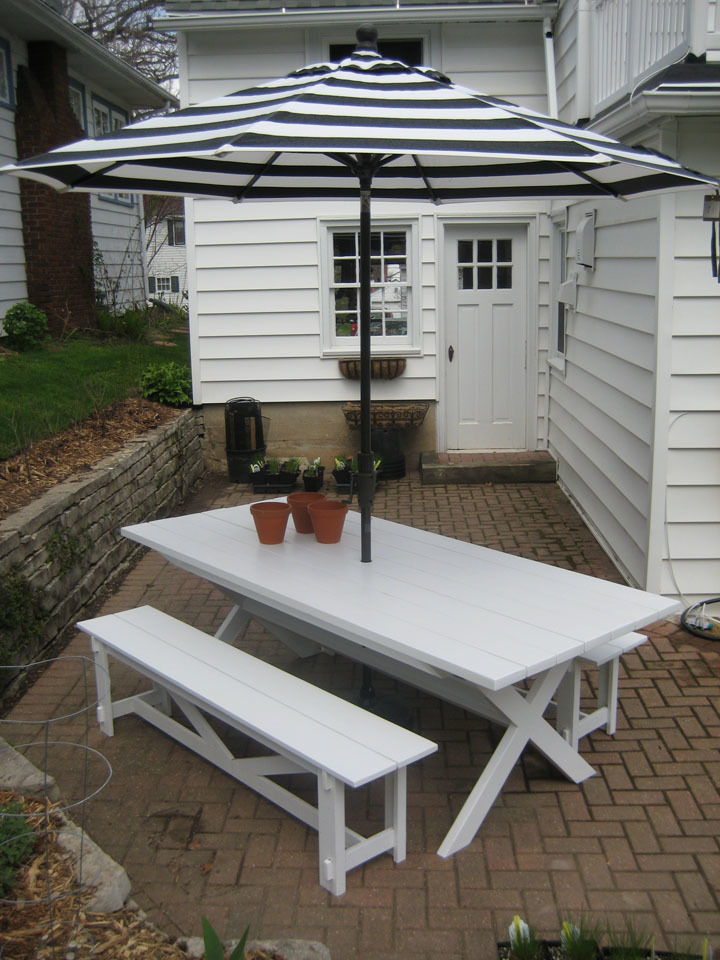
Pottery Barn Bench: Length Modified and utilized 2-1x6s for seat. X Table: Length Modified, utilized a 6x6 for the stretcher and drilled a hole through both the 1 top material and 6x6 stretcher beam. Holds the Pottery Barn umbrella real well. All made of Cedar and painted for good measure. Everything counter sunk and plugged, sanded to high heavy and ready to last.

Estimated Cost
$350
Estimated Time Investment
Week Long Project (20 Hours or More)
Finish Used
Oil based primer with 2 coats of acrylic over top.
Recommended Skill Level
Intermediate

Doll Picnic Table

Submitted by dhrider33 on Sun, 05/22/2011 - 18:09

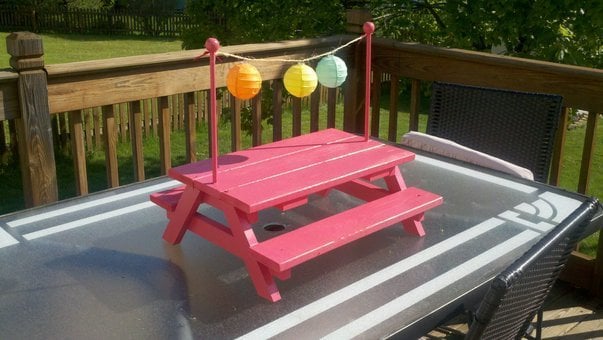
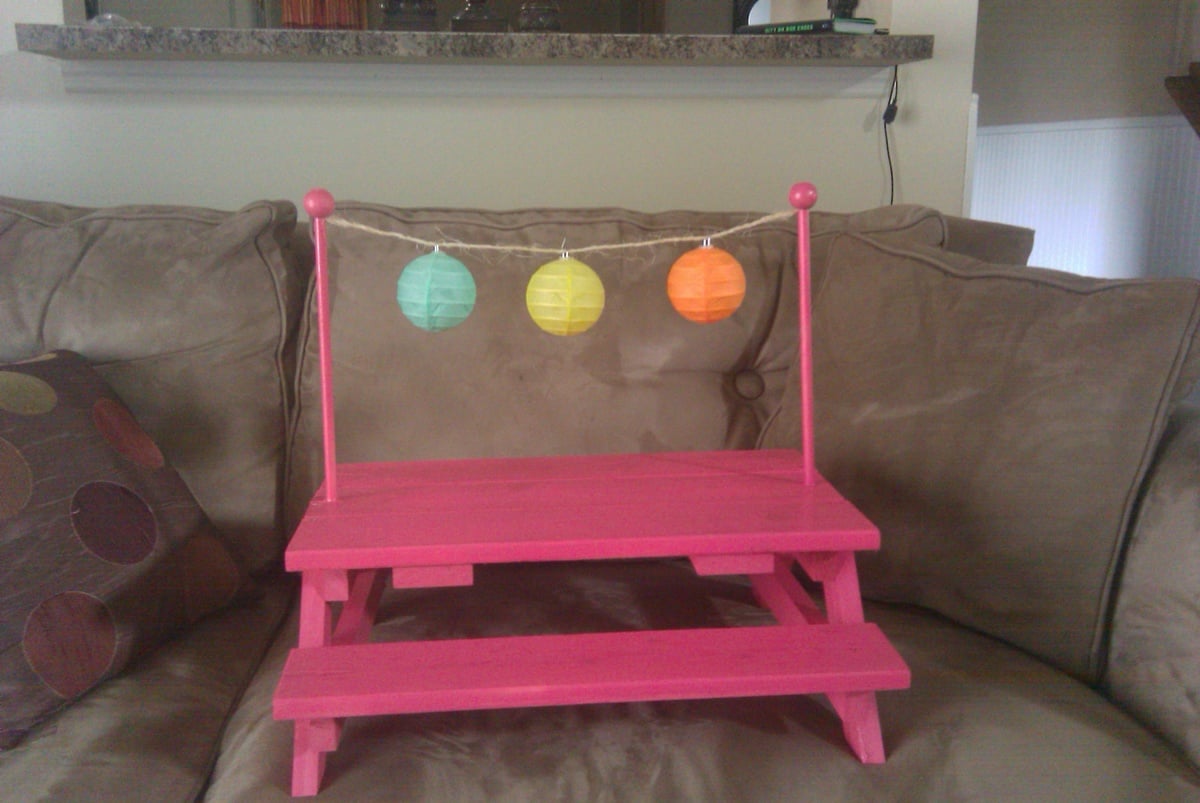
My 10 yr old son and 8 year old daughter really loved helping make this for their cousin. They've never been so excited to give a gift!

Built from Plan(s)
Estimated Cost
~ $15 ... although I had various scrap wood laying around from other projects
Estimated Time Investment
Afternoon Project (3-6 Hours)
Finish Used
Sanded / Primed / Painted
Recommended Skill Level
Beginner

$6 Scrap wood coffee table

Submitted by pmgriffith on Tue, 07/21/2015 - 09:23

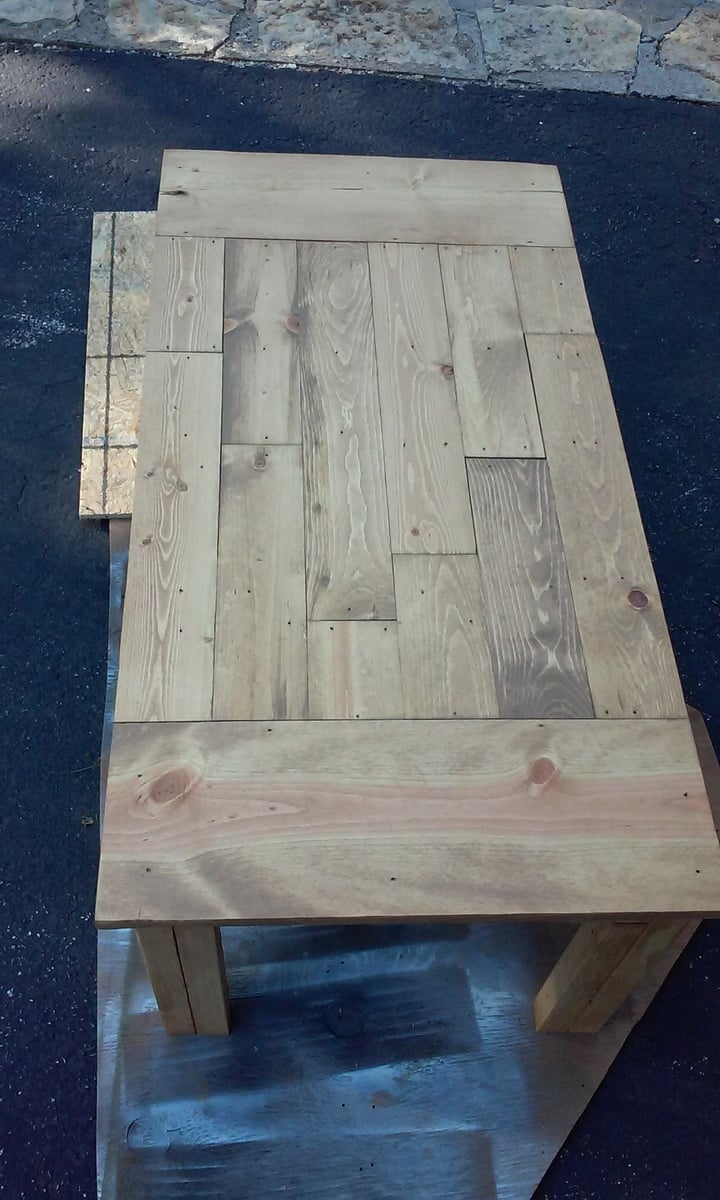
Decided it was time to use up some scrap wood and build a coffee table.

Now I need to get wood to actually make the matching end tables.

1x8s and 1x4s for the top and 2x2s for the legs and underside braces

Hope this help to inspire others on how to use up their scrap wood

Estimated Cost
6 Bucks!
Estimated Time Investment
An Hour or Two (0-2 Hours)
Finish Used
'Fruitwood' hence the 6 bucks :)
Recommended Skill Level
Starter Project

Art Table!

Submitted by Jess1221 on Sat, 06/04/2011 - 09:50

I used the plans for the craft desk and modified it a little. I made the top like a lid that just sits on top so I can take it apart easier. I also put on full extension drawer glides and made the drawer larger. This took me quite a long time because I was working on it and studying for finals! Well worth it though!

Estimated Time Investment
Week Long Project (20 Hours or More)
Finish Used
High Gloss black paint with Jamaican Aqua accent color
Recommended Skill Level
Beginner

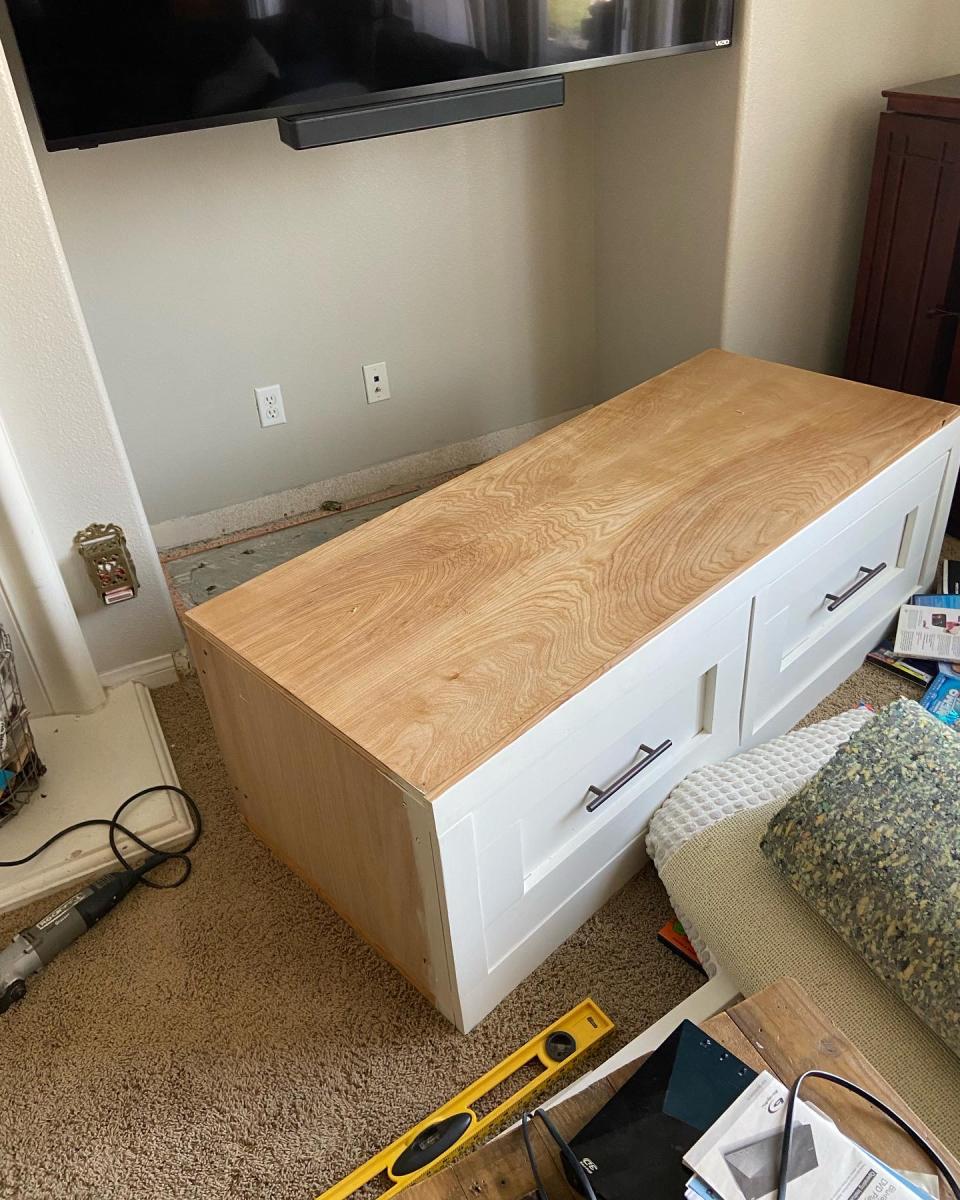
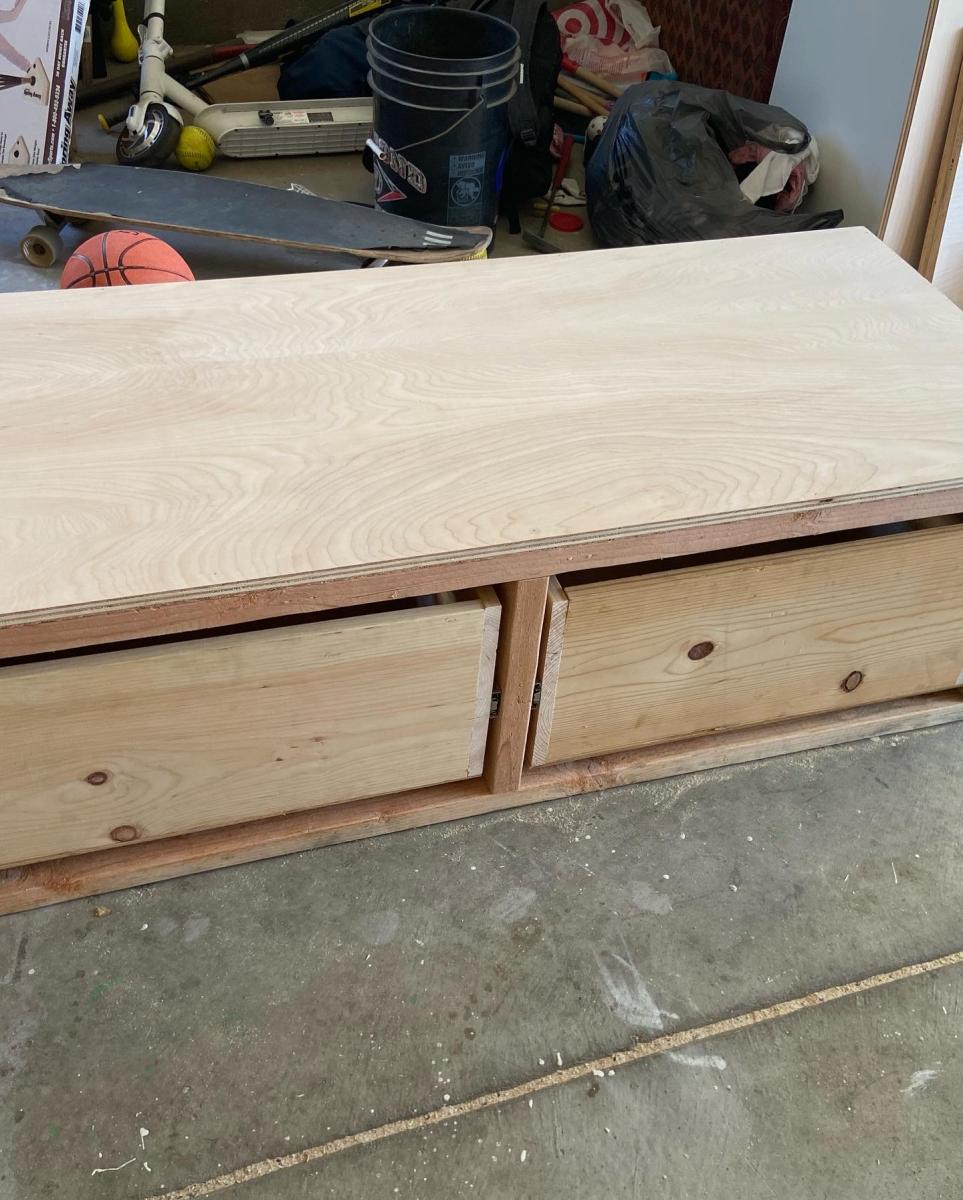
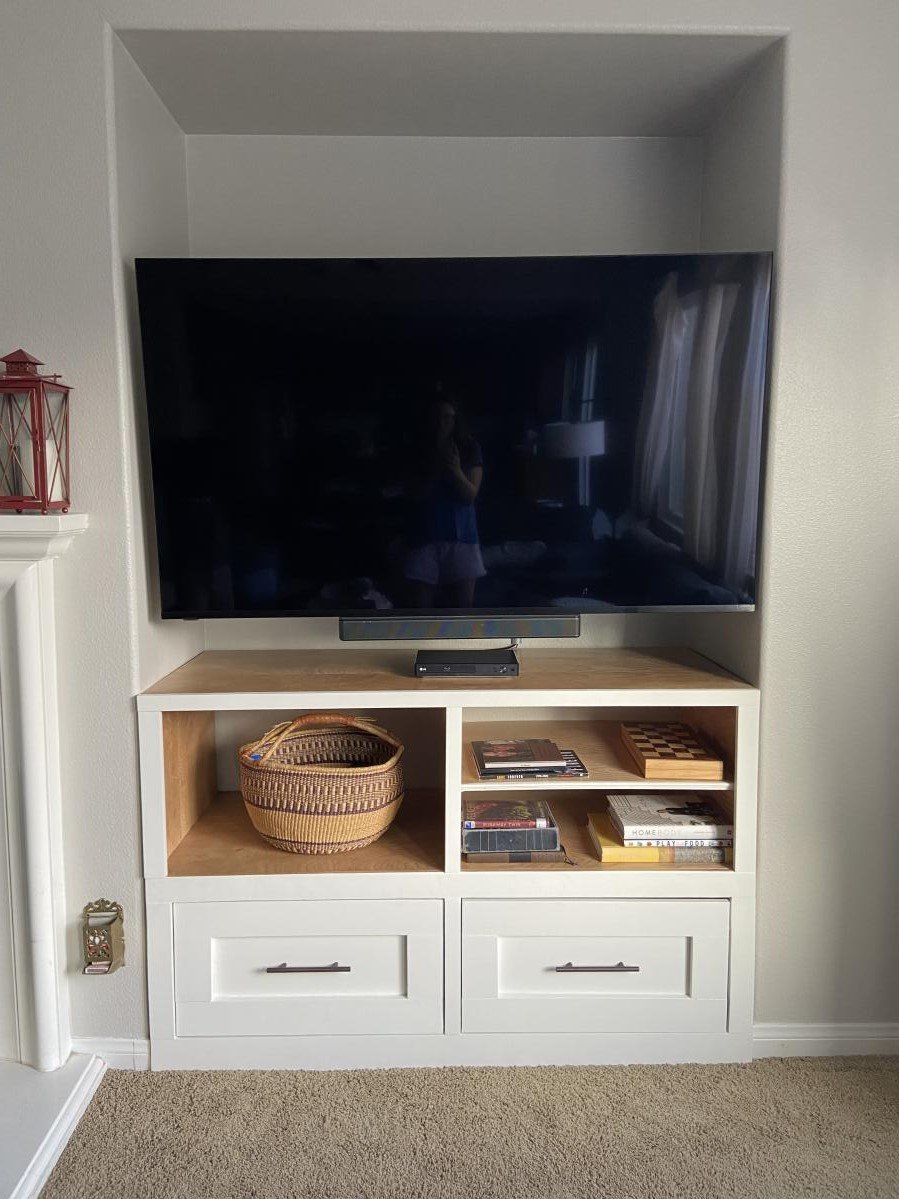
Built-in Entertainment Center with Drawers

Submitted by Anonymous (not verified) on Mon, 05/02/2022 - 19:16

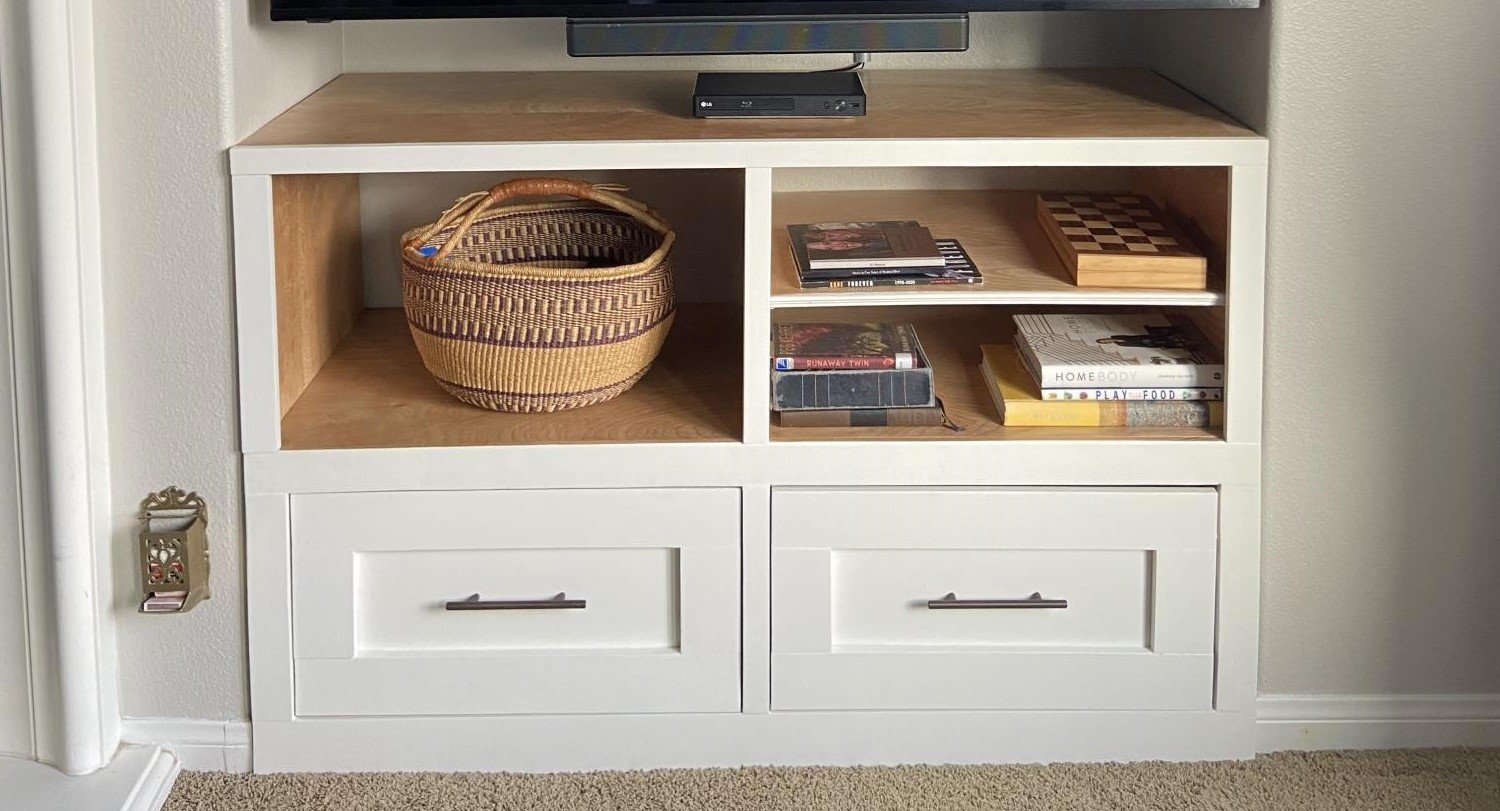
Modified the mudroom bench with drawers to make a built in entertainment area. Thank you for the ideas. It was tricky to modify and definitely a learning experience but I always learn something new when I build.

Built from Plan(s)

Comments

Single Sink, Double Vanity

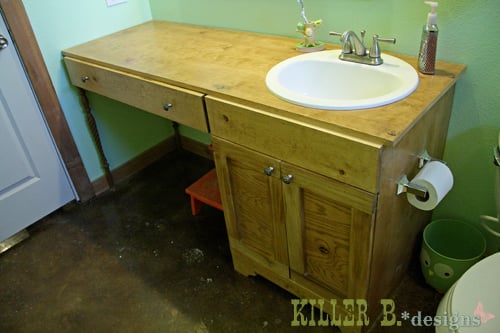
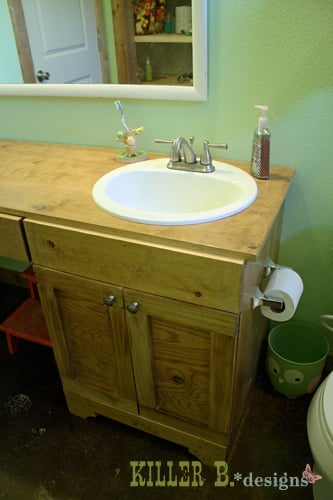
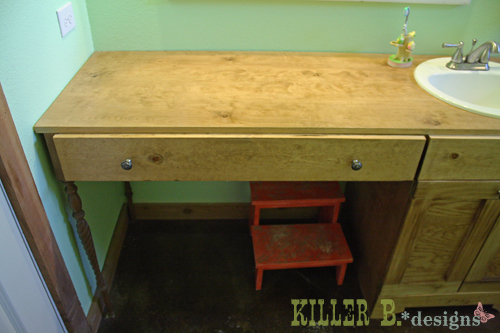
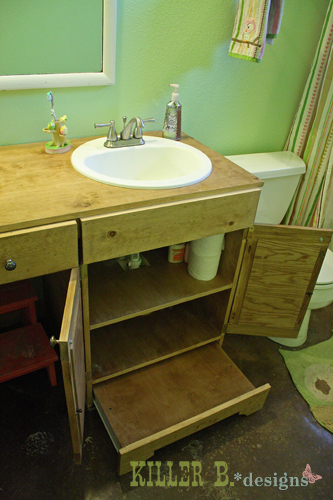
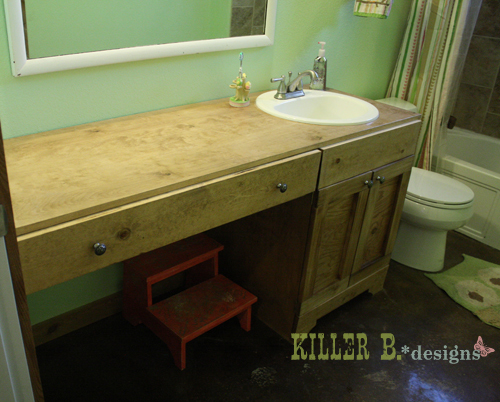
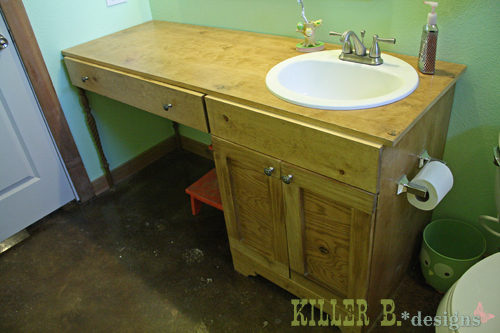
I started by searching Ana’s website for a vanity plan, and found a really great jumping off point with this plan. The problem was that it was for a single sink in cabinet size. But I was looking for something about five feet long that would incorporate a drawer and countertop area so my little miss will have lots of space for makeup and hair products and all those other girly things. I added a shelf to the cabinet, made the top 66" long and added a drawer and some spindle legs to give it the extra length it needed as well as a vanity area. I also incorporated Ana's genius idea to make the kickplate into a pull out step stool with drawer slides and some scraps. My blog post features the modified cut list as well as my step by step assembly for it. I love this vanity and am so proud to say I built it all by myself!

Estimated Cost
$75
Estimated Time Investment
Afternoon Project (3-6 Hours)
Finish Used
Minwax Golden Oak stain and three coats of Rustoleum Spar Varnish (an outdoor varnish as this is a humid and wet environment) to the base and five on the top.
Recommended Skill Level
Beginner

Comments