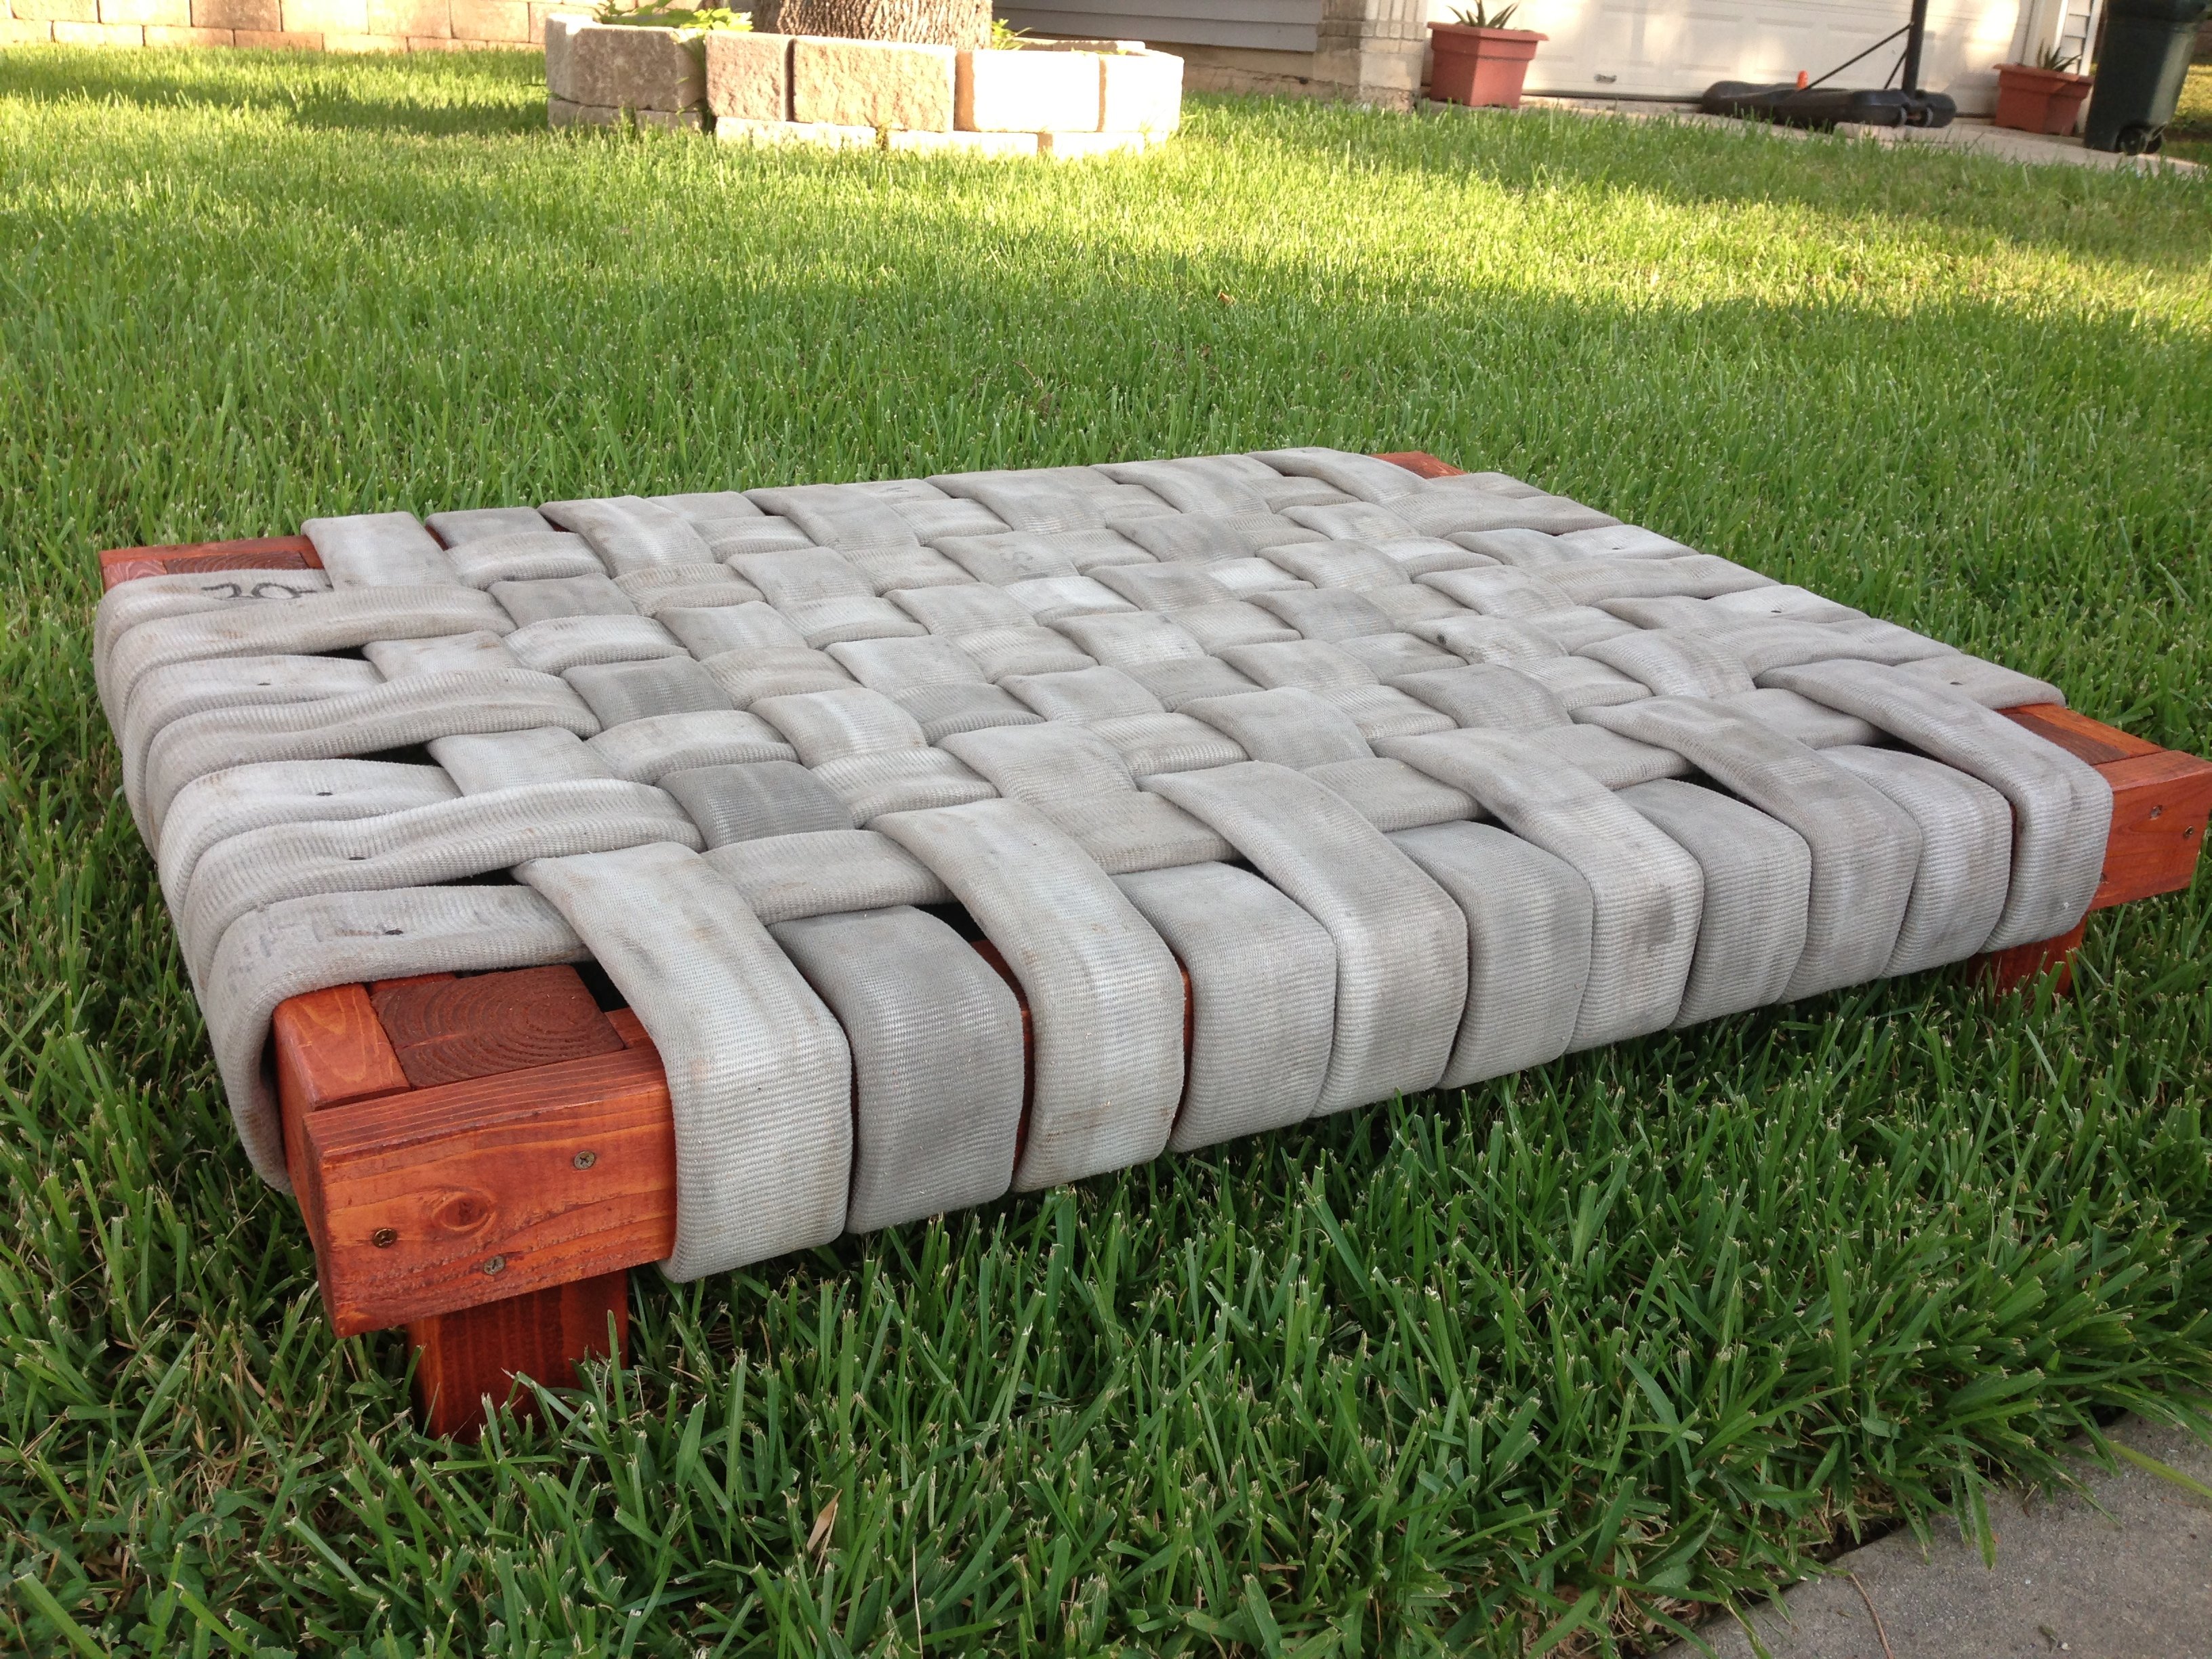
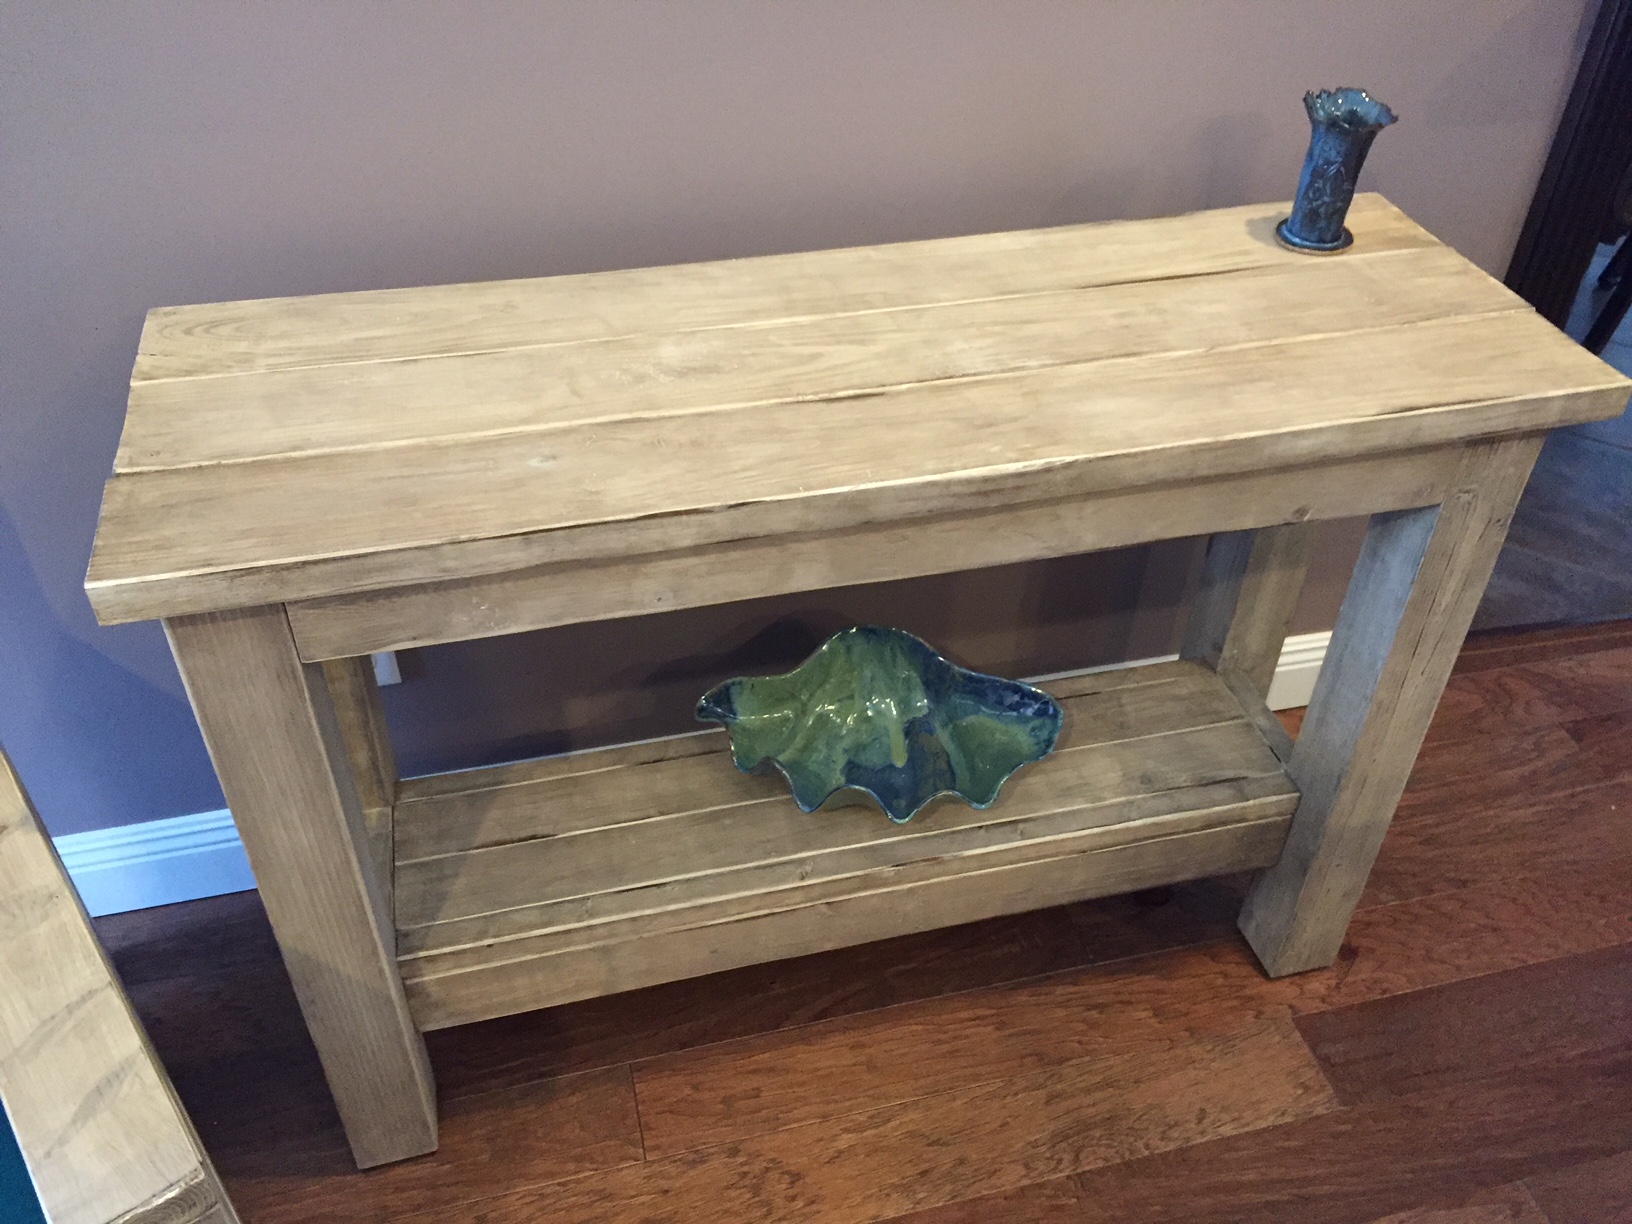
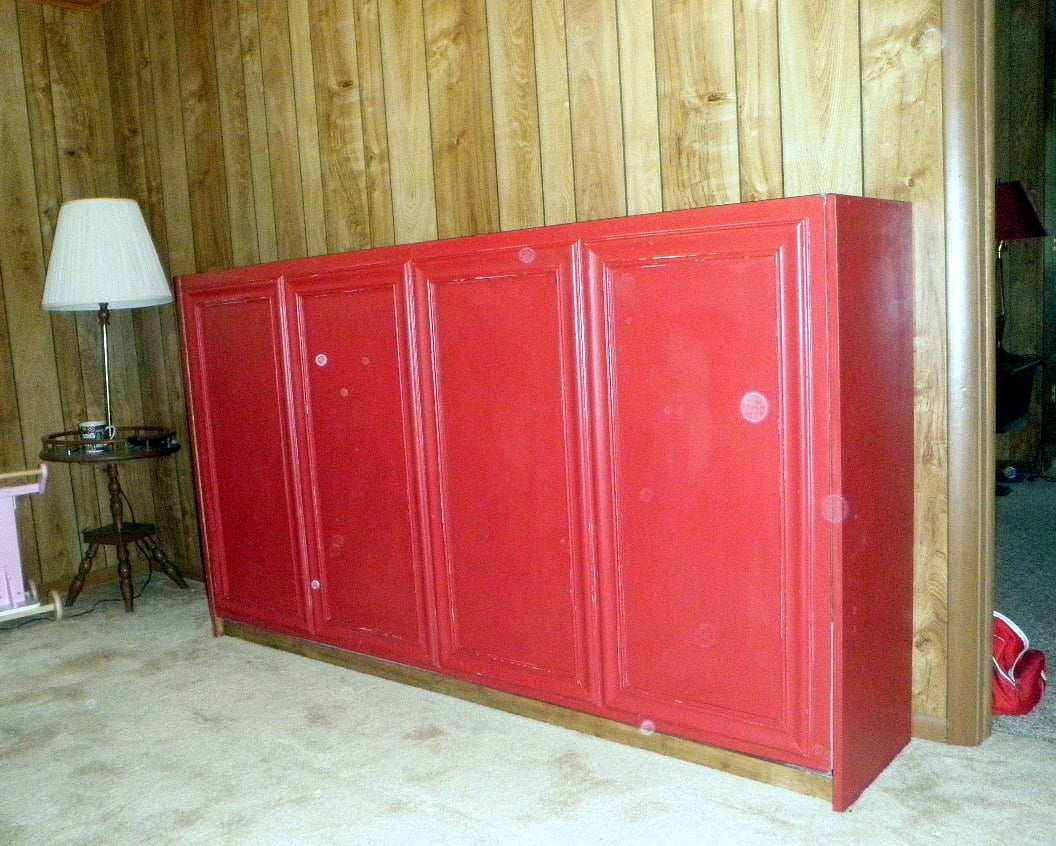
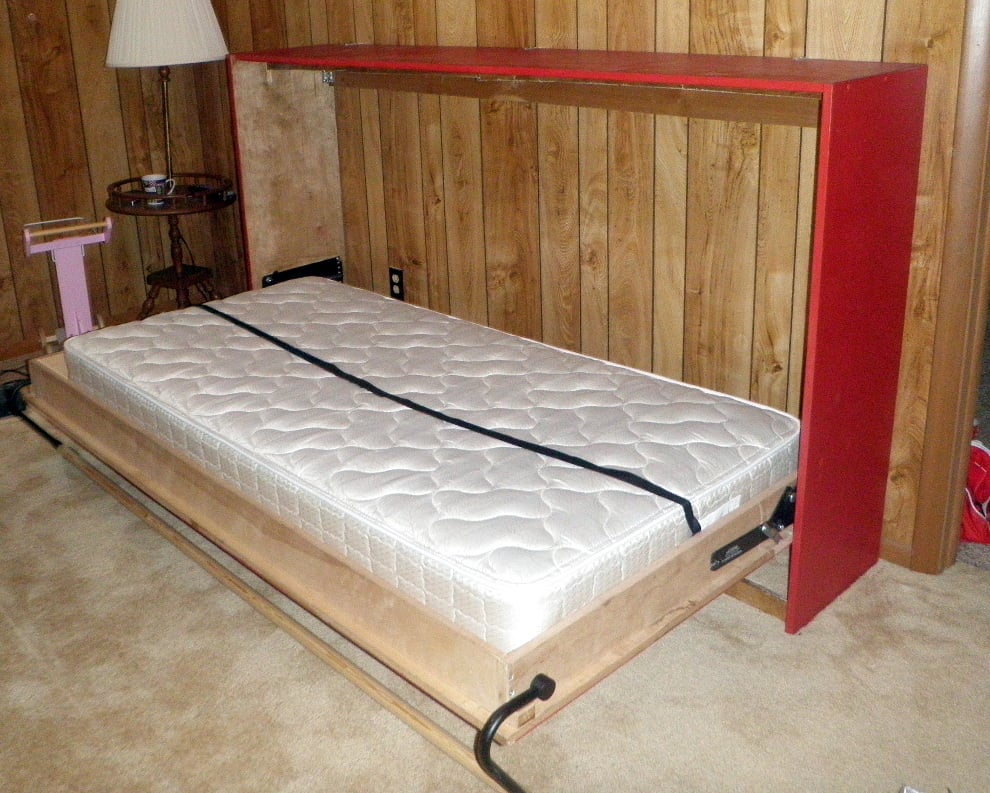
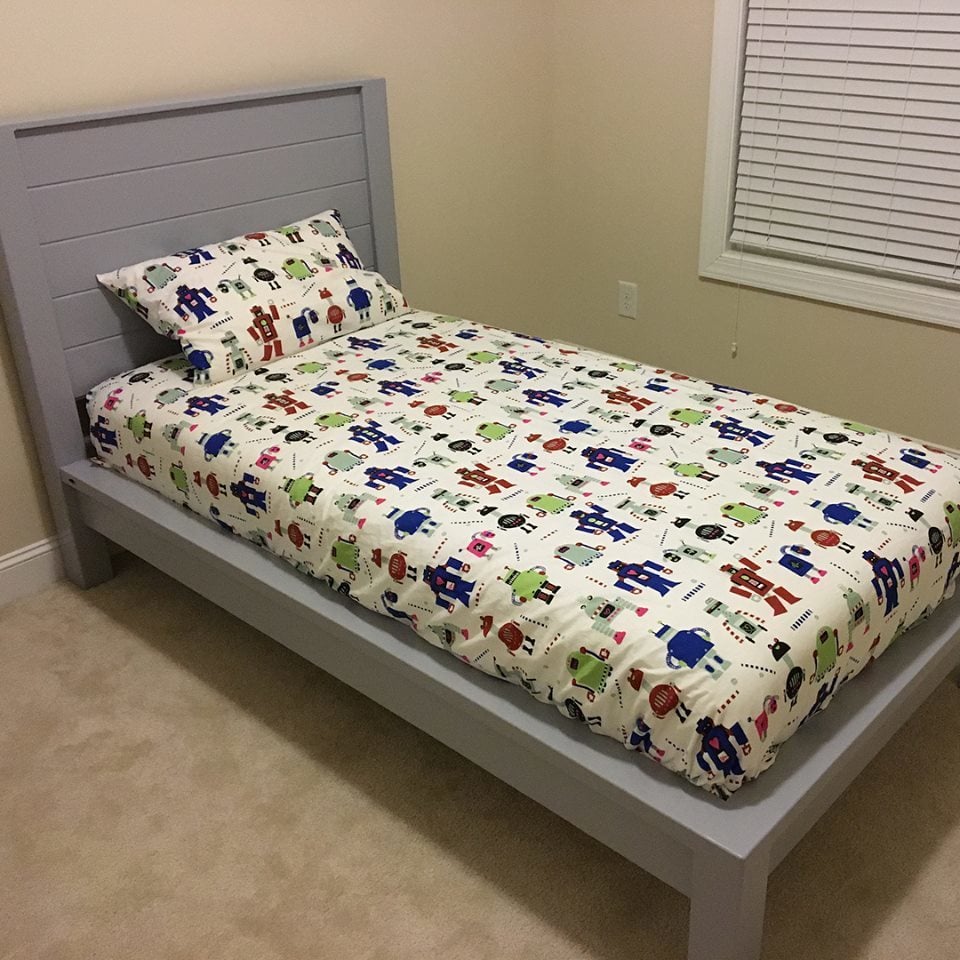
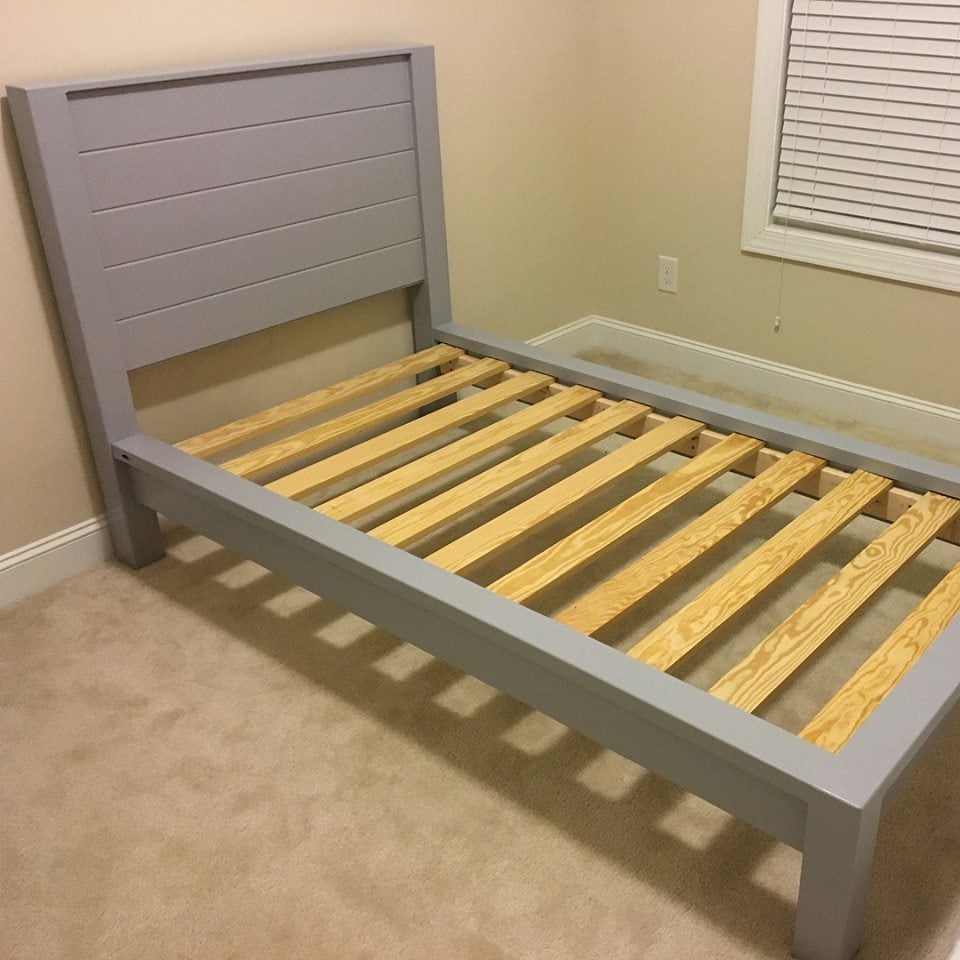
Modern Farmhouse Bed
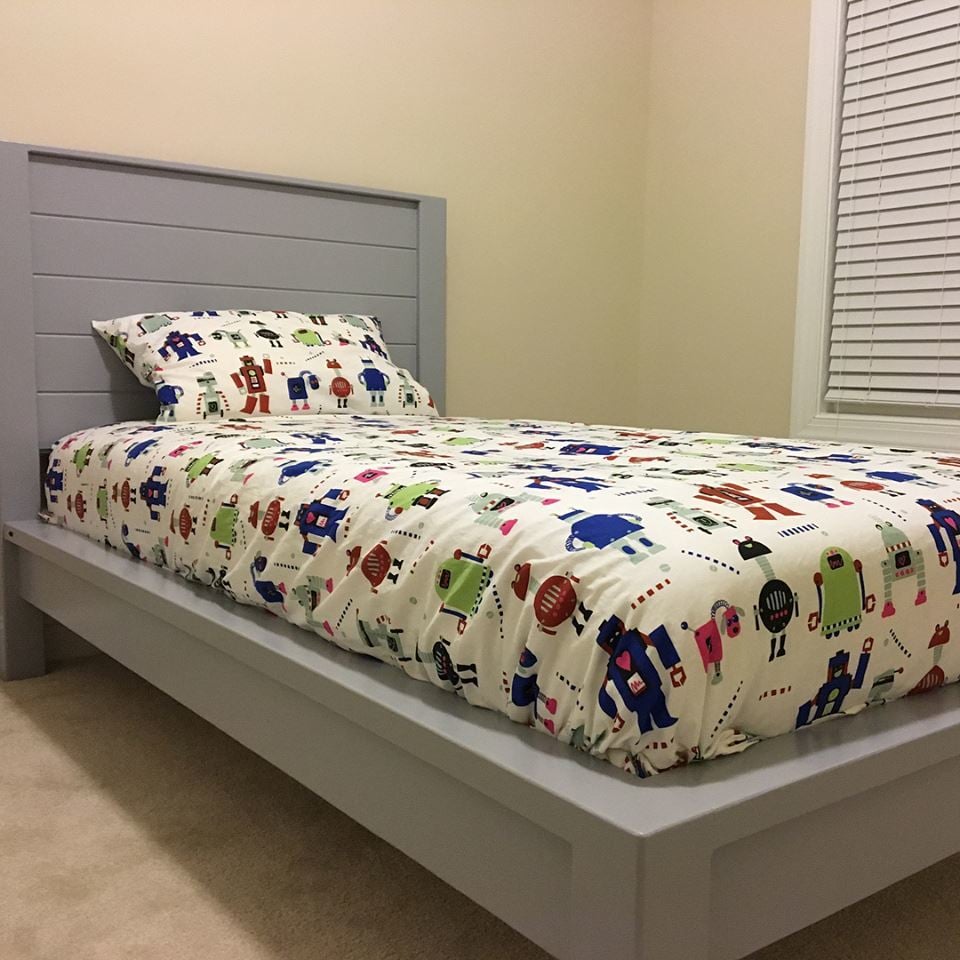
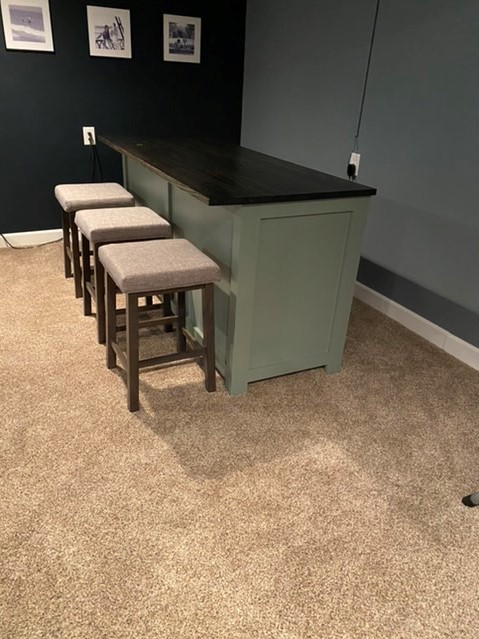
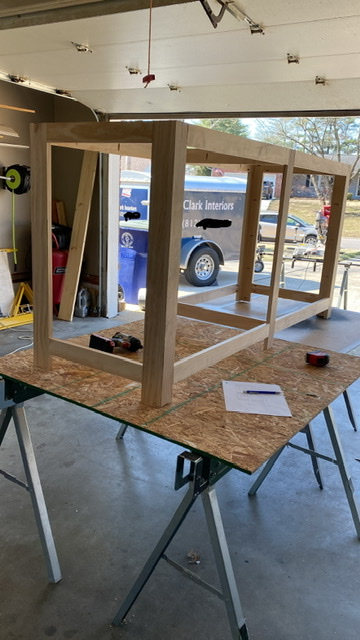
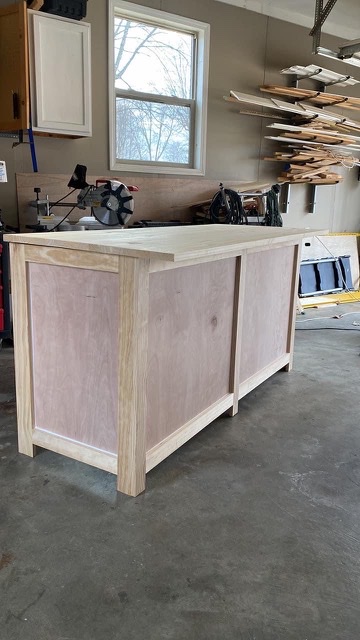
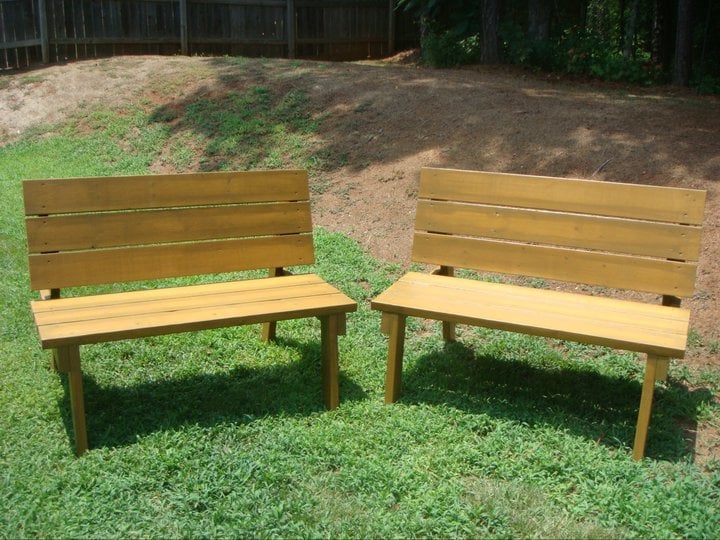
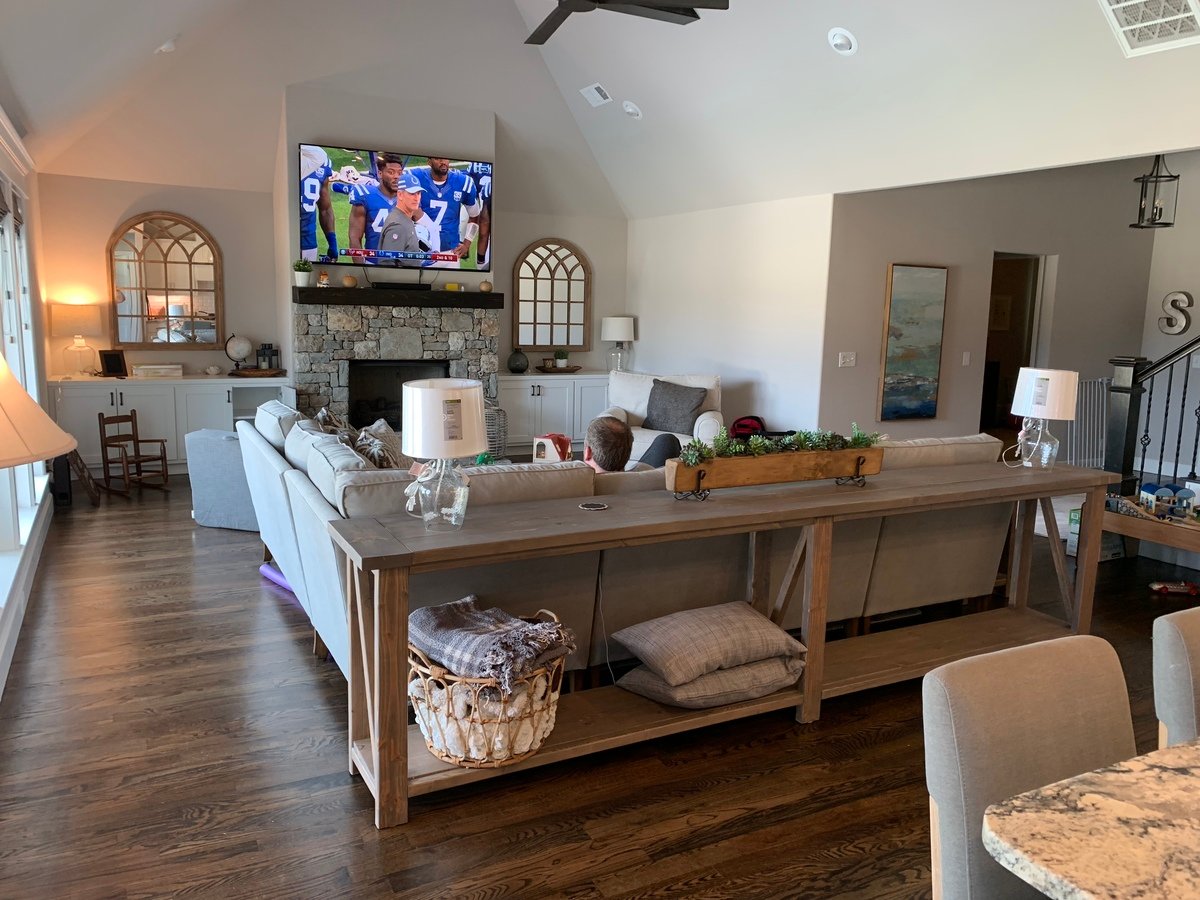
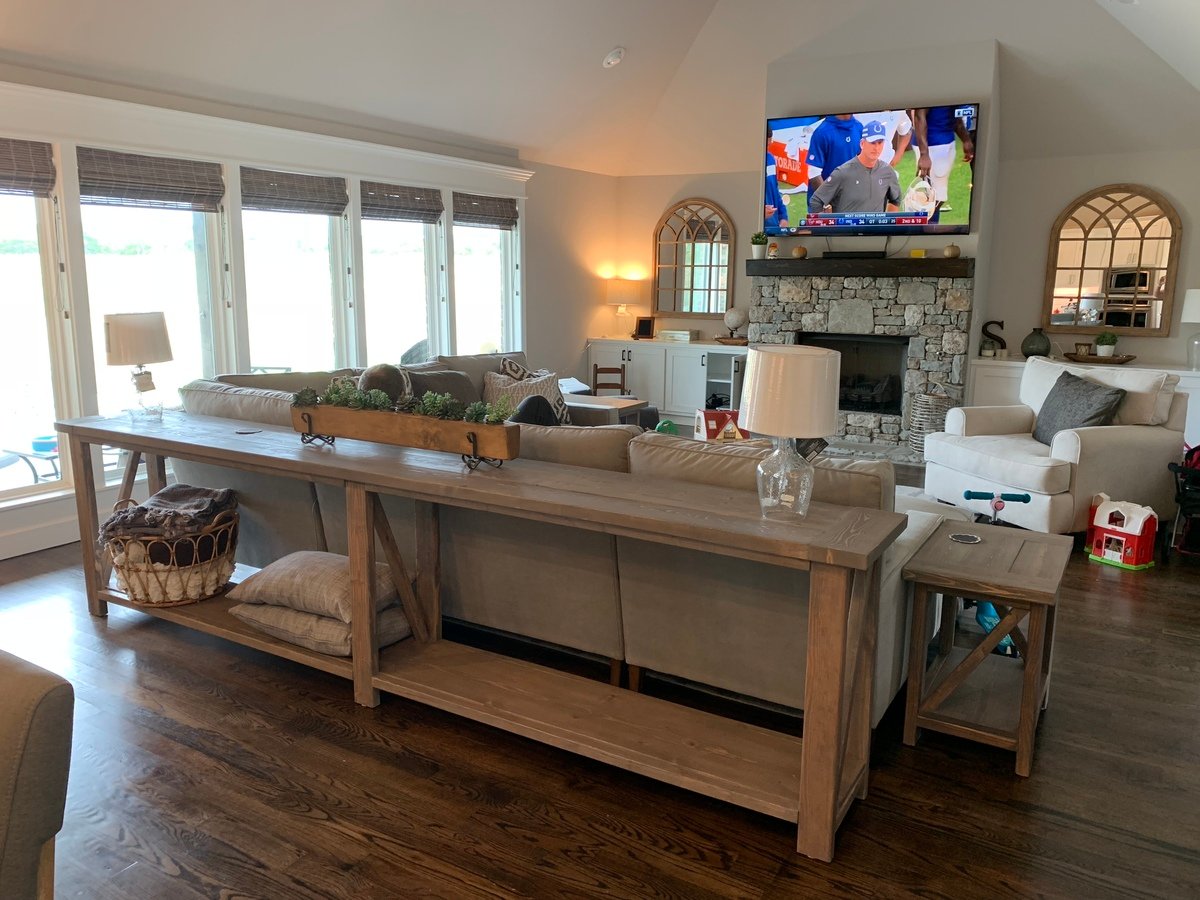
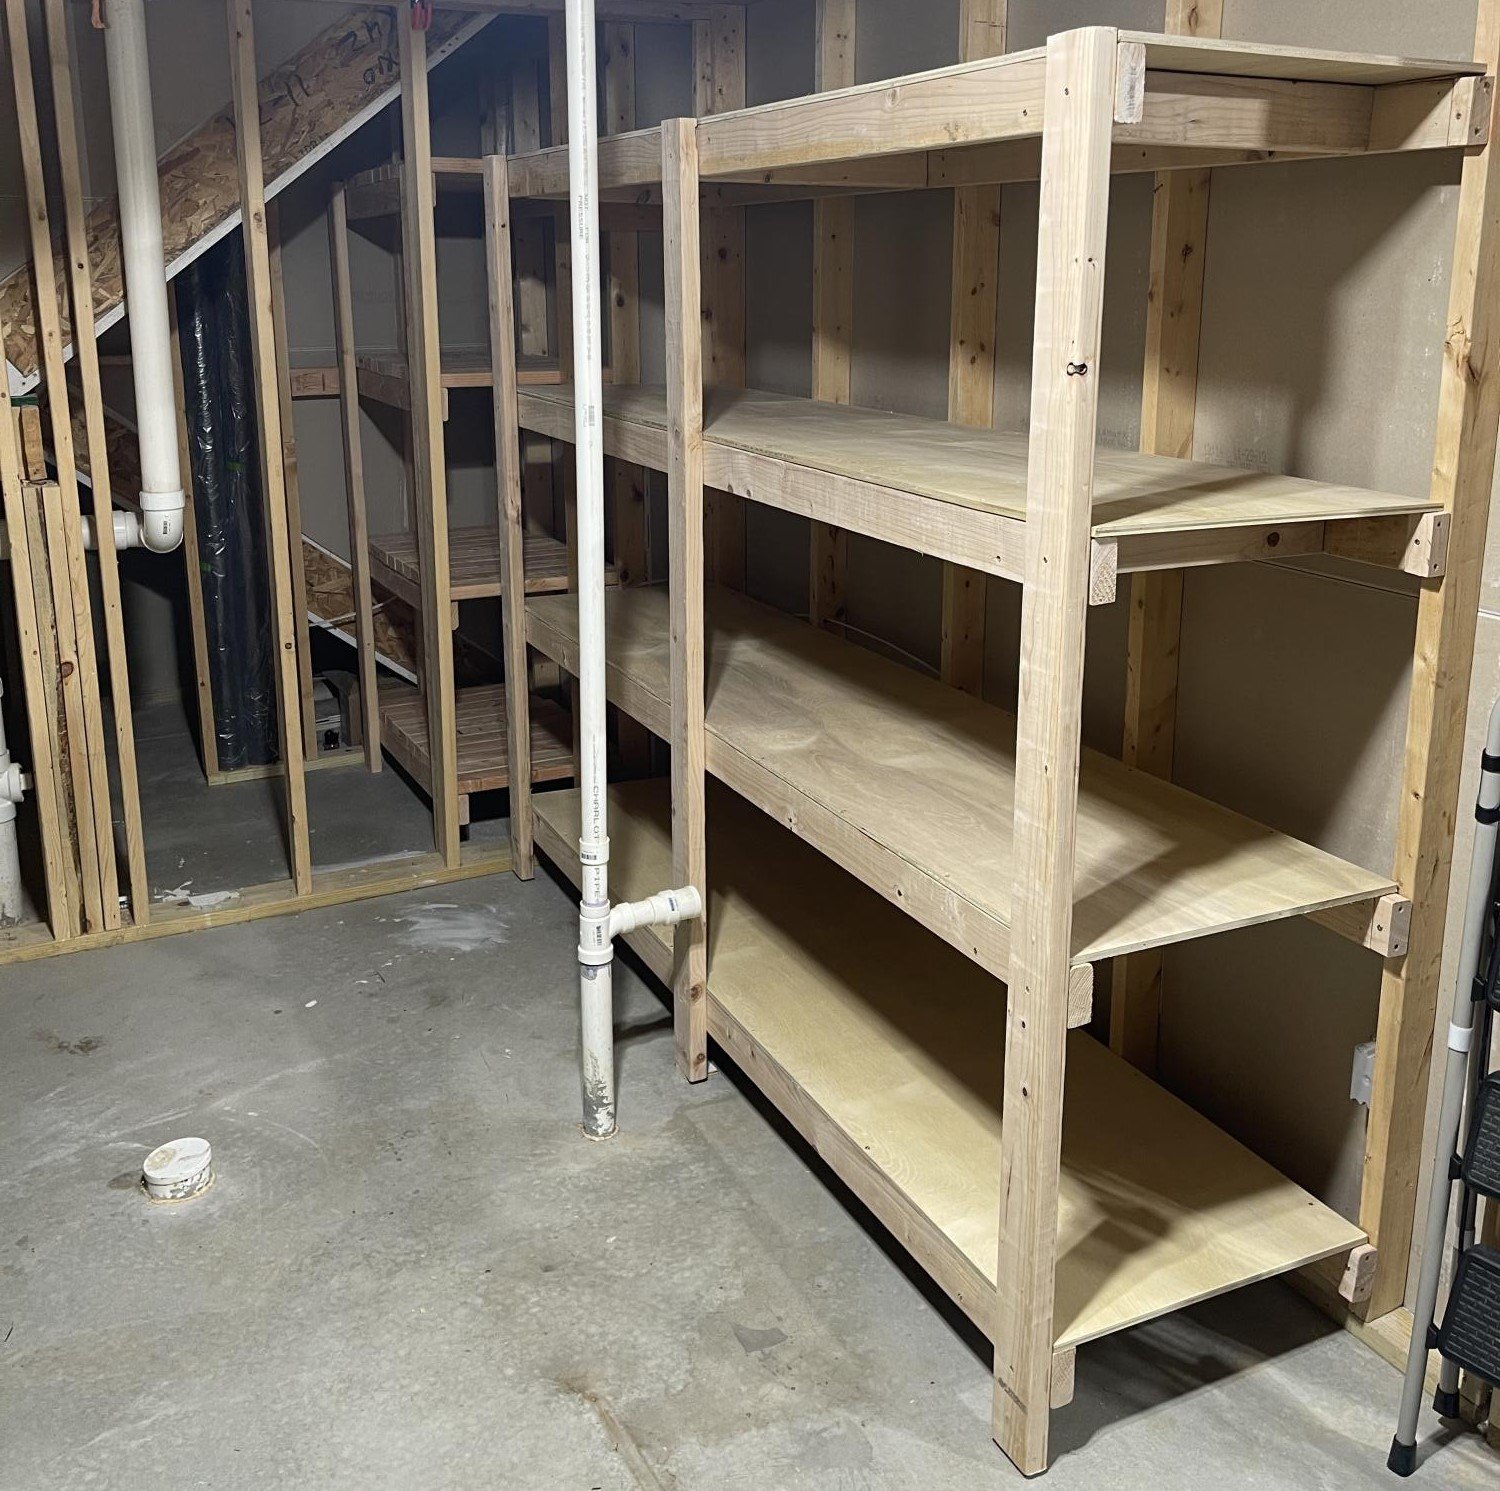
My version of Modern Farmhouse Bed. Let me know if you have any questions.
Built from Plan(s)
Estimated Cost
$150
Estimated Time Investment
Day Project (6-9 Hours)
Finish Used
Alkyd paint
Recommended Skill Level
Intermediate