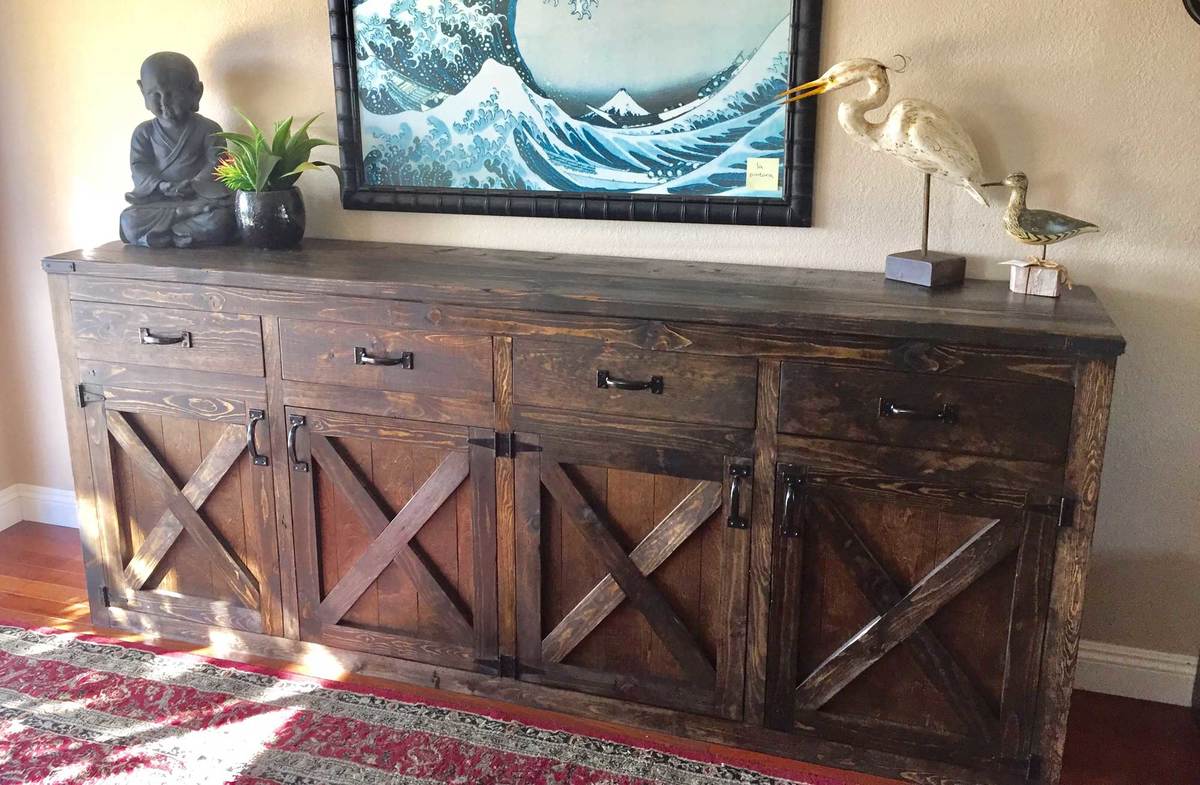
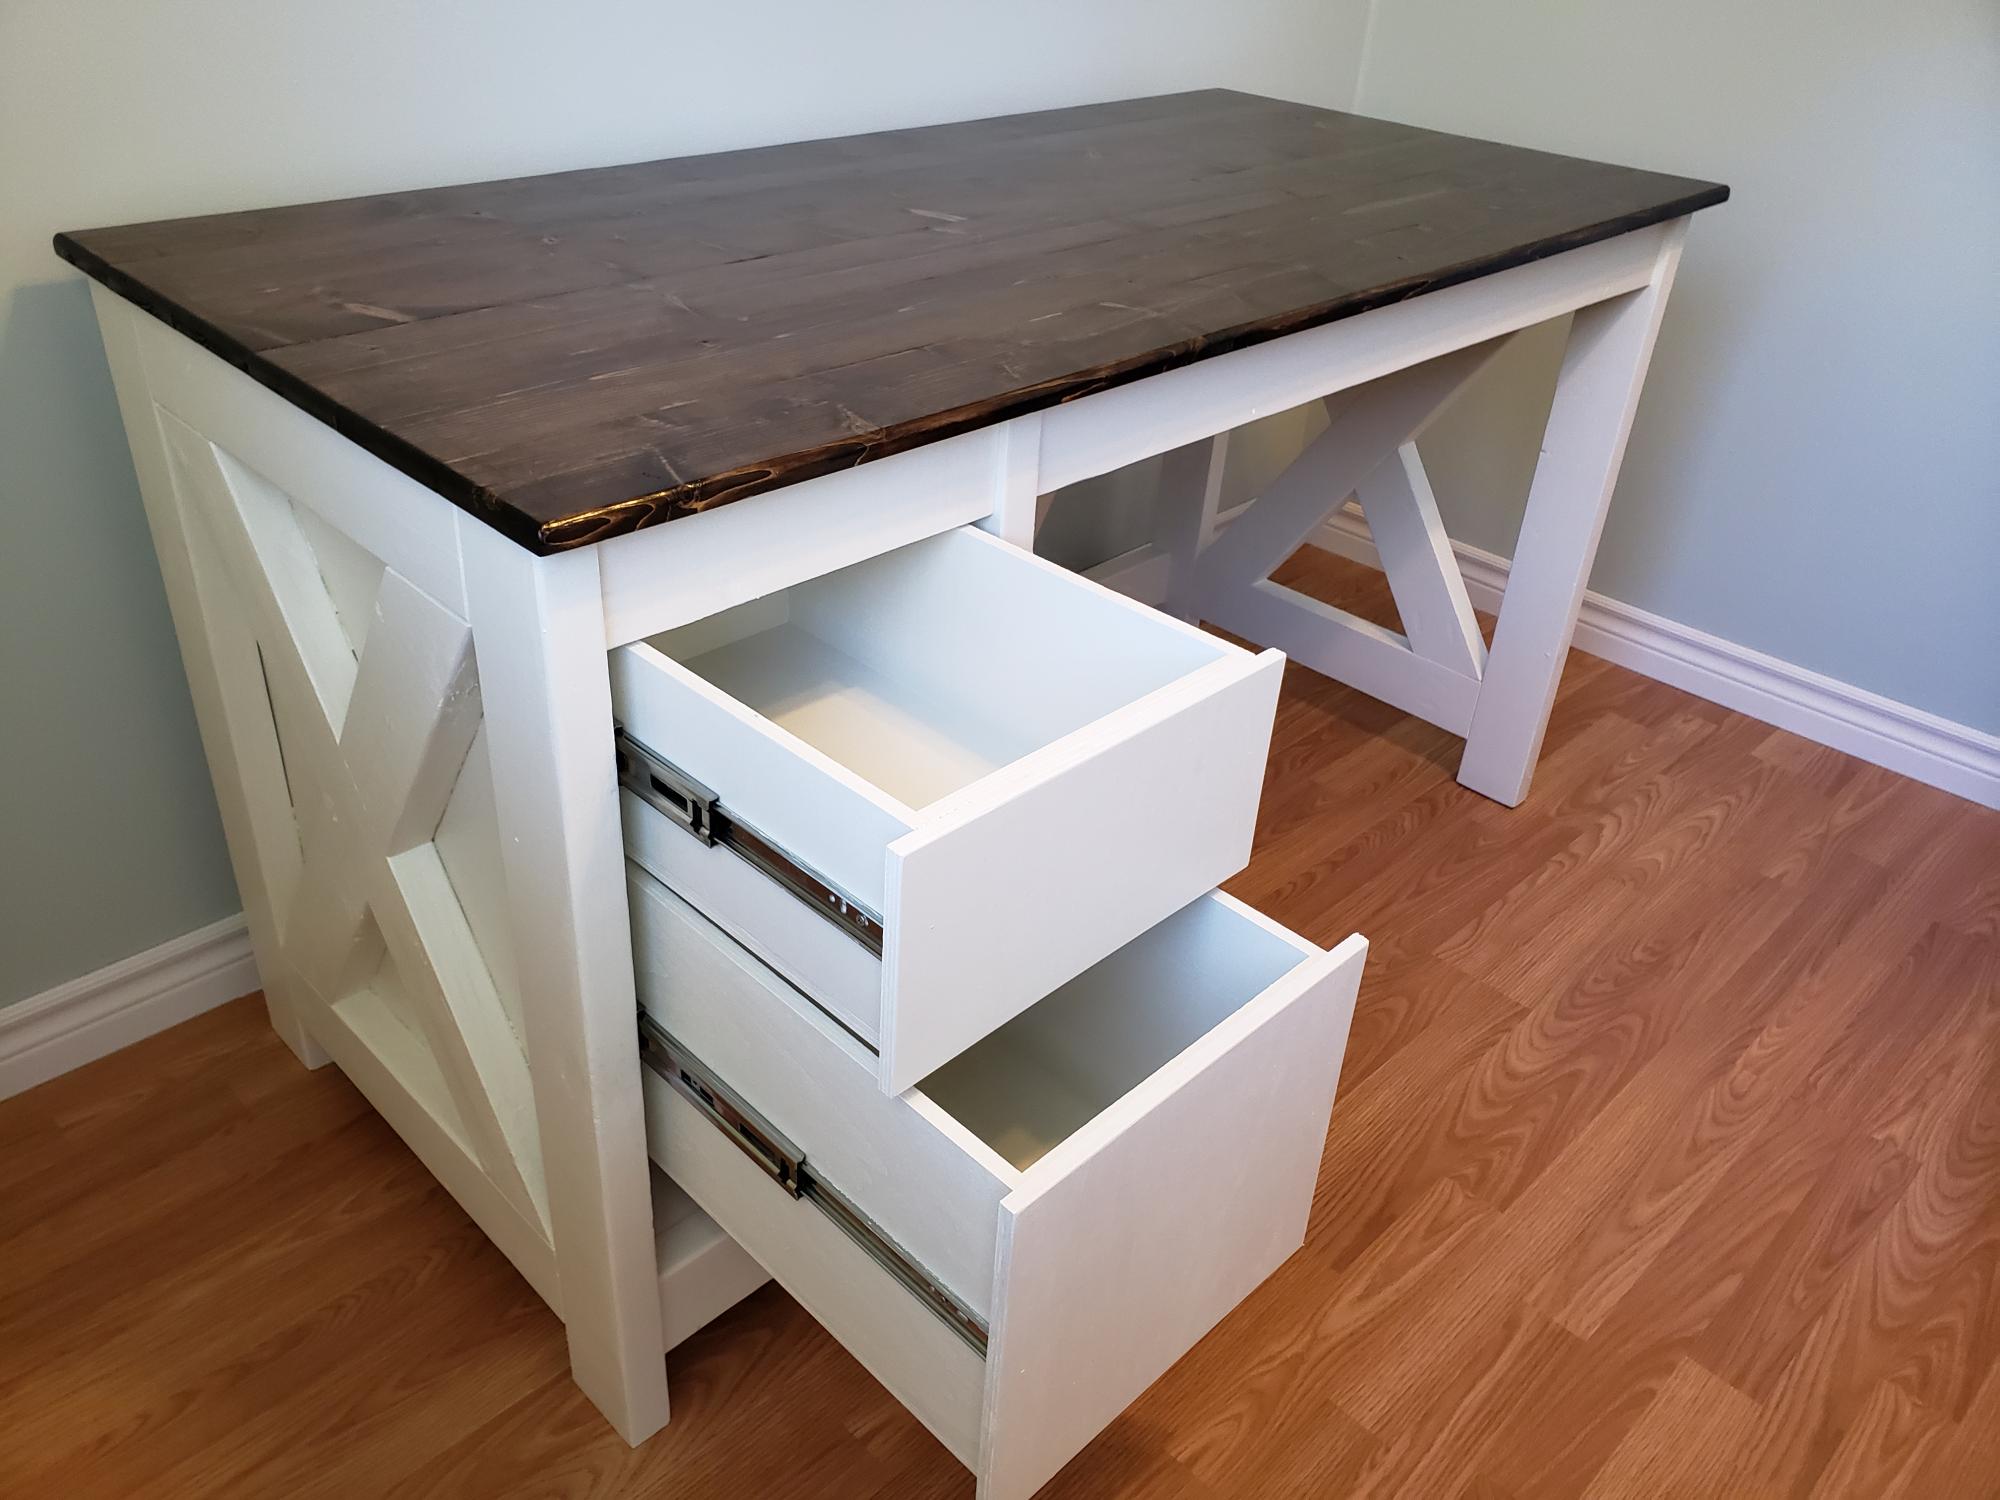
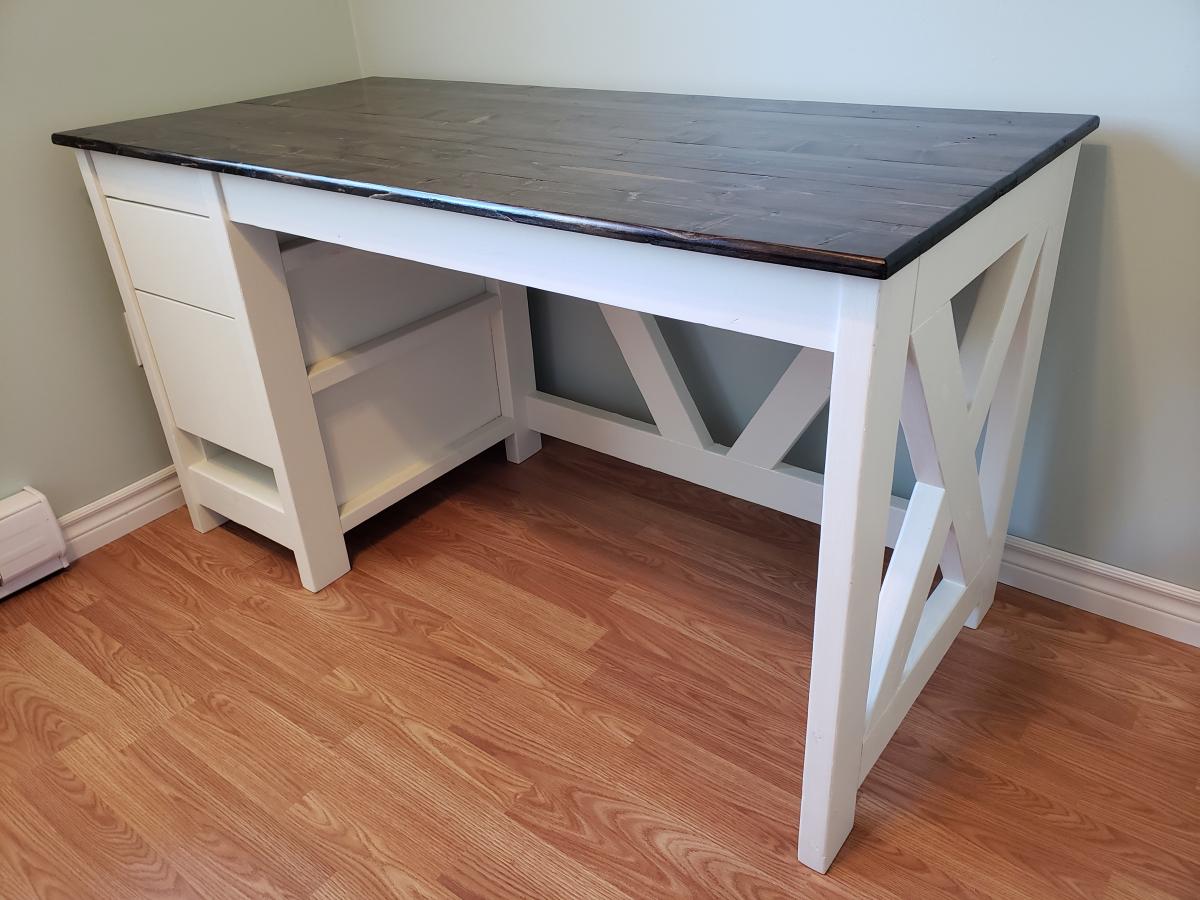
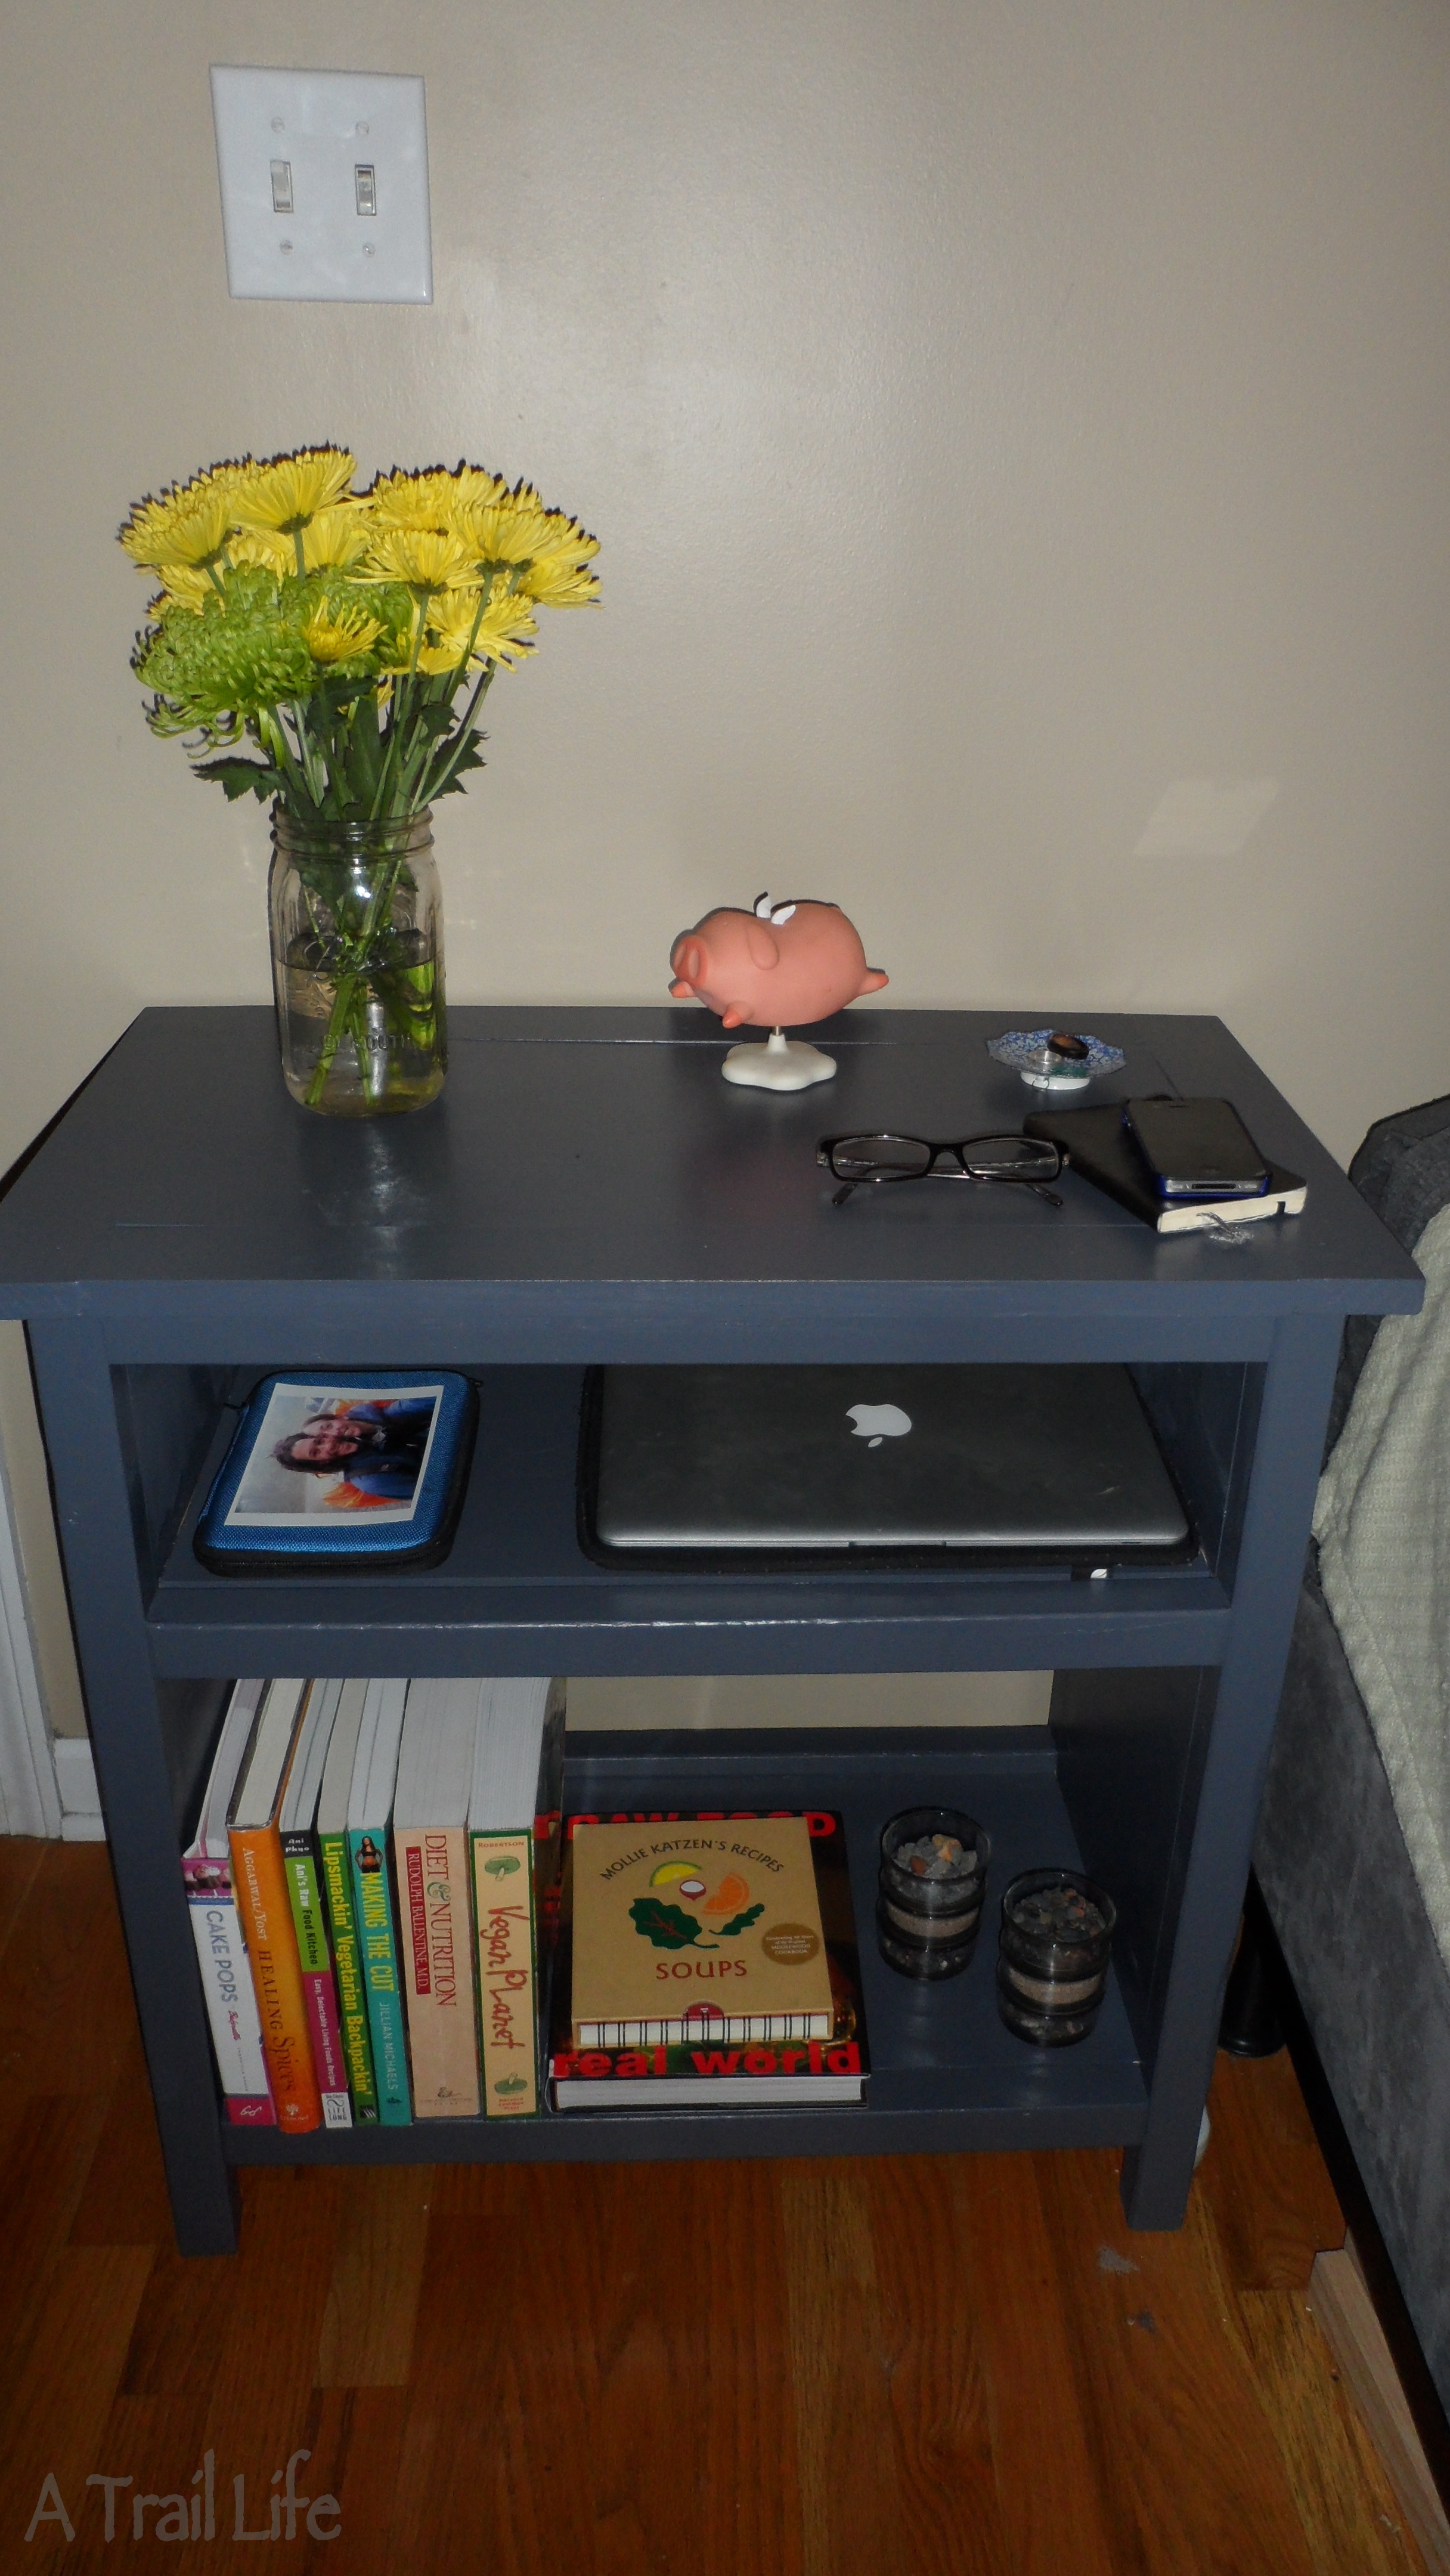
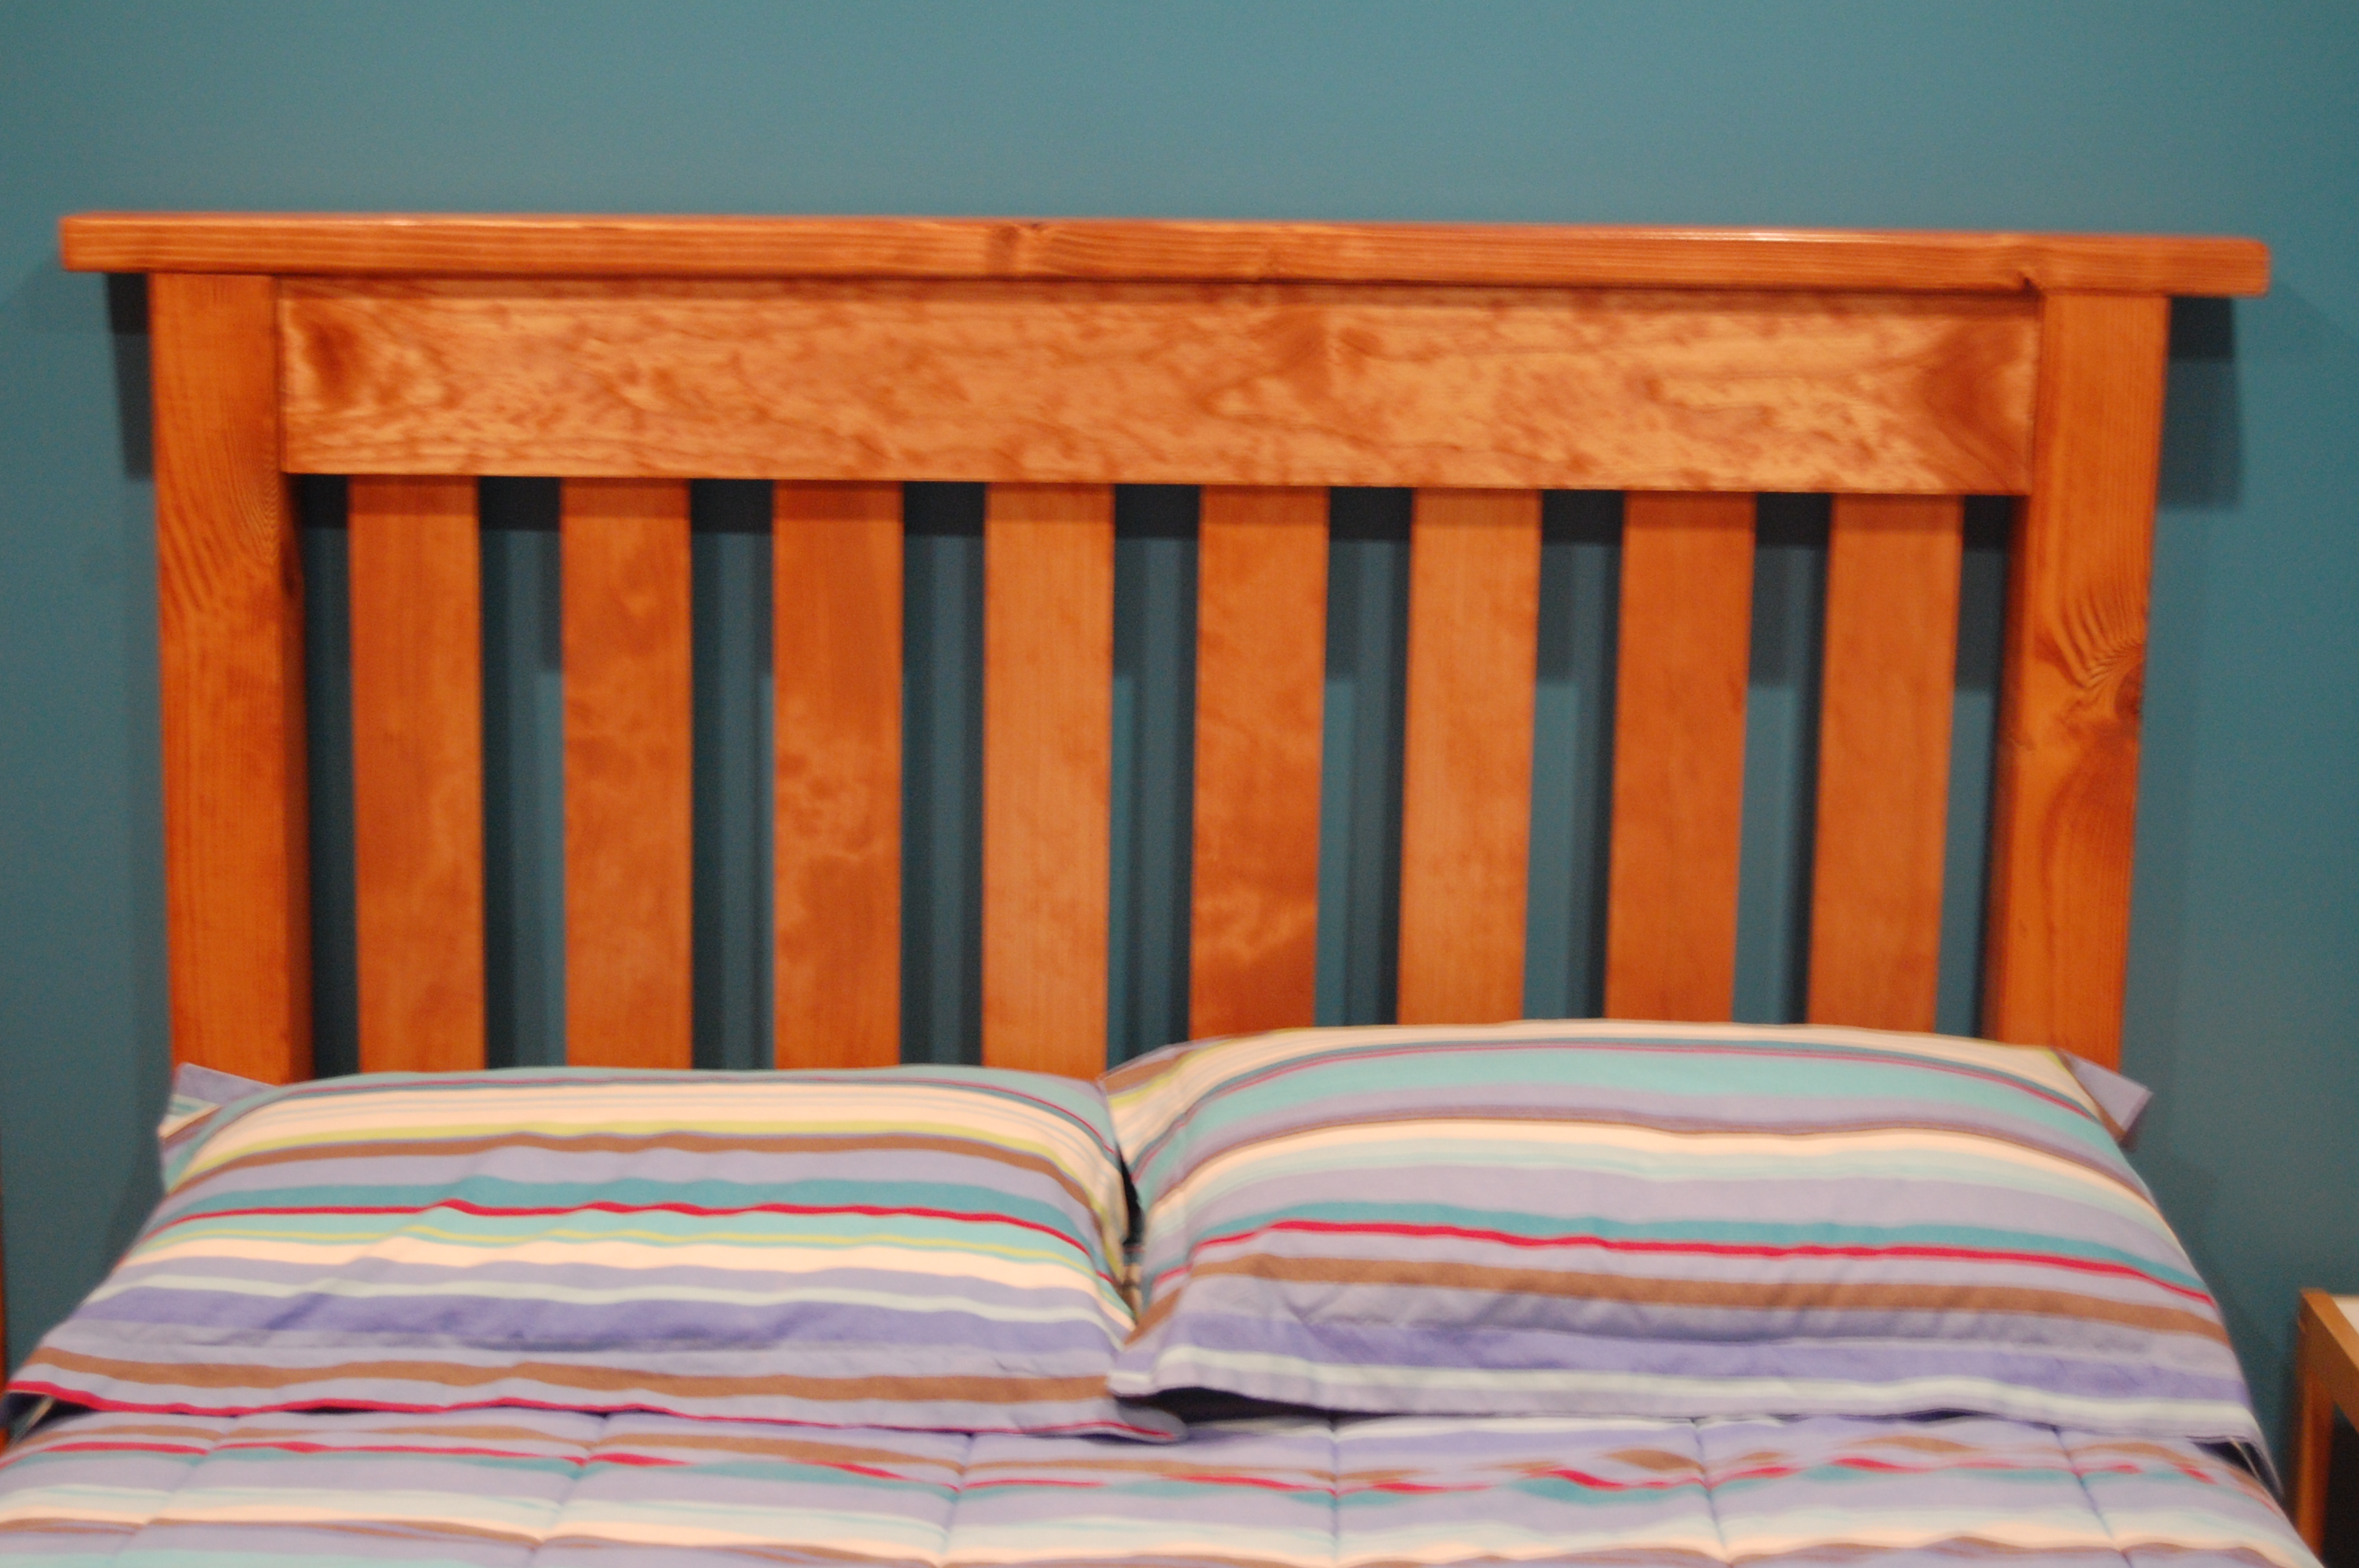
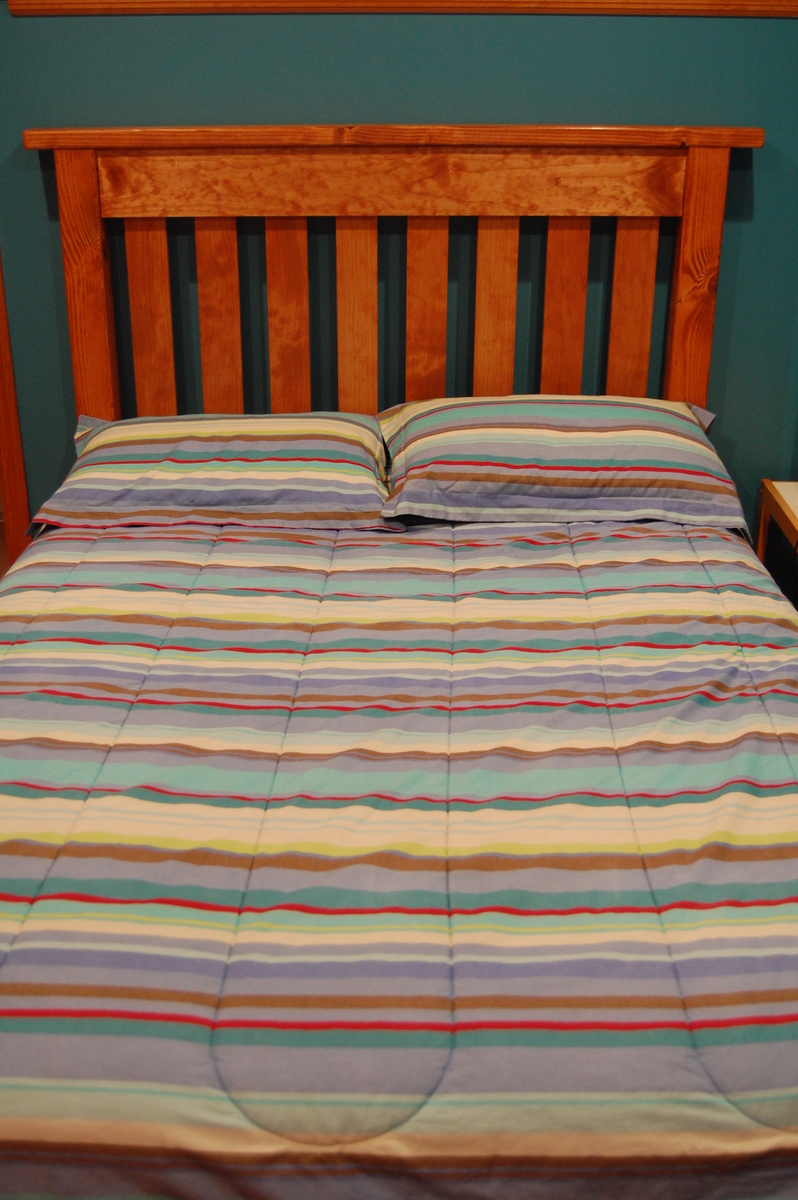
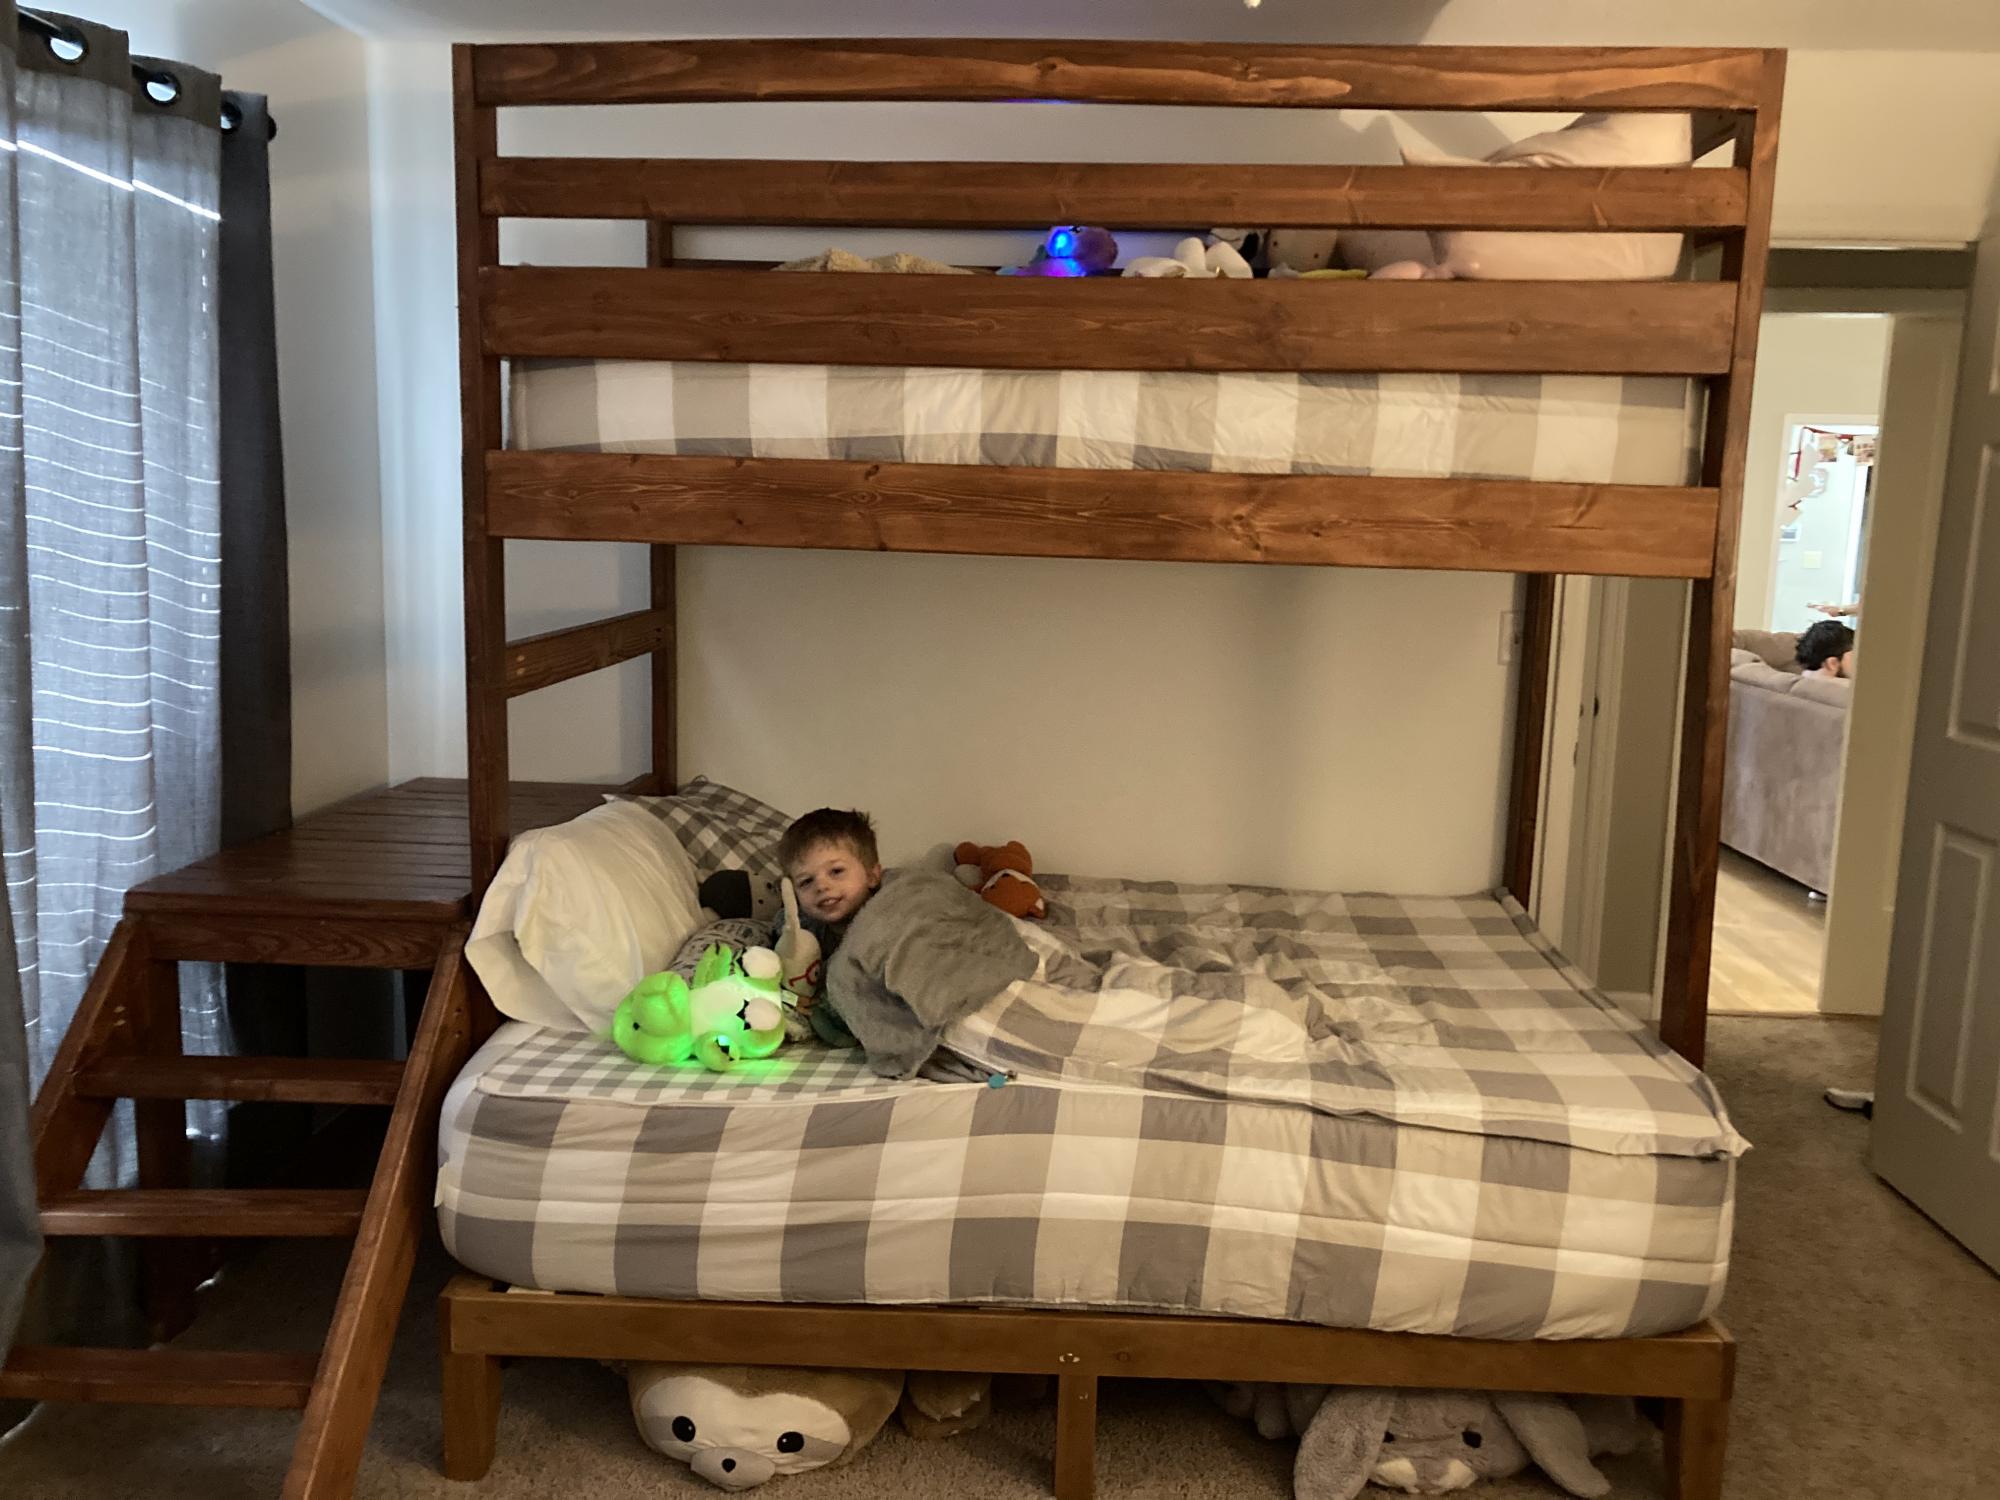
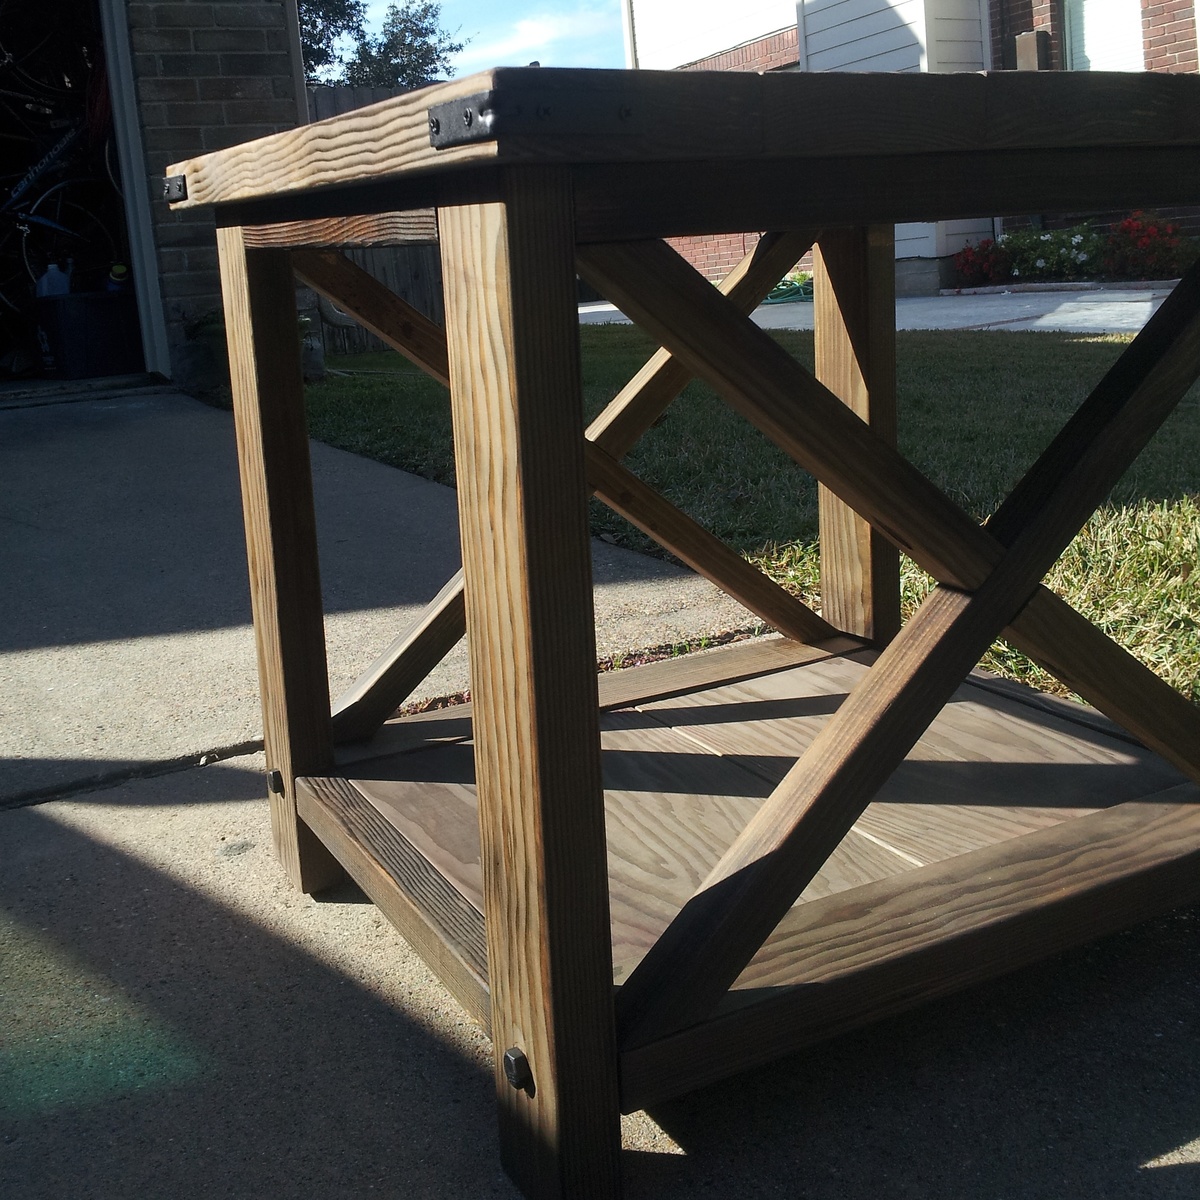
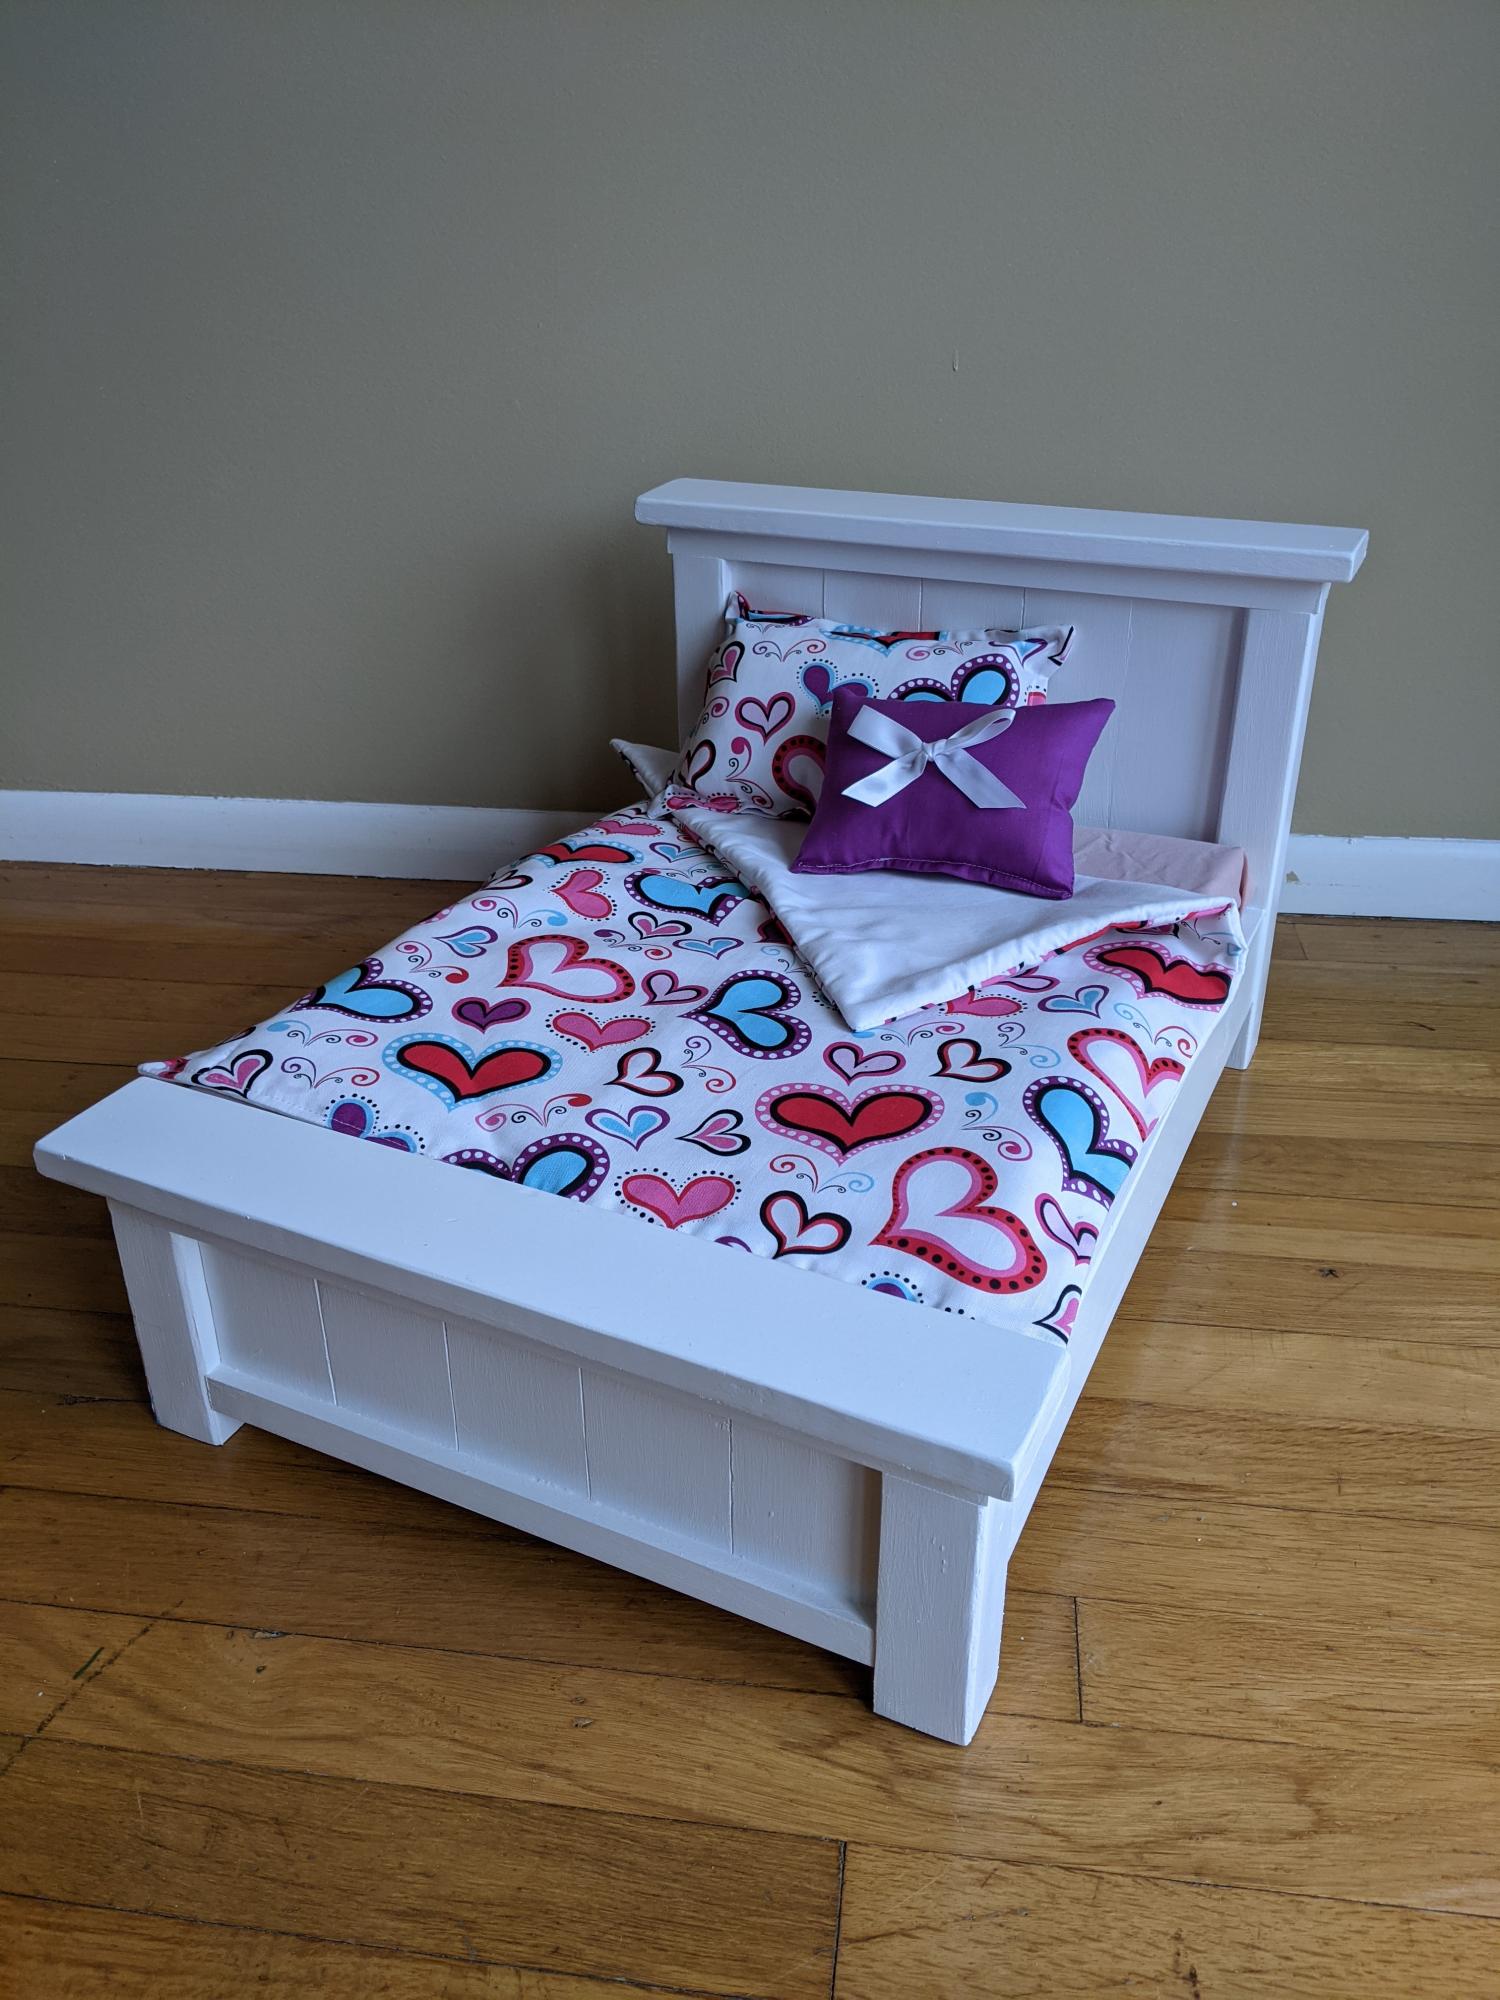
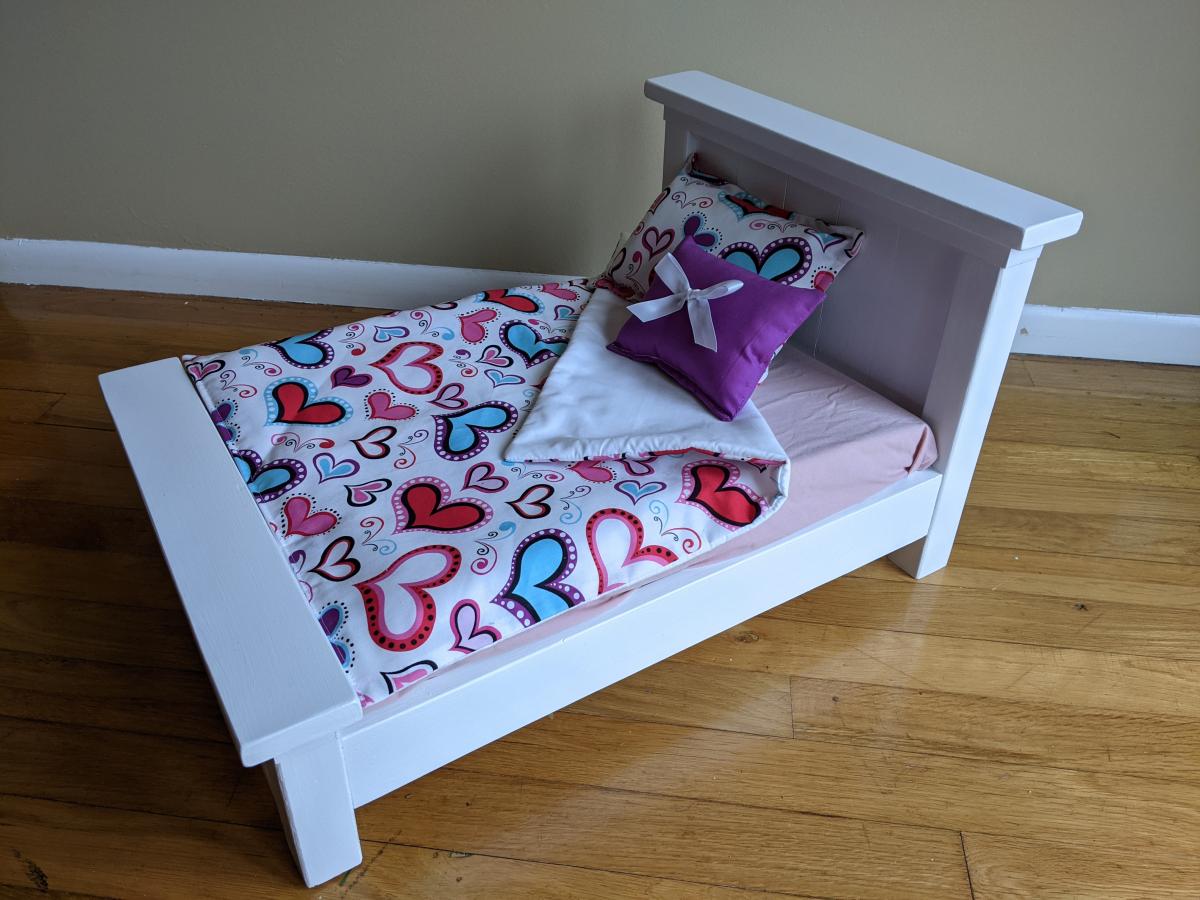
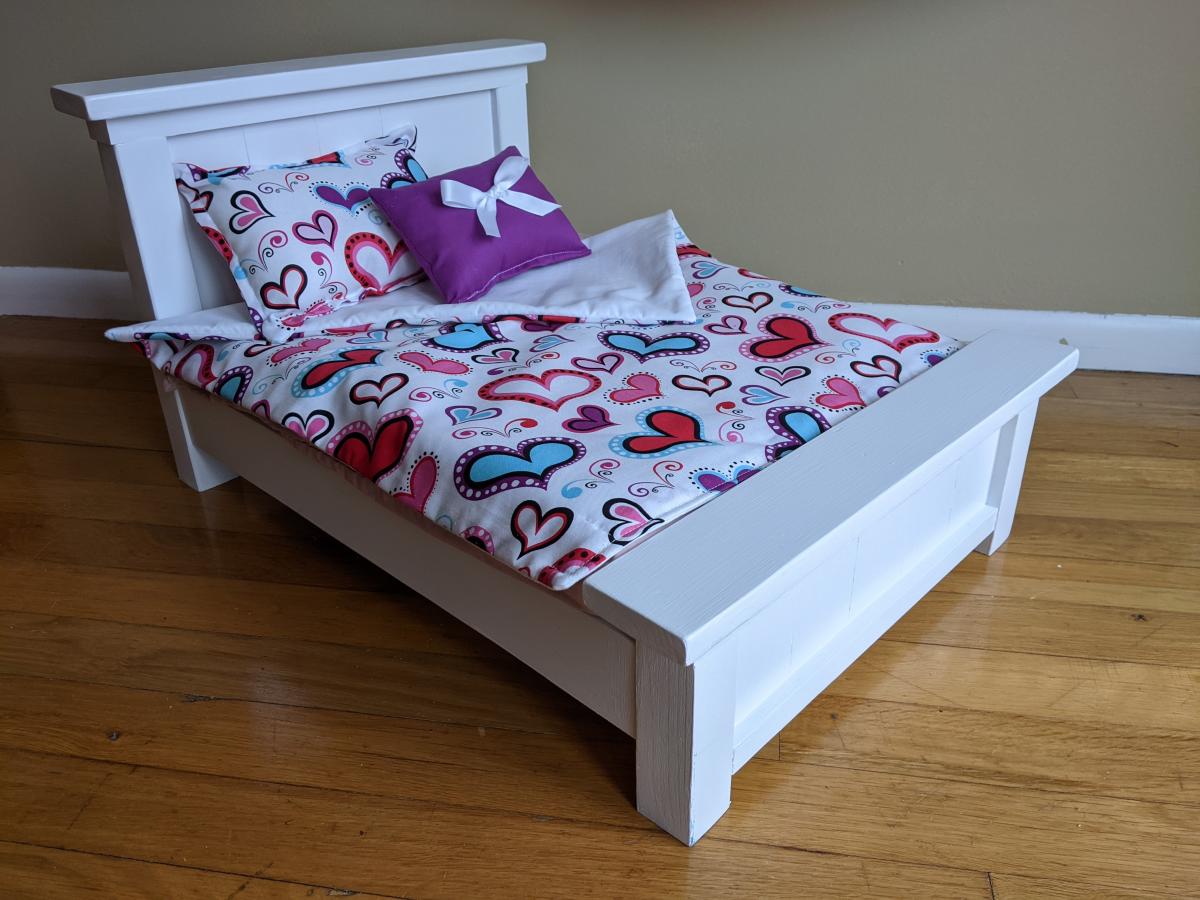
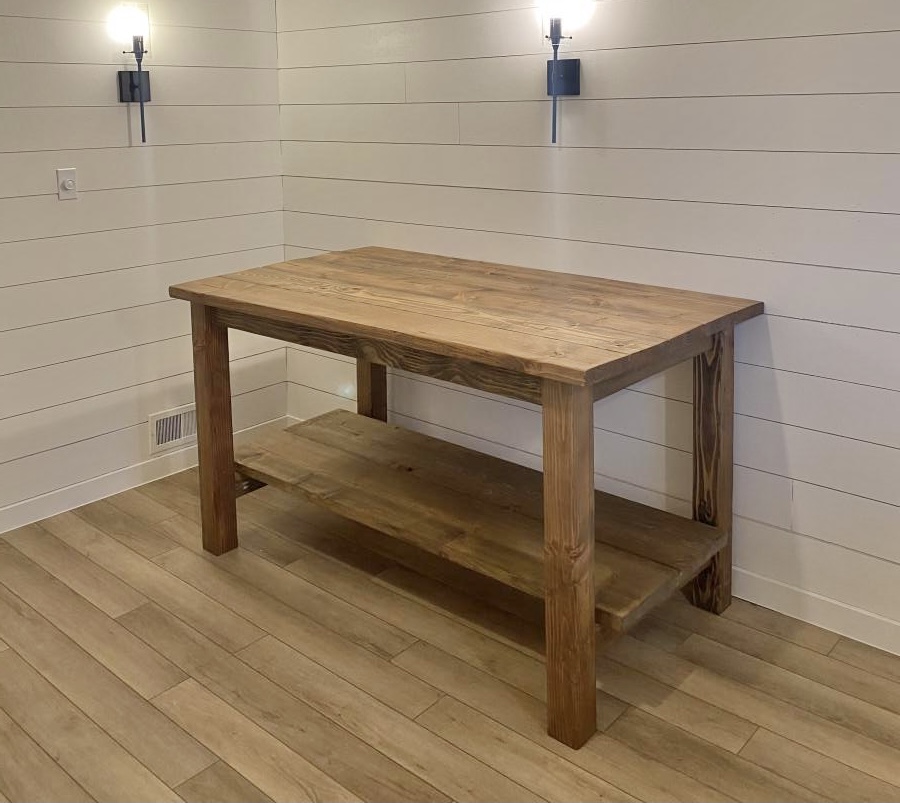
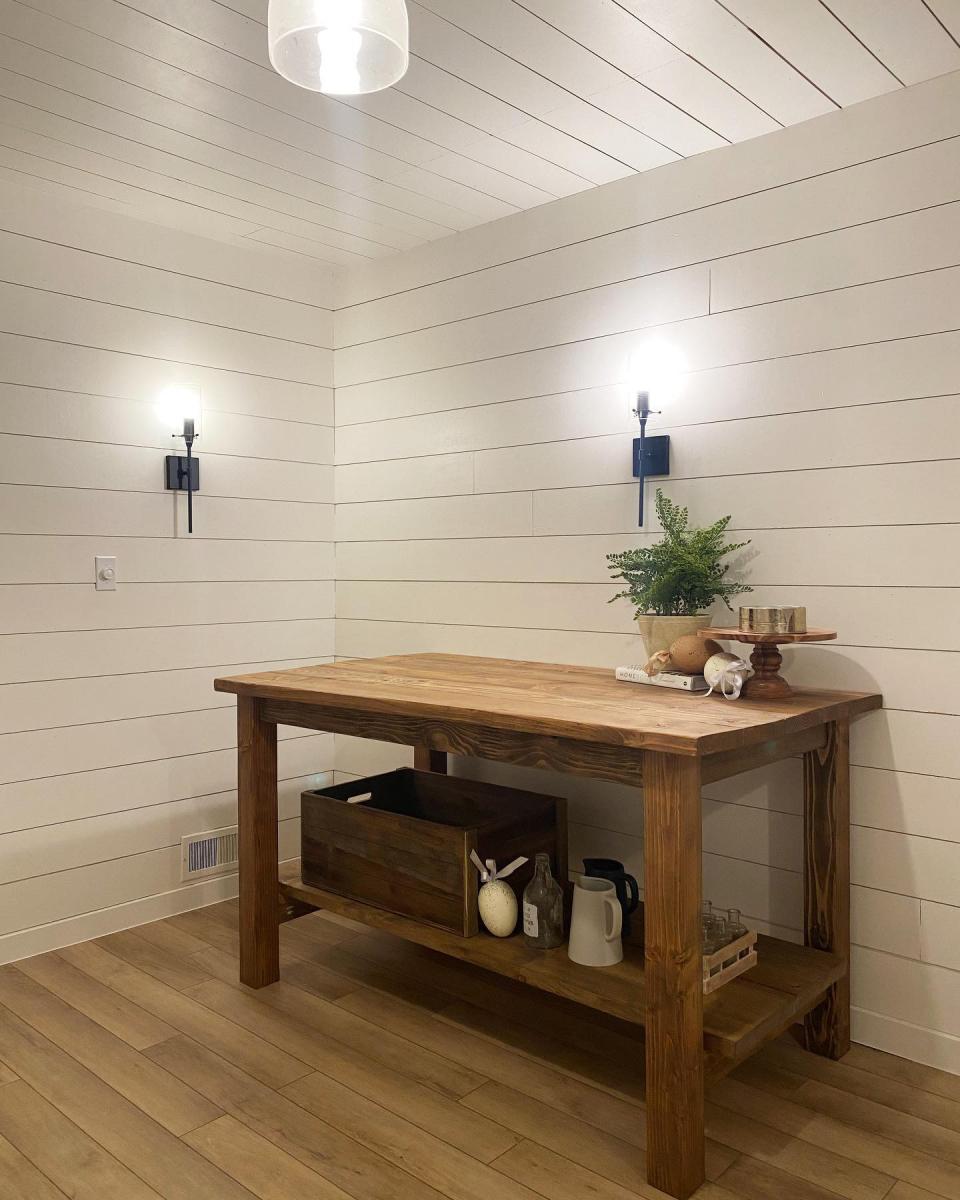
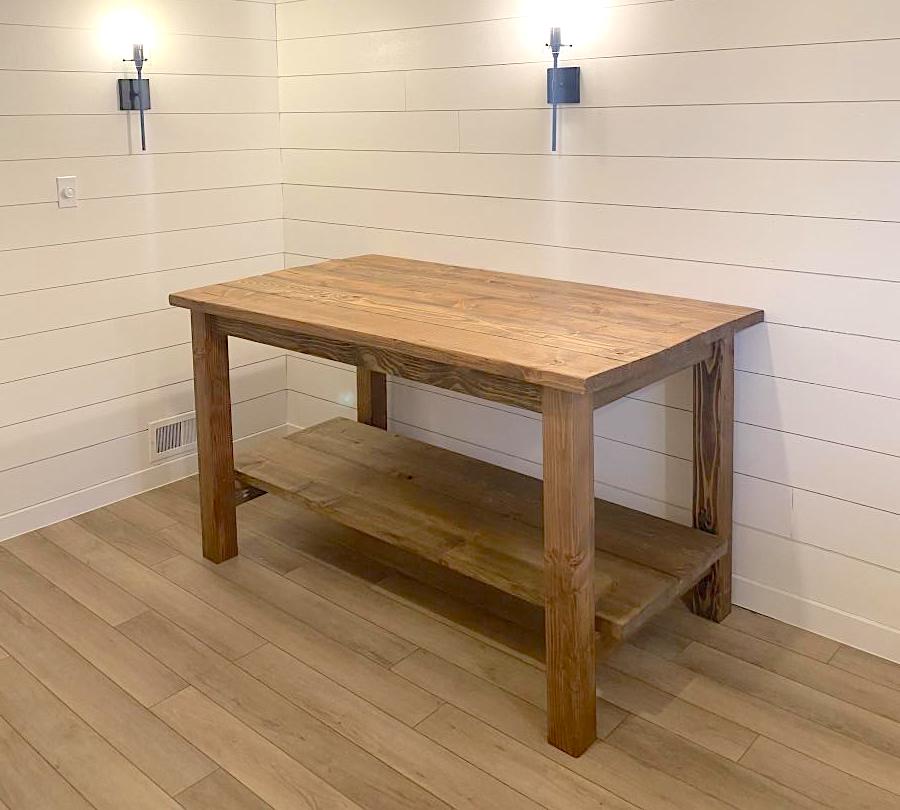
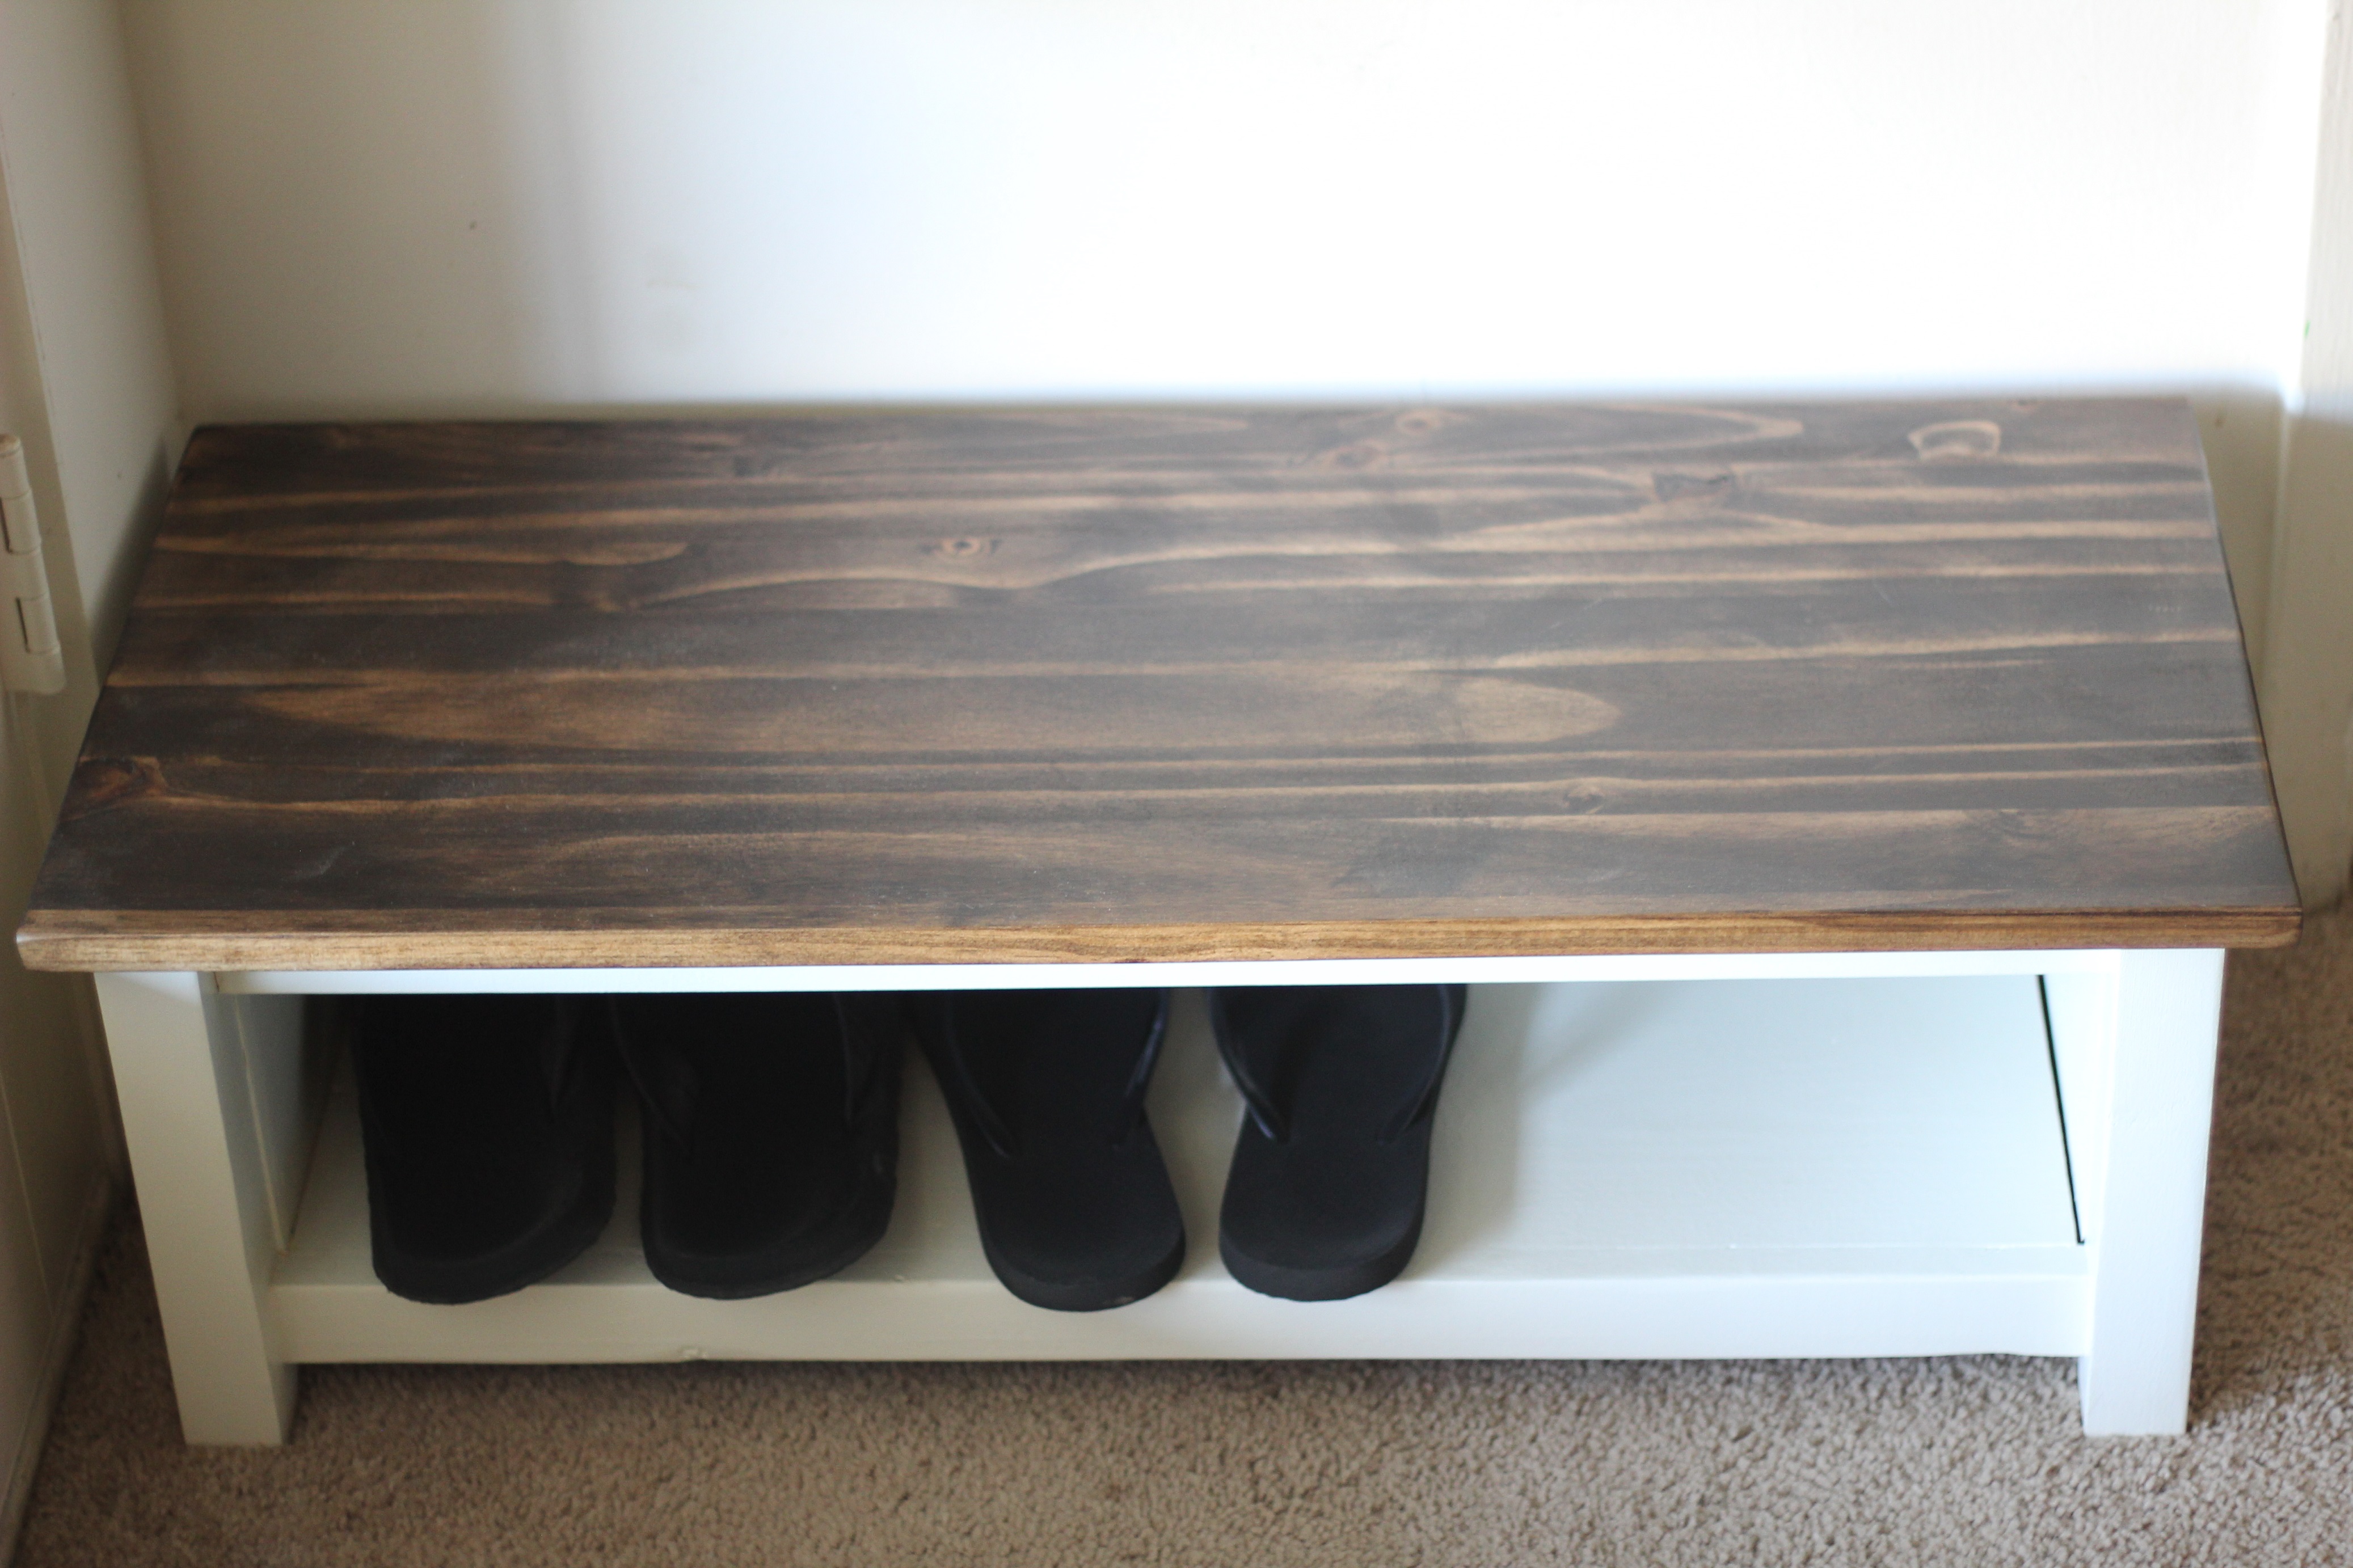
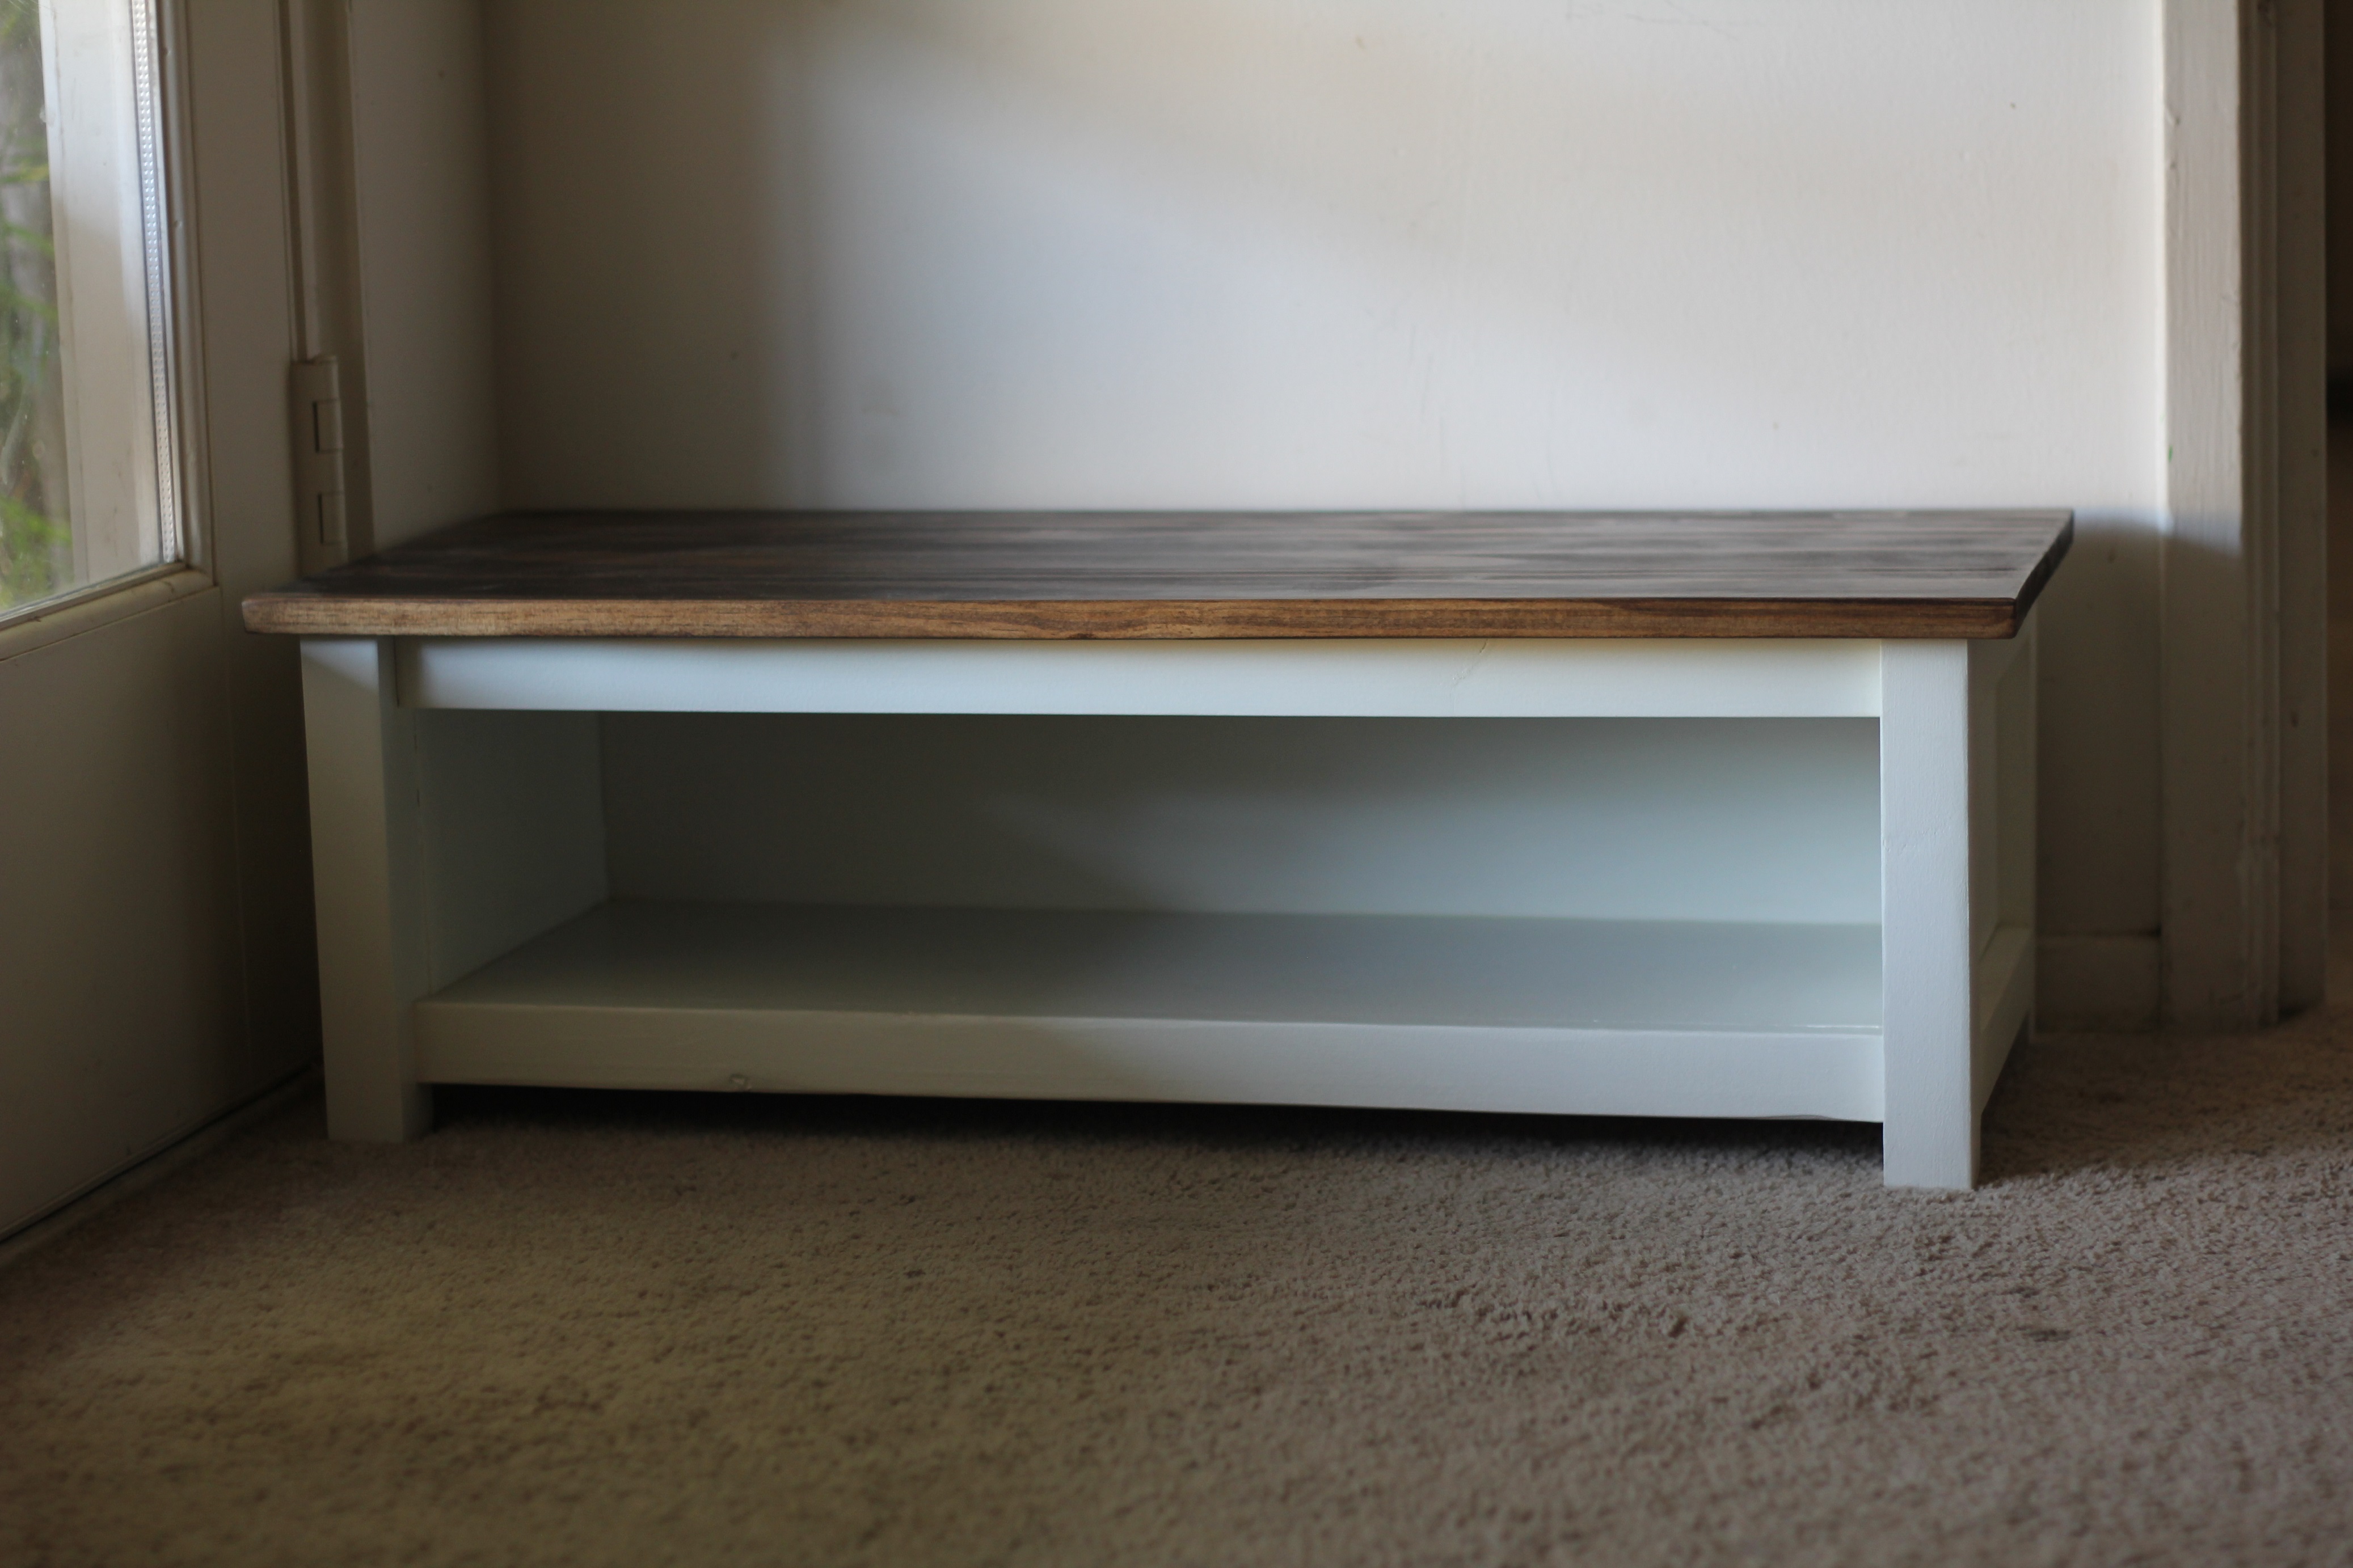
Modern farmhouse bed with matching nightstands

Lots of sanding and staining but love how everything turned out. Very sturdy and doesn’t creak when you jump into bed.
Built from Plan(s)
Estimated Cost
800
Estimated Time Investment
Week Long Project (20 Hours or More)
Finish Used
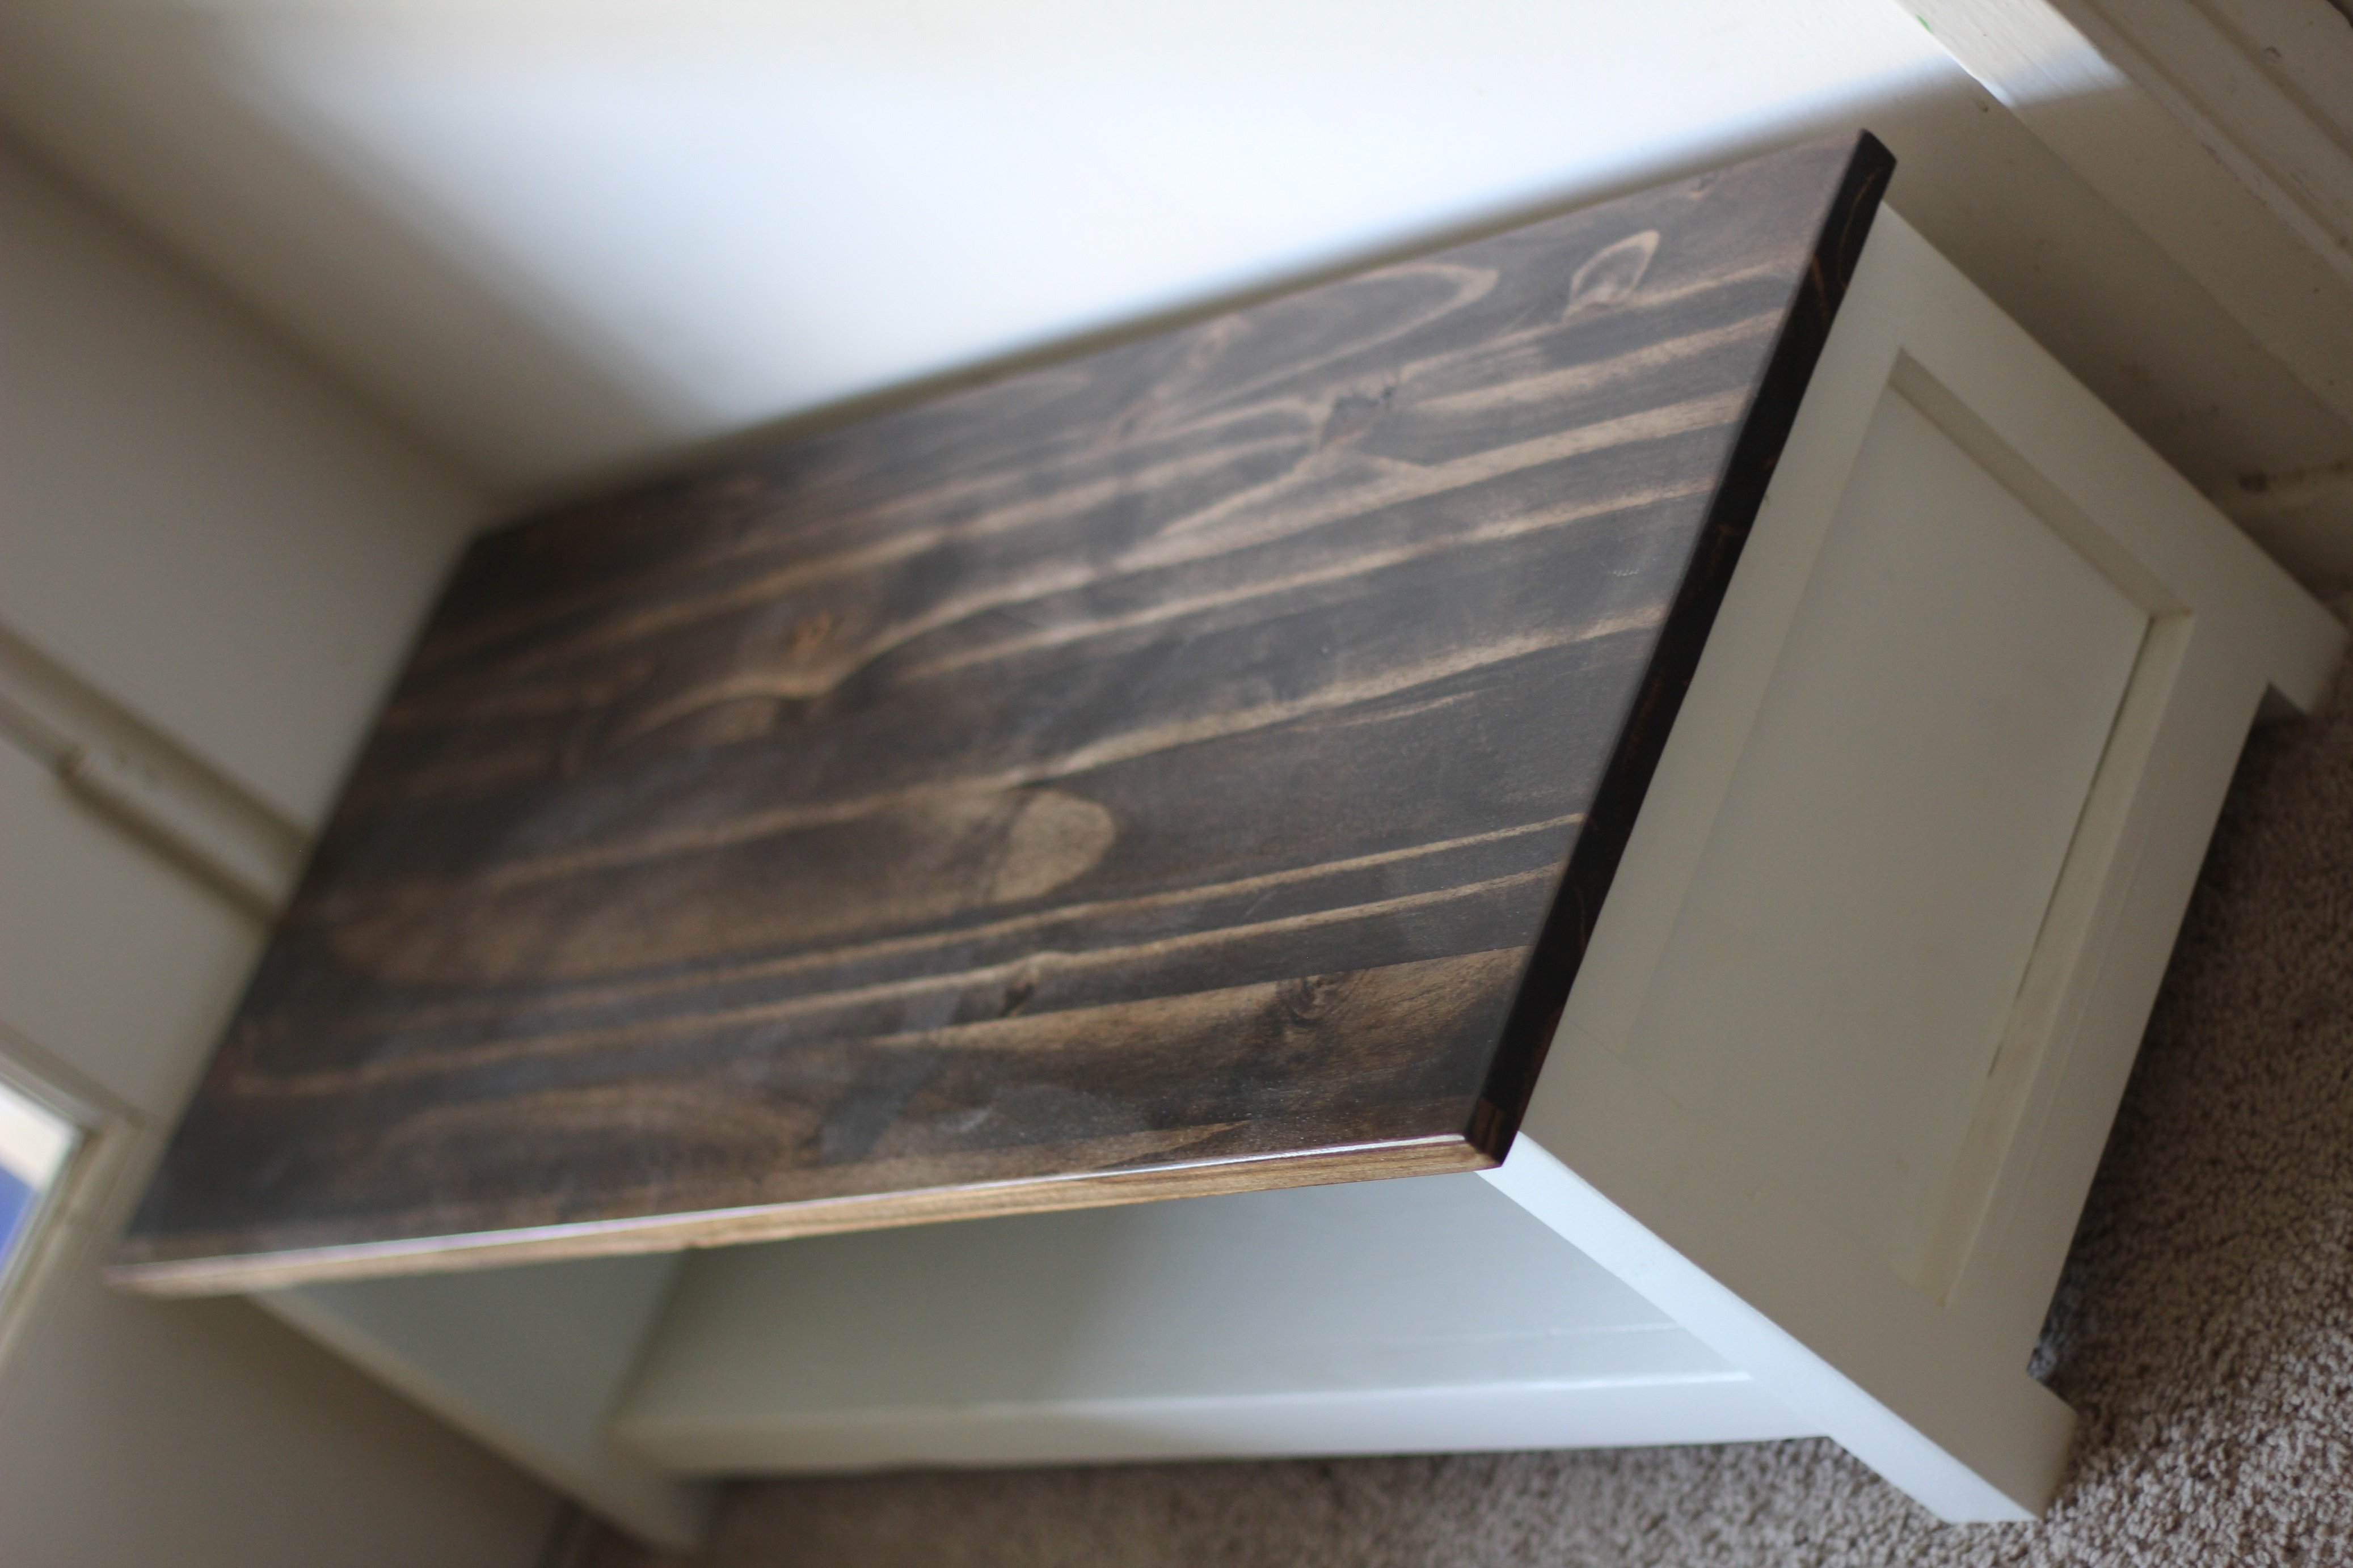
Minwax barnwood with varathene aged gray on top.


Comments
Ana White Admin
Thu, 09/17/2020 - 19:54
Ageless!
It looks fantastic, solid and will be enjoyed for years to come! Thanks for sharing:)