Community Brag Posts
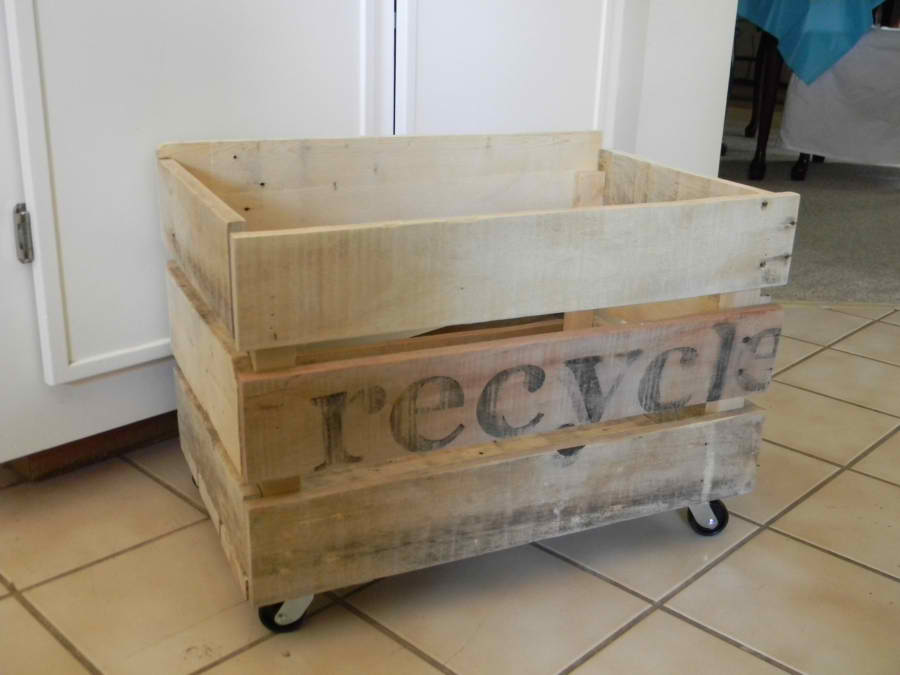
Pallet Crate on Wheels
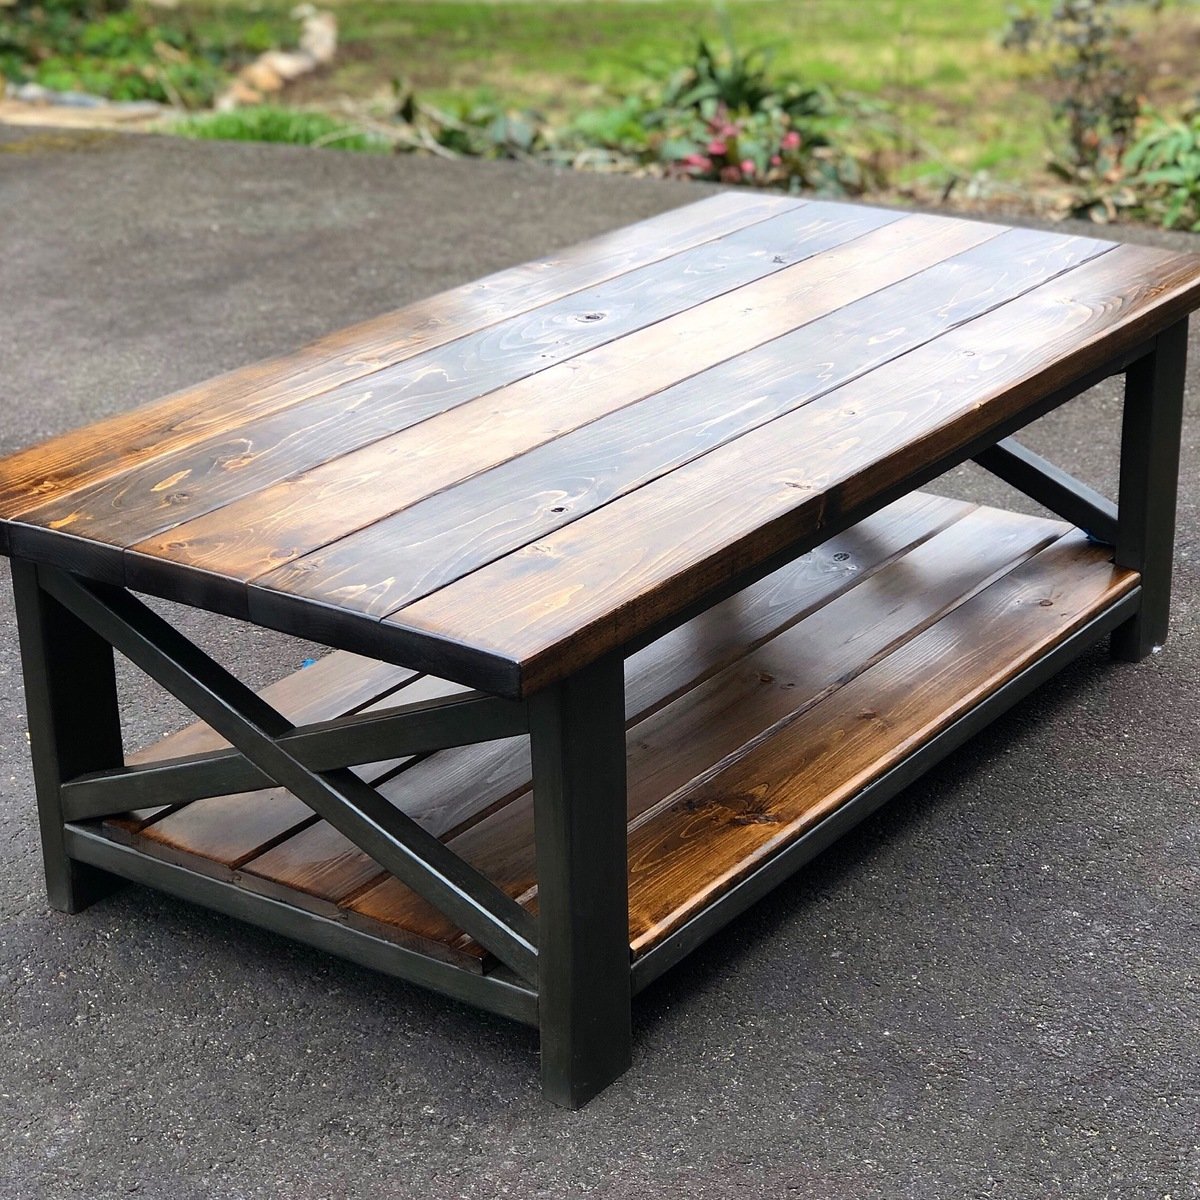
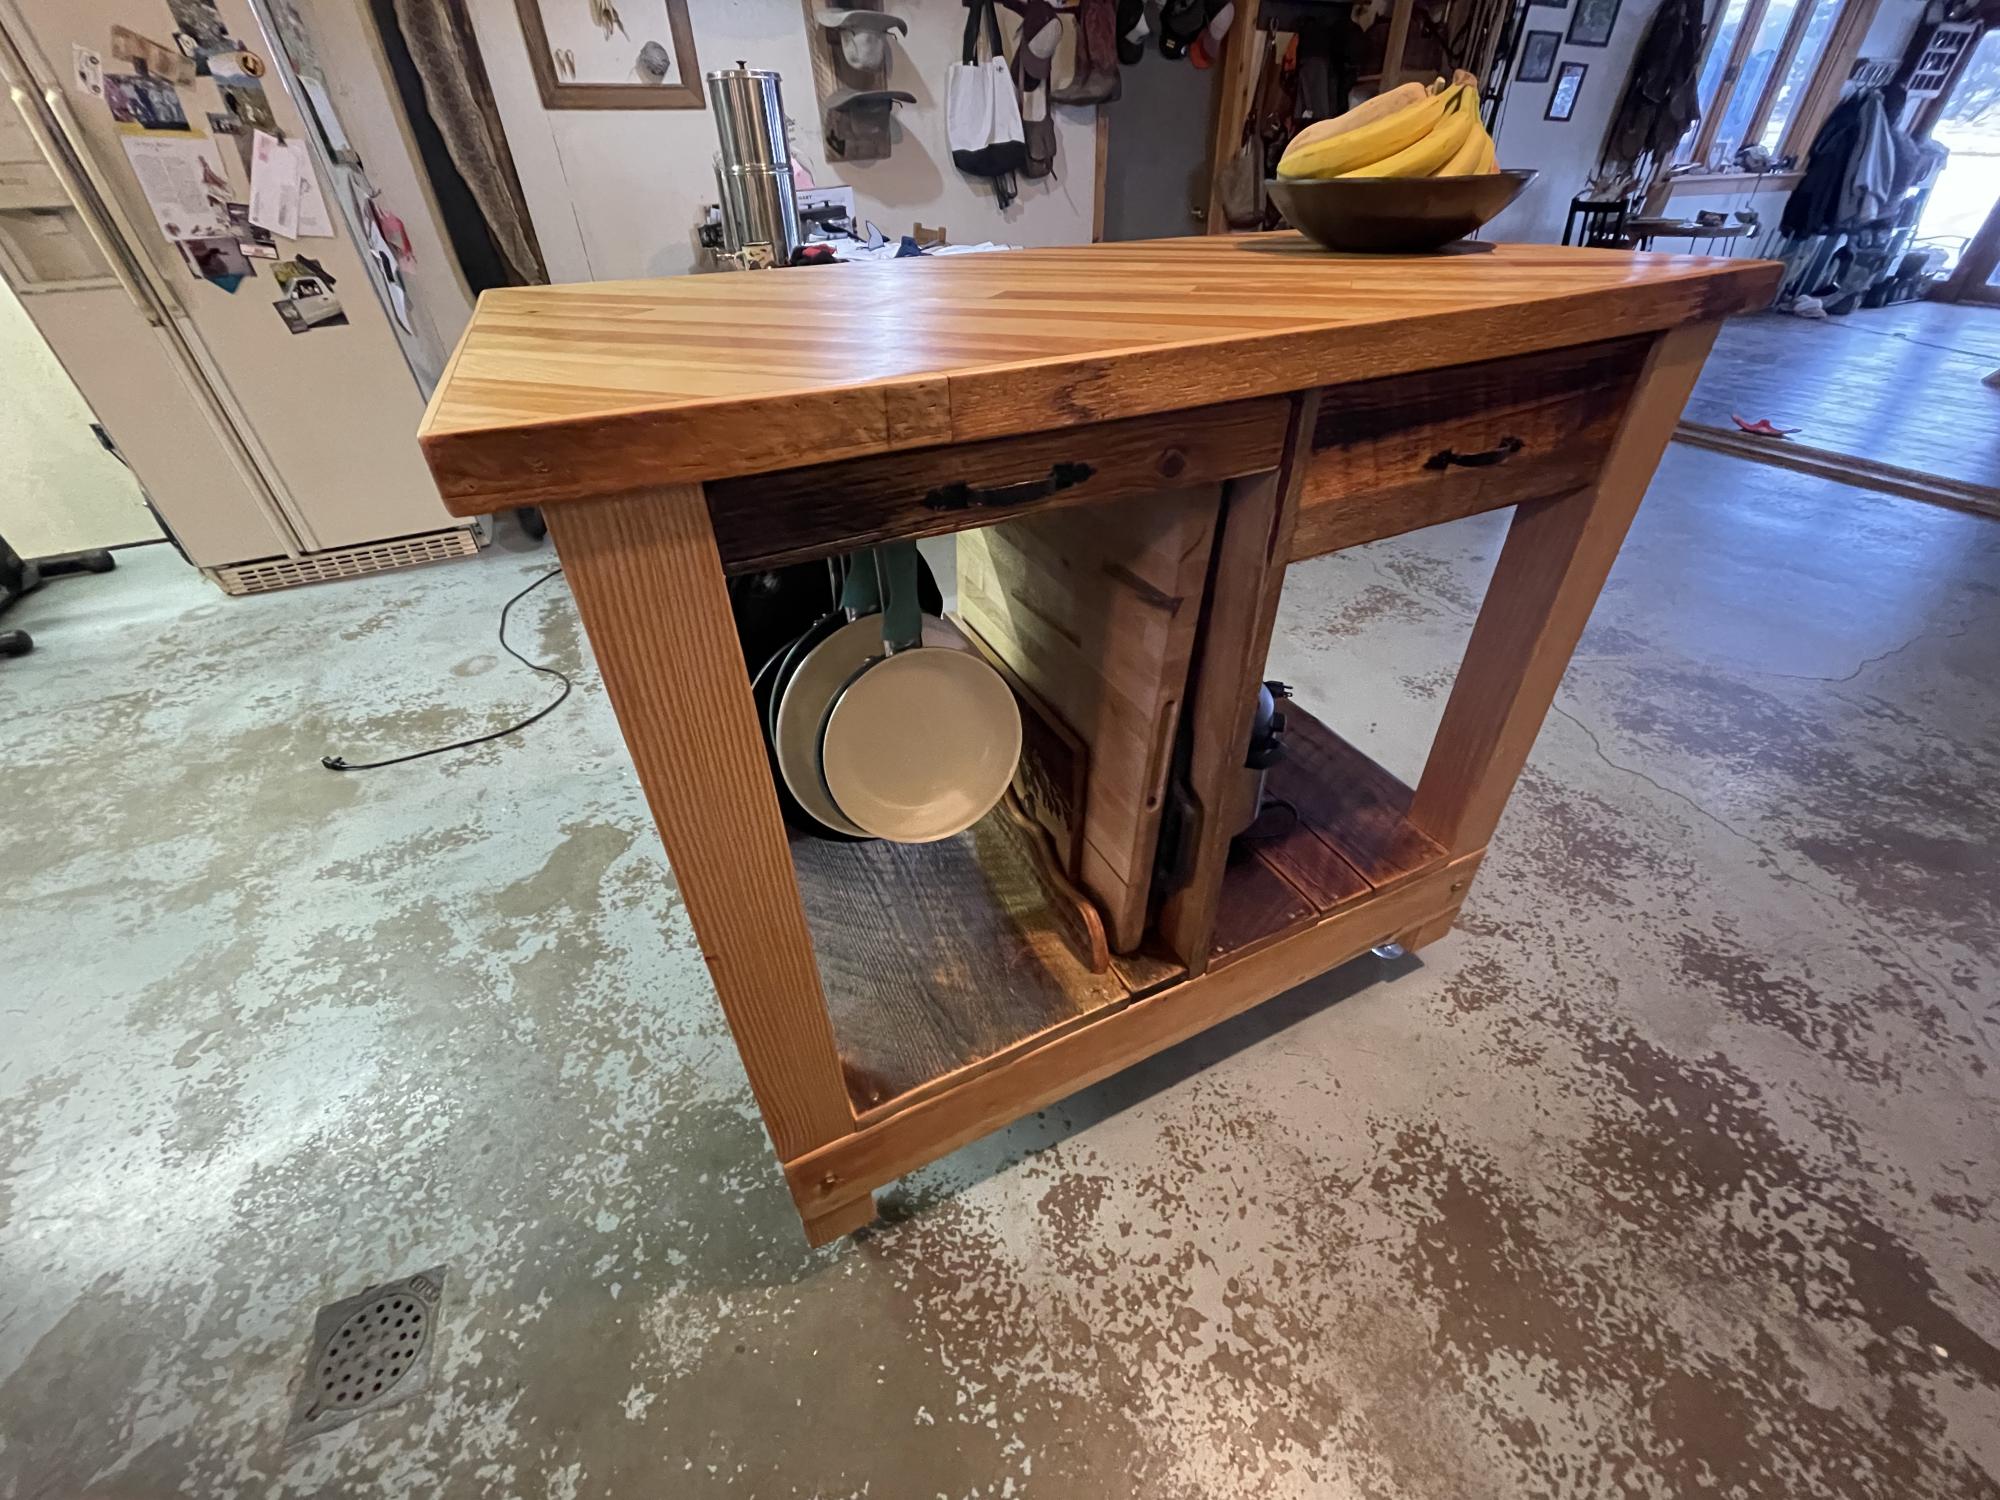
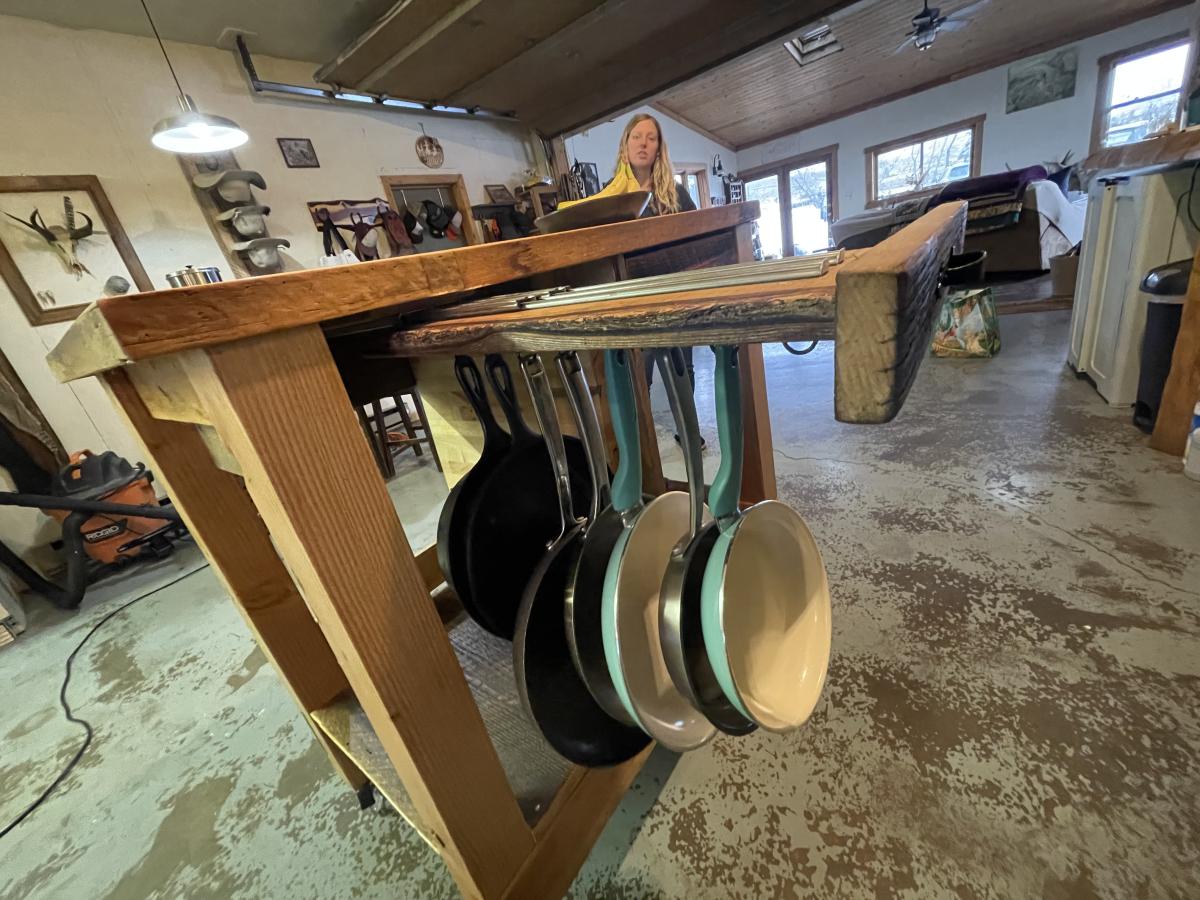
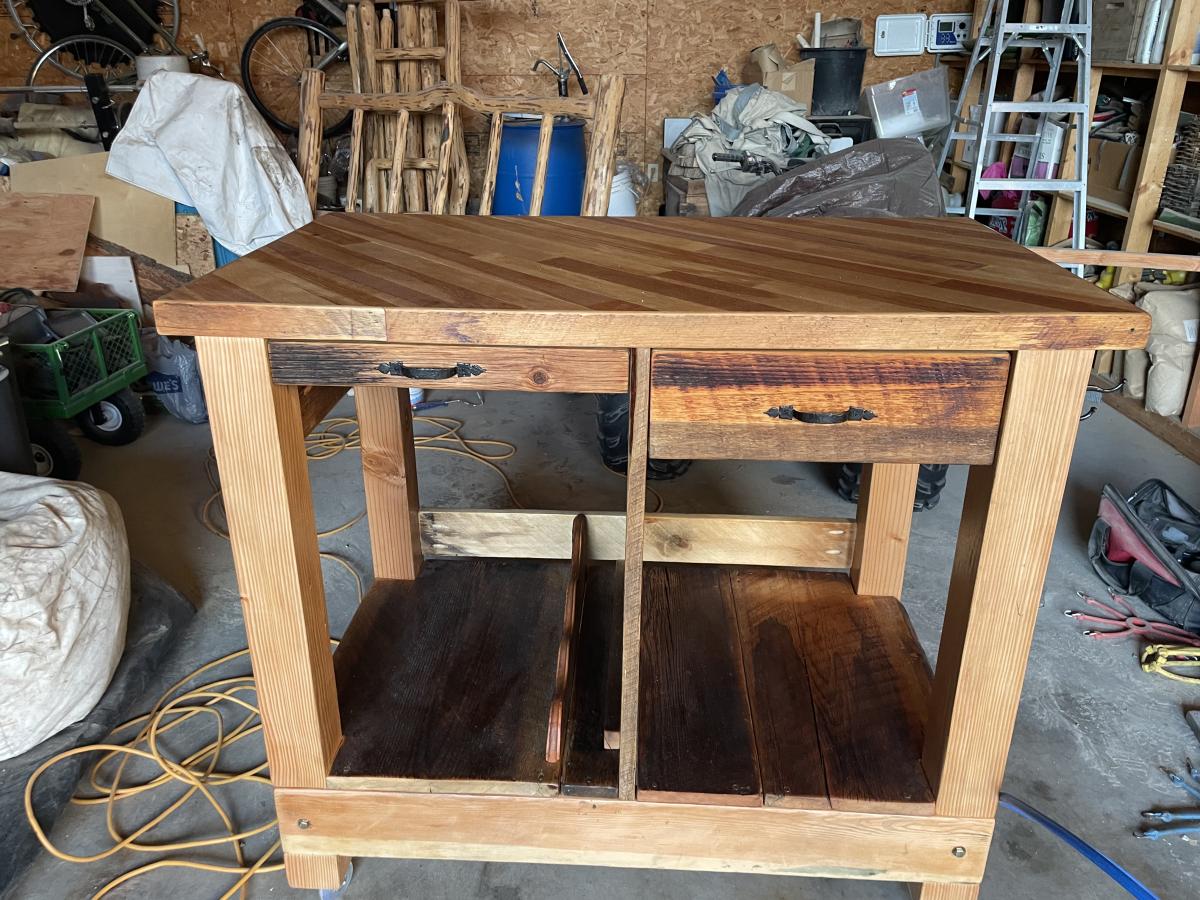
Dog Sleeping Kennel Night Stand
Dog kennel I built for a friend of mine. They have a pure bred poodle and had to build this big enough for the dog to keep growing. Made out of red oak with rebar on the sides and cabinet doors. I added a phone charger and electrical outlet to the top so they can plug in a lamp and their phones.
Comments
Thu, 12/16/2021 - 13:39
Great nightstand/dog kennel!
That is fantastic, love the extra power support option!
Red, White, and Blue Coop
We built this A-frame chicken coop using the plans from Ana White. We modified them a bit to include a front door, a solid front wall, and 8-foot untreated cedar fence boards (cut in half) for the loft floor instead of plywood. We also used hardware cloth instead of chicken wire since racoons are a problem where we live, and they have been known to reach through chicken wire to grab at hens. Instead of being able to open both sides of the top of the coop, we only put doors on one side just to make the building process a little simpler. The hardest part of building the whole coop was cutting the 60* angles on the 2"x4" trusses. Our cuts are not exactly perfect, so the nodes (meeting points of the 60* angle cuts) are a little rough, but we plan on covering this with a roof cap eventually. More photos and details are on my blog: http://littlefarmbigcity.wordpress.com/2013/06/29/red-white-and-blue-co… -kate
Comments
Bench and side tables
Bench was made using the plans on the site. I modified the plans to create these accompanying 15" x 15" side tables. cut list for each table:
7 2x4 at 15" each (stained for the top part of the table).
4 2x4 @13 1/2" each (for legs)
5 1x4 @ 15" each (used for the top of the table)
2 1x4 @ 8" each (used for the top of the table)
4 1x4 @ 17" each (for legs)
Time varies depending on if you cut, sand, stain, and treat the lumber for outdoor use. The estimated time below is does not include time for the stain/weatherproof treatment.
bench: $45
Comments
Sun, 08/02/2015 - 14:08
nice!
Love your color scheme. I'm going to attempt making this bench. Did you use both glue and nails and if you used nails, where did you nail it in and did you try to hide the nails later? I'm a complete nubie in terms of wood work. Thanks!
Easy and Fast DIY Garage Workshop
I used these plans and modified the height to create functional countertop and shelving in my garage. I added a little face framing too. Thank you for the inspiration Ana!
Comments
Twin over Full with Trundle, storage stairs
This project took a week to build. Working during my boys' nap time and late nights, I was able to complete everything in about 7 days. I used cedar, and sealed with Cabots Bleaching Oil. The cost of wood for the beds and stairs and drawers came to about $700. The extra cost came from the additional side rails on the top bunk and the stairs and drawers. Still comes in about $500 less than if bought commercially. The famiy loves the bed and as my kids are 2 and 3, I expect to get many years out of the bunk bed. Side note: I had to add quite a few brackets and angle joists to secure and minimize wobble due to the additional weight of the top bunk. (2 2x4s from the 4x4 to the side of the cleat and side rail of the bottom bunk, on the back side only, made a world of difference)
Comments
Queen storage bed
I started with the queen storage bed plans and modified them to fit my needs. Two drawers on each side, one at the foot, all the same dimensions. I left open bins at the head of the bed because there wouldn’t be room to open drawers. They can be used for books or electronics, whatever my son wants to keep close. I mounted a power strip with USB ports inside the open bins (out of sight) so he can charge his electronics.
I used birch plywood for the benches, pine for the drawers. I painted the drawer boxes navy blue, matching one wall in the bedroom, and used edge glued birch panels finished with clear water based semi gloss poly for the drawer faces.
This is is definitely my most difficult project so far, and the one I love the most.
Navy blue latex semi gloss on the drawer boxes
Comments
Locker bookshelf
This is our second Ana White project, our first was the loft bed which turned out great! With this project we used 16" wide boards for the extra room for backpacks and it fit perfectly in our space at the end of the hall. We used Beadboard for the back panel and painted it with Valspar interior semi gloss paint I got off the reject shelf at Lowes at $10 for a gallon! This is my new favorite piece of furniture in the house!
Comments
Fri, 09/18/2015 - 09:26
Sorry about the sideways
Sorry about the sideways photo, I tried to fix it to no avail.
Modern Slat bench
Two tone 3 ft long slat bench
Comments
Thu, 10/22/2015 - 05:16
Lovely design
I love the two toned rhytm. I wonder how you attached the slats. Did you just glue or did you nail / pocket hole etc..
Mailbox Base
my mailbox was hit by a vehicle so I decided I wanted to do something creative/different but also didn't want to spend much money as it may just get taken out again in the future :)
this is a good project to get kids to help you with
instead of cutting into the concrete easement, I installed 2 post bases & locked them with sleeve anchors. They're sturdy enough but will give if hit again. drilling the holes for the sleeve anchors was the hardest part of the project.
I used a left over 4x4x8 for the posts, scrap 1x4s, 1x2s up the sides (1/2" gap between boards), and a 2x4 scrap to attach the mailbox. I eyeballed the width between posts using the mailbox itself. I left over stain from another project (almost bought a quart of oops paint at HD)
I figure the total cost would have been about $100
It's a super easy project that took about 4hrs. I've already had a couple of neighbors come by to take measurements to try something similar.
FYI: USPS guildlines for installing a curbside mailbox: https://www.usps.com/manage/mailboxes.htm
Pie Safe
This is my first, of hopefully many projects to come. I modified Patrick's Jelly Cupboard plans to be 40" tall and added the tins to the doors. I used spruce and pine board from a local lumber yard. The finish is Miss Mustard Seed milk paint inside and out. With kids in the house I didn't want to use stain with the heavy chemical smell so I mixed the milk paint with a lot of water to look like a stain. That product is so easy to use and looks great. Needless to say my wife loves her pie safe. Thanks Ana for this site and the inspiration to give this a try. I'm hooked!
Topcoat - 2 coats of hemp oil
Painted entire piece in Curio first to get the layered look on the distressed finish. 2 coats of Shutter Gray over the Curio.
Comments
Sat, 10/31/2015 - 09:36
Beautiful!
This is really beautiful! Might I ask where you got your tin inserts? Thanks!
Tue, 12/01/2015 - 11:13
Tins
Thank you for the comments. I ordered the tins from Irvin's online. They were quick to ship and were packaged well. Here's the link
https://www.irvins.com/category/Kitchen-Cabinet-Punched-Tin-Panels/08_2…
Toy garage
I got inspired by Ana to design my own toy garage - so that there would be somewhere to store all the hot wheels that kept piling up! I have no idea what the angle is for the driveway ramp - it was trial and error with help from my husband, but it's pretty sturdy. Between the mitered cut and the copious amounts of glue, it holds the weight of a 25 lb toddler walking up it (though I try to discourage it!).
I used chalkboard paint and acrylics - so that we can draw parking stalls, lanes, or arrows as desired - my son helped with the painting. So far, the favorite activities are sending the cars down the ramp, one after another...
Style Wood Slat Closet System with Galvanized Pipes
Our 19 year old daughter moved back in with us and we had to put her in our den. This room doesn't have a door or closet. The closet system was priority one. She has a ton of clothes. We followed your plans to the letter, but didn't add the shelving in the middle. She wanted a space to put her dirty clothes basket. This was the perfect solution and super inexpensive and easy to make.
Comments
Fri, 01/04/2019 - 12:16
This is perfect for your
This is perfect for your daughter! I'm so glad it worked out. Thank you for sharing a photo!
Garage Shelves
Not my first project but this time, I took picture to add a brag post.
Not in a garage but in a washing room kind of.
Length: 8 feet
depth: 16 inches
I was alone to do it and it is not so easy... better to ask someone to help you
cost: don't remember exactly but there is 8 2*4 @8feet + one complete prenium plywood sheet 1/2. Should be around 75 CAD $
Comments
Fri, 11/25/2022 - 12:37
Fantastic Storage!
This looks amazing, thank you for posting to the brag board!
Adirondack Chair Home Depot Plans
I have made six of these so far. Starting to become an expert on this one. They look great in the yard and will look even better when I make the table to go with them.
Comments
Wed, 12/23/2015 - 11:06
Love these!
Thanks for sharing, you have become quite an expert with this build!
Tue, 01/05/2016 - 13:48
Plans
Hi Ana - We love the chairs design and the video. We bought all the materials, but are having difficulty without the plans. Is it possibe to share the plan or the link to the Adirondak chairs you built with Home Depot?
Thanks - Phillip
Tue, 06/14/2016 - 05:29
web address I found the plans on
Rustic X Coffee Table
Ana White inspired Rustic X Coffee Table finished with dark walnut stain and Annie Sloan graphite chalk paint.
Annie Sloan Graphite
Annie Sloan Dark Wax
Kitchen Island
Inspired by Ana’s island plans with a few of my own tweaks.
Camp loft bed with a farm house twist
As soon as I saw the plans for the camp loft bed with stairs, I knew it would be perfect for my daughters room. It was my first furniture build. While it is not perfect, I absolutely love it. The plans were easy to read and customize to fit her room. Don't mind the messy room, she's 13 and this is about as good as it gets lol.
Comments
Tue, 02/14/2023 - 16:12
LOVE the farmhouse twist!
This is so cute, amazing first build, love your mods!
Church pew
First time using jigsaw, think it turned out pretty good! What a fun project to build!
Comments
Full Size Simple Bed with Arch
I'm building new beds for my daughters for Christmas. My oldest wants a bigger bed, so she's getting the full size simple bed. My baby bear needs a little more space in her room, so she gets the loft bed. The loft bed is finished but no pic's yet, as I can't assemble it till Christmas. For the full bed, I combined the Simple Full Bed with the Simple Bed with Arch. It's not quite finished yet, but here is a picture of the headboard. I'll add more pics when I'm done. I want to thank Ana for the hard work she puts into this website. To go out and buy similar beds to the ones I'm building would have probably cost me a couple thousand dollars, and would have been made of flake board. Because of Ana's plans, both my children will sleep on good quality, solid wood furniture for under five hundred dollars. Thanx Ana!
Comments
Fri, 12/30/2011 - 18:00
Just added a picture of the
Just added a picture of the finished product. Family and friends are putting in orders. Looks like I'm gonna be busy for a while!
Fri, 10/24/2014 - 06:13
Great job - would love to see follow up pictures!
Not sure why but I likeyour arch version so much better. I can't tell what the difference is between yours and the original, perhaps more subtle arch? Very nice.
Can you post some pics of what it looks like today??