Community Brag Posts

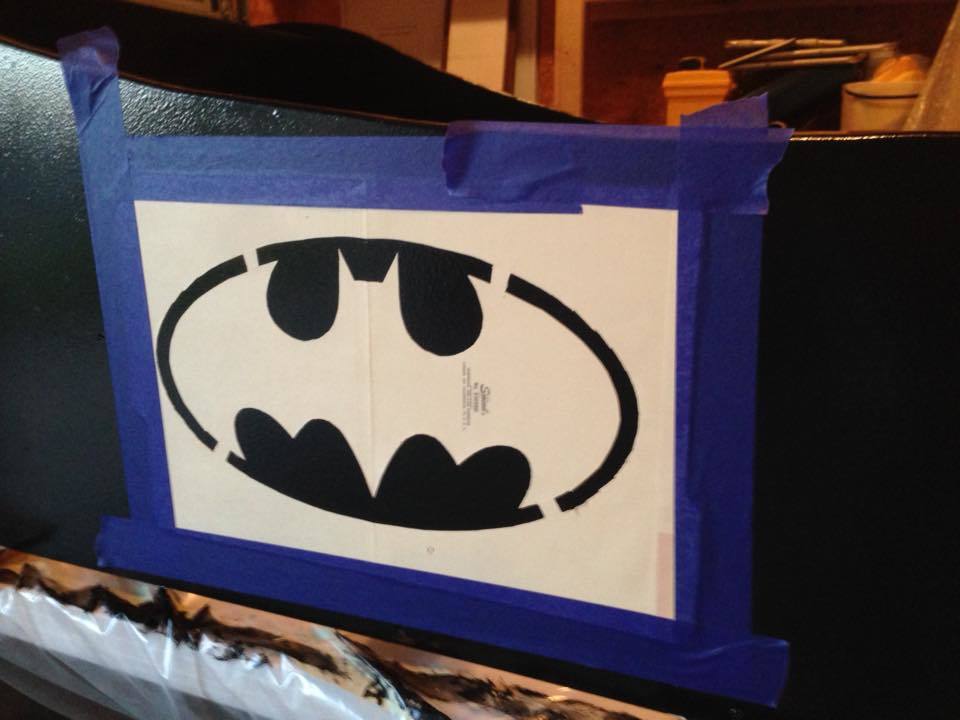
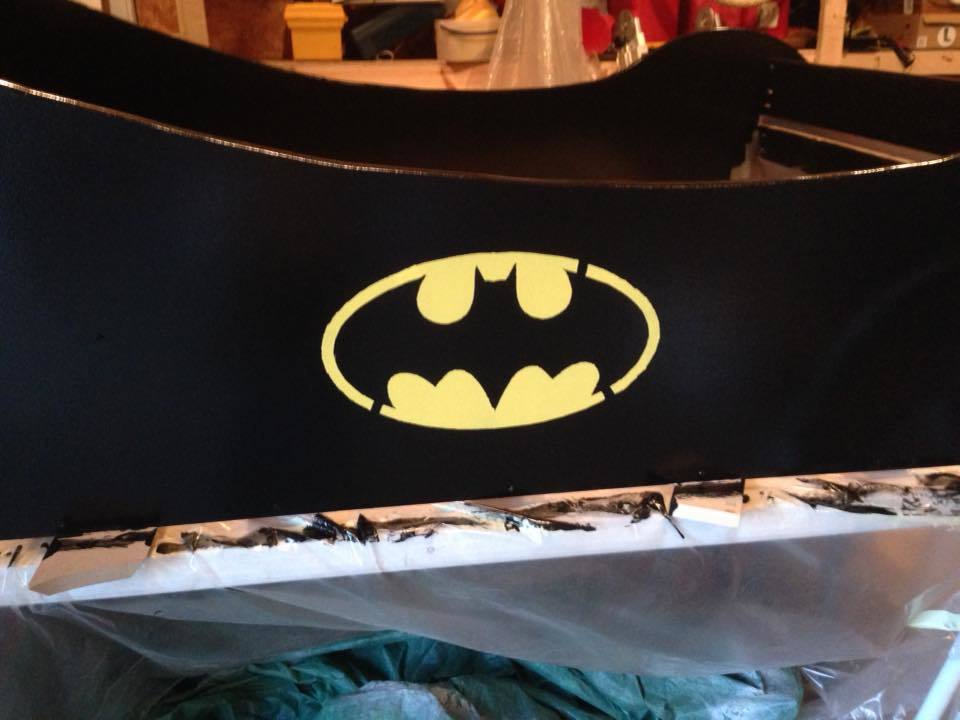
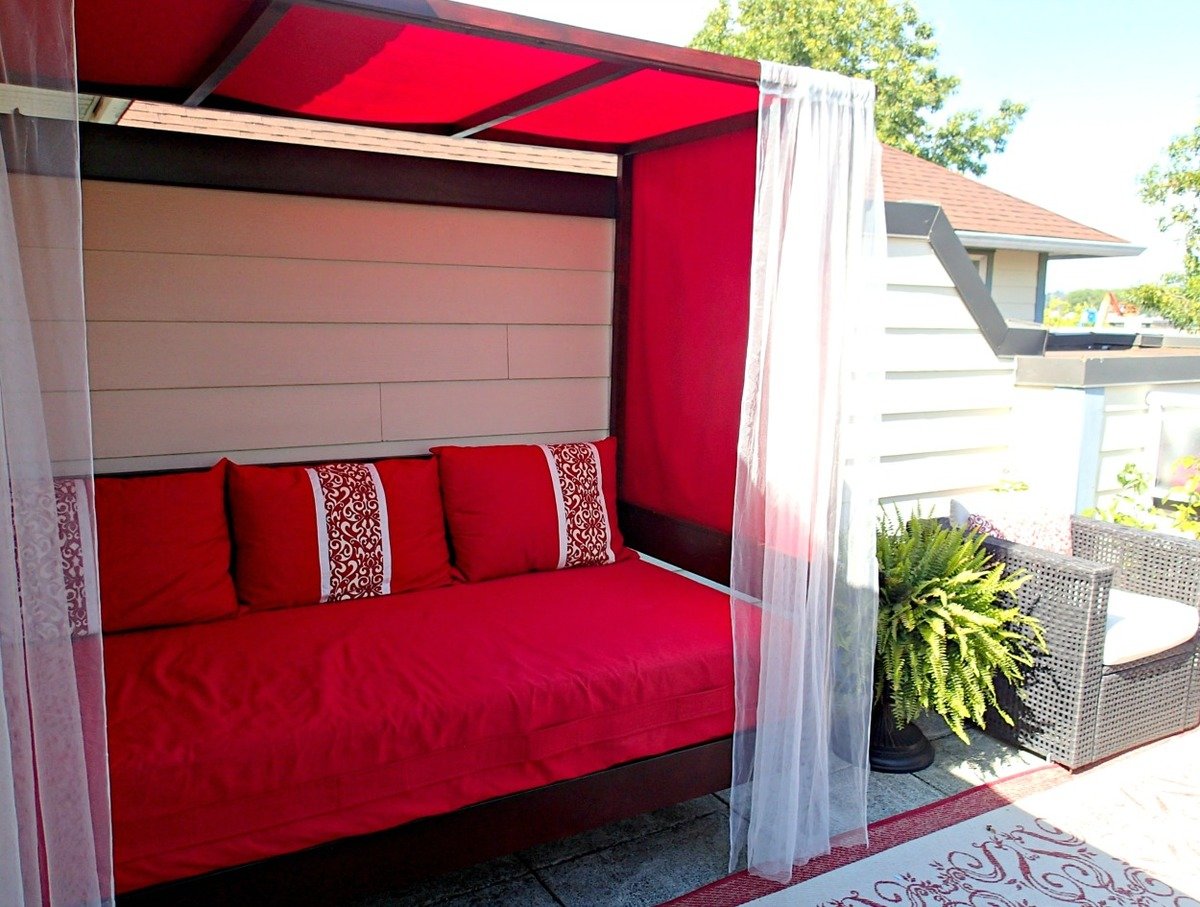
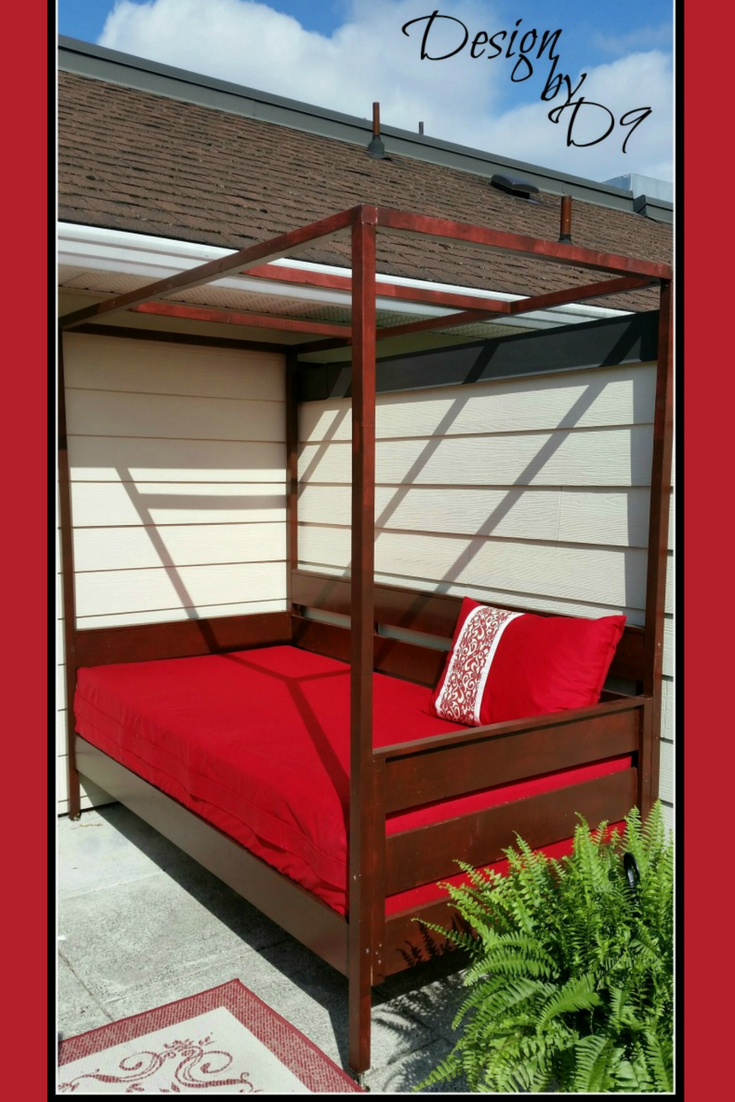
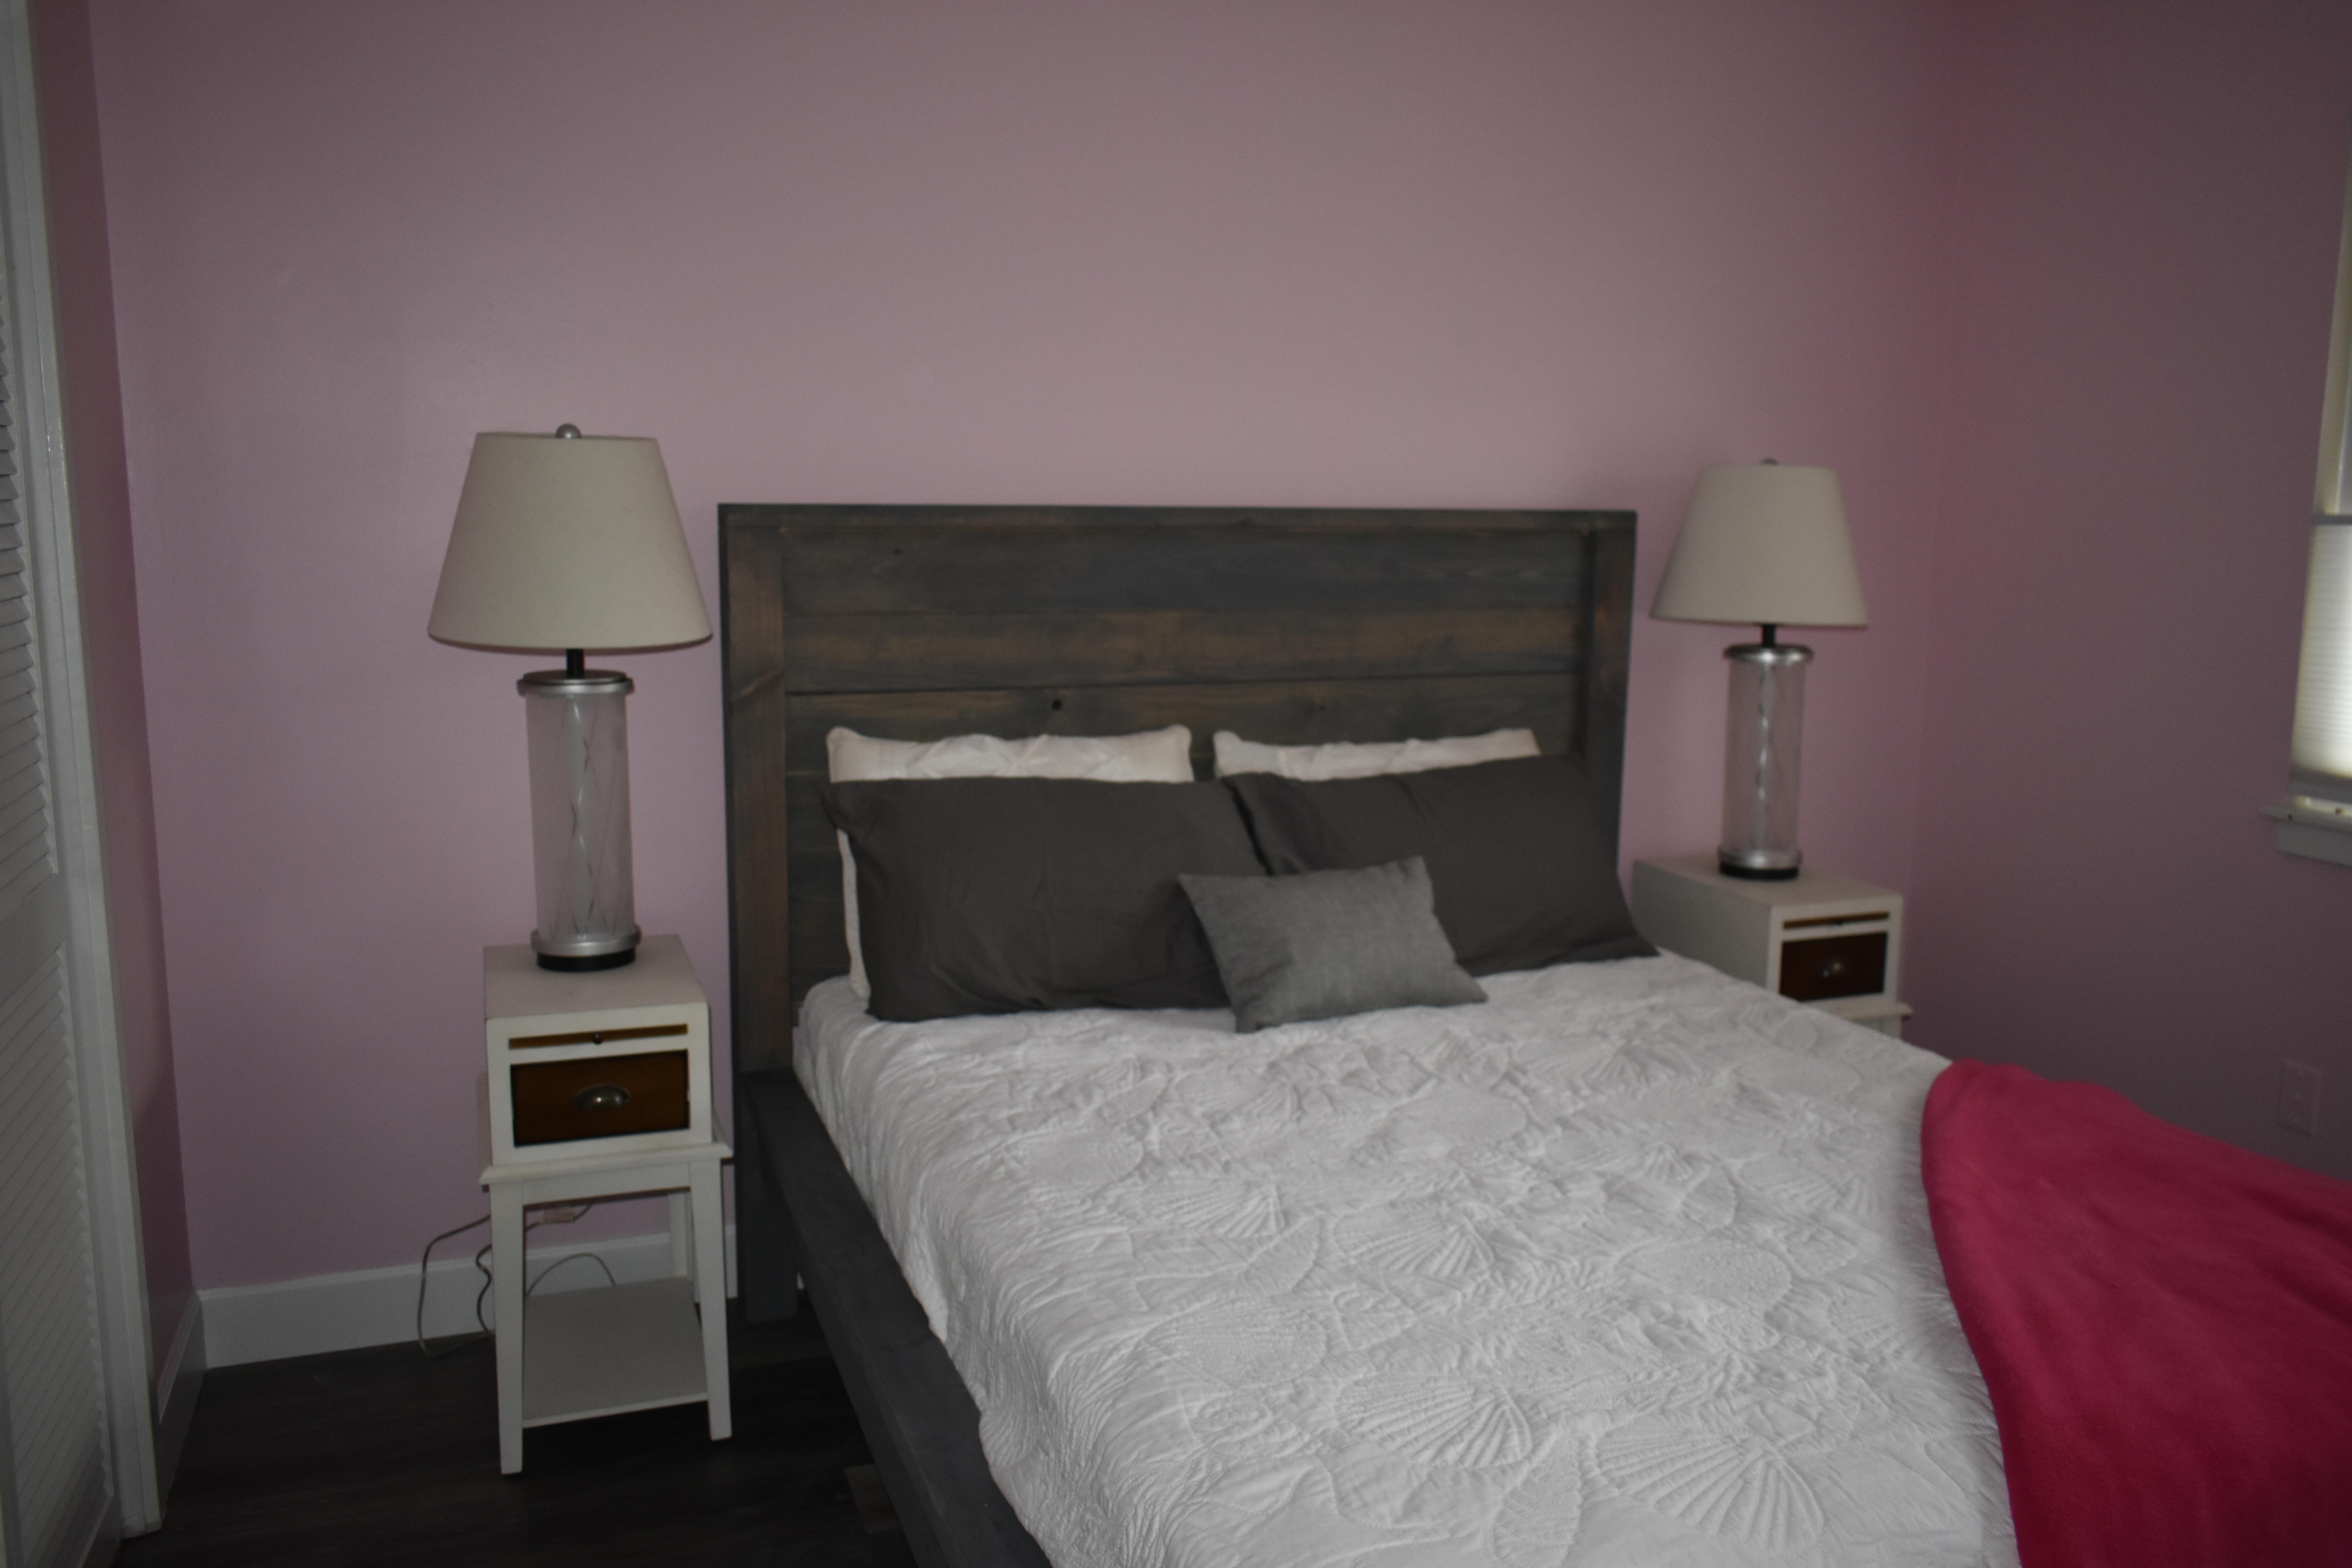
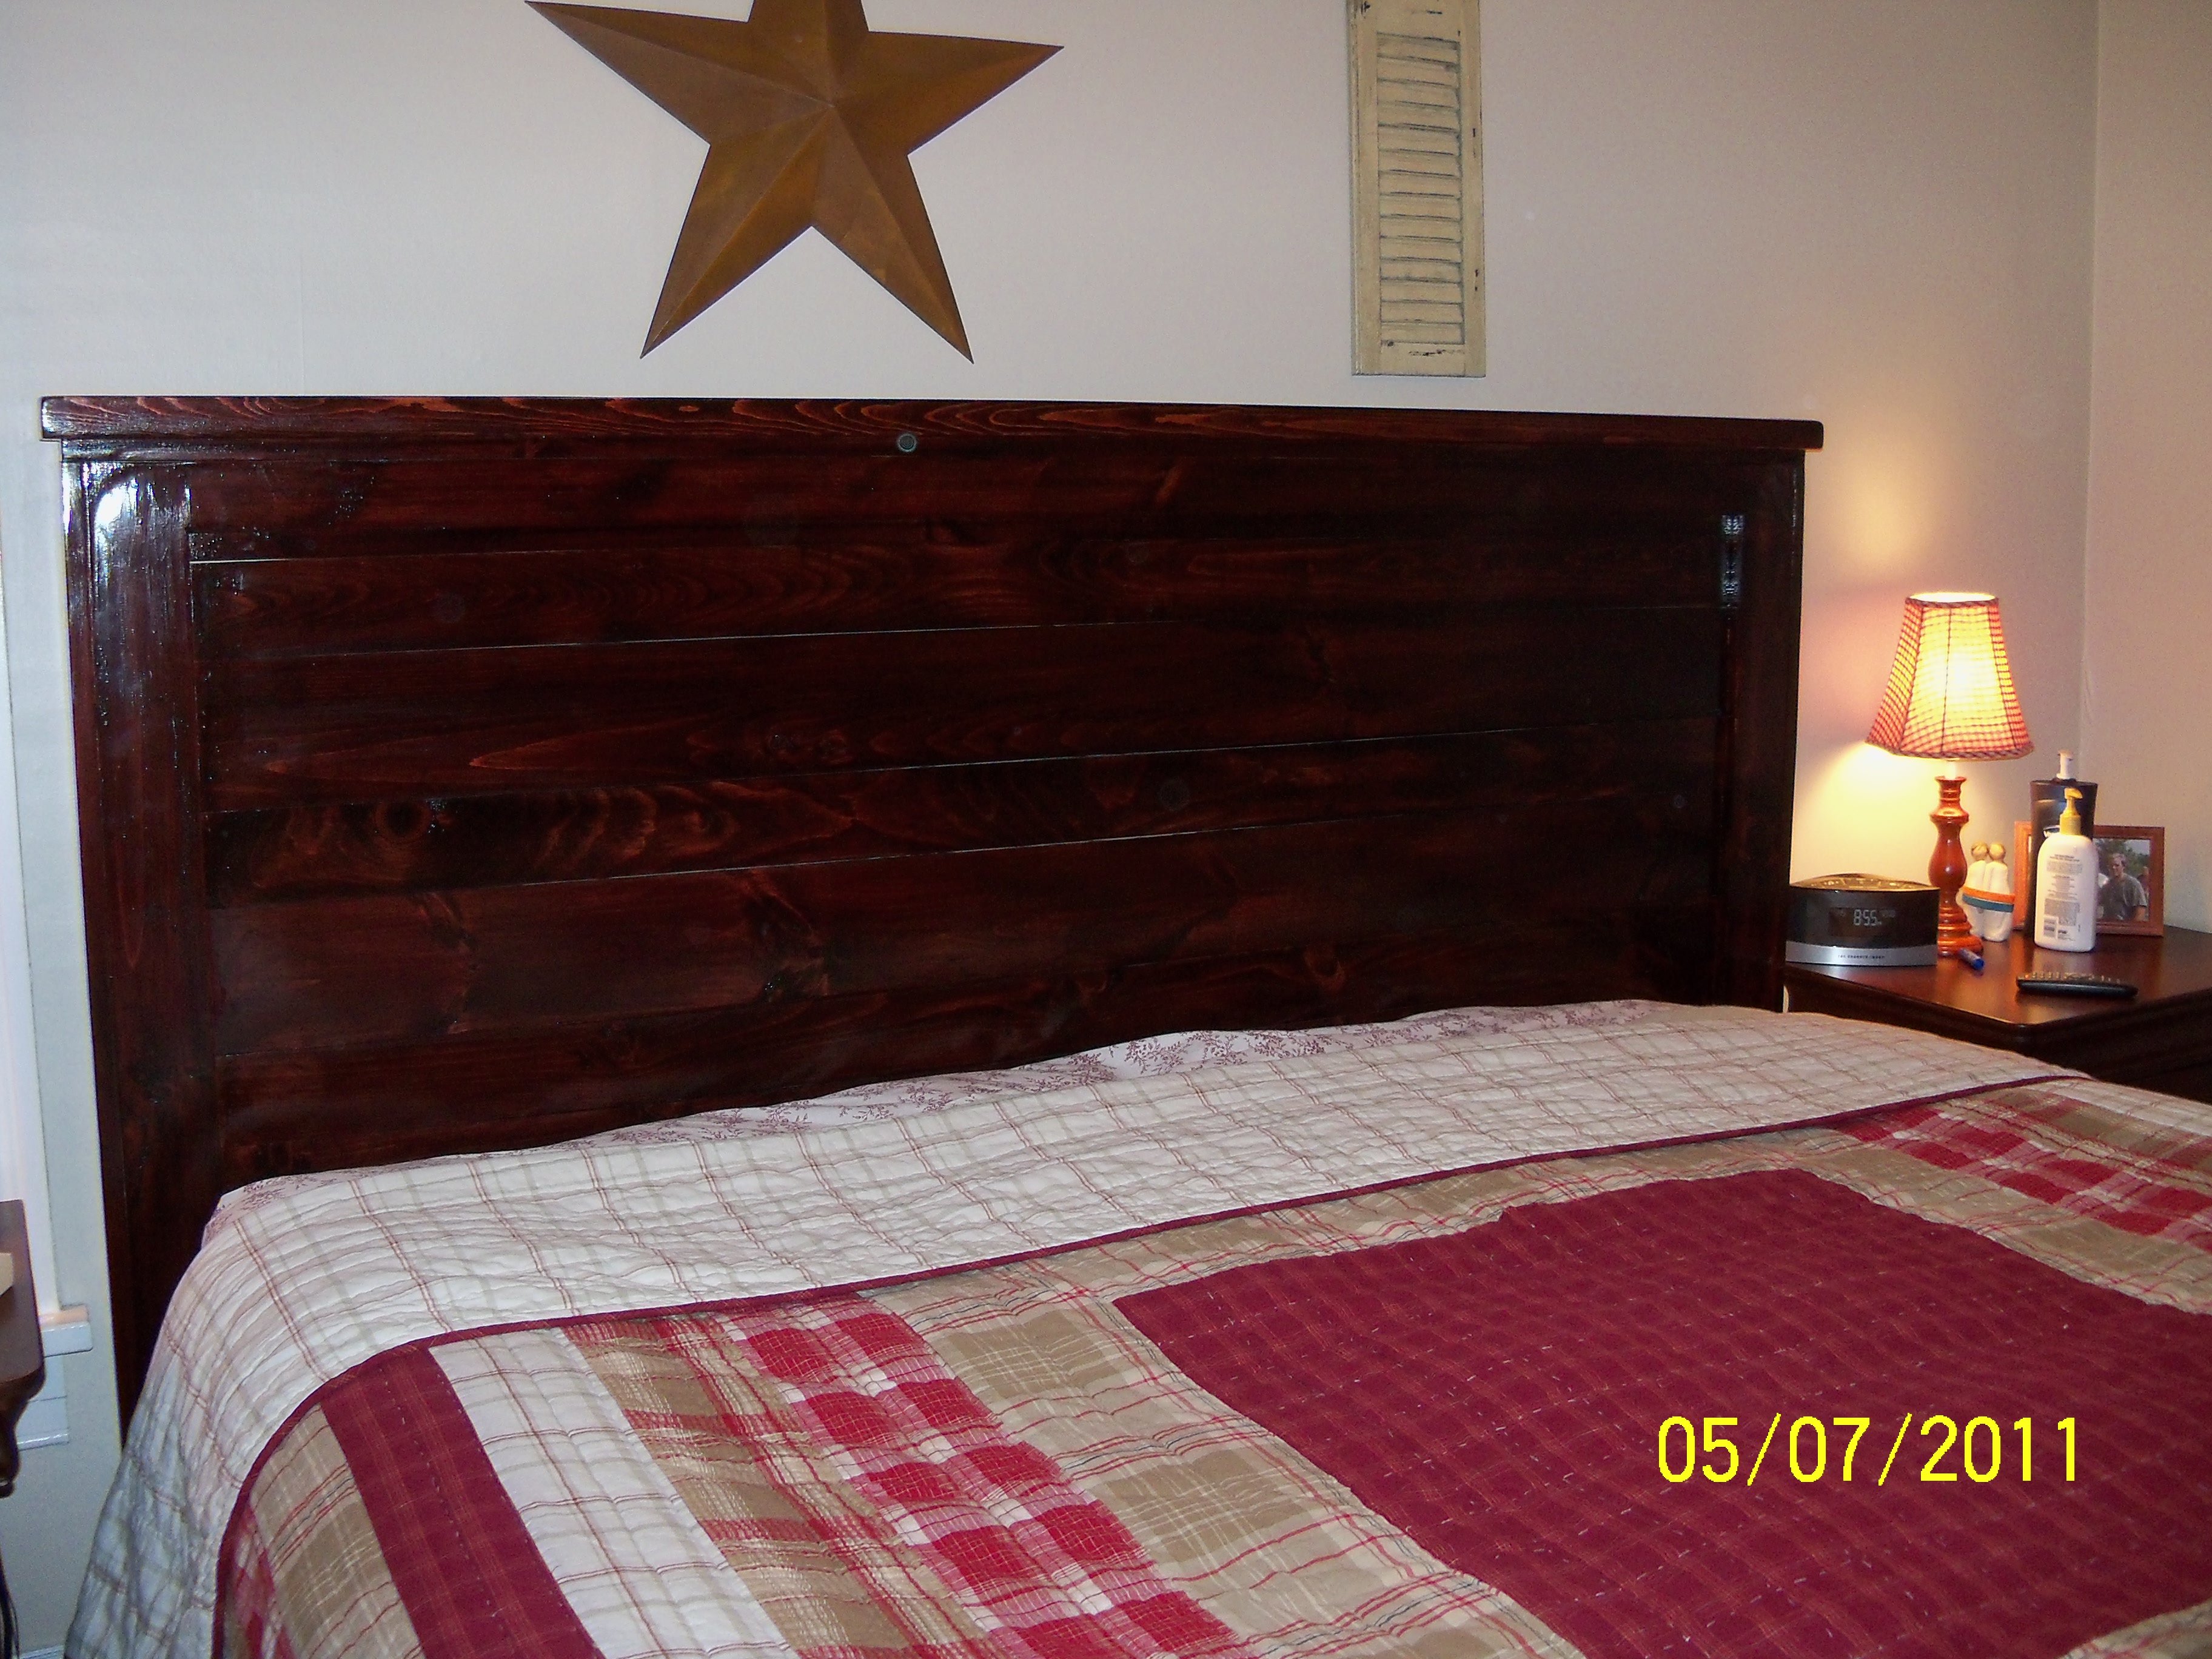
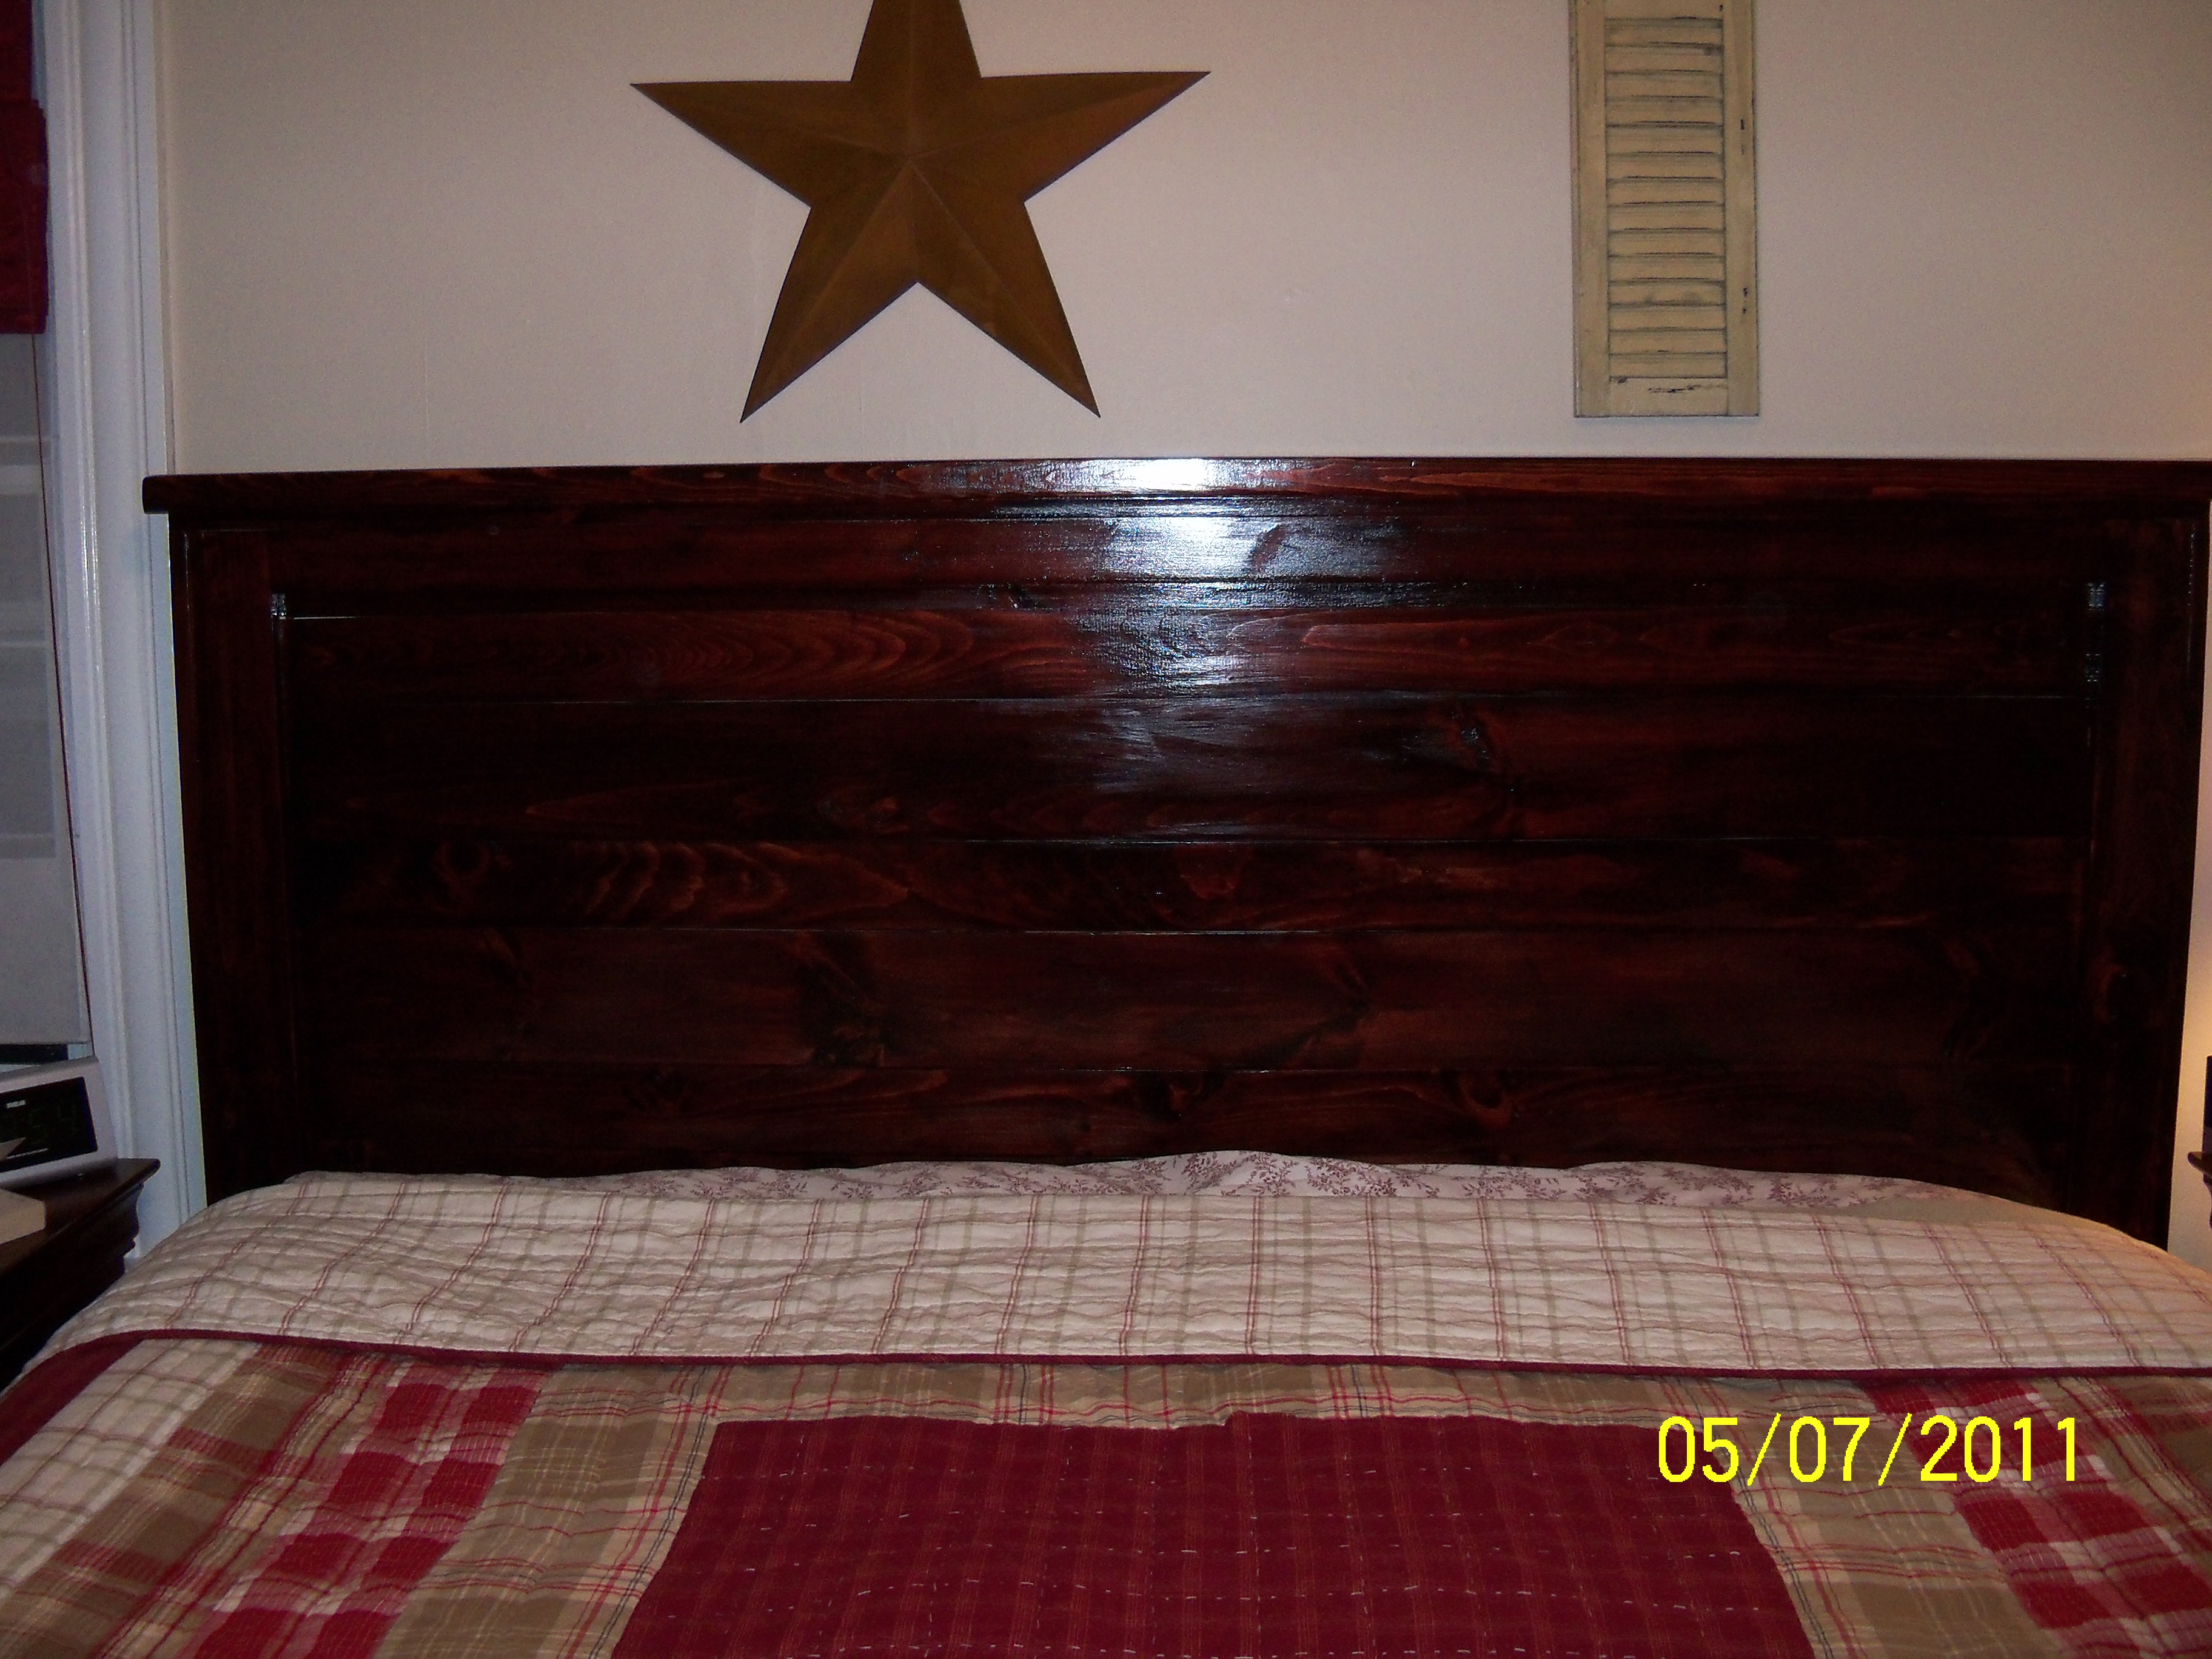
My first Easy Build Headboard, King Size

Submitted by andreak on Thu, 05/12/2011 - 16:15

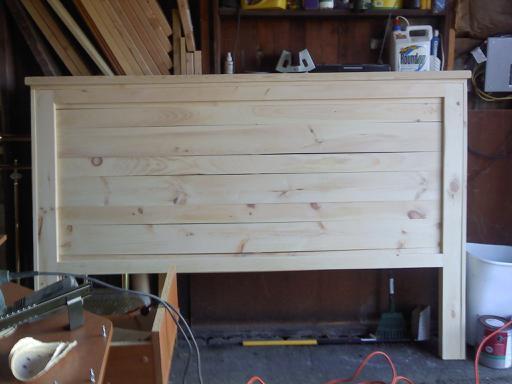
This was my first project and it come out beautifully. I did learn a valuable lesson - if you are going to build something in the basement, make sure it fits up the stairs. Not sure if you can tell from the picture but this ended up 6 inches shorter than the plans. Can wait to find my next project!

Estimated Cost
$150
Estimated Time Investment
Day Project (6-9 Hours)
Finish Used
MinWax Wood Finish Red Mahogany 25 - Minwax Polyurethane
Recommended Skill Level
Beginner

Pottery Barn Benches with X Table...Modified

Submitted by AJW on Thu, 05/19/2011 - 13:18

Pottery Barn Bench: Length Modified and utilized 2-1x6s for seat. X Table: Length Modified, utilized a 6x6 for the stretcher and drilled a hole through both the 1 top material and 6x6 stretcher beam. Holds the Pottery Barn umbrella real well. All made of Cedar and painted for good measure. Everything counter sunk and plugged, sanded to high heavy and ready to last.

Estimated Cost
$350
Estimated Time Investment
Week Long Project (20 Hours or More)
Finish Used
Oil based primer with 2 coats of acrylic over top.
Recommended Skill Level
Intermediate

Doll Picnic Table

Submitted by dhrider33 on Sun, 05/22/2011 - 18:09

My 10 yr old son and 8 year old daughter really loved helping make this for their cousin. They've never been so excited to give a gift!

Built from Plan(s)
Estimated Cost
~ $15 ... although I had various scrap wood laying around from other projects
Estimated Time Investment
Afternoon Project (3-6 Hours)
Finish Used
Sanded / Primed / Painted
Recommended Skill Level
Beginner

Traditional Toddler Bed with a few changes

Submitted by GhostLake on Mon, 07/22/2013 - 10:26

This was basically my first ever wood working project. It didn't turn out perfect but I had fun doing it and my daughter likes it too! It isn't done yet, still need to figure out the color of paint I'm going to use.

Built from Plan(s)
Estimated Cost
~35 for lumber, Kreg jig, screws, paint additional
Finish Used
Not finished yet.
Recommended Skill Level
Beginner

Comments

Sliding Barn door TV Console

Submitted by Anonymous (not verified) on Wed, 04/13/2022 - 05:20

This is my favorite plan that Ana provides! It's easy to modify and adjust to different sizes. Thank you Ana!

Built from Plan(s)

Comments

Batmobile full Bed

Submitted by bbcarey on Mon, 08/03/2015 - 10:12

My son had a 'lightning Mcqueen' toddler bed- but we needed to get him into a little bigger bed.  We had a spare full bed, and Batman is his current favorite... Since there aren't Batman full race car beds- time to start planning and building from sketchup!  Took me about 2 weeks of evenings (after the kids go to bed) and about $110 in materials.  The model is available in the sketchup warehouse at:

https://3dwarehouse.sketchup.com/model.html?id=u6b750a53-37a4-4d52-9d31…


For the wheel covers I ordered online at Amazon for $25 for a set of 4.

For the Wheels both HD and Menards make a 18" wood table top for ~$7 that I just cut the middle out  with my router to fit the wheel covers.

The slats to hold the bed (made to fit both box spring and mattress) were just 1x4 pine boards from menards.

The body was made from 3/4 MDF, though you could of course use plywood. 

I used a projector to project the image from sketchup onto the board to get it transferred- else it would have been 50+ pages if printing..

For the logos I just used a minila folder as my stencil and cut out the logo.  Needed to touch up the 'tabs' to hold the logo in the circle after pulling off the stencil.

Estimated Cost
$115
Estimated Time Investment
Week Long Project (20 Hours or More)
Finish Used
High gloss Latex paint.
Recommended Skill Level
Intermediate

Comments

In reply to by Ana White Admin

bbcarey

Fri, 01/29/2016 - 21:18

I give you credit when people ask how I got started in woodworking because until I found your site and my first project (library cart) then 2 helper stands for my kids and other friends kids and it just went on from there. The skils taken from this site and learning Sketchup have brought a lot of nice furniture to our home as well as a sense of confidence to me!! Thank you!

MoxieMan13

Sat, 09/12/2015 - 19:10

My son really wants this and I promised him that I would make it.  Do you have a PDF or anything of the outline of the batmobile?  Thanks! 

Woodlandfox

Sun, 02/21/2016 - 14:29

Thank you so much for the greatest idea ever!  We stumbled on this and believe it will be the perfect next bed for our son, however, we cannot download any of the files.  Do you have a PDF of the measurements or any other form you can upload so we can make this bed?  Thanks in advance!  Great work!

SDonahue9807

Tue, 12/06/2016 - 07:23

I apologize if I am just missing this, but... do you have step by step instructions on building this bed? I see the pictures of each part and its corresponding dimensions, but I cannot located instructions on assembling the bed. 


Thanks!

Beach Chair

Submitted by Anna H on Tue, 06/21/2011 - 04:51

I knew I had to make this the first time I saw the plans! It was super easy to make, I will definitely be making more of these. :)
I used duck cloth for the sling and embroidered a nautical design on the front.

Estimated Cost
$15
Estimated Time Investment
Afternoon Project (3-6 Hours)
Finish Used
Spray primer, Rustoleum Painter's Touch-Semi-gloss White
Recommended Skill Level
Starter Project

Rustic X beach beverage center

Submitted by one wolf on Tue, 09/08/2015 - 06:52

We used old dock wood for the surface of our X table for a nice beach house beverage center (sand bar!).  We adjusted the size to fit our space (a little longer and wider) and used additional studs for the shelves instead of 1" shelving, glued and PH/PS together.  To cut the X pieces I just held the 1x1 on the end of the table where it goes and marked the lines. Then I clamped a guide board at the correct angle on the table saw to make all the cuts, starting a bit long and shaving off until it just fit.  


With all the pocket holes and screws I wouldn't consider this a beginner project. Some additional steps and pictures in your description would help also.  End result is really nice.


Built from Plan(s)
Estimated Cost
$50
Estimated Time Investment
Weekend Project (10-20 Hours)
Finish Used
Patina wood from an old dock for the surface and the base is painted flat gray.
Recommended Skill Level
Intermediate

Comments

Mud kitchen

Submitted by Anonymous (not verified) on Sun, 06/12/2022 - 13:29

My niece requested this for her fourth birthday. Hoping this earns me the best Aunt award! Had some 6x6 cedar scraps from a project, cut them down, and voila!

Comments

Balustrade Coffee Table

Submitted by Pippa on Sun, 11/15/2015 - 11:39

This table was my first build. Once I learned how to use the Kreg Jig and my husband taught me how to use the table and miter saws, I have fallen in love with building furniture. Since building this table, I have built a twin bed, two farm tables, a bench, the kitchen island/rolling server table from Ana's book, and an awesome workbench with red racing wheels! This past weekend I finished my first custom order - an 8-foot Husky leg Farm table using Ana's plan. I now have orders for another balustrade coffee table and an end table using the matching legs from Osborne. THank you Ana! 

Built from Plan(s)
Estimated Cost
less than $200
Estimated Time Investment
Weekend Project (10-20 Hours)
Finish Used
An experimental mix of Minwax and Rustoleum stains - gray with expresso and special walnut rub. Minwax poly in matte finish.
Recommended Skill Level
Beginner

Comments

Three story doll house

Submitted by Anonymous (not verified) on Sun, 01/06/2019 - 13:53

I built this American girl doll house for my daughter. I wanted to give her something to keep her youth alive! 

Estimated Cost
$150-200
Estimated Time Investment
Weekend Project (10-20 Hours)
Finish Used
Light grey paint for all the walls and ceiling. Classic grey stain by Minwax for the floors. I also added baseboards to all the rooms with some small trim I found in the window trim section at Home Depot.
Recommended Skill Level
Intermediate

Comments

Tessa2009

Sun, 01/06/2019 - 21:46

Thanks Ana! This is her momma that built it for her. I wanted to tackle something on my own and challenge myself. Your plans were amazing to work with. Thanks for taking the time to make these plans so easy to understand and follow. She is very happy with the doll house! Happy New Year! -Abbey

Mudroom bench

Submitted by Anonymous (not verified) on Thu, 12/01/2022 - 17:16

Ana I came across your open bottom garage bench design and really liked the concept. Inspired by your design I put this together in our laundry/mudroom and am really pleased with the result. As you described, being able to clean under it is a huge benefit and the whole bench was less than $200 even with the solid oak boards I joined and edge routed for the top. Thanks for the inspiration and all of your project posts.

Comments

Window seat built in

Submitted by daliae on Sat, 09/17/2011 - 20:19

I made this two years ago in my daughter's room, before I got to know Ana's site. This was my ever first carpentry project. It took me 4 whole days to finish. The whole wall is like a bay wall so I had to custom make the built in. Also – I did that when my husband was out of town so in order for me to be able to lift all the pieces from the basement to the second floor, I made it of 4 pieces. When my husband came back home he thought I paid someone to built it.

I made it out of 2x4’s and plywood. I trimmed the bottom with a trim.

One day I will add drawers and the cushions are in the making.

Estimated Cost
100 $
Estimated Time Investment
Week Long Project (20 Hours or More)
Finish Used
Primer and two coats of Valspar high gloos White Dove from Lowe's.
Recommended Skill Level
Beginner

Comments

nhoffer

Thu, 06/11/2015 - 20:20

Do you have more pics of the finished product...especially where it meets the angled wall? I don't have a table saw (yet) so I'm trying to figure out if I can handle this without one. :(

Modern Farmhouse Bed

Submitted by Strong1233 on Sat, 02/23/2019 - 06:20

Made legs 16 inches to bring to height suitable for the mattress I had.  My first project ever using Kreg K5.  

Built from Plan(s)
Estimated Cost
$180
Estimated Time Investment
Weekend Project (10-20 Hours)
Finish Used
Minwax Wood Finish Penetrating Stain - Classic Gray 271
Recommended Skill Level
Beginner

Patio sofa

Submitted by Anonymous (not verified) on Wed, 04/24/2019 - 14:02

Went with regular cheap studs and extended the couch to make 4-across seating.  Probably should have used better wood because it was hard to find studs that were straight and not full of burrs and knotholes!  AND...studs are actually 1.5" x 3.5", so keep that in mind if you go that route when you're cutting from detailed plans because your dimensions will be off slightly.  Staining and adding spar urethane coat took the longest amount of time.  Cushions are 24" x 24" from Lowe's.  Wood = $80, Cushions = $180.  A little extra for screws and a few pieces of hardware.  This pic shows the couch without a back brace that I added later.  It's a beast, too!  After all that wood the couch probabaly weighs close to 150 pounds!     

Estimated Cost
$280
Estimated Time Investment
Weekend Project (10-20 Hours)
Finish Used
Minwax Puritan Pine Wood Stain, Spar Urethane
Recommended Skill Level
Beginner

Tryde Side Table - Modified Plan

Submitted by 10todd on Sun, 11/06/2011 - 18:34

This was my very first project. I really like simple, rustic, boxy furniture. Modified the original Tryde side table plan to include additional supports near the bottom of each side. I will be sure to NOT use clear gloss poly on future projects. Way too shiny for my taste. It was leftover from some wood flooring that I refinished, so I took the cheap way out. Cut and assembled it in about 5 hours. The sanding, staining, finishing took me forever. I learned a lot though, and will probably cut that time in half next time.

Built from Plan(s)
Estimated Cost
$75
Estimated Time Investment
Weekend Project (10-20 Hours)
Finish Used
Minwax walnut stain and clear gloss polyurethane
Recommended Skill Level
Beginner

Comments

Claudia

Mon, 11/07/2011 - 06:31

It looks beautiful, but if you want to tone down the gloss just sand with extra fine steel wool or sandpaper (400-600 grit). This will give it a satin (not semigloss) finish.

10todd

Mon, 11/07/2011 - 08:10

Thanks Claudia! Good tip, I'll try that. On future projects, I think I'll do a little more distressing and experiment with layering a couple different shades of stain, but overall, I'm happy with it and look forward to doing some more.

Guest (not verified)

Wed, 12/28/2011 - 08:53

I love this! Where can I get the instructions?

Patio furniture

Submitted by Anonymous (not verified) on Fri, 03/24/2023 - 22:55

Custom cedar patio furniture

Comments

Adirondack Table with modified top

Submitted by stacynabby on Mon, 12/19/2011 - 14:09

I used the design for the adirondack side table, but modified the top to have glass tiles. I just used a 12x12" sheet of glass tiles from the blue store to create the top. The wood is just clear poly. This is my Mom's Christmas present.

Built from Plan(s)
Estimated Time Investment
An Hour or Two (0-2 Hours)
Recommended Skill Level
Beginner

Comments

Kristan (not verified)

Tue, 12/20/2011 - 14:19

AWESOME!!! I'm inspired by this to take your design and turn it into a mobile chess table!!! soooo pretty!!

keyetta

Fri, 01/06/2012 - 03:30

Hey i love your rendition of this table, would like to use the same rendition, only thing i cant figure out is what you did under the tiles, did you use plywood or places the tiles on top the regular wood pieces

claydowling

Fri, 01/06/2012 - 07:05

Plywood, particle board or MDF is what should be under the tiles, not solid wood. Better yet would be a plywood bottom with a thin cement board or hardibacker over it. If you put it over solid wood, expansion and contraction of the wood will pop the tiles loose over time, and probably sooner than you like to think about.