Community Brag Posts

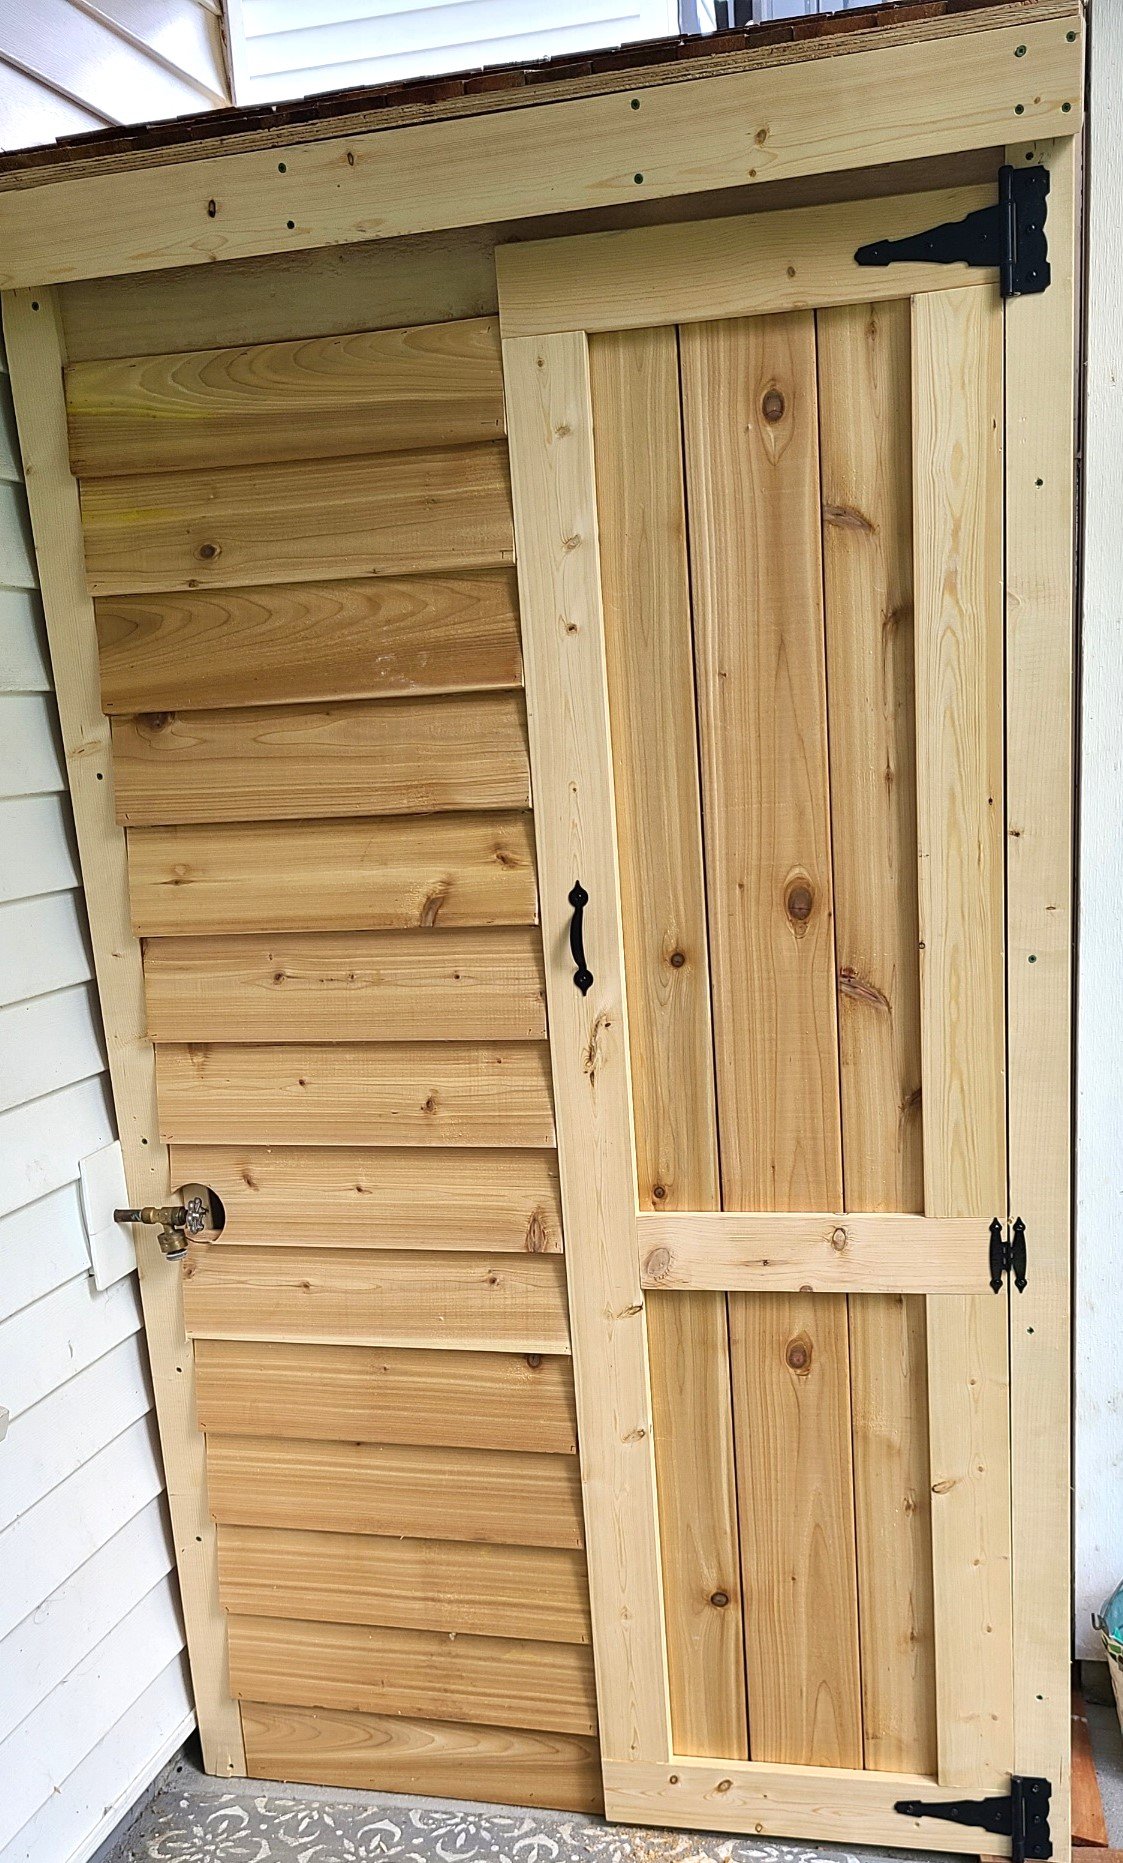
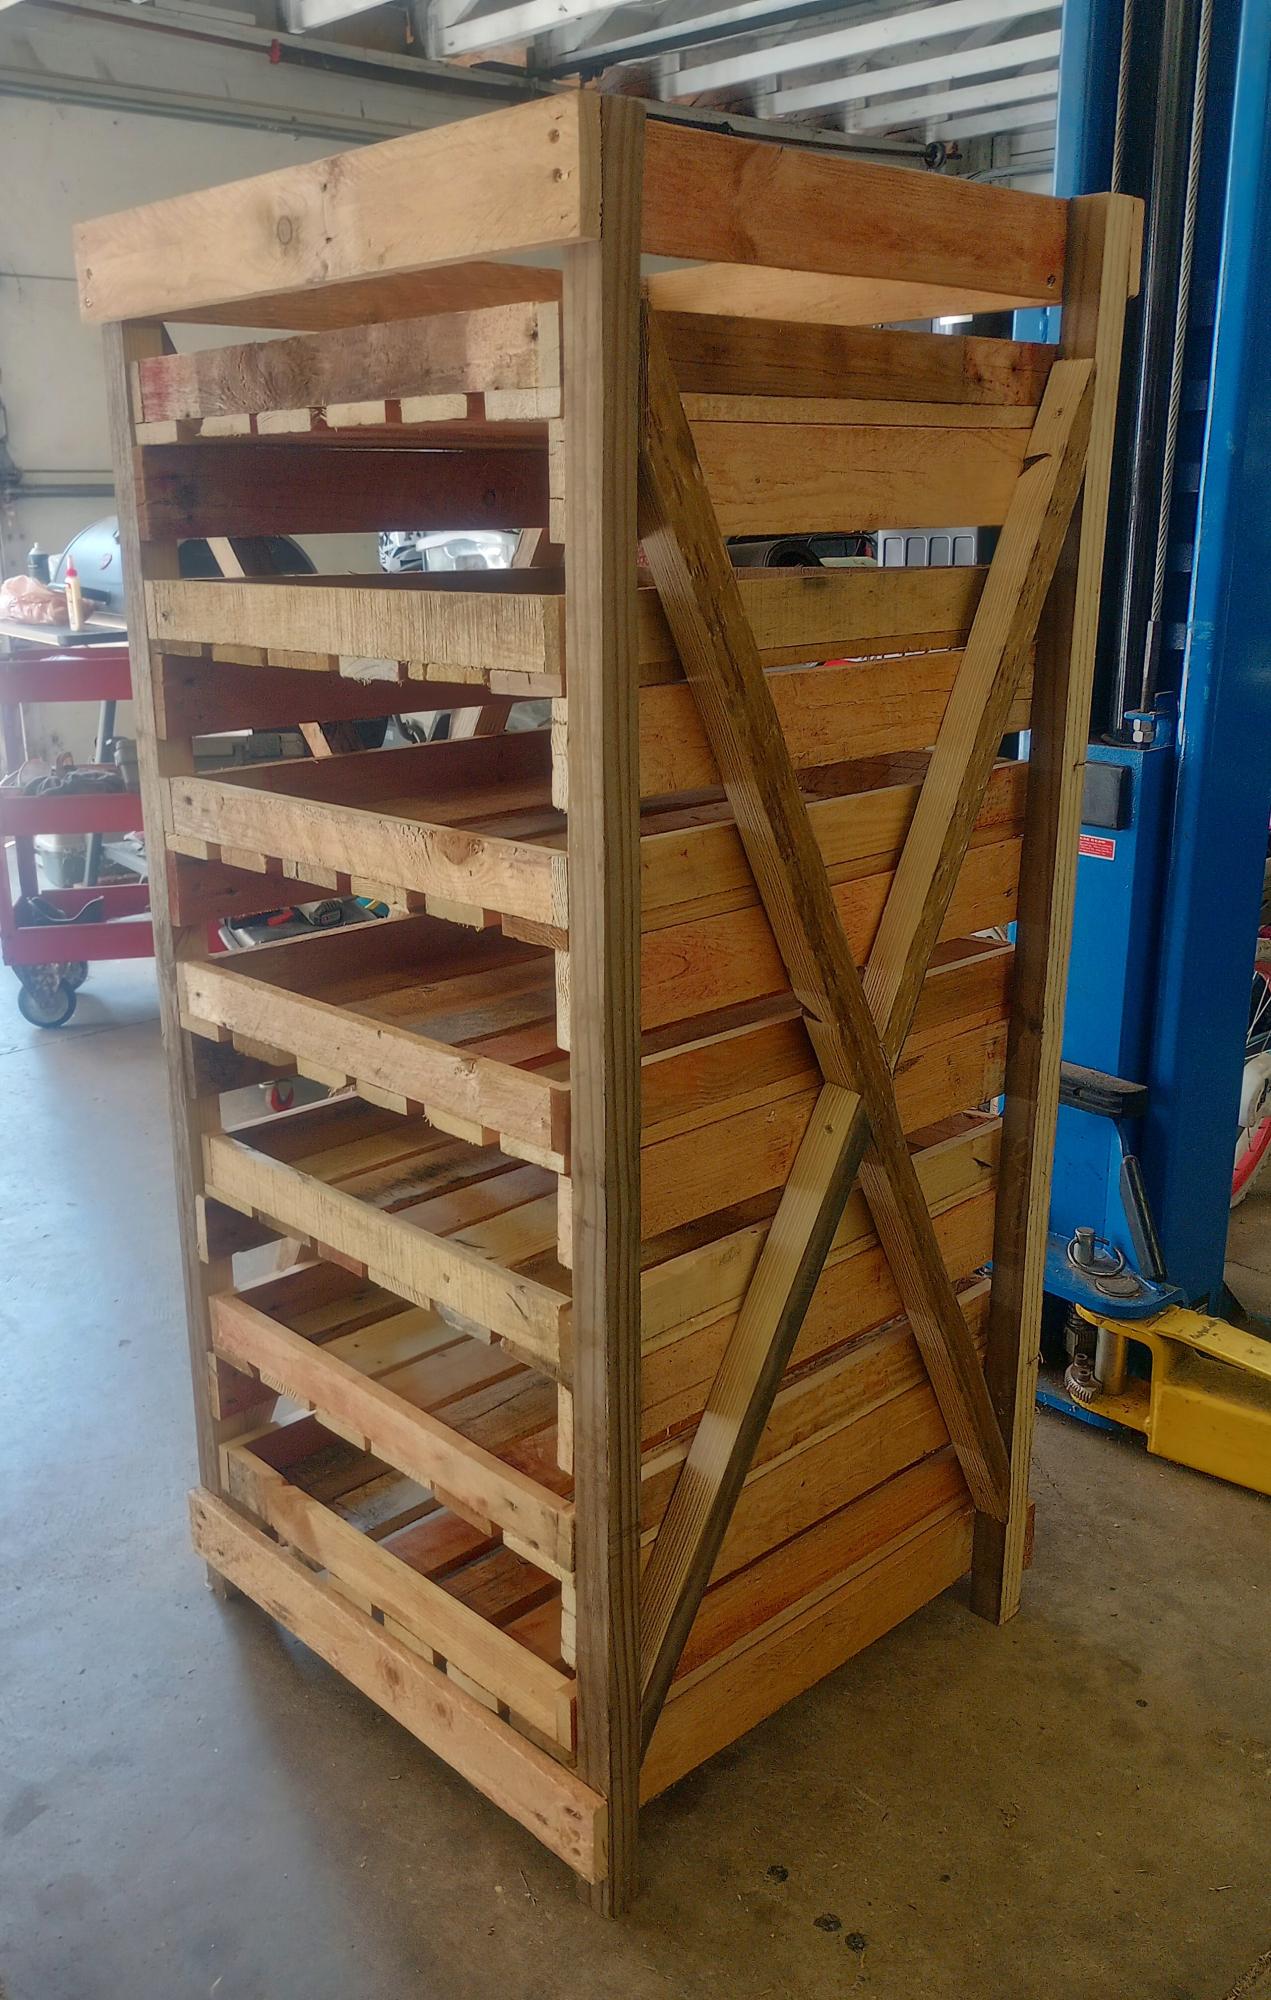
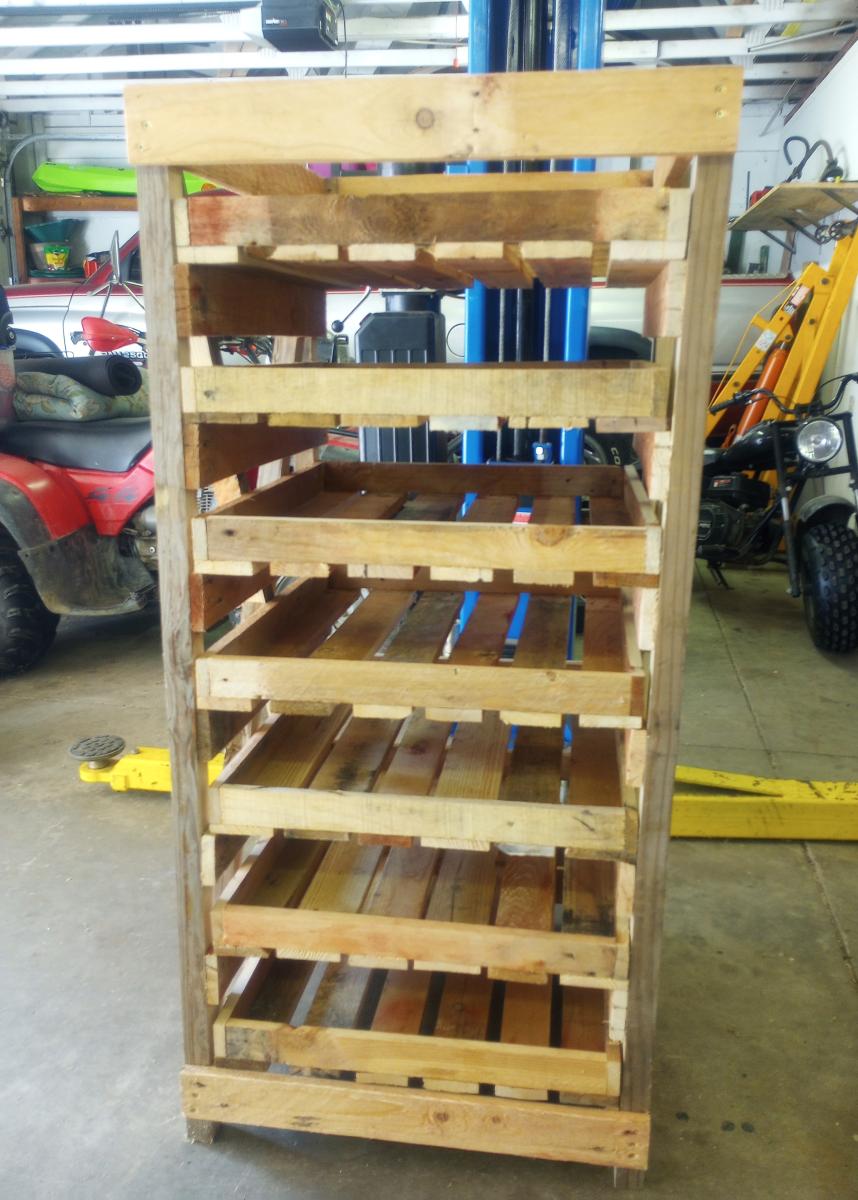
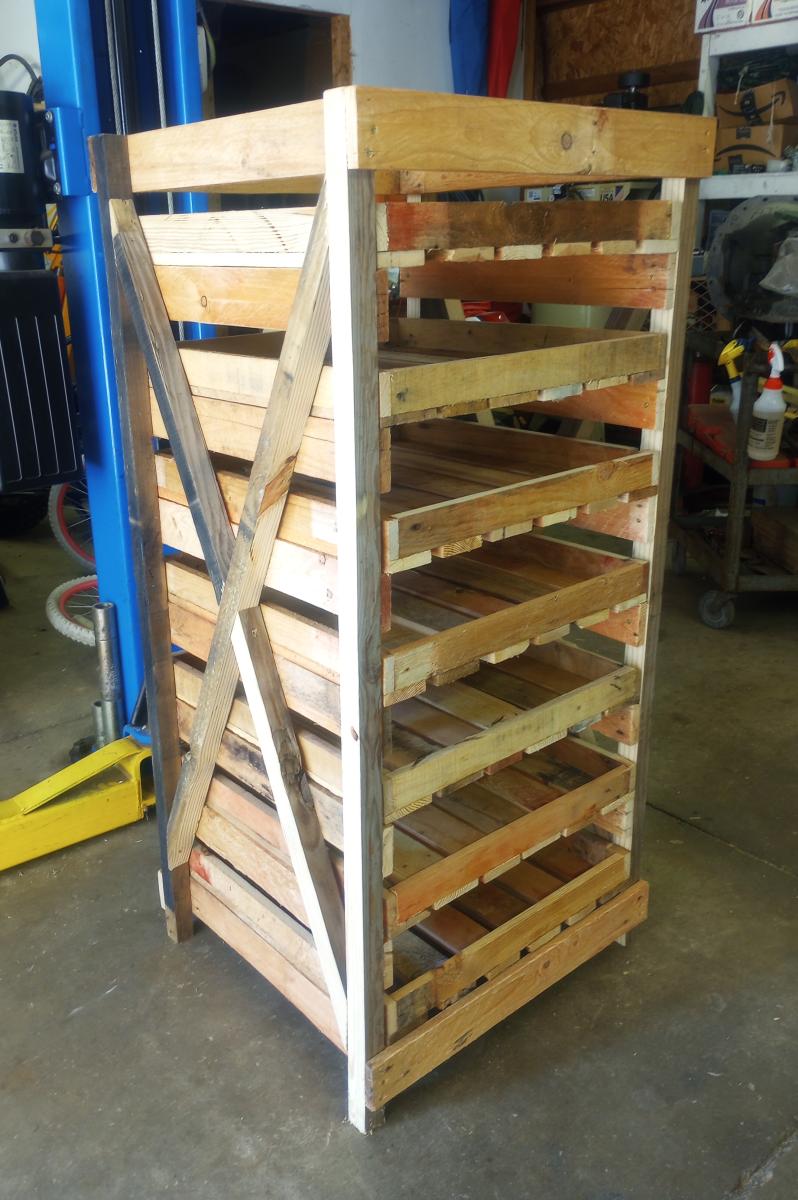
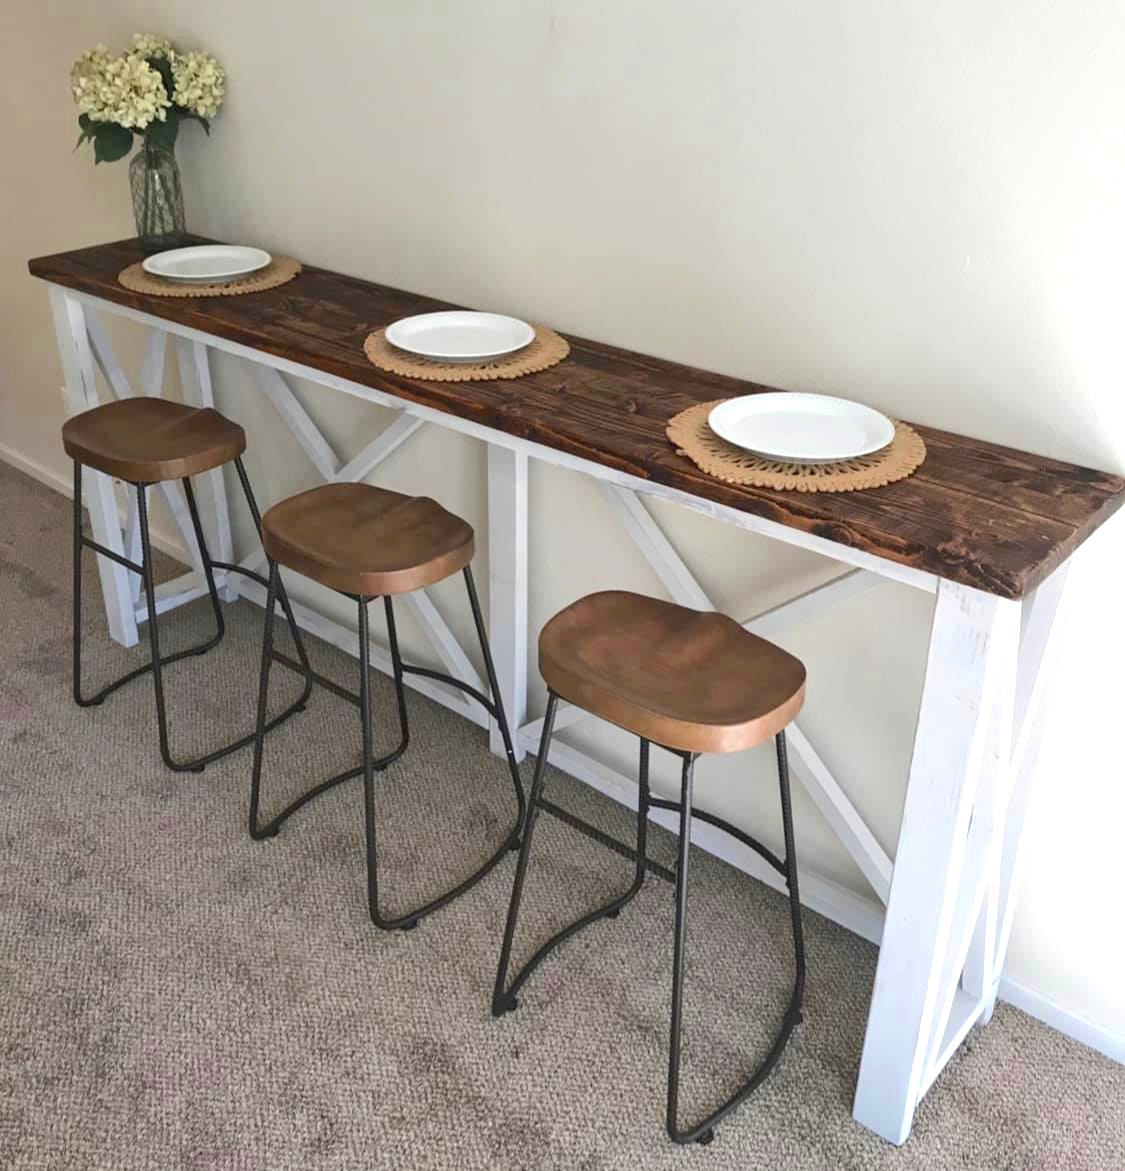
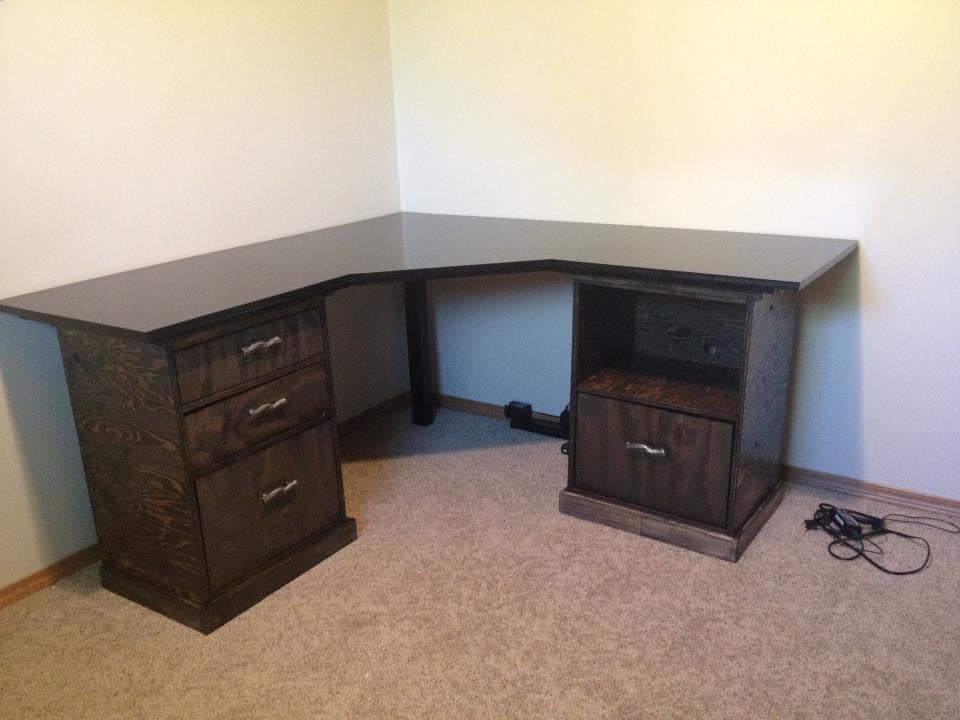
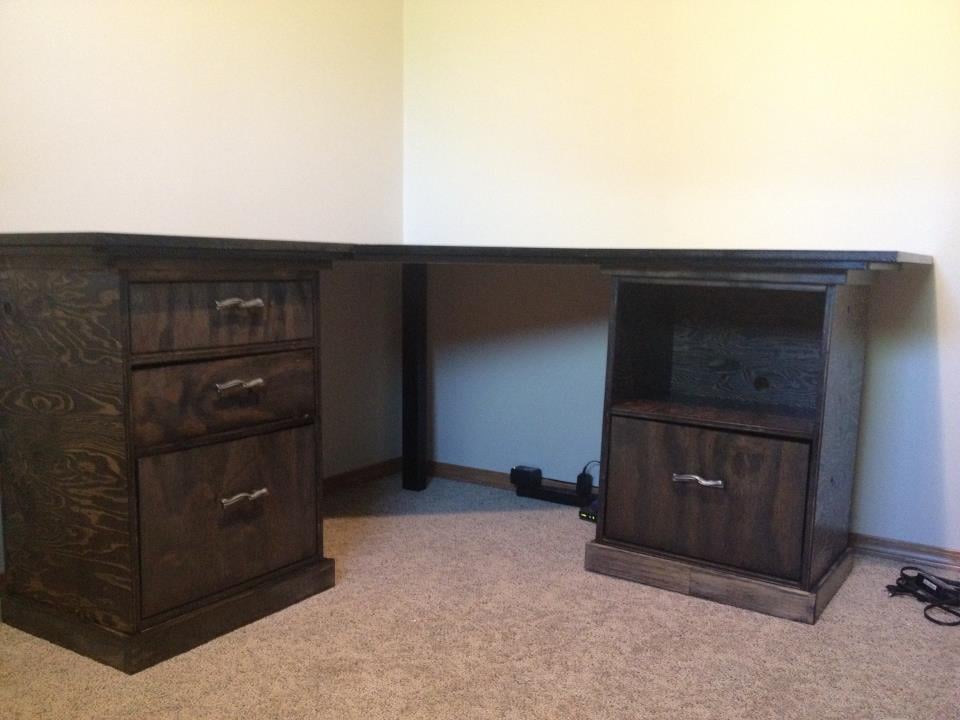
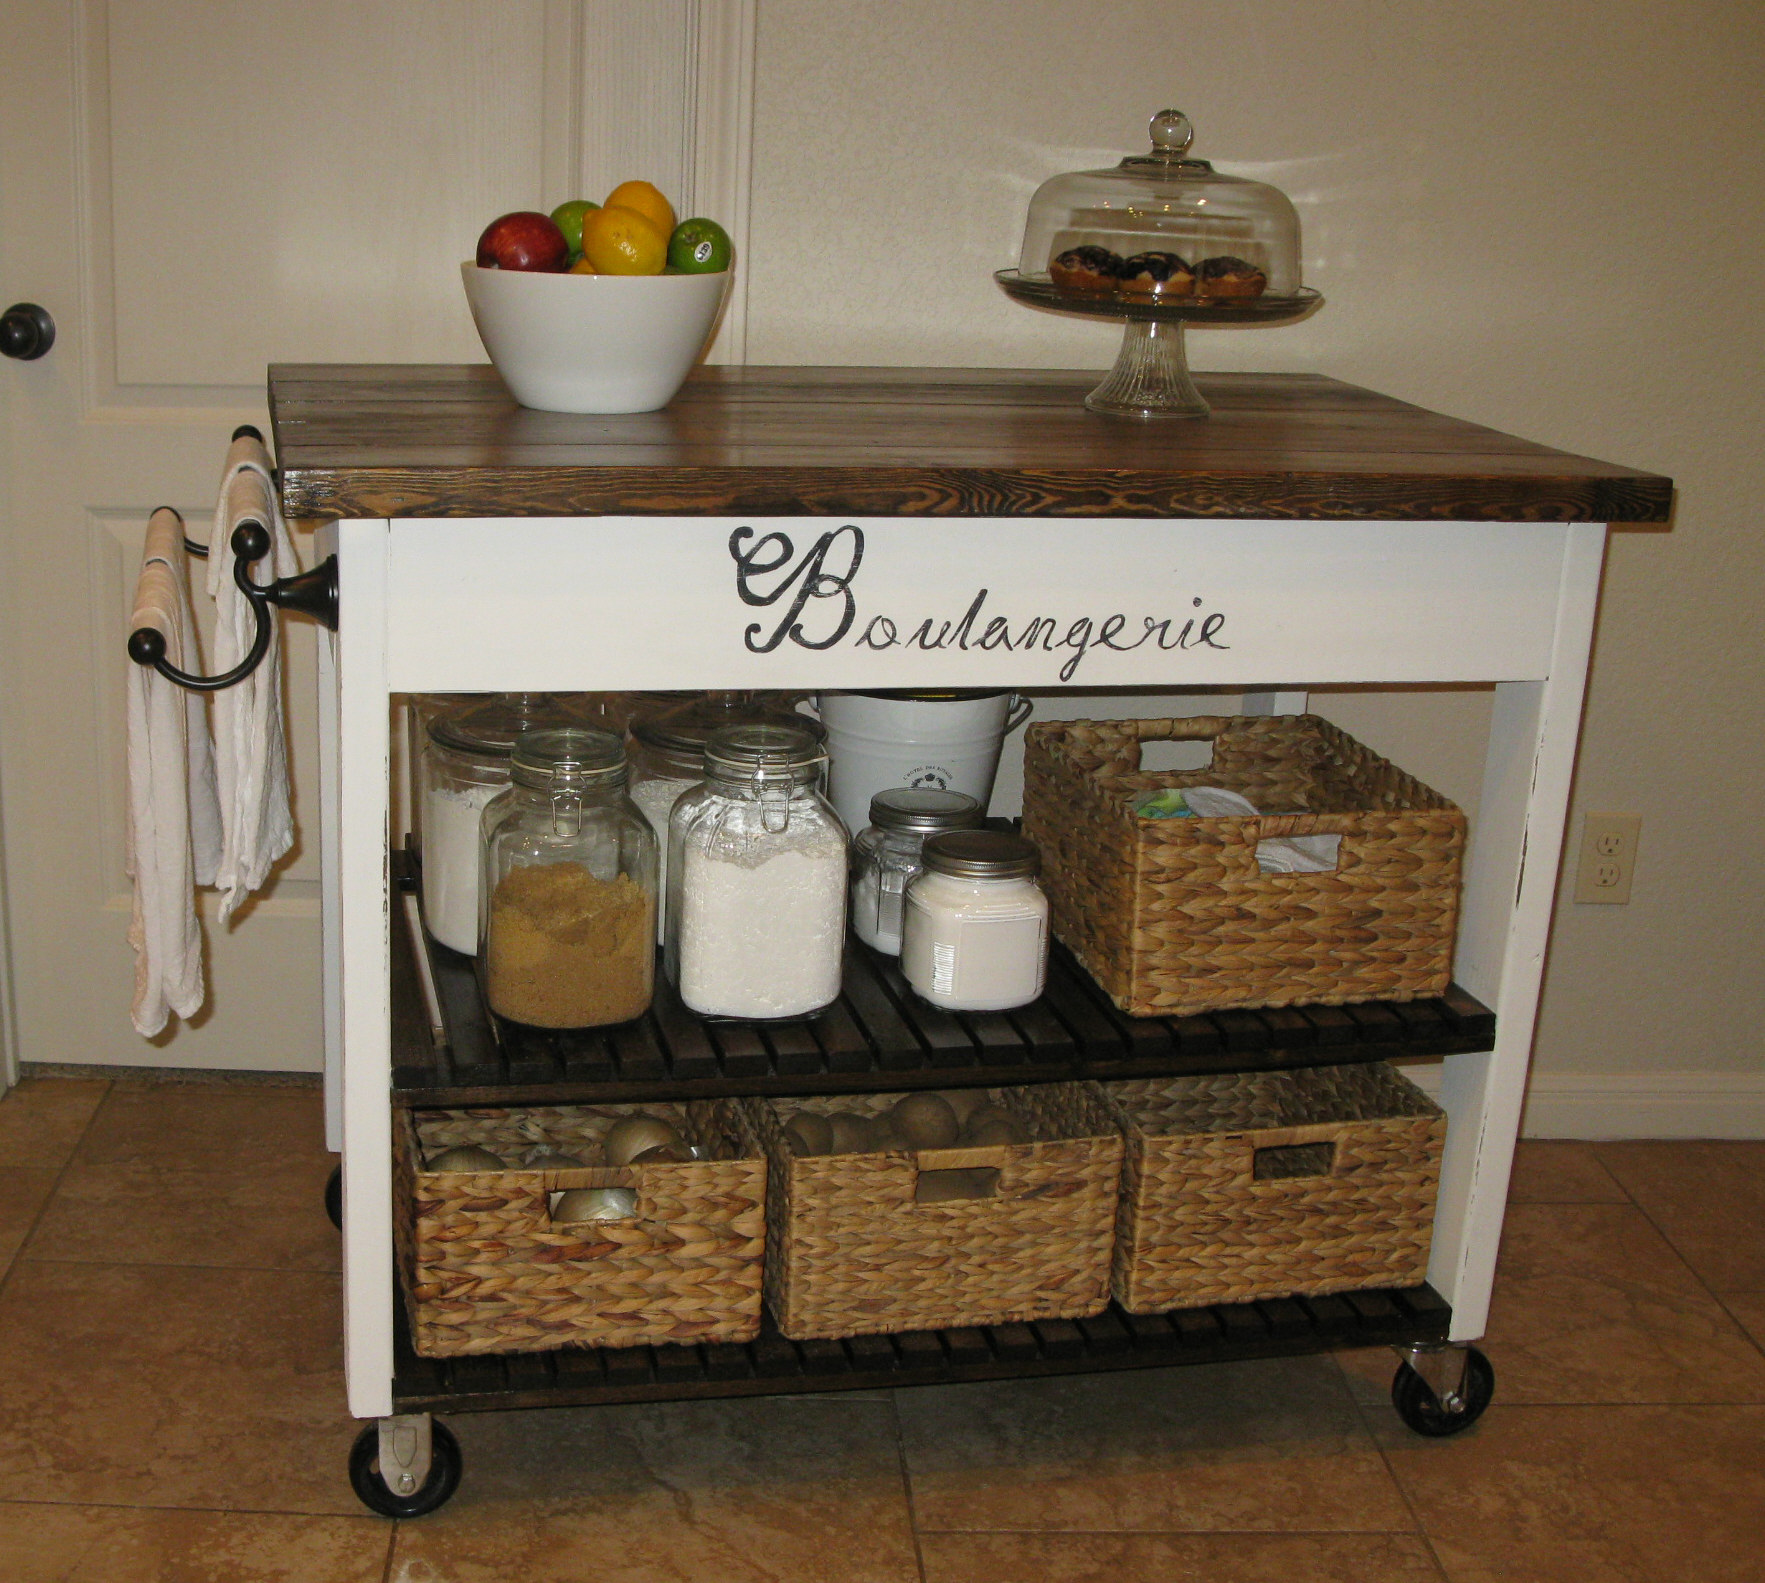
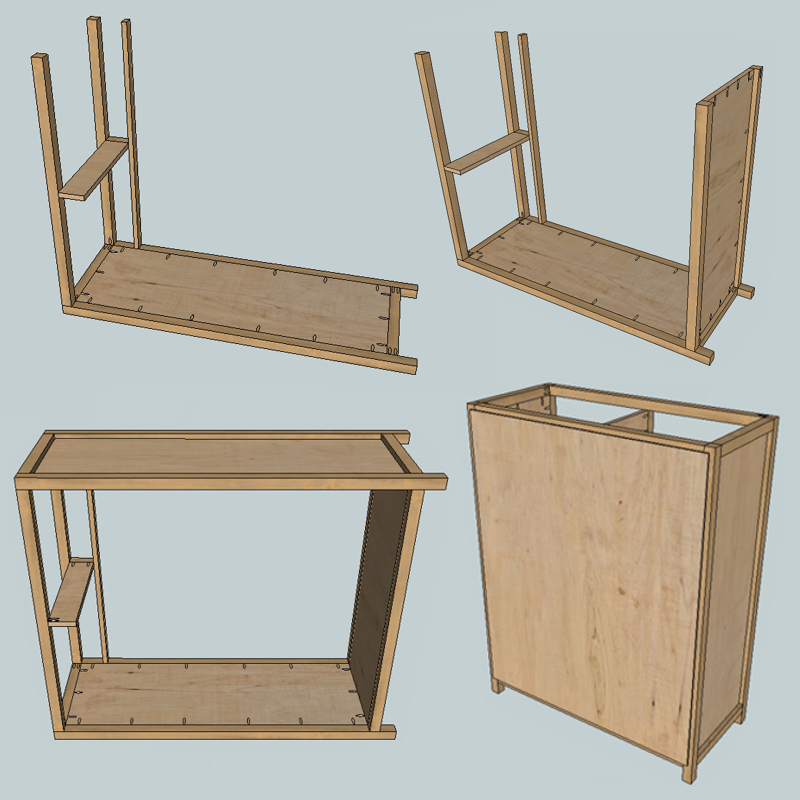
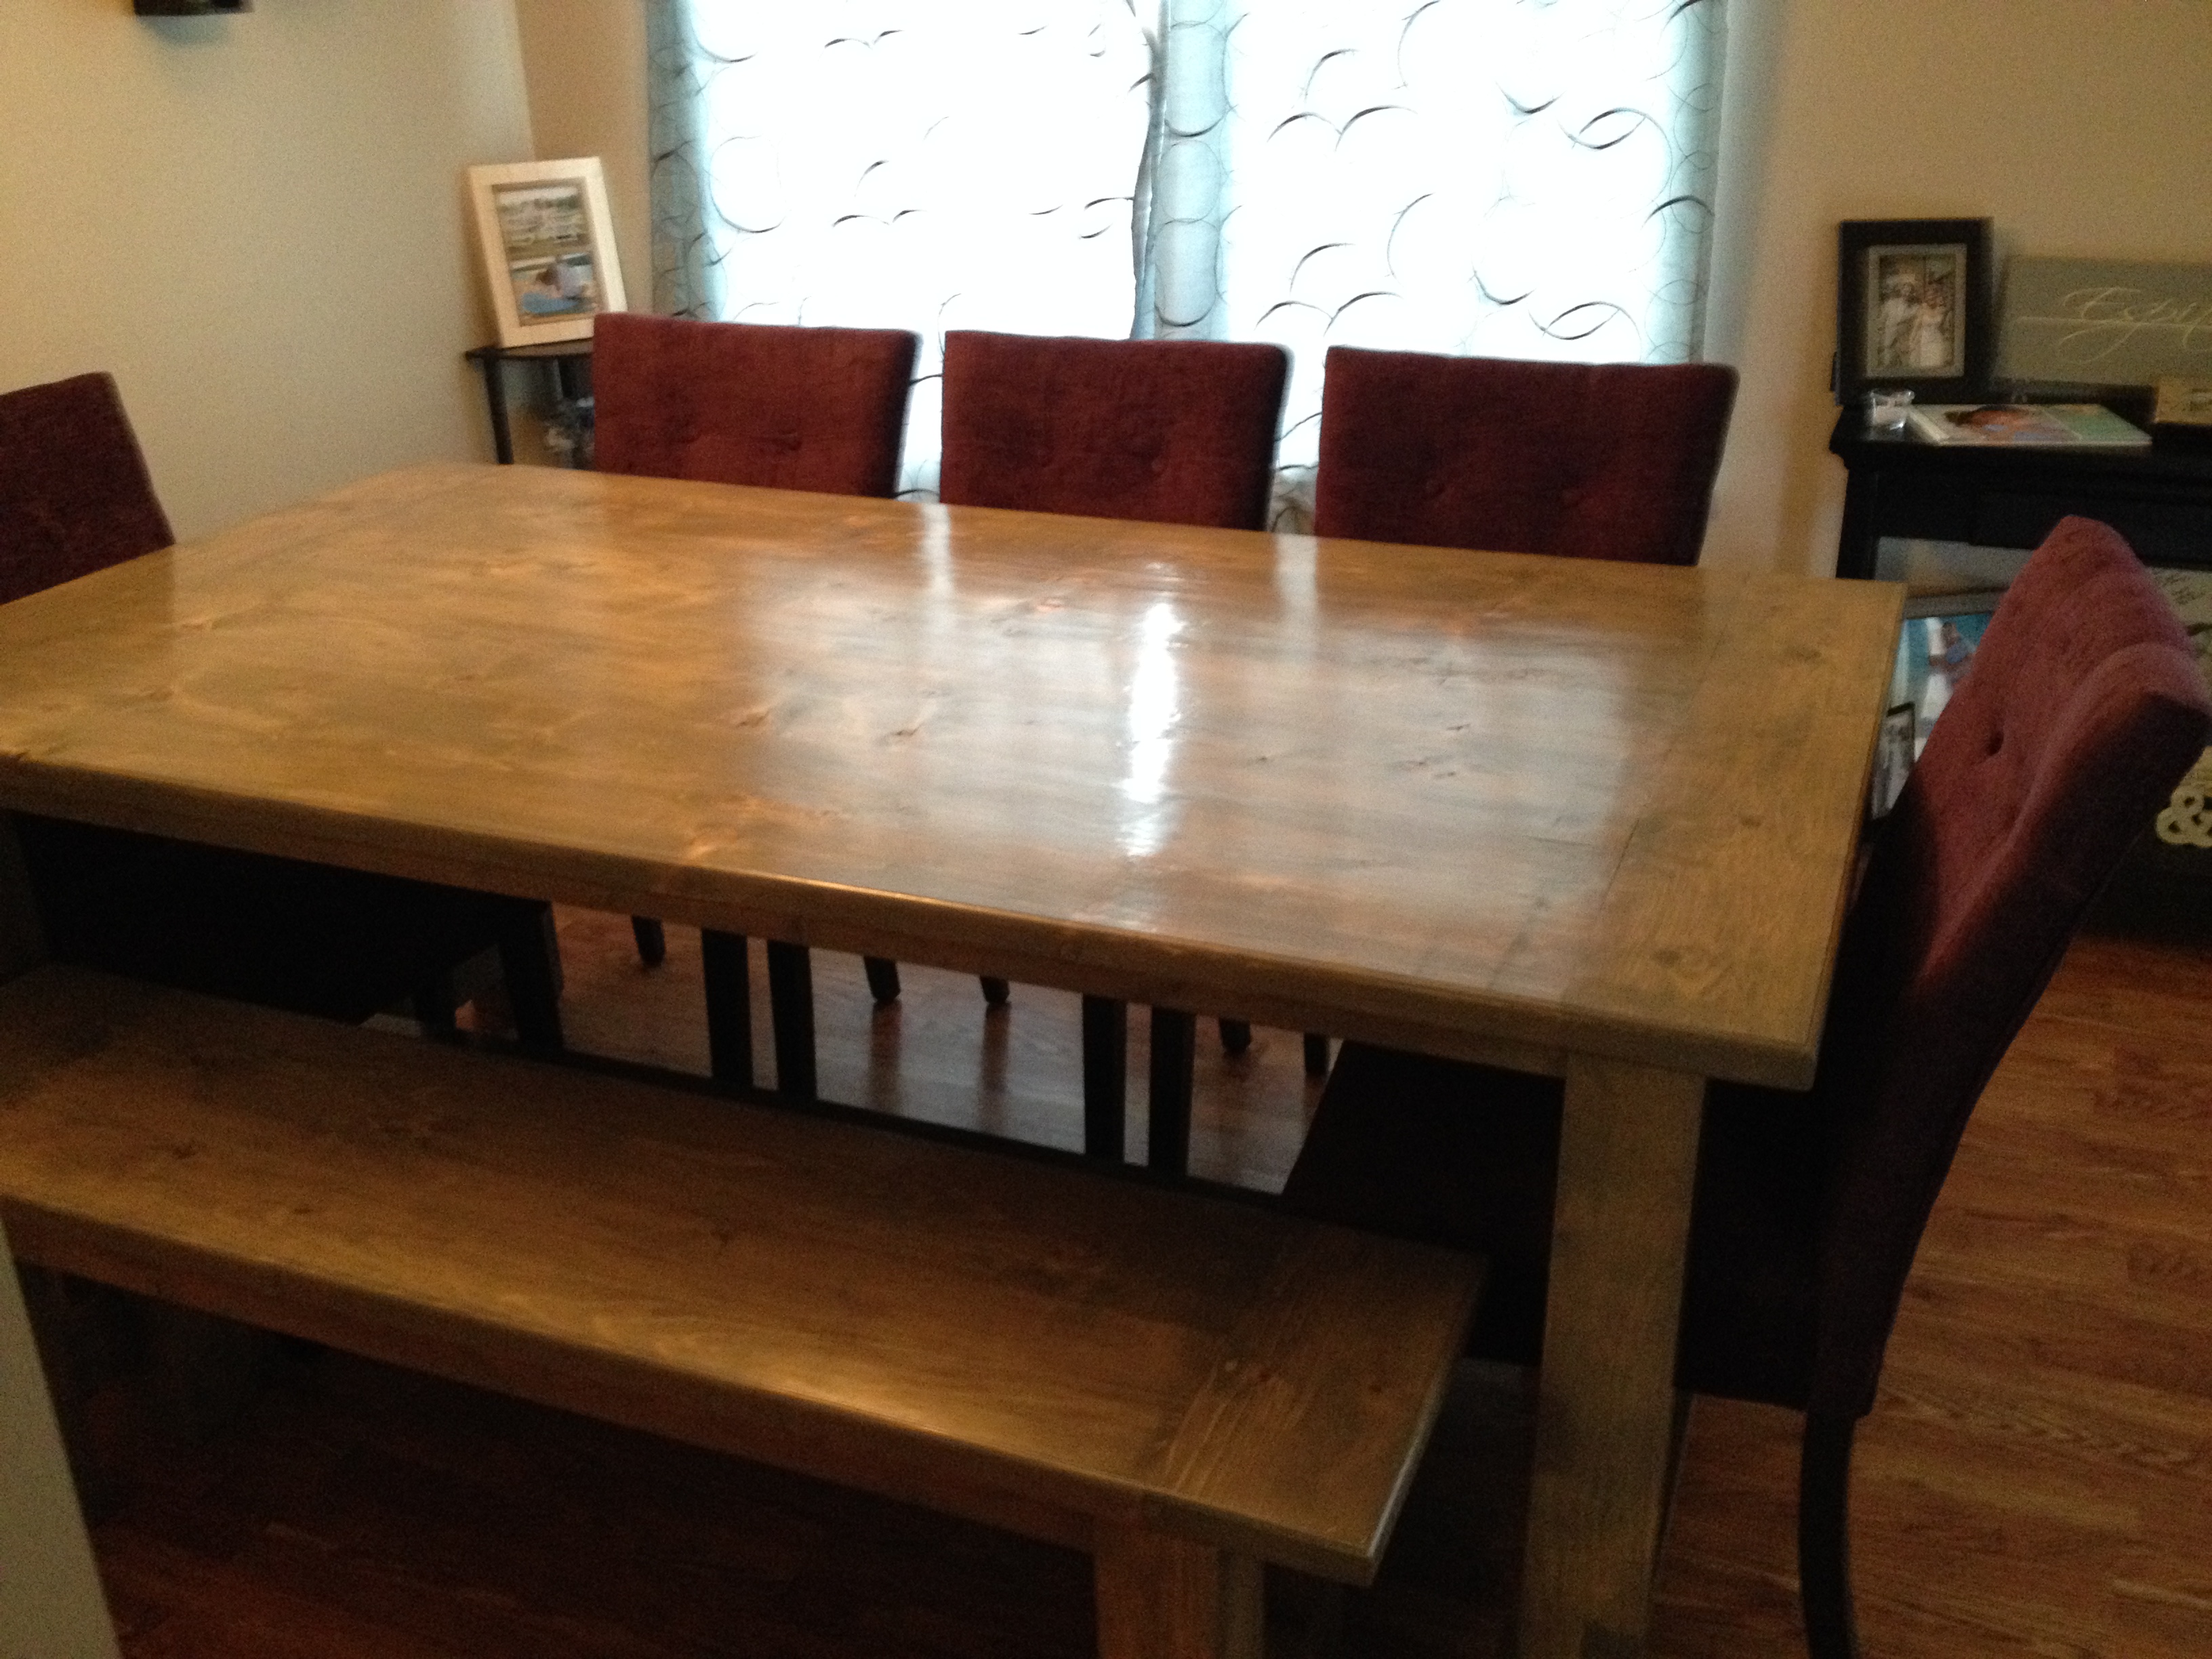
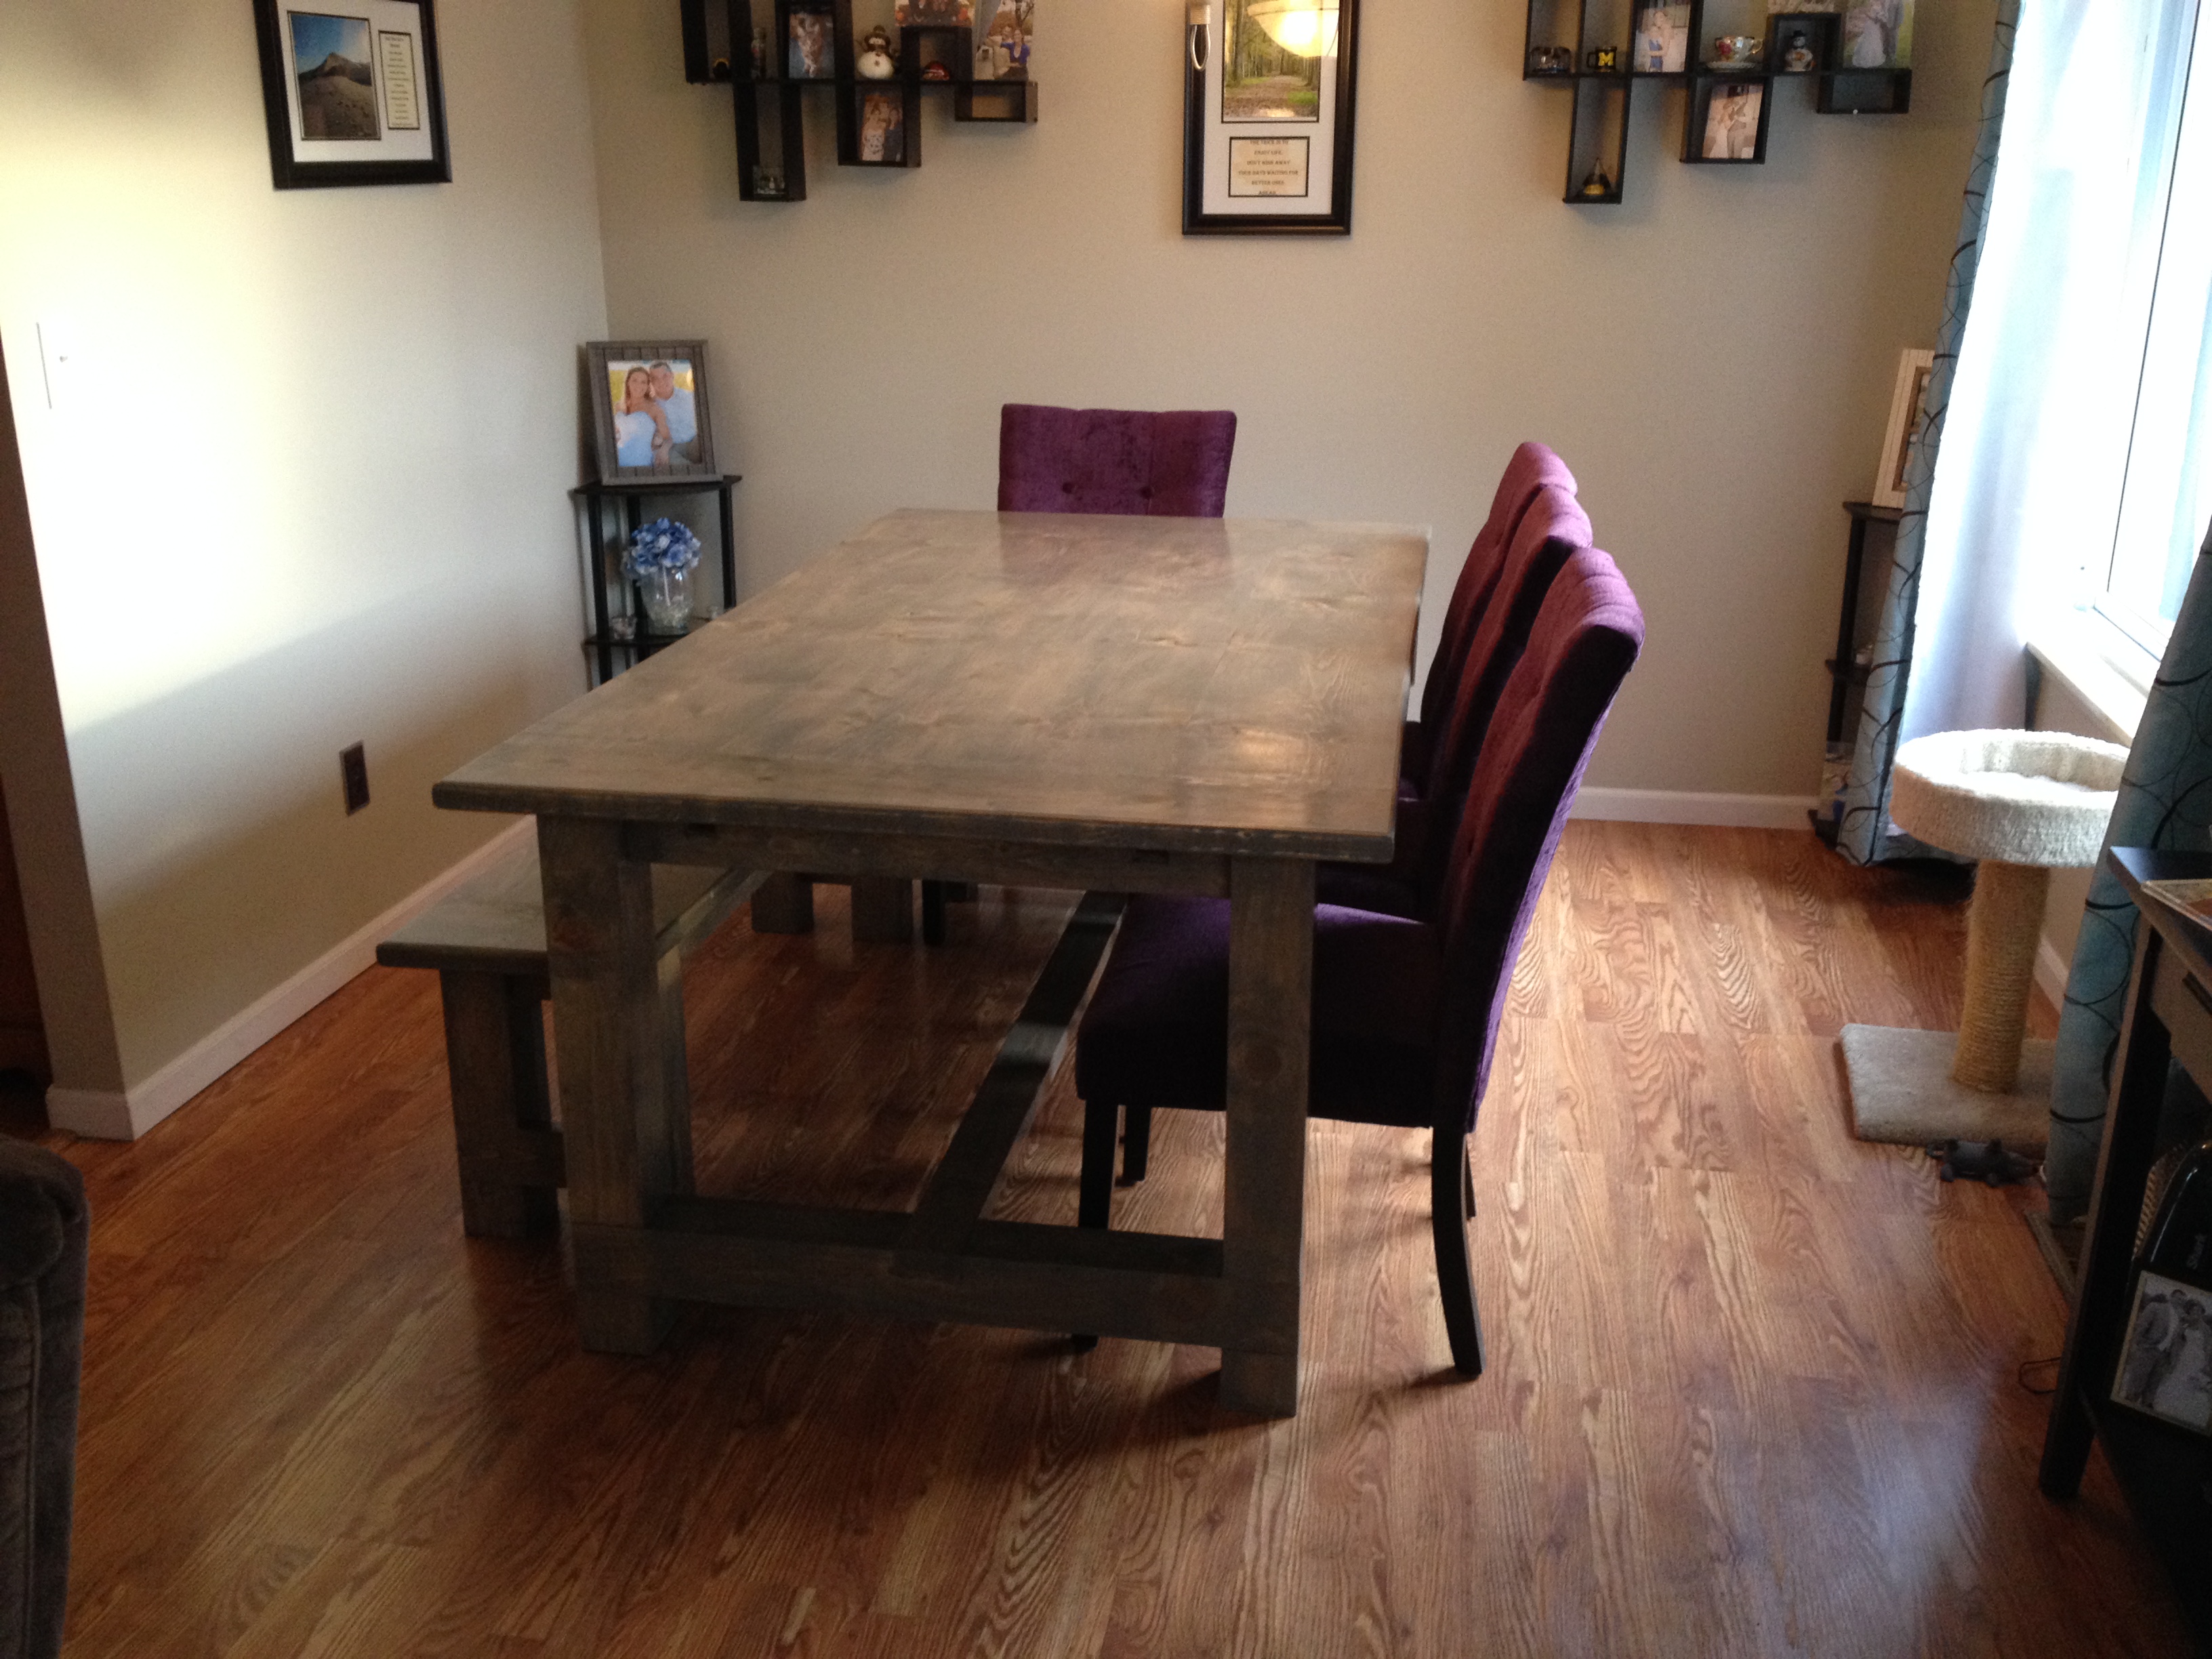
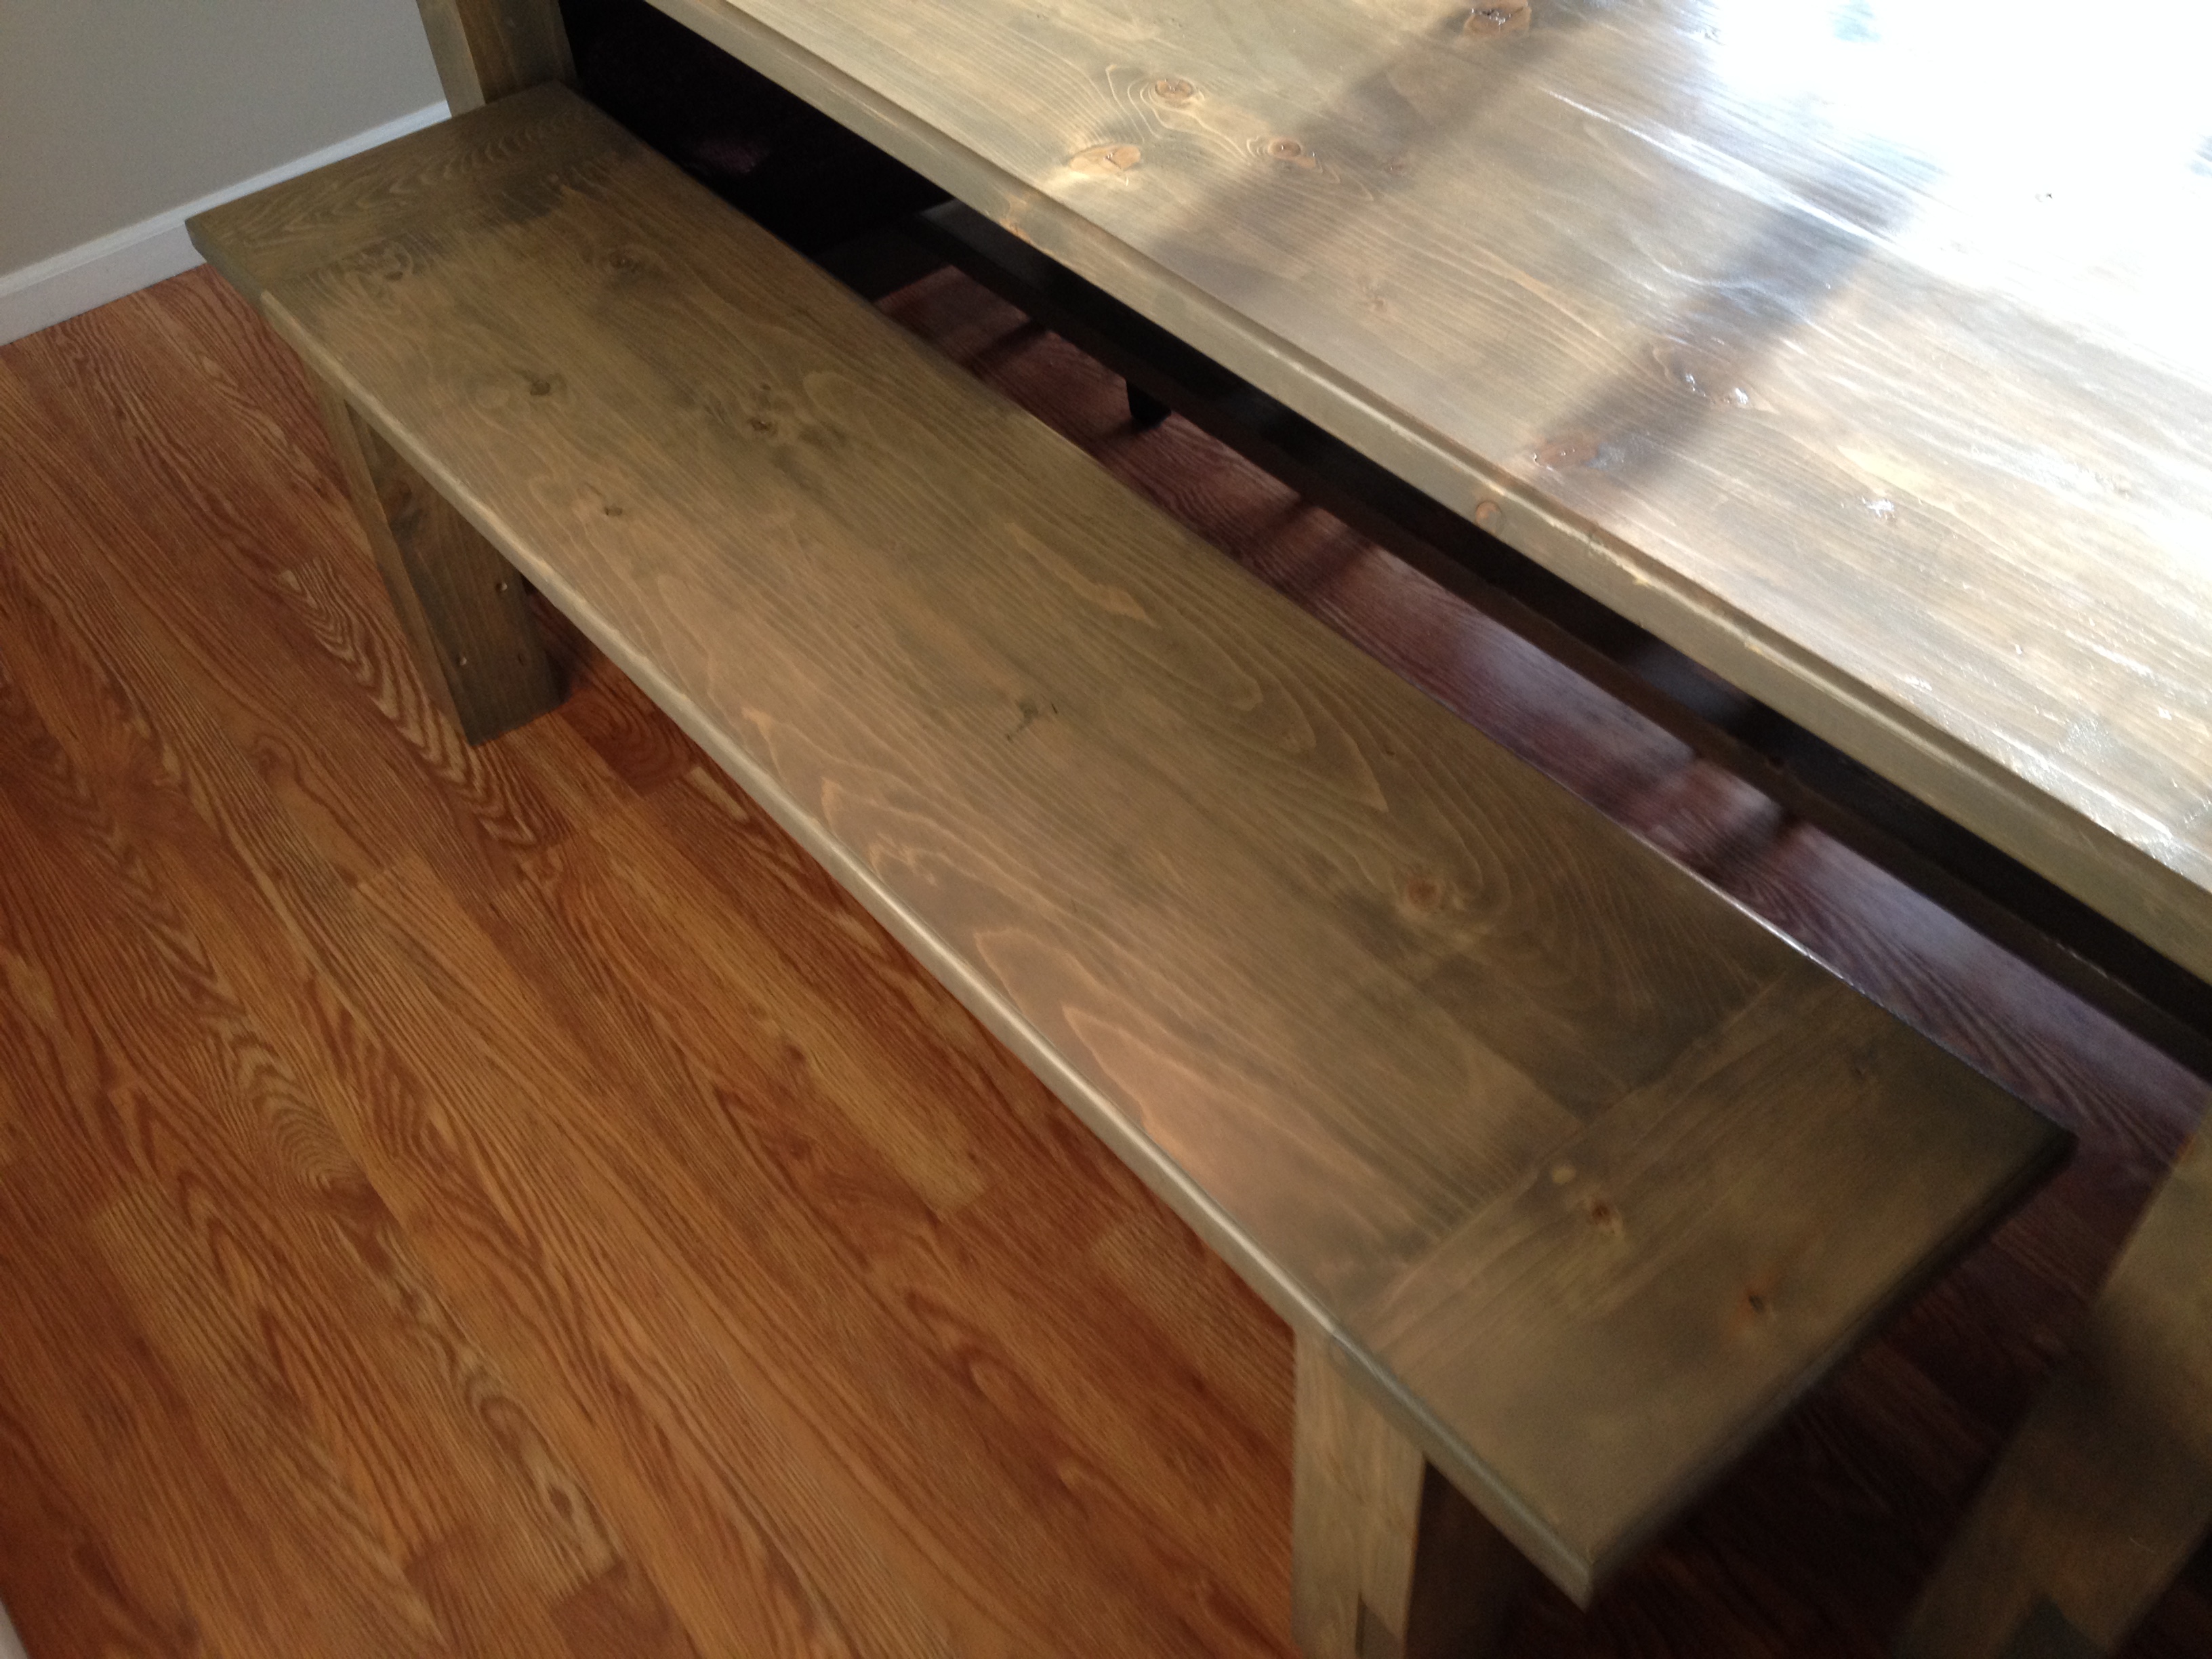
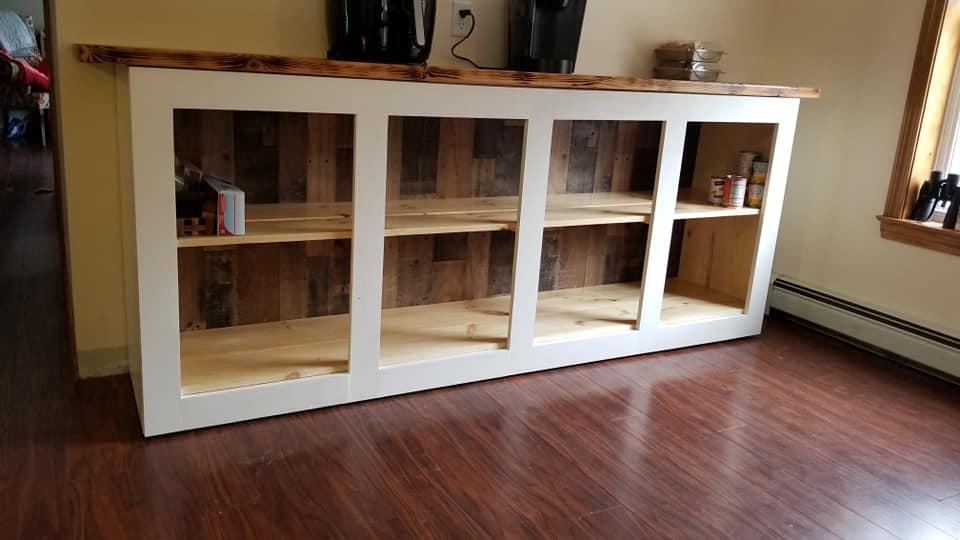
Barn Door Console used as buffet/server

Submitted by Anonymous (not verified) on Sat, 11/30/2019 - 14:18

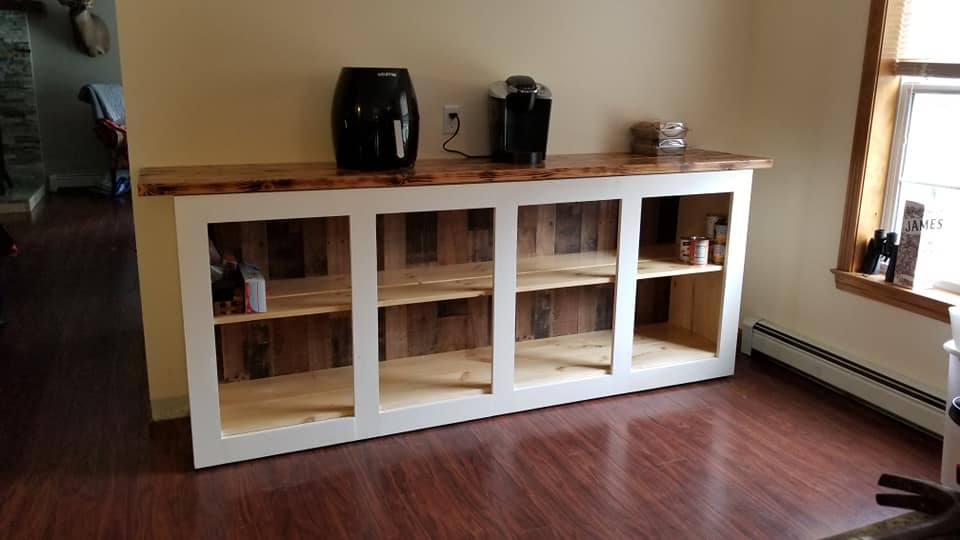
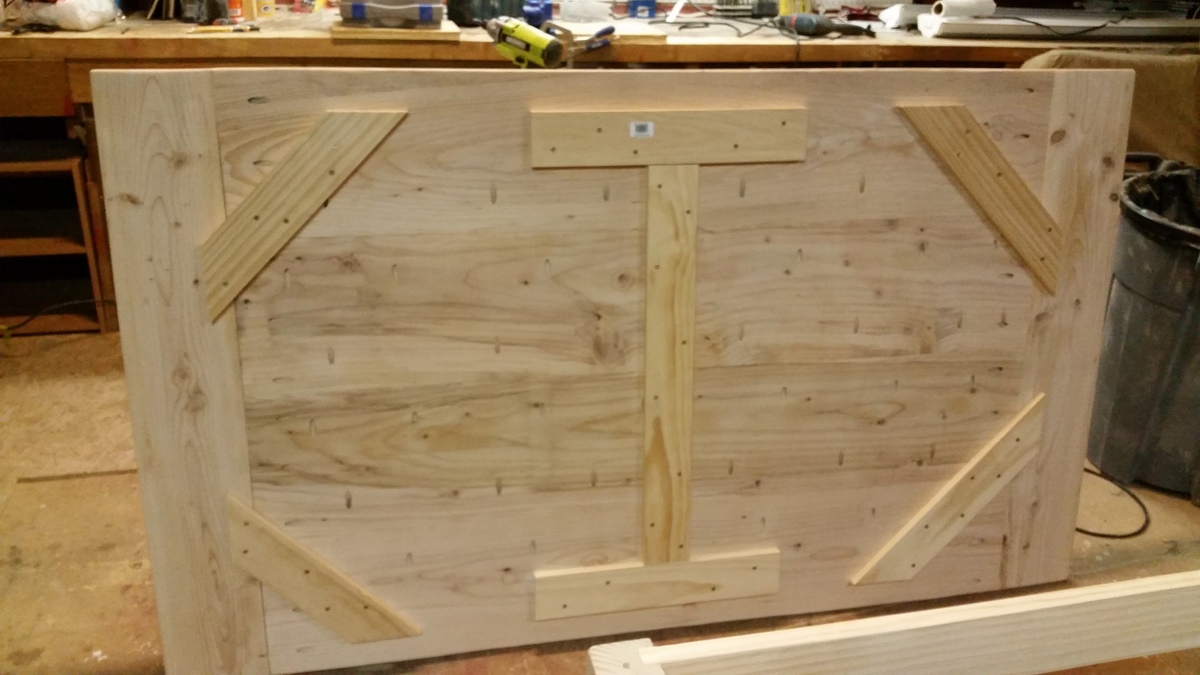
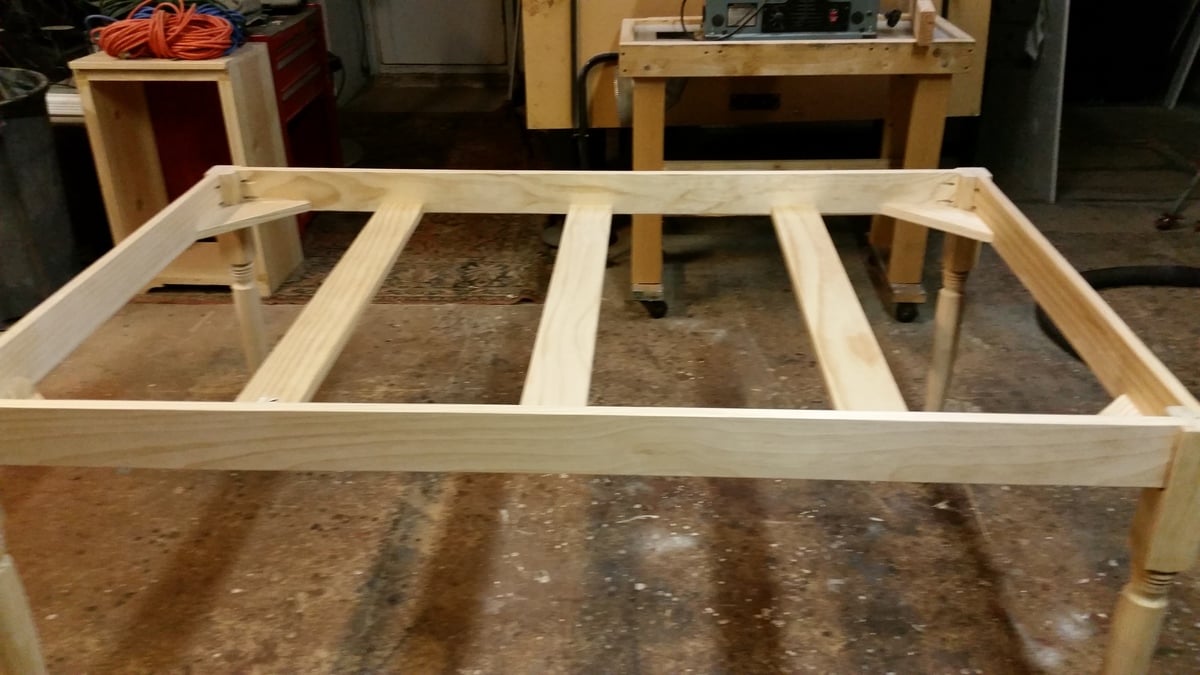
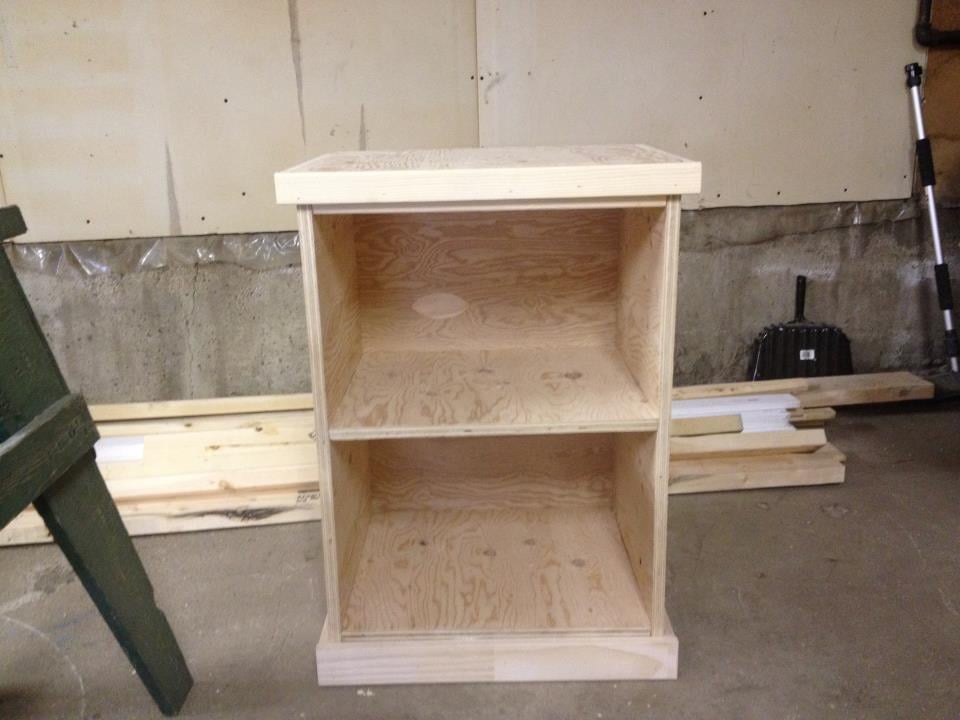
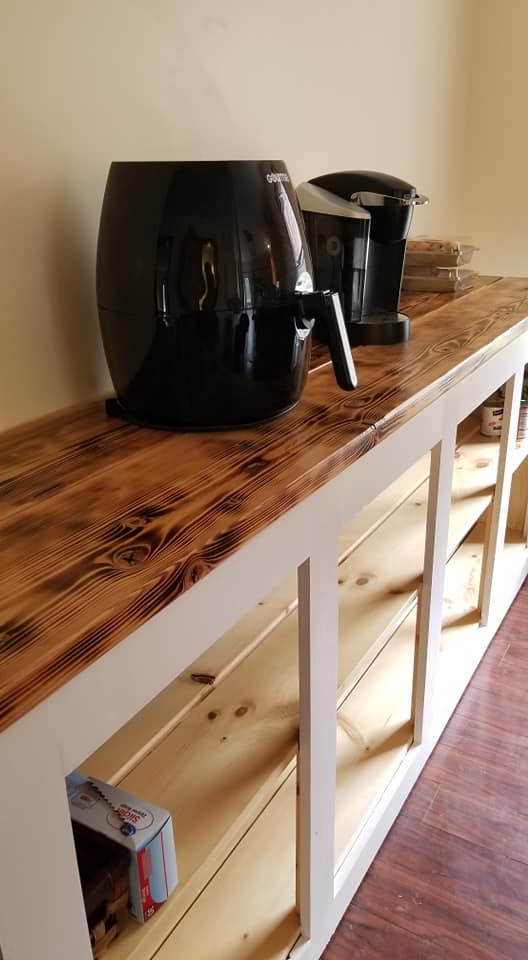
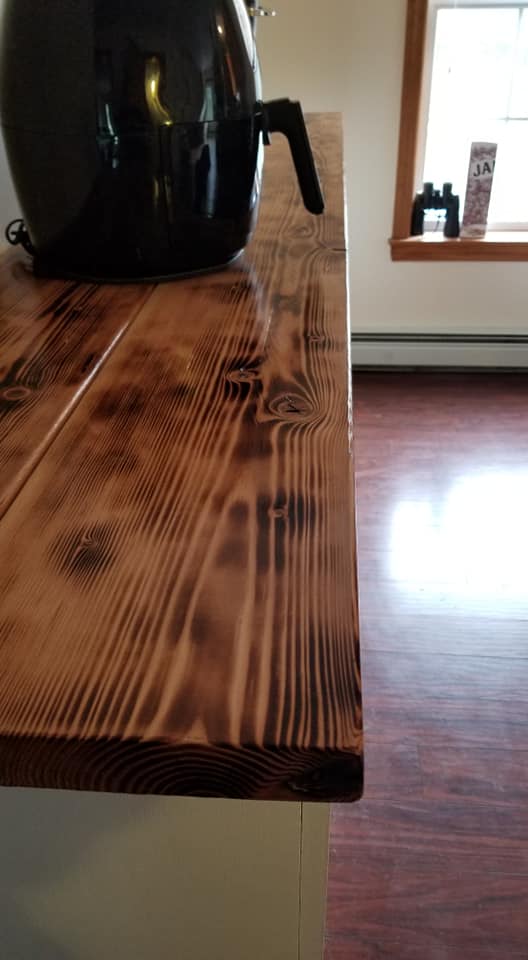
used the Grandy Barn Door Console plan to make this buffet-server-storage for my kitchen. I added some additional support to the top shelf, on the back portion, as I want to be able to put heavy dishes in it without the shelf bowing. Just need to add my doors. Burnt the wood on the top for some nice dimension.

Built from Plan(s)
Estimated Cost
300.00
Estimated Time Investment
Day Project (6-9 Hours)
Recommended Skill Level
Intermediate

Ultimate lumber and plywood storage

Submitted by Anonymous (not verified) on Thu, 01/02/2020 - 16:00

I followed the plans for the wood storage rack pretty closely. The shelf brackets made from 2x4's are quite sturdy. The entire rack is easy to move around on the 4 inch casters. This project took about 4 days to build and was well worth the time and money. All my wood is in one place now- sheets, long boards and short boards. Everything is easy to find and my shop is a lot neater, now.

Estimated Cost
$100
Estimated Time Investment
Week Long Project (20 Hours or More)
Finish Used
unfinished
Recommended Skill Level
Intermediate

Dining / Gaming Table

Submitted by bette9182 on Mon, 04/25/2016 - 13:18

My wife and I were looking for a new dining table, the one we had was a bar height which worked well for our daughters high chair, but she was going to be transitioning to a booster seat . We shopped around and had sticker shock at the cost of a dining room set. We enjoy playing board games and I had been looking into possible buying a board gaming table, but those more expensive and some had long lead times as well. I tossed out the idea that I could make our table and my wife agreed but gave me a deadline. I had built a few smaller pieces before but nothing like this. I based my plans off the farmhouse table for the top and used store bought legs. The top needed to be sturdy since it is not attached to the base, I did add blocking on the back so the top doesn’t move around and it is heavy enough that it doesn’t flip up if you lean on it. I moved the typical supports down to the bottom of the side rails and added a ¾” piece of MDF that I had for the gaming top. We used spray adhesive to attach some batting and used blue suede for the gaming surface since we are fans of Doctor Who. I added handles to the top on the inside to help when it is moved off the table for gaming. I built the bench too and made it so we could slide it under the table to save on space when we did not need it. The other chairs are hand me downs and Salvation Army finds that we spray painted. The only addition that I have to make is to build some sort of cup holders.

Estimated Cost
$150 - 200 with all the chairs and fabric.
Estimated Time Investment
Week Long Project (20 Hours or More)
Recommended Skill Level
Beginner

Comments

Our new garden beds. Thank you!

Submitted by Anonymous (not verified) on Wed, 05/04/2016 - 07:00

I'm only moderately handy and these were fun and pretty easy.

Learned a lot and got better as I went along.

I found ways to make it as cheap as possible, probably did all three projects for 150 bucks.

Estimated Cost
Around $150
Estimated Time Investment
Afternoon Project (3-6 Hours)
Recommended Skill Level
Beginner

Rustic Food Drying Rack

Submitted by Anonymous (not verified) on Wed, 10/04/2023 - 08:19

I followed the plans mostly. My wife really liked the design. I spaced the drawers out 4 more inches I believe and I made a removable top ,not pictured, so I could stack on top of it. It came out great. Cool idea thank you!

Mike

Comments

Laundry Basket Dresser

Submitted by KaraBoo on Mon, 05/07/2012 - 10:18

I modified the tall and lengthwise laundry basket dresser a bit to make this shorter version. I also combined it into a single dresser instead of it being two separate dressers side by side. I put the dresser on casters so that I can roll it around my laundry room. I can tuck it away in the closet area or roll it out and use it as a folding counter.

Estimated Cost
$100
Estimated Time Investment
Afternoon Project (3-6 Hours)
Finish Used
Behr Ultra, Enchanted Evening
Recommended Skill Level
Beginner

Comments

spiceylg

Mon, 05/07/2012 - 12:41

Love that it was combined into one and on casters. Very smart. Cool color, too!

Jenna Meagher (not verified)

Sun, 05/13/2012 - 09:02

I would love to do this modified version! Can you share your dimensions?

KaraBoo

Sun, 05/13/2012 - 19:35

Jenna, I used 3/4" MDF and these are the dimensions:

1 Back piece - 37 1/4" x 37 1/4"
2 pieces for top & bottom - 37 1/4" x 25"
3 pieces for sides and middle - 35 3/4" x 25"

I used the same dimensions for the 1x2's as are in the original project and pretty much assembled it following the steps as she has written. Just remember to add 1x2's on both sides of the center divider and you're good to go! Hope that helps and if you have any questions, I'll be happy to try to help. :)

Aimee Comte (not verified)

Tue, 08/07/2012 - 09:41

Do you know what kind of laundry basket you used & where you got them? Based on the pictures they look like the sterilite 2 bushel ultra however the dimensions look too big. Did you have to modify the plans to make them wider?

Thanks!

Ladder shelf

Submitted by lazyLiz on Thu, 05/10/2012 - 13:43

Since I used hardwood (red oak) I have to modify the plan and eliminate the sides of the shelves. Modifications and measurement is on the additional photo. Thanks again Ana, you're the best!

Built from Plan(s)
Estimated Cost
$30-$50
Estimated Time Investment
Afternoon Project (3-6 Hours)
Finish Used
minwax red oak and poly
Recommended Skill Level
Beginner

Comments

Thanksgiving Table for 14!

4x4 Truss Table and truss bench
Extended table to 109 inches. Finished just in time for Thanksgiving dinner. All 14 of us fit around the table comfortably.

Comments

Mat's Desk

We needed a desk for the office. I didn't want particle board - or to pay a fortune! Thanks, Ana!

Estimated Cost
$150-200
Estimated Time Investment
Week Long Project (20 Hours or More)
Finish Used
I used Miniwax Ebony Stain for the base and drawers and some Rustoleum Spray Paint in Black for the top. Finished with a few coats of Varathane Diamond Clear. I would use brush on paint instead of spray if I did this again - the spray paint used 3 CANS and was a huge part of the cost!
Recommended Skill Level
Intermediate

Comments

rickfred32

Mon, 02/15/2016 - 10:38

Hey there! The desk looks great! I'm curious do you have a upclose of the top of the desk? Is the top stained as well?

easy Kitchen Island

I needed mine to move so I added some castors to the bottom. It is my bakery cart! I also had hubby put a double towel rack on it for my flour clothes. Thanks so much for the plans! This is my first project and I loved doing it! Hubby got me the Kreg Jig and it was a breeze. I even used that for the top!!

Built from Plan(s)
Estimated Cost
$90
Estimated Time Investment
Day Project (6-9 Hours)
Finish Used
Dark Walnut Stain, Flat white paint
Recommended Skill Level
Beginner

Storage sofa on steroids!

Submitted by Imadeit on Wed, 07/20/2016 - 12:59

First furniture project, first Kreg jig use.

Heavily adapted storage sofa plans.  Used existing day bed mattresses.  Made all wood surfaces finished with nice cladding, and all fabric portions removable and washable.

Added arms, and a back ledge.  Ledge is hinged to allow access to wall behind so I can get to the outlets.

Lots of work, but it is AWESOME.  Thanks for the inspiration Ana!

Built from Plan(s)
Estimated Cost
$700 including the fabric
Estimated Time Investment
Week Long Project (20 Hours or More)
Finish Used
Dark gray latex paint, and gel stain for the shelf.
Recommended Skill Level
Intermediate

Comments

WackyPup

Sun, 01/22/2017 - 13:37

This is almost exactly what I want to do! I have a dog who loves to rub on furniture and I don't want upholstery. Why did you make the back thicker? Is it just for added shelf space along the back? Thanks for posting the pictures. Very inspiring!

Imadeit

Mon, 02/20/2017 - 07:18

Sorry for the delay in seeing your question.  I haven't signed on to this site for a while.  You are correct thinking that I wanted to have shelf space along the back.  The sectional is the entire width of the wall and I knew that I would not be able to have end tables.  I wanted a way to have a lamp and a place to put drinks, etc.  As it turns out the arms of the sectional are great for holding my beverage.  The shelf holds my lamp and some baskets with general stuff like the remotes inside.  Thank you for the compliment.

sahorn01

Wed, 01/18/2023 - 09:28

Hi! I know this is a very old post but I would love try to make something similar to what you did in your storage sofa modifications - especially the wider frame and armrests. Any chance you wrote down your plans or have more pictures of your build? I also would love to understand how you made your upholstery/fabric removable. Did you follow any plan for making the cushions? Thanks in advance!

Sling Chairs

Submitted by natehu on Wed, 07/11/2012 - 08:26

I had some leftover wood from building my daughters loft bed and after coming across this plan realized i had all the right lumber on had already so after a trip to the store to buy a few bolts i was ready to build. I built one chair following Ana's plans exactly, using 1x2's for the outside frames, the chair turned out awesome and I wanted another. For the second one, i didn't have enough 1x2's left so I used 2x2s for the outside frame. I kept the inside width (24") of the back frame the same and adjusted the rest of the dimensions to fit. While the 1x2 chair was great and very sturdy, the 2x2 chair is rock solid. I rounded all the edges of the boards with a 1/4" roundover bit and spray painted everything dark chocolate brown. The fabric slings are made of cotton duck cloth. I added a 1" foam pillow sewn onto the top of the sling because my head rests right on the top boards and I wanted a little padding.

All said, including wood, hardware, fabric and the foam for the pillow I think this chair cost about $40 to build and finish.

As my 3 daughters piled on my lap to read on night the 2x2 chair has been load tested to about 300 lbs!

Estimated Cost
$45
Estimated Time Investment
Afternoon Project (3-6 Hours)
Recommended Skill Level
Beginner

Comments

dannibambi

Fri, 08/10/2012 - 14:22

What a great idea! I think I will sew together a wrap-around foam pillow with a velcro closure, so I could easily remove it if I decide to switch to a new fabric. Thank you for the inspiration! And thank you for mentioning how much sturdier the 2x2 wood is. I appreciate it!

Farmhouse table, table extension, and bench

My wife and I recently built this farmhouse table with her grandpa. It was a lot of fun and we are really happy with how it turned out. The table is 80 inches long, 43 1/2 inches wide, and 31 inches tall. The extensions are 15 inches long and 43/1/2 inches wide, and the bench is 61 inches long, 15 inches wide, and 19 1/2 inches tall. 

It tooks us about 4 weekends (around 32 hours) to finish the project and the included rebuilding the base of the table after our first one cracked. 

We modified the plans a bit. We used 4x4s instead of glued together 2x4s for the legs on the table and bench. 

We also used the plans on this blog (http://tommyandellie.com/?p=2582) as a guide. 

This was the first time my wife and I have tired a DIY project and we had a ton of fun. Her grandpa had some experience with wood working and had all of the tools we needed but you can certainly do this without any extensive wood working experience. 


Sorry for the duplicate post. This is my first time on the website and the first time I posted it came across as 'guest'

Estimated Cost
$350
Estimated Time Investment
Week Long Project (20 Hours or More)
Finish Used
We put on one coat of minwax pre-stain wood conditioner. Then we added two coats of stain of a custom mixed stain from Sherman Williams. We started with the Wood Classic Rustic Gray. The store then tinted the stain until we found the color that we liked. Note - the table looks grayer in person than it does in some of the photos. Finally we applied 3 coats of minwax water based oil modified semi-gloss polyurethane.
Recommended Skill Level
Starter Project

Comments