Community Brag Posts

DIY Mobile Lumber Rack

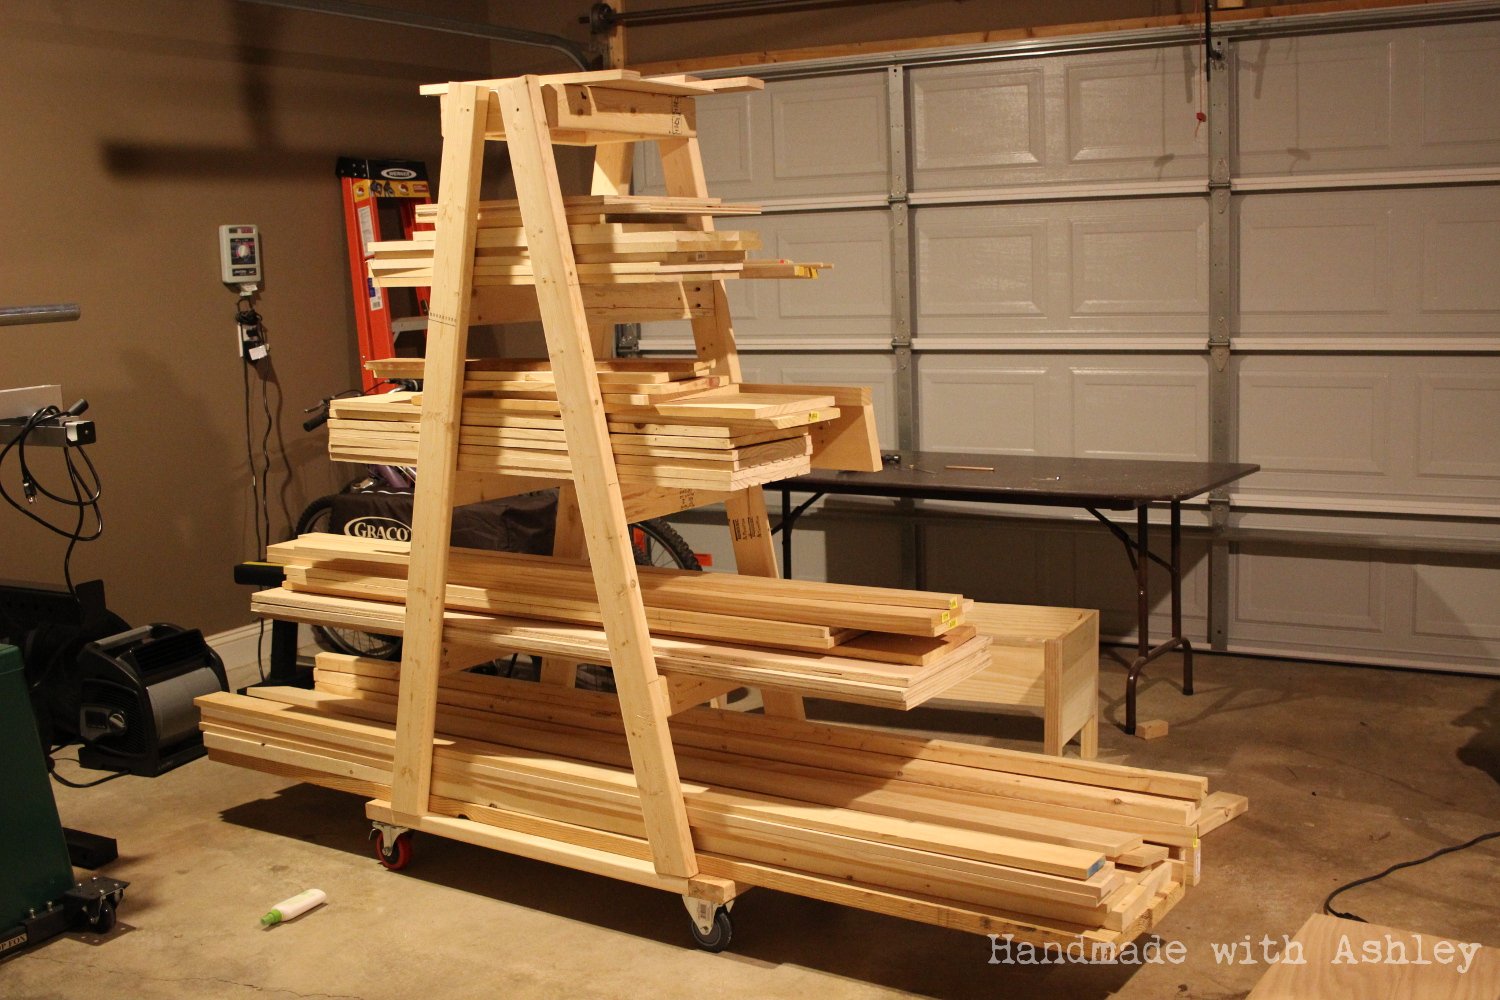
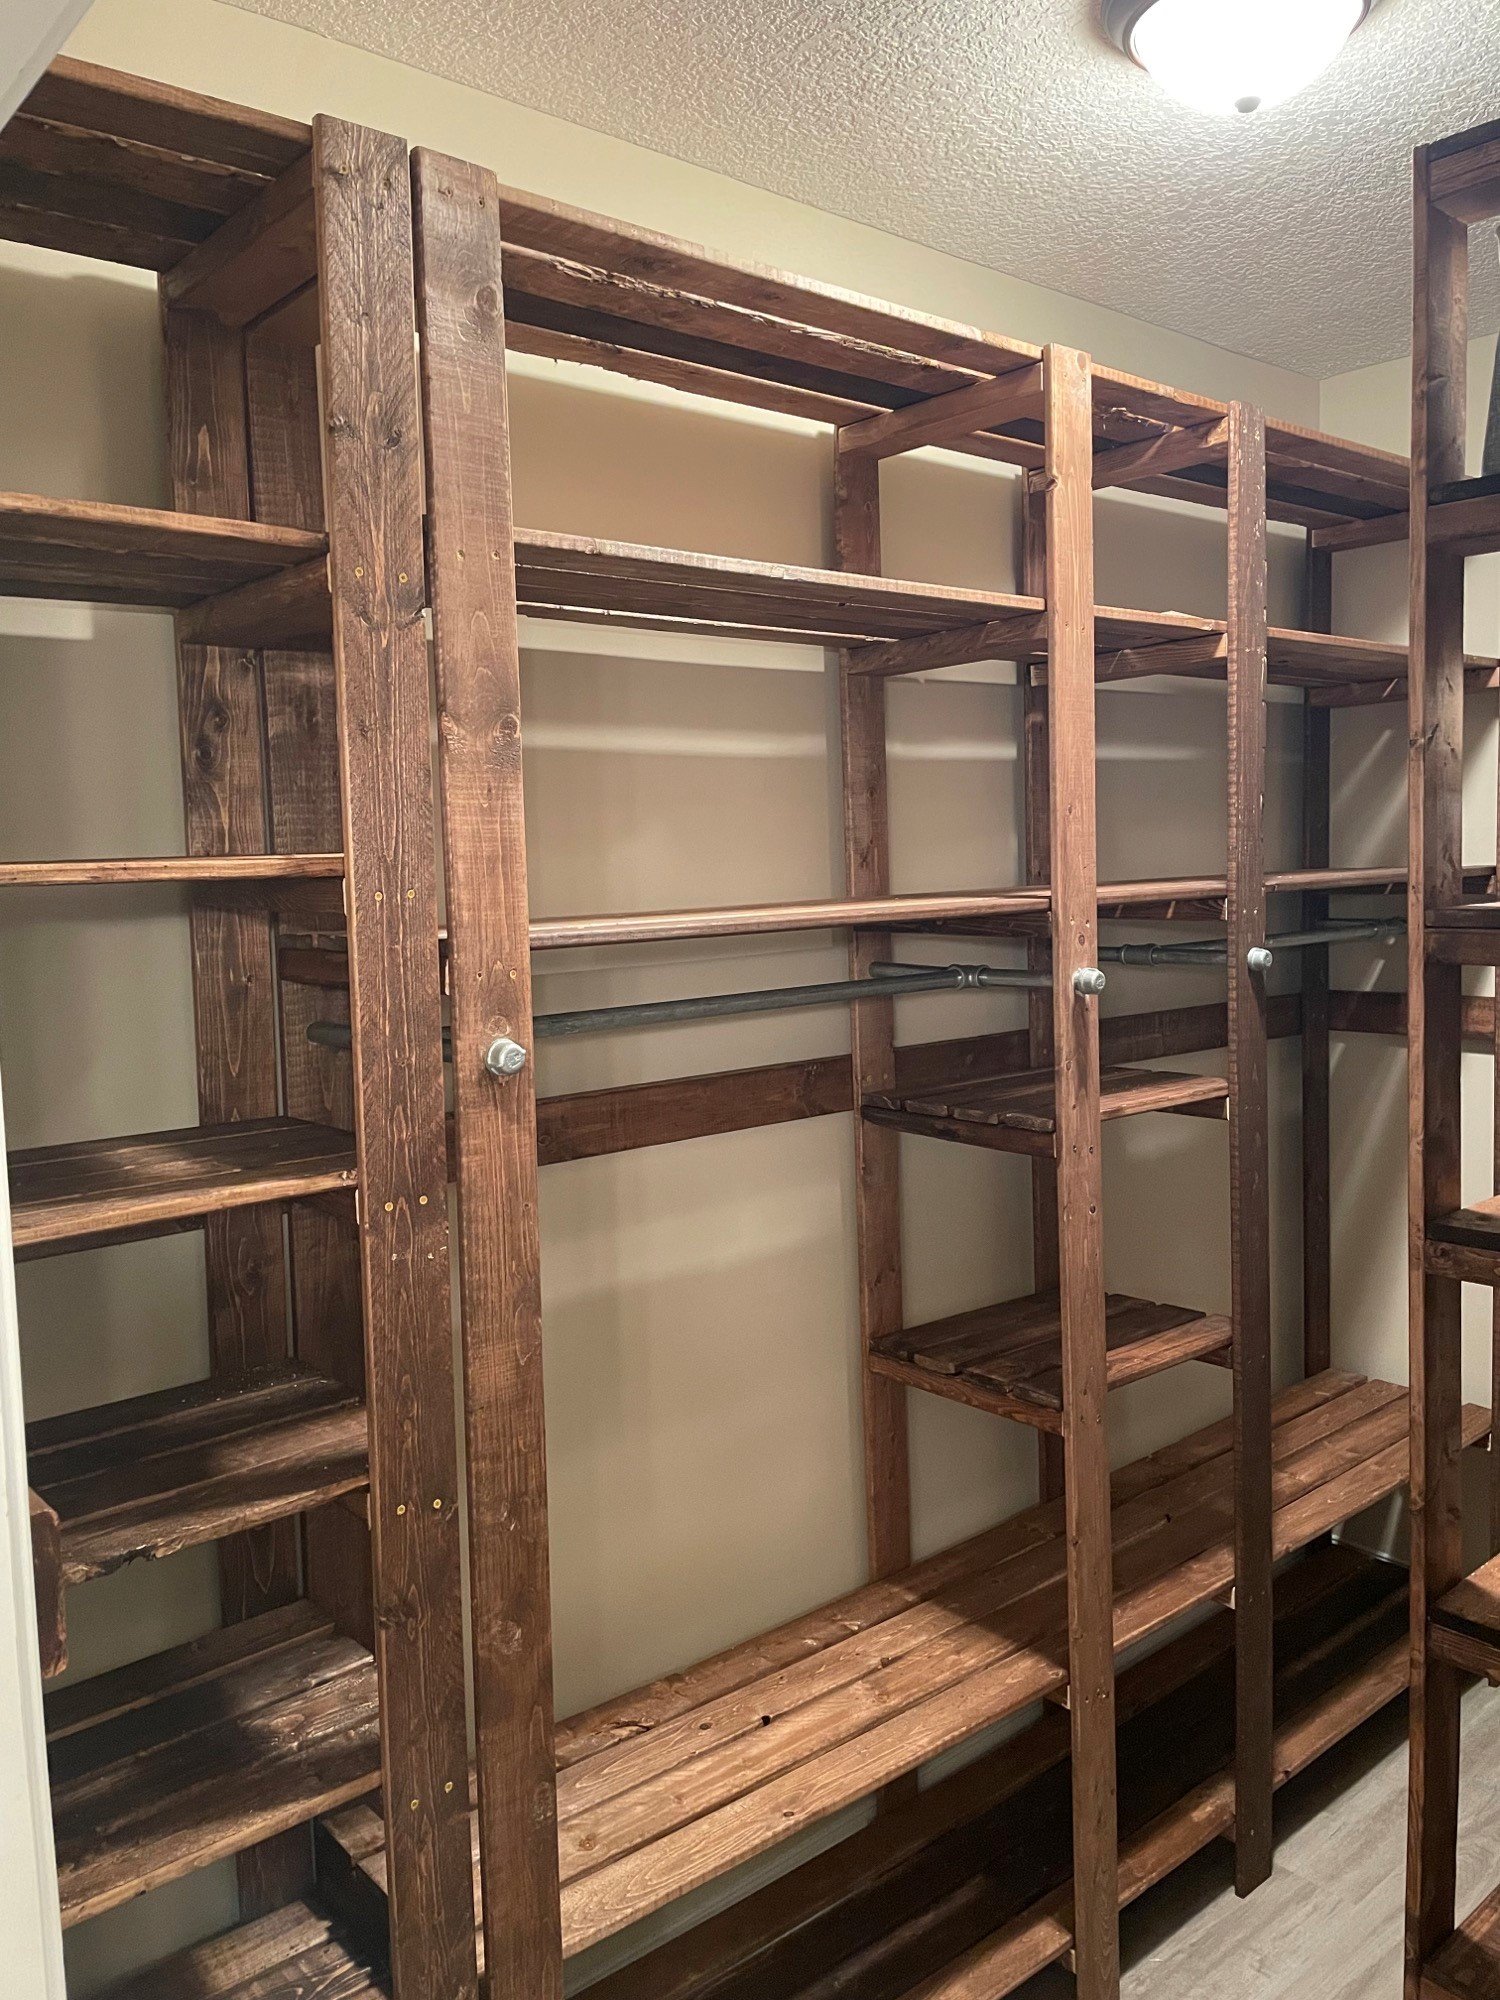
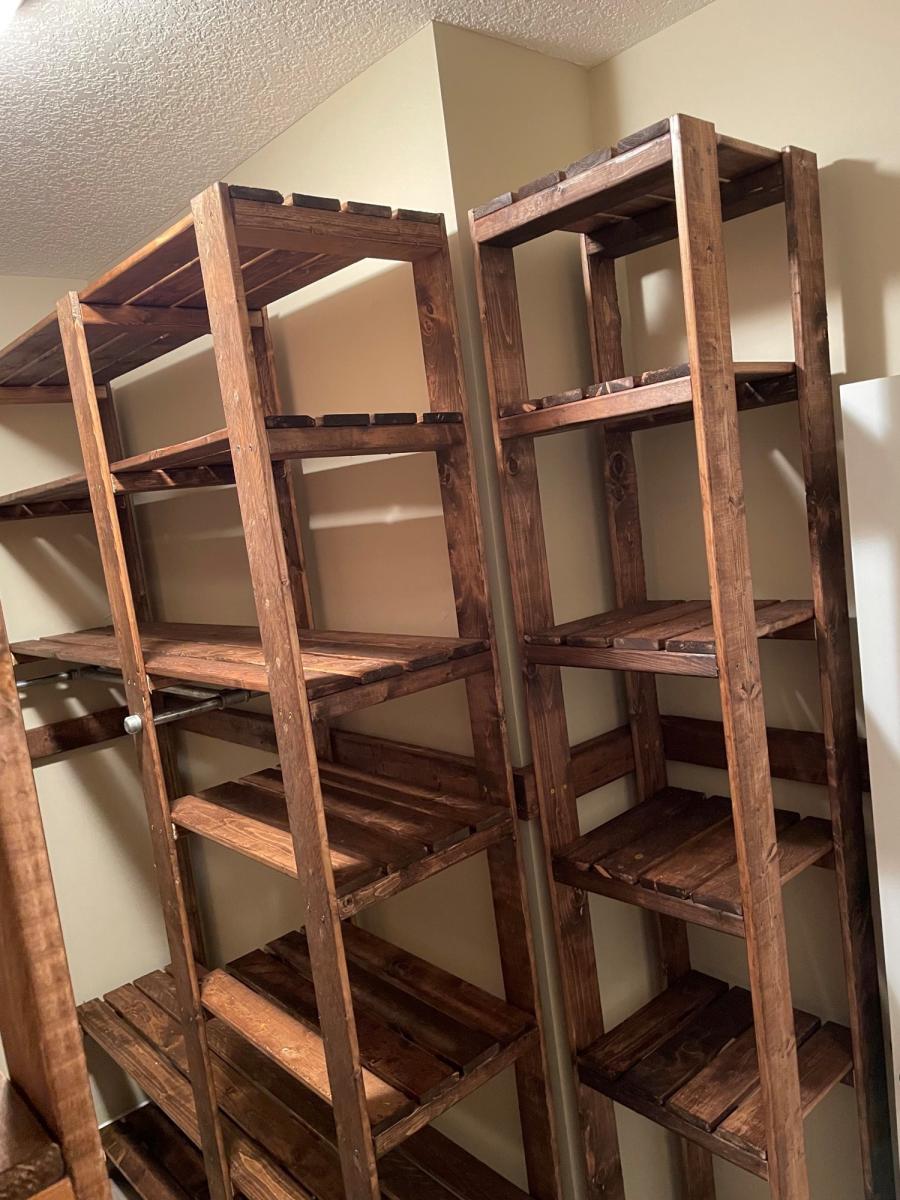
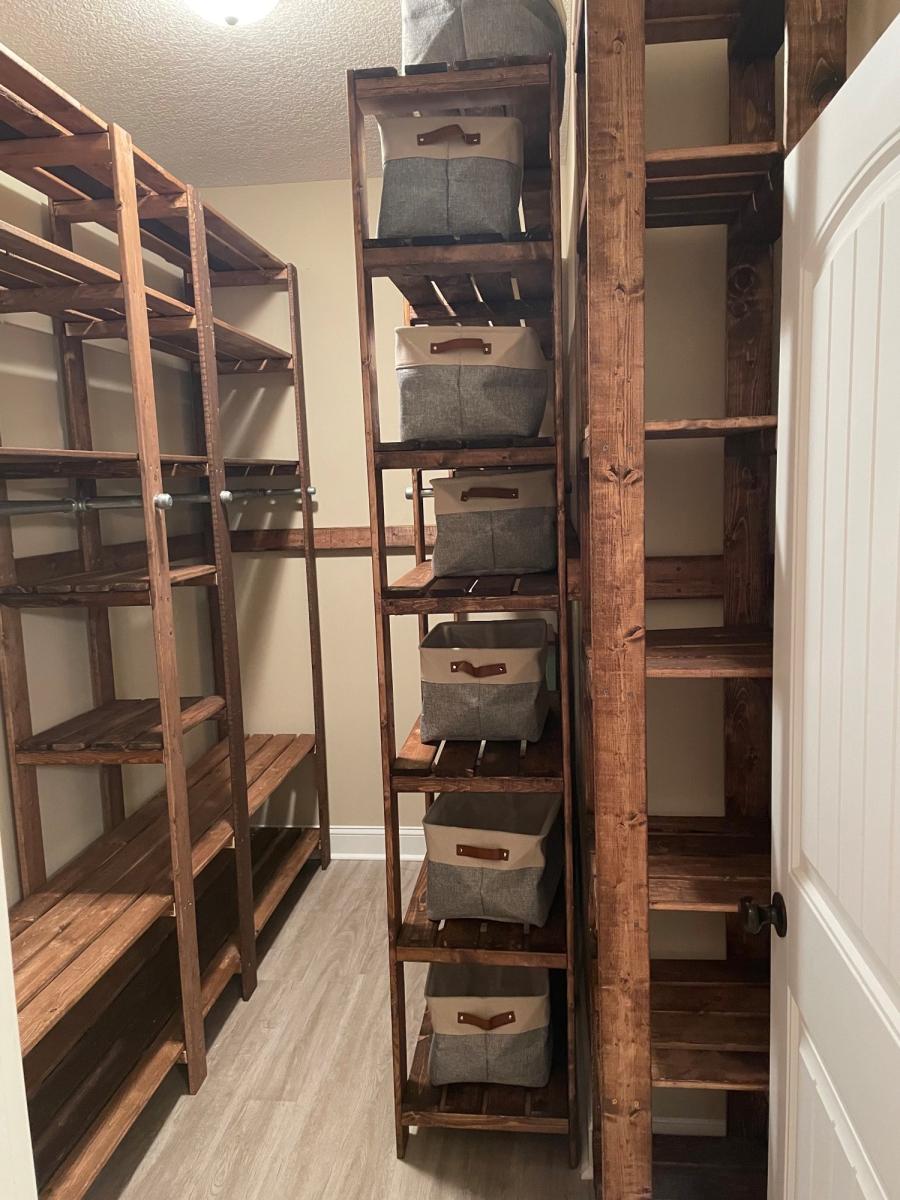
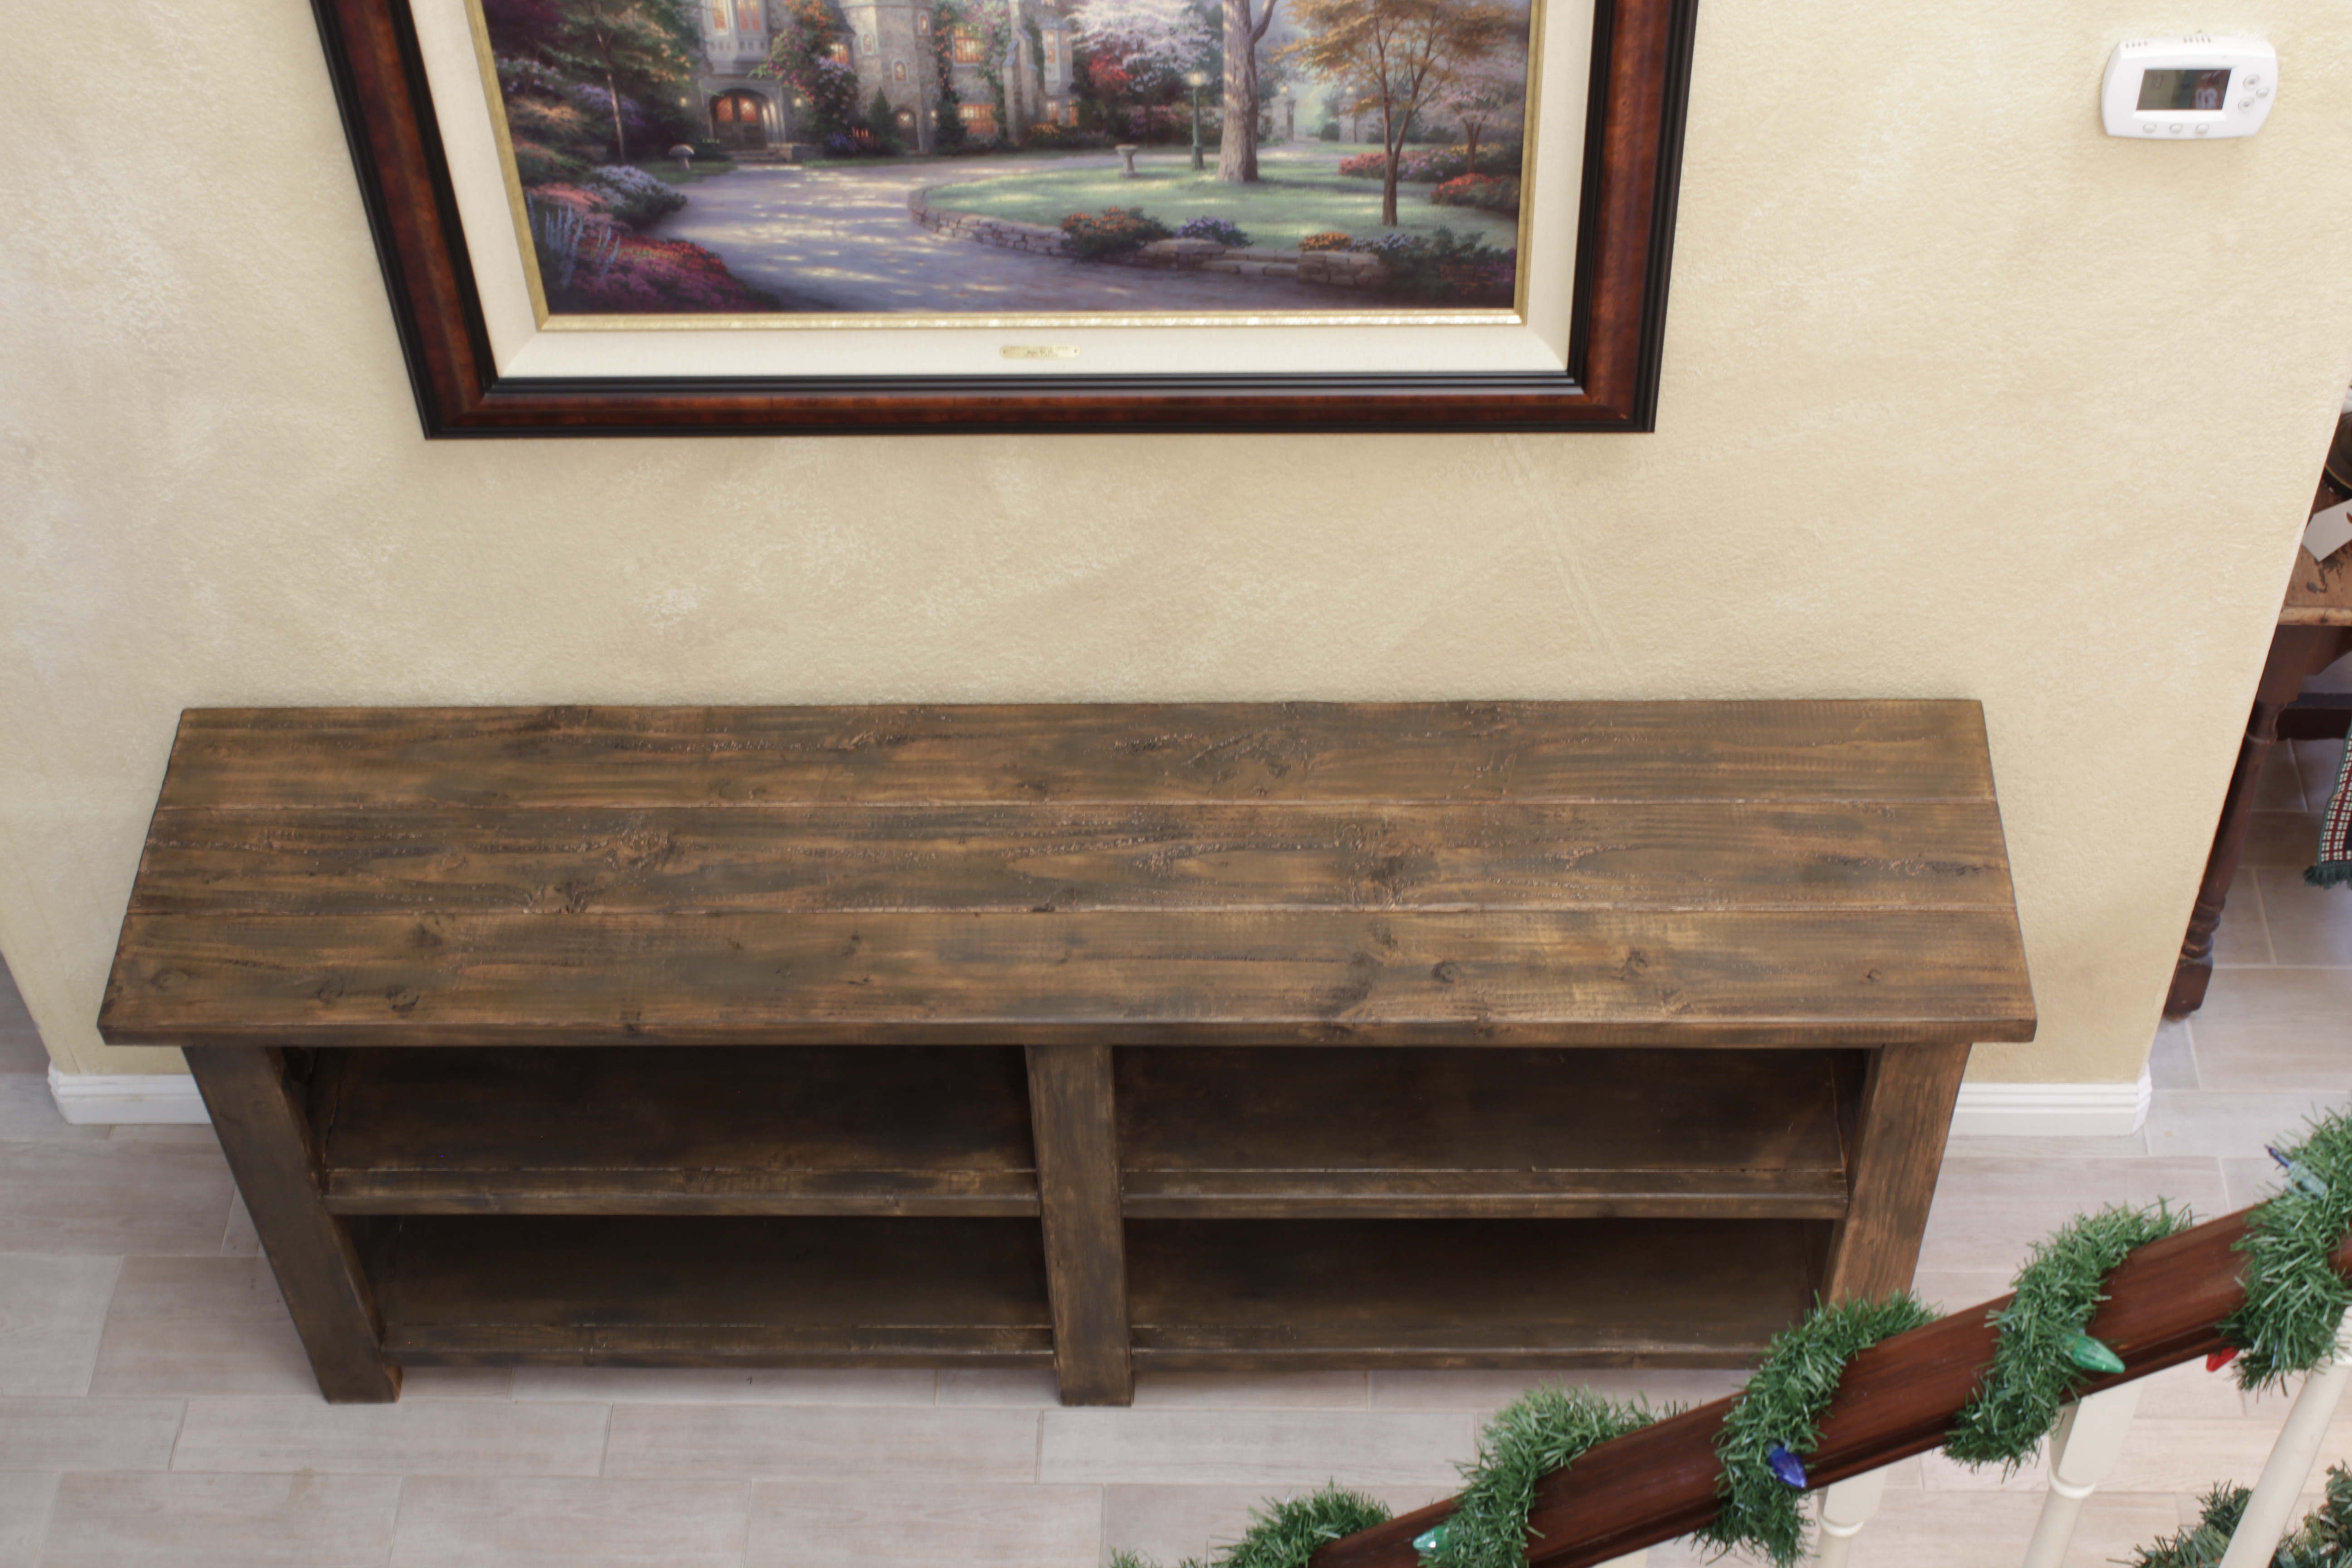
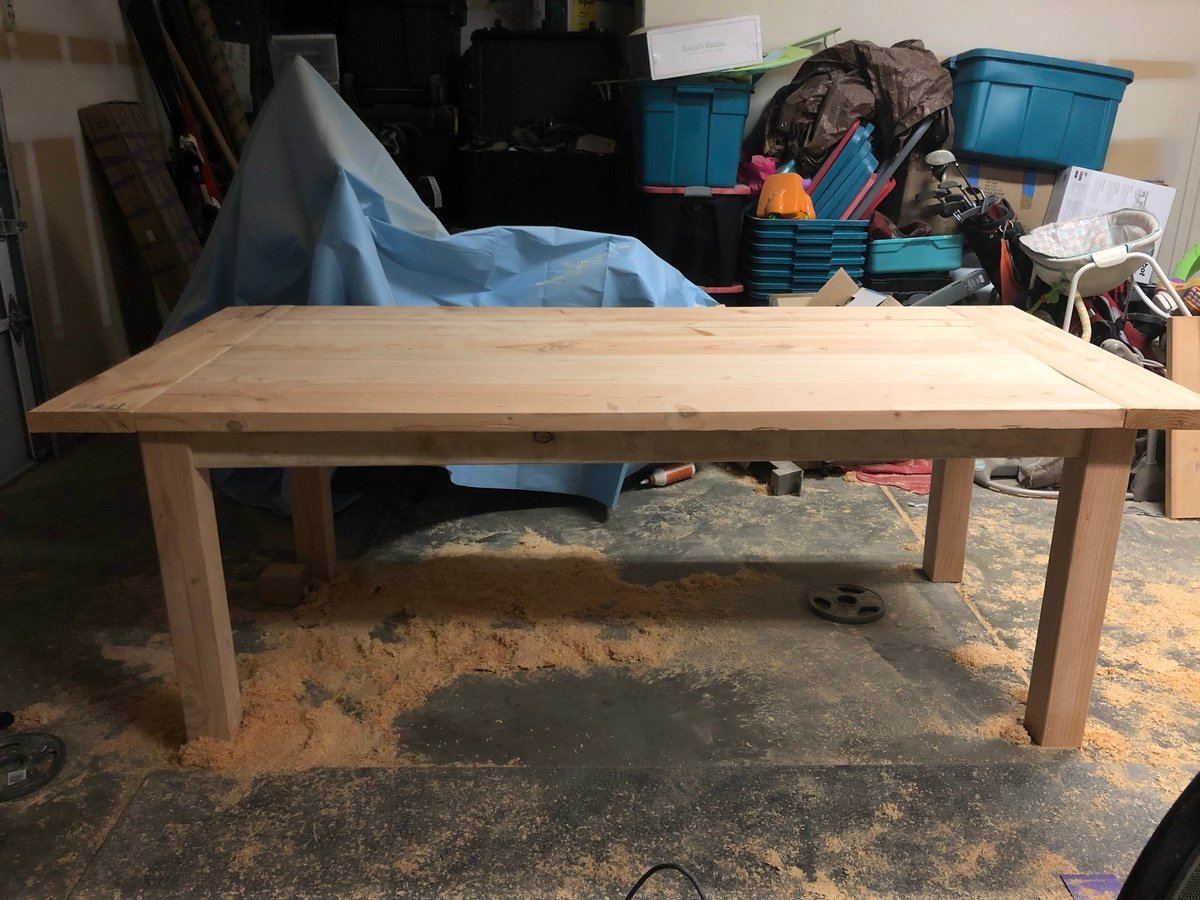
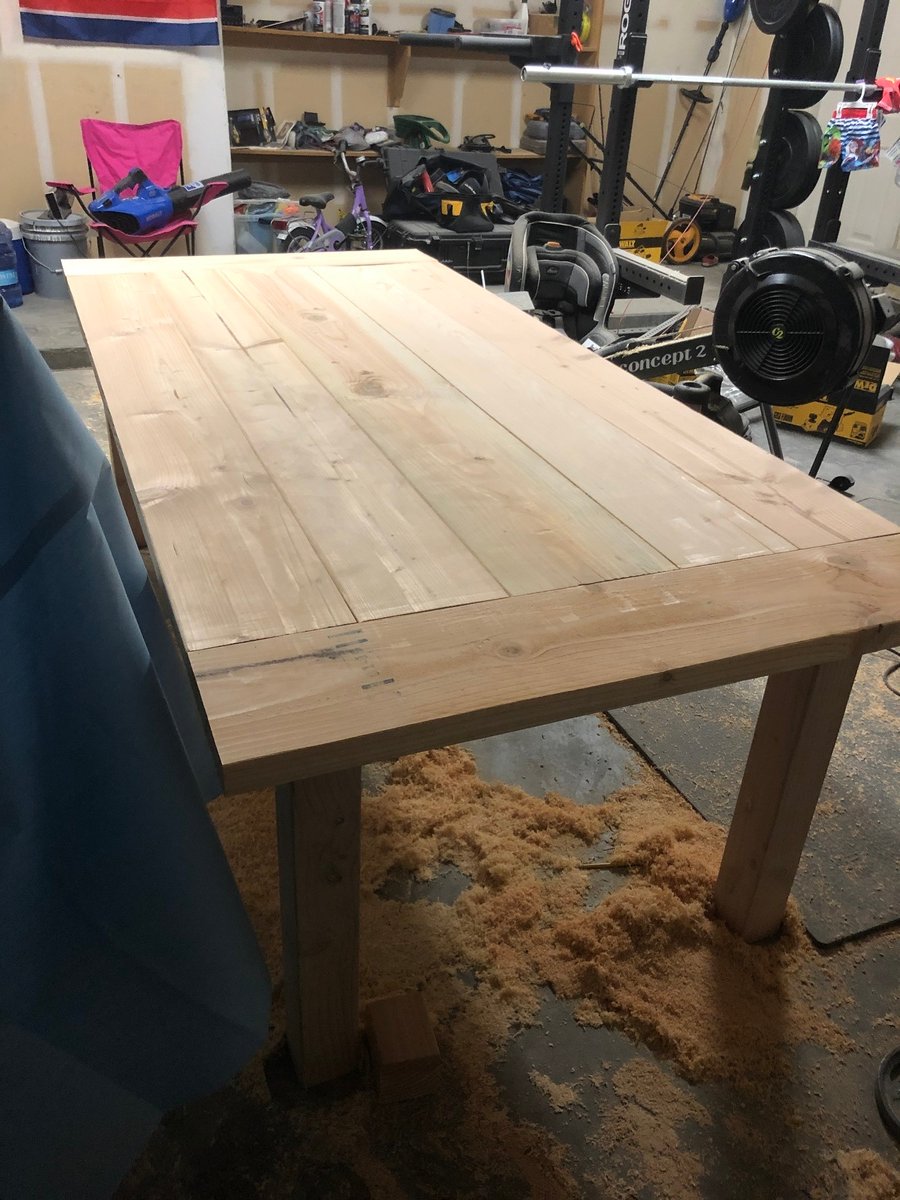
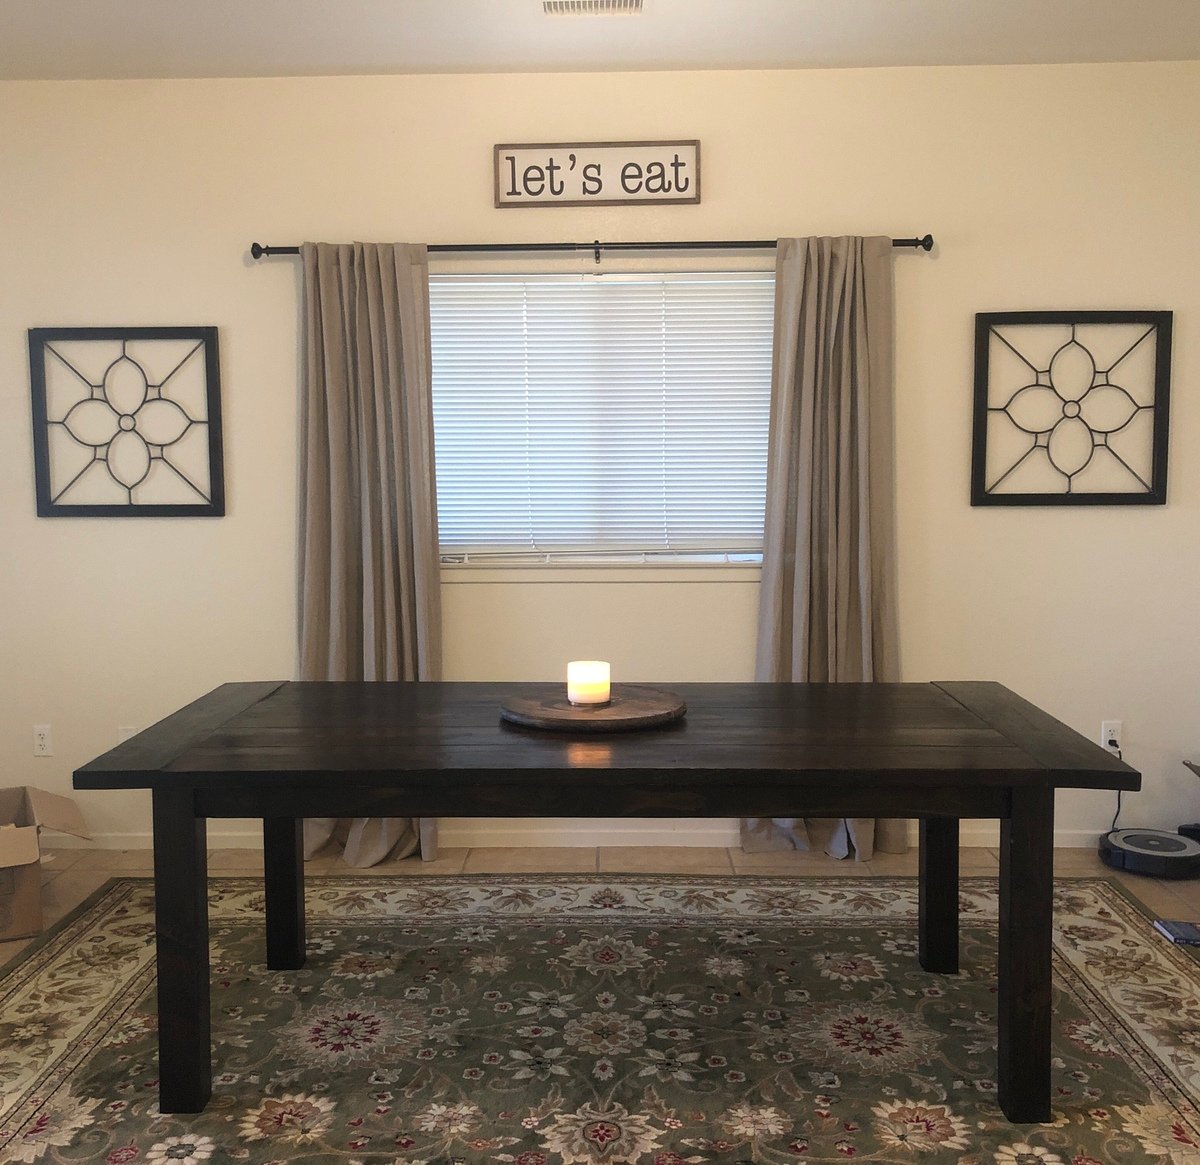
I finally have order in my garage! I built a mobile lumber rack using plans from the Rogue Engineer. My husband and I knocked out this project one Sunday afternoon. It can store a huge load of lumber and best of all, it’s portable. We are very, very pleased with the final project! Storing all our lumber on the rack has freed up a great deal of space in our garage.

Estimated Cost
50
Estimated Time Investment
Afternoon Project (3-6 Hours)
Recommended Skill Level
Beginner

Comments

jennibee

Sun, 06/21/2015 - 16:07

I made one of these about a month ago after seeing it on the Rogue Engineer's website and just love it. It's exactly what we needed since we are always having to move things around in the garage. You did a great job.

jennibee

Sun, 06/21/2015 - 16:08

I made one of these about a month ago after seeing it on the Rogue Engineer's website and just love it. It's exactly what we needed since we are always having to move things around in the garage. You did a great job.

Fireman's Dog Bed

Submitted by FireWolf13 on Sat, 07/06/2013 - 12:06

I needed a heavy duty dog bed for my puppy after he destroyed two regular dog beds. I used 4x4s, 2x4s and fire hose. He has not been able to destroy this one and he loves it.

Recommended Skill Level
Beginner

Comments

SoCaliforniaMel

Mon, 07/08/2013 - 15:48

I have a pit bull. Shes the sweetest thing but loves to chew up her own beds. She wont chew the shihtzus bed or the cats beds just her own. I'd like to see her try this one out.
;) Now if I could figure out a way to get my dad to give up one of his fire hoses. hehe
Great job, great idea
~Melody

dr2112

Sun, 02/01/2015 - 10:41

How would I go about getting a copy of the plans for this?

Wood Closet Shelving

Submitted by Anonymous (not verified) on Thu, 01/13/2022 - 09:01

My closet system is four separate units that I butted up together and attached to the wall with a "decorative" 2x4 railing around the entirety of the closet. The main unit looks the closest to the real design but is 8 feet long and 8 feet tall to avoid extra cutting of boards. The smaller unit only has one area for hanging up clothes and is around 5 feet long which is just the length of the wall. I also built a unit for holding sheets and towels and another for my wife's shoes.

The plans are really easy to follow but I would suggest a few things:
-Do stain and boards before cutting; this would have been a nightmare otherwise.
-If you use the metal clothing rods (if I could go back in time I would have used wooden dowels) make sure that you put those in before you attach any boards between the support structures. I ended up having a 35 inch gap instead of a 36 inch gap and it killed my momentum.
-I made mine 8 feet tall because it was less to cut and then re-stain; time wise it probably was a scratch cause I had to build it in place and at the end it was very tight to work in the space.

Built from Plan(s)

Comments

The playhouse project!

We started this project a few months ago. My husband made most of the construction, and I decorated the inside. We added many little details, including a clothesline, windows with plexiglass, a BBQ, a little kitchen, a doorbell, a solar light, a slide, shelves, a table, a bench, etc. The kids loooooove their new house. The whole project took many many hours, but I am really happy with the results. Thank you so much Ana for the plans!!

Estimated Cost
900 $
Estimated Time Investment
Week Long Project (20 Hours or More)
Finish Used
primer and extorior paint
Recommended Skill Level
Intermediate

Comments

Theresa W

Sun, 07/14/2013 - 17:24

It is beautiful. I can only imagine how excited your kids are to play in this gorgeous space made just for them. Well Done!

LadyBird

Sun, 07/14/2013 - 21:10

Looks like your child has everything they need. Including a phone! I love the bench seat and the pillows with the window. So cool. You put a lot of work into this. Well done.

denaschance2

Thu, 04/03/2014 - 08:23

Love, love it! Couple of questions... how did you attach the walls to the decking and how far apart? How tall is the railing? I'm curious to know the sturdiness of the project overall and my SIL has concerns about the 3/4 roof sheeting over 1/4 walls. Comments please. My son-in-law and I have just started this project.

Convertible benches

Submitted by Anonymous (not verified) on Thu, 02/17/2022 - 13:43

We love these benches! We actually just leave one of them in bench form and the other in table form for everyday use.

Comments

Husky Farmhouse Table and Bench

Submitted by frmoody on Fri, 06/03/2022 - 09:23

I have built several of these tables but this was the first one with turned table legs. They were somewhat expensive but I think the final product looks great with them. I actually stained the bottom aprons and legs the same colour as the top and then put on two coats of an antique white followed by a little scuffing up with sandpaper. I also cut the aprons from 2 x 6's so they were actually 4" in width. I used MinWax Jacobean stain which I had never used before. I then applied three coats of Varathane Satin finish. Not the best photo from my garage but no way I was getting it inside my house for a better photograph. Thanks for the great plans Ana.

Built from Plan(s)

Comments

Stable with lights and enclosure

Enjoyed building this. It was taken from ana's plans, and my little girl loves it. She wanted one side of the stable enclosed so she could keep her stuff in it and she wanted it to light up at night for a night light. The lights are 12 red and blue leds running from a 12v power 1.2 amp power supply.

Estimated Cost
30
Estimated Time Investment
Day Project (6-9 Hours)
Recommended Skill Level
Intermediate

Baby Doll Crib and High Chair

Submitted by Anonymous (not verified) on Tue, 12/25/2018 - 20:06

Love getting to watch my daughter play with stuff that i made her.

Recommended Skill Level
Intermediate

Comments

First Build - Redwood Adirondack Chairs

Love the results of my first building project.....a pair of redwood adirondack chairs. Angled cuts were a great way for a beginner to learn to use the miter saw.

Estimated Cost
$75 for redwood per chair
Estimated Time Investment
Weekend Project (10-20 Hours)
Finish Used
Discovered a non-toxic, non-flammable, water-based, environmentally friendly product called Seal-Once. Quick and easy two coat application in natural clear to protect wood outdoors for up to 10 years. Soaked right into redwood without leaving a shiny finish or residue.
Recommended Skill Level
Beginner

Comments

JoanneS

Sat, 09/07/2013 - 19:59

Love these gorgeous redwood chairs! The color and grain on that wood is awesome, and the clear coat is perfect for it. You did a great job on this build! I popped over to your blog and I enjoyed your post on this build very much. Well done!

Seasonal And Holiday

Now Germany has the Ana White Playhouse too

Submitted by Anonymous (not verified) on Tue, 01/01/2019 - 02:00

Thanks for the Plans Ana. Though we had to convert every number the plans helped us a lot. Our playhouse turned out really big: 8x8 foot. We had to include our heater under the window, so our tunnel is much bigger. It took us (three people) a half day shopping and two days and one night building and cost 600-700€. The kids where amazed when they opened the door a few days after Christmas.  We still think about adding some features like a slight or a bed...

Recommended Skill Level
Beginner

Modified shoe bench

Submitted by mdj1281 on Mon, 11/16/2015 - 05:06

In our new home there was a 46" wide coat closet at the entrance. My wife wanted a place to sit down, take off shoes and put our coats and backpacks when we were home. I found Ana White's plans for this shoe bench and modified it to fit our space. The project took 3 days to complete due to the painting, staining and polyurethane, construction of the bench itself was quick. Previously I added a light switch and two 3" LED recessed lights in the ceiling. The project came out wonderful and I am very pleased. Thank you for the inspiration!


-Mike

Estimated Time Investment
Weekend Project (10-20 Hours)
Finish Used
White semigloss paint (2 coats), Minwax Red Mahogany 225, Varathane Polyurethane semi-gloss (3 coats)
Recommended Skill Level
Beginner

Comments

Adirondack chair

Submitted by Anonymous (not verified) on Fri, 09/30/2022 - 17:14

I just started building when I found Ana’s site. This chair was the second thing that I’ve built. I can’t believe how comfortable it is and how easy for a novice like me to put together.

Comments

Farmhouse Writing Desk with Turned Legs

Submitted by kwildman on Mon, 01/07/2019 - 08:53

I modified the Small Old English Style Farmhouse Dining Table plan to build a writing desk.   I used five 1x6 boards for the top for a width of 27.5 inches.   I made my desk 56 inches in length.  I put the drawer on the long side like a pencil drawer.   I did use the legs that Ana recommended in the plan.   I love how it turned out.  I used dark walnut danish oil and dark wax for the finish.  

Estimated Cost
225
Estimated Time Investment
Day Project (6-9 Hours)
Finish Used
I used Watco dark walnut danish oil and Minwax dark paste wax.
Recommended Skill Level
Intermediate

Comments

kwildman

Fri, 10/04/2019 - 21:46

Thank you!  I used Watco Danish oil and I used Minwax dark wax.  I've tried alot of different wax brands and I always come back to Minwax.  It dries the hardest in my opinion.

Double Twin Camp Loft Bed

Camp Loft Bed modified to fit two twin loft beds in the bedroom with a shared platform step.
Age of boys in bed: 6 and 4

The boys have yet to agree on a stain color...awaiting their decision.

Estimated Cost
$100
Estimated Time Investment
Day Project (6-9 Hours)
Recommended Skill Level
Beginner

Comments

Slightly taller version

Submitted by Anonymous (not verified) on Fri, 01/11/2019 - 08:34

A little taller, and a different finish, but built from scratch inspired by your design.   Thanks so much.

Estimated Cost
300
Estimated Time Investment
Weekend Project (10-20 Hours)
Finish Used
Vinegar and steel wool, then whitewash, then stain wash
Recommended Skill Level
Intermediate

Clubhouse Bunkbed w/Climbing Wall

Submitted by Anonymous (not verified) on Tue, 11/08/2022 - 12:08

This is my first Anna White project that I built almost 10 years ago when I was a new grandma. Much to my surprise, it has endured and is still a fun place for 4 grandkids. I revised the Clubhouse bed plans by raising the loft and building it into a bunk bed (I have 10 foot ceilings making this possible), with one end covered by a 4x8' 3/4" plywood climbing wall (with toddler climbing set hardware) painted in seascape that allows them to climb up and over rather than using the removable ladder. I also added a tri-fold latching "baby gate" to the loft for safety if I was called out of the room while the littlest ones were up in the clubhouse. I also added a bucket on a pulley system to let the kids "deliver" items to the clubhouse window from the ground and a "flood level" measuring stick to let them measure their growth progress. To cover the backside of the plywood climbing wall and the hold screws and make sure all was nice and smooth, I added a 1/4 MDF sheet on the inside and painted with a porthole to simulate a submarine when the curtain is closed.

Built from Plan(s)

Comments

Ana White Admin

Wed, 11/09/2022 - 10:11

You have to be the sweetest grandma around, this is so awesome! Love all the added details and growth chart, thank you for sharing.

Kitchen Island (or Cactus Table!)

Submitted by Joni on Sun, 10/09/2011 - 10:56

I absolutely loved Michaela's Kitchen Island (http://ana-white.com/2010/03/plans-michaelas-kitchen-island.html), so I modified it to suit my needs of having a table to place my cacti in the winter months. I modified the size, removed one of the shelves, and left the drawers out so that I could put my Texas stars.

Built from Plan(s)
Estimated Time Investment
Week Long Project (20 Hours or More)
Finish Used
Tabletops: Mixture of Minwax water-based stains using Antique Walnut & Onyx, topped with 4 coats of General Finish Satin EnduroVar.

Table: 2 coats of General Finish Milkpaint in Millstone, followed by 4 coats of General Finish Glaze in Van Dyke Brown, followed by 1 coat of General Finish Satin EnduroVar.
Recommended Skill Level
Beginner

Comments

BlueSky73

Sat, 05/17/2014 - 11:09

Love your version of this project! we are using your version for a bathroom vanity...any input as to the modifications you made would be appreciated!

Rustic X Console Finished With Annie Sloan Chalk Paint and Wax

Submitted by Anonymous (not verified) on Thu, 12/31/2015 - 21:34

I love this table! Thank you Ana for the plans! Everyone who sees it says it came out incredible. I used my birthday money to buy the Kreg Jig for this piece and I'm glad I did! I'm excited to continue building. This was my first real build and it was fun! I painted it with a mixture of Barcelona and Graphite Chalk paint to make the brown and then I used that brown mixture to paint it as well as Graphite so it has two tones of colors. Chalk paint from Annie Sloan. I then clear waxed for protection and finished with dark wax.

Built from Plan(s)
Estimated Cost
$80
Estimated Time Investment
Weekend Project (10-20 Hours)
Finish Used
Chalk paint and wax by Annie Sloan. I used Barcelona Orange mixed 50/50 with Graphite to get the brown. I then painted with that brown mixture and Graphite. I clear waxed with Annie Sloan clear wax for protection and finished with her dark wax. I rubbed the dark wax in the grooves and knots so they would stand out.
Recommended Skill Level
Intermediate

Double Pedestal Farmhouse Table

Submitted by Anonymous (not verified) on Sun, 01/03/2016 - 01:34

Keep on building on! This is the second peice I've built for our dining room - built a bar first. I opted to only make 2 pedestals instead of 3 that was on the plans. Dimensions are a tad smaller to fit our room nicely, measuring 90in x 40in. My wife and I absolutely love this table! I used Red Oak for the top and Doug fir for the base. Hardest part was lugging around that dense oak and looking for chairs! The stretcher was also a bit of a task as well. Had to go out a buy a rubber mallet to bang it in enough so that the slack on both ends were even. We particularly like this piece because it will be used often and many memories will be created around this table! Thanks again for the inspiration!

Built from Plan(s)
Estimated Cost
$400, but sold previous dining table and chairs for $425
Estimated Time Investment
Weekend Project (10-20 Hours)
Finish Used
Miniwax Special Walnut,
Spar Urethane
Recommended Skill Level
Intermediate

Farmhouse dining table

Submitted by Anonymous (not verified) on Wed, 04/24/2019 - 23:11

This was our first build together and first furniture piece from woodworking. The kreg jig really helped out and we didn’t have any major issues while building except for some board being warped but we fixed it with a planer.

Finished building the entire table in one day and staining and coats of poly took 2 extra days. It was a very easy build. When we move to a new area that has better access to lumber I’d like to remake this using oak/maple.

Estimated Cost
$125
Estimated Time Investment
Weekend Project (10-20 Hours)
Finish Used
Minwax Jacobean
Recommended Skill Level
Beginner