Bathroom Vanities
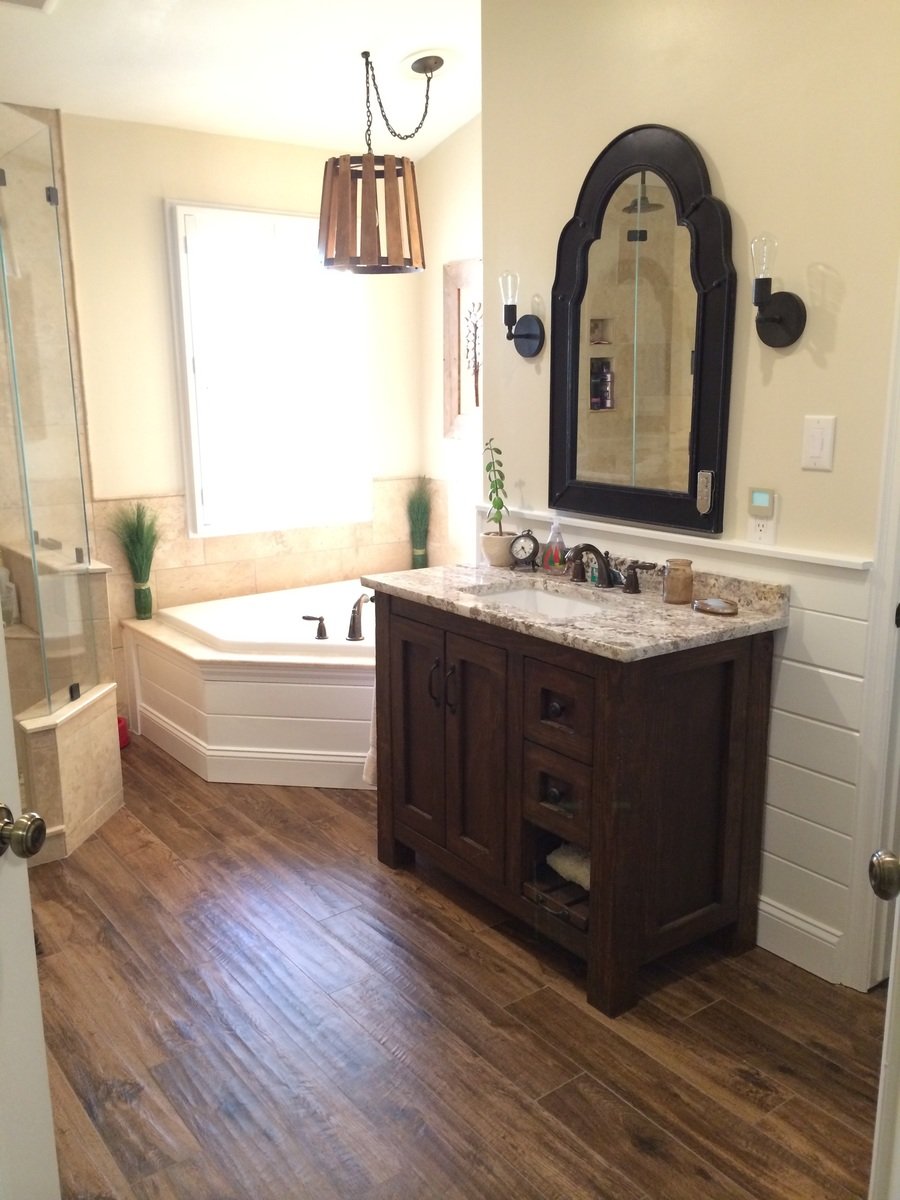
Rather than burning a few thousand on vanities for my bathroom remodel I decided to build them instead. The bottom shelf on the right slides out for a footstool so the kids can reach the sink.
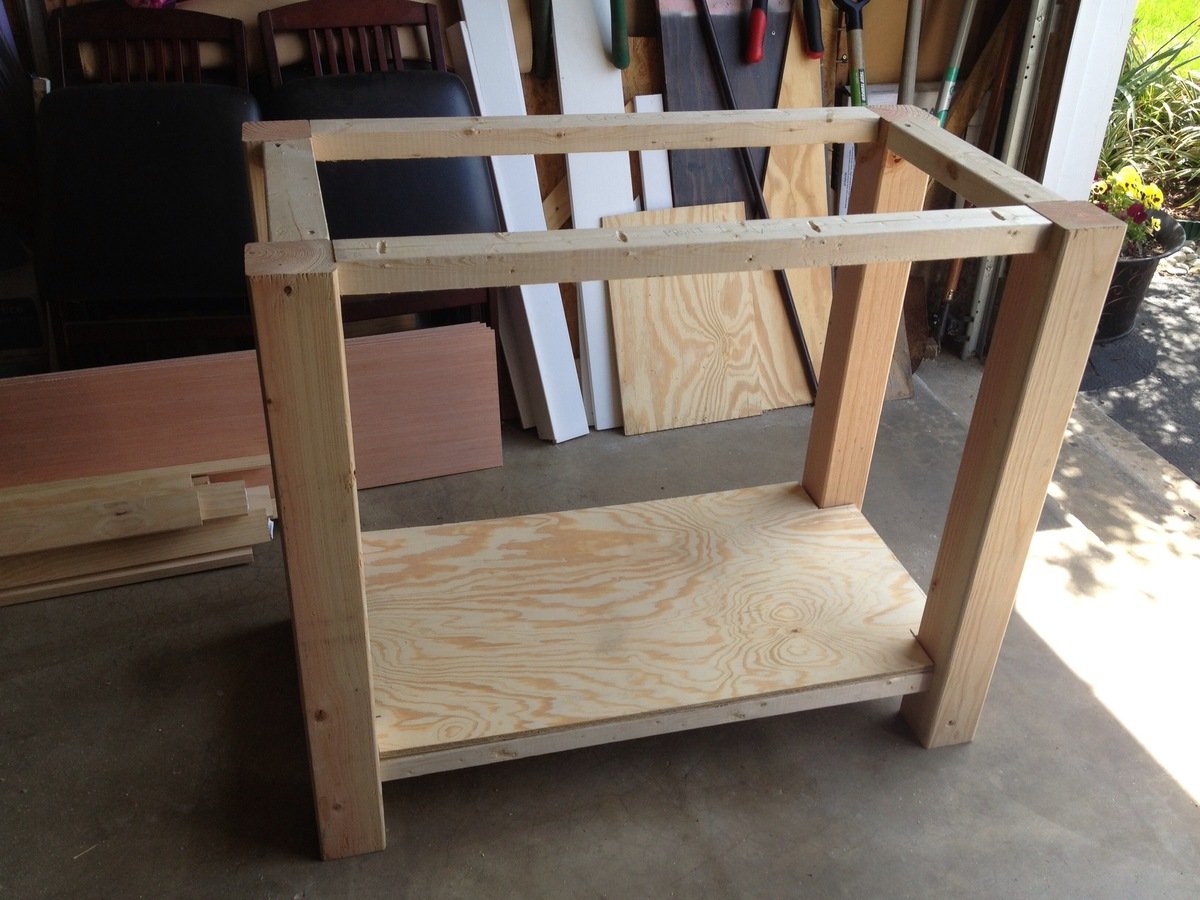
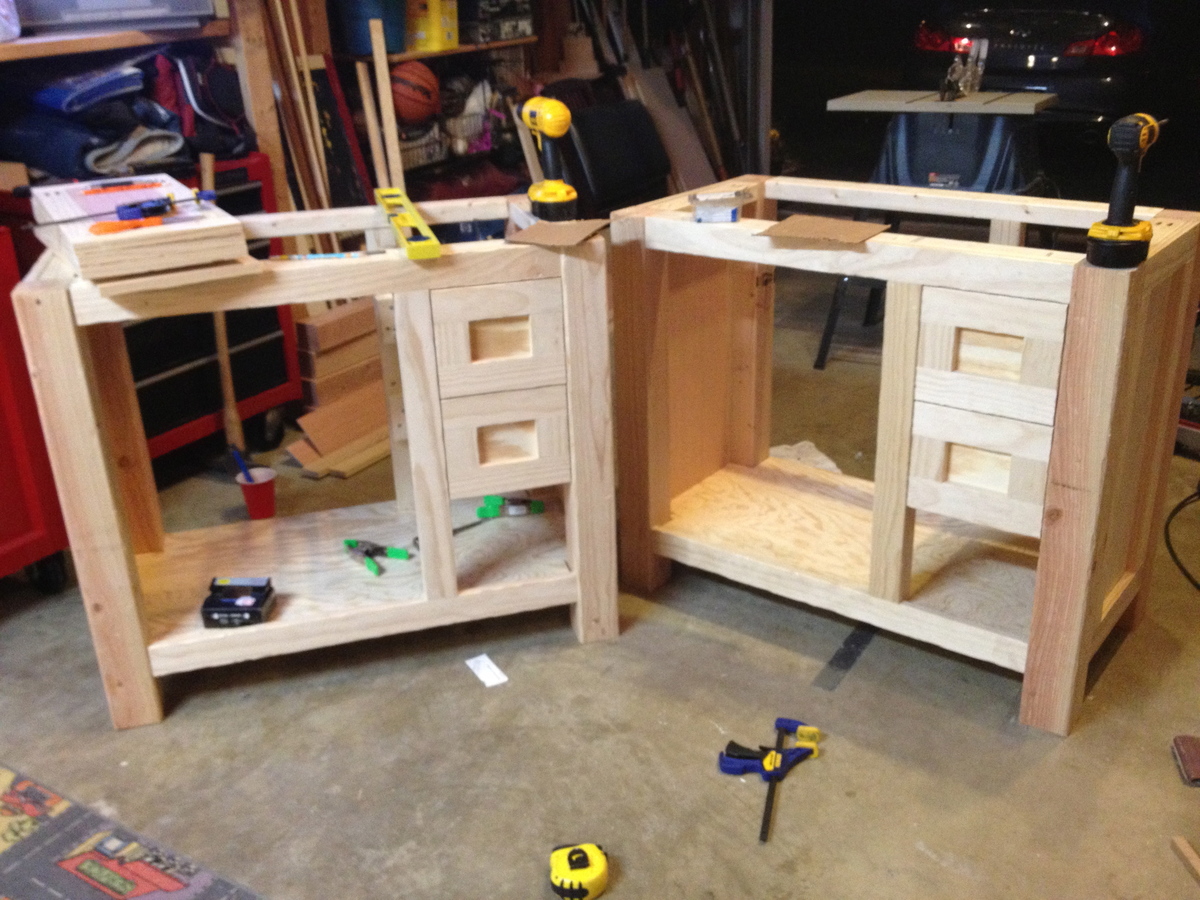
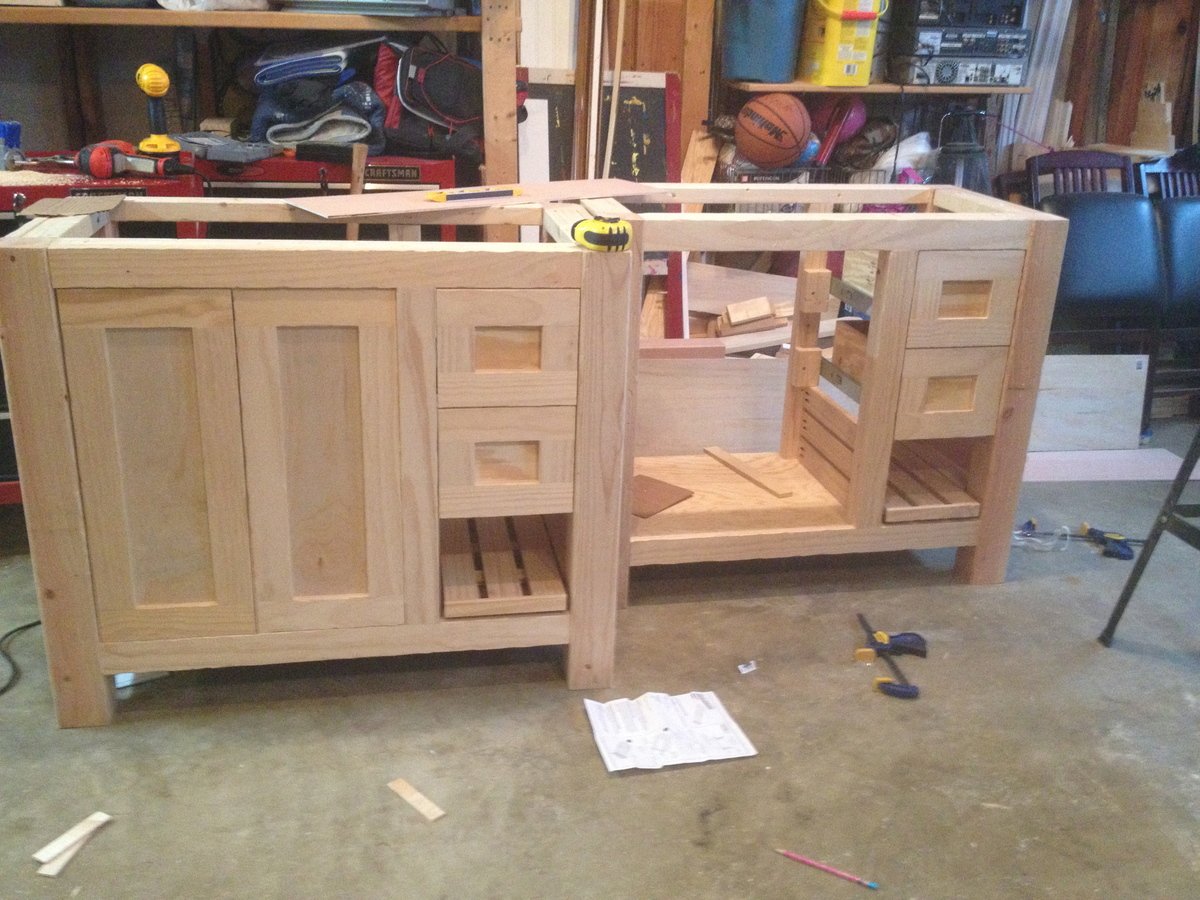
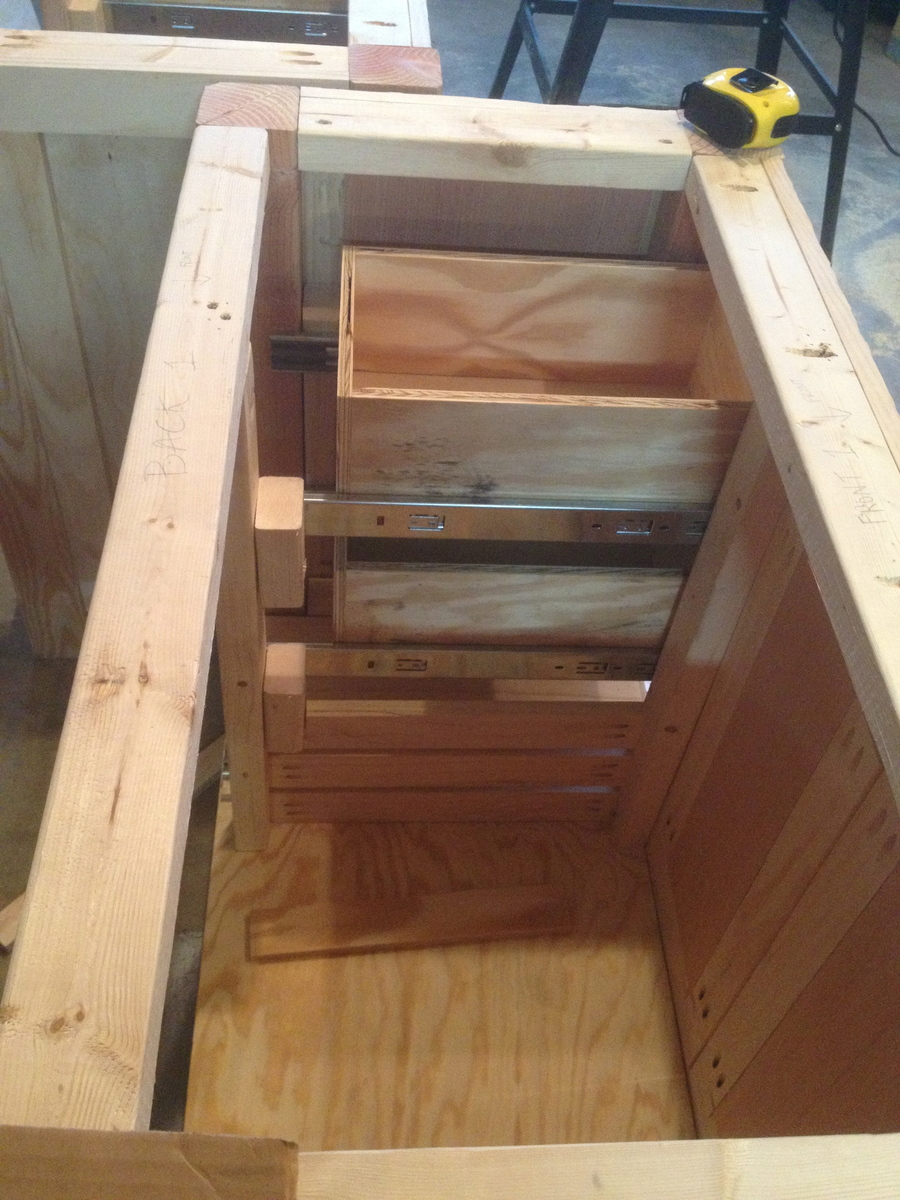
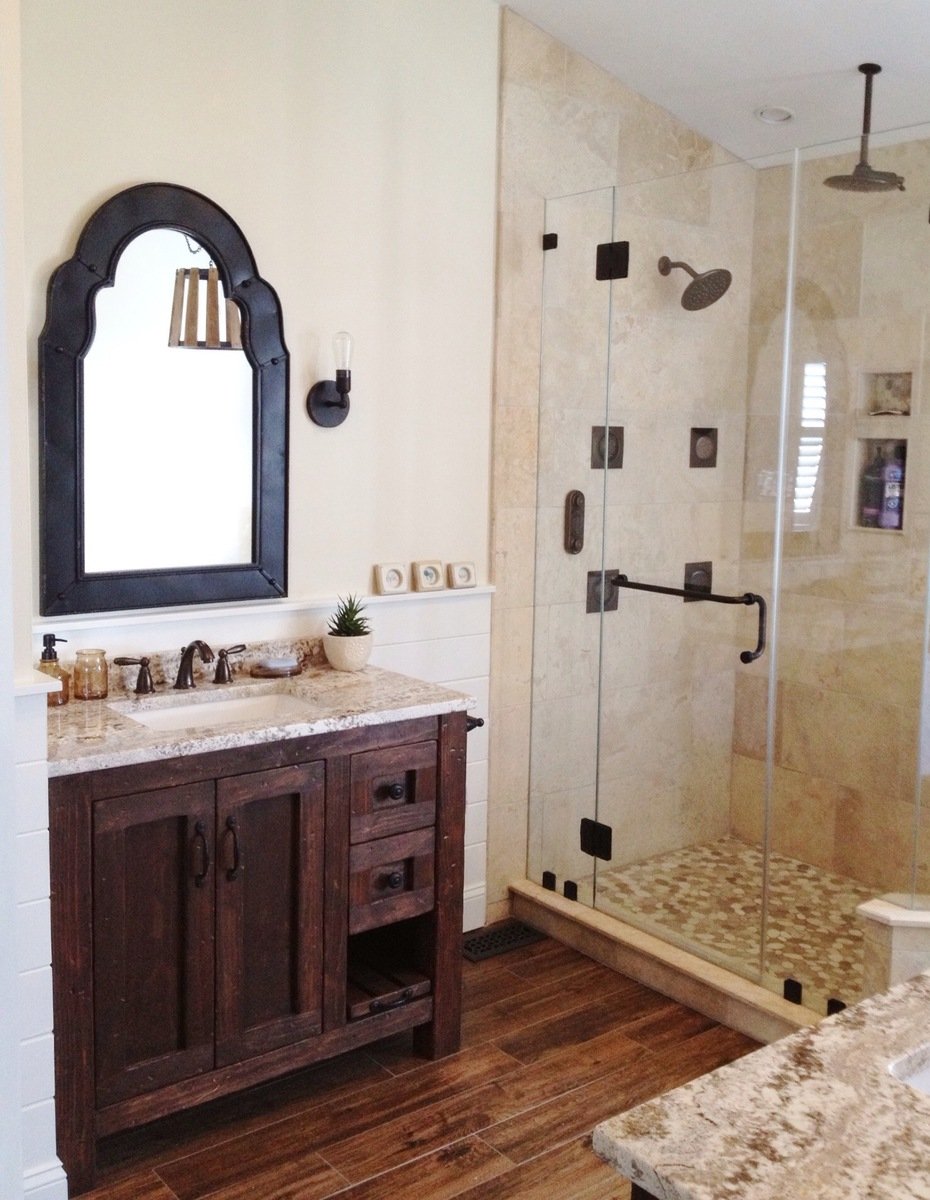

Rather than burning a few thousand on vanities for my bathroom remodel I decided to build them instead. The bottom shelf on the right slides out for a footstool so the kids can reach the sink.


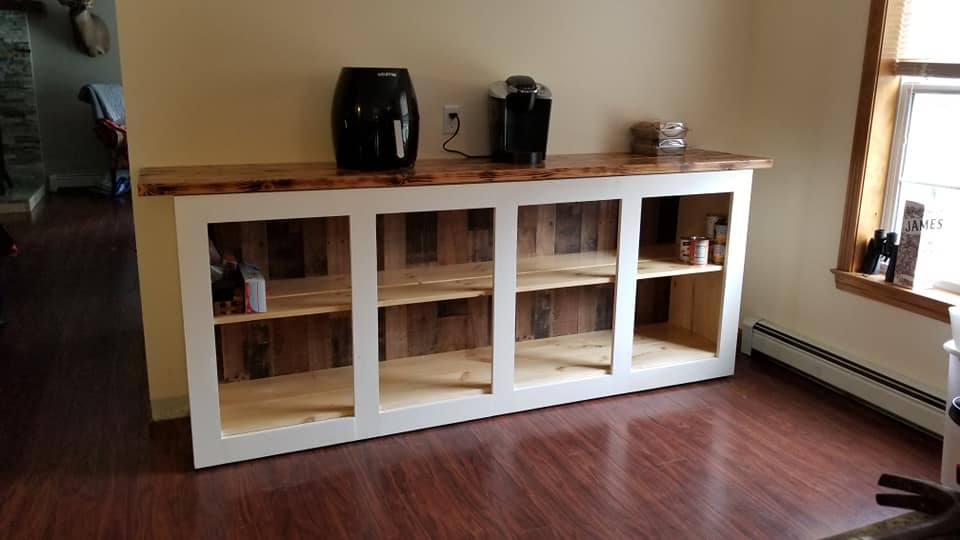
used the Grandy Barn Door Console plan to make this buffet-server-storage for my kitchen. I added some additional support to the top shelf, on the back portion, as I want to be able to put heavy dishes in it without the shelf bowing. Just need to add my doors. Burnt the wood on the top for some nice dimension.
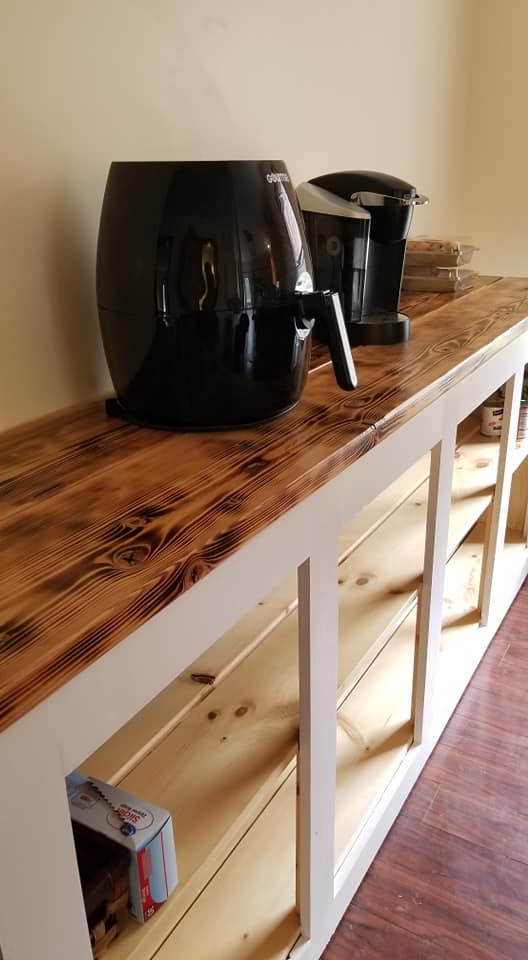
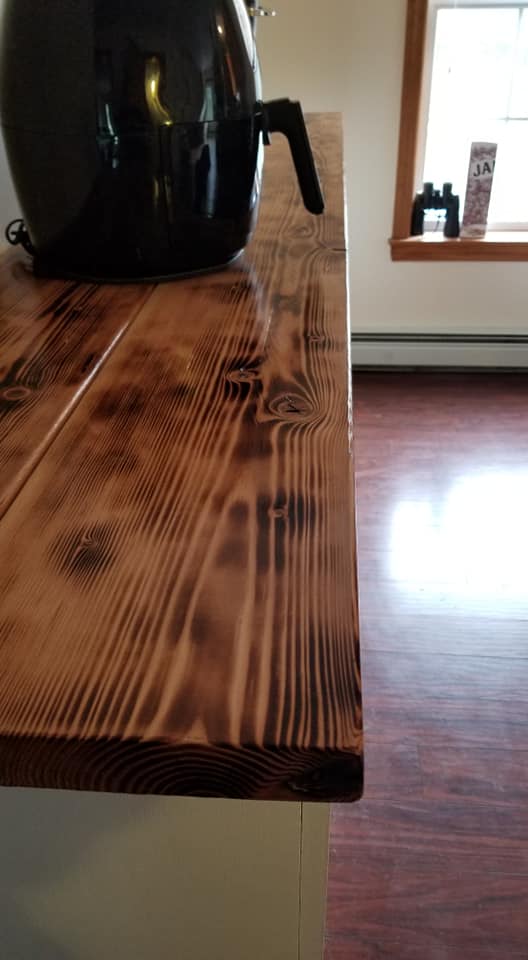
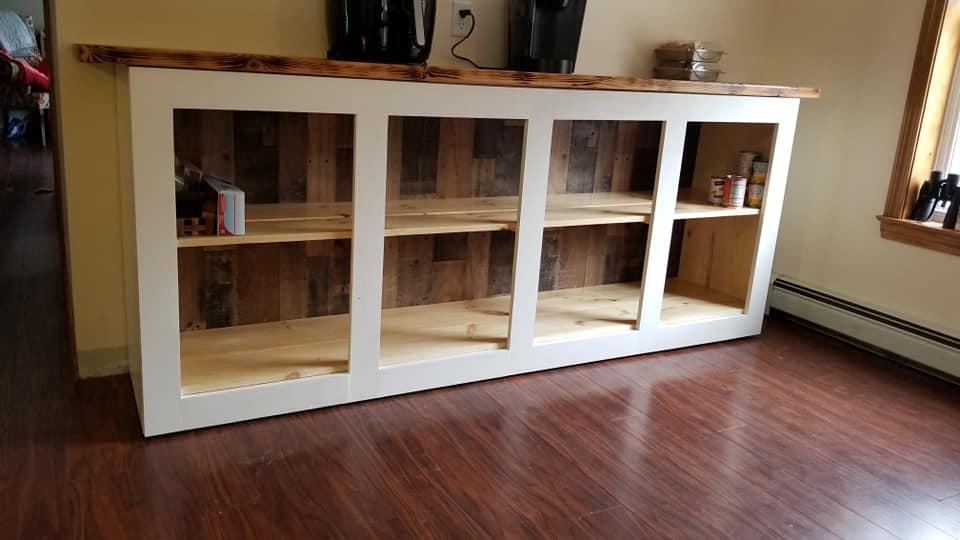
Barn Door Console with mango wood top.
Built off the Ana White plans with a few bespoke adjustments.
Mike Fitzmaurice (West Coast, New Zealand)
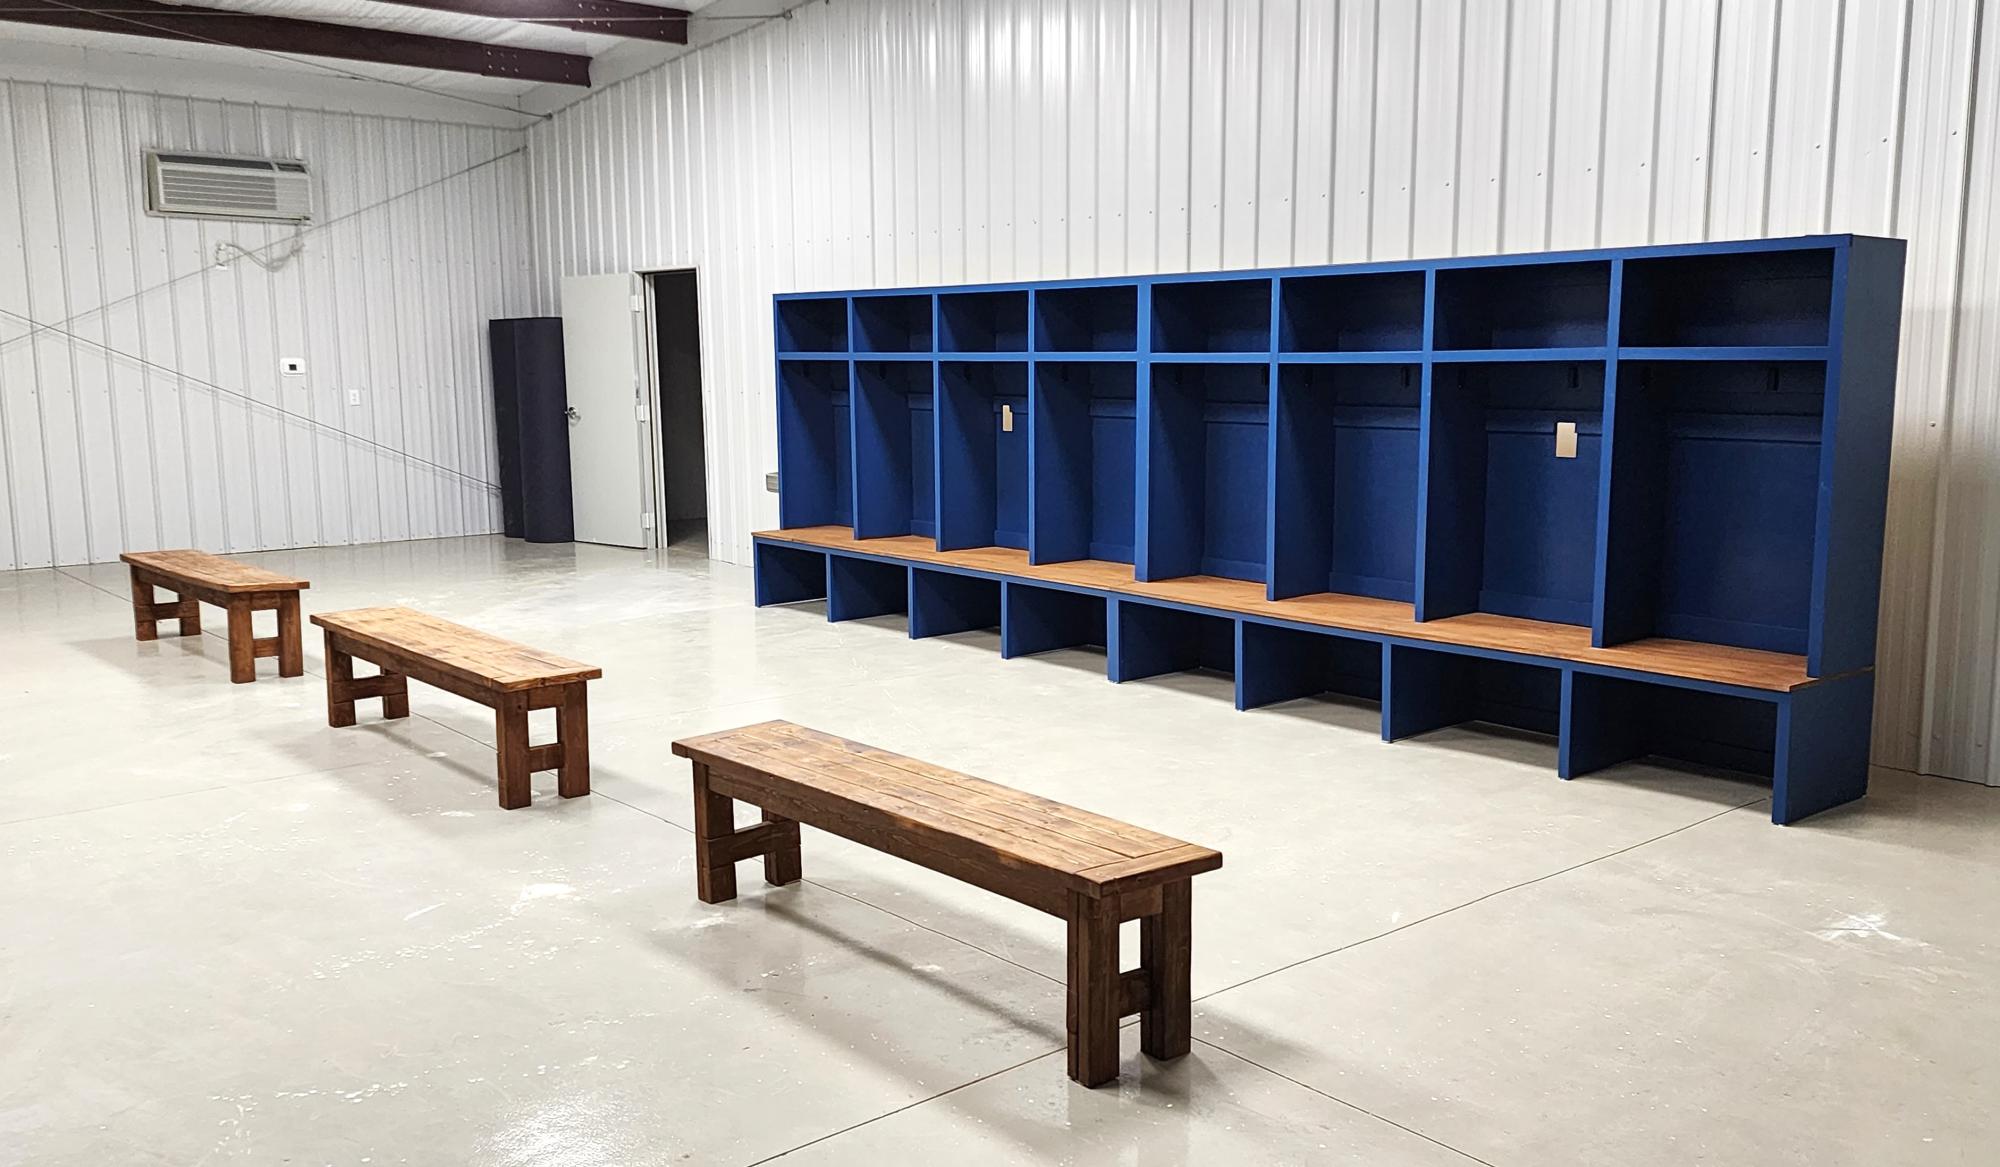
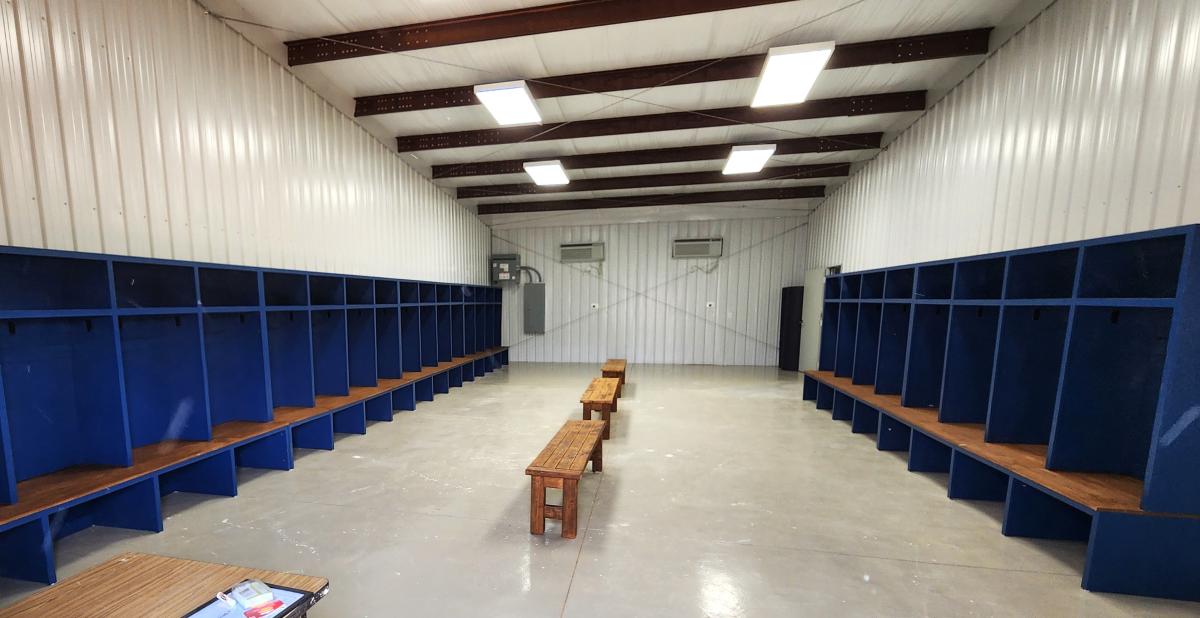
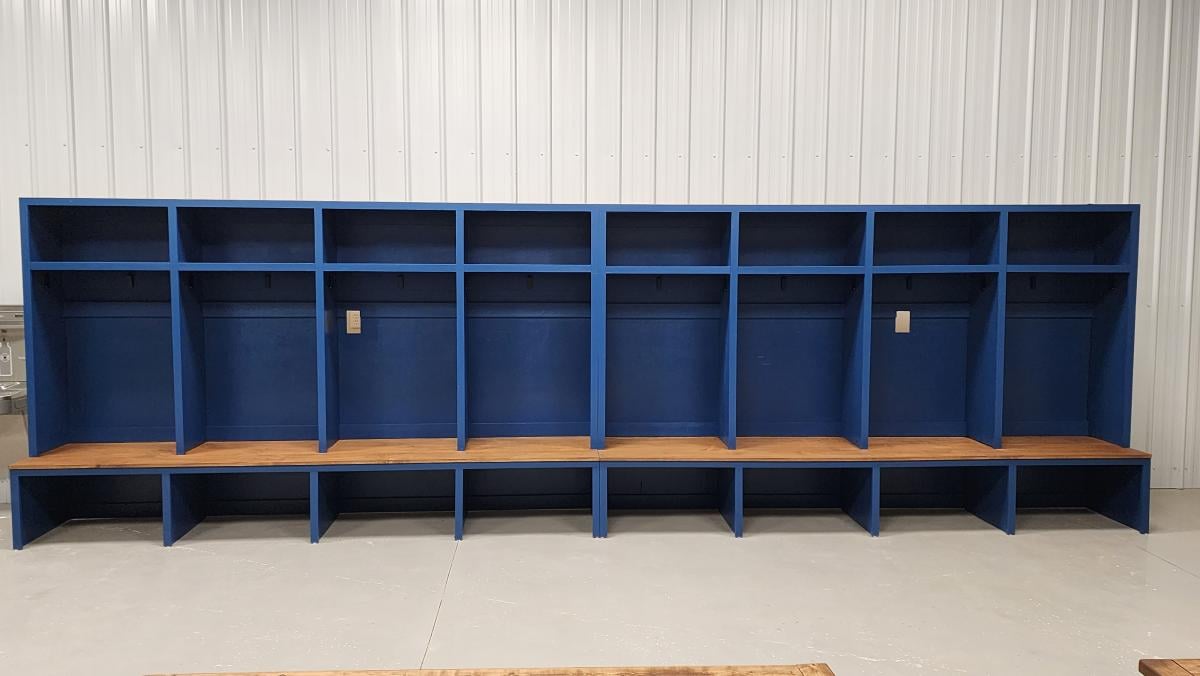
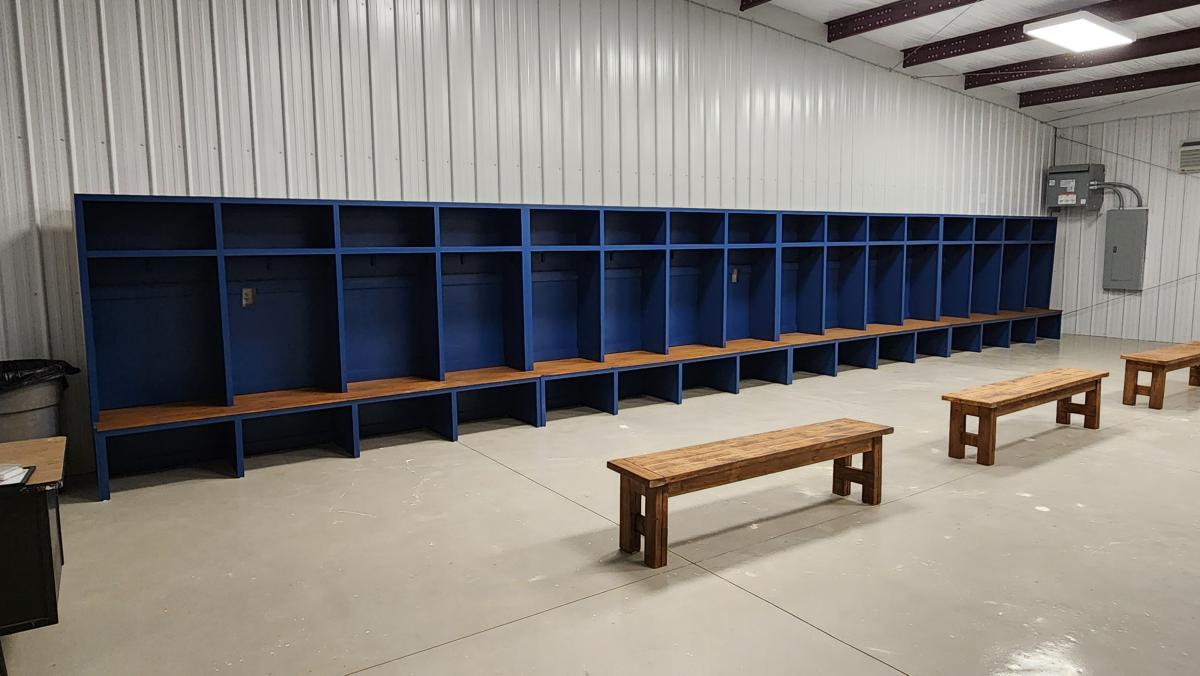
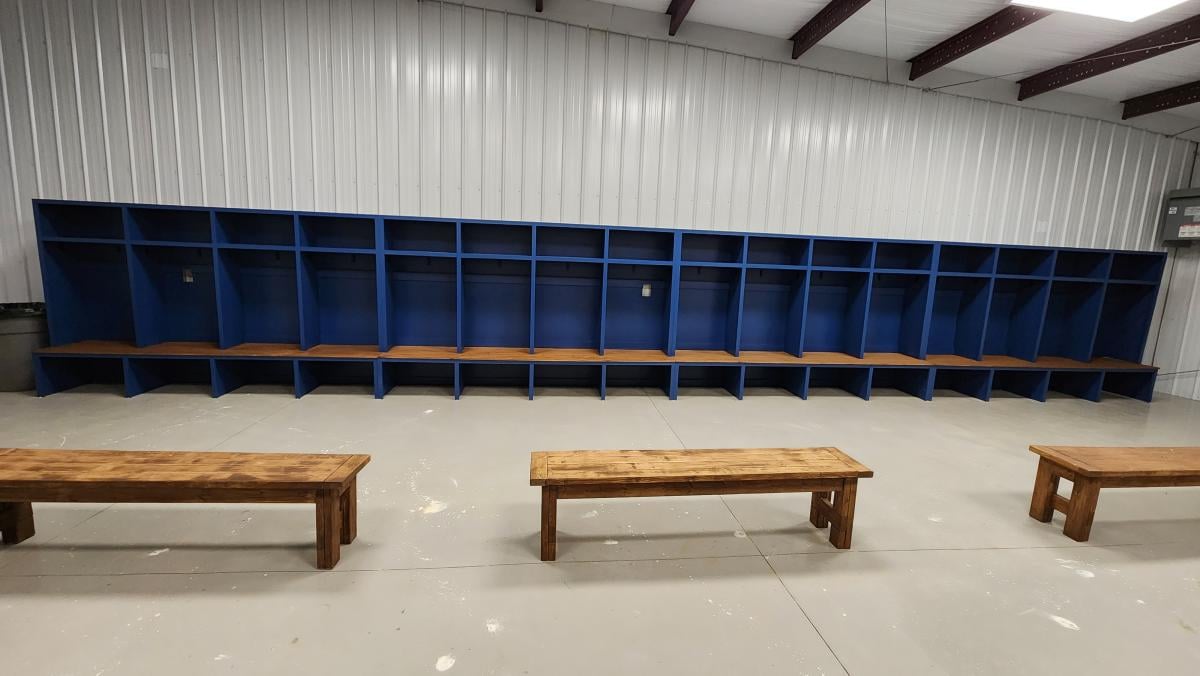
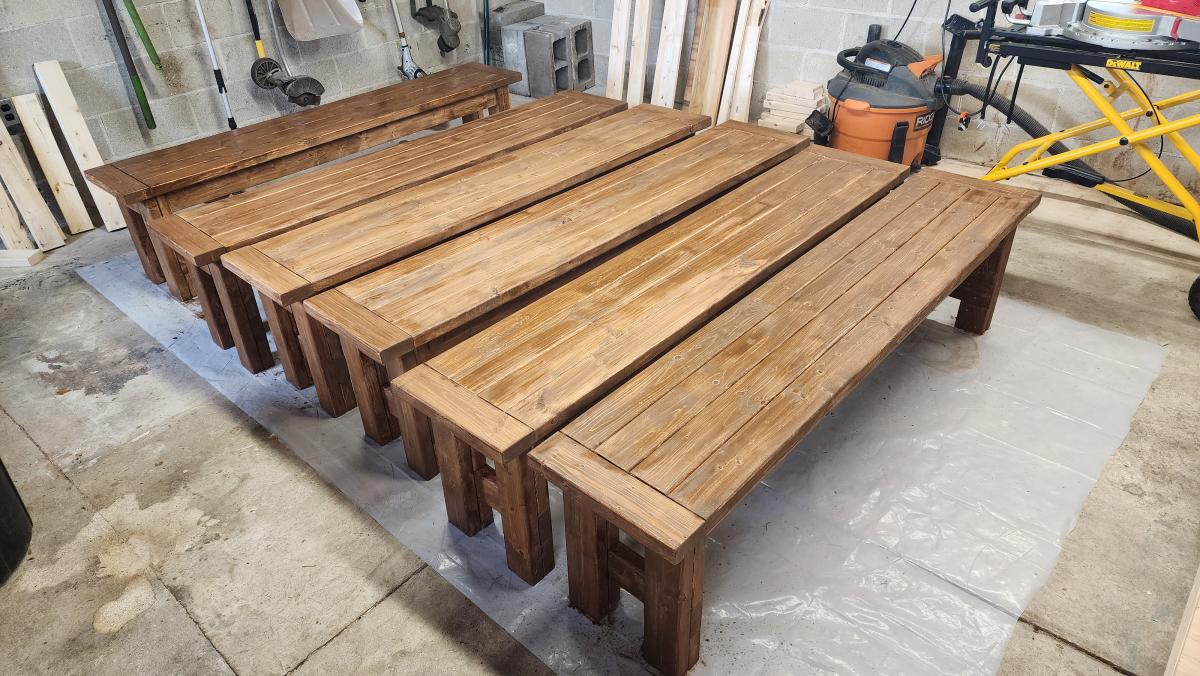
Here are a few pictures of the football lockers I built for our school. I used your mudroom locker plans and changed the dimensions to accommodate the boys' football gear. It worked great! I built 6 sets of 4 lockers, for a total of 24 lockers. I also used one of your plans to build 6 benches for the fieldhouse. Three for the home locker room and three for the visitor locker room. Each locker is 30 inches wide and 6 feet tall.
Melinda Glenn
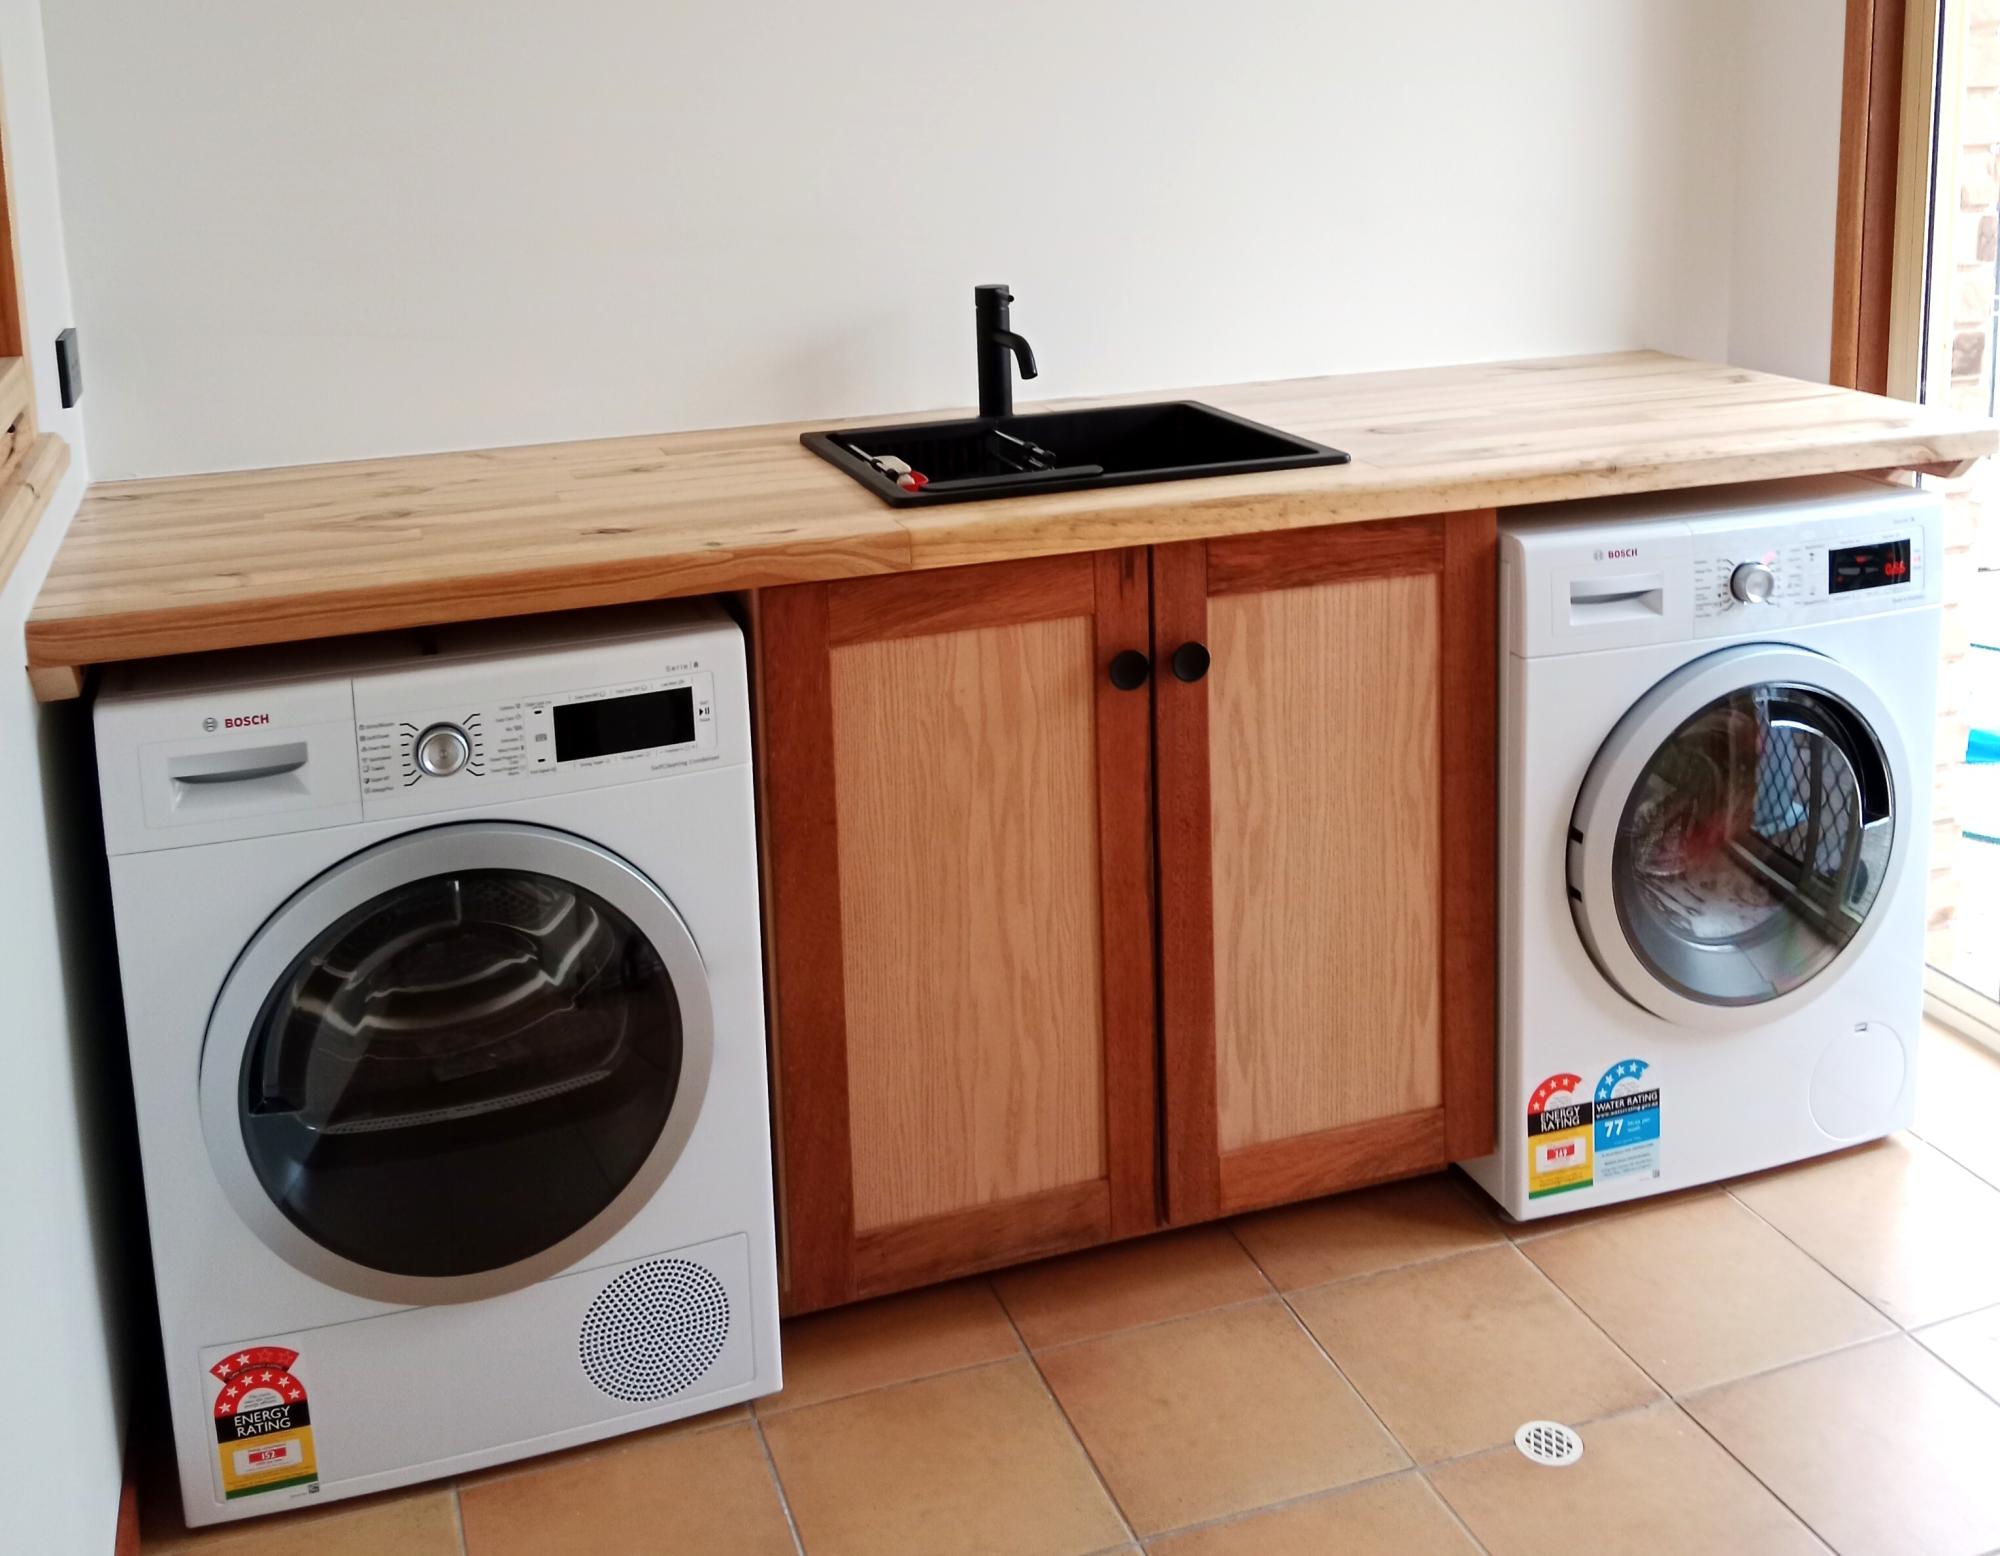
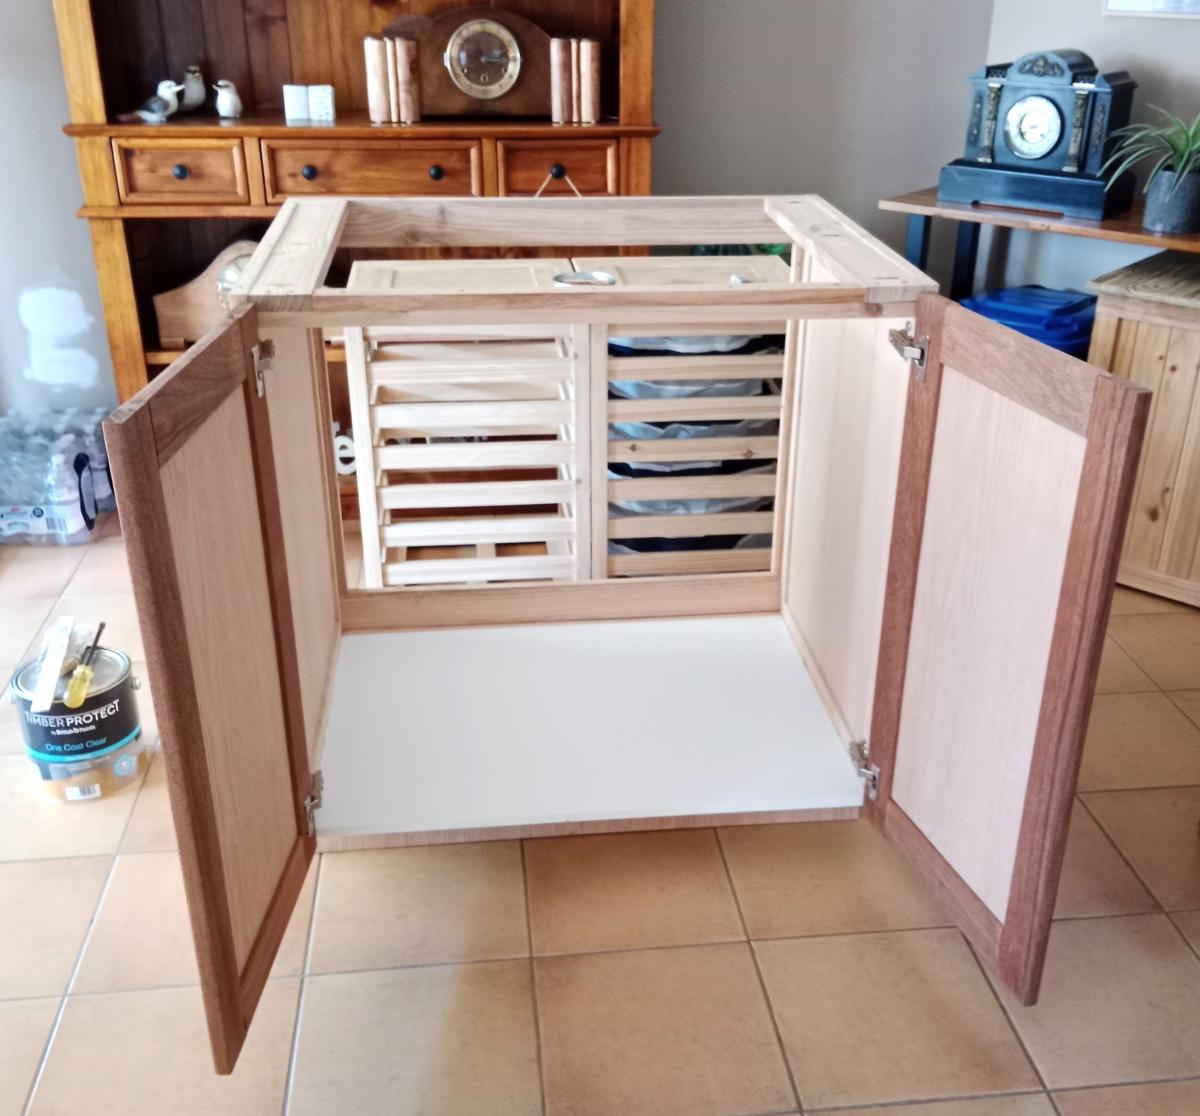
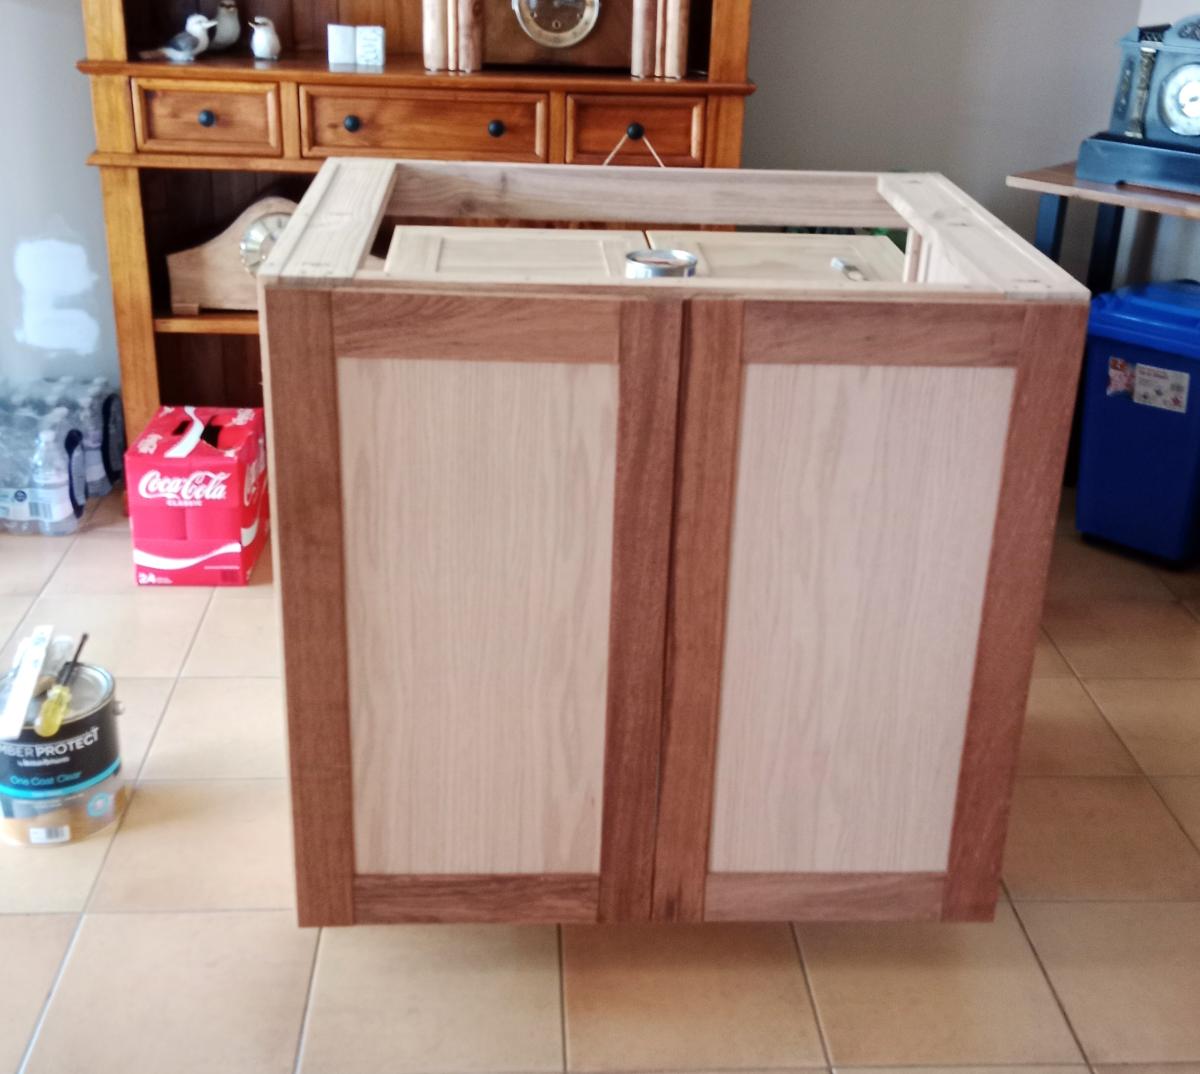
Our laundry renovation with the cabinet loosely based on the Ana's kitchen cabinet plan. I used 7mm red oak plywood for the door and side panels with some with Baluster hardwood for the doors frame.
The benchtop was all cut from my usual 200mm x 50mm pine landscaping sleepers.
Mark
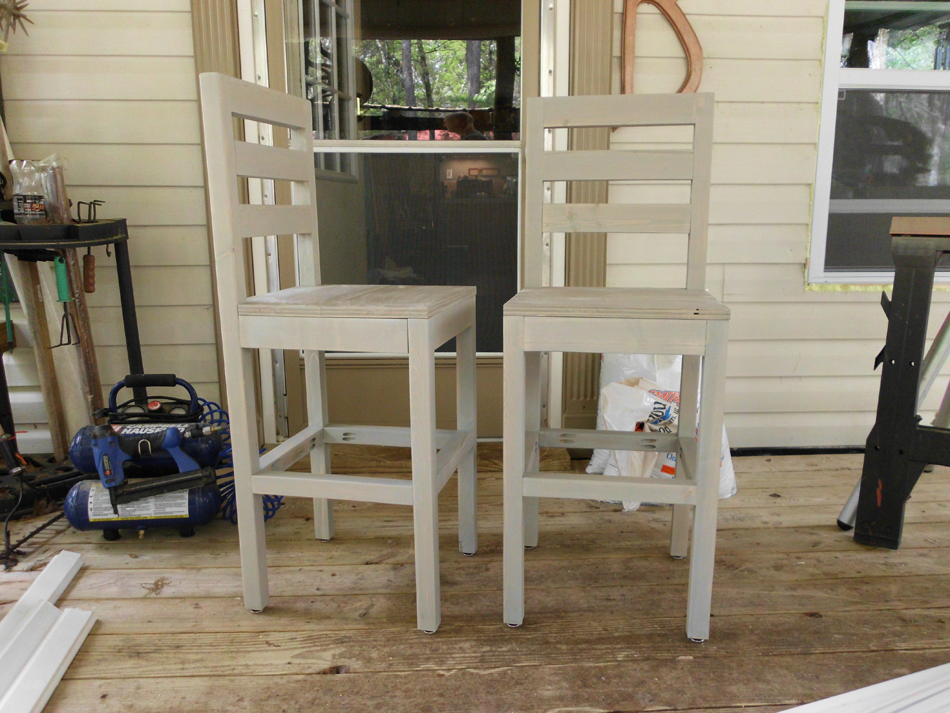
I liked the lines of the Extra Tall Bar Stools and I changed the plan to fit my needs. I made them 24" to the top of the seat and both stools are constructed entirely out of 2x4s (except the seat, of course!).

Ana's greenhouse plans modified to fit two vintage windows in the front.
Mary Ann Alvarez
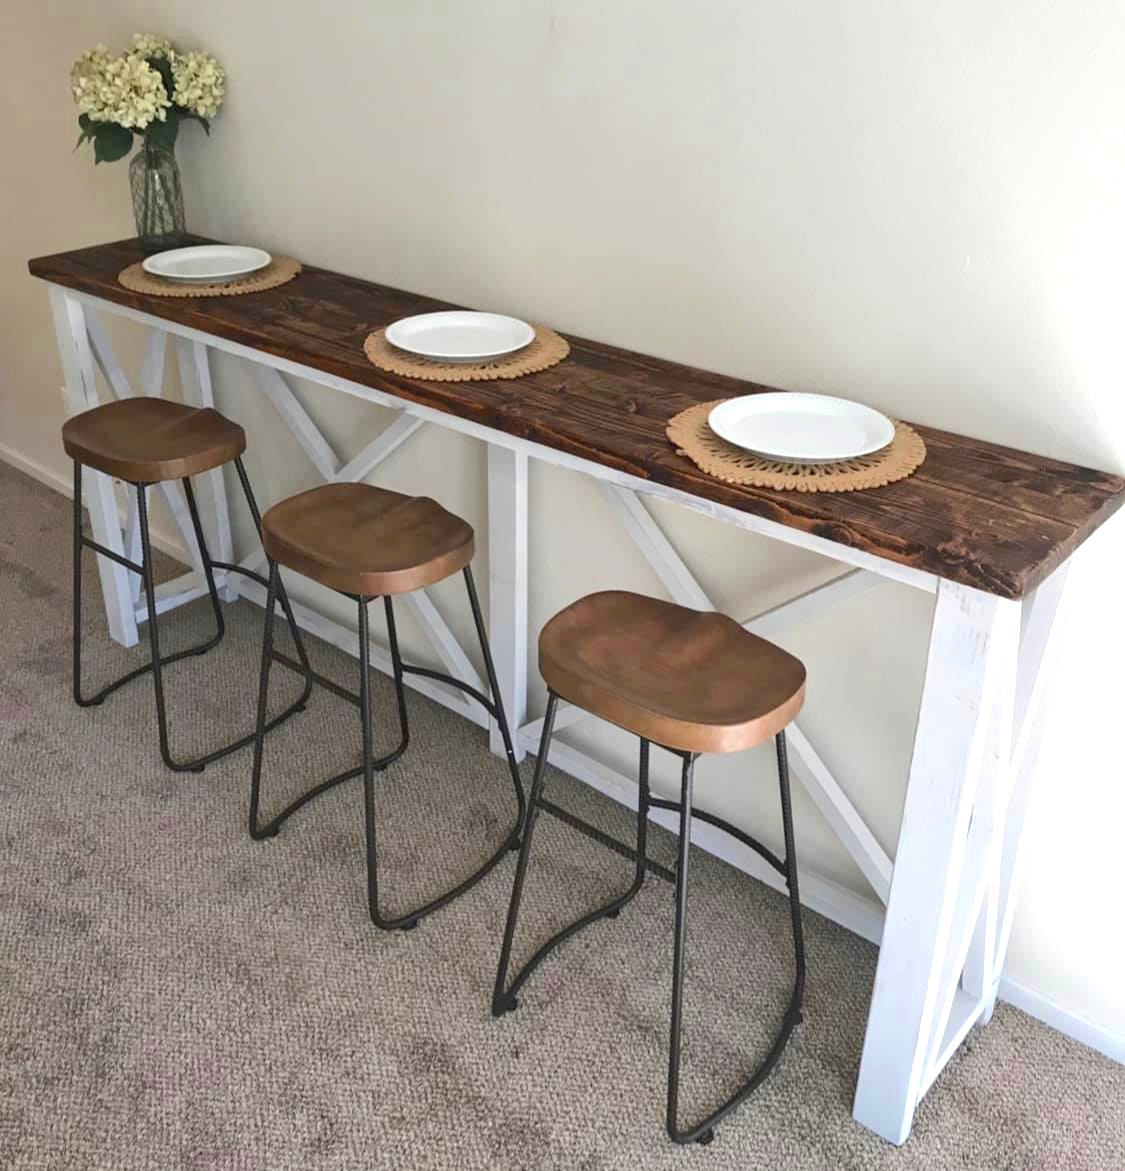
Hand made breakfast bar check us out on Facebook marney Marie
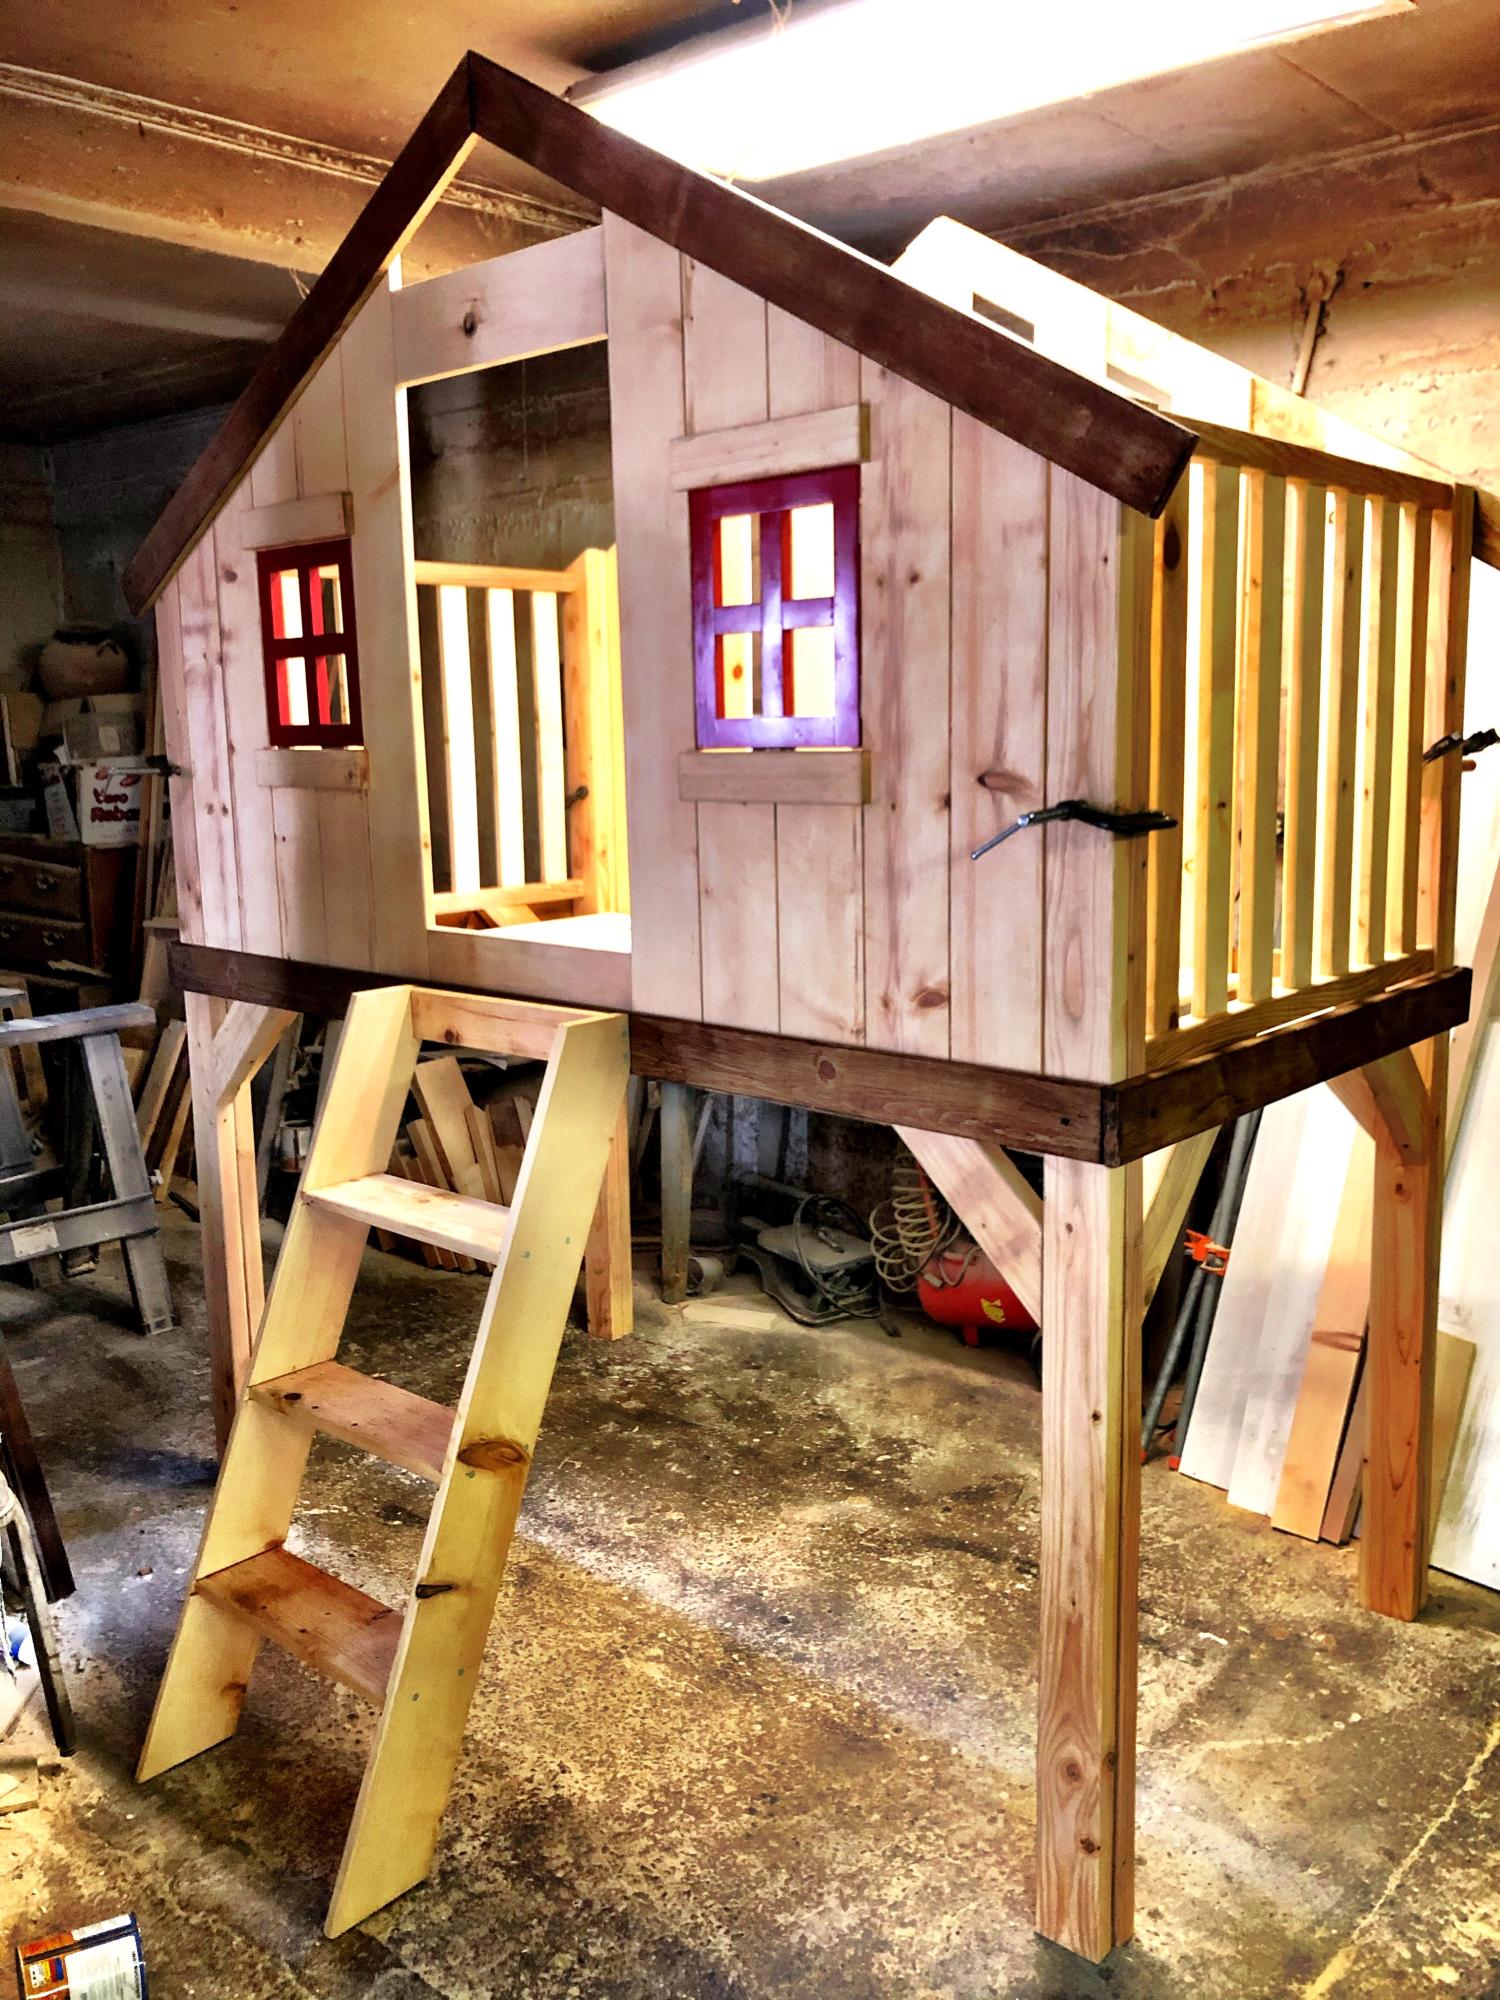
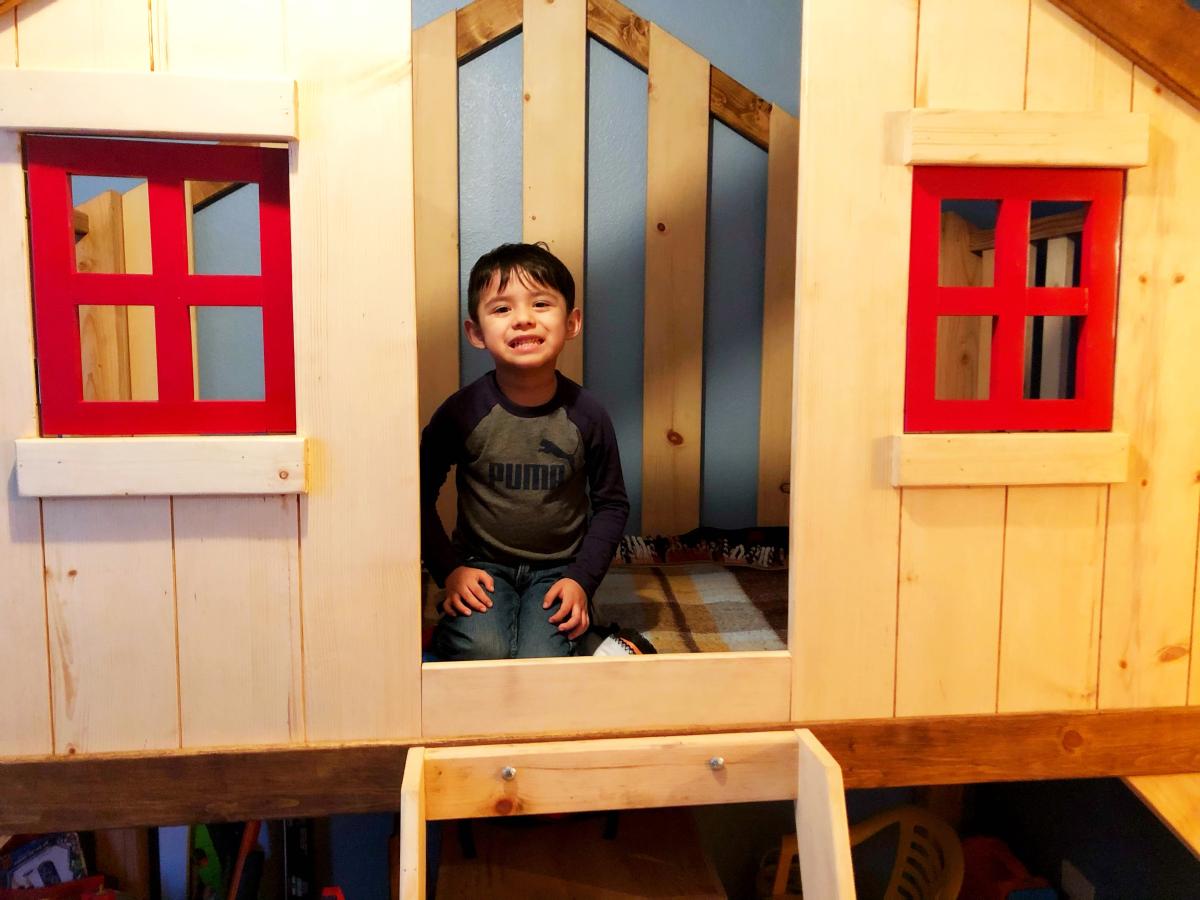
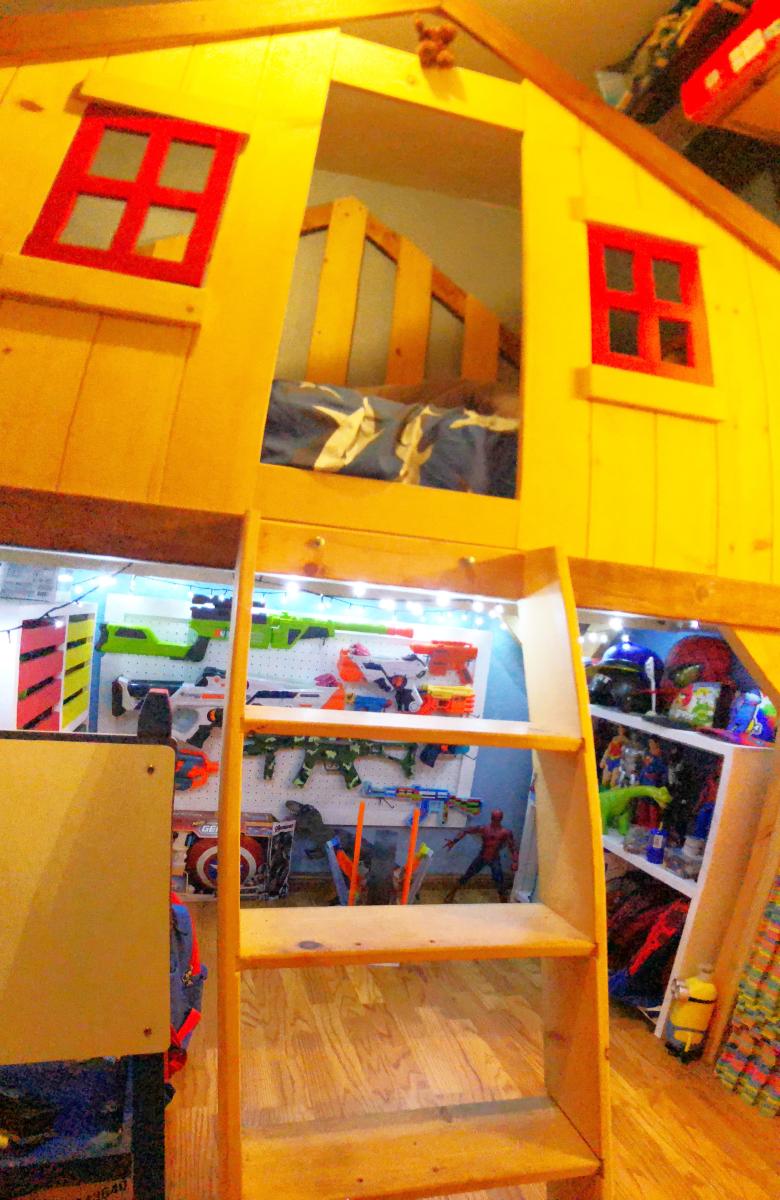
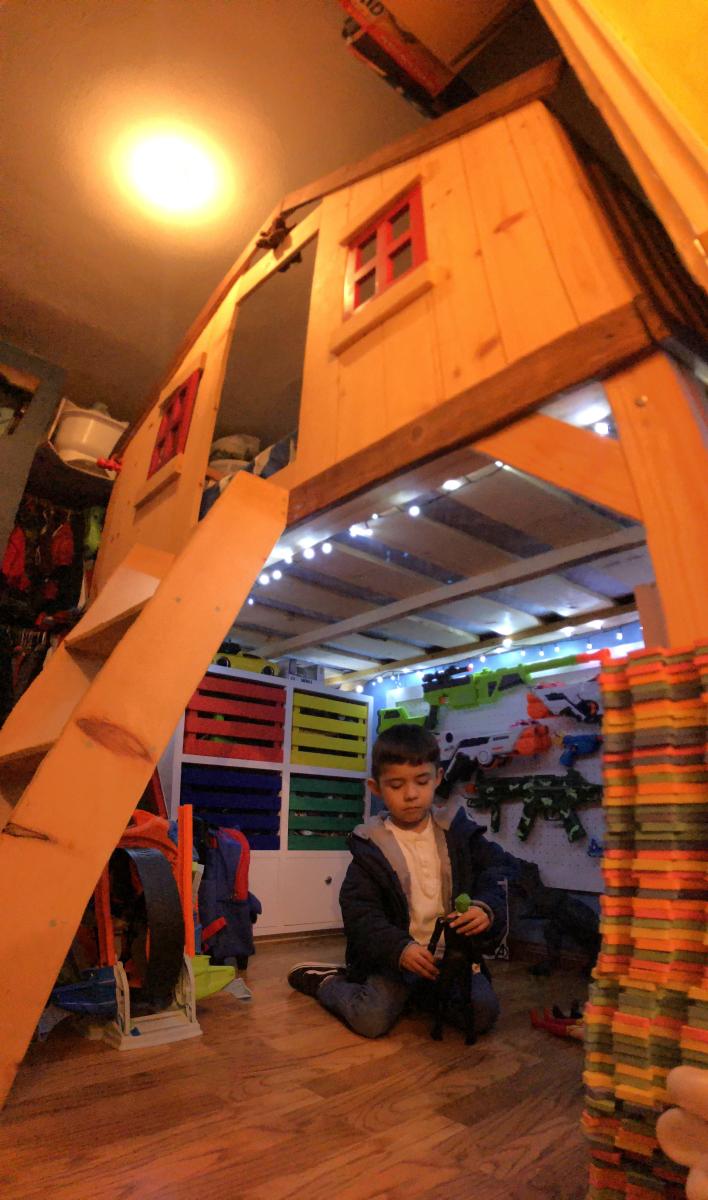
My Kid loved his new bed, I made an extra storage for his toys in the space under the bed so he can play.
Juan Carlos C.
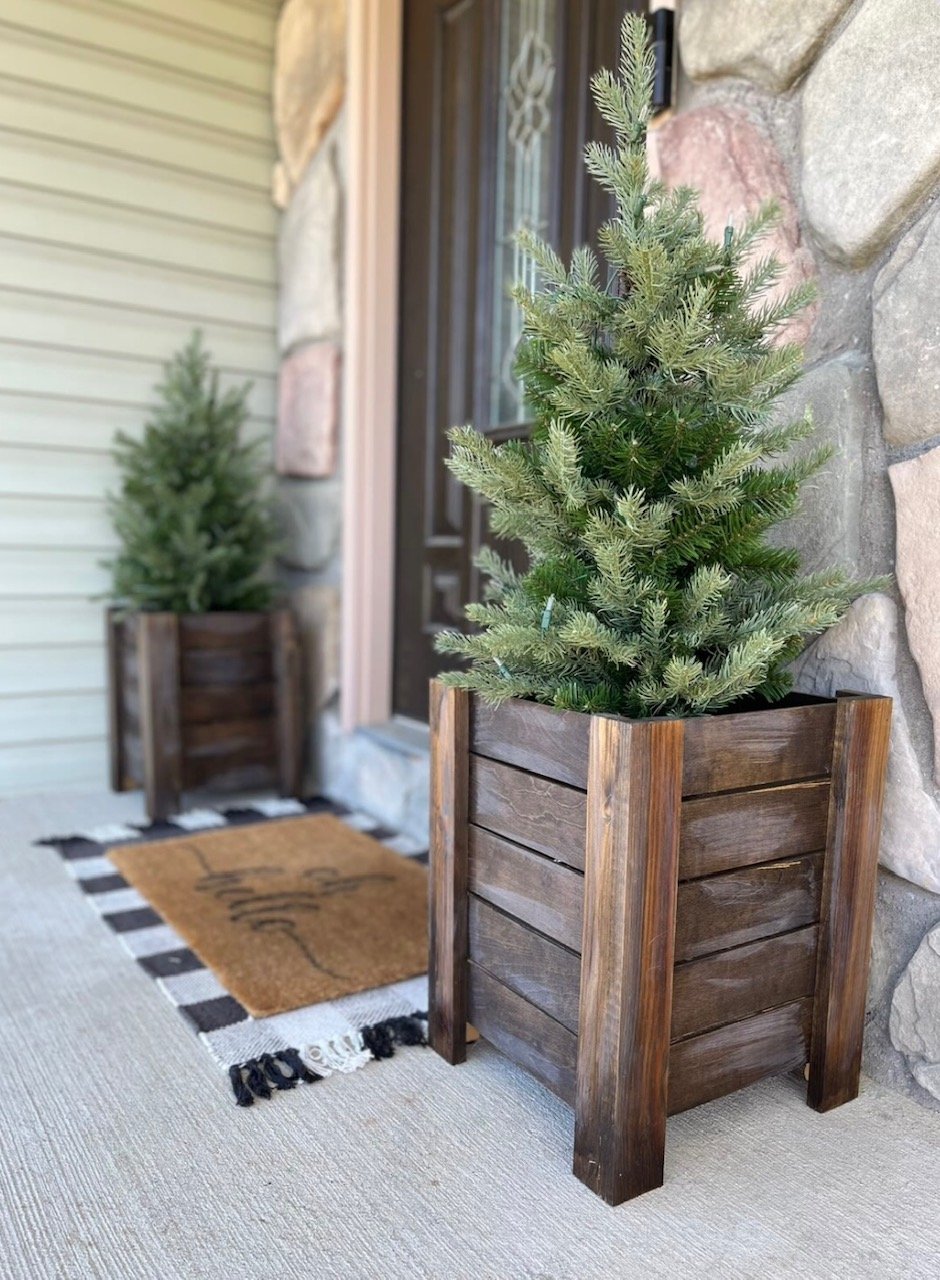
Modified planter size to fit these darling artificial Christmas trees by midmimomdiy on Instagram! Check out more details on her page.
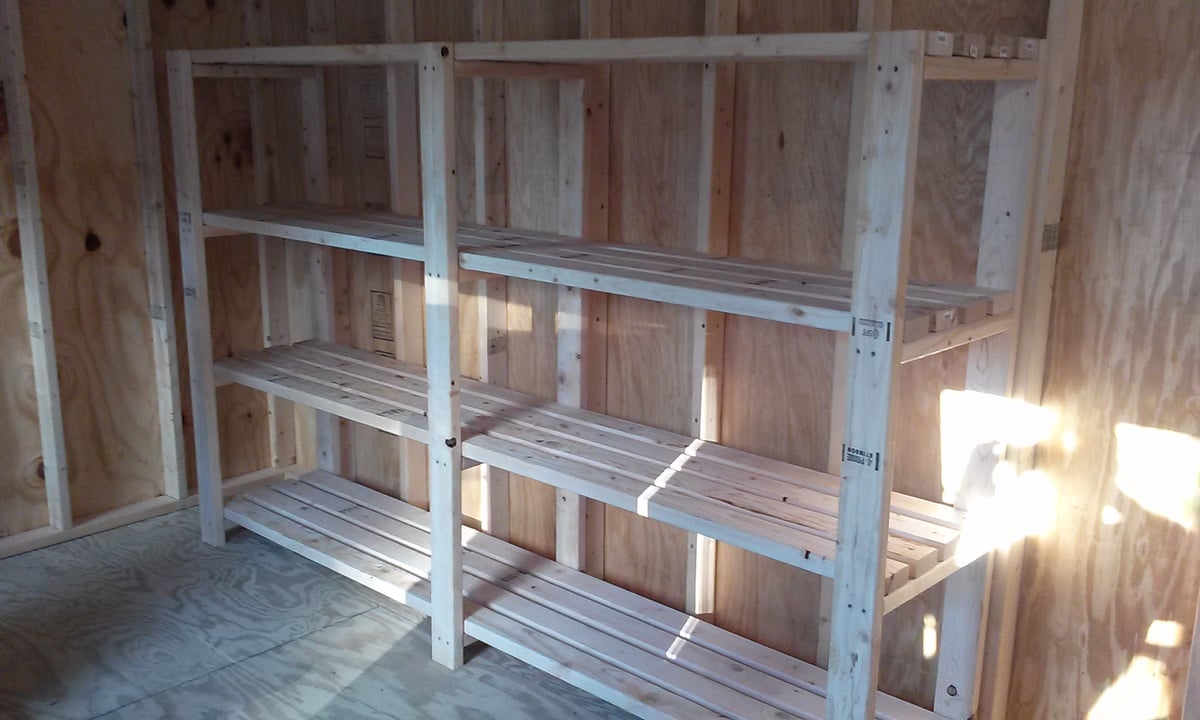
A great simple & useful project requiring 2 - count 'em - 2 different materials - screws & 2X4's. I would NOT go cheap on the 2X4's. Be careful picking over them and make sure they're as straight as possible. If some are bowed, that's OK. Just use them for the actual shelves, making sure the bow is up. I used bar clamps to hold any warped ones in place before screwing them down.
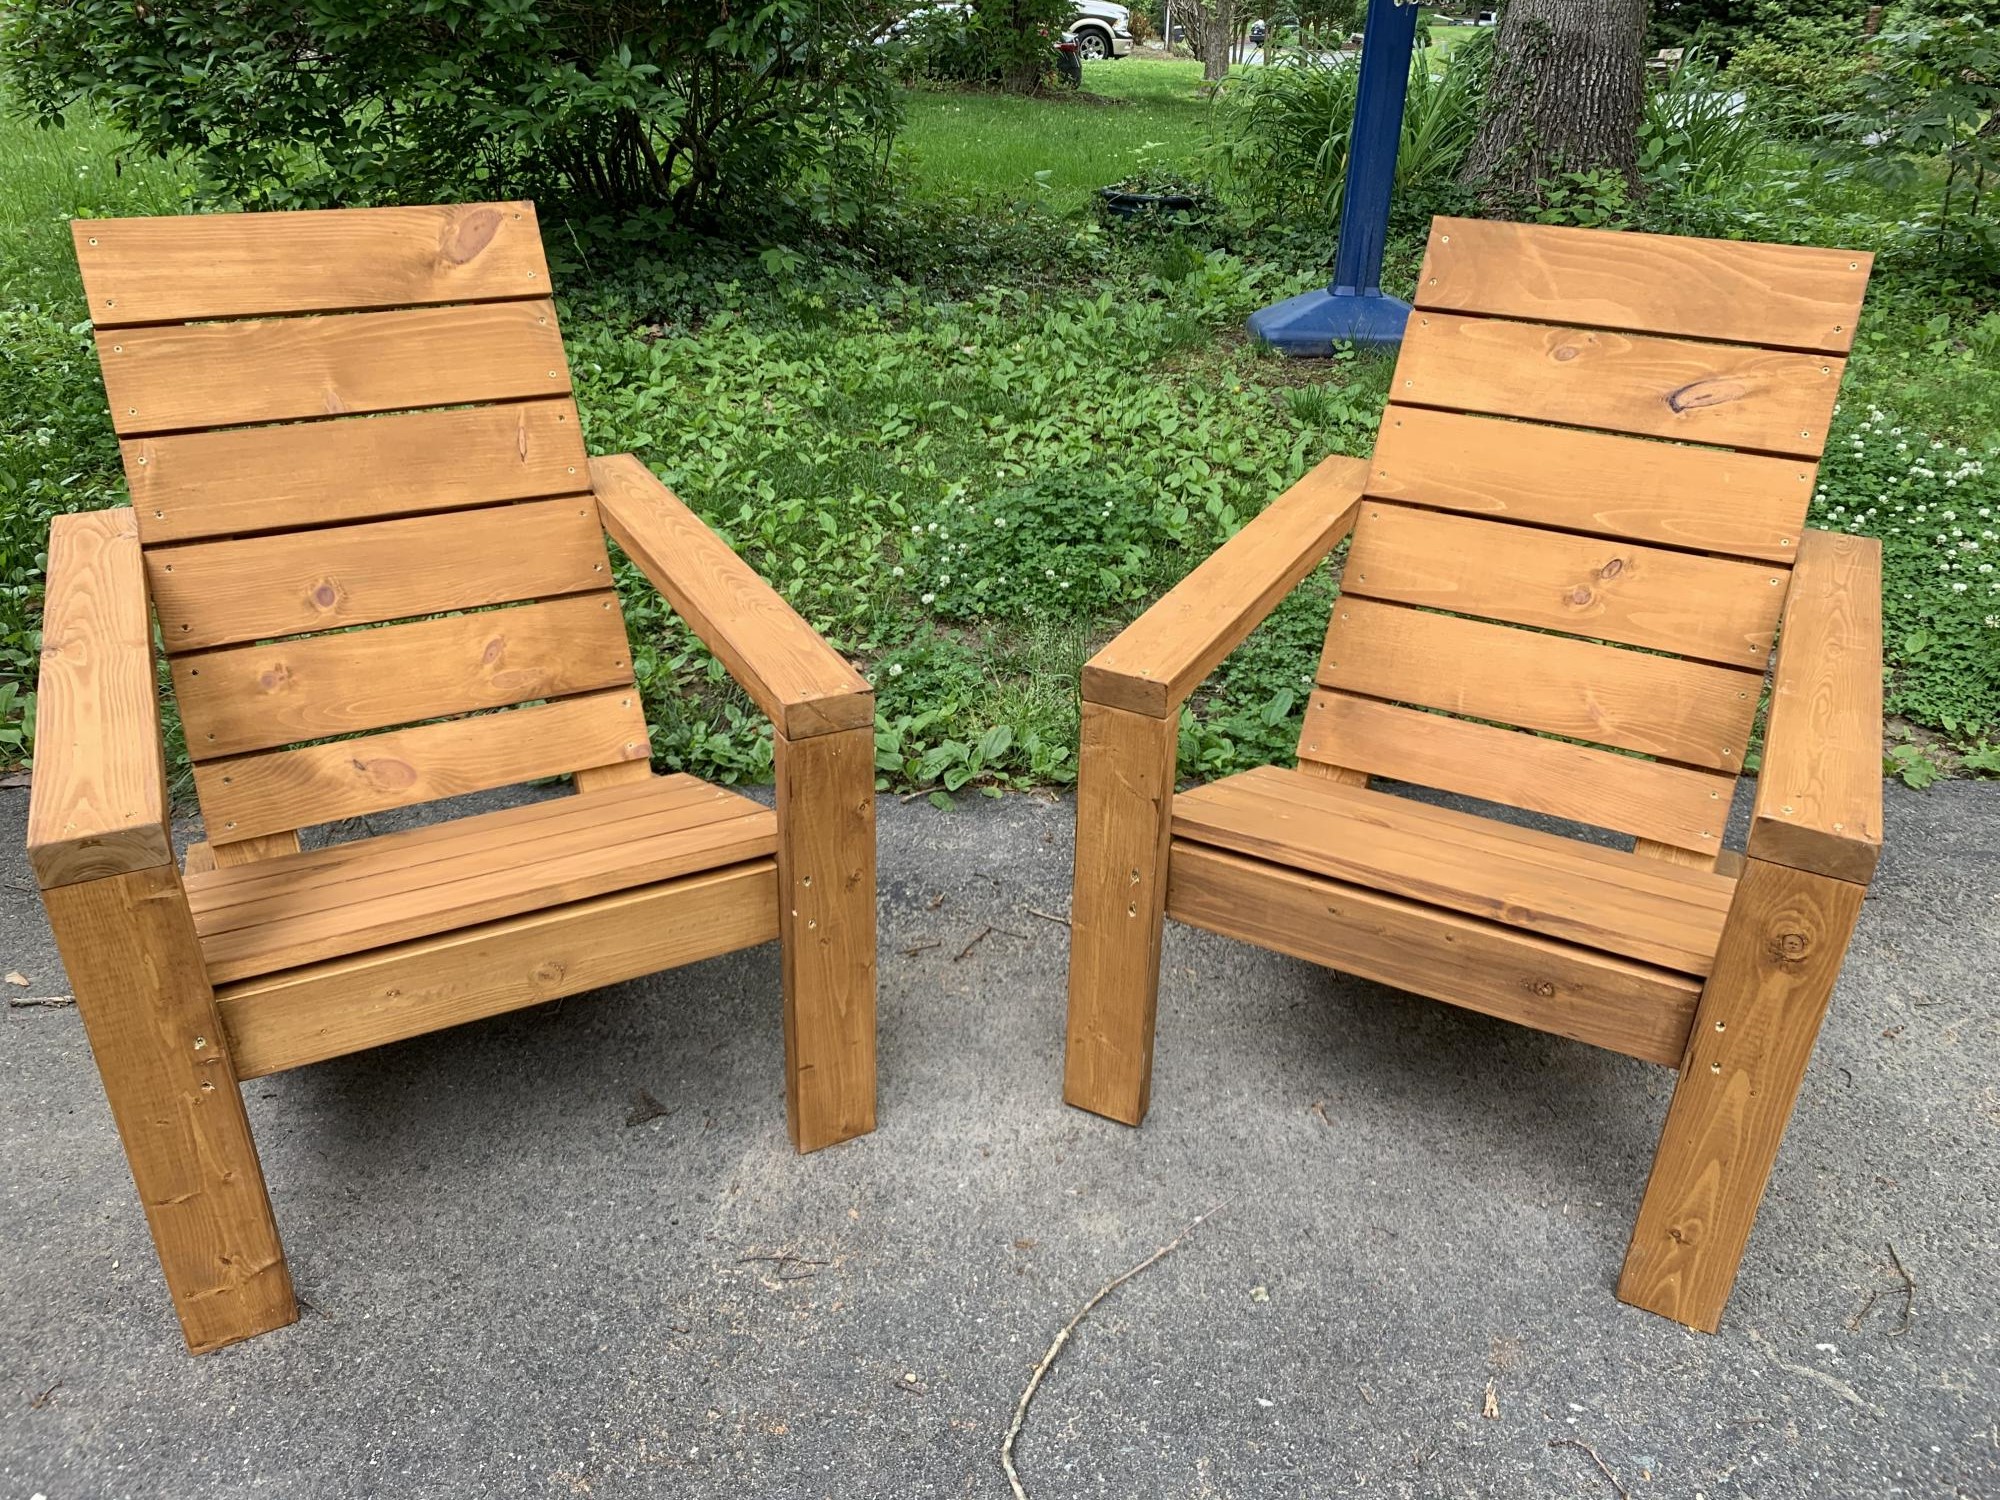
My first real furniture build. I think it came out great. Decided to use 1x5 instead of 1x10 for the seat and back. Really easy build. After I did the first one the second one went together quickly. I did sand and finish before assembly. Next time I’ll probably wait until after to finish it. I had to make several small adjustments durning assembly.
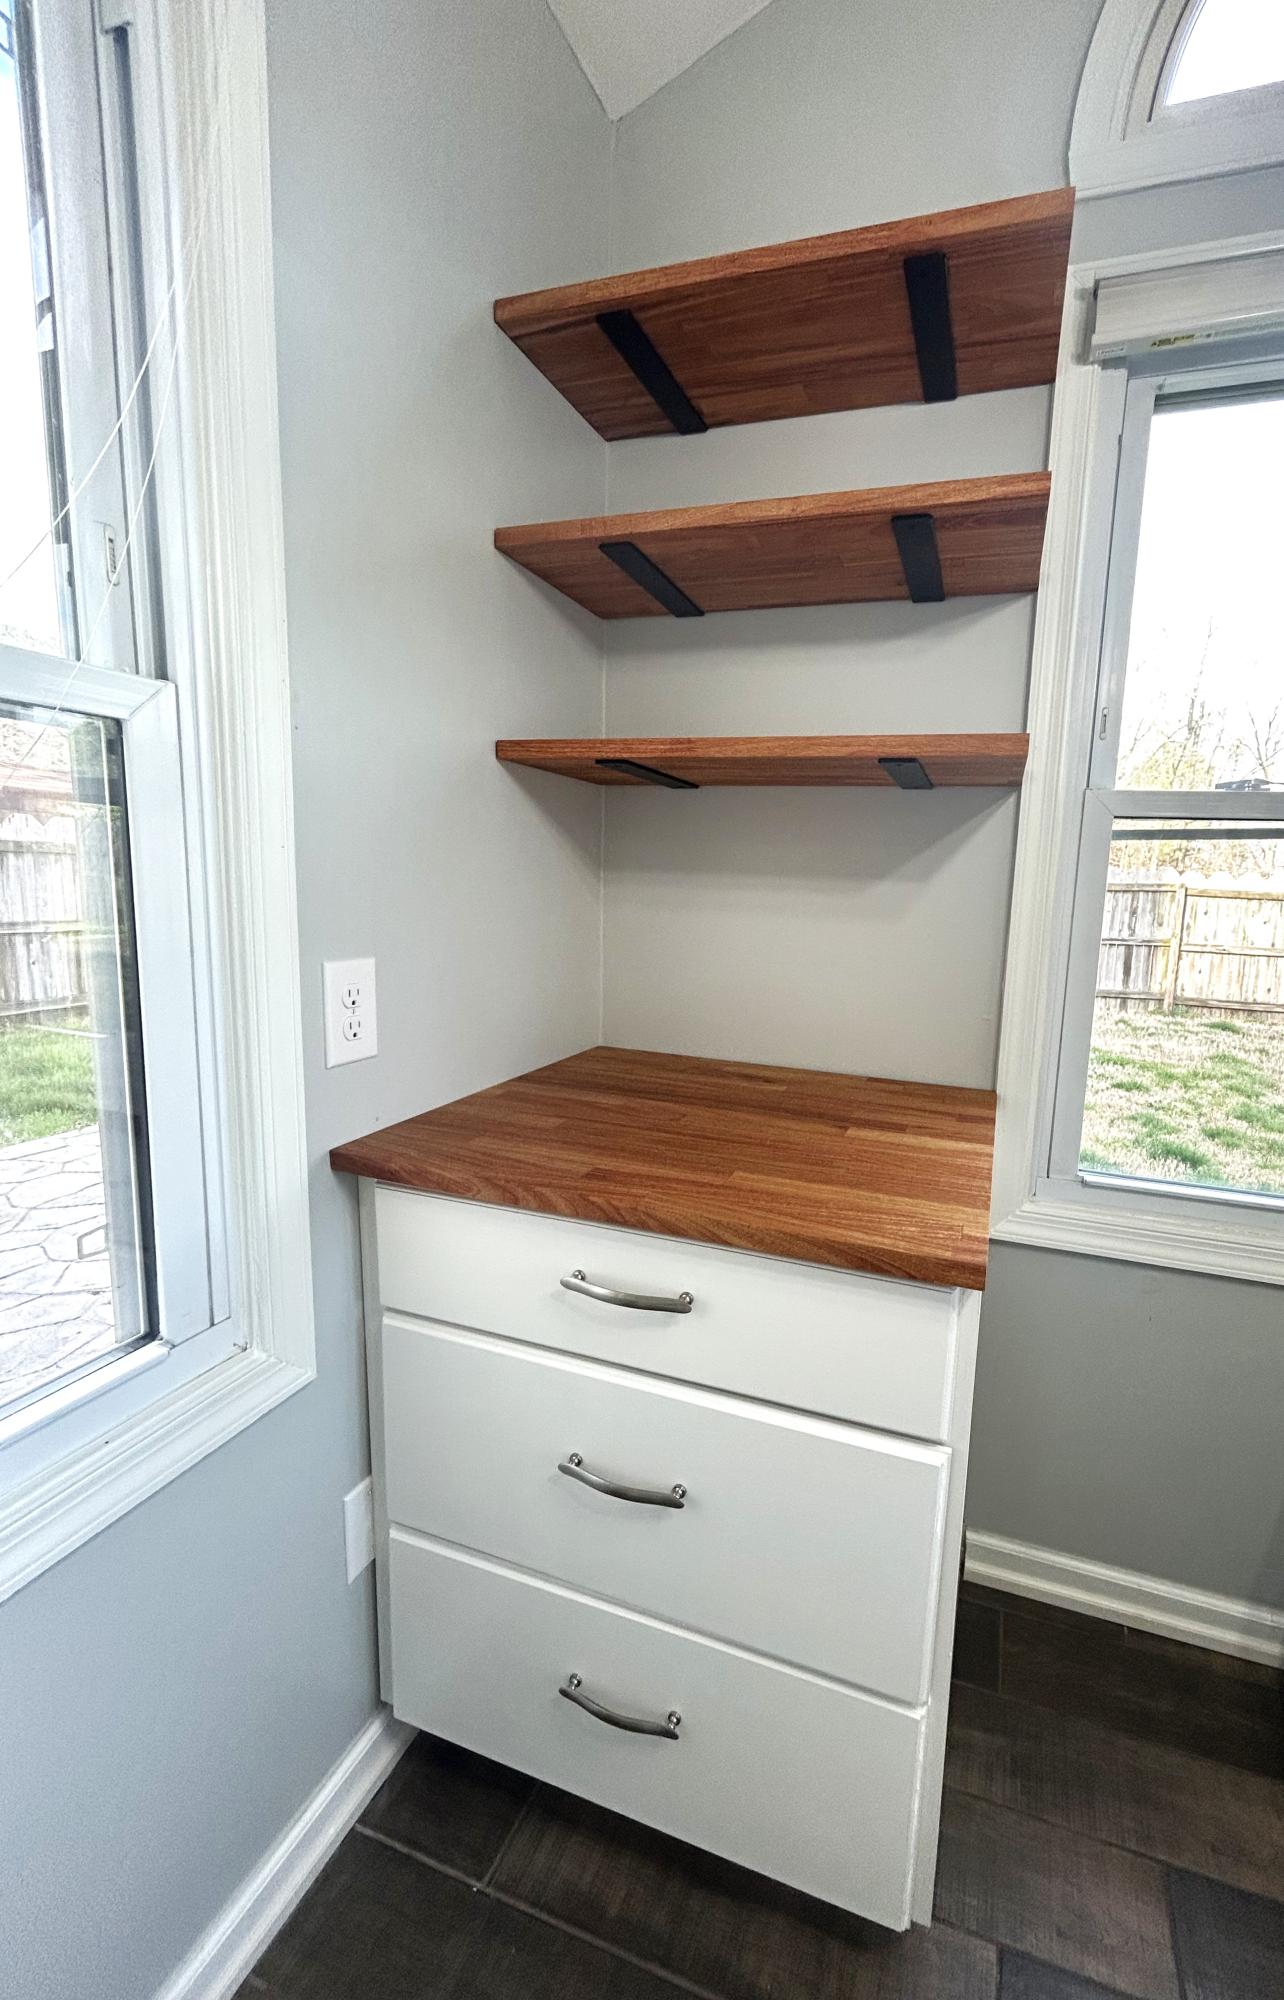
Kitchen cabinets and shelves in our breakfast nook. Our new kitchen does not have enough storage, so I’m creating my own! A matching set is in the works on the other side of the window.
Beth Ivy
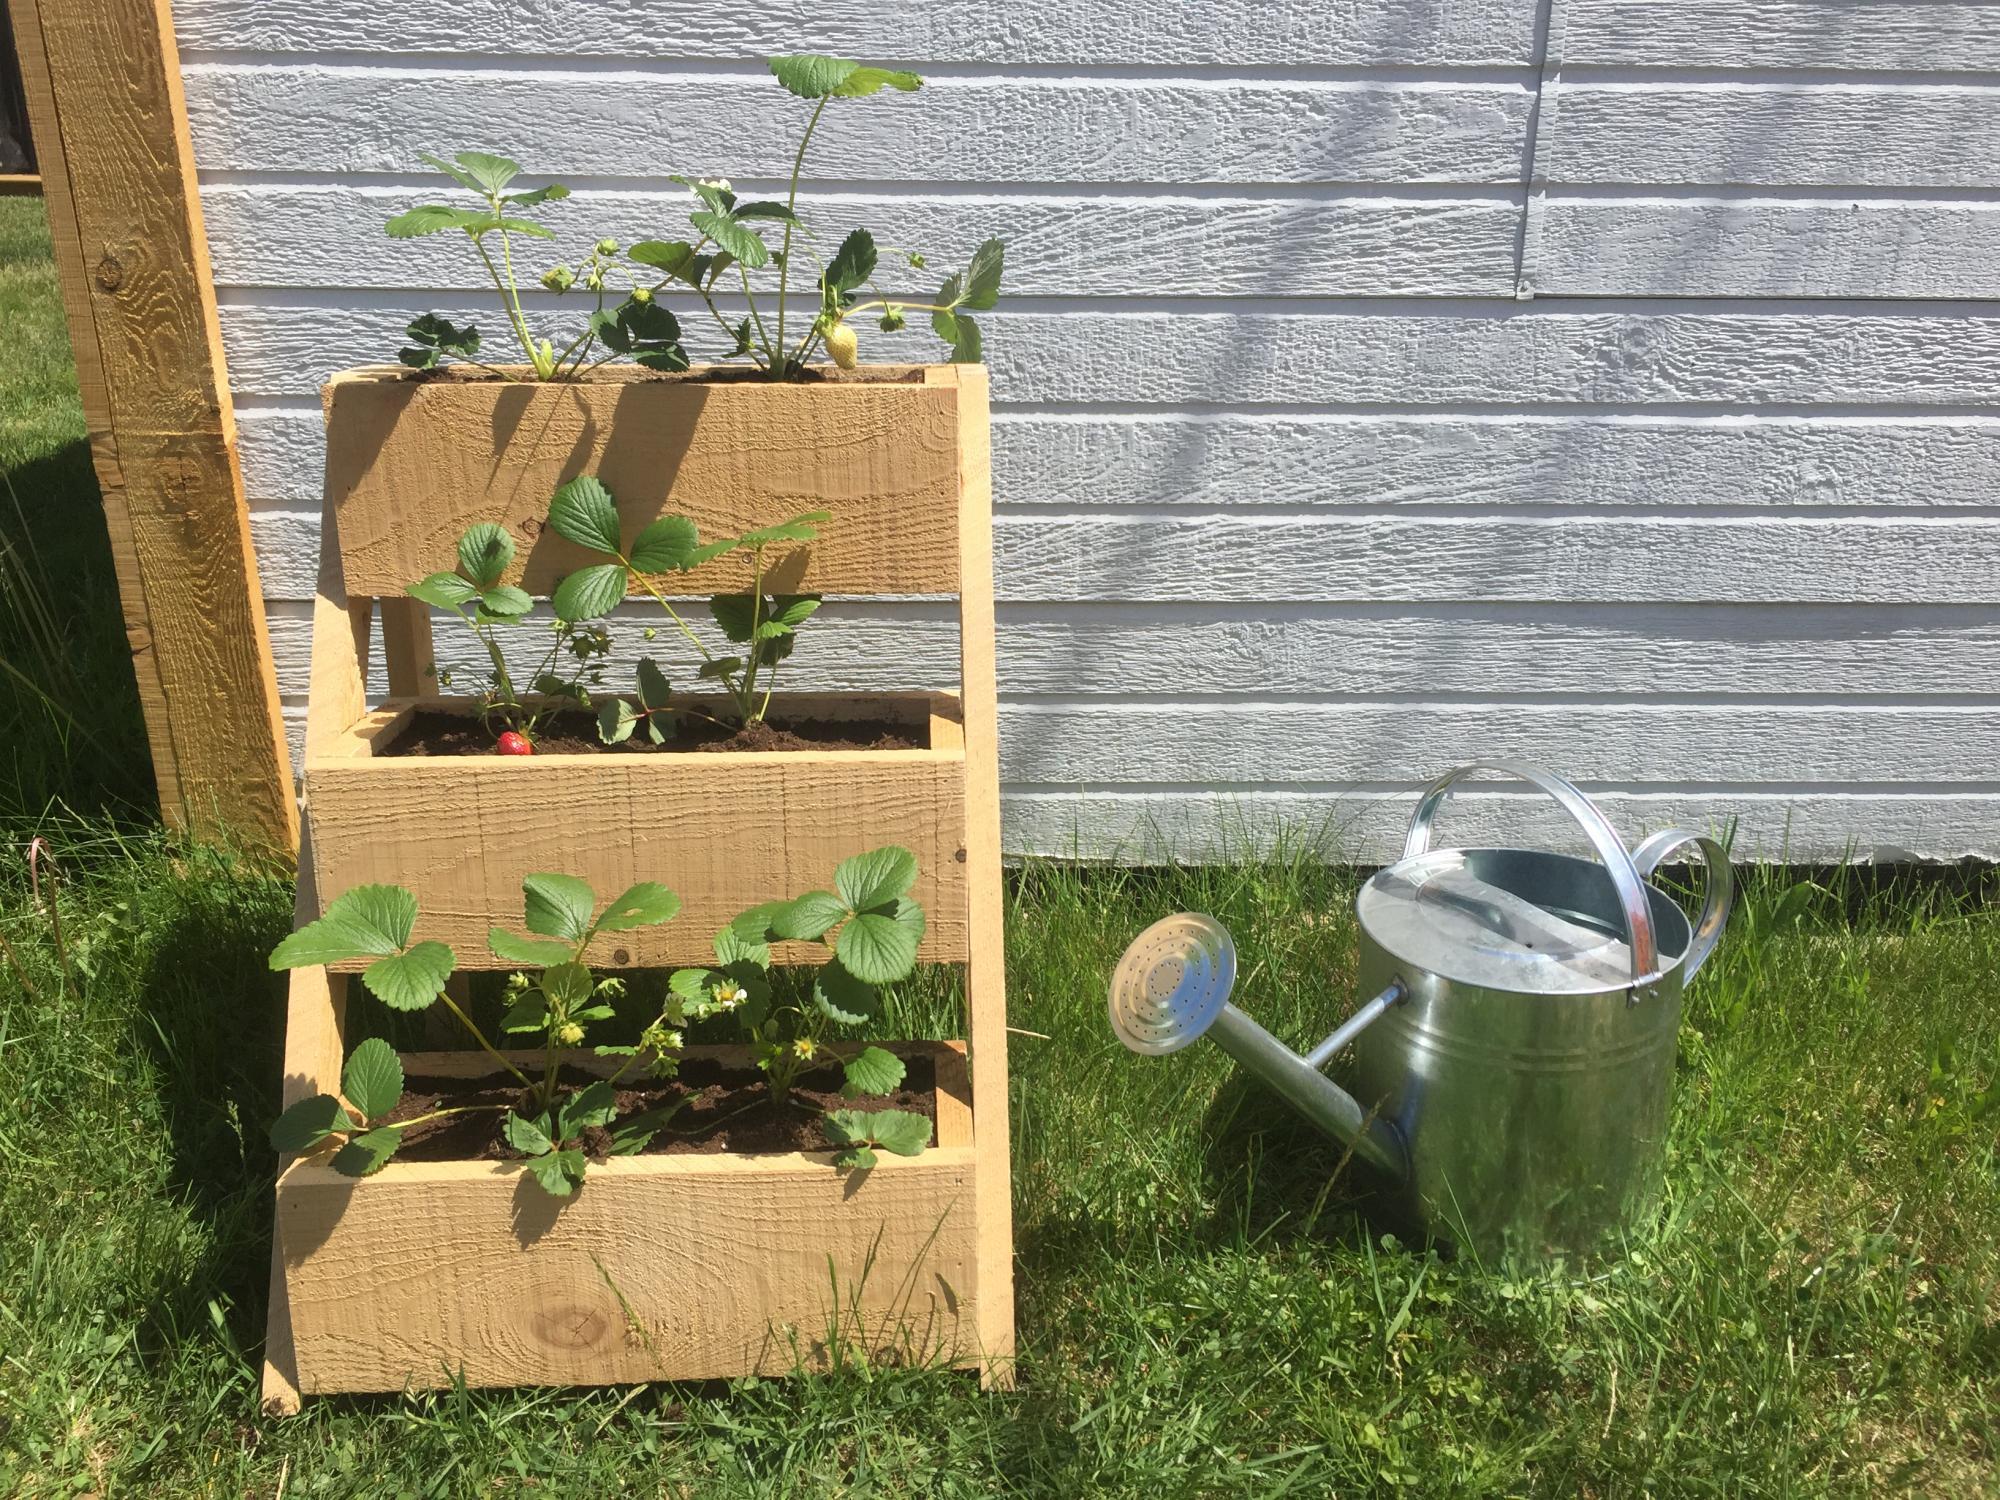
I built this tiered planter for my strawberry plants.
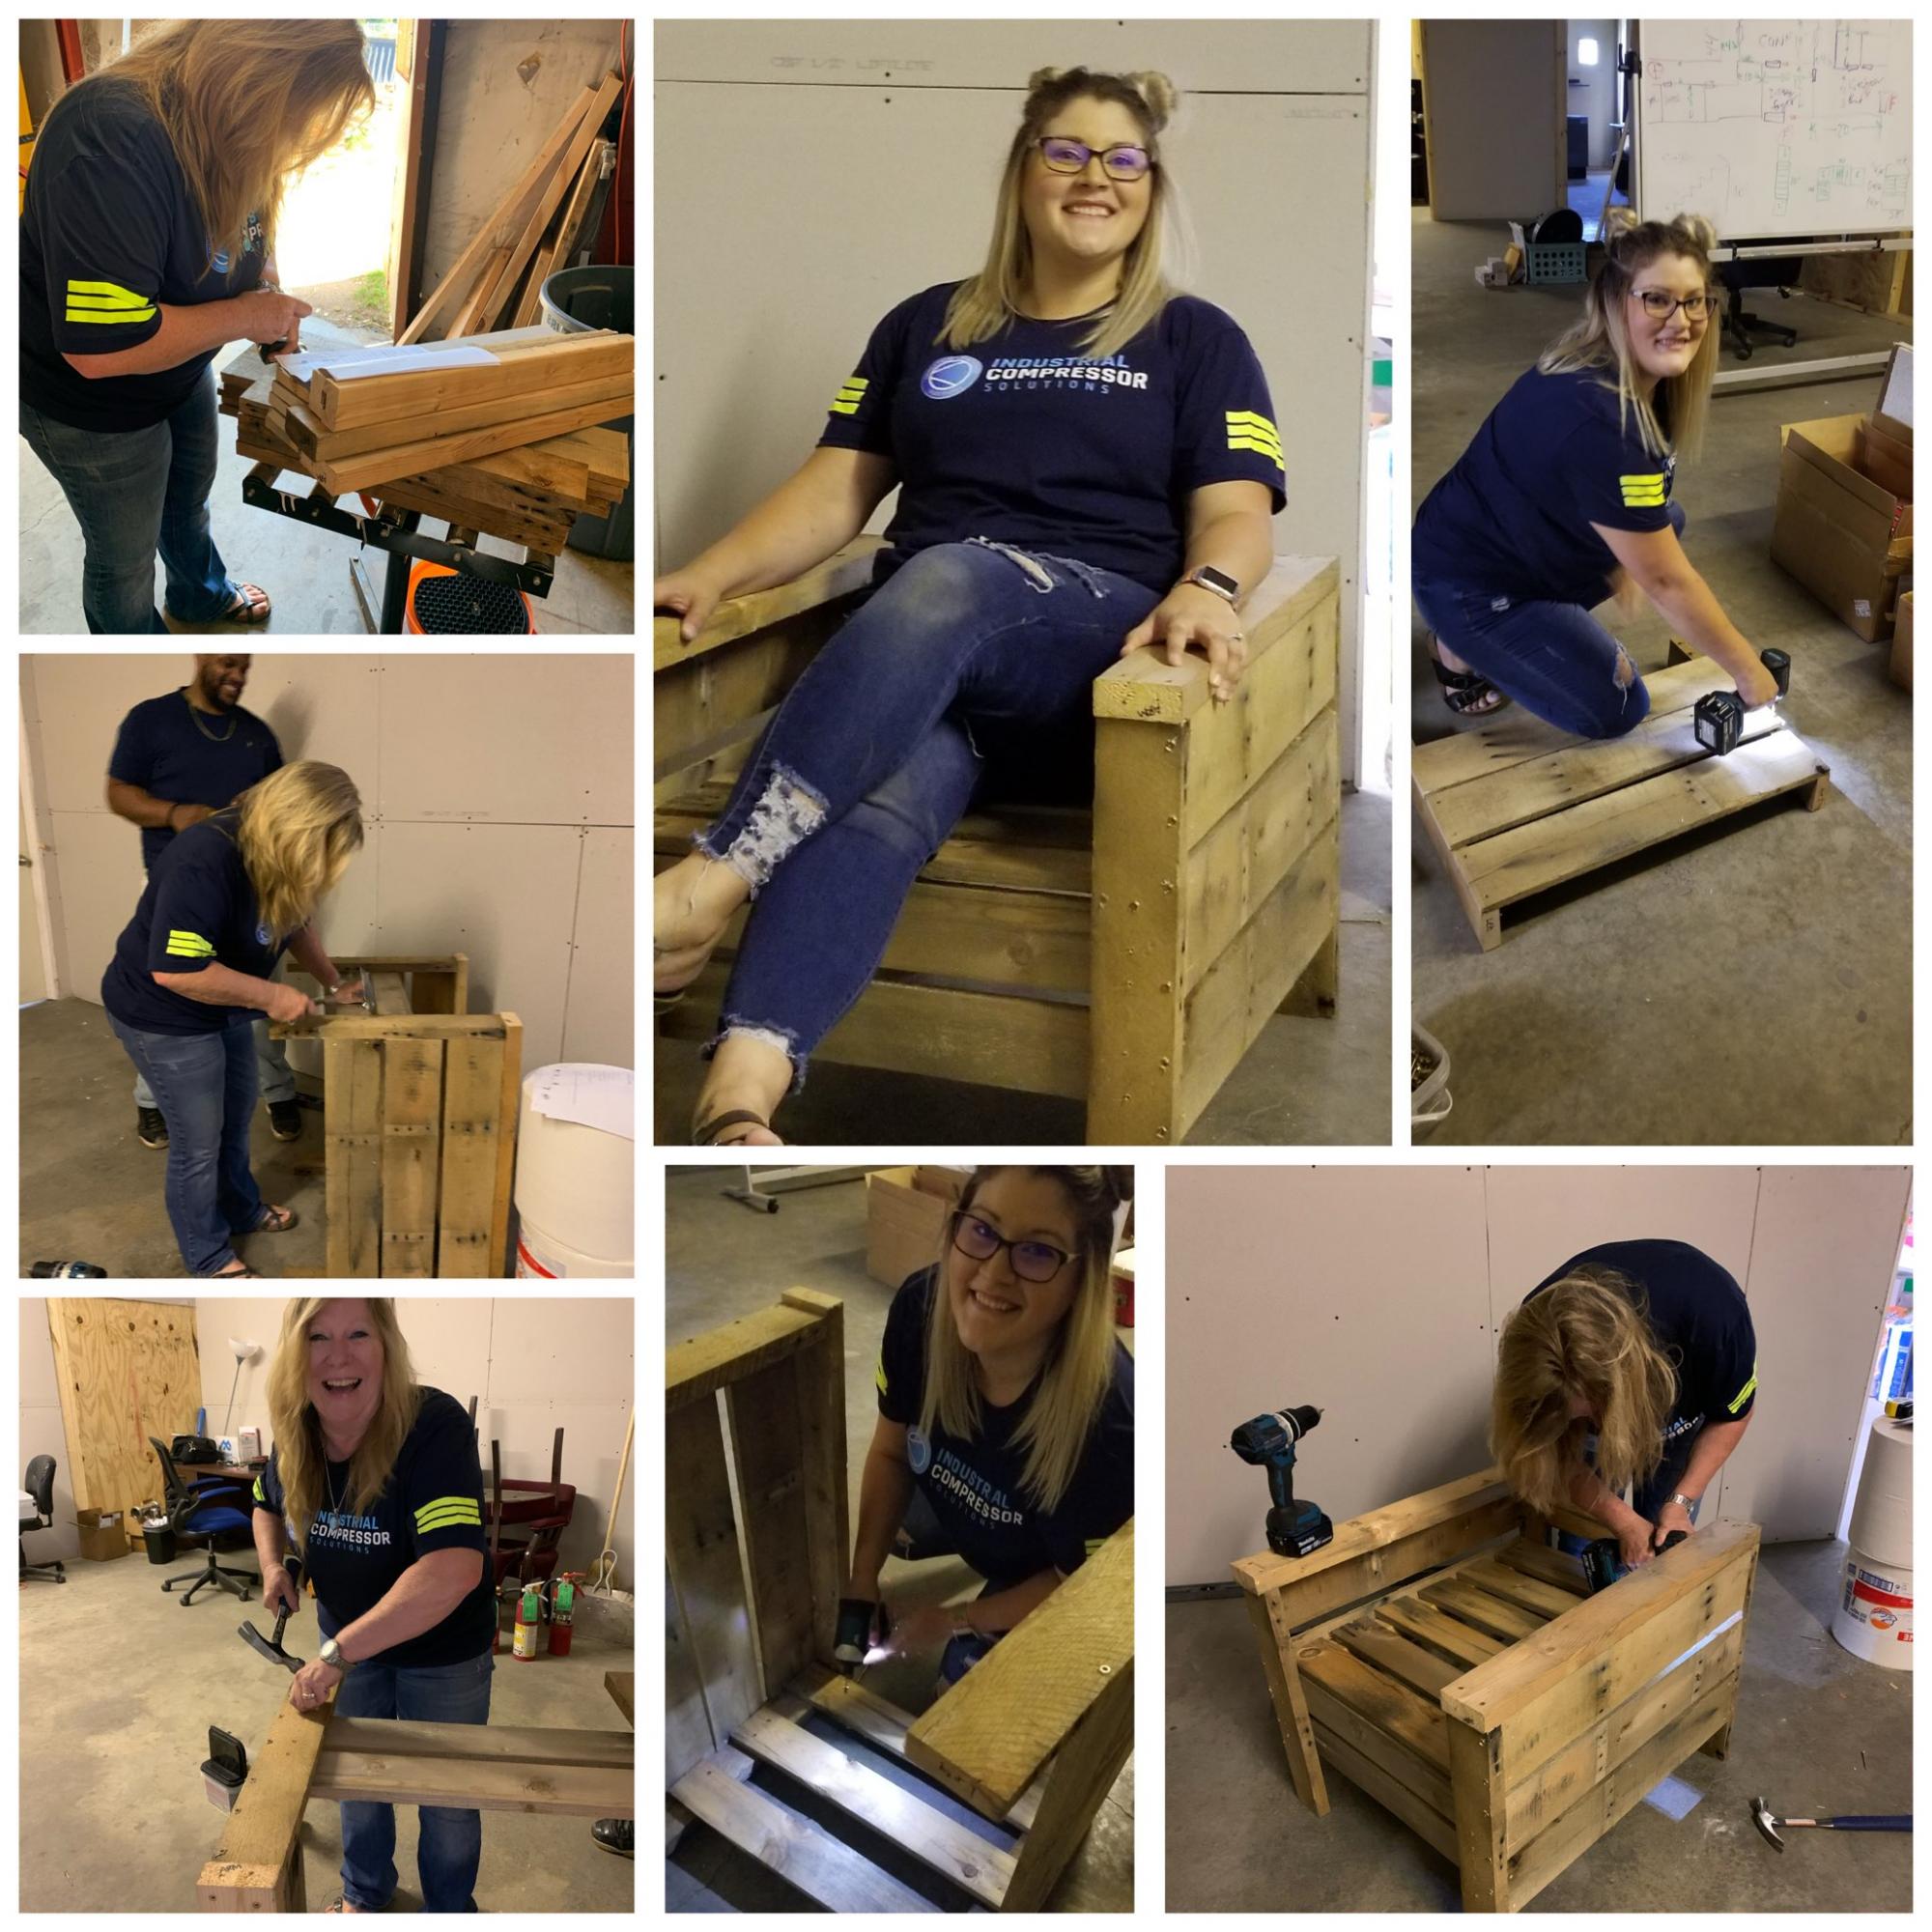
It's a Friyay! and we have a bunch of used pallets at work the boss is wanting to get rid of. Well he is on vacay so ....
We (me and my office manager) had to alter the directions a bit but the end result is great. This was our first project and tools were very limited. Even so its a win win and we will be making more. Thank you Ana!
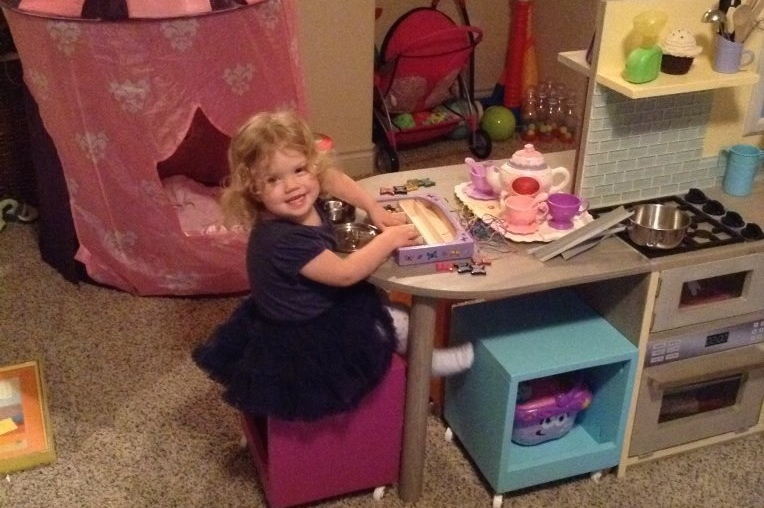
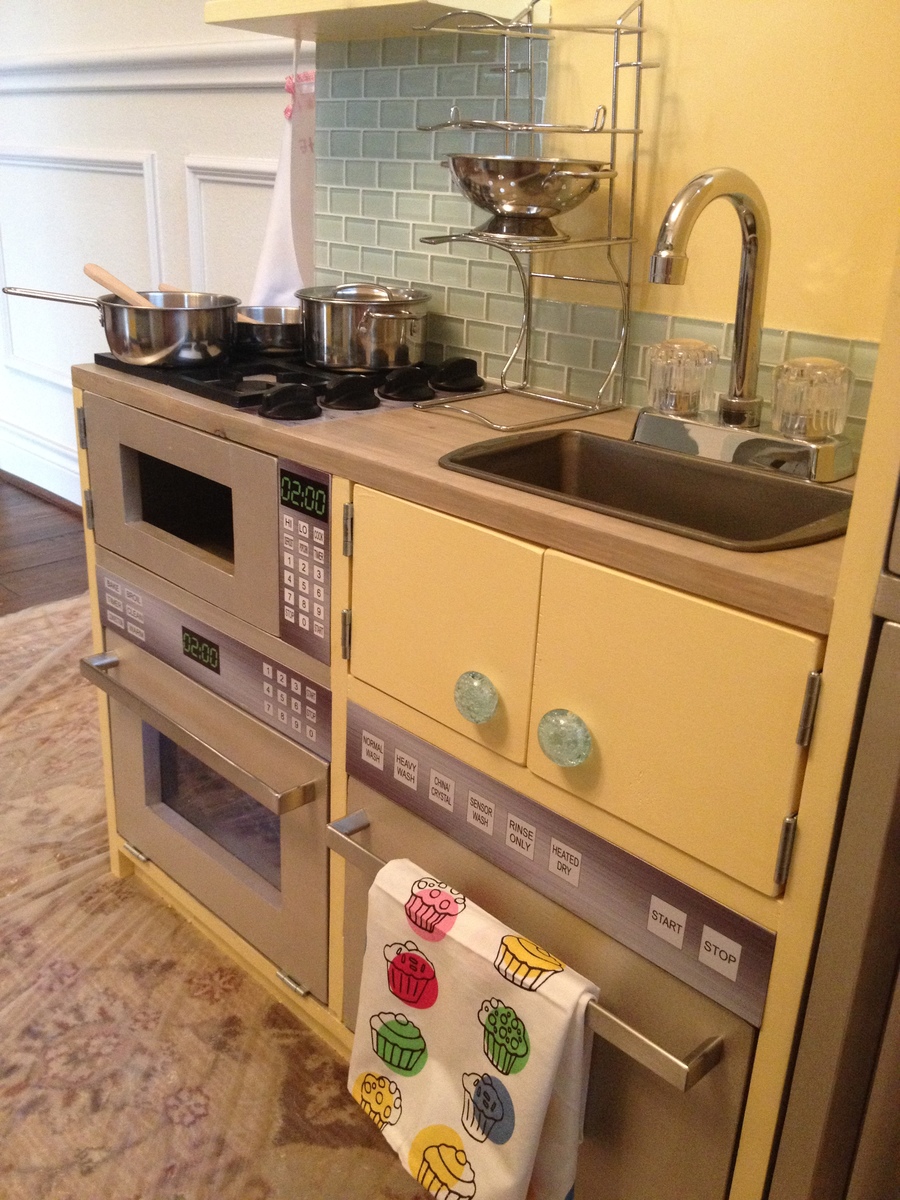
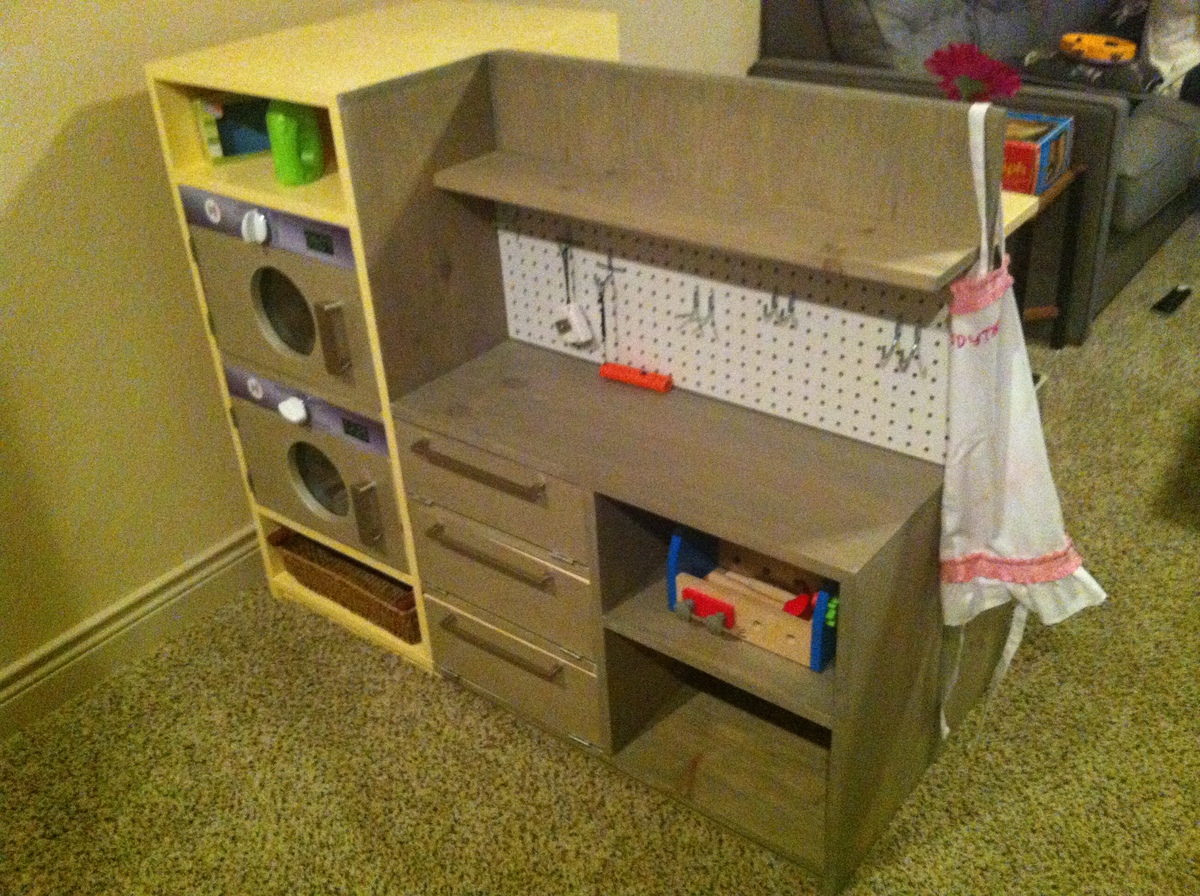
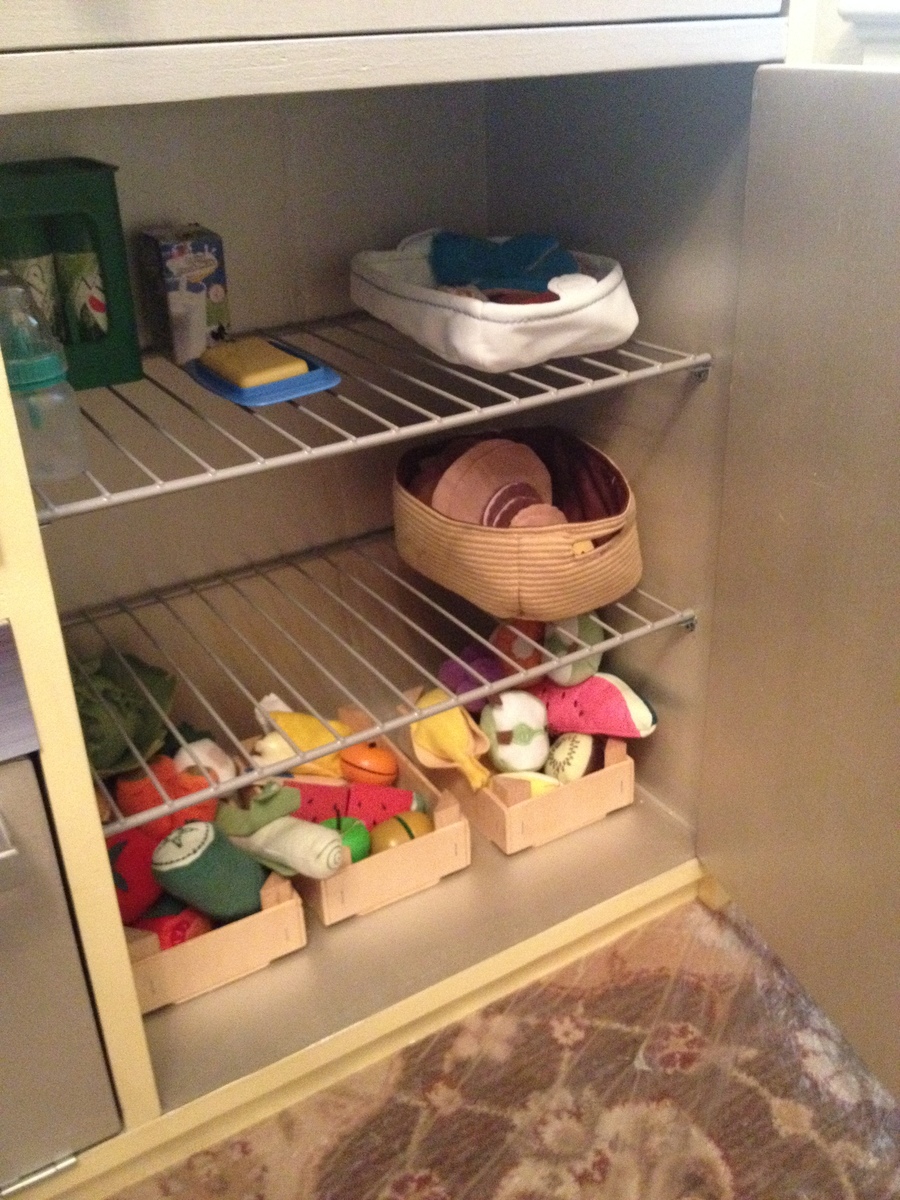
What's better than an Ana White play kitchen? 2 Ana White play kitchens back-to-back!
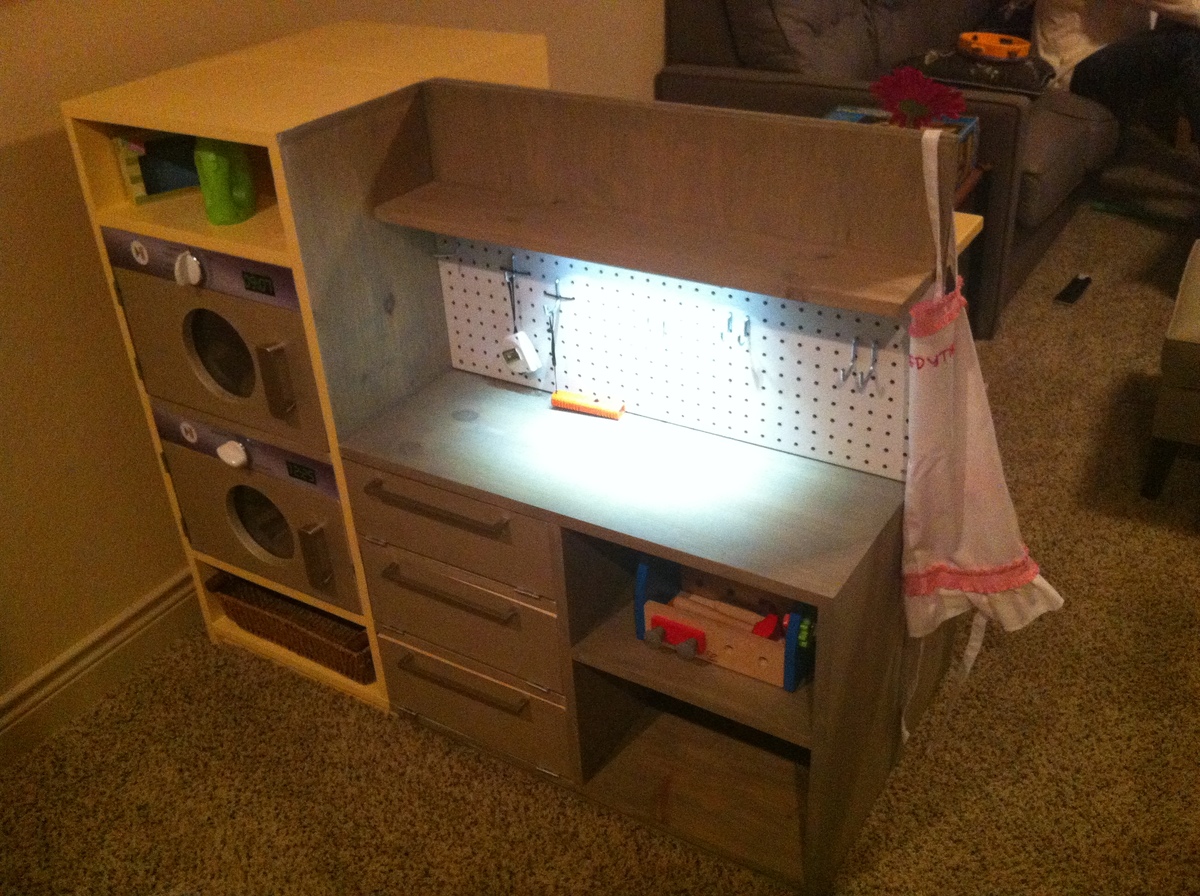
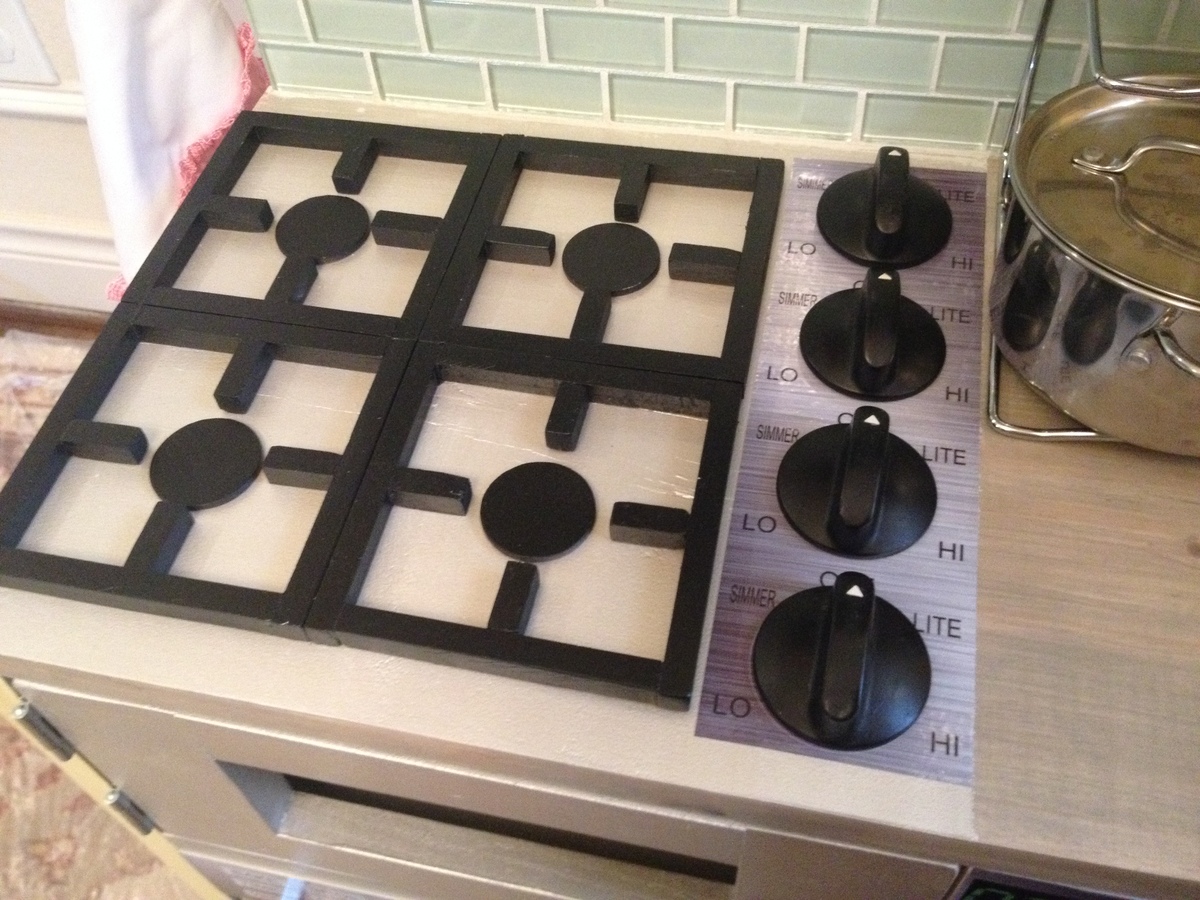
Slightly modified, we made 2 play kitchens, turning one into a garage workbench and laundry. We managed to just get the kitchen & garage done for Christmas morning (minus a latch & plexi for the microwave). We later added a window view above the sink, and a table and 3 storage stools to join the two units on one end. In a long mixed-use playroom with little wall-space available, they jut out from the wall, dividing the TV side of the room from the toy storage side.
Dad was excited to help put the garage-side together and bought his little girl some peg-board to hang her tools on, and installed garage lighting. As pull-out drawers cut into the storage space, her "tool cabinet" doors just fold-down. Grandpa sent her a full tool-set with power drill for her new workbench. Big brother helped piece the gas burners together and chose paint colors.
Little miss finger-painted in the garage next to me while I worked on this first woodworking venture, but she was not a bit interested in the contraption until we added the stickers! A local sign vendor we use was so tickled to be involved, he had the stickers printed in under an hour and for just $25 (which saved hours and hours of detail painting)!
Next up: the ana white dream dollhouse (which perhaps we should've started with).
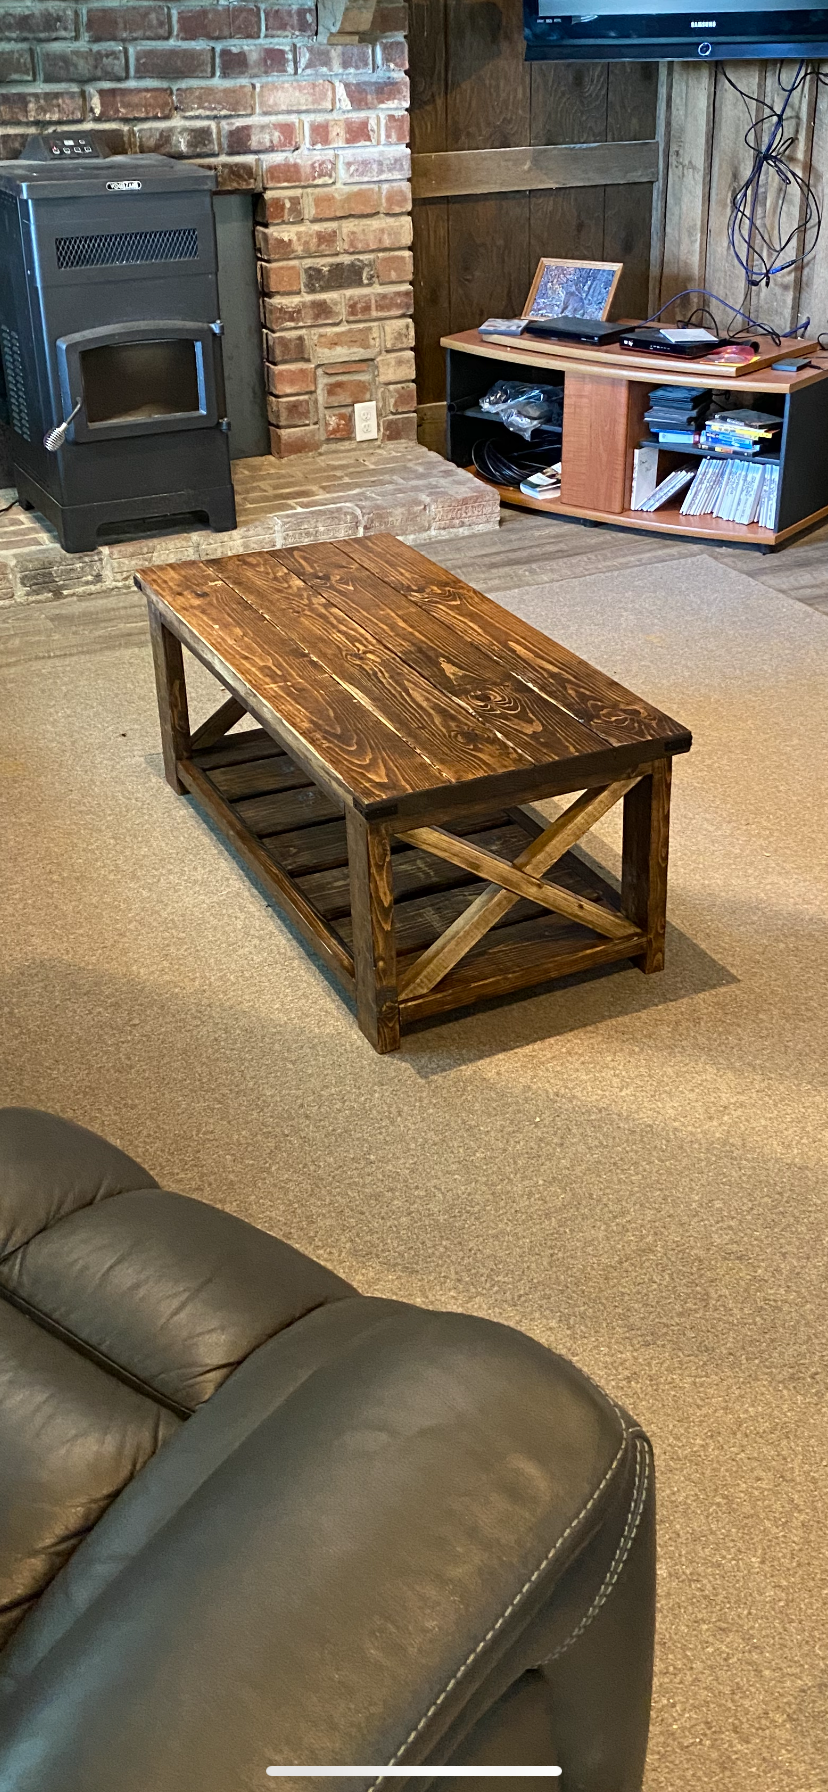
Rustic X Farmhouse coffee table, built for a true rustic farmhouse!
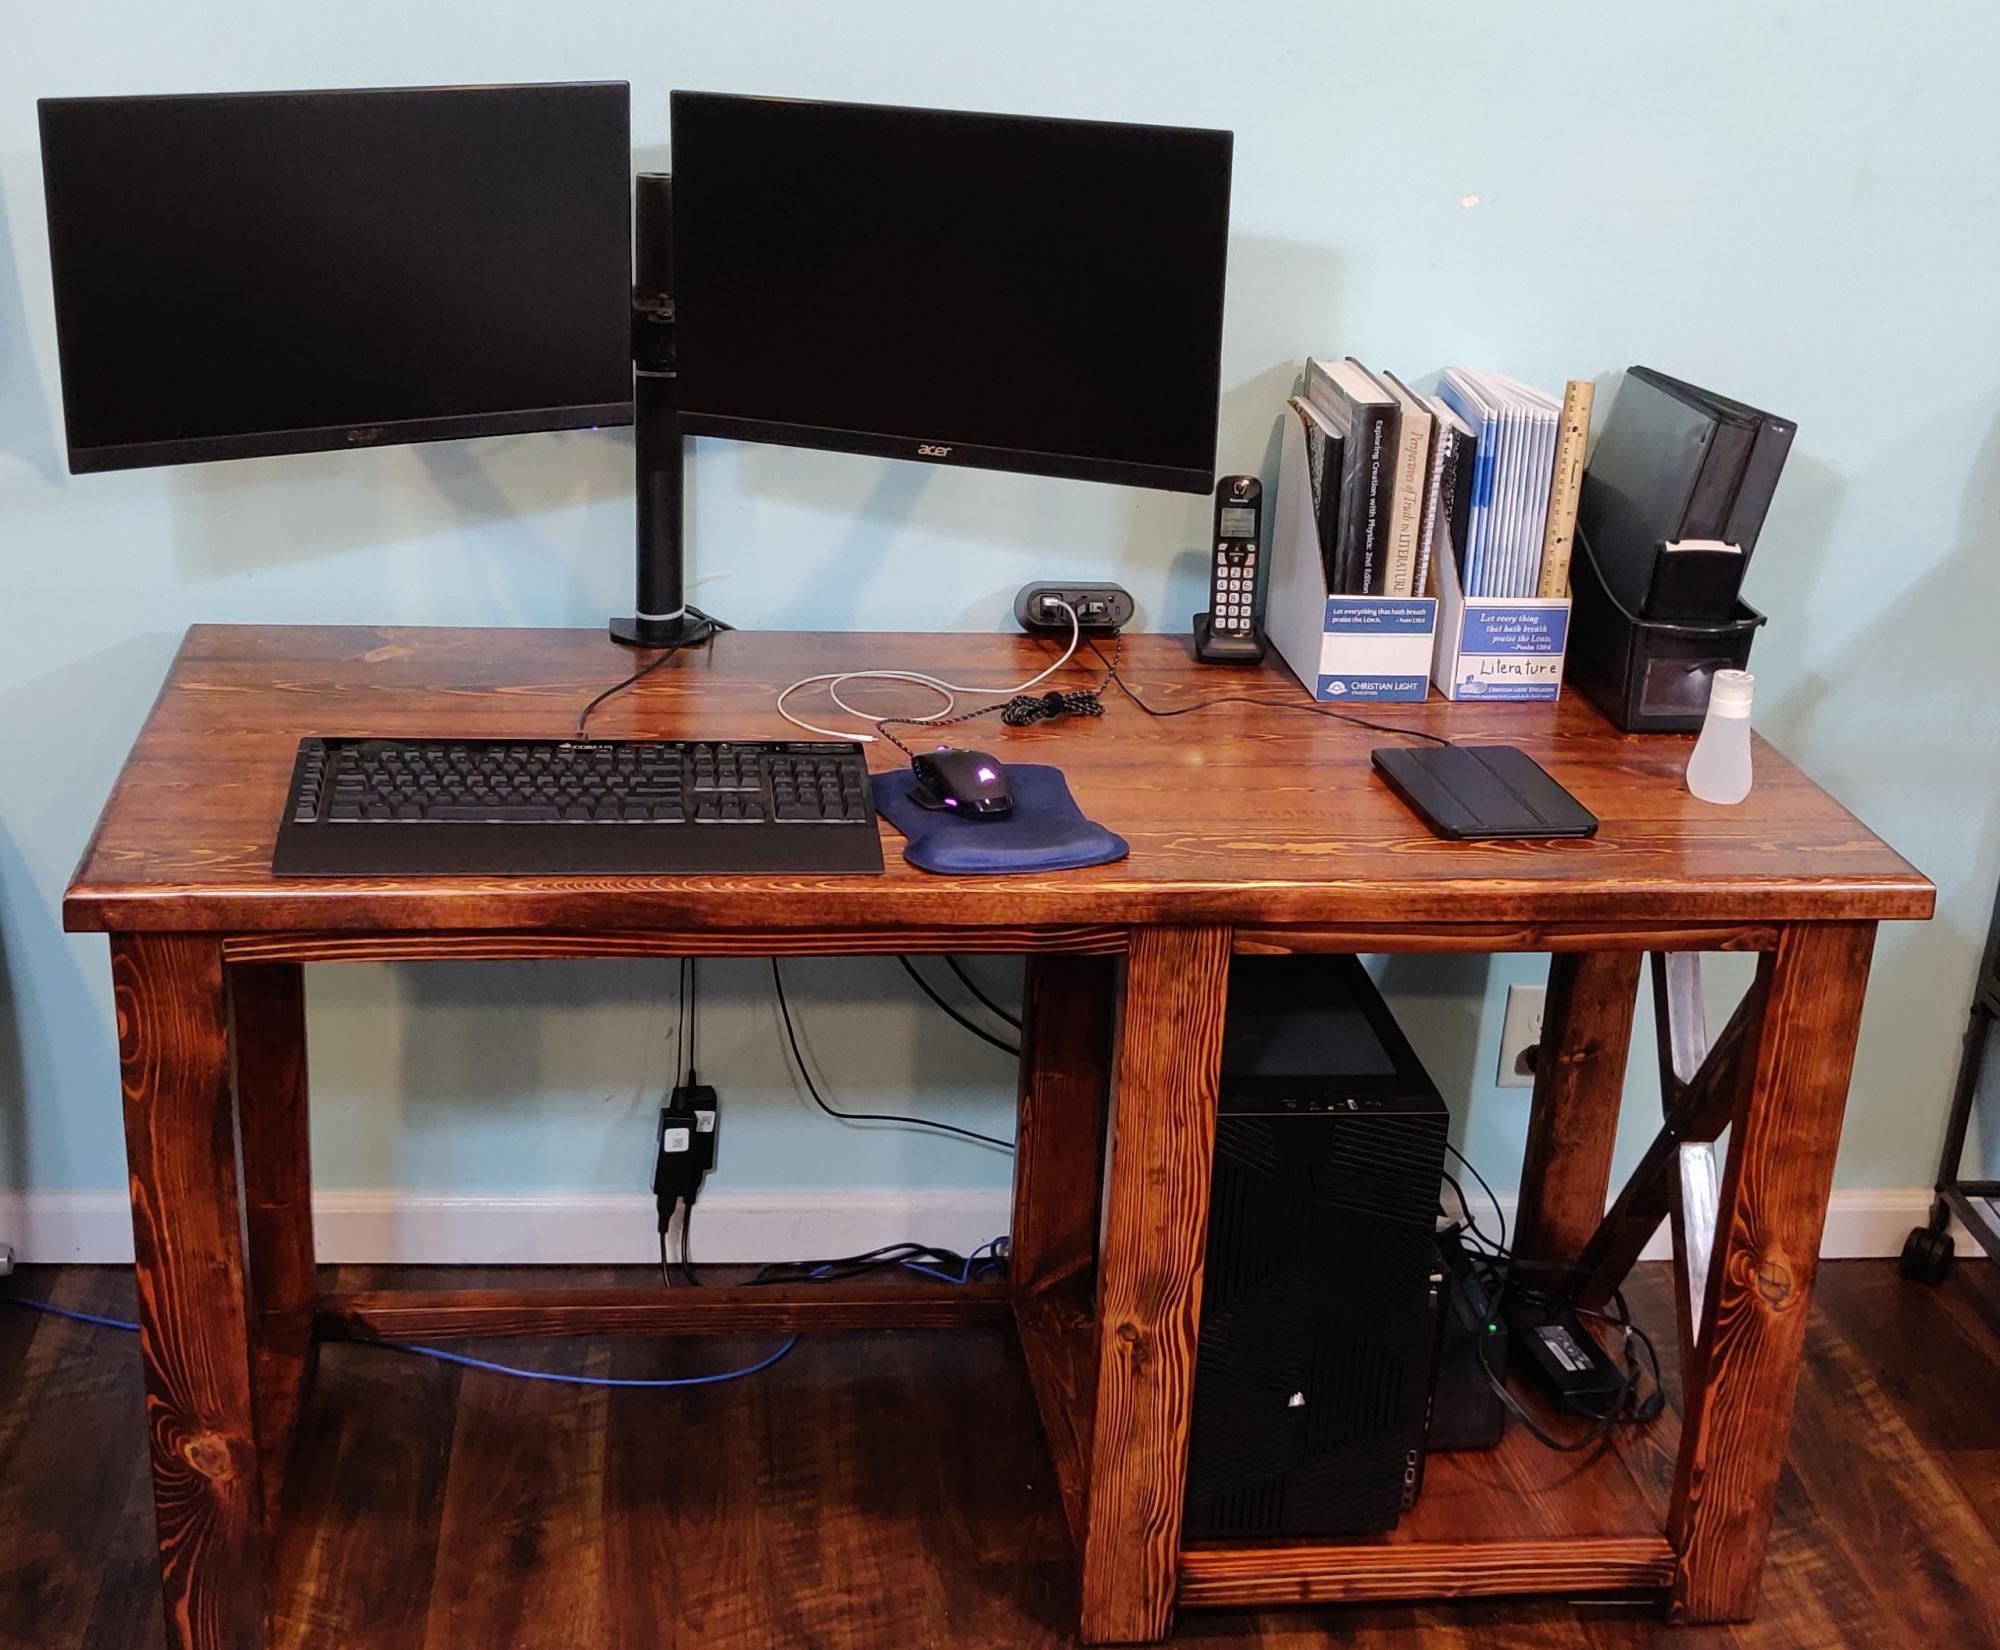
I built this iteration for my second son to give him a spacious workspace for his schoolwork, dual-enrollment activities, and for the occasional moments of kicking back and enjoying a bit of PC gaming.
We stained it with Minwax #215 Red Oak and used Minwax Satin polyurethane to finish ours.
I stuck to the Rustic X Desk plan for the most part and made the following modifications:
1) I used five 2x6 planks instead of four, to give it a 27.5-inch depth.
2) I used a 3/4-inch roundover bit to round off the tabletop to give it a smooth feel.
3) I left out the "middle" X, so my son could have easy access to the "guts" of his computer
4) I left out the middle shelf so my son could stow his PC tower "below deck"
5) Not really a modification; I used a 3/4" straight router bit to cut notches into the 2x2's used for the X detail so they would sort of lock together because I wasn't happy with the way the angles and all were coming out with the two half-leg parts of the X detail.
6) I hated the selection of furring strips at the local big box home improvement store and didn't want to travel all the way across town to see if the "lumber stores" had anything better, so I ended up milling my own on my table saw from cherry-picked 2x4 lumber. It was cheaper than buying the premium pine to boot, since a 2x4 would give me a pair of 2x2s and leftover 1/4x2 that I'll be able to run through a planer and turn into something useful. Not a modification, just more of a "if you're plagued with lousy selection, try this instead" idea.
7) Installed a Wiremold WMC220BK convenience 120V/USB power center to make it easy to plug in a desk lamp, charge a cell phone, etc. without making a cable mess. (https://smile.amazon.com/dp/B0768R2JDG)
8) Added felt pads under the feet to make it slide easily on wood/vinyl flooring
9) I set the bottom of the leg assemblies 1-1/2 inches above the floor instead of 3 inches, so our indentured robotic servant "Mo" won't get trapped underneath any of them. He isn't the sharpest tool in the shed but at least earns his keep. Mo is a late-model Roomba 675, if any are curious to know.
Between the "custom" milling and the fact that I should have run all this 2x4 and 2x6 through a planer to cut down on all the sanding and resurfacing needed, this ended up taking a lot longer than the initial couple weekends to build plus the staining and finishing time. I'm in the middle of building a second one of these with some slight modifications since the need/use case is a bit different. I'm also planning a third revision and build that will include some "geek-friendly" customizations, namely integrated cable management and will have two shelf bays instead of one, just half as wide (a single 1x10 on the left/bottom and another 1x10 on the right/bottom, with the seating area in the center). The third "generation" will be a Christmas present for a computer science student (who consequently also graduates at the end of this fall semester).

After 7 years of our trash can sitting out in the open, my wife decided we needed to do something about it. I saw the plans for this tilt out wooden trash bin, and slightly modified it using tongue and groove for the face panel.


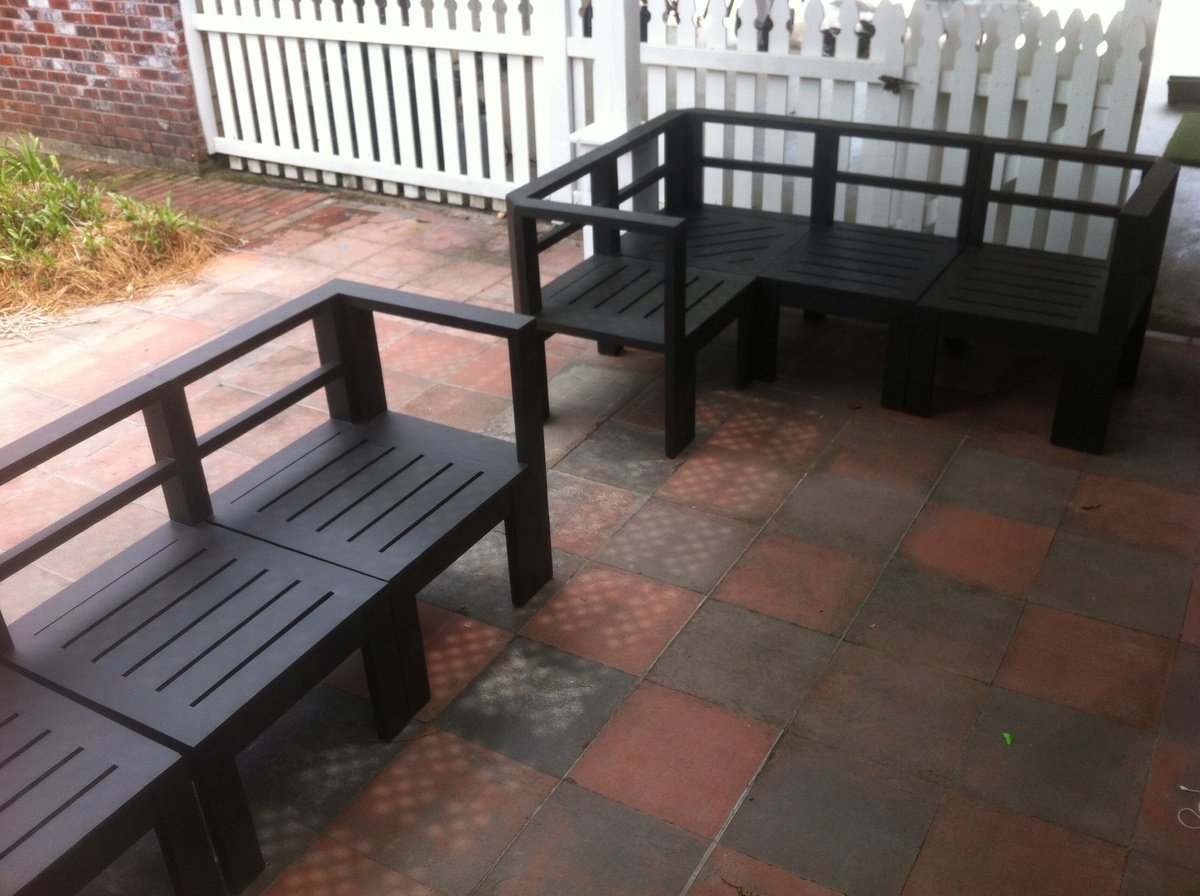
Outdoor collection is the best. Used 2x4's instead of 1x4's for all of the legs and backs. 1x4's for all of the seating areas.
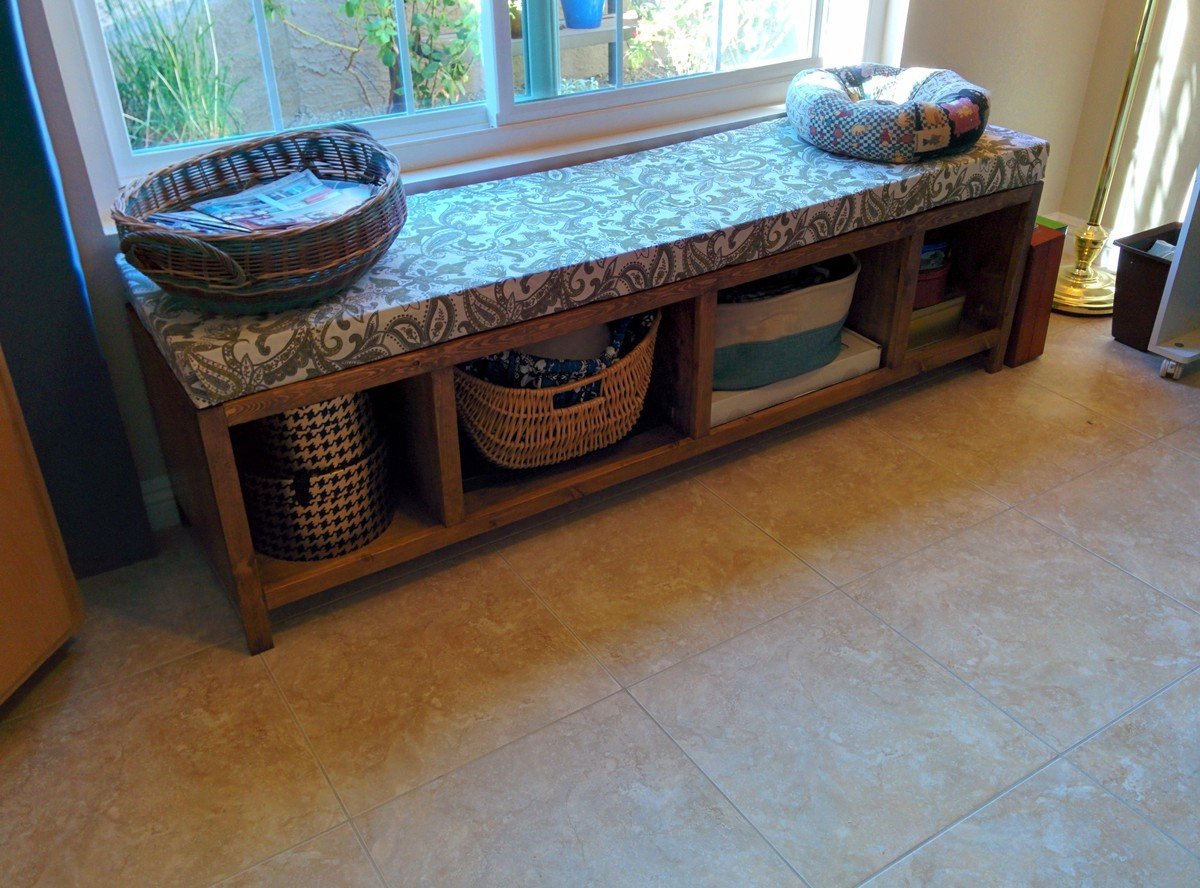
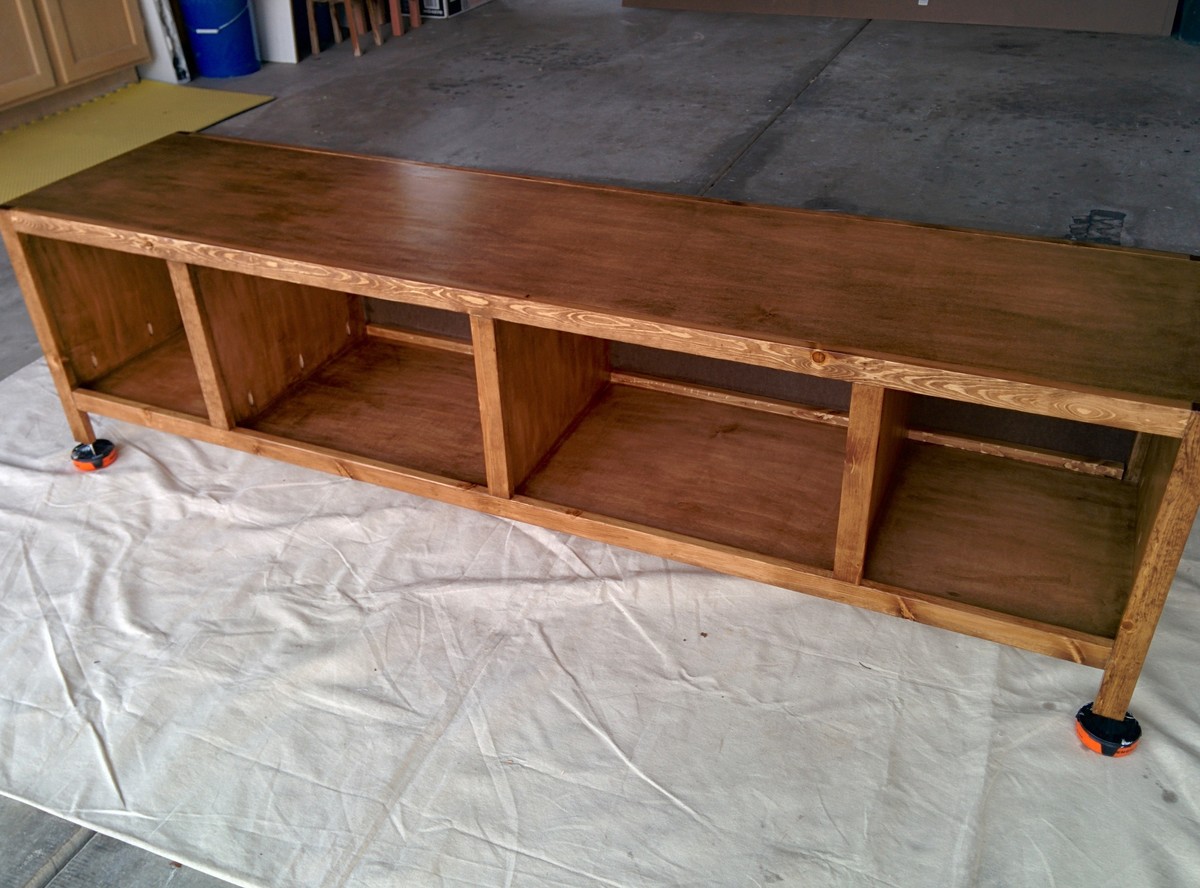
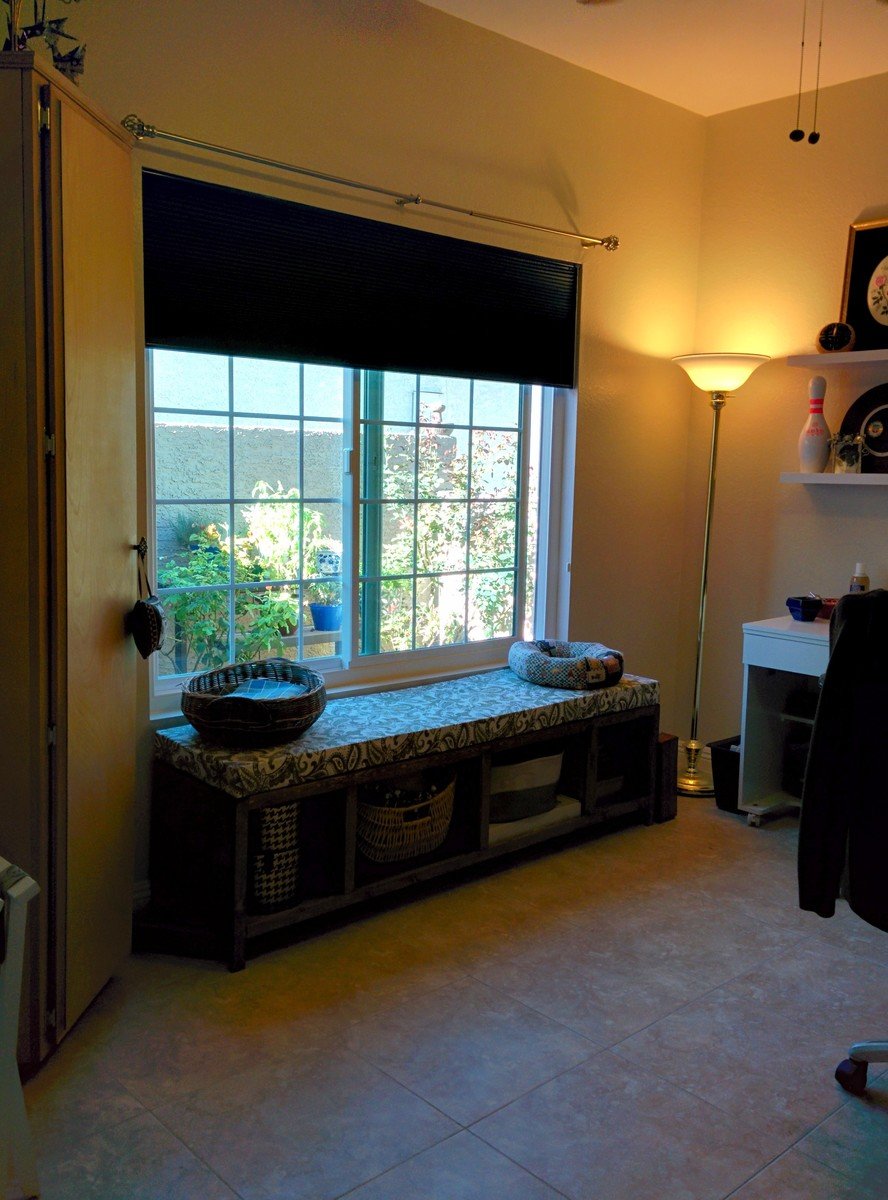
I used the Hailey Storage Bed (twin) as my inspiration for this window seat. Built just one of the benches fitted to match the exact width of my window. I also added trim to the cubbies to make it look more finished. I bought the foam from Home Depot and covered it with a table cloth I loved but never really used on my table. I had the baskets and boxes laying around and they give it a nice touch. I was going to put doors in the center when I started, but liked the look of the open storage, so just trimmed out the cubbies.
This is my fourth build from Ana's plans and I'm so pleased with how it came out.
A note on finishing - to me the hardest part of any project! I stained it with minwax Early American and used 2 coats of Spar Varnish over that. I was very nervous after I put the first coat of stain on as it wasn't the color I thought it would turn out to be. I toyed with the idea of adding another color over the top, but decided just to leave it overnight and relook at it in the morning. I'm so glad I did. It had mellowed significantly overnight and was just the right color. I added a second coat to try and cover up any of the streakiness, then added the spar varnish (satin finish) and it made it gleam.

Tue, 10/28/2014 - 17:42
Awesome build! Love the finish and the pretty fabric on the cushion. Great job!
In reply to Beautiful bench! by JoanneS
Tue, 10/28/2014 - 19:57
Thank you JoanneS - I enjoyed making it!
Comments
Joni
Sun, 01/05/2014 - 20:55
Absolutely stunning!
These are so beautiful -- they really look like high-end rustic pieces. The slide-out footstool is genius. The distressing is fantastic. I really love your pebble art as well.
Would you mind sharing the stain color?
ladams55
Tue, 11/04/2014 - 13:39
Bathroom vanity submitted by kdins31
Where can I find these plans?
MKeller
Tue, 11/25/2014 - 07:16
Plans
How can we get the plans to this vanity? Thanks!!
Dustin Rogers
Wed, 02/03/2016 - 17:48
I drew this up in sketchup as
I drew this up in sketchup as I was planning to build one like this, but decided to do something different. Is there a way to upload a sketchup file?
Swise1115
Sat, 02/20/2016 - 05:43
Plans
Is there a way to get plans for this? I love it!