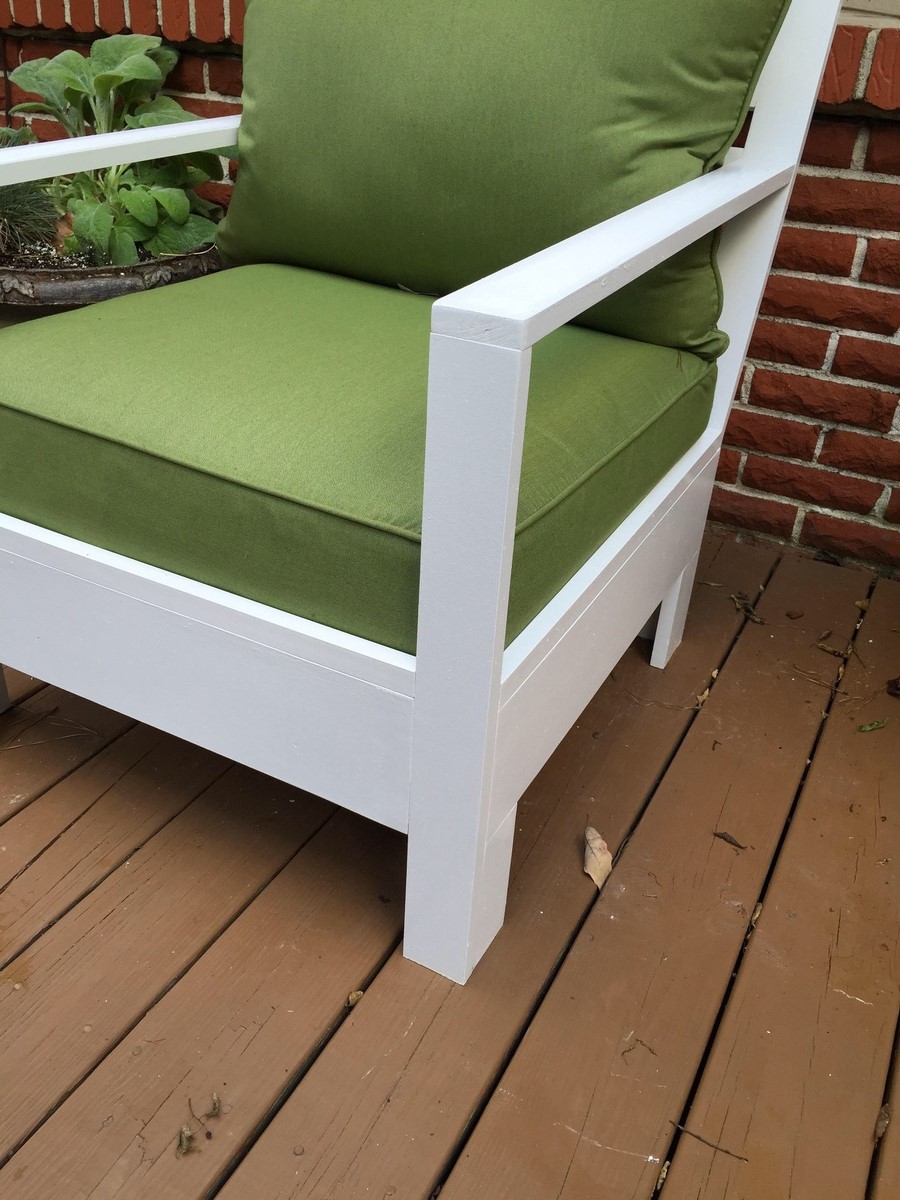
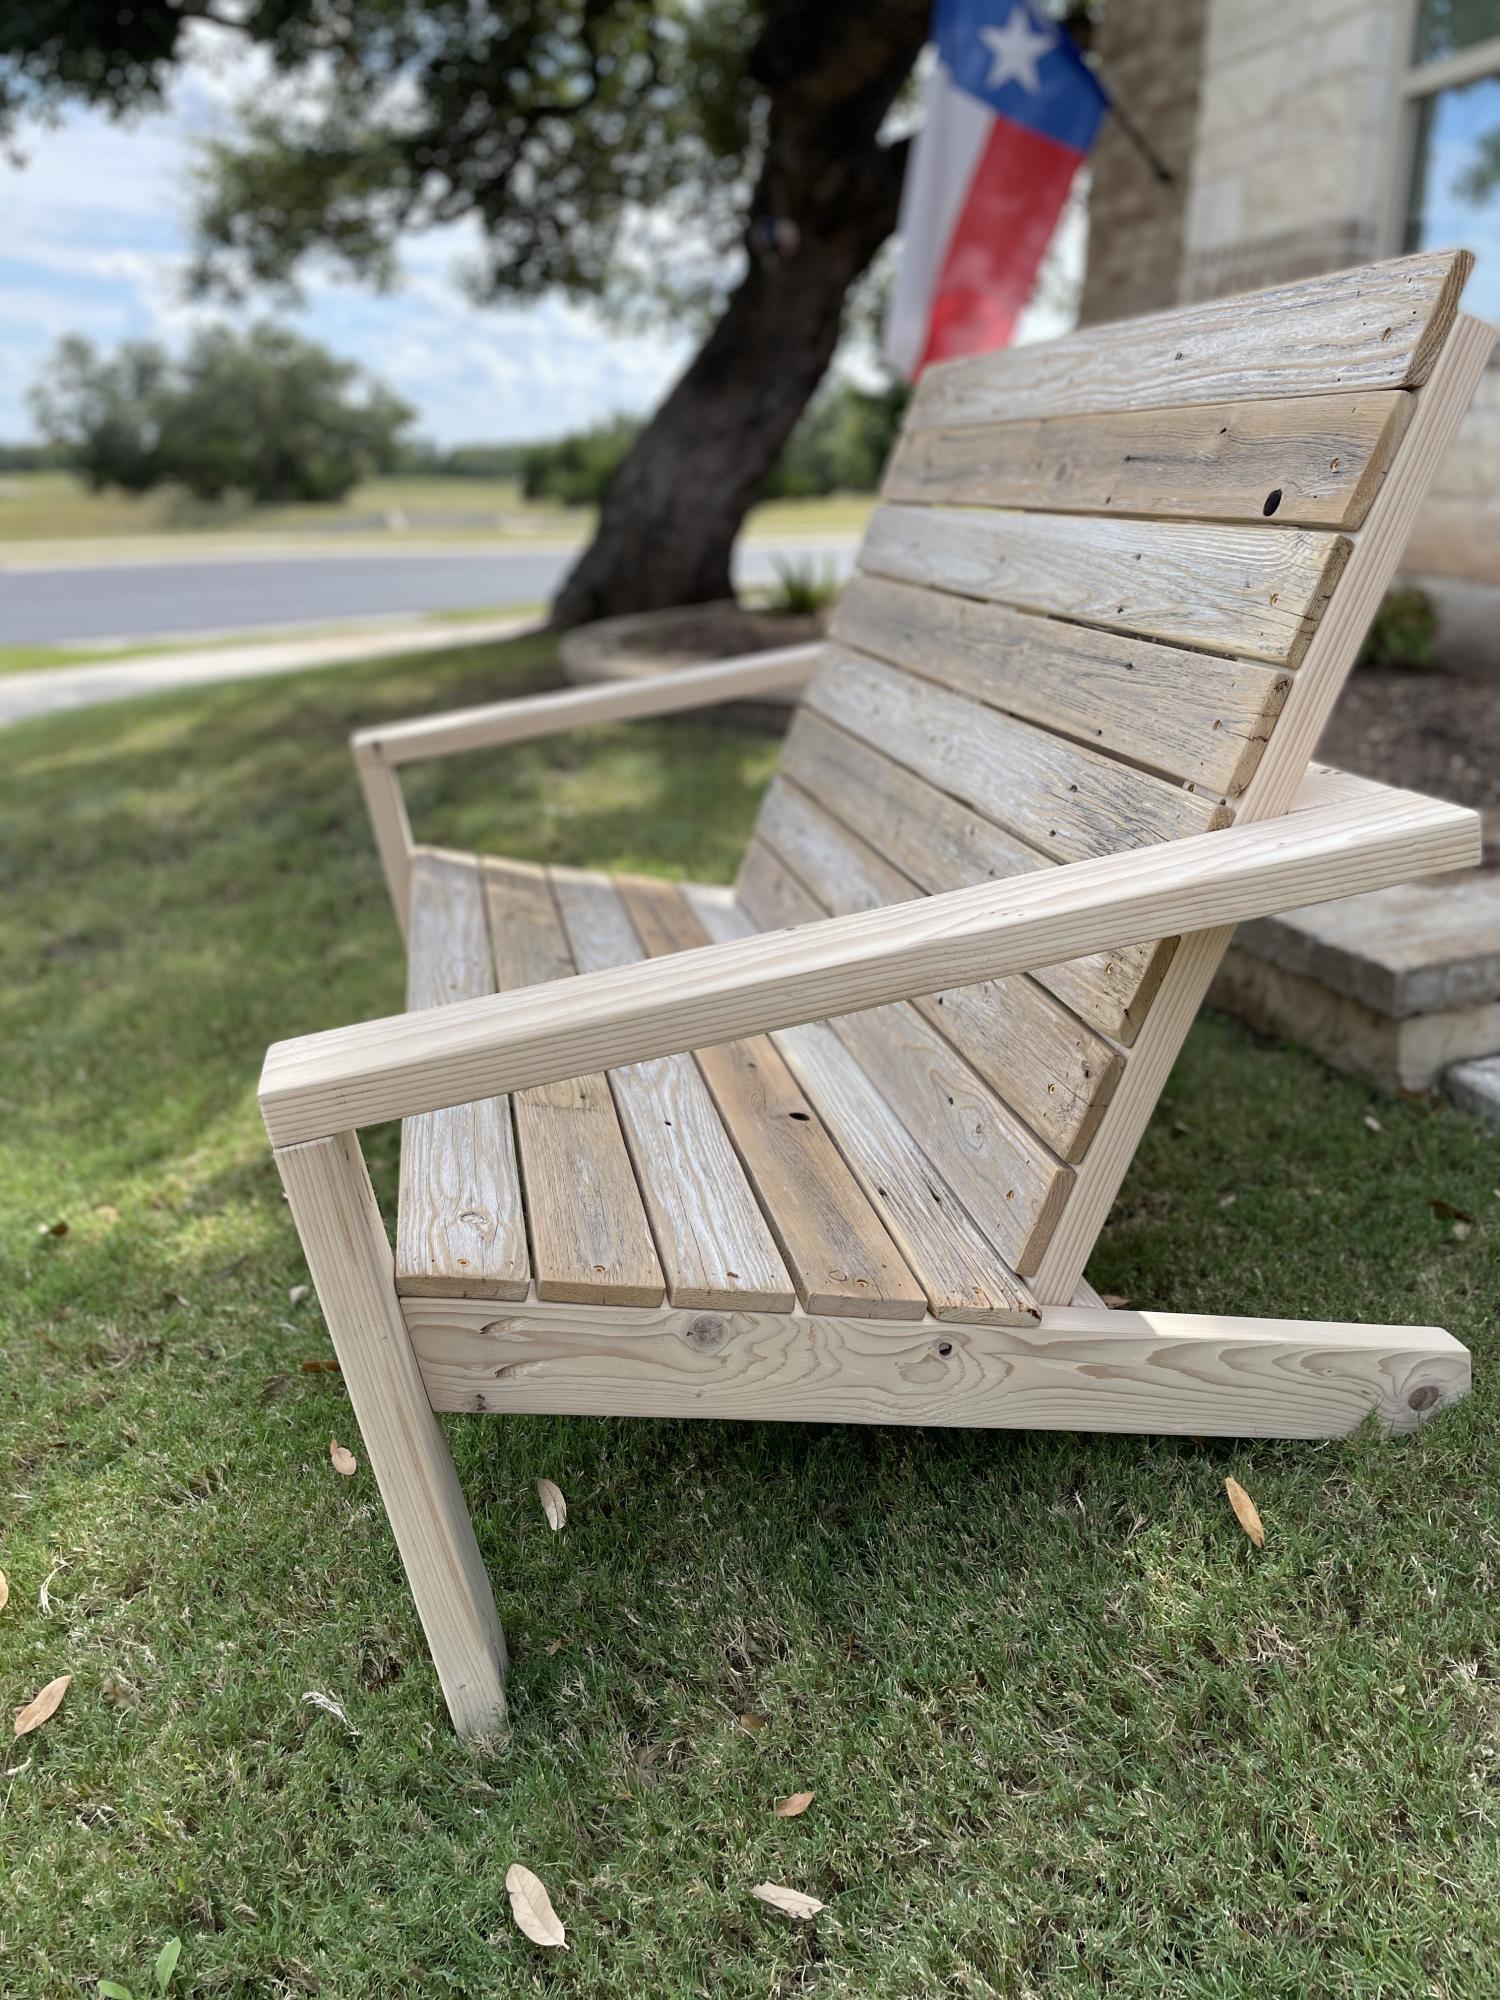
Home Depot Adirondack Chair
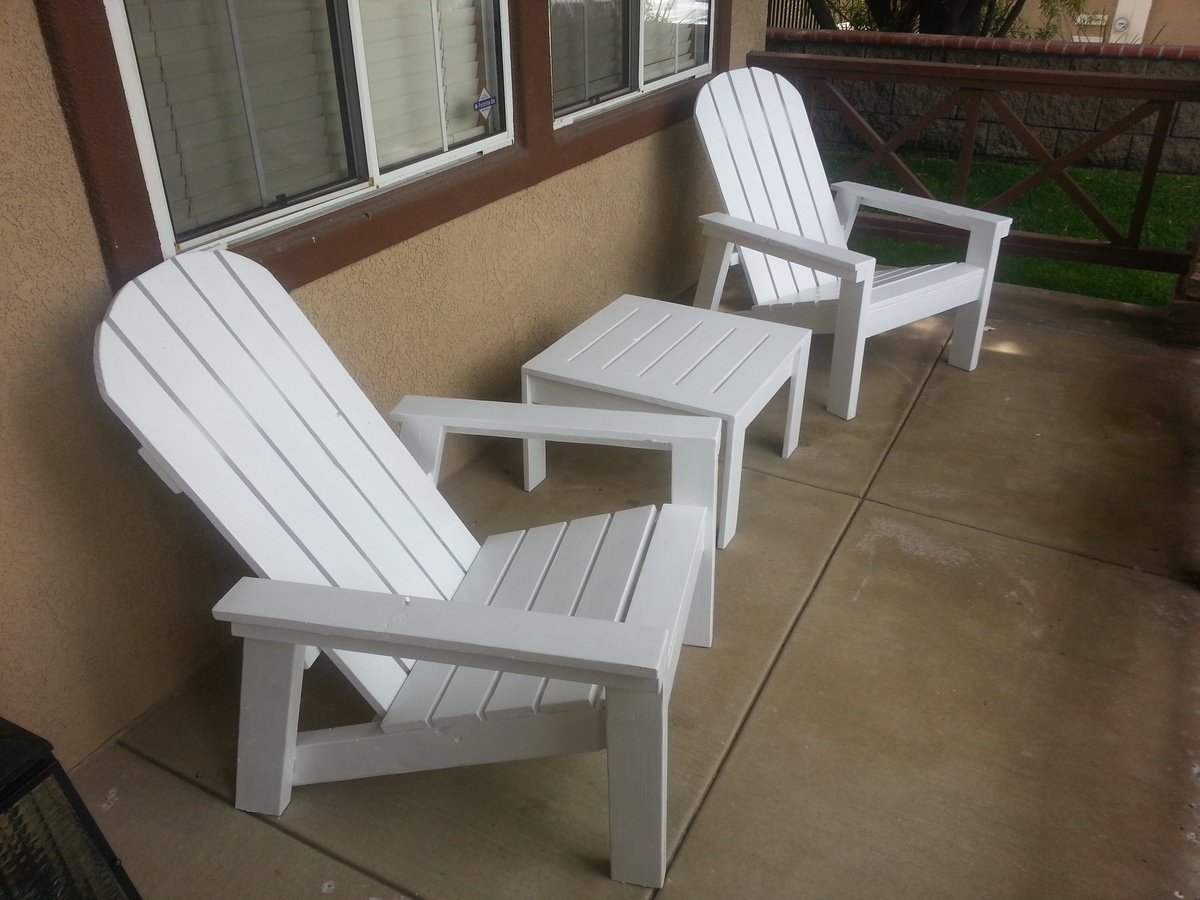
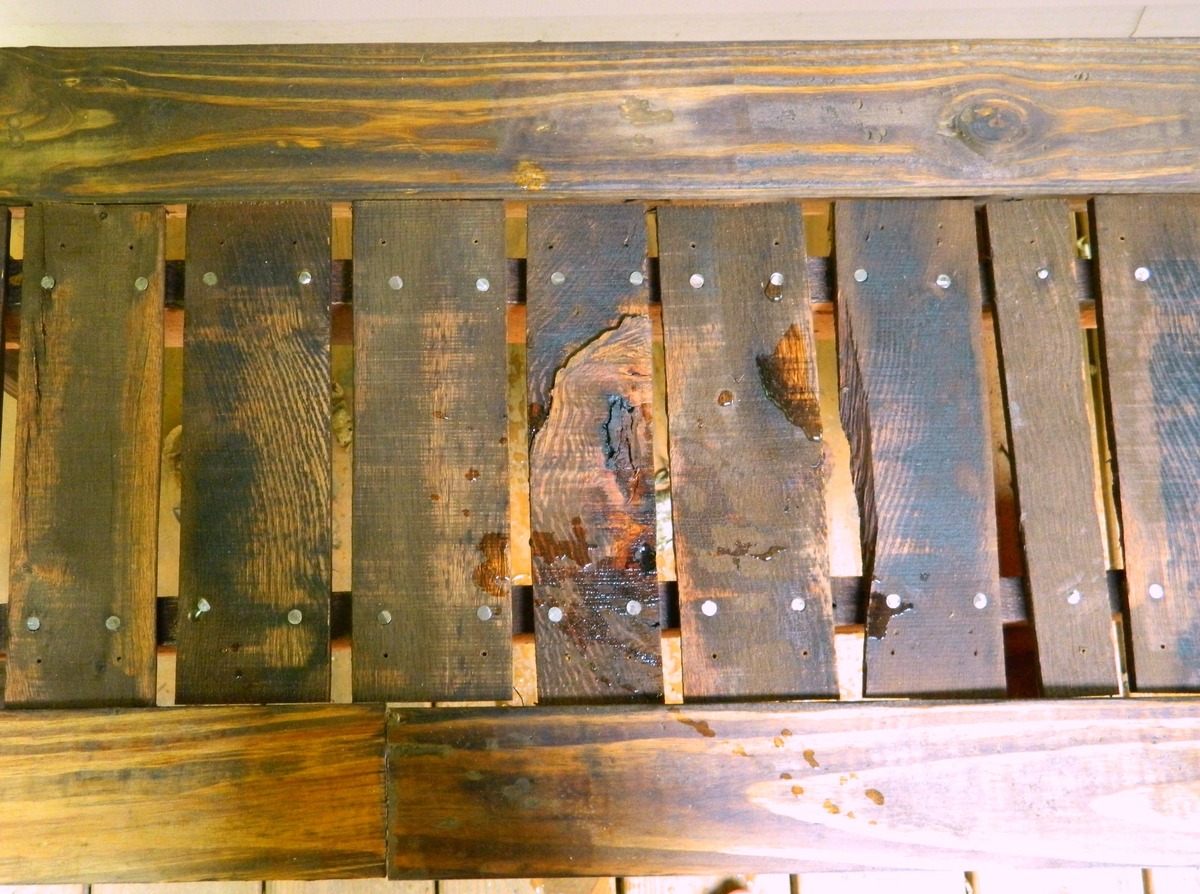
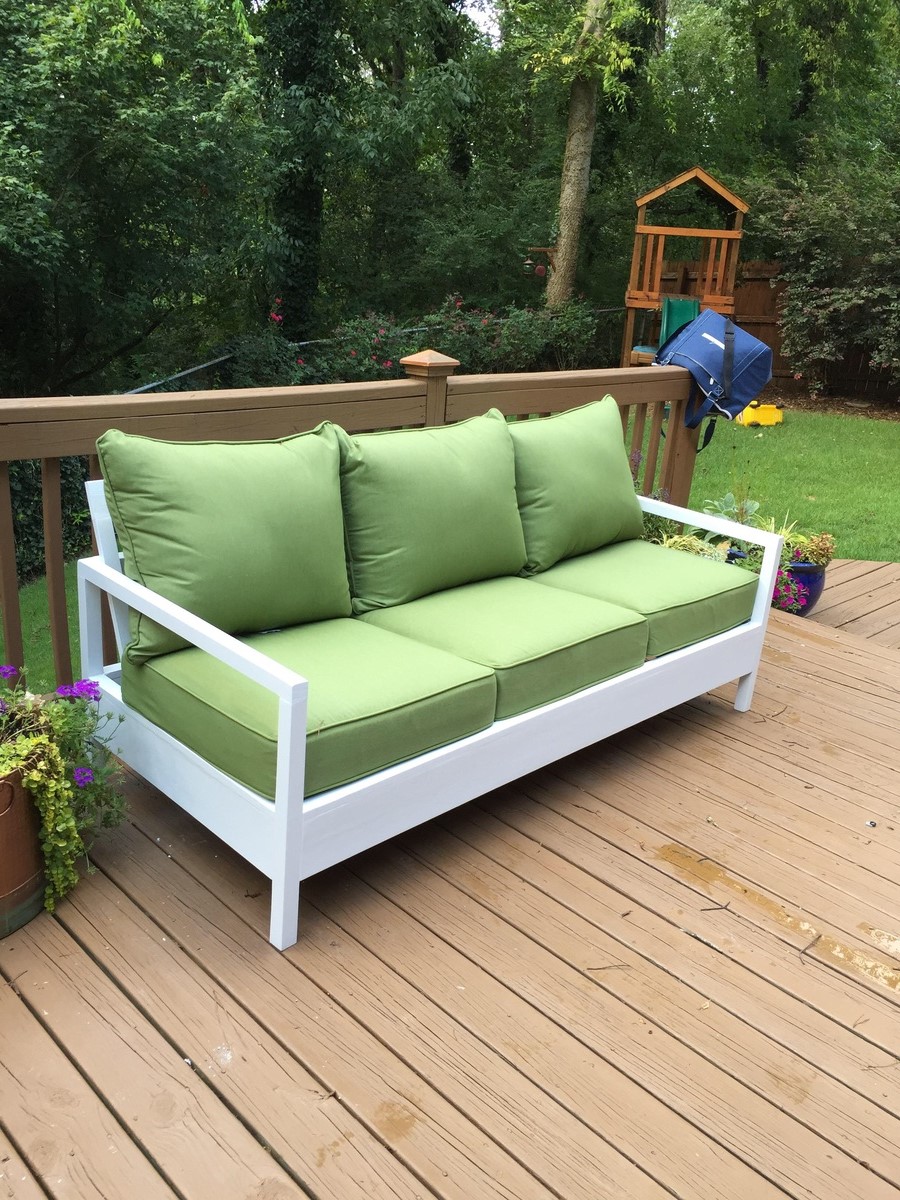
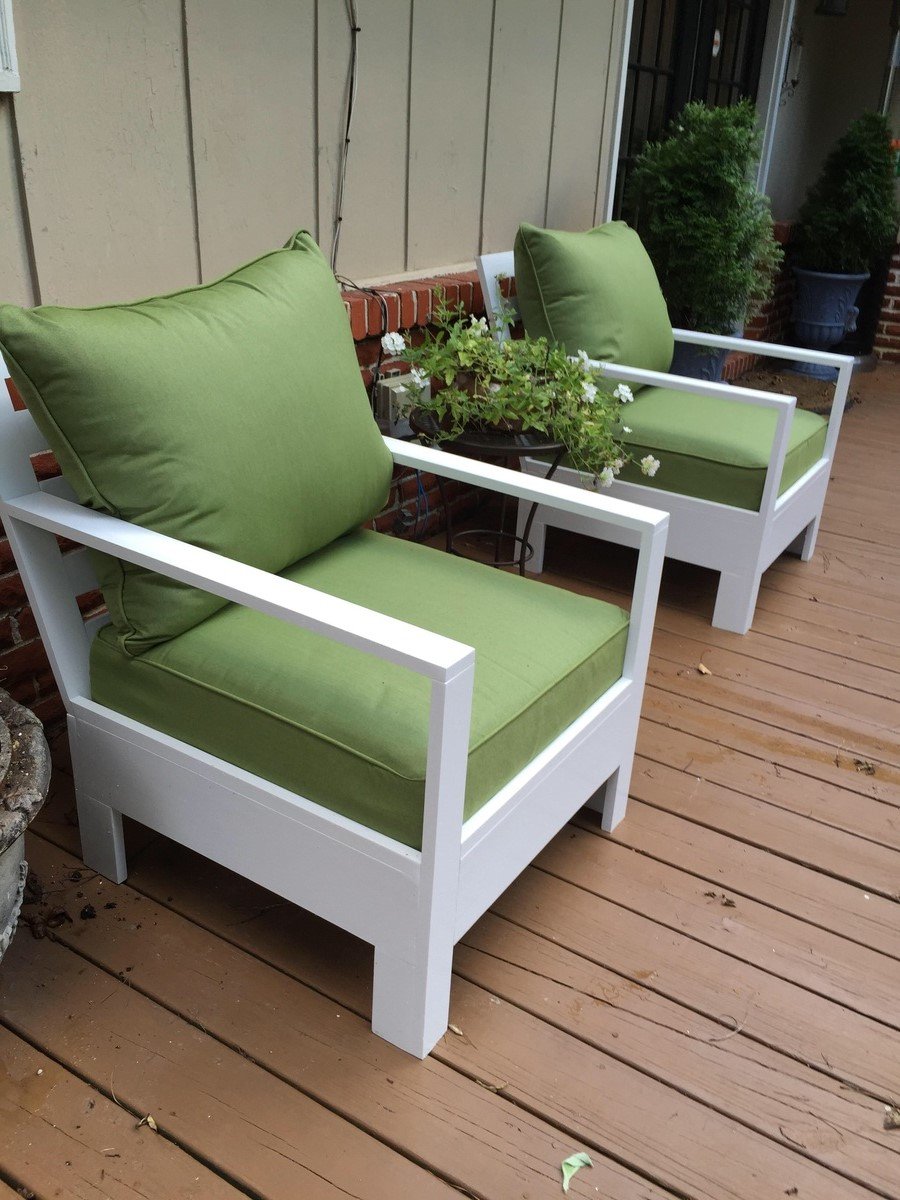
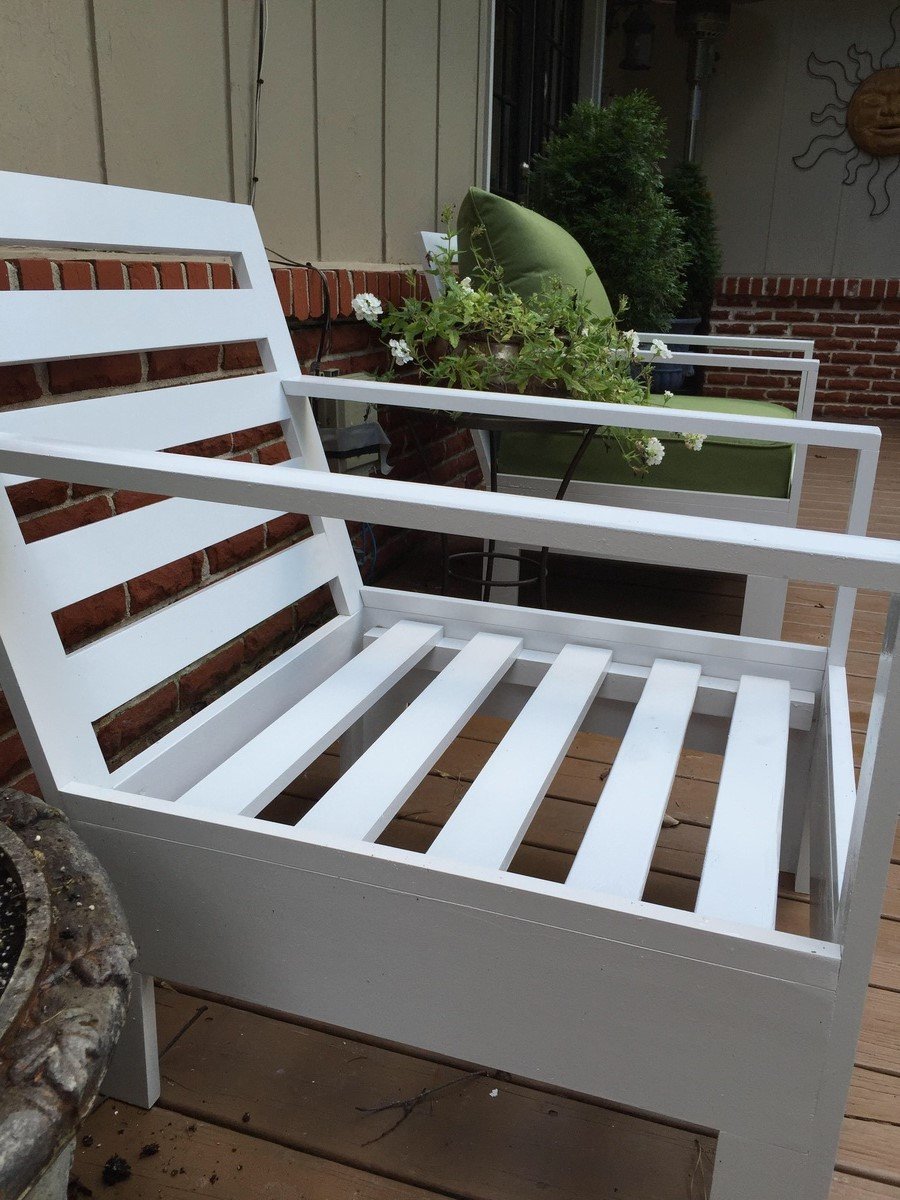
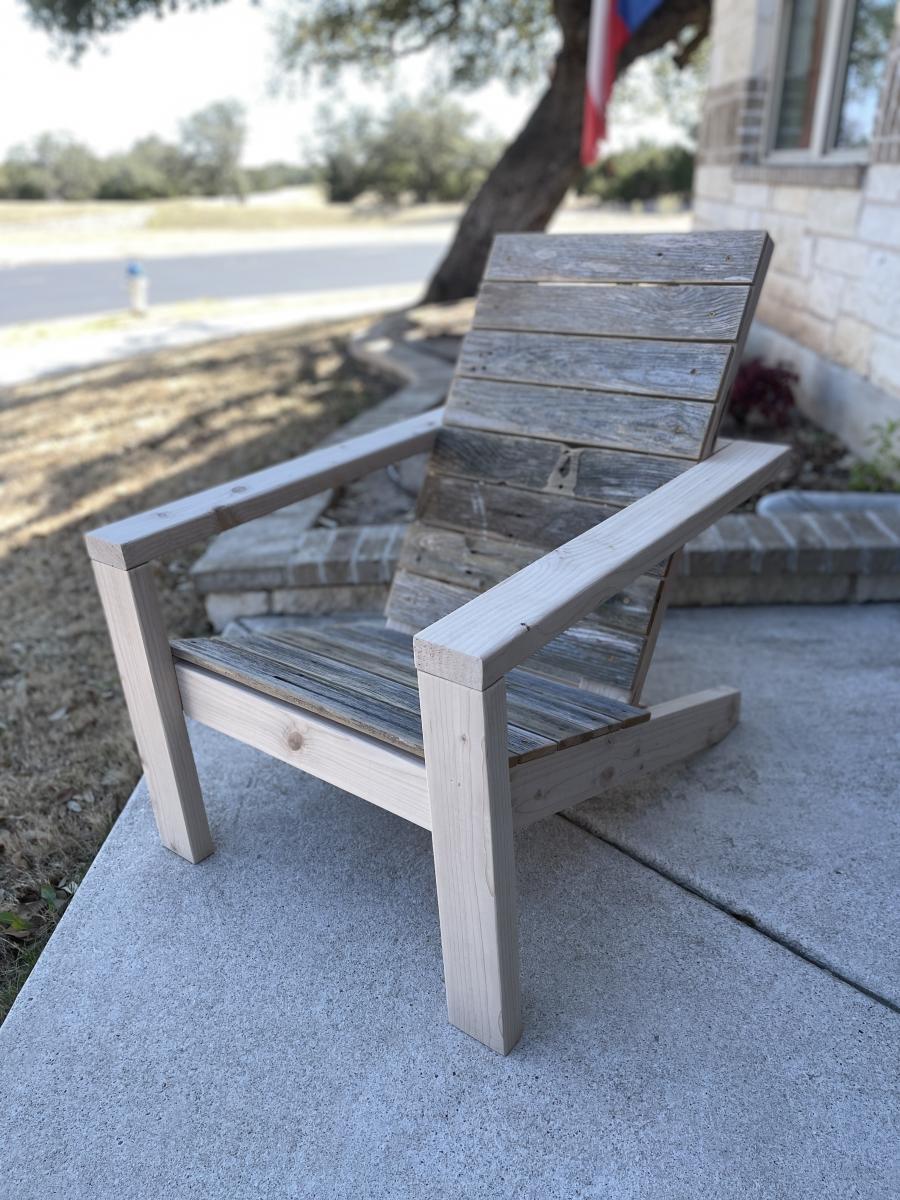
A few weeks ago my wife said she needs a footstool for our rocking chair while she rocks the baby to sleep. Being a sneaky husband, I quickly began planning to build her one because I knew I wasn't going to be able to find anything commercially sold that matched our baby room colors. A week later I have 2 Adirondack chairs, a table, a bunch of tools I didn't have before, and no footstool.... So about the chairs...The plans were super easy and well thought out. I learned a few things about cutting angles, which if you look closely you can see the seat portion does not extend to the front legs. Instead of wasting more wood, I simply adapted the plans. This makes the backs of the chairs sit upright more, but I actually like it because I have a bad back. We sanded it with 150 grit sand paper, and should have done a second sanding with a finer paper, but we didn't. I primed the wood with a basic multi purpose primer and then painted with BEHR outdoor white semi-gloss. I wanted to seal it with a poly, but Home Depot did not recommend sealing with with Poly, and I could not find a Poly in Home Depot that did not warn AGAINST using it on painted surfaces. Oh, and make sure you wear eye protection! Dust in the eyes is brutal. Fortunately I have a kind wife who washed them out for me. :) Now I have a nice pair of clear glasses.
They only needed 1 coat of primer and 1 coat of paint. This paint was really thick.


Comments
Ana White Admin
Thu, 06/13/2013 - 00:31
Love it!
Great job! Now about that footstool?!?
In reply to Love it! by Ana White Admin
Seth
Fri, 06/14/2013 - 22:03
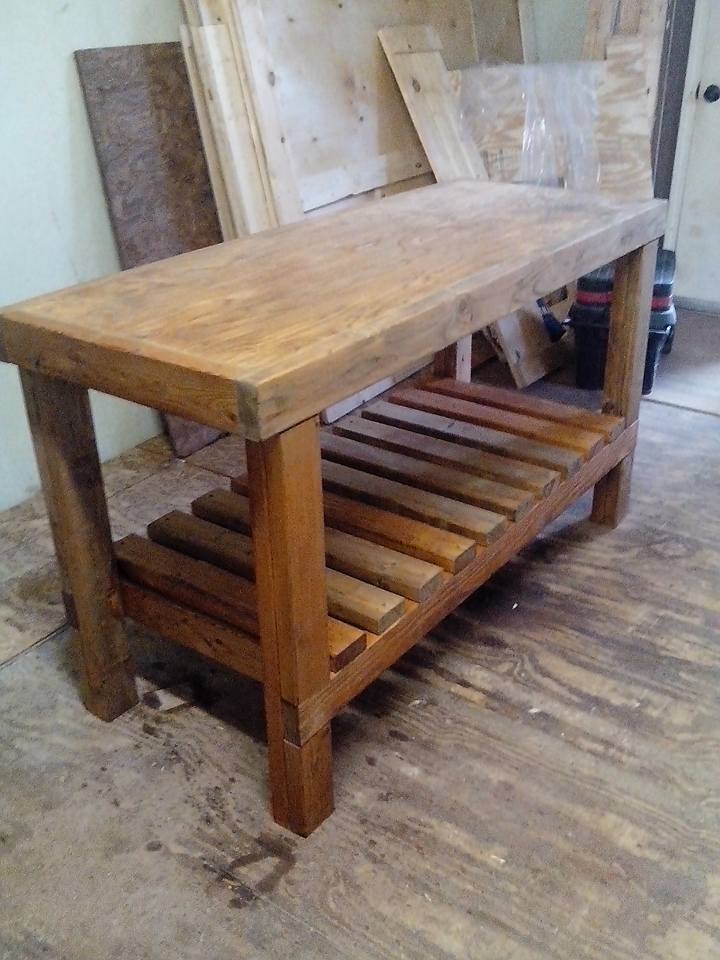
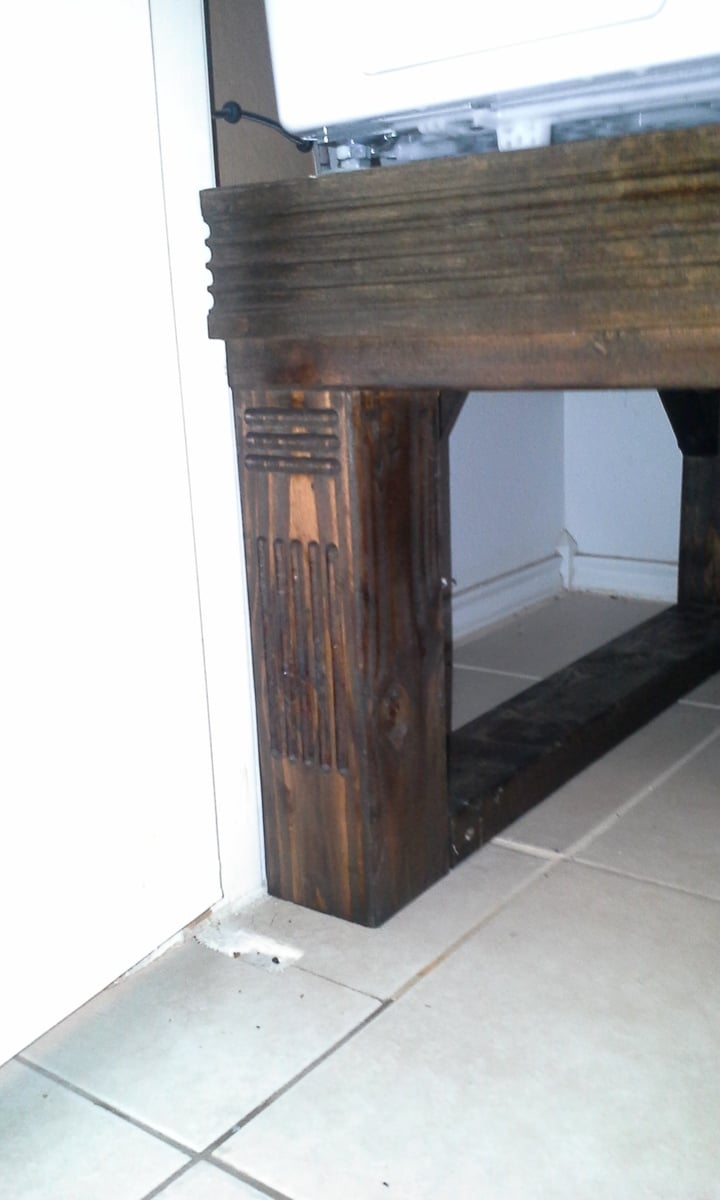
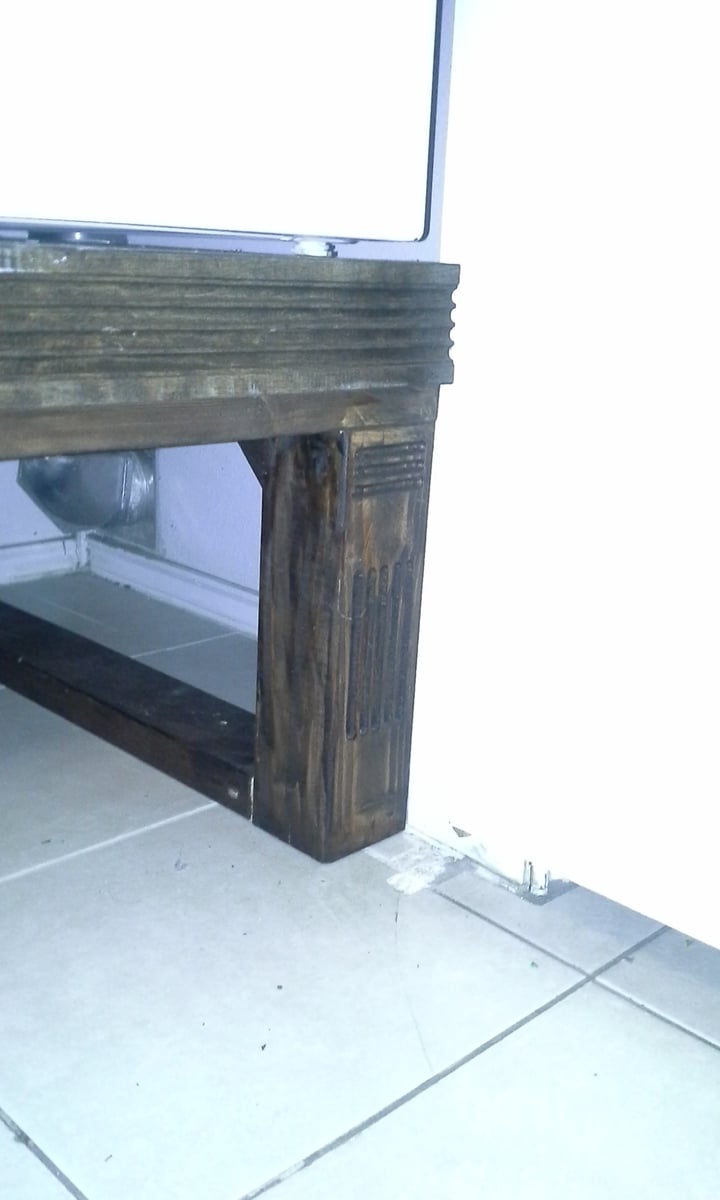
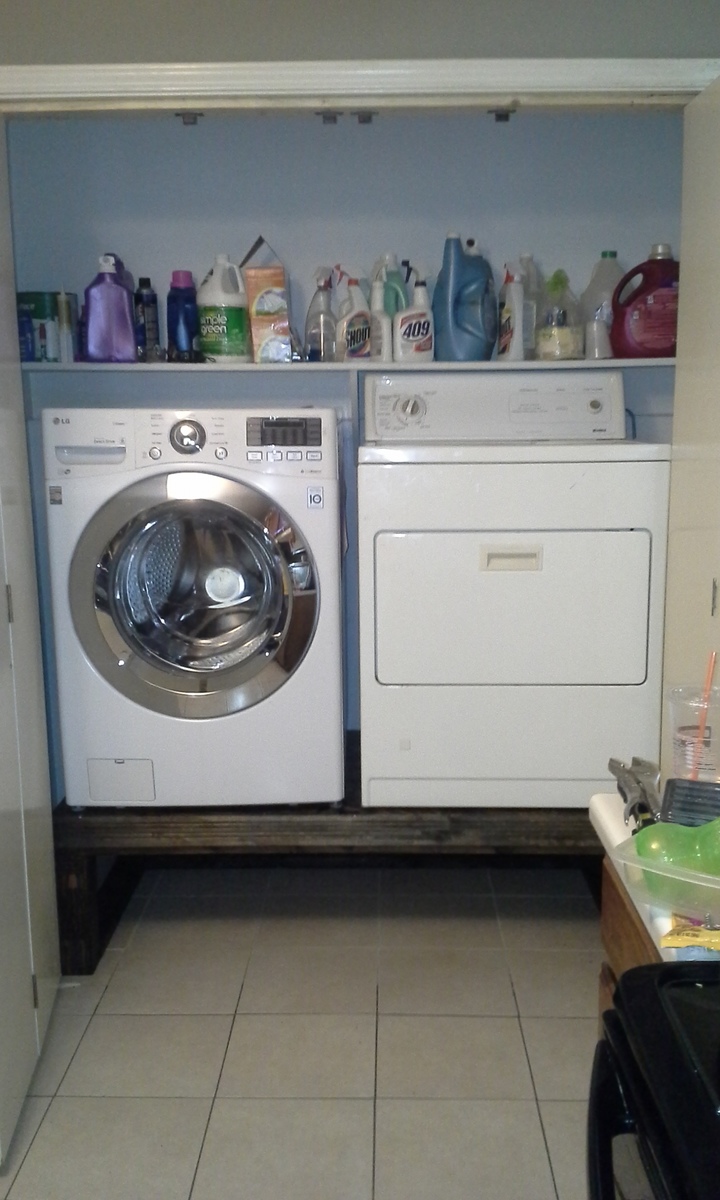
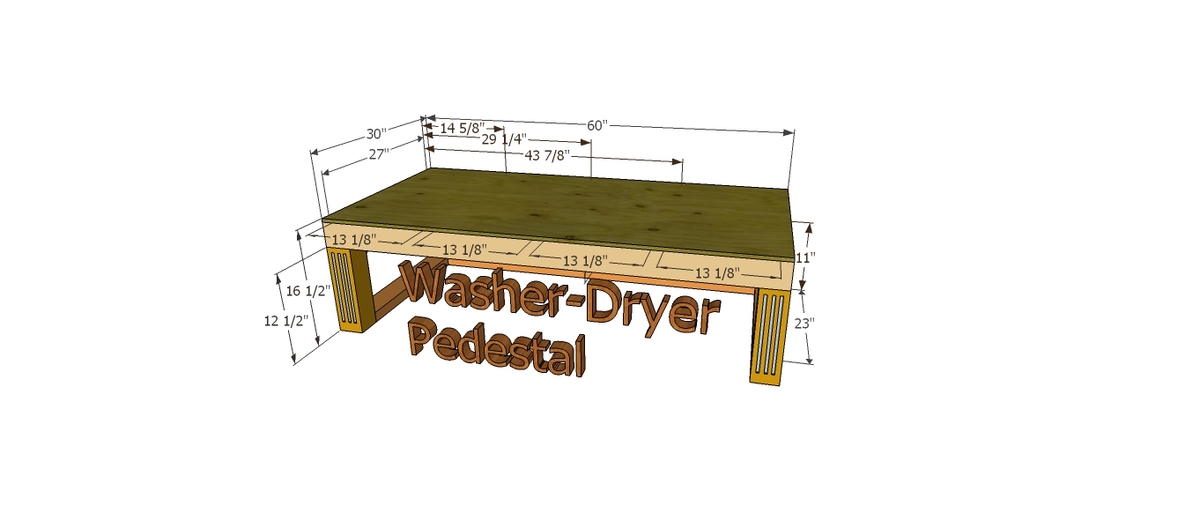
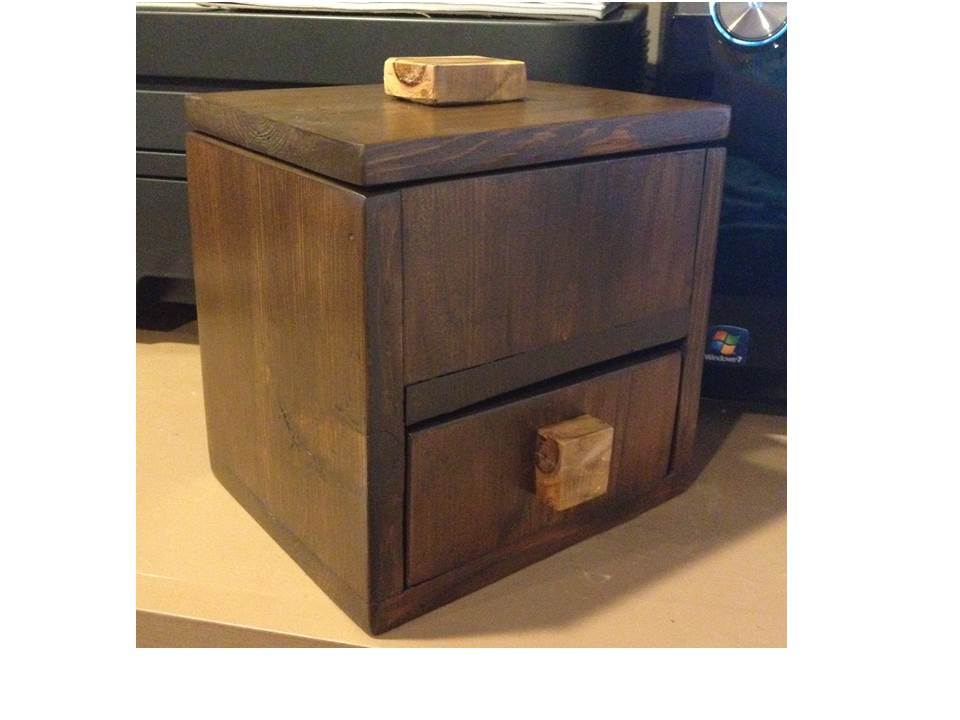
We just finished a modified
We just finished a modified version of the sturdy workbench. Footstool is next I suppose :)