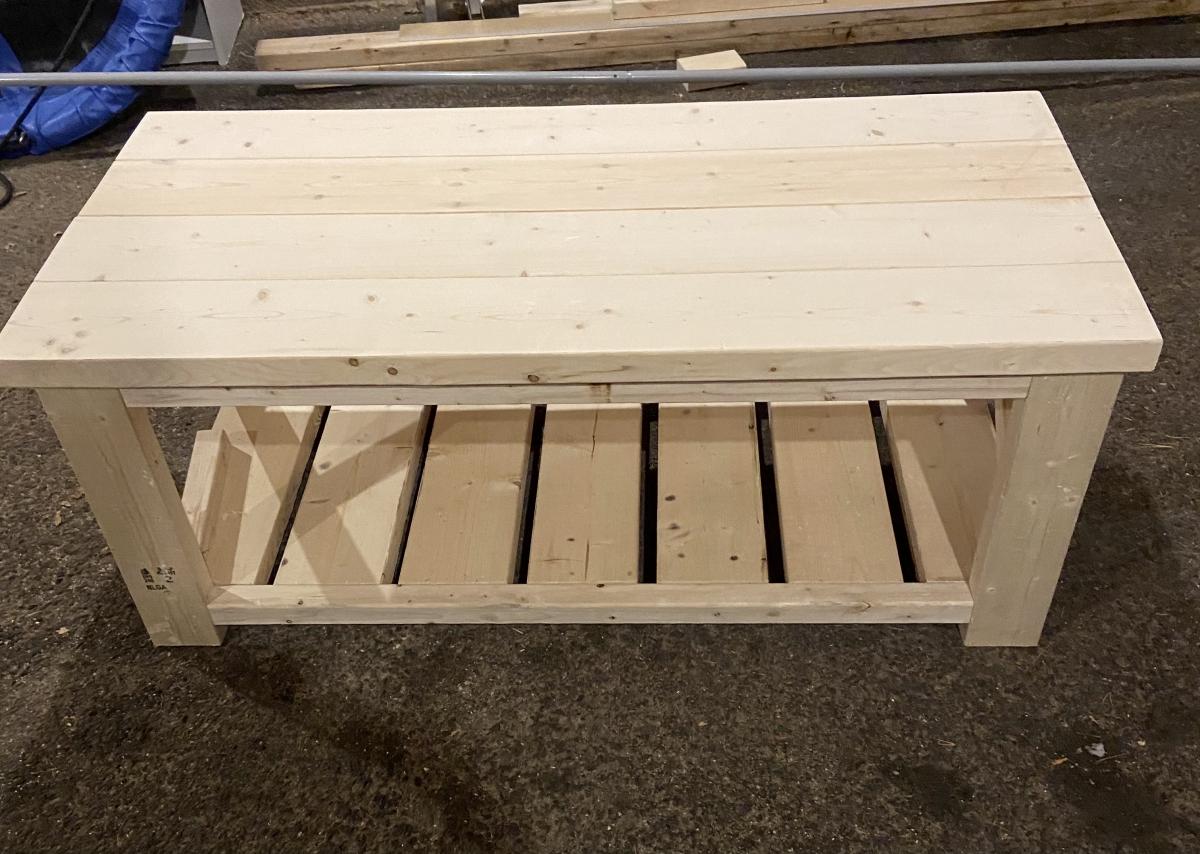
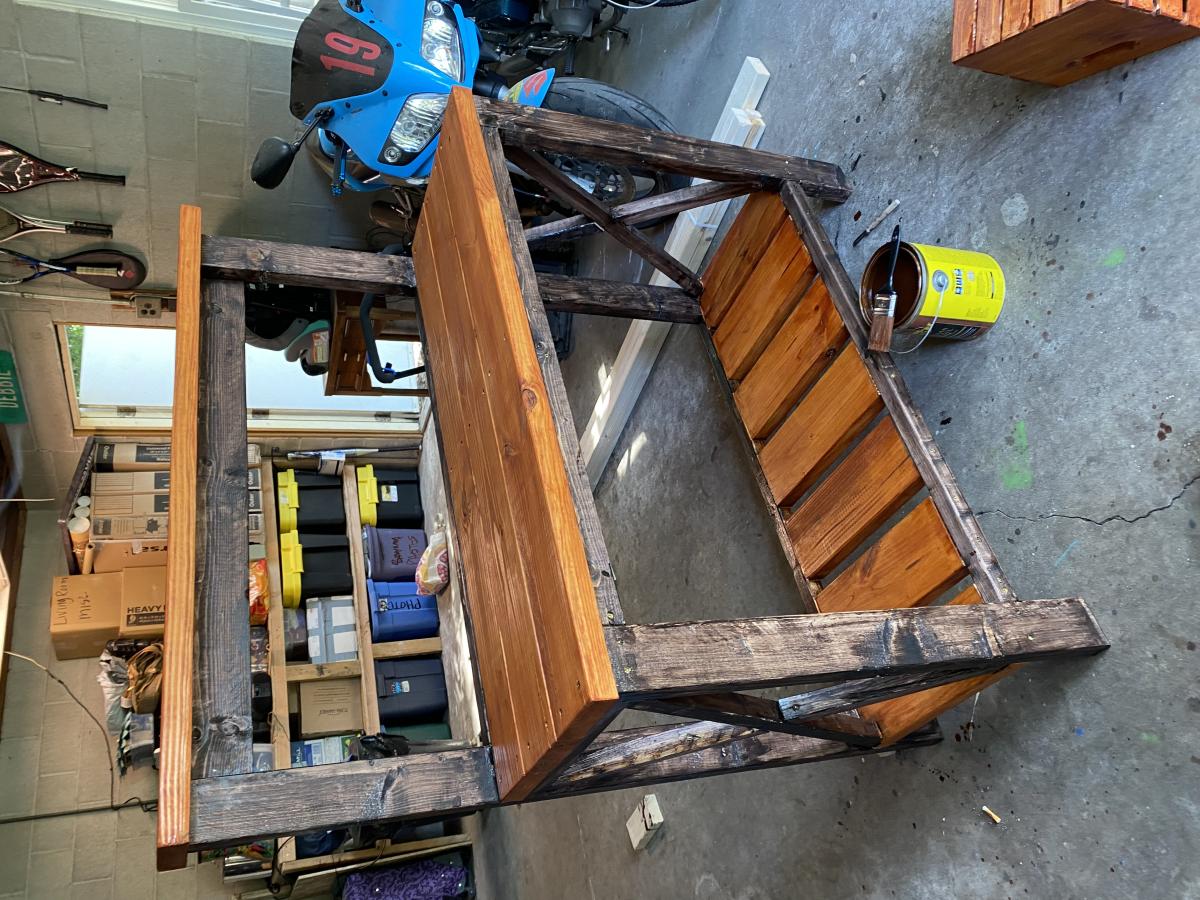
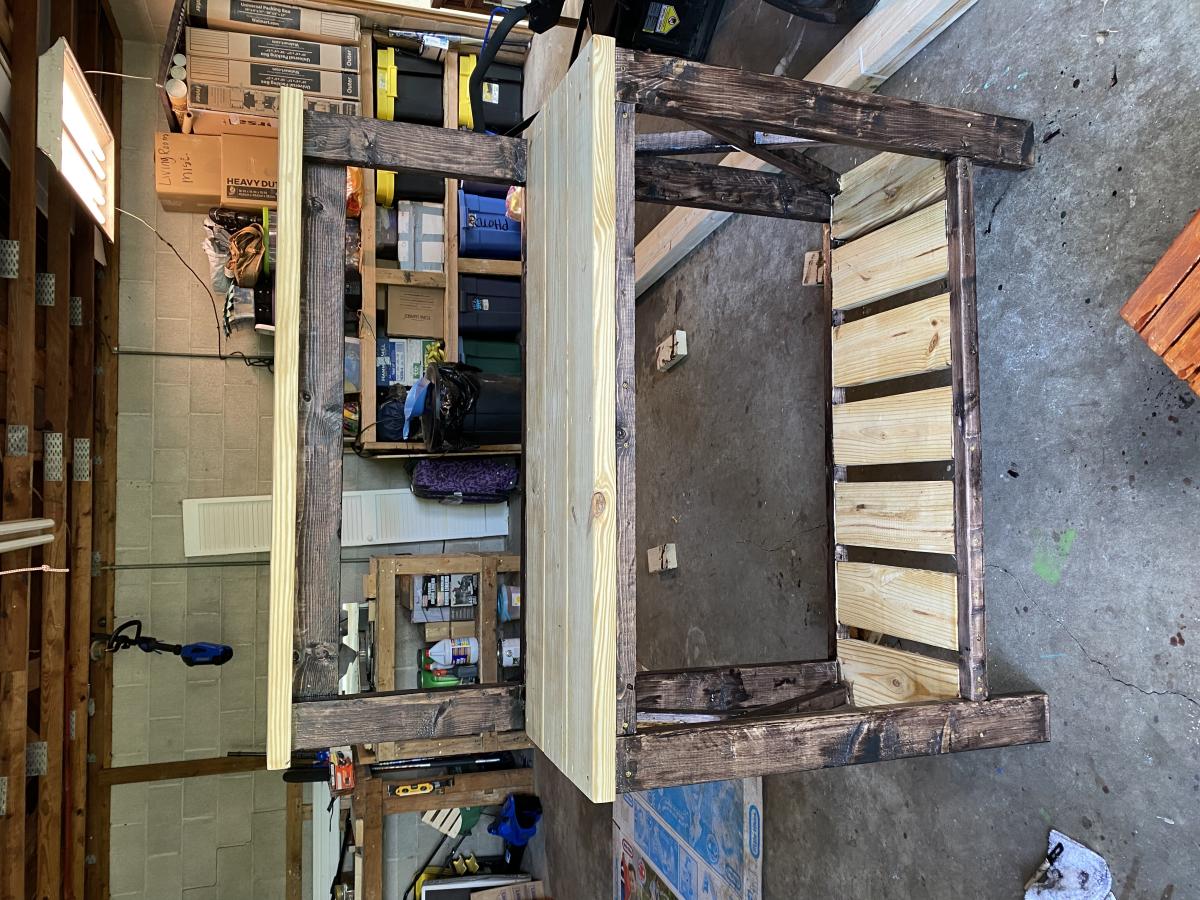
Hudson's Rustic Changing Table
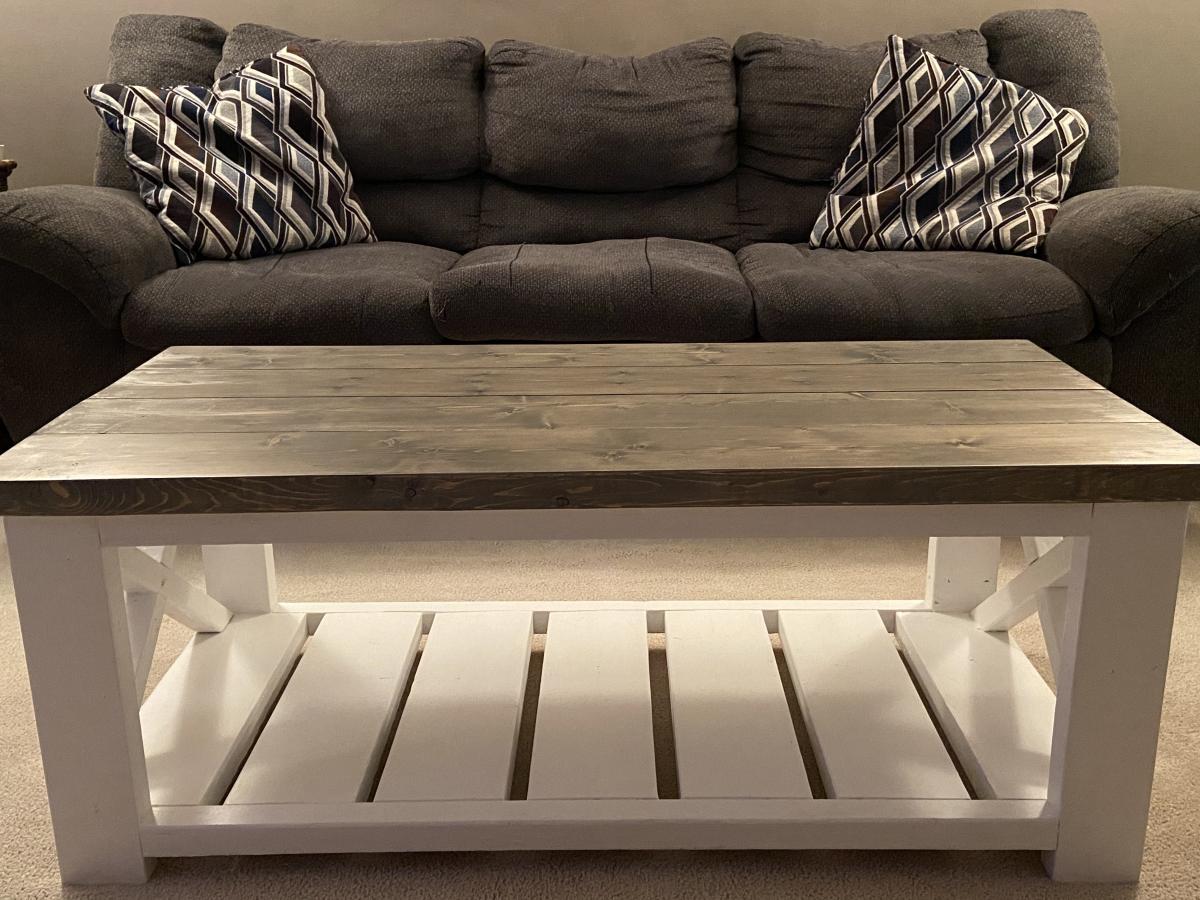
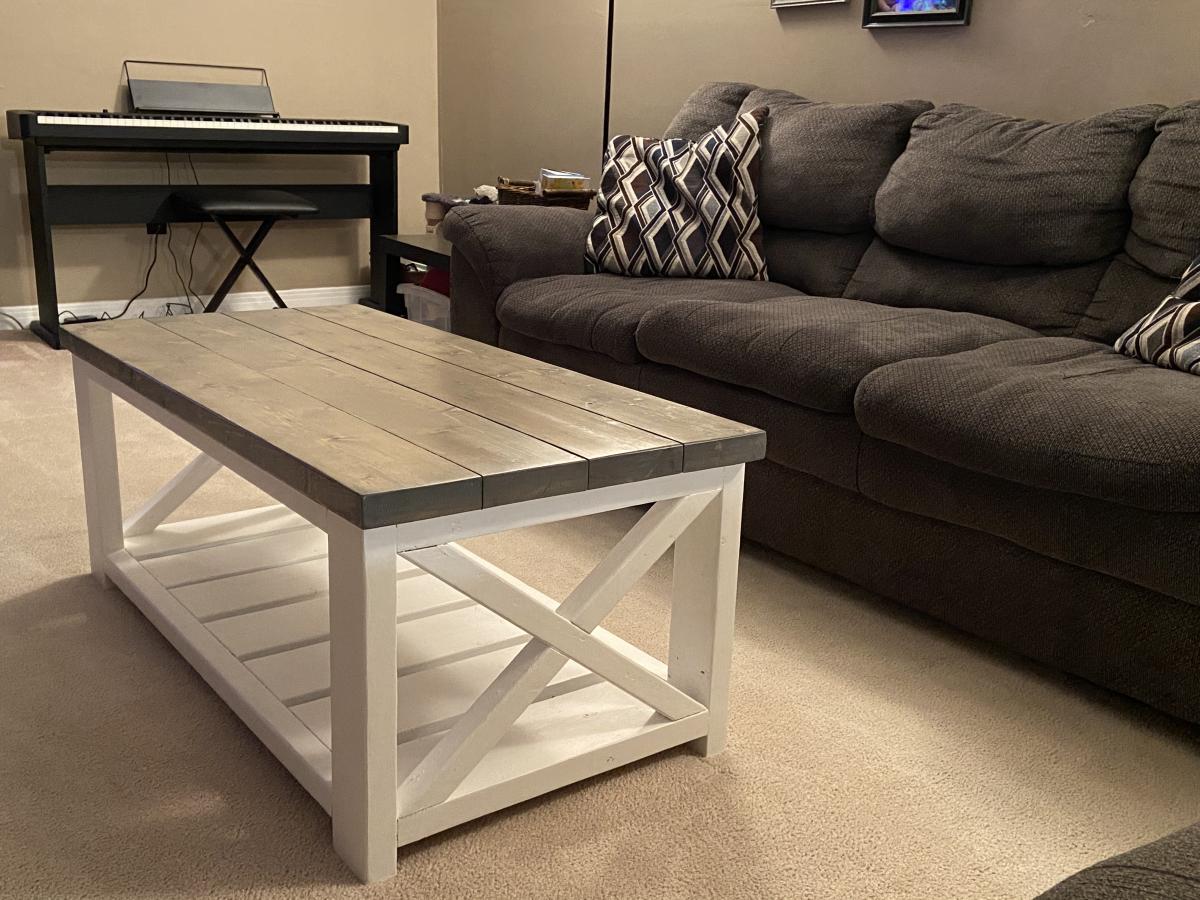
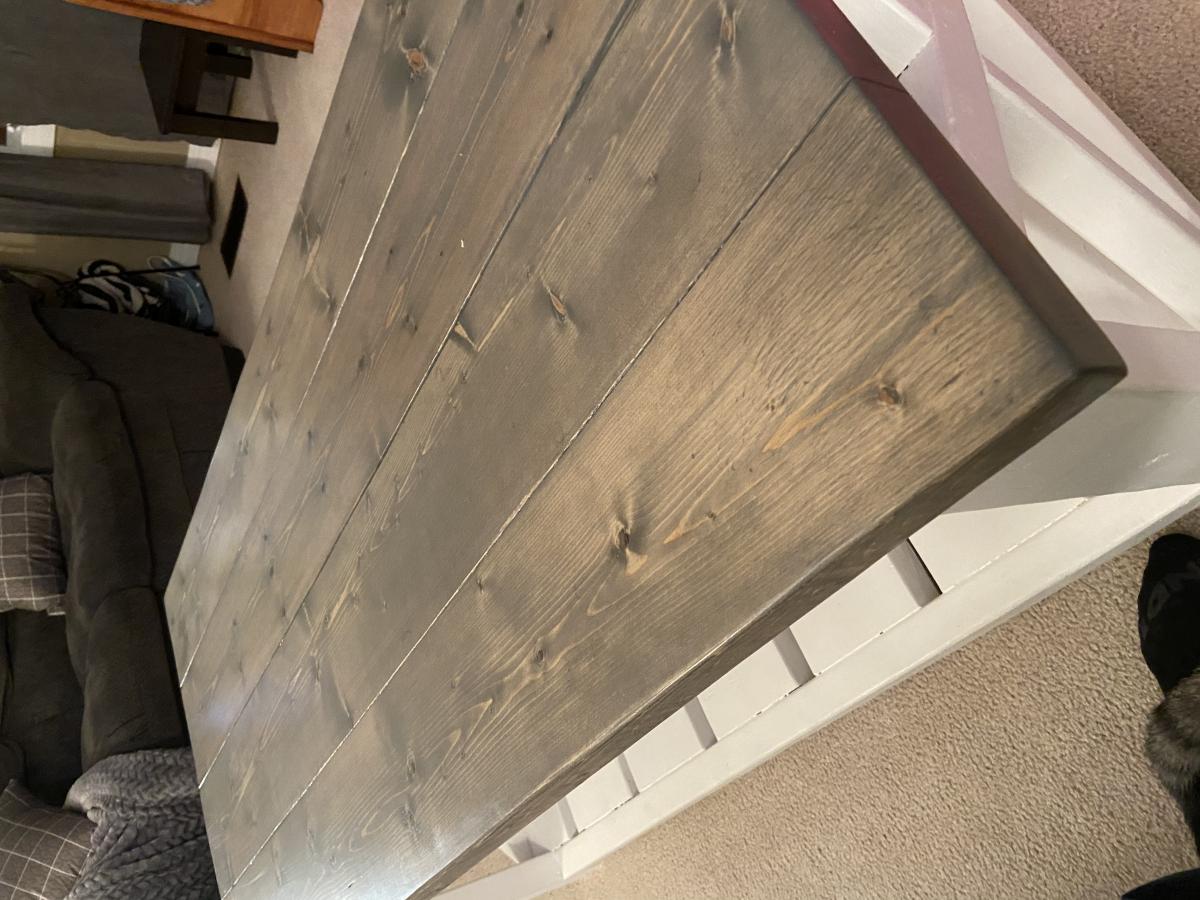
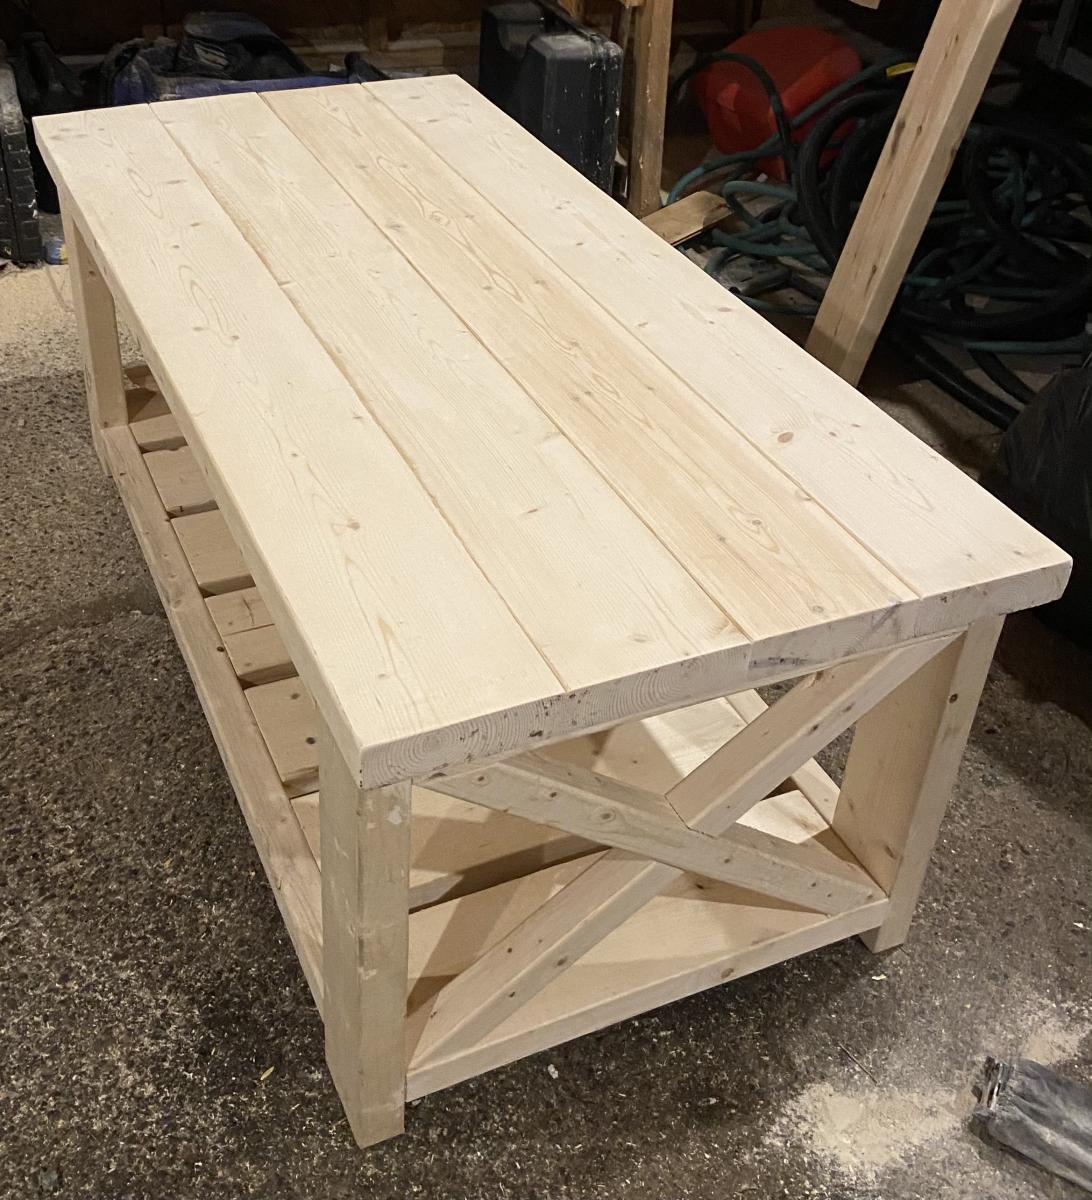
Used Minwax stain in Dark Walnut and Coastal Gray chalk paint from Rustoleum
Used Minwax stain in Dark Walnut and Coastal Gray chalk paint from Rustoleum
I built this based on the idea of the mimi storage bench and hutch. We will use this in our garage next to or shoe rack. I built this primarily from 1x6 cedar fence pickets, a few cedar 1x2's and a couple cedar 2x4's.
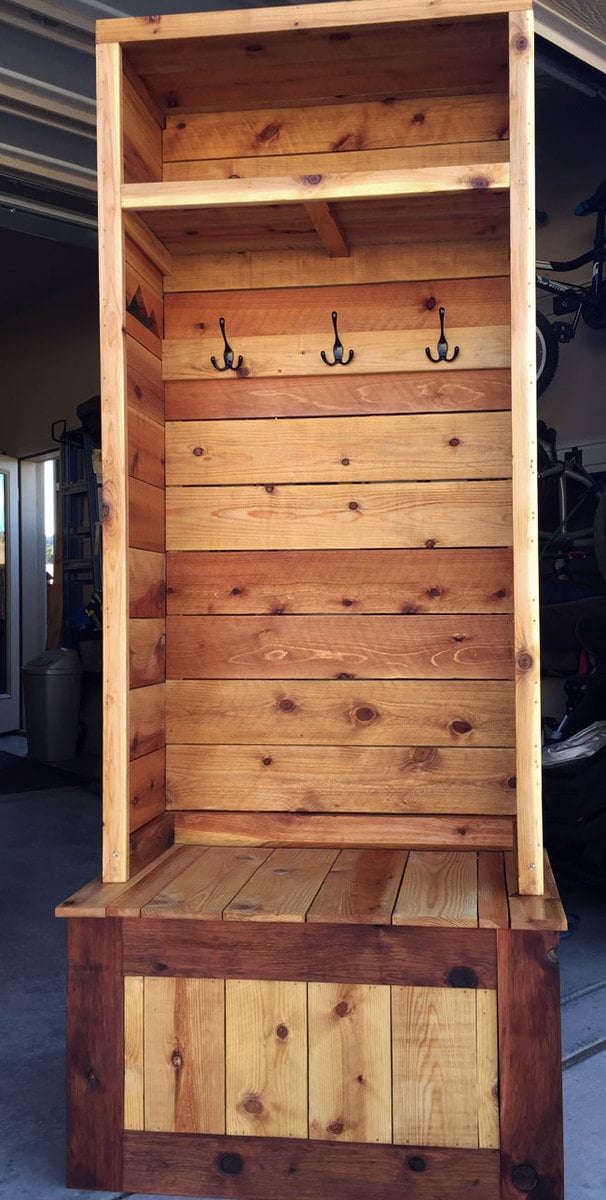
The lid lifts for off season shoe storage. All bench joinery is with pocket holes and the cedars pickets are attached with pneumatic 1 or 2-1/2" nails.
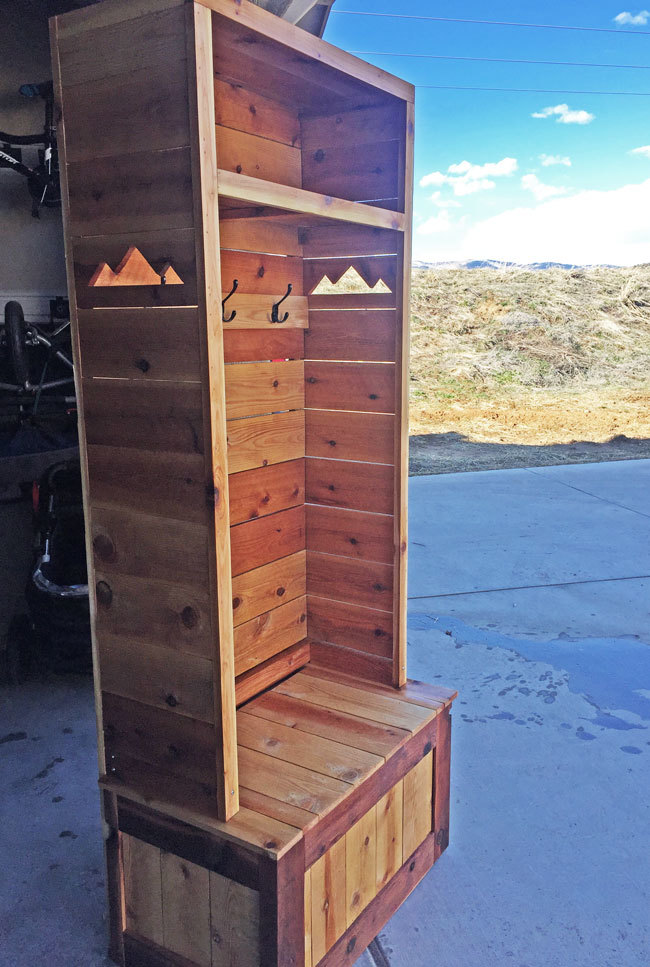
I used my speedy square's 45 degree angles to trace out the mountain silloutes and then cut them out with my jigsaw. I paced myself on the project and my four year old helped quite a bit with measuring and handing me the next board. We're excited to have a little spot to change shoes and grab the jackets. Feel free to check out my Instagram for other random projects or are family fun instagram.com/fotosnapper


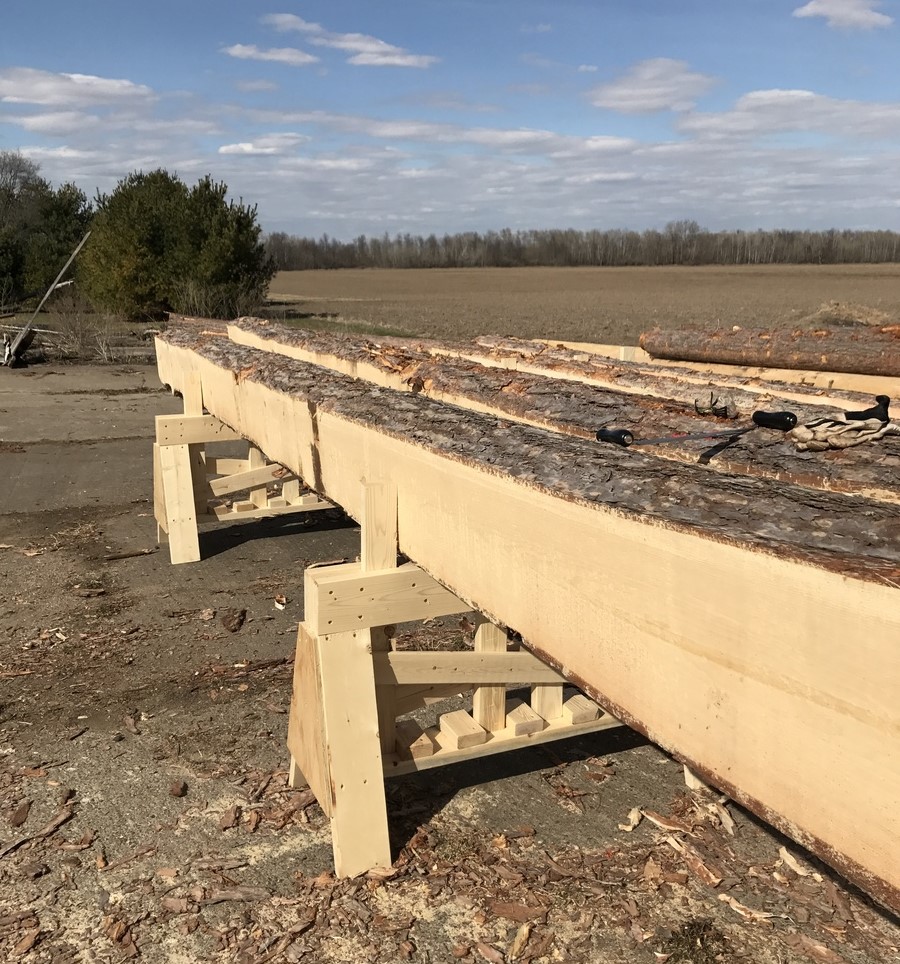
I modified Anna's plans to make these heavy duty saw horses.
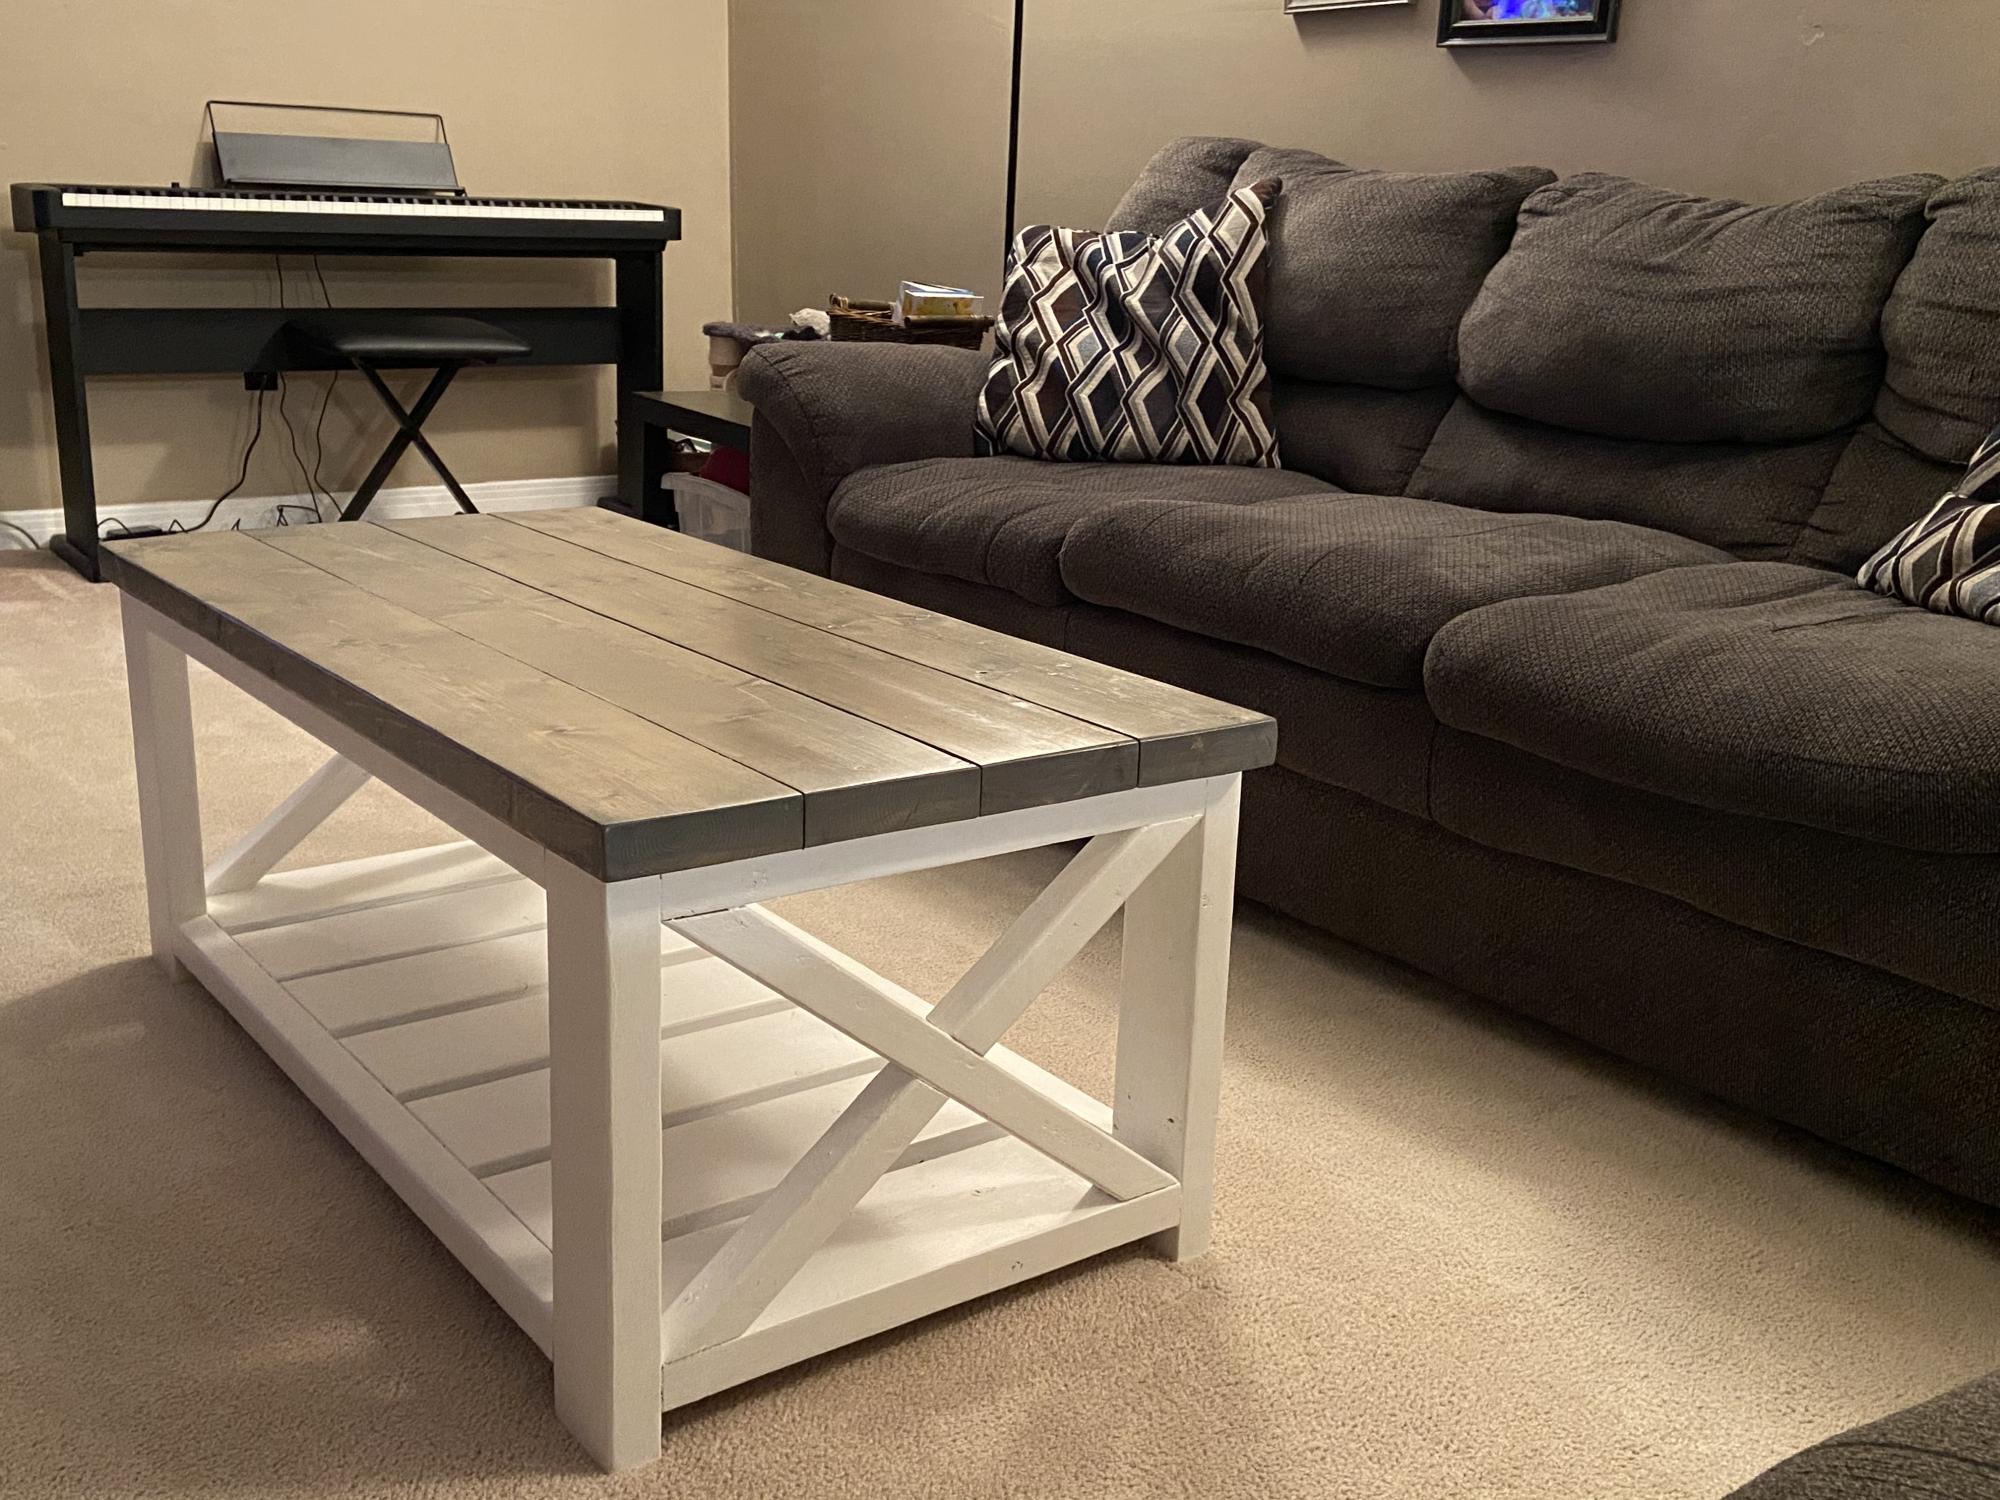
This was my first project and had tons of fun building it. Can’t wait to build to end tables to match.
The plans are so easy to understand. The only change I made was instead of exposed screws I used the pocket hole method
Fri, 01/12/2024 - 08:33
This is beautiful and just the look I'm going for with the color scheme. I am wondering if it would be easier to paint the wood before constructing it? Also, what is the pocket hole technique? I think I would like the screws hidden too.
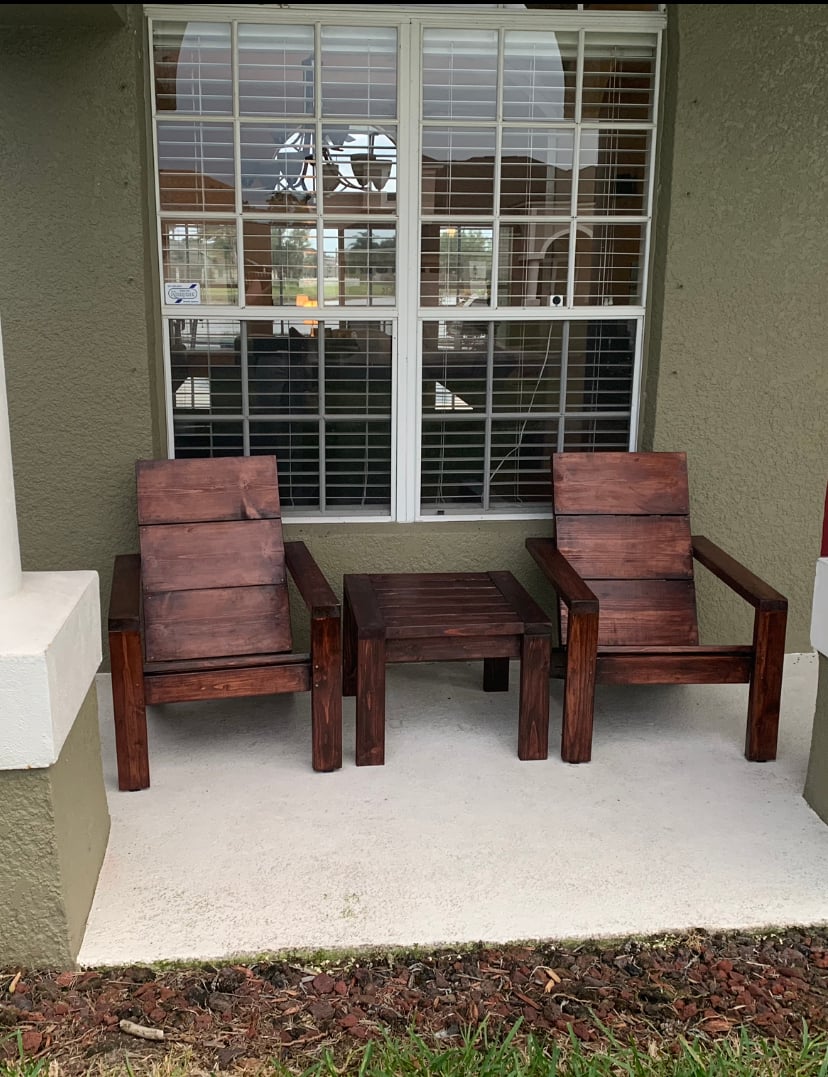
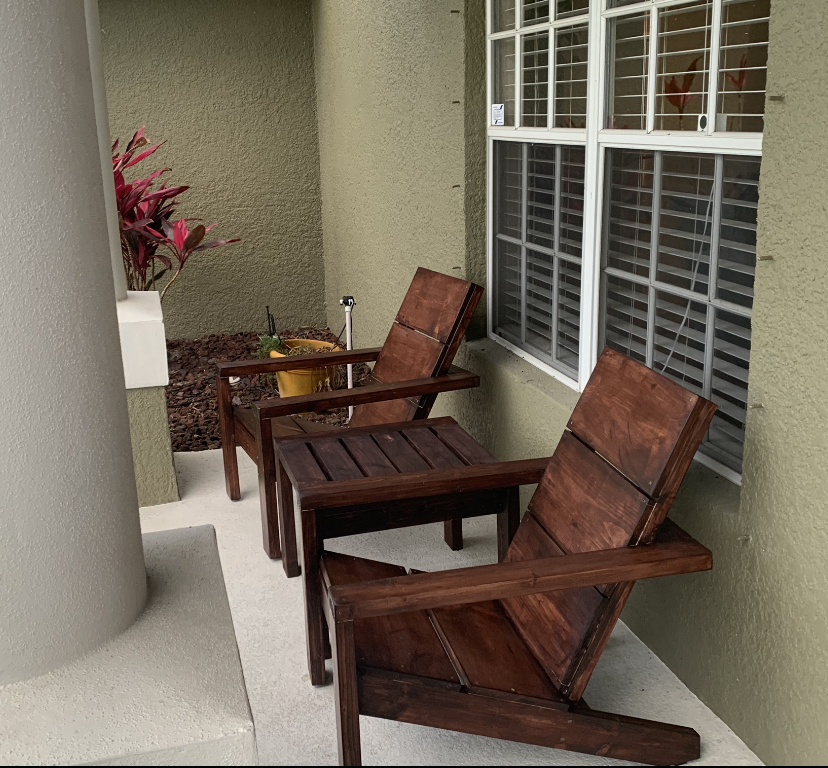
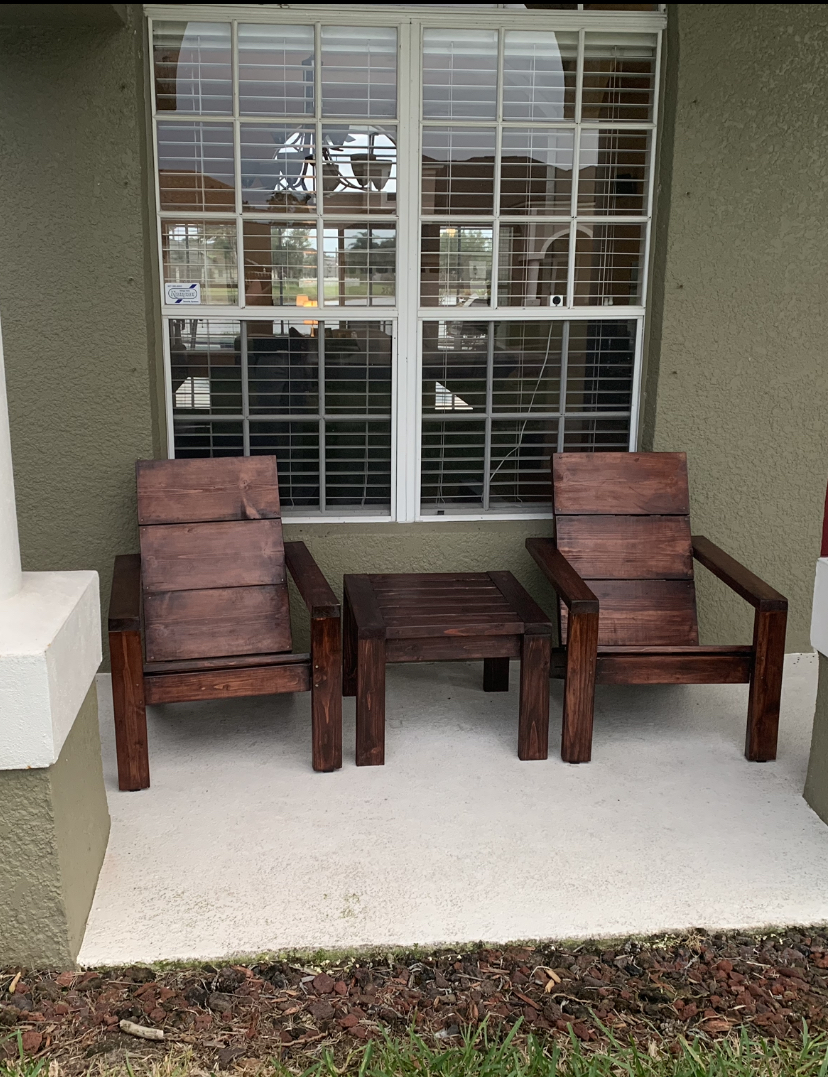
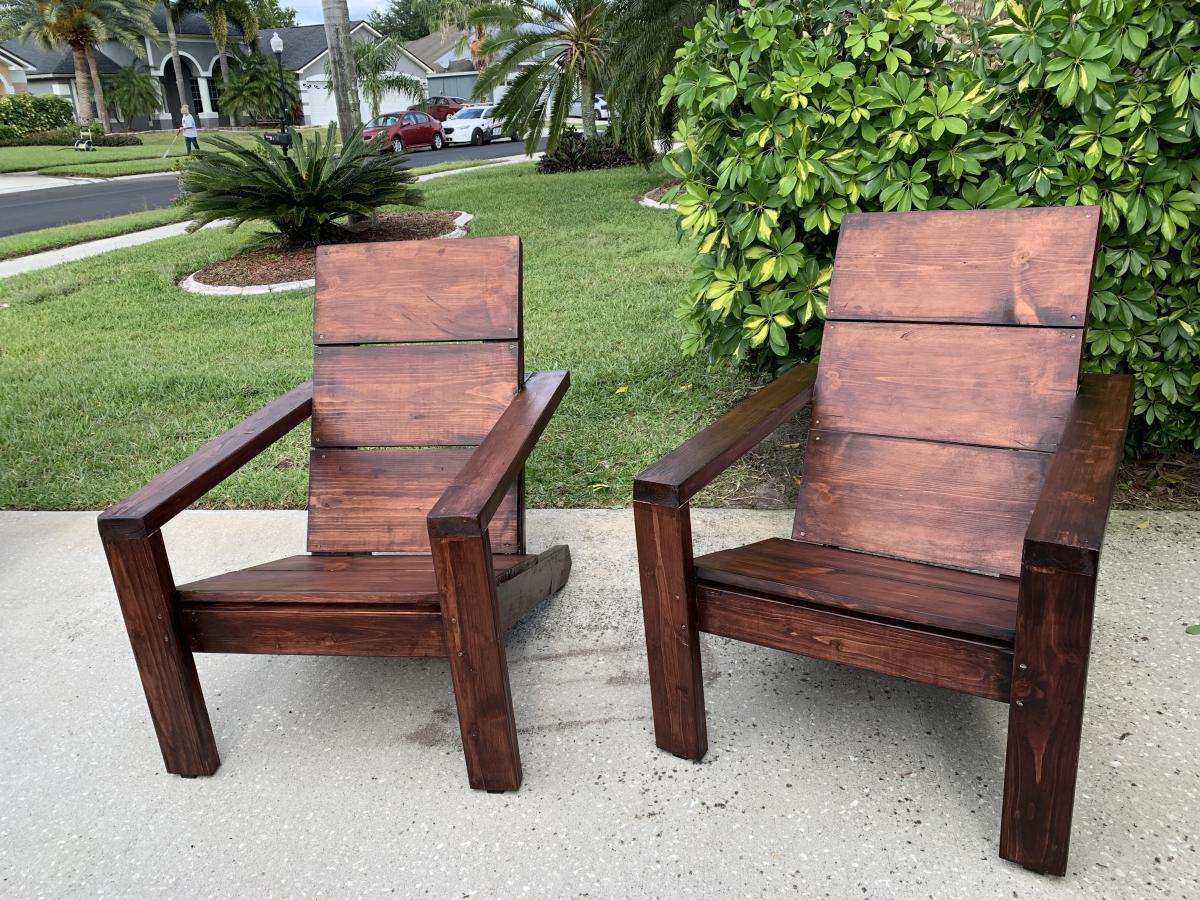
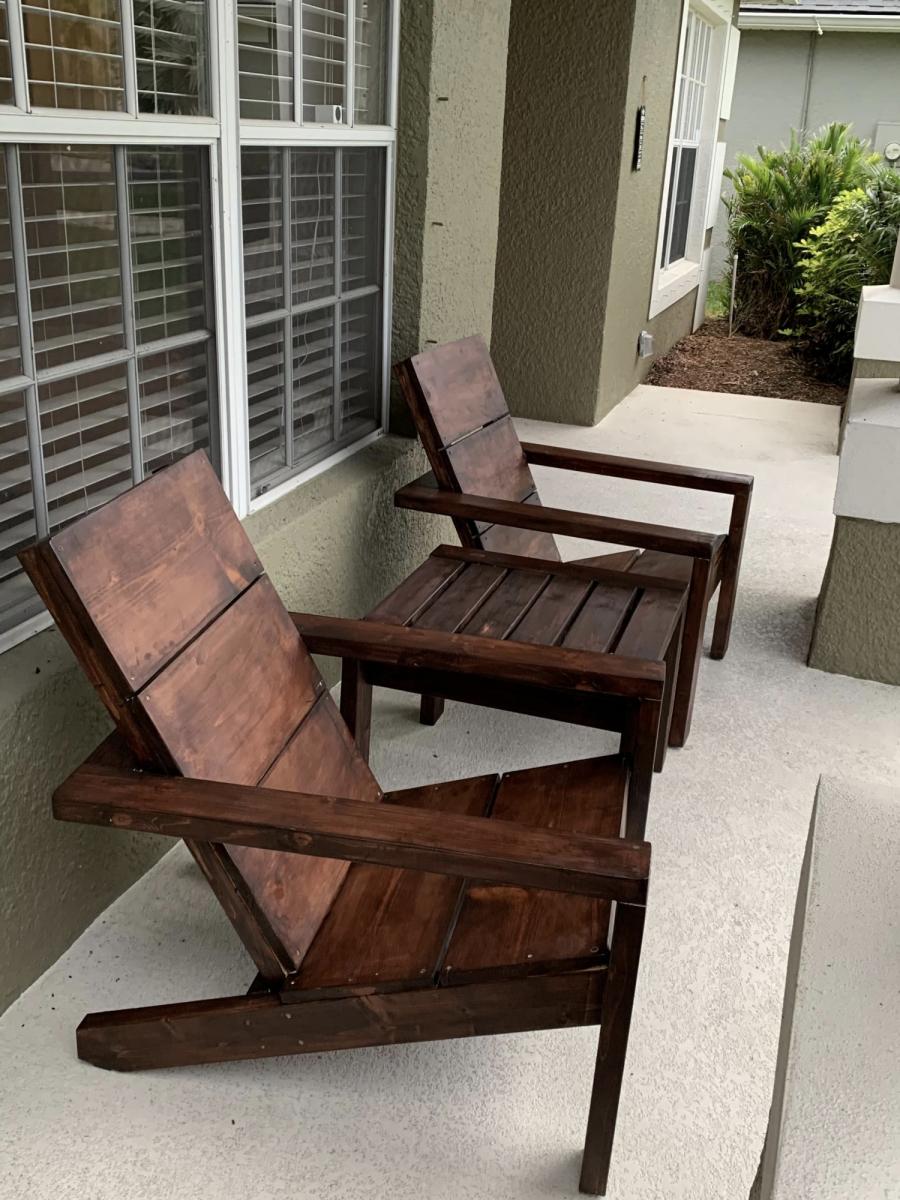
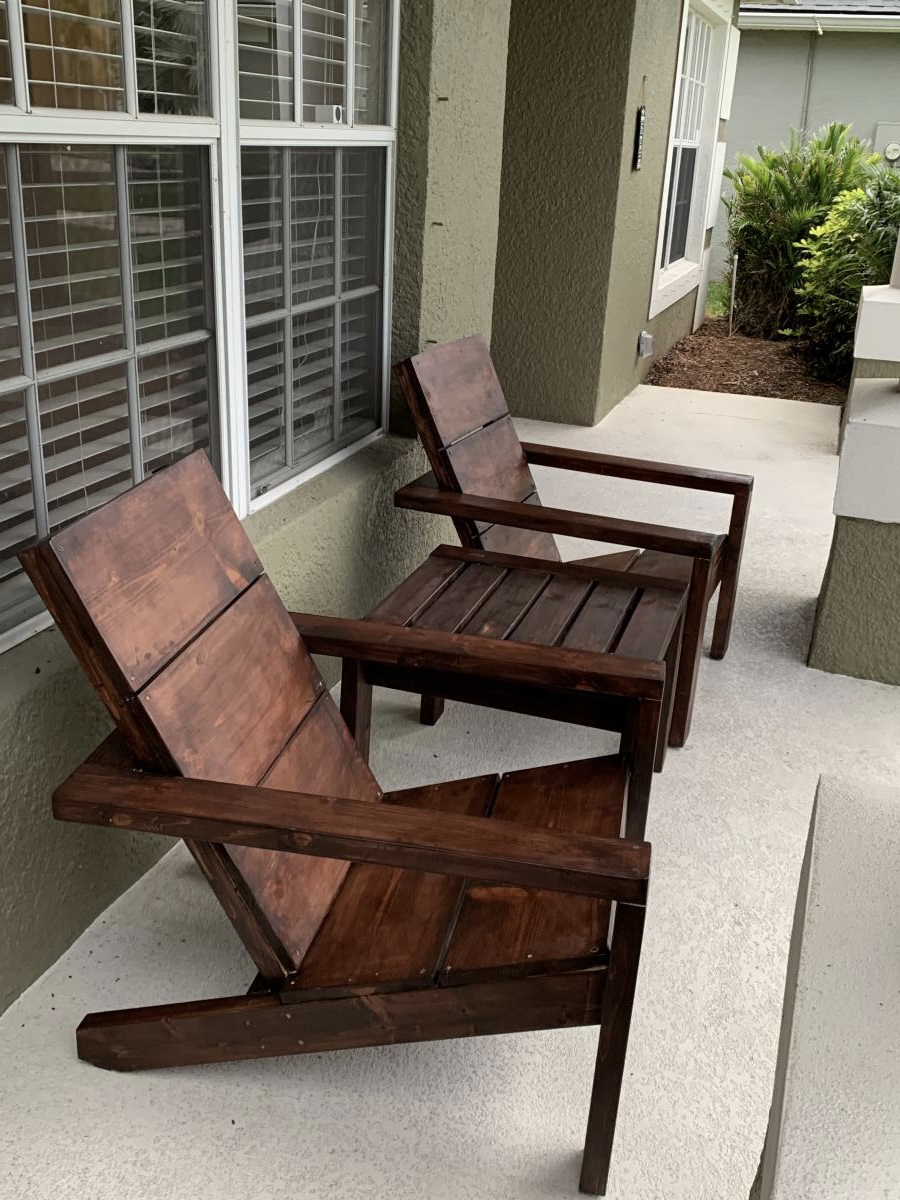
These modern Adirondack chairs were my first wood working project ever and they turned out awesome! I wanted to build a small table to complete the set and Ana’s new side table plans were exactly what I was looking for. I am truly amazed at how easy these projects were to make and how great they look on our front patio. Ana’s step-by-step plans make it so simple. My wife and I can’t wait to build some more of these projects for our backyard lanai and pool area.
Mon, 04/12/2021 - 10:21
Amazing job on your first build, I see more handmade pieces in your future!
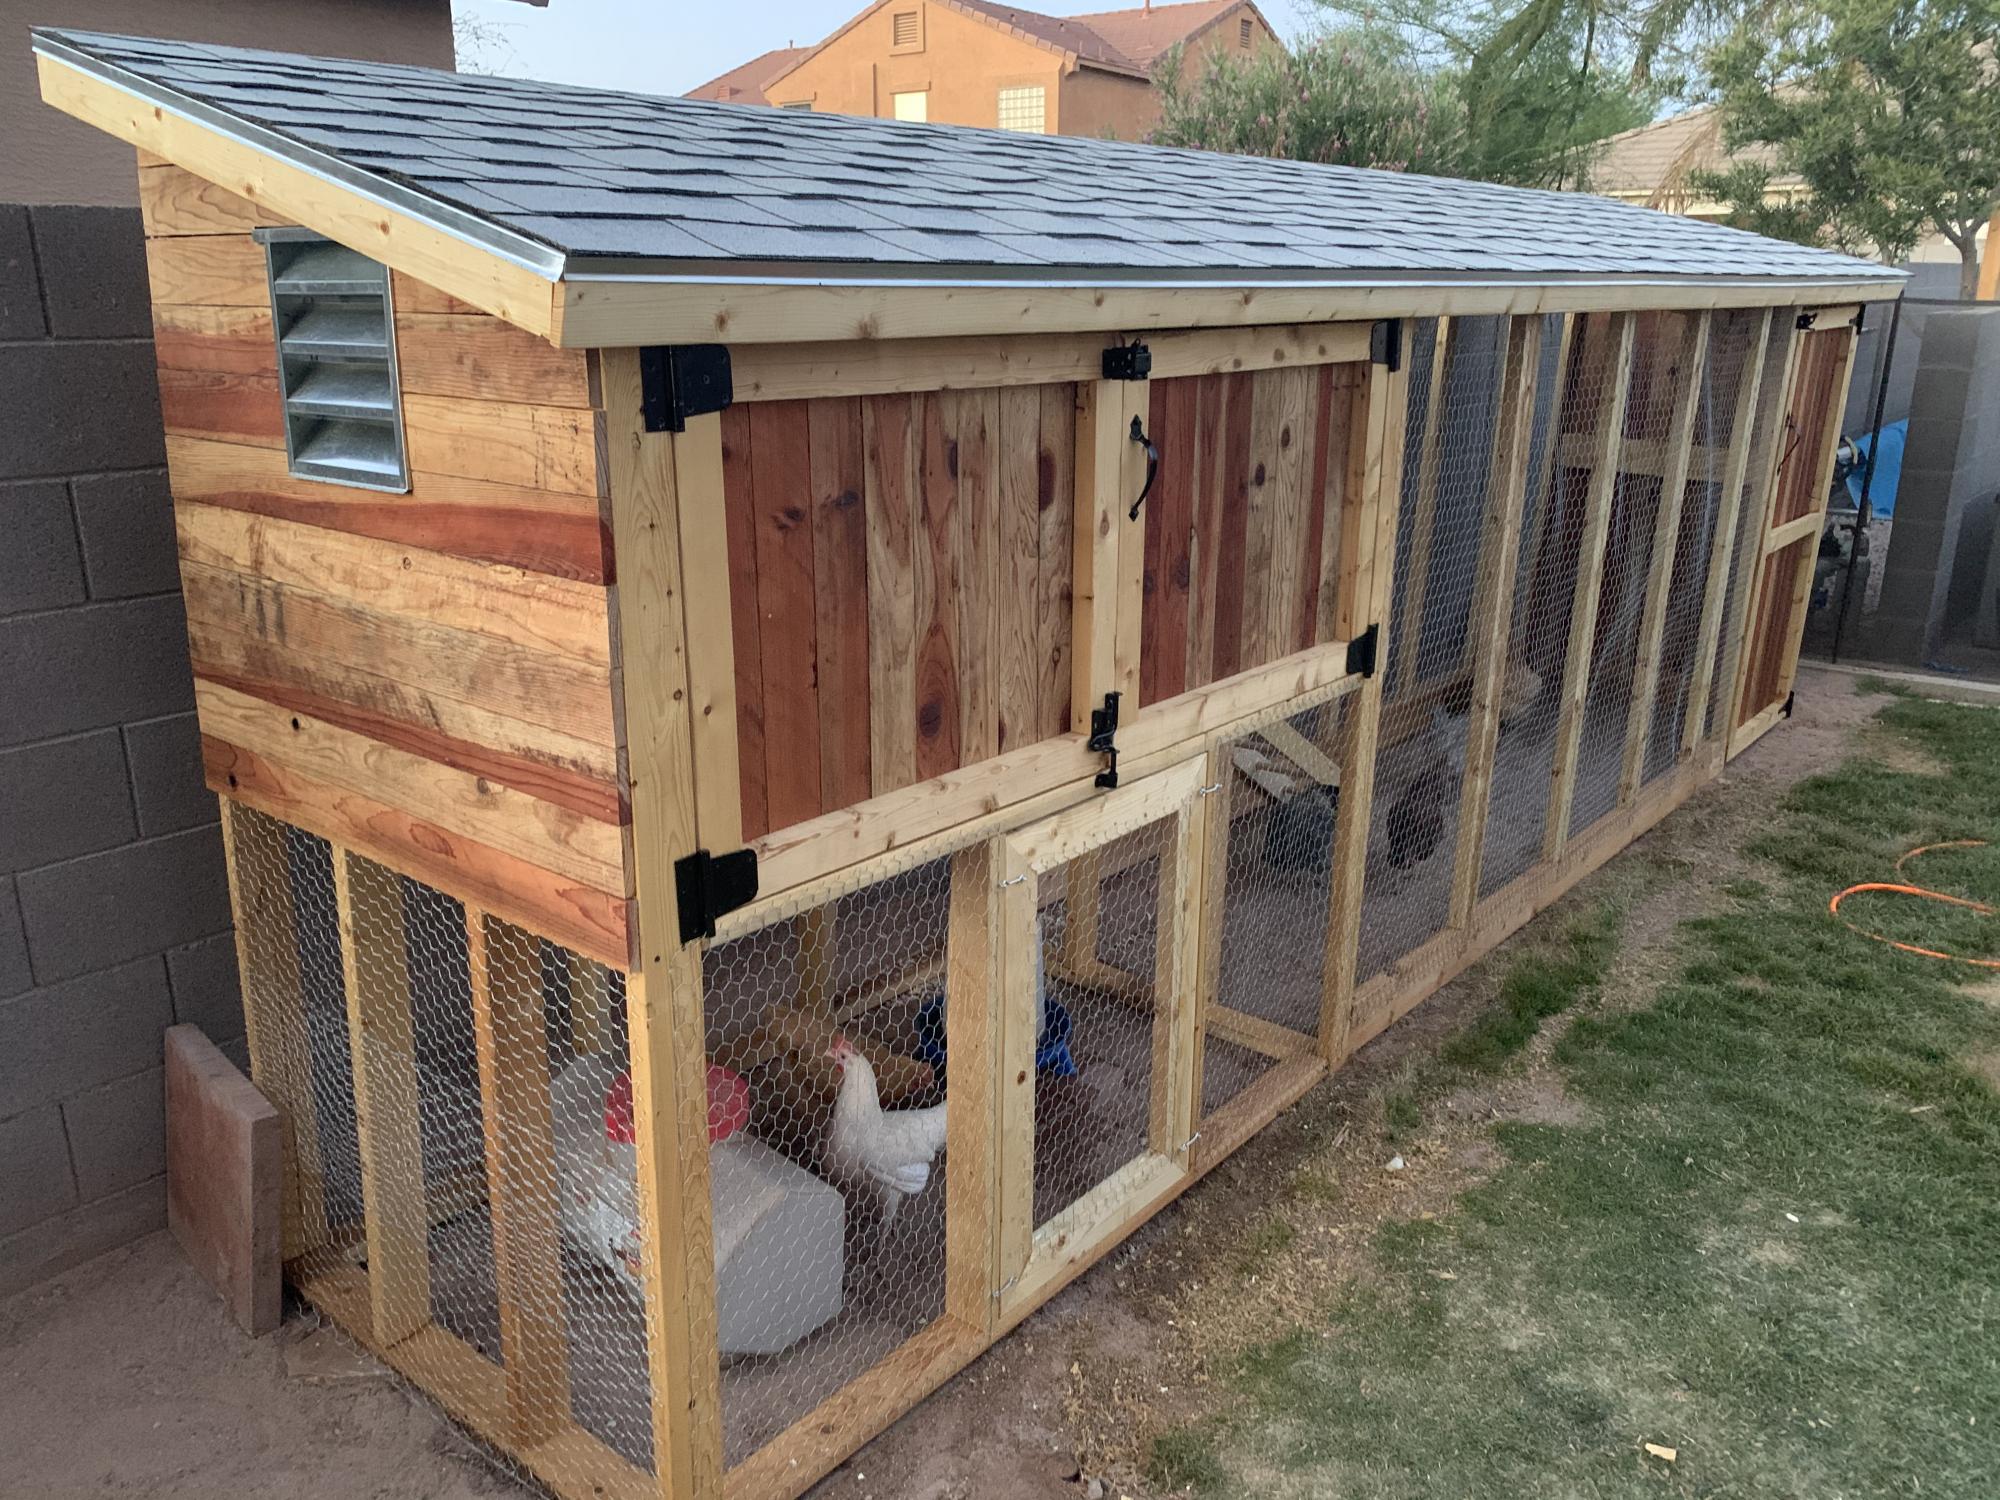
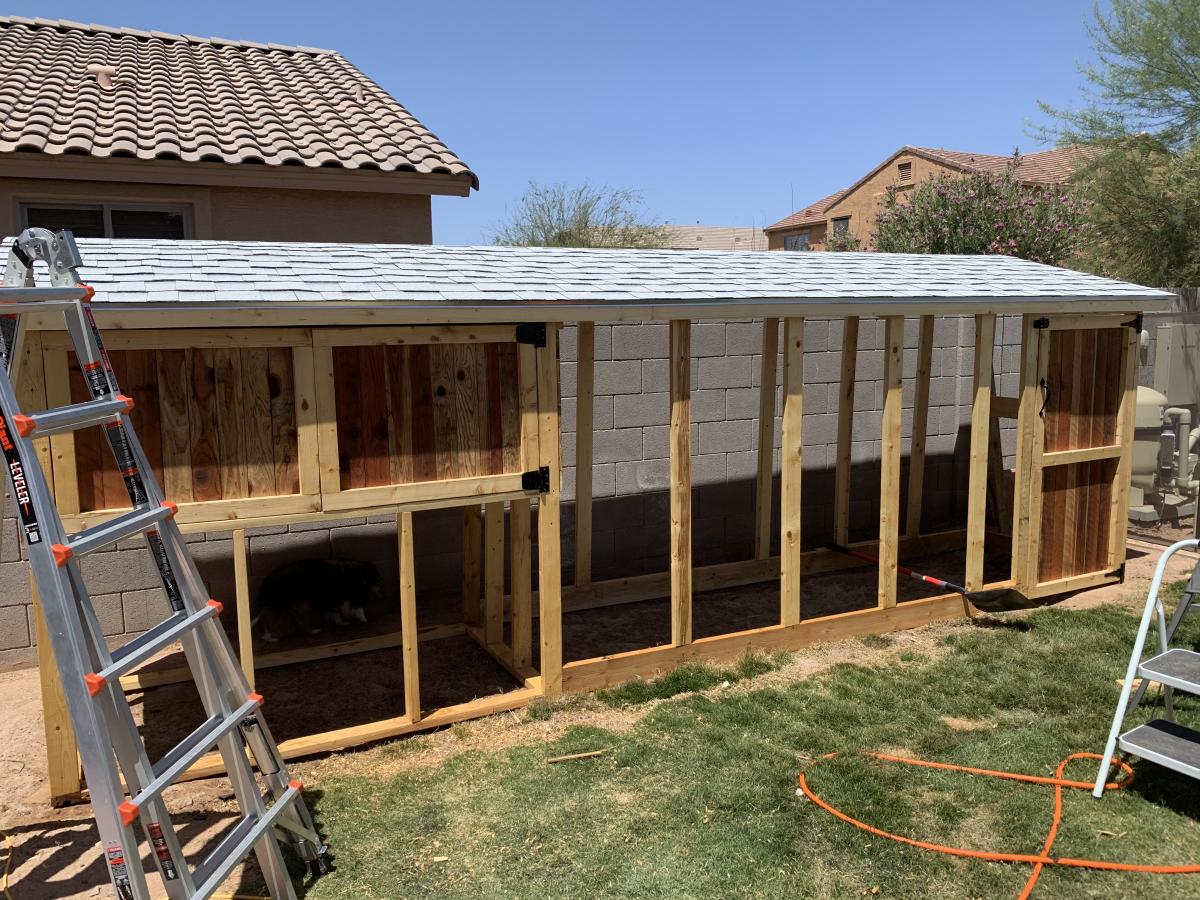
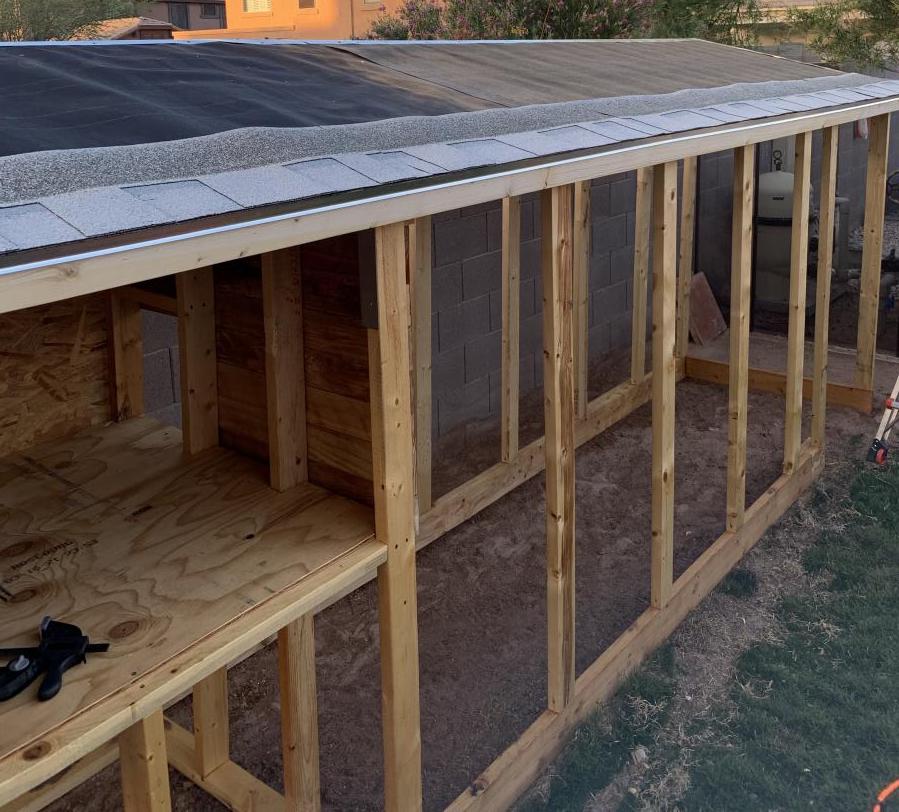
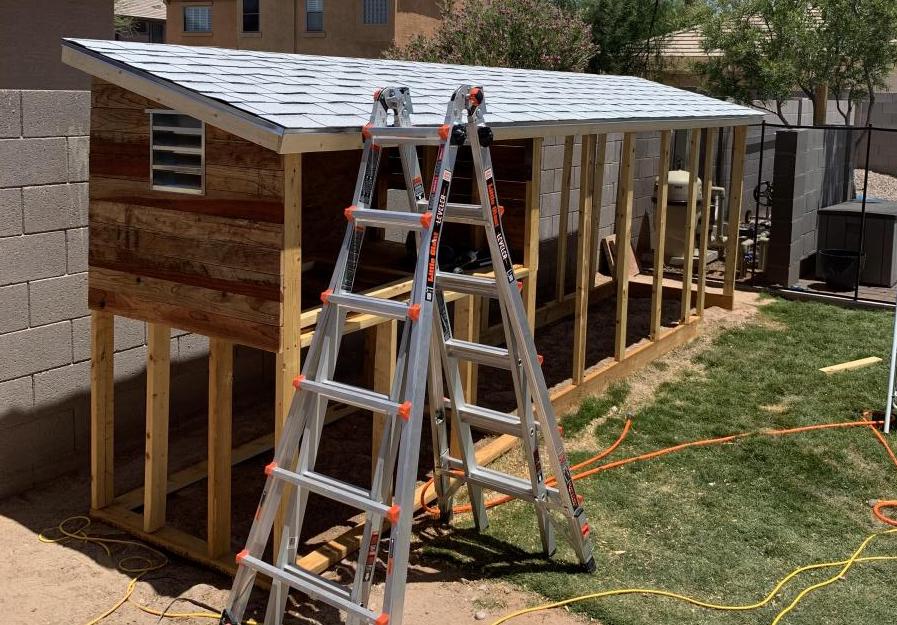
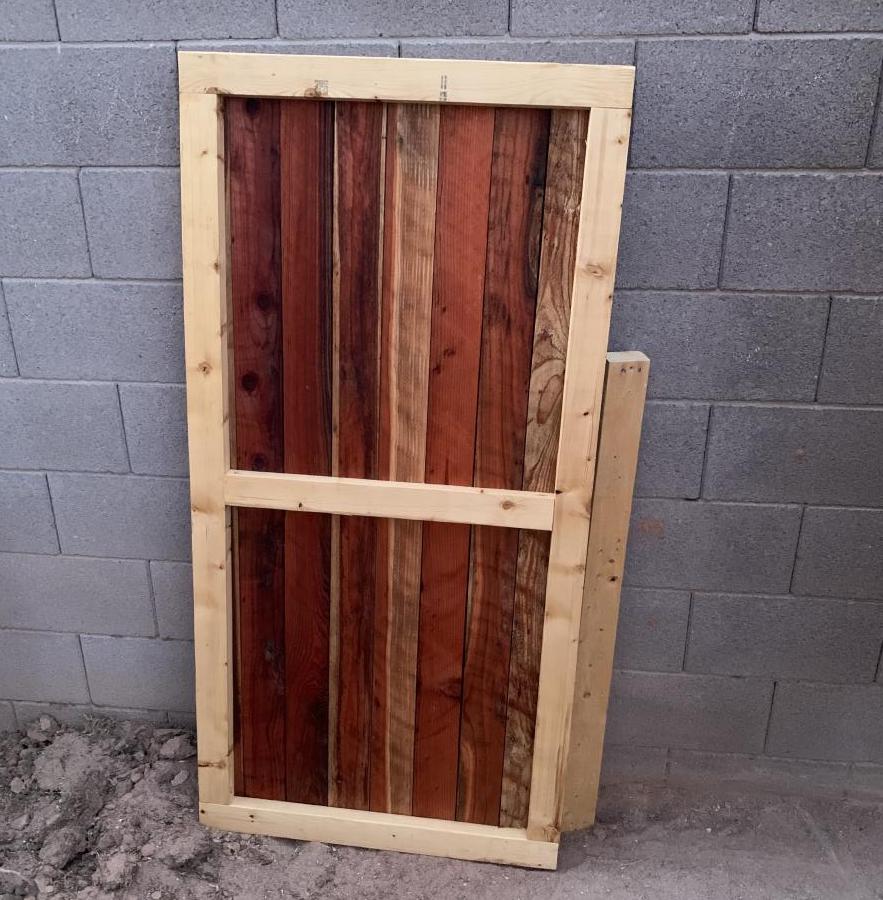
I took the idea of the "small cedar shed" and decided to upsize it for a new chicken coop. Our old one was small enough that we had to let our six hens out to roam the yard. Chickens. Poop. Everywhere. I wanted one big enough to have them live in it. The nesting box is about 24 sf. The whole coop is 18' long, about 6-1/2' at the back with a 15° slope to the roof, and about 4' deep. I built the ladder up to their nesting box and made a mitre-cut panel under the nesting box for cleaning out, feeding, and watering. Total materials cost was about $1000, but a couple of local homebuilders helped by letting me scavenge the lumber for the nesting box from around houses that they were finished framing.
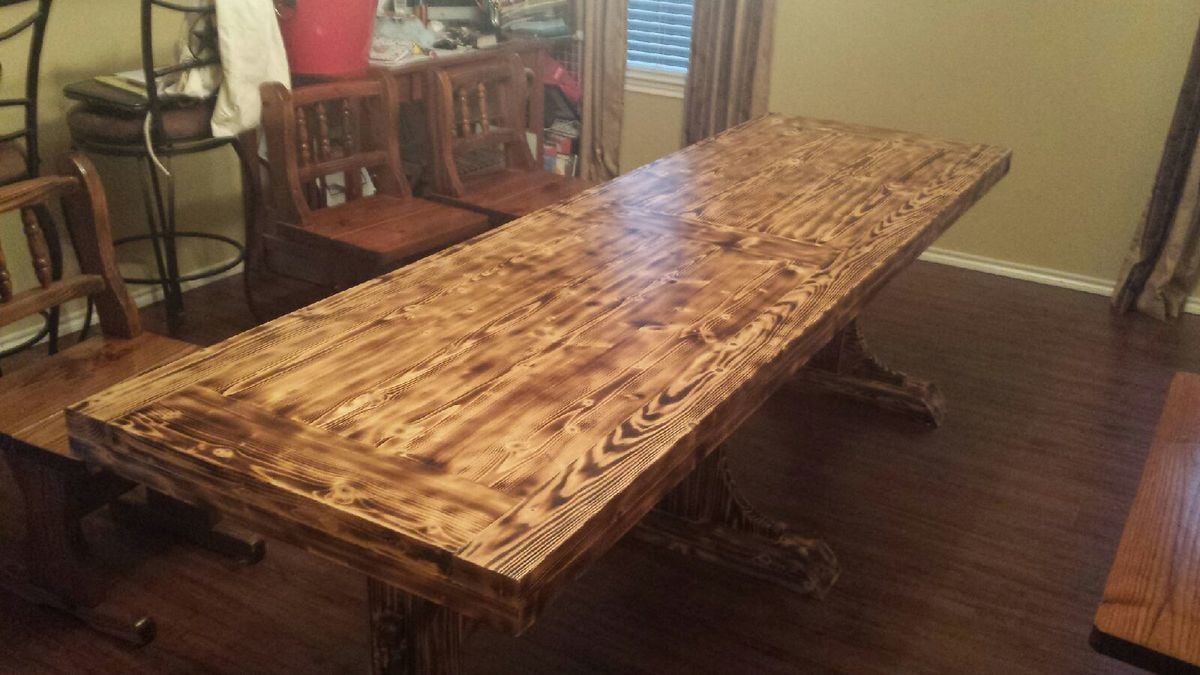
My wife wanted an 8 foot long table, but wanted it to be a little narrower that as standard table. This one ended up being 97.5" x 29" I used a torch to scorch the wood then apply poly finish.
I wanted to make a large porch swing but just couldn't find the exact design. I wanted to be able to stretch out and take a nap but also be able to have a back to lean against. Most plans that I found were just basically a box you could put a mattress in and then hang. So I found Ana's plan for a basic daybed and chopped off the legs and raised the back just a little. It's perfect!! Thanks Ana. The plans were very simple to follow. This is my first project and I think it turned out great.
Sat, 07/26/2014 - 07:37
Looking forward to do one like this !
Do you still have the measurement for the back you have raised ?
Really nice !
Thanks :-)
Sat, 09/20/2014 - 16:33
Thanks! The height of the back and sides is 28 inches.
Tue, 11/18/2014 - 17:38
We made the bed and it looks awesome! Thanks for making the plans easy to follow and providing the picture, which was a fantastic reference. I do have a question for you in regard to how you hung the beg. We would like to hang this from our porch, but can see that we simply have 2x4 roof trusses. We are concerned that the weight of the bed (pretty heavy) plus mattress and support plus a person may be too much. Any additional information you could provide on how you hung the swing would be greatly appreciated! Thanks!
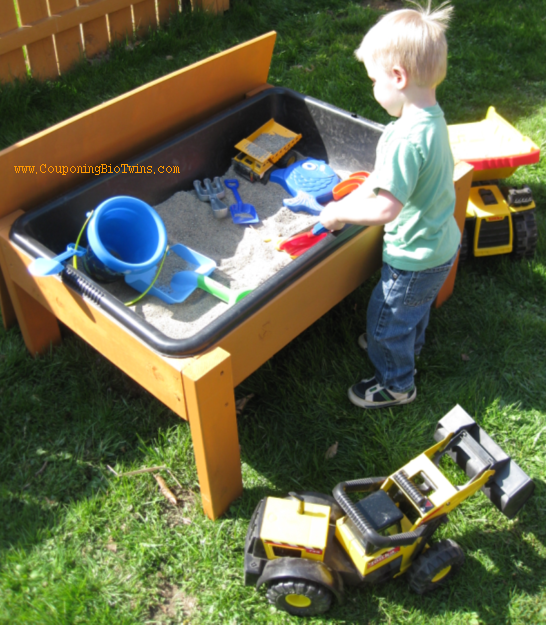
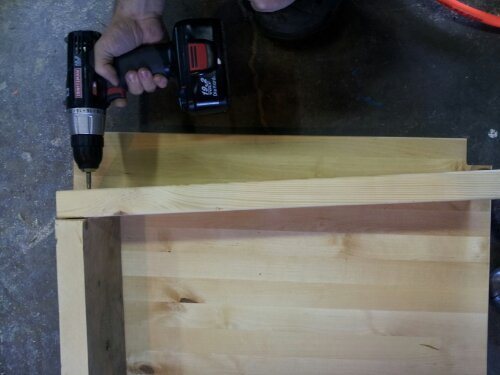
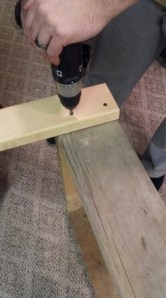
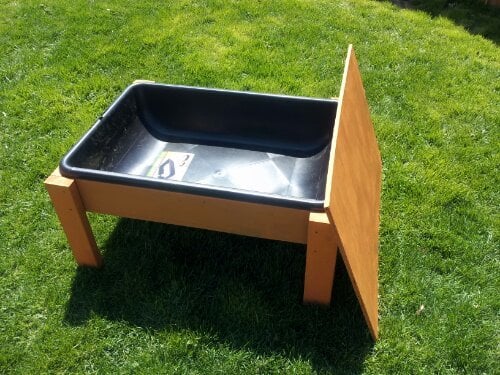
This is a very easy way to create a sand or water table for your kids and it only takes a few hours from start to finish. A few pieces of wood, some screws and tub to hold the sand or water and your set. Enjoy!
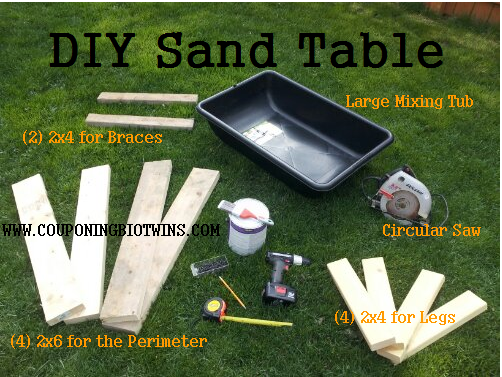
Thu, 04/25/2013 - 04:58
I've been wanting to build something like this for the kids. Thanks for the inspiration.
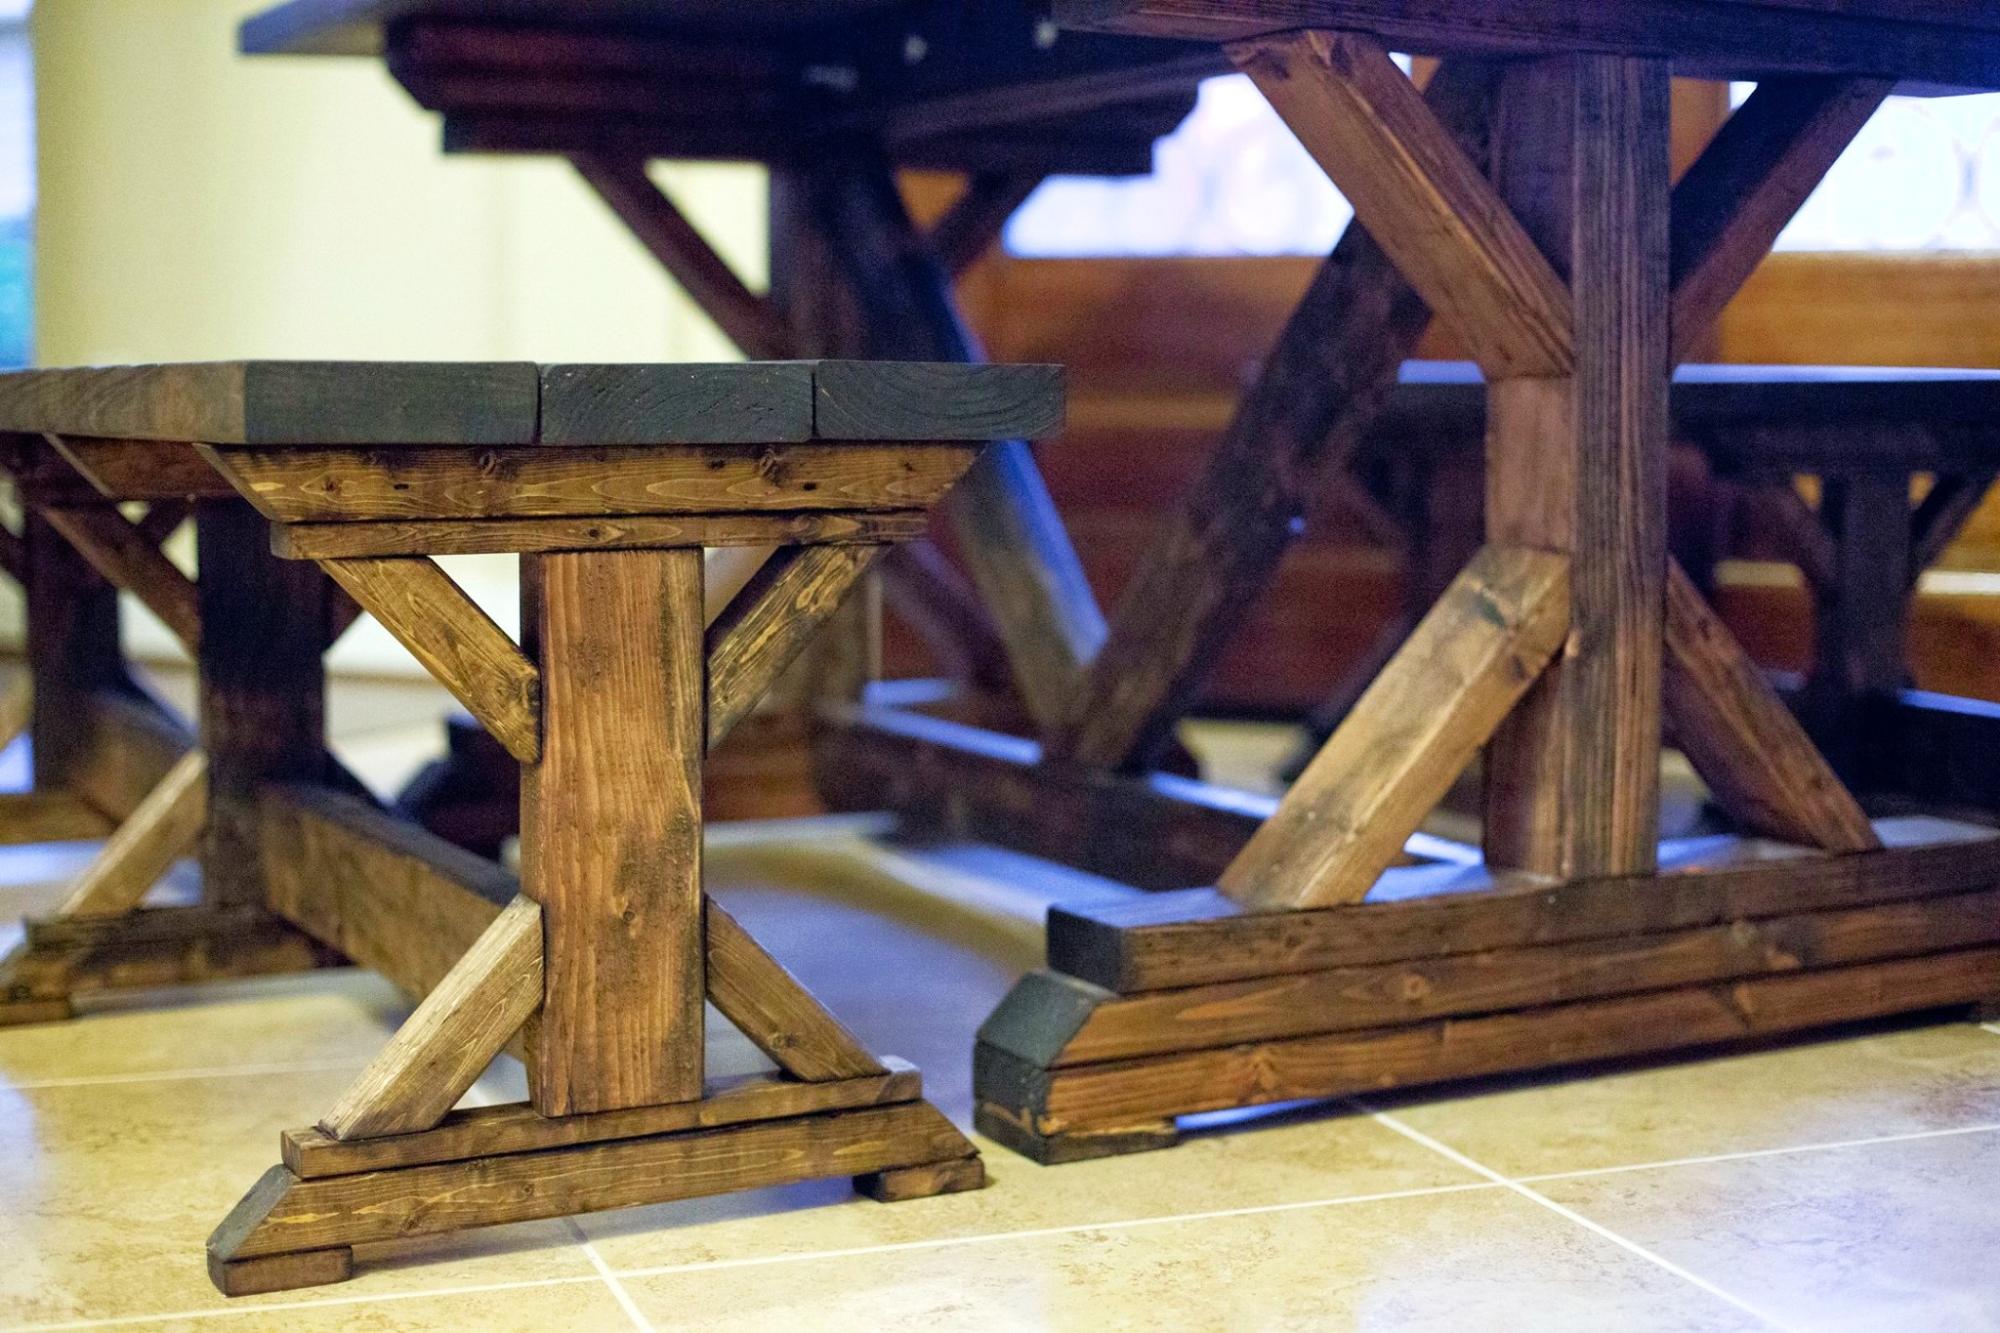
This was a bit more work than I anticipated but I think it turned out great. The quoted buy list was a little off so I had to make an additional trip to the hardware store.
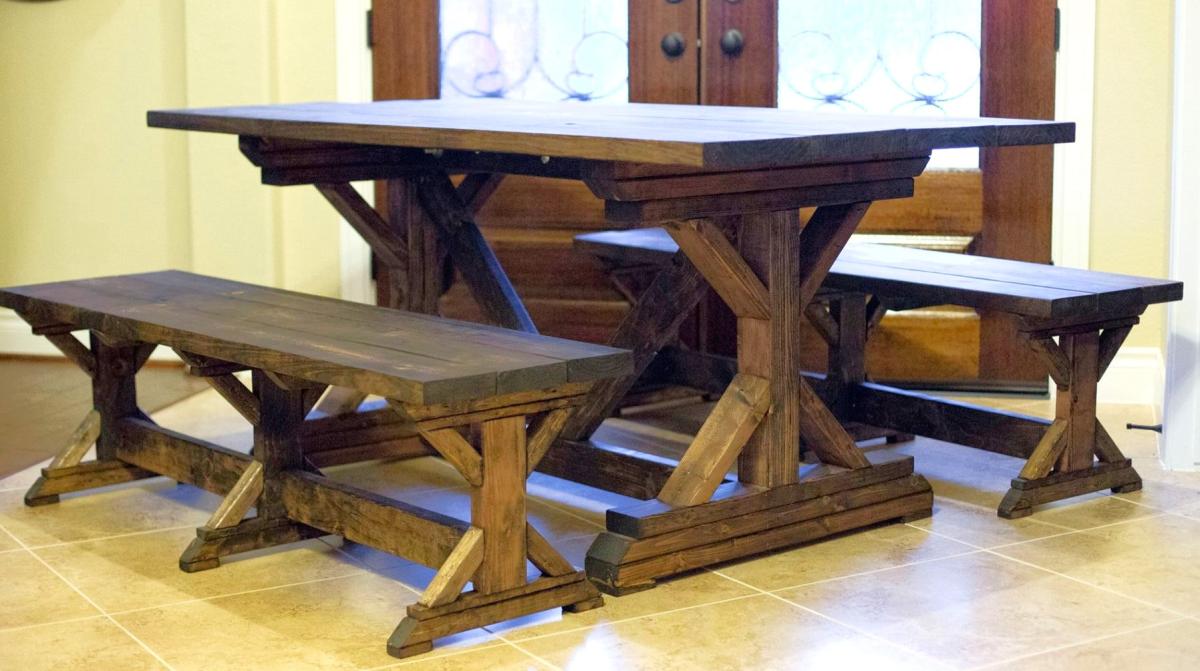
I used the Fancy X Table plan and the Fancy X Bench plan to make this set. Since I wanted it only 6' long I had to do some modification to the plan but not much.
I also designed the table top into two pieces that fastened together through the center piece so I could take it apart easily and fit it though a standard door.
Added an L section to the Fancy Desk to increase usable space So far it still stands strong for me. Thanks Ana
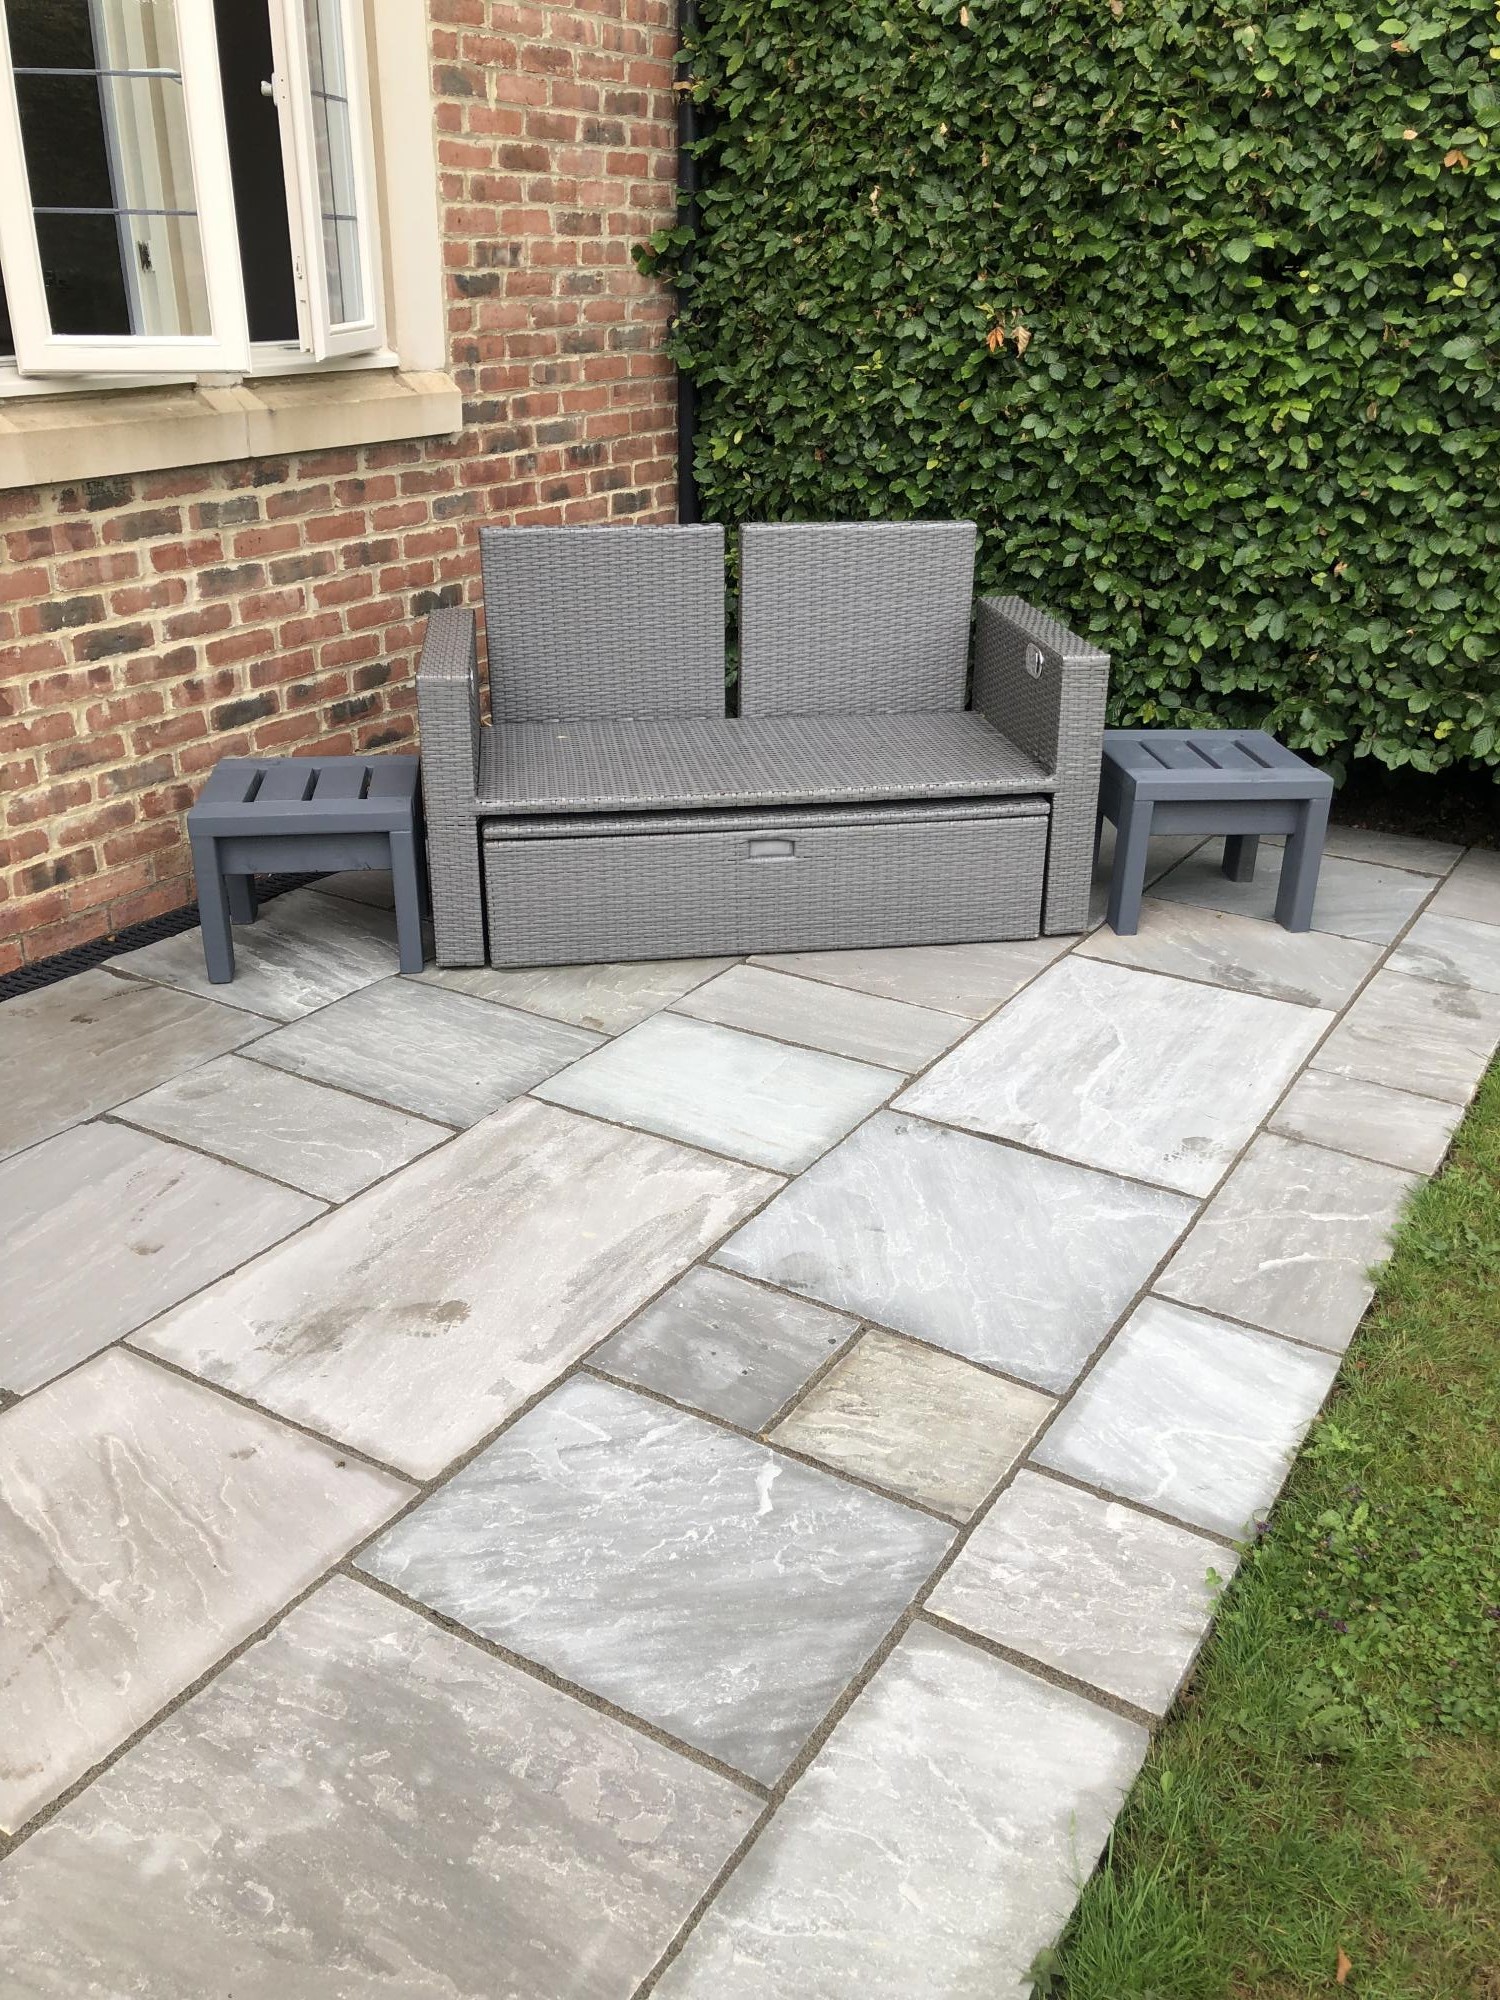
Well my wife bought 2 x 17” square seat cushions the problem was we didn’t have any stools to put them on so decided to enhance our front seating patio area with 2 solid 2x4 side tables that would double up as stools.
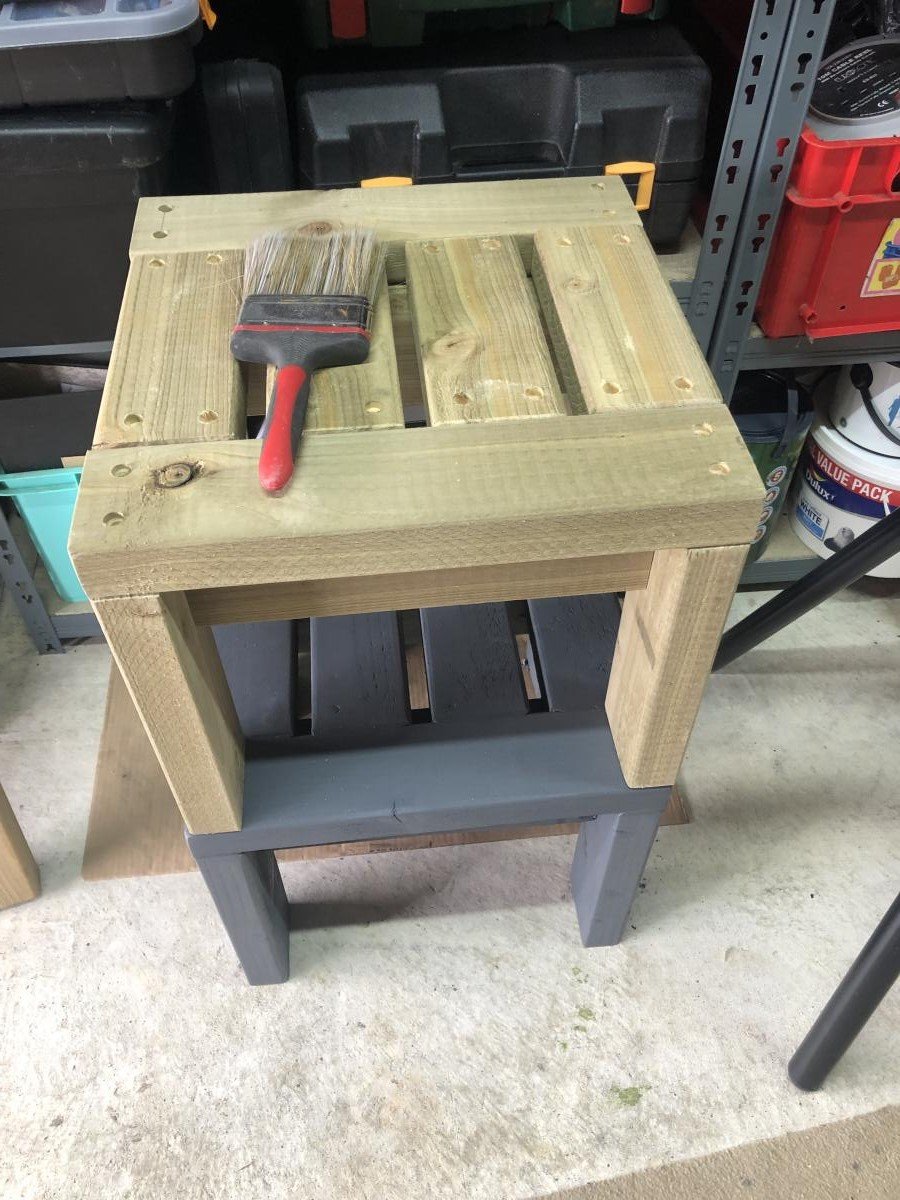
I based the design on Ana’s table design but decided to counter sink all the screws & cut plugs to suit so no screw heads could be seen, they turned out perfect & very robust, perfect for the U.K. weather, my wife finished them in grey outdoor paint to match the furniture, all in all they took only around 6hrs to make & paint.
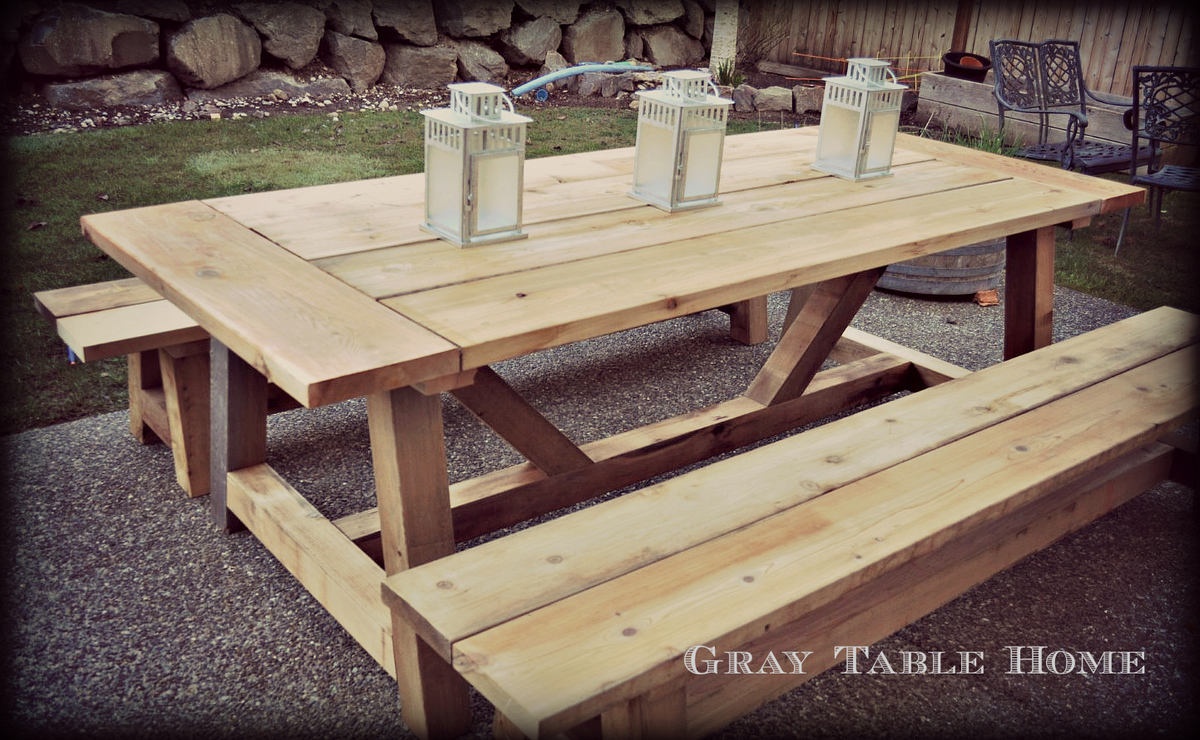
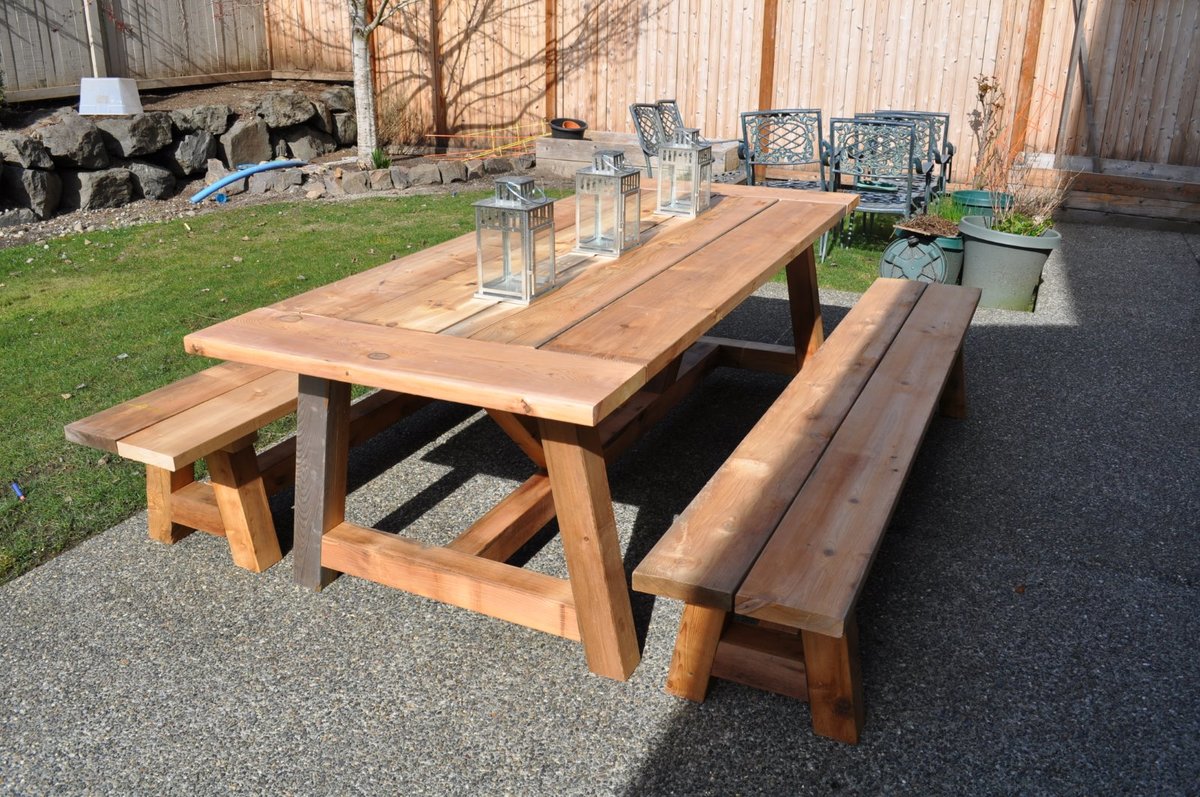
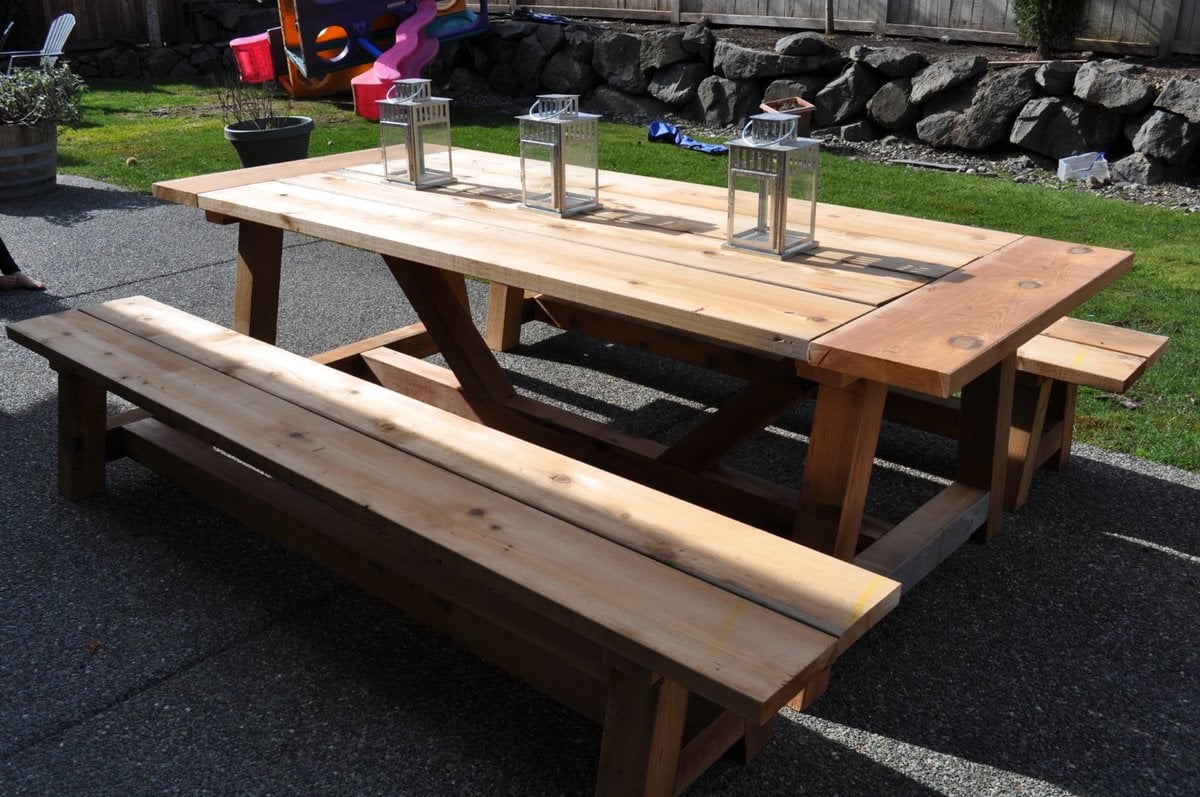
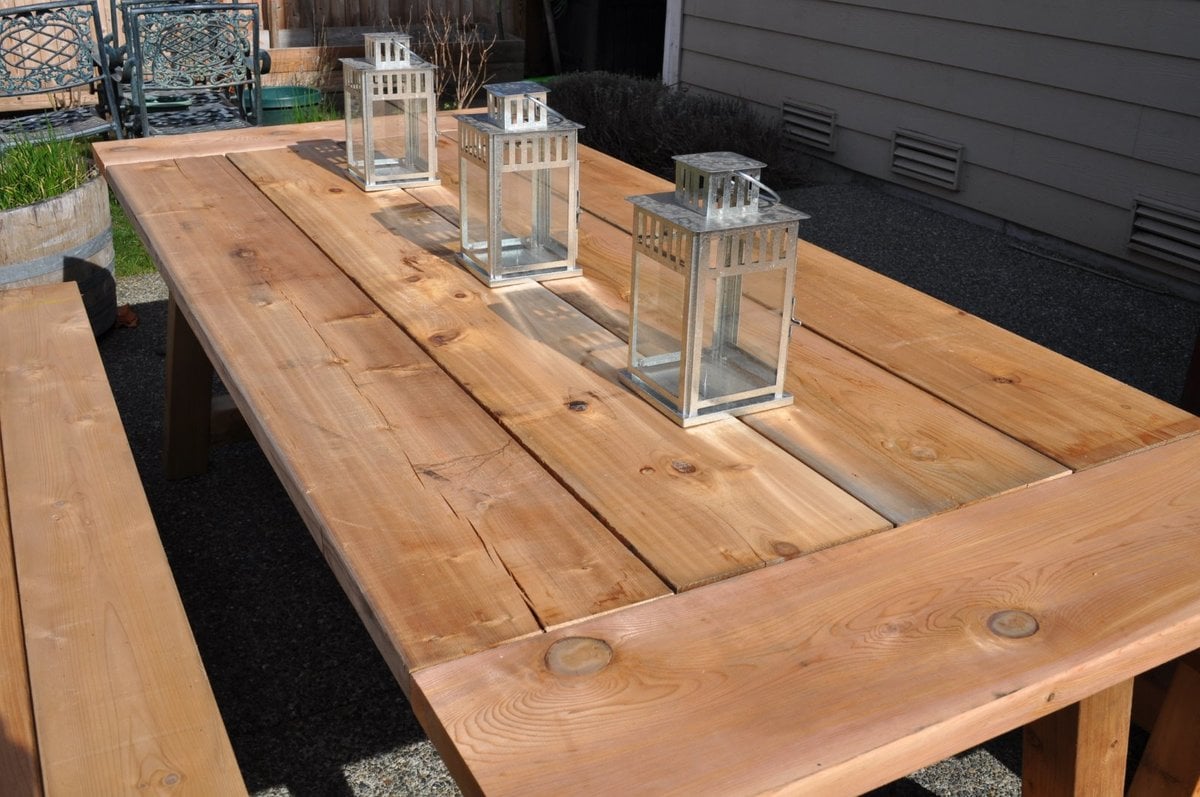
Hi! I was truly inspired by the plans I found at this site and the many brags that I saw! I have now built this table set a few times (first for myself, then for friends & family) and learned a lot each time. The things I have modifiied include...
1) Length = make it longer or shorter as space allows (I've done tables from 84" to 108" long)
2) Outdoor table top = because these are being used outdoors, I use screws as spacers between boards so that they have a 1/8 to 1/4 gap to allow for water to run through
3) Breadboard end support = I found that with just the pocket hole screws, my breadboards were a little 'wobbly' so I added Simpson Stong Tie metal plates underneath to reinforce the ends.
4) End length = in order to provide a little more legroom to those sitting at the end of the table, I recently changed the plan so that I would have at least 15" from the table base to the end of the table top (although this pic shows the regular plan with the ~8" overhang)
I really appreciate all of the plans and brags which have been shared by users of this site. Thank you!!!
Thu, 04/30/2015 - 21:38
Thank you!!! That sounds about right for the cost - I spent about $425 on my lumber and hardware. Cedar is more expensive, but I was happy with the results. And it still seems like a good 'deal' when you consider what you would get for that price from a store.
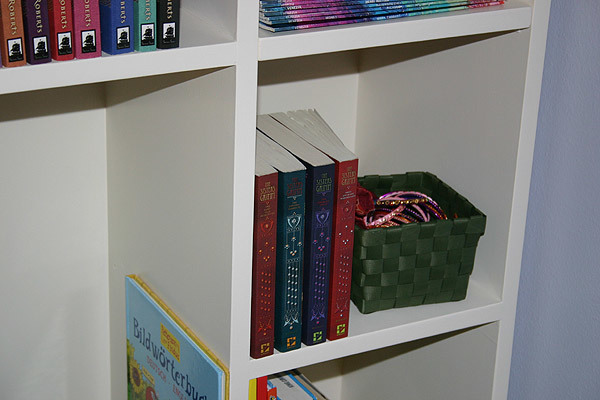
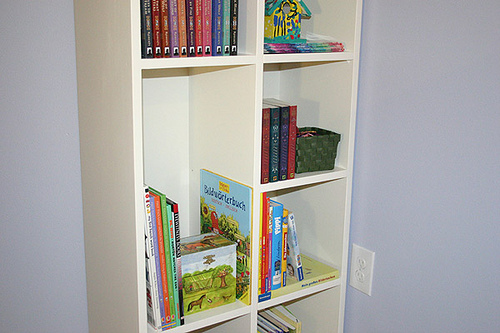
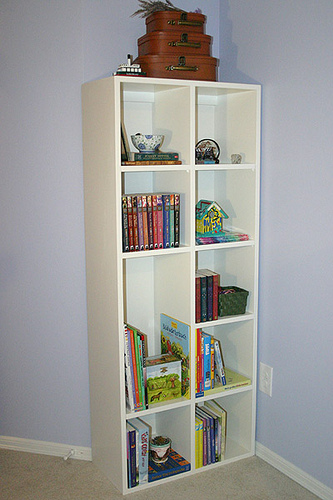
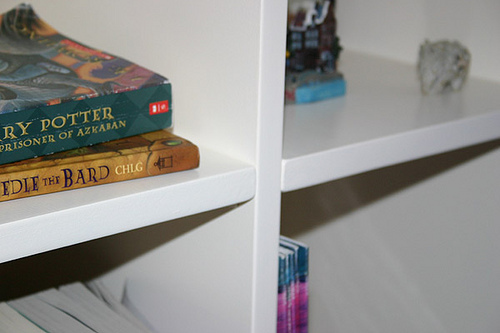
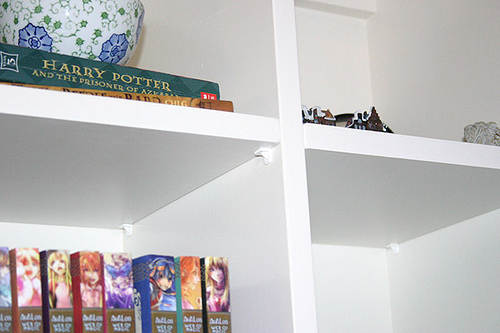
This is my very first woodworking project! My oldest daughter badly needed a bigger bookcase... I made this last year and it's already completely stuffed full of books now! Home Depot ripped the MDF for me, hubby helped me put it together and then I finished it. Since it is tall and narrow, the sides were bowing inward. I decided NOT to make ALL shelves adjustable, so I made two of them part of the bookcase. Squared things up nicely. The rest of the shelves are removable though.
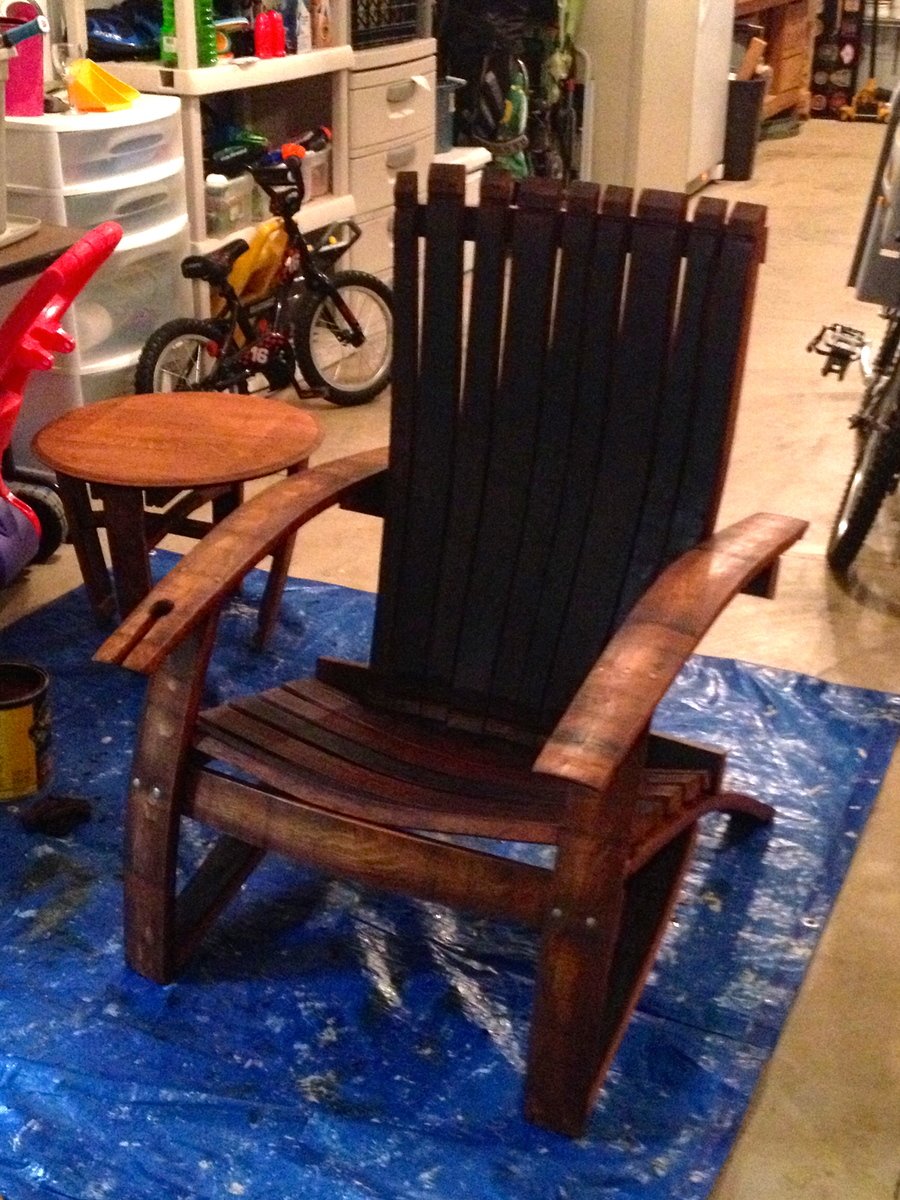
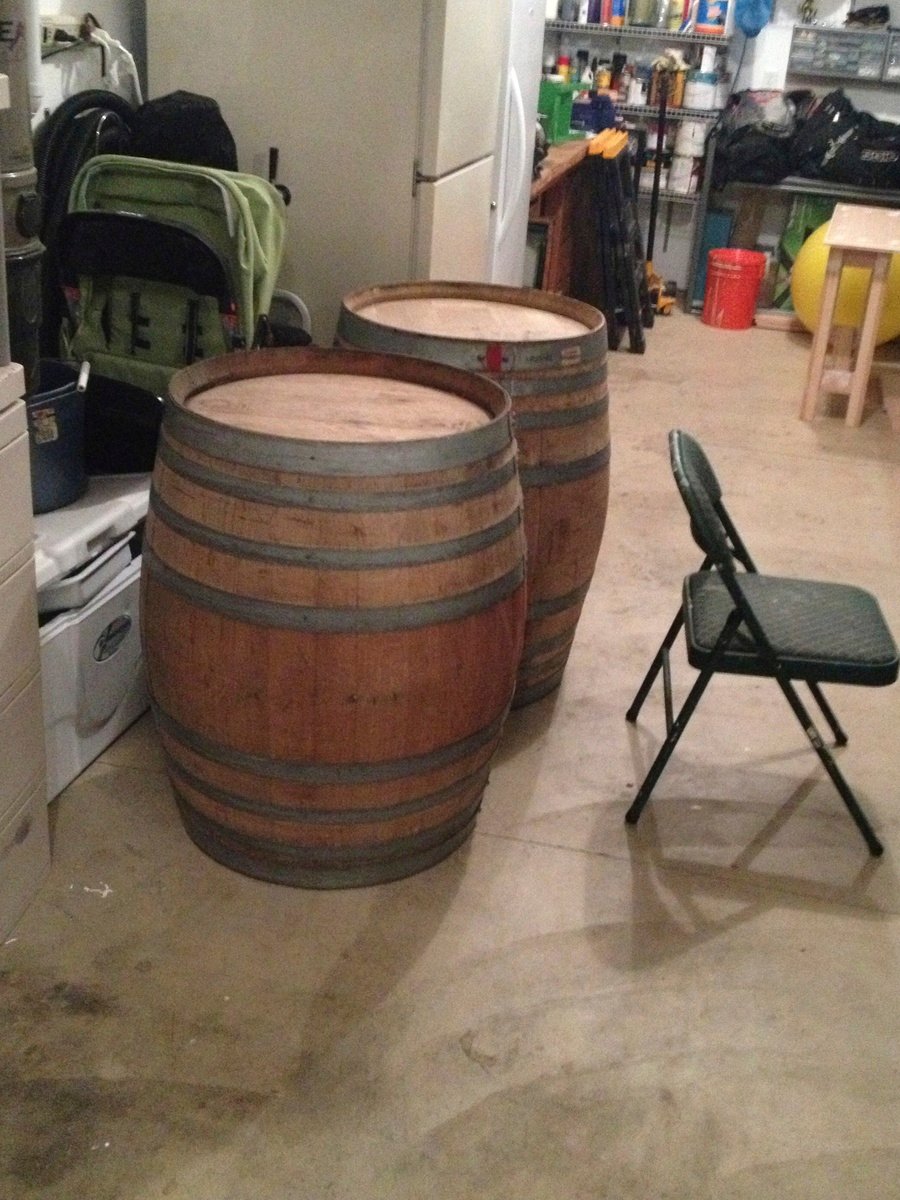
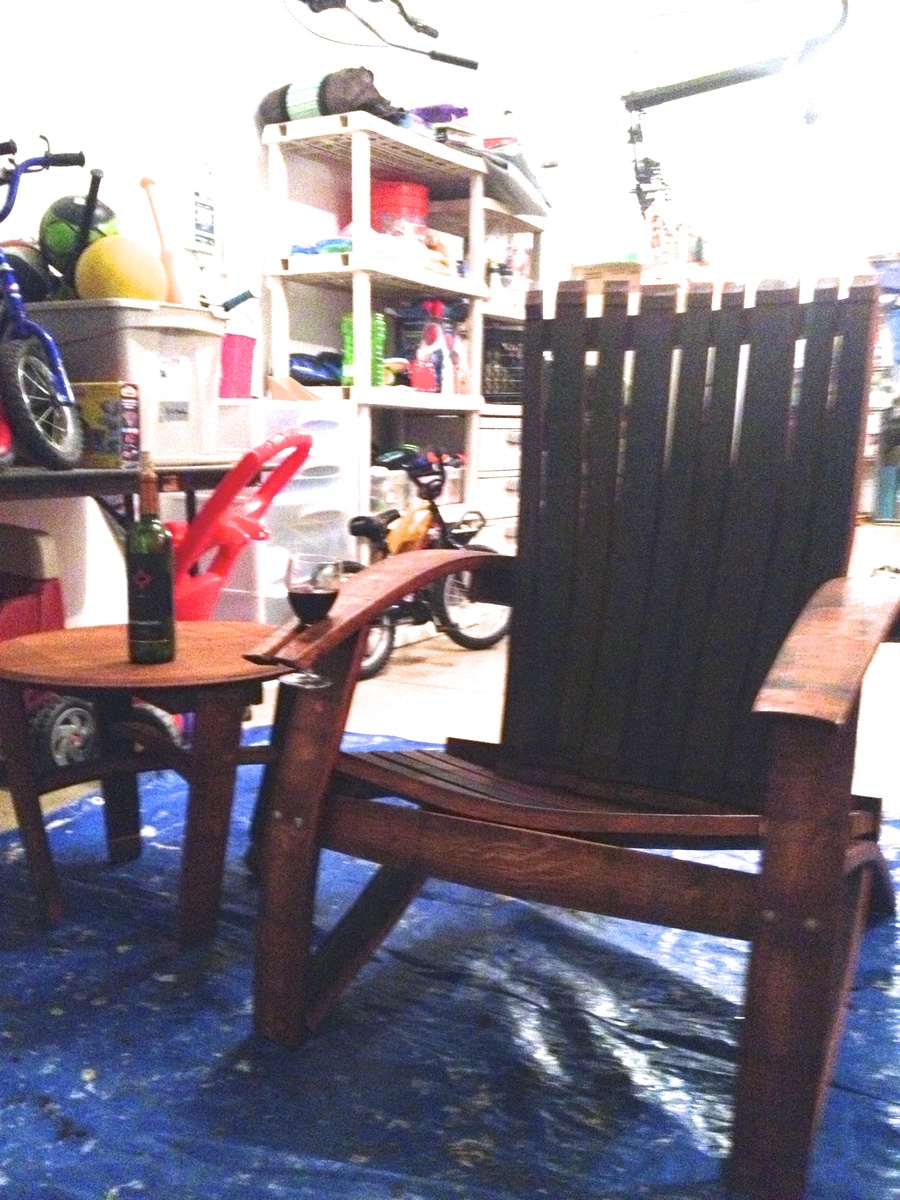
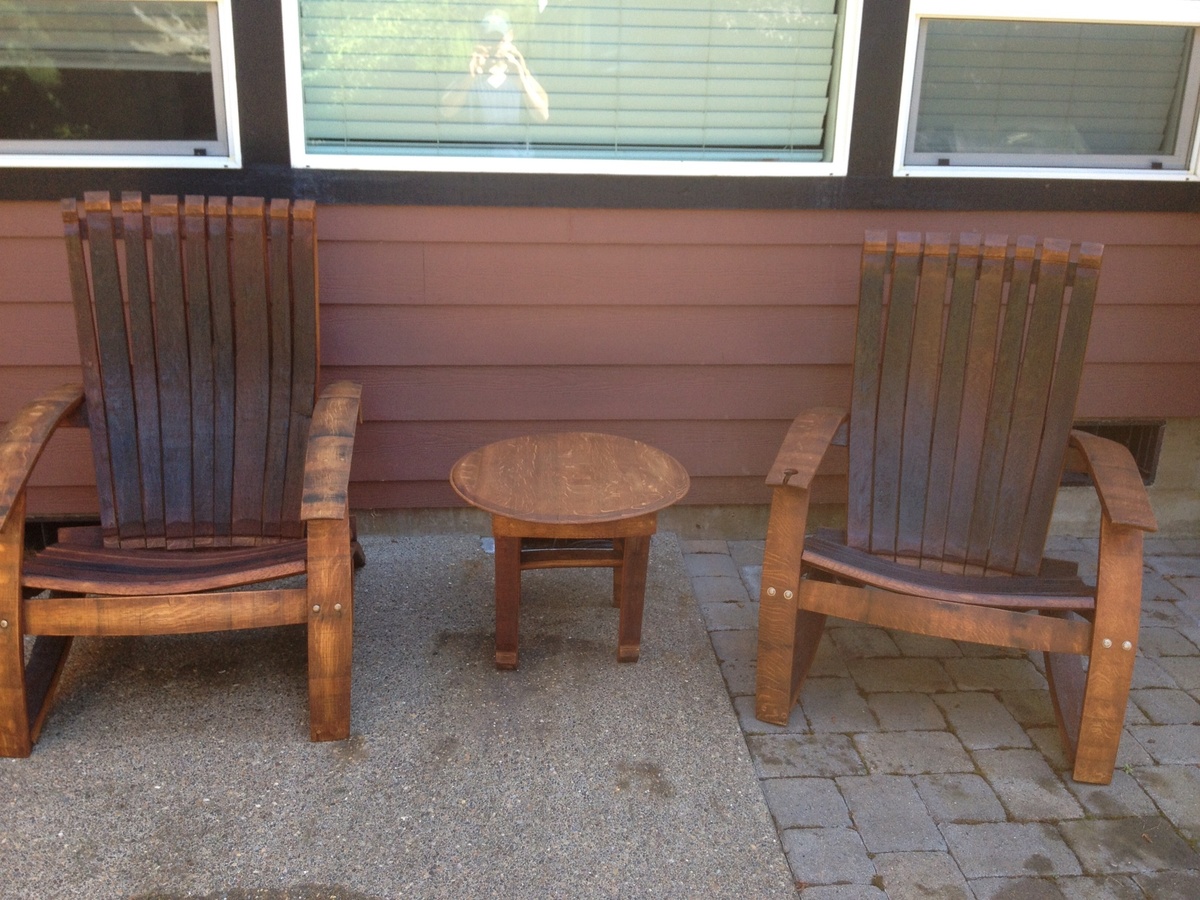
I got some oak barrels from a local vineyard and decided to try making some adirondack chairs. It was harder than I thought it would be, but well worth it!! The stain was a little darker than I thought it be, but it's rubbing off on me!
predrill, predrill, predrill, and learned a valuable lesson in predrilling, as solid wood under strain cracks easy when using 2 1/2" deck screws!
I need to whip out the nice camera and stop using my cell phone for finished products!
Sun, 07/21/2013 - 19:45
I did have some plans, which made it easier. I didn't use them as designed i.e. tracing, and I also altered the plans some to my liking. I got the plans for 15$ from here: http://www.gcwoodworks.com/Wine-Barrel-Adirondack-Chair-Large.htm
I constructed this desk all from birch plywood. It features a pull out keyboard tray, modern drawer finger pulls, and full extension drawer slides. The plywood was finished with a hand-rubbed danish oil for a natural wood appearance.
Hooray! I recently finished building a dining room bench. For this project, I used the Providence Bench plans by Ana White. I started this project in May, and two months later it is finally complete! I am really happy with how the bench turned out! It is pretty sturdy and makes for a nice addition to the dining room!
cube bookshelves modified to have one open shelf and 3 cube slots
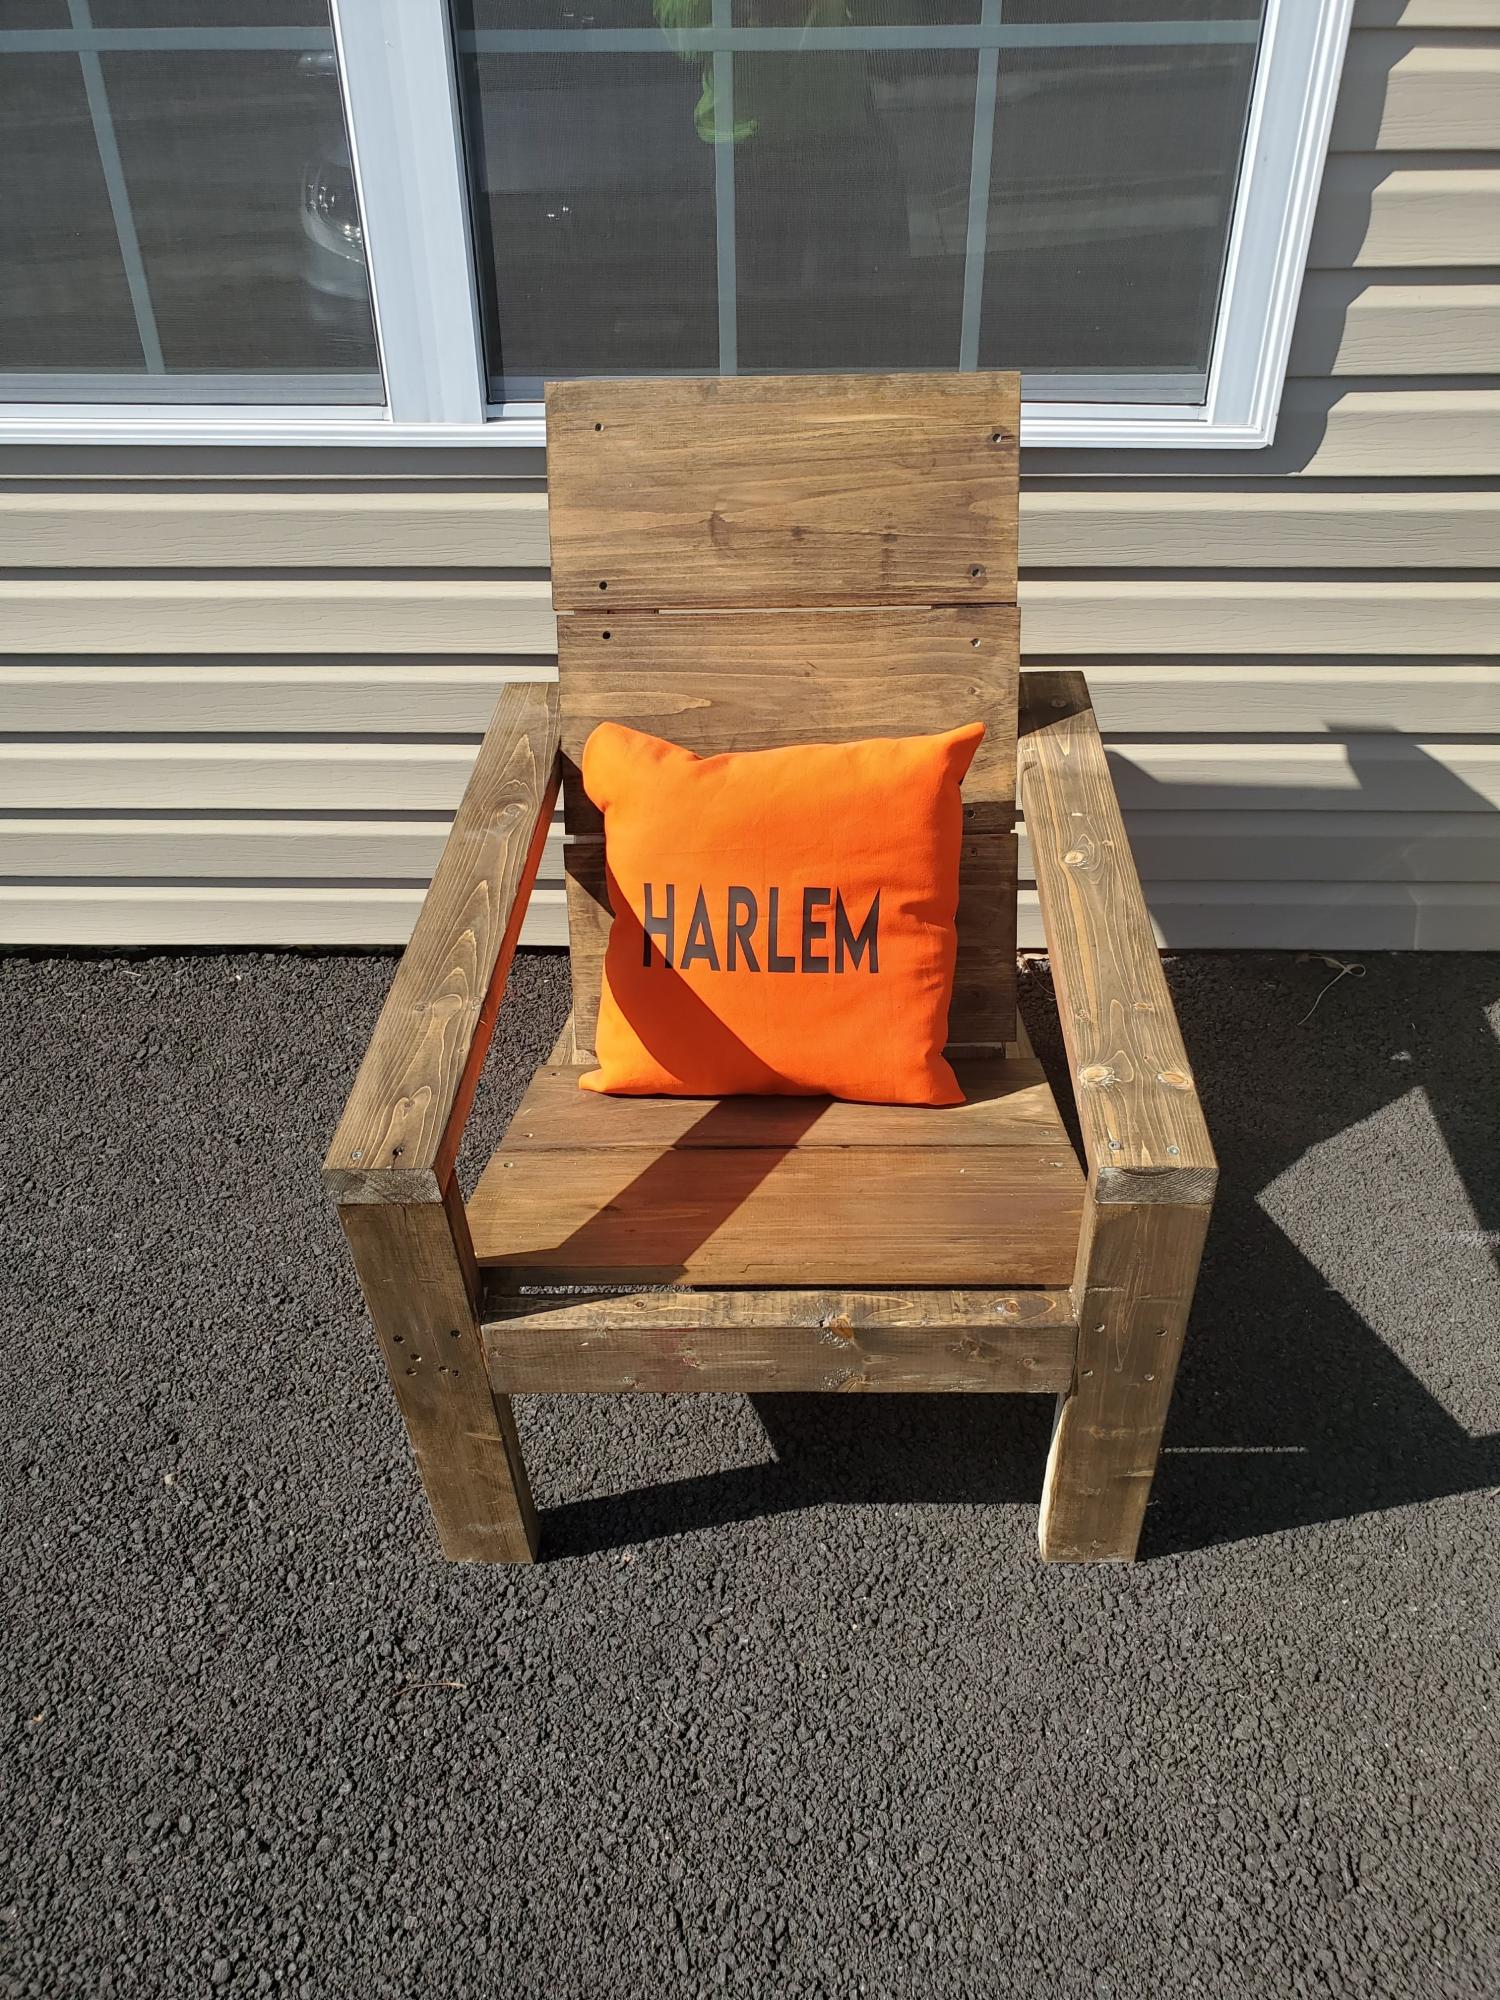
This was my first AW Buid and I loved it! I am a beginner and the video was so easy to follow. The only thing I needed (and still need) is how to do the off cut angles. I've made several since this one. Love the modern design too. Thank you Ana!
Mik da Builder
@harlemcrafted
Thu, 04/21/2022 - 12:01
Thank you so much for sending in a photo! I'm so glad to hear the chair plans worked out well for you. This is one of our most favorite chairs too!

A frame chicken coop with a few modifications- metal roof, insulation and slightly larger second floor.
By Chrystal
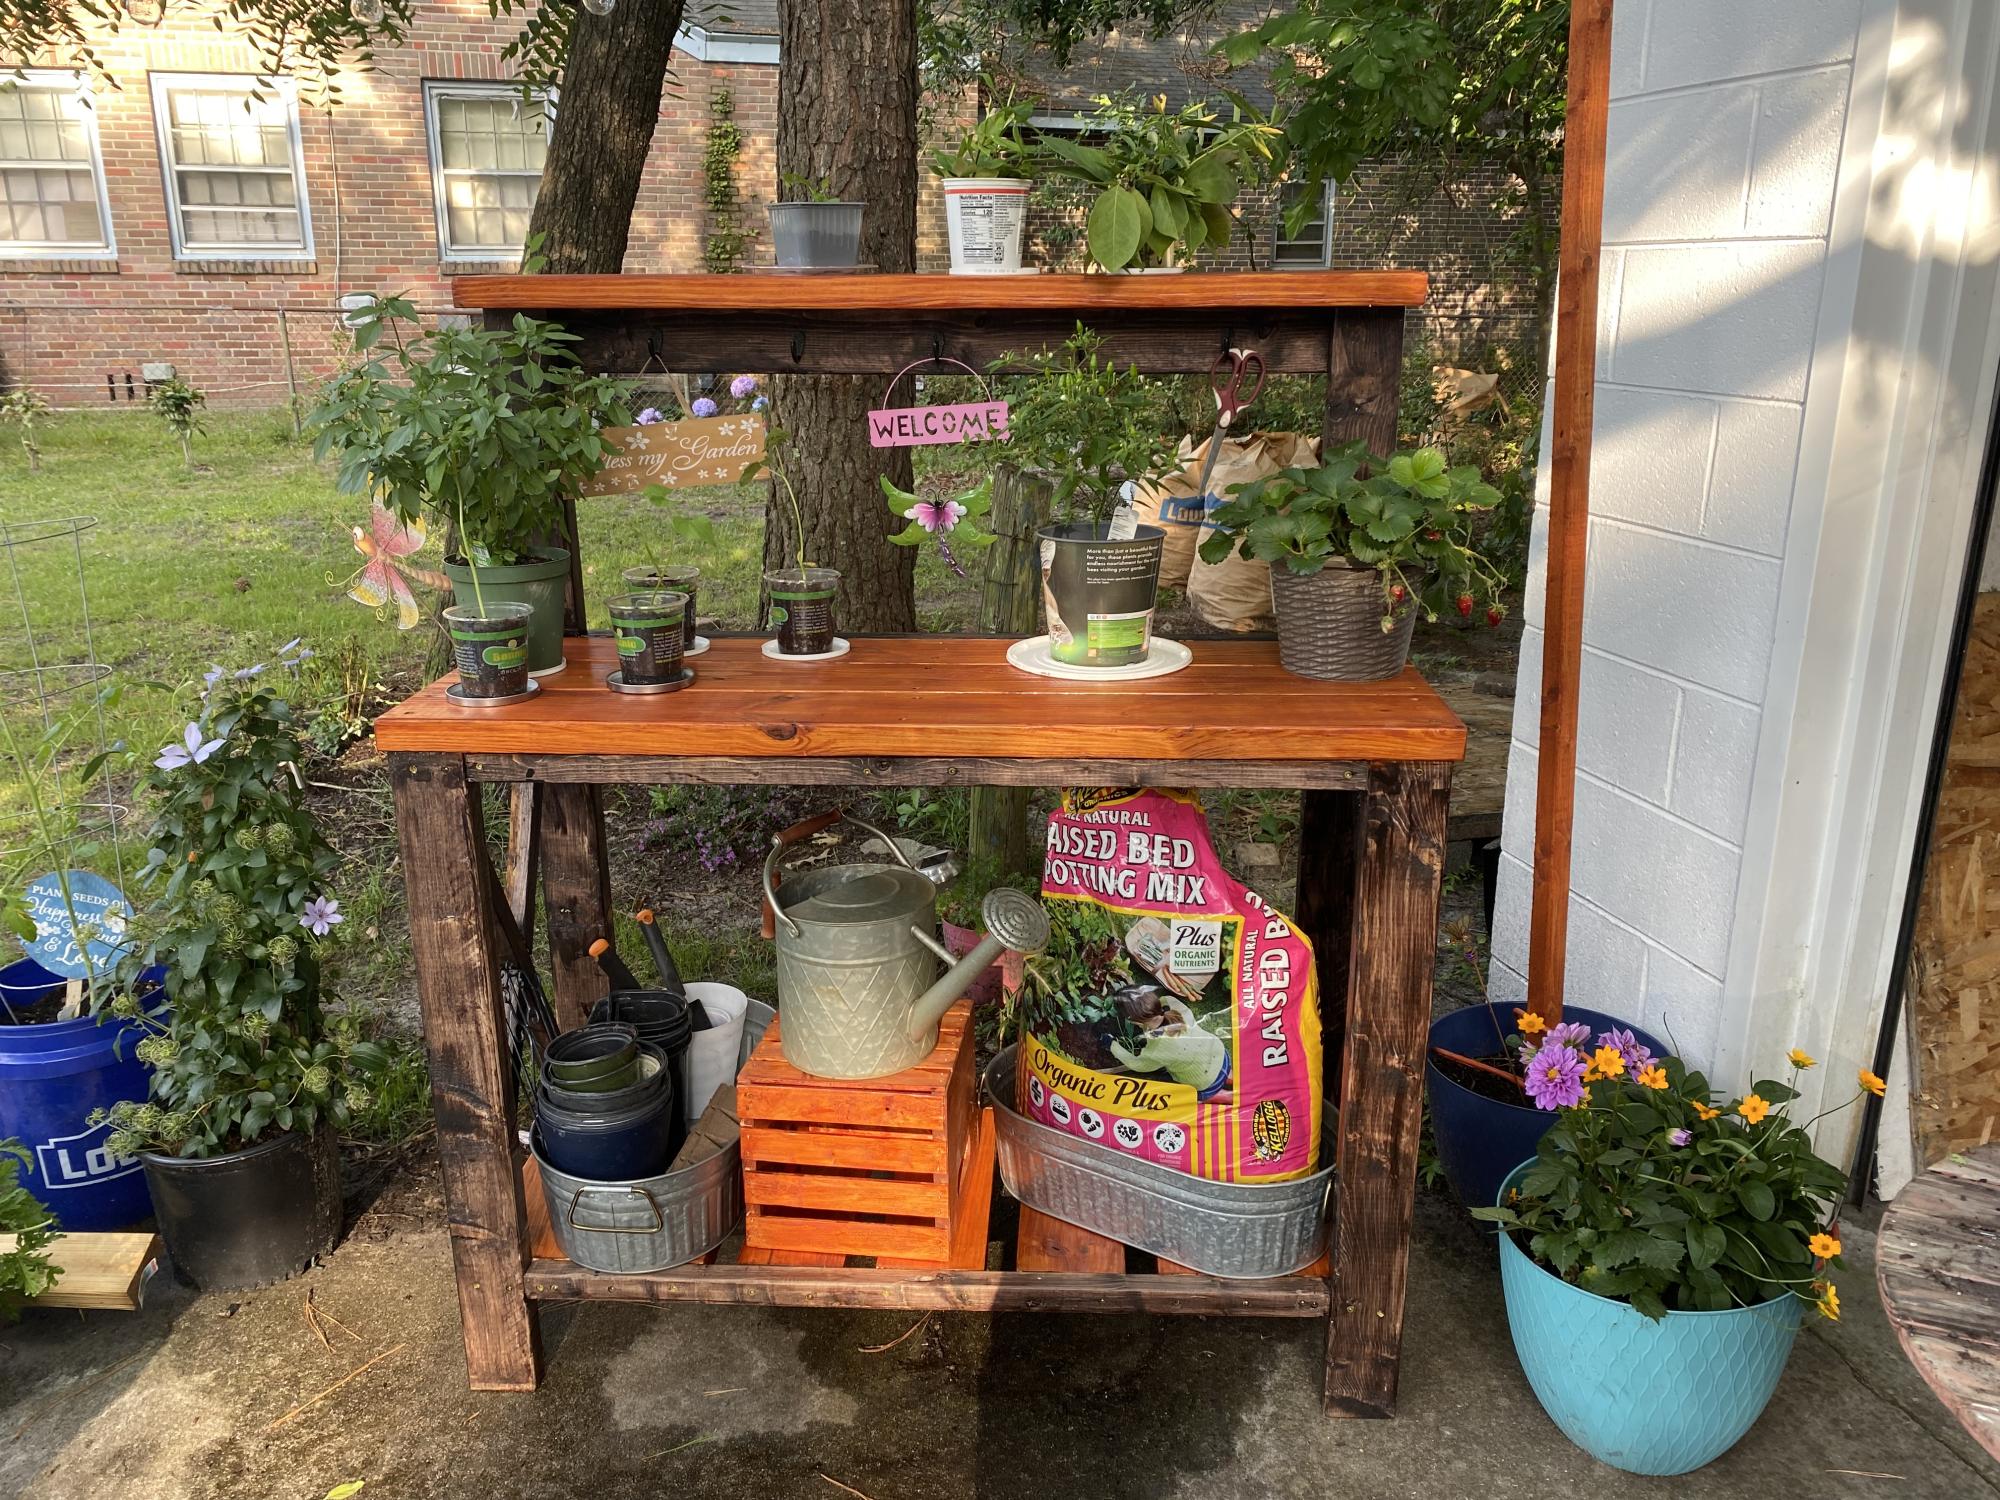
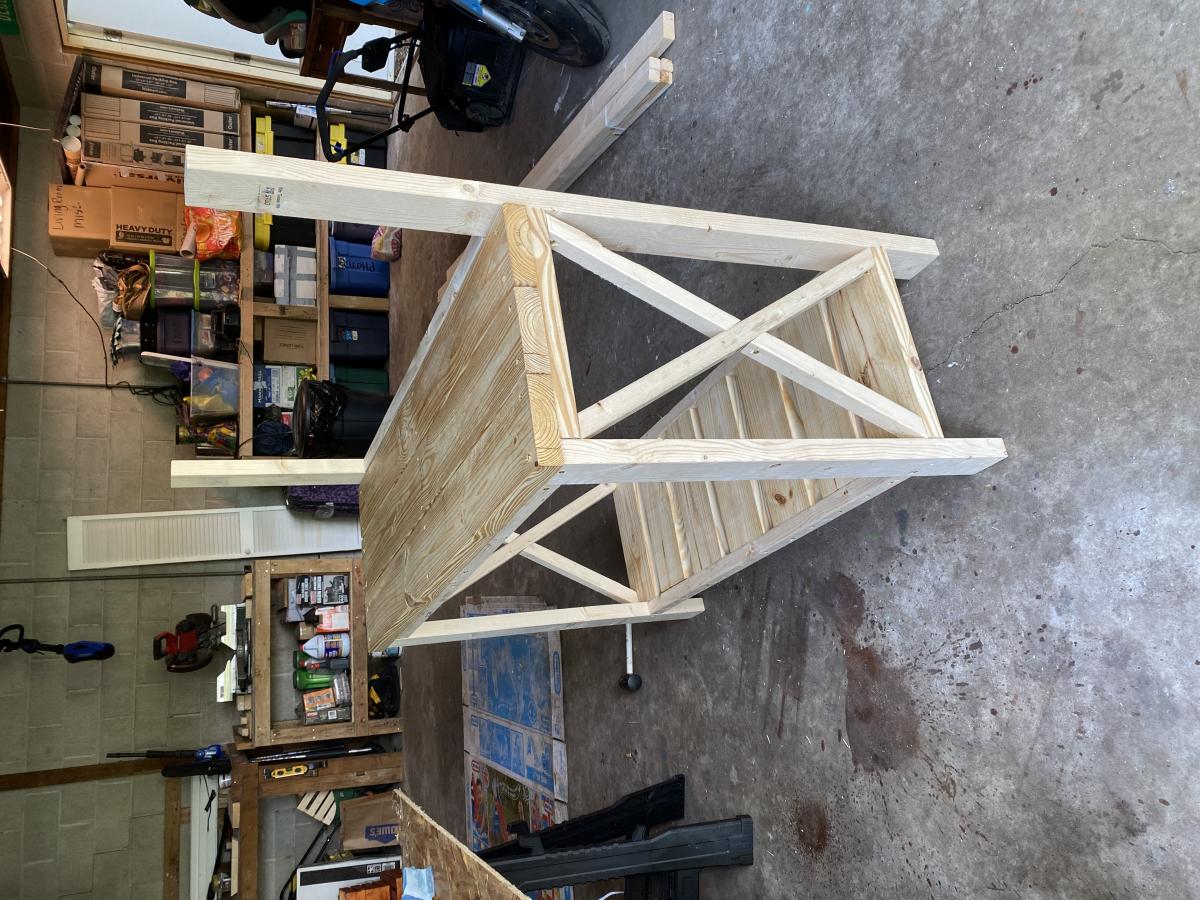
So easy… about 3 hours to cut and assemble. Will make another one for sure when I go to visit my mom at Thanksgiving. I absolutely love it!
Wed, 06/01/2022 - 08:04
Wonderful build, it looks fantastic! Thank you for sharing:)