Community Brag Posts

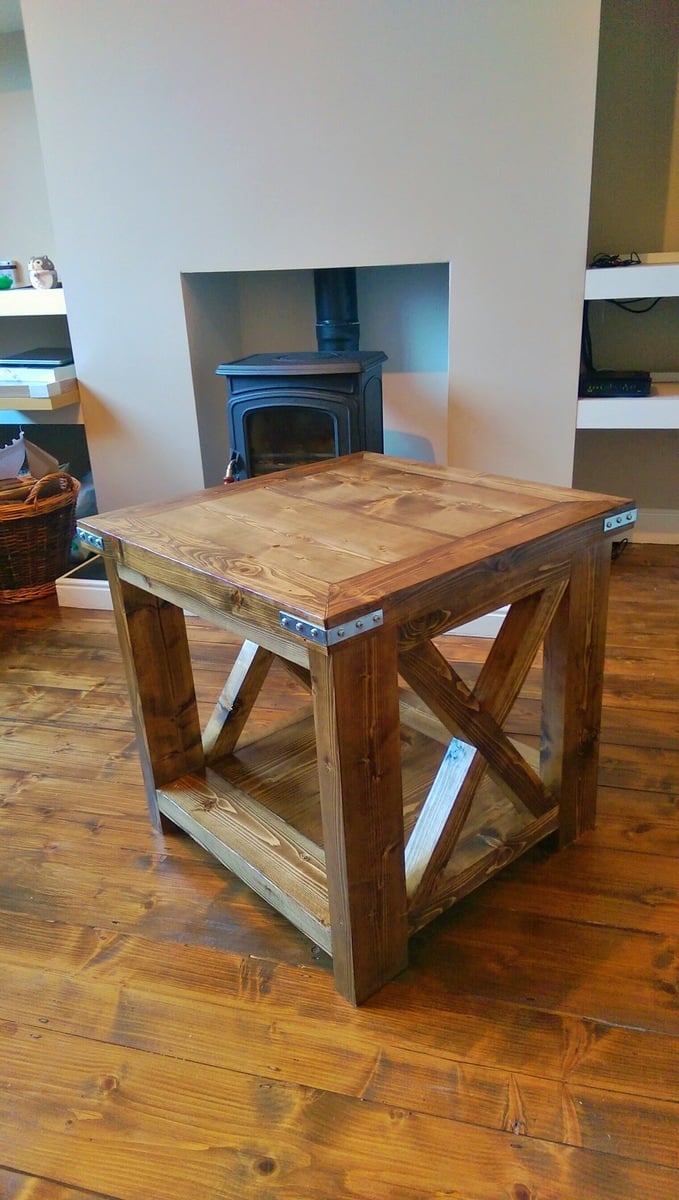
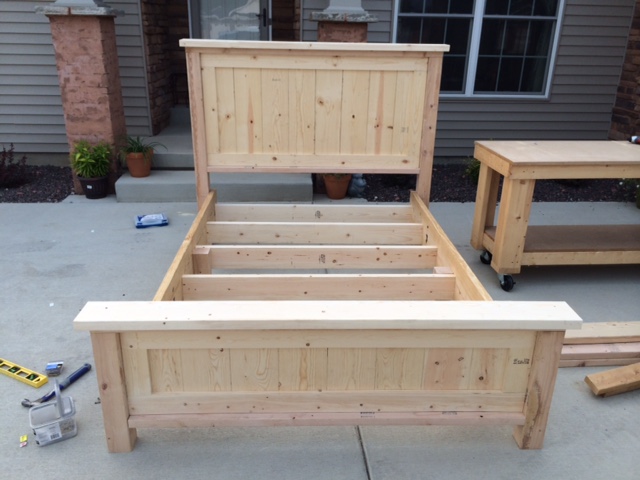
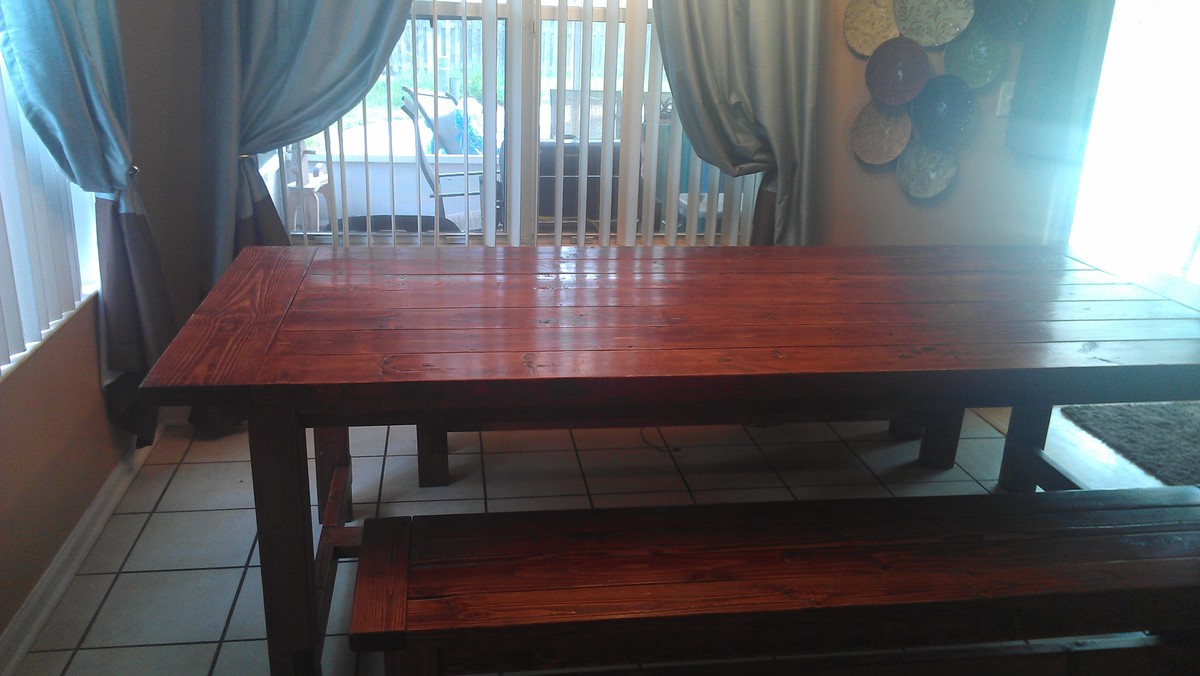
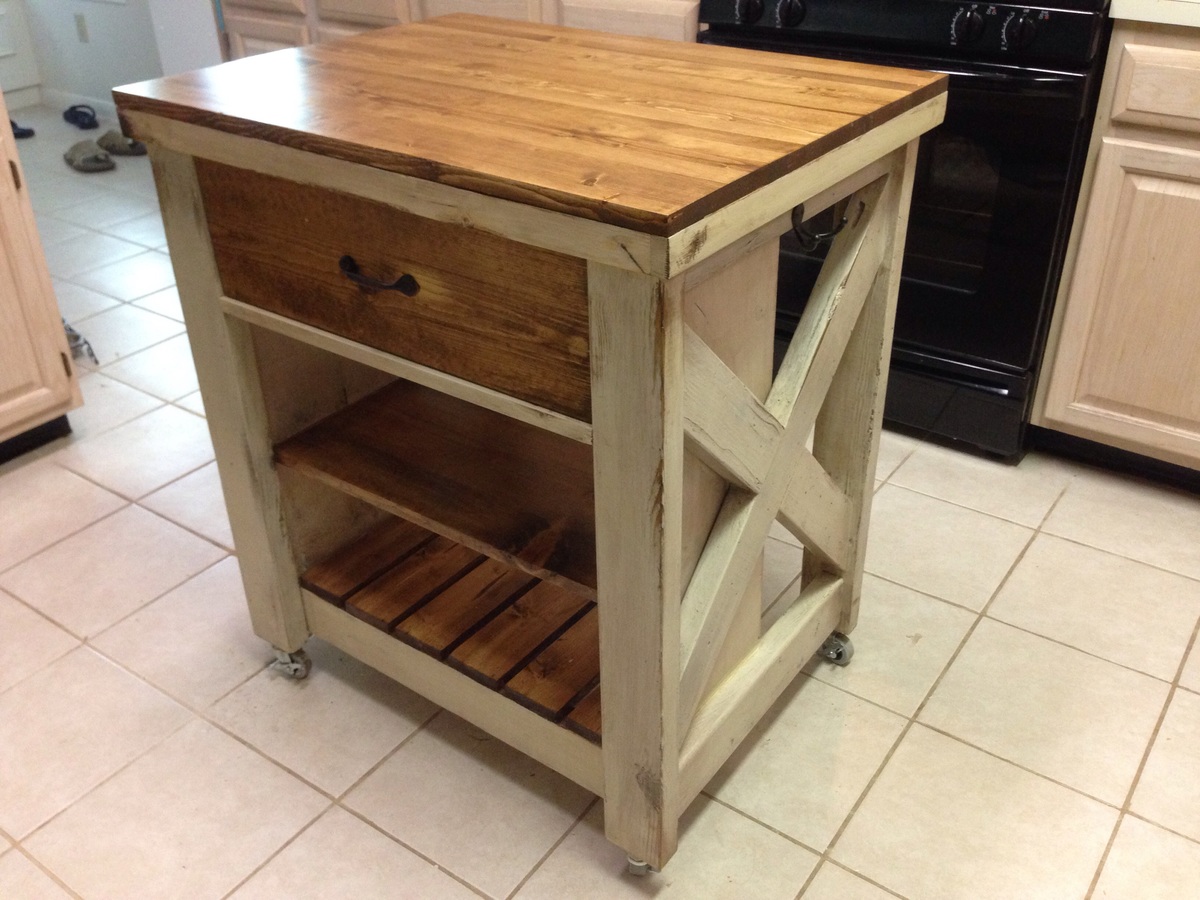
My very first build and I love it

Submitted by kimewest on Tue, 06/04/2013 - 20:47

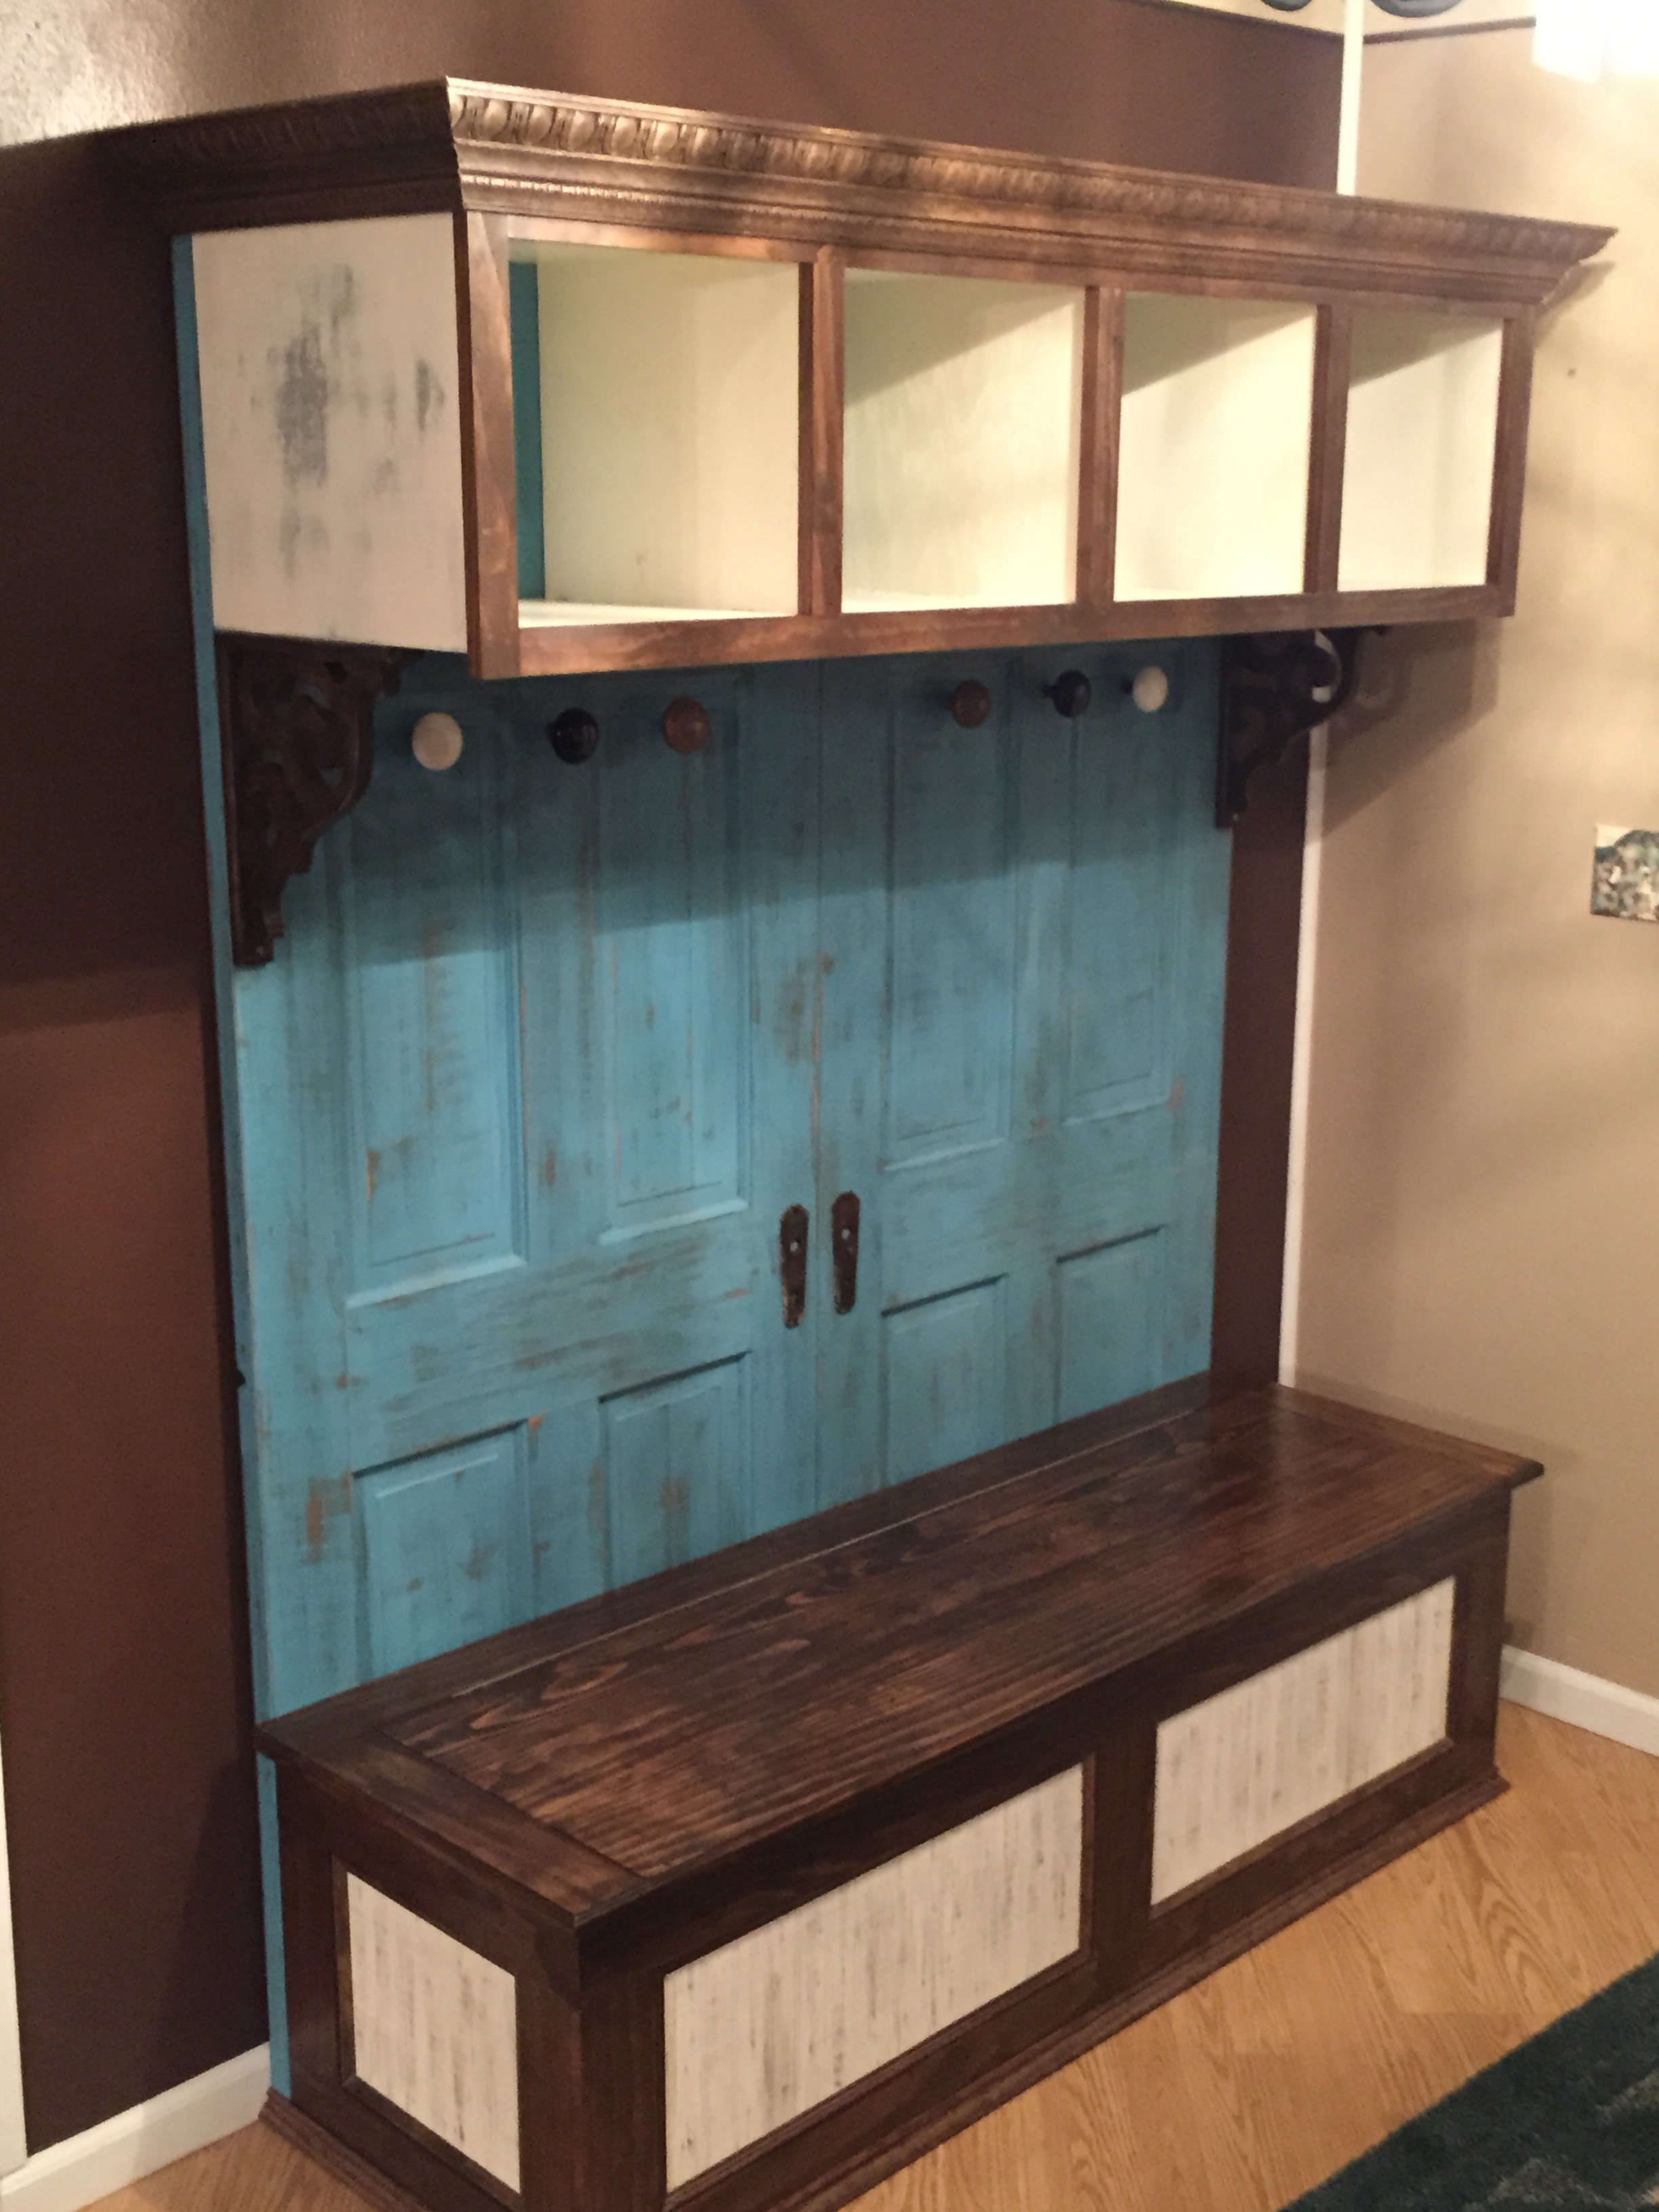
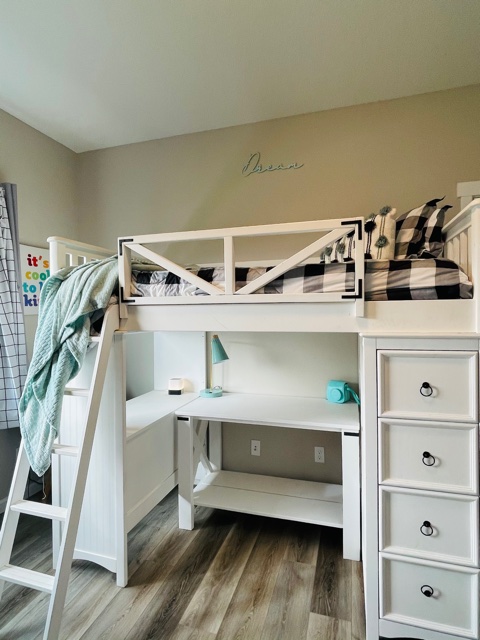
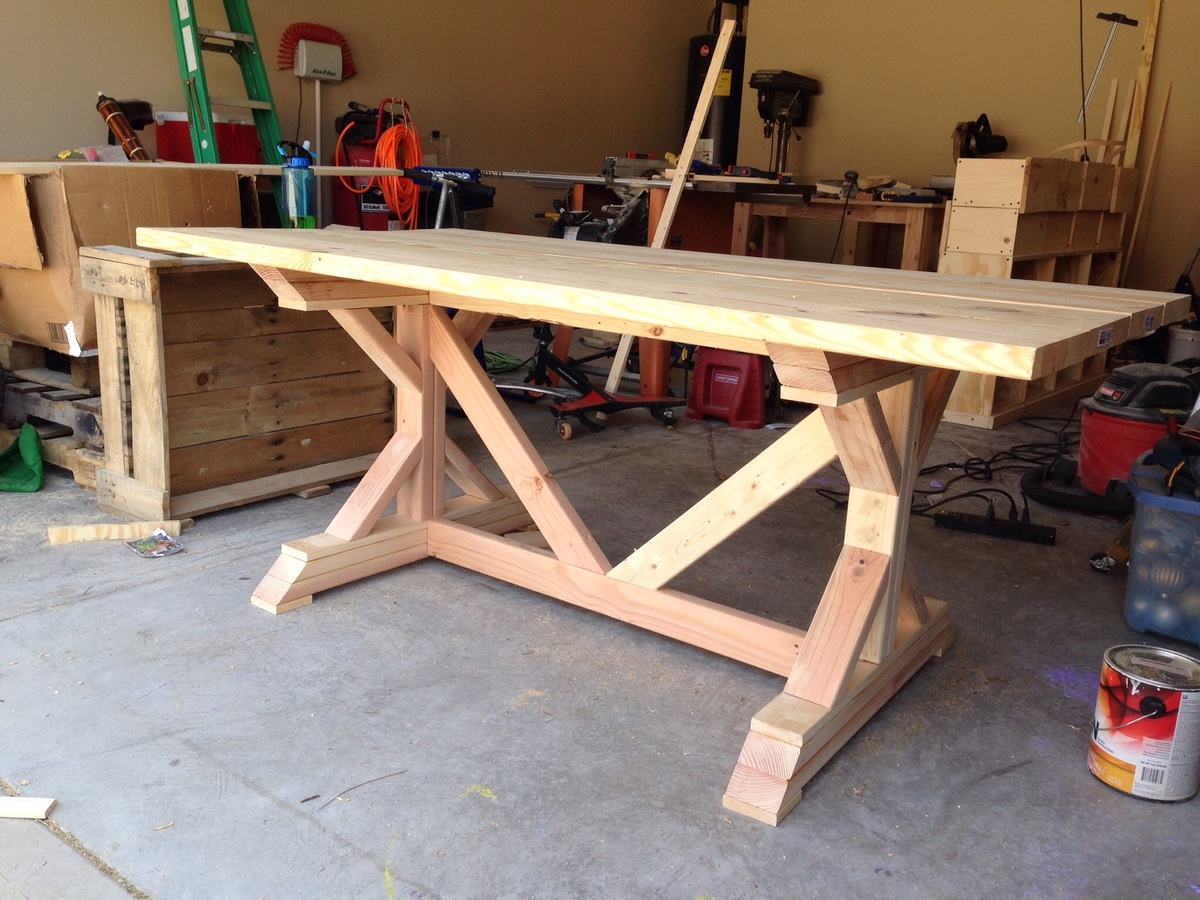
This is my first try at building! Well, I have built above ground gardens but never furniture. Seeing what everyone has done on this site encouraged me to give it a try too. I'm so glad I did and it turned out exactly as I wanted. Now, I have several other projects that I'm excited to start. This could get addicting.

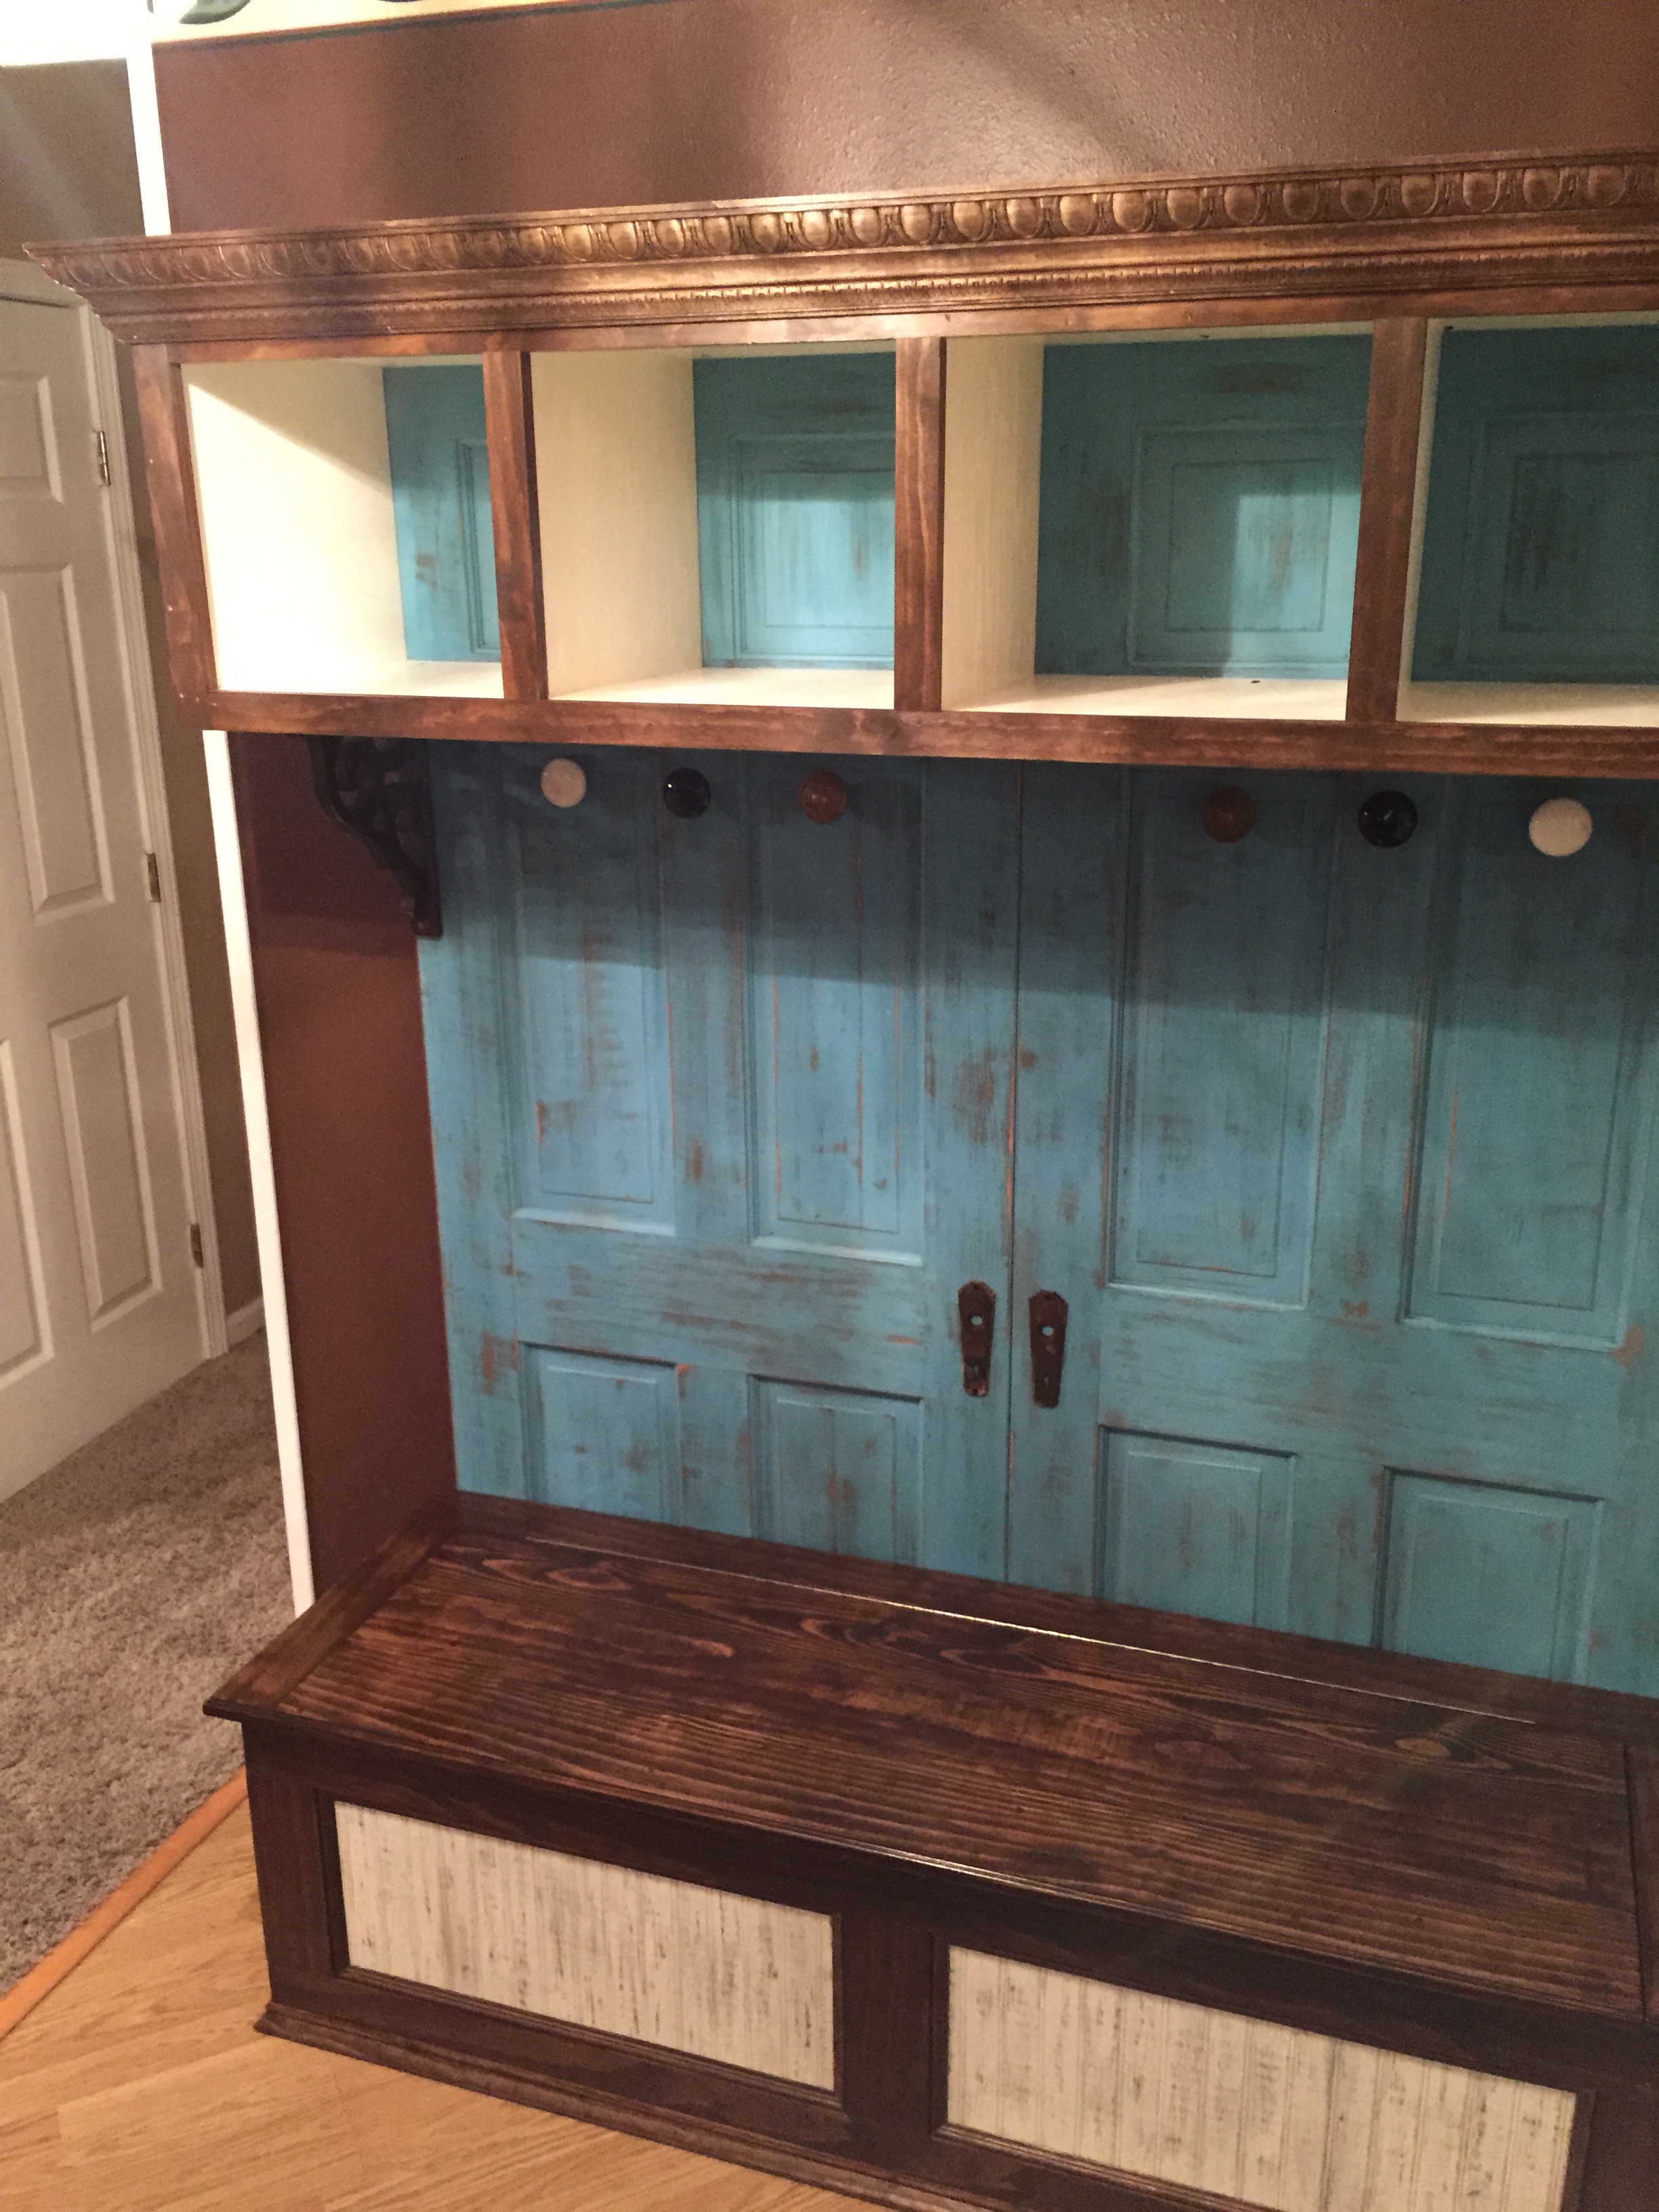
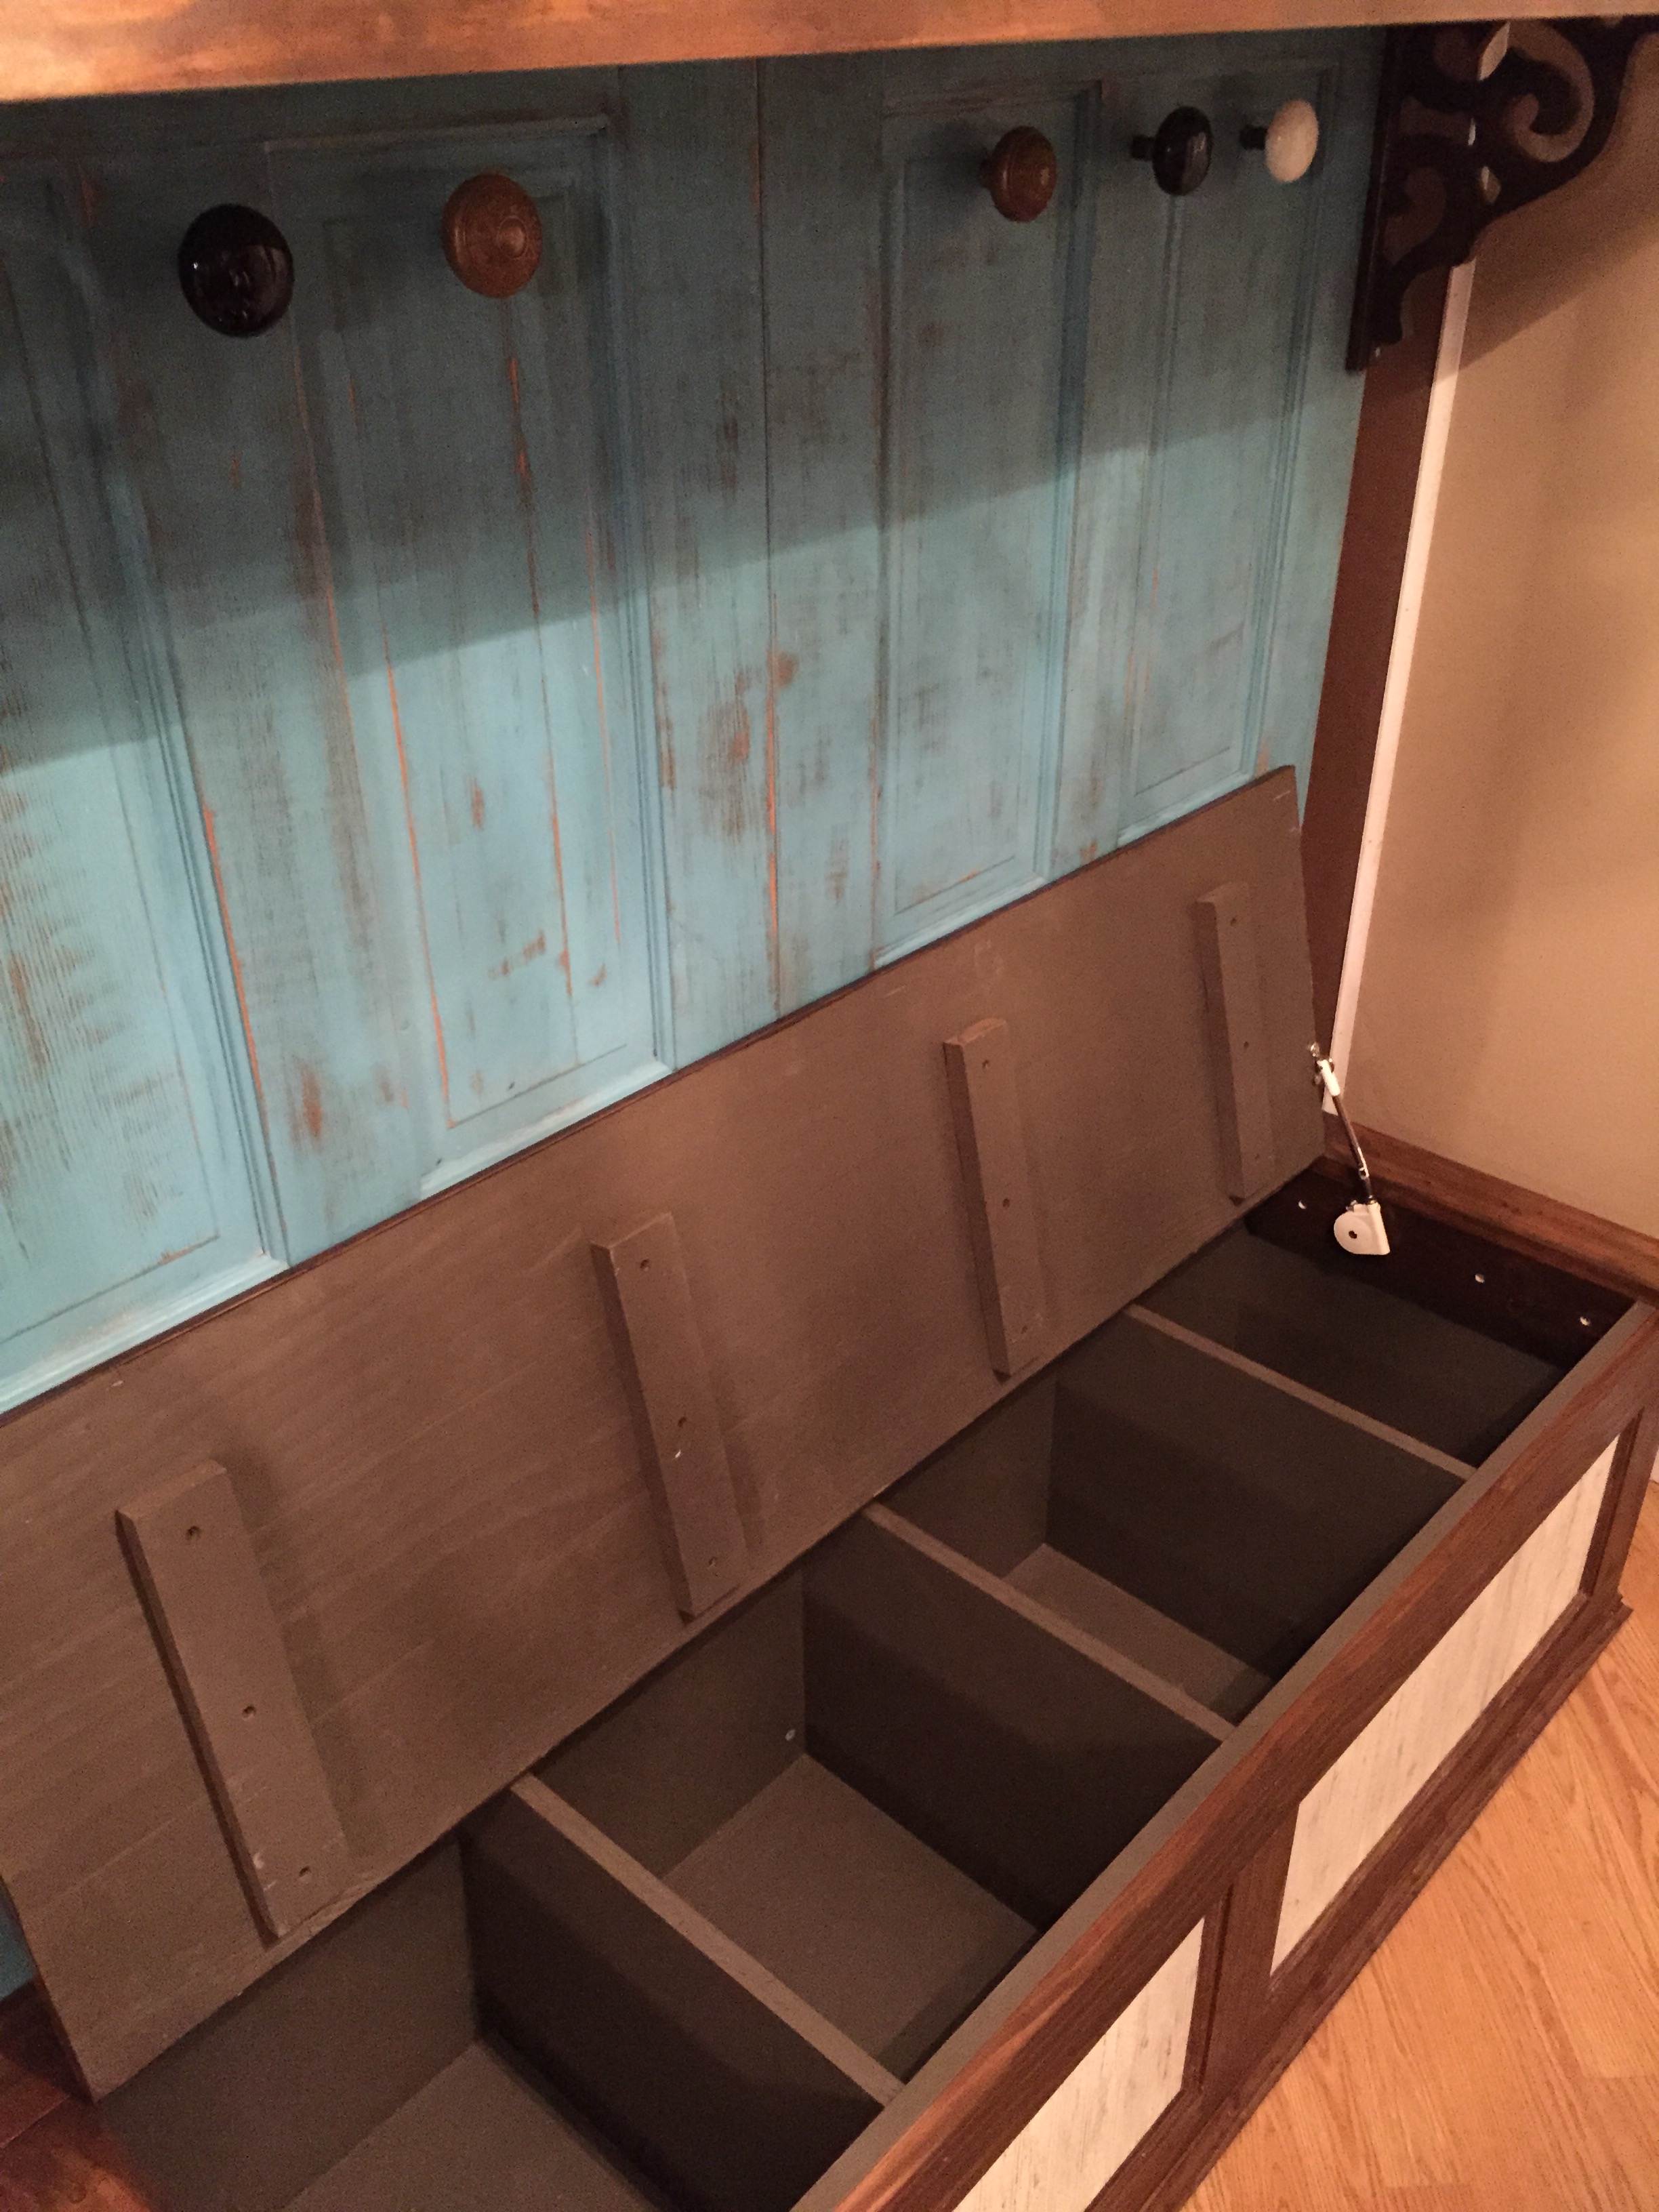
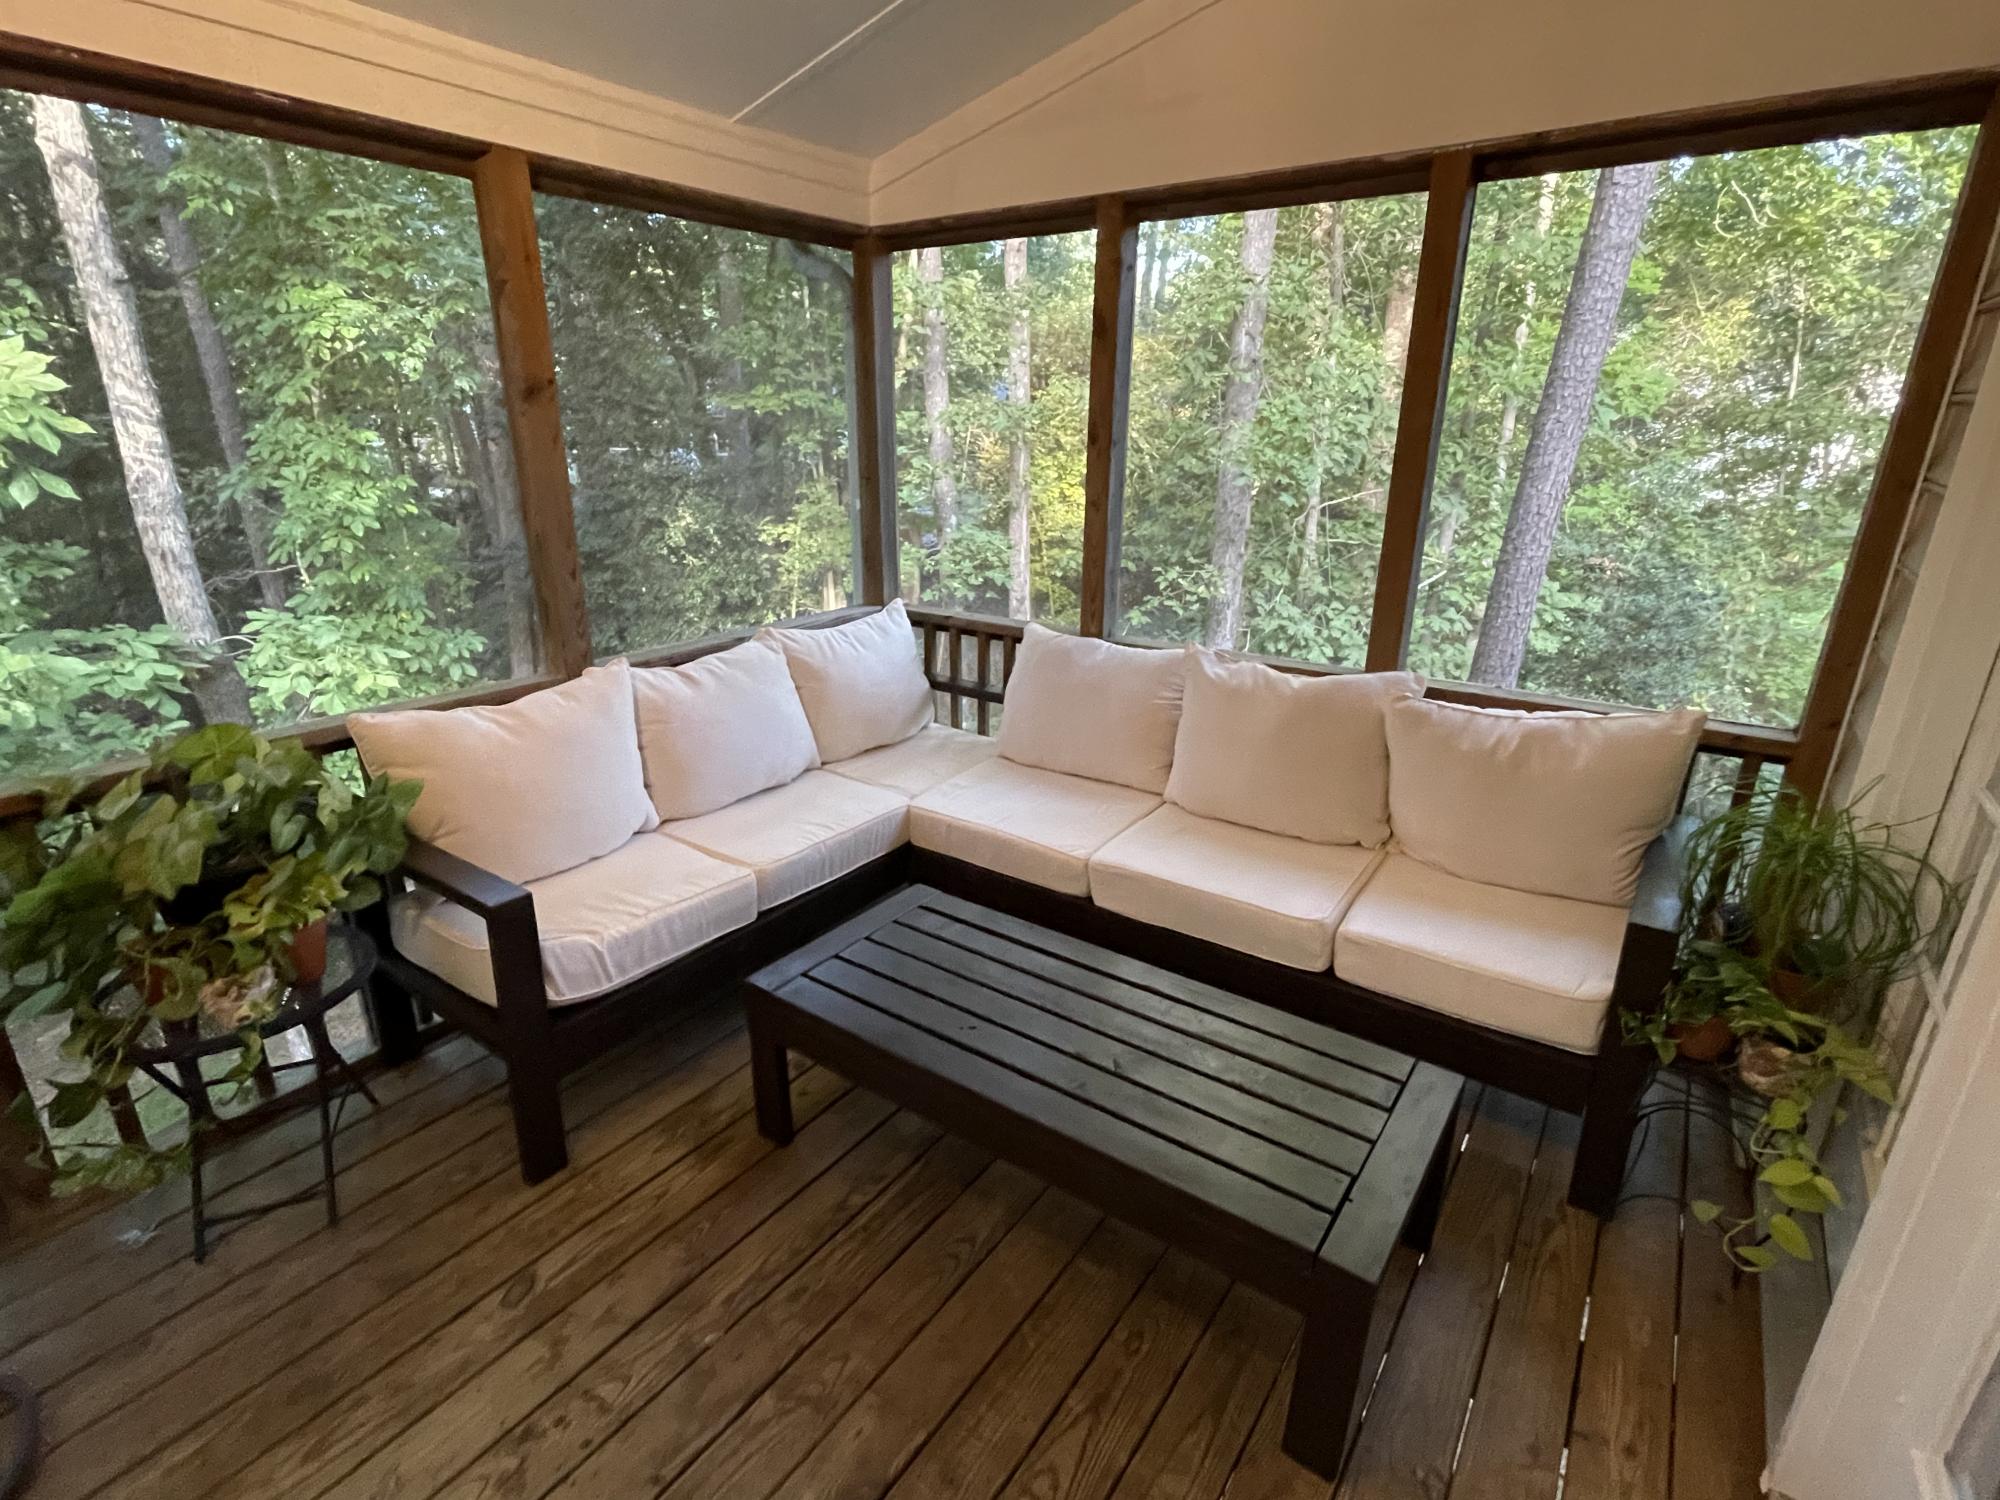
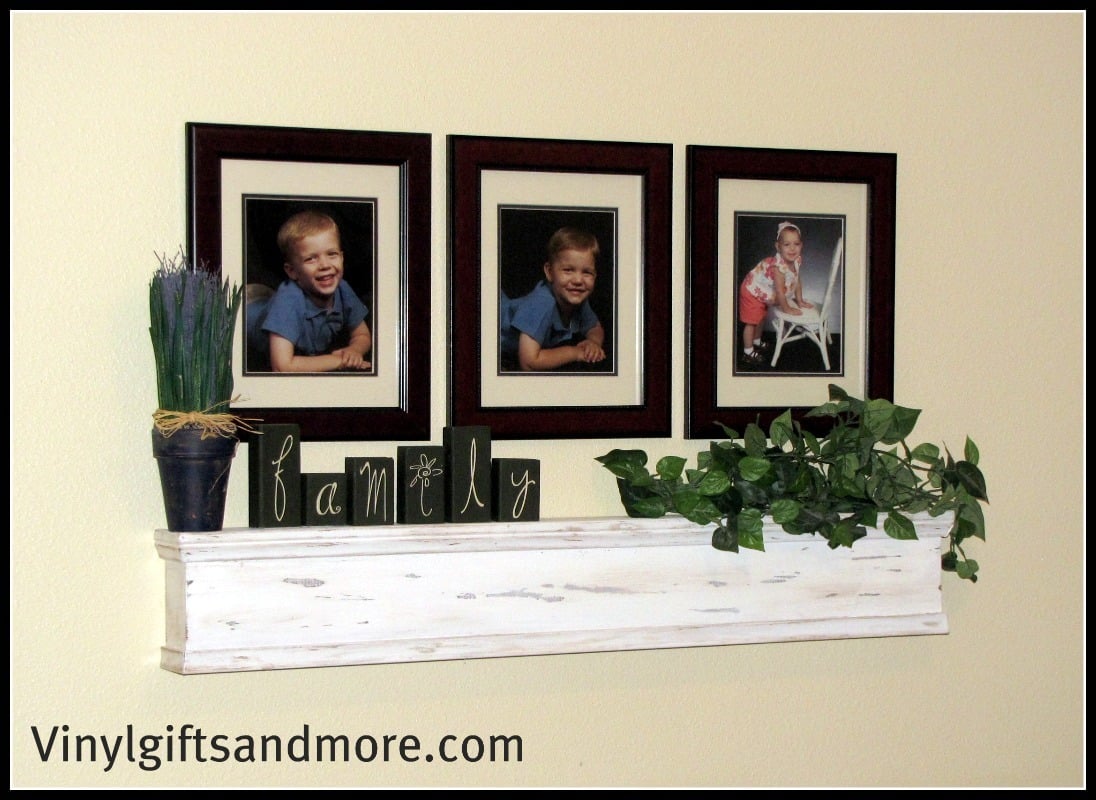
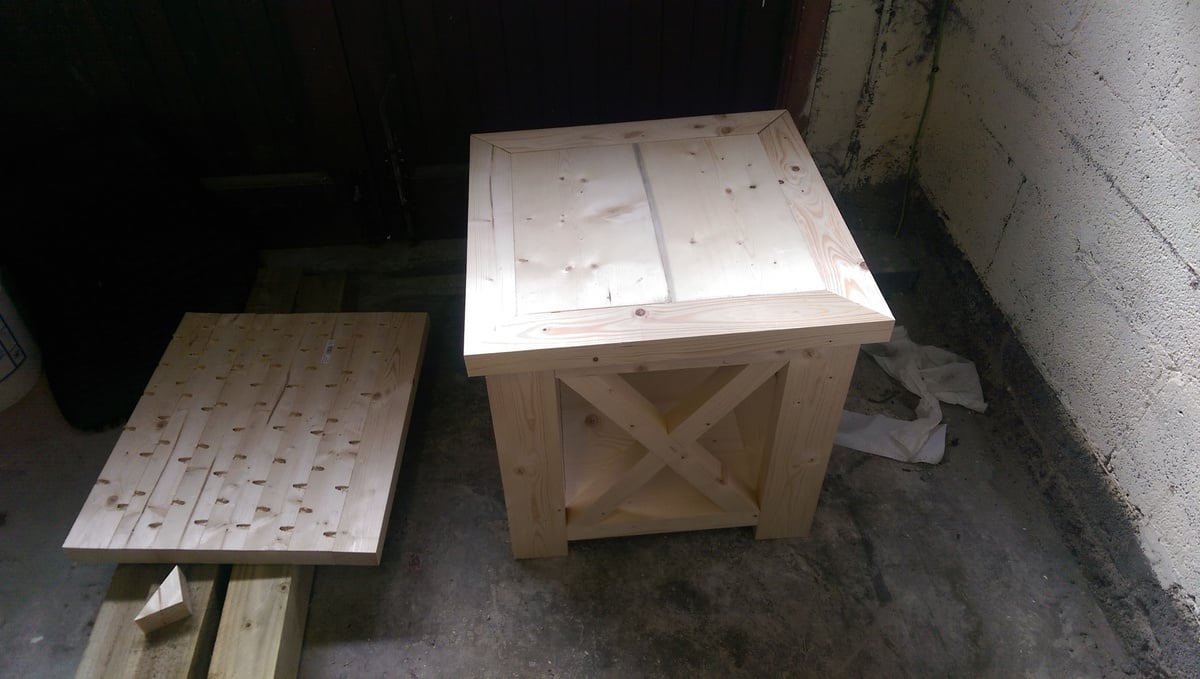
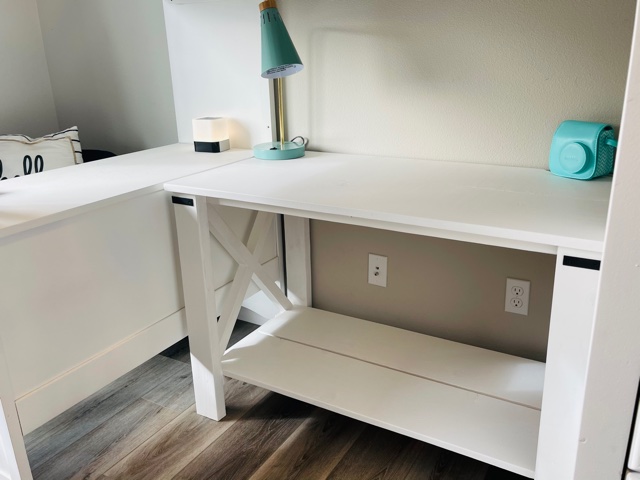
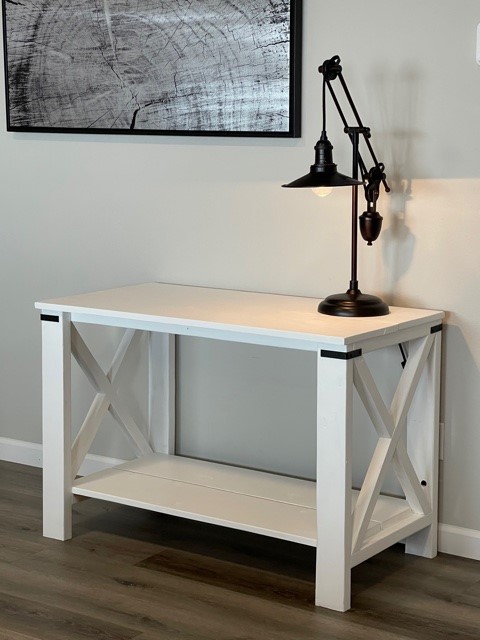
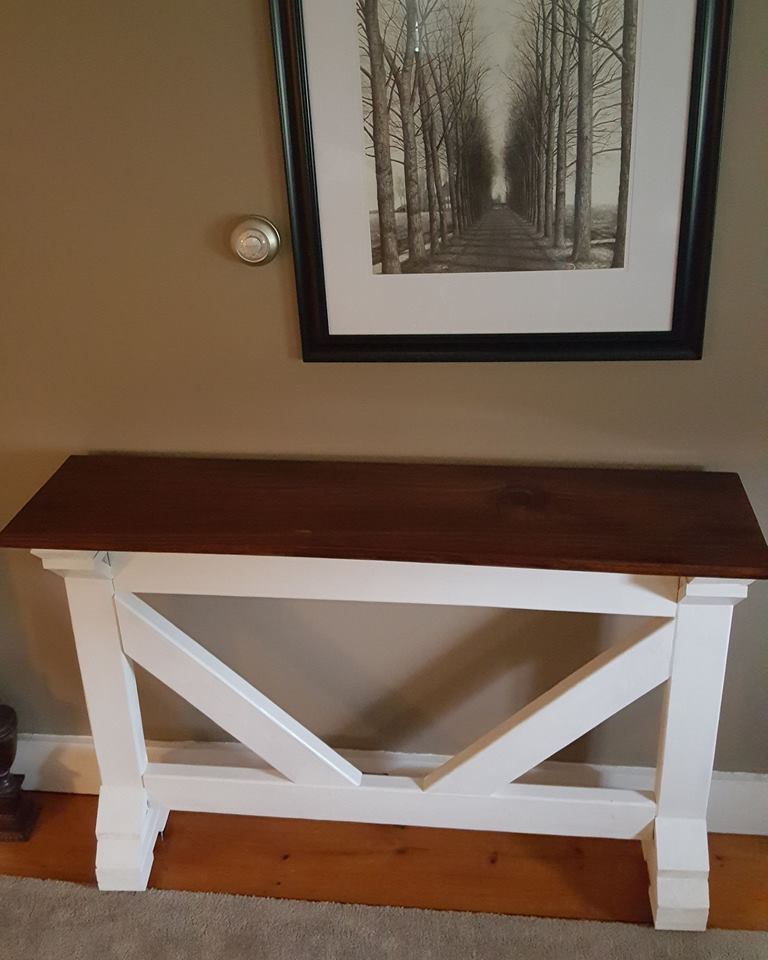
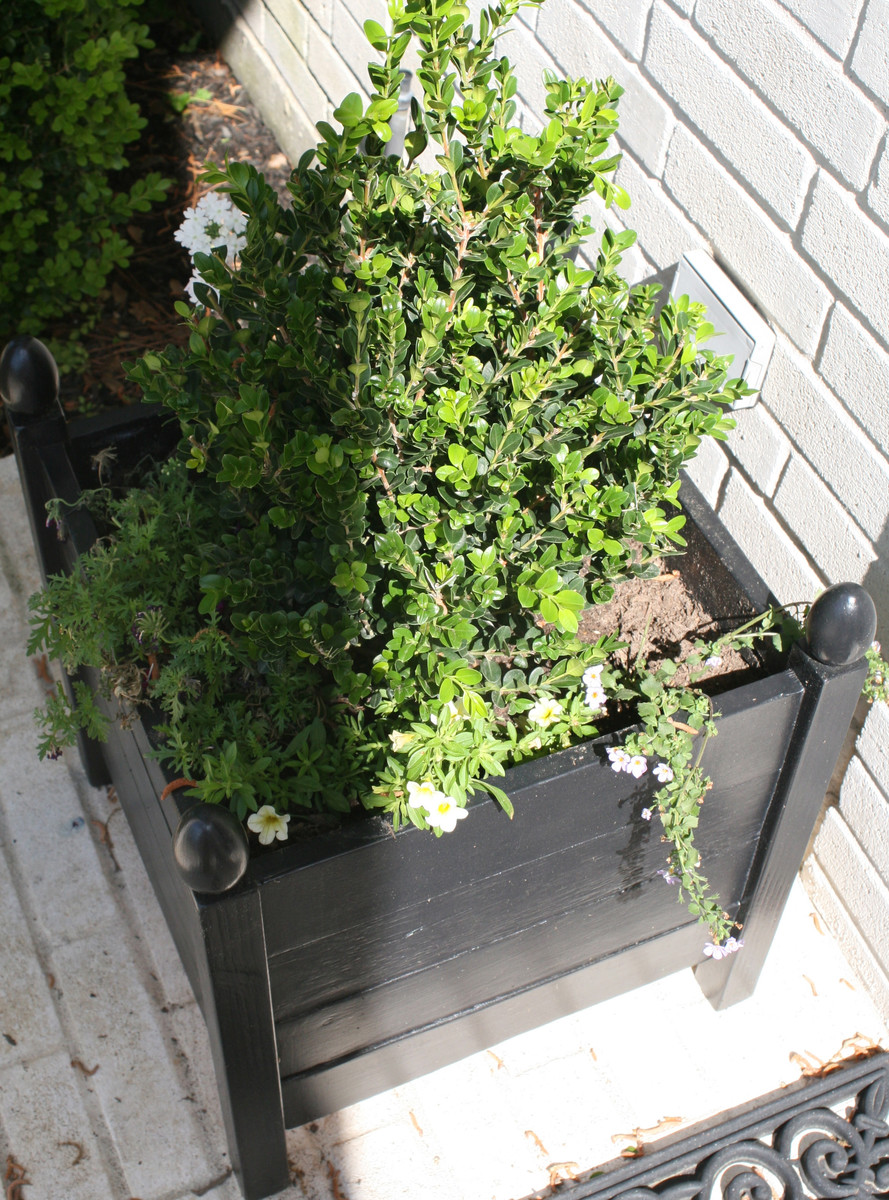
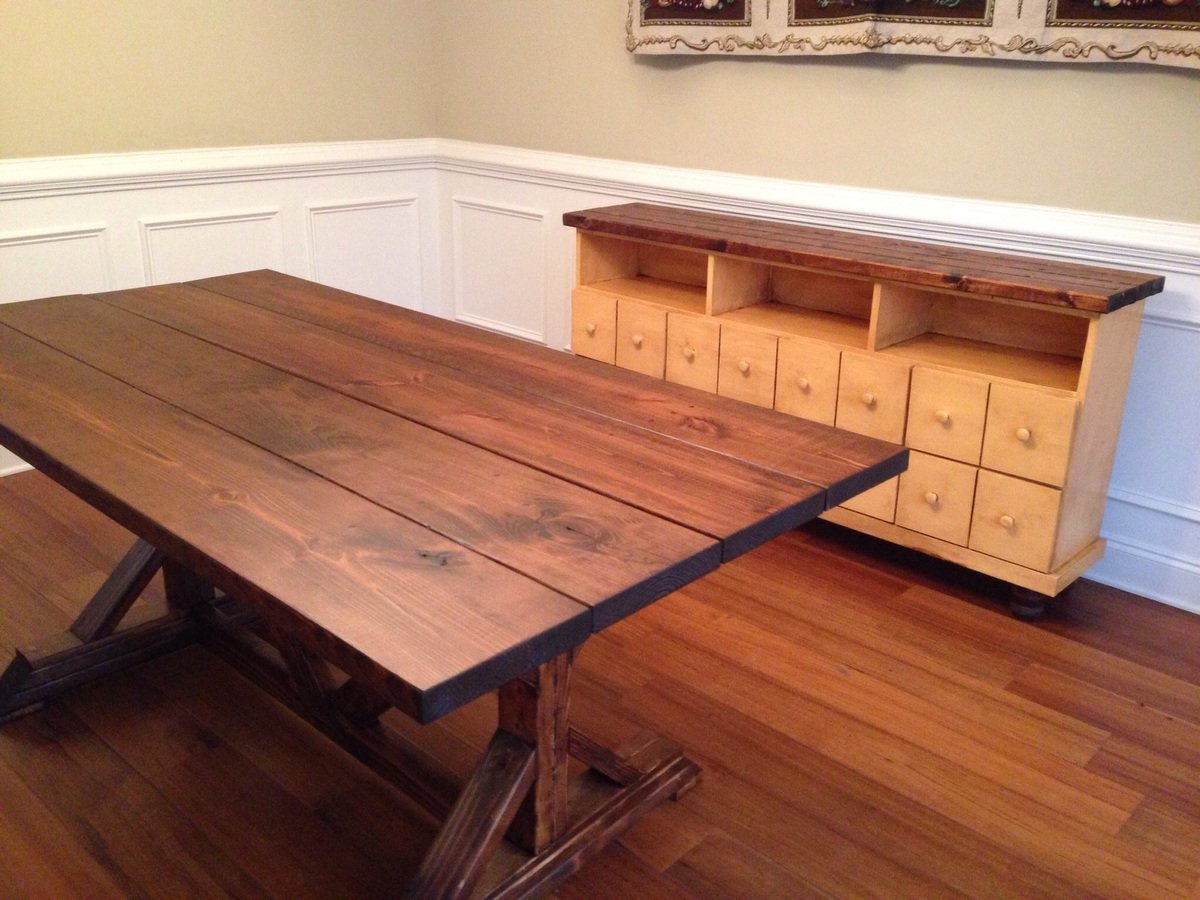
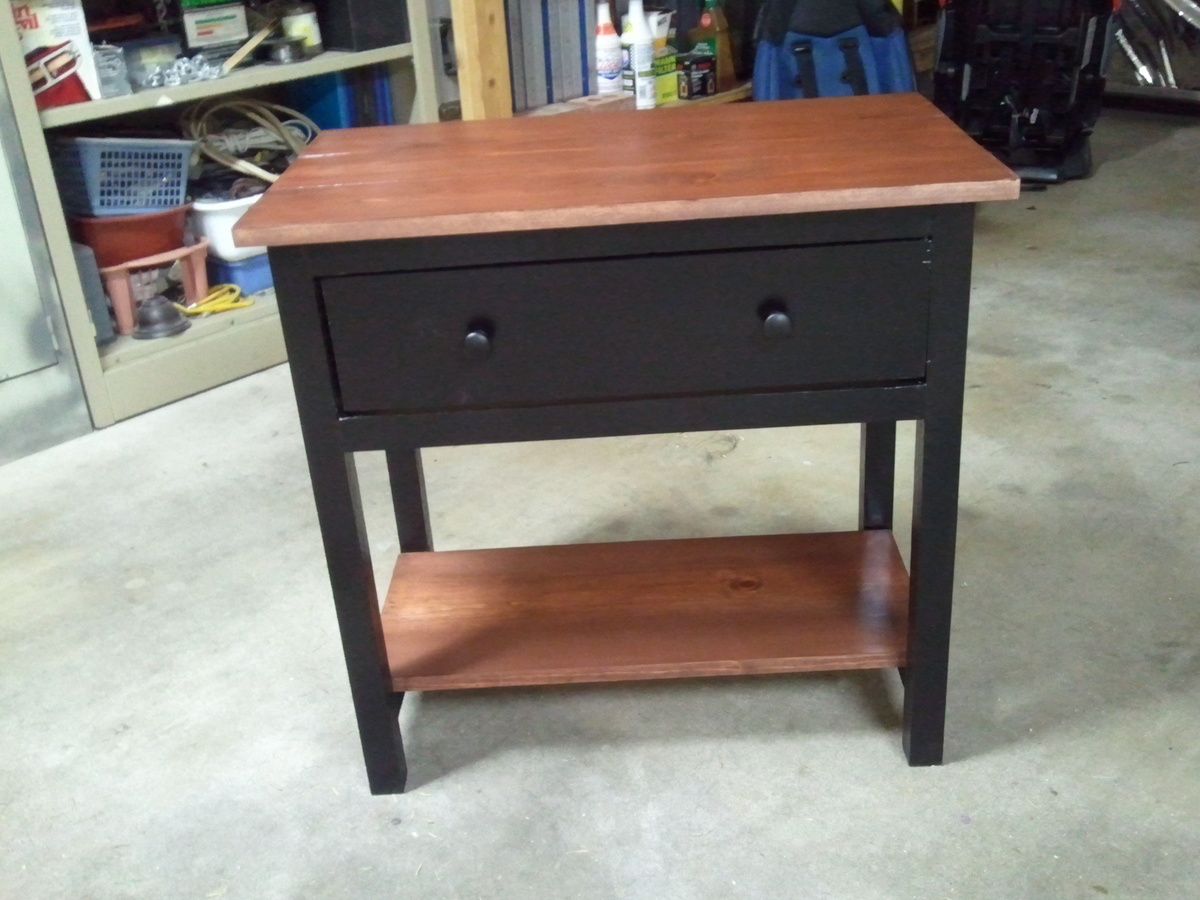
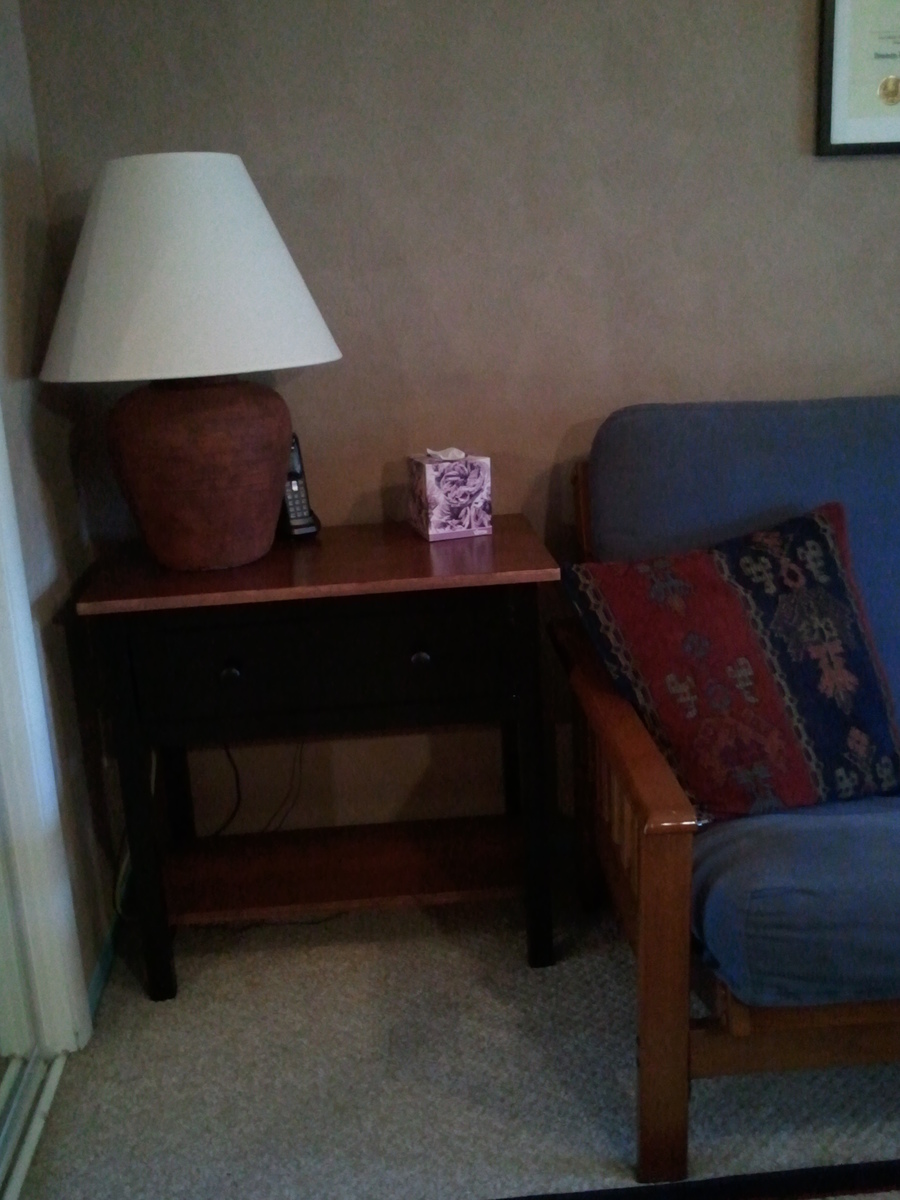
I needed a side table for my office and wanted it to match the decor. I have all black picture frames and accessories and needed the wood to look very similar to what was on the couch. I had planned on painting the bottom shelf but really liked it plain so decided to stain it as well.

Built from Plan(s)
Estimated Cost
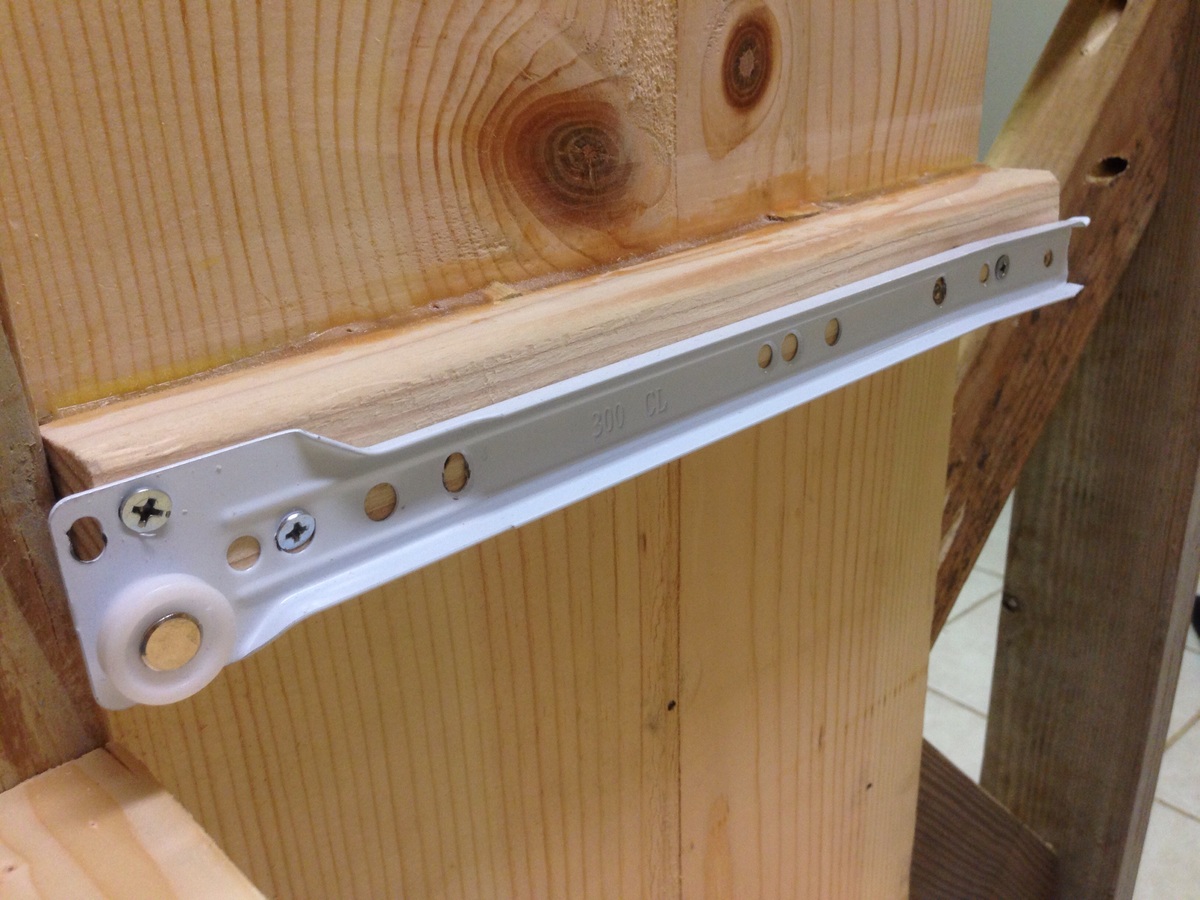
About $60 but would have been less if I'd done this before
Estimated Time Investment
Weekend Project (10-20 Hours)
Finish Used
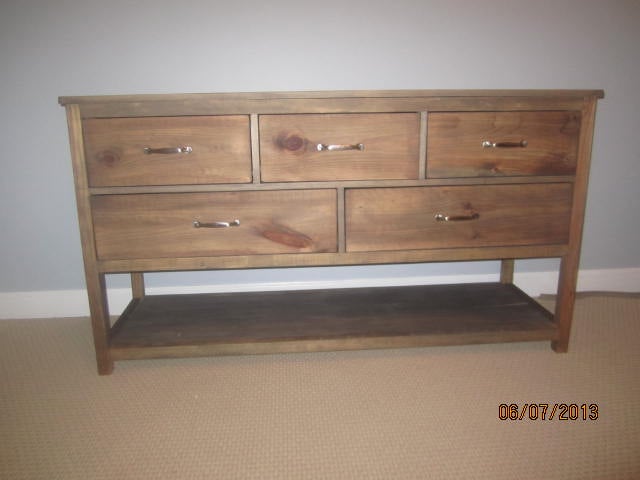
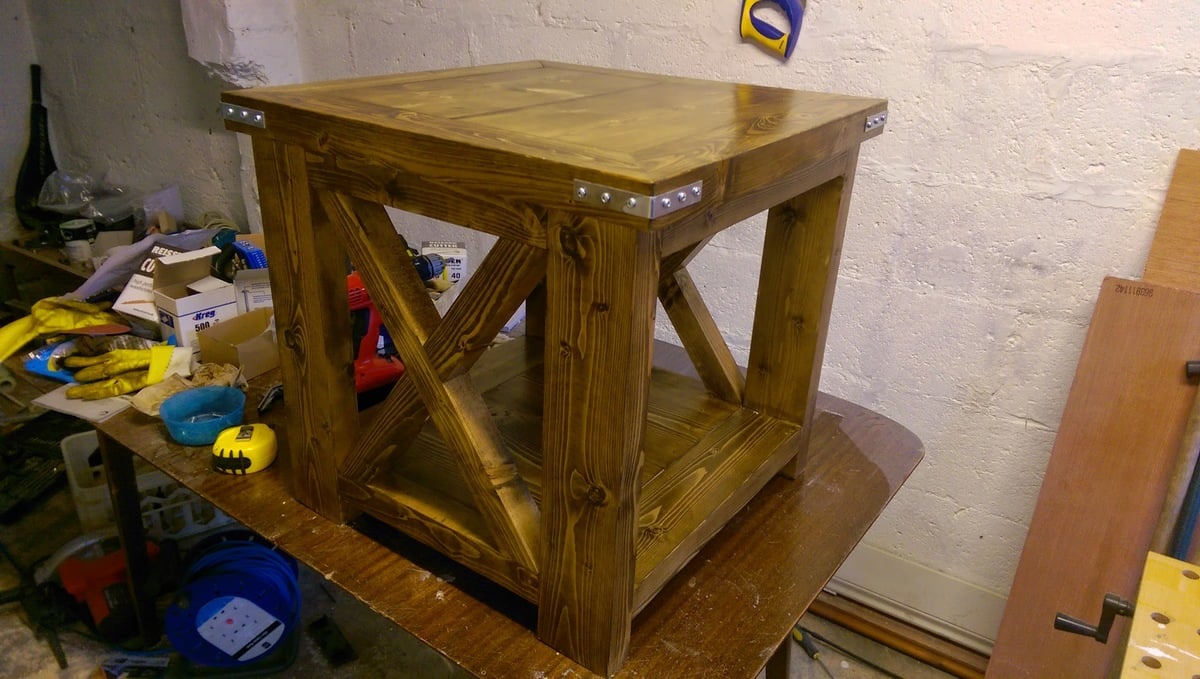
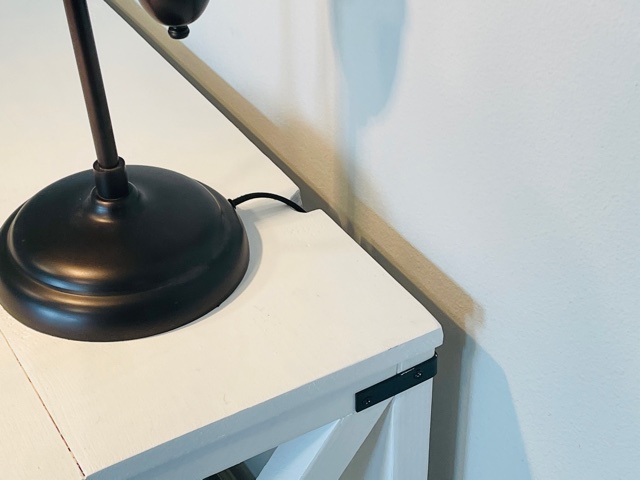
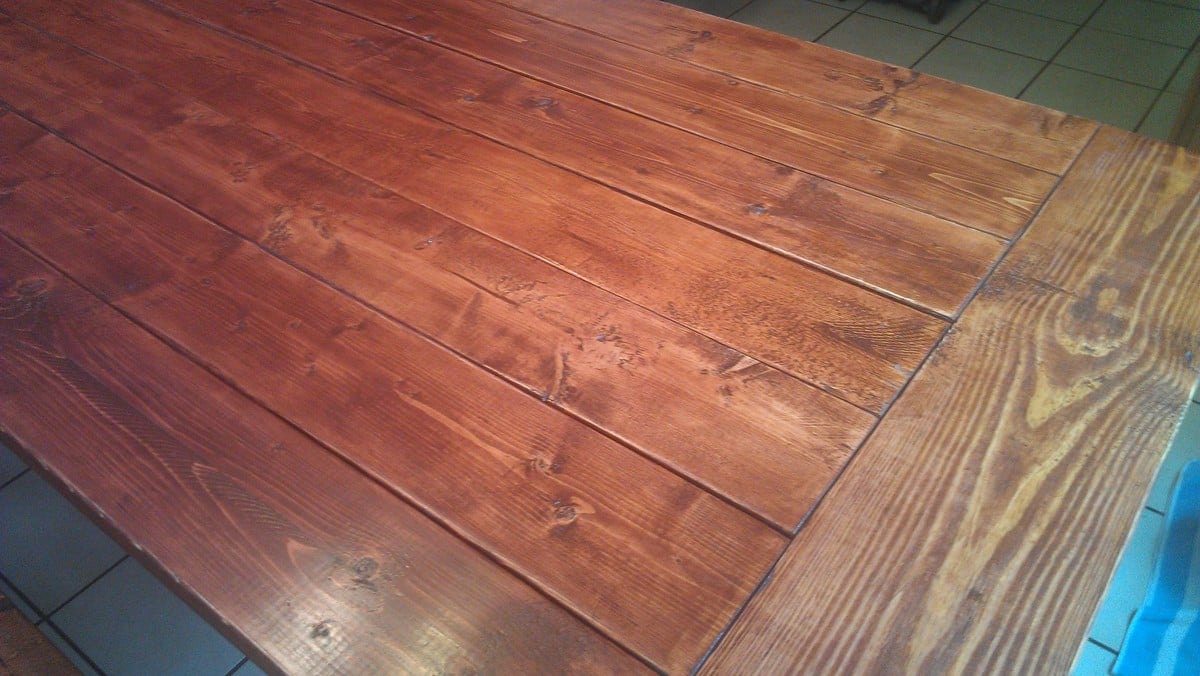
High gloss black paint and Minwax Rosewood stain. I finished with a glossy polyurethane.
Recommended Skill Level
Starter Project

Hall Tree

After 10 years of kicking around back packs and shoes that are always in the way, my wife decided she would like a Hall Tree for our foyer. For the last year or so I have been gathering ideas from the internet and putting plans together in “Sketchup”. I wanted to re-purpose some old doors and door knobs and was fortunate to find them at local auctions and antique malls. I’ll have to say that finding a pair of matching solid wood doors was the hardest thing to do. I was lucky to find a pair at an antique mall, and only paid $36 for both. The porcelain door knobs are used for hanging our jackets and coats. I found several of these at an auction. I used a piano hinge for the bench and installed a soft close hinge made by “Sugatsune” which I found on “Amazon’s” website


 Not cheap but well worth eliminating the dreadful slamming sound of the bench door. I had never distressed anything, but this and my wallet received plenty during the build. I’d have to say the best part of the build was working with my little cookie monster. She was always wanting to help, and I’m gonna let her because you all know as well as I that those days won’t last forever. Not a professional by any means, but Thanks for looking.

Built from Plan(s)
Estimated Time Investment
Week Long Project (20 Hours or More)
Finish Used
Dark Walnut Stain, Antique White and Turquoise Latex
Recommended Skill Level
Intermediate

Comments

adeath

Thu, 05/07/2015 - 11:31

This is really fantastic. I love the doors as a design element. I may just have to head out this weekend and find some matching doors.

c_loughridge

Mon, 05/18/2015 - 05:10

Thanks Ana. Also thank you for all you do to keep this site up and going....really appreciate all the great plans and ideas.

Safejosh

Thu, 11/17/2016 - 11:37

I would love to build this but, I could not find the plans for this size of a bench to match the back piece. Could someone please assist? Thank you.

Farmhouse bed - twin size

Submitted by Teazle33 on Wed, 09/20/2017 - 19:30

This is the first bed I have built. It turned out better than I expected. The plans were great and easy to follow. I completed the bed from start to finish in two days. The steps I made from leftover material. 

Built from Plan(s)
Estimated Cost
200
Estimated Time Investment
Weekend Project (10-20 Hours)
Finish Used
Dark walnut stain
Recommended Skill Level
Beginner

Outdoor sectional and table

Submitted by sarah252 on Fri, 10/15/2021 - 14:25

First time building anything. I think it came out pretty good! Thanks Ana white for the plans!!

Comments

Country Rustic Shelf

We just bought our first home a few months ago.  It is taking me a long time to decorate, because I am more picky about what goes on my walls.  I saw this shelf and I knew I had to build it.  It was really simple to do.  I even did it without my husband, and that is huge for me. I have step by step pictures on how to make this shelf on my blog.
supersaturdayldscrafts.blogspot.com

Ana's Barn Beam Ledges are very simular, but I turned them and added molding to the front.

Built from Plan(s)
Estimated Cost
20.00
Estimated Time Investment
Afternoon Project (3-6 Hours)
Finish Used
For the finish I used dark walnut gel stain, and then after the stain dried, I painted it with Home Depot Vermont Cream. When all the paint is dry, you sand the outside so the stain shines through to give it a more rustic country look.
Recommended Skill Level
Beginner

Wide Cabin Dresser

Submitted by mebohn on Fri, 06/07/2013 - 05:46

I This project is definitely the most difficult I've ever built. I've done lot of drawer slides before, but for some reason this one was the hardest. I think the culprit was squaring, which was mysterious to me bc I'm careful to take a square constantly. Could've been bowed boards, too. But, after some patience and forcing the boards to do what the should, it worked. I did rip down 2x4's for strength b/c our stores do not carry the upgraded 2x2's and furring strips would just not have been strong enough for a dresser. My son is very happy to finally have a place for his clothes. Thanks Ana for these plans!

Estimated Time Investment
Afternoon Project (3-6 Hours)
Finish Used
Steel Wool and vinegar, Rustoleum ultimate poly in matte
Recommended Skill Level
Advanced

Comments

spiceylg

Fri, 06/07/2013 - 08:26

Your efforts were worth it. This came out beautiful. Looks professional.

Rustic x end table

Submitted by ayoung82 on Sun, 05/10/2015 - 13:43

I had to redesign the top because my wood was too narrow and warped to make it as per the plan, and I'm too cheap to go and buy some more. I think it worked out OK. I enjoyed making this piece and I'm trying to develop my accuracy in wood working. My patience for the "finishing" element is improving, but I'm still a Sand-a-phobe.

Built from Plan(s)
Estimated Cost
€40
Estimated Time Investment
Weekend Project (10-20 Hours)
Finish Used
Satin Poly & Medium Maple Stain
Recommended Skill Level
Intermediate

Hall Tree Bench DIY

Submitted by jimmysingh on Wed, 10/11/2017 - 08:13

Modified From Ana's Fancy-hall-tree bench plan.

Built from Plan(s)
Estimated Cost
$150
Estimated Time Investment
Day Project (6-9 Hours)
Finish Used
White primer one coat, paint two coats, gloss water based polyurethane one coat
Recommended Skill Level
Intermediate

Farmhouse Desk with X Detail

Submitted by vendo on Thu, 10/21/2021 - 11:46

I found a loft bed on the marketplace and had fun revamping it! I wanted to add a desk underneath that matched the existing desk surface, so needed to slightly modify the plan to make it the same height and width of the opening. This was a simple build, built in about 2 hours and the finish took about the same. I modified the bottom to be a full shelf, love the way it came out!

Built from Plan(s)

A bathroom cabinet for all that stuff!

Overall measurements: 24x40. I followed the same basic steps as the nursery armoire, but on a much smaller scale and with a 1x3 added to the back for hanging the cabinet on the wall. I sketched this out on my own and built it to fit above the toilet in my girls' bathroom.

For the first time, I used my table saw to route a space for the 1/8" MDF cabinet backing and drawer bottoms. I will probably use the same method again, but the MDF has to be absolutely square for it to work.

Also a first for me, I used a shelving jig to drill perfectly spaced shelf pin holes on the inside of the cabinet. I love the jig and the accompanying drill bit (from Woodcraft -- orange and blue do not carry it) and I'm looking forward to using it a lot more in the future.

The white latex paint finish is covered in Krylon "crystal clear" spray, which is (sadly) not actually crystal clear. I really like its durability and ease of application (re-coat after only one minute!), but will only use it on darker colored projects in the future. I'll have to sand, paint again, and recoat with my old standby, Minwax Polycrylic, to get rid of the yellow tones in the "crystal clear" Krylon spray.

Built from Plan(s)
Estimated Cost
$125
Estimated Time Investment
Weekend Project (10-20 Hours)
Finish Used
Spray primer followed by Sherwin-Williams ProClassic semi-gloss white (which I applied in several thinned coats). Krylon not-so "crystal clear" topcoat.
Recommended Skill Level
Beginner

Farmhouse Bunkbeds with Stairs

Submitted by Yodannos on Sun, 06/09/2013 - 13:19

We have a rental unit and decided to fill one room with 2 sets of bunk beds. One is a twin over a full. The other is a full over full. Due to a duct running through one corner, and limited amount of space, I decided to build a set of stairs on the 17" gap. I used the simple bunk bed plans, but modified it to the style of the farmhouse. Also, I changed several of the heights of the foot/head boards. The full over full will have a ladder coming off the end and is in progress.

Estimated Cost
$450
Estimated Time Investment
Week Long Project (20 Hours or More)
Finish Used
Minwax Ebony Stain. Satin Polyeurethene.
Recommended Skill Level
Intermediate

Farmhouse Queen Bed and Headboard

Thank You Ana-White for the amazing plans for this beautiful farmhouse queen bed! Not bad for the first try!

Built from Plan(s)
Estimated Cost
$150
Estimated Time Investment
Weekend Project (10-20 Hours)
Recommended Skill Level
Beginner

Comments

DIY Rustic Console Table

Submitted by Anonymous (not verified) on Mon, 10/23/2017 - 10:09

Built by Wndy D Keever-Keefe

"This was my very first build ever. Totally inspired by Ana White, I happened upon her site one day about 4 years ago and have since built lots of her plans."

Built from Plan(s)
Recommended Skill Level
Beginner

Tote Storage Bed

Submitted by Ana White on Wed, 11/03/2021 - 17:12

Shortened the essential loft bed up so legs are 32” long. This is the perfect height for putting totes underneath. I fit six totes easily. 
 

The back row of totes is out of season/size/etc stuff. The front totes don’t have lids on them and the kids use them for toy boxes.

The bed itself is at a nice height.  It’s easy to put kids in bed and make the bed.  The guardrail is great for keeping pillows blankets and kids on the bed.  Kids also love the ladder and bunk feel!

This is a great bed that I couldn’t recommend enough.  It could easily last from toddler to teen.   Very sturdy and comfortable.  
 

Planters

Submitted by Liz H. on Thu, 03/31/2011 - 11:33

This was a fun easy build...I took the toy box plans and used 1X4s instead of solid sides and bottom.  I cut the legs short and put finals on.  

Estimated Cost
$25
Estimated Time Investment
Afternoon Project (3-6 Hours)
Finish Used
Black outdoor paint.
Recommended Skill Level
Starter Project

Farmhouse Table and benches

This is the first furniture building project that my husband and I have completed. It took us about 5 weekends to complete it- including finishing.

We started with the benches as recommended in some of the comments and ended up buying a pocket hole jig and redoing the tops of the benches before completing the table.

The stain is Minwax Red Chestnut and there are three coats of Minwax Fast Drying Polyurethane on it. We're so happy with it and can't wait to start the next project!

Estimated Cost
about $200
Estimated Time Investment
Week Long Project (20 Hours or More)
Finish Used
Minwax Red Chestnut stain- one coat
Minway Fast Drying Polyurethane in Semi Gloss
Recommended Skill Level
Beginner

Built for my sister

Submitted by Diesel911 on Wed, 05/13/2015 - 11:45

Built for my sister. Because she liked mine so much :) I also built her an apothecary console to use as a side board in the dining room

Built from Plan(s)
Recommended Skill Level
Intermediate

Comments

Outdoor 2x2 end table

Submitted by Anonymous (not verified) on Sun, 11/07/2021 - 04:19

I made the end table a little taller than the instructions and the top boards further apart for rain to fall thru, then drilled a hole so it can be used as an umbrella stand too!

Built from Plan(s)

Comments

Farmhouse table & bench!

Submitted by jamie_C on Sun, 04/03/2011 - 19:42

This was quite the project- took us several weekends to finish (we don't have a garage or really any good working area- we rent.  Oh and we also have a toddler).  We assembled the table in the living room, stained it on our front sidewalk, did a couple coats of poly in the backyard, and finished the last coat of poly in the dining room!  (we know how heavy this table is, that's for sure!  We modified the original farmhouse table dimensions so that this table would fit in our oh-so-tiny dining room.  As you can tell, we also decided to build a bench to go with it.  We are extremely pleased with the results!

Estimated Cost
$125
Estimated Time Investment
Week Long Project (20 Hours or More)
Finish Used
Used wood filler on screw holes, and did LOTS of sanding. Used two coats of Cabot Early American stain. Followed by 3 coats of polyurethane, and 2 coats of Minwax Polycrylic on the table top.
Recommended Skill Level
Beginner

TeXas Kitchen Island

Submitted by Bandera89 on Sat, 05/16/2015 - 15:19

This kitchen island should be your next project. My wife wanted me to build an island for so long, but I never thought I had the skill to get it done. I can truly say this was only my second woodworking project and it was pretty simple. I learned a lot along the way and made a modification to the drawer rails. The key to my success was the Kreg jig. In the end it was a blast to build and I couldn't have done it without Ana's plans.

The rolling kitchen island is the central point of the kitchen now, even though we have 75'sf counter space to use. It seems to be used by everyone in the family whether it's getting something out of the fridge or using it for serving. Well worth the effort..

MODIFICATIONS: I made two small modifications to the project.
One was the casters. Instead of the plate casters I installed threaded stem casters with a T-nut in the bottom of the legs. The casters are adjustable so it's easy to keep level. The second mod was the drawers. I initially built the drawer with wood rails, but was not happy with the drawer falling to floor, if you pulled it out to far. Living in a humid climate, I could see the original rails swelling and then the drawer would be hard to operate. My solution was to add metal rolling sliders. I had to remove the 2 x 2's on inner cabinet and the 1 x 2s on the drawer itself. I added 1 x 2s on the inner cabinet, mounted 12" metal sliders ($5)) on the 1 x 2s and screwed the other half of slider on bottom of drawer. It may require a small shim behind sliders to make it fit perfect though. I provided photos of this mod. My drawer works perfect now. There is no dragging, no falling out and no wear.

Estimated Cost
$87
Estimated Time Investment
Weekend Project (10-20 Hours)
Finish Used
Stain: Minwax special walnut
Distressed finished:
Paint; Behr Ultra, Cream color, lightly sanded with spec. walnut stain over paint then 3 polyurethane coats. Top had 4 light coats of poly coat.
Recommended Skill Level
Intermediate