Rustic X Desk
Base was completely made from reclaimed 2x4's. Desktop made from Oak plywood
First time making anything half decent and it turned out ok. Followed the Cedar Box plans with a few adaptations. I live in regional Australia so used different materials, also extended the length. Used an app on the phone to convert the measurements to as close as I could. Worked out well, a few teething issues but does the job.
Tall planter that we modified to hold our light post and the bench waiting on cushions. The bench is on the wide side of things and is heavy, but these are good things as we are tall people. The only thing we would change is the seat size maybe not so wide. Otherwise it was an easy and very affordable project.
My wife needed a bigger desk for her home office so built one. I used the modular office desk designs. I had to modify it, my wife wanted the 90 degree cut in where the two desk to meet. I built two open shelves and fastened then together and built one narrow shelf with drawers. Built mostly out of MDF with the top being melamine. Waiting on the edge banding to ship. Also, installed some rope lighting for indirect light.
Great plans - thanks so much! Started with two chairs, and kept going...
MODS: Once built, we felt there wasn't enough back support, so added a 2x4 then 4x4 on top. Also added a 2x2 in back of the seat bed, so our 25" x 25" seat cushions didn't float around.
Recommend paint gun vs. painting by hand.
Housing three (3) hens now that are about a month old. Probably late January before can expect any eggs.
Great project. Metal roof worked well. I used flashing for the ridge caps. Have allowed for as much ventilation as possible for this Southwest Florida heat.
Thanks Anna, for sharing this project.
I built this for my mom to replace her small, rolling butcher block. I wanted to add in the tilt out trash cabinet, so I built off the back of it to give her some storage and a bigger work surface. I had a local countertop business custom fabricate the top out of a piece of scrap quartz (that was the spendy part of the project).
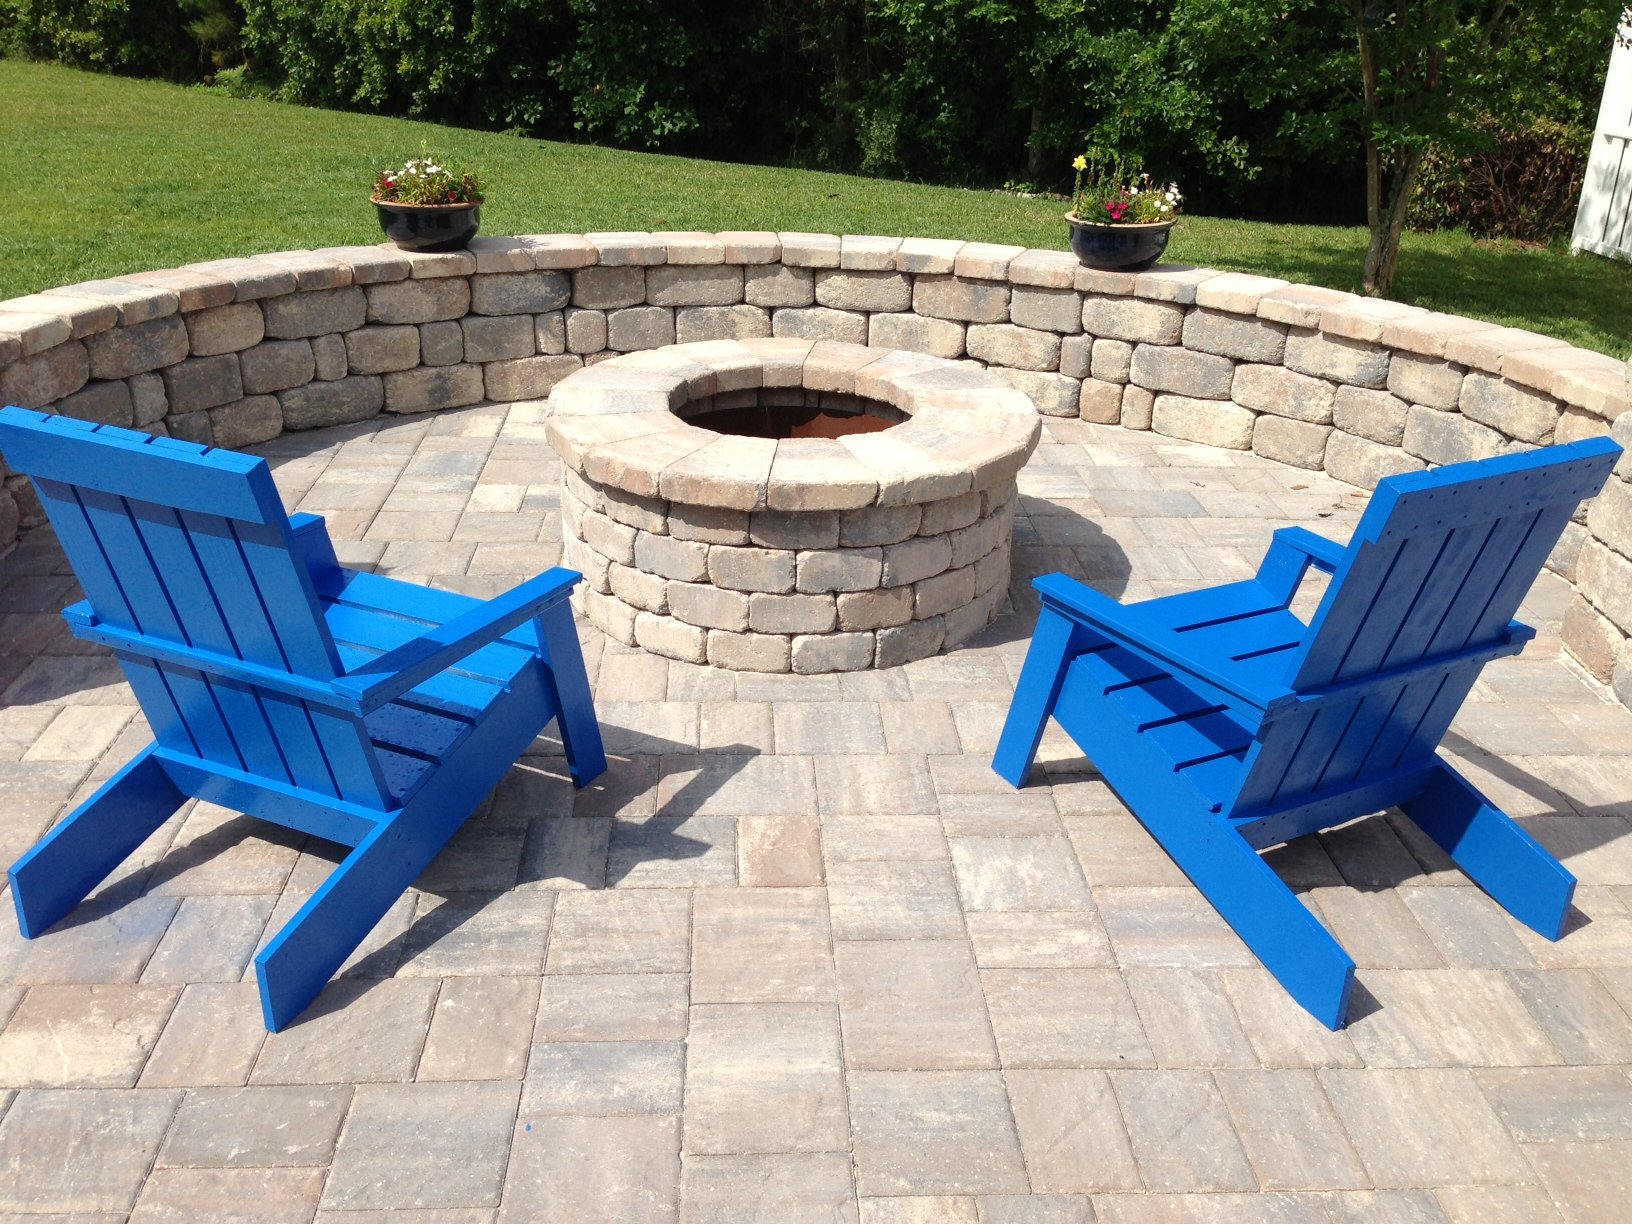
We had seen the modern slat bench before, and stumbled upon the plans on Ana-White, we did look further to see if we could find a style for us and had seen one made entirely out of 2x4's that also cam with plans, http://diycandy.com/2015/06/modern-williams-sonoma-inspired-diy-outdoor…
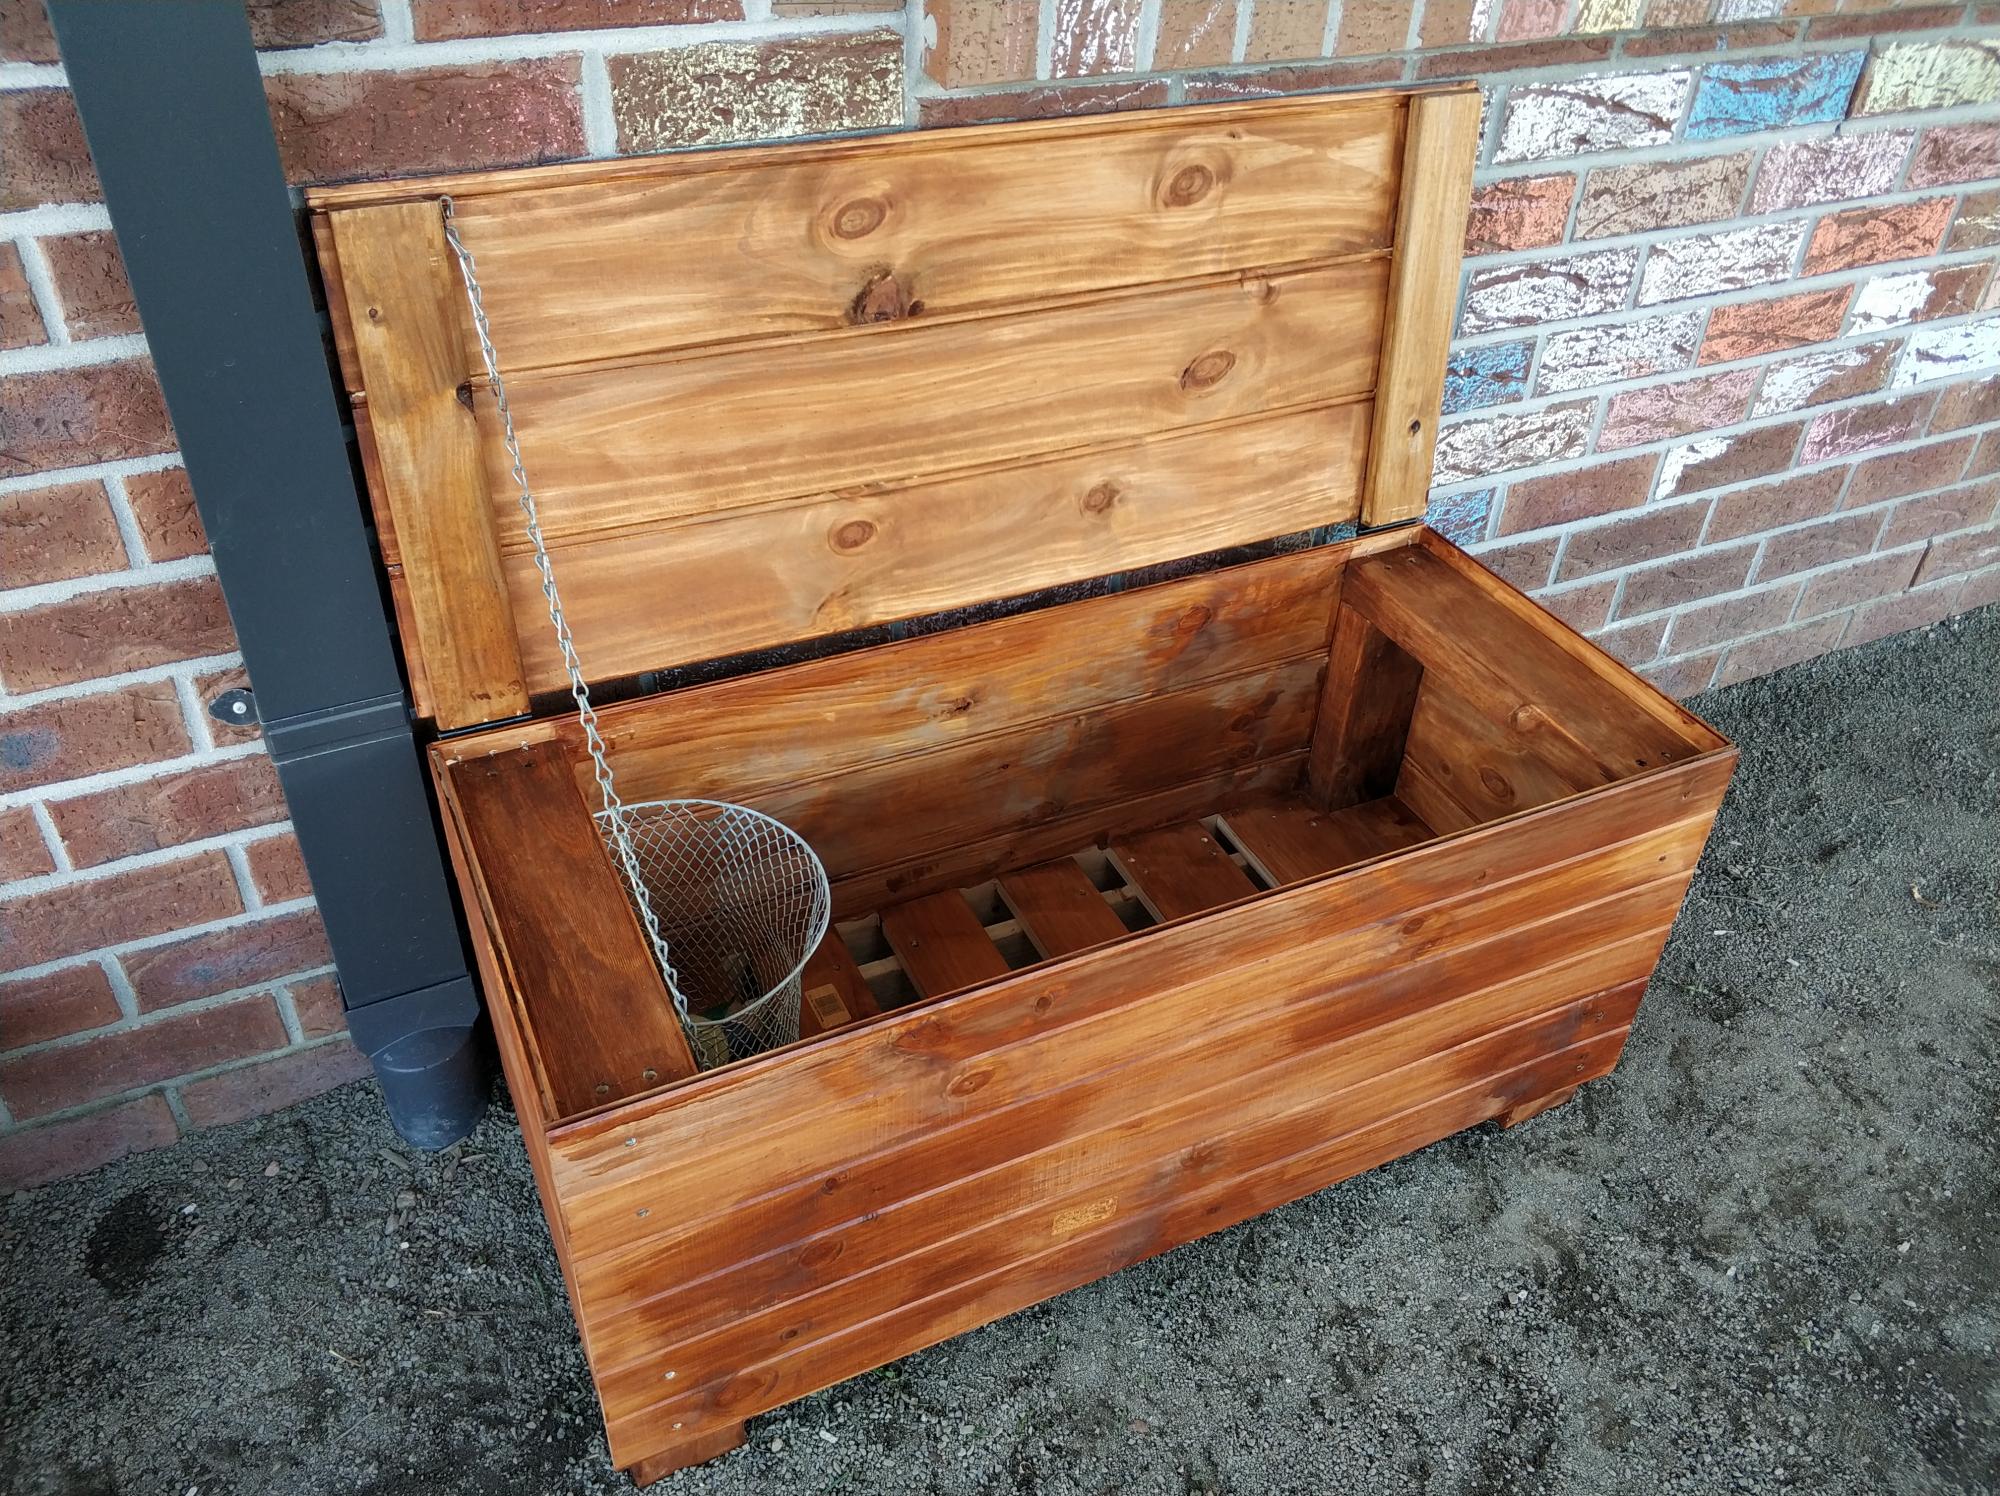
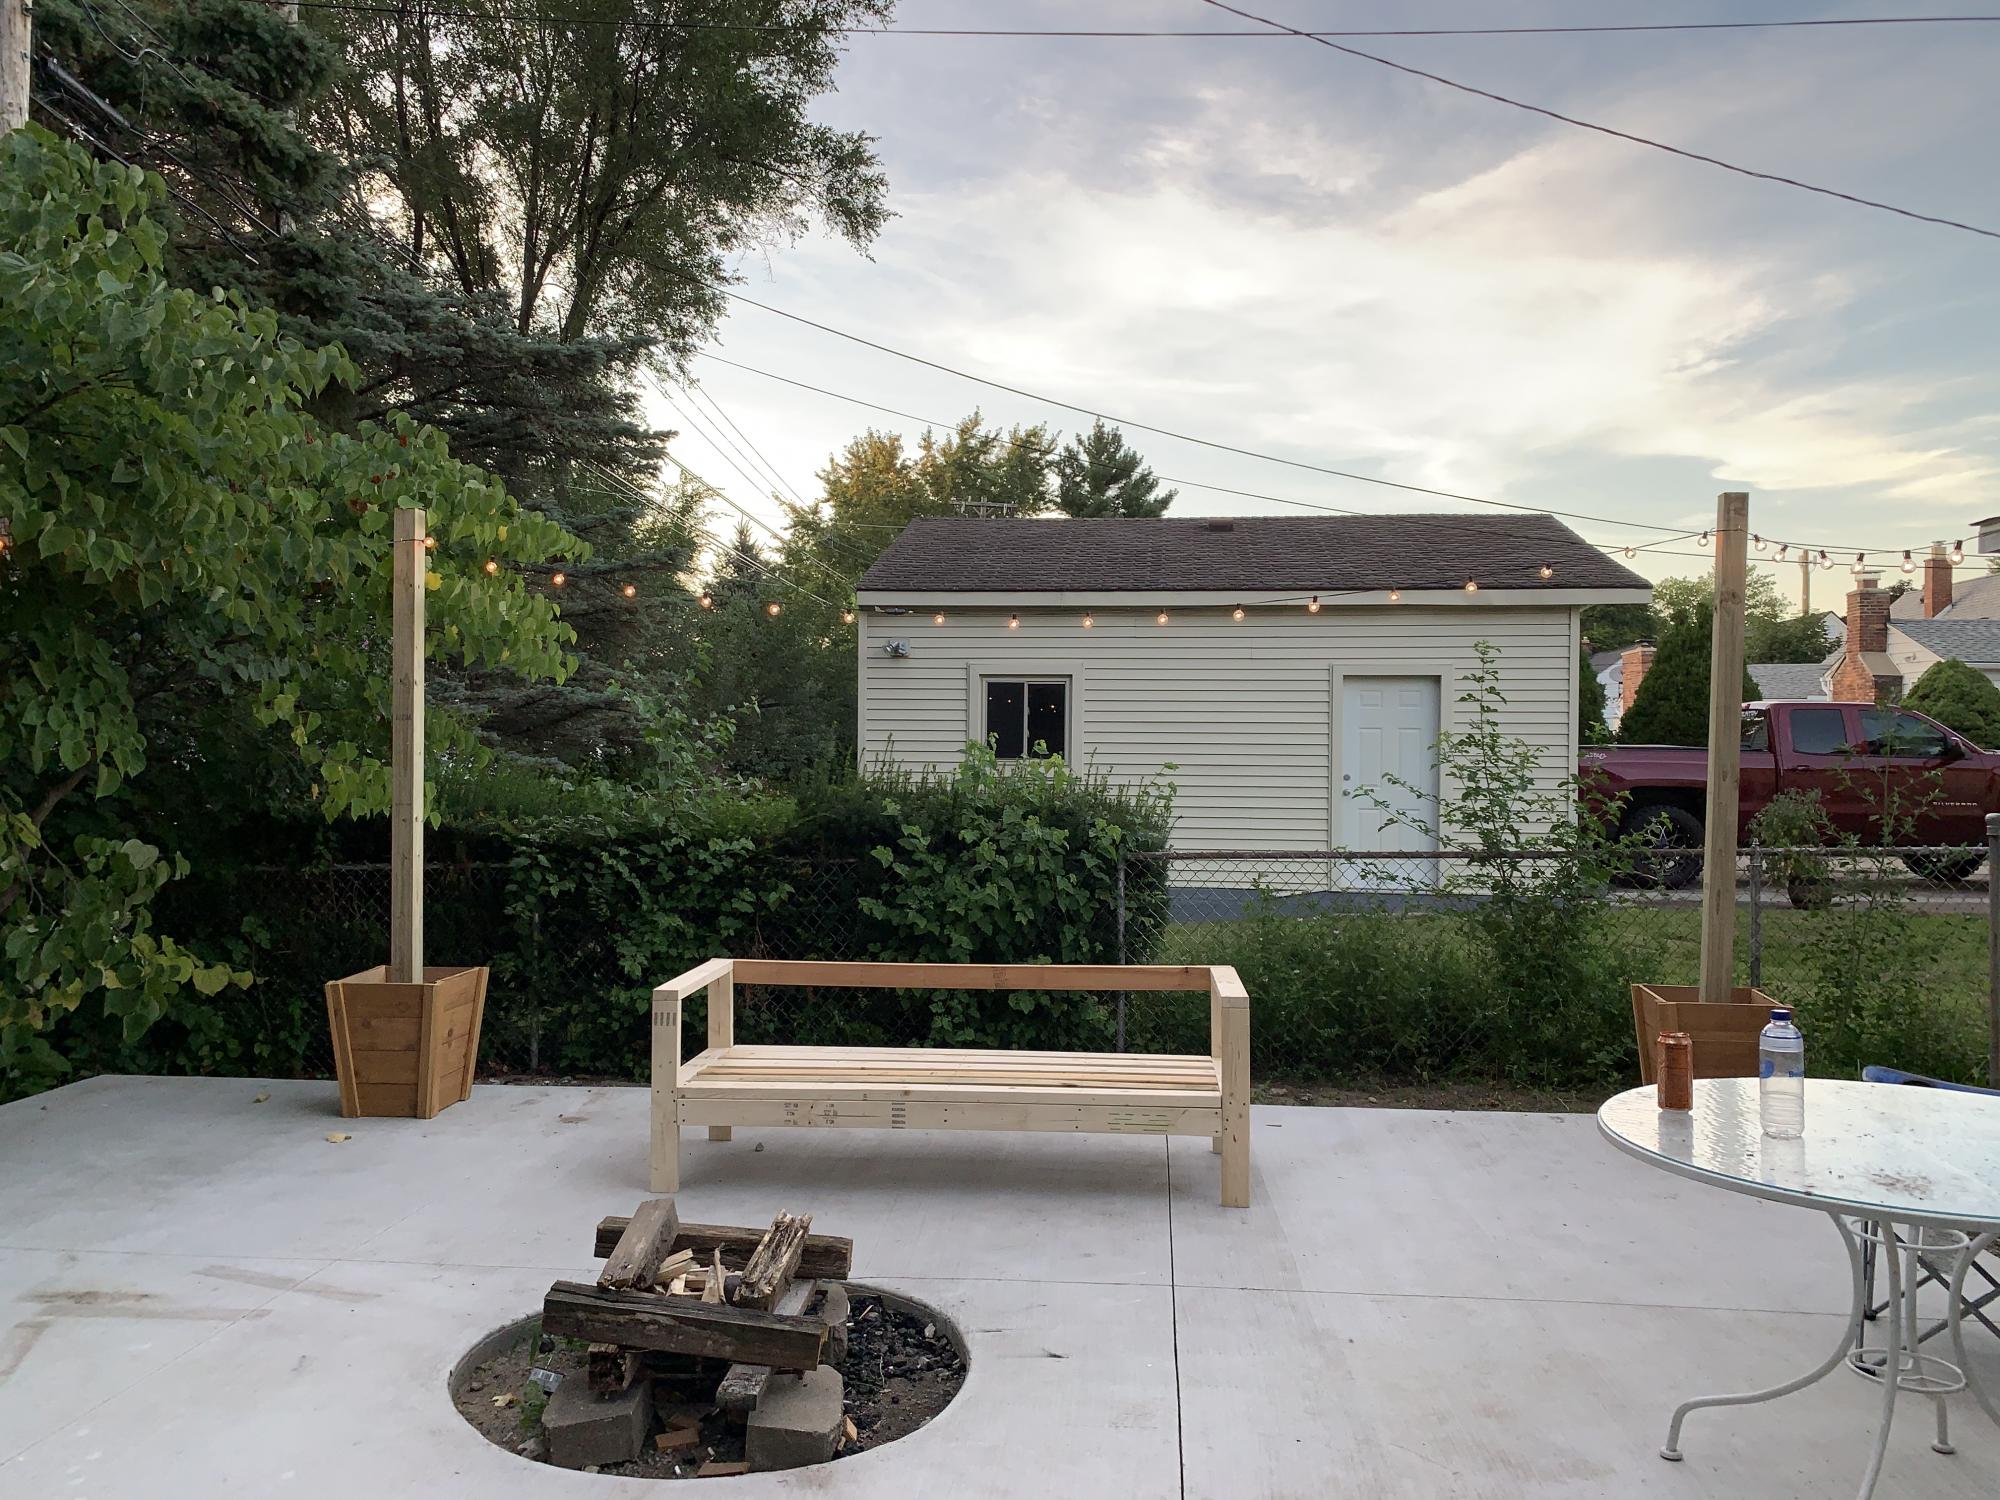
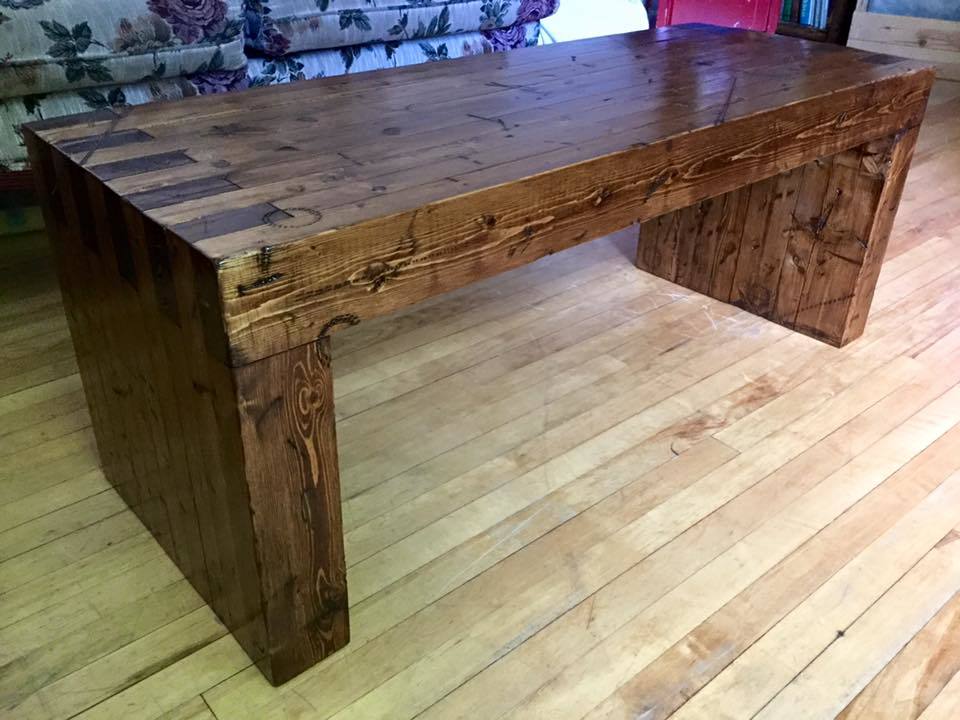
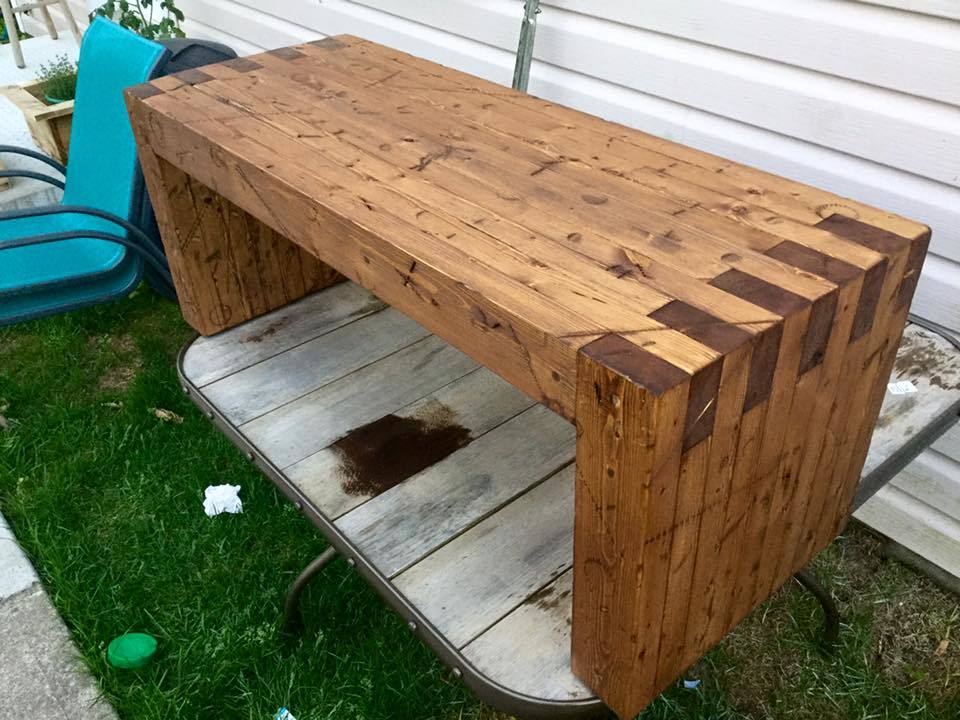
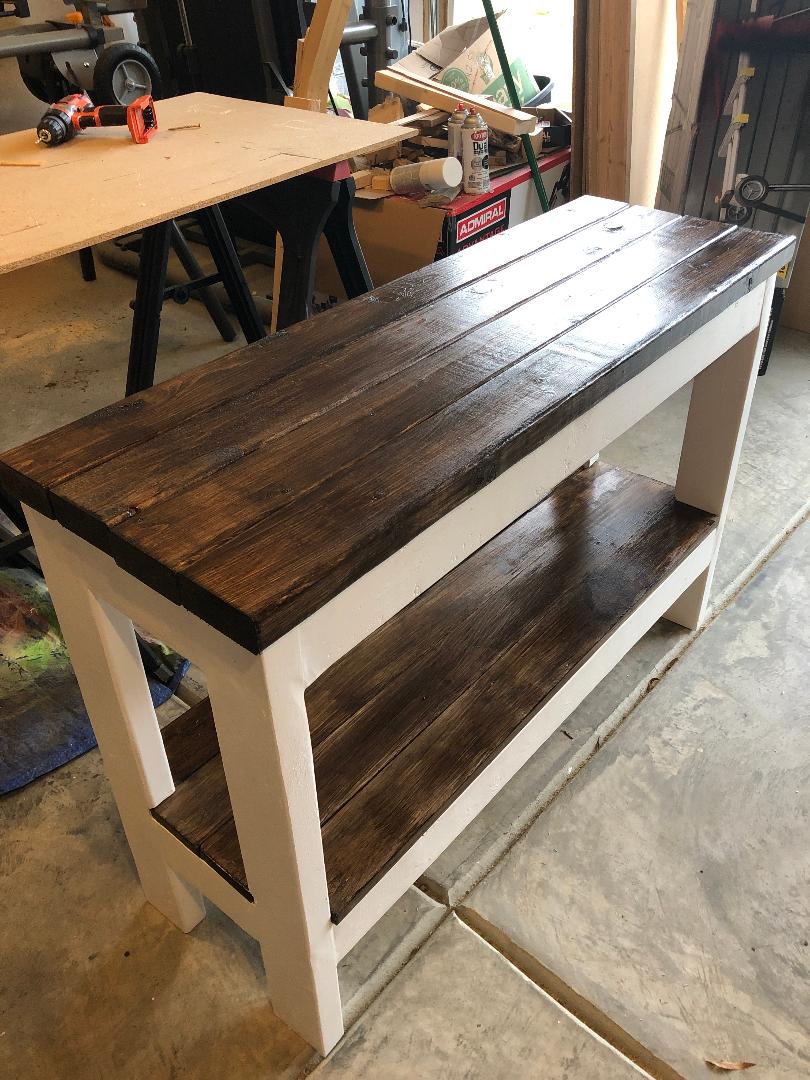
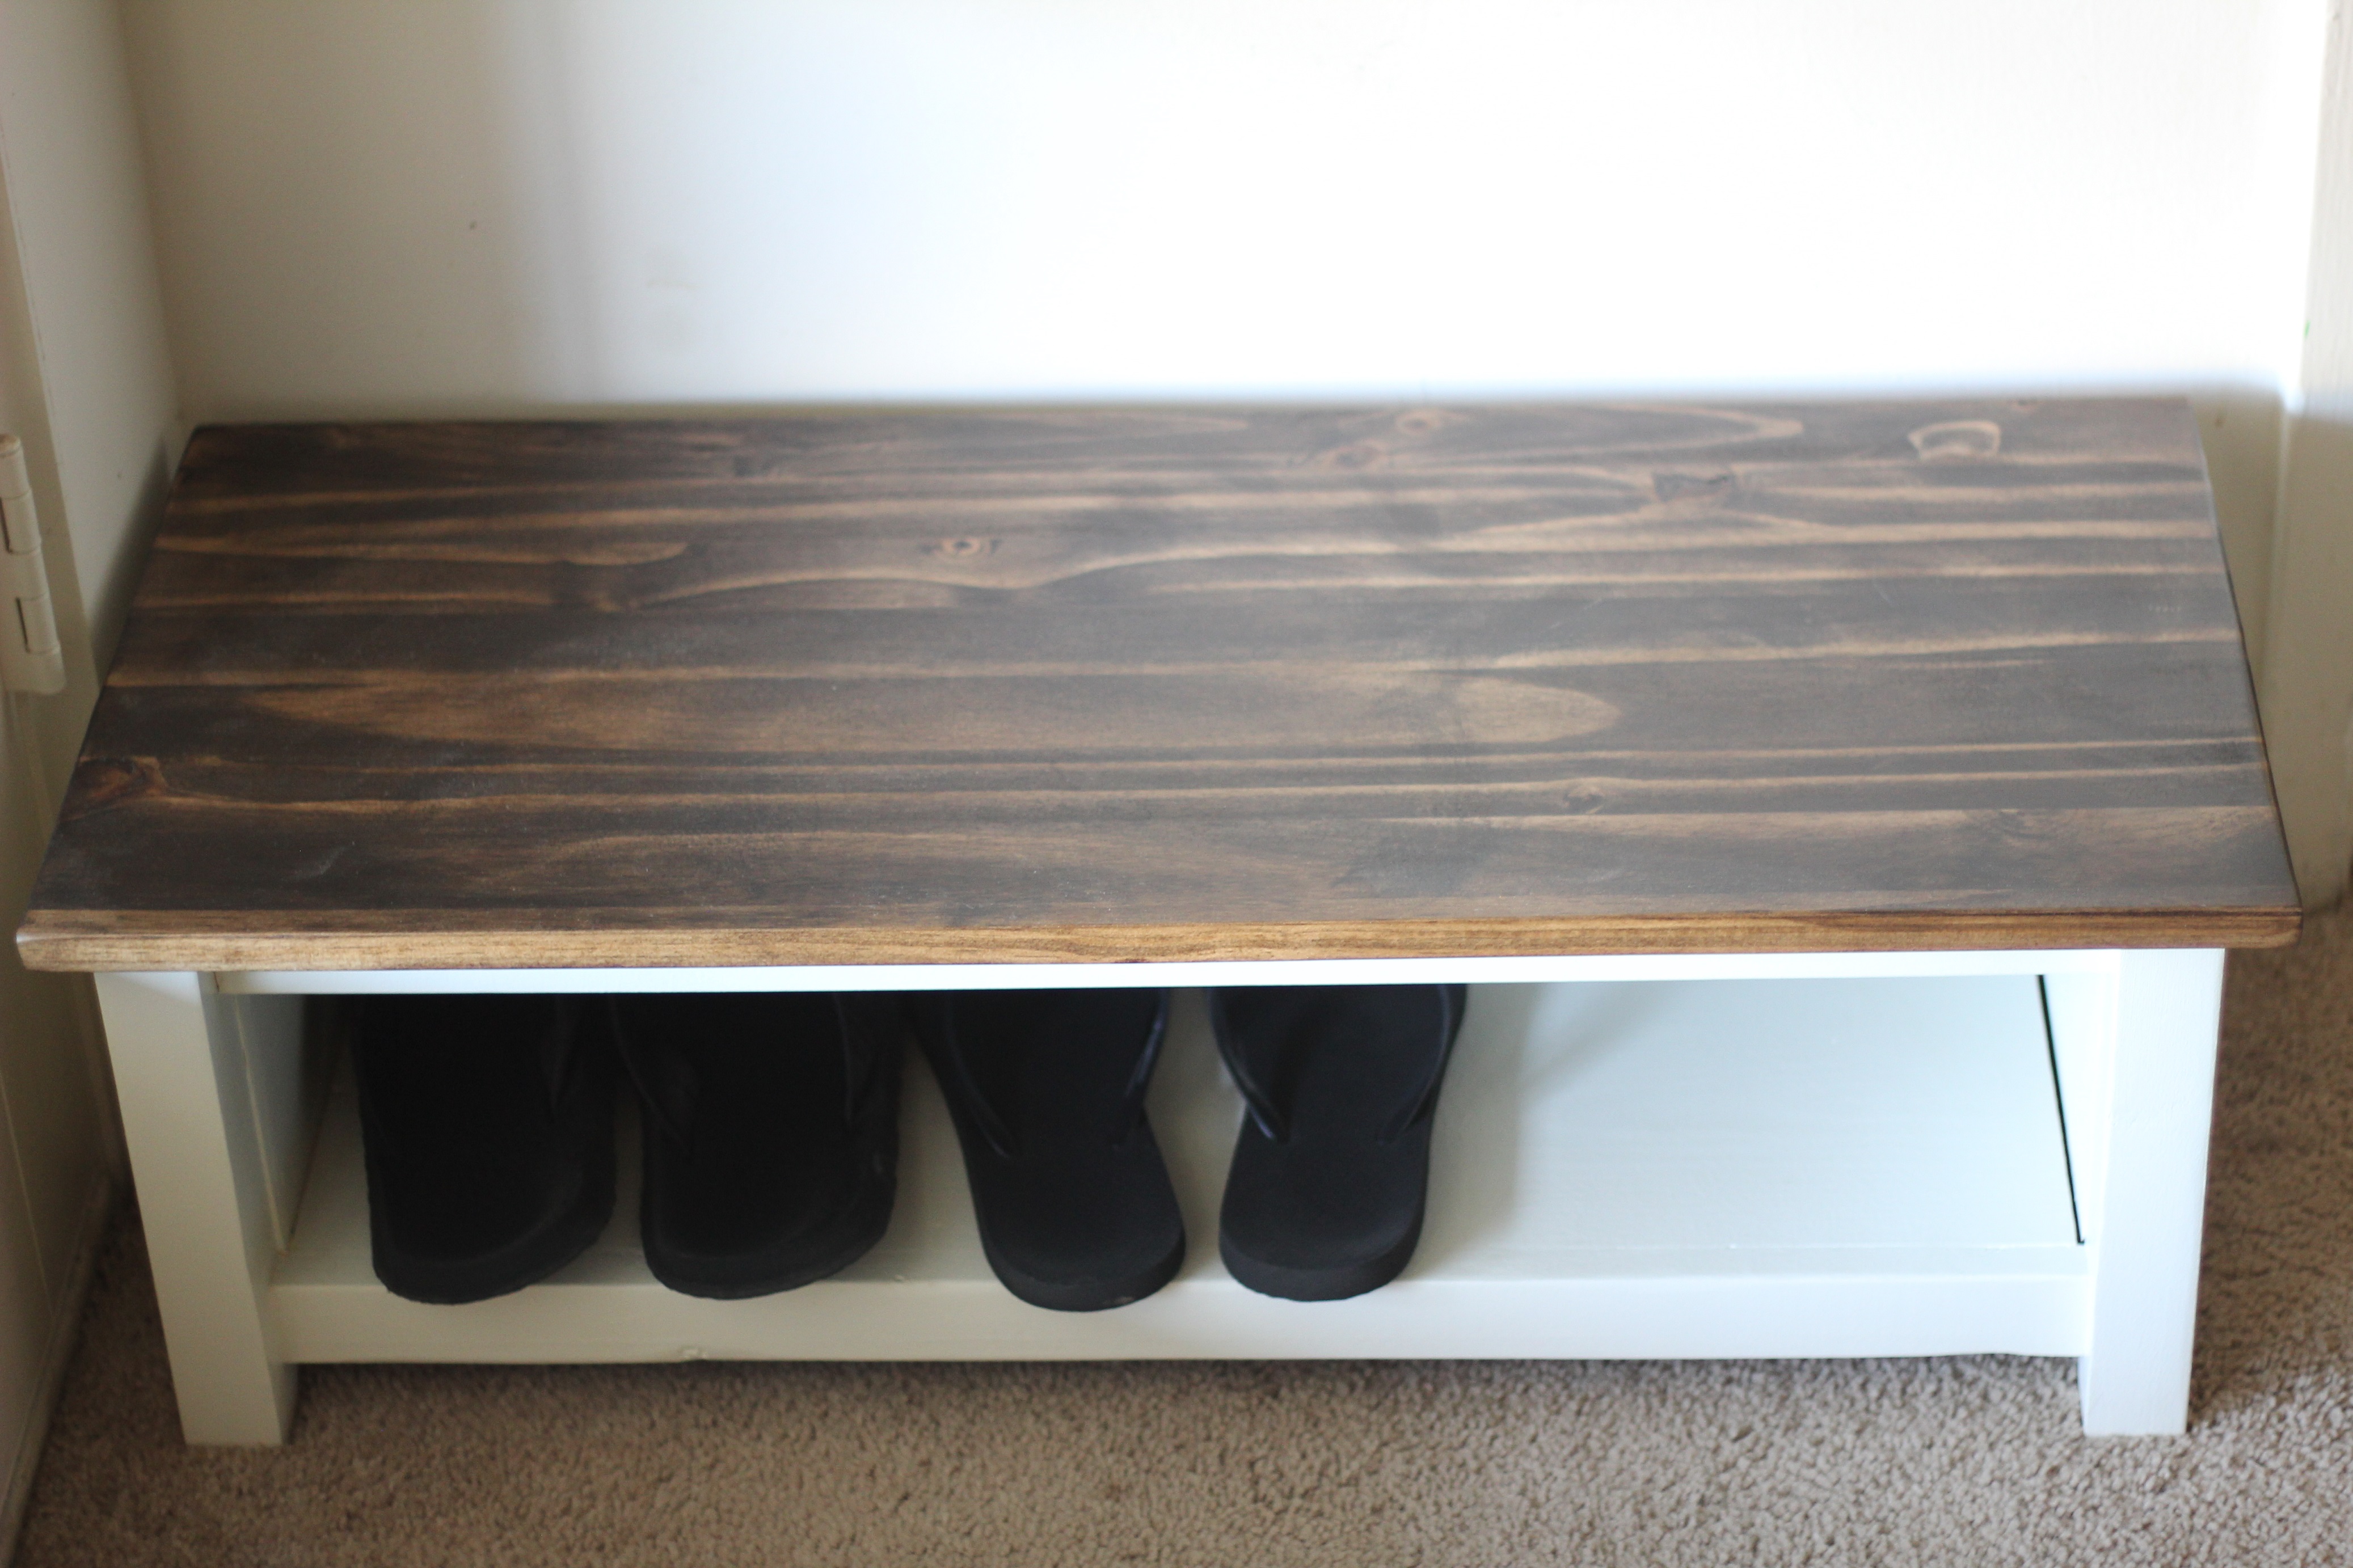
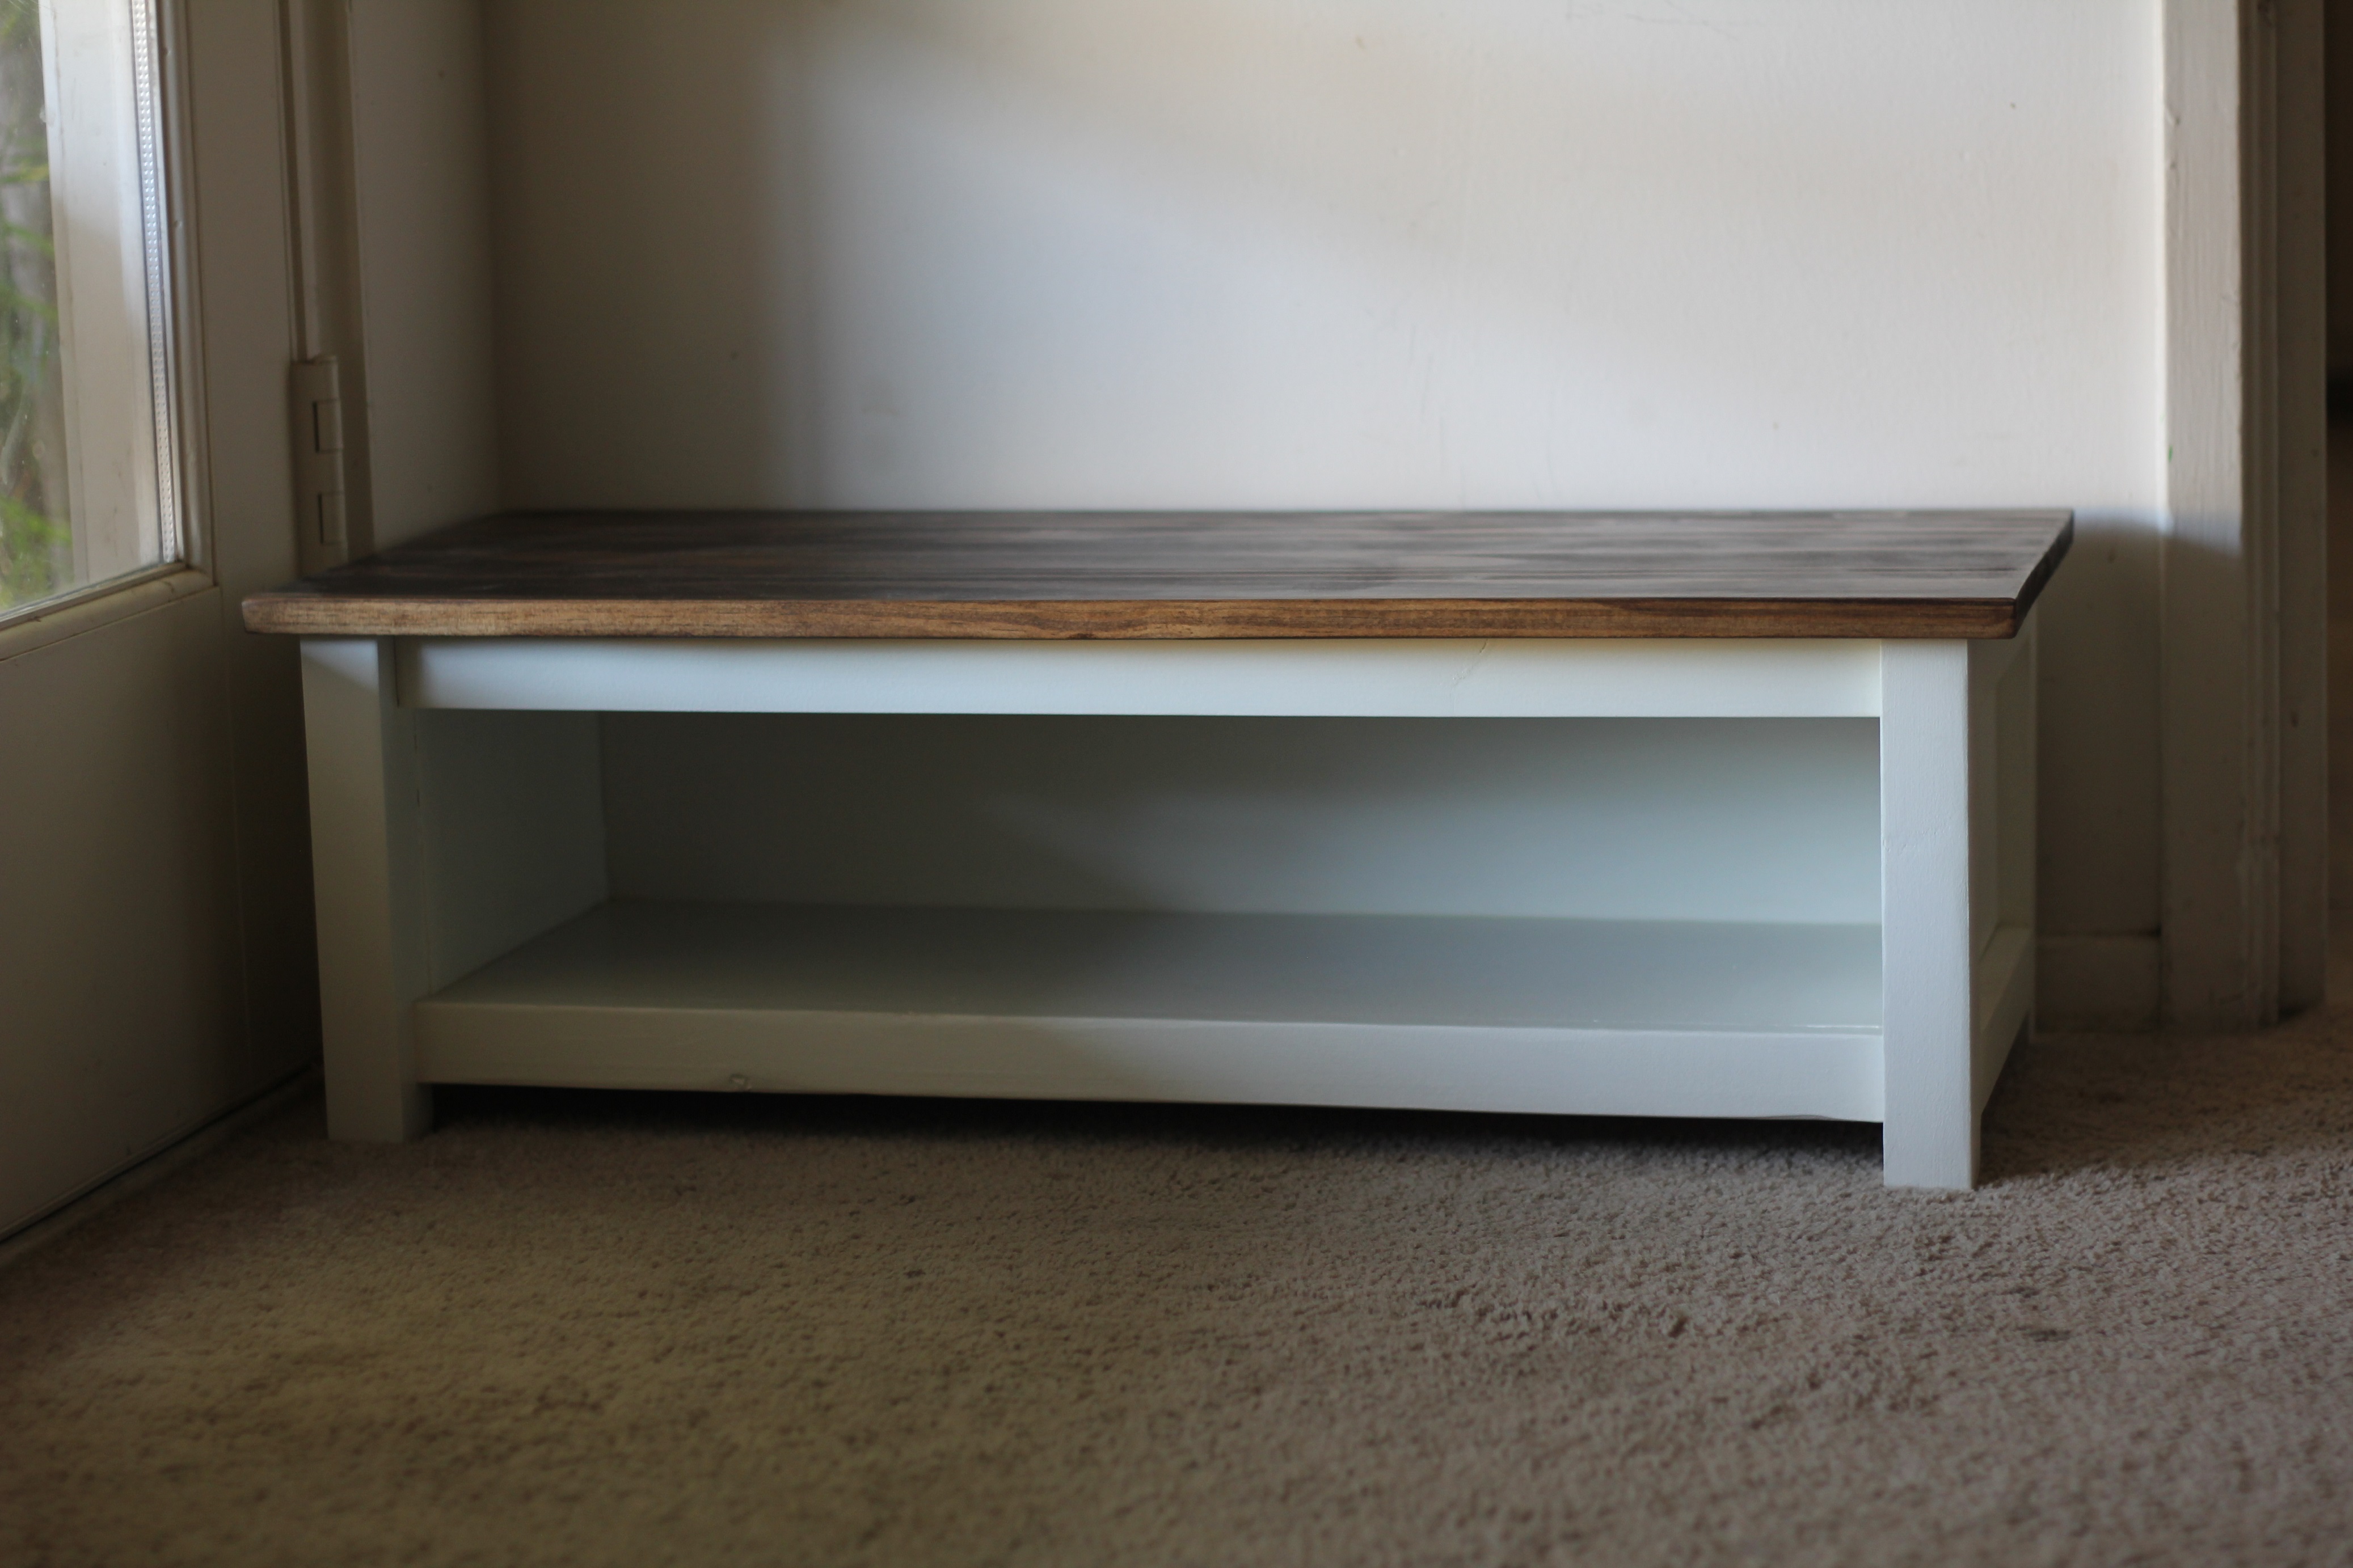
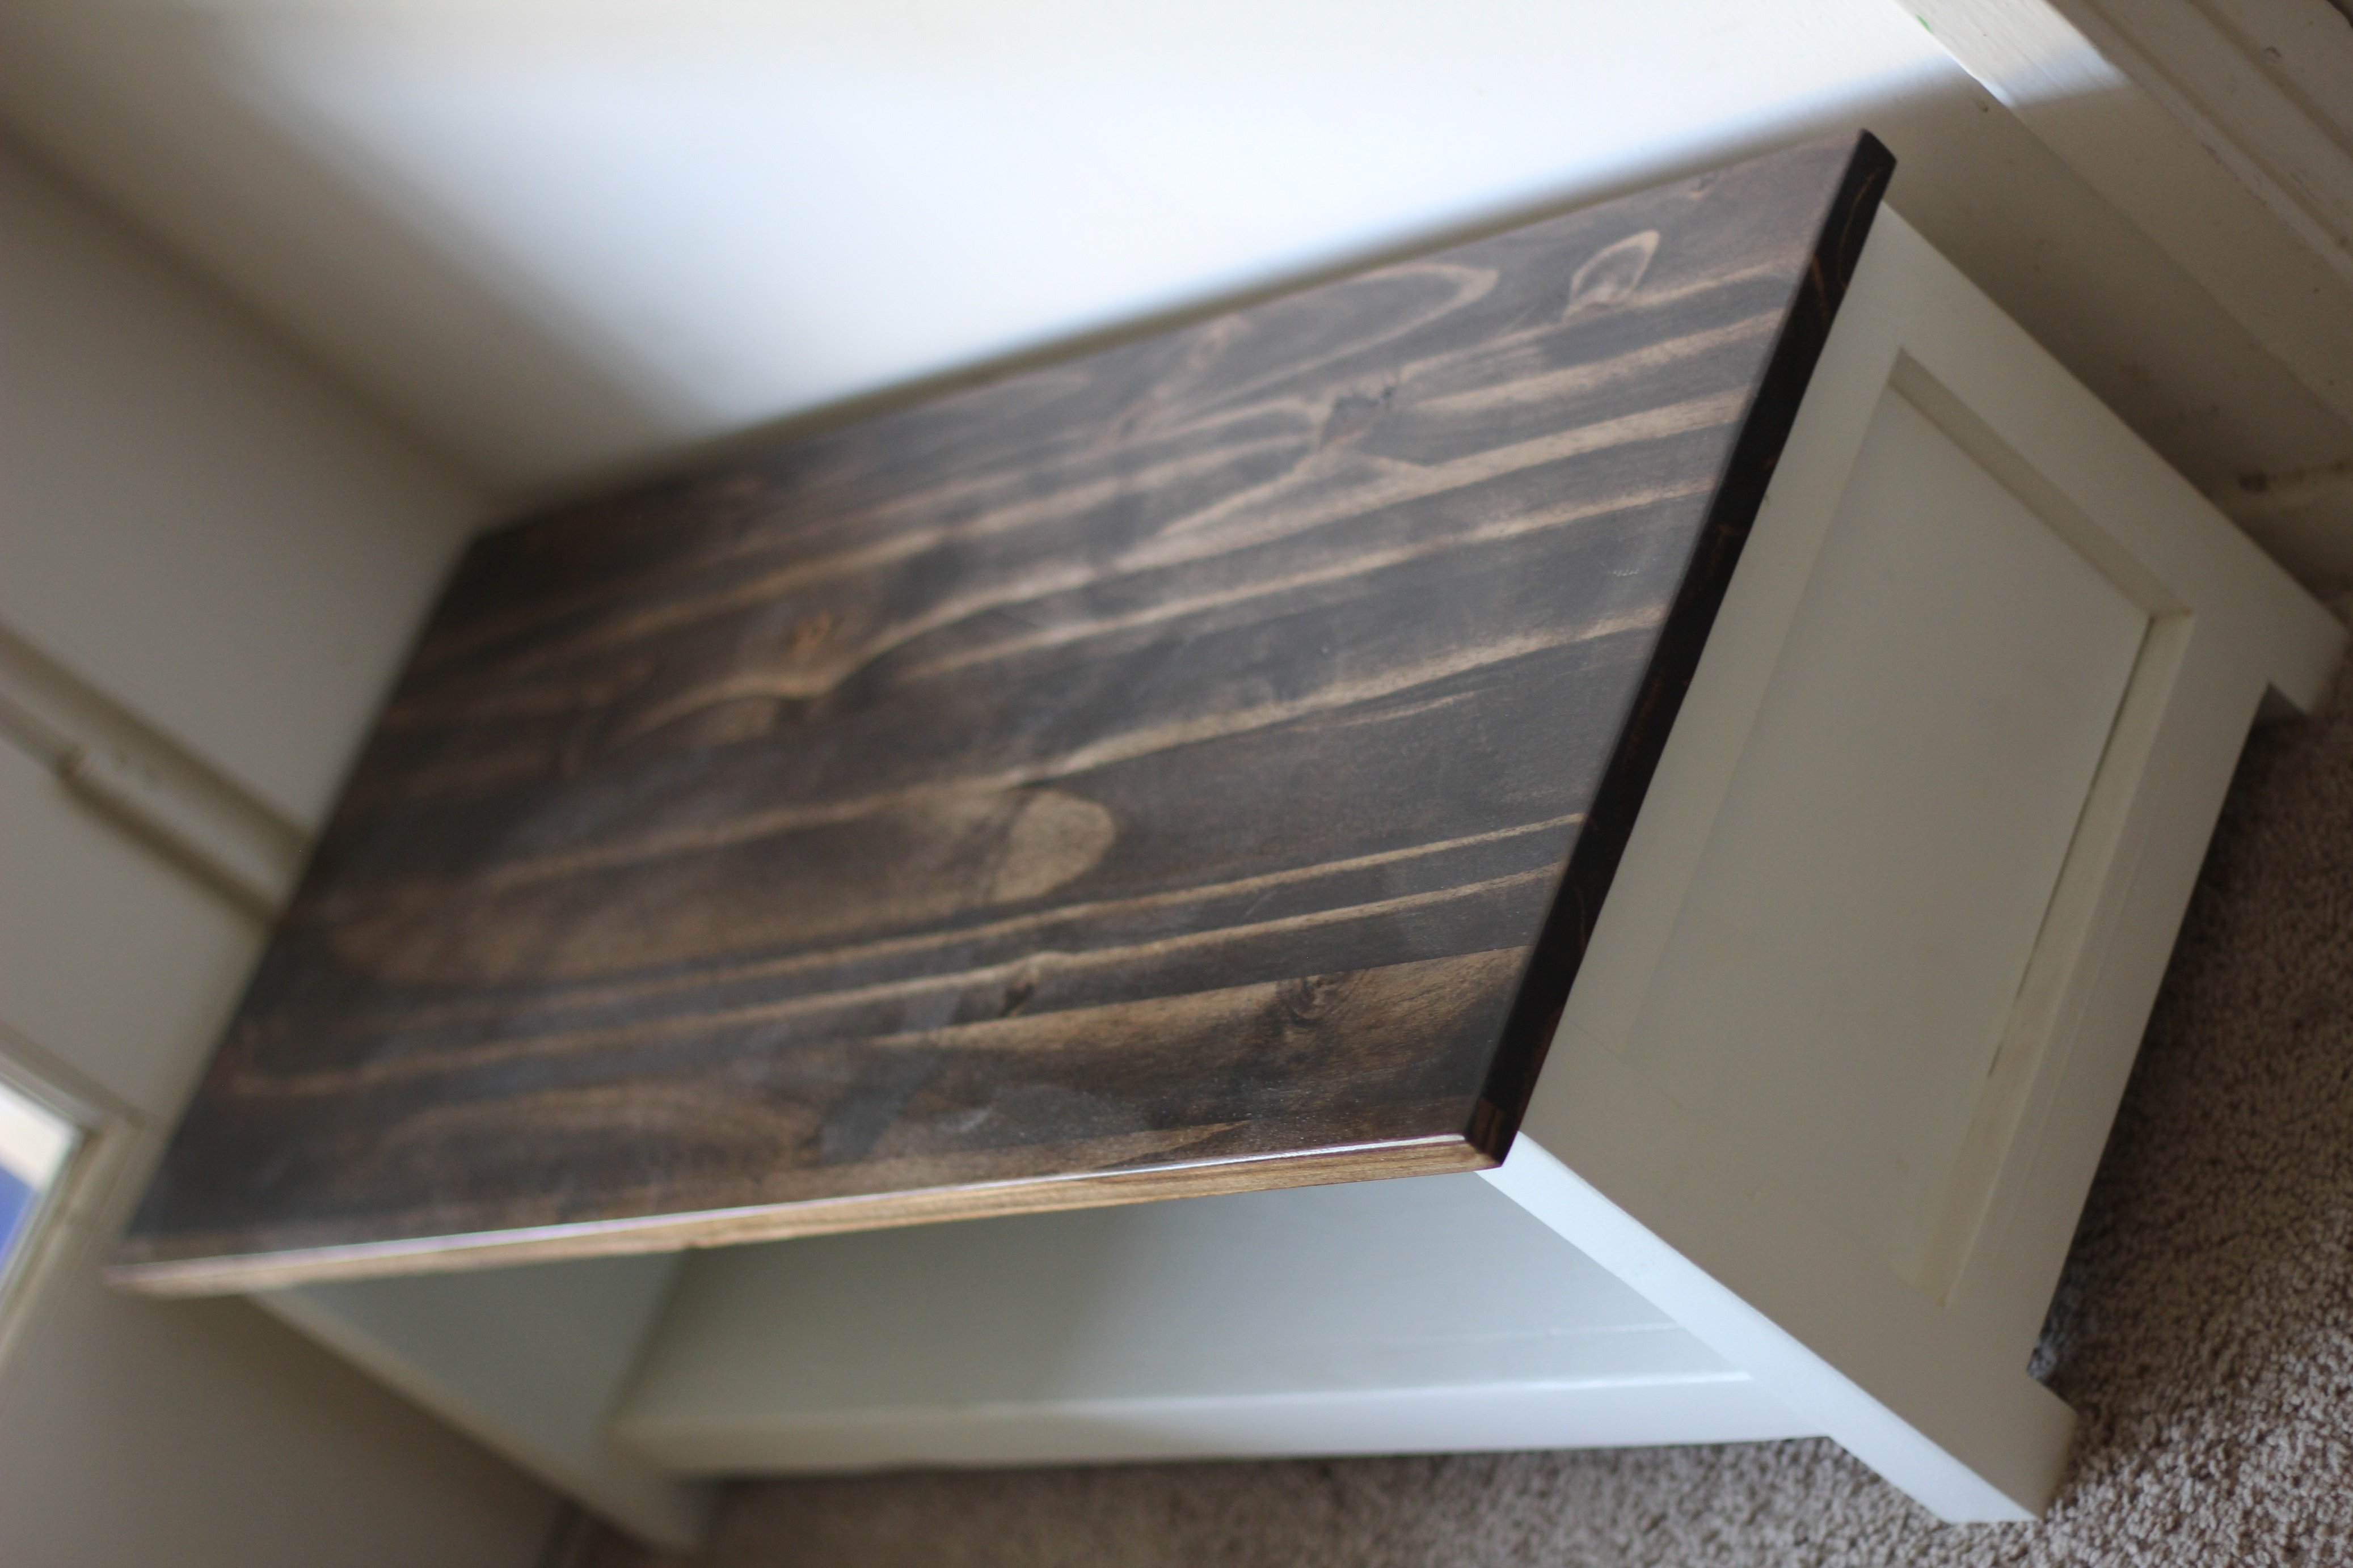
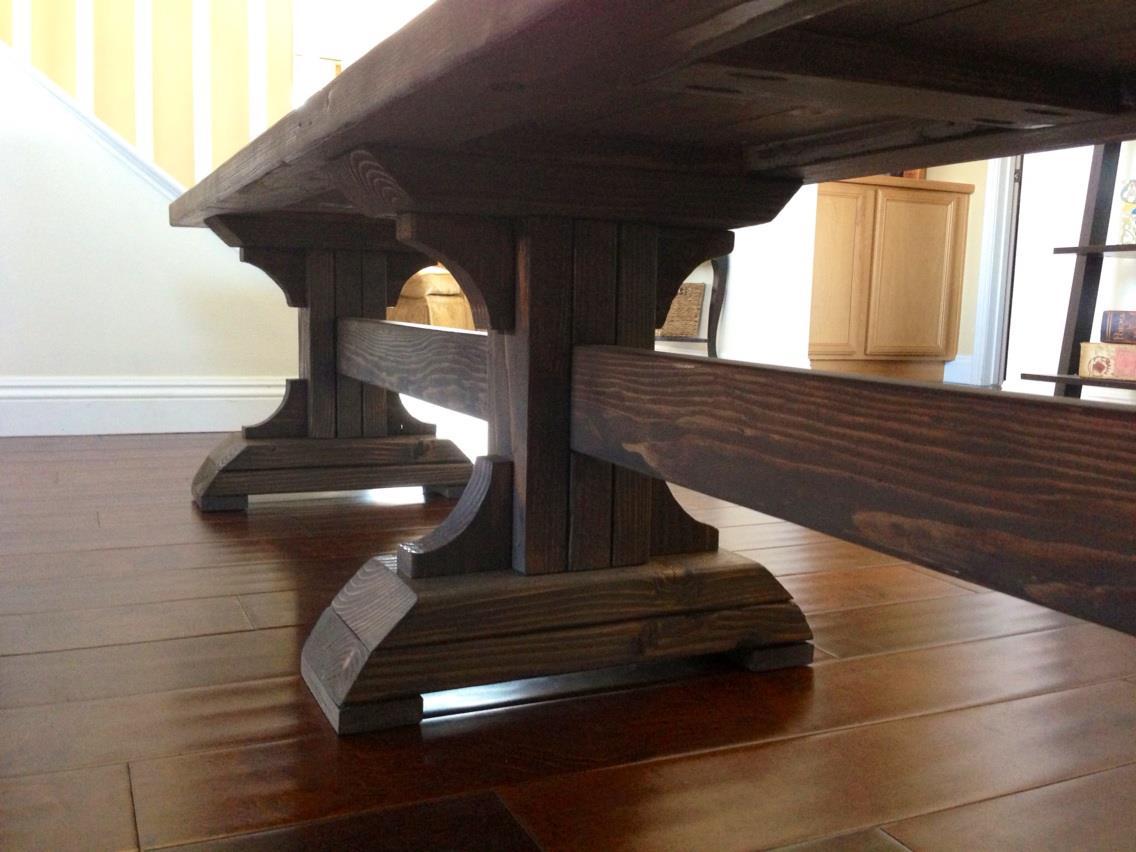
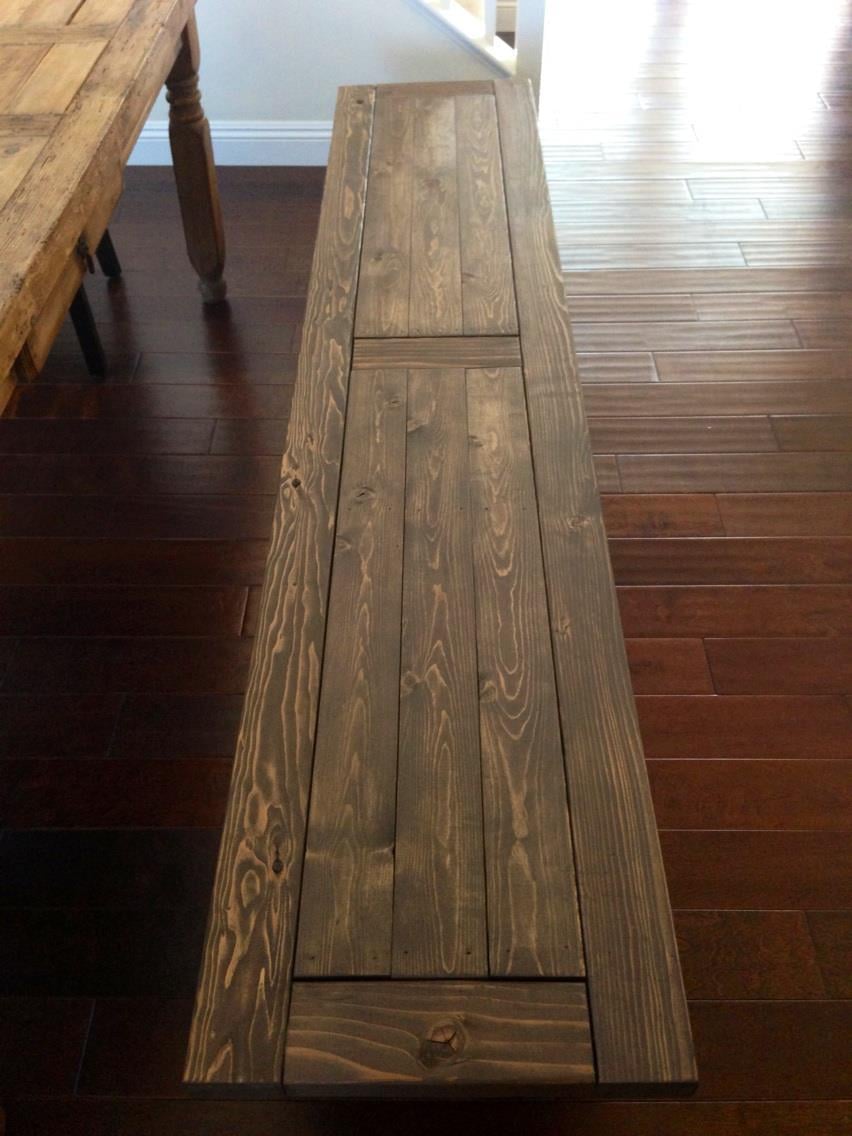
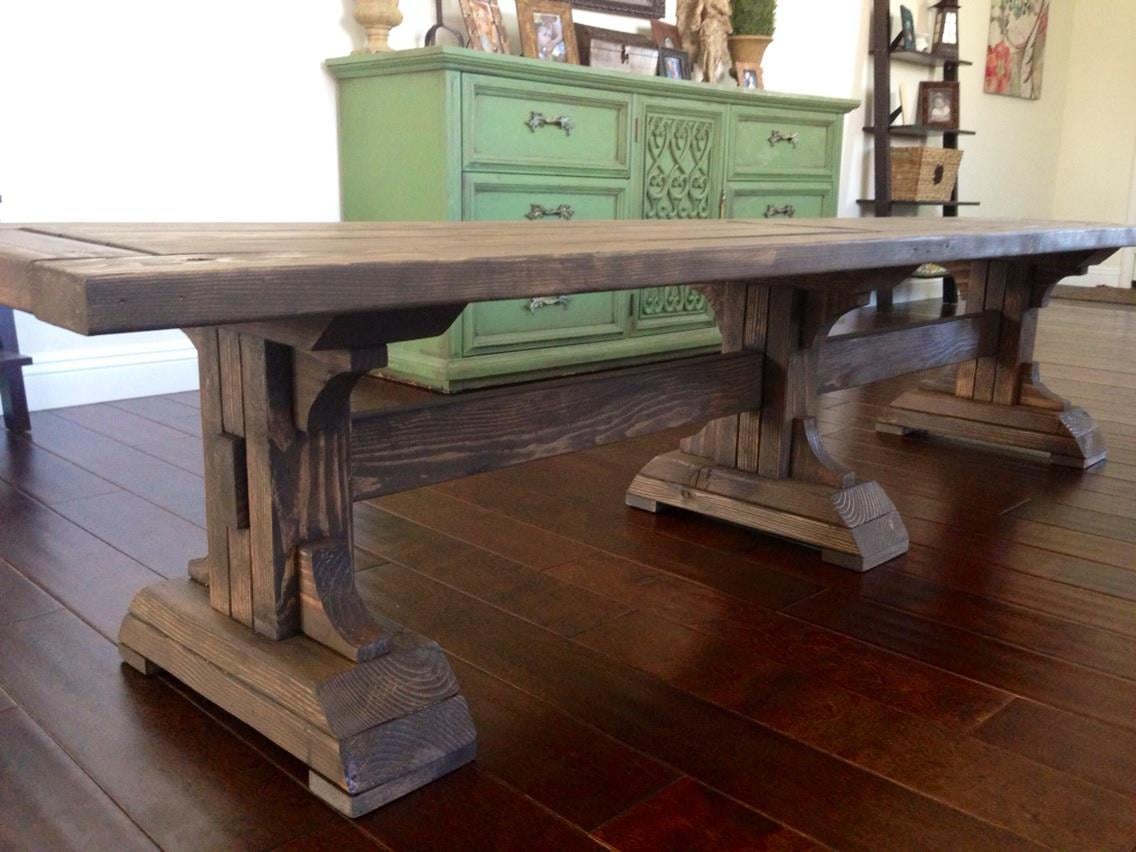
I thought I would share mine as it differs slightly, I opted to age my bench before staining as well as added adjustible feet so I can level it no matter where I put it. I am using mine as a coffee table, and if I have too many people over, I just use it as a bench to accomodate.
I hope that everyone enjoys the look of how my bench turned out. To reproduce the look of mine I described and linked the 2 products I used for the finish. But I also used the following power tools, Table Saw, Drill and Sawzall, belt sander and palm sander. I used the sawzall as I made a slight error and had some overhang that needed trimming. We used numerous items to get the outside beat up prior to the stain and sealer. The finished product looks amazing and I don't fear someone running away with it at 80lbs.
I made the farmhouse bed and nightstand using 300 year old pine that was on a local home for 150 years. The bed rails I used 6/4 white oak and recycled pallet boards for the vertical boards. The bed posts I used two 2x4's laminated together and I wrapped them in the pine. The nightstand I used the same pine and pallet boards for the case. I then used 4/4 whit oak for the table tops.
I originally built this for a small closet in an old home. When I moved, I took it with me and was able to rearrange it to fit in a traditional closet. The center section is a modification of a toy storage plan that I use to store folded clothes.
Thanks for your amazing Farmhouse Indoor Playhouse plans!
So easy to follow your directions! I may have gone a little overboard.
I used some scrap wood from recent Renos and wood from an old boxspring my parents had.
The kitchen was originally from Ikea with some updates.
The shrubs are silk plants from Ikea and scrap wood.
The only real cost was Paint $30 ish.
I decided to try and use the plans on Ana's site but with a twist. I wanted to limit myself to using only pallets. I think it turned out great! I can't upload all the photos because they exceed the maximum size limit. If I was able to you could see how each chair is slightly different and has a lot of character. I finished them with a waterproofing oil which I highly recommend over other finishes.
Mon, 04/10/2017 - 08:51
This is exactly what I'm looking for !! Fantastic build and re-purposing is always better.
Used square laundry baskets instead of regular rectangular baskets. The square ones aren't as deep but are a bit taller so I had to modify the plans. I added a backsplash and some wooden tags to the baskets to designate them for certain colors. I also added some decorative trim and finished the bottom in a gray stain and used white chalk paint for the top.
Husband wanted a shoe shelf for the back door entry, and I needed a quickie weekend project, so this fit the bill. Adapted from fix this build that's plan, but modified for a smaller space and less shoe storage. Easy project, and looks great.
I’m so thankful I found Ana White’s site, like, 10 years ago. She’s inspired me so much and helped me to know I could build stuff! This is far from the first thing I’ve built but it’s absolutely the most complex! I was able to find a bunch of wood free locally from a construction site (they posted it online) and some friends had some old plywood they were kind enough to give us. Even with most of the wood covered, the cost of hardware and other supplies still took us over $200. I worked on it during the day for the last few weeks around our homeschooling schedule, so it did take quite a bit of time. I also had to modify it to work with the wood I had and I wanted to make it bigger inside. But it’s finally finished and our little chickies seem quite happy so far!
Fun build. Thanks Ana. I made the mistake of installing one set of seat boards and testing the strength. I weigh over 300lbs. No harm no foul but you can probably figure out the rest. On my backside soon after.
Looking forward to building my next 2 without this mishap.
Jim
For my first build I am super proud. Plans were very understable & made it easy to build. Definitely looking forward to building more things!
Build Instructions:
http://www.instructables.com/id/Harvest-Basket-Garden-Trug/
Video of Build:
https://www.youtube.com/watch?v=3DlhZ6-gpak&feature=youtu.be
This is a simple design built from reclaimed wood and purchased ¼” wood slats. It cost very little and only took a couple of hours to complete the build. The goal was light weight, shallow and wide for collecting leafy vegetables, easy to handle and somewhat attractive.
Well I told my sister that I bought a saw and some tools and I was going to attempt to build my own dining room bench... being the snarky "younger" sister that she is, she suggested I start with a cutting board instead. :)
But hey... go big or go home I figured, so I tackled my first ever carpentry project: the Triple Pedestal Bench from Ana's plans!
I attempted to cut down the measurements for the top from 106" (in the plans) down to 70" (to fit my table) BUT I screwed up my measurements (I suck at math...shocker!) and ended up with an 86" long beautiful beast of a bench
somehow... so beginners mistake! At least now I have some practice under my belt for when I have the time to tackle this project again and start over and make a new one that actually fits my dining table...
And while it's far from perfect, I absolutely love it... it turned out better than I had hoped and I still have all my fingers and limbs attached! Thank you God !:)
Modern Adirondack Chairs