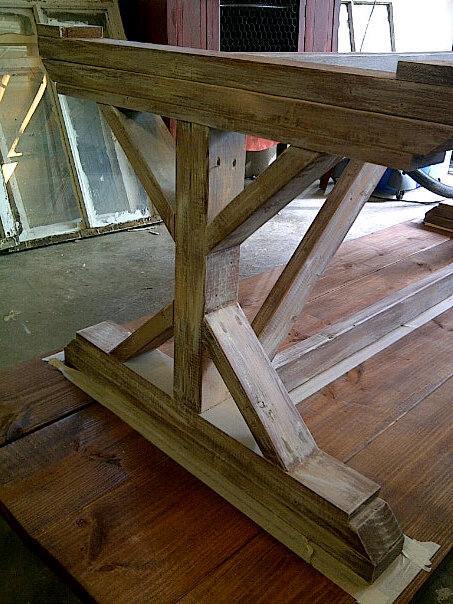
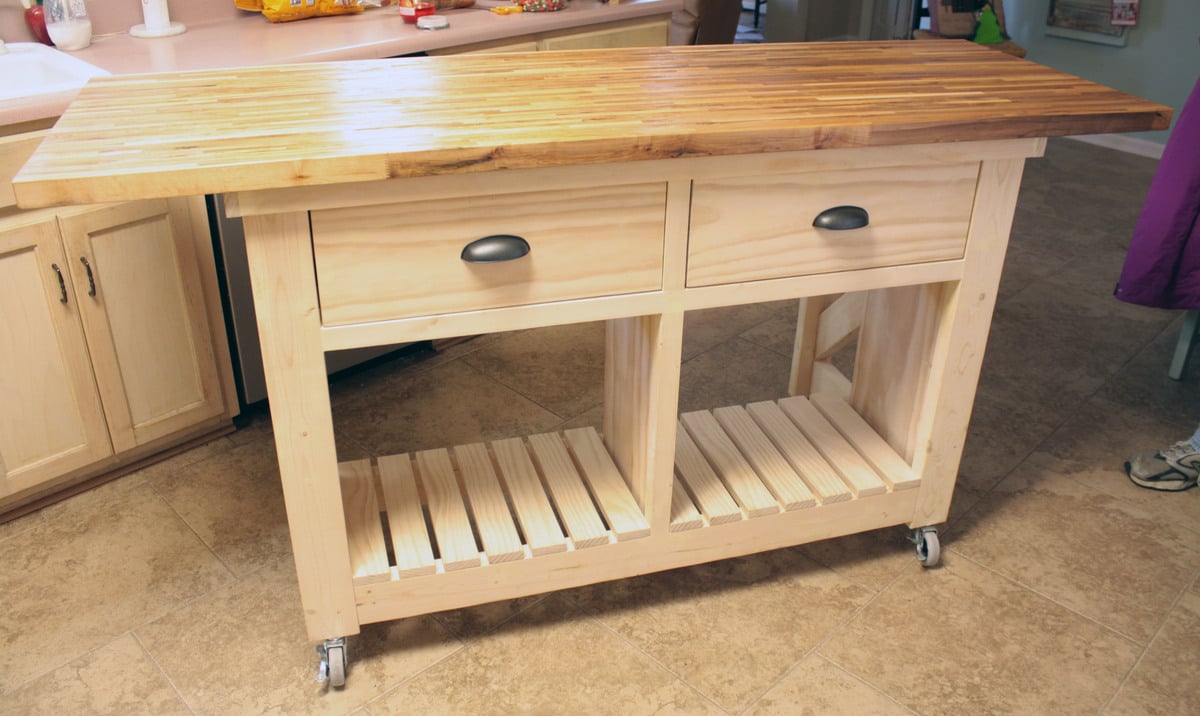
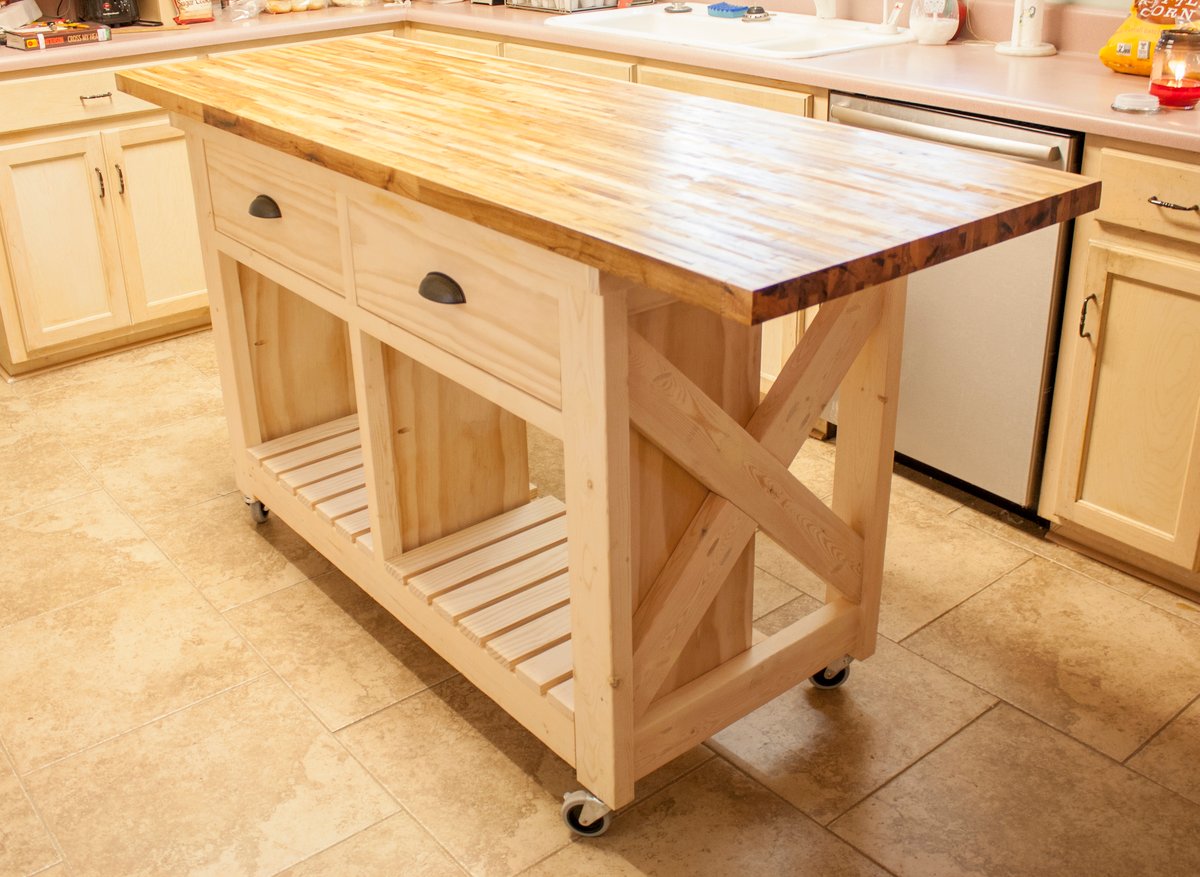
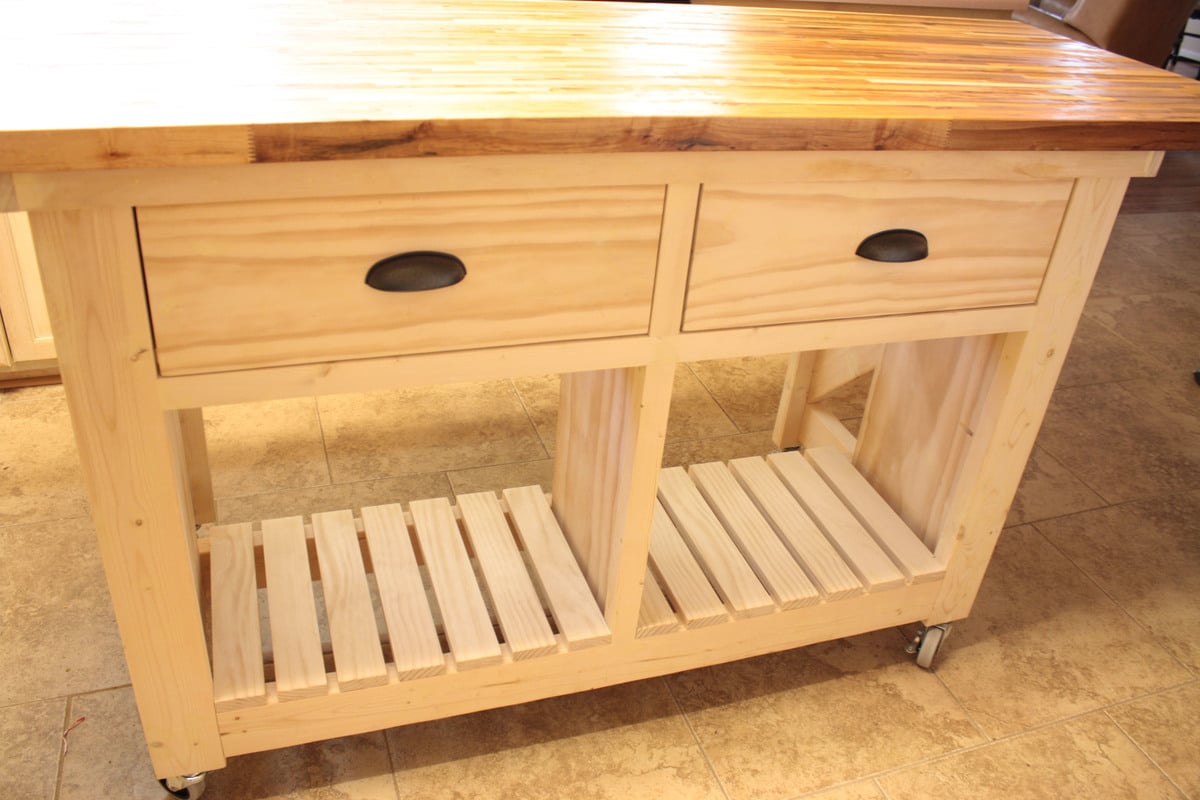
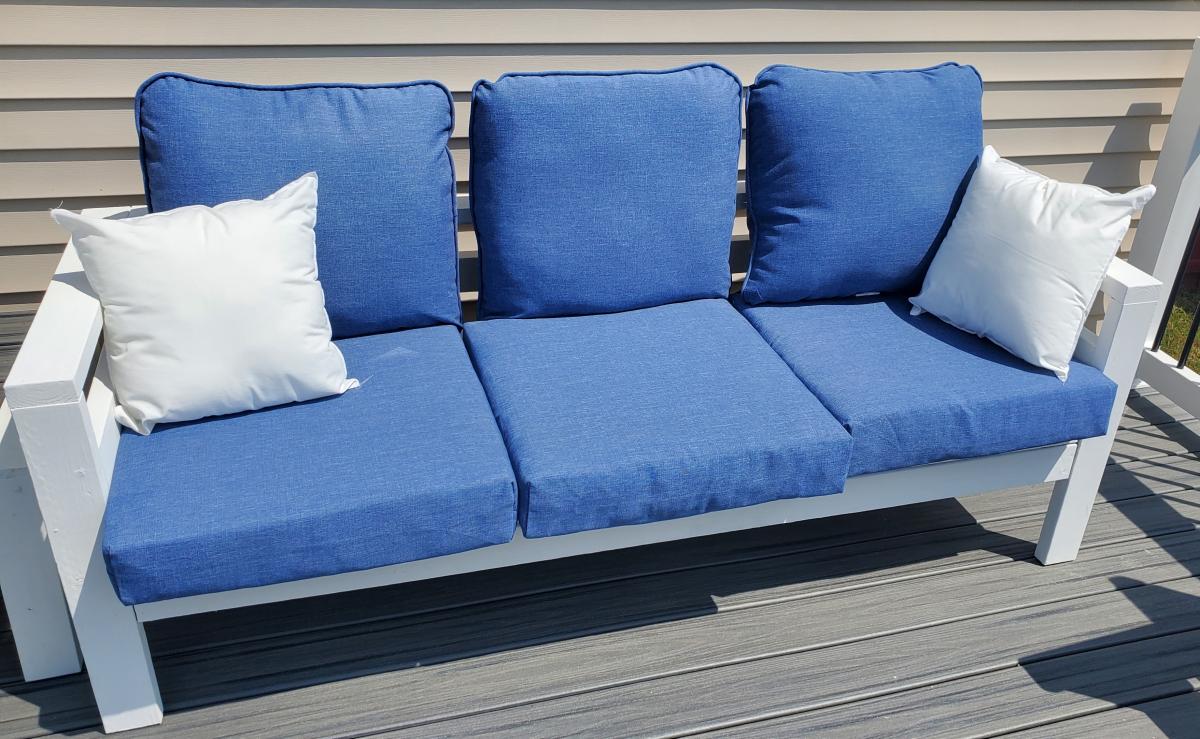
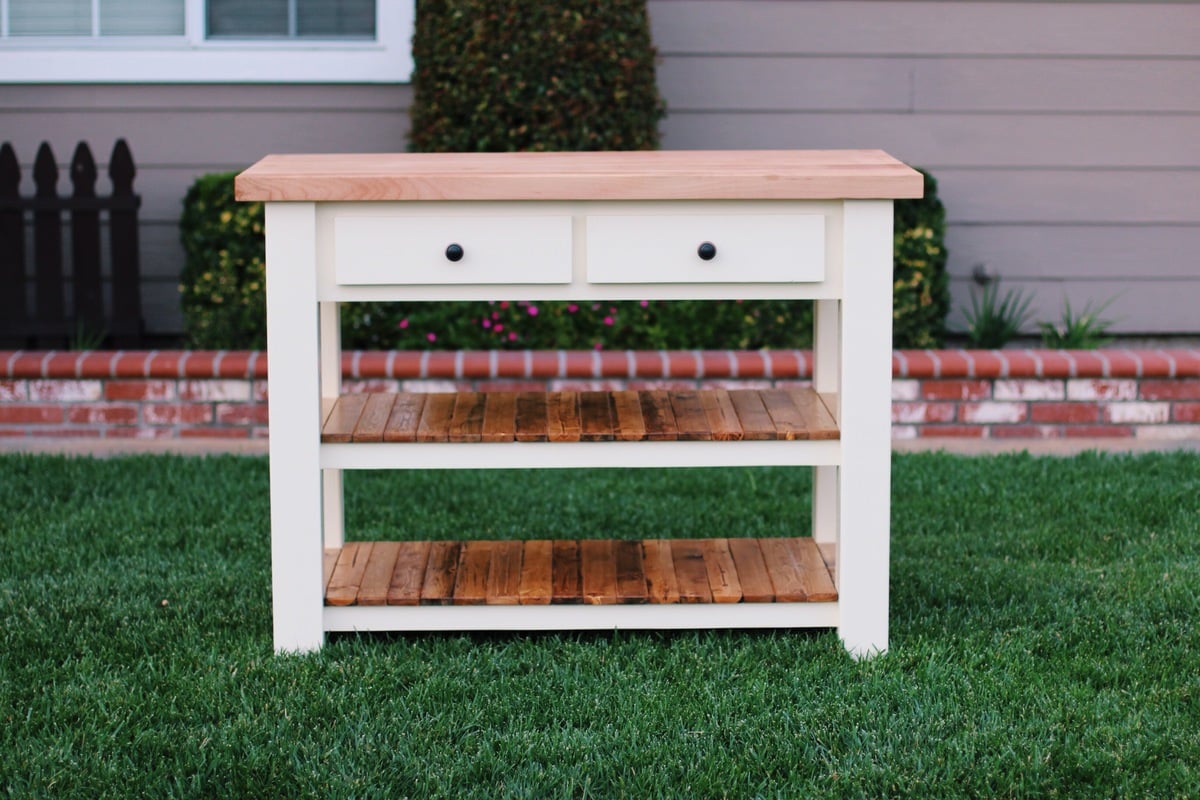
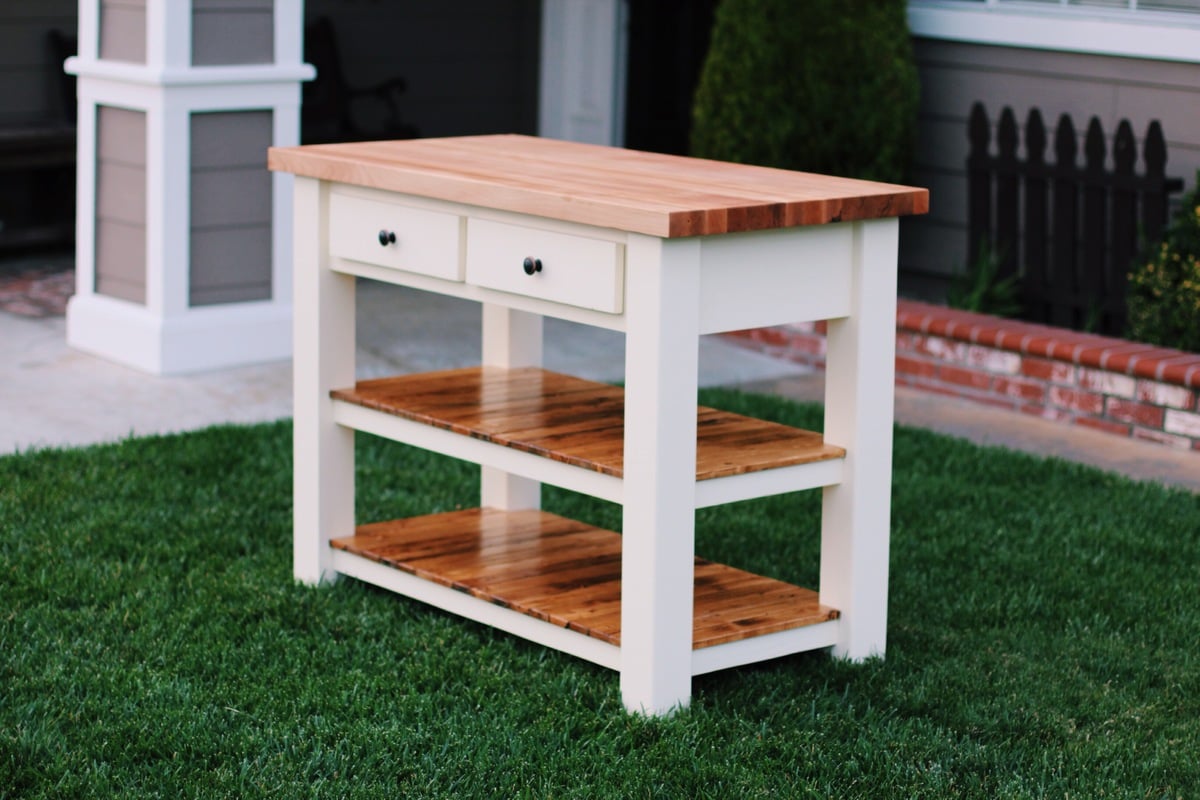
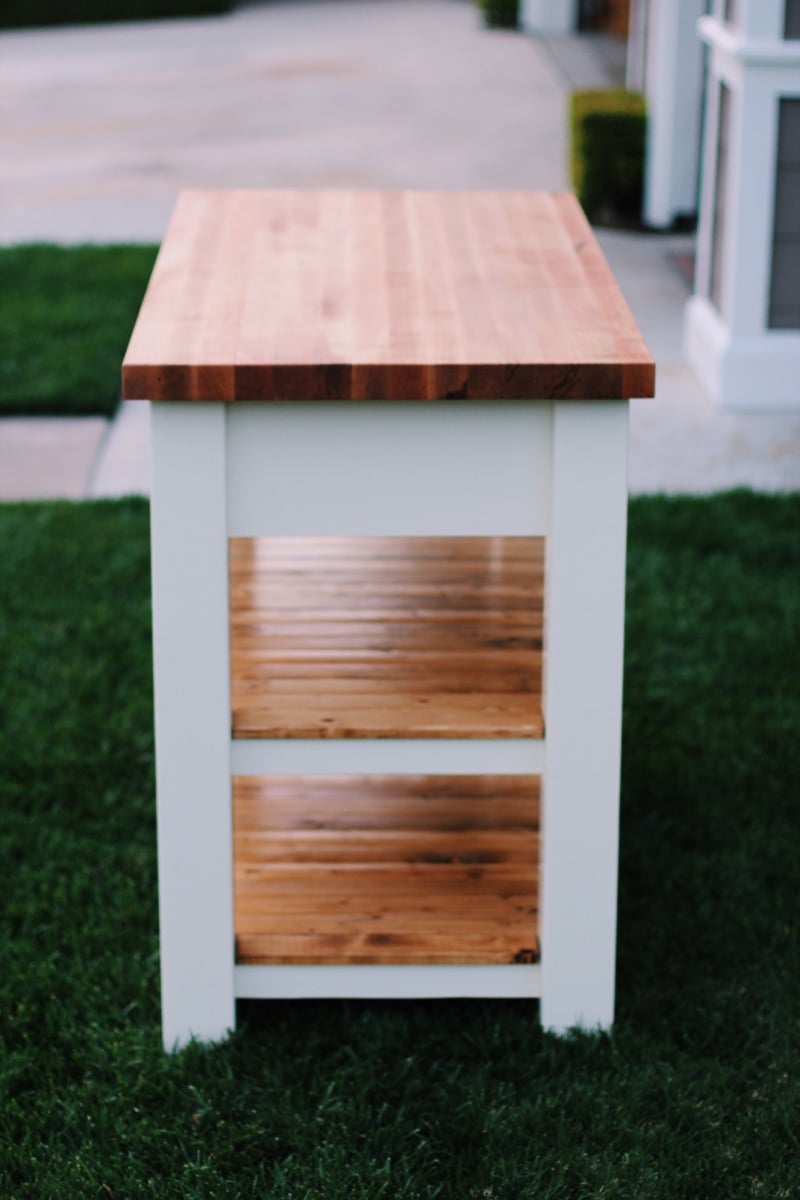
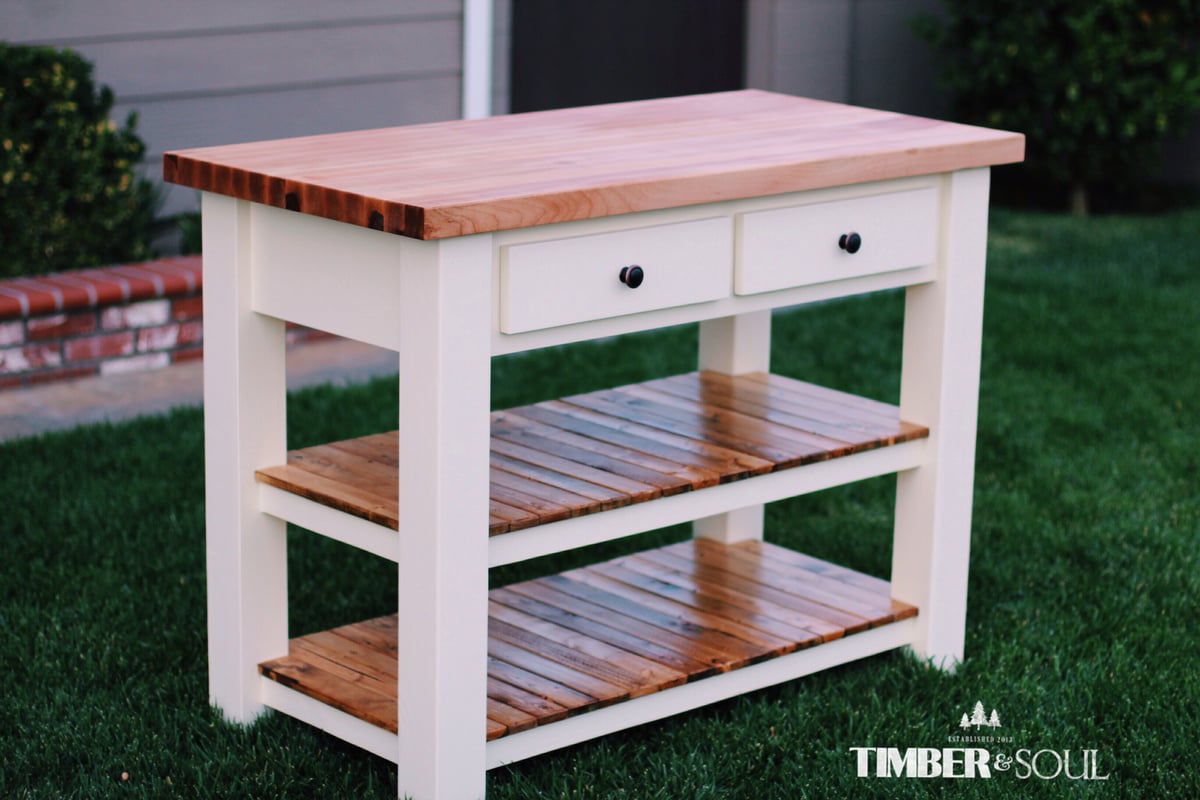
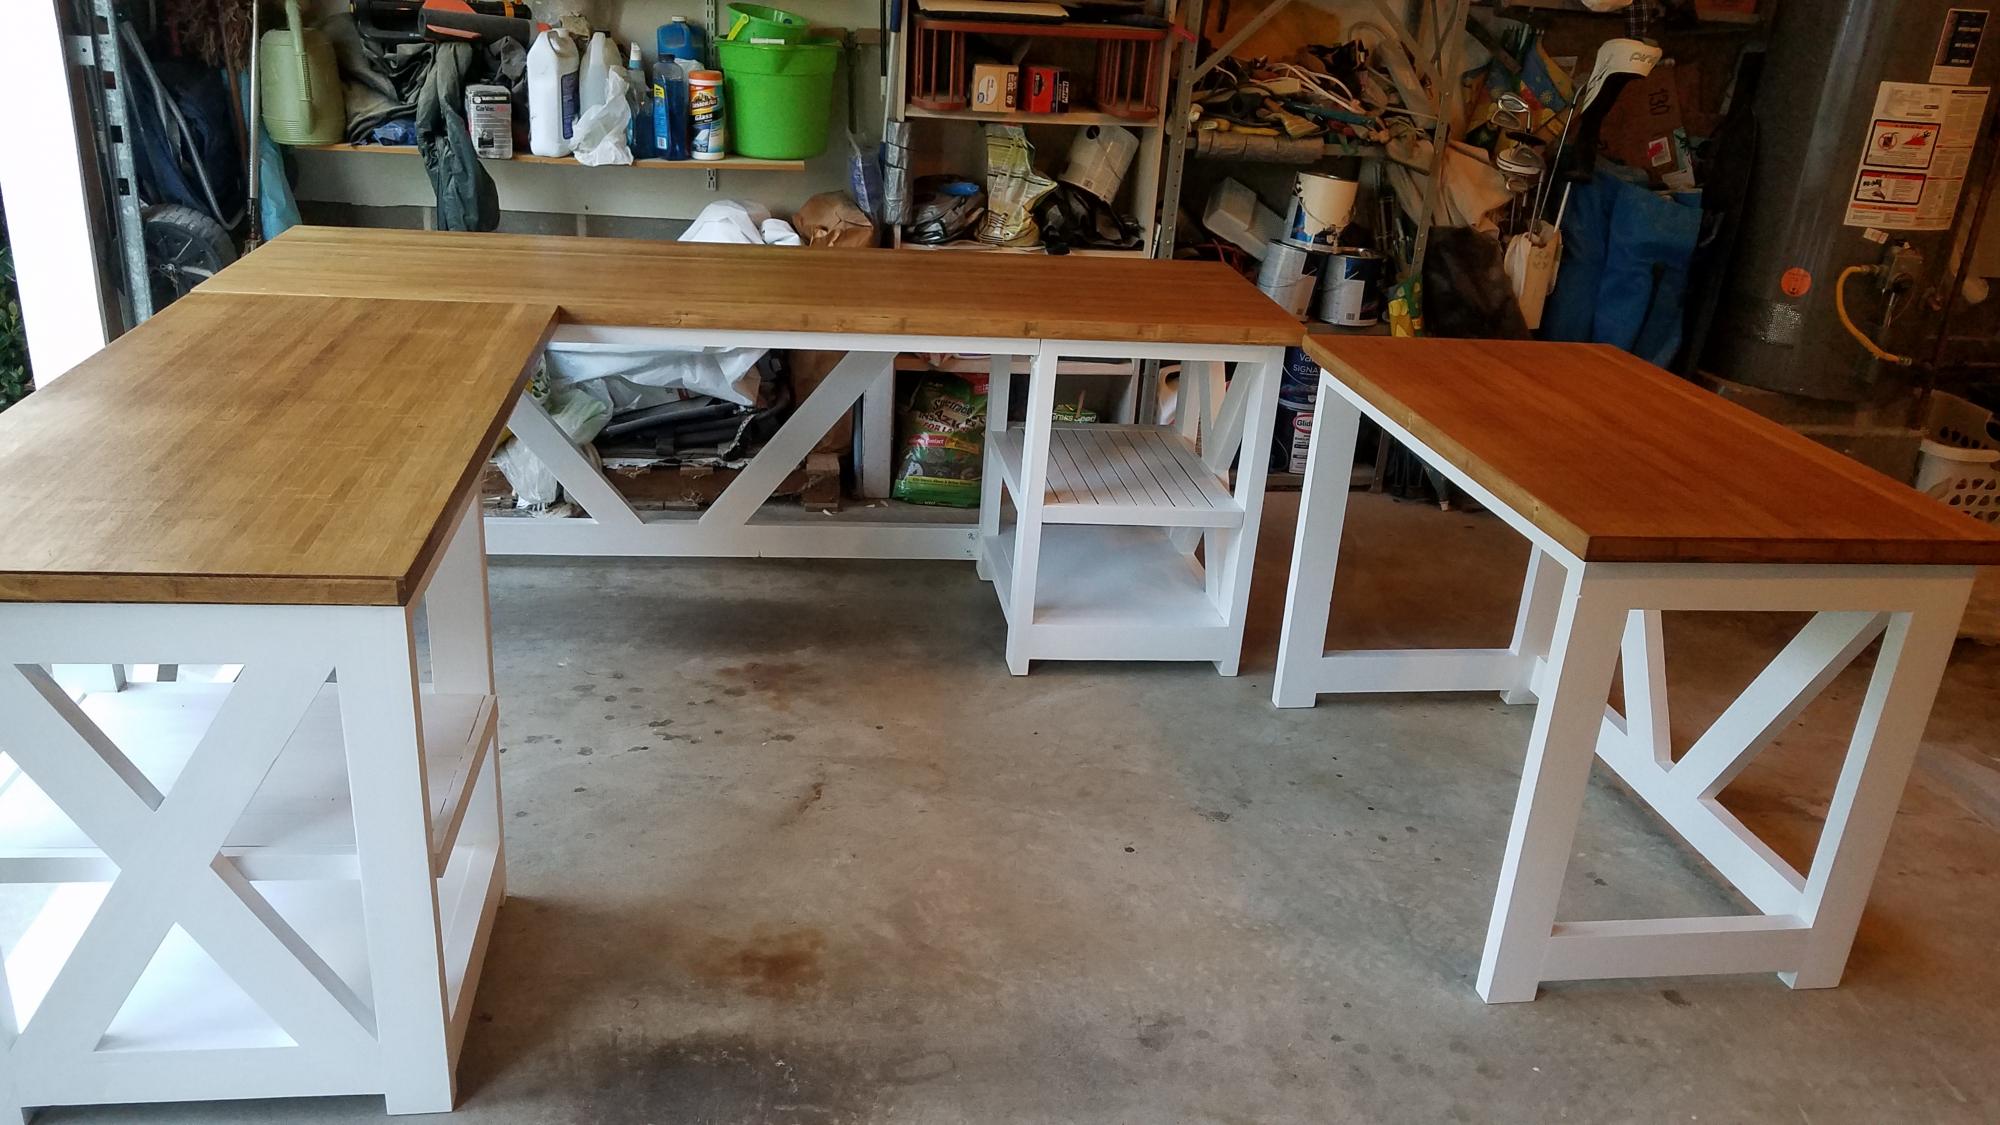
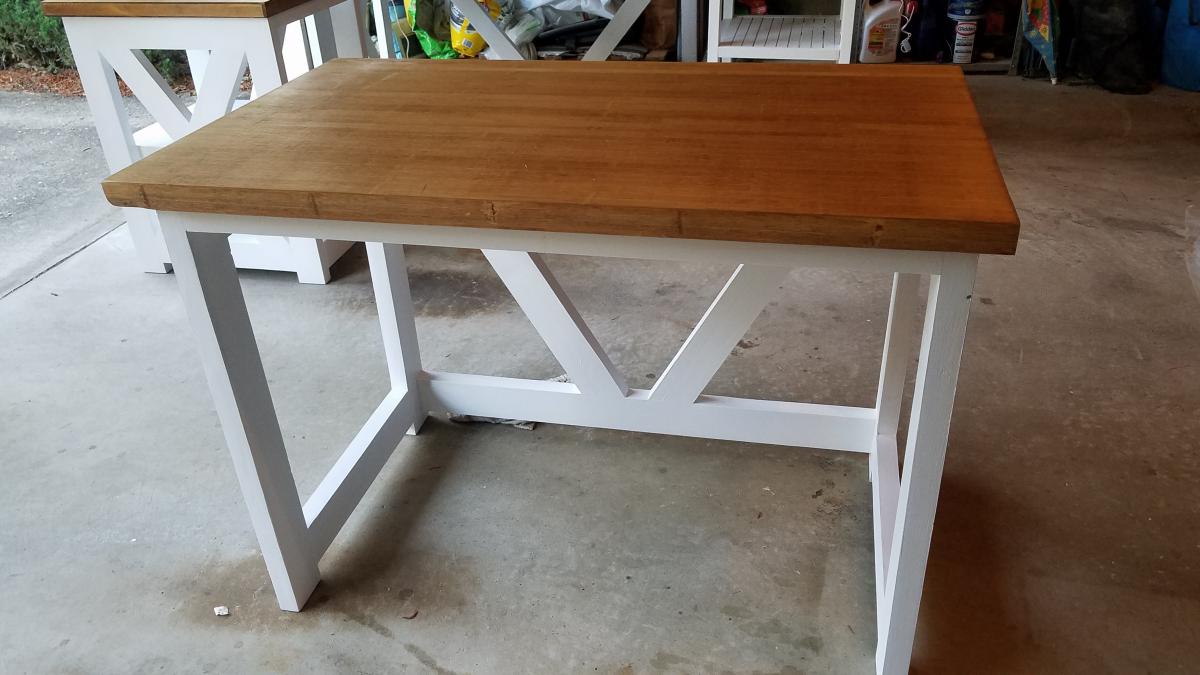
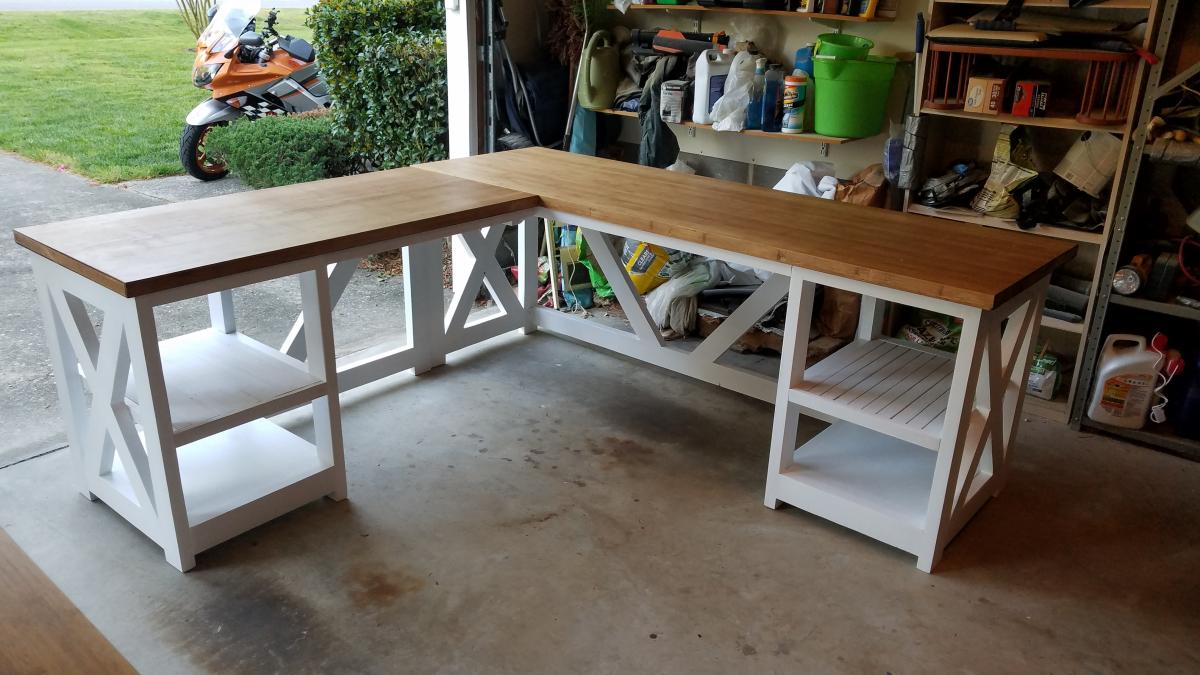
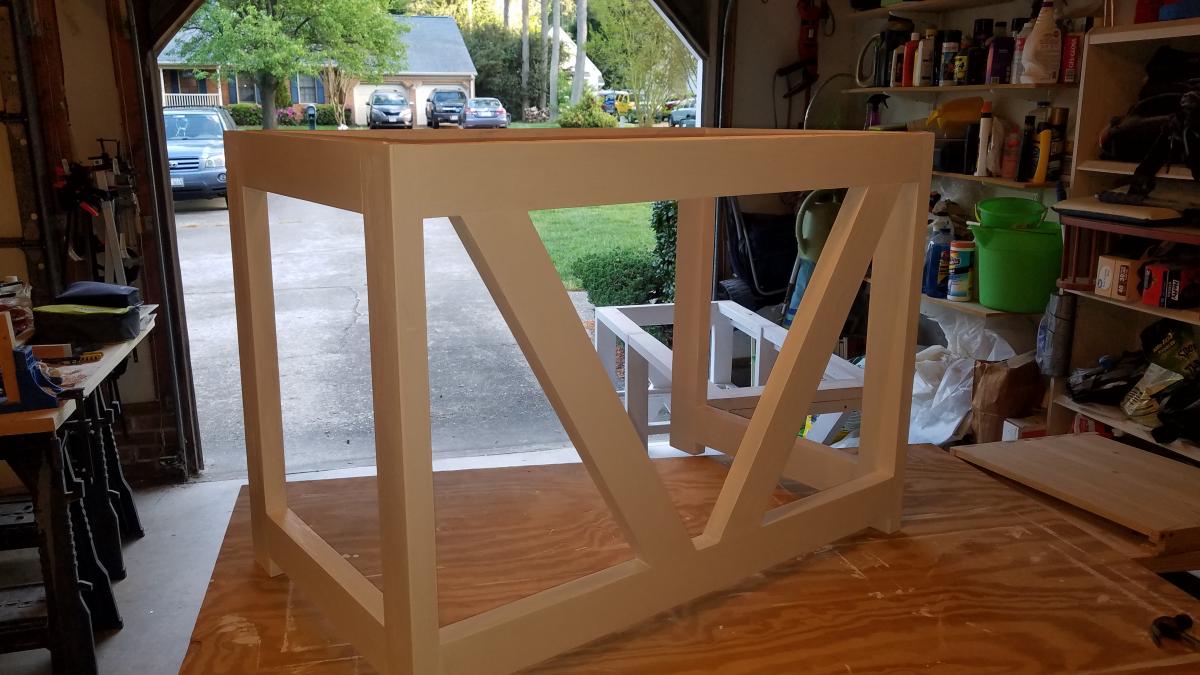
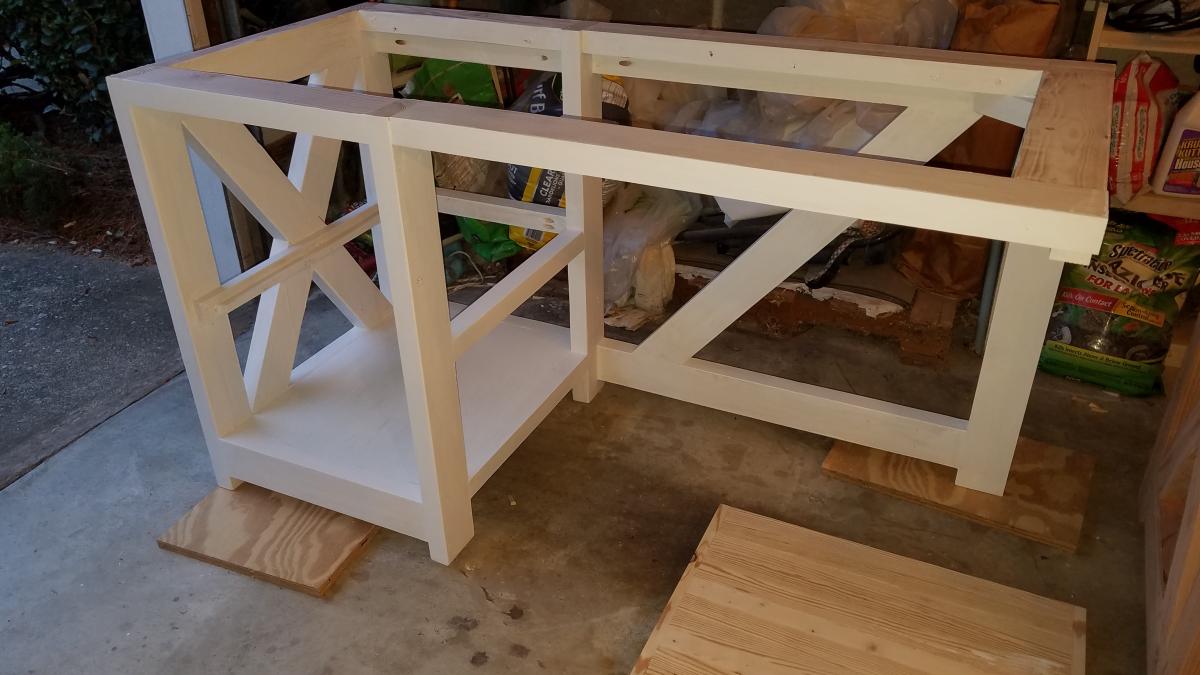
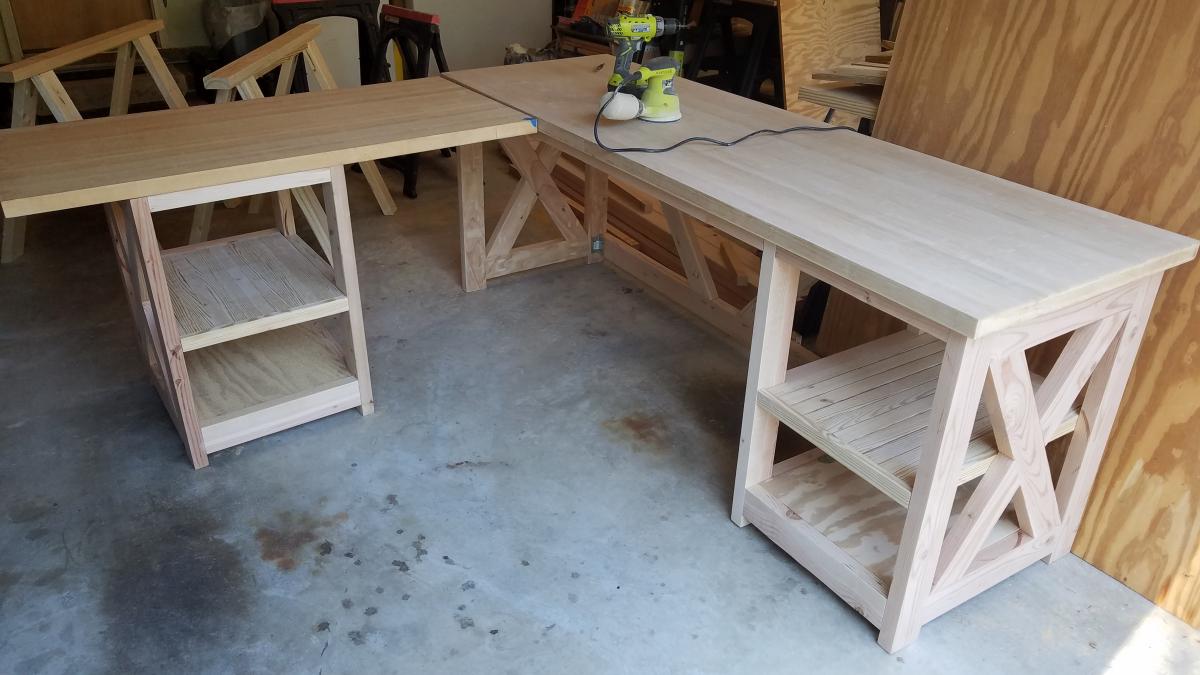
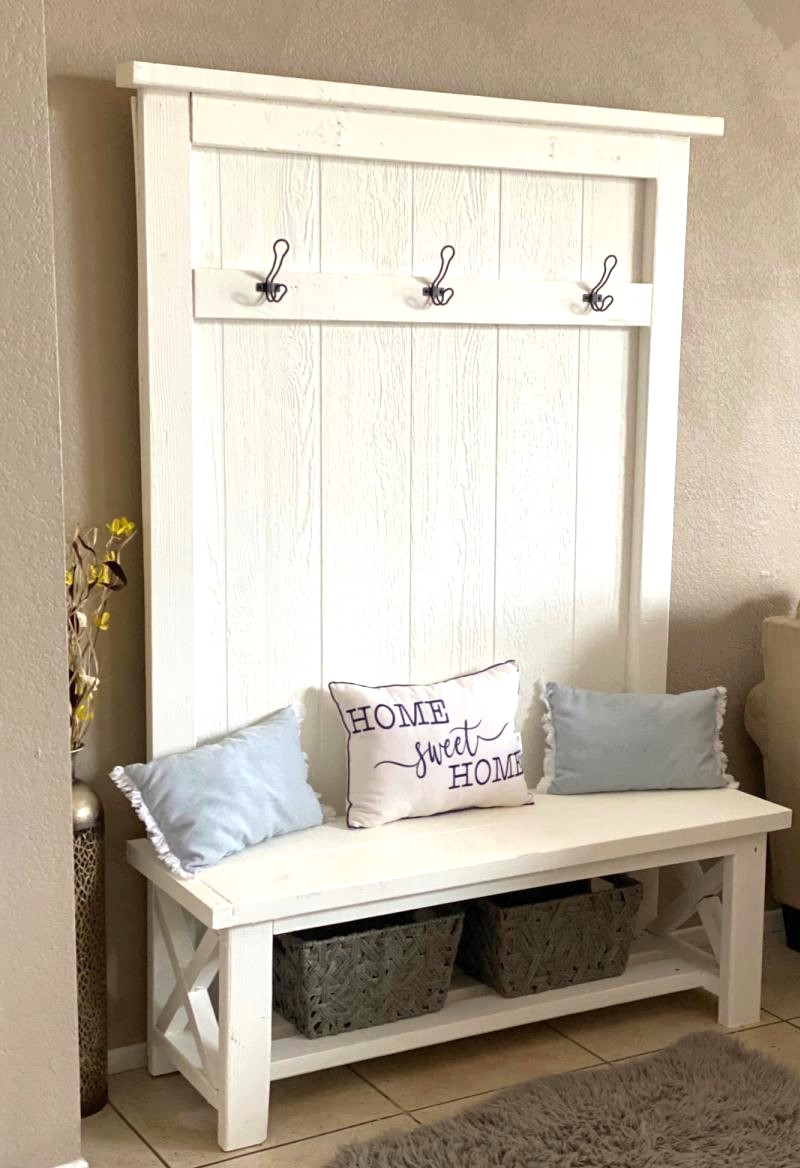
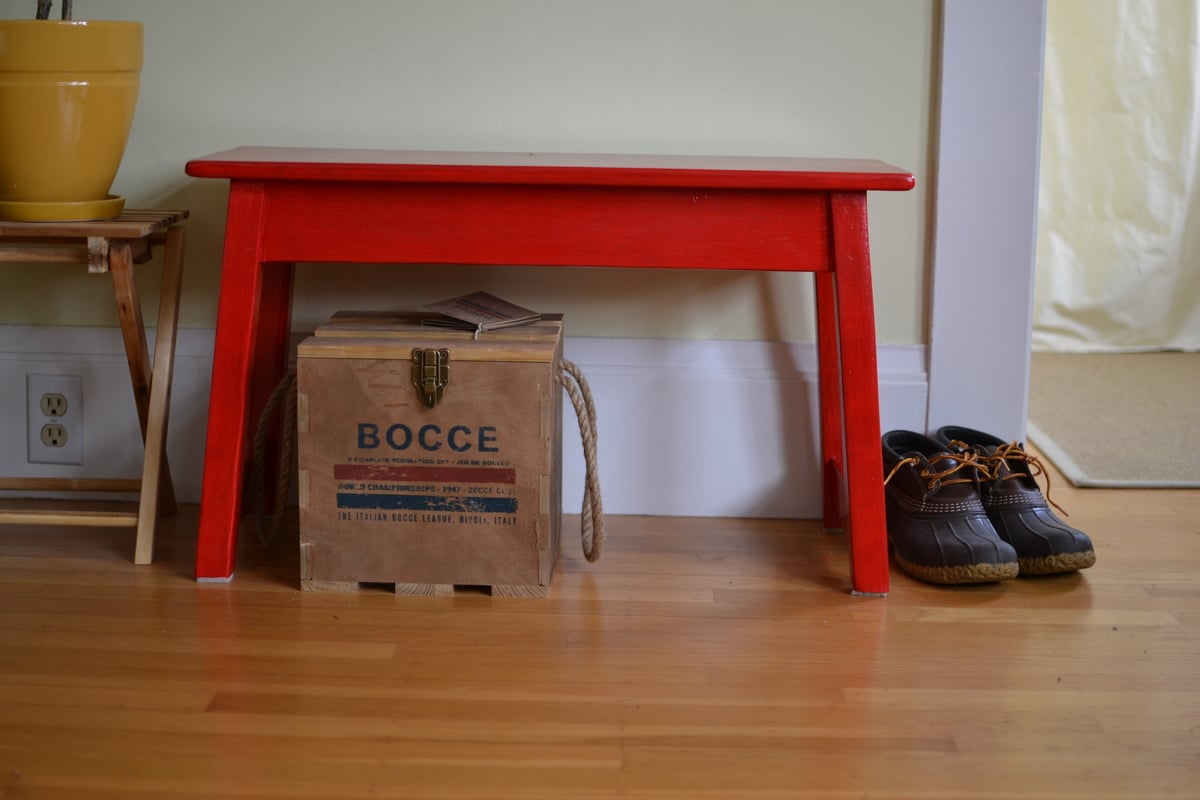
Community Brag Posts

Fancy X Farm Table

Submitted by lrnjlange on Mon, 12/16/2013 - 08:58

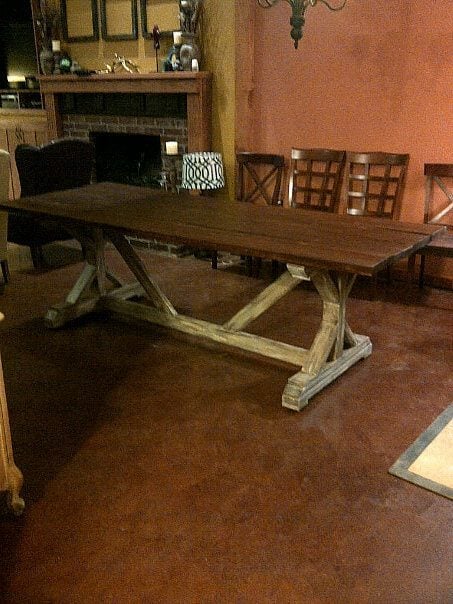
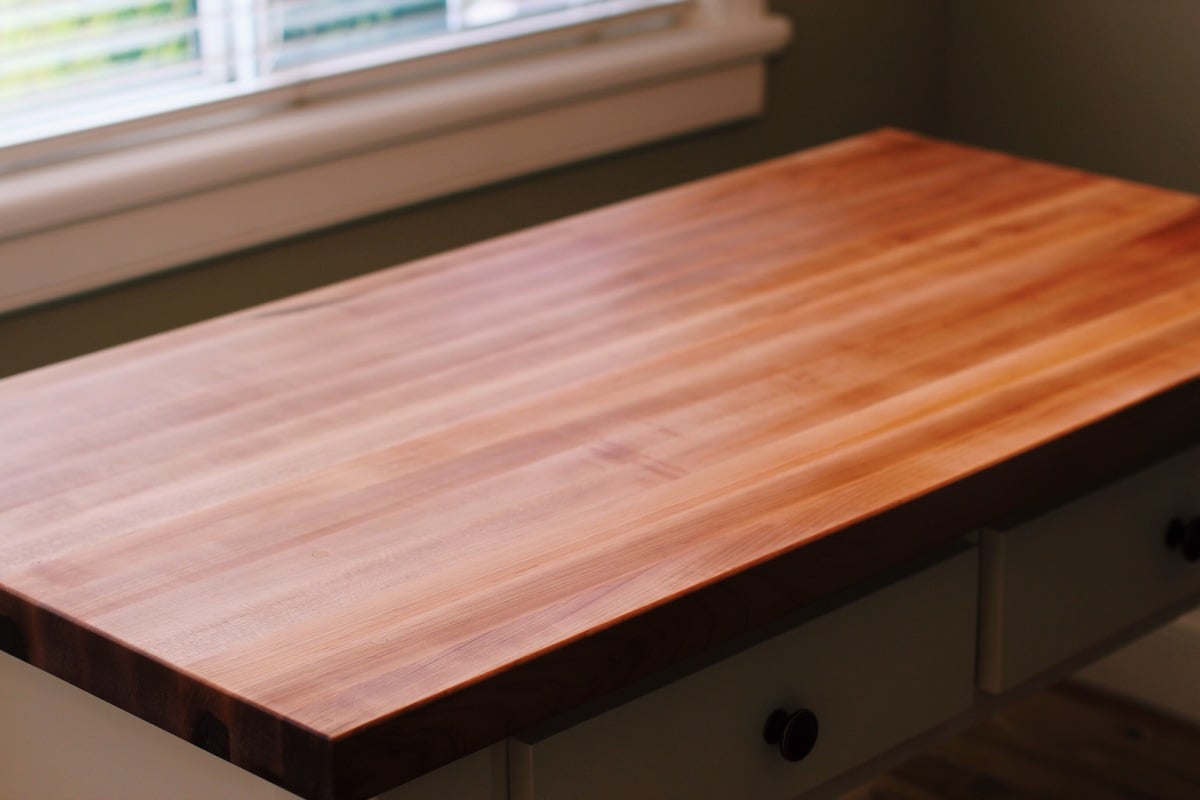
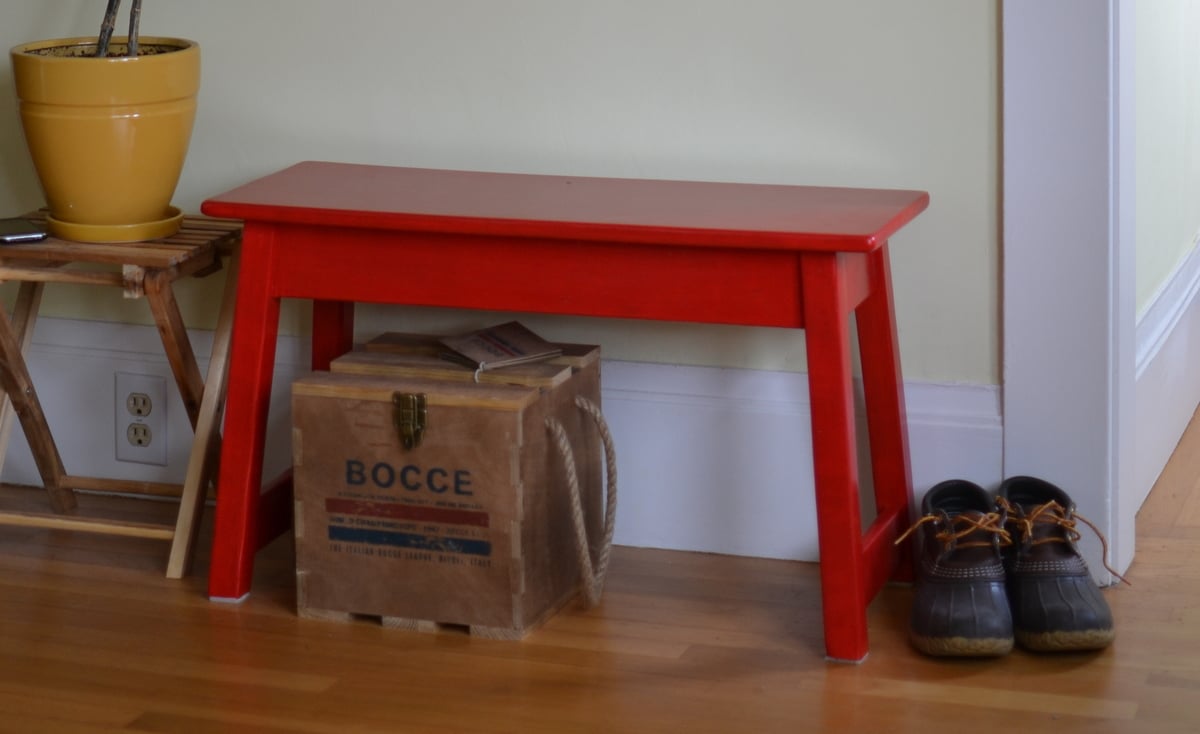
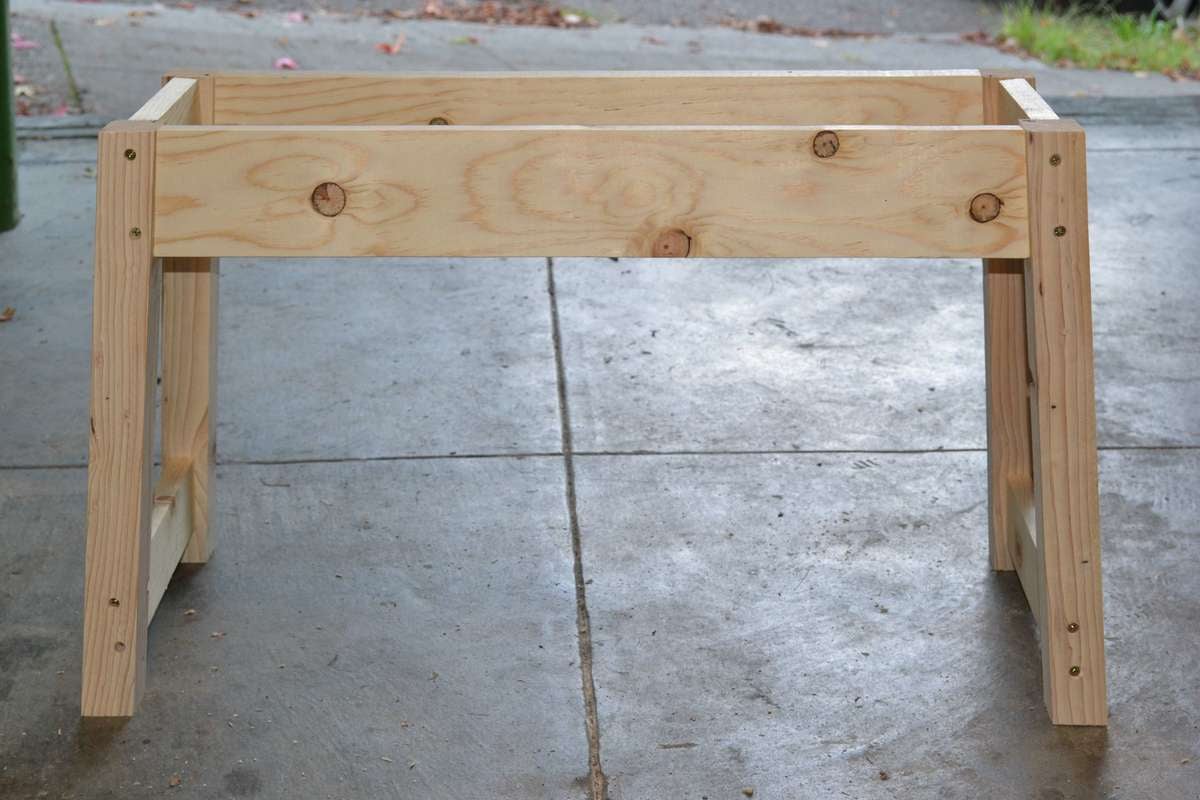
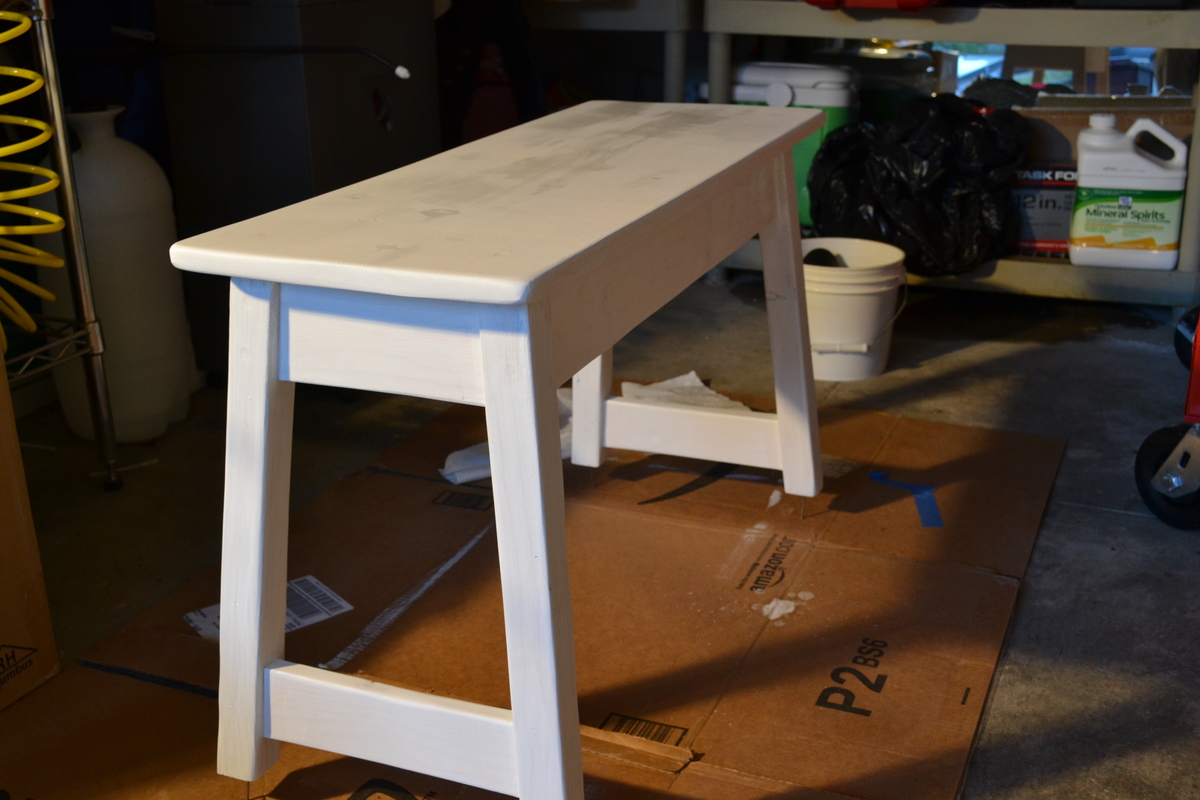
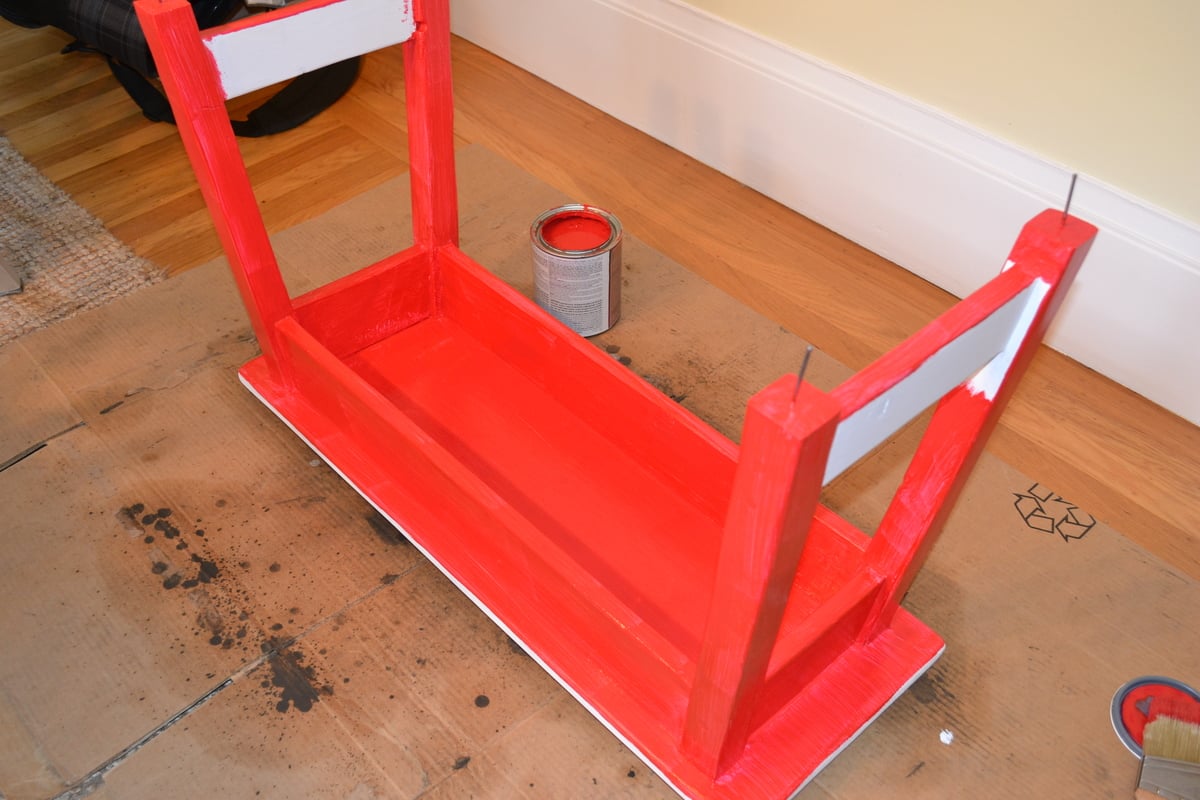
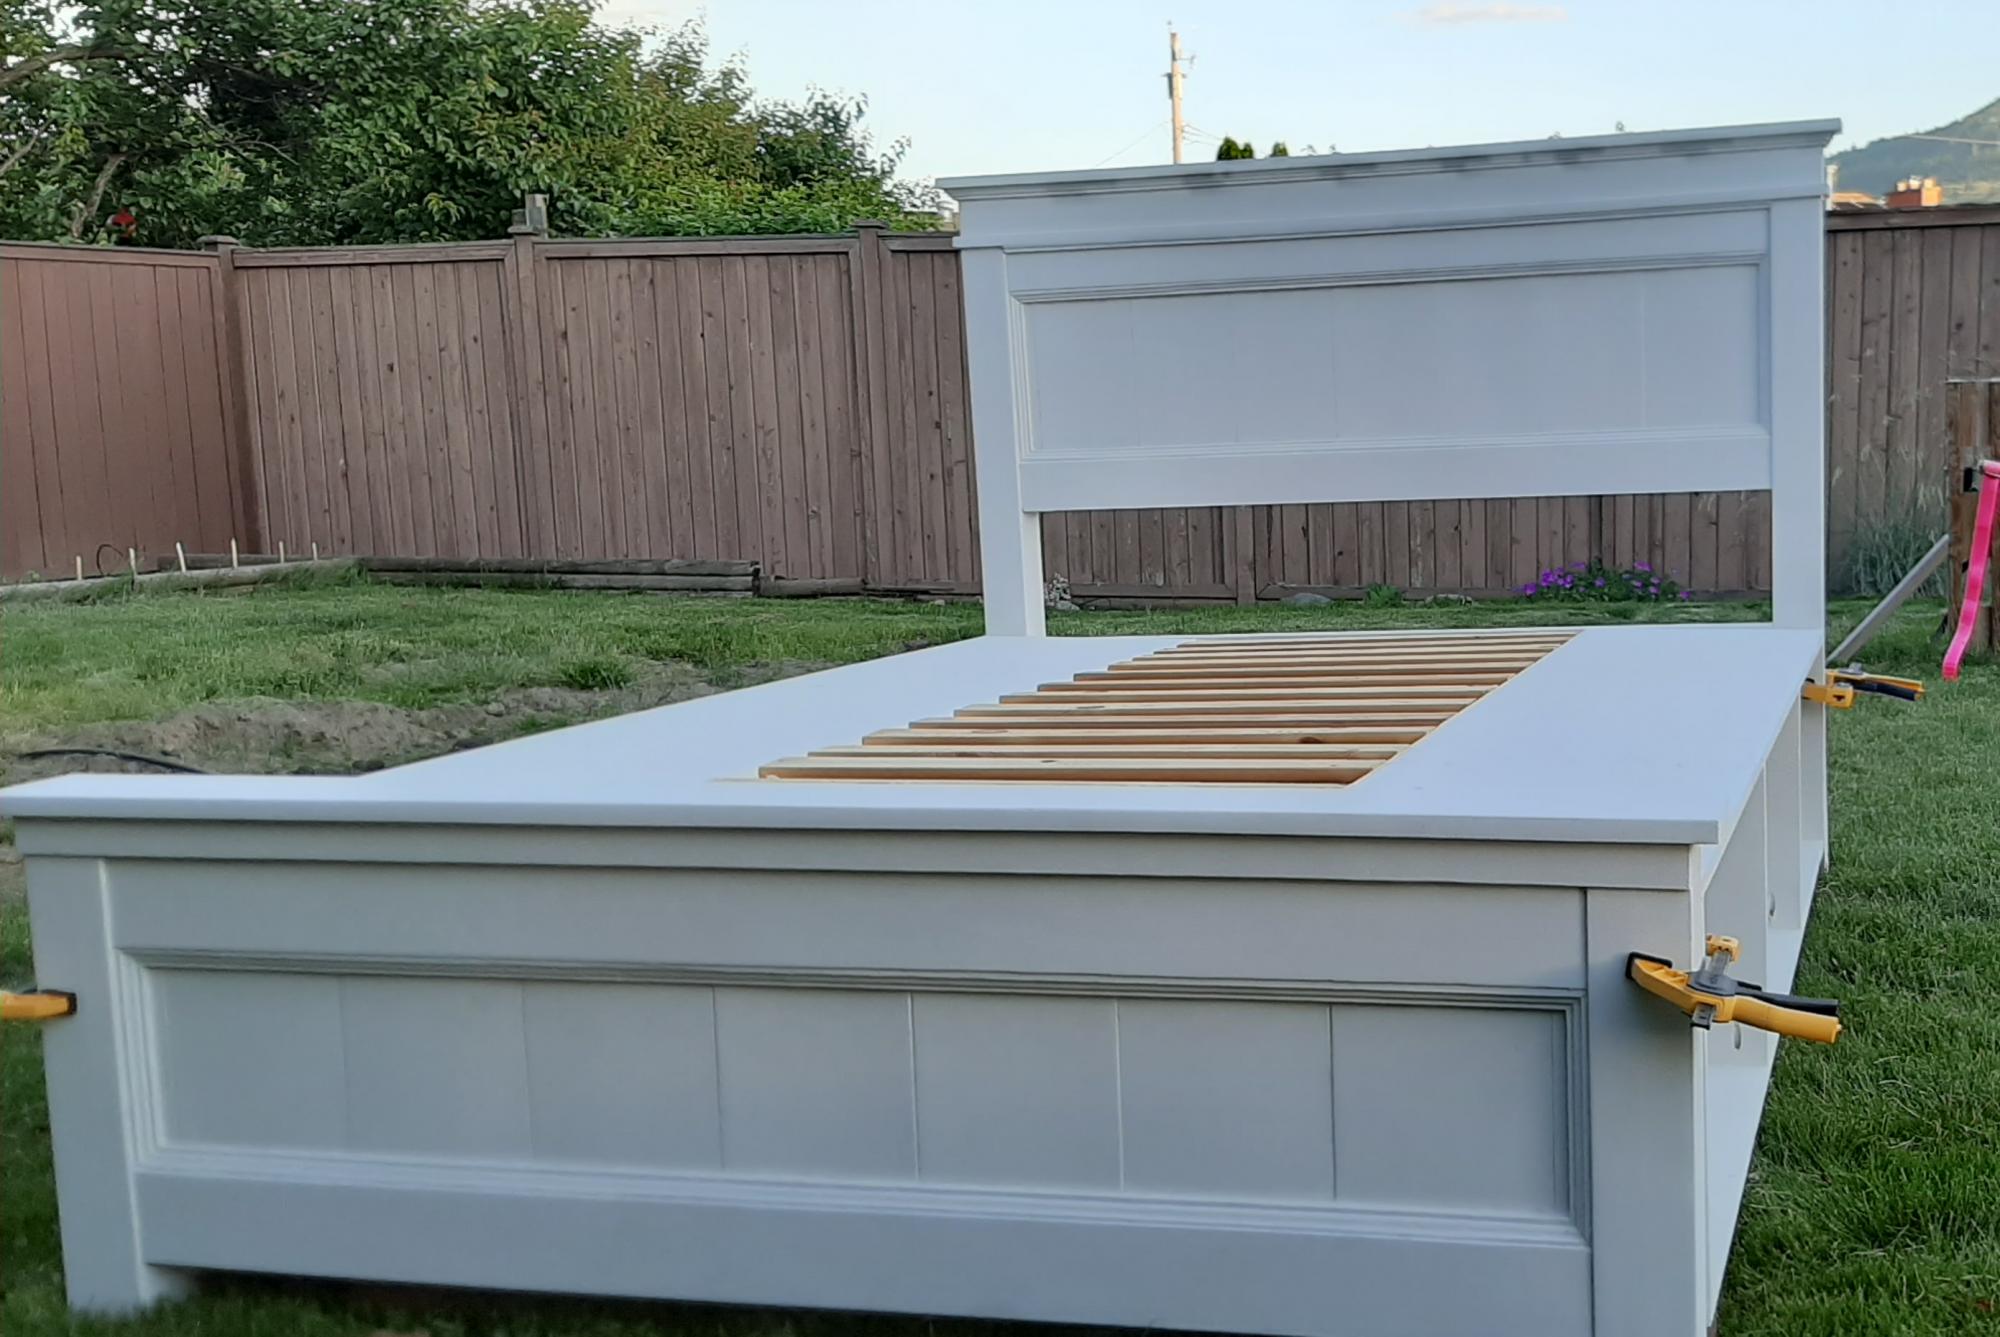
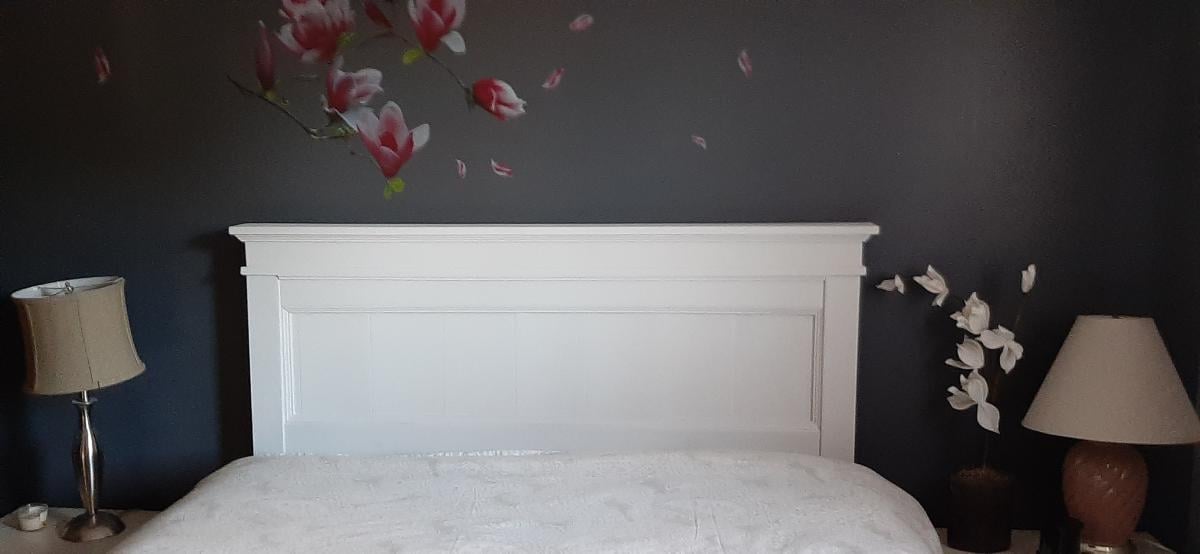
My husband and I built this together. Once we figured out how to use a Kreg Jig it was sooo easy!! I stained the top in English Chestnut and then chalk painted the based.

Built from Plan(s)
Estimated Cost
$100
Estimated Time Investment
Weekend Project (10-20 Hours)
Recommended Skill Level
Beginner

Comments

My Leather Accent King Size Bed

We modified the plans because I had a specific idea of what I wanted and we needed a king size bed. We are so proud. We used left over foam from a previous project and covered it with the faux leather for the back rests. Because I love the look of dust ruffles but couldnt use it because of the slats to support the bed I cut out the material from which the dust ruffle is sewn and attached velcro to it and then to the bed and I got the look I wanted. Ana is awesome!

Estimated Cost
196.00
Estimated Time Investment
Weekend Project (10-20 Hours)
Finish Used
Expresso Paint and waterbased poly urethane to protect it
Recommended Skill Level
Beginner

Double kitchen island with butcher block top

Submitted by bhoppy on Wed, 01/01/2014 - 11:58

I started on the project when I went home for Thanksgiving and finished up the drawers when I was home for Christmas. I live about 7 hours from my family. I took a few tools with me (kreg jig and drill) but borrowed a circular saw and miter saw for all the cuts. It was difficult working on it because it was fairly cold and my dad only has a carport. Which is why it took longer. My step-mom says she wants to paint it maybe with some milk paint. She also did not want the center shelf as she wanted a place for taller items.

The butcher block top was $299. It comes from lumber liquidators in 25" by 96". My dad had about 2 feet cut off the length. Ikea also sells butcher block tops for roughly half the price I think, but they were out of stock in both Atlanta and Charlotte.

I also made the small kitchen island before and this one went much more smoothly. Having the extra set of hands was awesome and made for a wonderful memory as I built it with my father:-)

Built from Plan(s)
Estimated Cost
$400
Estimated Time Investment
Week Long Project (20 Hours or More)
Finish Used
None yet
Recommended Skill Level
Intermediate

Comments

Ana White

Thu, 08/15/2019 - 12:14

This is amazing Stephanie!!!!  I can't believe I didn't see this sooner.  

We are going to feature your photo with the plans - thank you so much for sharing a brag post!  Hope you are well!

DIY Outdoor Furniture Set

Submitted by Anonymous (not verified) on Fri, 08/04/2023 - 11:32

Loving this furniture! We modified it slightly by raising the height of the couches. Added some height and a slight tilt in the back. The chairs are super comfortable as the plans are done. We used 6” 25x25 cushions. We plan on staining soon.

Jaime Sallis


Seasonal And Holiday

Simple Farmhouse Nightstands

I built these matching nightstands to go with a king bed frame I built for a couple whose rebuilding their home that burned down. They were pretty simple to put together, but despite their simplicity, they are gorgeous. 

Estimated Cost
$20
Estimated Time Investment
Afternoon Project (3-6 Hours)
Finish Used
I used minwax pre-stain to prepare the wood. I then stained it using special walnut by Varathane (got it from The Home Depot). Finally, I finished it using a clear satin polyurethane by Minwax.
Recommended Skill Level
Beginner

Butcher Block Kitchen Island

I built this piece from ana white's plans. I modified the shelf design and also the dimensions to meet my needs. Instead of using 2x6 douglas fir for the top, I built the top out of hard maple. The top is built by ripping down several strips of hard maple 1.75 inches wide, turn the strips on there edge and gluing all the strip together. This is what is known as a edge grain cutting board. I finished the top with mineral oil and bees wax. The top is food safe and knife friendly. If you have any questions please don't hesitate to ask. - Brad

Built from Plan(s)
Estimated Time Investment
Week Long Project (20 Hours or More)
Finish Used
Cream brulee paint by behr
early american stain by minwax
mineral oil and bees wax
Recommended Skill Level
Advanced

Comments

romanweel

Tue, 01/28/2014 - 18:42

Did you use a planer to level your top and bottom surfaces here, or just lots of sanding? I've been told not to attempt butcher block construction without a planer...but I'm thinking of maybe going for it!

timberandsoul

Fri, 01/31/2014 - 23:01

I did use a planer for this top. But because my planer is only 12 inches wide I had to glue three individual boards together leaving two seams that I could not plane but instead had to sand out. Just sanding those two seams took a long time, I cannot imagine sanding 20 seams. I would not suggest attempting without a planer.

Calmly

Mon, 04/10/2017 - 18:45

is it possible for you to share your measurements.  I need a smaller island. Thank you.

Biff Loman

Wed, 02/05/2014 - 17:25

I'm curious how you joined the stretchers to the legs. The construction appears different from the plans. Did you use pocket screws or something more advanced like mortise and tenon?

timberandsoul

Fri, 02/07/2014 - 16:58

I am not sure exactly what you mean by stretchers. If you are referring to the shelf frame, yes it is different than the plans, I modified it. I felt the shelf design on the plans was not enough for the weigh that was going to be place on top. I used simple pocket holes to joint the frame to the legs. Hope this helps, have a great day.

voorheisb

Fri, 08/12/2016 - 10:41

Thank you Brad.  This is a really nice piece.  I recently picked up an old table from a college.  I discarded the base and plan to use the heavy butcher-block-style top to build something similar to this.  Do you have plans you could share?   Thanks again, Brian

Sunridge Middle School Woodshop

Submitted by Anonymous (not verified) on Sun, 01/26/2020 - 18:53

At Sunridge Middle School, we design and build our own projects at the end of second semester. As class sizes have grown ( the class is quite popular) helping design up to 60 projects becomes quite difficult. That’s where you come in! You have designed some awesome projects and the kids are able to find a perfect fit, with your variety. Some doubt the ability of 14 year olds, but given the space, opportunity, support, and your plans, we can do anything!

Estimated Cost
0.00
Estimated Time Investment
Week Long Project (20 Hours or More)
Finish Used
Stain
Paint
Recommended Skill Level
Intermediate

Comments

Monika

Tue, 10/20/2020 - 17:29

Talent always manifests itself in childhood, so do not underestimate the capabilities of 14 year olds, especially if they love what they do. Such creative activities in the workshop seem to me very interesting and can lay the foundation for the work of a lifetime. This is a much more rewarding activity than the constant essay writing. Such tasks should be delegated to specialists. For example https://www.nursingpaper.com/ a very useful rewrite service. And working with your hands is interesting and promising.

Garden Box

Submitted by Medickep on Tue, 03/04/2014 - 13:38

With Spring near I decided it's time to finally make some vegetable boxes. These plans were super easy, and easy to add a few little features.

I live in Oregon and even though cedar is tough, with all the rain we get, the color fades fast!! I was also worried about the inside rotting away from the solid like you see at the bottom of a fence!

I was surprised there weren't a million different stains that were "Organic" with that be so popular. I new my kiddos would eat most of the stuff before it made it into our house, so I decided to leave the inside natural and line it with heavy duty visqueen.

I stained the outside to protect the wood, using some Australian Timber oil I had left over from another project!!

Estimated Cost
20.00 for two
Estimated Time Investment
Afternoon Project (3-6 Hours)
Finish Used
Austrian Timber oil on the pout side, natural on the inside.
Recommended Skill Level
Starter Project

Rustic X Desk

Submitted by bozarthm1 on Sun, 04/19/2020 - 07:57

I built this L shape desk based on Ana White's rustic X desk plan. I would not have attempted this without her guidance. Love how this turned out, probably the nicest project I've ever done. Thanks Ana!

Built from Plan(s)
Estimated Time Investment
Week Long Project (20 Hours or More)
Finish Used
Tops are Watco Dark Walnut with wax finish, prime and paint the legs
Recommended Skill Level
Intermediate

Comments

mfromo

Tue, 05/26/2020 - 09:34

This is awesome! My son and I are looking to build an L shaped desk for him and this looks to be the one. Any thoughts on how I would mount a computer tray beneath? Think there is enough clearance below the 2x4 without hitting knees?
Thanks!

Diy Upholstered Settee

I started off with Ana's plans and kinda went rogue from there. The idea of creating those curved back legs scared me so I thought I'd sacrifice an Ikea dining chair and use it as the legs. When I ruined one of the legs I decided that I'd come too far to back out and that I must continue. I adapted many conventional methods to make the settee but I'm super pleased with the outcome. For the full step by step on how I completed the settee, please check it out here Part 1 Part 2 Part 3


Built from Plan(s)
Estimated Cost
150
Estimated Time Investment
Weekend Project (10-20 Hours)
Finish Used
Rustoleum Ultimate in American Walnut, Rustoleum Ultimate Polyurethane in Satin.
Navy Blue Upholstery Velvet, French Natural Nailhead Trim.
Recommended Skill Level
Intermediate

Comments

Laundry Room Solution

Submitted by tzachary on Mon, 06/25/2012 - 14:25

I needed a sturdy place to hang clothes in my laundry room as I took them out of the dryer. I saw the dress up center and it was perfect (just needed to be altered to fit adult clothes)

Estimated Cost
$30
Estimated Time Investment
An Hour or Two (0-2 Hours)
Finish Used
Primed and Painted with Behr Paint I had on hand
Recommended Skill Level
Starter Project

Comments

Herb Garden Planter { $2 }

This is the fourth time I have made these to give as gifts. They are just so cute, easy, inexpensive, and versatile. Now that the growing season is among us, Im sure Ill be making even more.

Estimated Time Investment
An Hour or Two (0-2 Hours)
Finish Used
sanded, white latex paint, then applied minwax polycrilic
Recommended Skill Level
Starter Project

Entry Way Bench

Built this plan and it came out amazing. I used a sheet of siding for the back to really bring out some grains!

Built from Plan(s)
Estimated Cost
100
Estimated Time Investment
Day Project (6-9 Hours)
Finish Used
Matte white bher paint
Recommended Skill Level
Intermediate

Great Porch Chairs

I enjoyed making these outdoor chairs! I had to make two for when company is allowed to come by again. The plans were simple to follow, and making the cushions was a bit more of a challenge. I ended up having to use a mattress topper cut into 25"x25" squares. I found some great seat covers on Wayfair.

Estimated Cost
300.00
Estimated Time Investment
Day Project (6-9 Hours)
Finish Used
Minwax Polyshades, Pecan satin
Recommended Skill Level
Intermediate

Sofa Charging Table

Submitted by Anonymous (not verified) on Mon, 01/08/2024 - 10:10

We wanted a shallow table behind our sofa where we could charge our phones and laptops while relaxing in the evening. I used three 1” X 6” pieces of cherry, connected with pocket holes, and put a small gusset in the corners. With a couple of power strips inserted in the top and plenty of polyurethane, that was it!

His Hands

Simple Entryway Bench

Submitted by tfox on Fri, 08/10/2012 - 10:57

I loved this project as soon as I saw it on Ana's site. I made a few changes to the plans in order to suit my needs and also as an excuse to use my new tools. I left out the cross supports in order to accomodate storage underneath the stool and it still retains exceptional strength without the supports. I also used my new router to round the edges on the top peice to give it a more finished feel. I'm really happy with the results and have made multiple for friends and family, both painted and stained.

Built from Plan(s)
Estimated Cost
$50
Estimated Time Investment
Day Project (6-9 Hours)
Finish Used
Red paint over white primer. Finished top with satin spray on poly.
Recommended Skill Level
Intermediate

Doggy Bunk Bed

Submitted by LaserTech on Sun, 08/12/2012 - 18:53

I built this dog bunk bed based on the queen farmhouse bed. As you can see the dogs are already fighting over the top bunk. This bed is very very sturdy and should give many years of use. Yes I spoil my dogs.

Built from Plan(s)
Estimated Cost
$100
Estimated Time Investment
Day Project (6-9 Hours)
Finish Used
Natural
Recommended Skill Level
Beginner

Comments

Roxxy G. (not verified)

Mon, 08/13/2012 - 14:52

I'm so happy I wasn't the only one who looked at these bed plans and thought "my dog NEEDS this"! They both look very happy.

LaserTech

Tue, 08/14/2012 - 17:23

Can you tell they're already fighting over the top bunk! I'm debating on painting it white. I like the natural look though. Thanks for the comment! :)

Jessie Murphy (not verified)

Mon, 12/03/2012 - 11:40

Can you by any chance post the dimensions you used for this bed. I know you used the farmhouse plan, but I'm not good at this at all and need all the help I can get!!

Queen storage bed modified

Submitted by Anonymous (not verified) on Thu, 06/18/2020 - 19:11

I used wood from an older Ana white project of a loft bed my daughter had out grown. I liked the look of Ana's Mom bed but wanted storage so I modified the plans slightly. I will add drawers later.

Estimated Cost
200
Estimated Time Investment
Weekend Project (10-20 Hours)
Finish Used
Sweet coconut easy flow paint in Matte
Recommended Skill Level
Intermediate
Back