Community Brag Posts

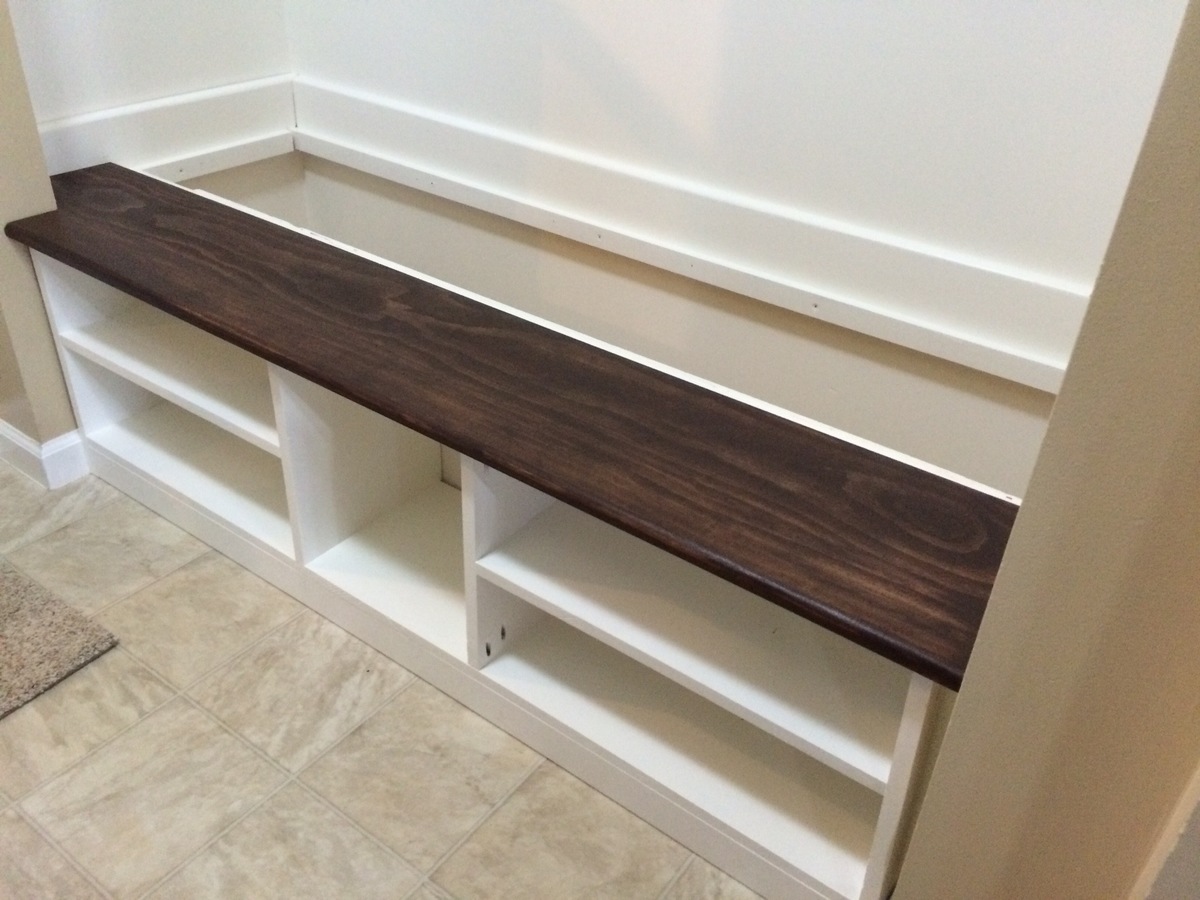
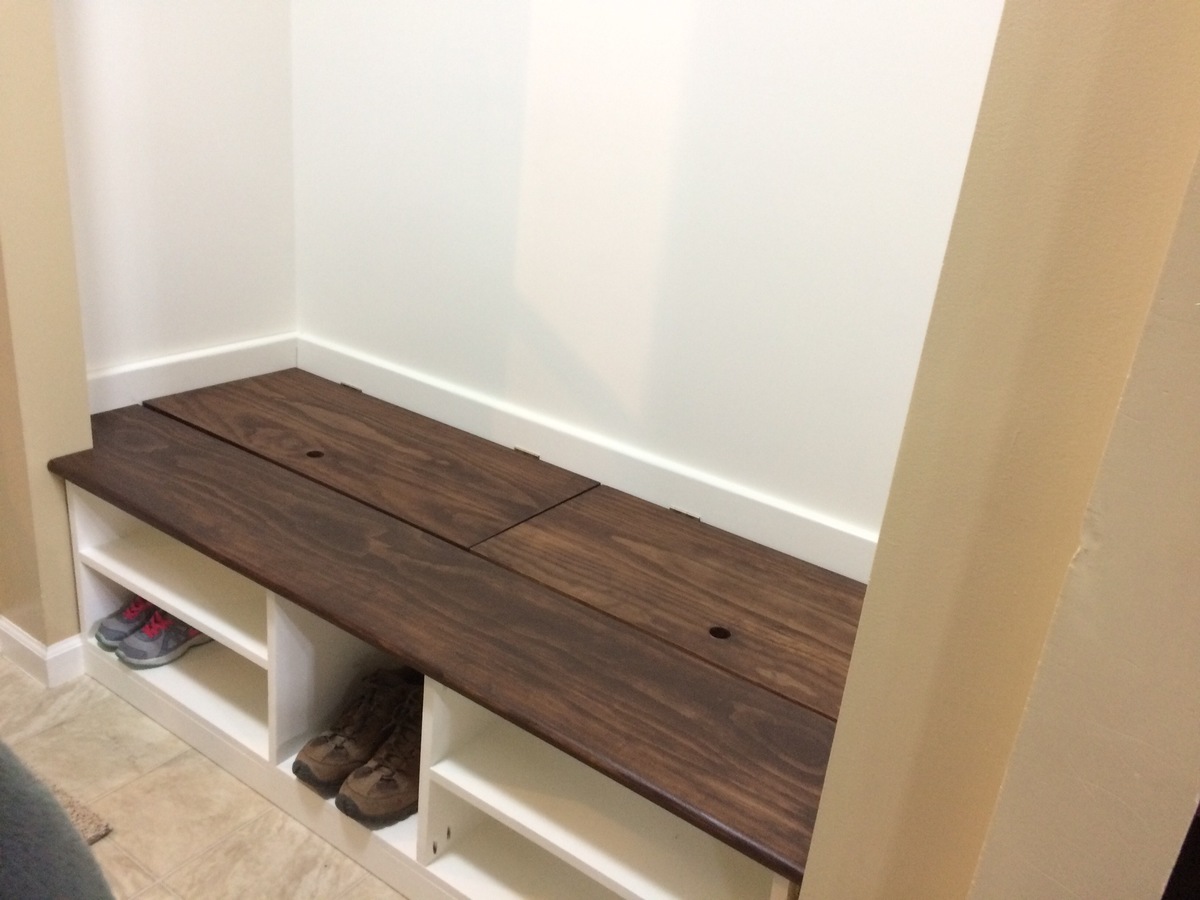
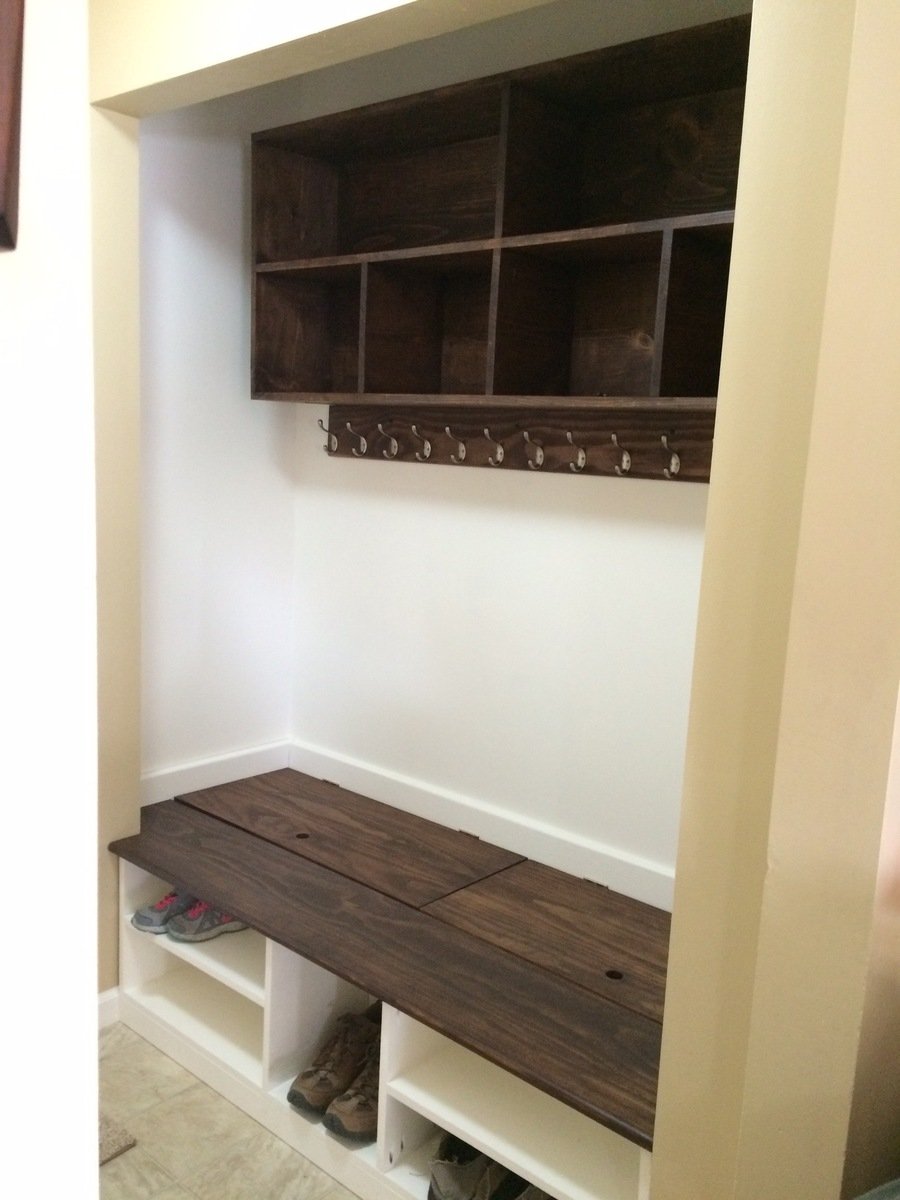
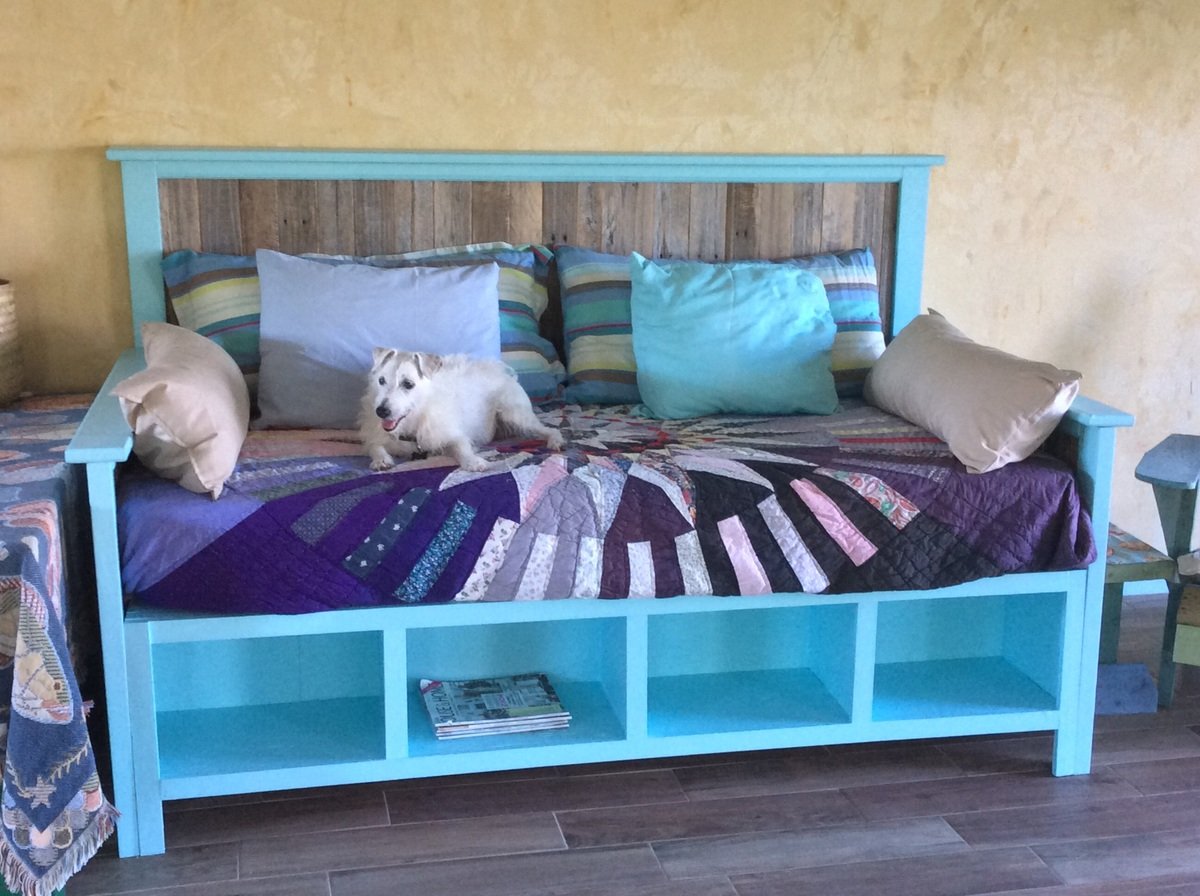
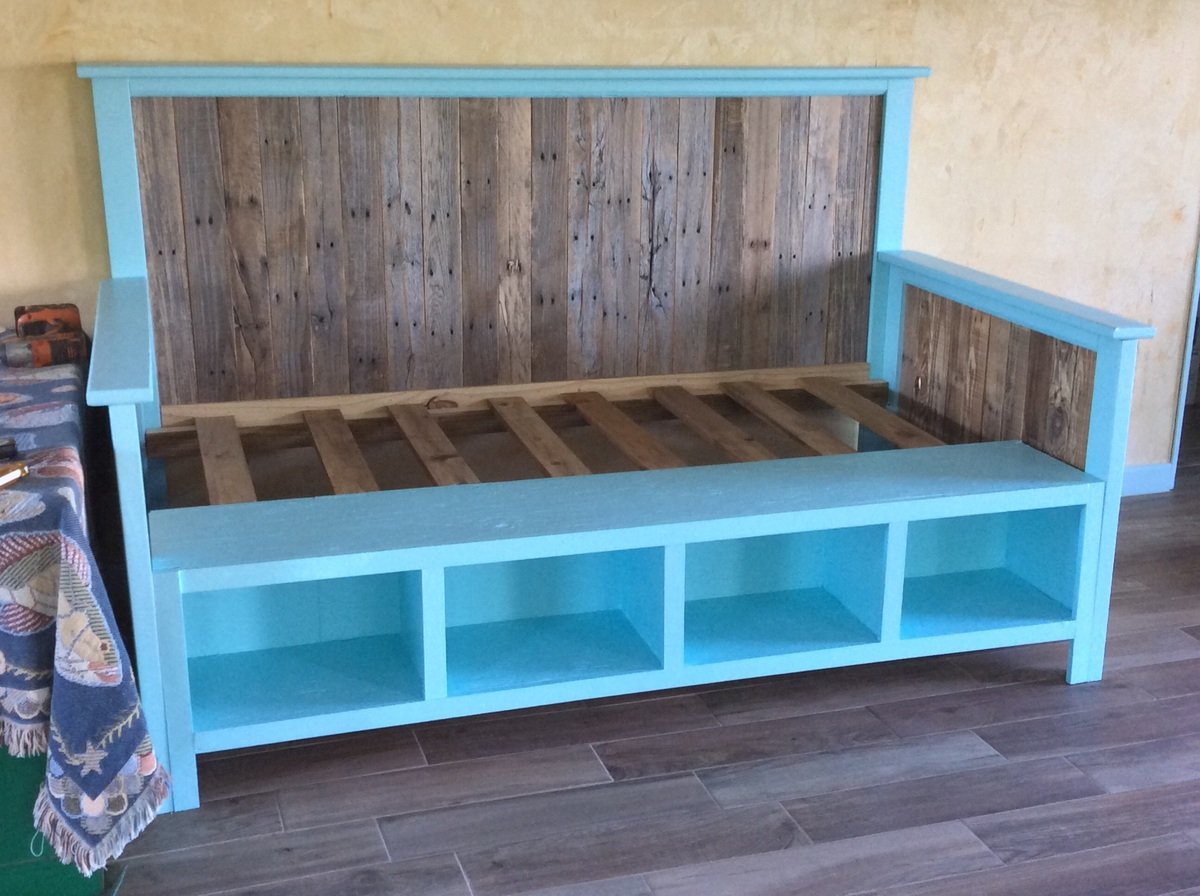
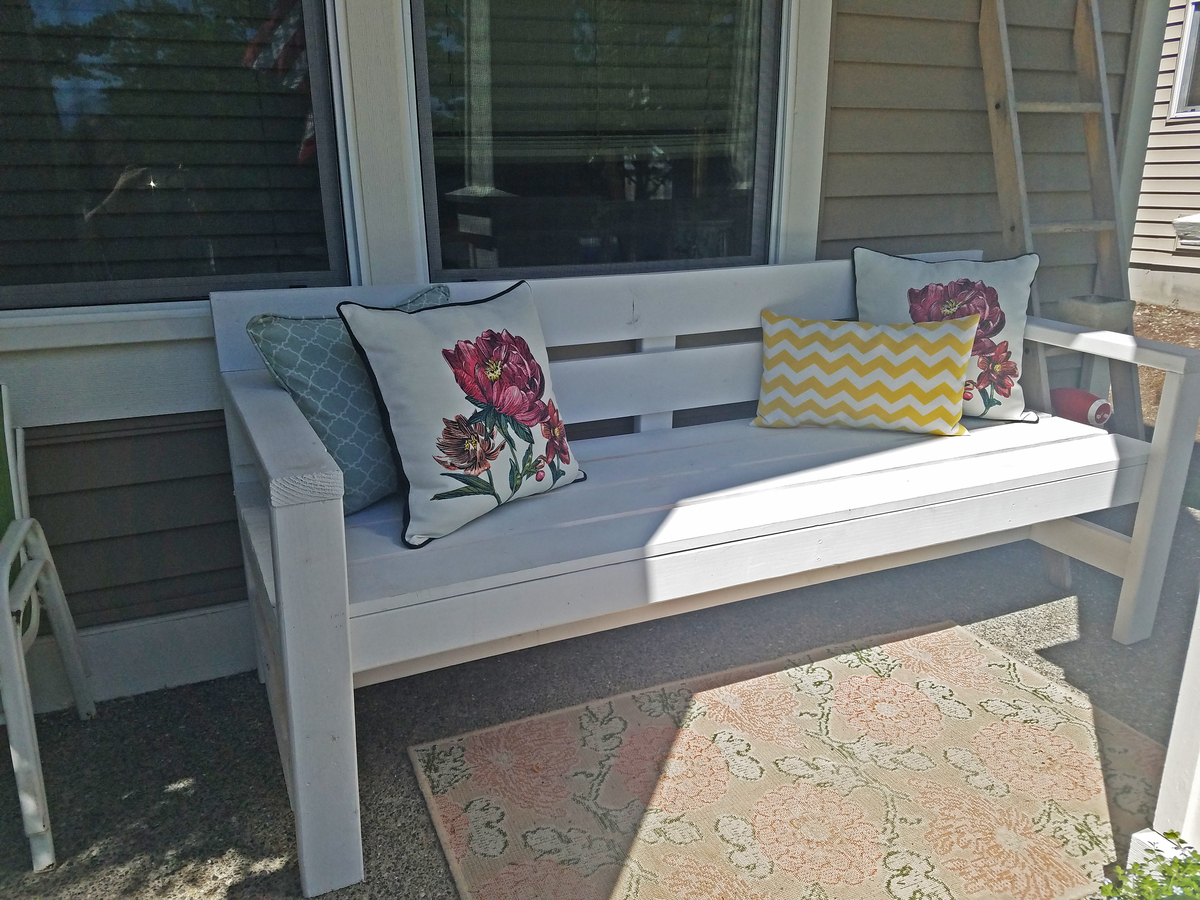
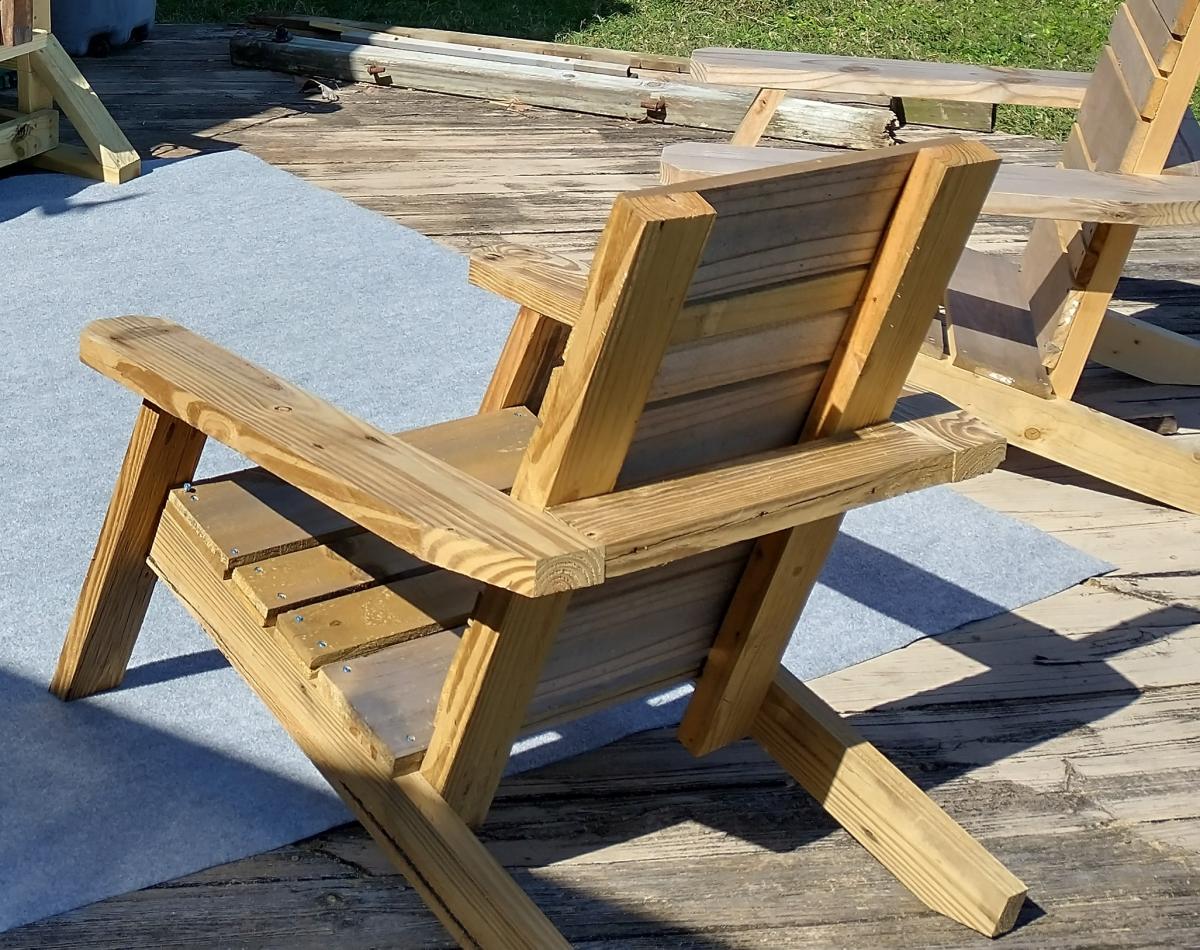
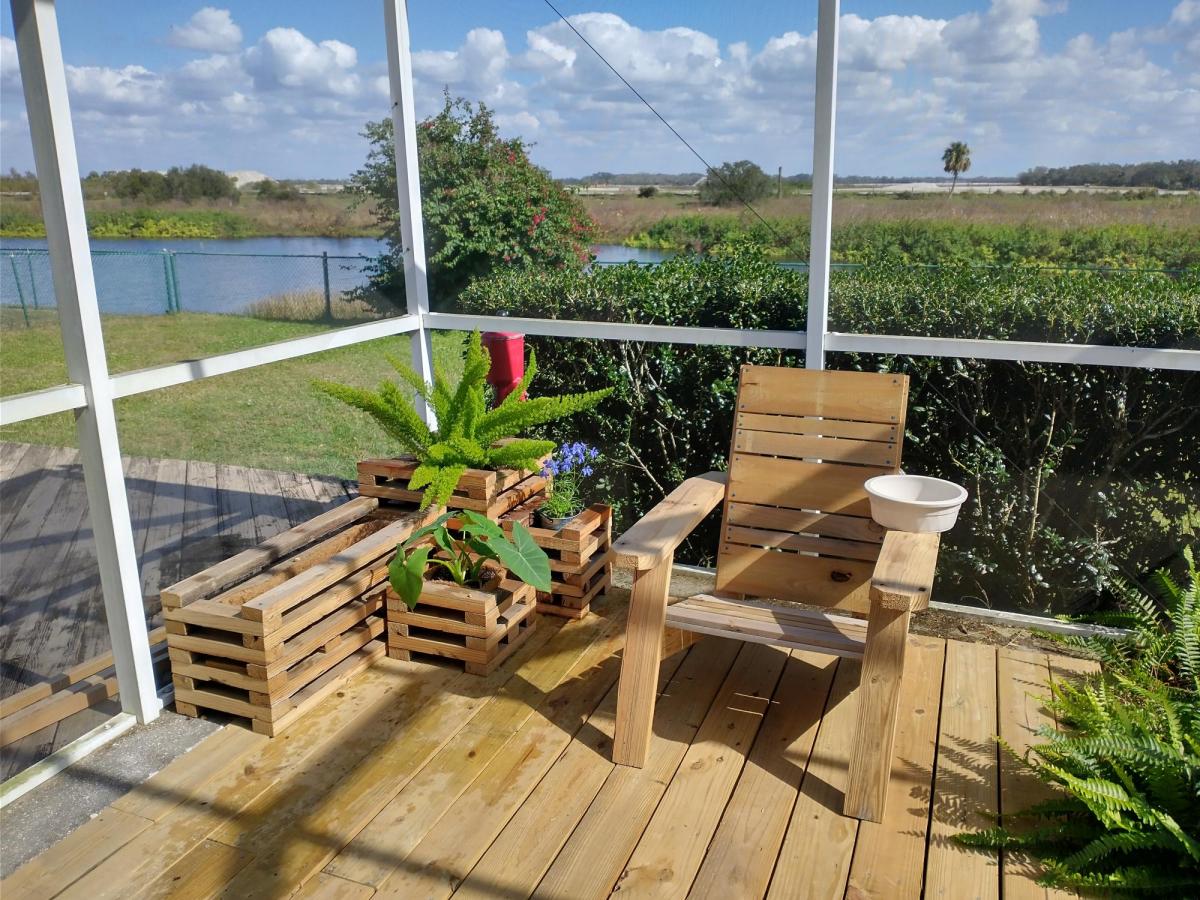
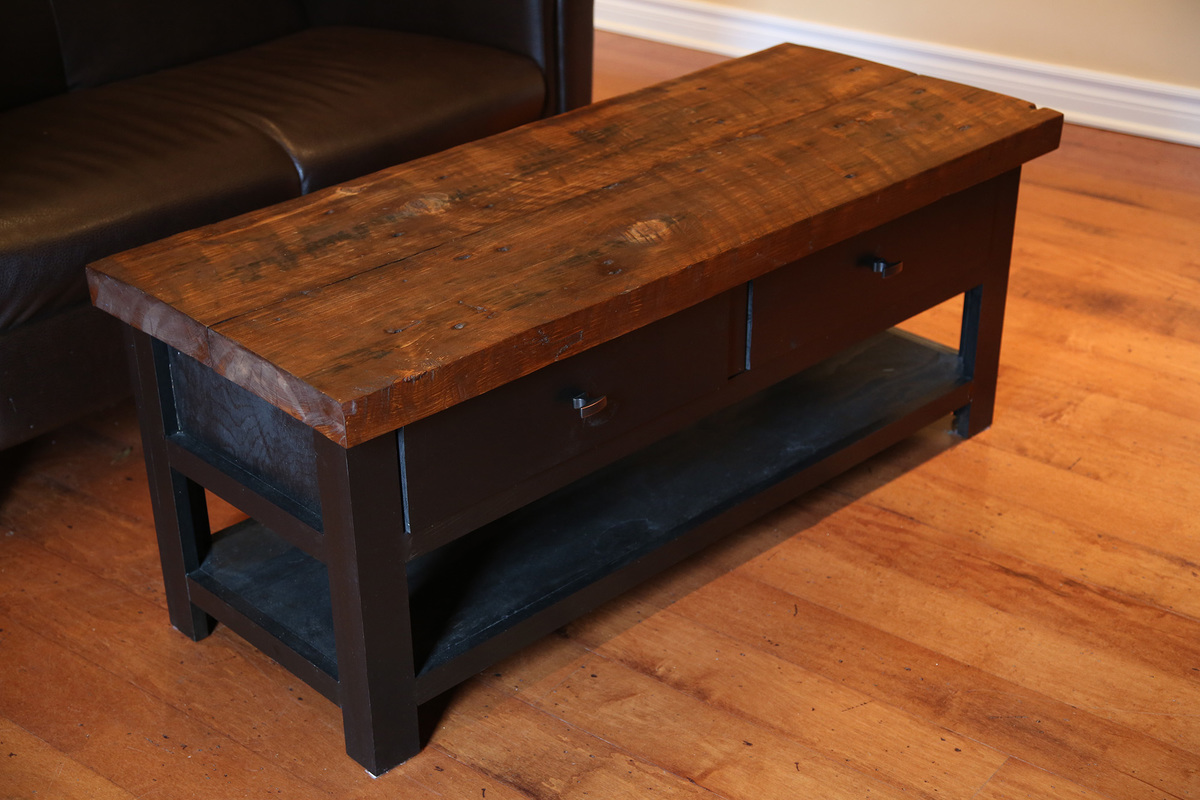
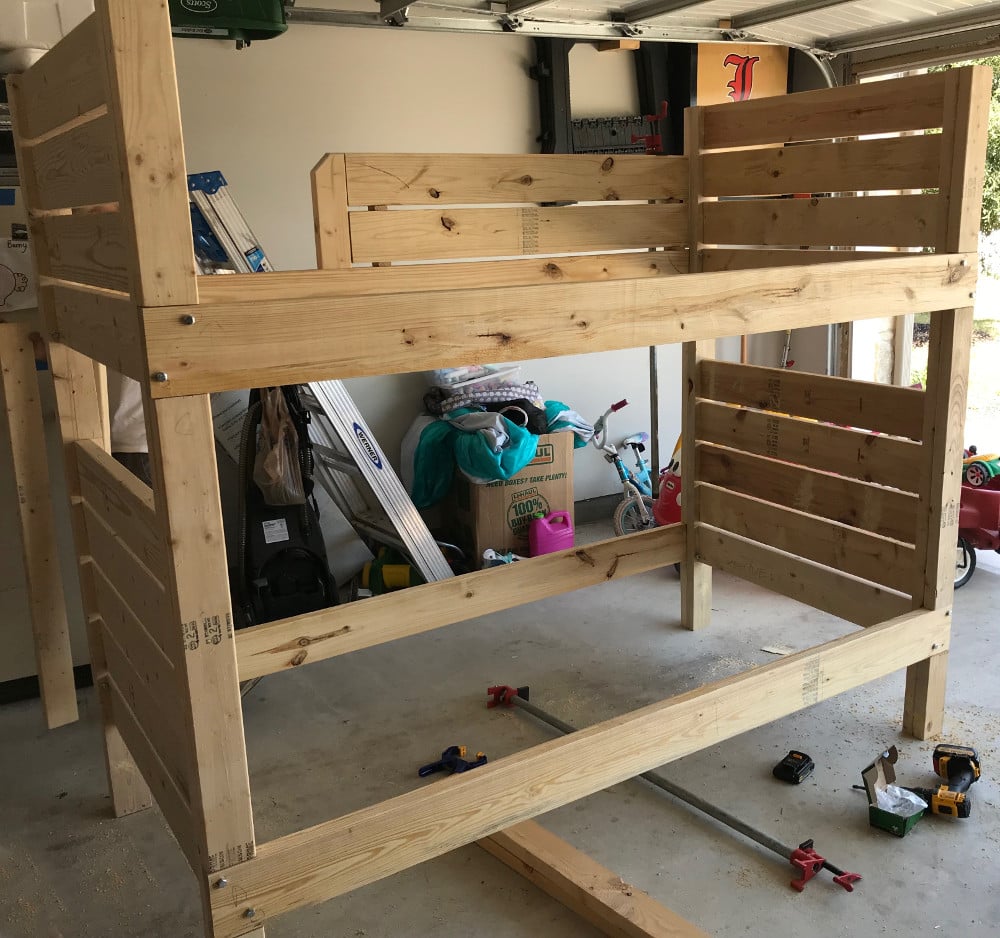
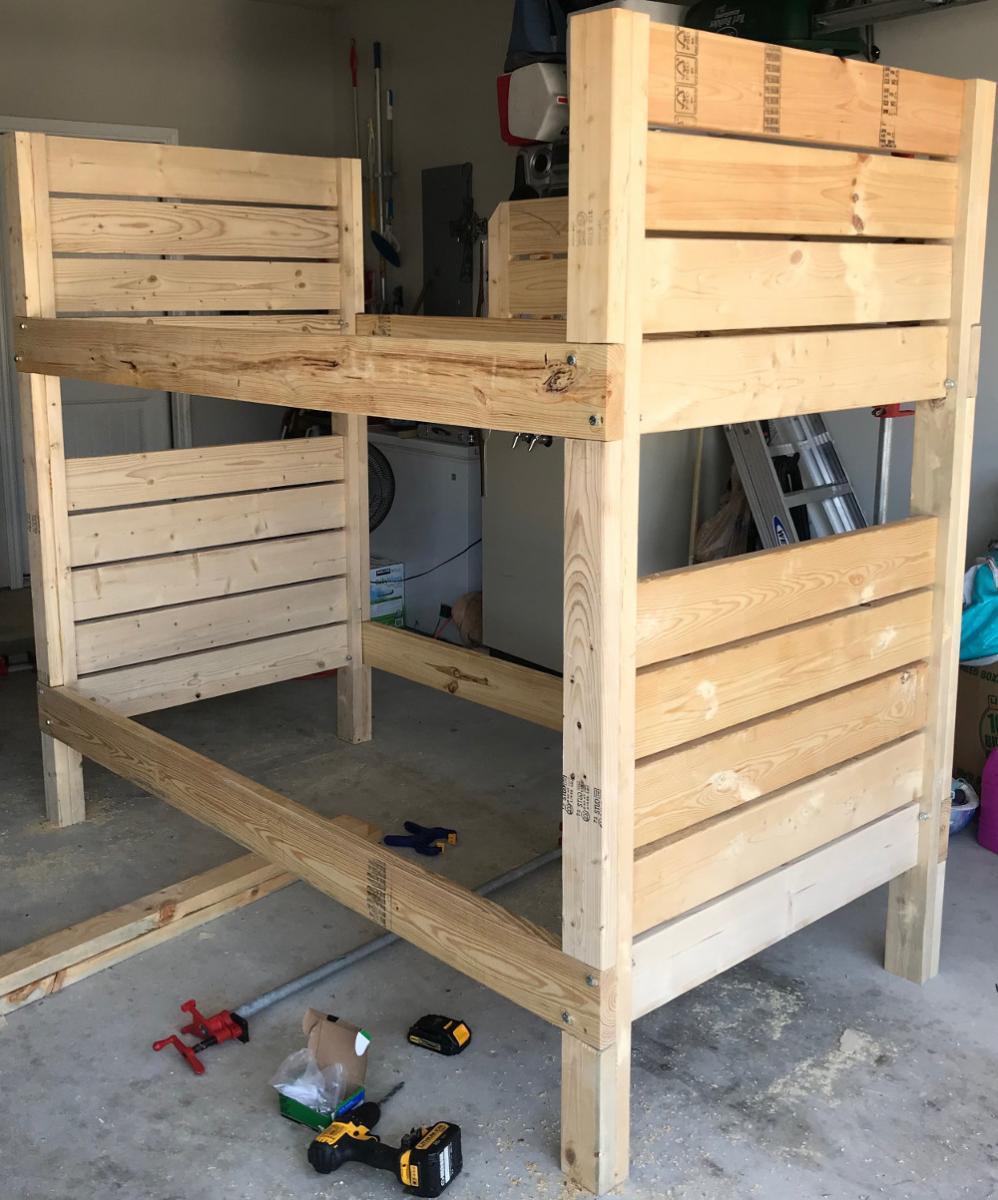
Super Easy Bench (modified)

Submitted by spiceylg on Mon, 08/05/2013 - 16:44

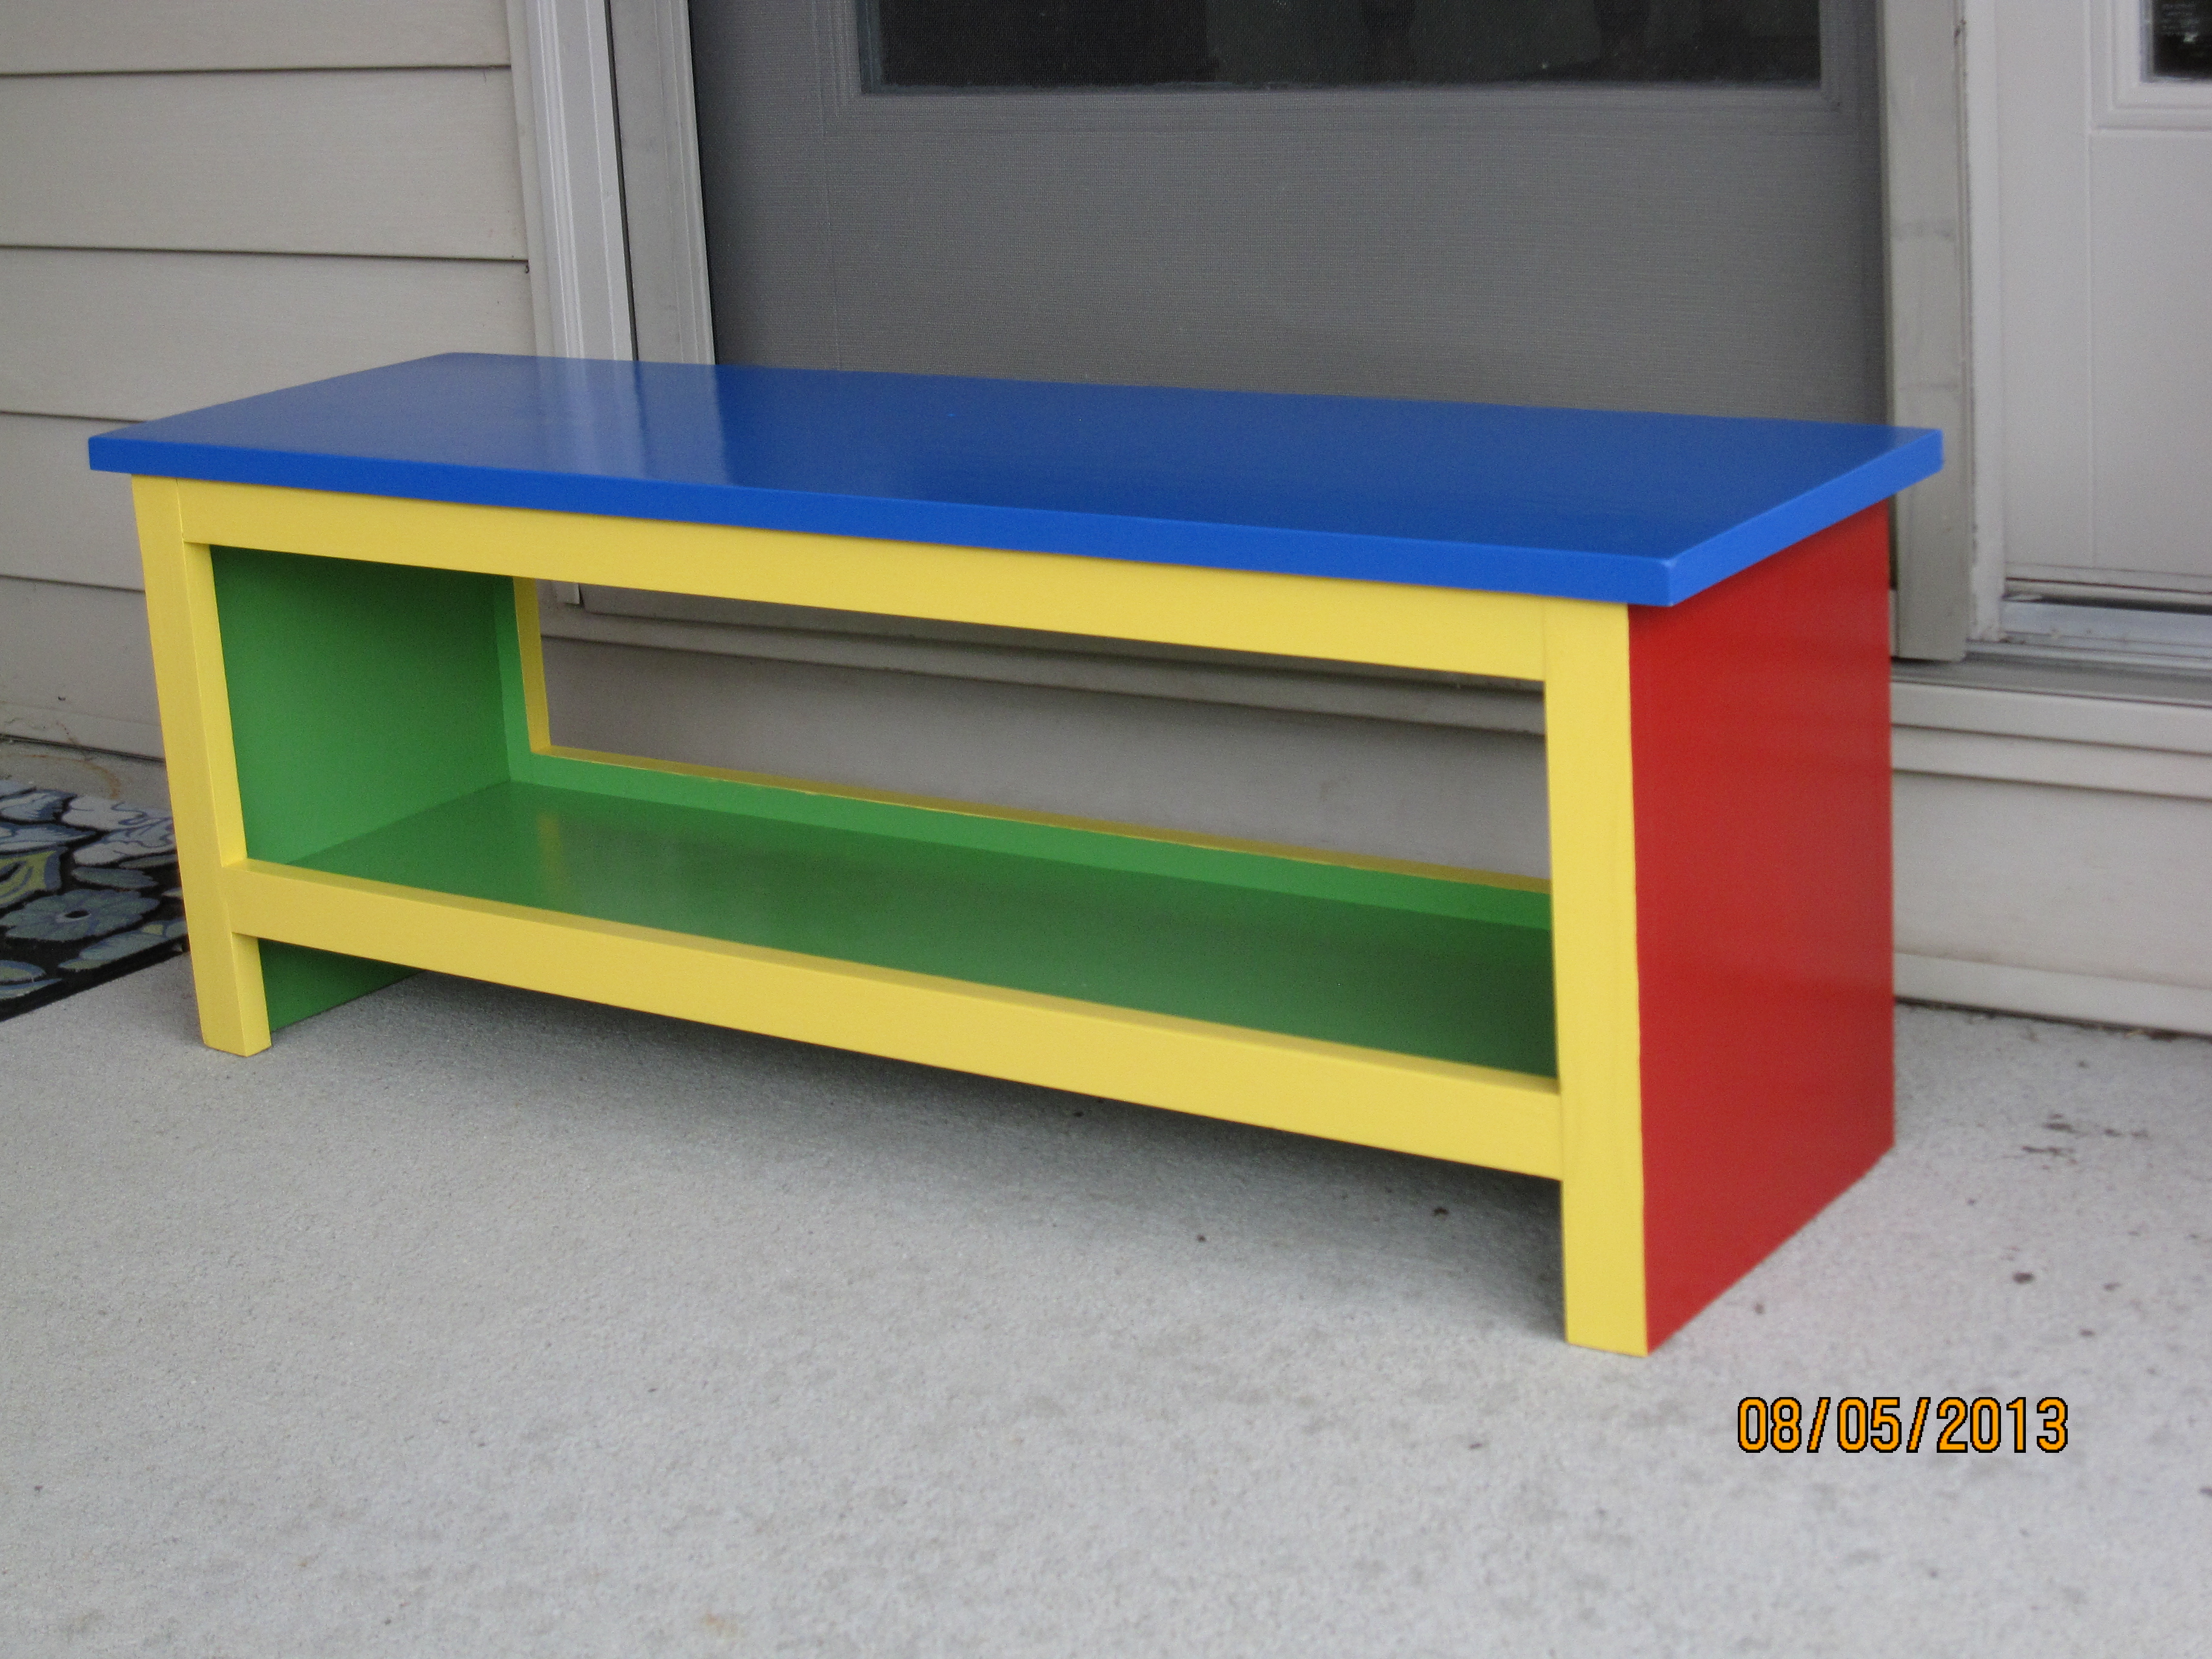
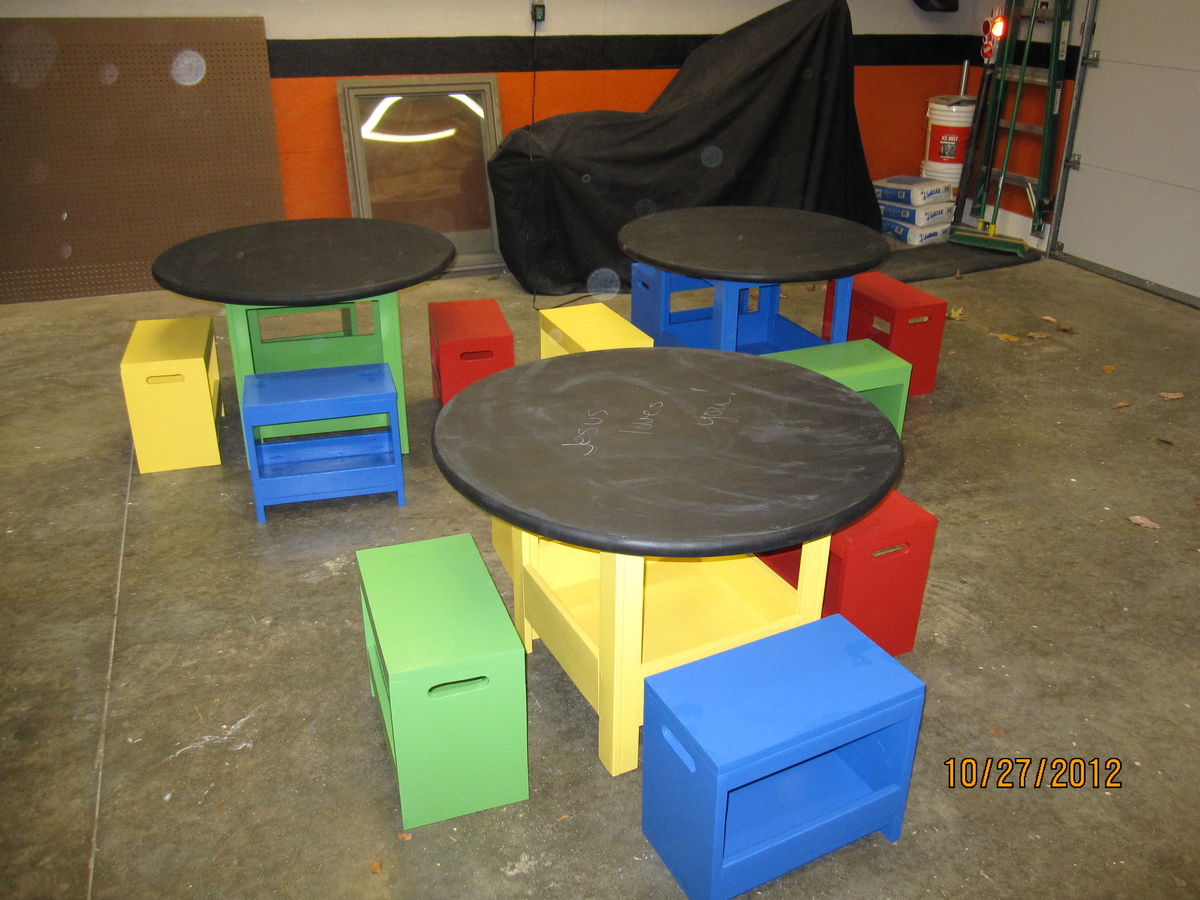
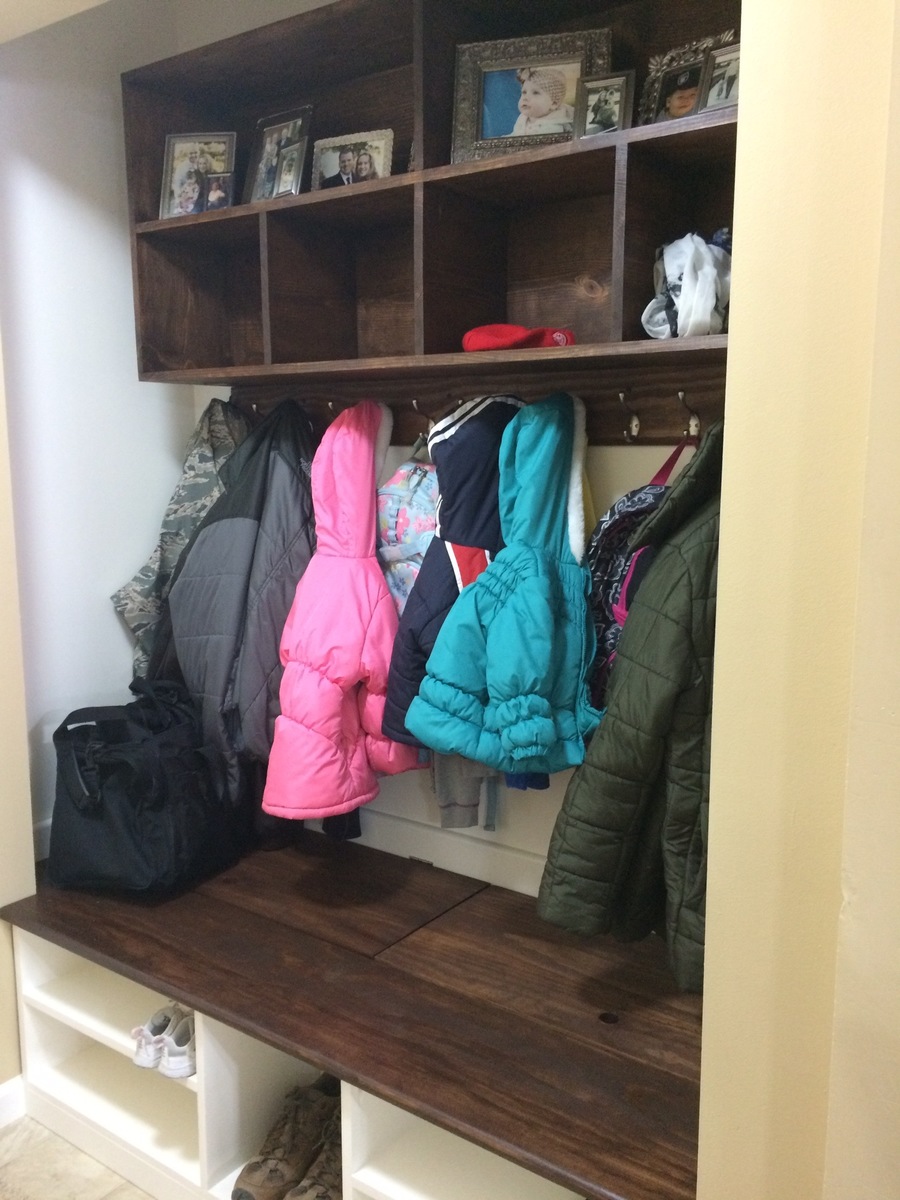
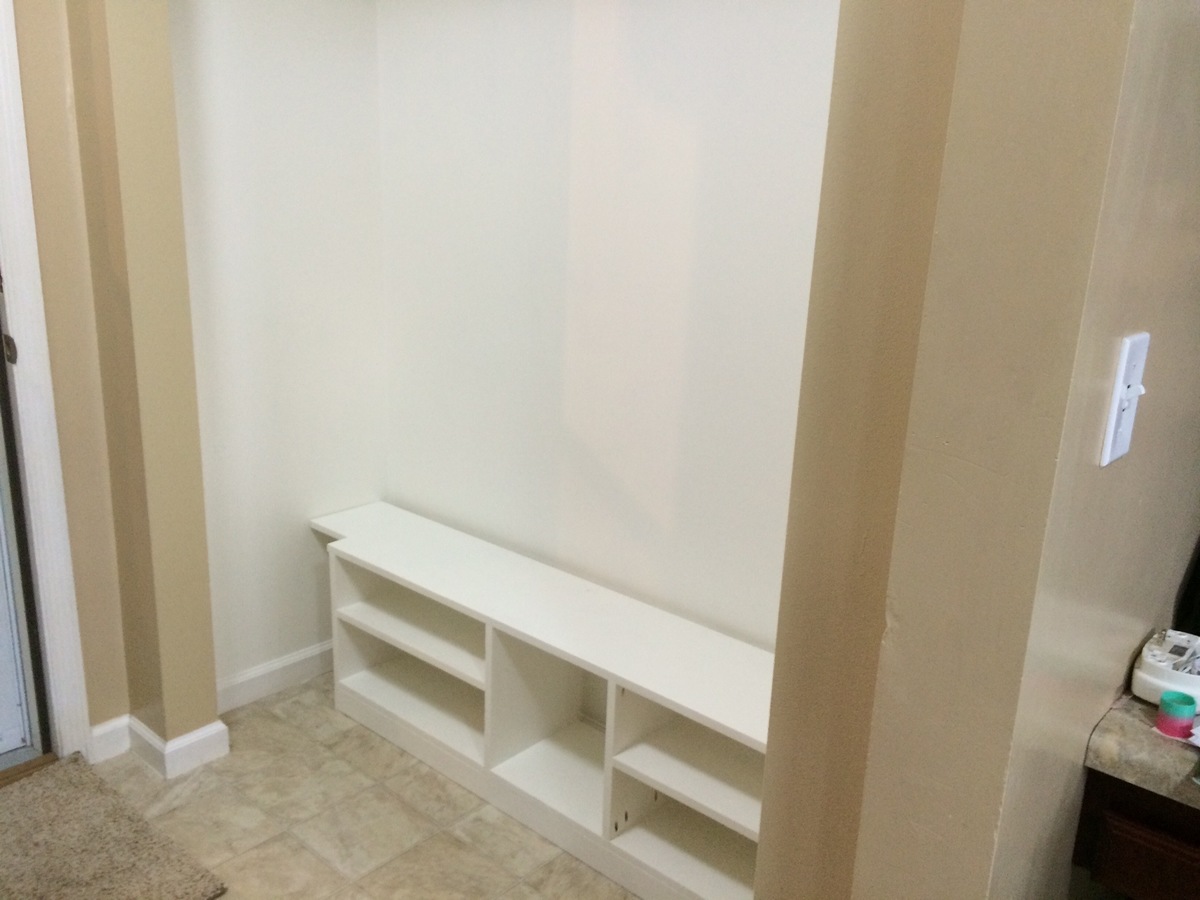
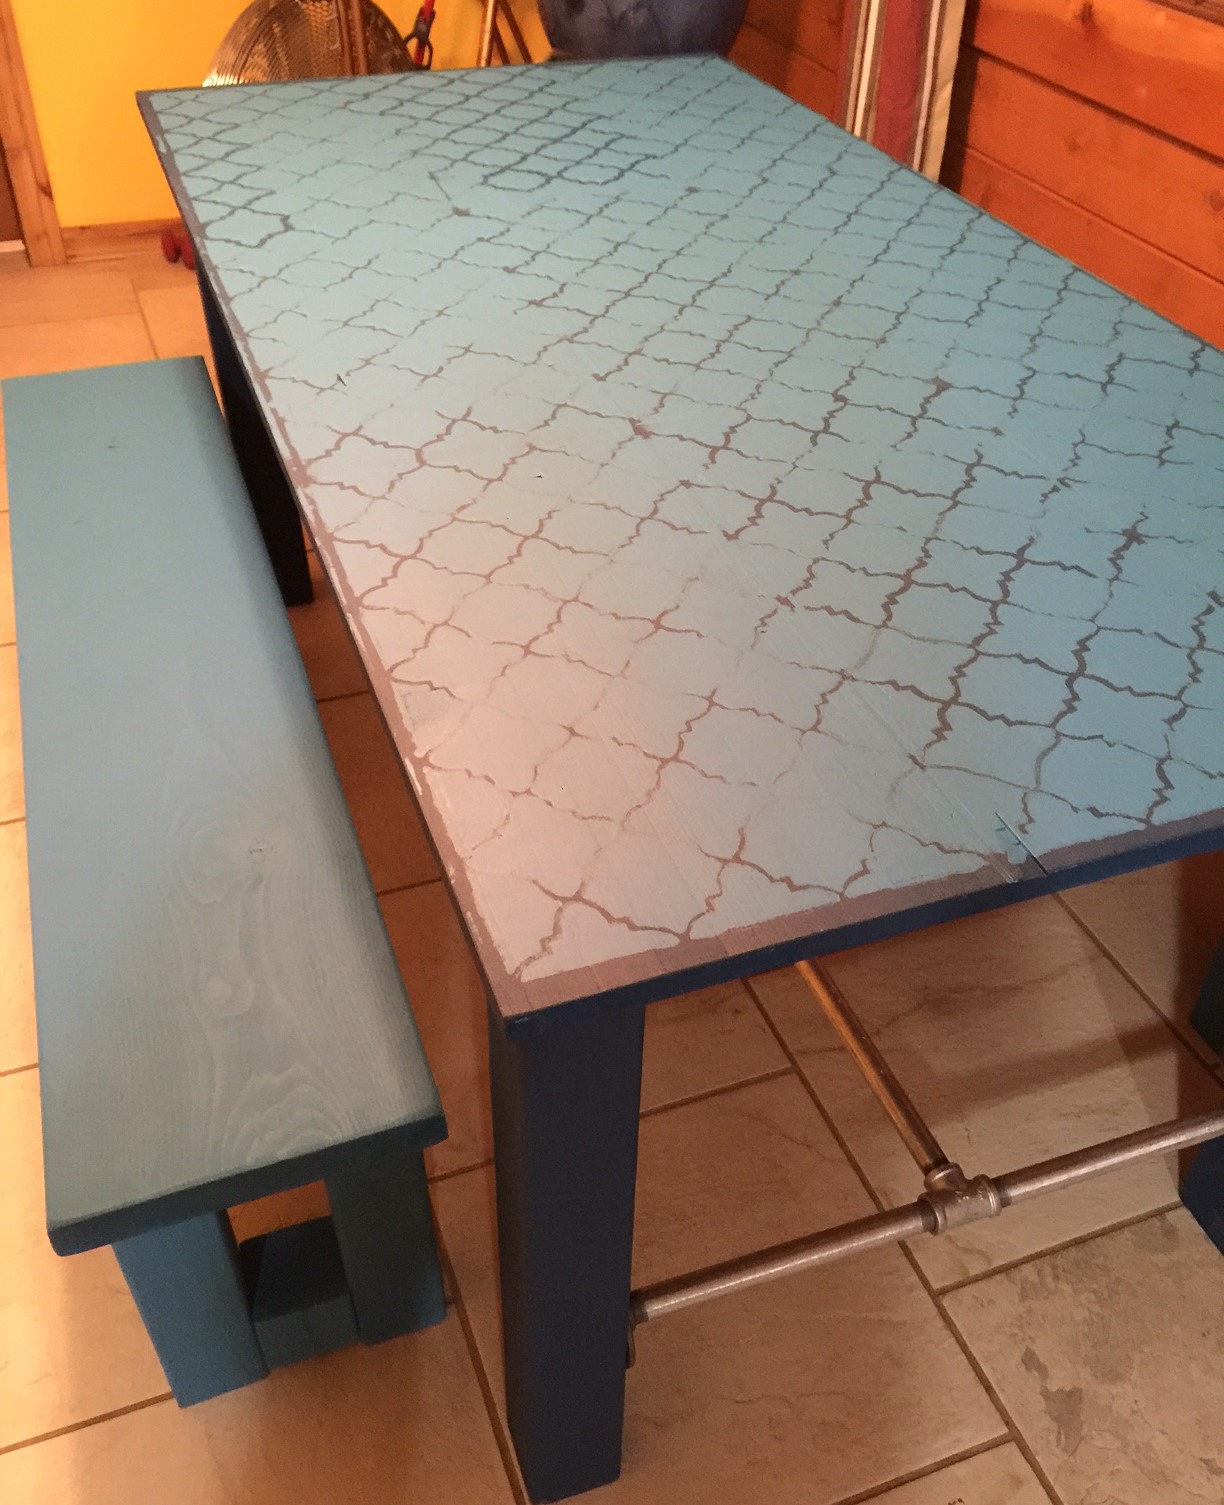
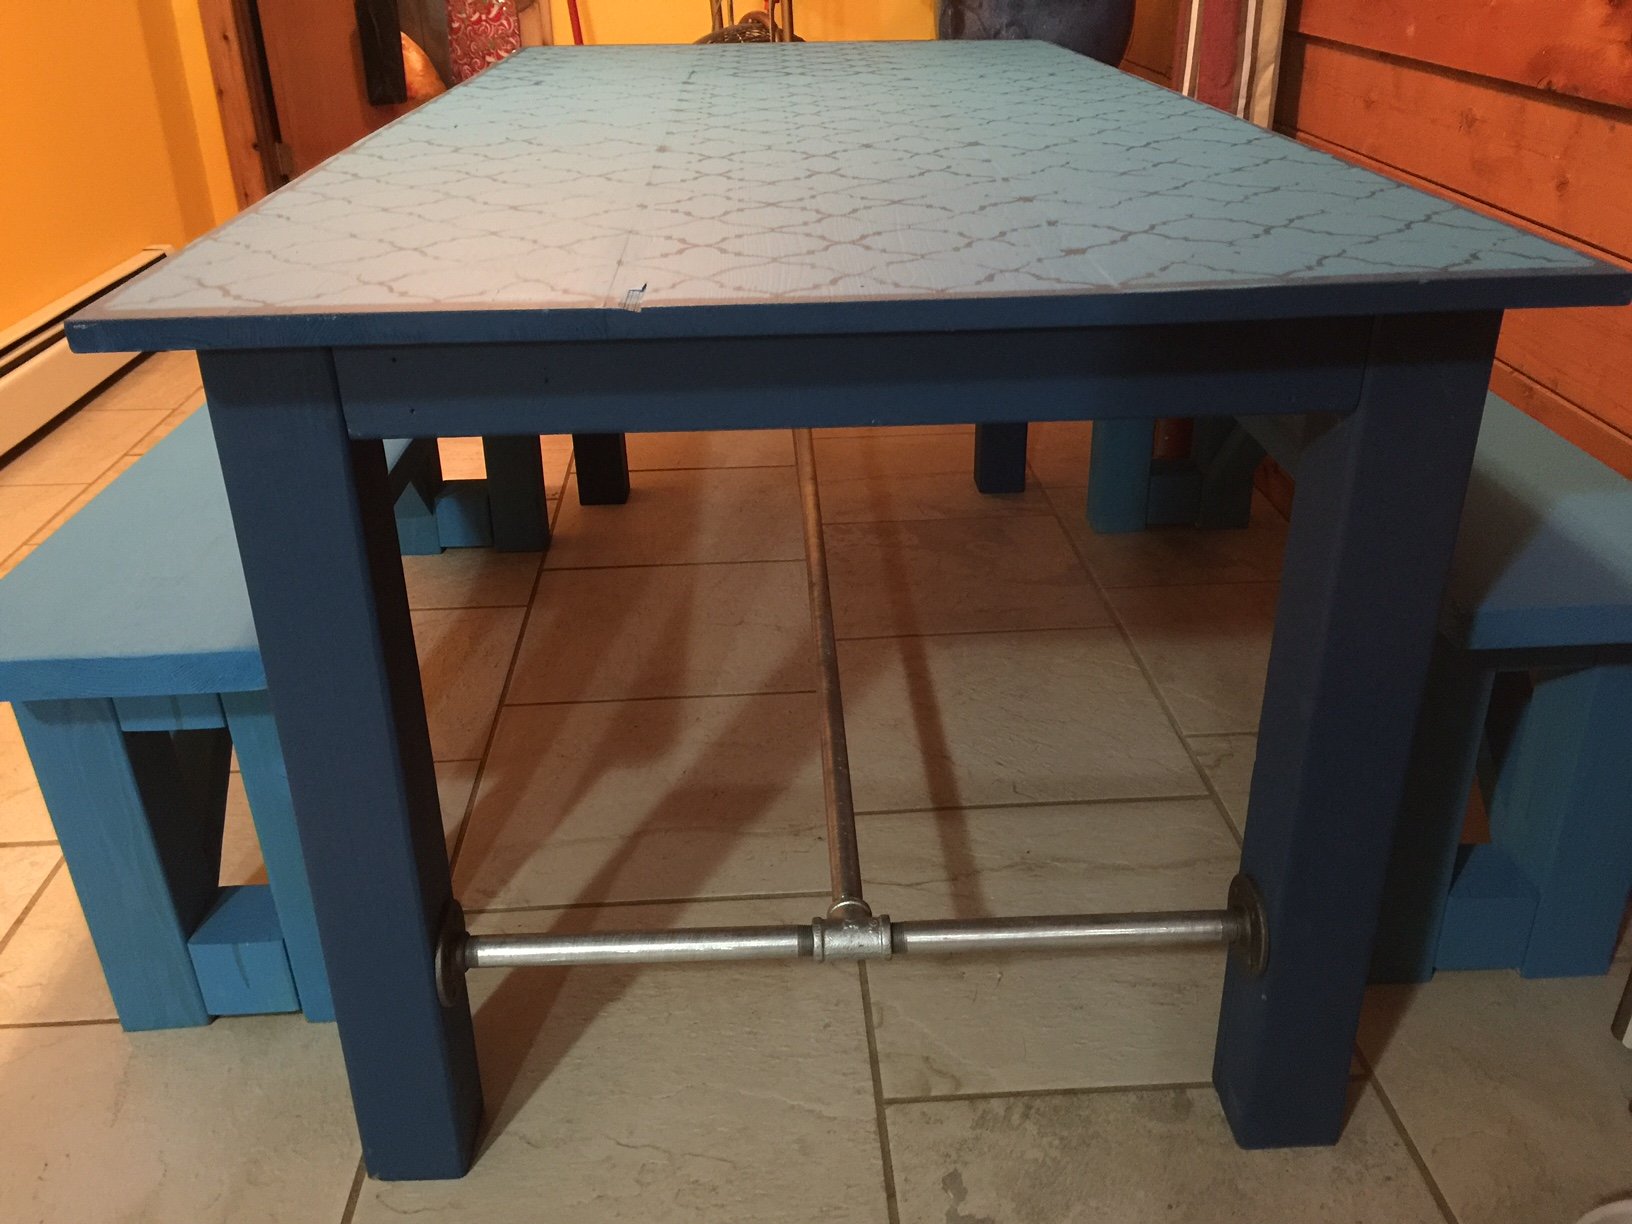
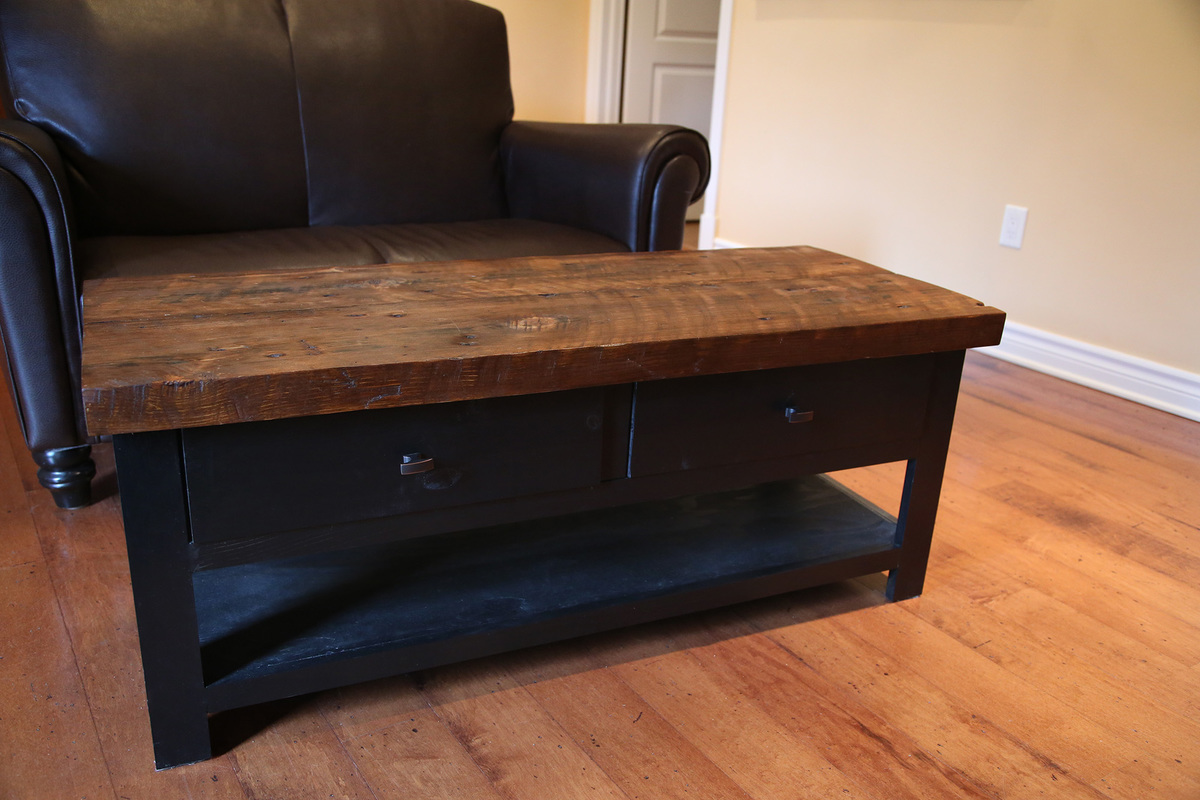
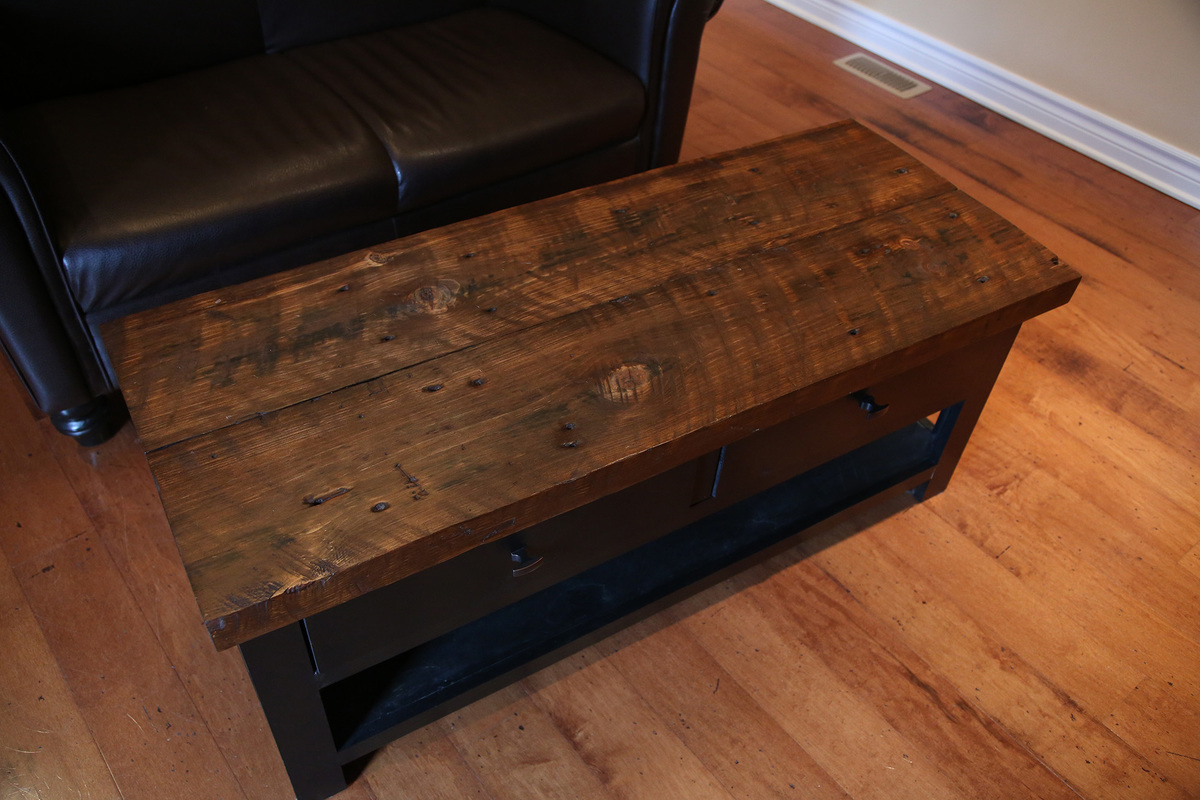
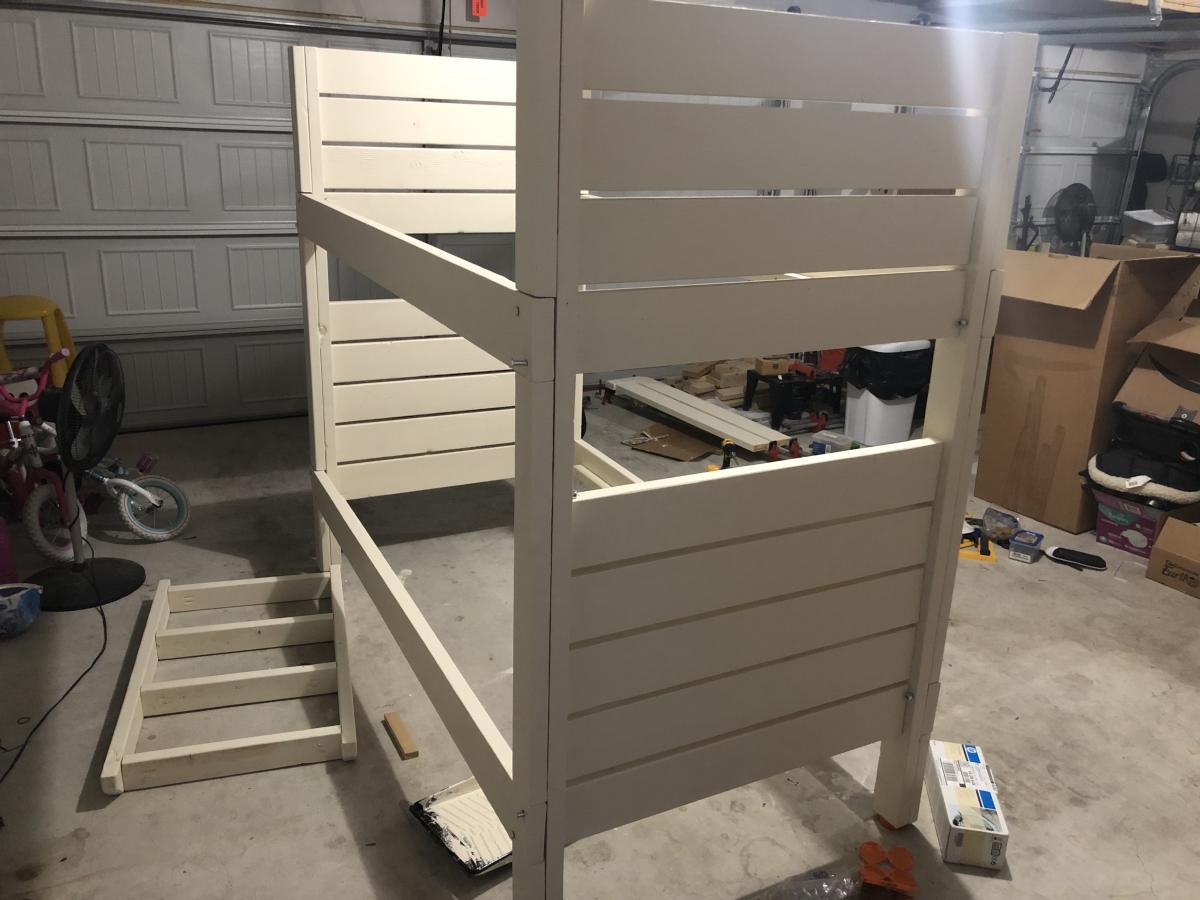
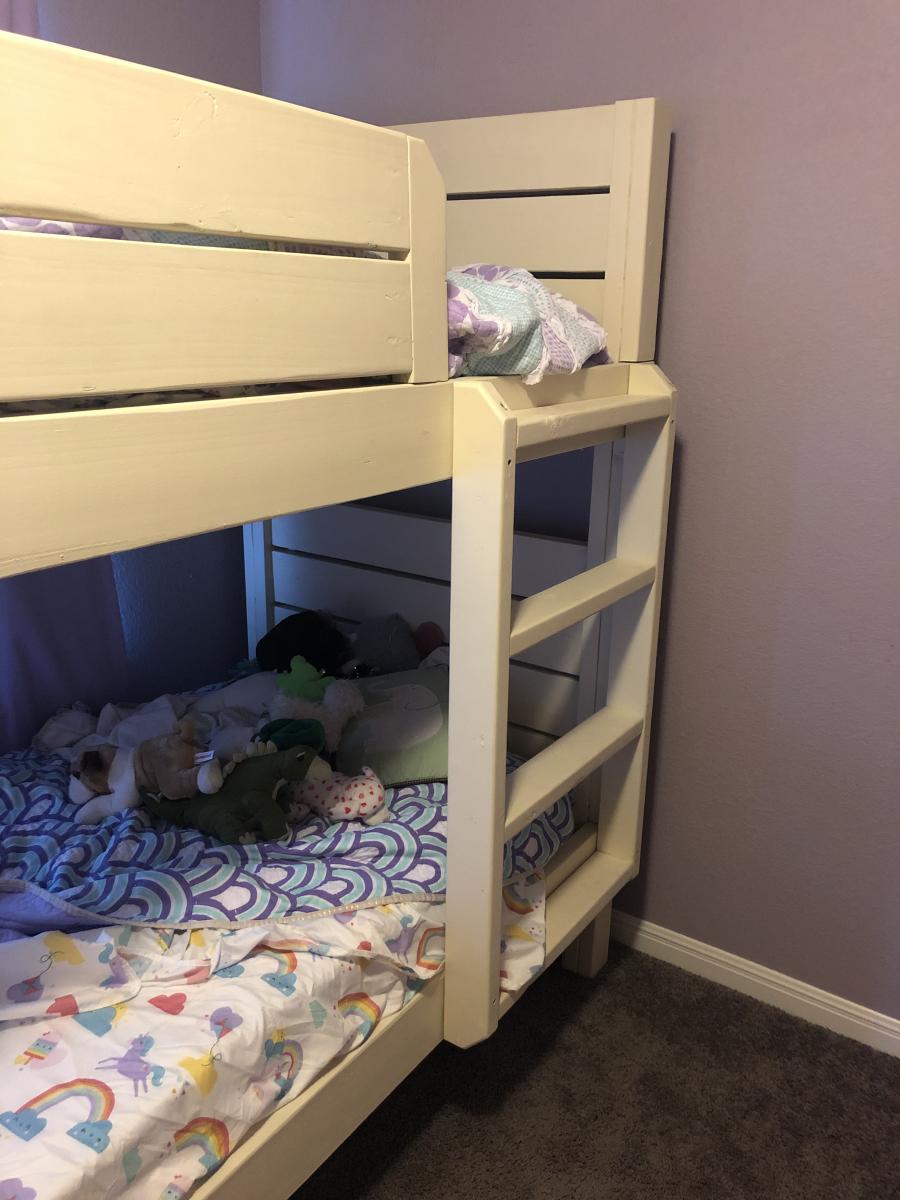
We built this bench for the same women's shelter for whom we built the storage table and benches at their request. They wanted a place for the children to come in and remove their shoes. Since it was for children, we modified the height to be the same as the other small benches, 14". Leftover gray primer was used and they requested the same color scheme as the previous build. Therefore the leftover paint from the other project was used plus three coats of semi-gloss Polycrylic. I think the paint brand is Olympic. It was a joint effort between a friend, my husband and I. It was built in an evening, but I put a week long project because of the coats of primer, paint, and top coat with all of the drying time.

Estimated Time Investment
Week Long Project (20 Hours or More)
Recommended Skill Level
Beginner

Comments

yurra-bazain

Fri, 08/30/2013 - 09:06

This is great! I love that you are still building things for the shelter! Your bench looks well-built and I am sure it will last them a lifetime.

Alaska Farmhouse Canopy Bed

Submitted by jennyshedd on Sun, 08/30/2015 - 08:59

My dream project...took me a lot longer than anticipated. But a very sturdy bed when finished. I only have the matress and not a box spring, so i raised the support for mattress almost to the top of the sideboards.  The large posts gave me problems at first because i was unsure if ''special 3x3'' meant actual 3x3 or 2.5x2.5 so i ended up having to send them through table saw twice.

Estimated Cost
$400-500
Estimated Time Investment
Week Long Project (20 Hours or More)
Finish Used
Minwax Special Walnut
Recommended Skill Level
Intermediate

Comments

Reclaimed lumber Adirondack chair

Submitted by rkyount on Thu, 08/08/2013 - 13:23

For my brother's 35th birthday, I helped him build a fence and side deck on his house. Using the leftover lumber scraps and screws, I adapted the DIH Adirondack chair plans to build this for him. He wanted a big, sturdy chair with a wide arm rest that looks "rustic". I used 4x4 and 2x4 post scraps, deck boards, and fence pickets. I also widened the seat just a bit for comfort. This is definitely the perfect chair for him!

Estimated Time Investment
Afternoon Project (3-6 Hours)
Finish Used
Since it's all treated lumber, we'll just seal it whenever we do the deck with Thompson's Water Seal.
Recommended Skill Level
Beginner

Comments

rkyount

Fri, 08/09/2013 - 14:38

Thanks! I always enjoy building with your plans, and it was a bonus that I didn't have to buy anything to build this, since I used leftover materials.

Adirondack Chair in Pine

This Adirondack chair was done in pine. I followed Ana's plan, with only one modification ... went with a wider armrest. I thought the wider armrest would be handy for resting a drink.

Estimated Time Investment
Weekend Project (10-20 Hours)
Finish Used
Haven't finished it yet, but have selected Minwax Puritan Pine 218, followed by a urethane finish.
Recommended Skill Level
Beginner

stuffed animal problem

Submitted by bhoppy on Sat, 10/03/2015 - 14:36

There were a few of these floating around pinterest so I just looked at a few pictures and kinda winged it.  It is made almost just like Jamie’s except I used additional 2x2’s as you can see in the pics… I needed something to thread the bungee cords through.  I tied them off on the top and bottom.  I ordered a roll of pink bungee cord off of amazon.  This is actually two years old as you can see from how much it has filled up.  I also went back and added additional rows of bungee cord between all the others as stuffed animals were falling out.  Again, I winged it.  Having plans will make this build much easier!!

Built from Plan(s)
Estimated Cost
$50
Estimated Time Investment
Weekend Project (10-20 Hours)
Finish Used
primed with kilz and satin white paint I already had
Recommended Skill Level
Starter Project

Comments

mrsloveless

Mon, 01/18/2016 - 13:19

Where did you purchase the 2x2's and 1x3's? Are they furring strips or pressure treated lumber? Thanks!

Easy Workshop Workbench

Submitted by Anonymous (not verified) on Fri, 07/01/2022 - 04:21

Great plan and great instructions (especially the cuts). My only two deviations from the original design were to use carriage bolts to secure the long apron pieces to the legs (I like to have the bench frame be more flexible while I add the components and then tighten everything up once all the pieces are in place) and to add adjustable feet (You might have stellar tradesmen up there, but down in the Pennsylvania woods, we tend to get the C & D graduates from Trade School; hence, level, evenness, & square are rare qualities to be celebrated when encountered and not taken for granted). My only other comment regarding the instructions would be to mention in the tools required that either a big honking set of clamps (36" span) or maybe ratcheting straps would be a good thing to hold the shell together while you are trying to screw the cross pieces into the shell. Maybe you are good enough to do it without clamps / straps , but I sure couldn't get the (slippery) glued cross pieces to stay put without some kind of support. Other than that, great design and instructions. Thanks!

ROLLING RUSTIC WOOD DRESSER

Submitted by jimmysingh on Sun, 09/01/2013 - 13:08

First big project, big for me anyway. Dresser came out better than I had imagined. I followed the plan exactly step by step except for the wheels part. Thank you Ana for the plans.

Built from Plan(s)
Estimated Cost
300
Estimated Time Investment
Weekend Project (10-20 Hours)
Finish Used
Rust-Oleum Traditional Cherry Wood Stain
Recommended Skill Level
Beginner

A Long tapered crate

Submitted by dmcarwin on Tue, 09/03/2013 - 07:52

I love Ana's tapered crate! I decided to add some length to the sides and make it really long! It is super cute and makes a big statement, for only a small amount of work! Sa-weet!

Estimated Cost
Free, or under $5 if you by the wood new
Estimated Time Investment
An Hour or Two (0-2 Hours)
Recommended Skill Level
Beginner

Comments

First project ever...and preparing for more

Submitted by Rentzm on Wed, 10/26/2022 - 18:45

For my first building project ever, I chose to tackle the Easy DIY Workbench. I am so thankful to Ana for putting together clear directions to walk users through every step of the process.

I added casters to the bottom of my cart. And since this photo, I've also mounted a power strip to the inside of one leg. This allows me to run an extension cord to the table and have multiple items plugged in.

I'm finding it's a great multi-use table. I use it for woodworking, grooming my dog, and stacking camping gear before heading out for a trip. I love this table!

Comments

Pallet wood daybed

I used silvered pallet wood that was constructed using the method outlined in the farmhouse bed headboard plans. In addition, I rabbeted the edges of the boards and glued them together. I took a cue from another builder and put the rear "box" legs more towards the center. It's a little high, but I love it! Thanks, Ana!

Estimated Cost
$50
Estimated Time Investment
Week Long Project (20 Hours or More)
Finish Used
2 coats each, Benny Moore Aura and Zinzer 123 primer
Recommended Skill Level
Intermediate

Pantry Storage Spice Rack

Submitted by redhead_61 on Mon, 09/19/2011 - 21:49

I am kind of a visual organizational neat freak and I have been annoyed by all the little things taking up good shelf space in my pantry for a long time now. This just kept getting pushed down the list ya know, not a major project. Anyway, grabbed an extra board at the store the other day and knocked this one out. I LOVE it. I made it short because I want to build a trash bag holder for the bottom half of the door. We'll see how long it takes me. I did use a 1x4 instead of Ana's plan which uses a 1x6. I only needed small things to put in here.

Built from Plan(s)
Estimated Cost
$5
Estimated Time Investment
An Hour or Two (0-2 Hours)
Finish Used
White Paint
Recommended Skill Level
Starter Project

Comments

SingleMomThriving

Tue, 09/20/2011 - 10:04

Looks like the 1x4 was a perfect fit for all those little items, especially the wraps which get pushed to the back all the time and the pasta boxes. I feel some inspiration coming on.....

lianatempera

Tue, 09/20/2011 - 14:16

This is awesome. I should probably do this for my pantry, as well. Thanks for the inspiration!

Cindy from Indiana (not verified)

Wed, 09/21/2011 - 09:31

I love it! Great price,too!

I especially love how the design corals all those pesky little things that always seem to get pushed all the way to the back of my cabinets and drawers.

I'm definitely putting this on my list of things to build!

Cindy from Indiana

Jen Pedro

Wed, 09/21/2011 - 13:34

I assume your door is the usual hollow pantry door. What type of anchors did you use to hold the shelves in place? Did you use standard wall anchors with your screws?

Looks great!

redhead_61

Thu, 09/22/2011 - 08:19

I just got an anchor that looked like it had a little more 'umph' to it. It is called a Cobra Tripple Grip. It looked like it had a section that popped open a little more once the screw went in. I thought that might hold it a little more securely. I feel no movement when I jiggle it at all.

Chris A (not verified)

Sun, 01/15/2012 - 08:29

Very nice project.
Just came along looking for a storage shelf and I saw your door shelf. Going to build one of these for sure, sick of the little wire ones we have falling down every other day.

Modern Park Bench

Submitted by Anonymous (not verified) on Fri, 03/22/2019 - 09:48

This was my husbands's 1st Ana White project

Built from Plan(s)
Estimated Time Investment
Afternoon Project (3-6 Hours)
Finish Used
White Chalk Paint
Recommended Skill Level
Beginner

Modern Farm Table with a Twist

Submitted by Anonymous (not verified) on Thu, 01/07/2016 - 18:04

We wanted to build a farm table with benches to accommodate a few more people in the same space. This plan was easy to use. We modified a couple of the supports to metal piping to change the look up. We also painted the table and used a stencil to create a old world feel to it. It was a very fun project!

Built from Plan(s)
Estimated Cost
$200
Estimated Time Investment
Weekend Project (10-20 Hours)
Finish Used
1 Qt Carribean Sea from Glidden
1 Qt Galapagos from Behr
Minwax Polycrylic Semi-Gloss Finish
Tile stencil for table top
Recommended Skill Level
Beginner

Brick Fireplace

Submitted by Anonymous (not verified) on Fri, 03/17/2023 - 18:08

We used Ana White shiplap fireplace tutorial to build the structure and then followed her advice for brick installation instead of shiplap. It all turned out so great. The fireplace has changed the entire feel of our house now. Thank you Ana!

Comments

adapted adirondack chairs

Submitted by Anonymous (not verified) on Thu, 03/30/2023 - 09:02

had some fun with the back and seat slat design and did an angle rather than a 90 degree where the arms meet the front support. also used a 2x6 for a larger arm rest. i think it turned out well. thanks Ana

Comments

Coffee Table

I tweaked the console plans to work best for my space, and to work with the reclaimed barn threshing floor boards that I used for the top.

I love how it turned out and it works wonderfully in my space.

Estimated Cost
60
Estimated Time Investment
Weekend Project (10-20 Hours)
Finish Used
I painted the bottom with a melamine paint.
The top was stained with a walnut gel stain, and finished with a wipe on poly.
Recommended Skill Level
Beginner

Corona Coffee Table - Square

Submitted by oneillrp on Sat, 07/27/2019 - 11:44

Built this table out of solid Maple, which made it much more expensive to build, but such a beautiful piece of furniture. I bought the legs from Osborne Wood. One thing I did to cut down on cost was to use 1" X 6" wood for the 5 center table-top boards instead of the 2" X 6" called for in the plans. Underneath those, I put a piece of 3/4" plywood to increase the thickness to match the (4) 2" X 6" outer edges. This is not visible unless you climb under the table to look at it from underneath but I think it actually helped to create a flat (almost seamless) table top. Thank you for the plans! I put a lot of work into this piece and I think it will remain in my family for generations!

Built from Plan(s)
Estimated Cost
$700.00 (
Estimated Time Investment
Weekend Project (10-20 Hours)
Finish Used
-3 coats of Varathane Stain (the color is Briarsmoke)
-2 coats of Varathane Polyurethane (Matte Finish)
Recommended Skill Level
Intermediate

Modern Bunk Beds in Antique White

Submitted by arlo on Wed, 09/18/2019 - 18:46

I used the overall dimensions from the plan for the beds. Some differences:

  1. For the ladder we wanted less footprint, so attached it vertically.
  2. I modified the guard rail to attach to the top of the side rail, and the side of the vertical board. These were fastened with pocket screws. This method eliminates the support 2x4s that would jut into the mattress area.
  3. I cut the ladder and guard rail corners to 45 degrees and routed the edges.
  4. I used just 2 bolts and nylon lock nuts per connection, which is plenty strong enough since the weight is on the vertical 2x4s.
  5. We used IKEA LUROY slatted bed bases to support the mattresses.

Tips:

  1. When you prepare the vertical boards with notches, be sure to use the same 2x6 boards that will be your actual side rails. I accidentally used one from another job that was slightly narrower, so I had to open up those notches when I assembled.
  2. Be sure to test fit everything before painting, including drilling for the bolts.
  3. Pre-drill and counter sink the holes in the vertical supports and in the 2x2 slat supports. Then use wood screws.
  4. If the bed base is noisy, wax the support rail. Renaissance Wax works great.
  5. For any job using pocket screws, be sure to set the tool for the correct board width. I accidentally had it set for 3/4, so had to fill those holes and flip the guard rail and re-drill for 2-1/2.
  6. For the 1/2" gaps, I used scrap boards, teed together as spacers. You can see in the photo of the guard rail.
Built from Plan(s)
Estimated Cost
$150
Estimated Time Investment
Weekend Project (10-20 Hours)
Finish Used
Latex based, Antique White. 2-3 coats as needed. This used about 3/4 of a gallon.

For a better finish you should use a proper primer first.
Recommended Skill Level
Beginner