Potting Bench with Roof!
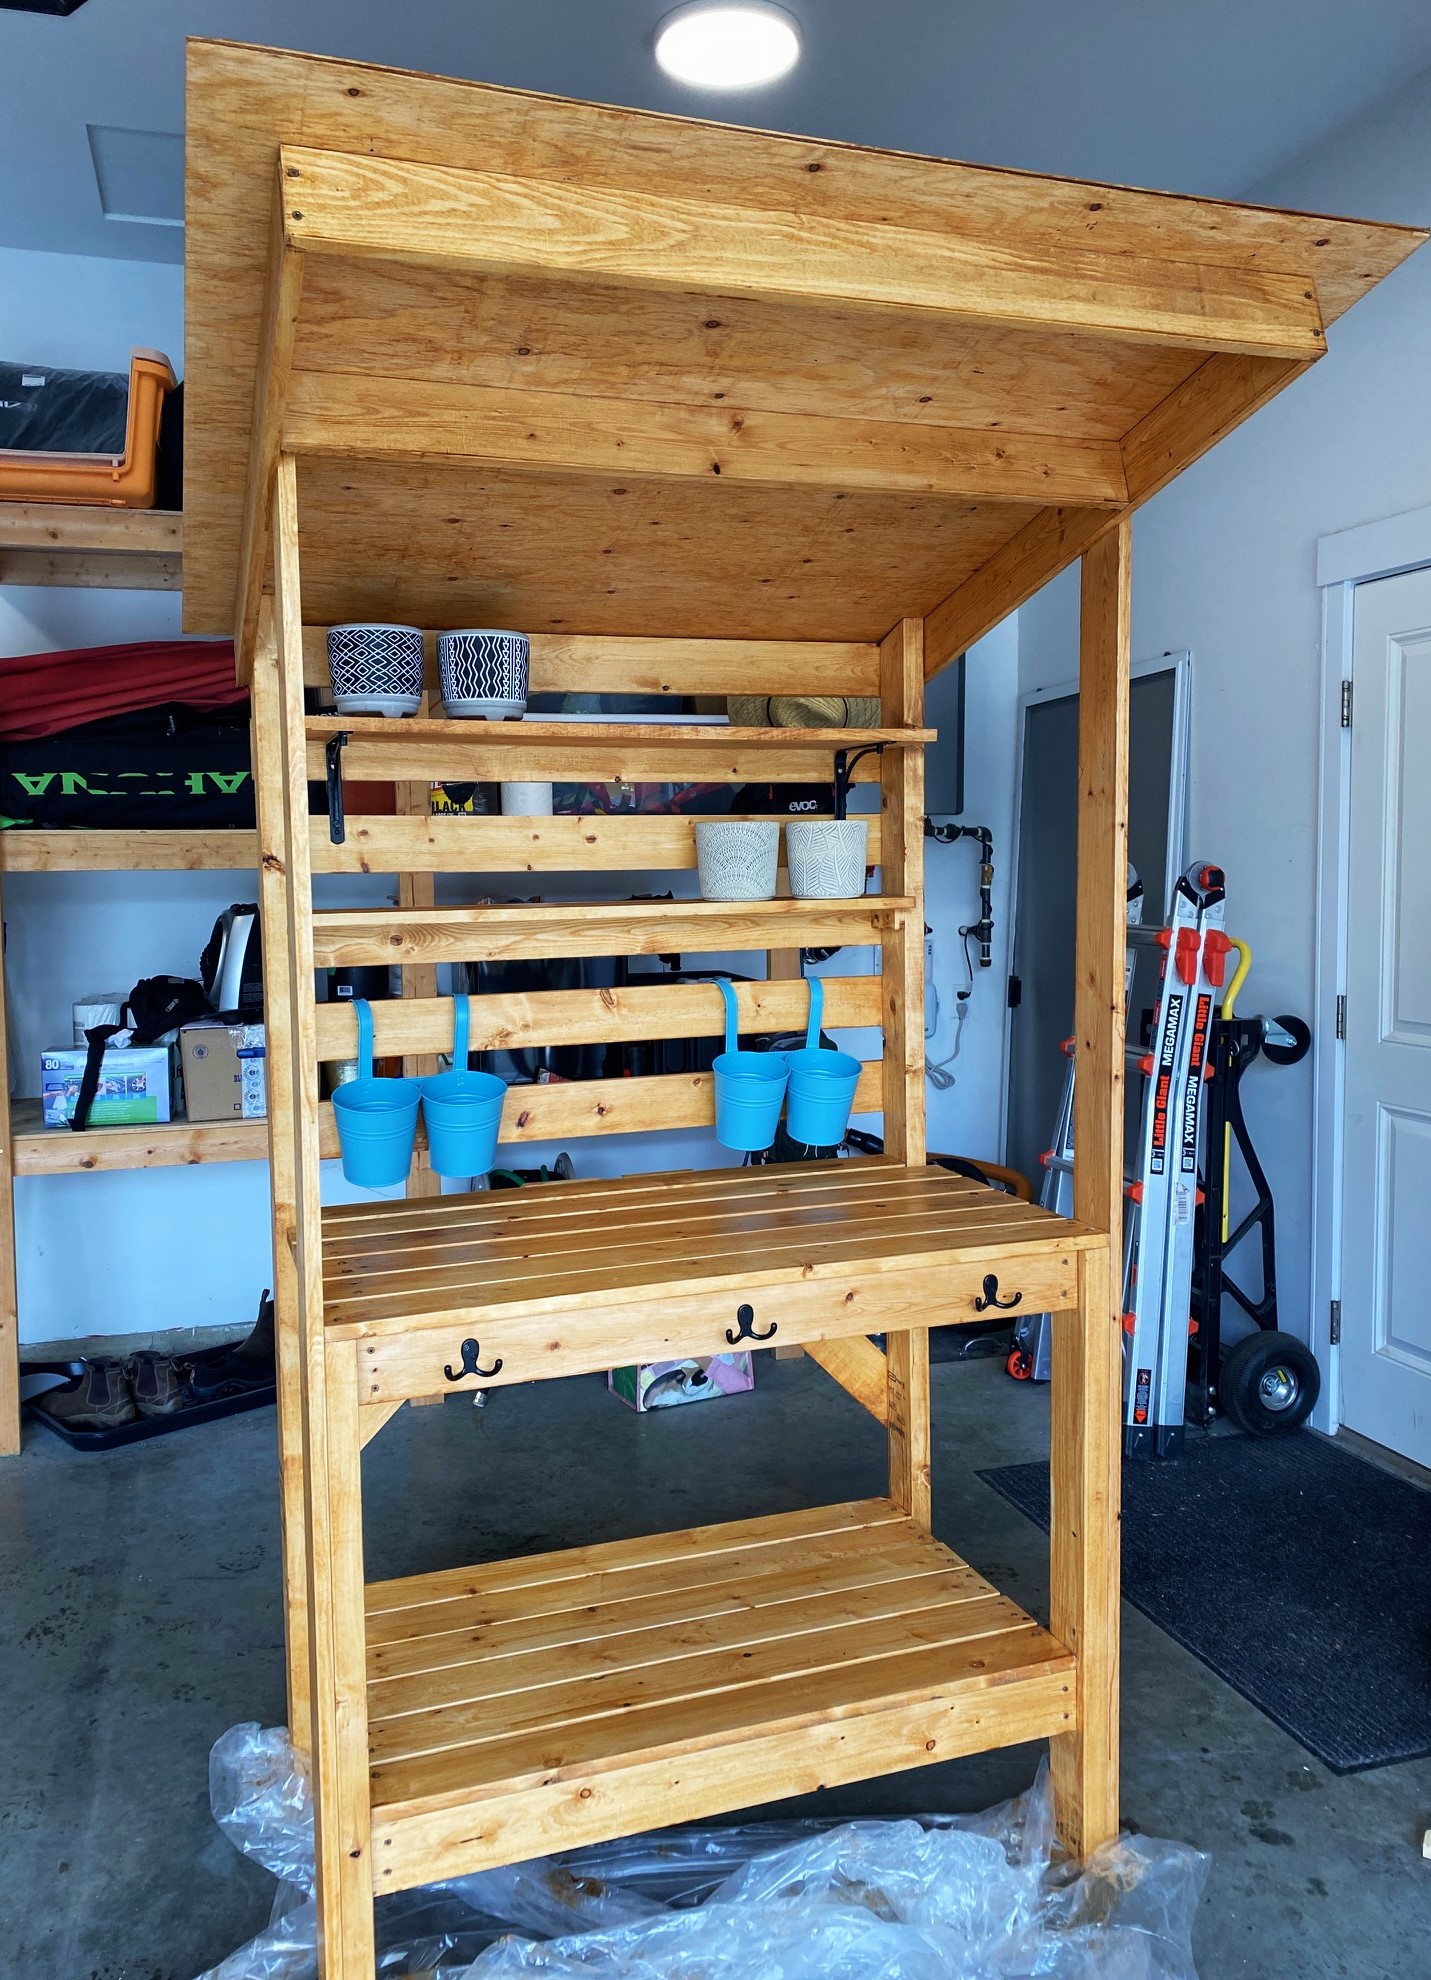
Based on the 2x4 Simple potting bench but added shelves and a roof!
Built from Plan(s)
Based on the 2x4 Simple potting bench but added shelves and a roof!
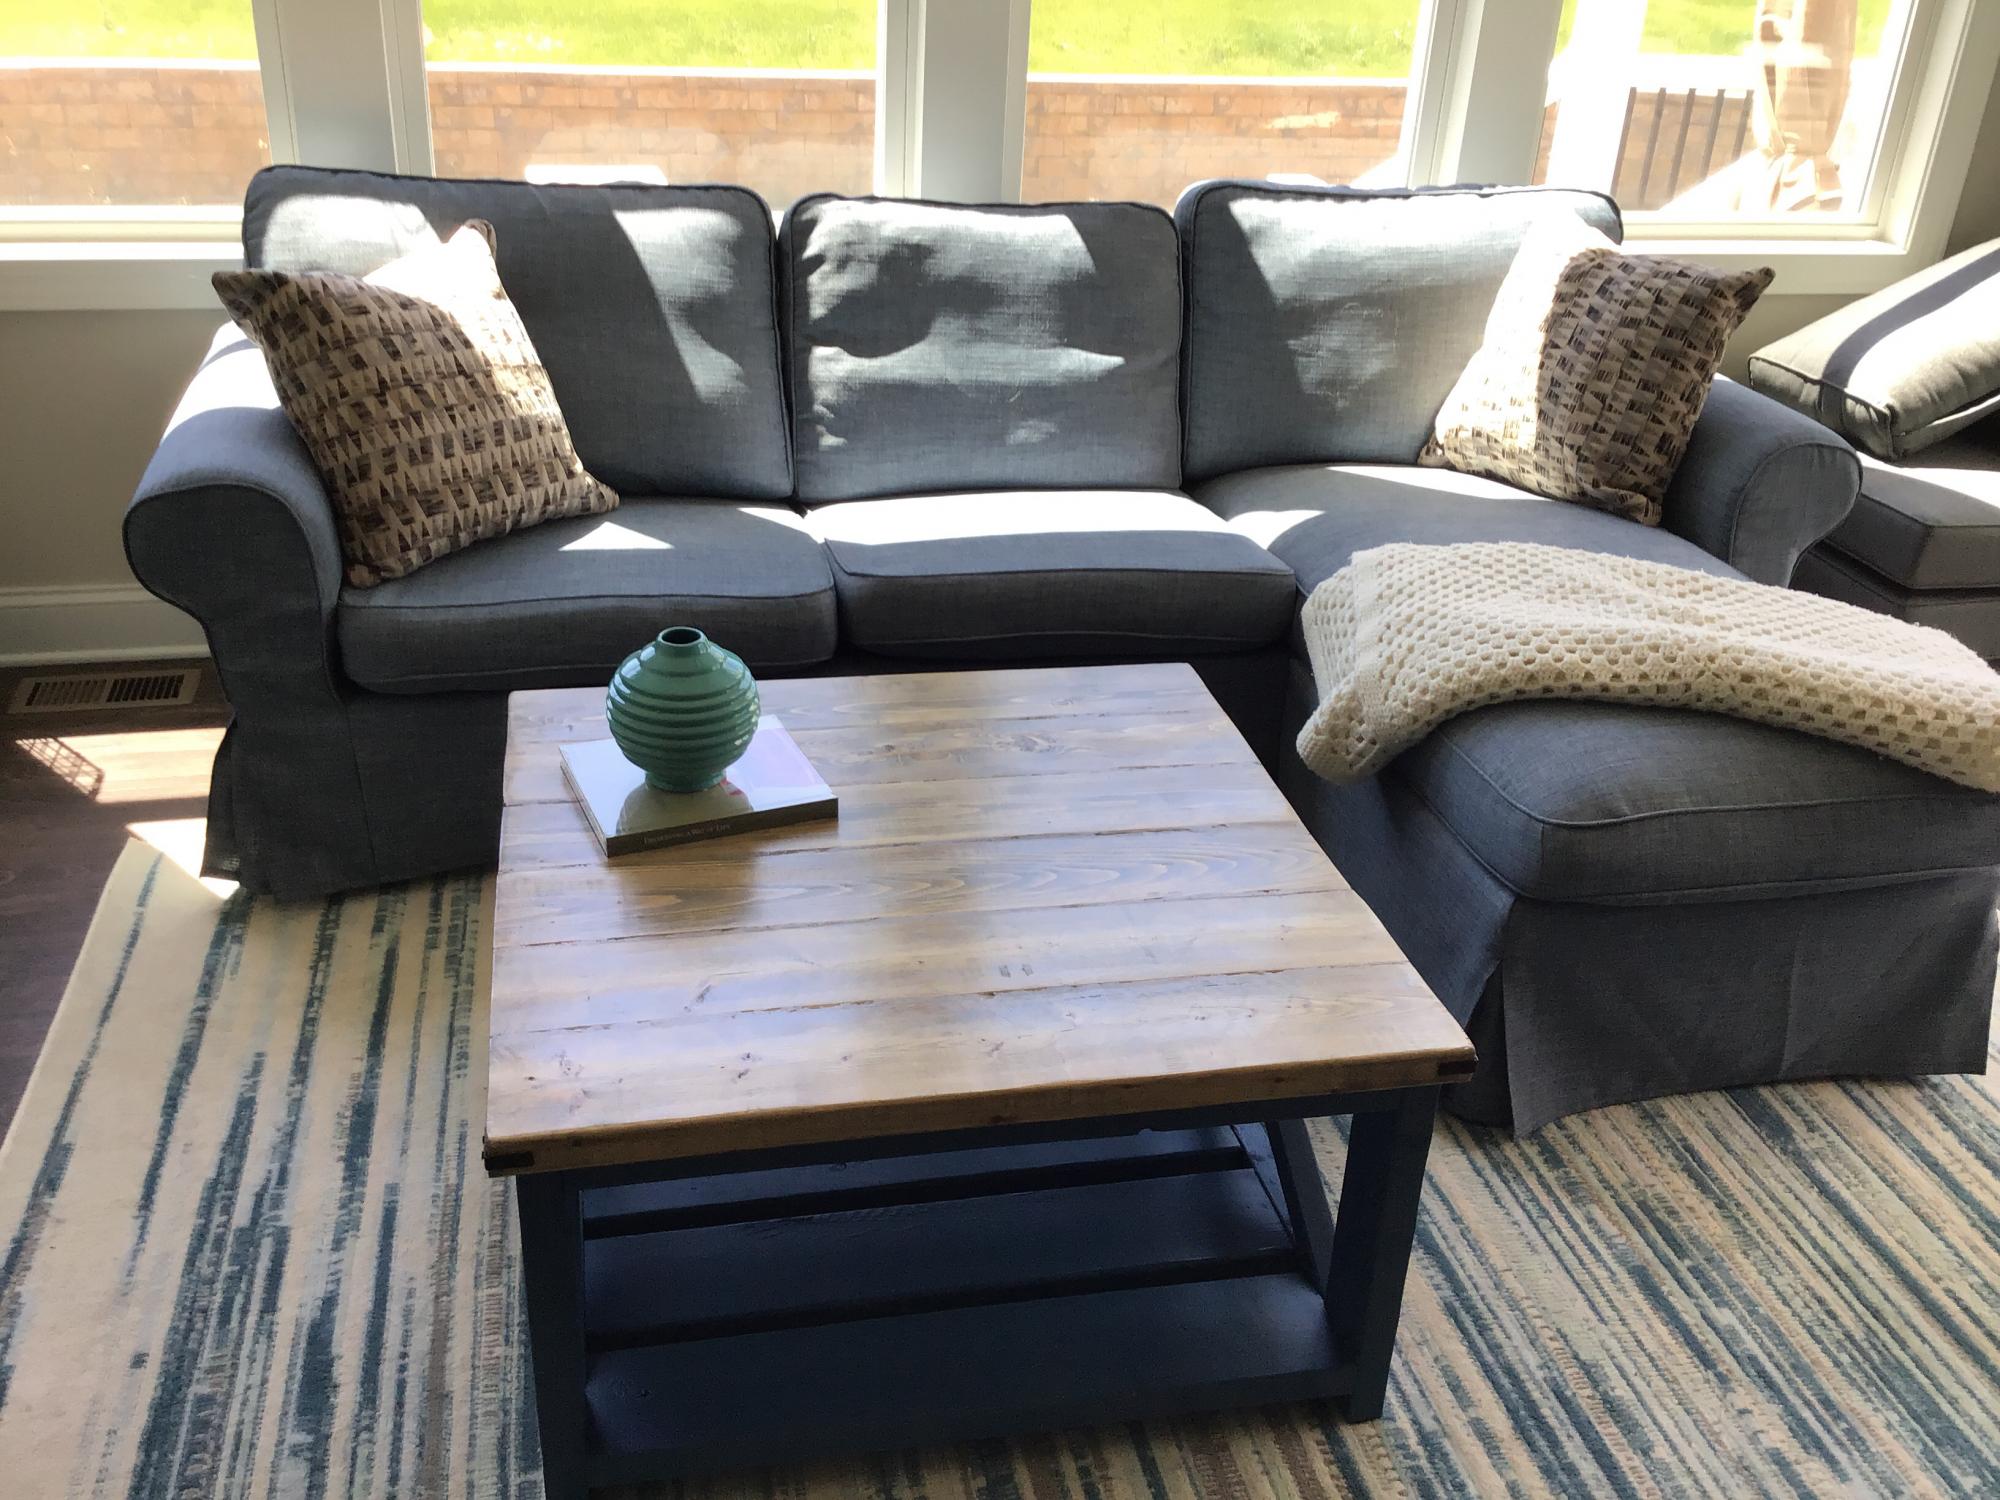
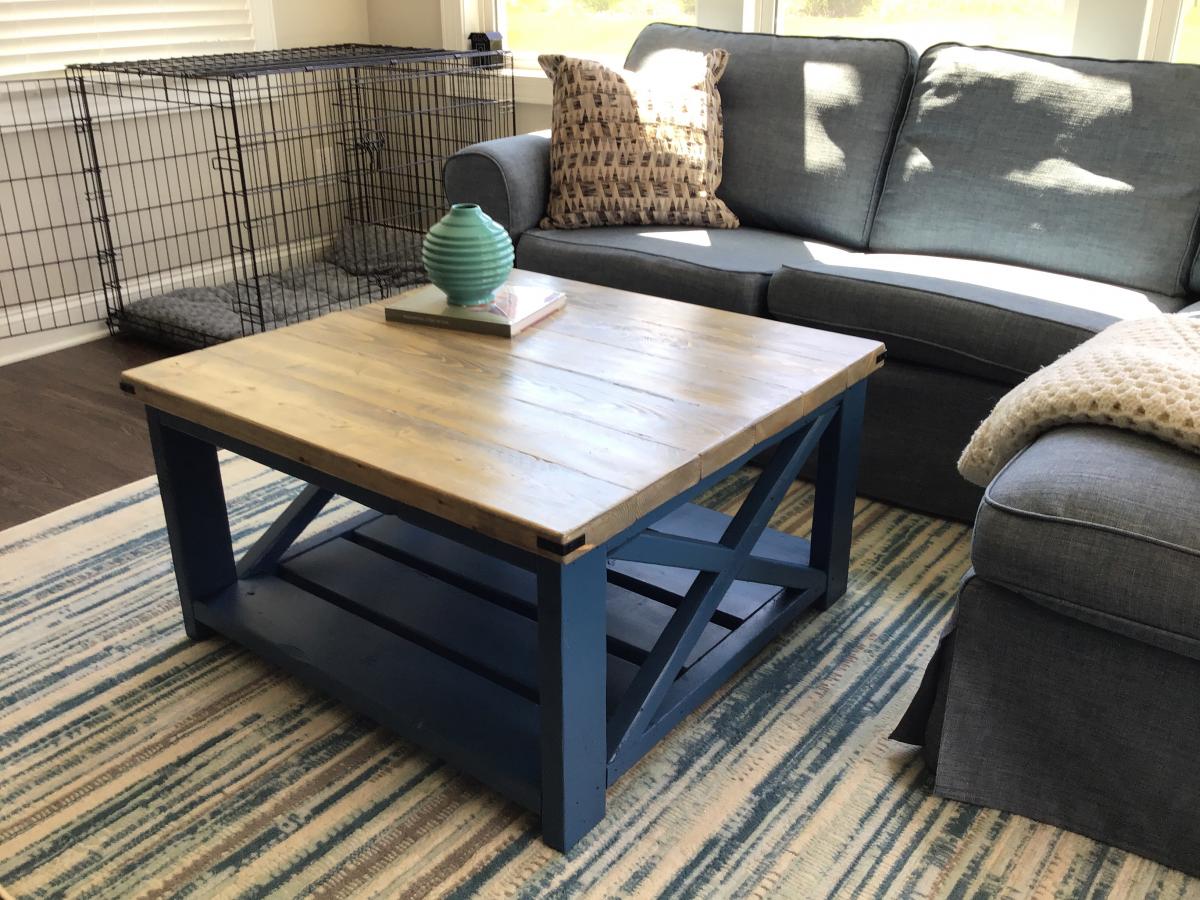
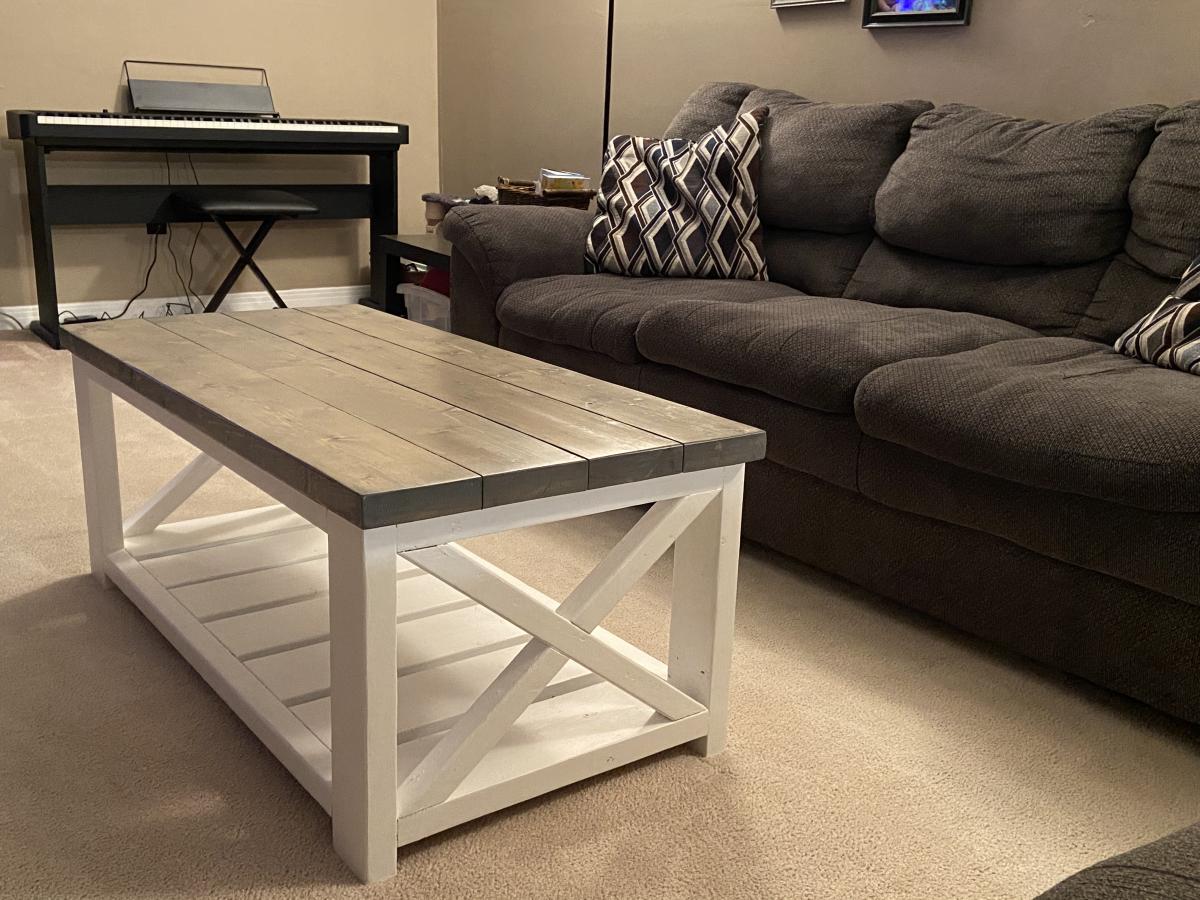
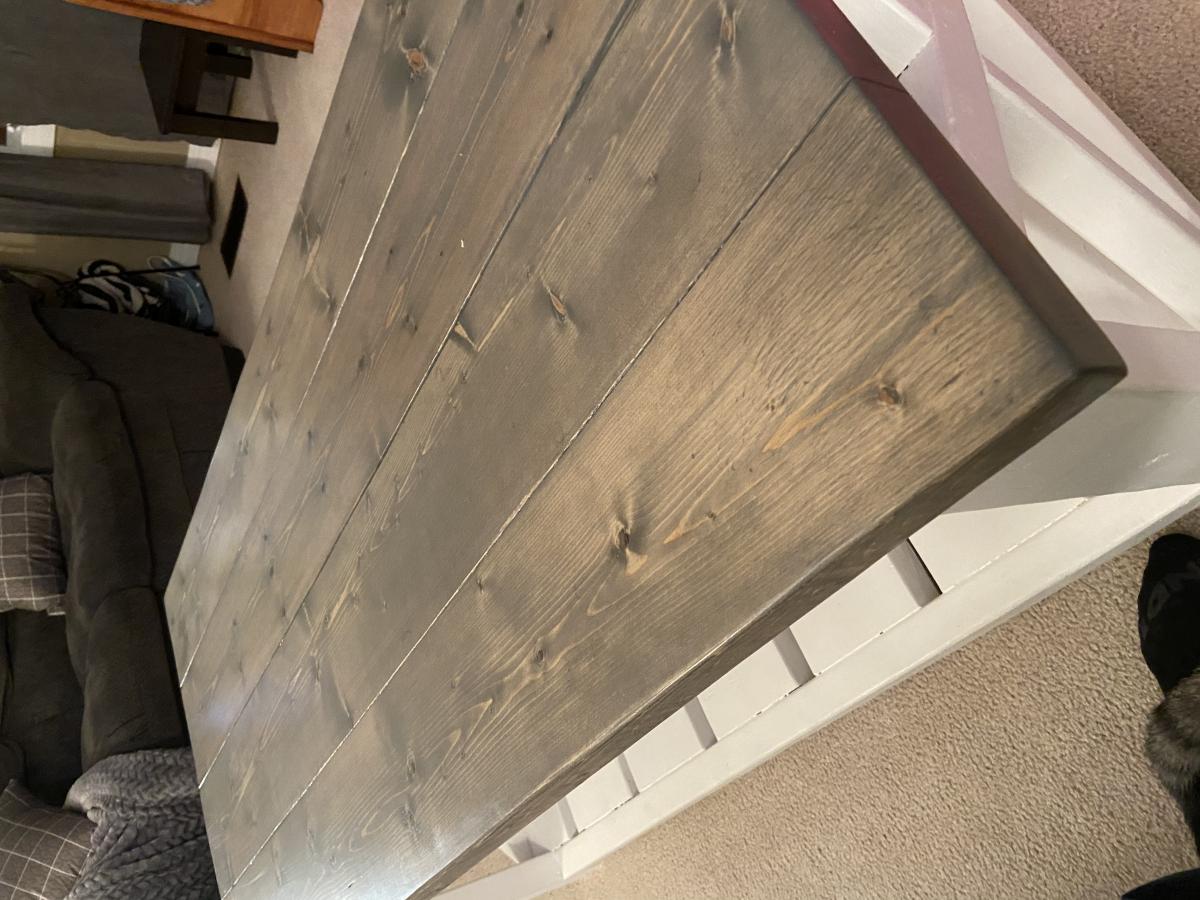
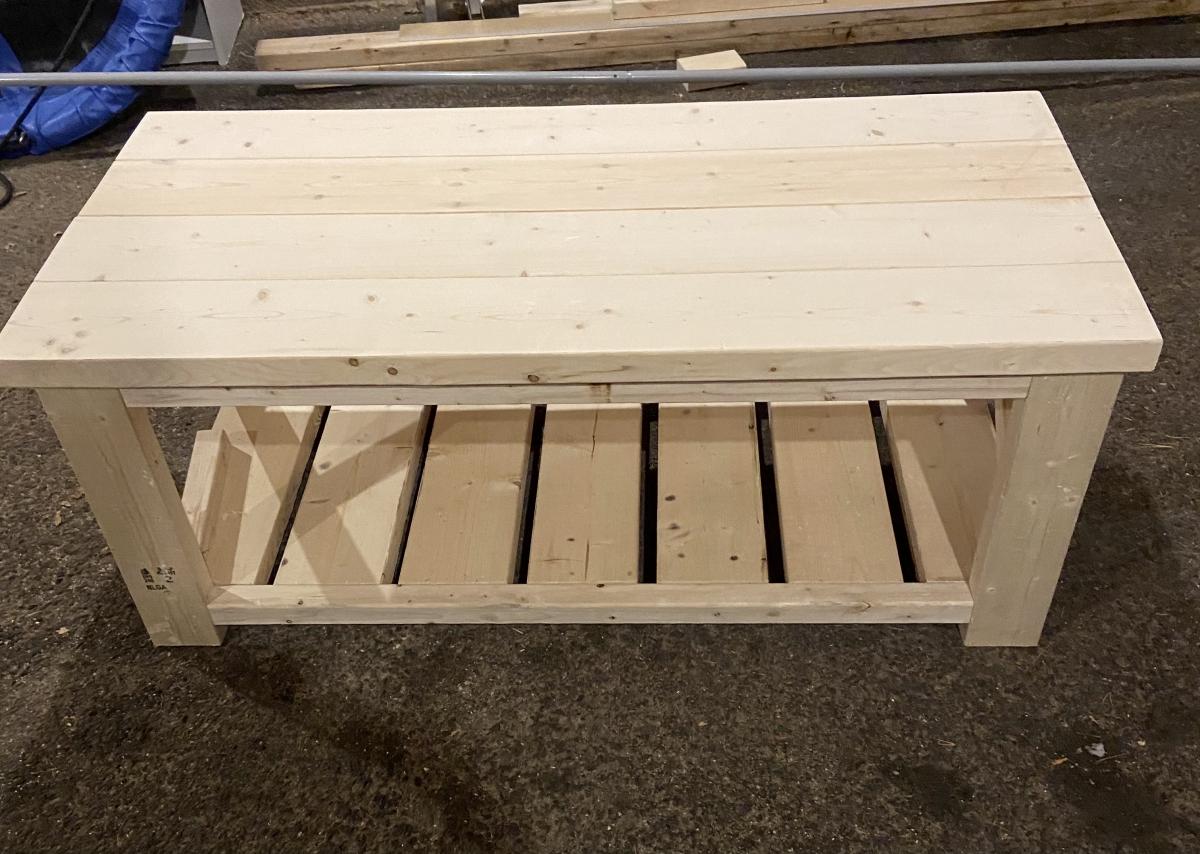
Took combination of farmhouse coffee table and side table to make a square coffee table for our sunroom
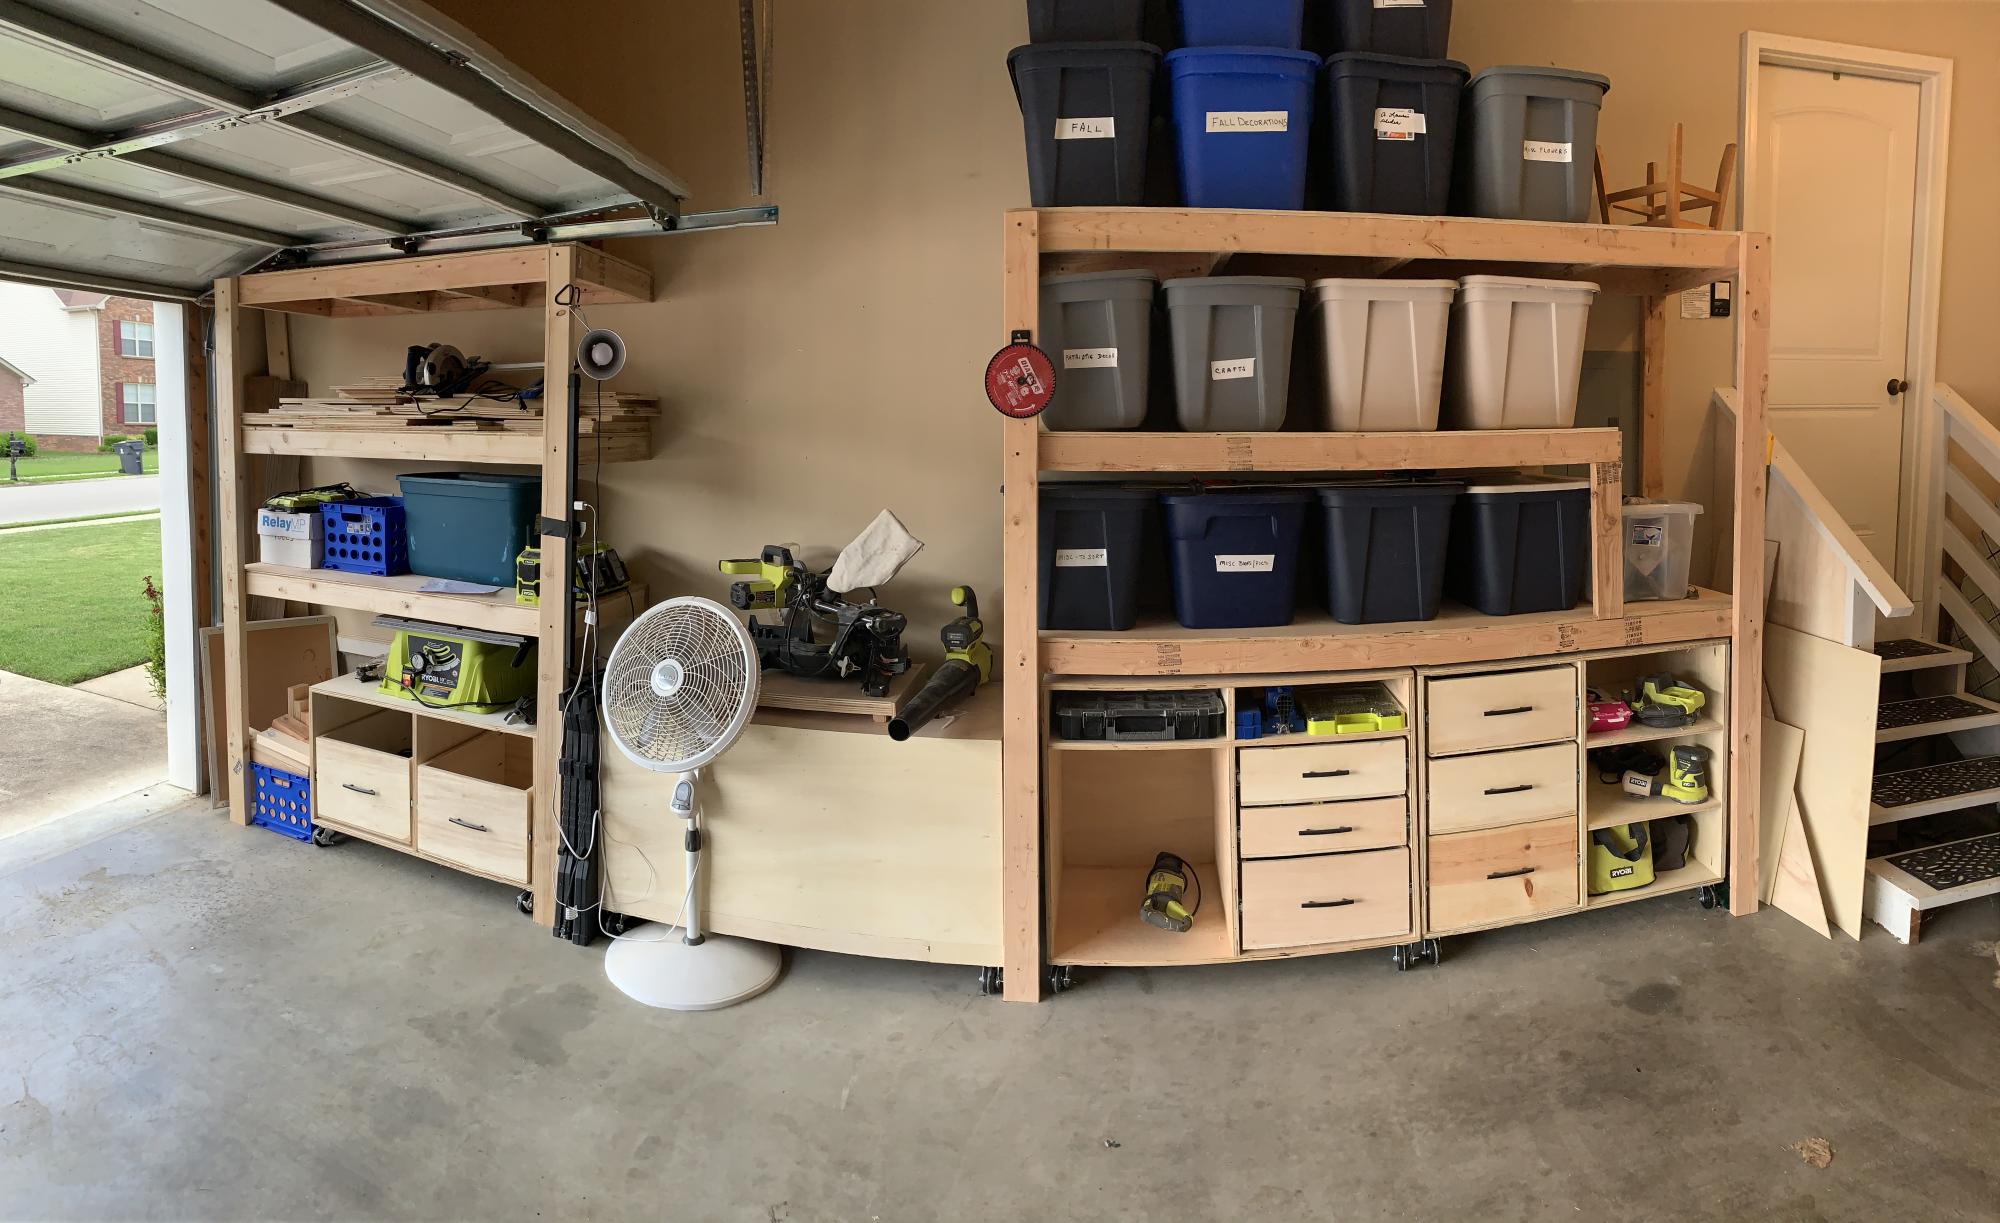
I bought a whole workshop full of Ryobi tools second hand from my brother over a year ago. I started researching workshop plans and came across Anna White’s Ryobi Nation Dream Workshop. I downloaded the plans and spent about 2-3 months working on it in my spare time. I made a lot of mistakes along the way but I’m pretty happy with it overall!
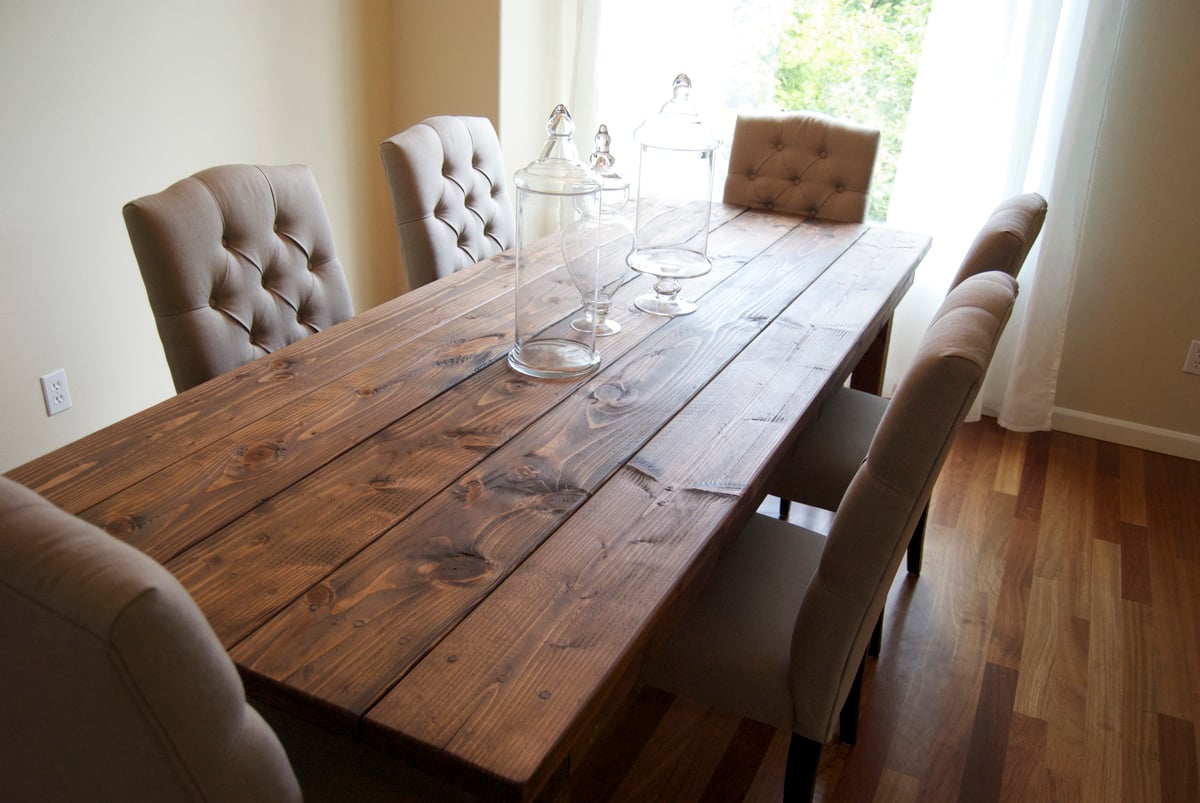
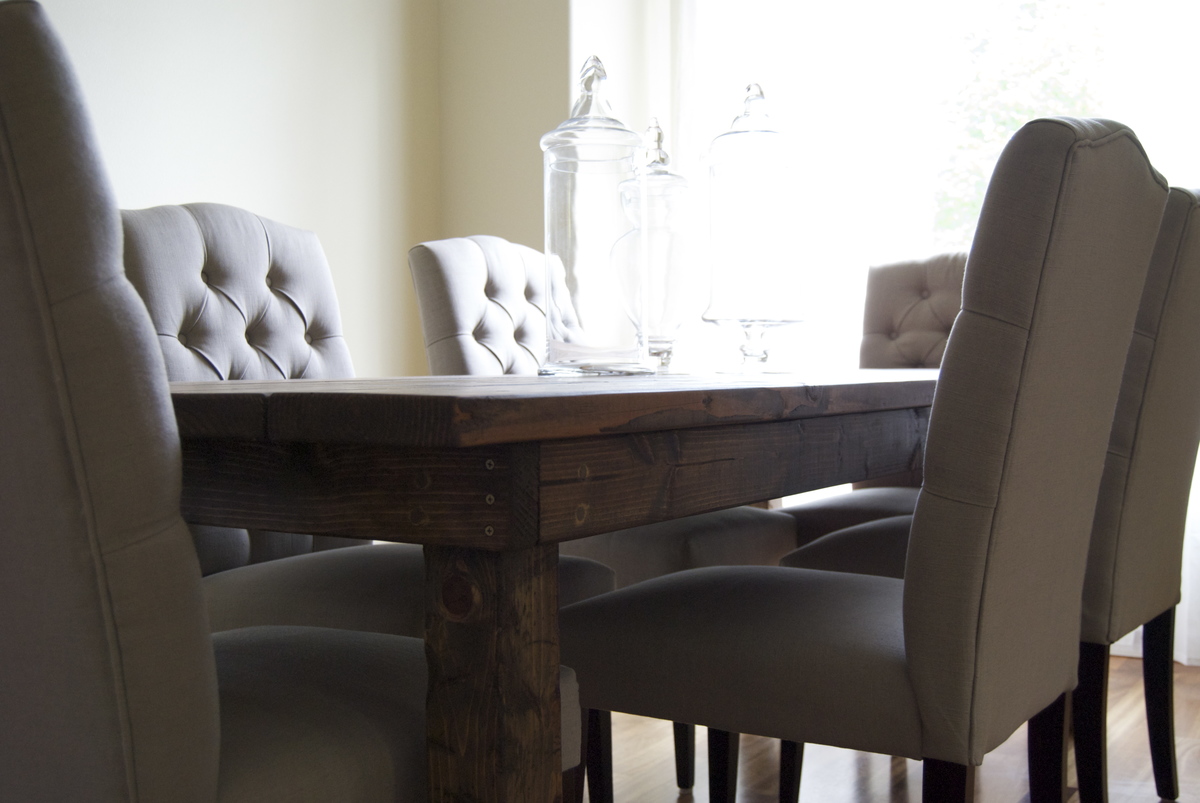
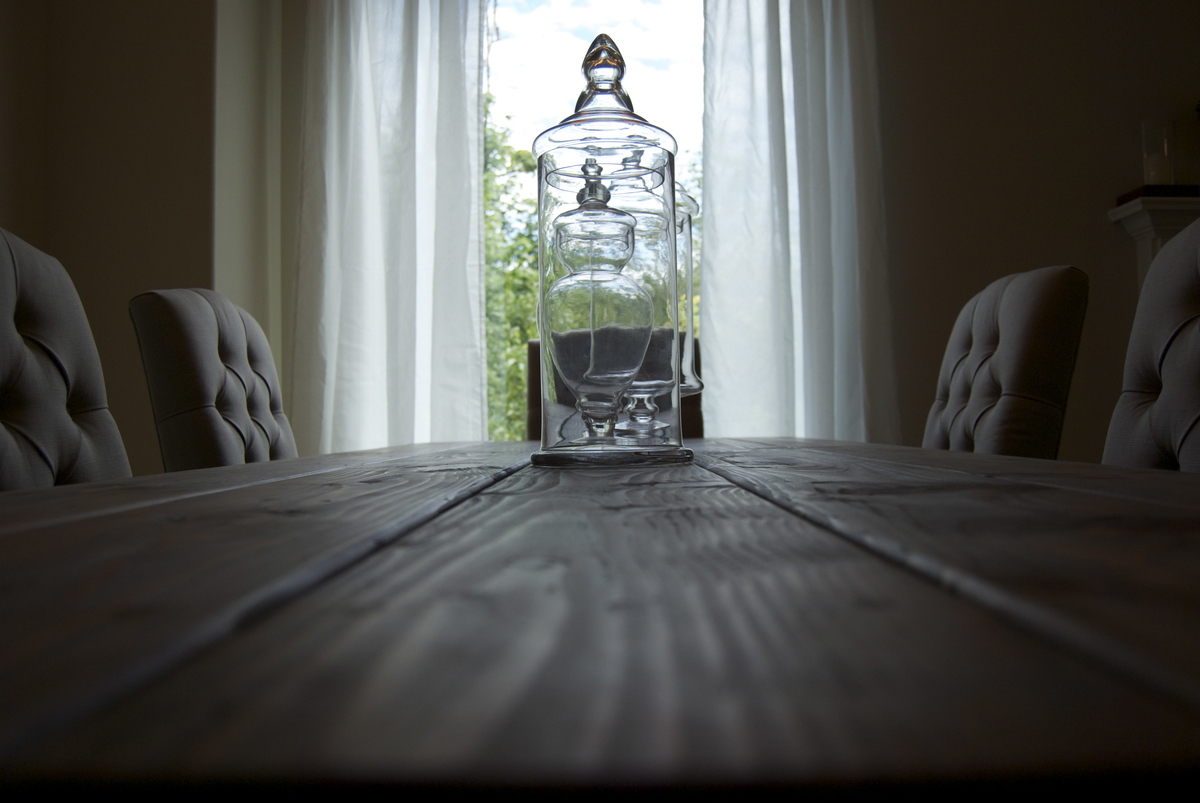
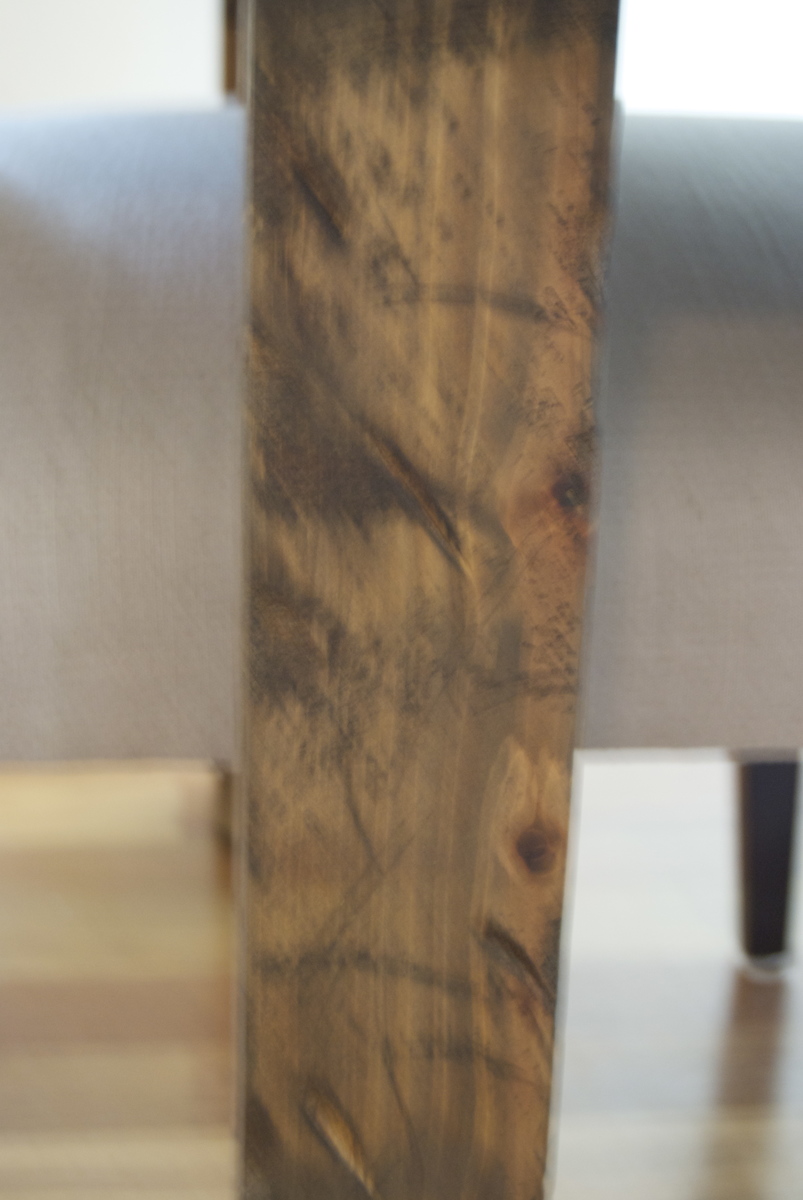
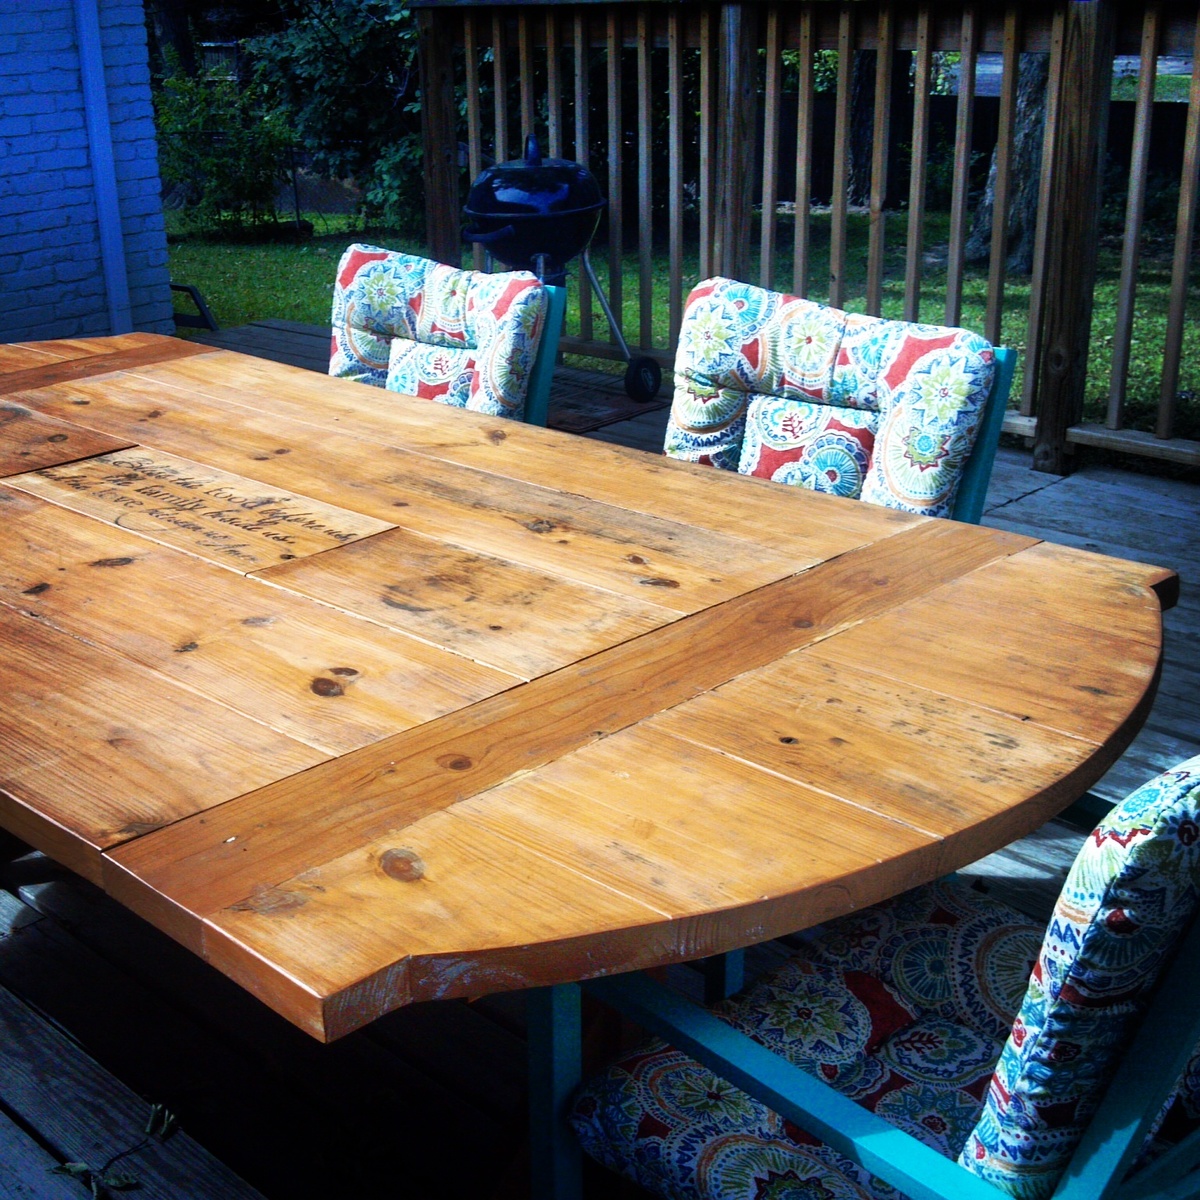
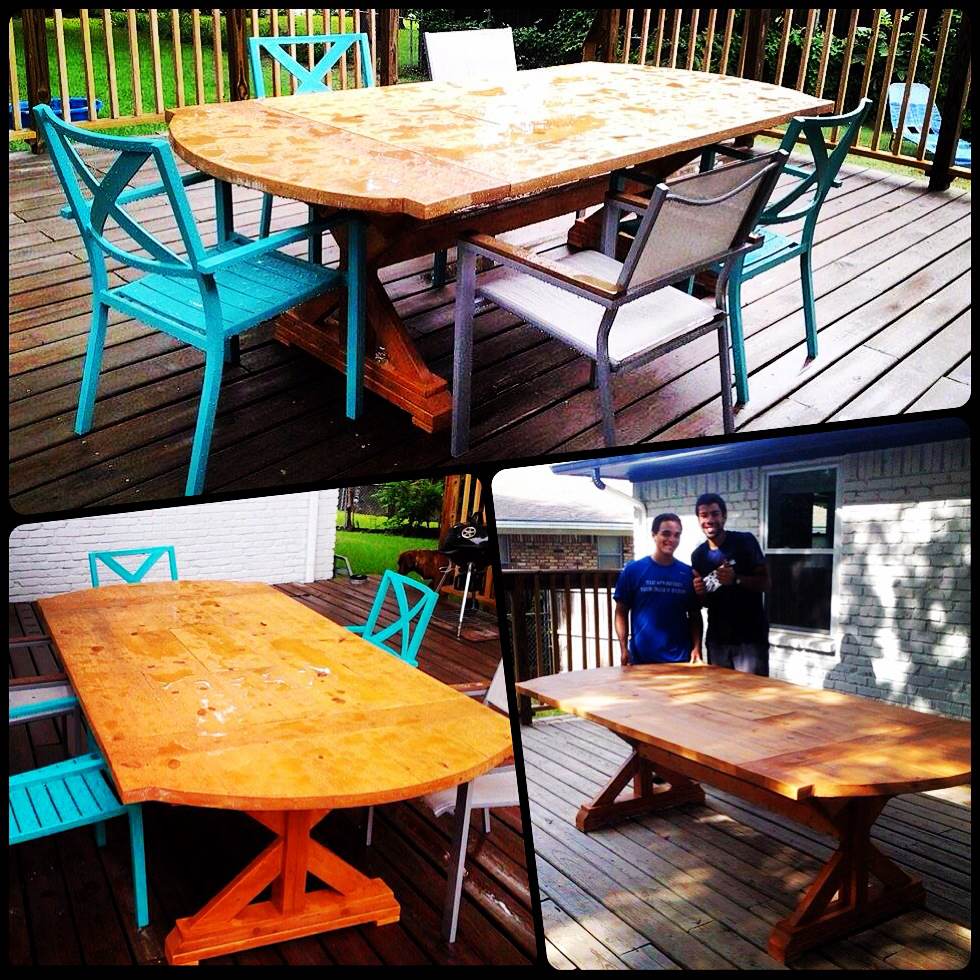
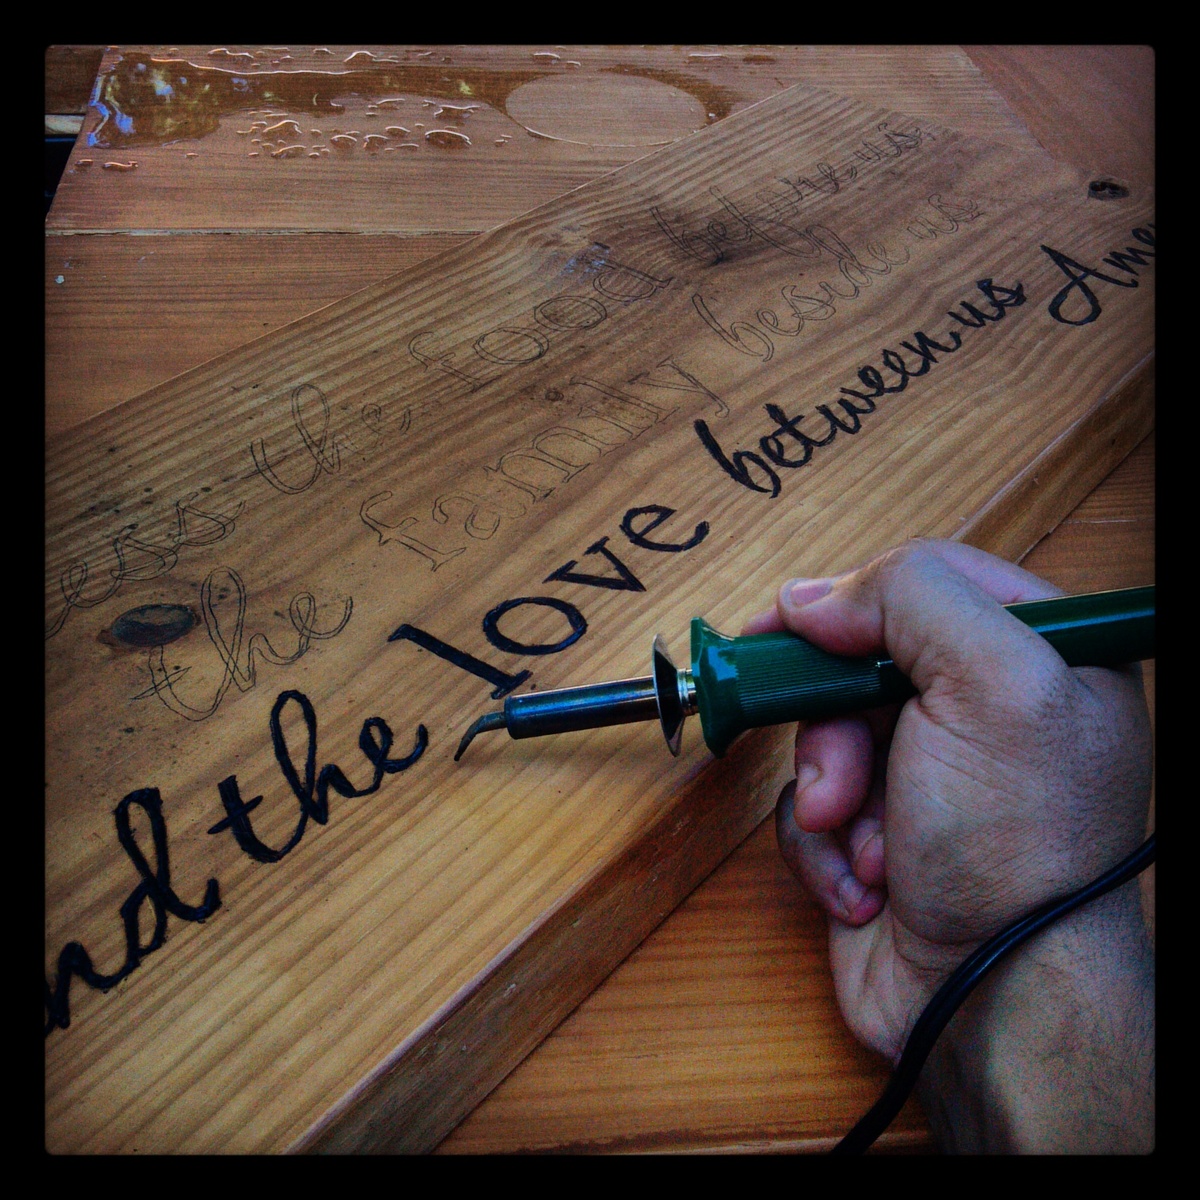
My mom has been addicted to Pinterest for a while now, so eventually she was led to this site. To make a long story short, she asked me to build her a dining room table similar to the Rustic Table design, but just a bit beefier, and with custom dimensions to fit the family's needs. I used 2x8's (8 feet long) for the table top, 2x4's for the apron/skirt, and 4x4's for the legs. This thing is a monster. I'm assuming it weighs close to 200 lbs. I beat the legs up with an old golf club, and scratched them up pretty good with screws.
This was my first time attempting something of this caliber, and I am really pleased with the results. The best part is that my mother LOVES it, and I now look like the greatest son in the world to all of her friends on Facebook!
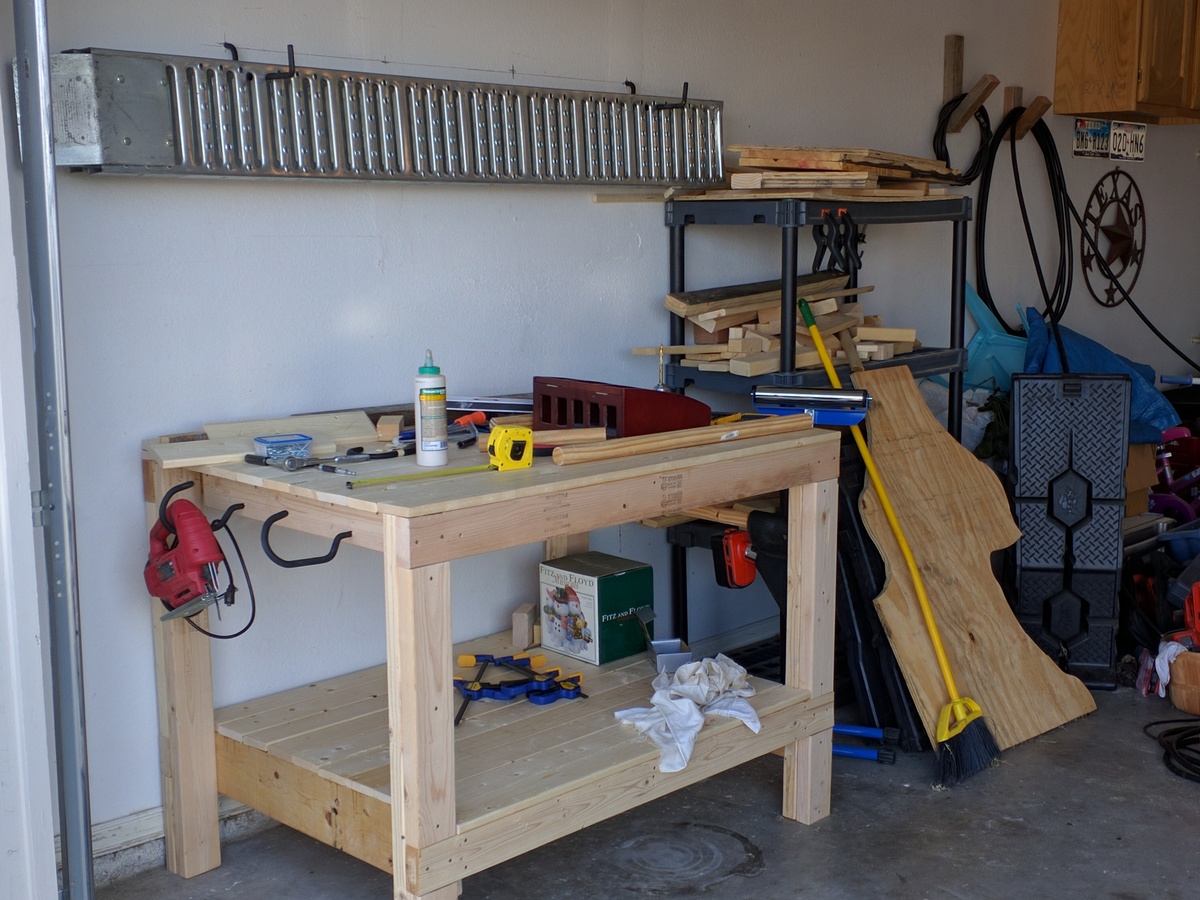
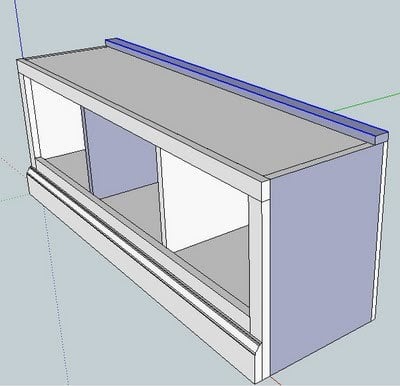
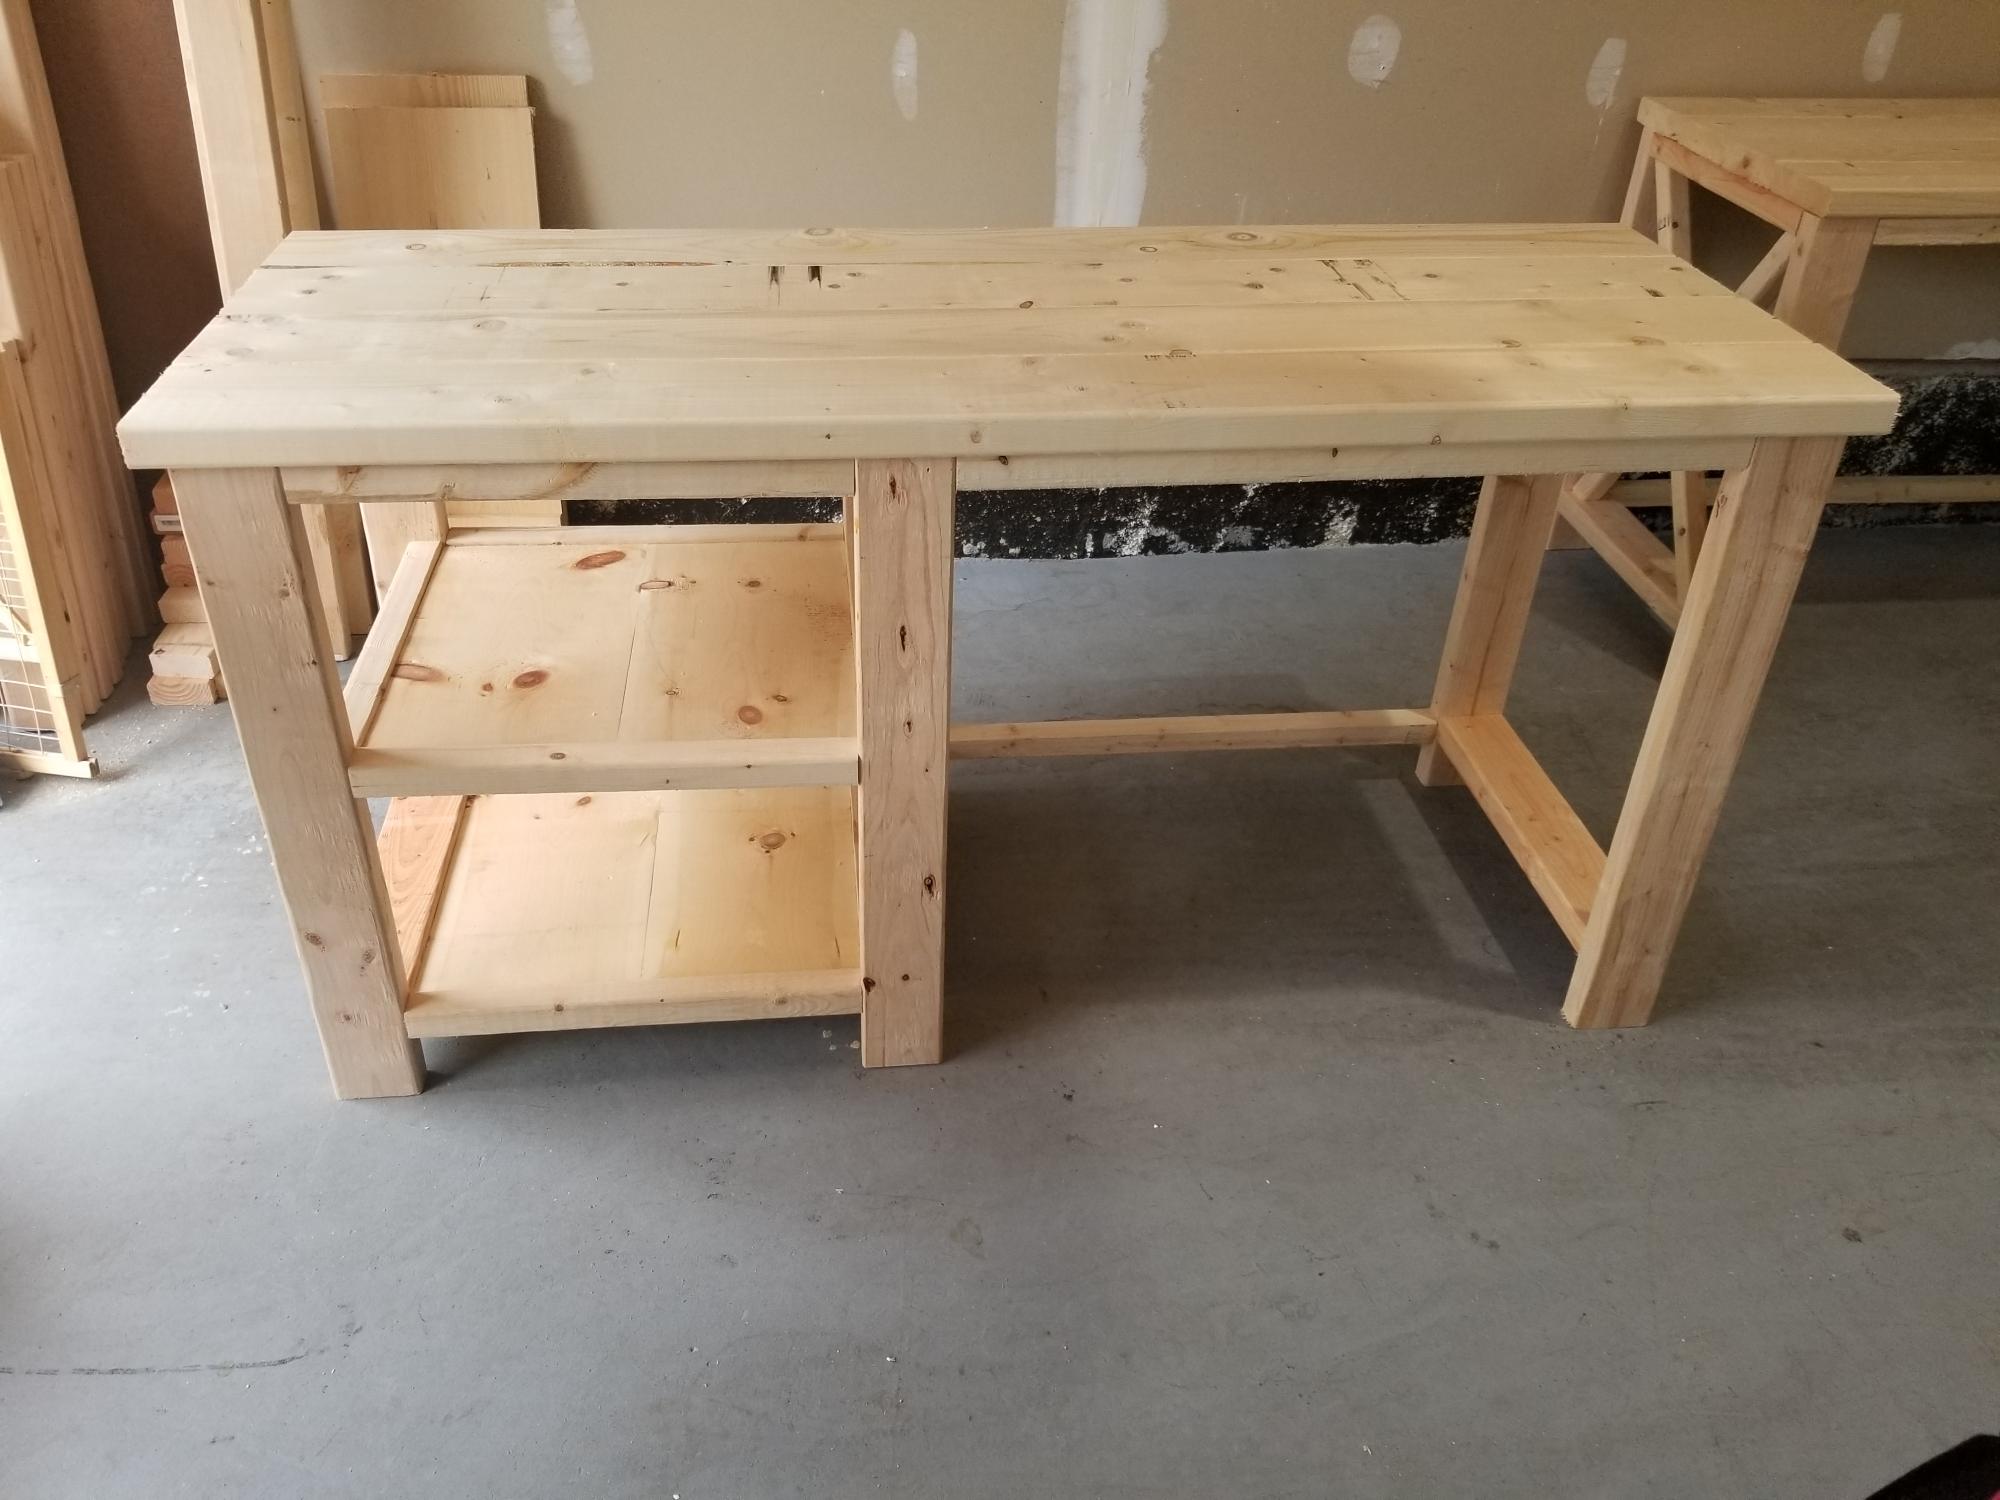
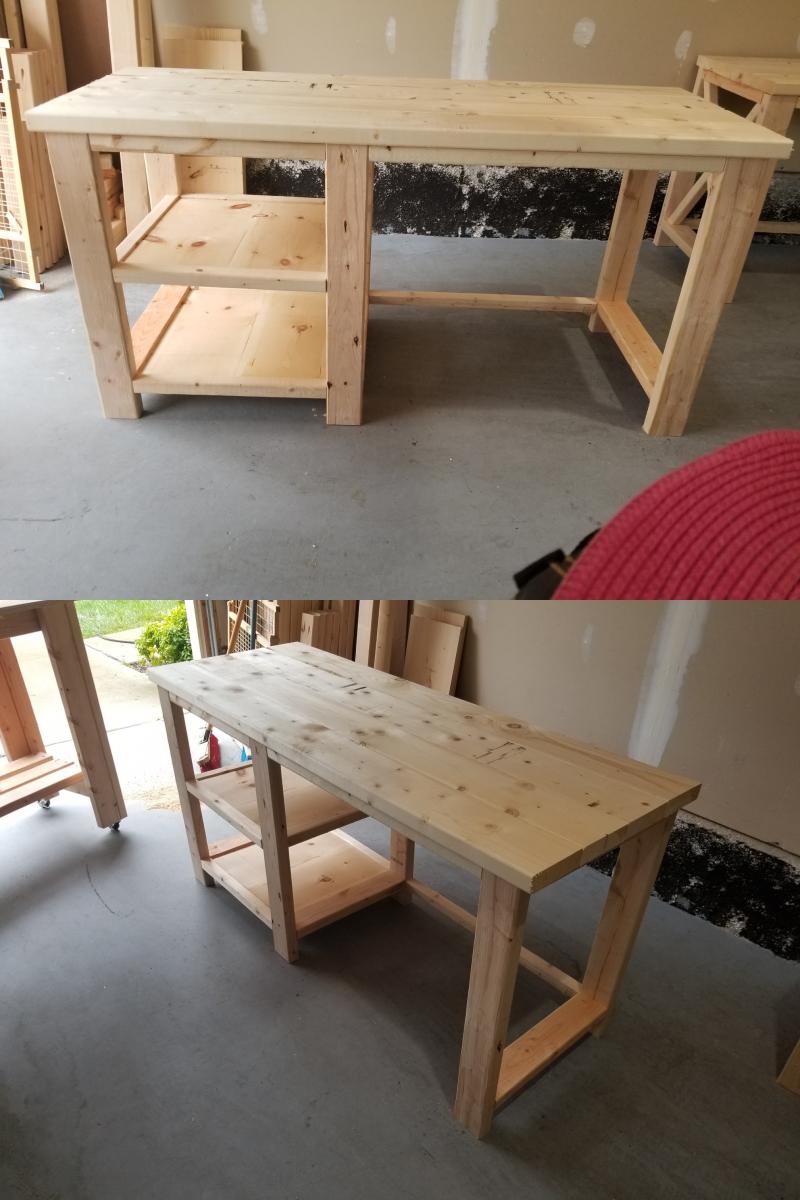
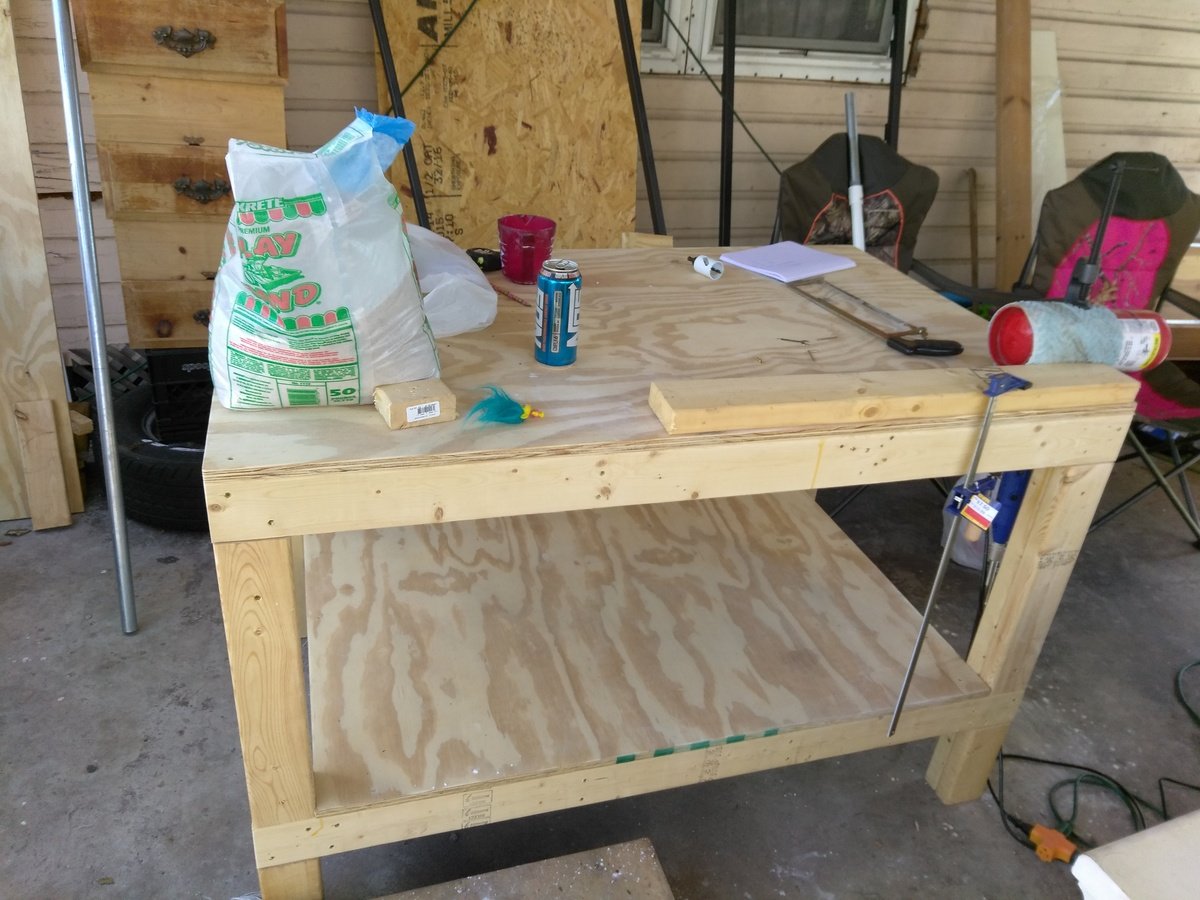
Altered the original plan only enough to accommodate the materials I had lying around without going to buy more lumber. The workbench I built is not as wide being only 48" instead of the 55" noted in the plans. For the top of the workbench and the lower shelf I used 1x4 furring boards again, because it is what I had for material at the time of building.
Once I made the basic frame, I squared it and then installed the supports for the table top and the lower shelf. Once the supports were in I cut the 1x4's to the appropriate length. As I laid each respective board, I also laid a good dose of wood glue down and then clamped them in place. I let those boards set with glue for about 5 minutes before going back and using a 2" brad nailer to finish them off. Once the nailing was done, I removed the clamps and moved to the next series of boards. Because I had several clamps I was able to lay about three boards at a time and let the glue set for another 10-15 minutes. Working slowly and methodically got the whole job done in a couple of days of a few hours a piece before completion.
Easy project and something that will last a long time when done correctly.
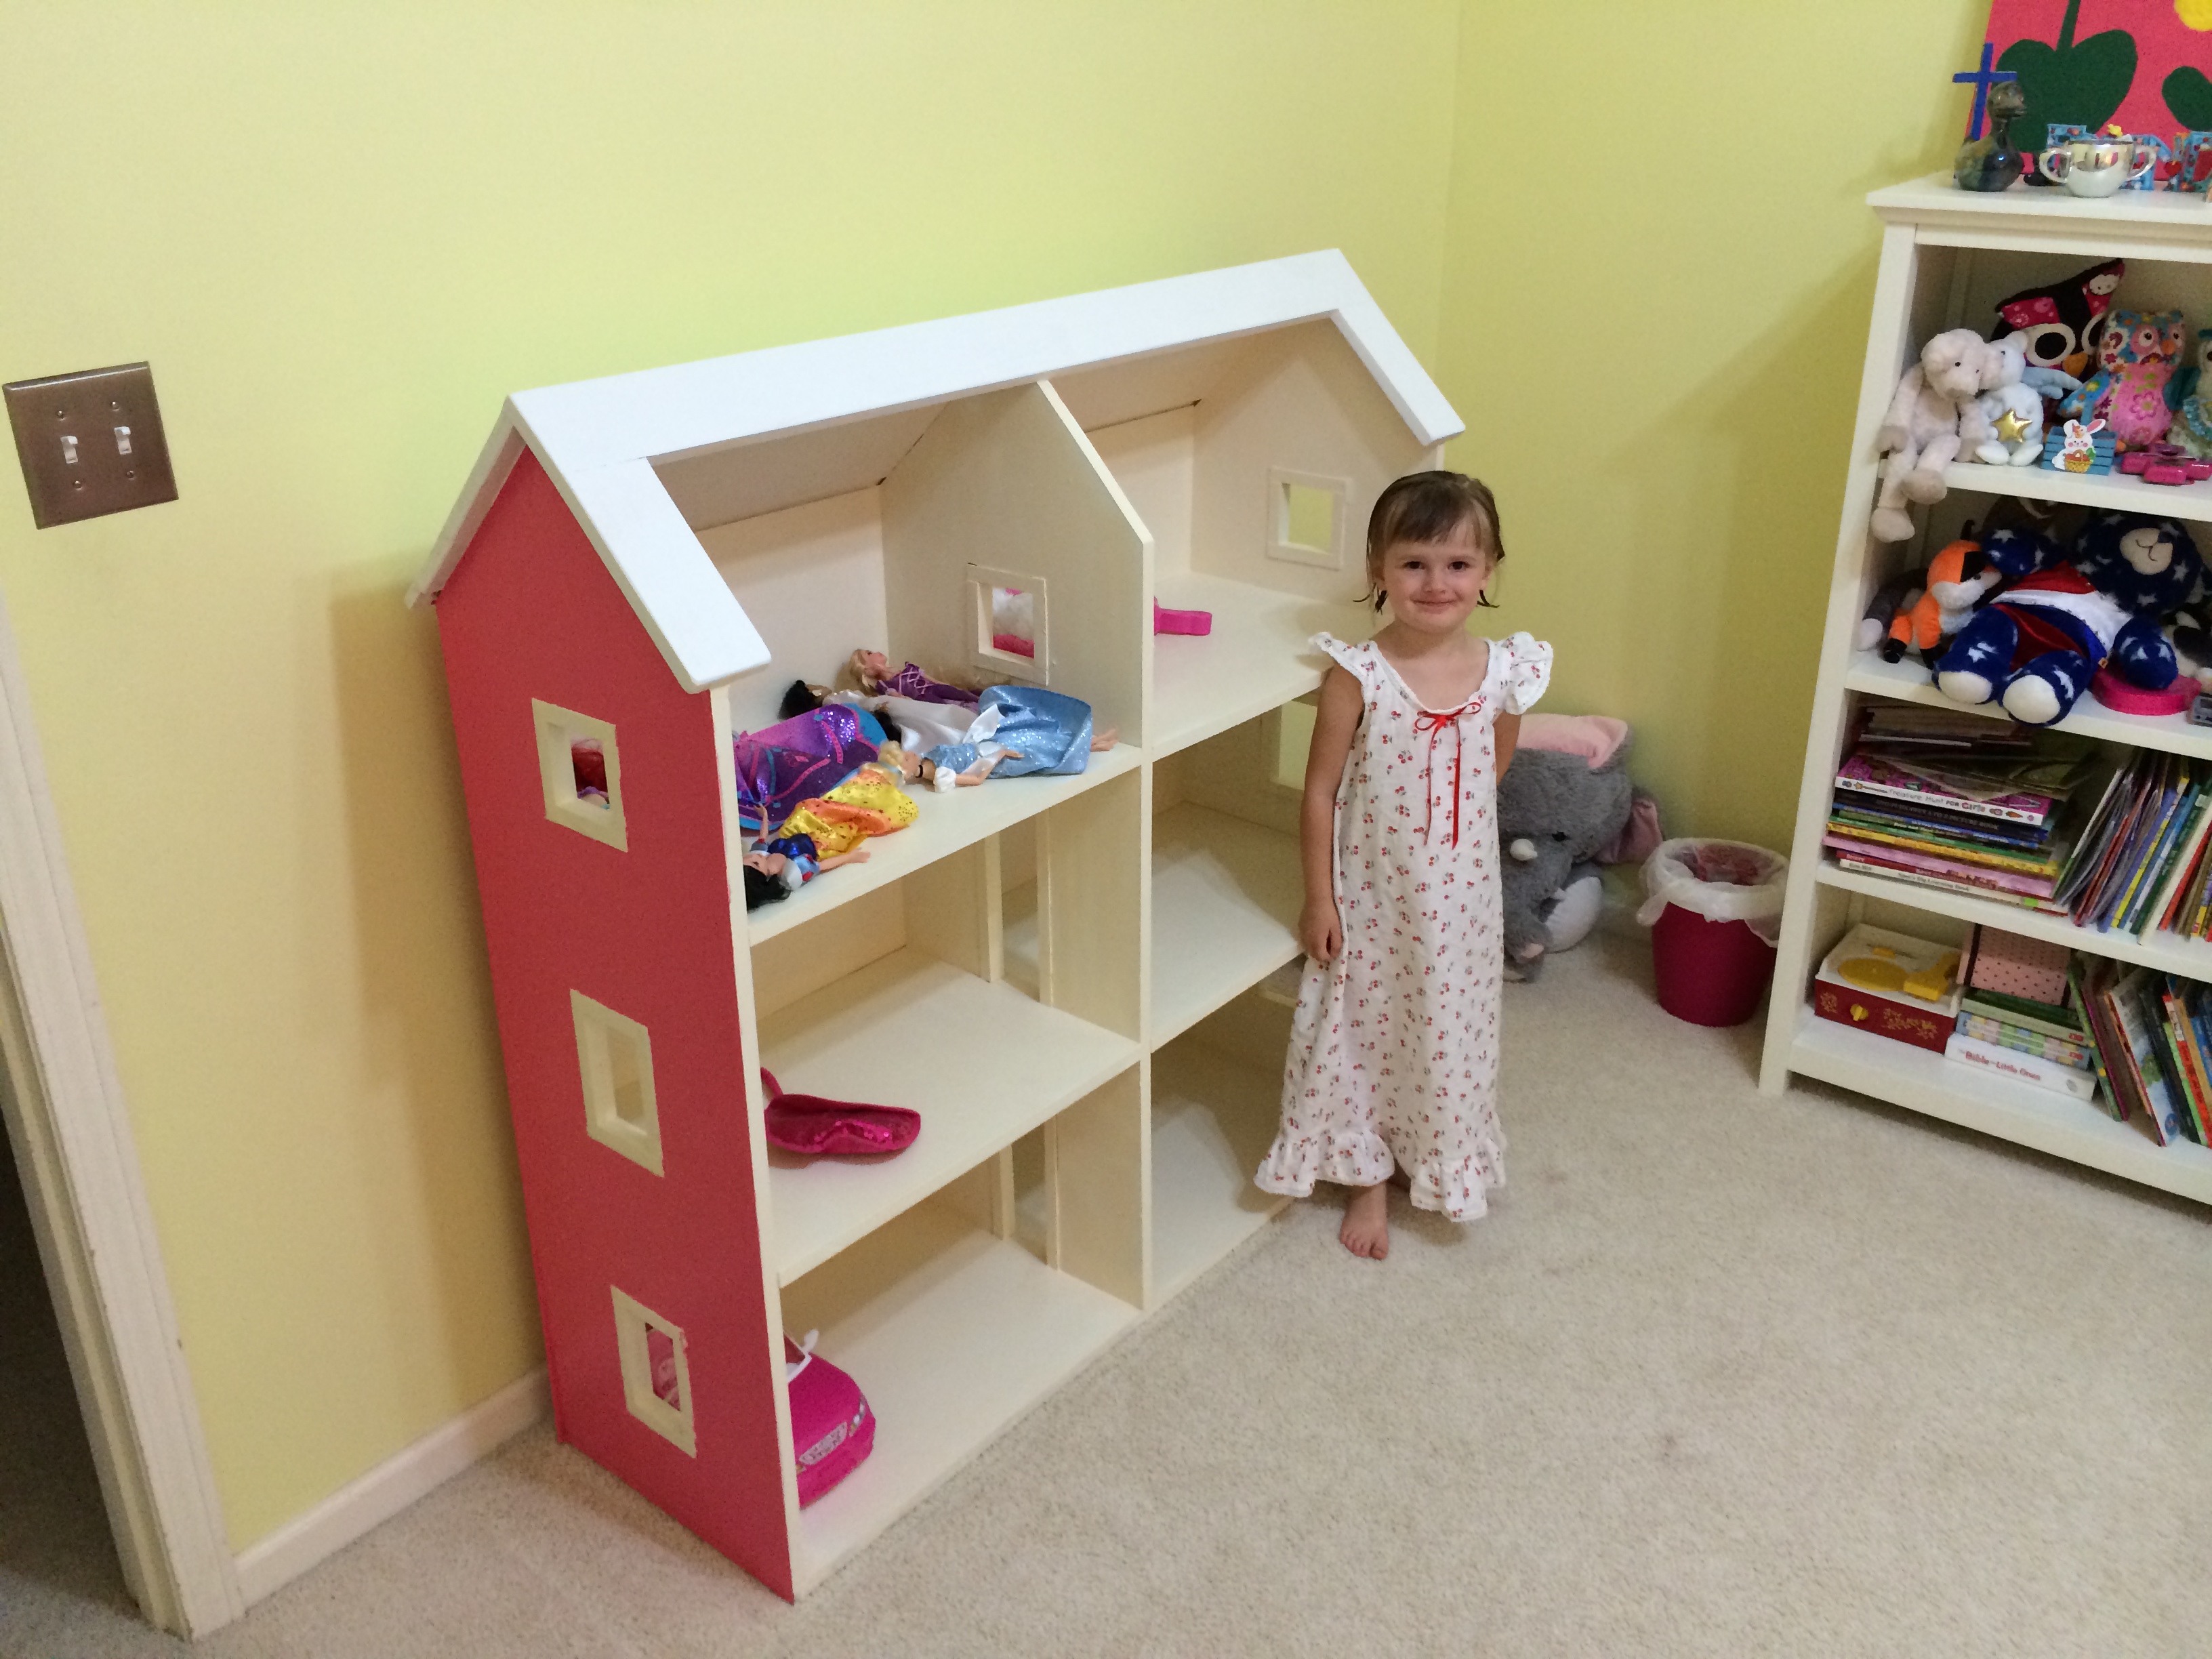
I built a slightly smaller version of the full sized dollhouse. I used MDF for the house with the roof and pine for the and windows.
Tue, 08/13/2019 - 18:45
Love this! How did you come up with the dimensions?

Queen headboard. Natural finish.
Jeanne

This was my first project. It was relatively easy but I did make some mistakes that are now design features


Slight variation on Ana’s Potting Bench. I lowered the bottom shelf and added a middle shelf with wood from a gate we removed. I’ve received many compliments. Thanks, Ana!
Kathy Joy
I built another record cabinet for a client. I actually made two since because the person wanted 12 drawers!
More details and photos on my blog if interested:
http://www.woodworkingfourdummies.com/blog/vinyl-record-cabinet
Cheers,
Ian
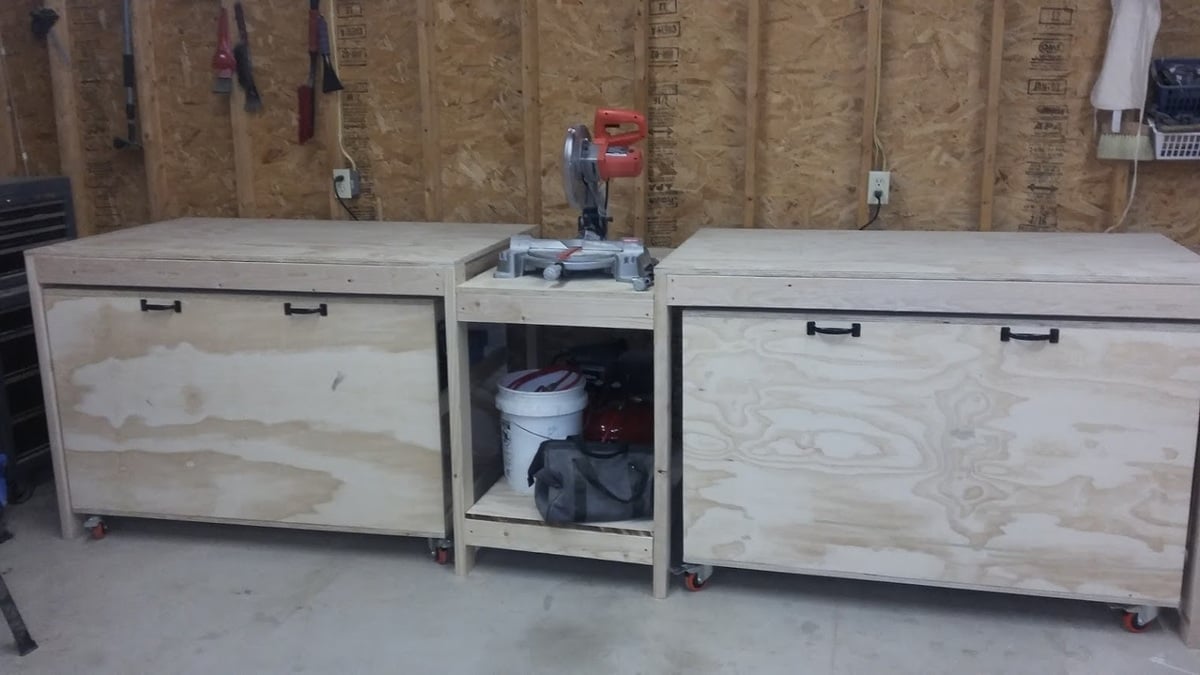
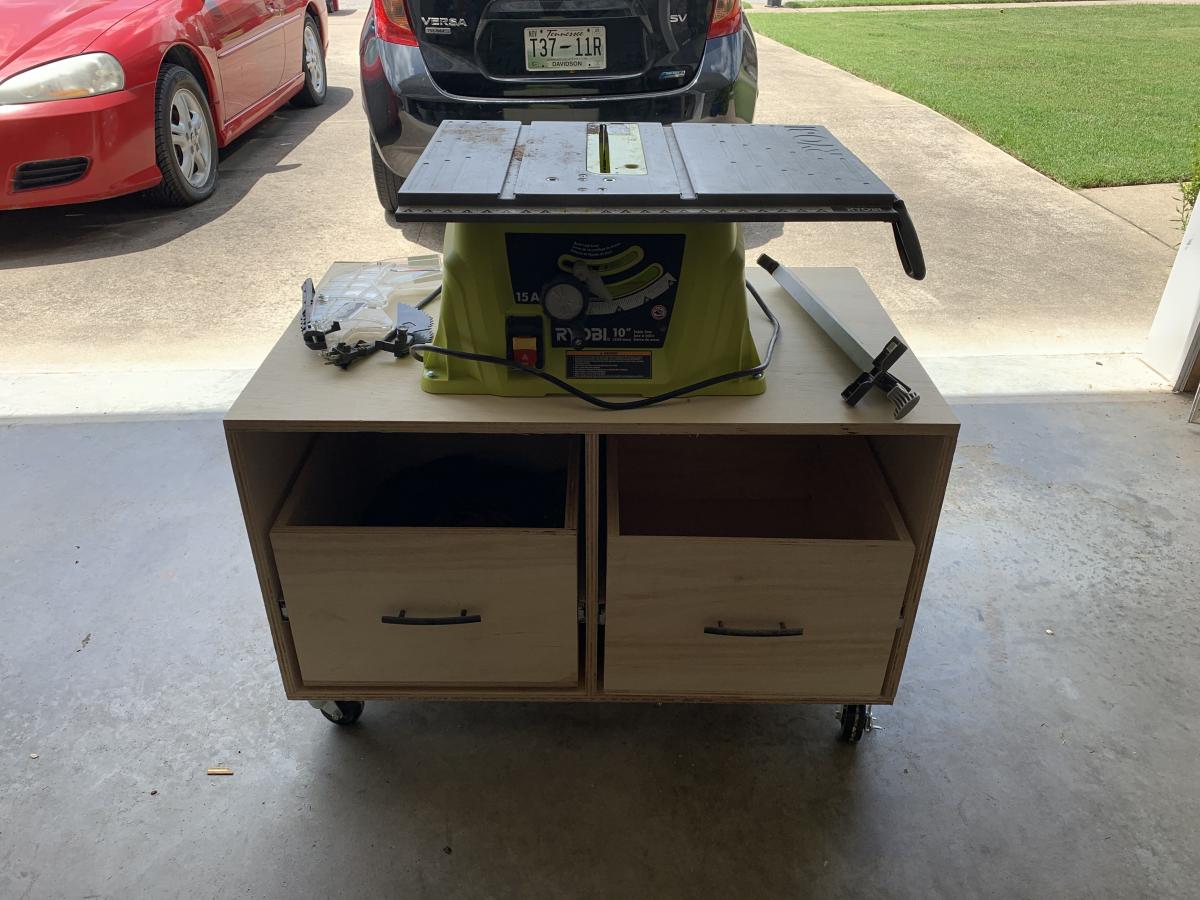
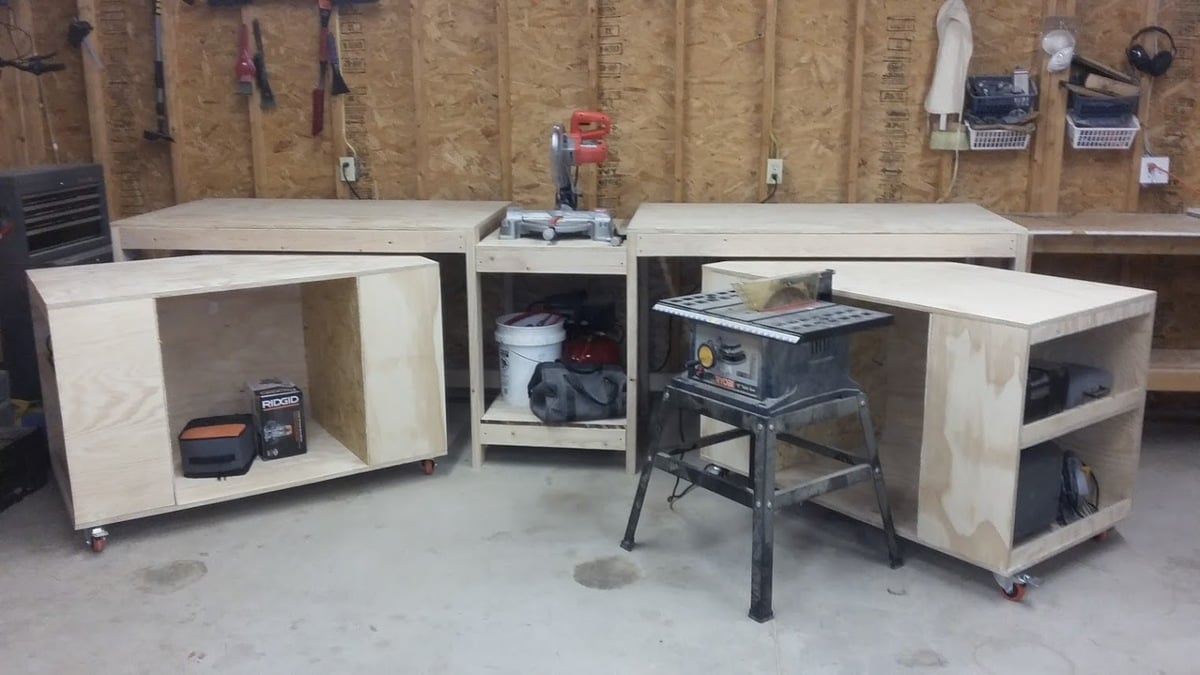
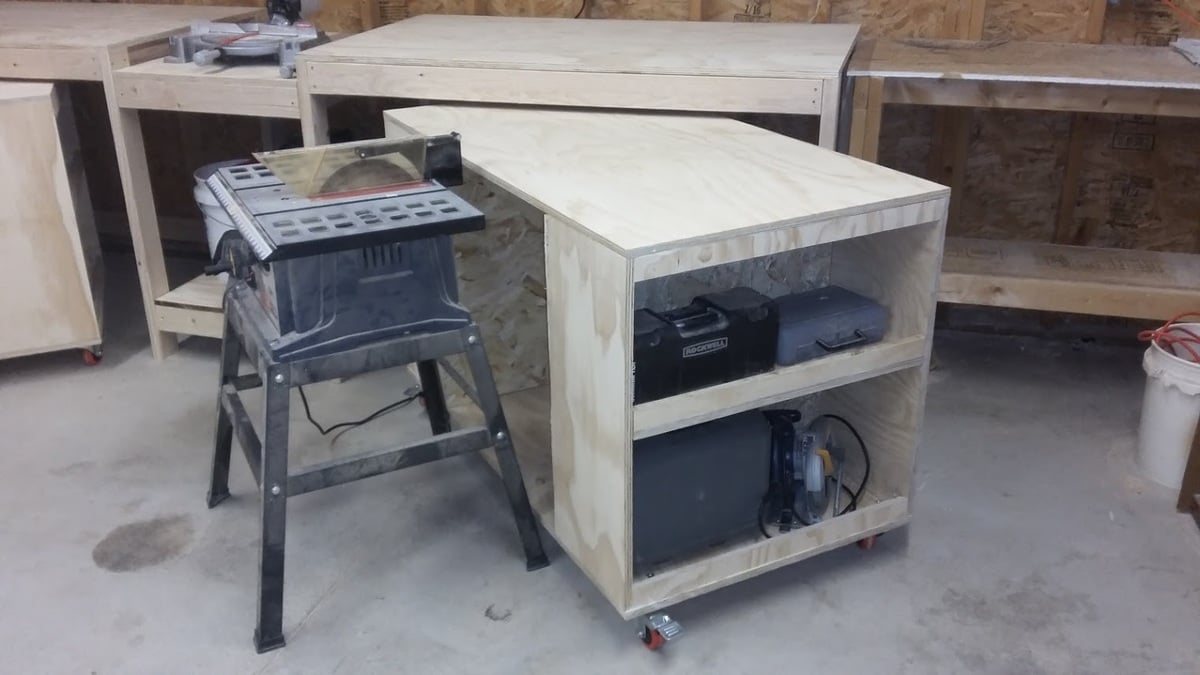
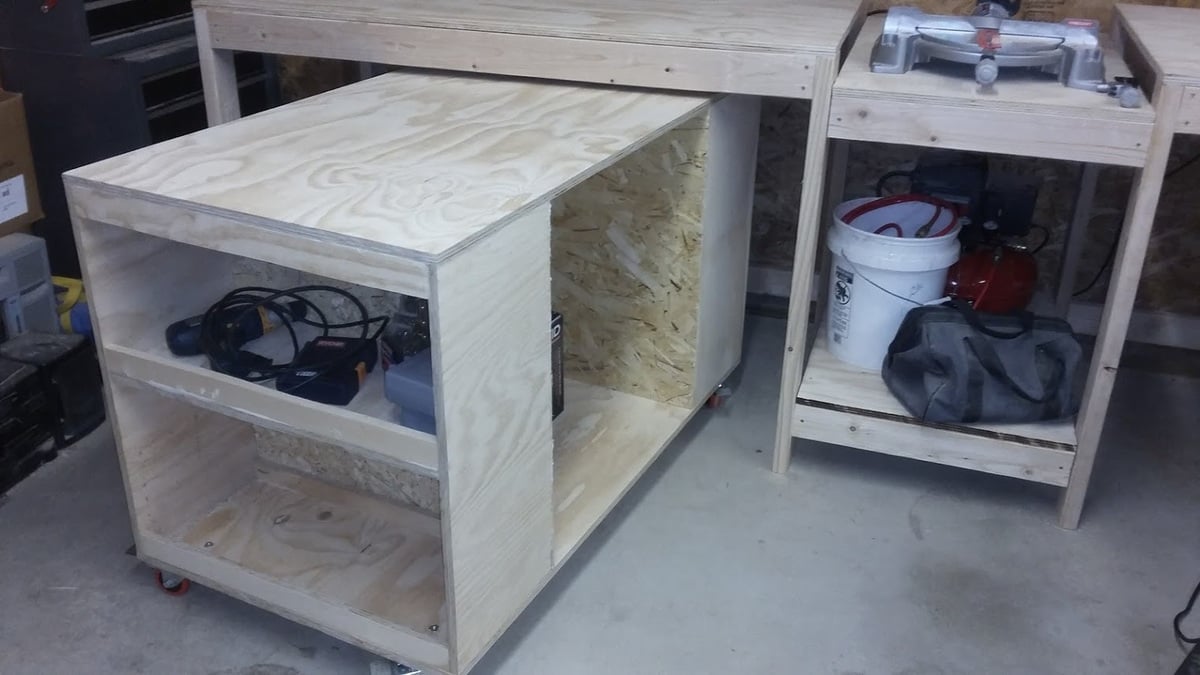
When I saw the plans for the miter saw stand that had two rolling tool storage carts, I knew I had to make it. Having a cart used for an outfeed table is a brilliant idea. It was a fun project to make. I tweaked a few dimensions because I like taller workbenches because I'm taller. Now my shop is looking more organized.

Sat, 03/18/2017 - 09:02
Very nicely done. I am thinking about building the same system. How is the dust control on the mitre saw working? That is my one concern, that sawdust will be all over my other tools when I use the mitre saw.
Wed, 05/10/2017 - 20:47
I don't really have a dust control system. I let the dust fall where it does and then just sweep it up. I have a wet/dry vac but my wife uses it in the house because it's more powerful than many other vacuums. If the dust gets out of control, I can just bring the wet/dry vac out to the garage and clean up. There is lots of room to maneuver the vacuum.
Tue, 06/23/2020 - 07:02
what kind or brand of plywood did you use for your project?
Sat, 03/18/2017 - 09:07
Very nicely done! I am thinking about building this same system but am worried about the dust from the mitre saw getting all over my other tools stored in the rolling sections. Do you have any issues with that?
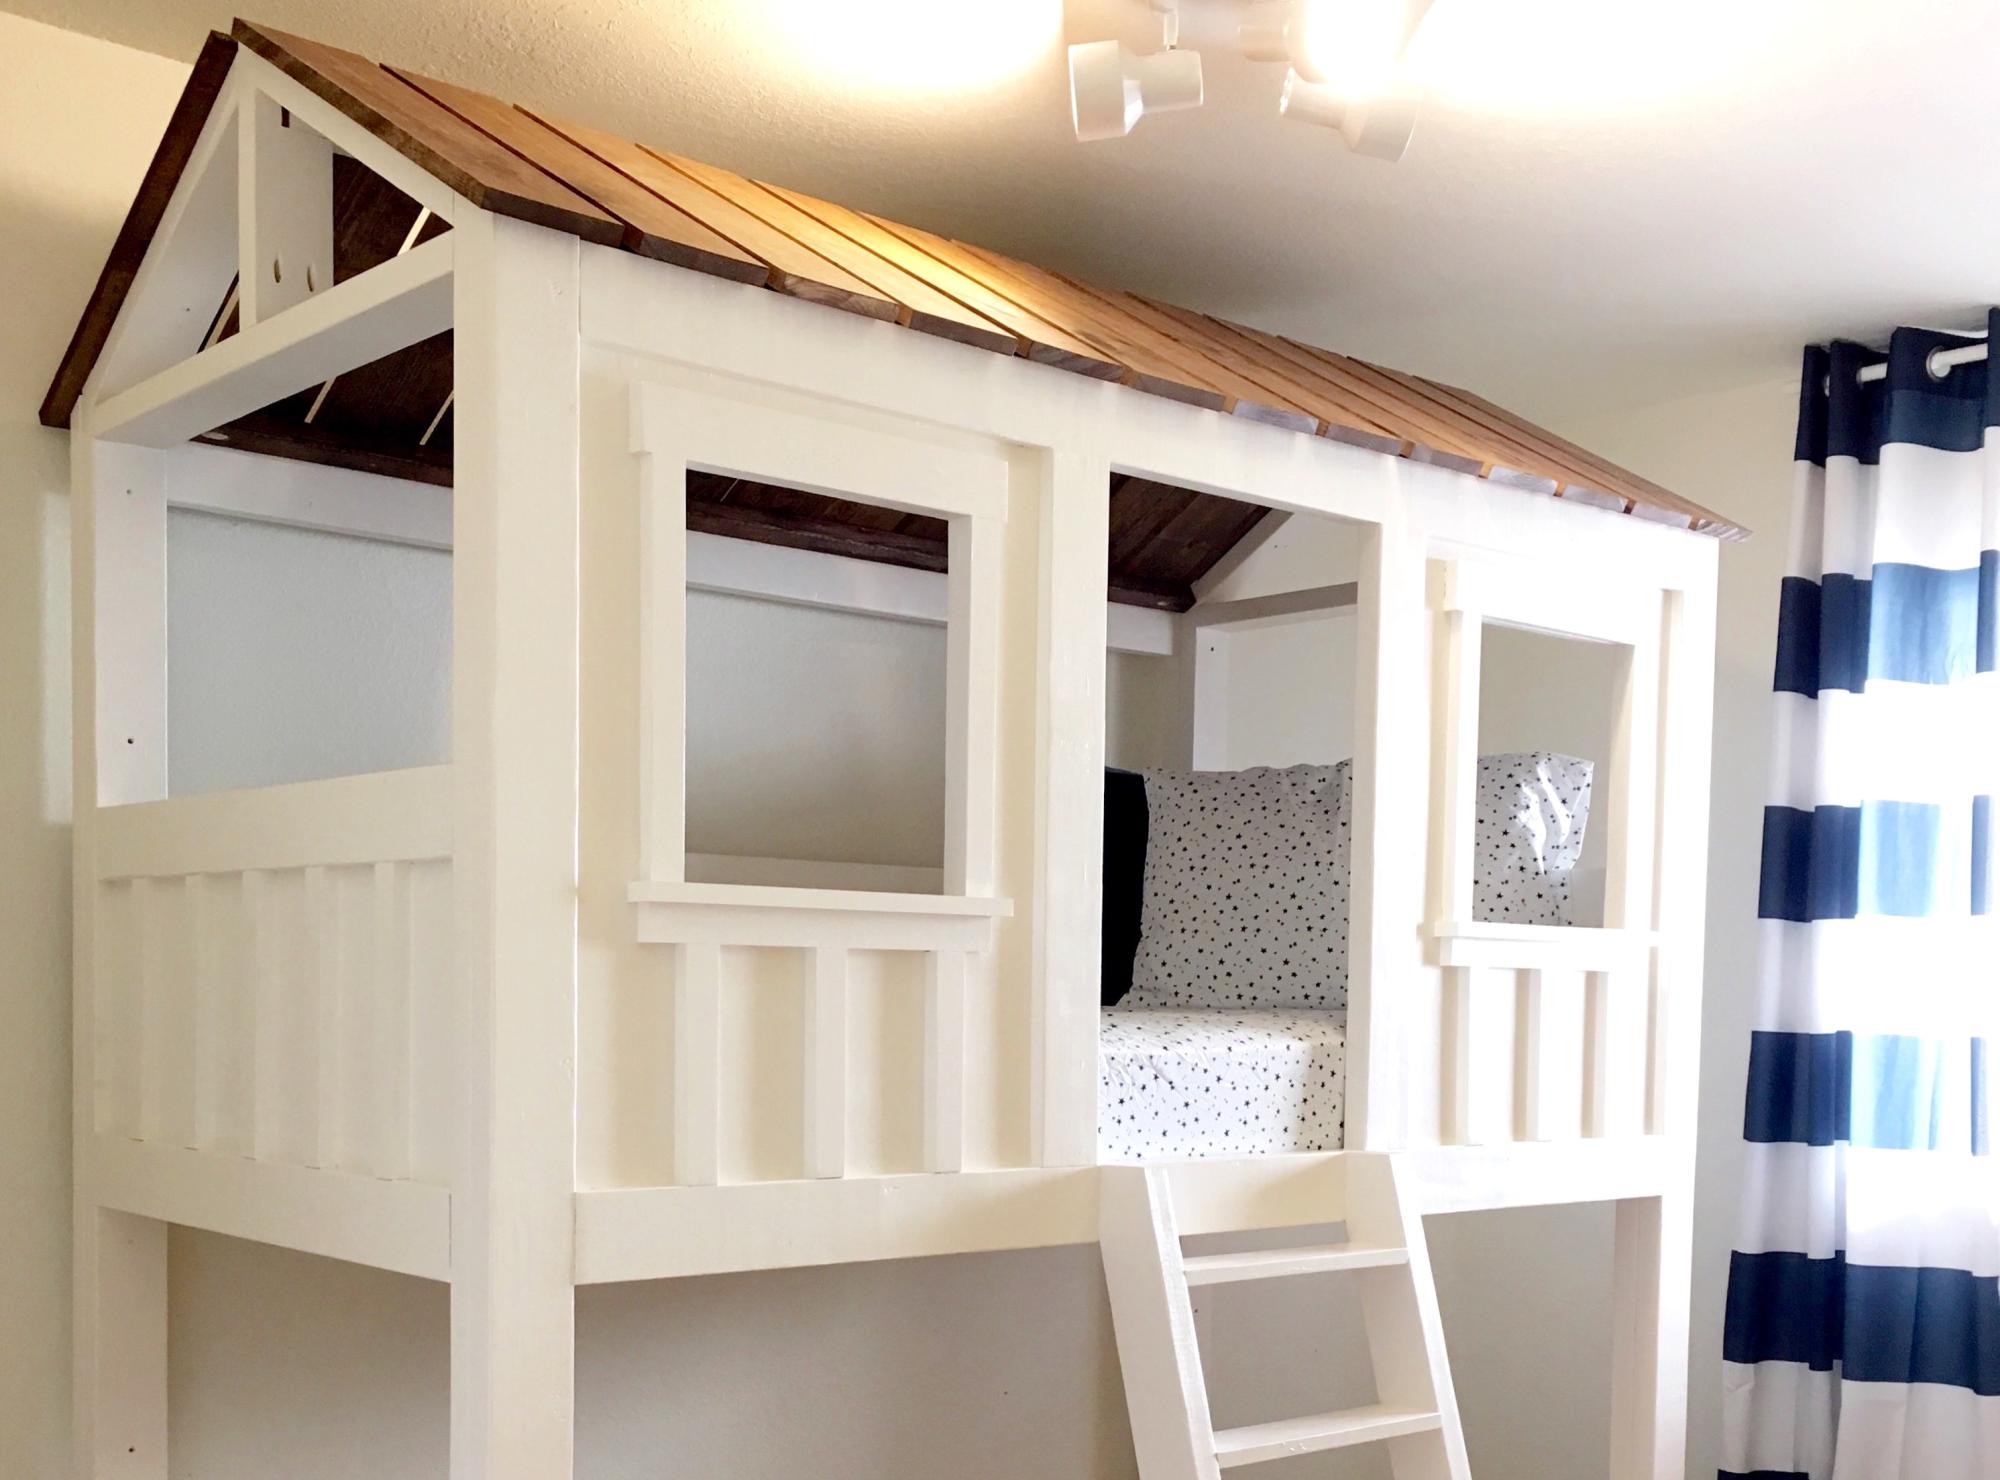
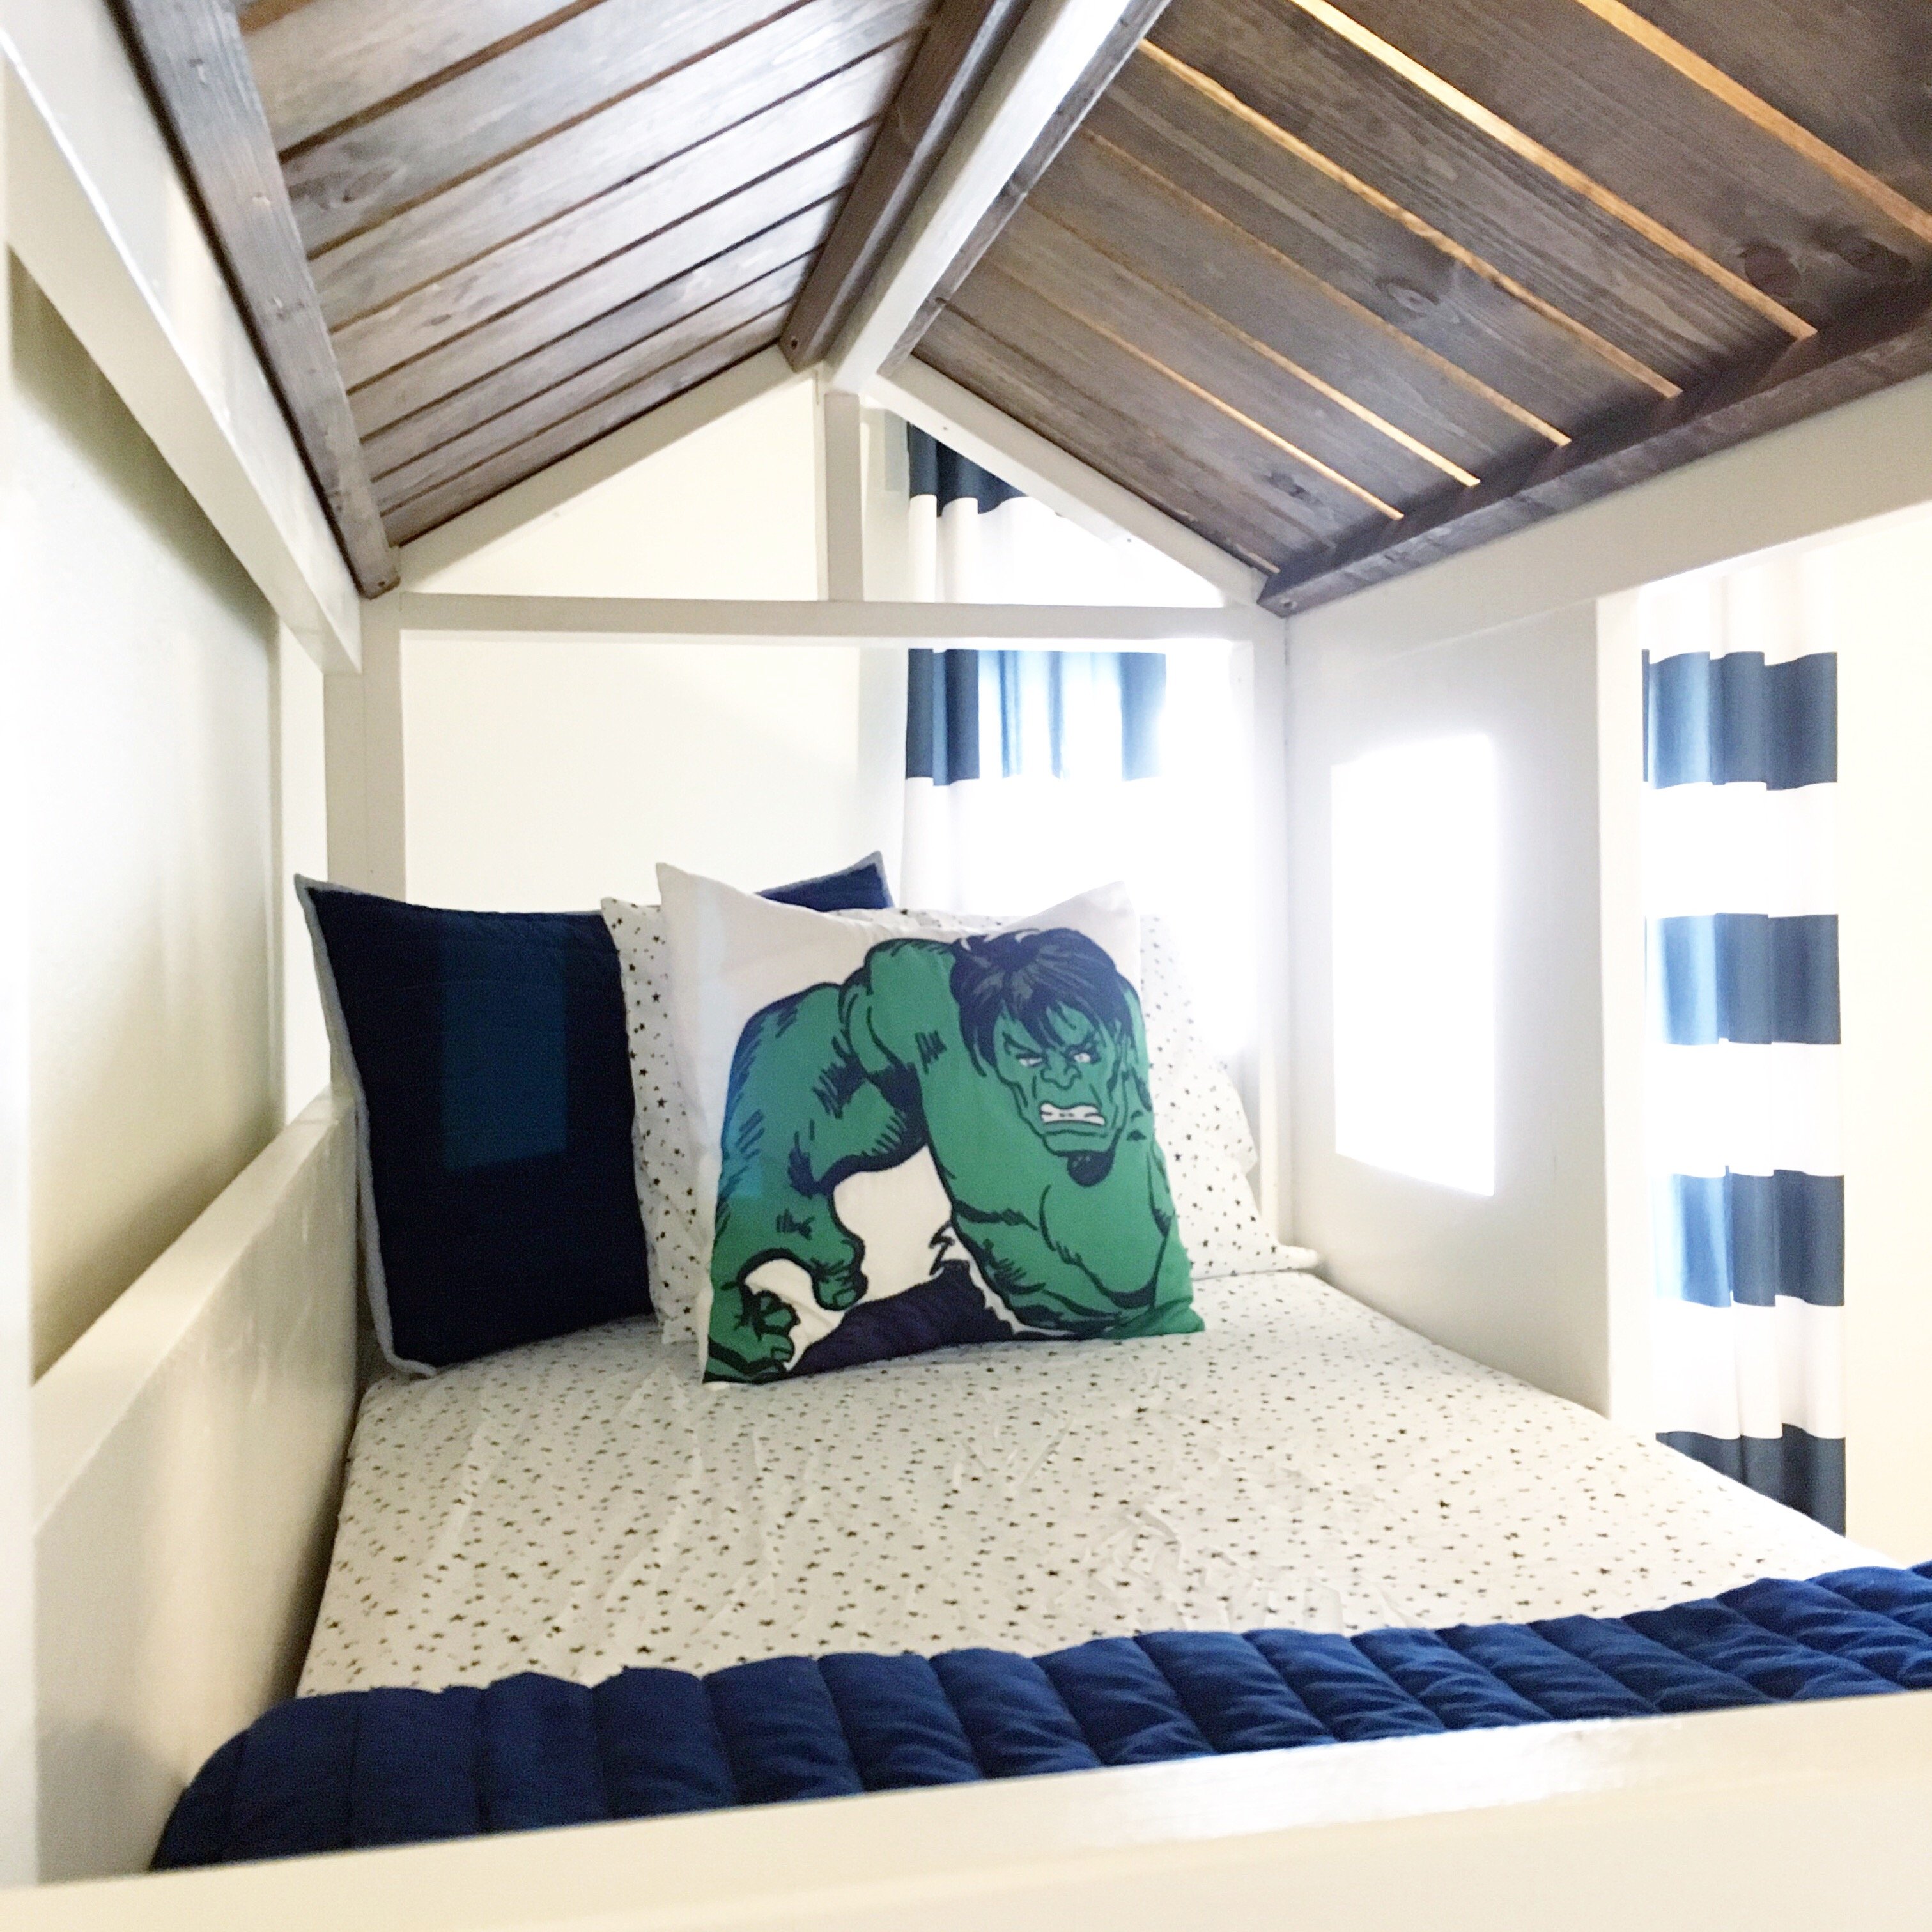
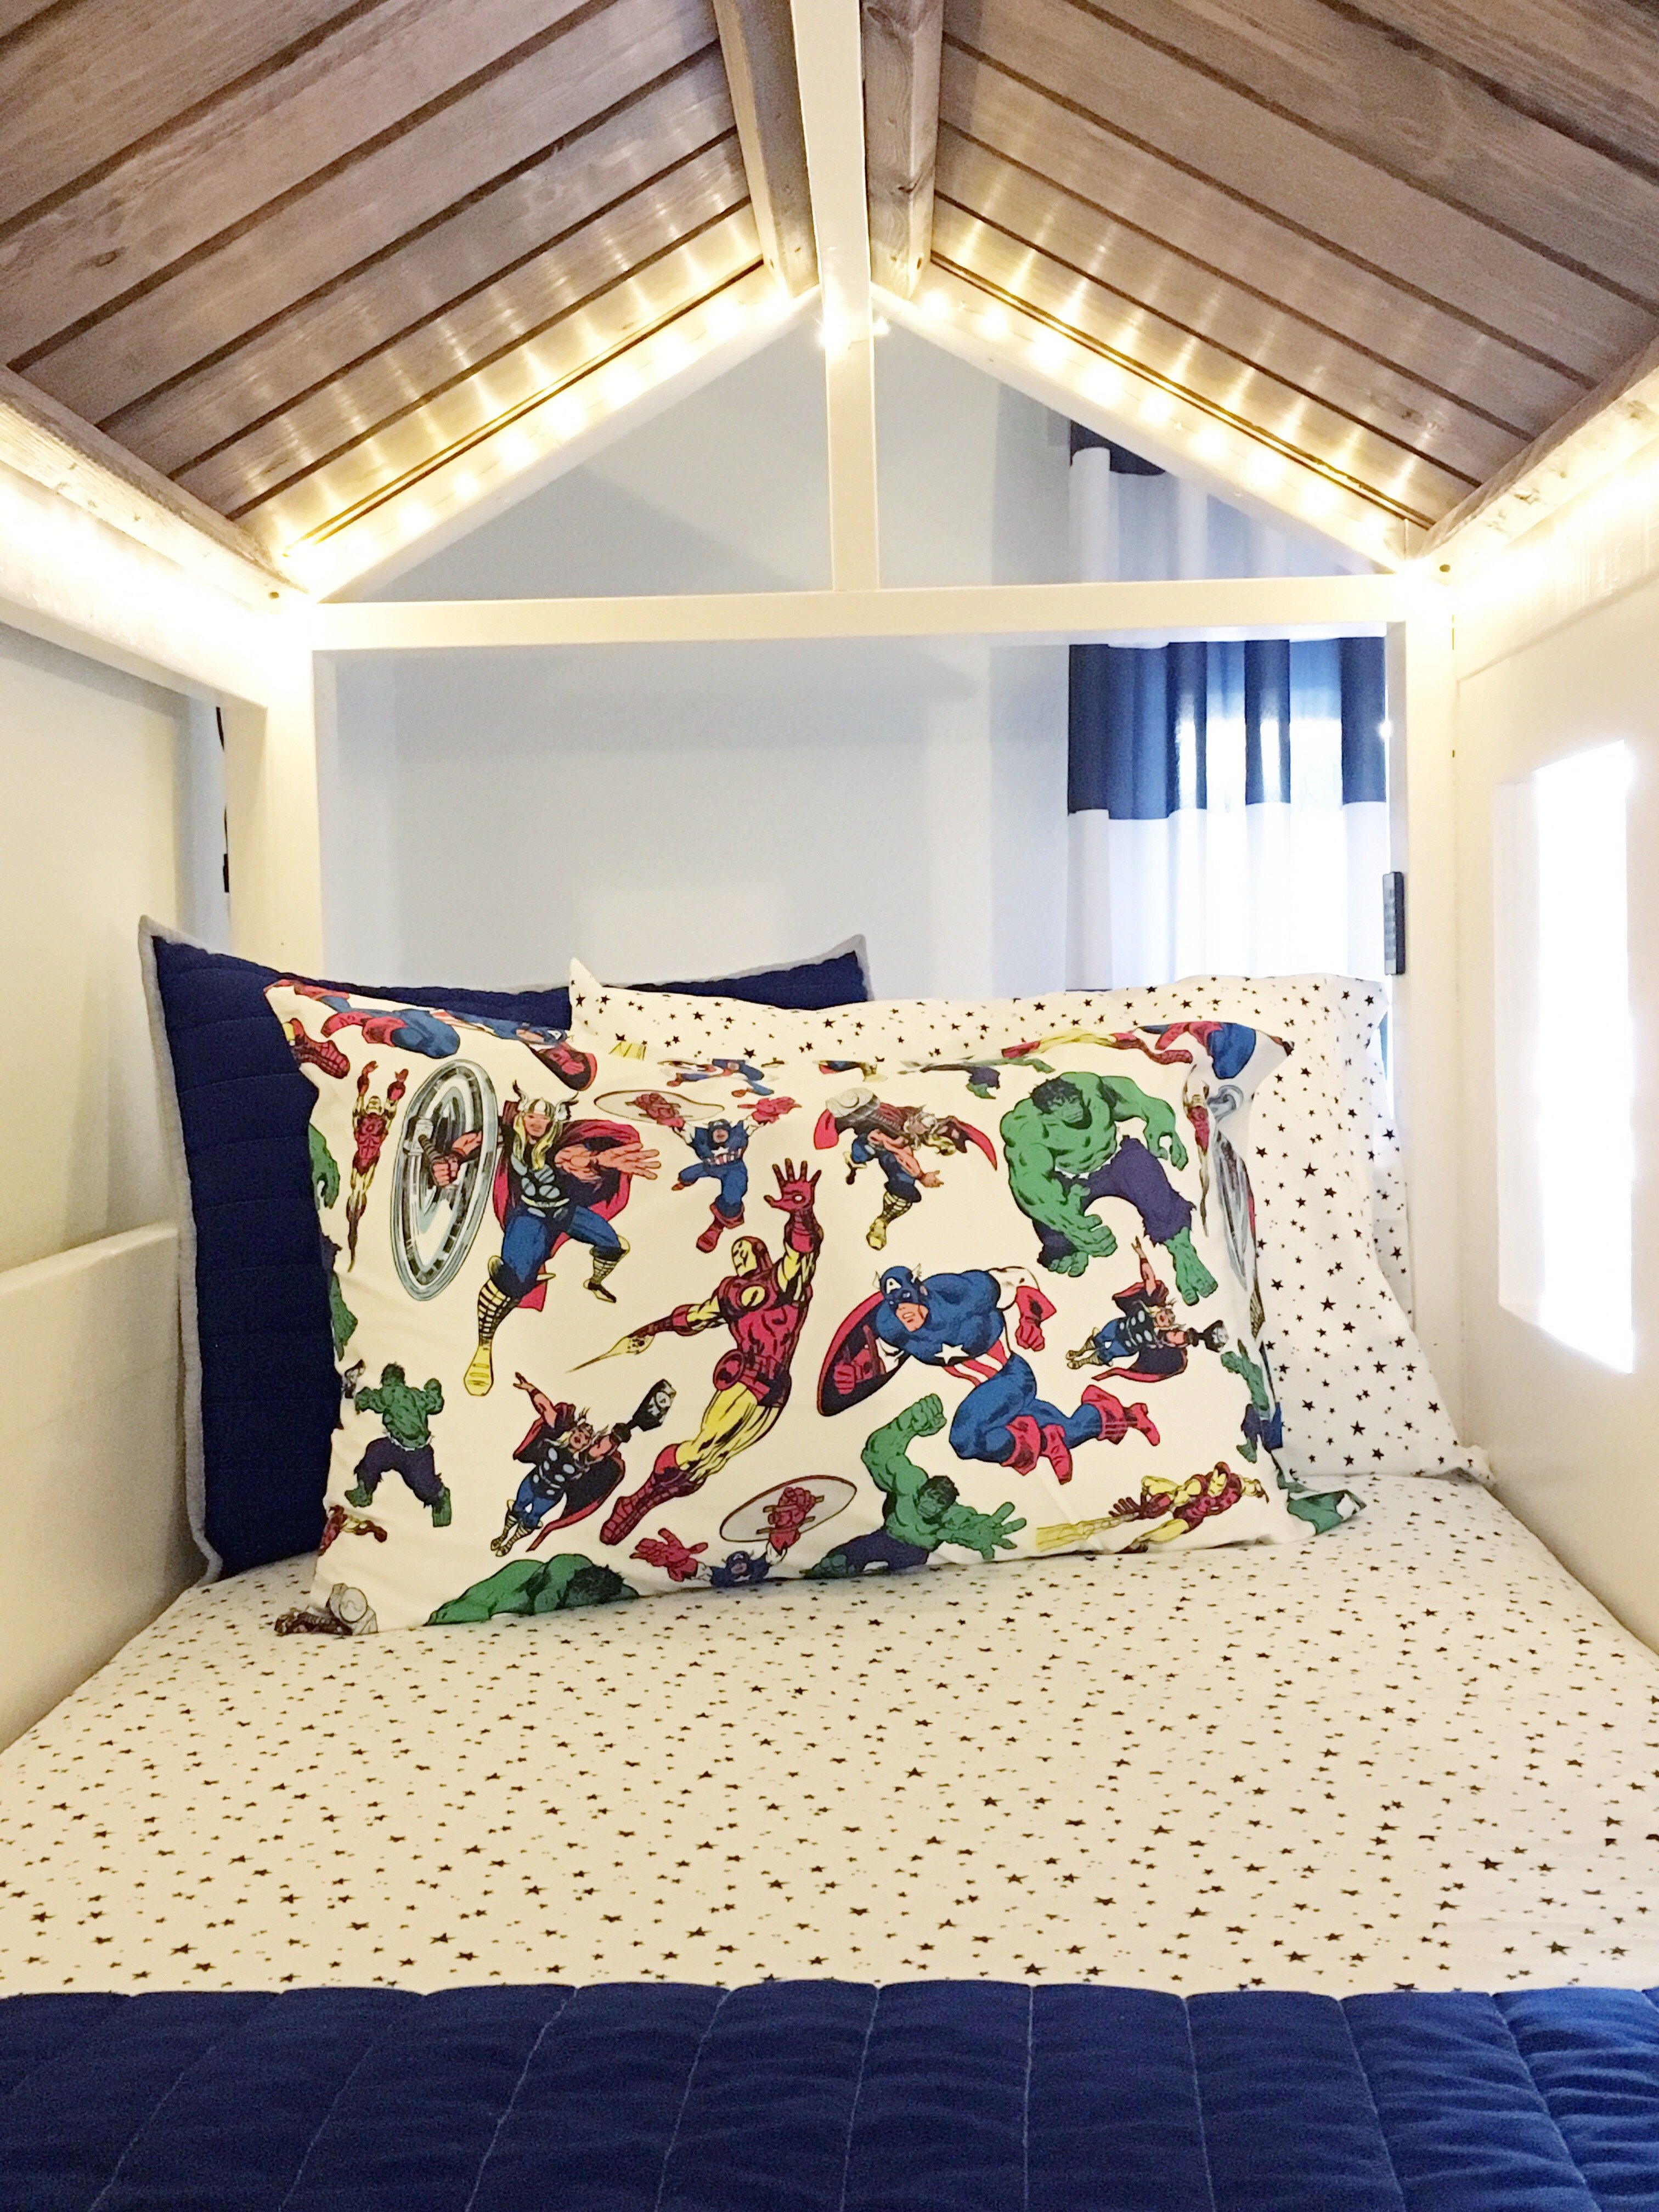
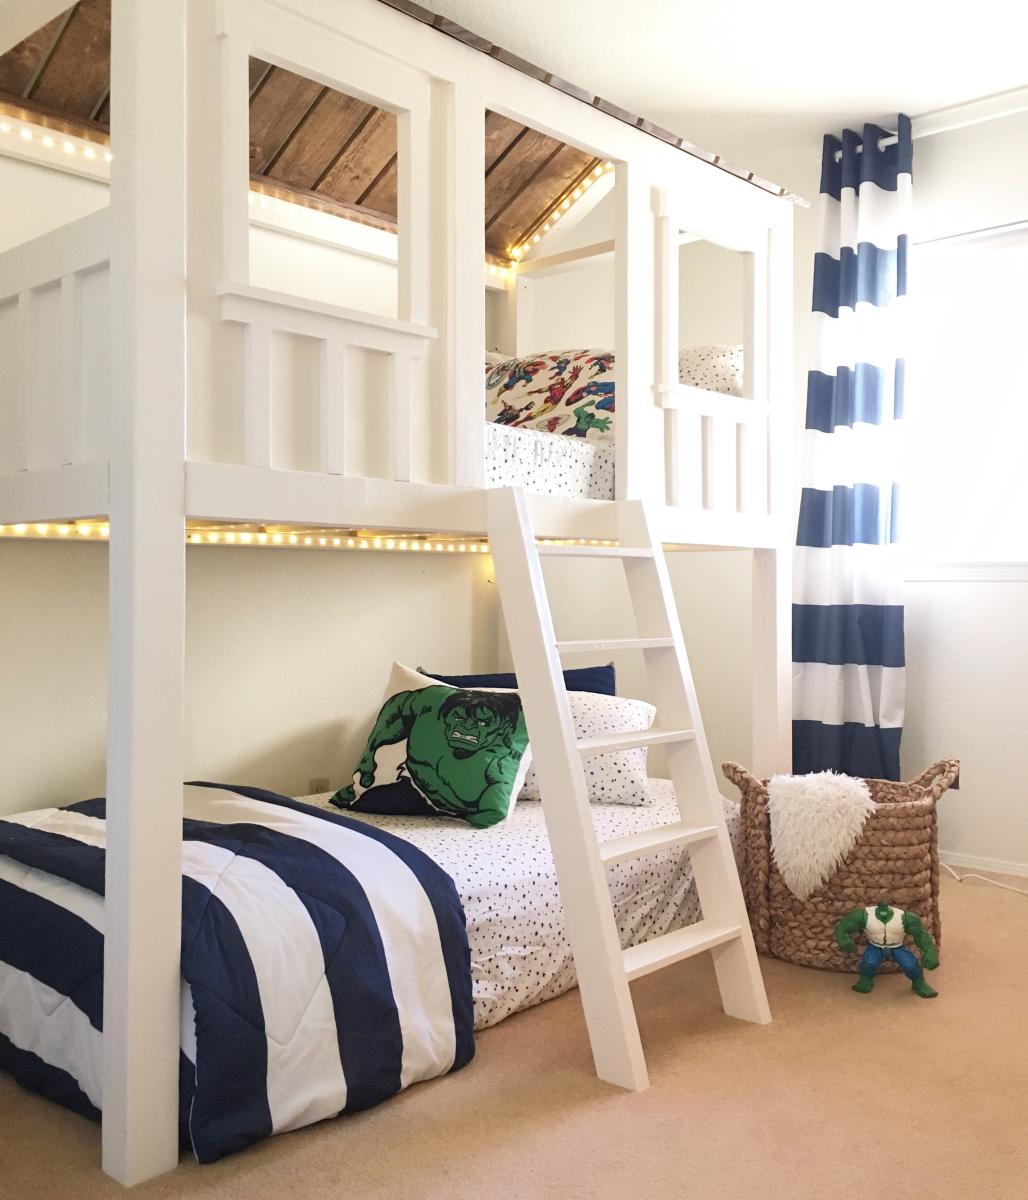
I built the original cabin bed for my son when the plans first came out and it has been such a huge hit. After seeing the loft version on RH, I decided to modify the original plans in an effort to give my son more floor play space in his room. The loft bed was his Christmas gift and I've never seen him more excited (he's four). Both he and his brother spend hours a day playing in the bed and underneath. It's hands down the most satisfying project I've built.
Mon, 06/24/2019 - 10:00
Hi!
I am so sorry I didn't see this sooner! I added the modified plans to the "blog link" section above. The modifications I made are in red. Feel free to email me if you have questions. I don't seem to get notified of comments on here.
Fri, 06/22/2018 - 17:50
This is absolutely stunning!!! I want to build the same one for my kids' rooms! Did I mention I love the colors as well? You did such a great job! Did you have to add anything for additional support since it's lifted higher than the original plan? Anything else I should be aware of or anything you can share if I were to build this bed? Thank you so much!
Mon, 06/24/2019 - 10:07
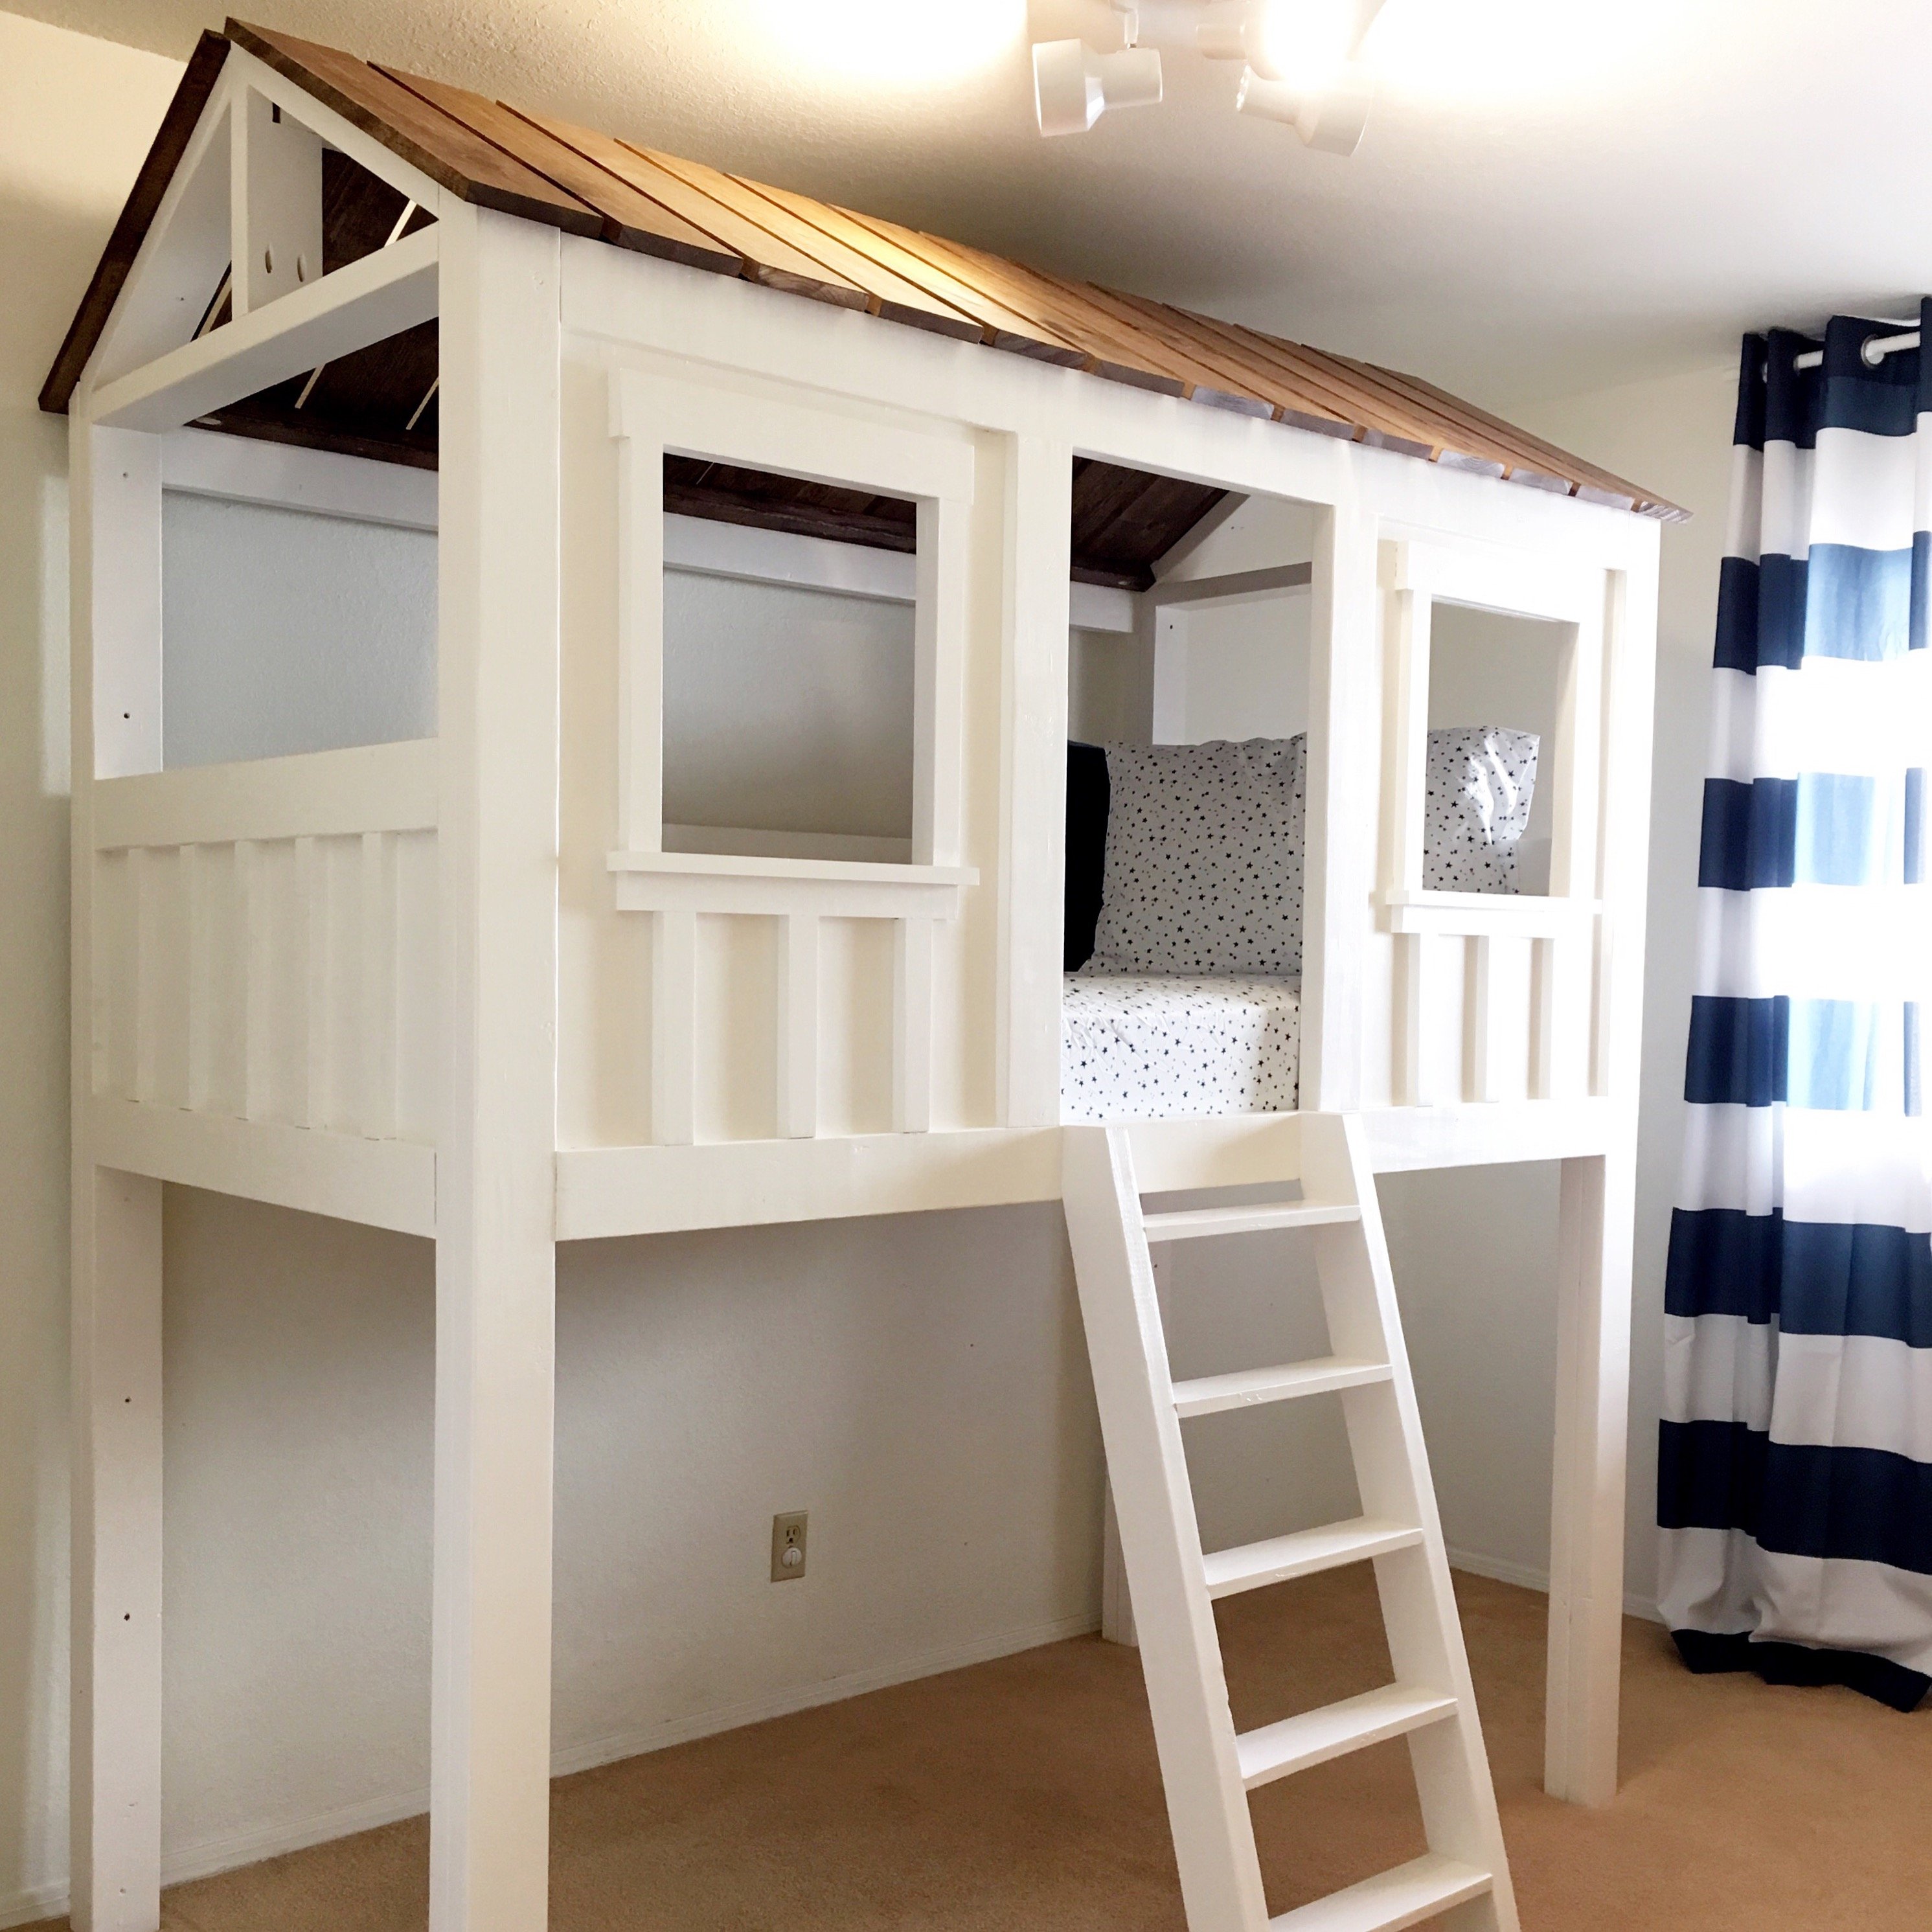
Thank you! I'm so sorry for the delayed response. I don't seem to receive notifications of comments on here. No, I did not have to add any additional supports. It is really sturdy. The build itself is very similar to the original, I just adjusted the height of the bed, and changed the dimensions of the upper cabin to leave more space on the bottom for play or another mattress. Hope that helps some. The plans are linked above in the "blog link" section if you're still interested.
Fri, 06/22/2018 - 17:56
Is your room 8' or 9' ceiling. Would you mind sharing your dimensions?
Mon, 06/24/2019 - 10:11
We have 8' ceilings. If you're still interested in the plans, I linked them above in the "blog link" section. Sorry for the seriously delayed response. I apparently need to check my notification settings. Feel free to email me if you have any questions. [email protected]
Build for niece. Easily converts to left or right handed desk. I'm a lefty and initially built to suit for me....then moved the footboard from back to front and turned that baby around....none the wiser lol
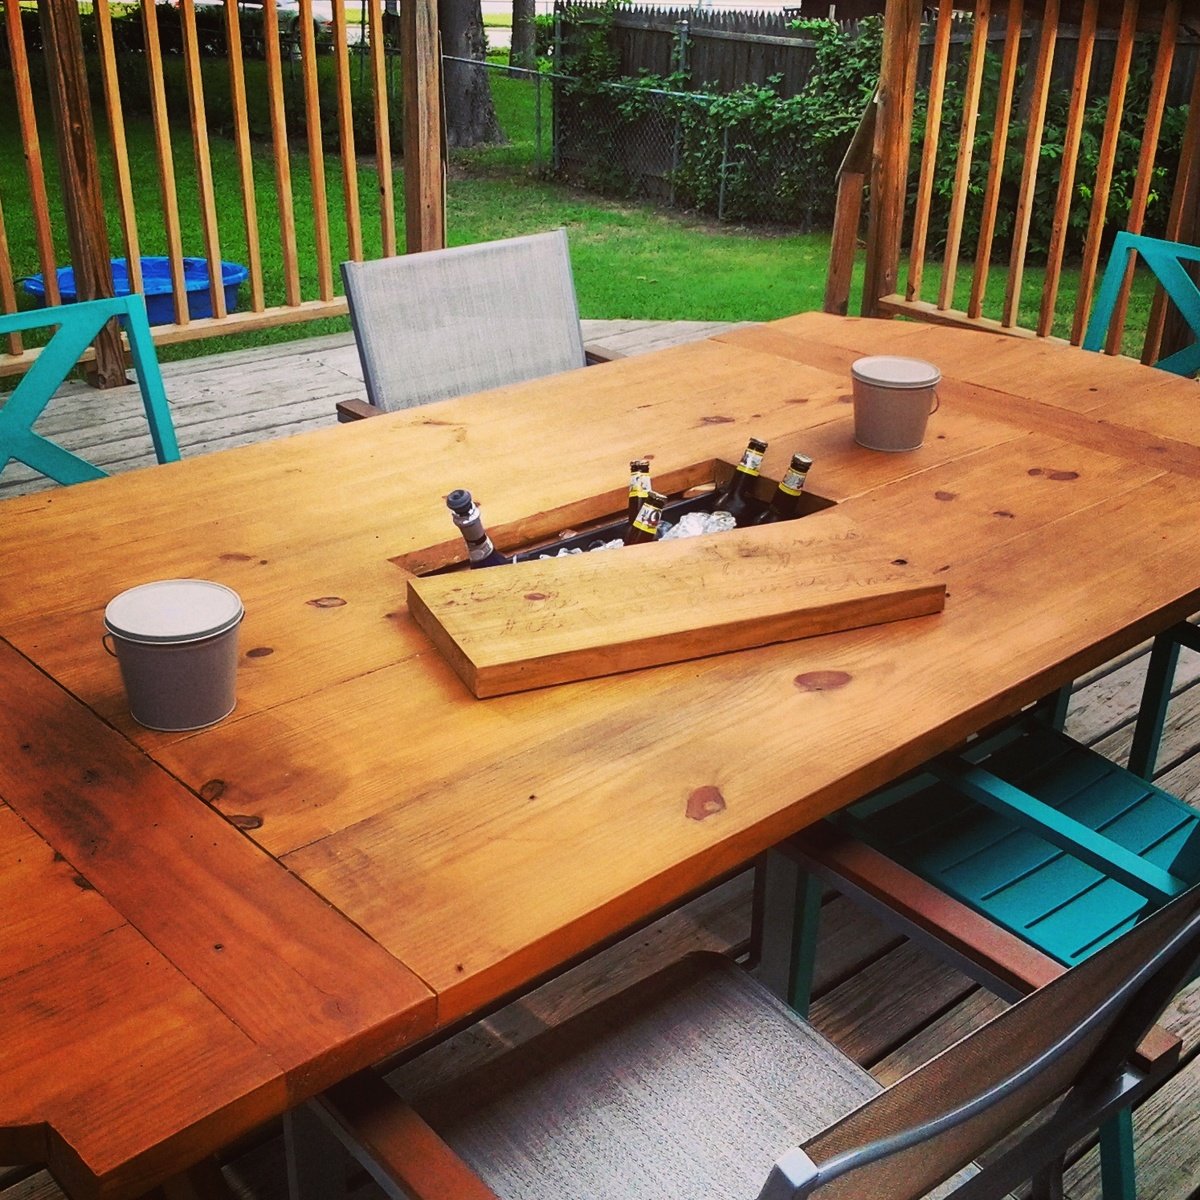
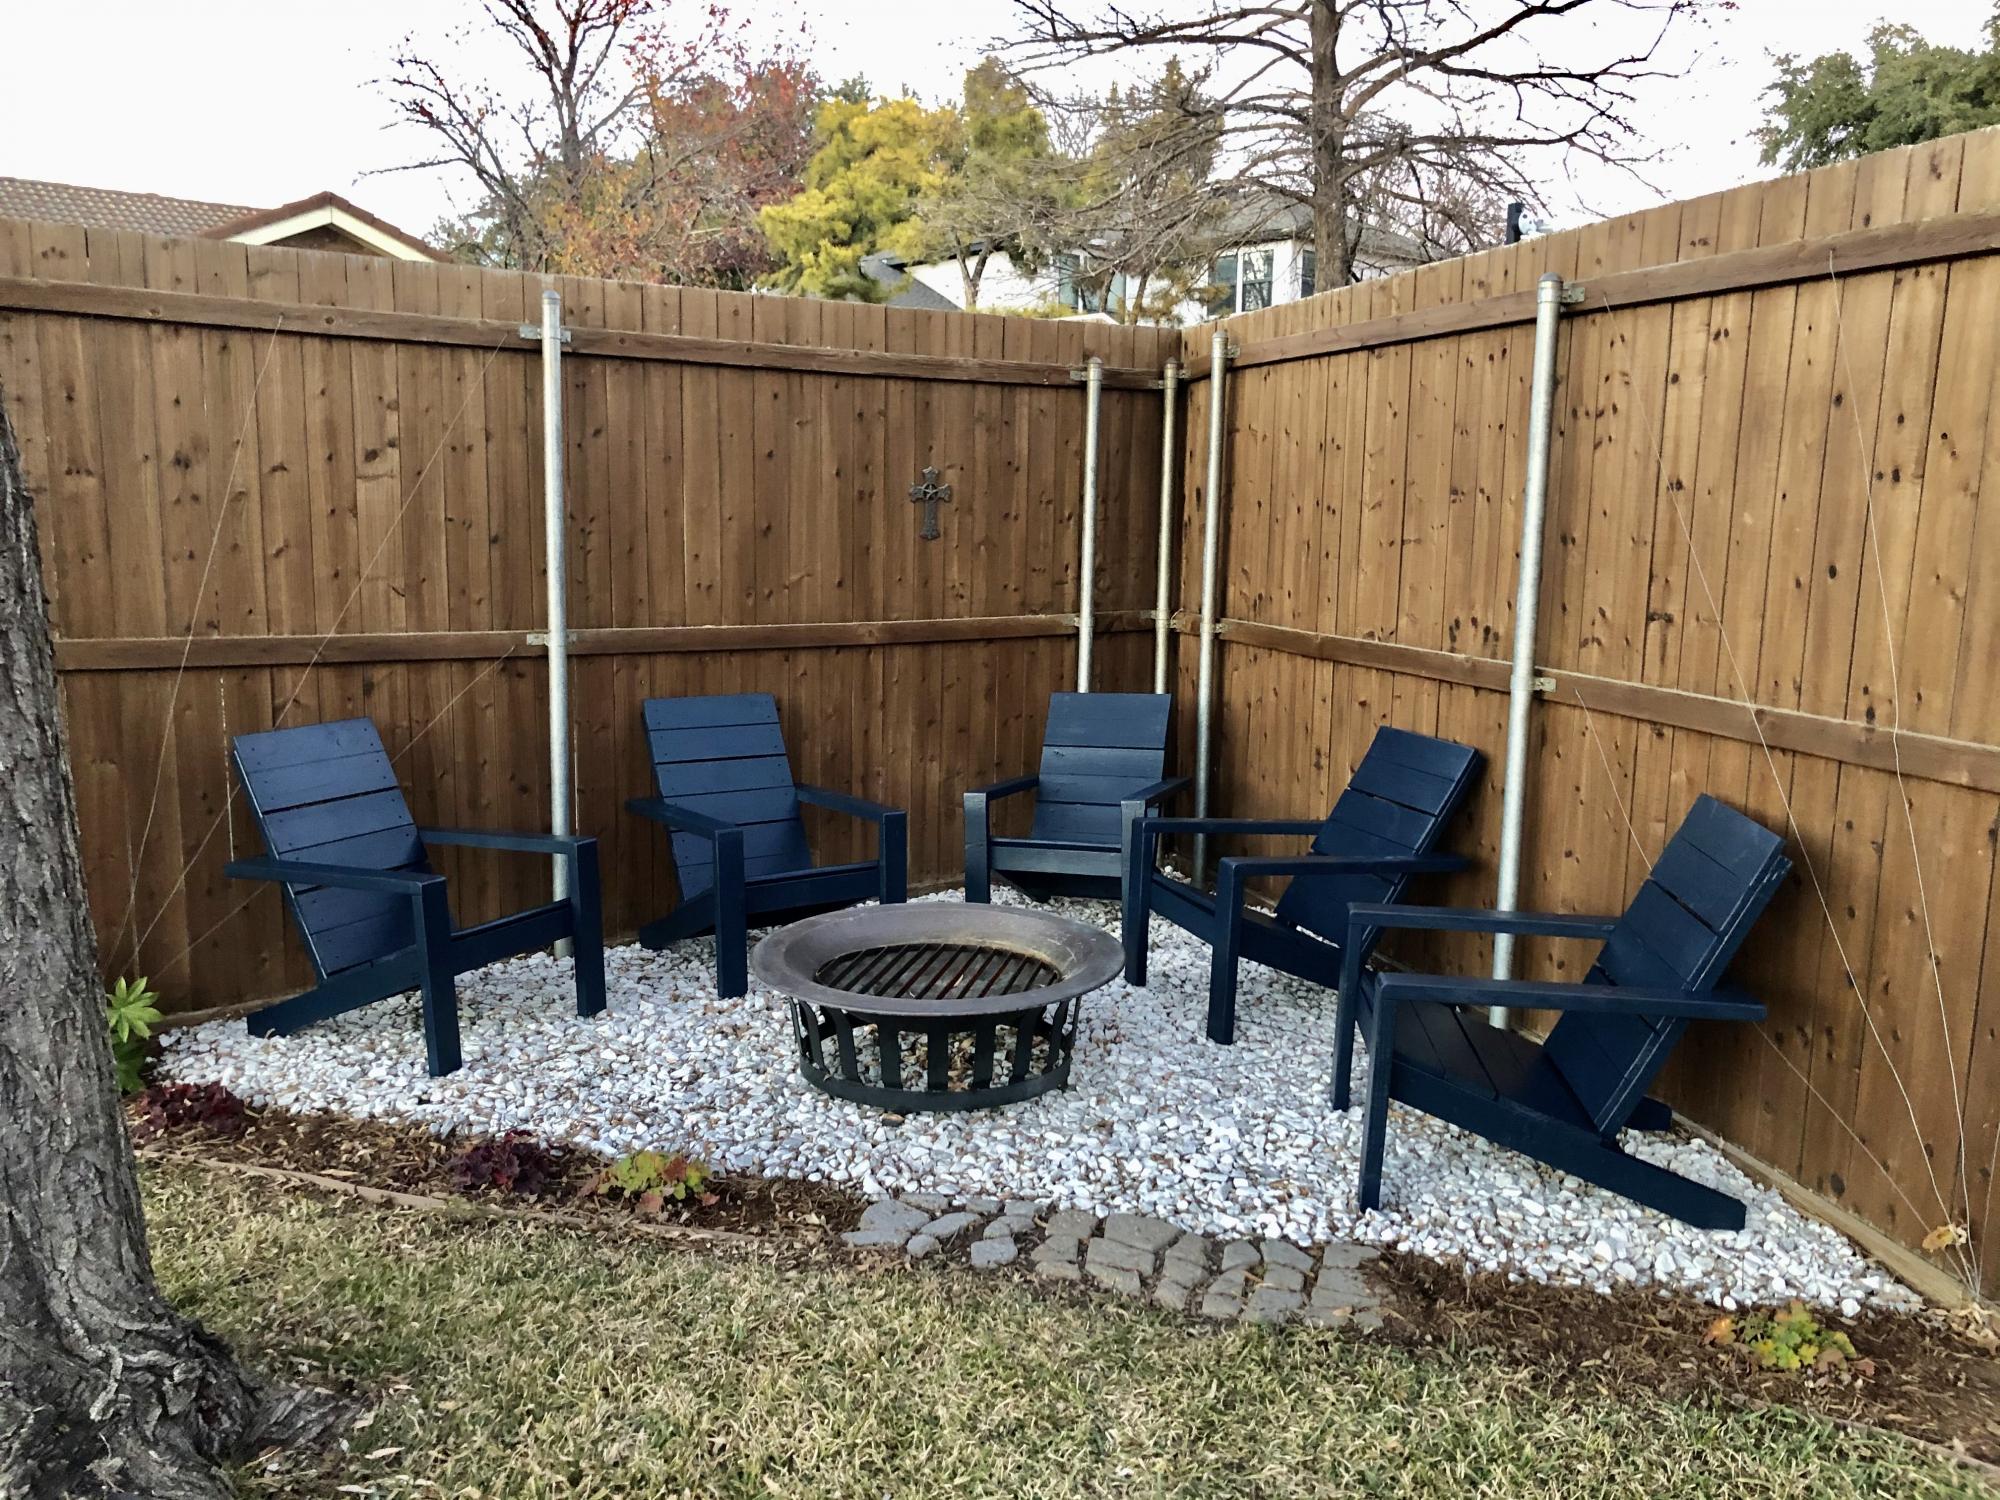
For this table I combined few designs that I liked to give me a large (8'x4') outdoor dining table with a big cooler in the center.


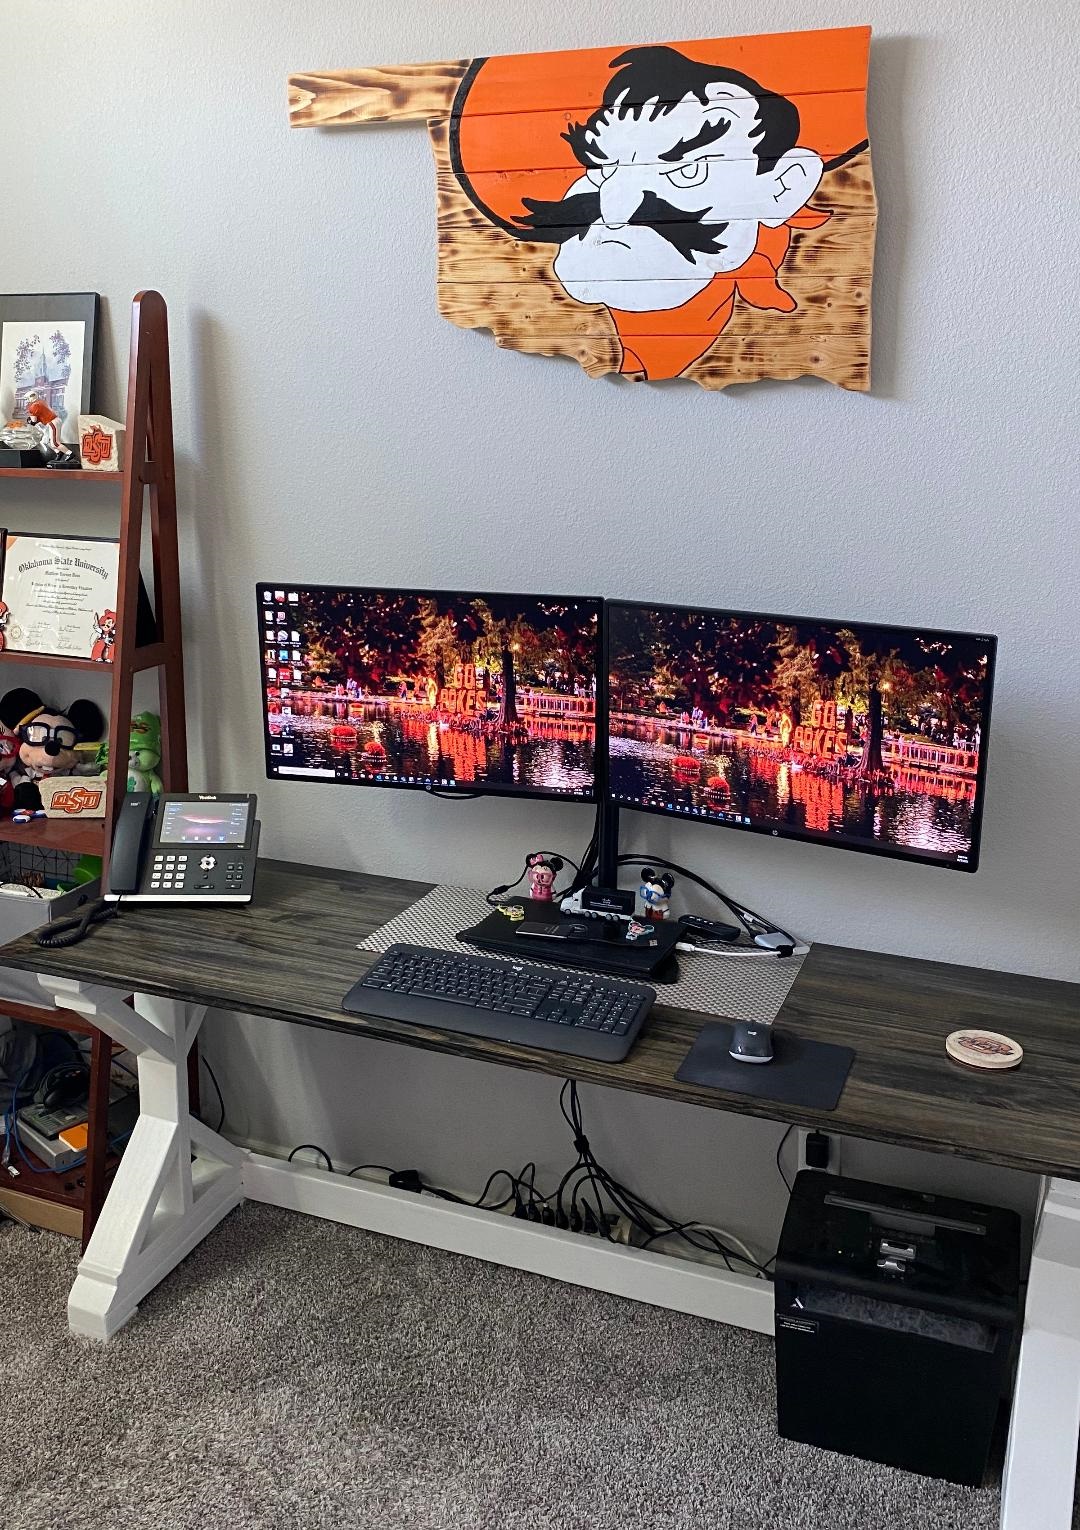
I created this desk using the Fancy X Desk plans, but I used a project panel for top.
I have added a few things to make this workbench comprehensive. I added a paper towel holder, go Jo holder, cord hooks, electric bar, and I enclosed the sides and put a door on the front and a hinged pegboard on the back which makes it able for me to store all of my tools and lock them up.
Thanks for the awesome plans Anna! God bless.
Eddie Jimenez
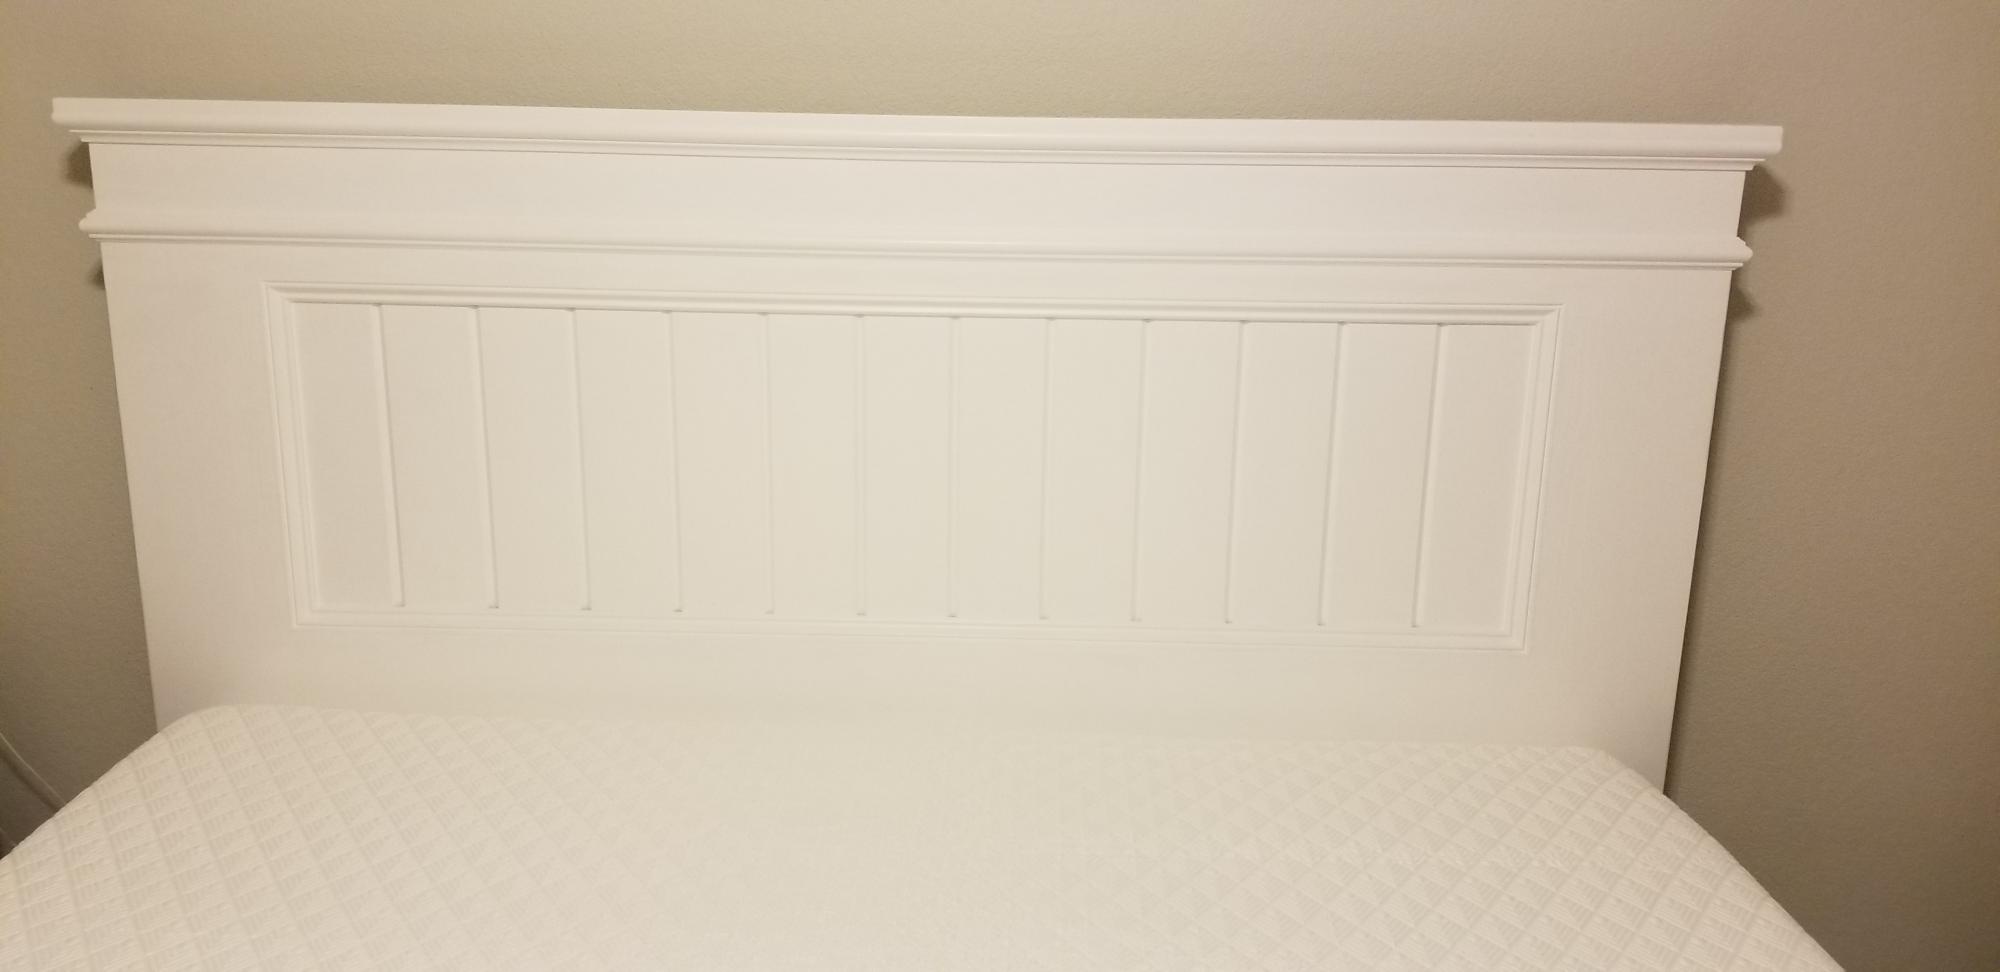
This was my first bed since we can not find any in stock due to the pandemic. I switched up the headboard legs to 2x6s for a slightly wider base. This helped with the mattress in a box we ordered. I built a simple frame using 2x8s, all basic lumber from the big box store, and used 2x6s for the footboard legs. I built the bed frame just about two inches shorter in width to give it some variation in sight lines. I finished it with basic white enamel paint and put 1x4 slats under the mattress. My wife loved it and it turned out well.
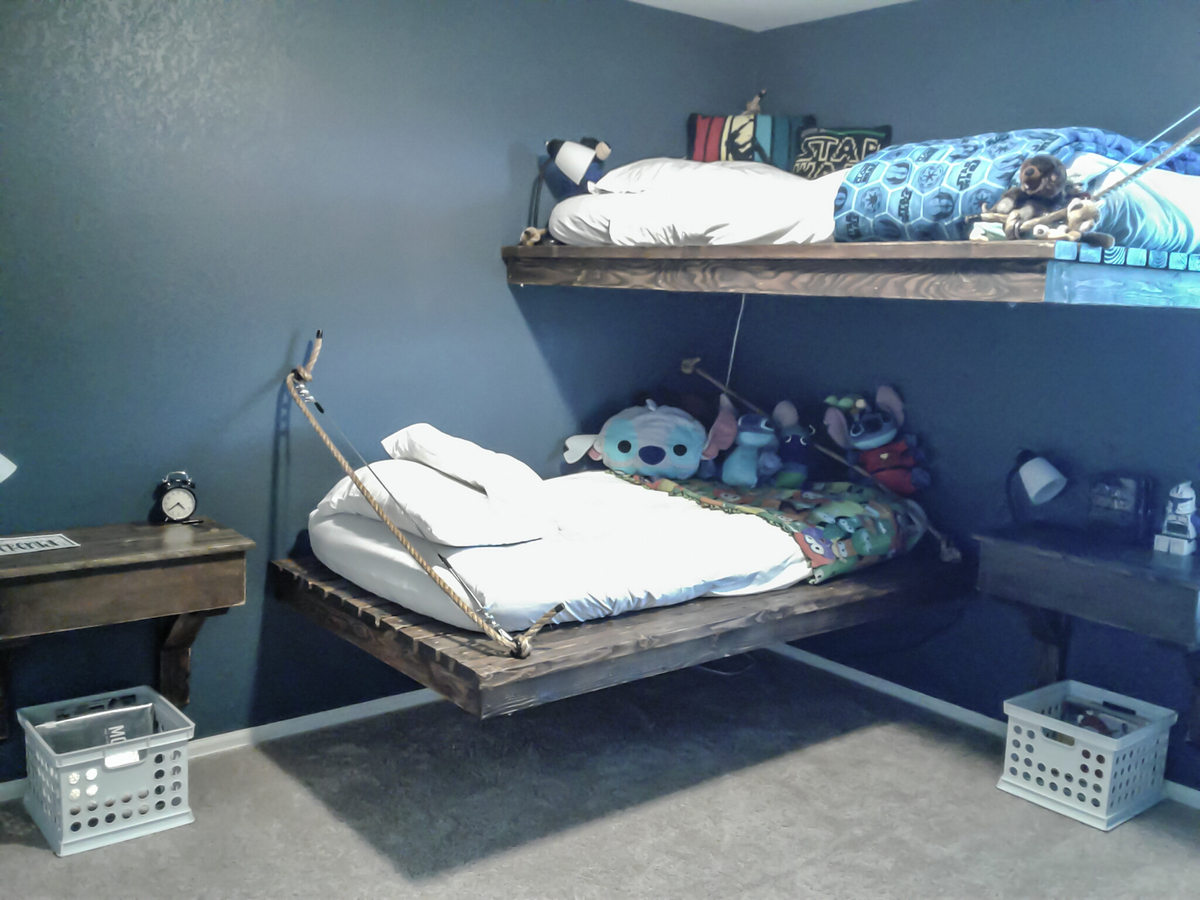
Using the daybed plan I modified the beds to hang supported by two walls. I mounted the bed to the wall into the studs using 5/16 GRK Rugged Structural Screws, and also used structural screws to attach all the framing supports. I originally tried to hang the unsupported side with rope from a lag thread screw eye in the wall stud and a lag eye bolt in the bed frame, but the rope had too much stretch and would not adequately hold the corner (as the rope stretched the weight on the corner pulled on the 2x4 wall support at an odd angle that would probably eventually break the frame). So, I found stainless steel uncoated wire rope, with the appropriate fasteners, and that seemed to hold well with less give on the corner. I was still a little uncomfortable with the amount of force pulling on the 2x4 center supports at the 2x4 wall brace so I also added 2x4 joist hangers on the center supports. The corner still moves slightly when I hang on it (I'm about 110lbs), but I have no doubt the bed will support the weight of my kids without issue. My 200lb husband got on it without any problems. The beds are straight forward and cost-effective to make, you just have to be sure you mount them safely. Also, a tip for those of you planning on mounting the beds to a wall, mount the frame first and then screw on the decking boards...so much lighter and easier to work with that way!!
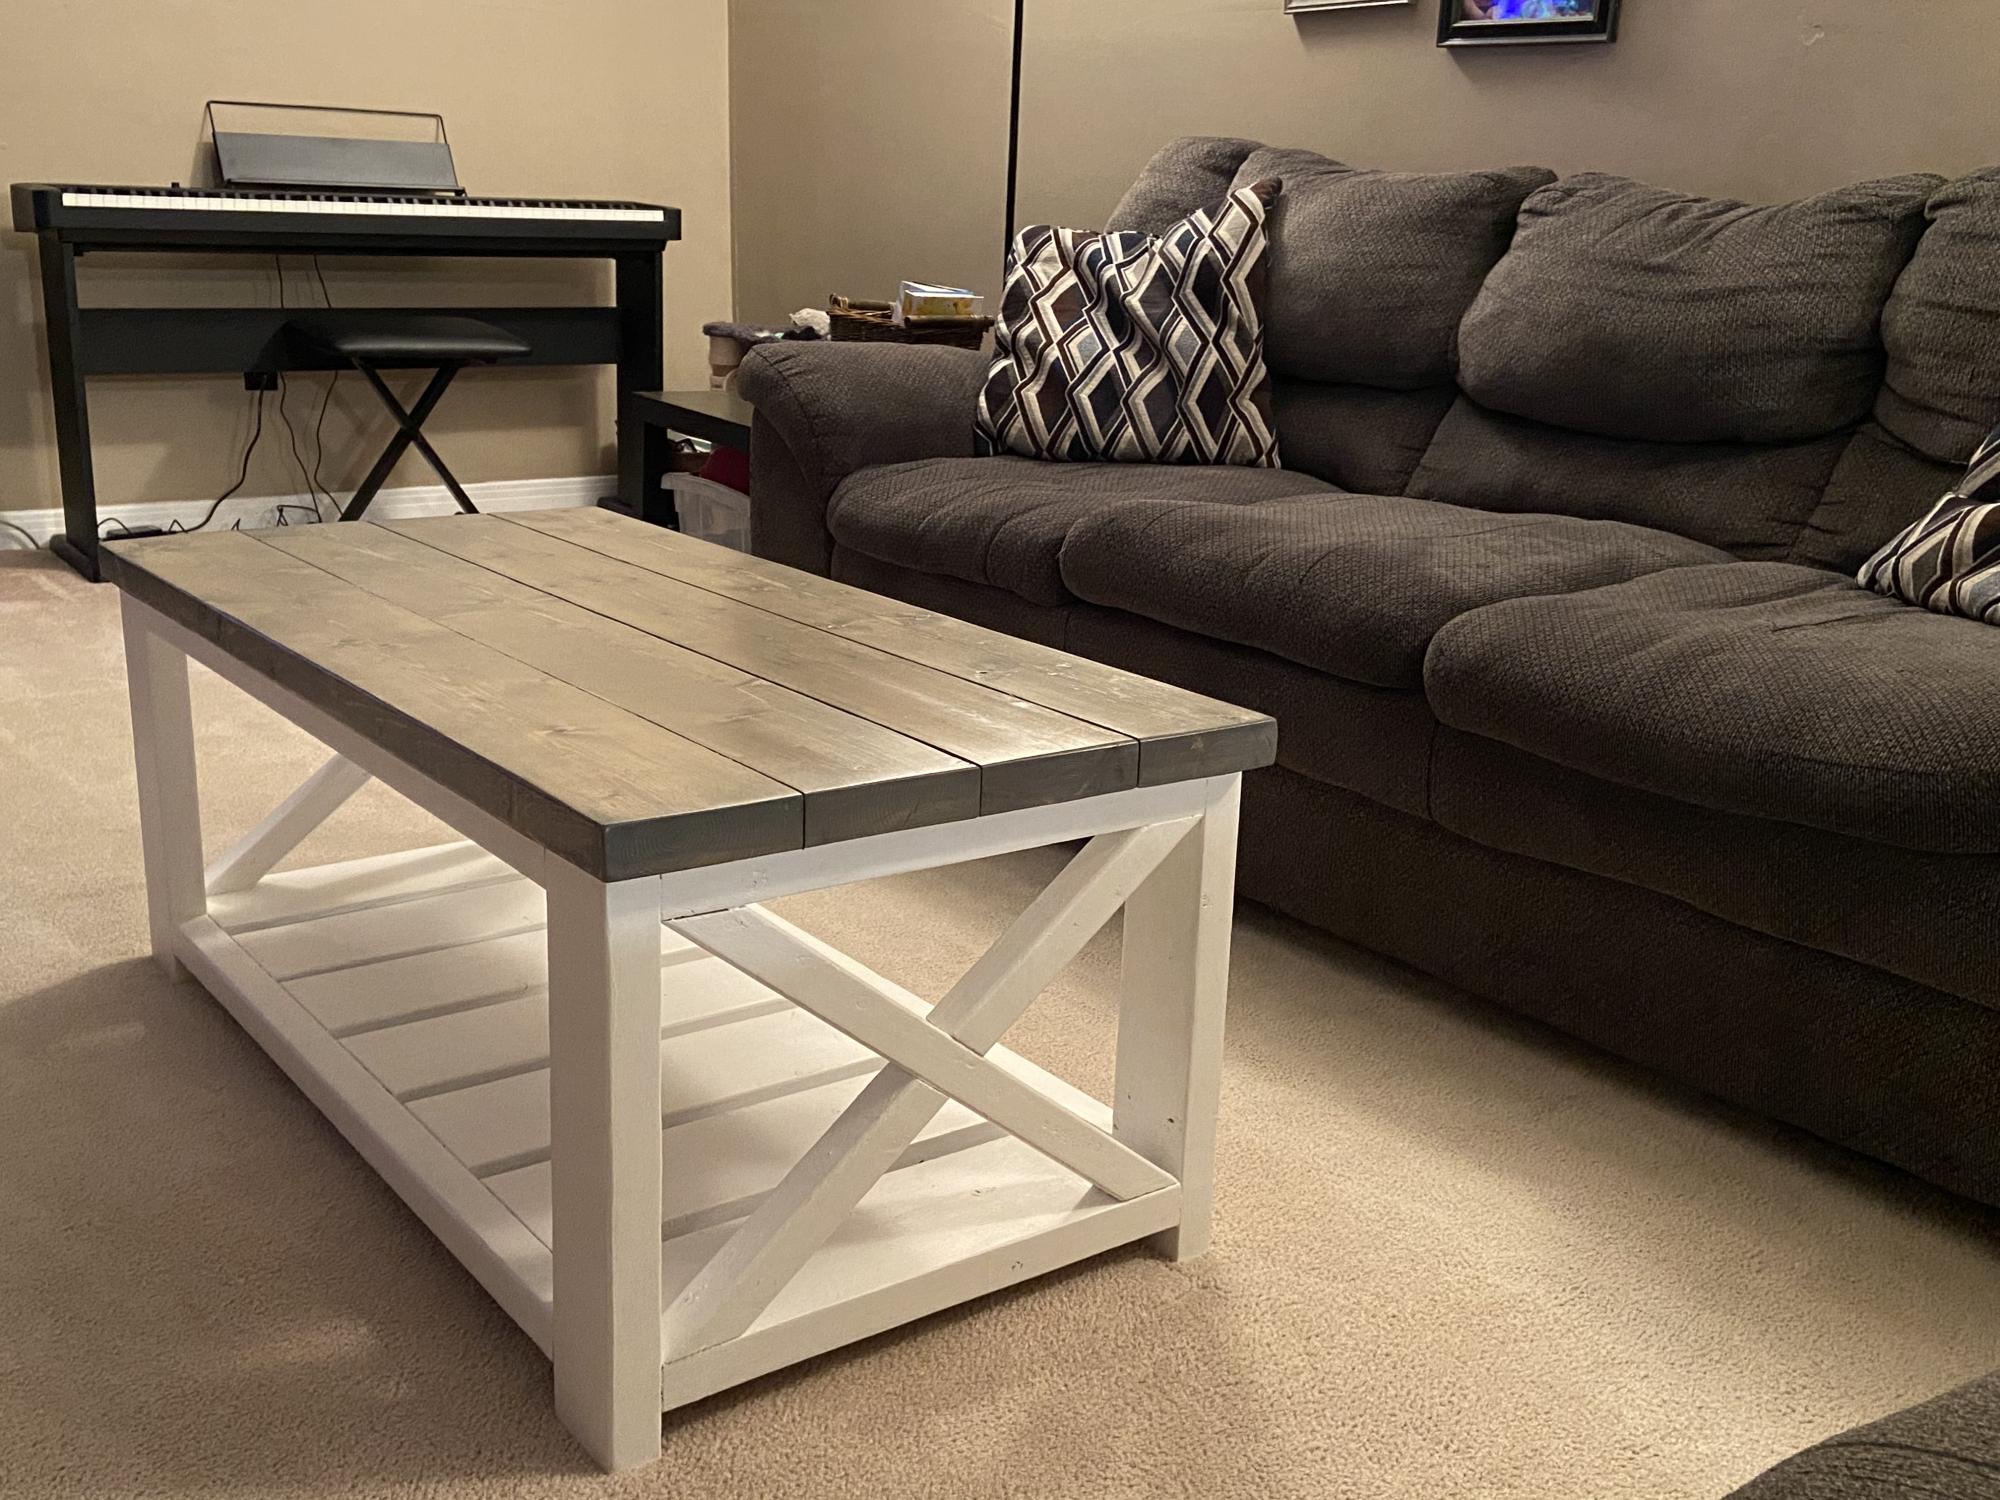
This was my first project and had tons of fun building it. Can’t wait to build to end tables to match.
The plans are so easy to understand. The only change I made was instead of exposed screws I used the pocket hole method


Fri, 01/12/2024 - 08:33
This is beautiful and just the look I'm going for with the color scheme. I am wondering if it would be easier to paint the wood before constructing it? Also, what is the pocket hole technique? I think I would like the screws hidden too.
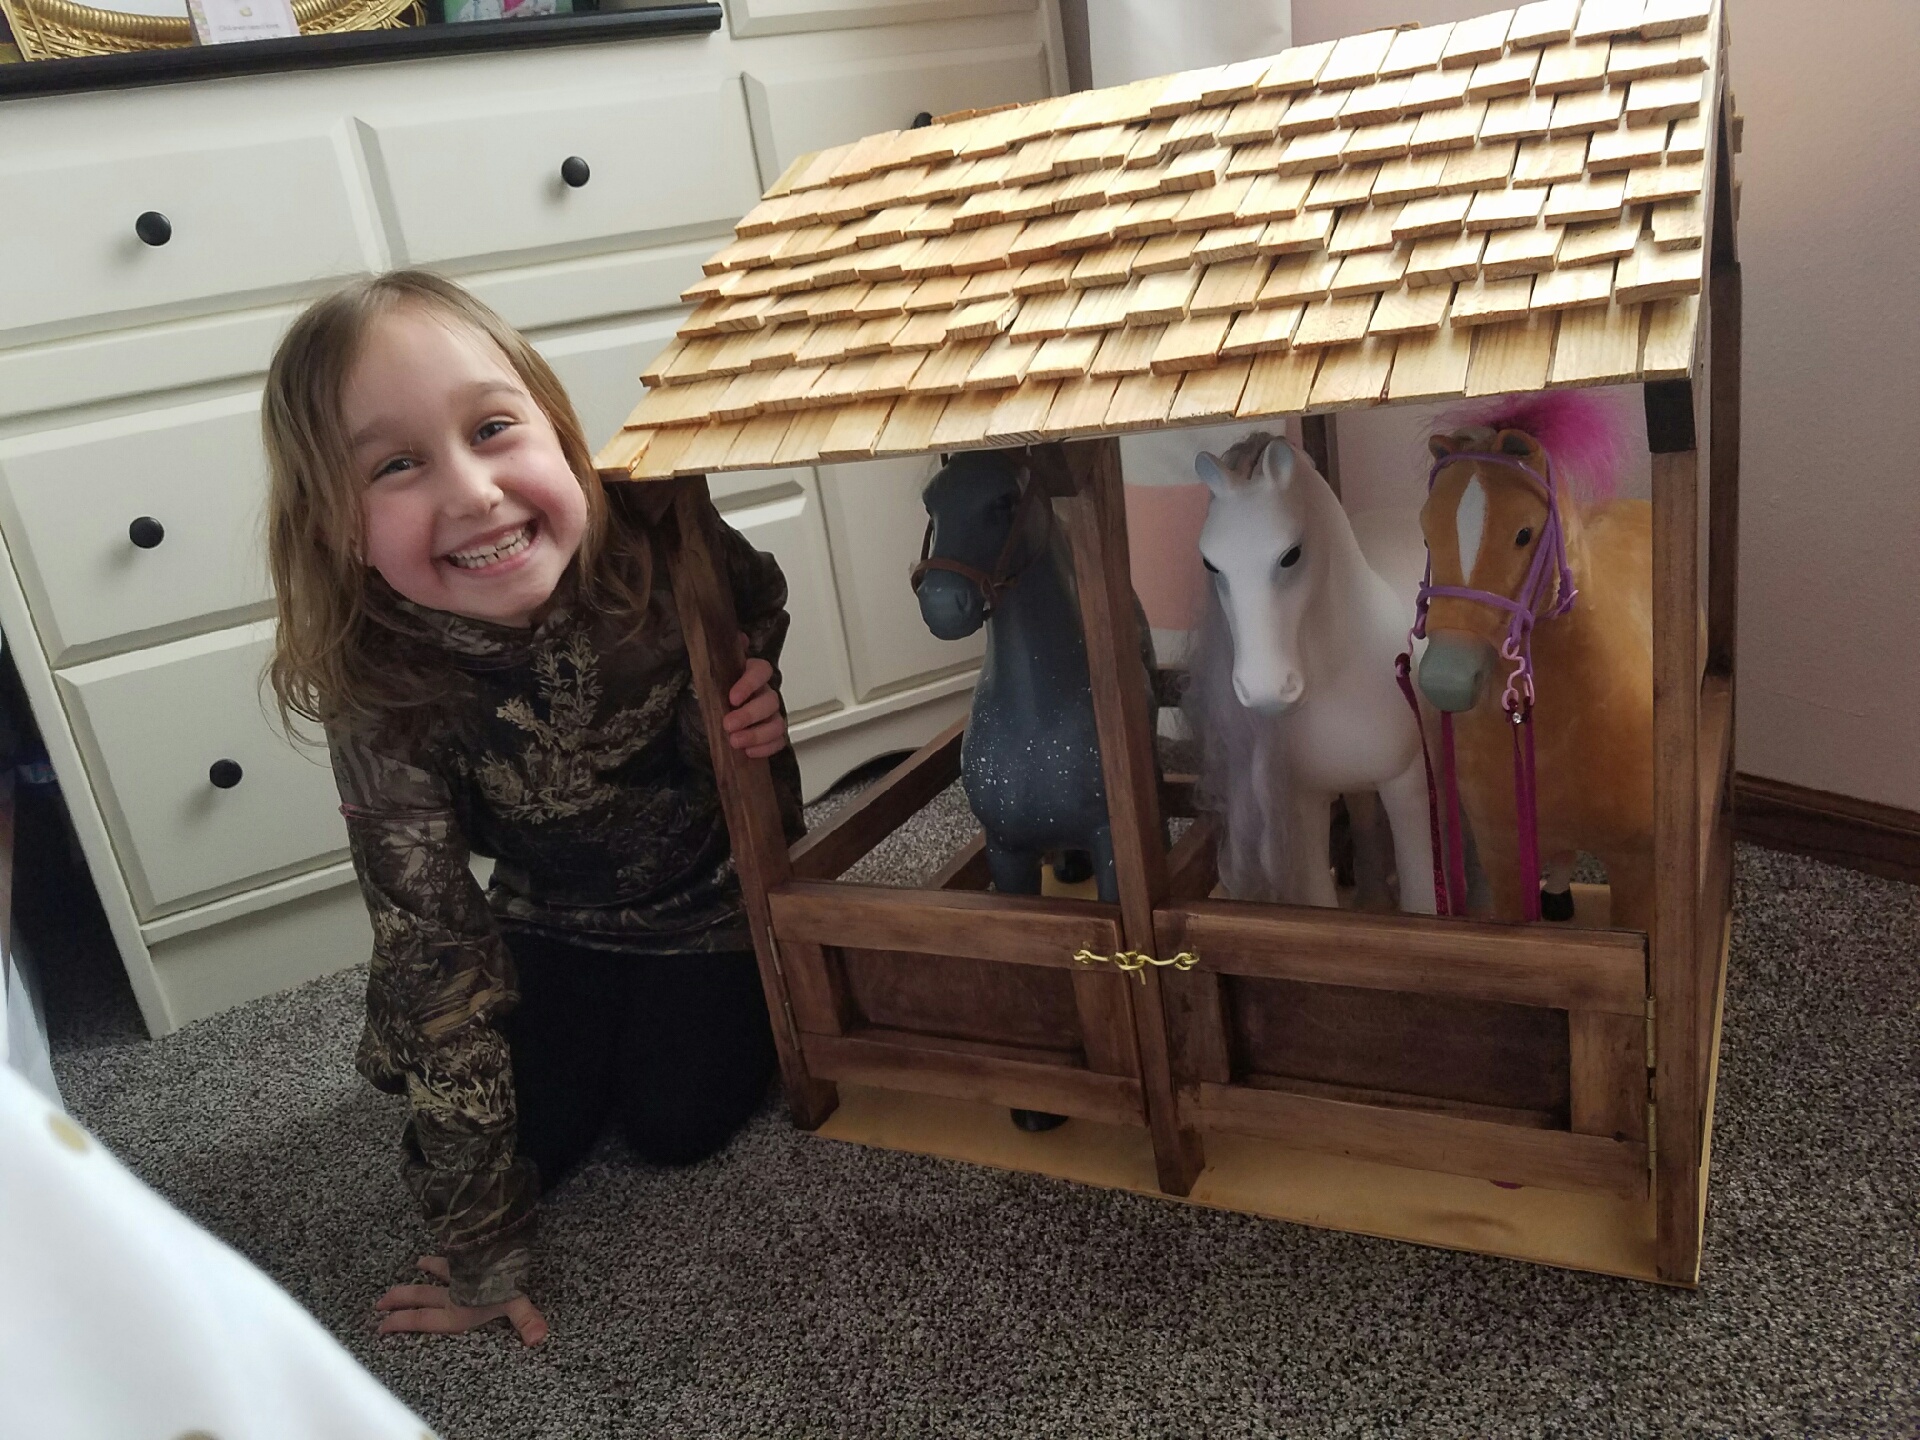
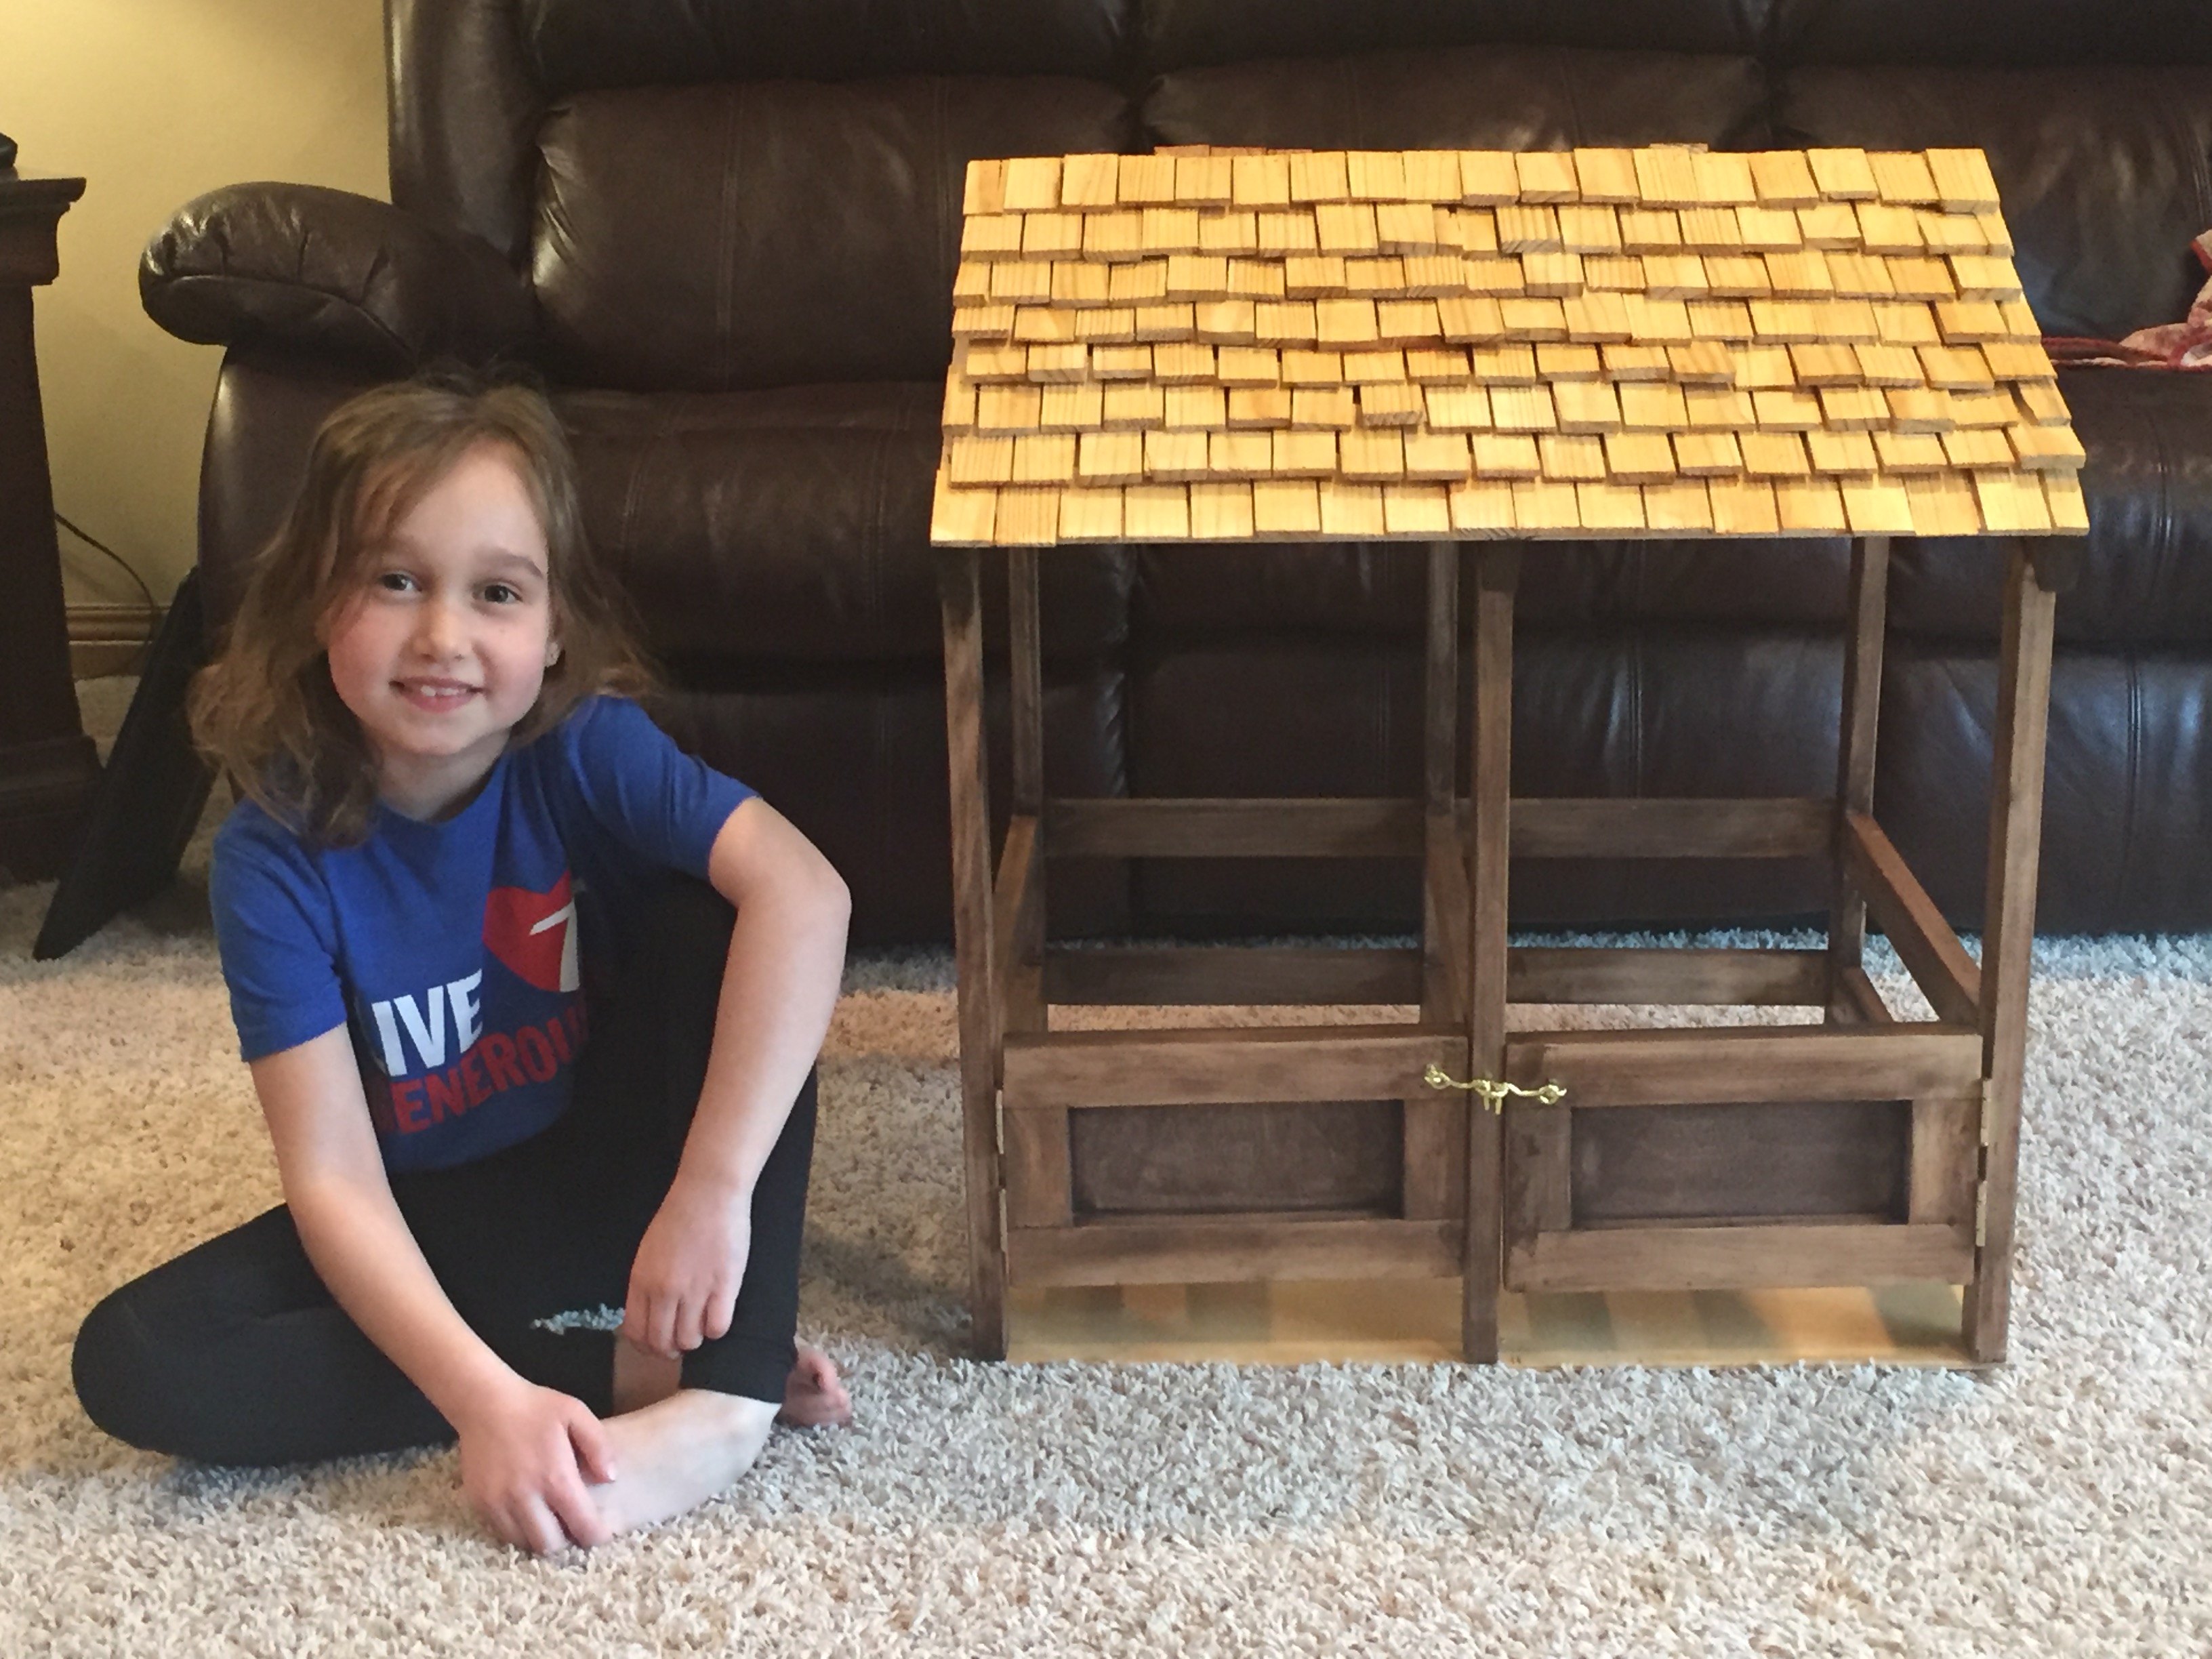
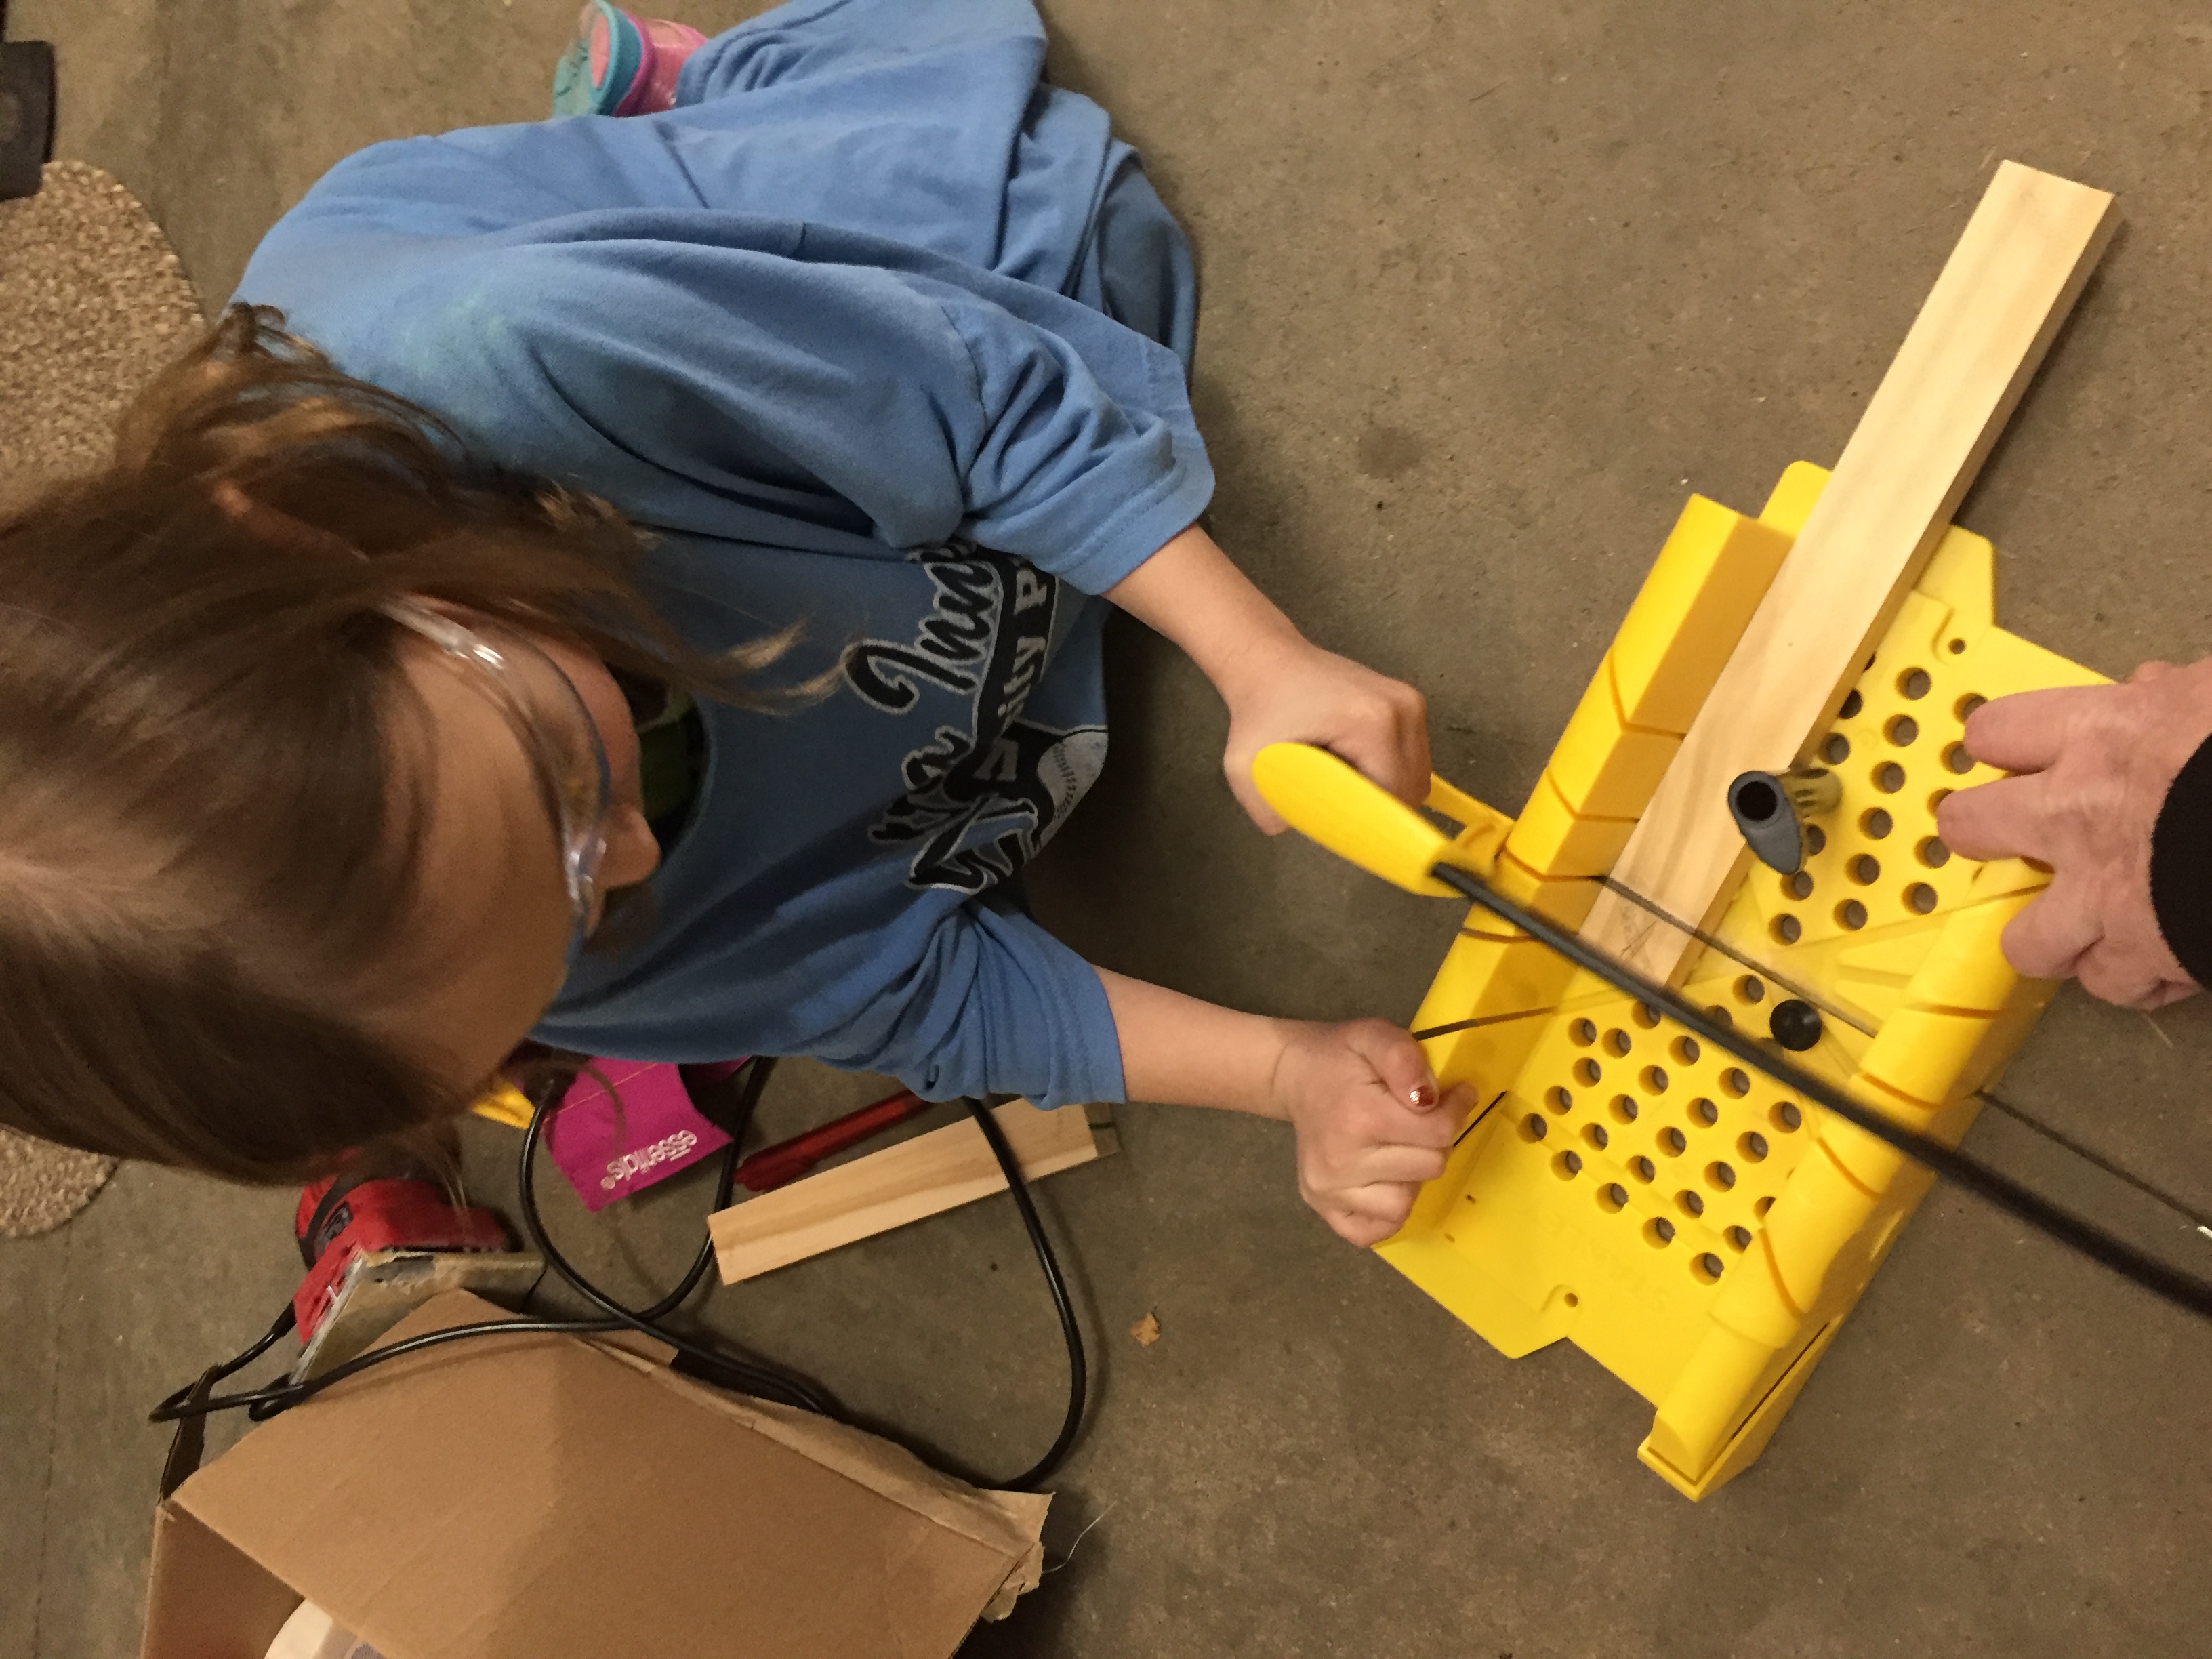
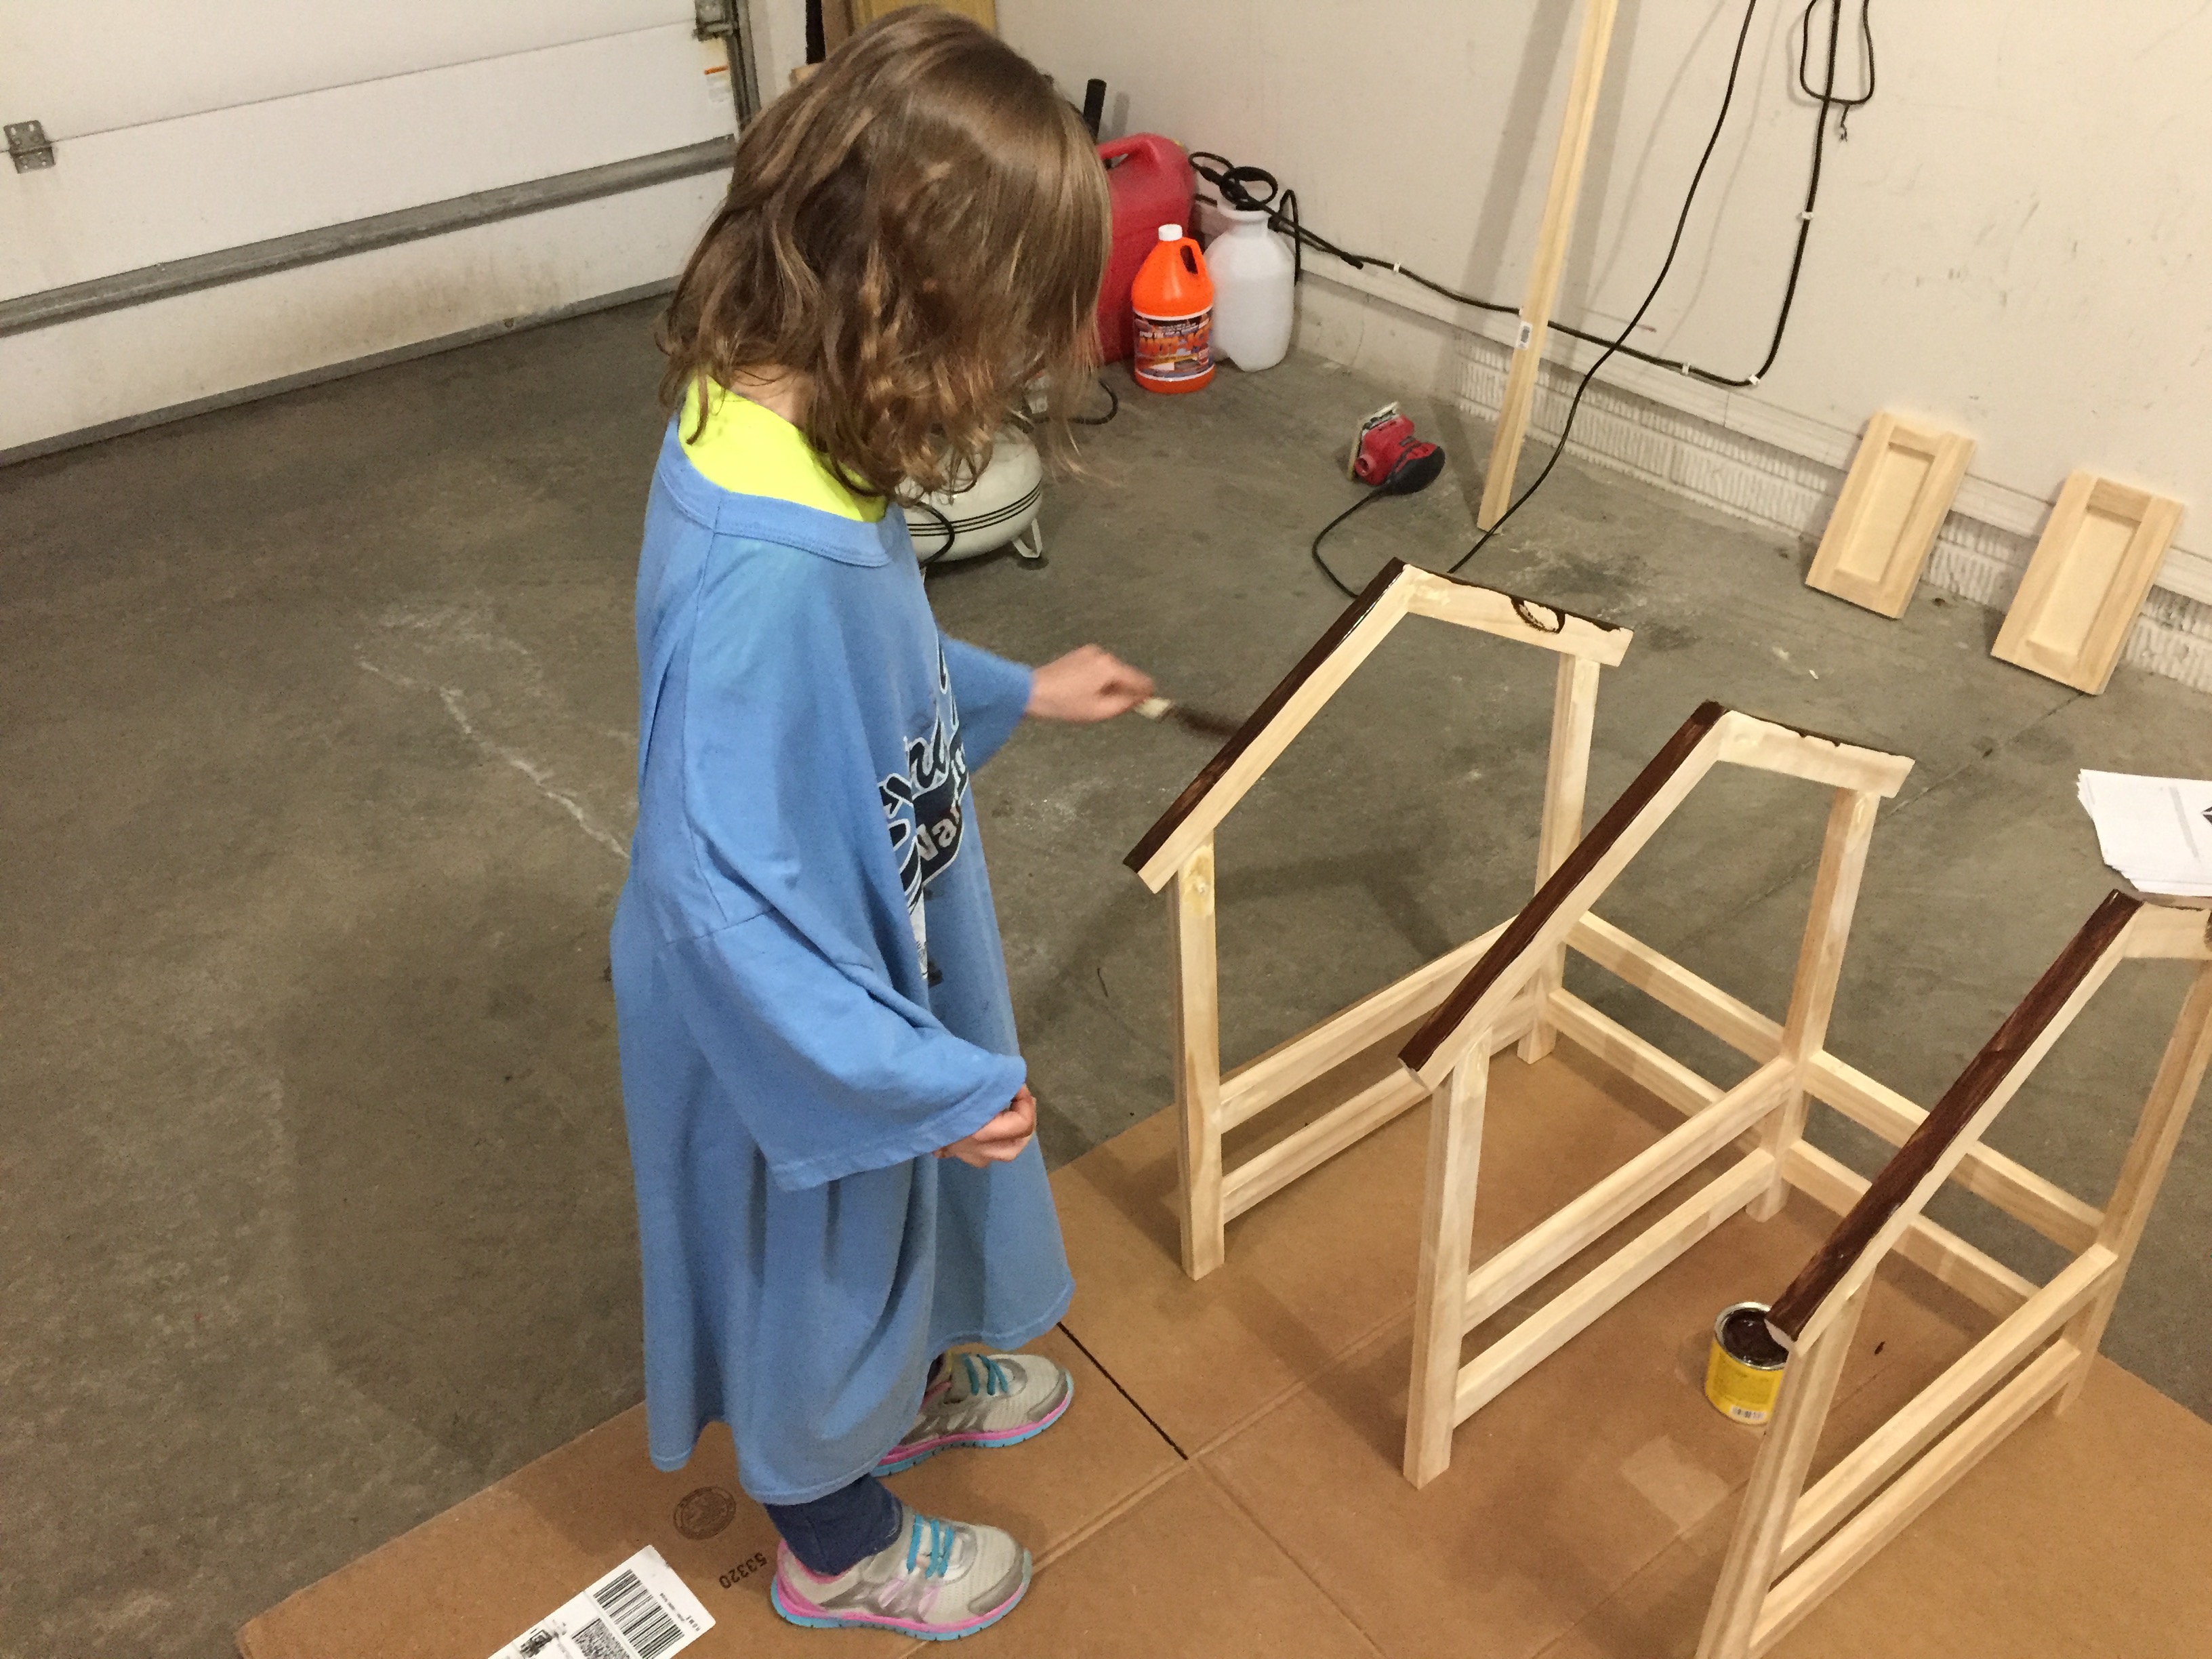
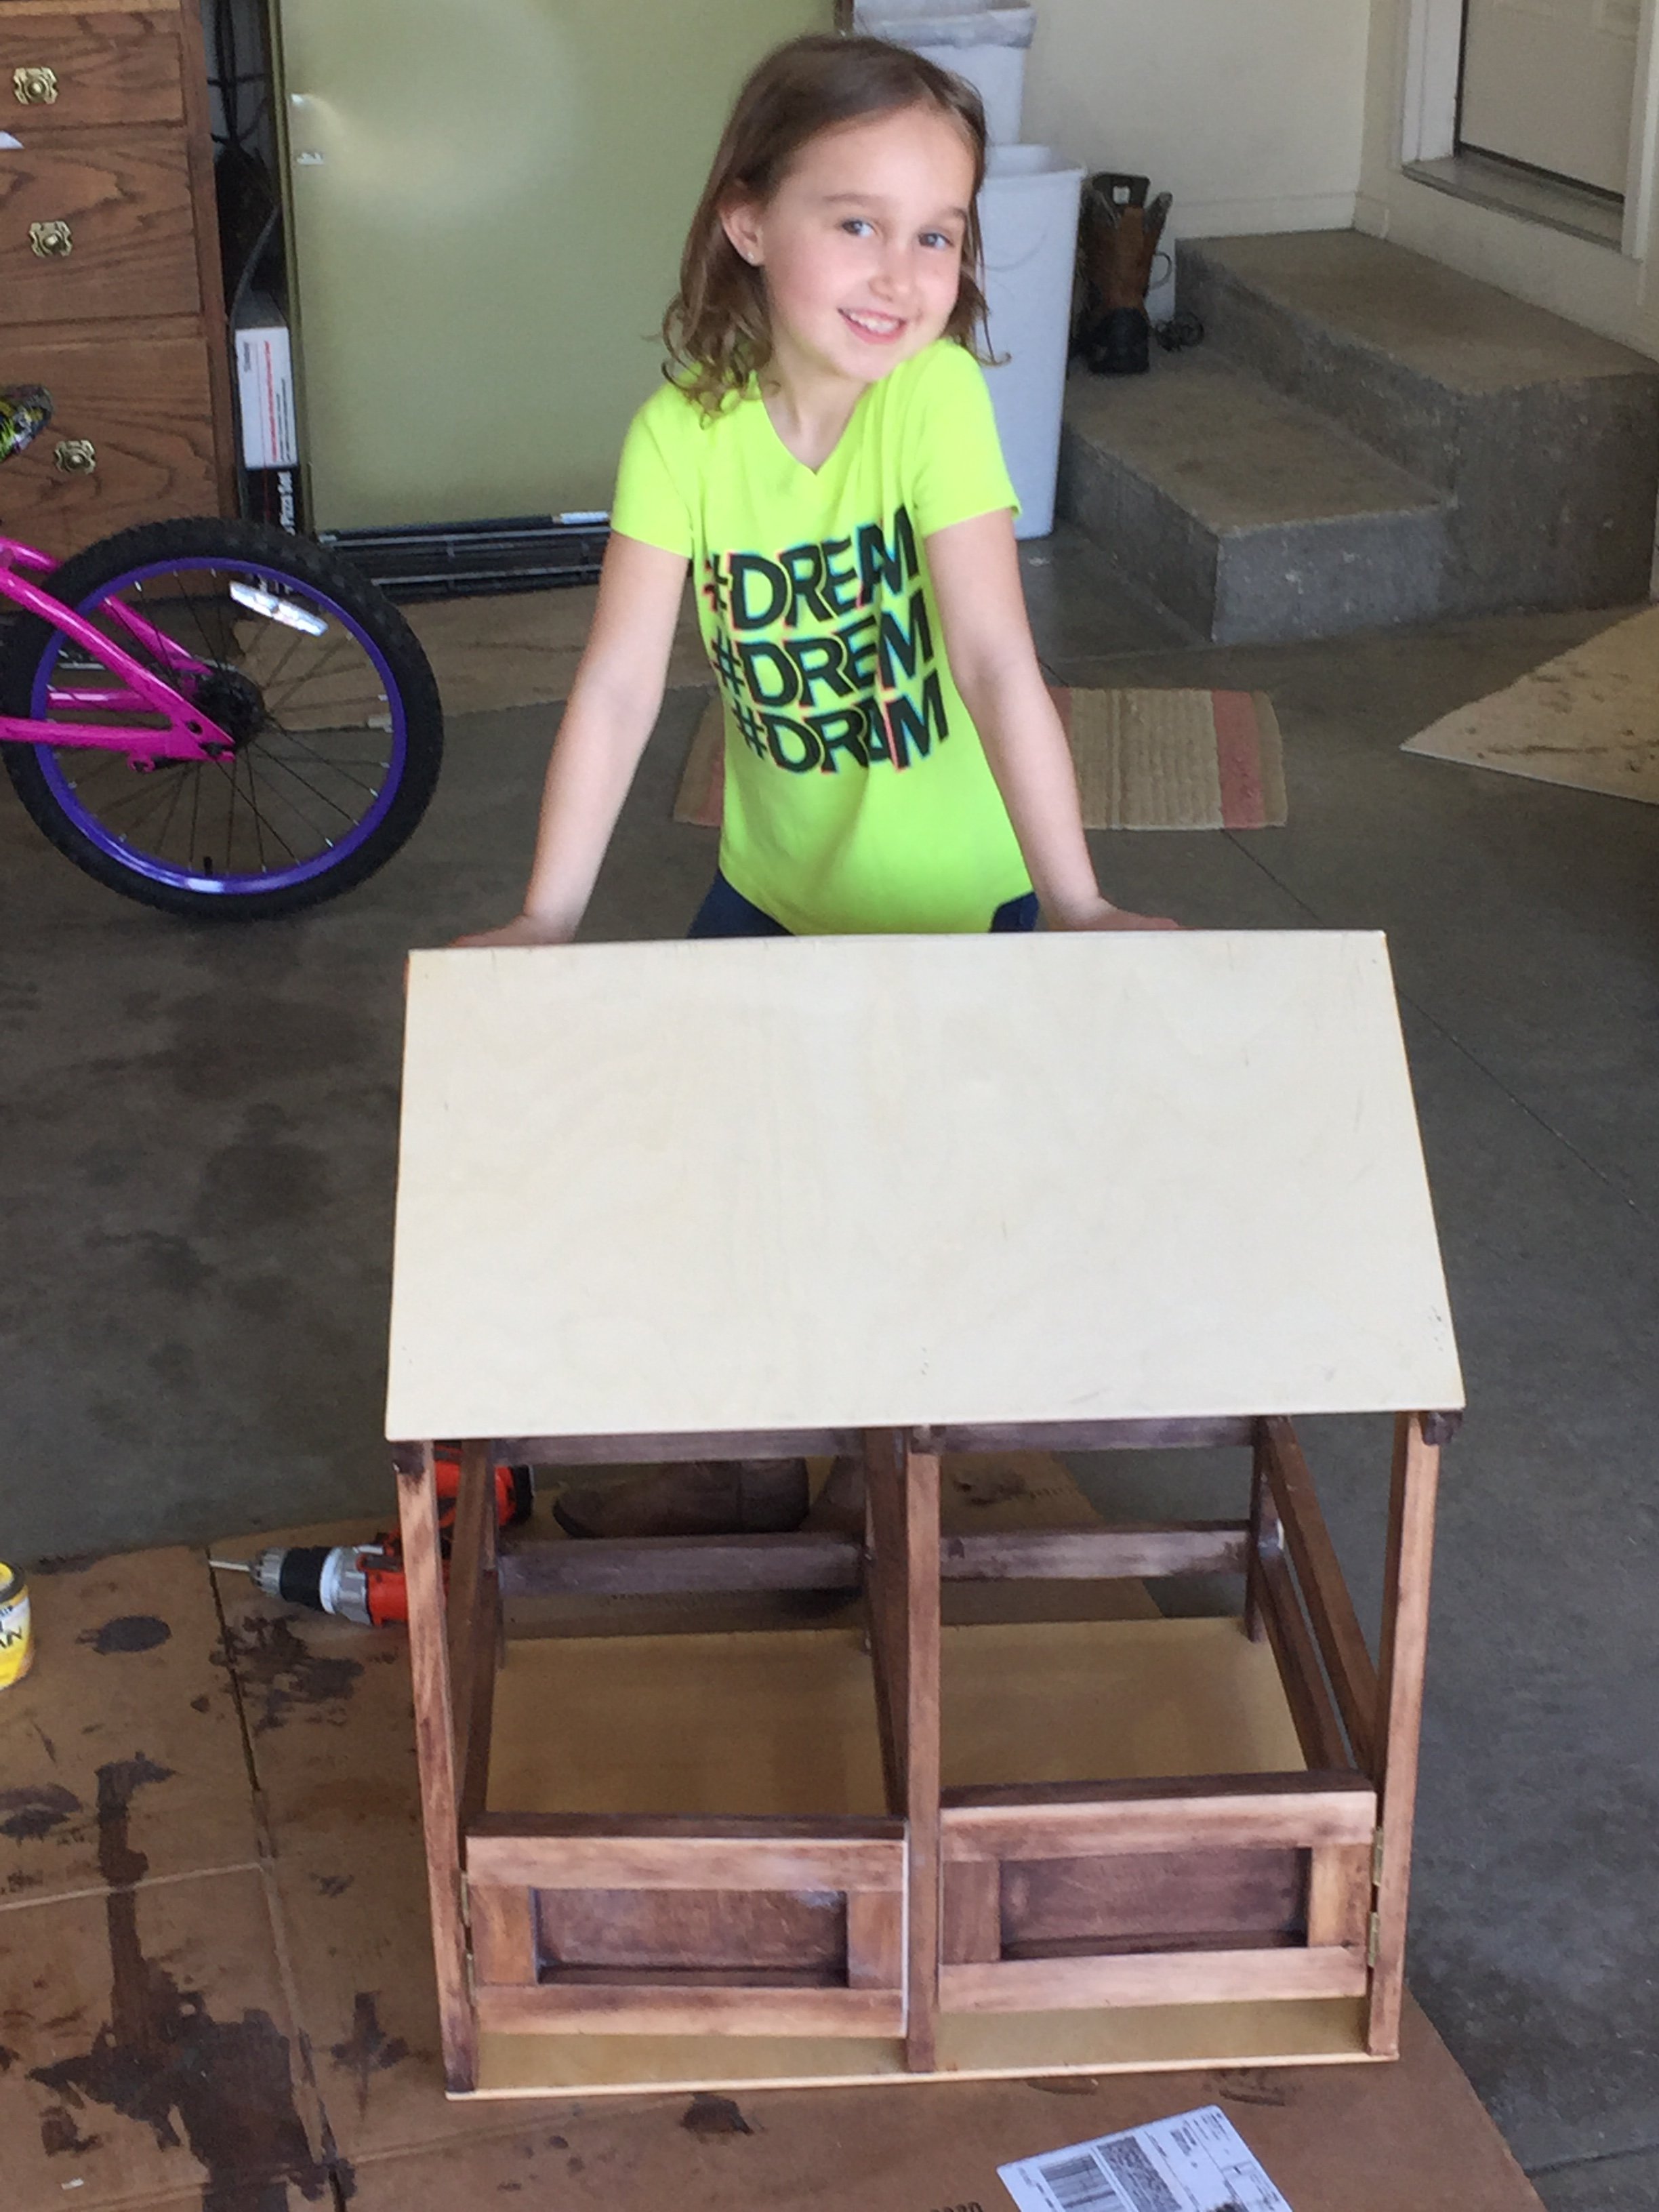
This was my first project with my daughter. After a divorce, I wanted something fun to do with my daughter-something where she would learn, have fun, and see a project from start to finish.
I did a lot of pre-cutting and prepping, but she did some cutting with a handsaw and mitre box, drilled holes with the Kreg jig, stained, used the nail gun, and glued. I installed the shingles, and touch up staining, but she did a lot of work for this project!
Since then, we have built a collapsible corral (fence) for her three horses, and next is the farmhouse bed for her doll!
Thank you for the great instructions, my daughter thinks I'm the greatest person on earth because of these projects!