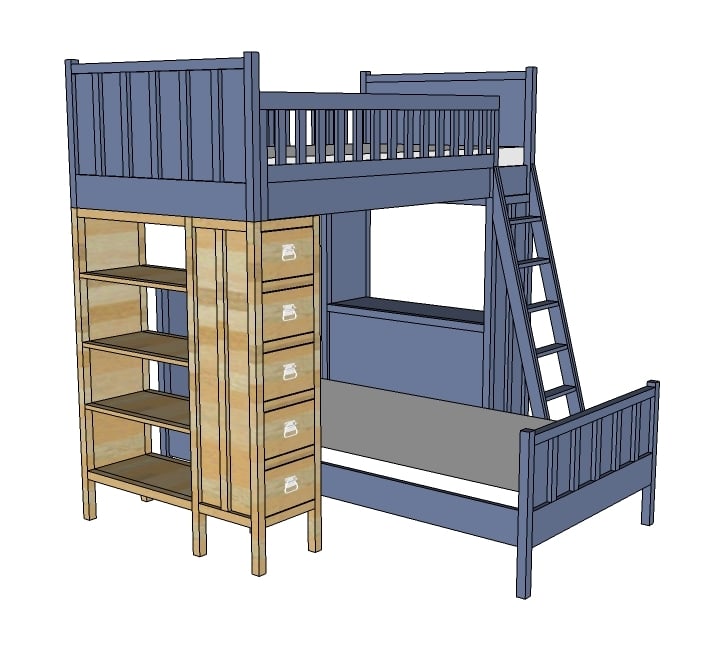
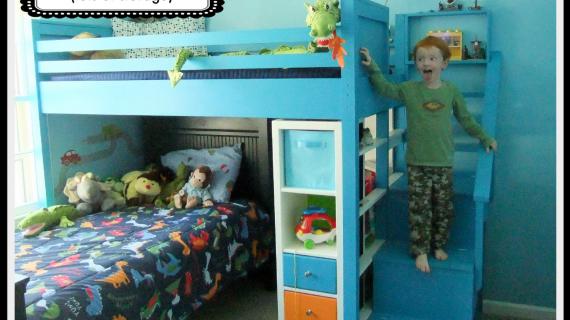
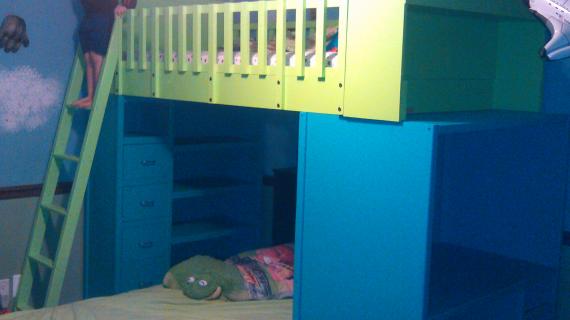
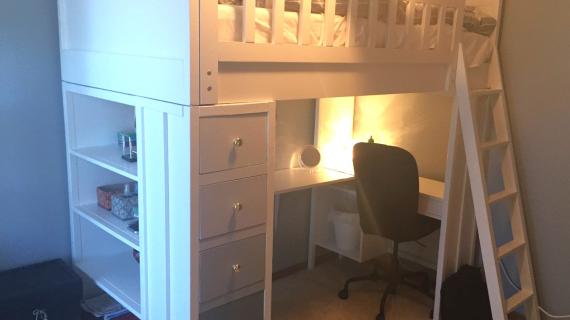
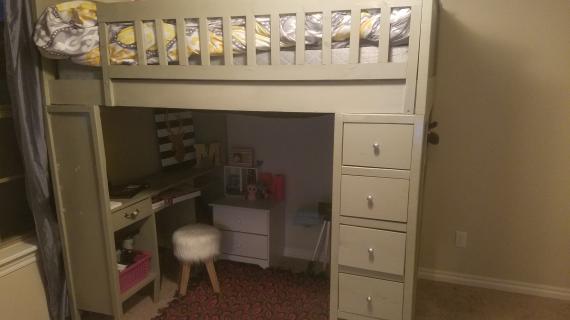
Featuring five shelves and five drawers, this bookshelf/dresser isn't just a smart storage solution. It's also a top bunk support system.
For a good tutorial on putting a drawer together and the recommended slides, please see this wood kitchen cabinet organizer drawer plan.
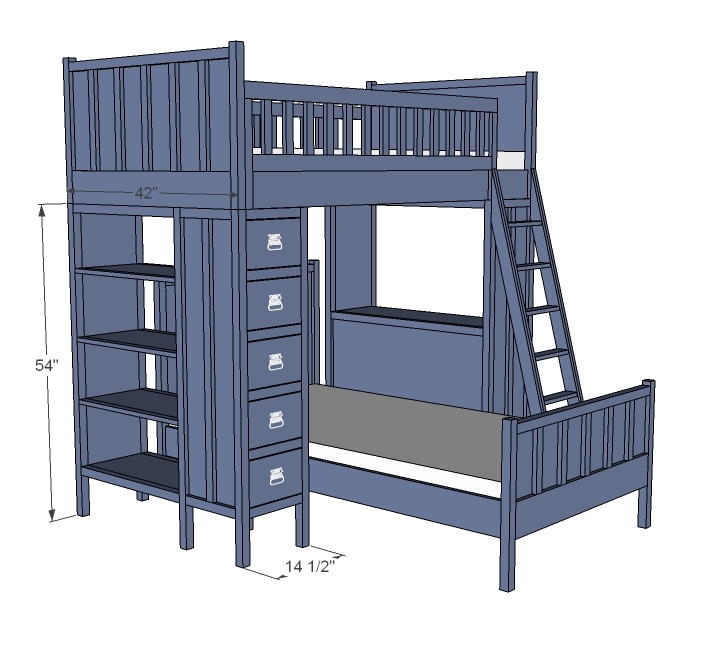
Preparation
2 - 1x12 @ 8 feet long
4 - 1x12 @ 46 5/8"
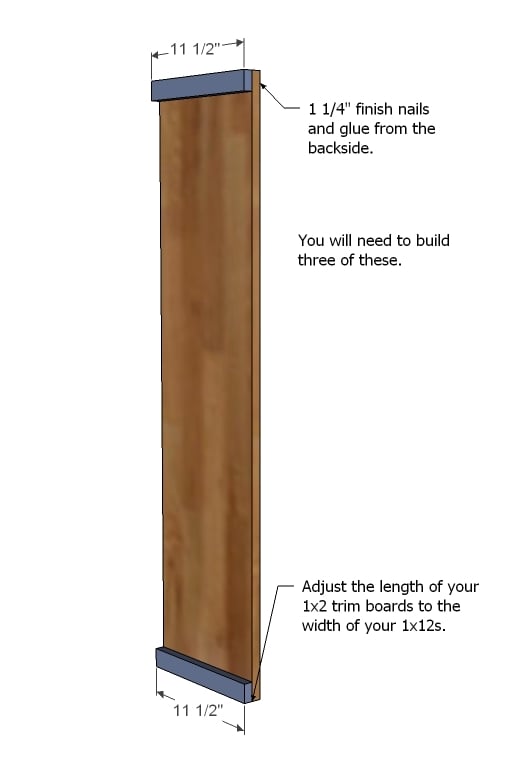
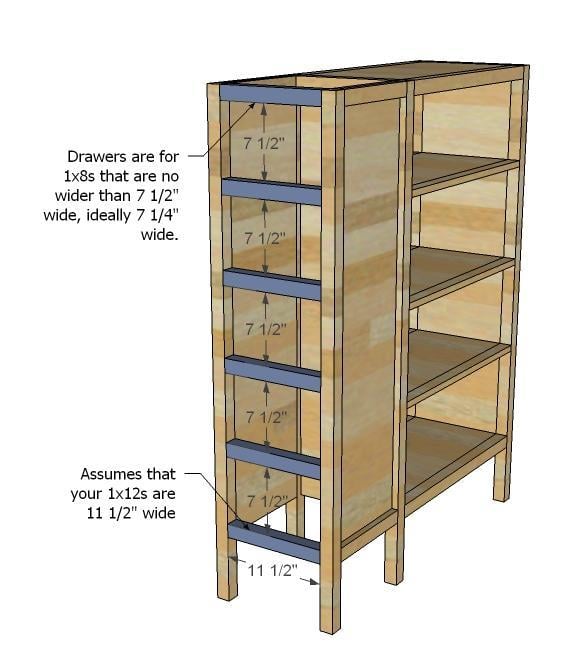
This plan is highly dependant on widths of boards. Make sure that your 1x12s measure 11 1/2" wide (if you have 1x12s ripped from plywood, rip them at 11 1/2" wide) or you will need to adjust cuts as you go. Also, the drawer fronts are for 1x8s that measure 7 1/4" wide, so measure yours and adjust accordingly.
Please read through the entire plan and all comments before beginning this project. It is also advisable to review the Getting Started Section. Take all necessary precautions to build safely and smartly. Work on a clean level surface, free of imperfections or debris. Always use straight boards. Check for square after each step. Always predrill holes before attaching with screws. Use glue with finish nails for a stronger hold. Wipe excess glue off bare wood for stained projects, as dried glue will not take stain. Be safe, have fun, and ask for help if you need it.
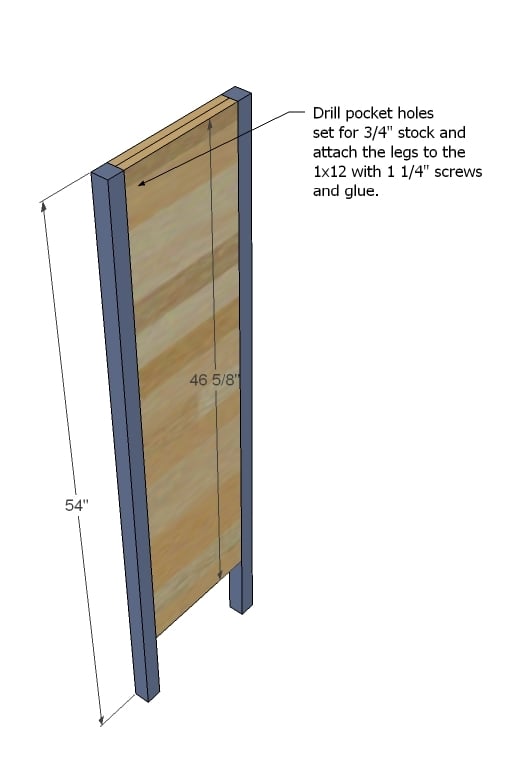
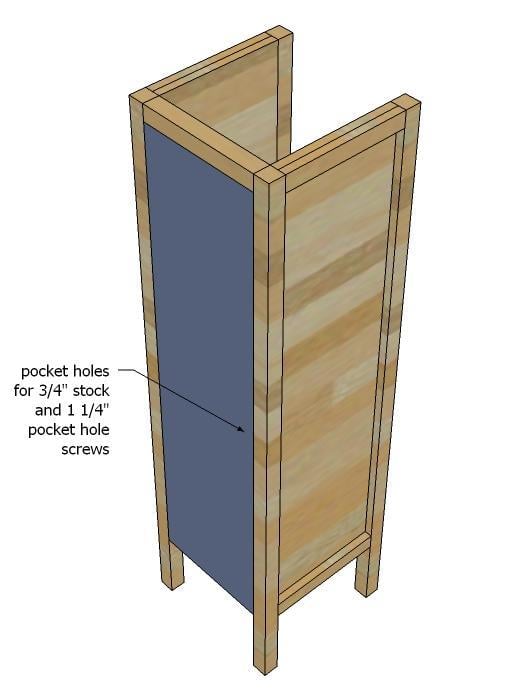
This plans uses pocket holes. Before joining any boards, identify all necessary pocket holes on each and every board and drill all pocket holes.
Instructions
Step 1
Step 2
Step 3
Step 6
Step 7
Step 8
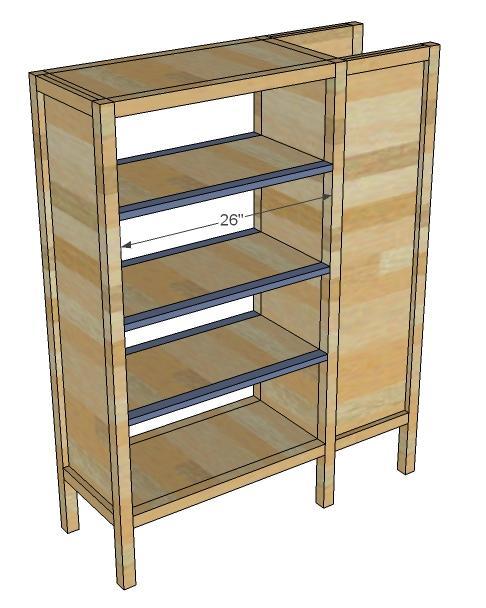
This cabinet is designed for drawers with a 1x8 face. Measure the width of you 1x8s. With a 7 1/4" wide 1x8, you will be able to have drawer faces with 1/8" gaps around all sides. Attach the 2x2 drawer dividers as shown above. These are not supportive (no weight will be resting on them) so you can use 2" finish nails and glue.
Step 9
Now it's time to build the drawer boxes. Each box needs to be 1" less in width than the opening for the drawer (for standard drawer slides). Measure first your drawer opening, and then build your drawer to fit.
Attach 1/4" plywood to the bottoms of the drawers. Use the drawer slides that are bottom/side mount so that the weight of the drawer is resting directly on the drawer slide (see below link).
Step 10
Attach the drawer slide to the drawer boxes and insert the drawer box. Remember, the drawer will get a face, so the drawer box needs to be inset 3/4". Then cut your 1x8 drawer faces to fit the opening (the ideal is 11 1/4" wide) so that there is an even gap around all sides of the drawer face. Attach the drawer face to the drawer box with 1 1/4" nails and glue.
Step 11
It is always recommended to apply a test coat on a hidden area or scrap piece to ensure color evenness and adhesion. Use primer or wood conditioner as needed.





Comments
Choleia (not verified)
Mon, 04/04/2011 - 05:46
Awesome
Hi Ana this is awesome! We built our son the loft bed with the ladder (we didn't have room for the stairs). Do you have any suggestions on how we can add the bookshelf and dresser to the loft bed. Thanks for all that you do!
Choleia (not verified)
Mon, 04/04/2011 - 08:16
(No subject)
Guest (not verified)
Mon, 04/04/2011 - 11:42
sorry, this is irrevelant to this post but....CONGRATS!...
I saw that you were featured on younghouselove (my other favorite blog other than yours) this morning!
Hopefully, it'll bring many more readers and future builders to your AMAZING website! I've been a follower for about 7 months or so, and the first thing I wake up and read is your blog. Thanks for inspiring so many people. Hoping to do my very first build when the weather warms up a bit. Being a newbie, it's a little scary, but I have a mile-long list of things and before you know it, summer will be over.
Thanks again, Ana.
Gem (not verified)
Wed, 04/06/2011 - 11:32
Finally, the plans I've been looking for!
We're looking at all kinds of bunk-bed/loft plans online to adapt for
our use, this looks very much like what we want to do -- without the
bottom bed, lol. We have 3 girls we're trying to fit into a smallish
bedroom, and we're actually considering building 3 loft/bunks like
you've drawn, with dresser space one end, desk opposite end, in a I_I
shape across three walls of the room. I really like the design of the
dresser space in your plans, as the drawers would open out into the room
& leave the under-loft area more open for their own private
dressing area/toys for the younger one. I also love the shelves, leaves
things more versatile -- could use baskets there for more clothing/toys
storage, or for books too.
Rita Ogle (not verified)
Wed, 04/06/2011 - 11:53
Question about bunk bed plans
Please tell me what is on the other side of the bed, I didn't see anywhere on the plans where it showed what was on the other side. Is it a bookcase and what would you recommend doing with it, if you had to place this side against the wall?
Rita Ogle (not verified)
Wed, 04/06/2011 - 11:57
Question answered- my oops
I see now that the plans are broken down in 3 sections, duh! So sorry to be clueless. Thanks so much for the excellent plans.
analyst23
Sat, 10/22/2011 - 08:56
Sides of dresser
Just getting started on building this and we're going to be using magnetic blackboard paint on the sides of the dresser instead of the trim. My girls are going to be so excited to find out about that little surprise!
Bonnie George (not verified)
Tue, 11/27/2012 - 19:18
Can you suggest a type of
Can you suggest a type of wood to use for these projects?