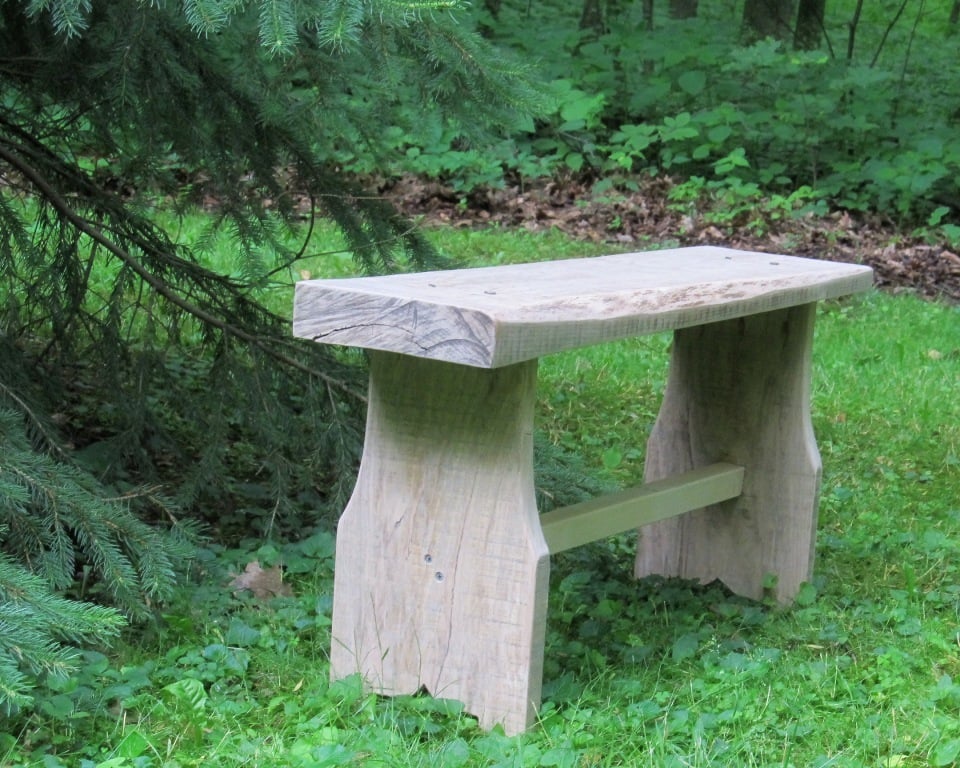


Build a simple yet stunning bench using one board, a scrap 2x2, and a couple of screws.
Preparation
1- 2"x10"x8' board (oak was used in this project but pine would also be fine and much cheaper)
1 length of 2x2 pine (mine was 30" long)
screws and glue
sand paper
tung oil


Please read through the entire plan and all comments before beginning this project. It is also advisable to review the Getting Started Section. Take all necessary precautions to build safely and smartly. Work on a clean level surface, free of imperfections or debris. Always use straight boards. Check for square after each step. Always predrill holes before attaching with screws. Use glue with finish nails for a stronger hold. Wipe excess glue off bare wood for stained projects, as dried glue will not take stain. Be safe, have fun, and ask for help if you need it. Good luck!
Instructions
Step 1
Decide on the size you want for the top piece and cut it off your 2x10 (mine is 42").
Then cut 2 legs at 16" long from the same board.
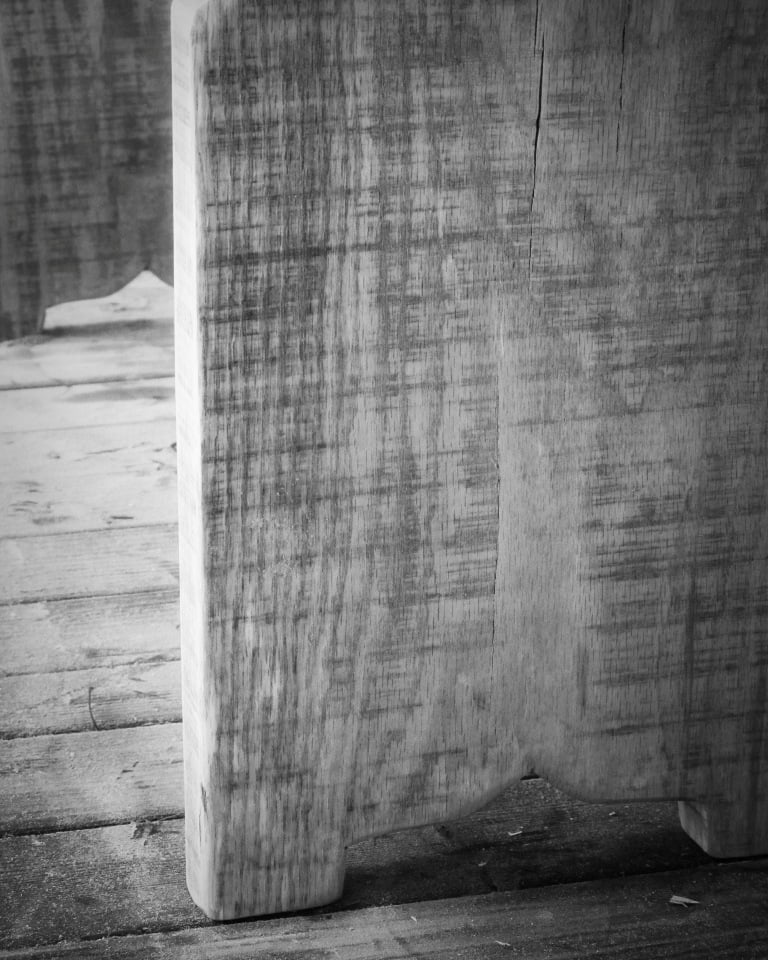
Using a jig saw cut a tapered design at the tops of each leg and also a cut out at the bottom or each leg.
Sand even and smooth.
Step 2

Assemble using 3 pocket holes on the inside of each leg.
If needed/wanted a stretcher can be added using 2x2 pine. Pocket holes could be used. I simply screwed through the legs into the 2x2.
Step 3

Just for fun I added square head nails to the top and into the legs. this is mostly just for looks.
Step 4

After lots of sanding I applied tung oil to bring out the natural color in the oak.
The 2x2 stretcher was finished with vinegar steel wool stain plus tung oil.
It is always recommended to apply a test coat on a hidden area or scrap piece to ensure color evenness and adhesion. Use primer or wood conditioner as needed.

Comments
LisaMarie
Sat, 06/15/2013 - 06:06
Great job!
I love this bench!
rpc7
Fri, 03/14/2014 - 09:53
Inspired
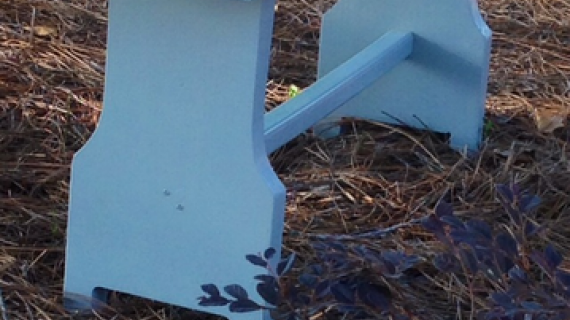
This plan is great! Here's a link to my version - A buddy and me left it in a park so others may enjoy it (photo credit: unknown user who found the bench). Thanks for sharing!
http://imgur.com/Y8ZStZh
wabilinski
Fri, 07/18/2014 - 08:28
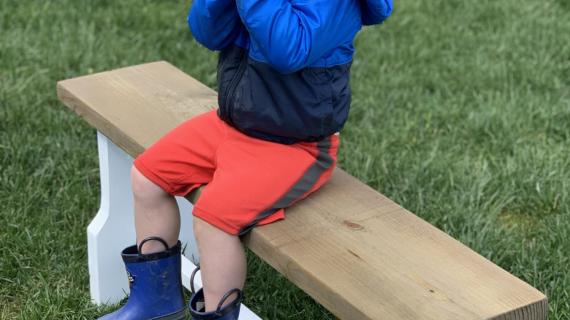
Thanks for the plans
This was a fun project from start to finish.
Here is the link to the bench I built...
http://i1270.photobucket.com/albums/jj601/wabilinski531/Woodworking/FEA…