


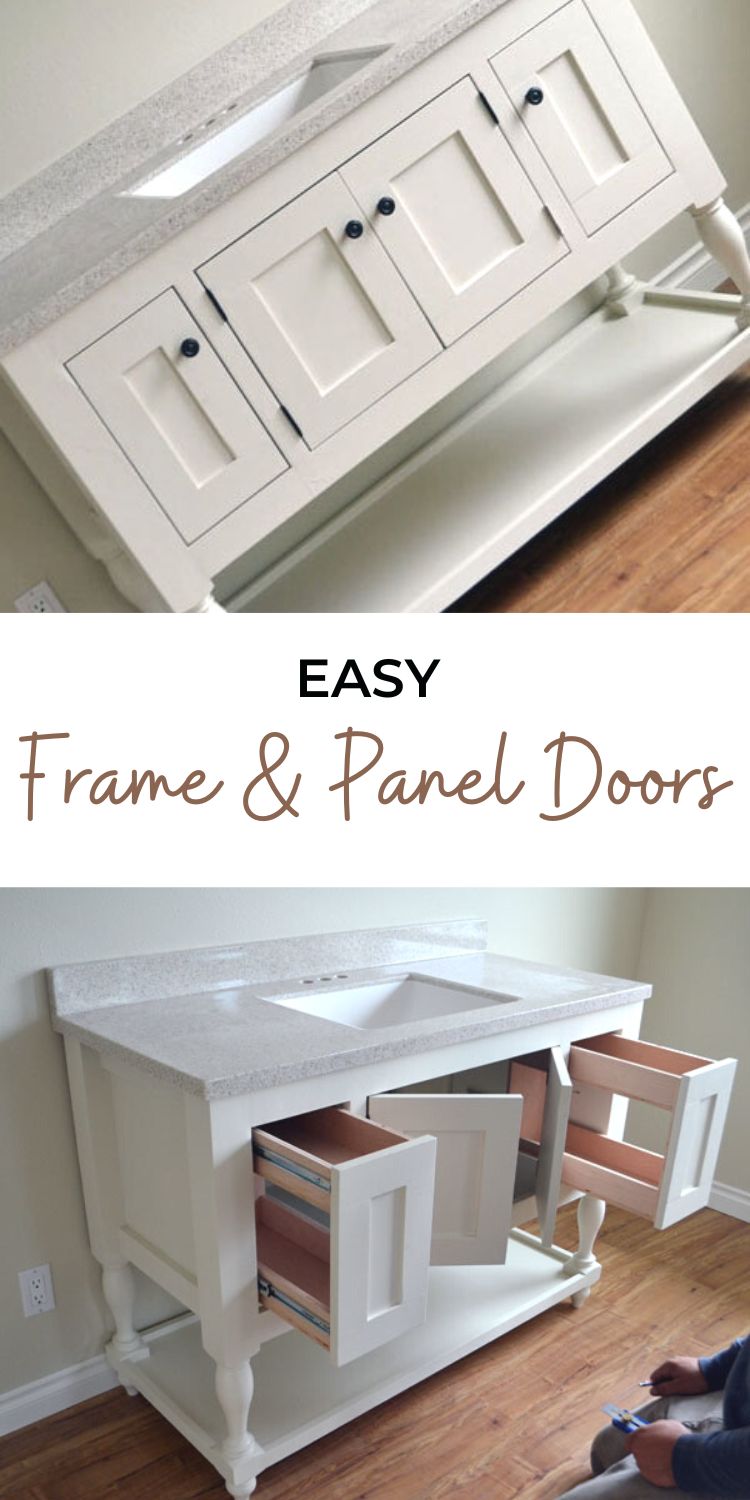
Easiest way to build your own frame and panel cabinet doors - from Ana-White.com

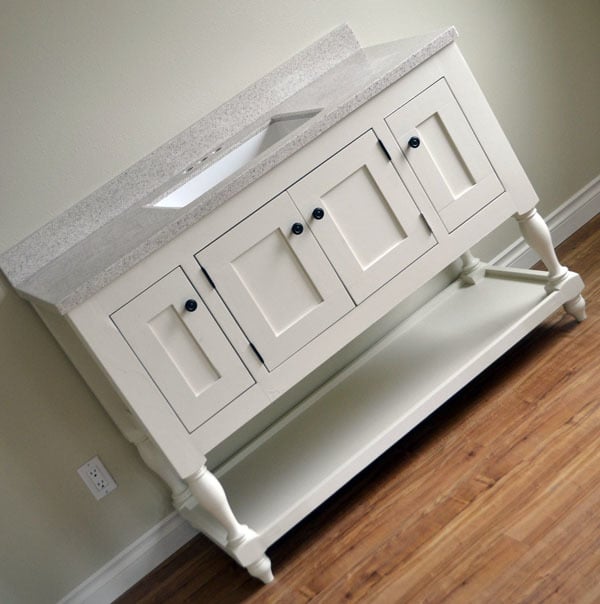


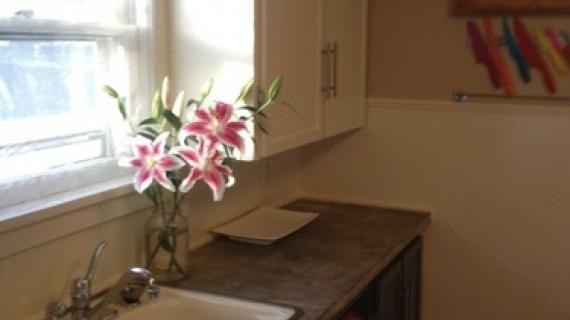
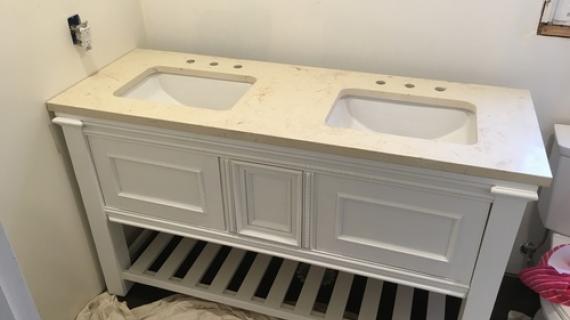
We've got the first piece of of furniture moved into the Momplex - the bath vanity - a little while back


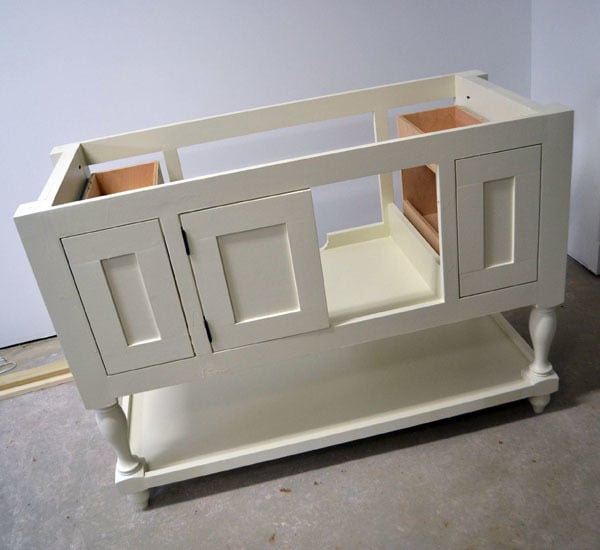
And then we shared how we built pull out drawers behind the smaller outer drawers.
And I promised you I'd share with you how we built those doors.
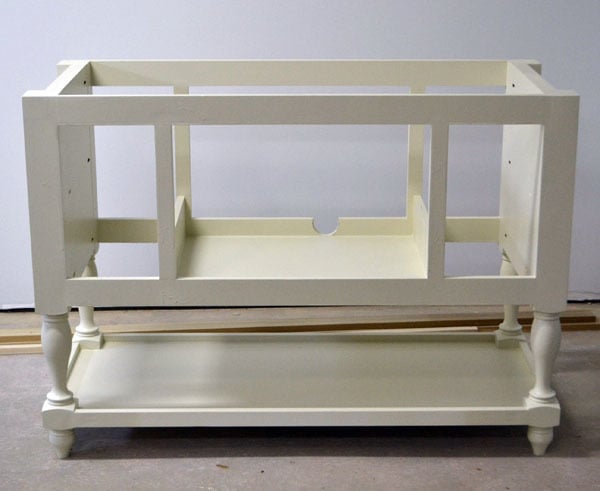
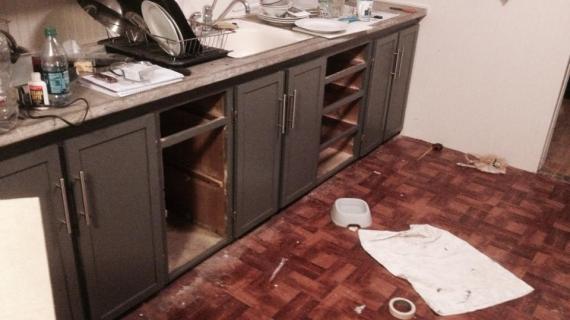
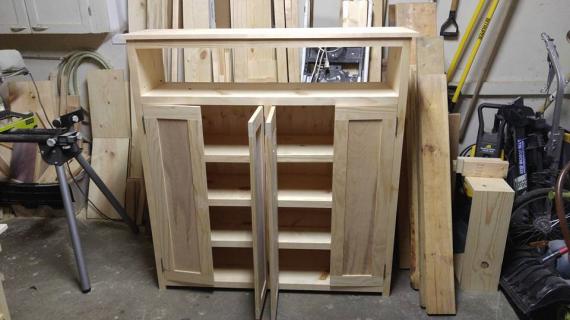
Because without doors, this vanities is just an empty shell.

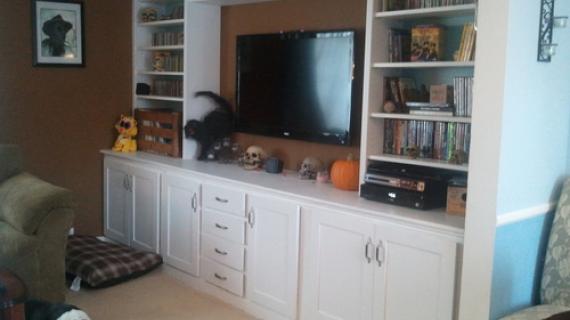
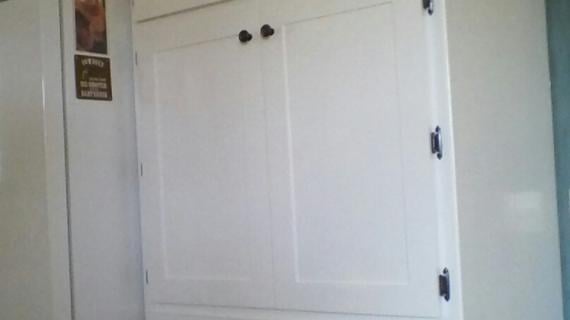
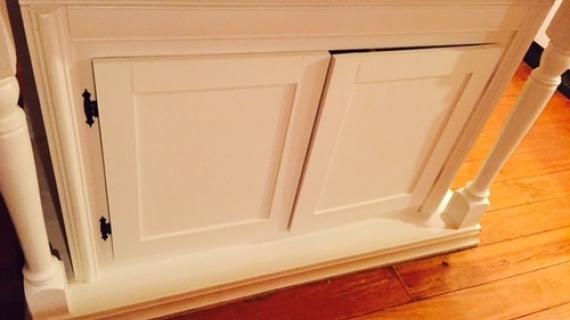
But when you add doors ....

A shell turns into a ton of functionality!
There are a zillion different ways to build doors - and some ways could be argued better than others. This is simply my way of quickly, easily and precisely building doors that are structurally sound and will resist warping and otherwise behaving like wood sometimes does over time.

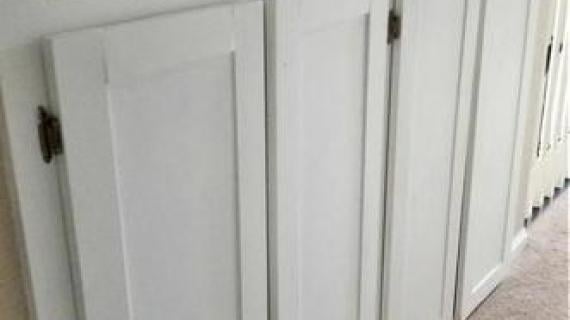
For this vanity - and for lots of projects I build - and especially paint grade ones - I simply take a piece of 1/2" hardwood plywood (I like to use PureBond whenenver possible because it's Formaldehyde Free and North American made) and attach it to a frame made of 1x3s with pocket holes.
Because the center panel is plywood, it resists shrinking and growing, but the wood frame helps keep the panel structurally strong and covers up the plywood edges.
These type of doors are more suitable for paint grade projects or projects where the back of the door is hidden because there's a ton of pocket holes on the back, that of course I fill with plugs or wood filler.
I love this type of door consturction because it's so quick and easy to build a precise door with minimal tools - no router and expensive bit required! But you must be able to make very precise and square cuts on your plywood panels to make these doors. A table saw, rip cut, or using a square edge to cut with is highly recommended. If your panels are small enough, you may even be able to cut them with a miter saw.
Detailed plans on how these doors are made follow - hope this helps you in your projects!
XO Ana
Pin For Later!
Preparation
1/2" hardwood plywood
1x3 boards (measuring 2 1/2" in width) preferably hardwood - I use poplar for paint grade
1" and 1 1/4" pocket hole screws
PANEL - 1/2" hardwood plywood cut 5" less in height and width than desired finished door dimensions
RAILS - 1x3 hardwood boards (measuring 2 1/2" in width) cut 5" less in length than the desired finished door dimensions
STILES - 1x3 hardwood boards (measuring 2 1/2" in width) cut to desired finished door dimensions


Please read through the entire plan and all comments before beginning this project. It is also advisable to review the Getting Started Section. Take all necessary precautions to build safely and smartly. Work on a clean level surface, free of imperfections or debris. Always use straight boards. Check for square after each step. Always predrill holes before attaching with screws. Use glue with finish nails for a stronger hold. Wipe excess glue off bare wood for stained projects, as dried glue will not take stain. Be safe, have fun, and ask for help if you need it. Good luck!
Instructions
Step 1
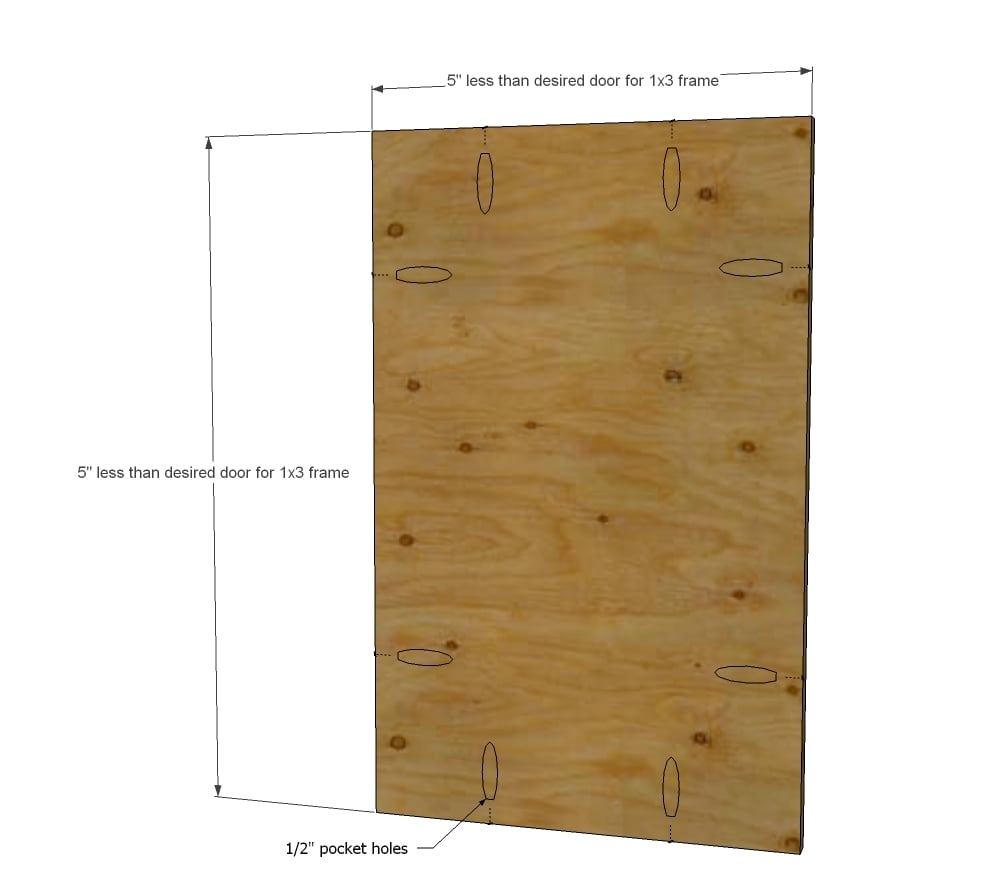
It's super important to get this plywood panel cut square and straight. If you can, cut with a miter saw or other fixed saw, or a table saw. If you are cutting with a ciruclar saw, use a straight edge or rip cut to guide you.
Then drill 1/2" pocket holes around the four sides of the panel, about every 8" or so - use your best judgement here. You should do at least two pocket holes per side of the panel.
Step 2
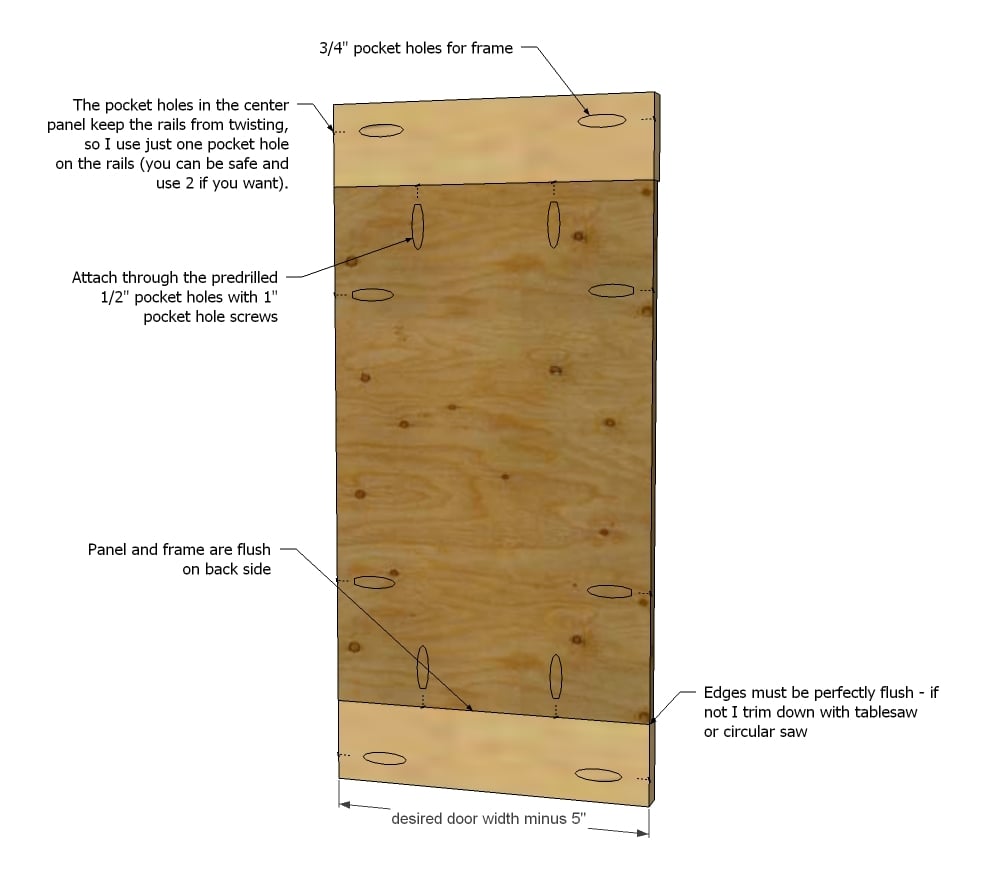
Next, attach your rails to the top and bottom, through the 1/2" pocket holes with 1" pocket hole screws. The back will be flush and all outside edges must be flush.
Drill 3/4" pocket holes on the ends of the rails for attaching the stiles in the next step.
Step 3
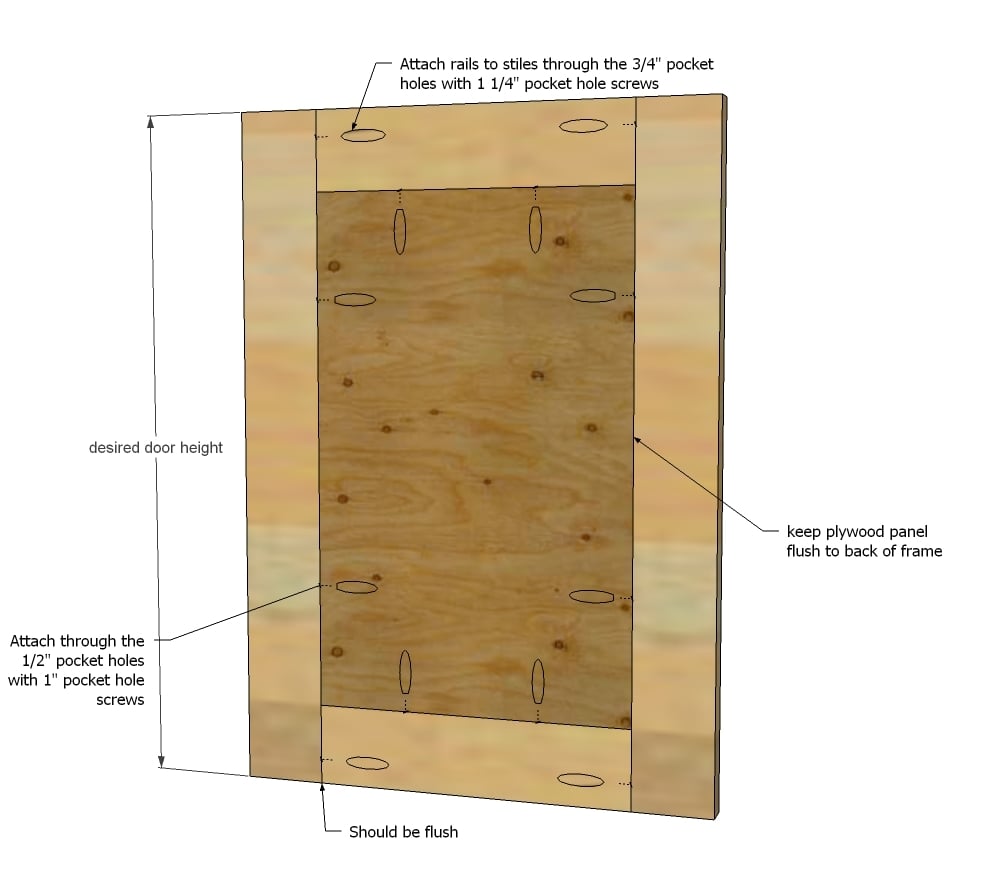
Finally, attach the stiles to the rails and panel, using 1" and 1 1/4" pocket hole screws as noted in the diagram (1" for 1/2" pocket holes, 1 1/4" for 3/4" pocket holes). All outside edges and back are flush.
Fill pocket holes with either plugs or wood filler.
And that's it!!!
It is always recommended to apply a test coat on a hidden area or scrap piece to ensure color evenness and adhesion. Use primer or wood conditioner as needed.

Comments
rhonit
Thu, 09/19/2013 - 05:08
panel doors
I gotta say I am so in love with you right now!!! We bought our dream home at the first June 2013, yes just this year, a little ranch in the middle of Oklahoma on a two mile dead end road and one neighbor a mile away. It was built in the early 90's, but whoever did the woodwork was still stuck in the 1980's. Deep routered cabinet doors for the faux panel look and on the edges. There is NO fixing that kinda ugly. I have 62 cabinet doors and 24 draw fronts (kitchen, baths and laundry area), and I have removed 6 cabinets over the bar. Now that's a lot of cabinets!!! The cabinets are custom built in place and the boxes are all in great shape and solid wood, so it would not make any sense to me, to tear out wood to replace with cheaper made stapled together boxes. Only problem with custom cabinets are custom size doors, every 3rd door is a different size. I priced out custom cabinet doors, cha ching, only because the hubs and I just didn't think we could make doors. BUT now we have our plan of action!! Right after we get the ceilings retextured and floors in. From the bottom of my heart Thank You!!!!!!
homefor3
Sun, 10/06/2013 - 06:00
I was wondering if there is a
I was wondering if there is a tip for screwing in the pocket screws since the plywood is only half inch and the frame is three quarters inches. How do you keep the wood flush? Do you put a piece of quarter inch wood beneath the plywood? The vanity looks awesome! And thanks for the door idea!
mn_will
Thu, 05/01/2014 - 10:52
Did you ever get a response
Did you ever get a response regarding your question? I'm wondering if everything is laid flush and the front side of the cabinet is what you're actually drilling in to... then would just need to be filled with wood filler and sanded for a flush look.
Gdisalvo
Sun, 01/18/2015 - 19:24
Flush
To get it flush. Add one more panel below to raise it level with stiles and rail. Then screw in the pockets. Then remove extra piece of panel. It will be level from the back and the front will look clean with no filler.
skydogda
Tue, 02/24/2015 - 03:51
Flush fit
Gdisalvo, when making my cabinet doors I thought of the same idea, however instead of wasting the money to cut extra unneeded plywood I used some corrugated cardboard I had laying around. Man, it works perfectly! The compressibility of the cardboard allows you to get the fit exactly right (and it was much easier to cut). On the sides that are extra tight simply use an additional piece of cardboard and gently tap it with your hand to get it exactly flush.
ThiaD
Mon, 08/03/2015 - 06:39
Drawer face?
I'm trying to make myself some drawers to go under my bed. Could this technique to make panel door be use to make the drawer face of my drawers? It's the style I'm looking for, and I could adapt the measurements no problem, but will I be able to fix it to the drawer box? What do you think?
buglady11
Wed, 12/23/2015 - 21:57
Hinges
What type of hinges do you recommend? Any tips for accurately placing them? Also, any advice on getting knobs in the same location on each door?
Build Girl Build
Tue, 12/29/2015 - 07:30
Glass Door Plan
How do I build a glass Door....Plan looks great.
moonprysm
Fri, 12/09/2016 - 14:12
Desired door dimensions
How do you figure out what size to make the doors? I have the measurements for the gap where I need to place the door, but I'm not sure how much smaller than the hole I need to make it to account for hinges and ease of movement.