Lift Top Coffee Table

Instead of attaching the top to the coffee table base as done in the plans, the top is attached using a set of coffee table lift top hinges.


Instead of attaching the top to the coffee table base as done in the plans, the top is attached using a set of coffee table lift top hinges.


I saw this project on YouTube under Arbor Pergola Swing. It did not mention any specific detailed plans or cut list but it was enough to get me started. I began with (2) 10' 6" x 6" post. buried each 24" and cemented. I cut the post tops at 83" from ground line. The rafter consist of (2) 10' 2"x 6". I used the leftovers of the 6" x 6" post tops in the middle of my rafters to hang the swing from with 1/2 " eye bolt. Then I used (9) 2" x 2 " x 8' and cut each at 36" to finish off the top and (2) 2x6x8 for the 4 rafter supports. I drew out the designs of the rafters and top ends free hand and at made a template for the cuts with s jigsaw.
The entire cost including hardware minus the swing was $170. My wife had purchased the swing last Fall at a clearance for $40 brand new.


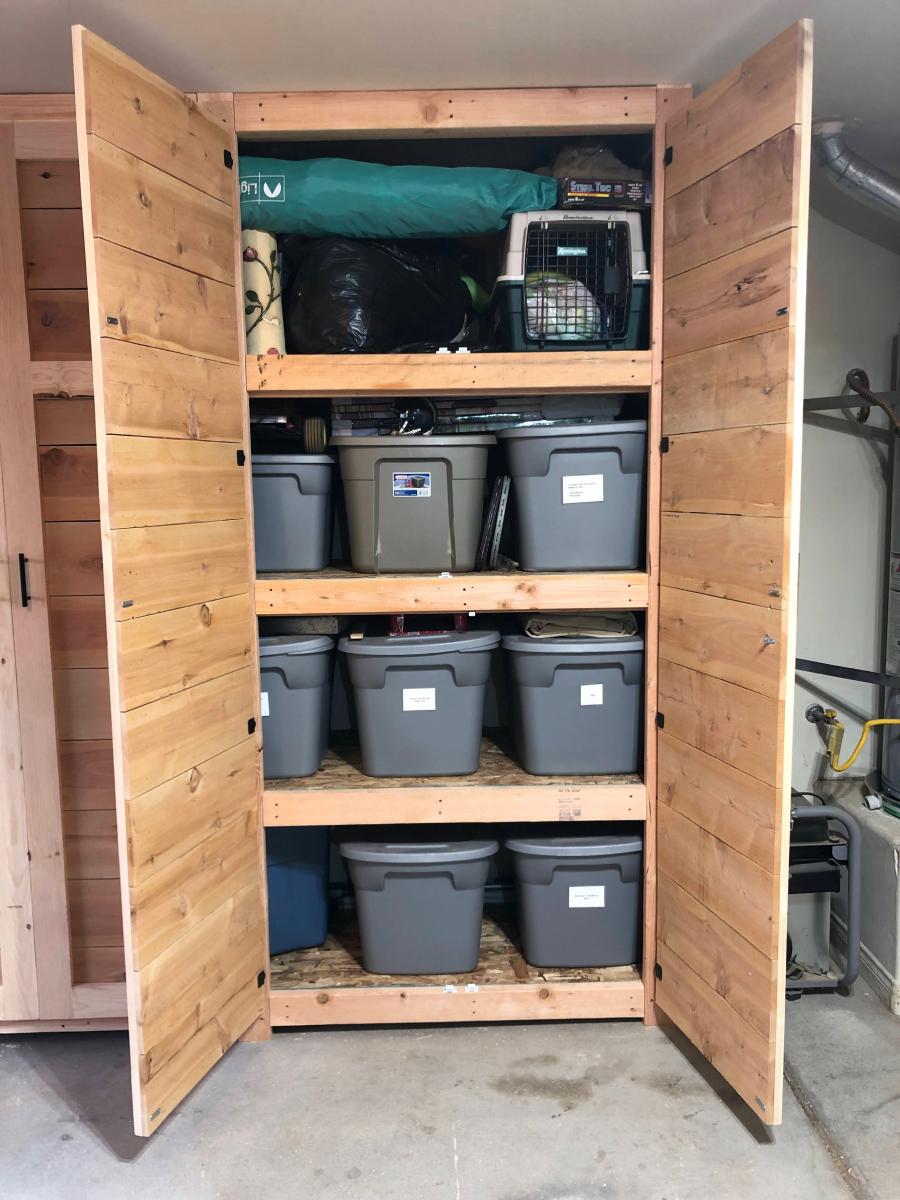
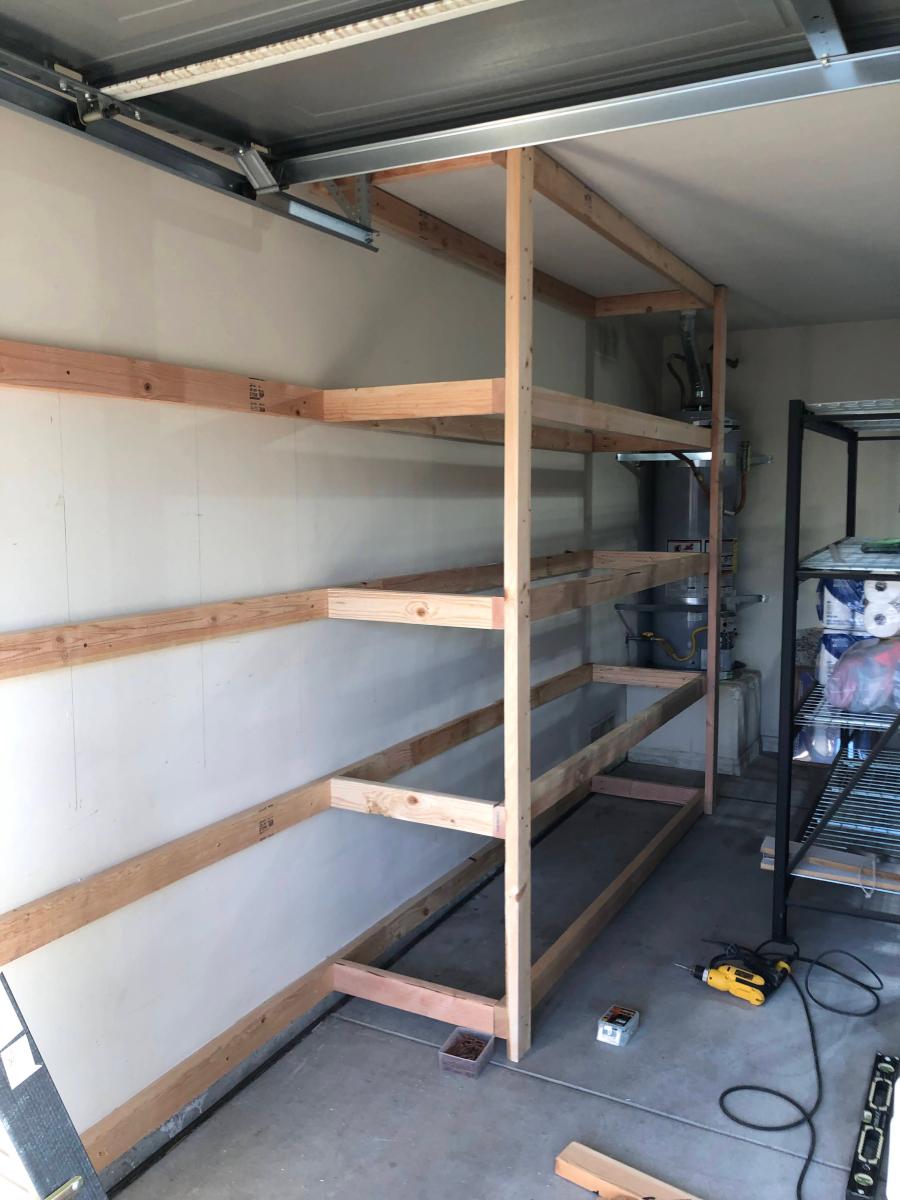
Garage Shelves Plan with Added Doors - Built and shared by Jeremy Doyle
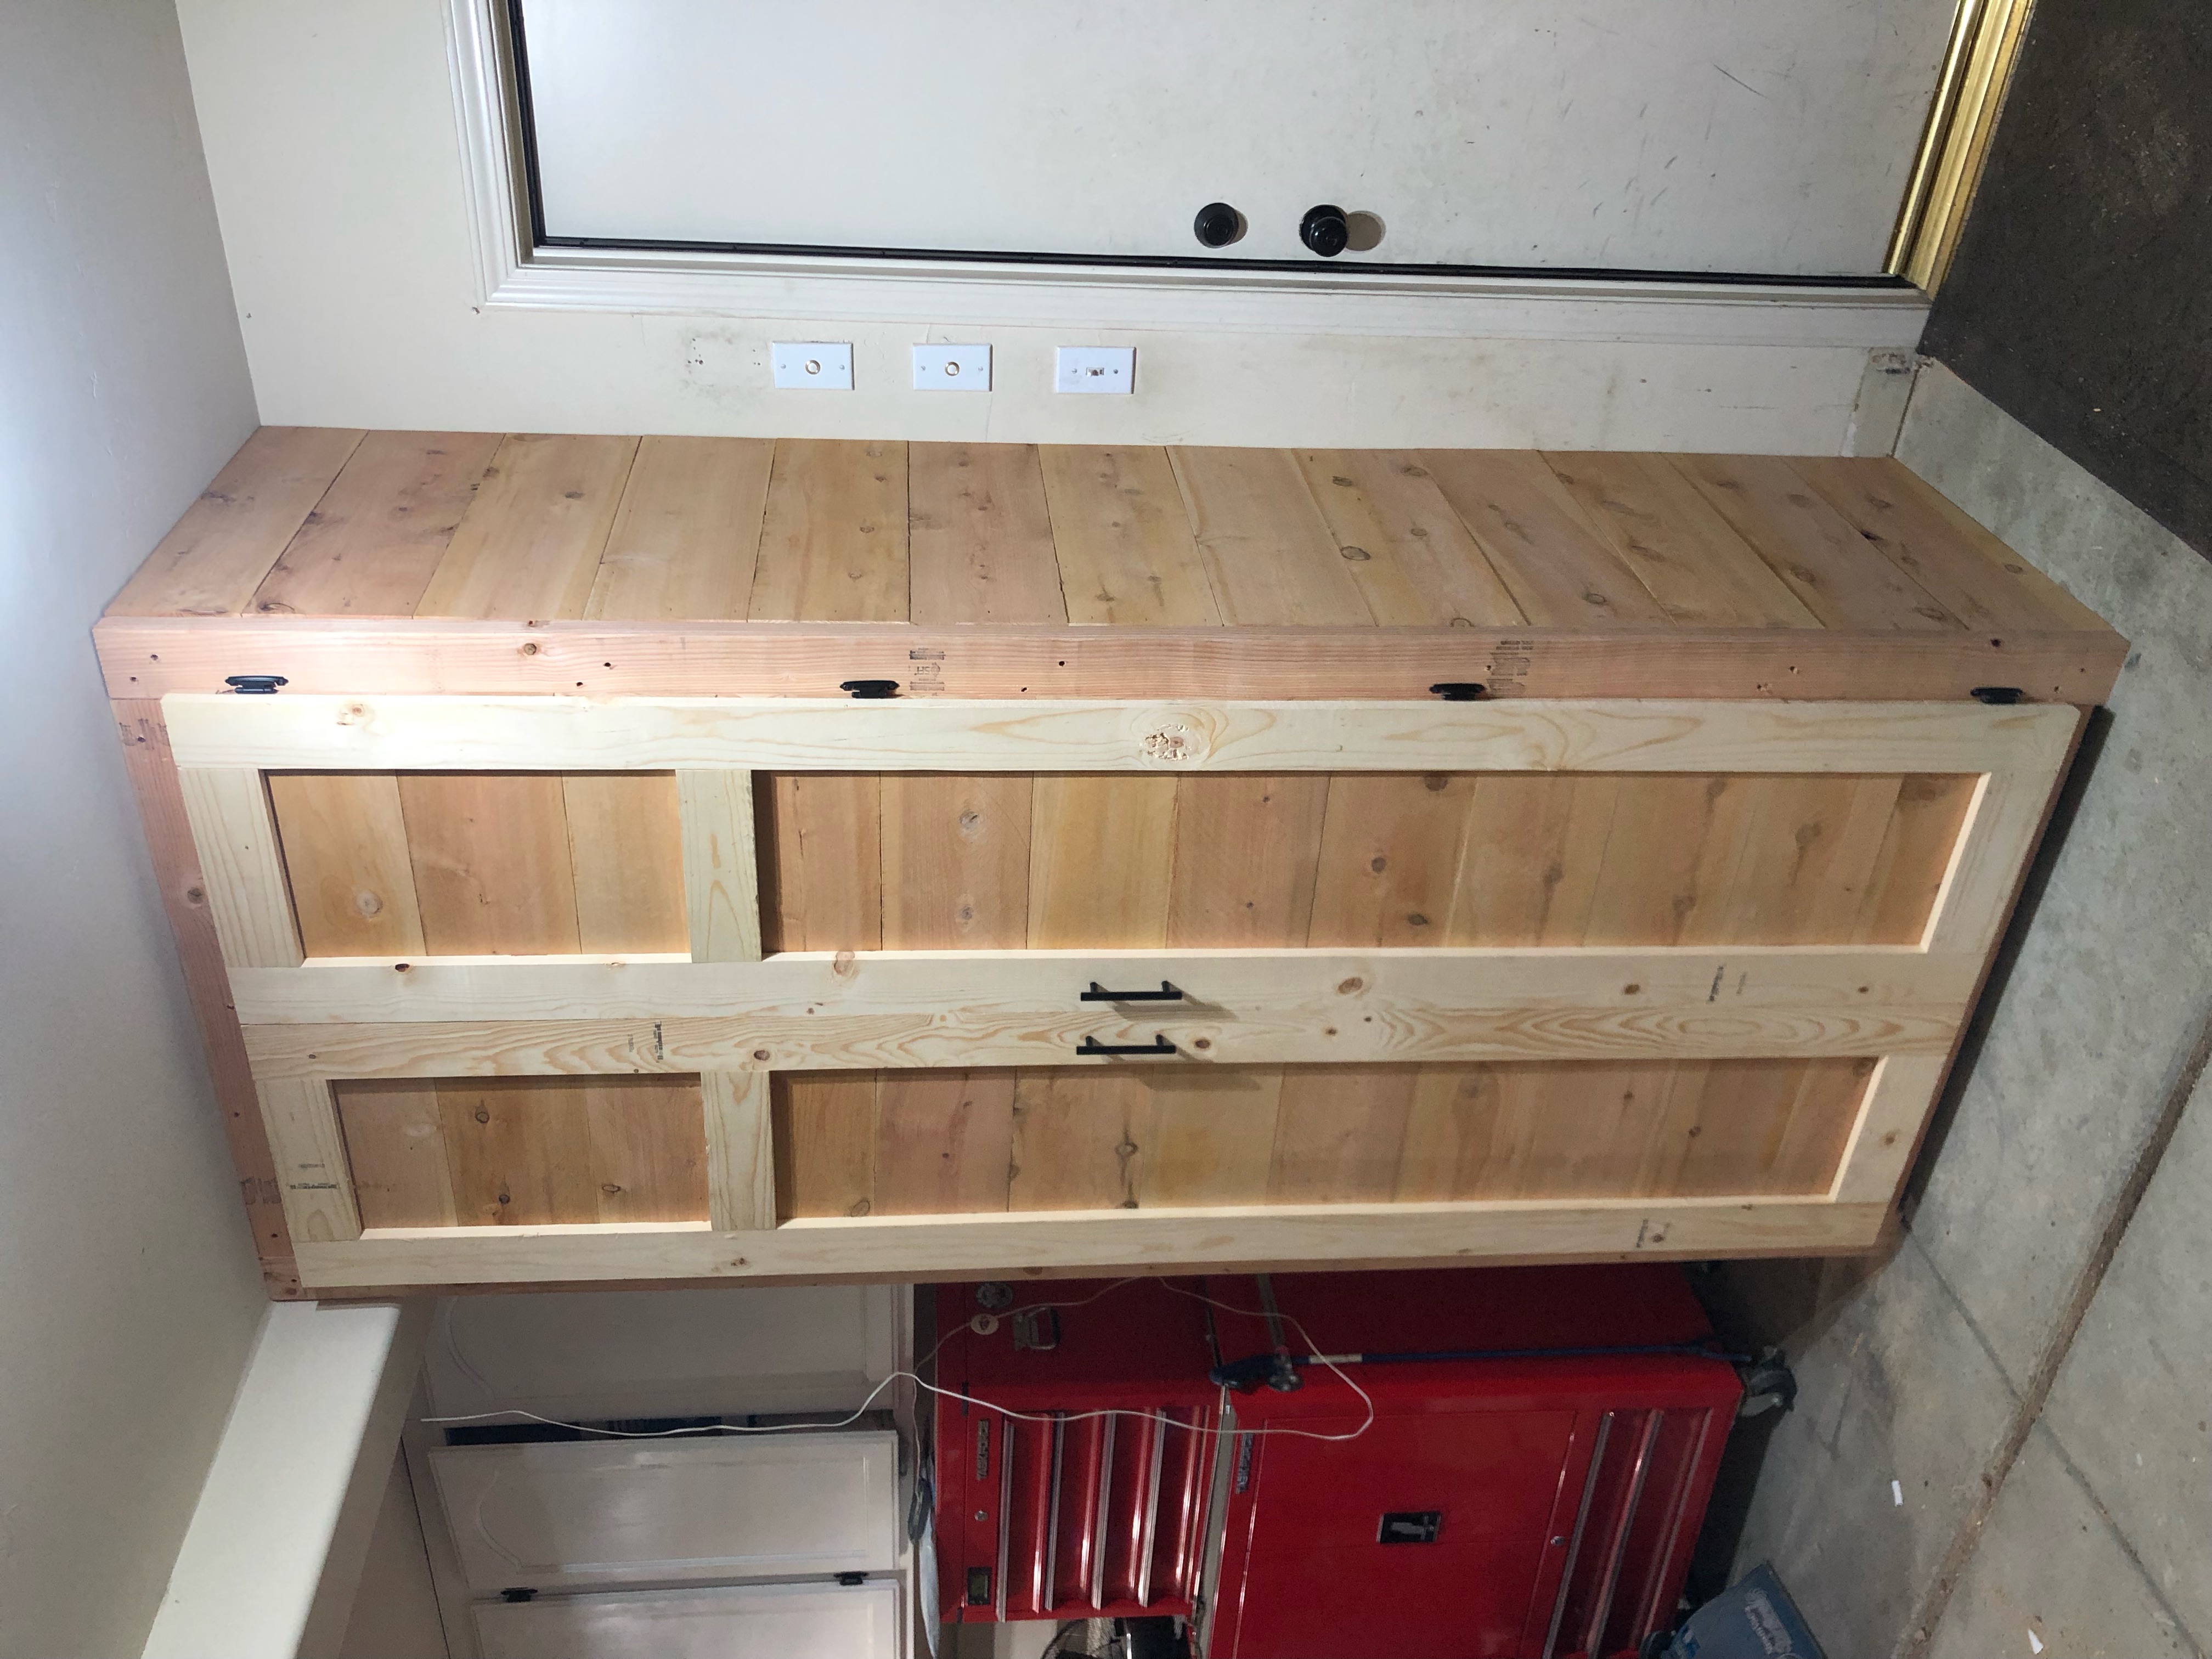
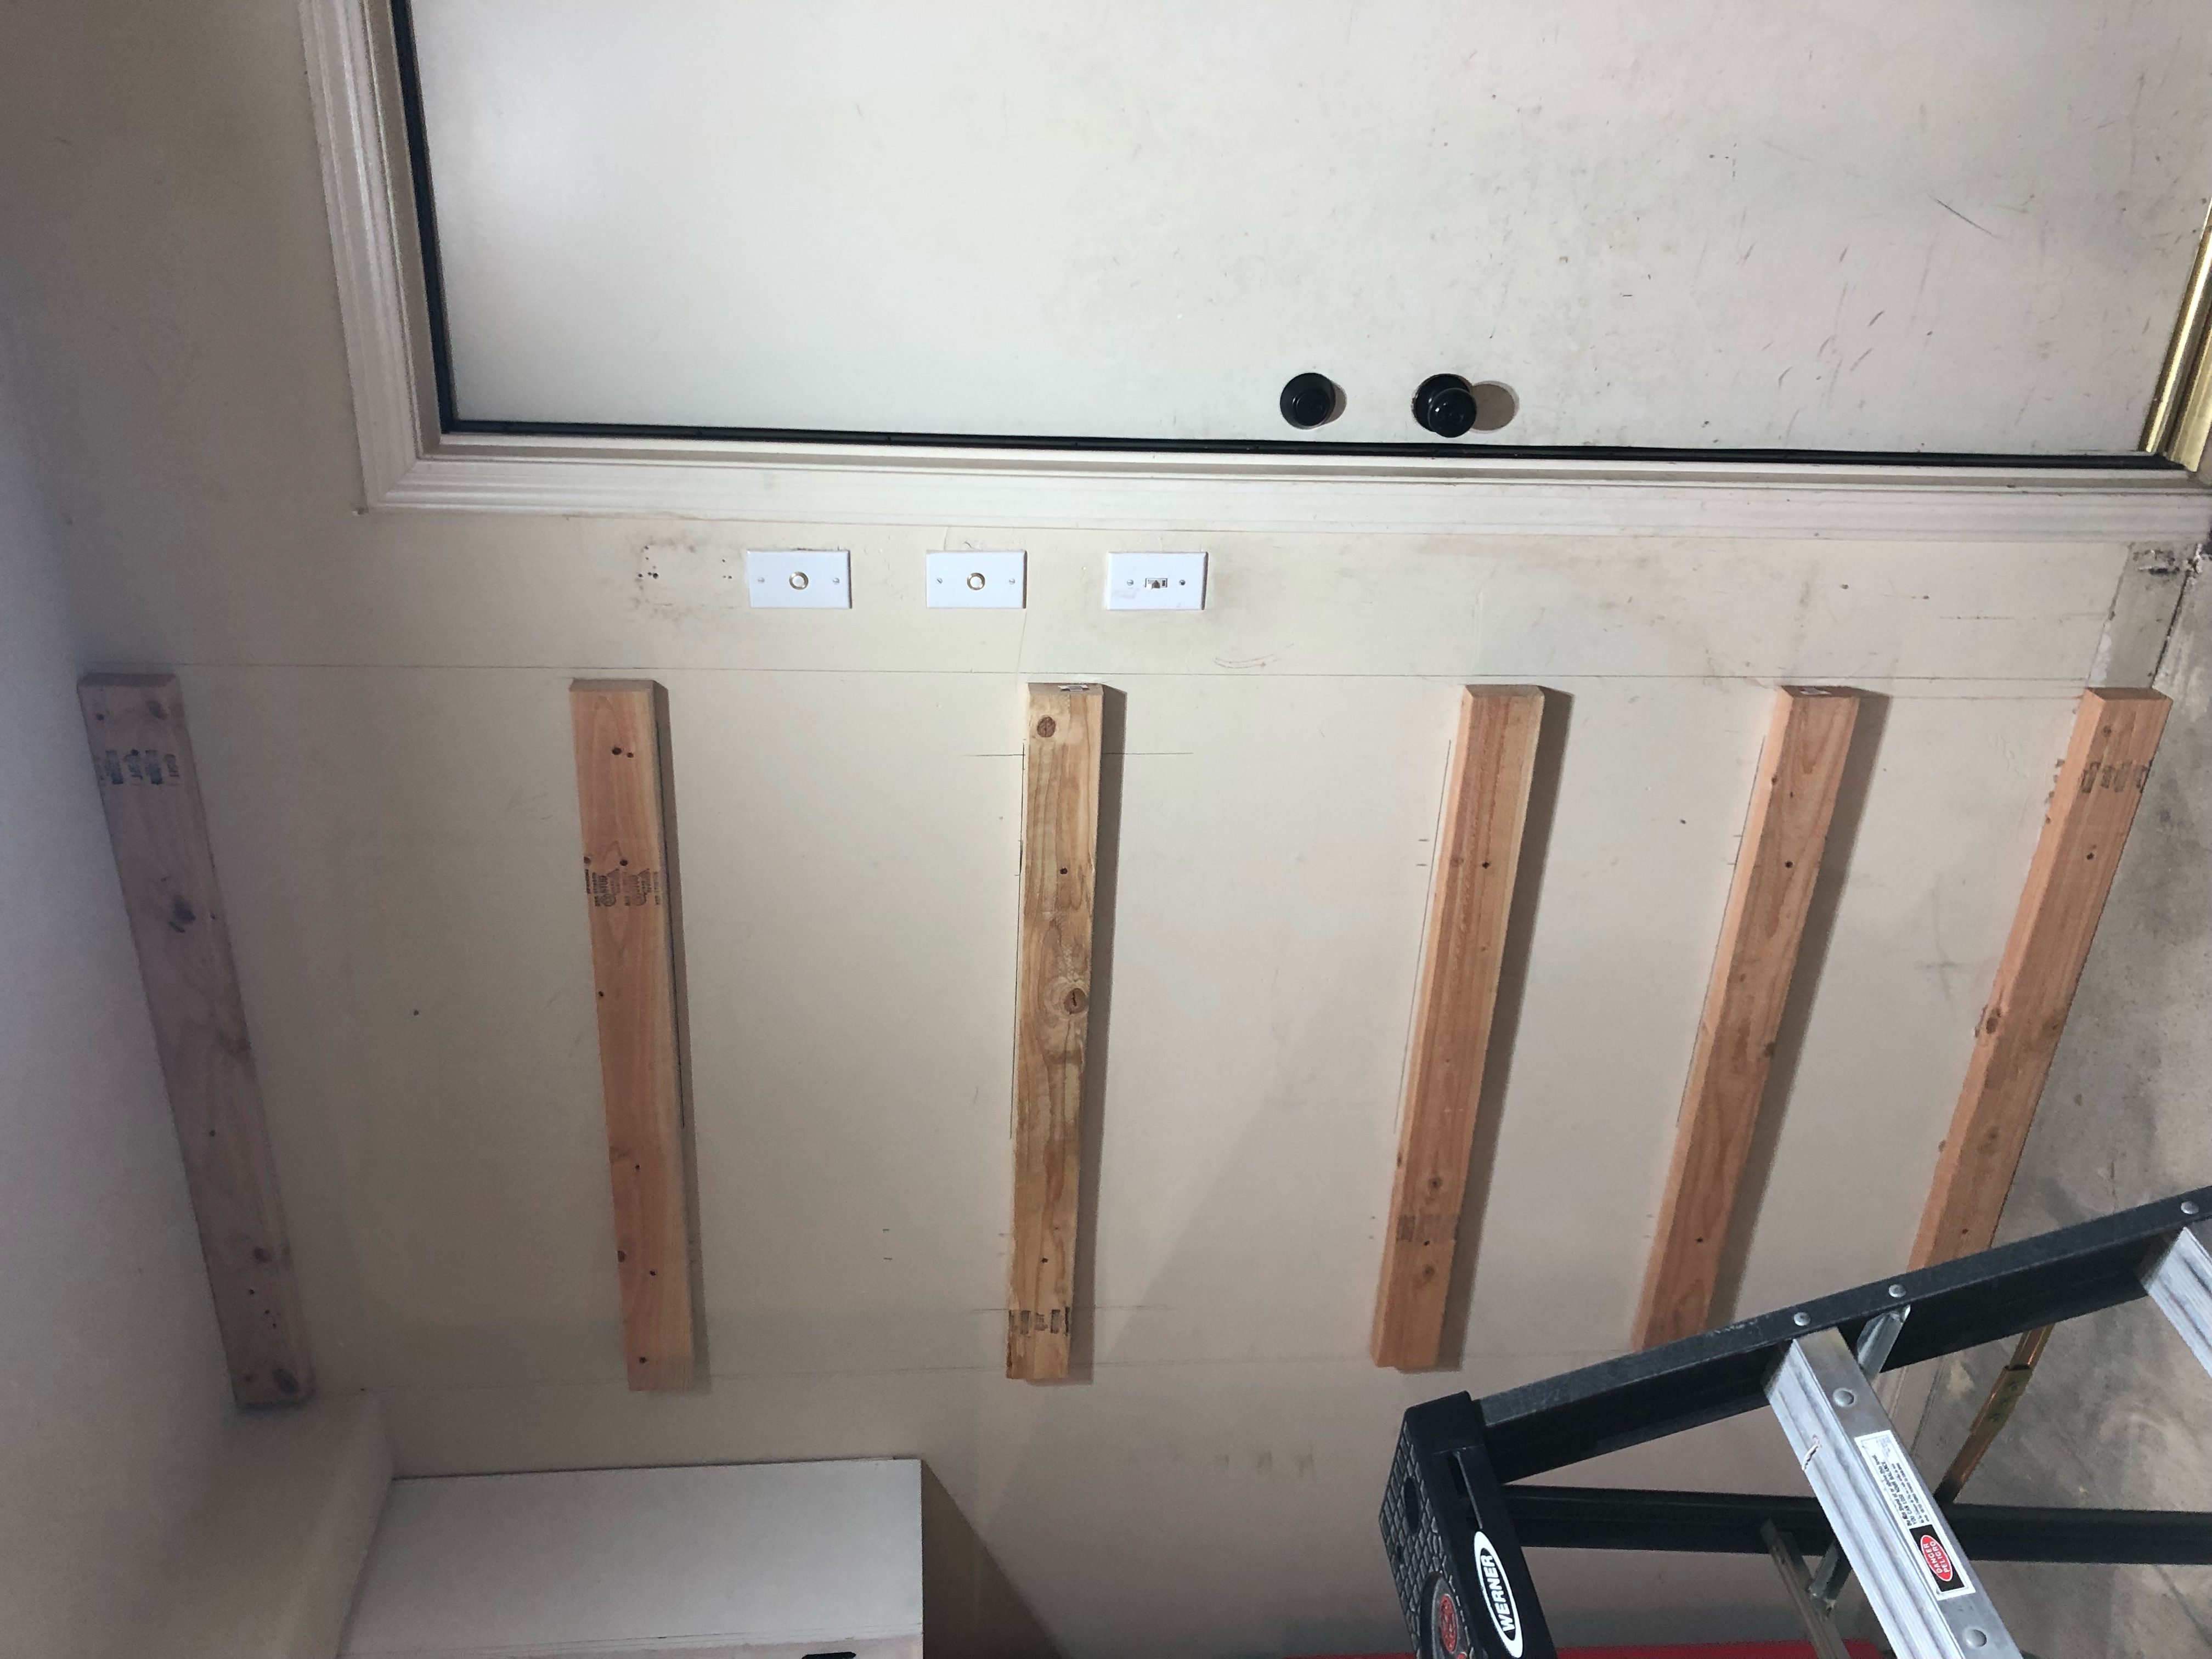
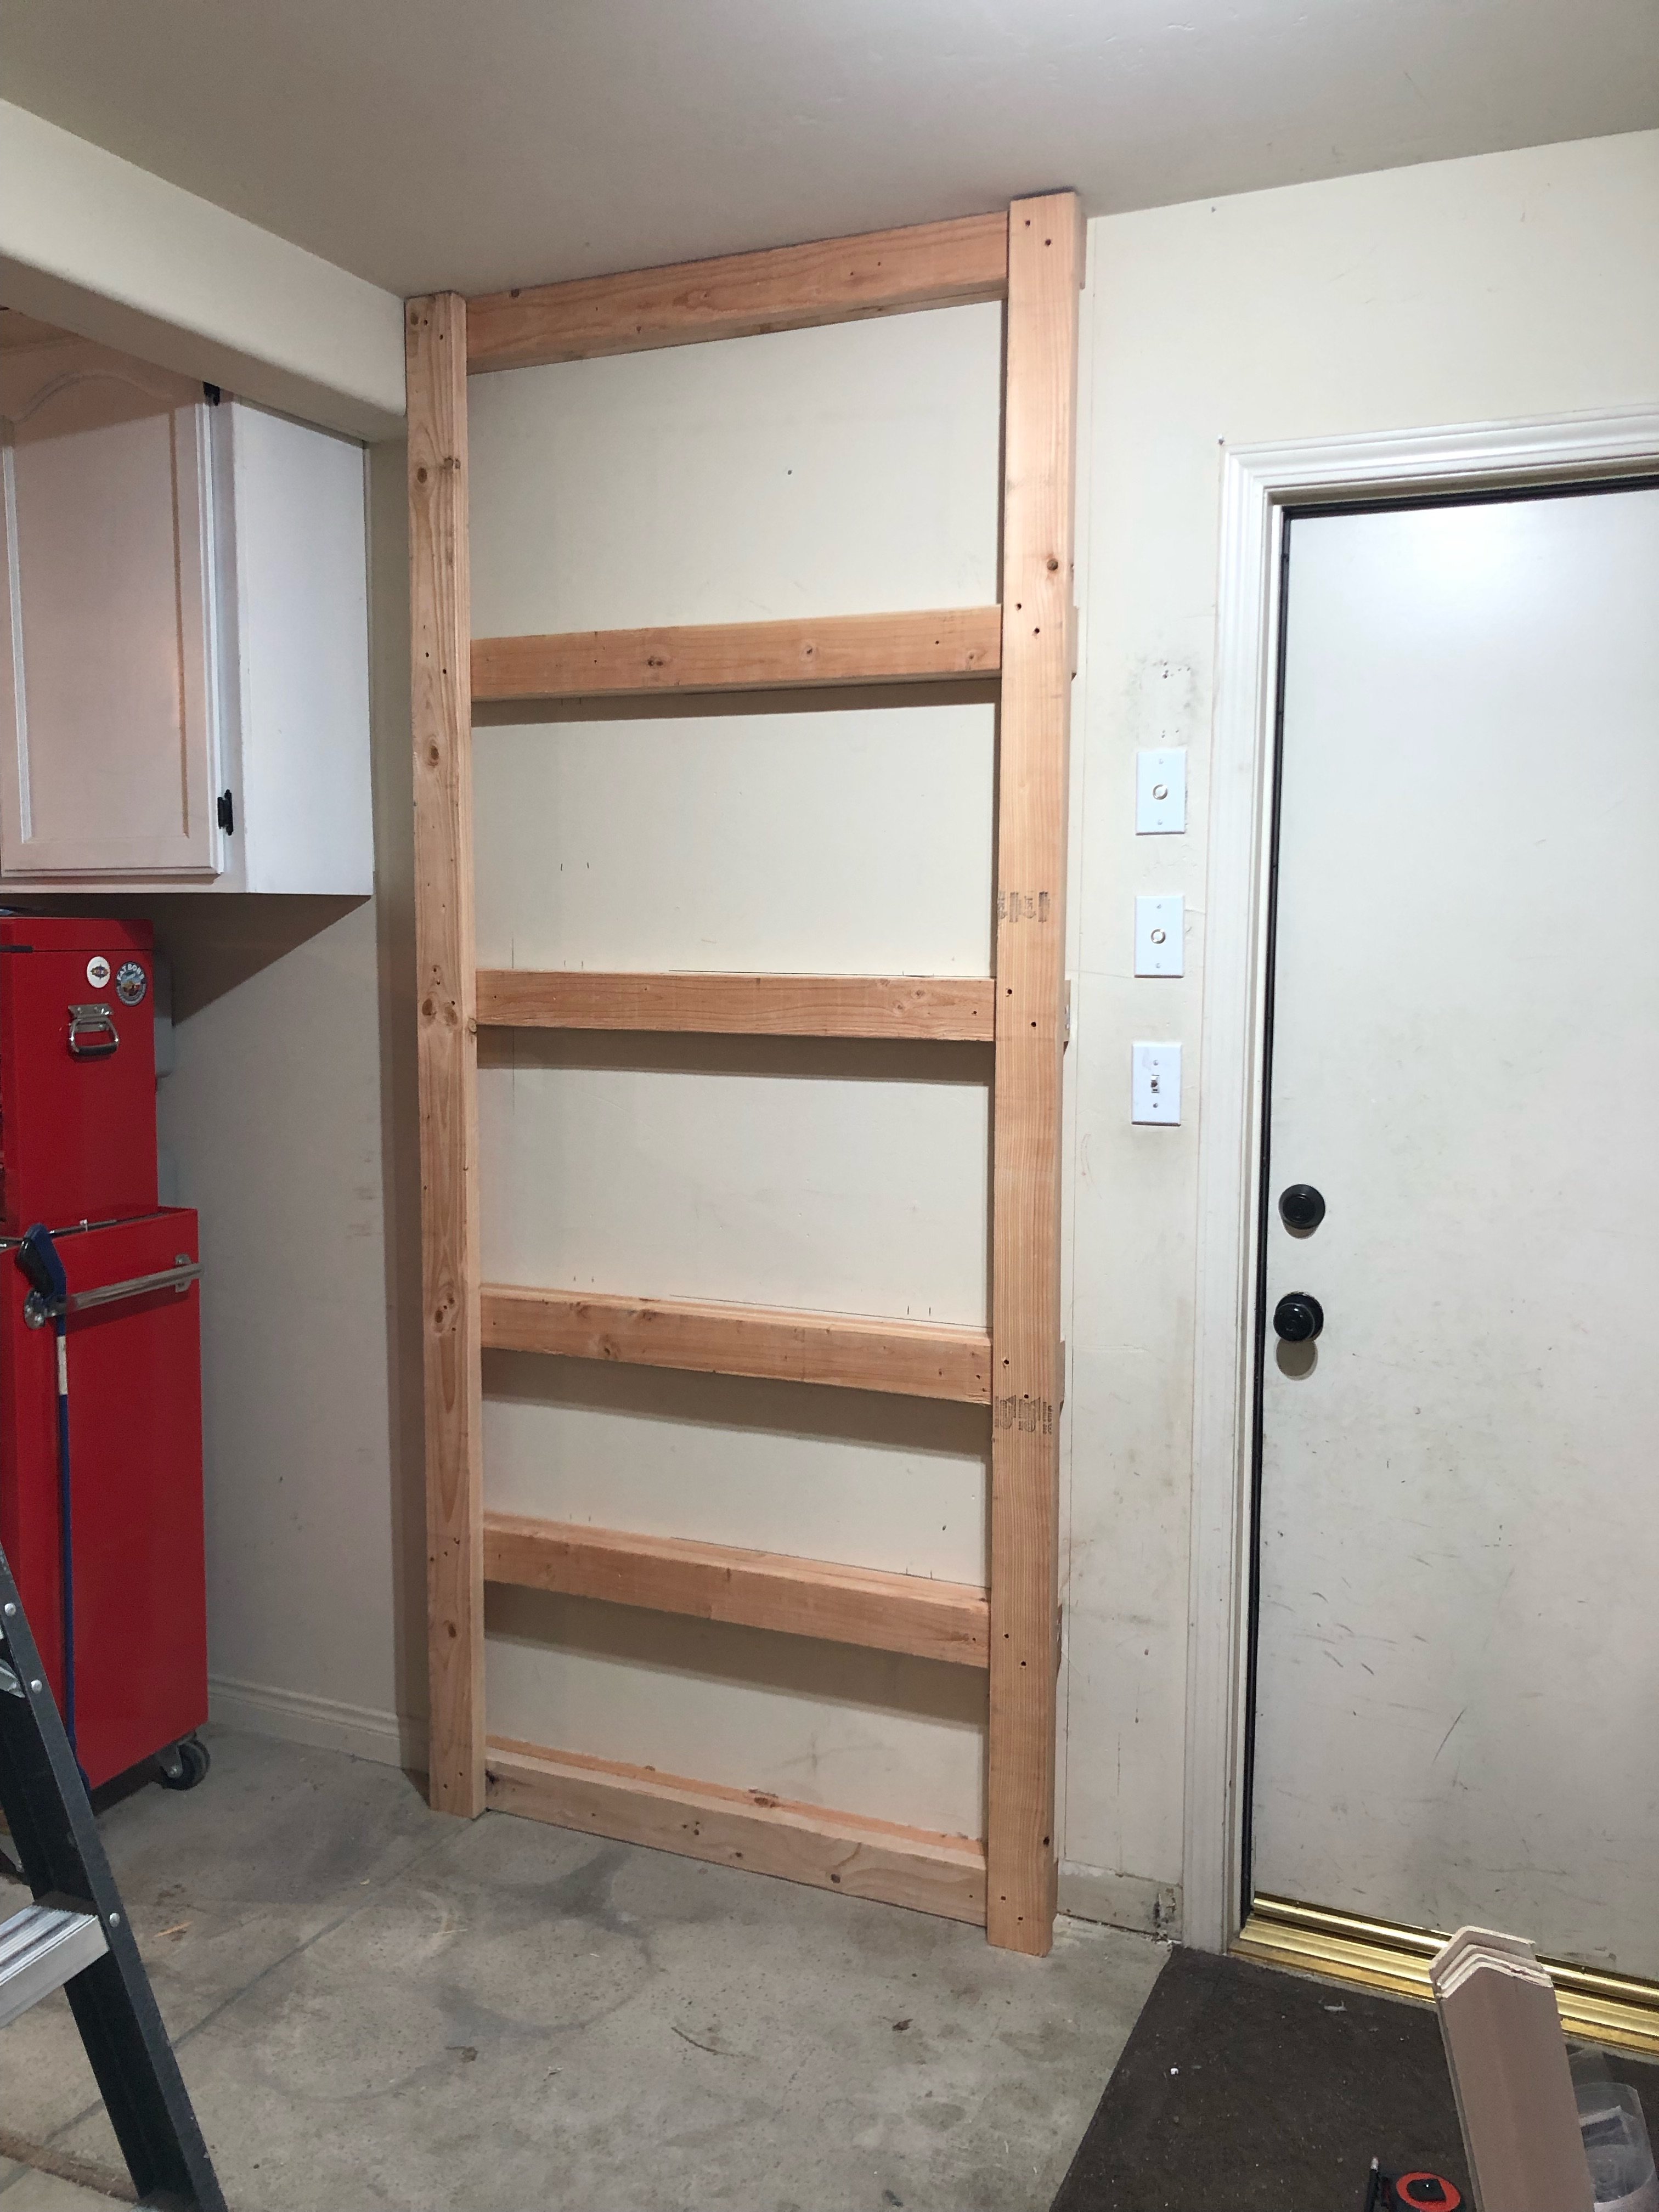
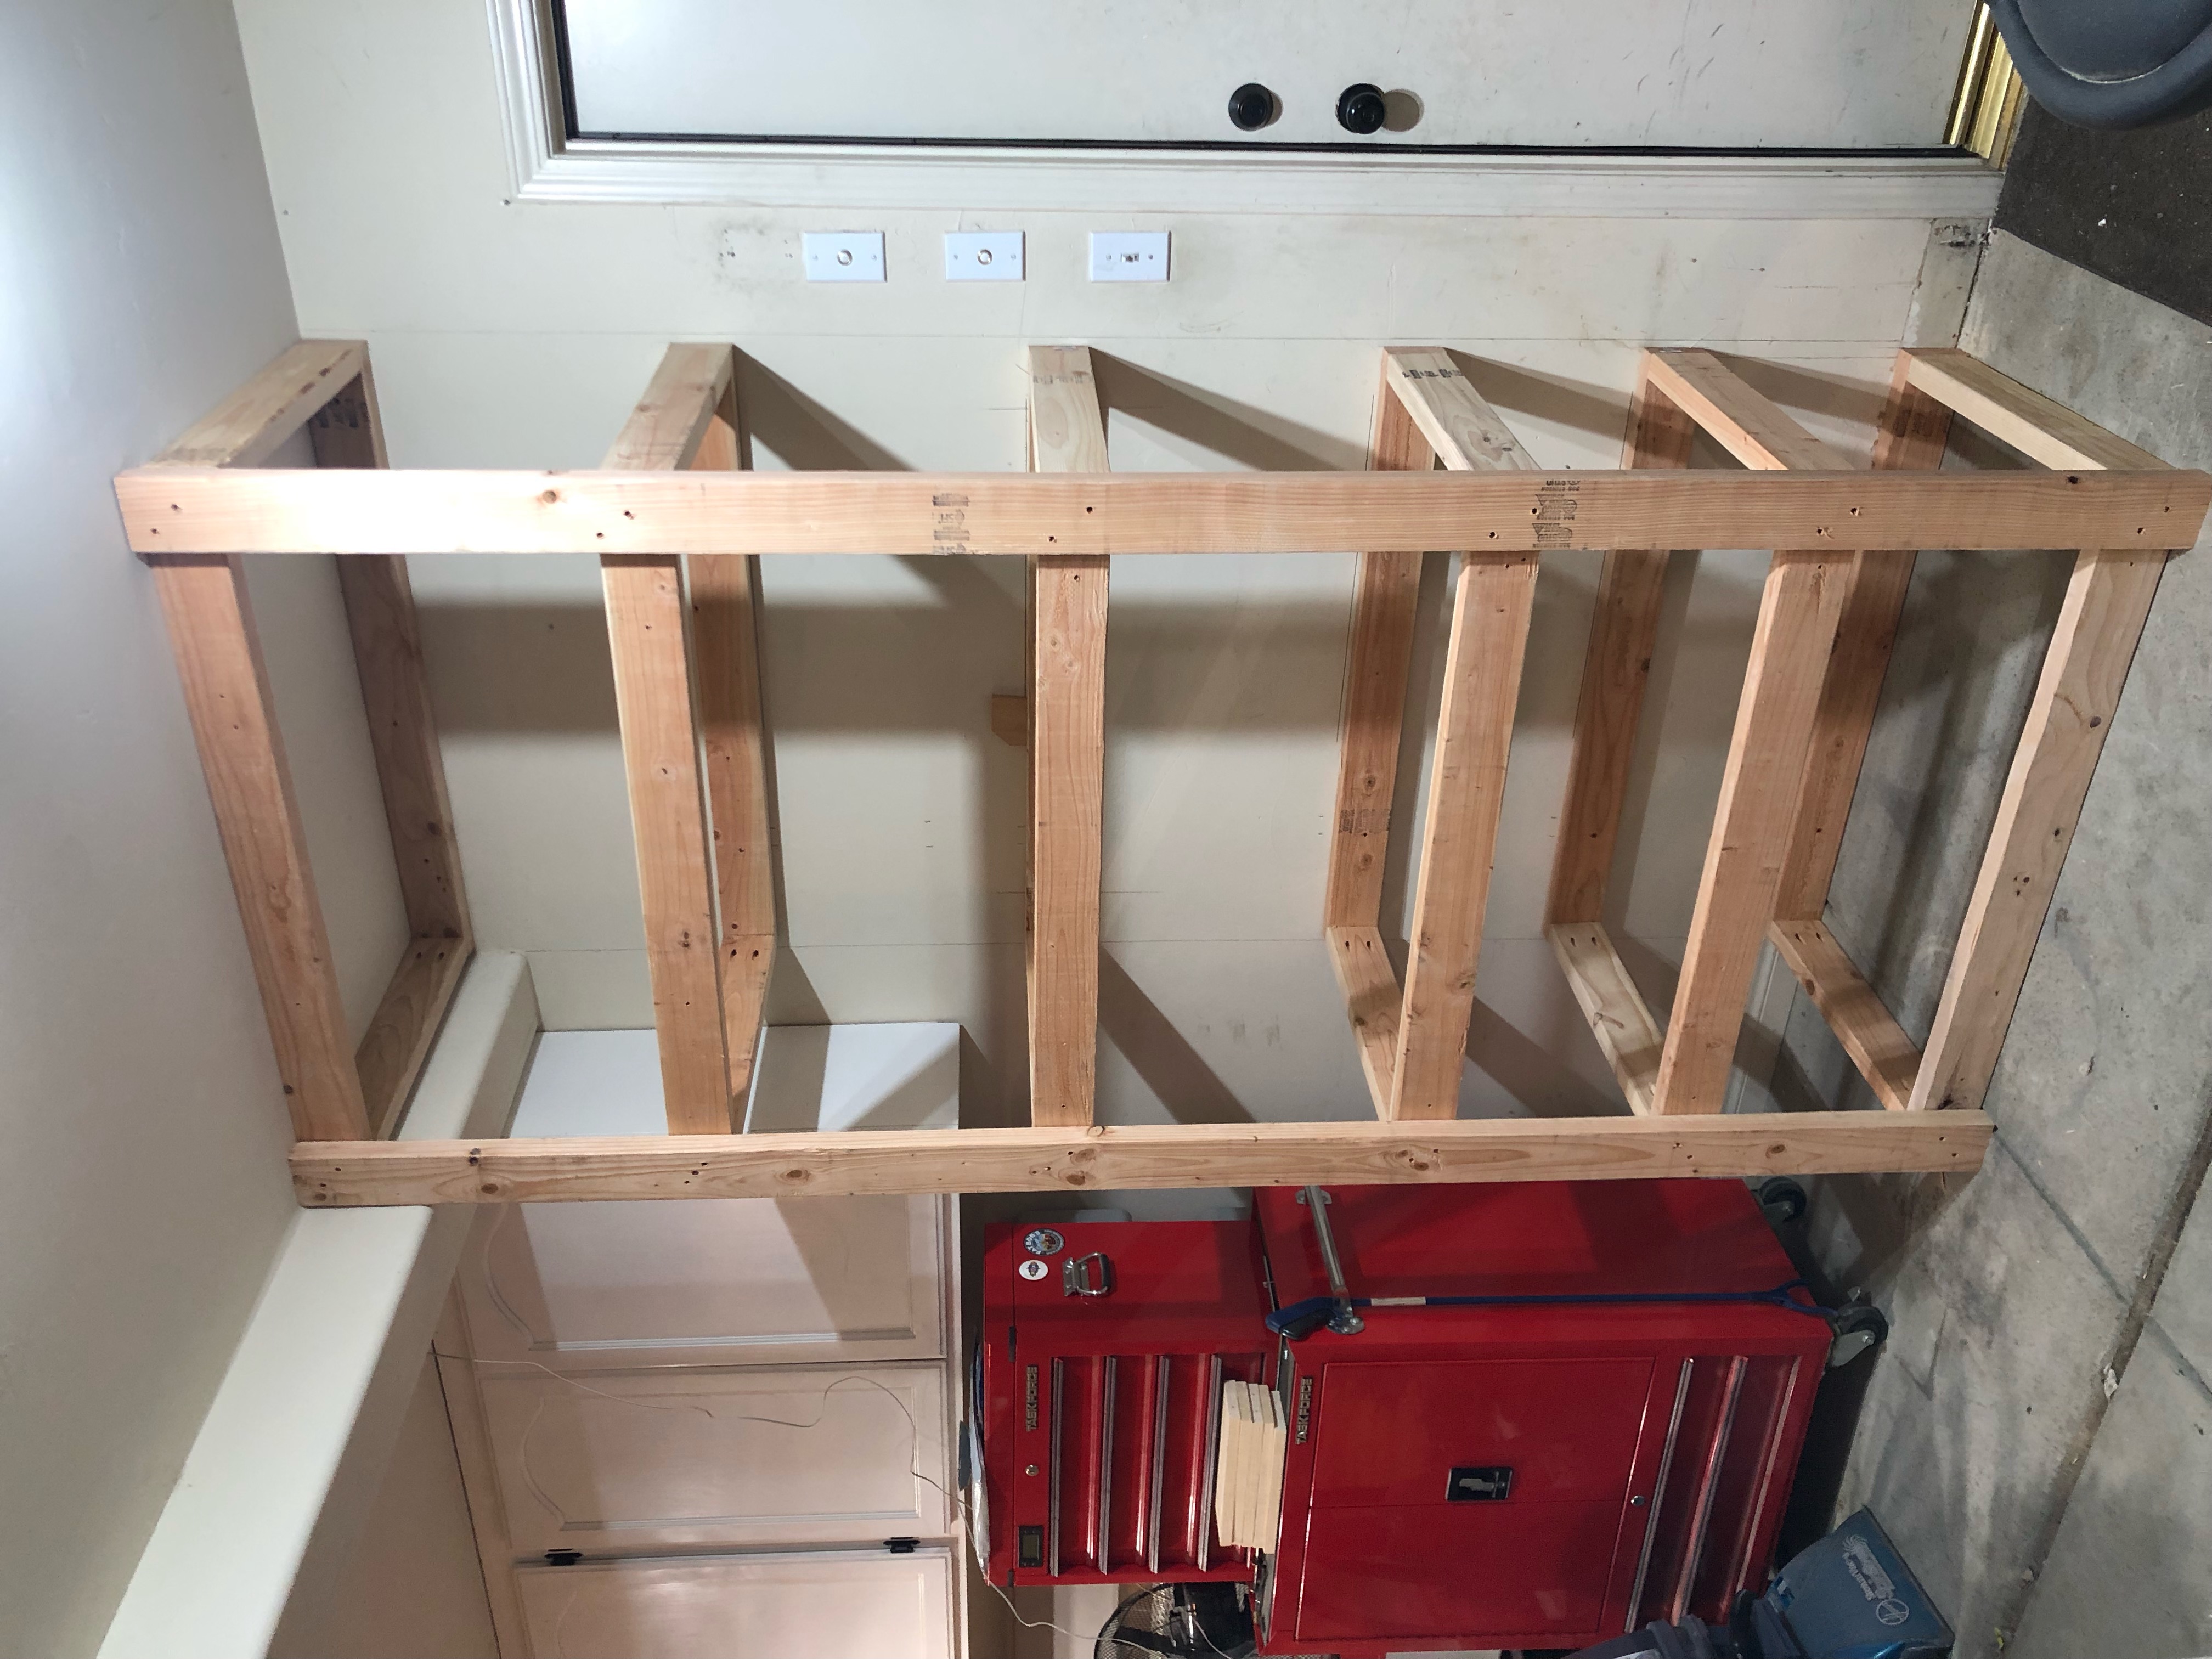


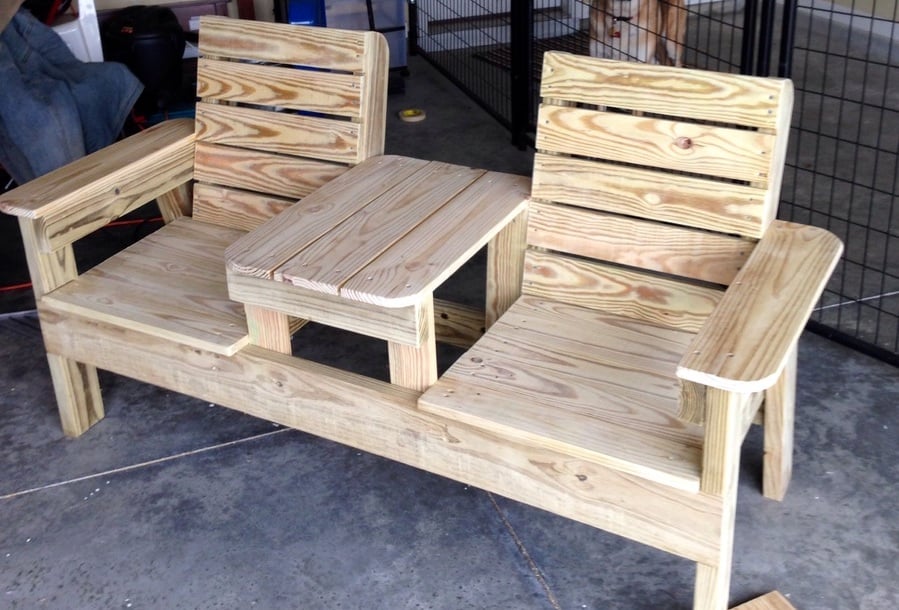
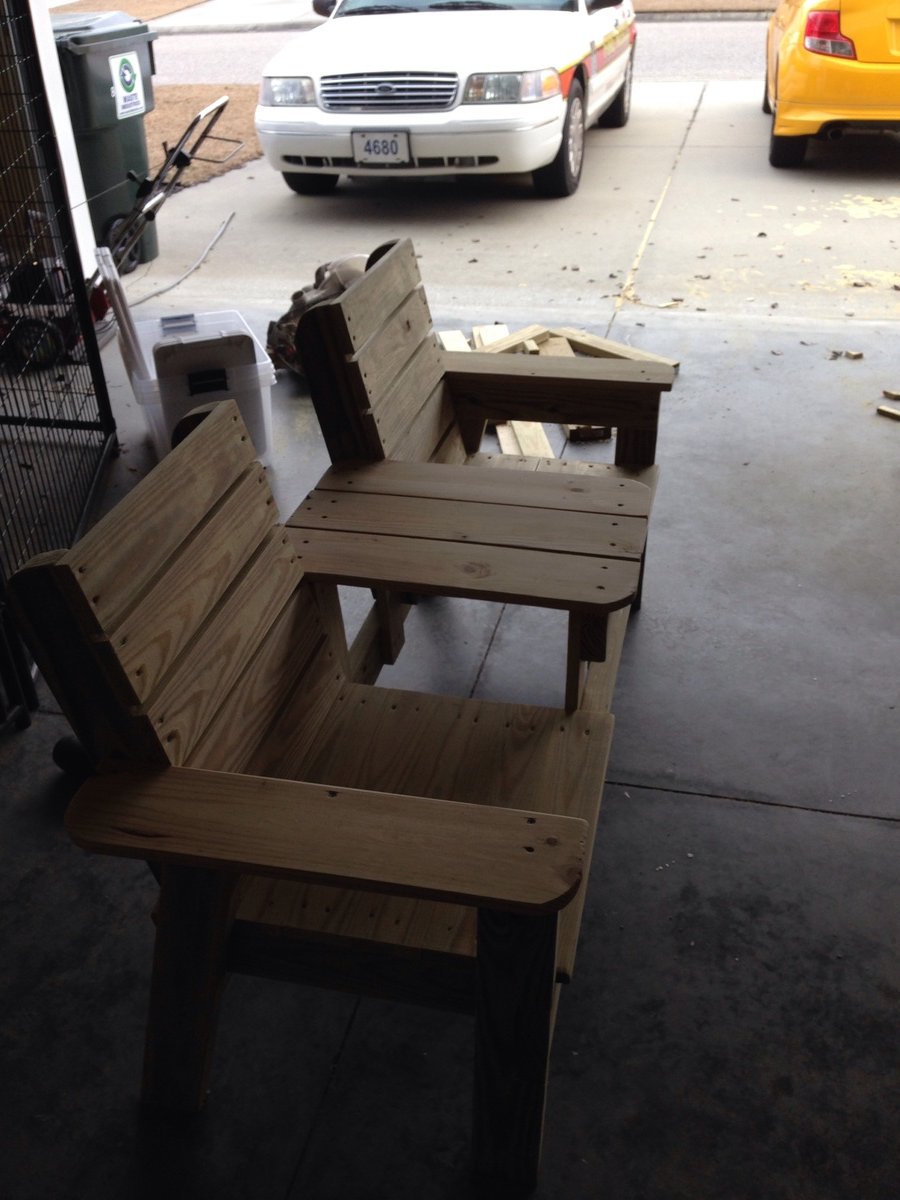
Thanks for the awesome, easy to follow plans!! All that's left to do is stain it and build another one- I'm going to have 2 on my back patio! A successful first project! Thanks!!
Sat, 03/07/2015 - 12:27
So awesome!!! Especially for your first project! Super inspiring for those of us who would like to attempt a project like this! Thank you for sharing!
Mon, 07/20/2020 - 07:15
Niiice...I'm thinking about this for my next project. Great work.
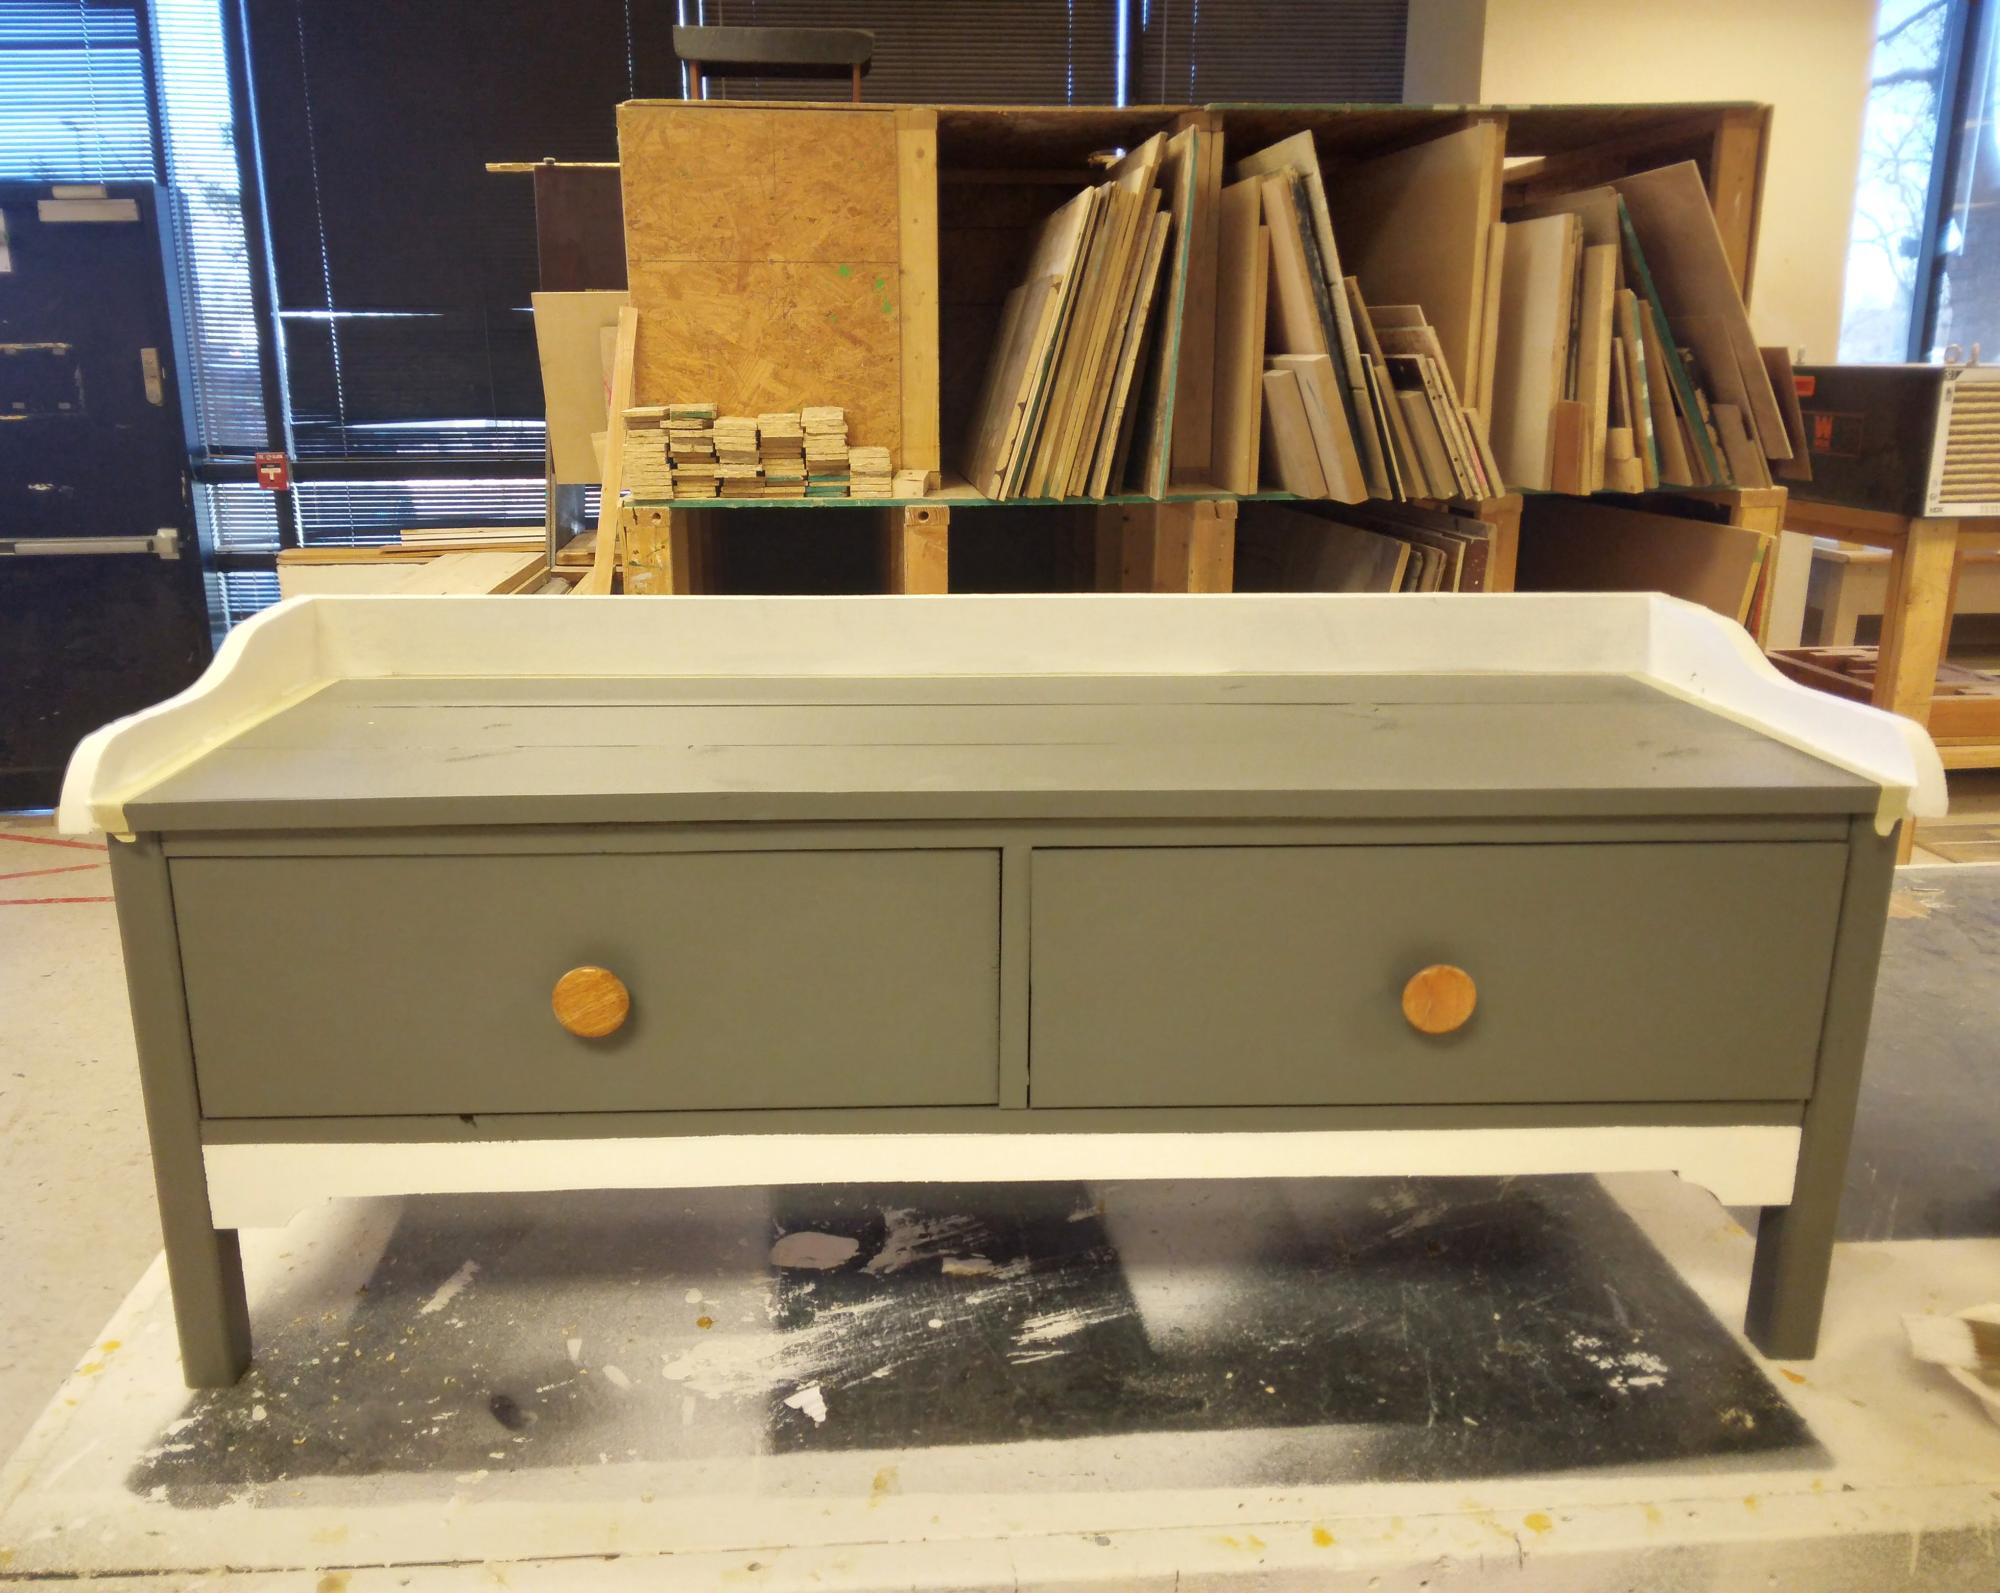
HS woodshop projects , Atlas Prep Colorado Springs CO.
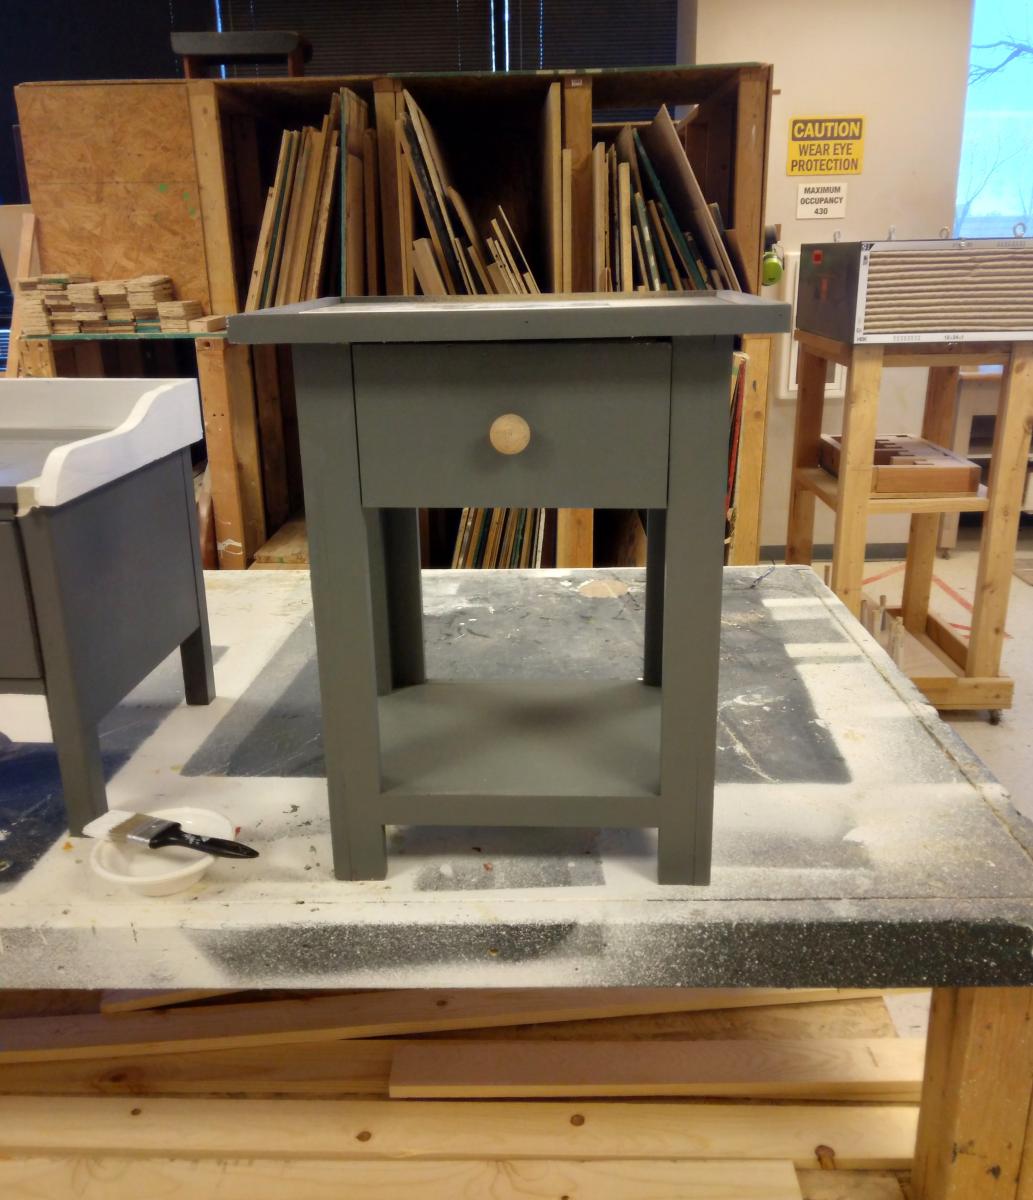
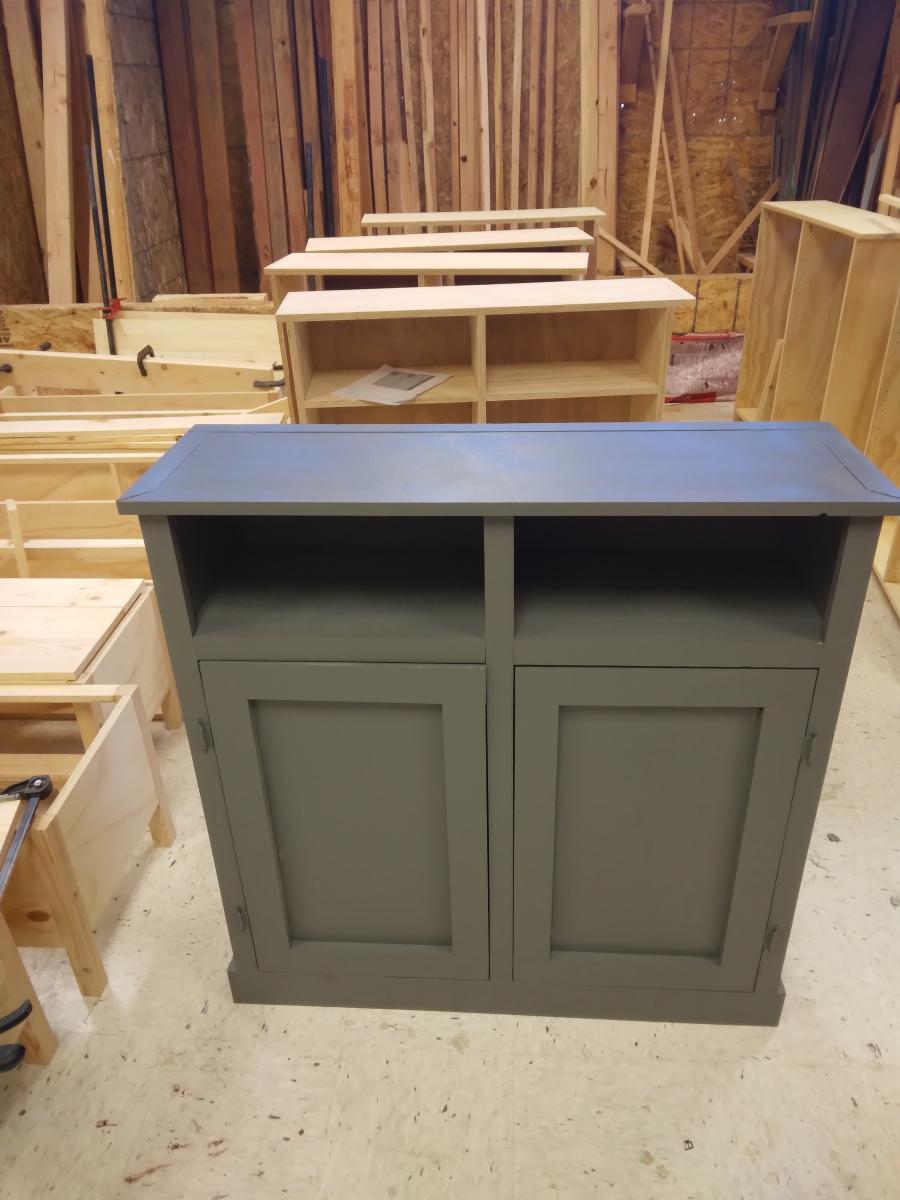

I built this for my daughter after building a ladder shelf for my kids bathroom. It took more time to install and adjust the drawer slides and paint the project.

Sat, 09/07/2019 - 03:32
Hi mltdblack
Really nice finish on the cabinet.
It looks like there’s molding on top of your mirror.
Did you buy a mirror with a frame or buy molding and put it on over the mirror?
What molding did you use an how did you secure it?
What size mirror did you use? Thanks
Fri, 01/07/2022 - 14:14
I am so sorry. This is the first I am seeing your question. The mirror came with a frame and I carefully nailed thru the frame to attach with my 18 gauge nailer. I bought the mirror at Lowe’s and I believe it was 15.5” x 50”. Also, I used full extension soft close drawer slides.
This was my first real woodworking project and I feel like I learned a lot that I could pass on to others taking on this project. First post here!
It was a lot more time consuming than I thought. It is hard to estimate how many hours I put into it, but I'd say at least 20-30 hours of actual work is required. As a first-timer there was probably a lot of wasted time, and trying to squeeze in time for this around work, family, and other priorities probably added time. Other than a couple of days where I put in a solid 4-6 hours of work, the other days were an hour here or there that I could squeeze in. I decided to sand, prime, and paint everything before assembly. I think this was best for me, but I can see why others have recommended painting the entire bed white and then cutting in the color. After assembly there was definitely some touch-up required.
It also cost me a lot more than what others had posted. I spent around $900 for the project, including everything that was required...wood, new saw blades, new jigsaw blades, sandpaper - lots of it, screws - about 600 total, kreg jig, primer, paint, hinges, hinge supports, extra wood for a few mistakes along the way. I'm in Southern California and bought everything at a major home improvement store, so I probably didn't get the best prices on everything, but it is convenient to our house.
I started with taking the plans for the playhouse loft bed and playhouse loft bed with storage stairs - thank you so much for these! I built everything in CAD and converted it to a full size bed. This was very helpful for me as an engineer to see how everything was going to fit together. Even then I made some mistakes along the way! One of the best things this gave me was a consolidated cut list that showed me how many common size/lengths there were...like the 66 1x2x11.5's needed for the rails and the 13 1x3x68.5's (I attached this pdf here http://ana-white.com/sites/default/files/bill%20of%20materials3.pdf). This way I could set up a block on my saw and just knock out the cuts all at once and have them all be the same length. Building it in CAD also saved me on a few things, such as using a 1x4x120 instead of the 1x3x120 called for in the plans, which was not available at the store. This affected the dimensions of the stair walls and a couple of other things.
Things I learned along the way:
- pocket holes are cool and very useful; the kreg jig was well worth the $100
- wood isn't straight or square (I know, obvious for you pros out there!): the bends and curves over an 8 foot length of pine can be quite dramatic
- my garage floor isn't flat: assembly of the first rail taught me this!
- the rails are by far the most time consuming part of this project, between drilling pocket holes, assembly, filling pocket holes, sanding, priming and painting all the nooks and crannies, I probably spent 90% of my time on the rails...but my 5 year old really enjoyed drilling many of the holes and filling them with the kreg hole plugs and glue
- 4ft x 8ft MDF is incredibly heavy so you will need help to transport and it actually measures 49" x 97", so I didn't realize that I needed to cut 1" off of the height for it to match the 48" I had planned for...that would have been much easier to have the store cut for me! No table saw in my tool set...
- even with the help of CAD, I got confused during assembly on some of the directions, such as which wall would be facing outside or inside. This really only affected how I was trying to hide assembly features and screws, but something to look out for when you assemble. I replaced a couple of trim pieces that weren't as perfect as I wanted
- I used a lot more pocket holes during assembly than I expected, which was another reason that I say the kreg jig was well worth it
Differences in my plan:
- the stair widths are adjusted down to 22 3/8 from 22 1/2...you don't want the stairs grinding against them walls when you open and close them. You should check your actual width of your stair area before assembly because things might be different for you and squareness also affects this.
- I have four total stairs to account for the full size bed width, so heights and depths of each have been adjusted
- the lowest stair needs to be slightly shorter to account for the arc when raising/lowering it. As dimensioned, it will interfere with the front legs, so I used 10 1/4 depth instead of 10 1/2.
- I felt like the bed needed more support underneath so I added two more 2x2's with pocket holes on both ends
- I added hinge supports to the storage stairs to prevent squished fingers
Still thinking about added a window or door or some kind of access to the tallest stair compartment from inside the playhouse area...it is really tall so anything going to the floor in there might be hard to get out. The outer stair wall still seems kind of loose so I'm not sure if I need to add more pocket holes where it attaches to the back leg/wall or what. Not sure if I can add CAD models here, but I can supply them if anyone is interested.
Sat, 02/15/2020 - 08:53
Question, what is CAD? lol 🤔 Also, do you have more pictures of your full size playhouse loft bed with side stairs? How tall is this when over all done? You did an amazing job!! Thanks
This is a mashup of several plans, combined into one big, bad ass, office desk. I've had a little experience years ago in high school woodworking classes, but haven't really built much since. This reminded me how much I enjoy working with wood. So rewarding to be typing this message at my new office desk!
Wed, 08/19/2020 - 06:25
This is amazing! So amazing could I ask you to share with me what prices from the collection of plans you used and how? I’m looking at your pic trying to figure out how to incorporate the plans you used. I want to build one for myself lol fantastic job!!!!

Amazing stair railing upgrade shared by Sara and Chris!


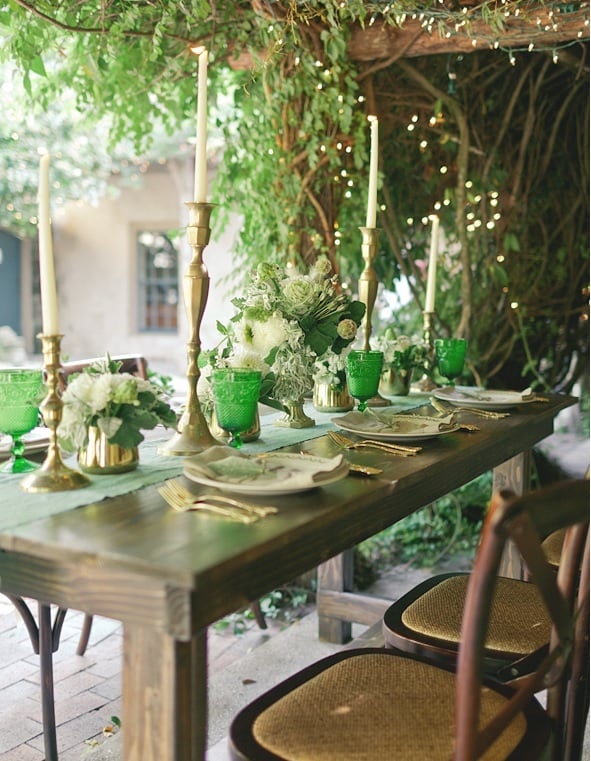
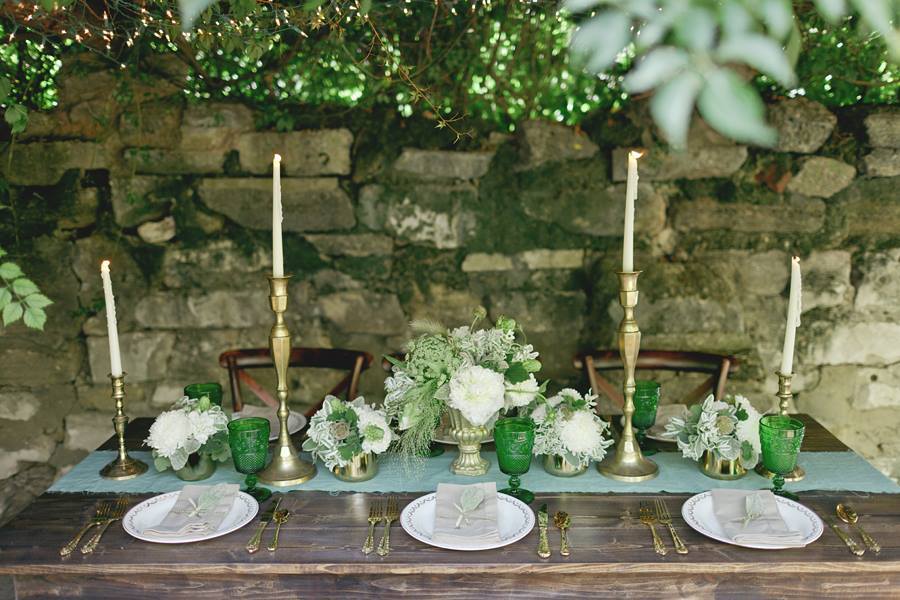
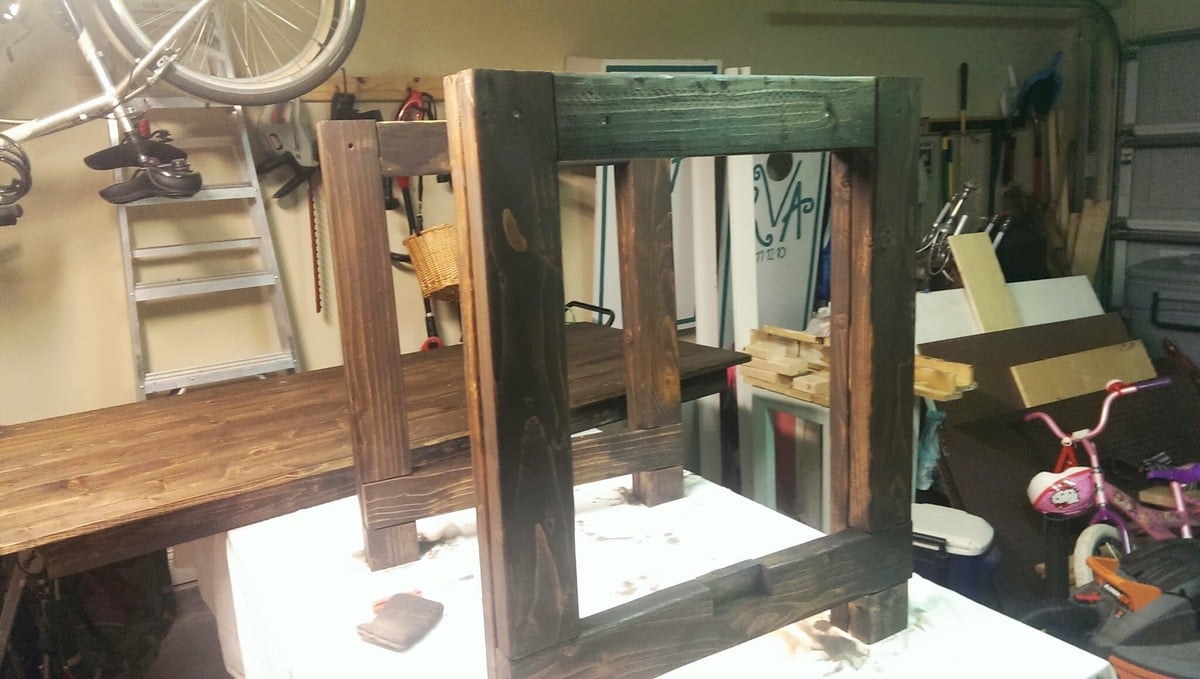
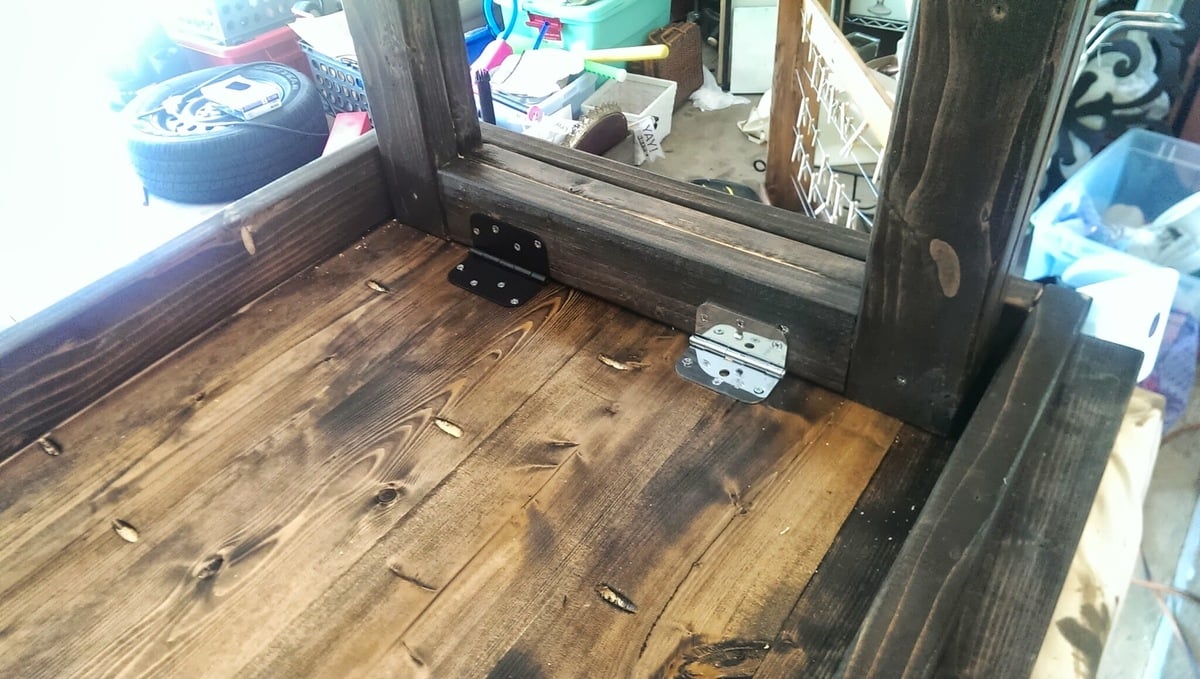
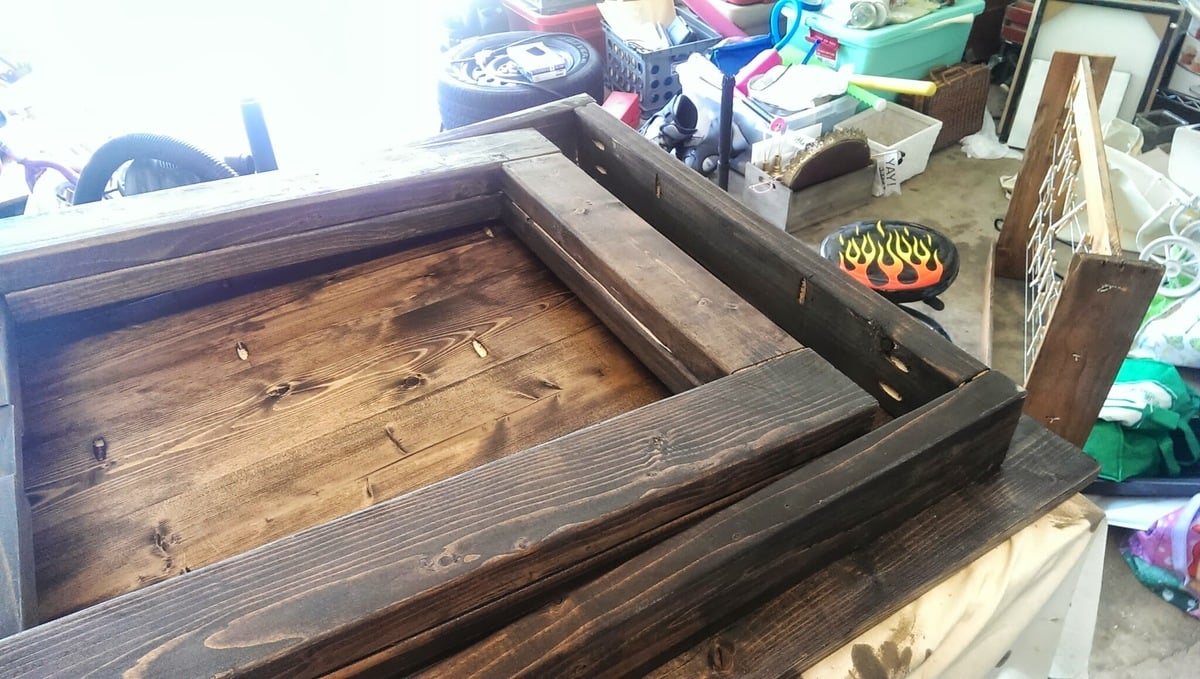
I recently published my first foldable farmhouse table last week here: http://ana-white.com/2013/06/foldable-farmhouse-table The first one I made was very heavy because I used 2x6 tops and 4x4 legs. I decided to make another one that would be lighter and easier to transport. The plans are basically the same just instead I used 1x6 for the top and put 2x4s together for the legs. I also shorted the length by about a foot. The only issue with making the table shorter length is that the legs don't fold completely flush. You could easily make the legs short enough to fold flush, but then the table was a little too short from the ground up for us. The same as before I simply used kreg joints to join the top boards together. I then made a 2x4 frame and attached it to the bottom. I made each of the legs separately by joining 2x4s together and sanding everything down. Everything was stained before putting the legs on using Miniwax Dark walnut stain. I used 2 coats of Miniwax water based clear coat to seal it. A notch was cut out on each of the bottom 2x4 supports on the legs and I glued in a small piece of wood cut to size. These are so I can put in a 2x4 support board under the table so that the legs do not fold in on themselves when it is standing up. The legs are just attached using door hinges you can buy in packs in the hardware section. Be careful when screwing into the 1x6 top not to use too long of screws or else you will over screw and have them come through into your table top. Table design was by Amber Veatch Designs and photographed by Andi Mans Photography
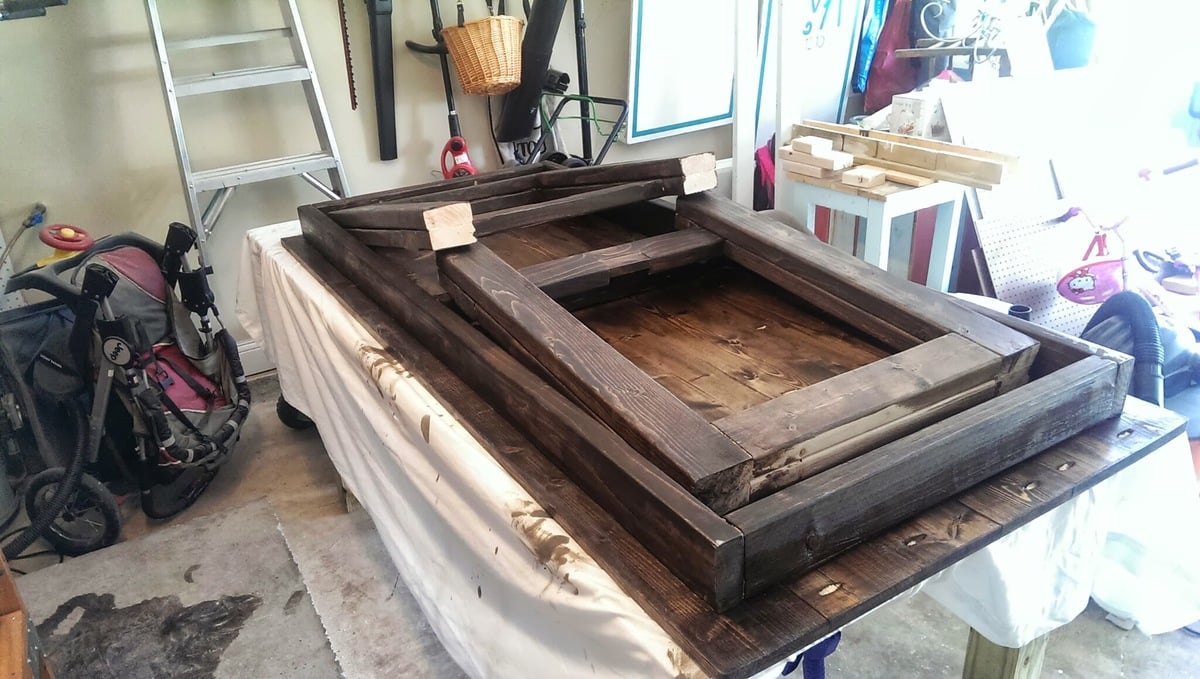
Tue, 07/07/2015 - 06:41
We have built something very similar and we have a good bit of wobble at the top, even though the stretcher down the center of the table is holding solid in there and secred with clasps. Were thinking of some sort of sliding pin into the top of the leg to the apron. Anyone run into this before?
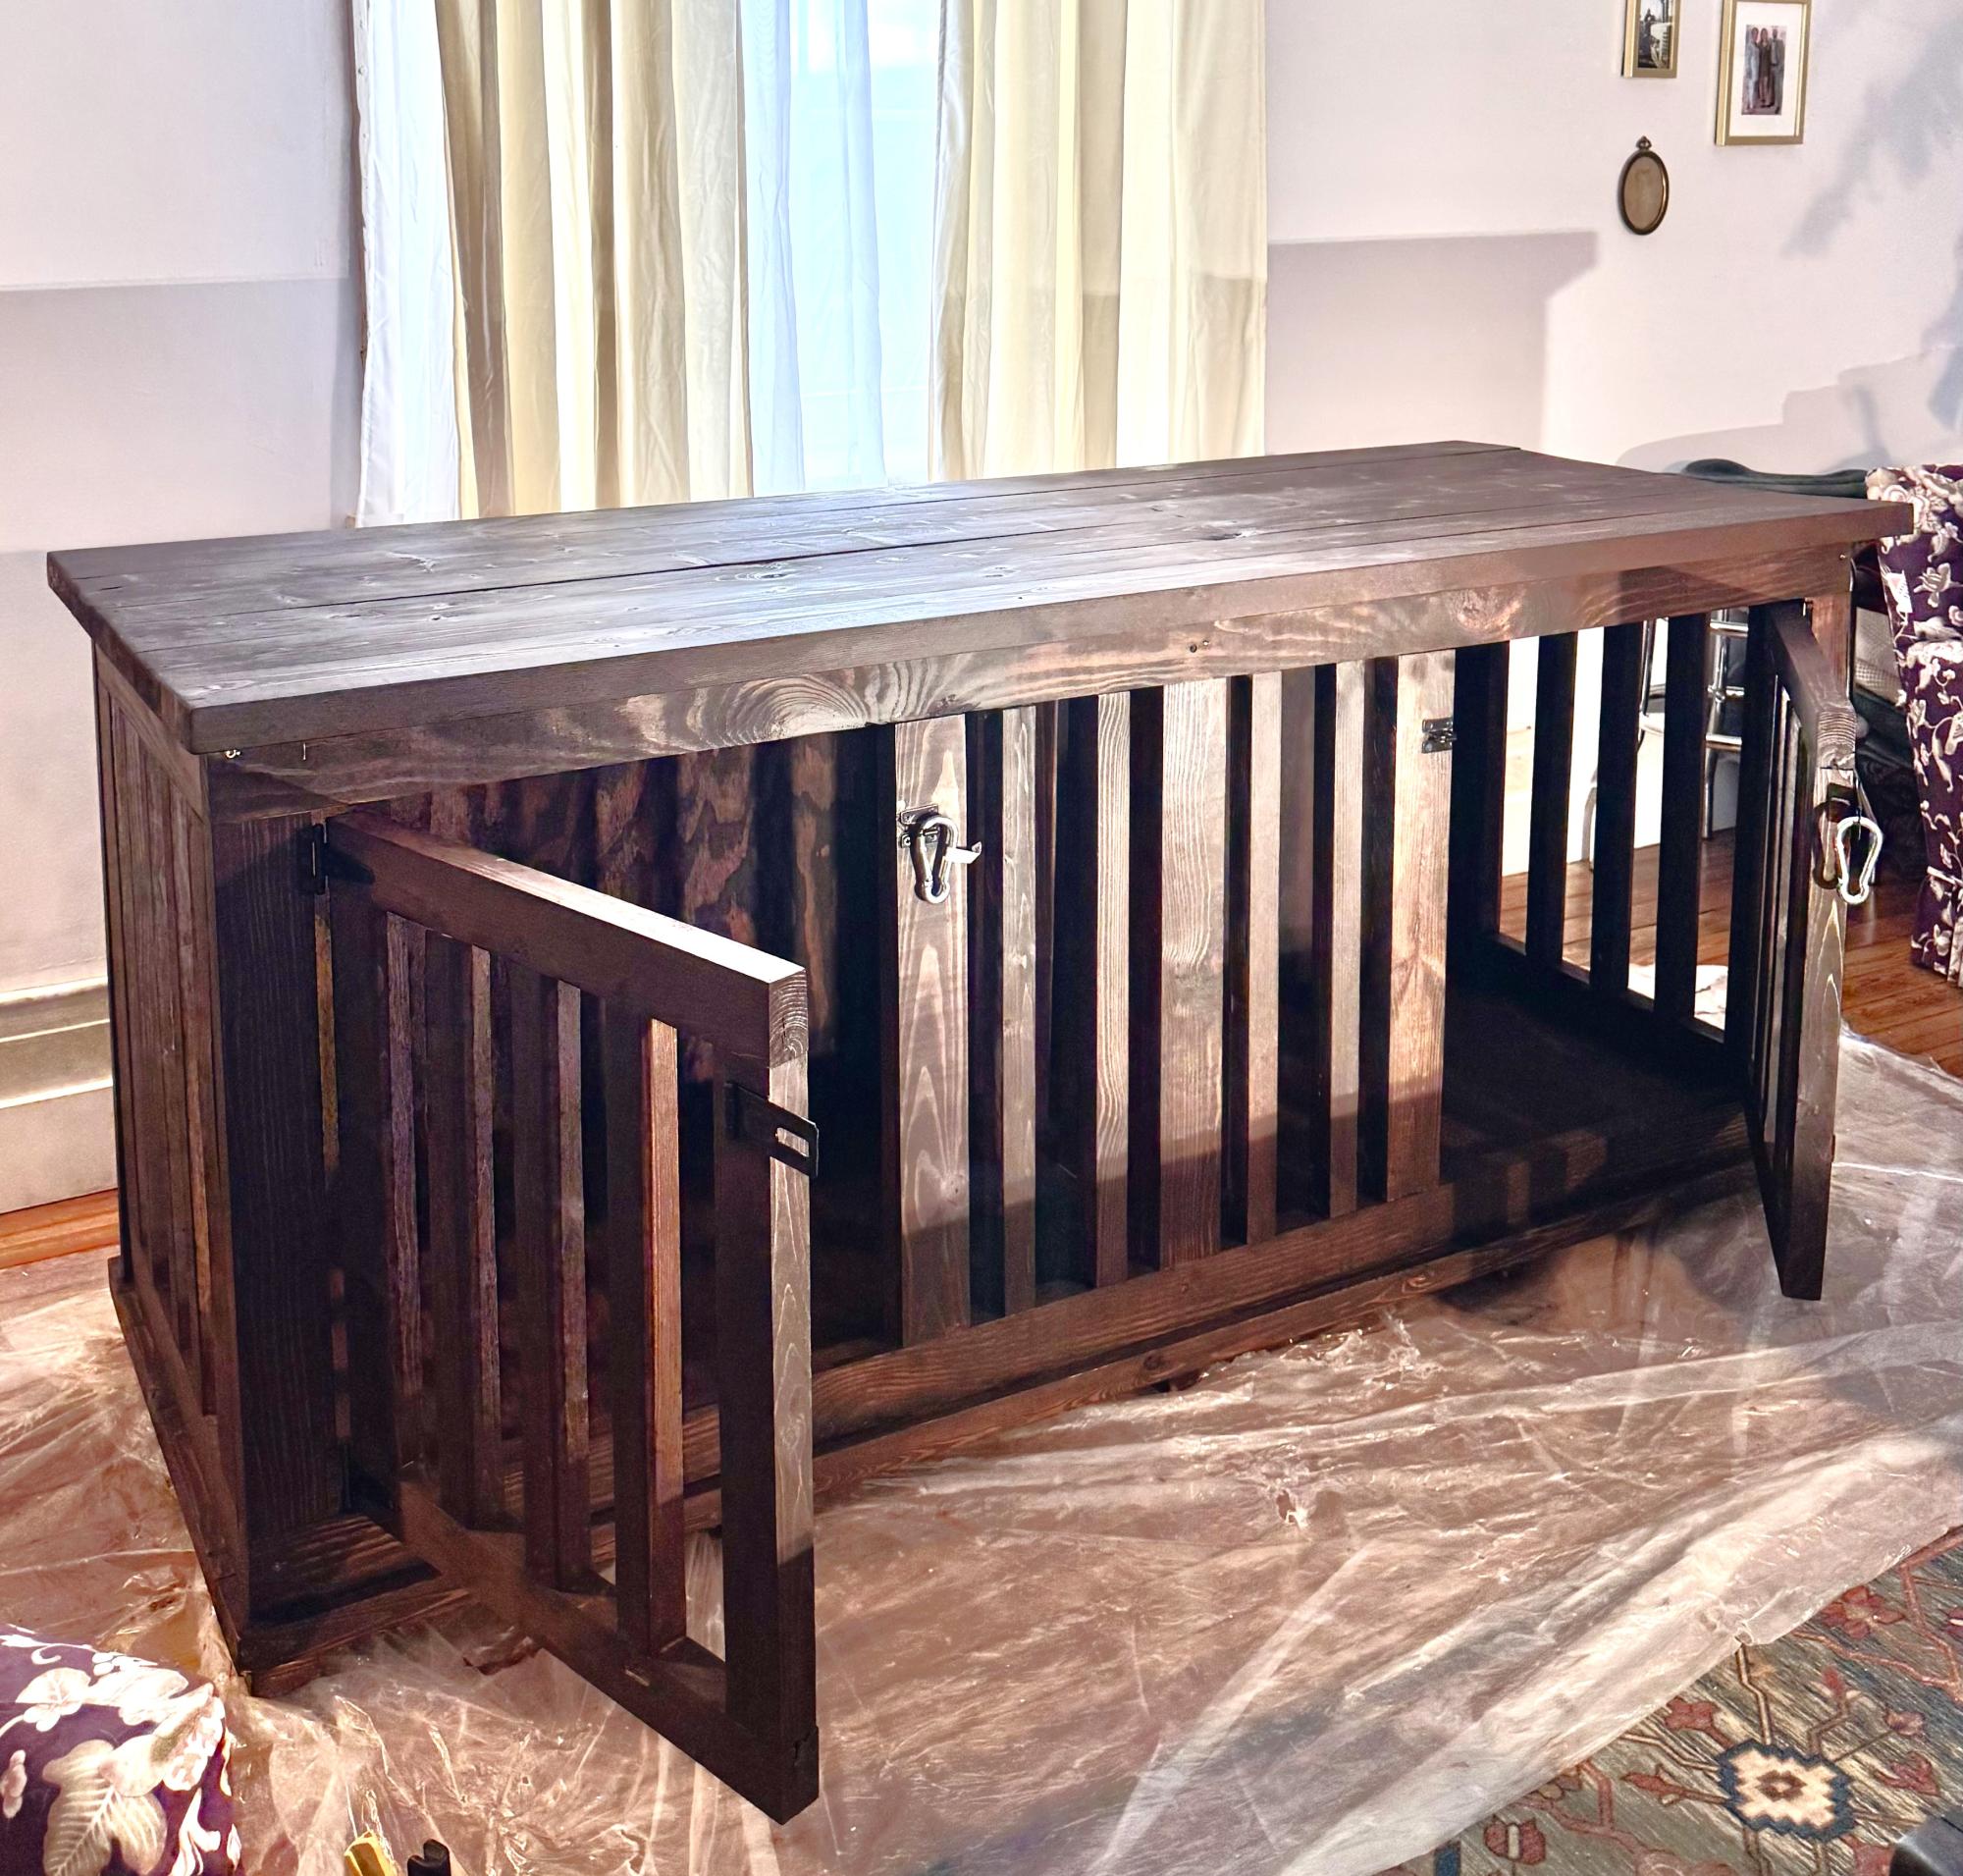
Loved this! I ripped extra 2x6s into 1-1/2”x1-1/2” pieces instead of using rebar. As we have two escape artists, I slightly modified from the original plan and built a base from 2x4s and 3/4” plywood to support the rest of the crate. Used spare cut-offs to make 5” long feet for a slightly elevated effect. Stained with Varathane in Dark Walnut.
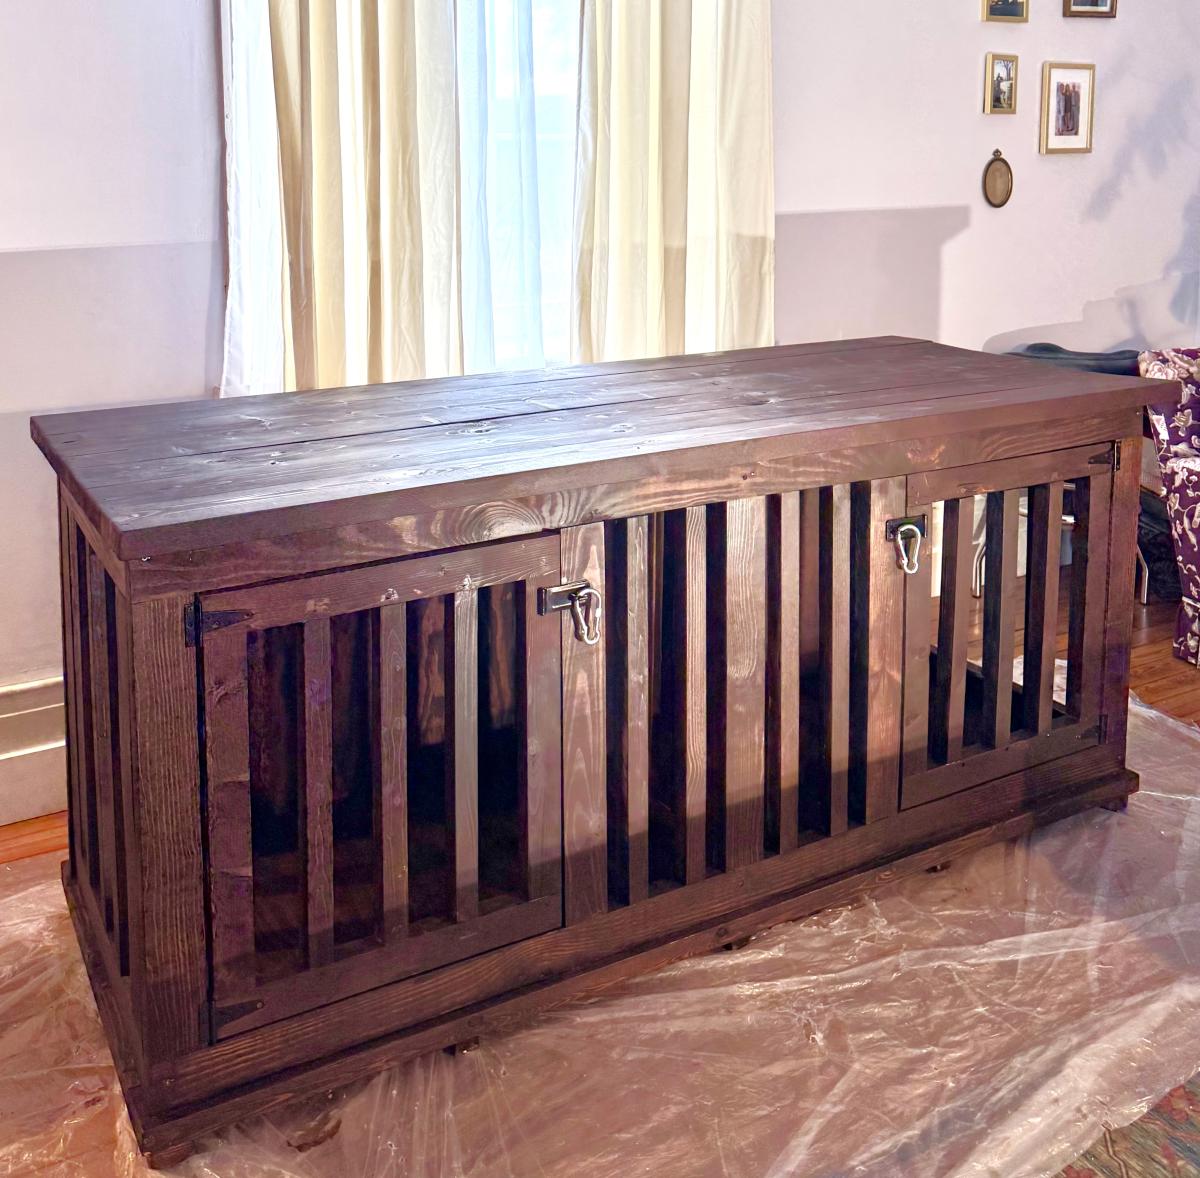
Fri, 11/15/2024 - 10:22
Ah, thanks so much for the shoutout in Top Builds of the Week!! (I built this! Finally made an account! Yay!)
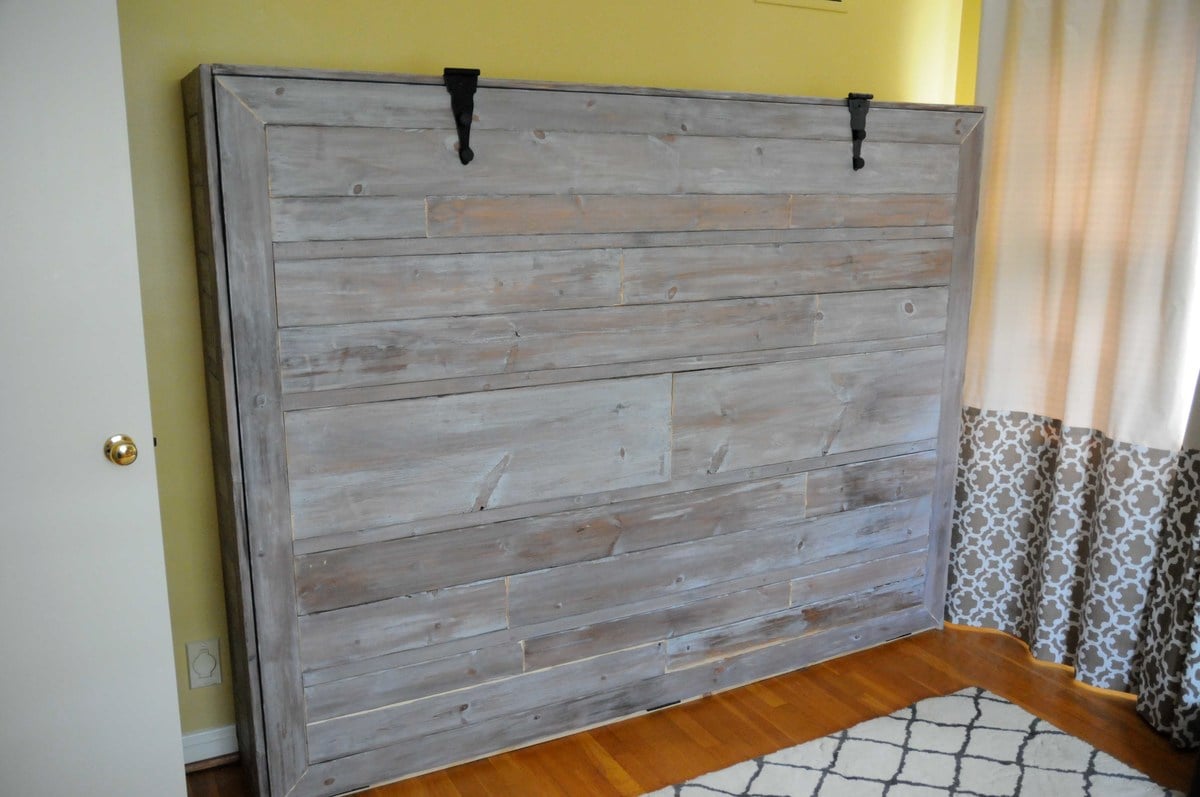
Expecting our second child, my wife and I decided to do away with our guest bedroom and combine it with our office. The only problem was our queen bed took up way too much space and it didn't get enough use to justify the sacrifice. We looked at the wall bed options available for purchase and decided they were way too blah and very expensive. I then found the "A MURPHY BED YOU CAN BUILD, AND AFFORD TO BUILD" post on Ana's website (thanks for the inspiration)!
Using cheap pine boards, plywood, door hinges, vinyl upholstery and stain I constructed the wall bed you see here. It really wasn't that difficult but facing it took the most time. To give the boards a more rustic look I used a utility knife to shave off the edges/corners and stained them with the Minwax American Walnut water based stain and the Minwax White Wash Pickling. When this started we thought we were going to have to settle for something unattractive and less than desirable. Seeing it in our office now, we love our new bed and actually think it makes the room look much better! I didn't keep track of costs, but it couldn't have been more than $150.


Tue, 07/08/2014 - 08:08
Looks great! May I ask what the final outside dimensions were? Curious to see if this would work for me.
Thanks!
Wed, 08/06/2014 - 09:23
I would have to measure it when I get home... at work currently. Looking back, I think the best approach is to take the measurements from the plan, find the difference between standard mattress and queen mattress dimensions (check wikipedia for standard sizes), then add that difference back to the plan. I cut it real close on mine and could use a little more space. It would be nice to make it a bit deeper and with some head room to store comforters and pillows.
Sat, 03/21/2015 - 08:32
To fasten the facing I used wood glue then a Ryobi 18ga nail gun. It's part of their 18v One+ line and works great!
Sun, 12/28/2014 - 12:59
I am dying to get started on this wall bed project. I keep getting this message when trying to open the Plans.
The page you are looking for is temporarily unavailable.
Please try again later.
can someone help me find them.
Sun, 12/28/2014 - 12:59
I am dying to get started on this wall bed project. I keep getting this message when trying to open the Plans.
The page you are looking for is temporarily unavailable.
Please try again later.
can someone help me find them.
Sat, 08/15/2015 - 12:05
did you ever find the plans?
I'm having thee same problems
Tue, 08/09/2016 - 15:24
Hi. I would love to try this. Looking to build in the next month before parents in law come over. Is there any working links to the plans??
Wed, 01/24/2018 - 21:42
WHERE CAN I FIND THE PLANS, MATERIALS LIST AND DIMENSIONS? THE ATTACHED LINK TO YOUR ARTICLE LEADS TO A TWIN SIZE BED. THANK YOU
Thu, 01/25/2018 - 06:30
is there a link to the plans? I can't find them and I really want to make this
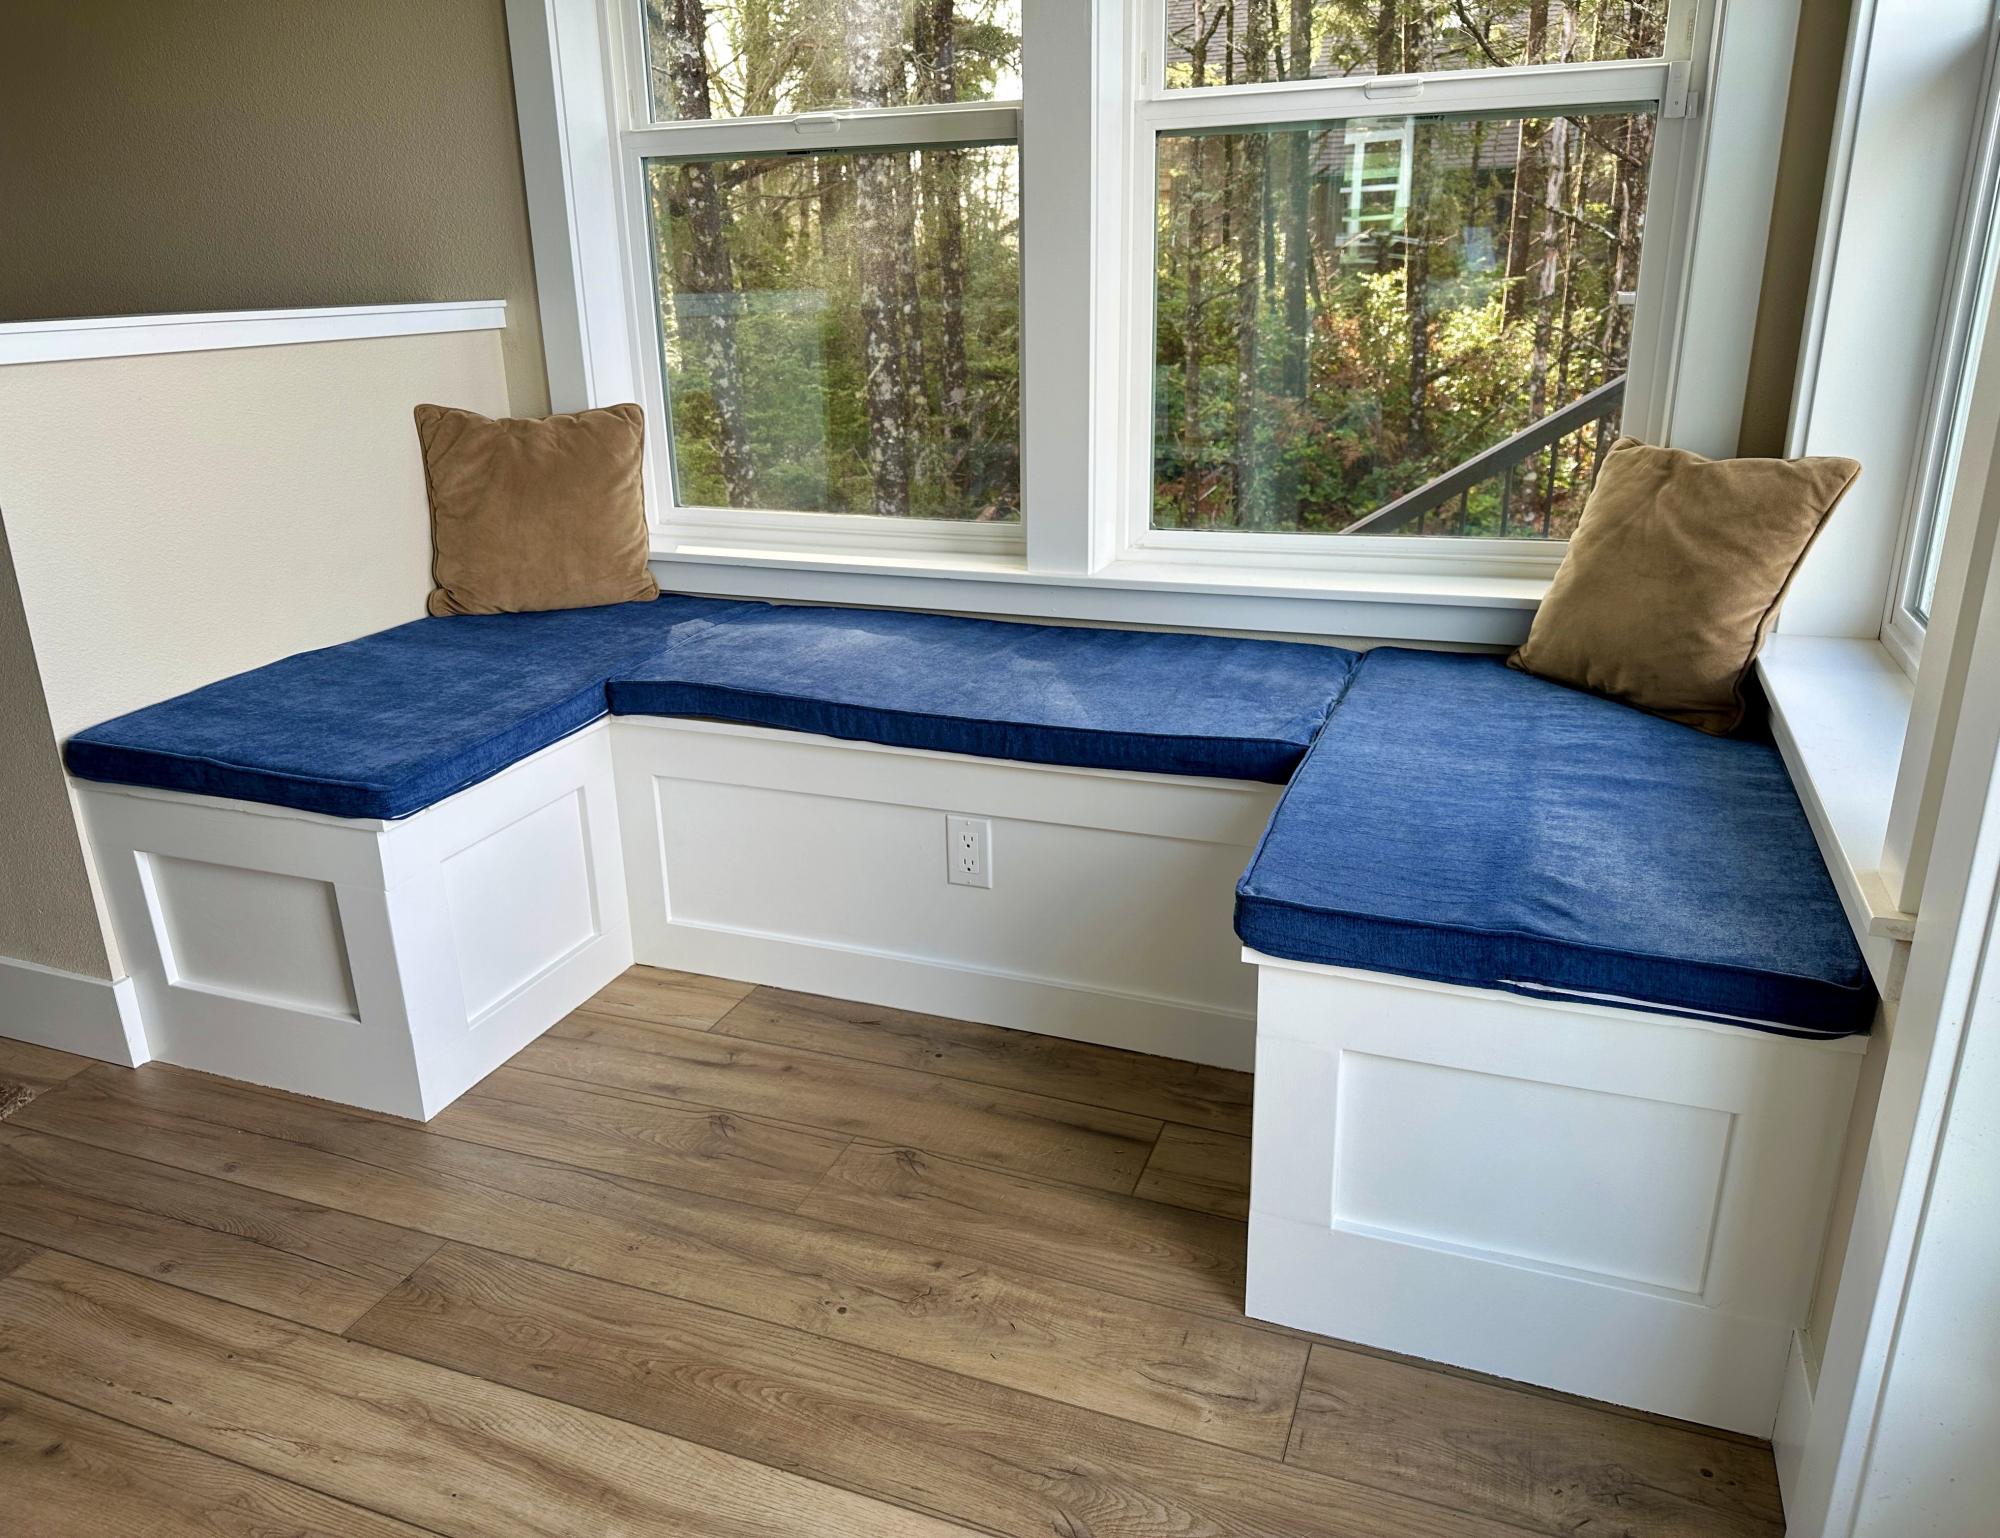
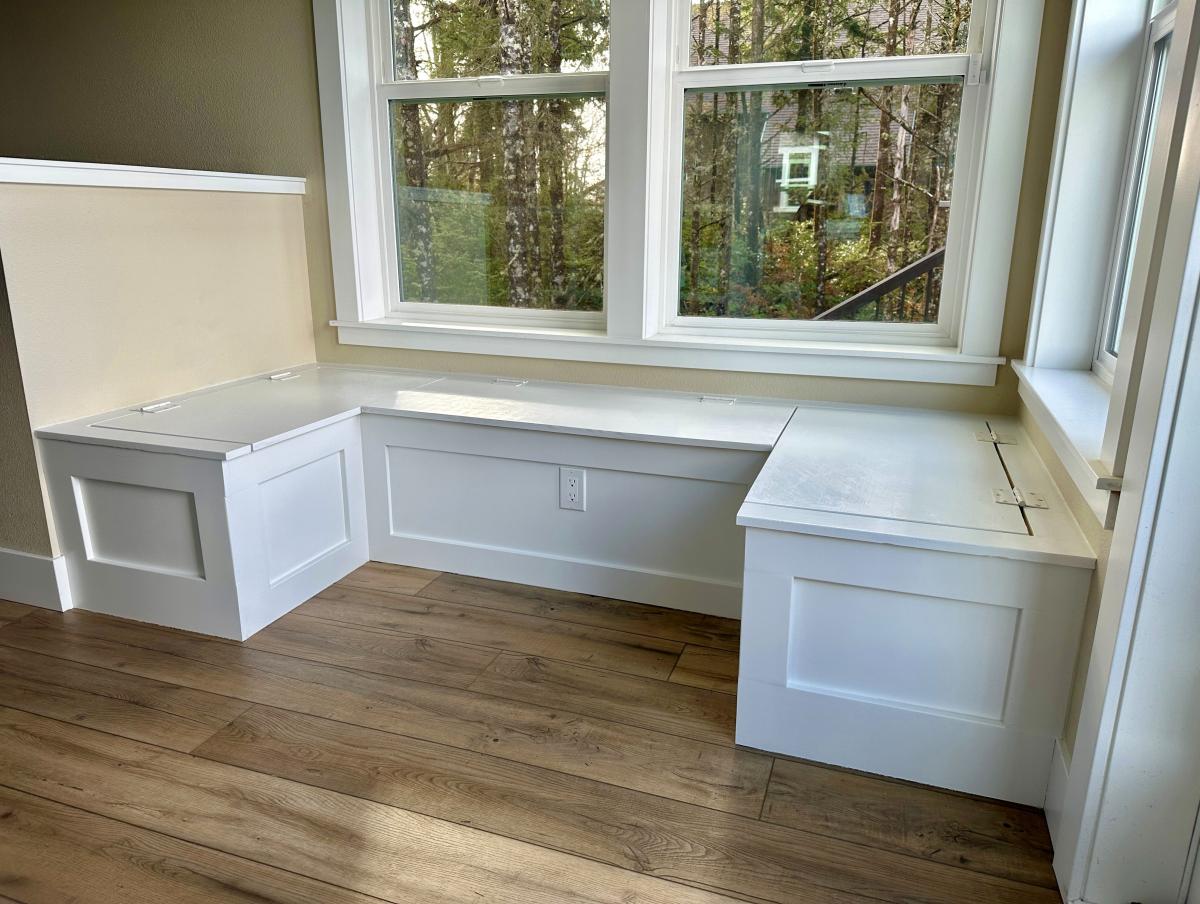
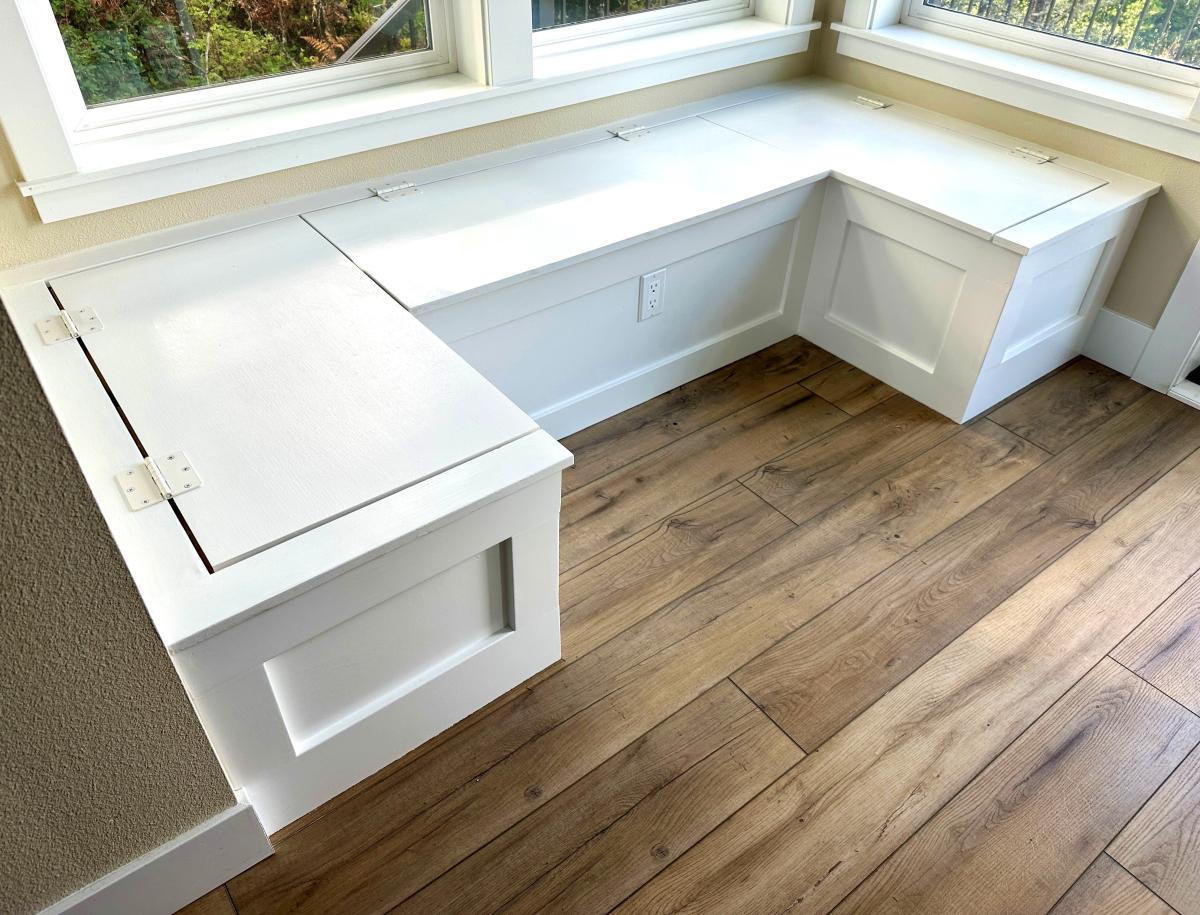
Based on https://www.ana-white.com/woodworking-projects/banquette-bench-flip-sto…, this custom U-shaped banquette works very nicely in my small breakfast area (especially all of the additional storage area it provides for lesser-used appliances). Next up: one of the tables to accompany it (I'm leaning towards a variation on https://www.ana-white.com/woodworking-projects/4x4-x-base-pedestal-dini…) - will send a brag post upon completion. - David P
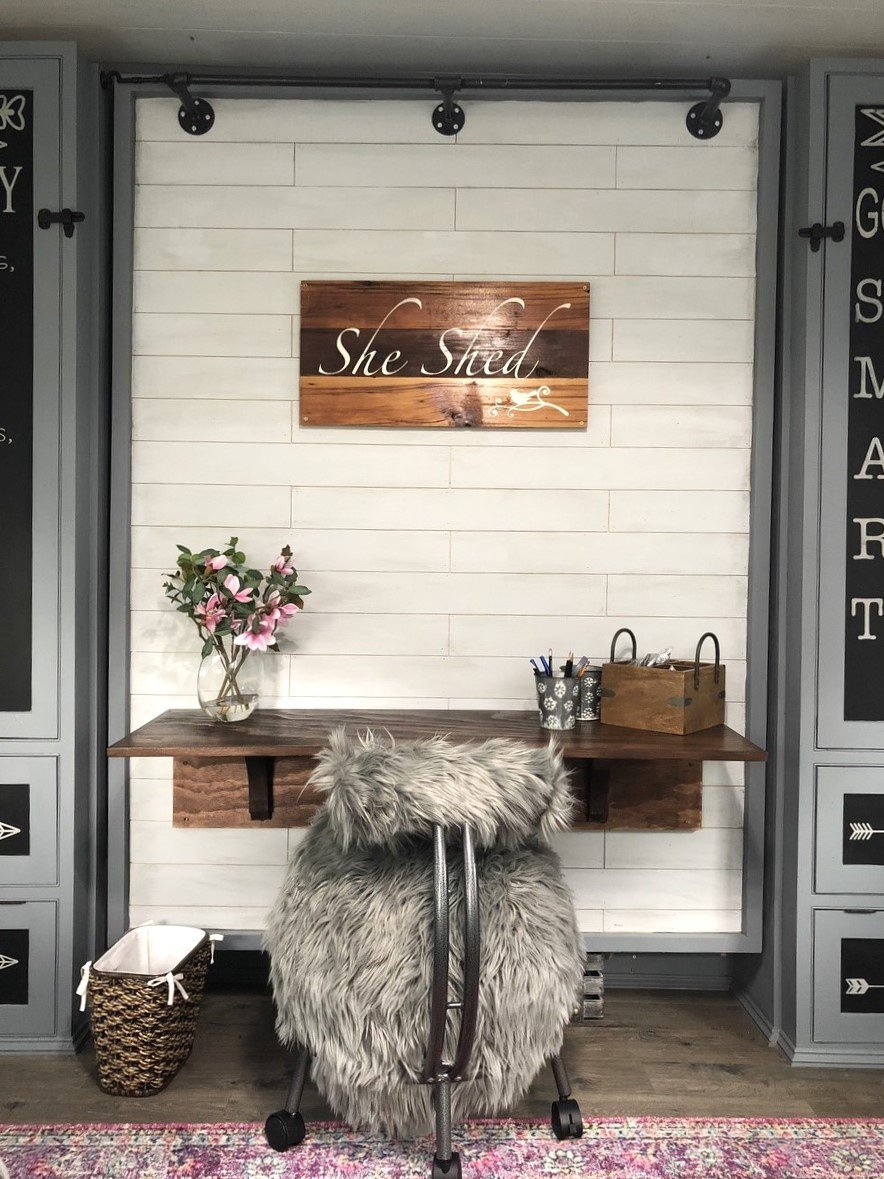
I needed an office and also a guest room so i built a she shed and all the furniture.
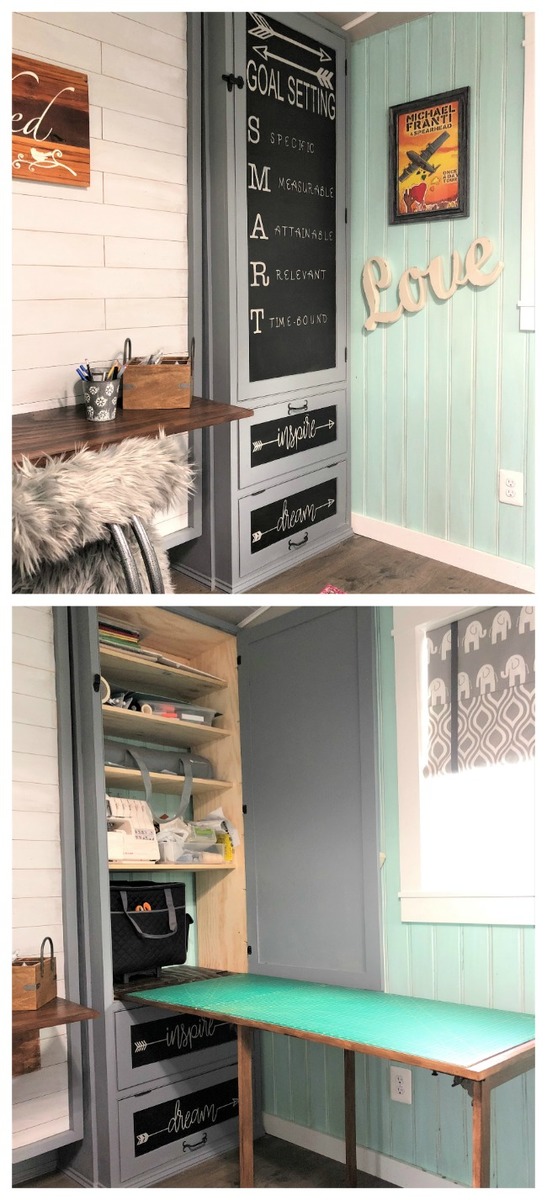
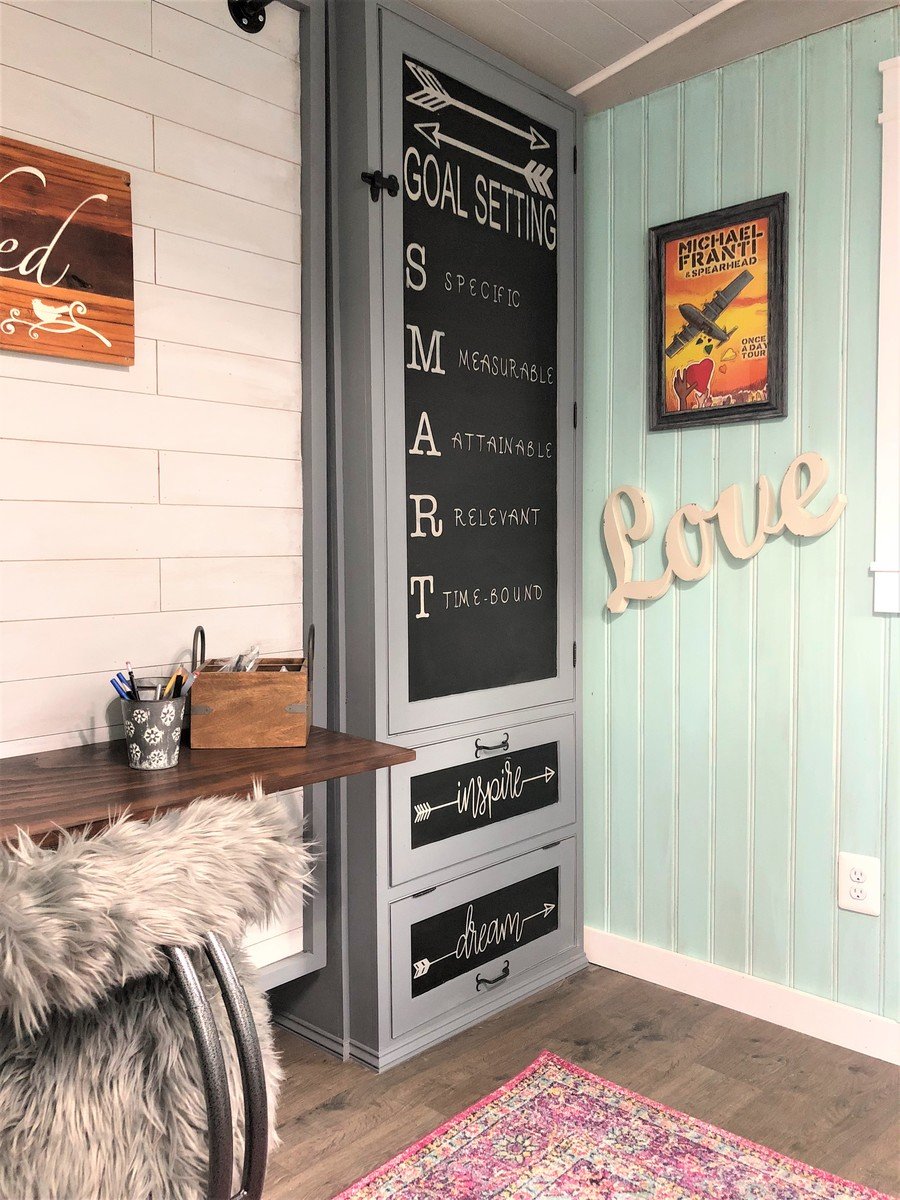
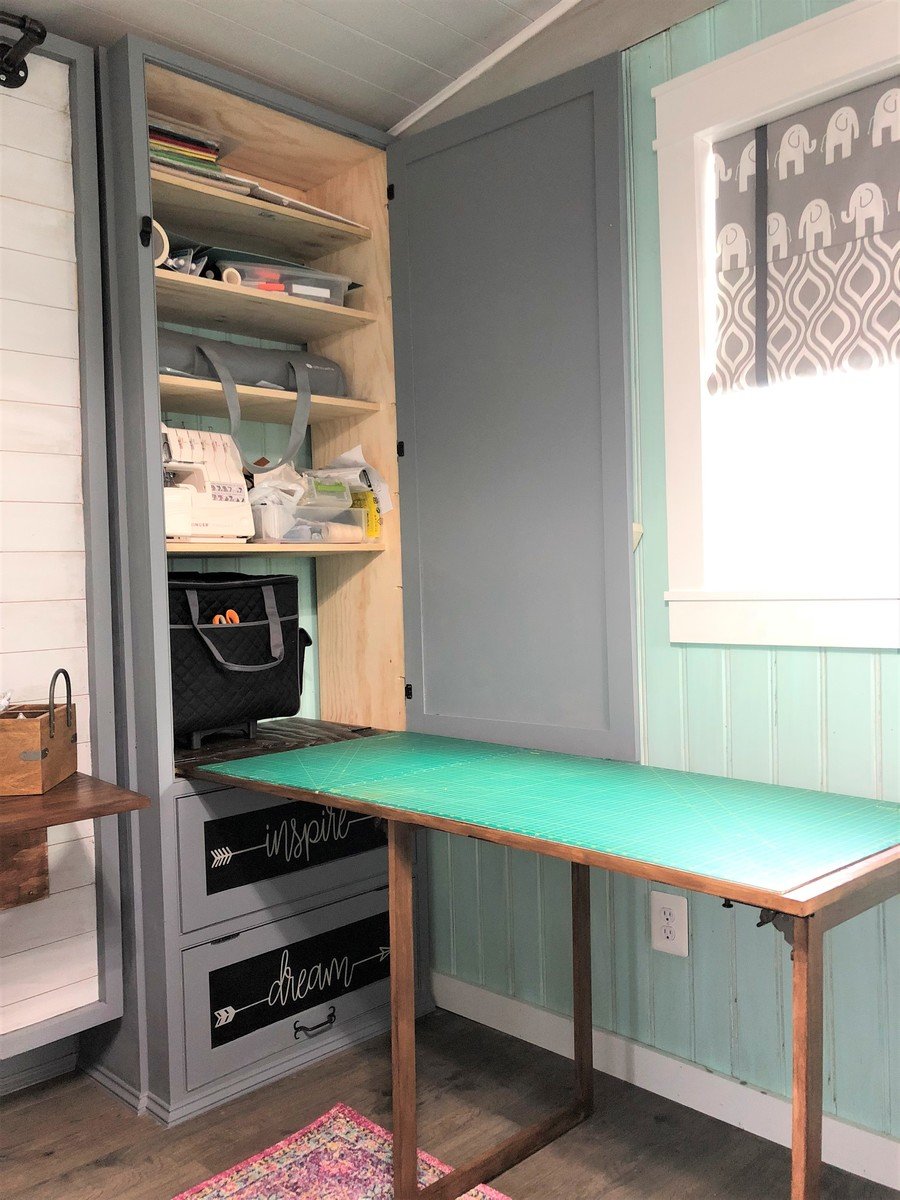
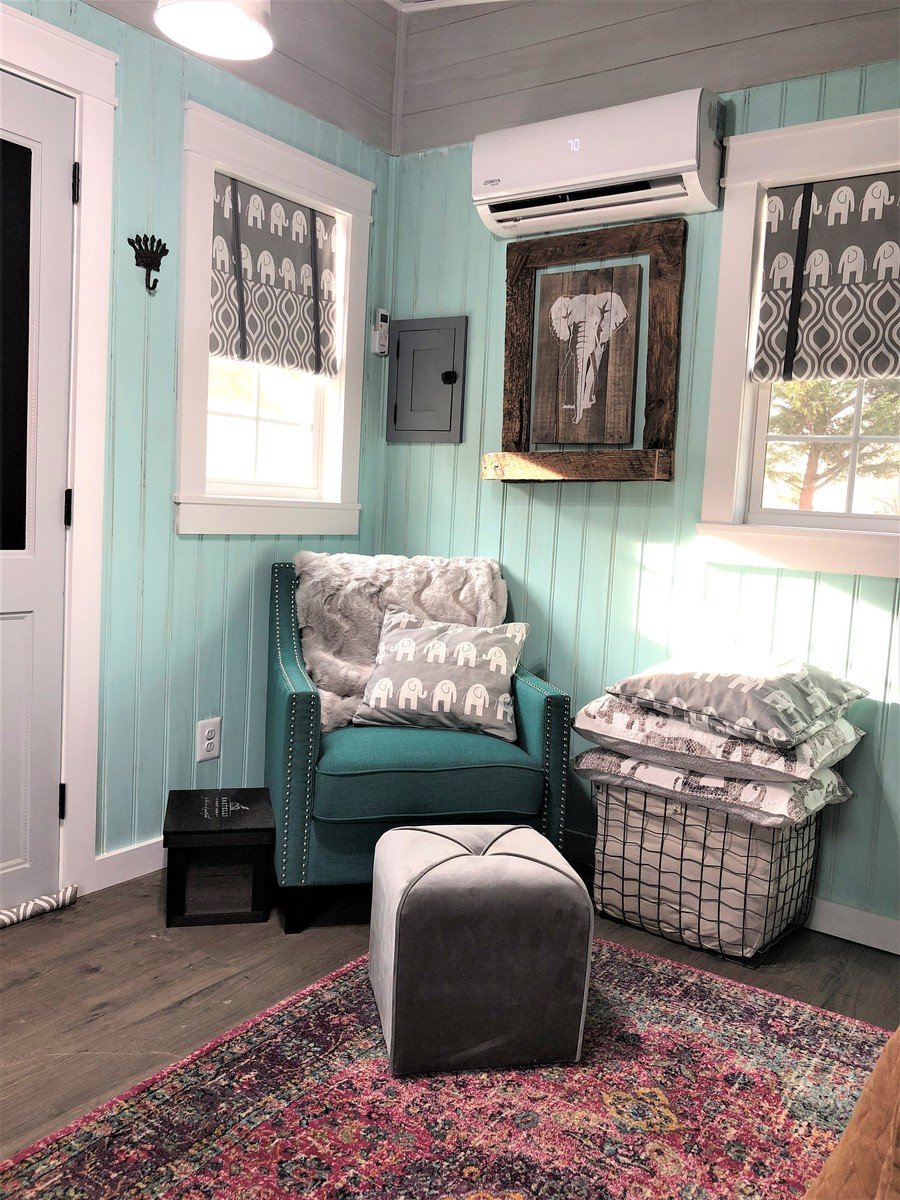
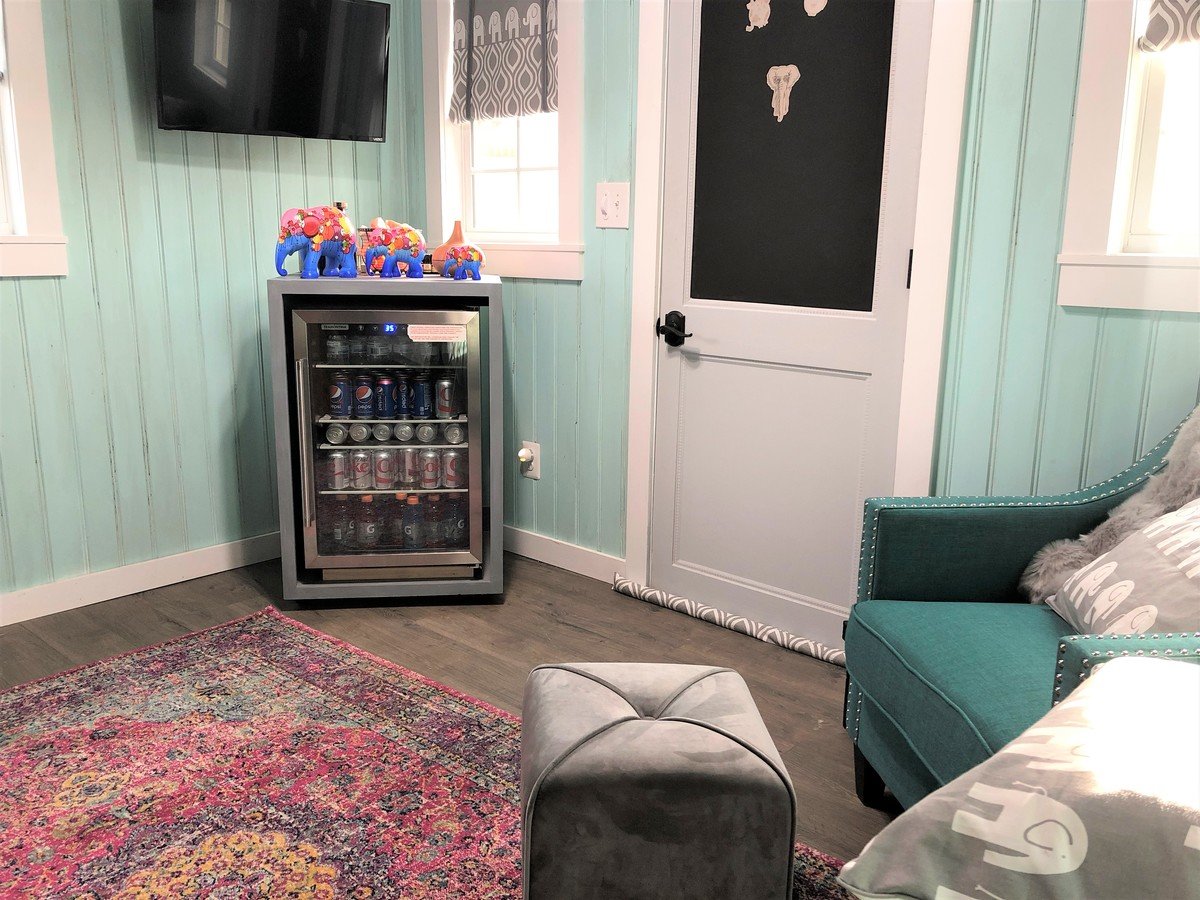
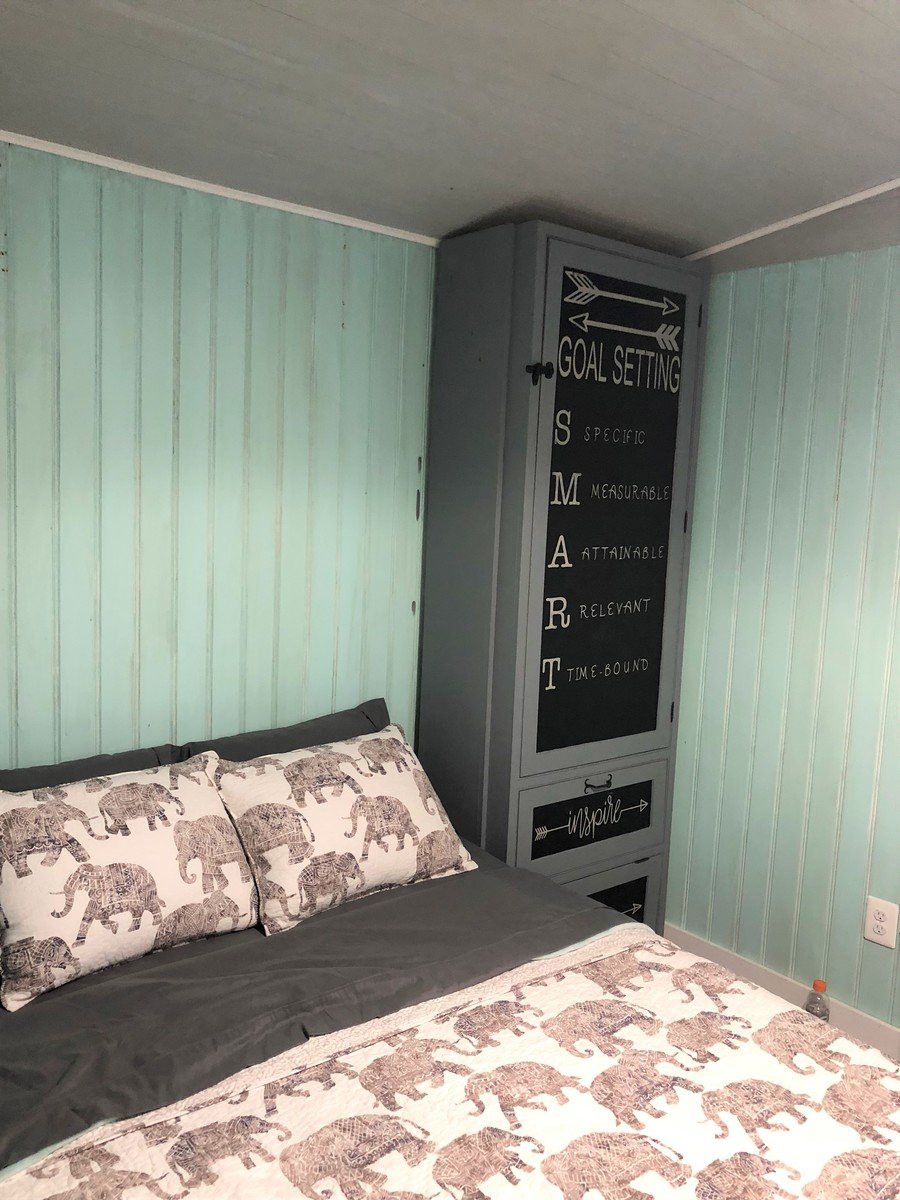
Thu, 01/25/2018 - 06:27
I love your murphy bed idea and would love to have plans for it. I too am looking for a guest bedroom and craft area and I know this would work in my space.
Mon, 02/05/2018 - 16:20
I didnt really have a plan when I was building my Murphy bed, I can do a sketchup plan for you if you would like. I used boat chair swivels instead of hinges and there is a YouTube video on how to do this.
Chris
Thu, 06/24/2021 - 23:11
Hi Chris! I would love to have a copy of the sketch up of this. I have a small she shed/guest cottage I would live to duplicate this in. Thanks in advance.
Mon, 11/08/2021 - 14:18
Hi Chris!
I know I'm coming late to this party but I just found your shed and I adore it. You did an amazing job and I cannot express how impressed I am! I would also like a sketchup plan of both the murphy bed and the adjoining side cabinets. Great job!
Thu, 06/06/2019 - 10:59
I absolutely love everything about this she shed!! I would be interested in a sketch up of the murphy bed as well as the cabinets next to it. I would at least like to know what the dimensions of it all is. You did an amazing job! It's so beautiful!
Tue, 06/25/2019 - 15:14
Me too!! I built a horizontal Murphy bed so I have that part done but I would like to see the plans for the cabinets on either side with the pull out desk!
so very cute!
Thu, 05/14/2020 - 05:53
I would love the plans for all of this please! This is exactly what I have been looking for! Thank you!
Sun, 09/20/2020 - 00:13
Hi Chris
Can you advise how I can receive a copy of the sketchup? I love the entire setup from the bed to the additional shelving.
Thu, 06/20/2024 - 08:24
Hi Chris,
I would also like to receive the plans you did for this project! Thank you!
Thu, 06/20/2024 - 08:24
Hi Chris,
I would also like to receive the plans you did for this project! Thank you!


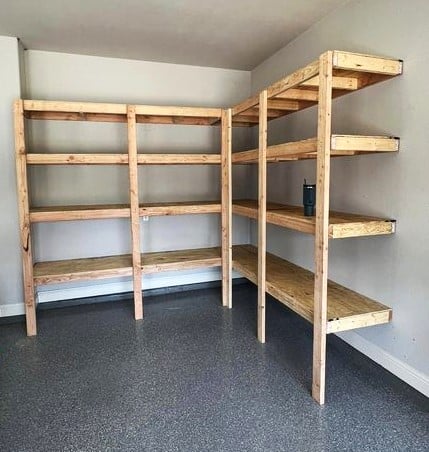


Darling Cabin Bed All Ready for the Holidays - Credit Unknown
Thank you for sharing your plan!
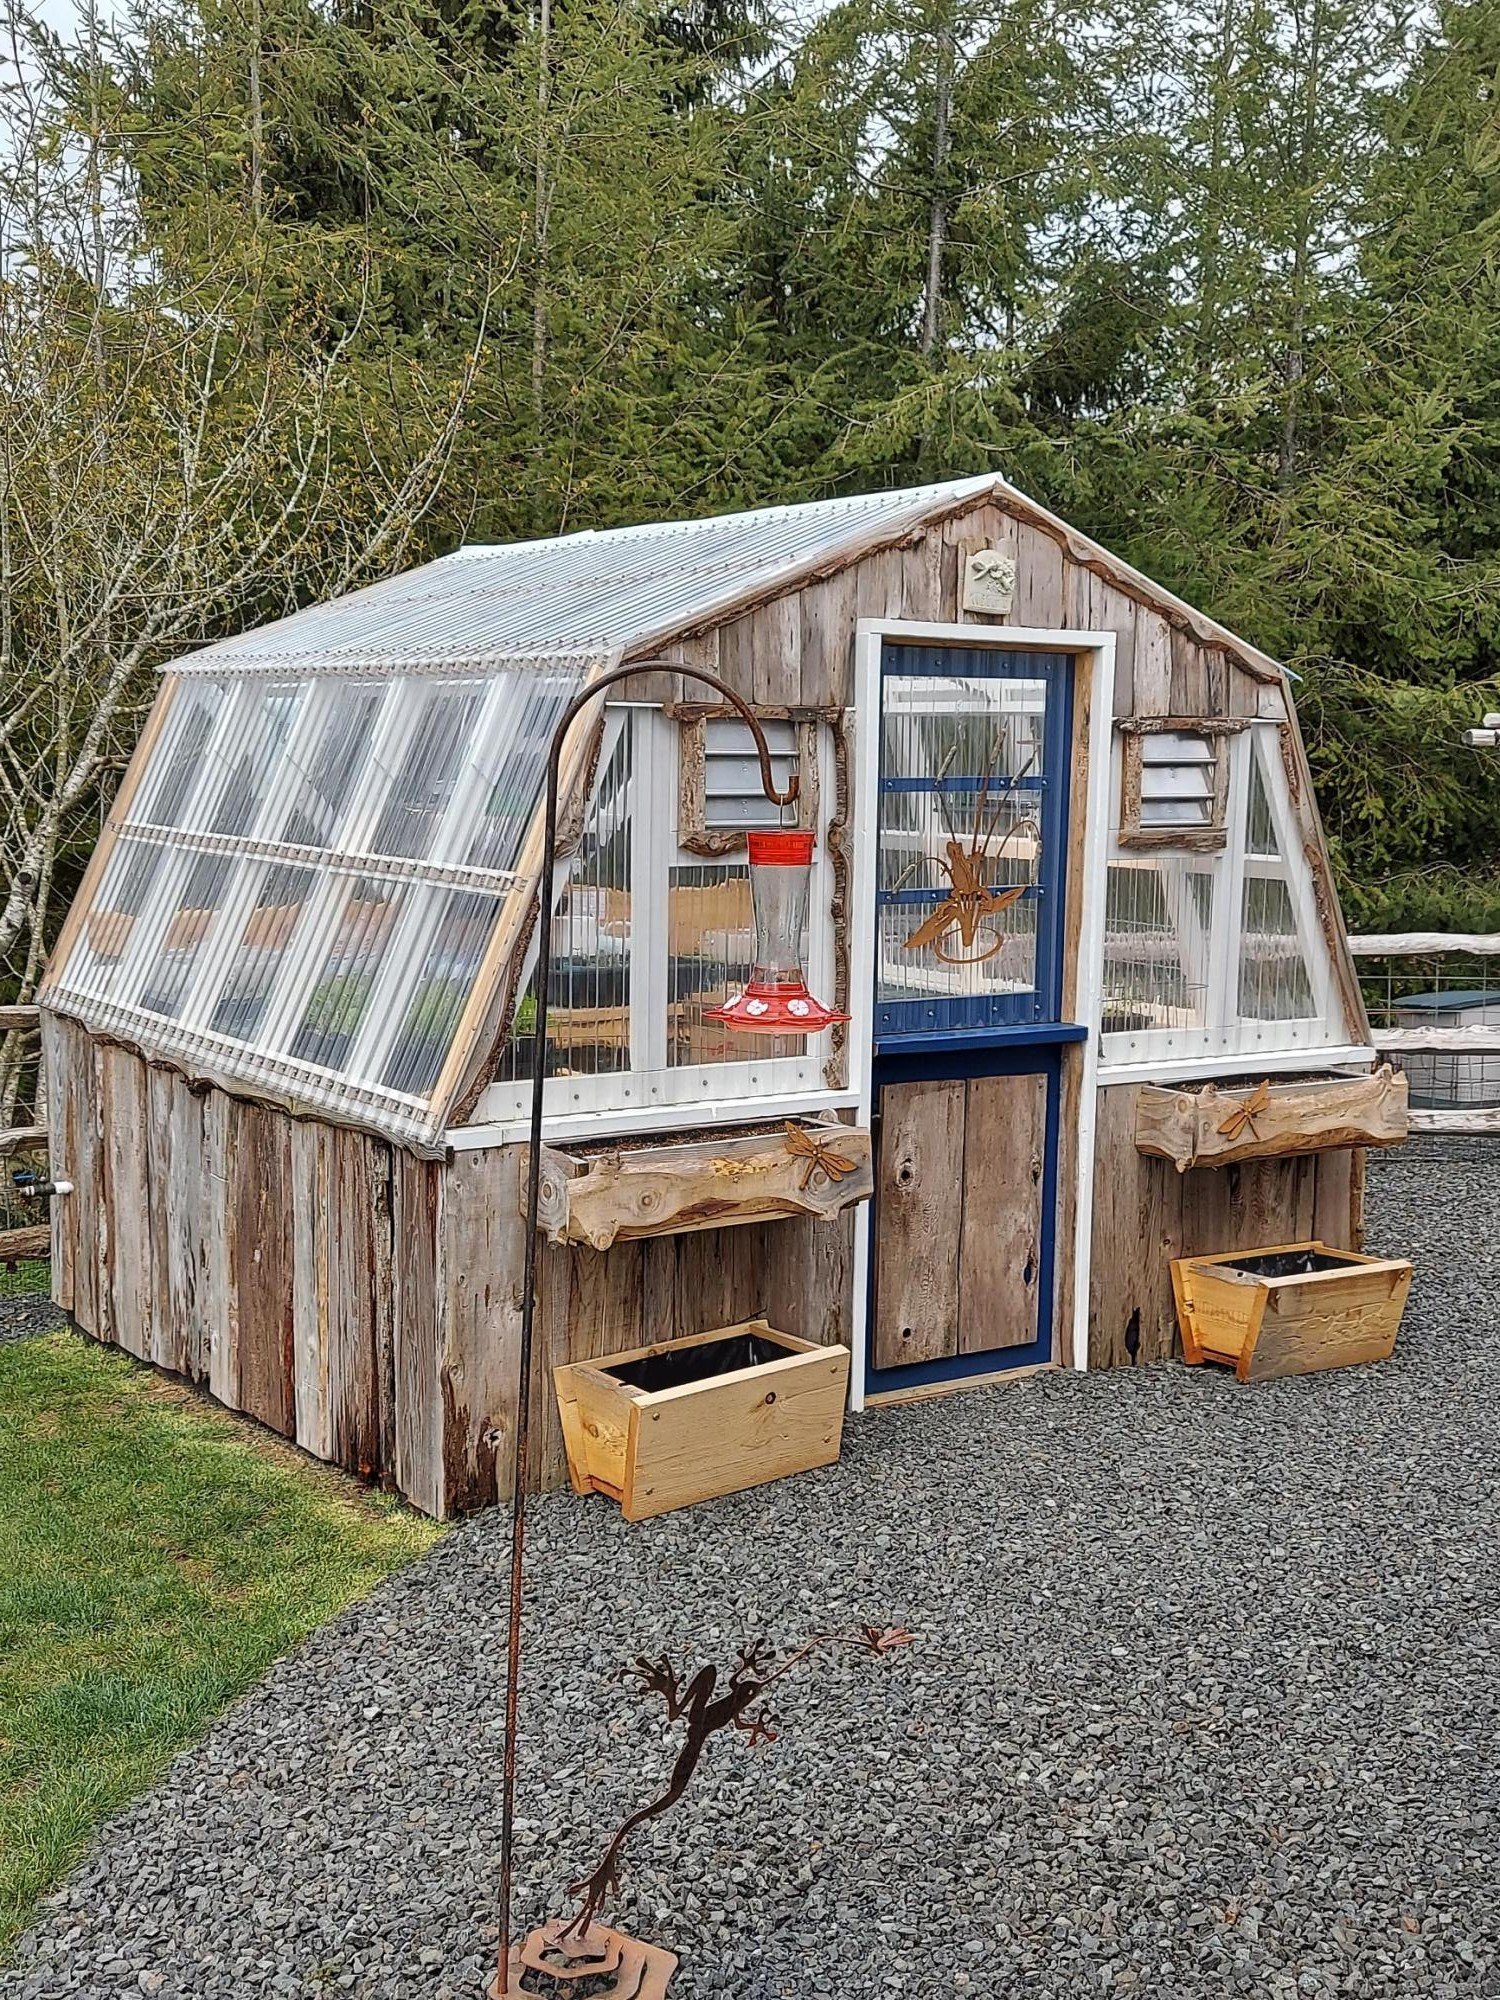
10×10 greenhouse made with re-claimed cedar boards from old barn on Menlo, WA
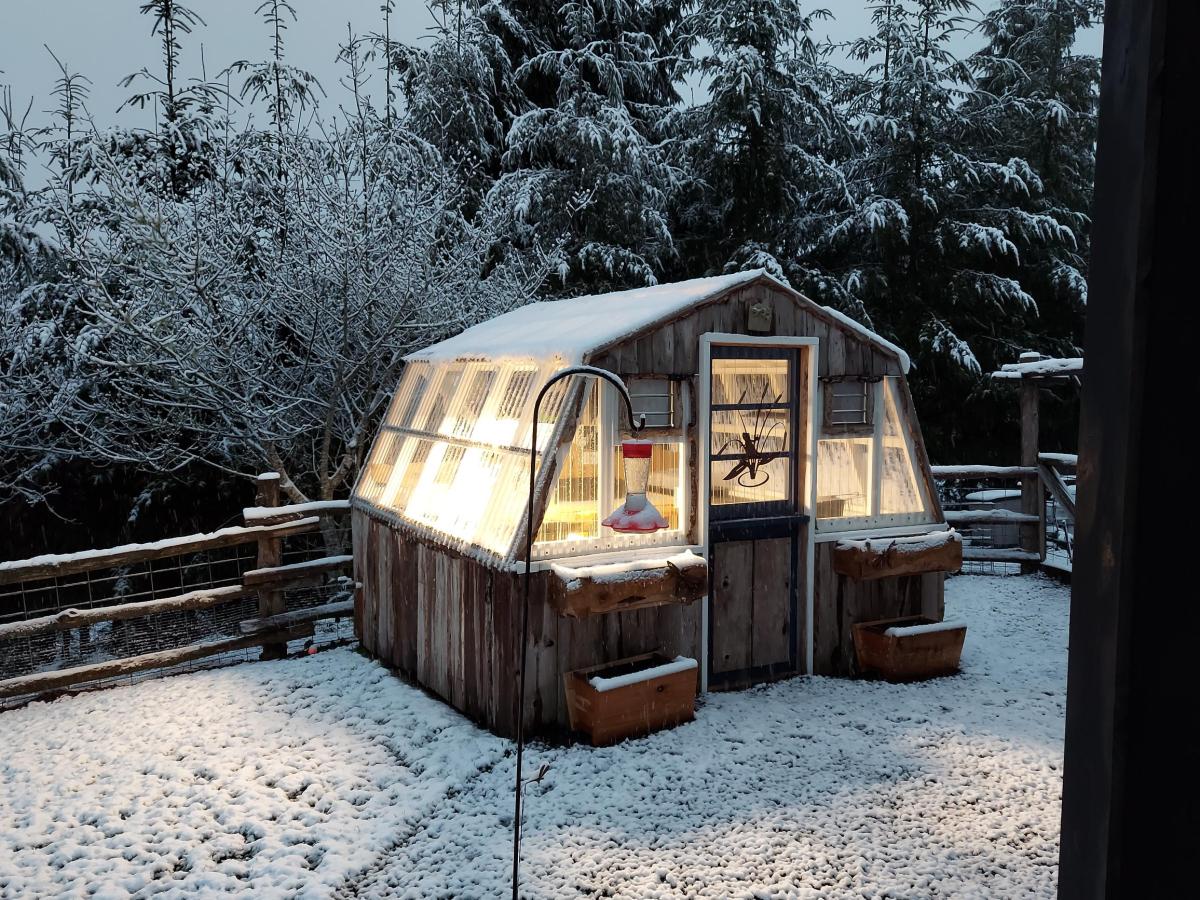
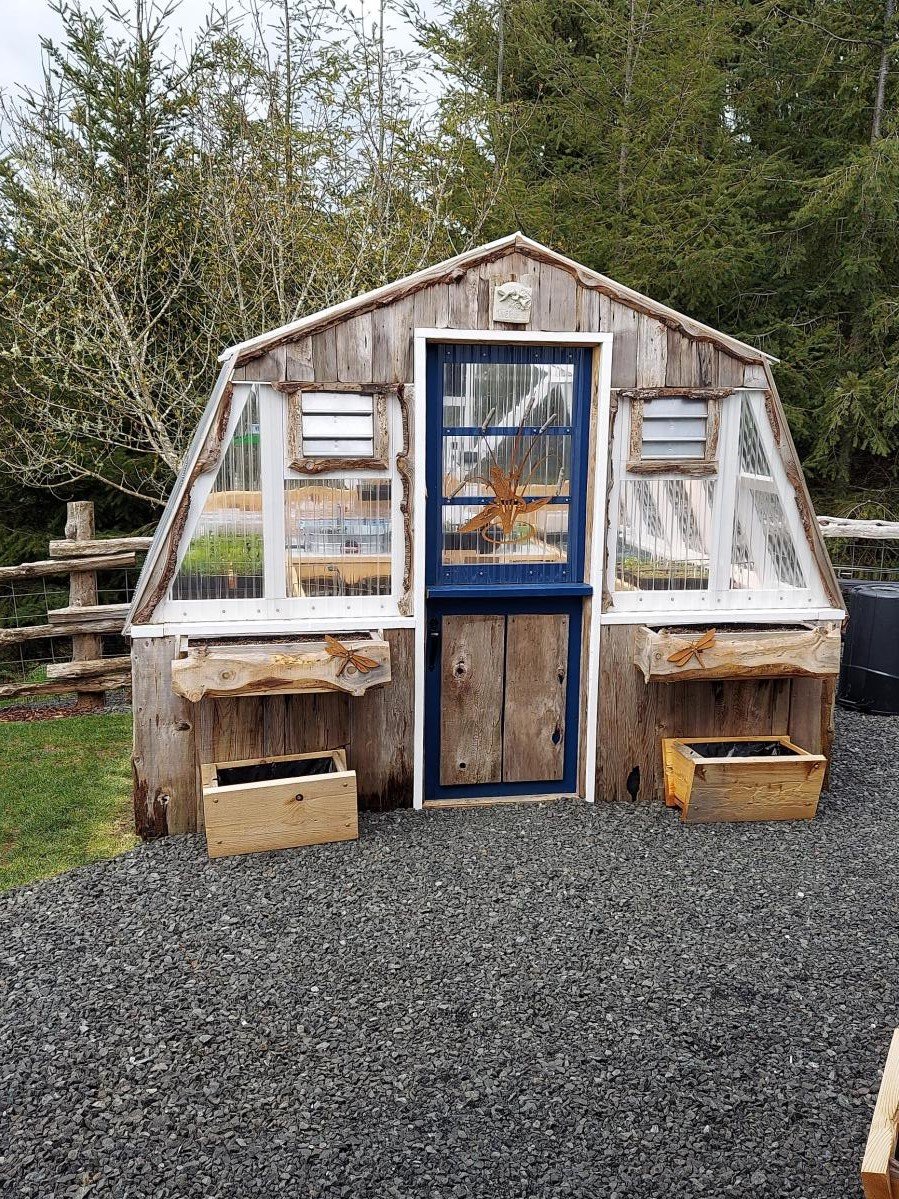
Wed, 06/08/2022 - 05:52
Beautiful! I like the fact that you bucked the trend and turned your clear panels for Washington rainwater runoff. There are good and bad with both directions, vertical makes the most sense. I can see myself re-doing ours at some point to change the panel direction. At least they're pointing the right direction on my skylights.
Great design, and of course, I love the 'live edge' details you added throughout!
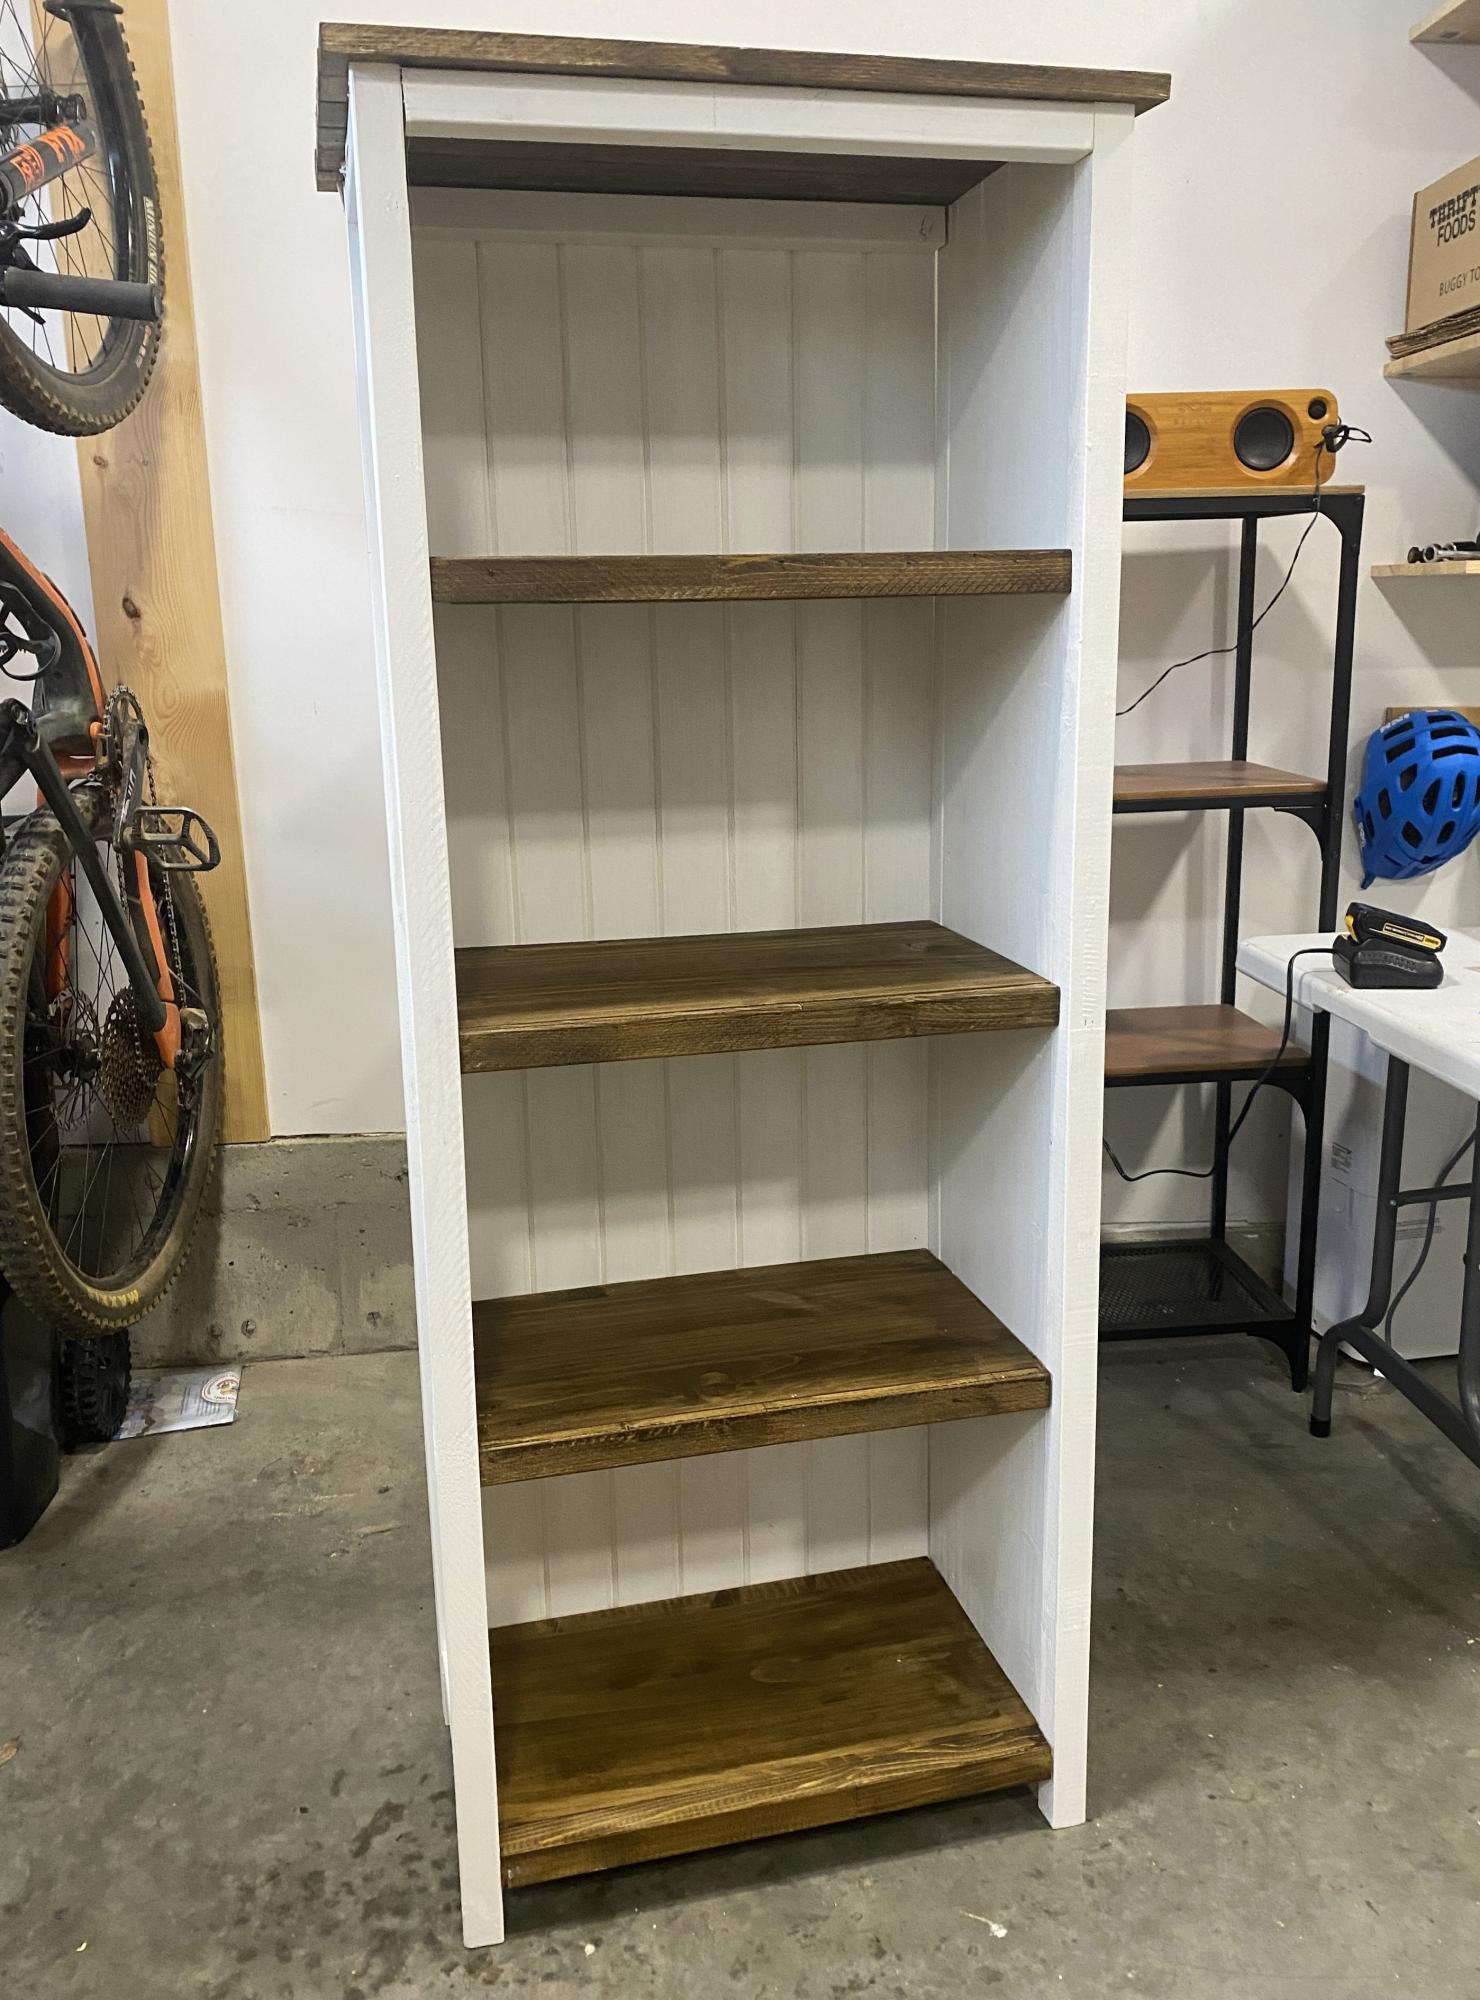
DIY Rustic Bookshelf
My mom was looking for a new outdoor table, and asked me to come up with something. I found the link for these plans (http://www.thedesignconfidential.com/2011/04/free-diy-furniture-plans-t…) to knock off Restoration Hardware's $4000 Provence Beam outdoor table. Overall I liked the plan, with the chunkier look of the 4x4's. But there were a lot of errors in the diagrams, and the finished height is 34" which is ridiculously tall for a table. So we took it apart and cut the legs back down to change the finished height to 30". We chose rough-cut cedar for it's look and outdoor properties, not wanting to use treated lumber for a dining table. We couldn't find 2x10's like the plan, so we substituted seven 2x6's just like Ana's plan, but left a 1/2" gap in between so water can drain and not pool on top and rot the wood. Also, since we were working with 4x4's for the legs, we chose heavy duty lag bolts instead of screws to join them together. I love the finished look they give. Overall it's a sturdy, yet lightweight table that my mom loves and has already used for entertaining!


Wed, 04/25/2012 - 10:02
Thanks Brook! It was so much fun to build. I put my dad and husband to work while I was the "project manager" ;)
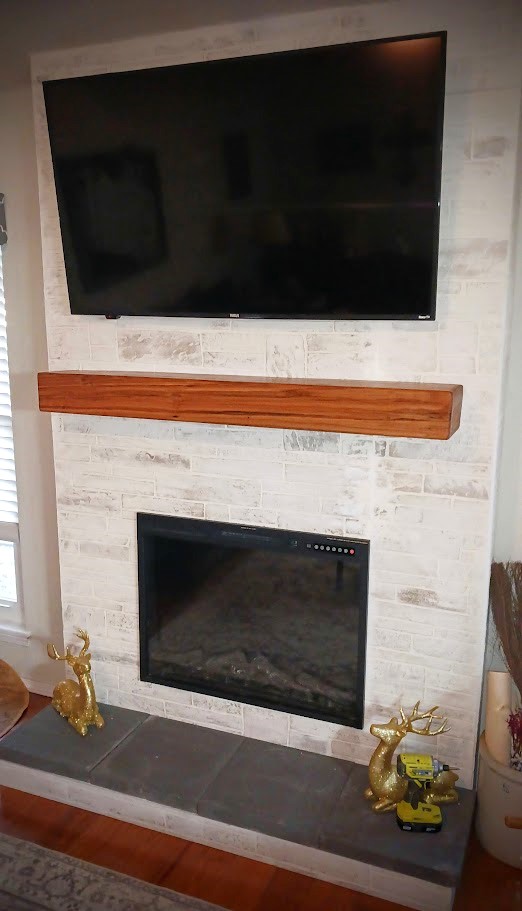
Our old firebox had rusted out through improper installation. So, we took it out and built a 7” bump out directly in front of it. The best part was, the new electric fireplace fit the old firebox location perfectly. Since my wife wanted a stone appearance, we purchased two ¼” 4’x8’ decorative panels that she then “schmeared.” For the mantle, we used pin oak milled from our property. I used three boards to create a faux beam to provide the look we are very happy with. The hearth consists of four walkway pavers.
Doug Siemens
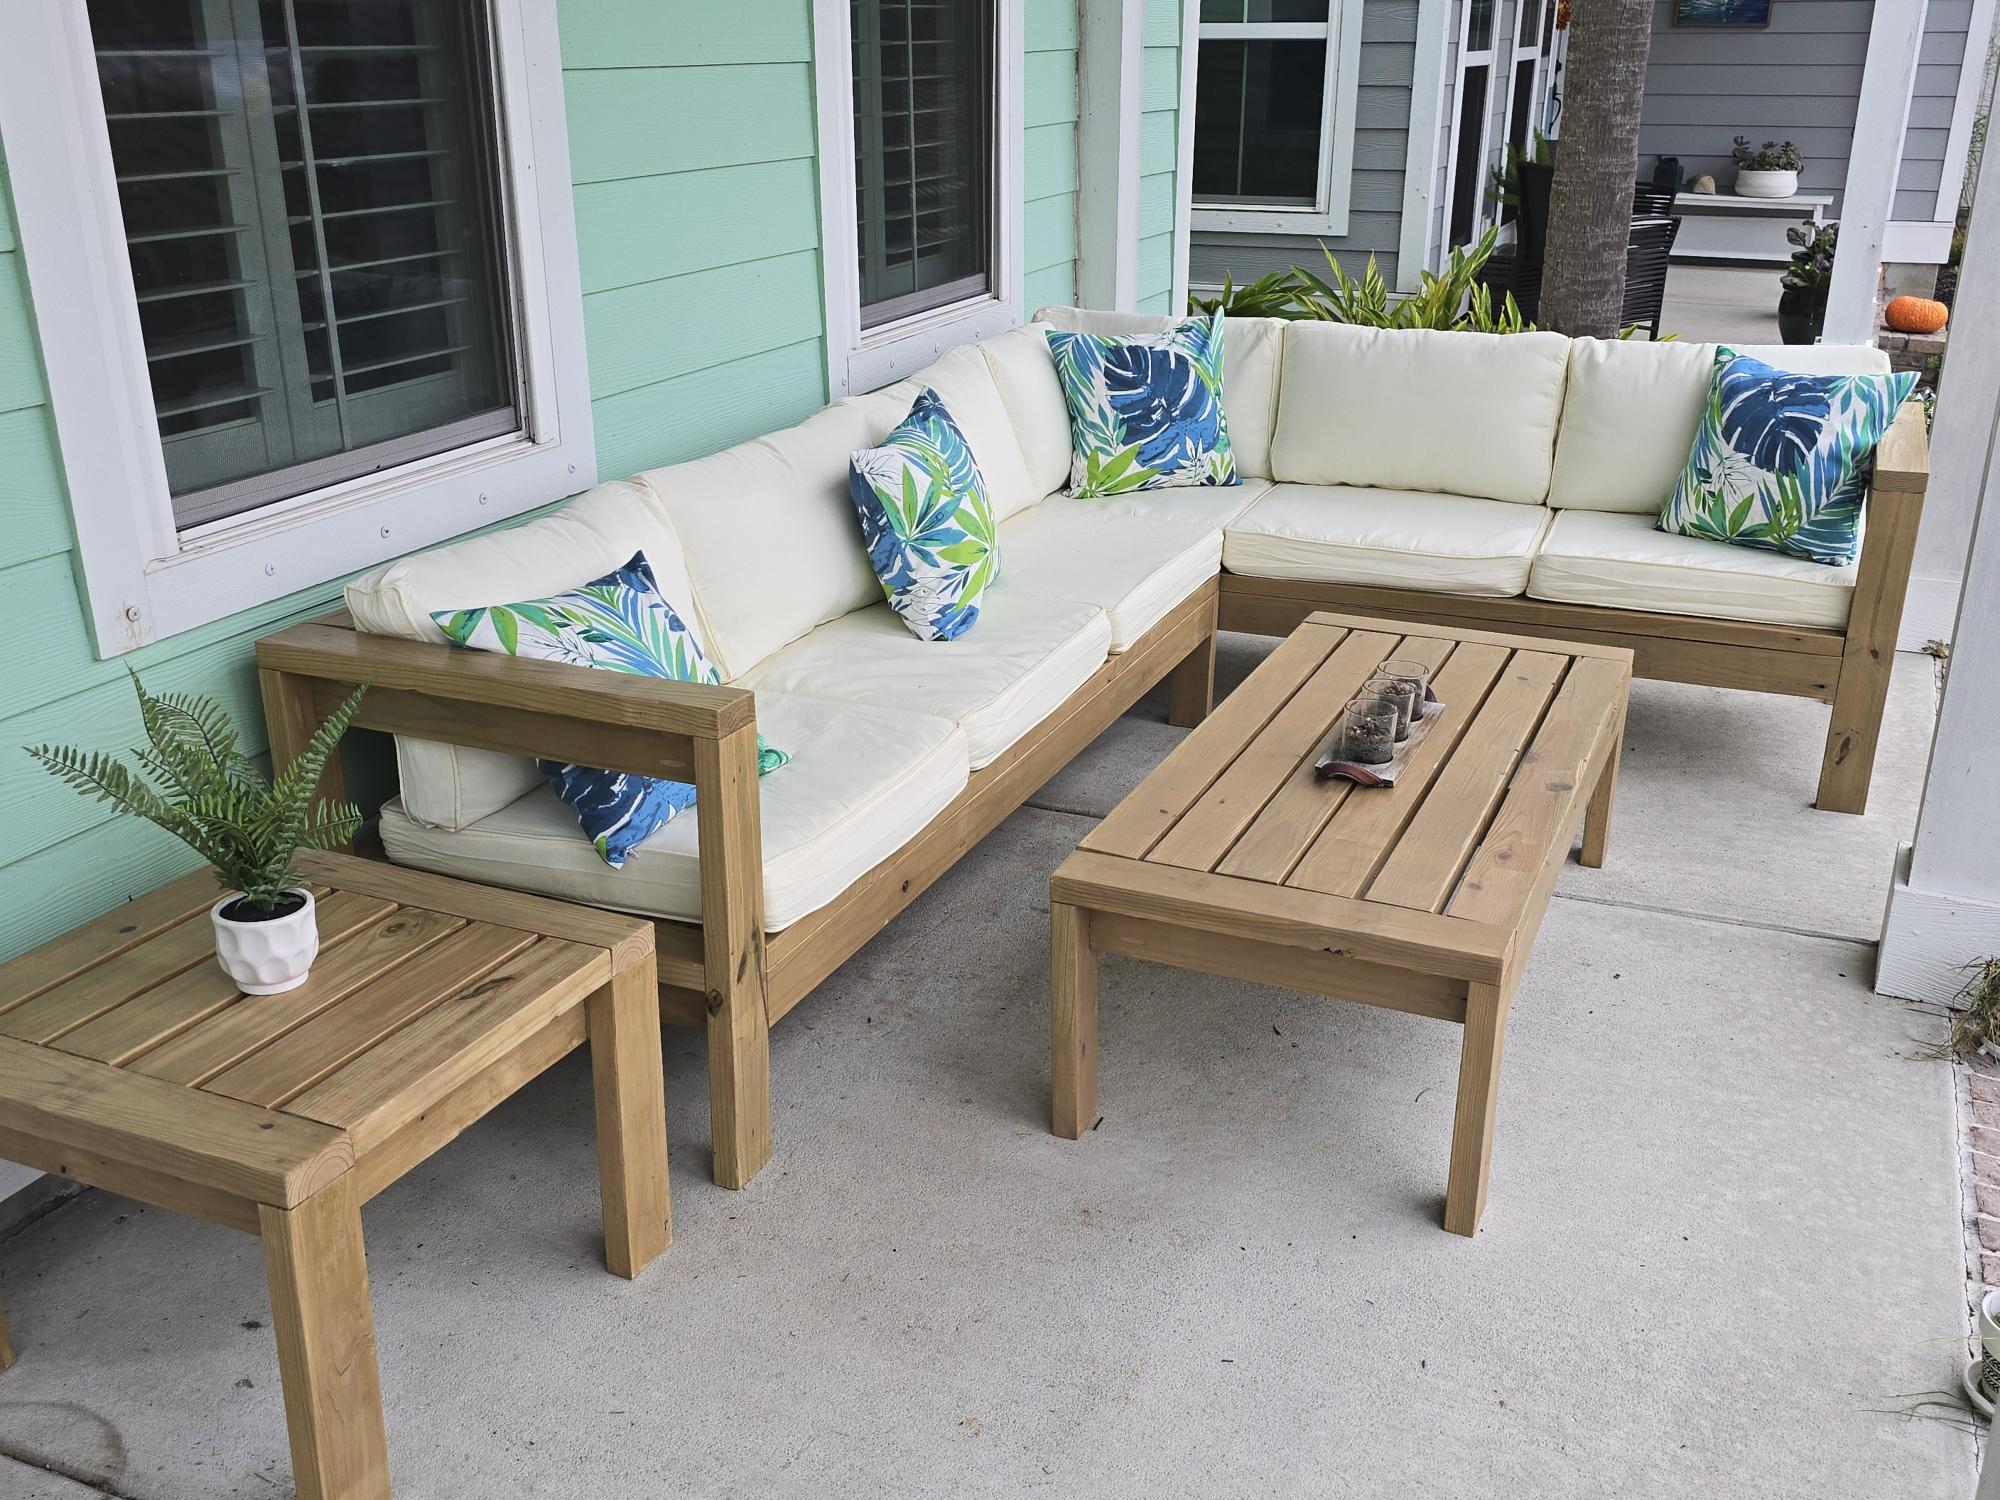
Made with pocket holes to hide screws. Credit Unknown
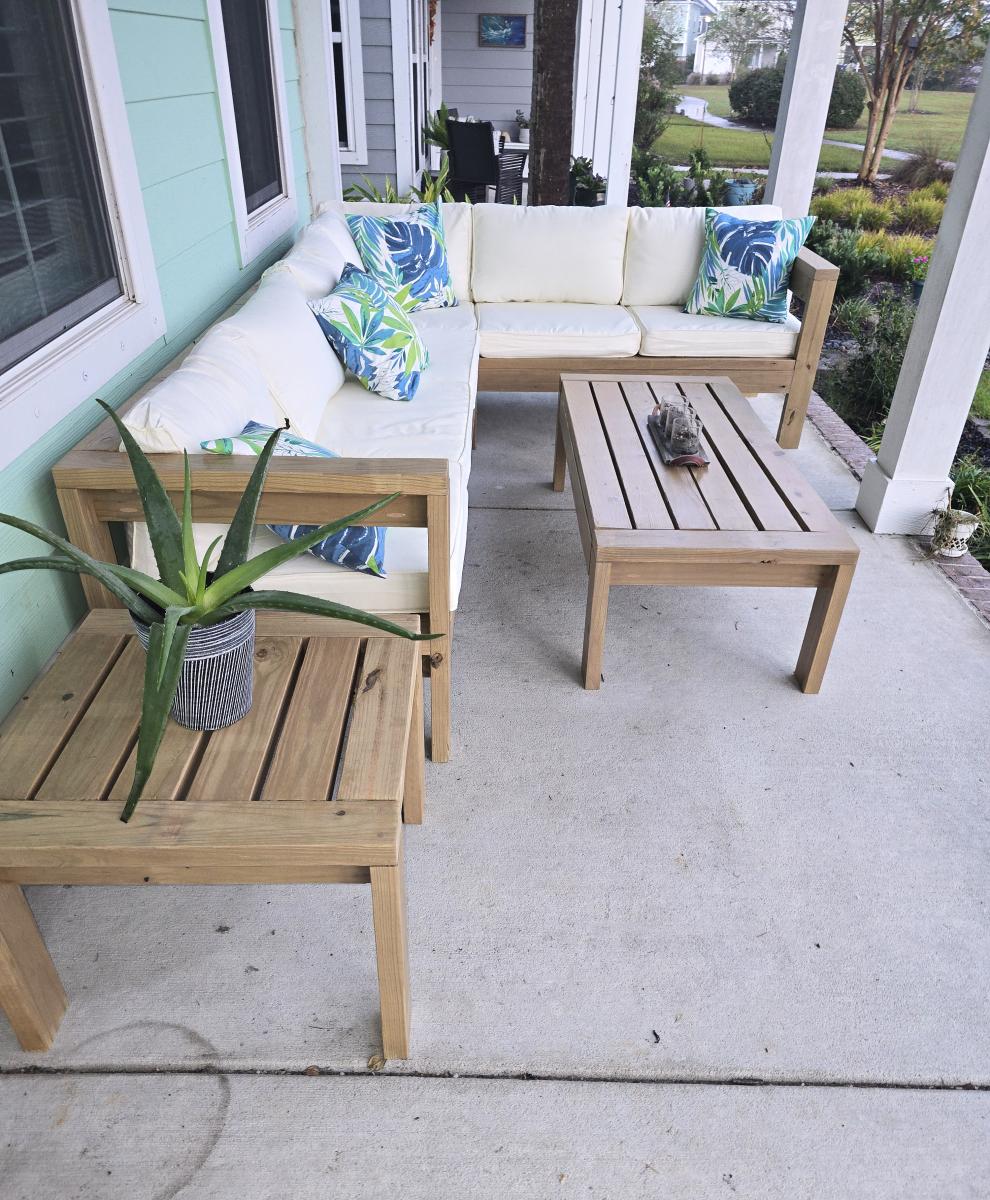
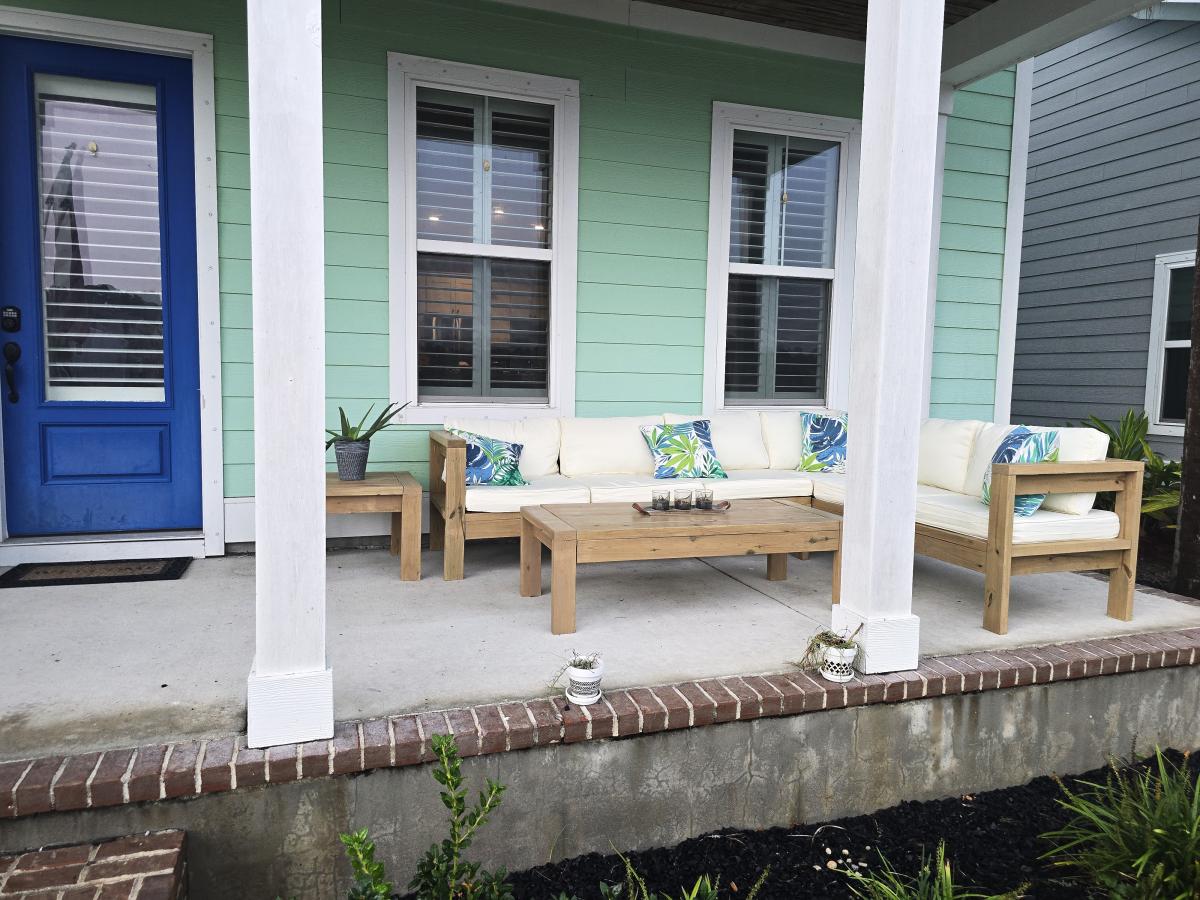
Comments
ghozt21
Sat, 08/01/2020 - 09:06
Awesome, looks great!
Awesome, looks great!
Twheat91
Fri, 08/21/2020 - 23:38
Looks wonderful, love the…
Looks wonderful, love the finish. What kind of stain did you use?
Ana White Admin
Mon, 09/07/2020 - 20:23
Sweet!
Thank you for sharing, it looks amazing!
godmaire
Wed, 09/30/2020 - 19:59
I love this table. It is…
I love this table. It is just what l have been looking for. Is there any instructions. I would love to make this.
thanks
peggy