Place to put all the toys I buy my grandson...
Enjoyed building this. Quite simple but well received. Thanks, Ana. - Dick
While mine is not as good as some of these projects I am pretty proud of it.
I came some 12"x1"x18' (Actual size) redwood planks that were removed from the roof of a building here in town, built in 1876. Essentially these were milled over 125 years ago. You can still see the the blade marks. I did not want to shorten the planks too much so I built this table, just made two frames. I used rough redwood 2x4 and 2x6 for the frame. I made it a little taller.
Its the highlight of the back yard, we have dinners out there regularly now
Sun, 05/19/2019 - 16:42
Sounds like a wonderful table! I'd love to see a photo - if you have a chance to upload!
Tue, 05/21/2019 - 12:41
Is there a way to add a photo here or do I add a "Brag Post"?
Tue, 05/21/2019 - 12:54
Got bored, built a boot room! Thank you Ana White for the plans!
Fri, 03/10/2023 - 13:31
Love the before and after, thanks for using Shelf Help!
Due to limited space and inclement weather, this table took us a bit longer than a weekend....in a perfect world, we would have been done a lot sooner...however, it was completed just in time for Thanksgiving dinner...hence the mis-matched chairs. I LOVE my new table. It turned out even better than I had hoped. Thanks Ana!
Wed, 10/02/2013 - 13:11
I don't know how I missed seeing your beautiful table! What a nice finish. I'm planning to build one for my son and his wife and would love to know how's it holding up. Would you do anything differently?
This is the third smaller sized chair that I've made. This was for my nephew's first birthday. Adjusted the measurements to suit smaller kids. My chair gift list keeps getting longer. I've got another 4 to finish before January.
.
I followed the plans as written, It took me about 6 hours and that includes sanding and staining. Very simple yet offers a very wow finish. I think in total we spent about $300 for all supplies including cushions which was the most expensive part. I just finished it off with Teak Oil and an Americana theme for our covered patio. We love it.
Using the Barn Door Pantry plan, I partially built this in my shop then took it apart and transported it to my son's house where we reconstructed it. This is a massive project and I recommend that you have enough room (and help) to build it and move it. The door is built with 1/2 inch plywood, framed with 1 by 4's with bead board inserts.
Sat, 03/18/2023 - 19:18
Very pretty and functional, what more can you ask for! Thanks for sharing:)
I started baking my own bread a few months ago, and storage was an issue. My husband decided to build me an old fashioned bread box and set out designing one on his own to fit in our small galley kitchen. I love it. It is a double decker, so I can fit two loaves in it just fine. The inside is coated with a food-grade sealer.
Sun, 12/04/2011 - 02:32
That is a great idea indeed and I love how it has a shelf inside.
Wed, 12/07/2011 - 03:49
This is an awesome idea, can't wait to make one for my kitchen. Beautiful job! Thanks for sharing this!
Sat, 06/30/2012 - 07:05
Just what I'm looking for! Do you have a pattern or measurements on this project? Thanks!
Tue, 08/20/2013 - 10:40
Please, let me know if there are plans/measurements somewhere. Love this!!
We followed the plans closely, and it turned out well for the first project. It was the perfect size for what we needed! My husband had never built anything like this before and after a little research on how to use the kreg jig, he was able to finish it in a weekend.
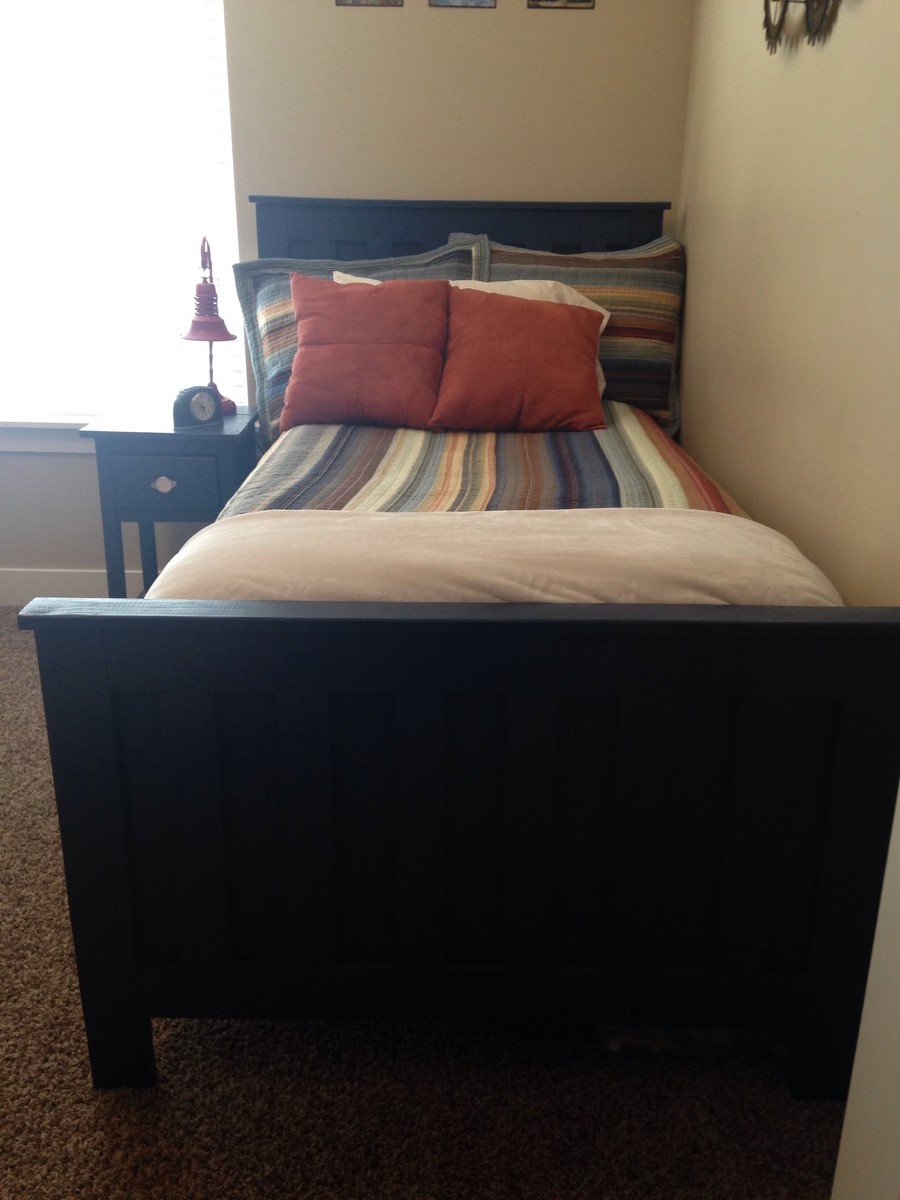
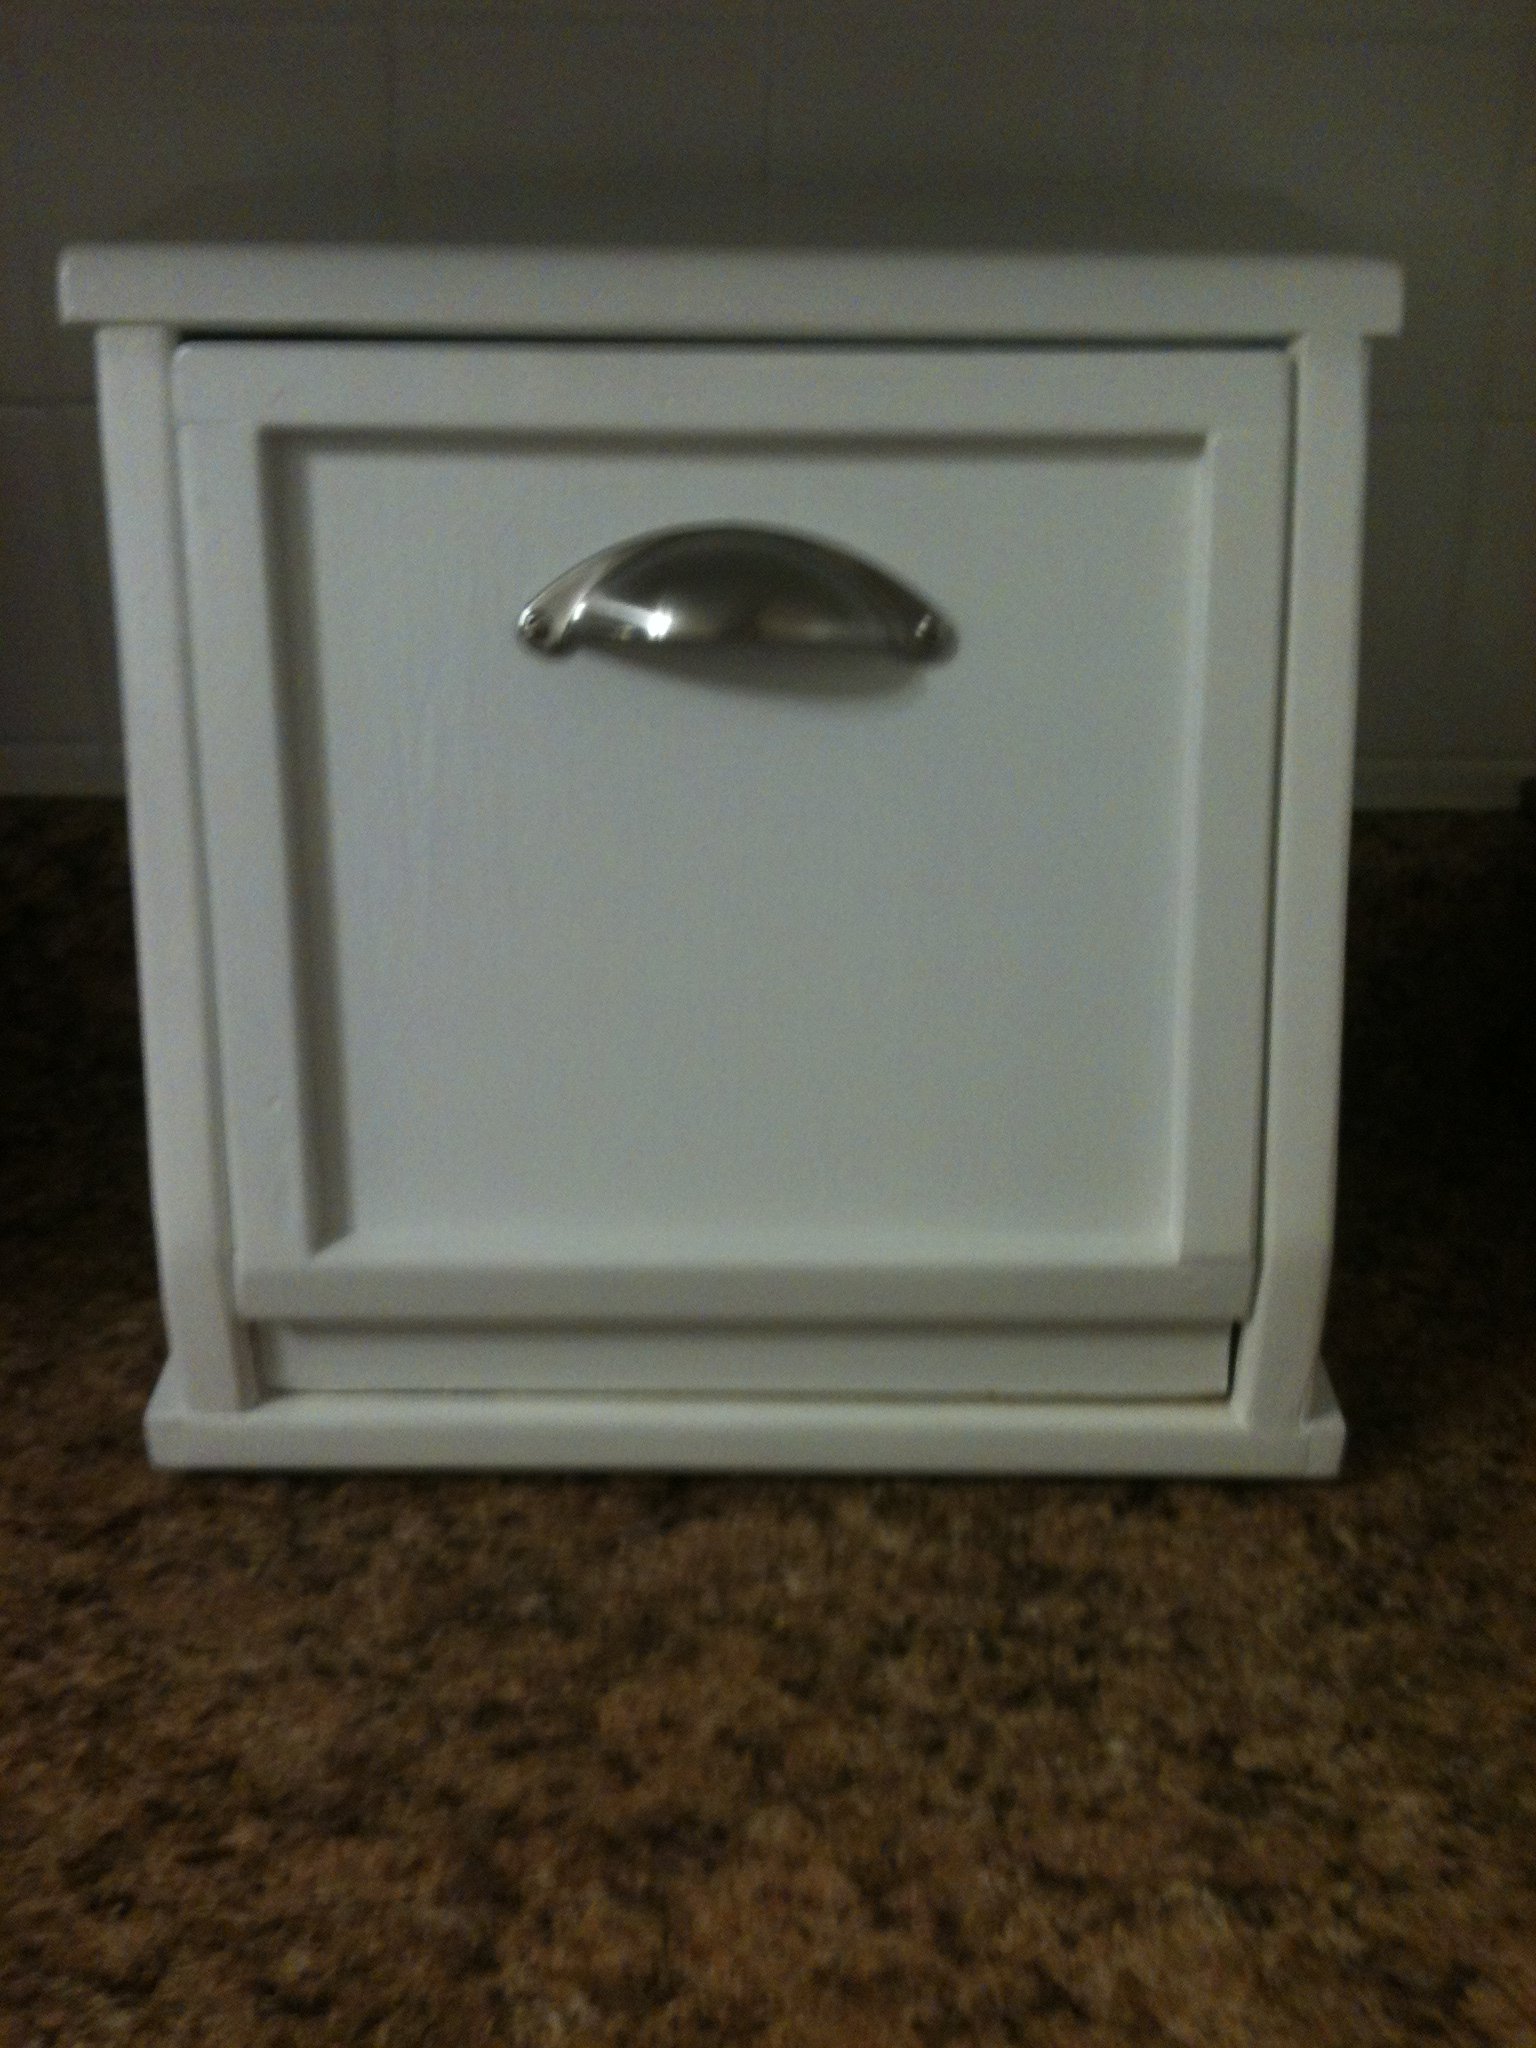
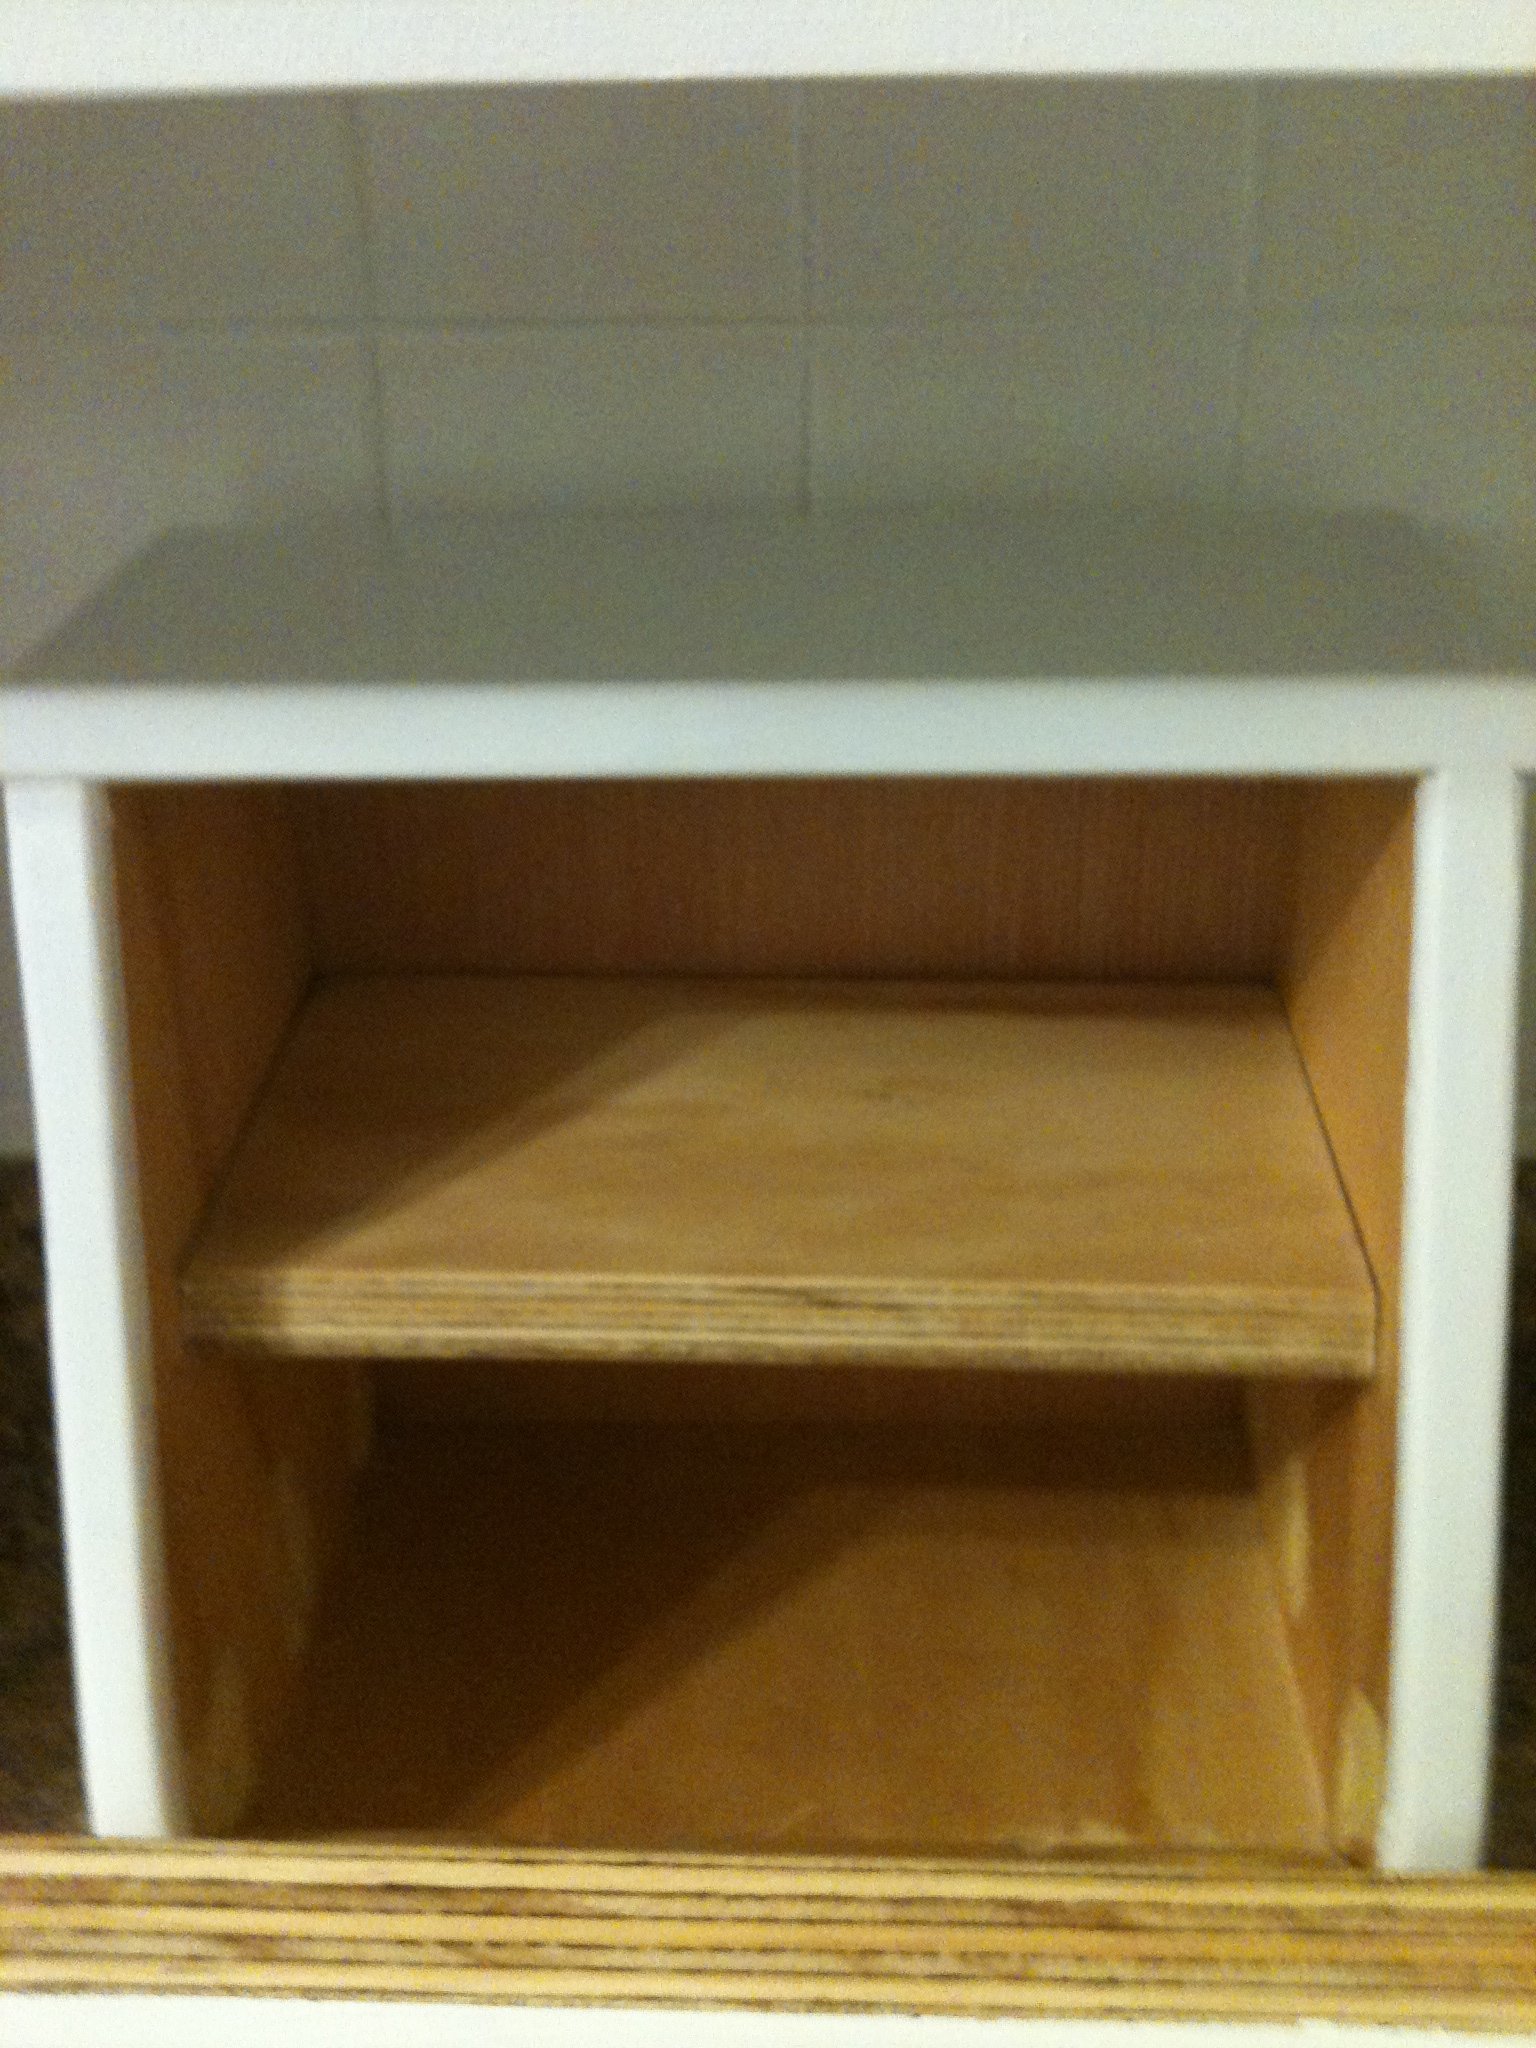
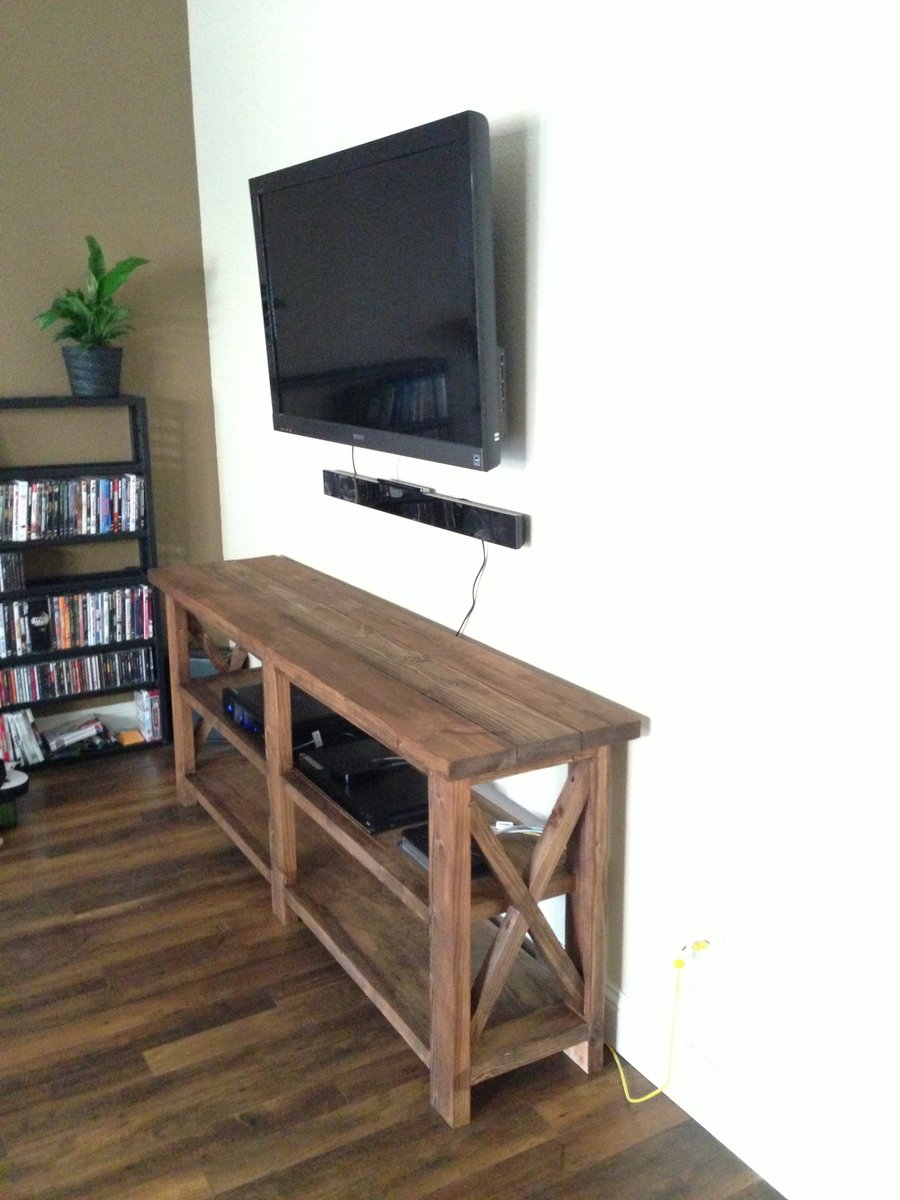
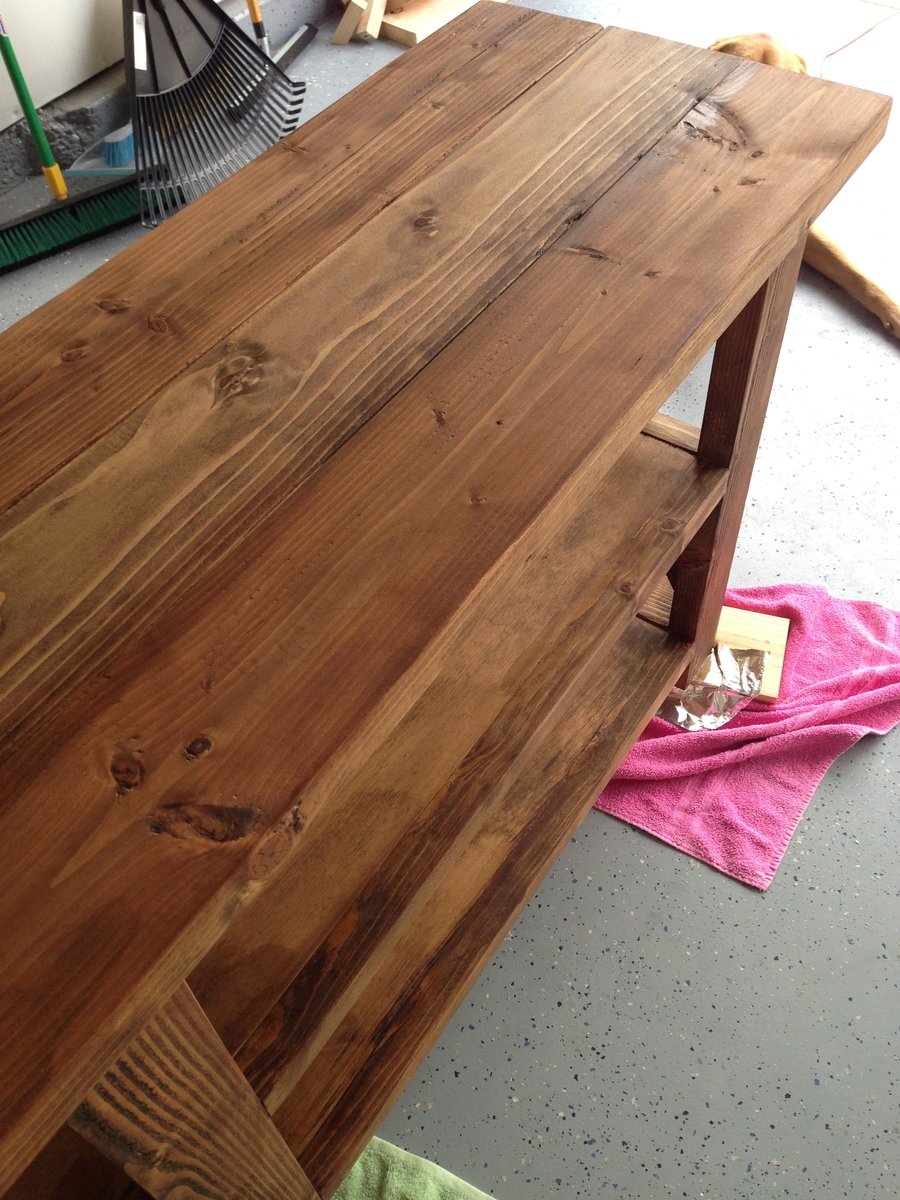
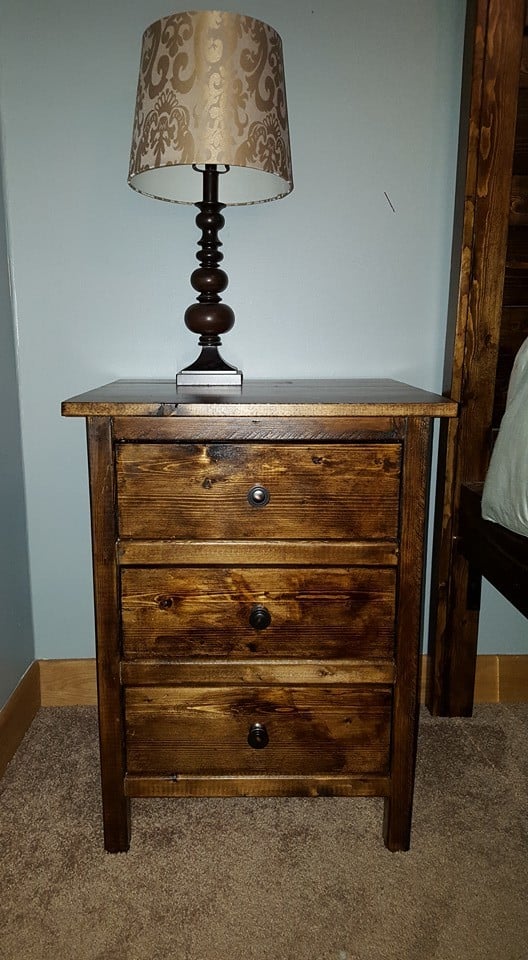
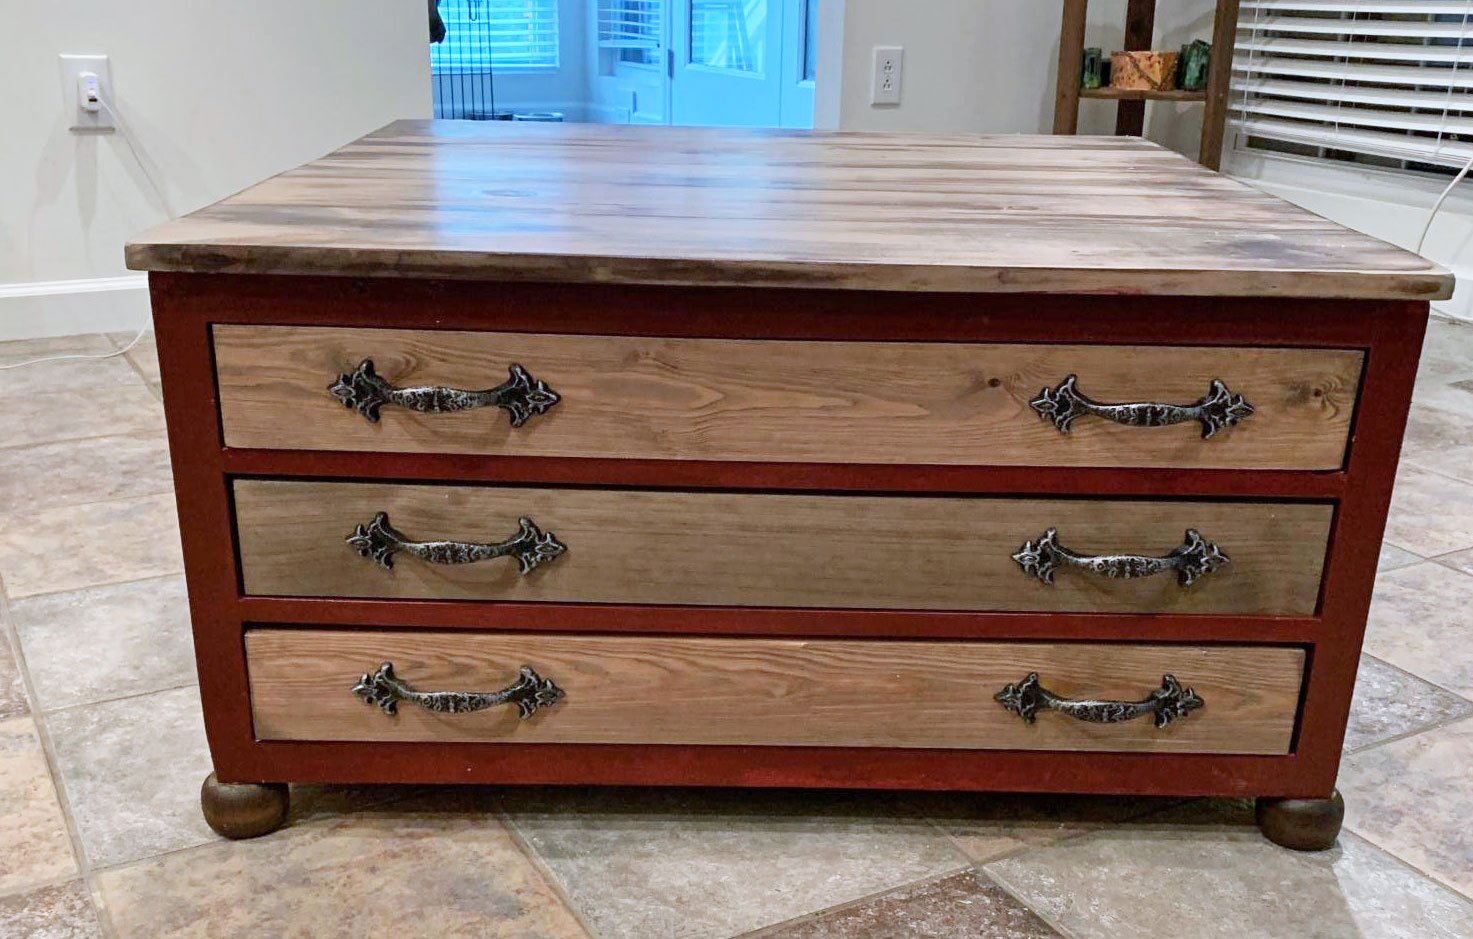
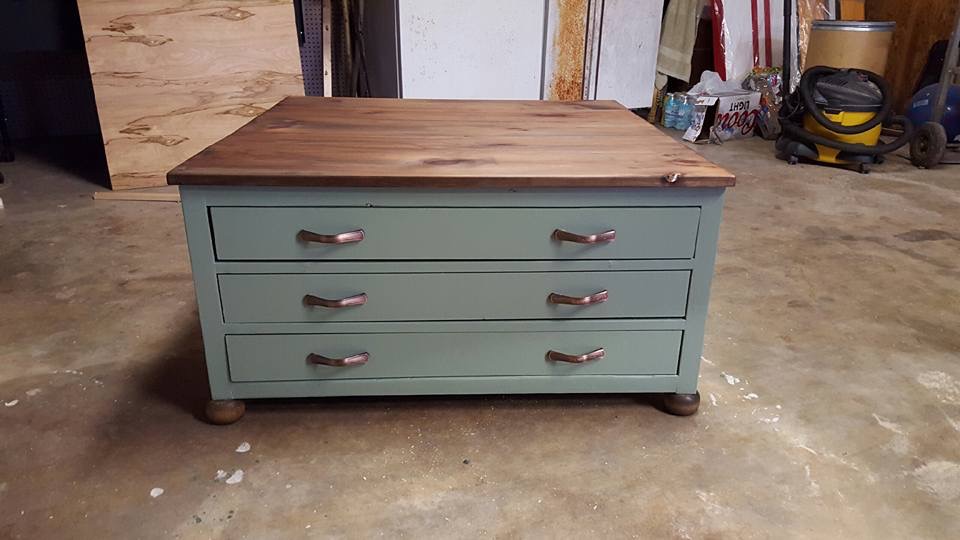
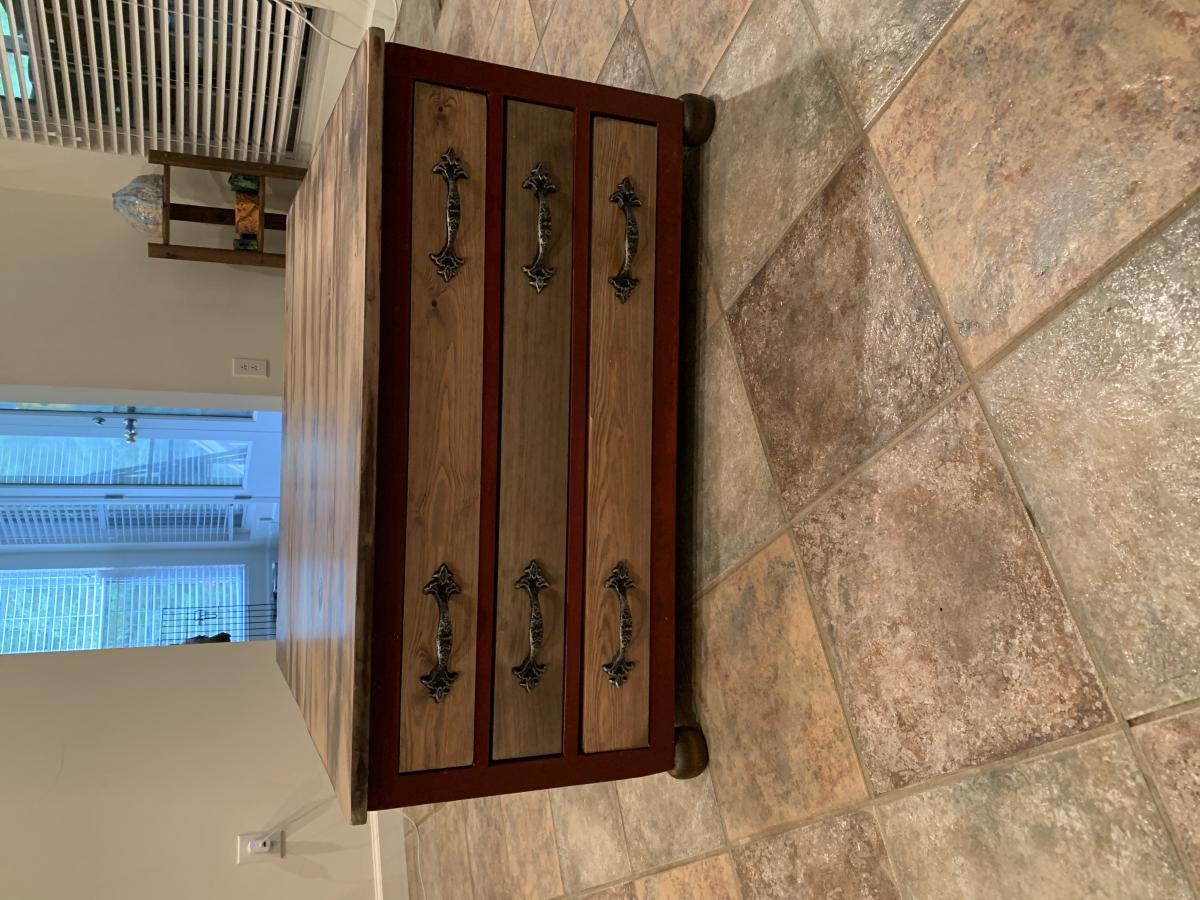
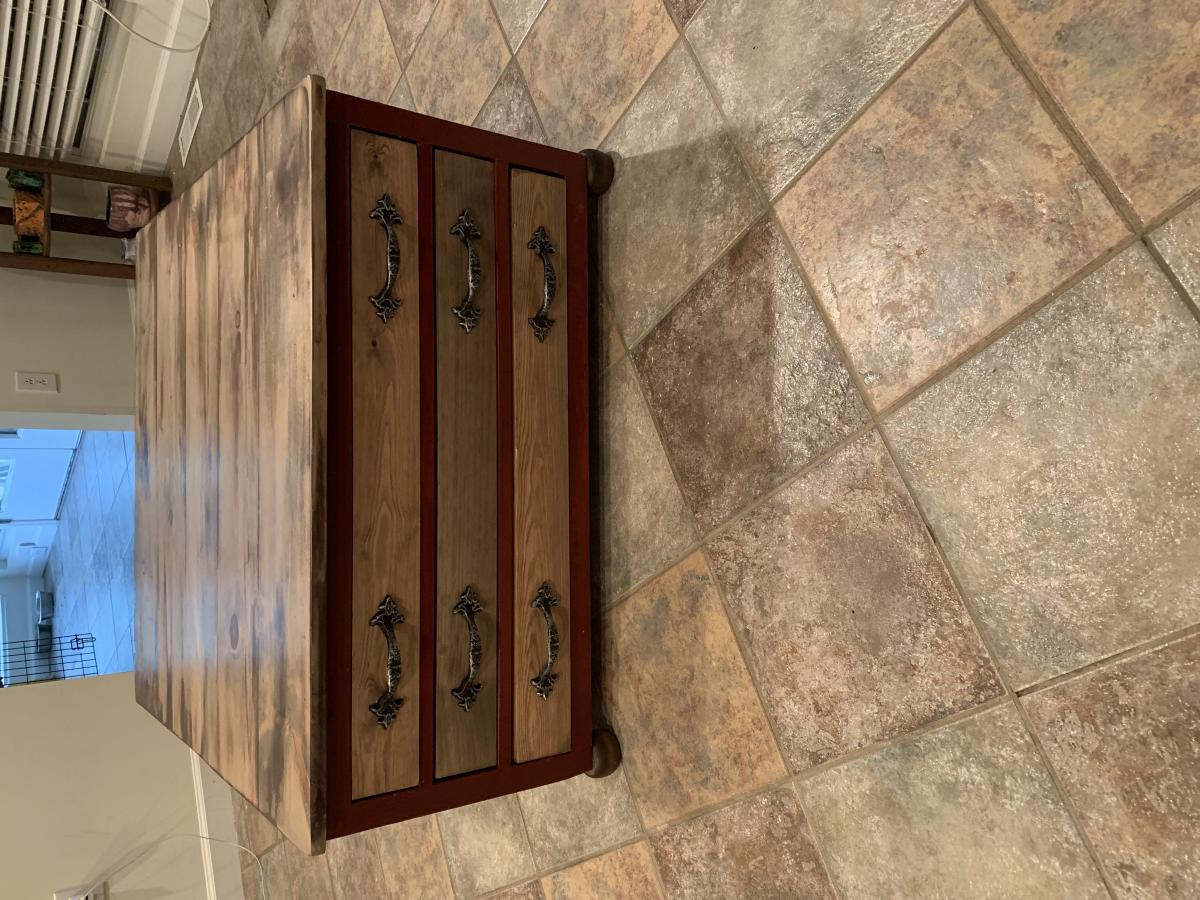
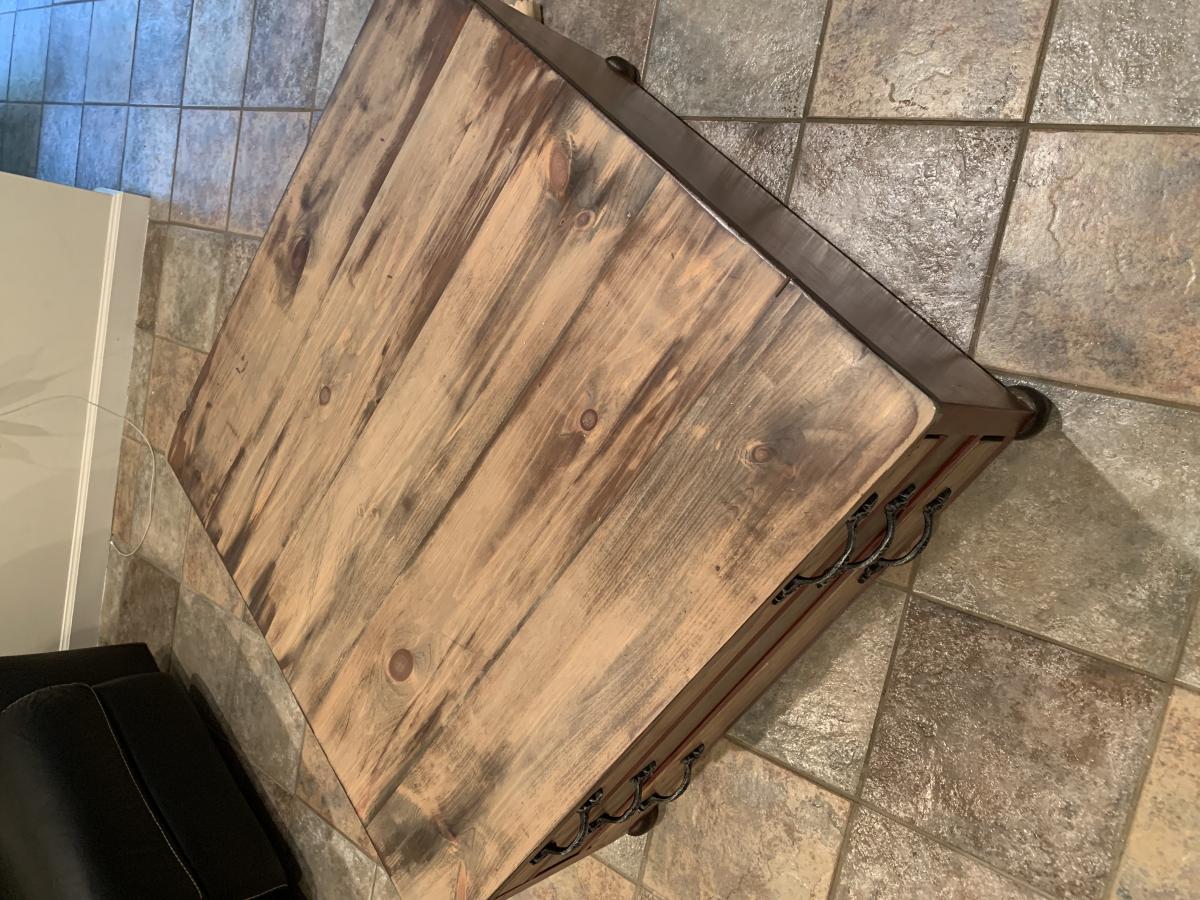
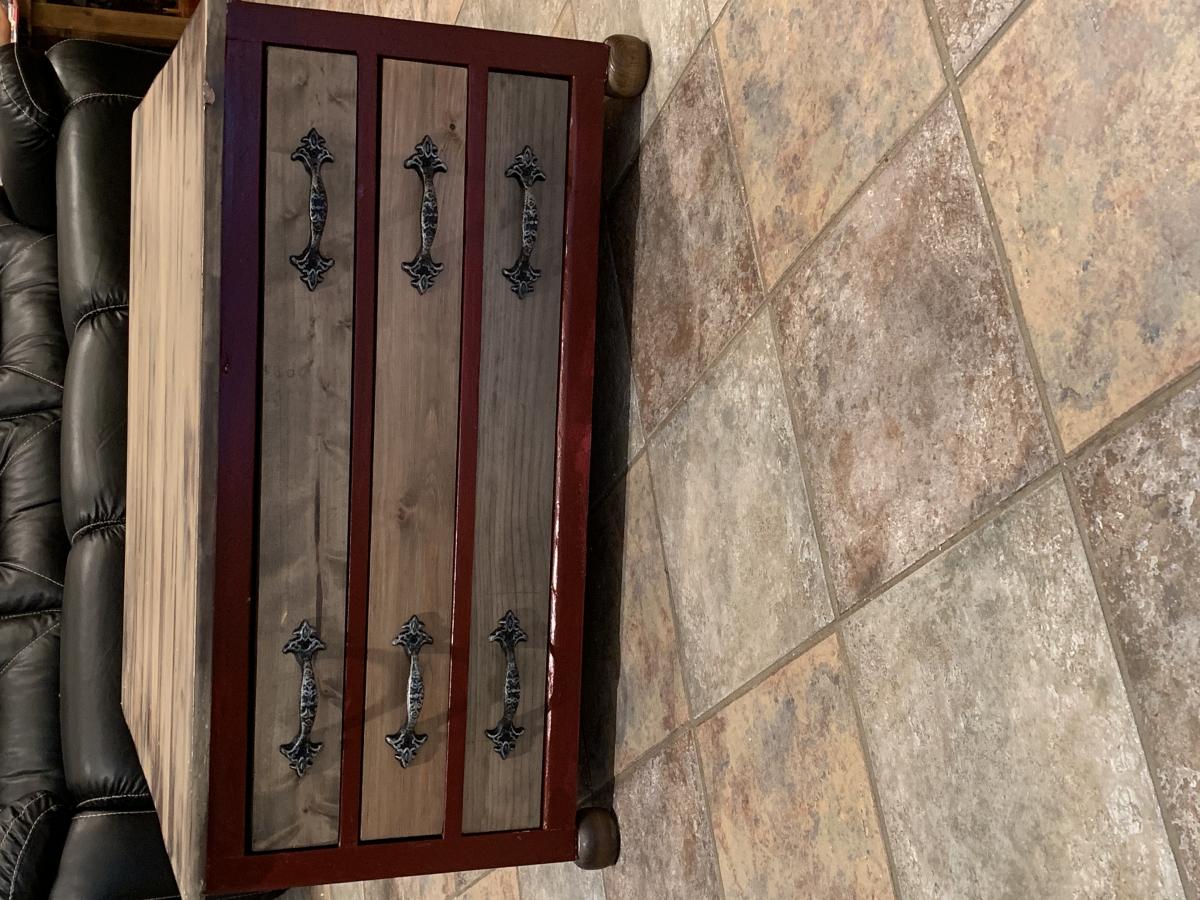
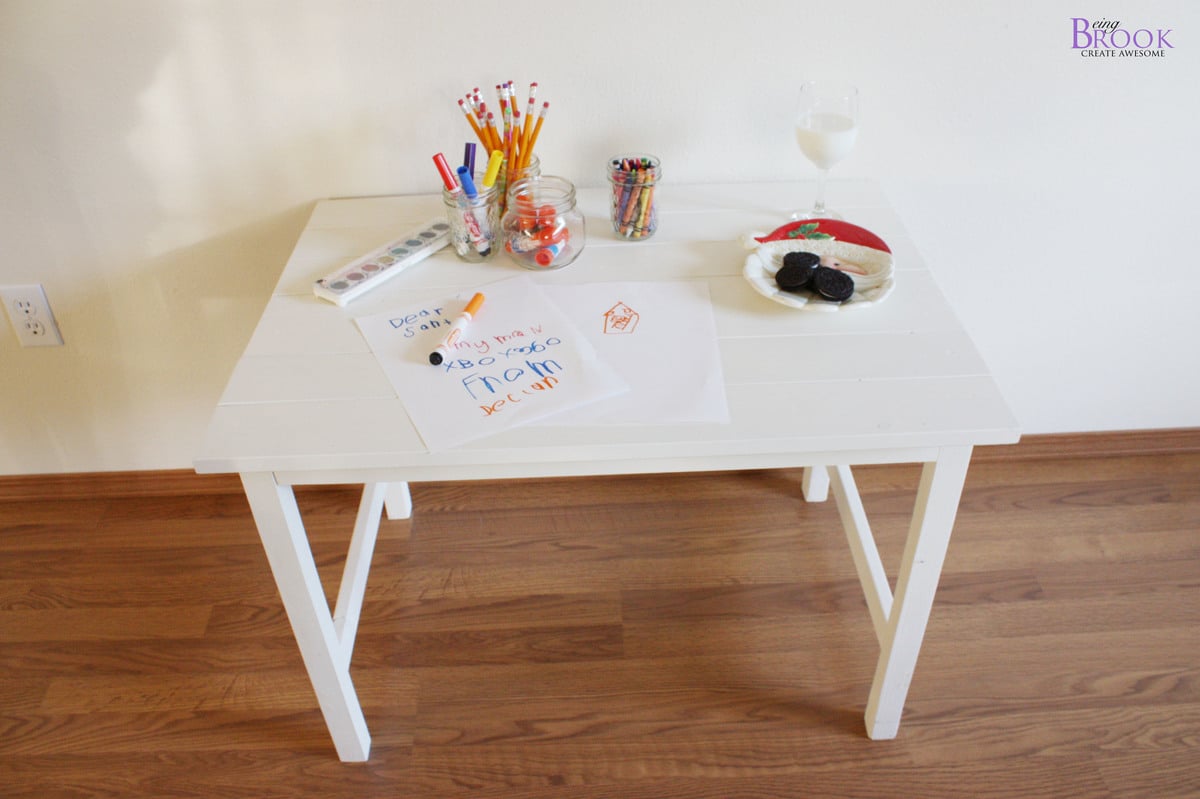
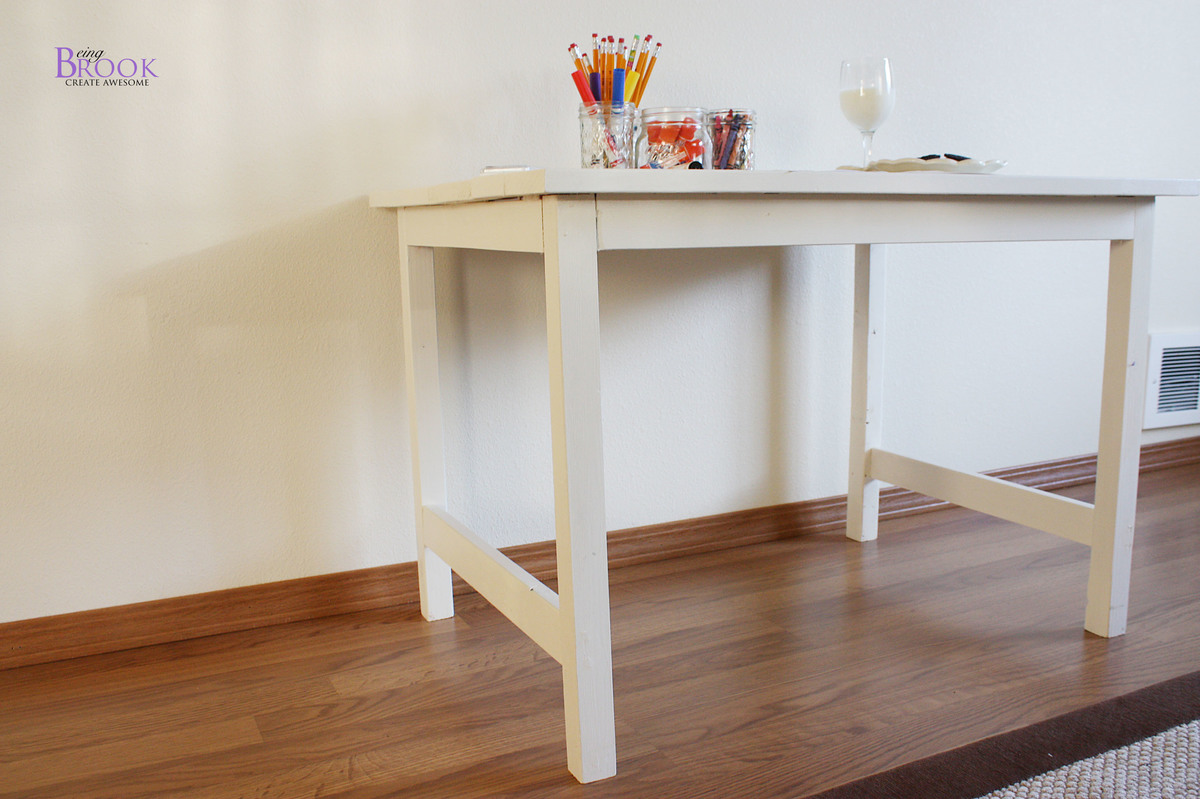
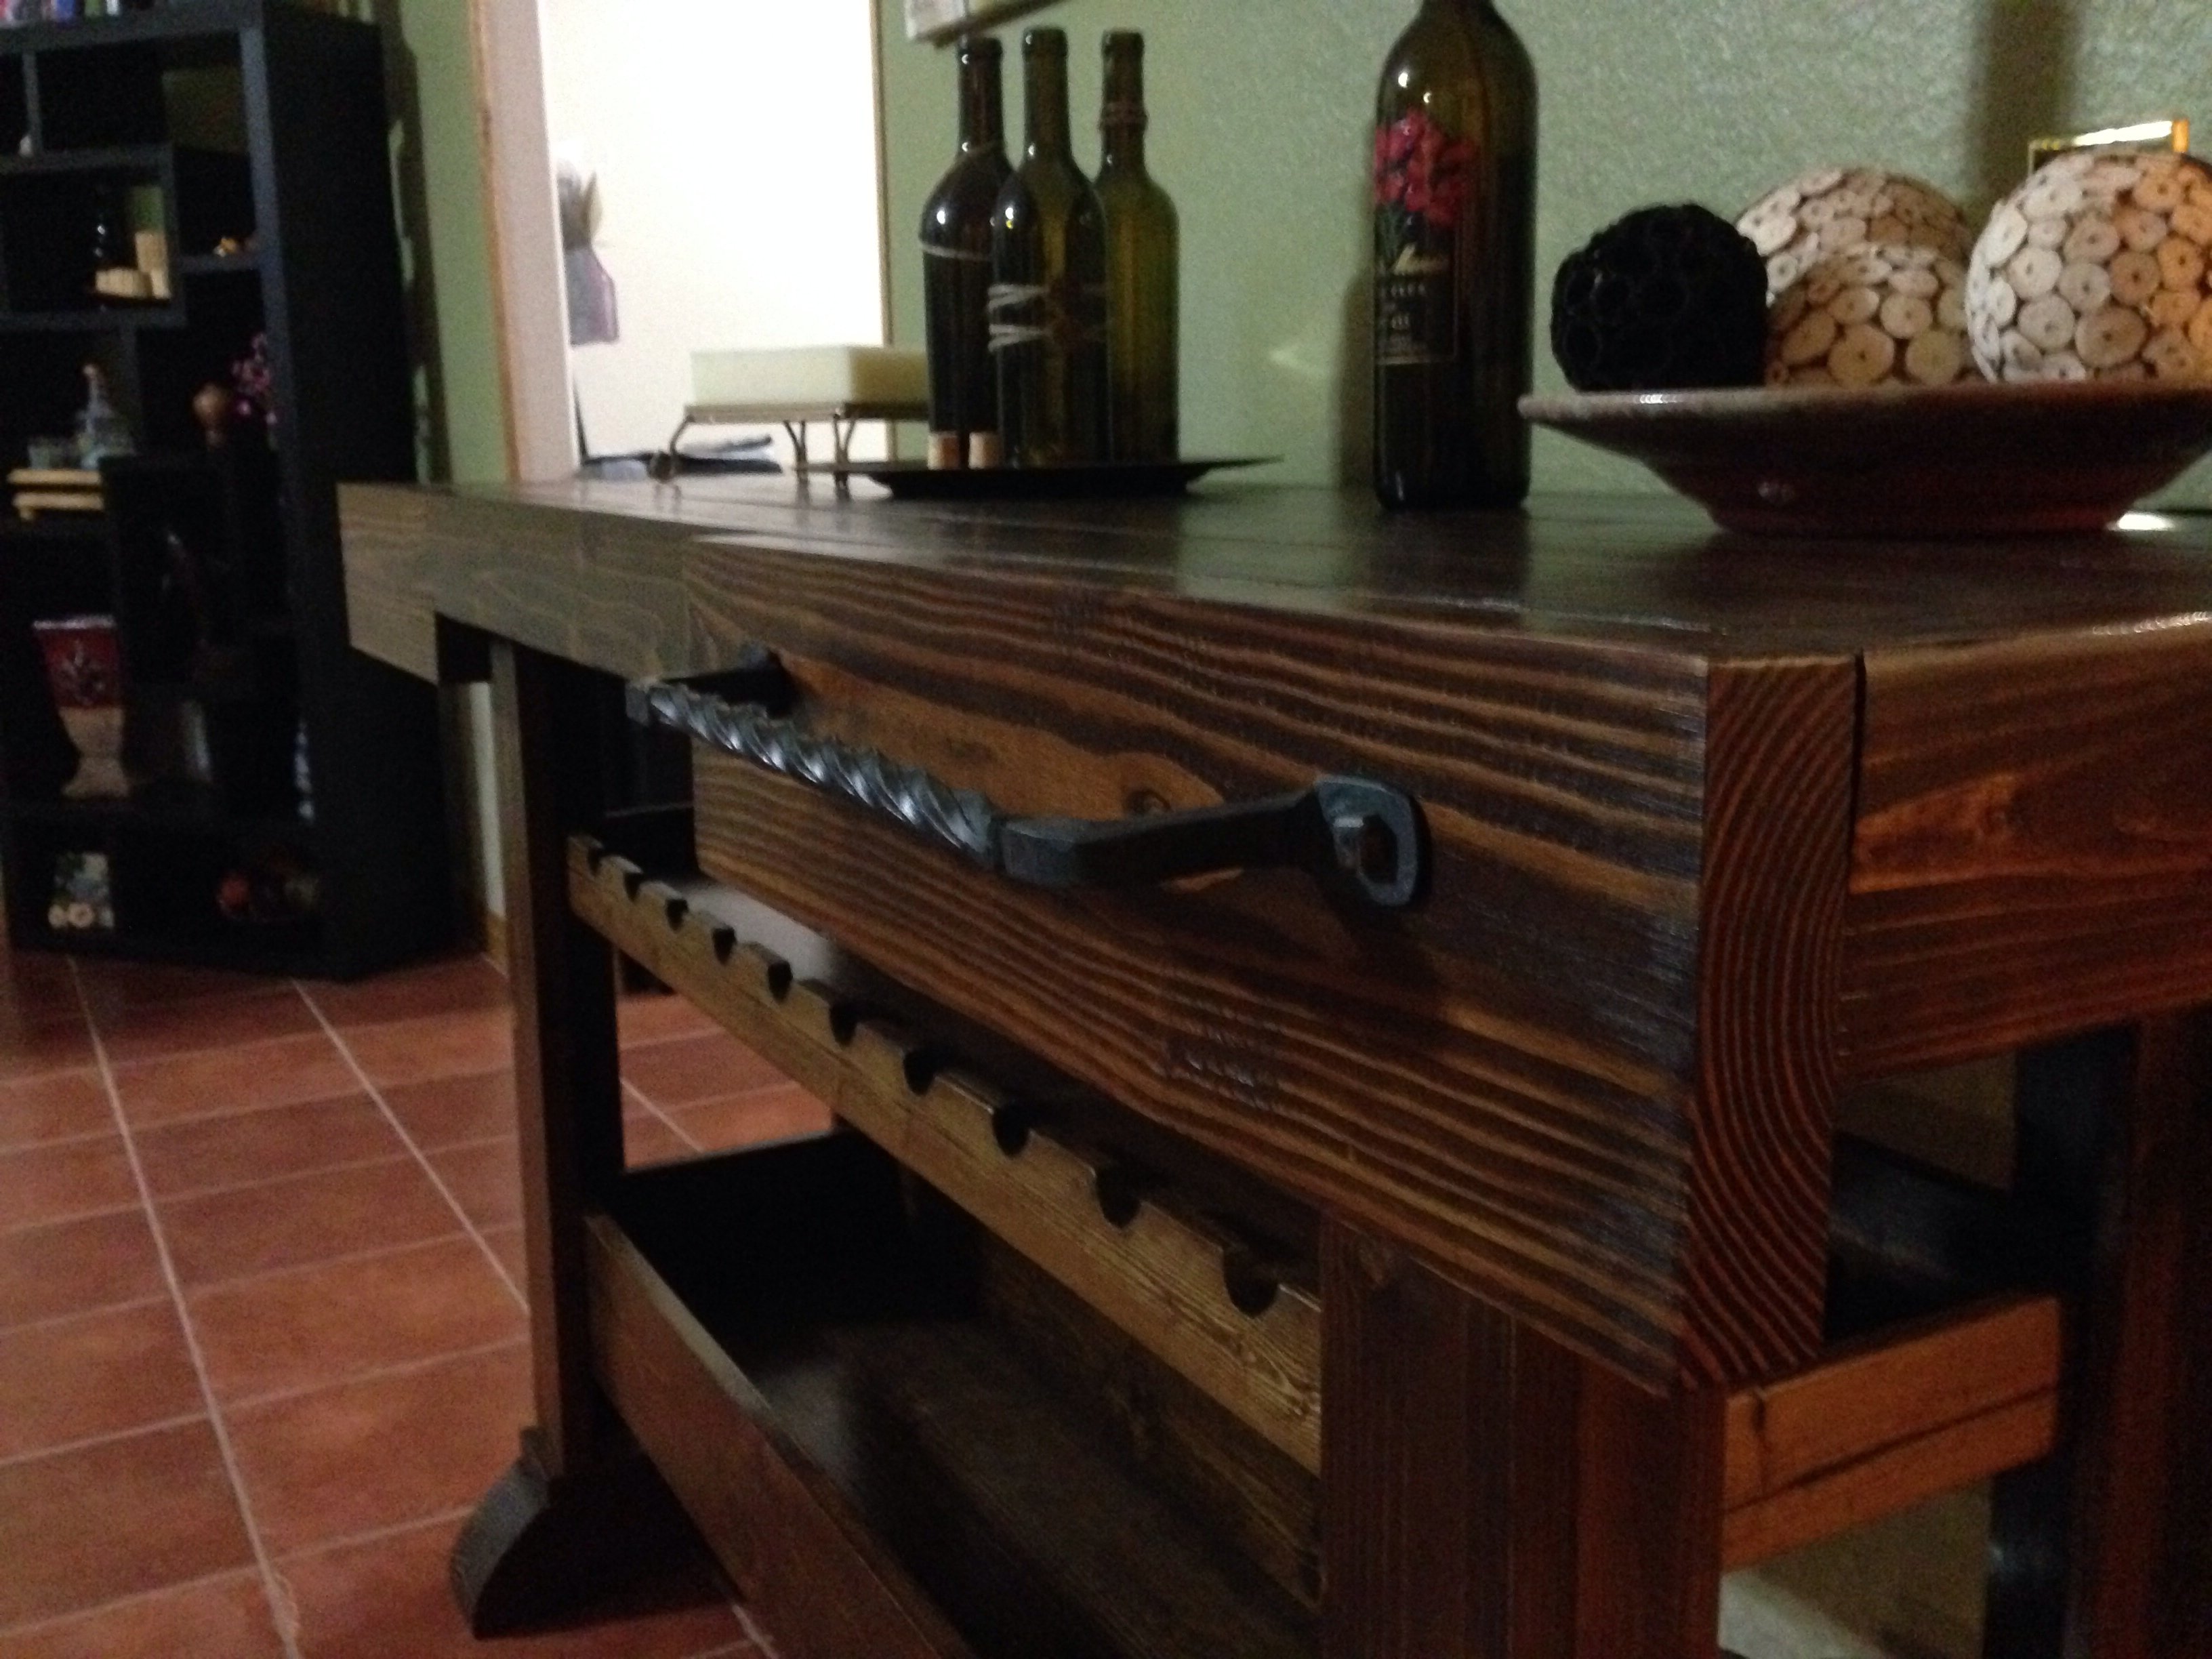
This was my first bedstand build, and I was pleased with how they turned out! A possible recommendation might be to make your own 2x2's if you have the means, I looked everywhere around here and could only find firring strips. These look ok after a good bit of sanding, but the huge radius edges make for some funny looking joints, and they're super inconsistent dimensionally - like off by 1/8" smallest to biggest, which can make issues with fitting drawers. Another option would be to build the base frame, then make the drawers once it's all together and modify dimensions slightly to match. I would also note to make sure your drawer bottoms are flush with the outside of the drawer side to side, and not slightly bigger at all, it made for pretty a pretty tight fit for the drawers to make it in. Squareness was paid extra attention thanks to all of the good comments on these plans, and I didn't seem to have any issue with drawers fitting as a result, just a bit snug. I would suggest using 1x4 for the drawer frames for two reasons: The first is that the drawers are pretty shallow, and there's plenty of room to use 1x4 instead of the 1x3. The second was the alignment of the drawer pulls and the top of the drawer box frame. Mine ended up right on the border of the drawer box frame in order to get the drawer pull centered. This was a problem as I had to grind off the edge of the interior box frame to get the screw to fit. If you had a 1x4, you could just countersink it without any issues, since it wouldn't be right on the edge of the drawer box. Overall awesome project, and great plans! Thanks Ana!
Lot of fun just purchased a pocket jig and first project can't wait to make another. Thanks for the plans
Fri, 06/07/2019 - 10:52
Beautiful bench! Thank you for adding a brag post!
My son moved into his first very small apartment and wanted a cubby array rather than a dresser. I made this following your plans and it came out great! It’s 4x4 cubbies as you can see. I used 1/2” plywood to keep the weight down. It was a little flimsy, so I put 1/8” tempered sheet on the back, which made it completely stable. He loves it! Thanks Ana!
Sat, 03/25/2023 - 09:21
Very exciting for your son and this is a great addition! Thanks for sharing.
We love the look of farmhouse tables but not their hefty price tags. So we decided to build our own. $60 in supplies and a week-end's worth of time left us with a beautiful table that has a story. Ana's plans were easy to follow. Building furniture is so rewarding...and easier on the wallet!
Sat, 12/10/2011 - 06:35
I think this is the motivation I needed to get my butt outside and move the lumber in from the yard and build a table. Thanks!
Sun, 01/01/2012 - 16:59
Not the original poster but looking everywhere lately for metal chairs I know these are from Cost plus world market:)
http://www.worldmarket.com/product/index.jsp?productId=11108348
Thu, 01/12/2012 - 12:32
Hi, I love this, great job! I am wanting to build a bigger one that will seat 10-12. I love the farmhouse table on this website, but I do not like the way the supports underneath prevent you from sliding chairs up to the ends. Do you think it would be sturdy enough without them? Like you did for your table here.
Thanks!!
Our dear friends built us a pergola over the summer and I wanted a big outdoor farm table to go underneath but had no interest in spending thousands on one already made. So, thanks to Ana White, I found the directions to making this 'anthropologie knock-off' for under $200! We made ours 10' long by @46" wide. And I included support boards on the underside of the table top for additional support and to try to address the fact that one of the boards us a little warped. It's not nearly as beautiful as our pergola and still needs to be stained/treated, but I can't wait for next spring and summer when we can hang and laze around out here! I'm so proud of us. Thanks Ana!!!
We had so much fun making this sofa and chair for our daughter as a last minute Christmas gift. It went together quickly and we are so pleased with the end result. Thanks for sharing your plans just in time for a last minute gift. My daughter was so pleased!
The green one was the original built 3 years ago. The red is a recent makeover. I have loved this table since it was built and I love it even more now. This was my first project and I am so happy with it.
Wed, 06/19/2019 - 10:43
Very beautiful! Thank you for adding a brag post!
This floor to ceiling Buffet and Hutch was to house a large crockery collection. The upper hutch portion had to have open shelving to display some larger pieces of crockery.
I also wanted a section to convert to a coffee and tea station/ Wine/ Dessert serving section as part of the hutch, when I had parties
Glass shelves and lights were added to give this massive unit a lighter look. To give it a truly unique look, handmade door knobs, pewter accents and a textured backdrop was added.
Fri, 03/31/2023 - 10:34
All the details and lighting are gorgeous! Thanks for sharing.
My husband and I built the art table to give our 3 year old for Christmas. We have had great success building from other Ana-White plans and the Clara table was no different. We did modify it by adding a 1x3 to the legs to give it more stability. I think the table is great without it but we have older kids too and wanted to make sure the table could withstand them sitting on it or leaning against it.
The table was built with scraps from our garage so the top is modified slightly because of that. I think the only thing we bought for this project was a 2x2 for the legs. Can't beat a $3 table!
So this is my first attempt at woodworking. In fact it's the first time I've really created anything with my hands. I came across this website and saw all of the wonderful creations people have made and decided I wanted to give it a try. I saw the Workbench Console and loved the design of it. I knew my sister-in-law was looking for a console table for her new house and being a wine lover I figured I'd give those plans a go. I added a second shelf for wine bottle storage and flipped around the tabletop. I really wanted to have a towel rack attached to it as well but after scouring the hardware stores I couldn't find anything that "fit" the look I wanted so I called a buddy of mine who is a blacksmith and with his expert guidance he taught me how to make the towel rack I wanted. I'm proud to say I made everything on that table including the hardware (minus all of the wood screws of course ;)
To be honest, when I went into this project I wasn't too sure about what the results would be, but I was very pleasantly surprised with how well it turned out when it was finished. So much so that after surprising my sister with her new table I've already started on another console for my own living room wall. This site has been very inspirational and has shown me that anyone can build fantastic pieces as long as the desire is there! Thanks Ana!
P.S. This project took a long time for me to complete mainly because I had no experience at all going into it. Now that I've put one together I've noticed the next one coming together much faster.
Fri, 11/08/2013 - 10:20
YOu have created an amazing piece that will last a lifetime! Thanks for sharing, so glad you found a new love for building!
Fri, 11/08/2013 - 21:27
Thank you for the kind words. It's been fun to see the response from friends and family. It's kind of hilarious to me that I've only built one table and now I have requests coming from family, friends and co-workers for everything from end tables to entertainment centers! But first things first, I'm piecing together my new console table for the living room. I just wish I had more time during the day to spend on it!