Community Brag Posts

Fancy x desk

Built this for a friend. Changed up some of the dimensions but the plans were great. Super easy!
Estimated Cost
$70
Estimated Time Investment
Afternoon Project (3-6 Hours)
Comments

Tue, 11/05/2019 - 10:39
Awesome project! Thank you…
Awesome project!
Thank you so much for submitting. We are so excited to let you know your entry was randomly selected for a $100 gift card. We will be emailing you directly as well.
Thanks again!
Ana
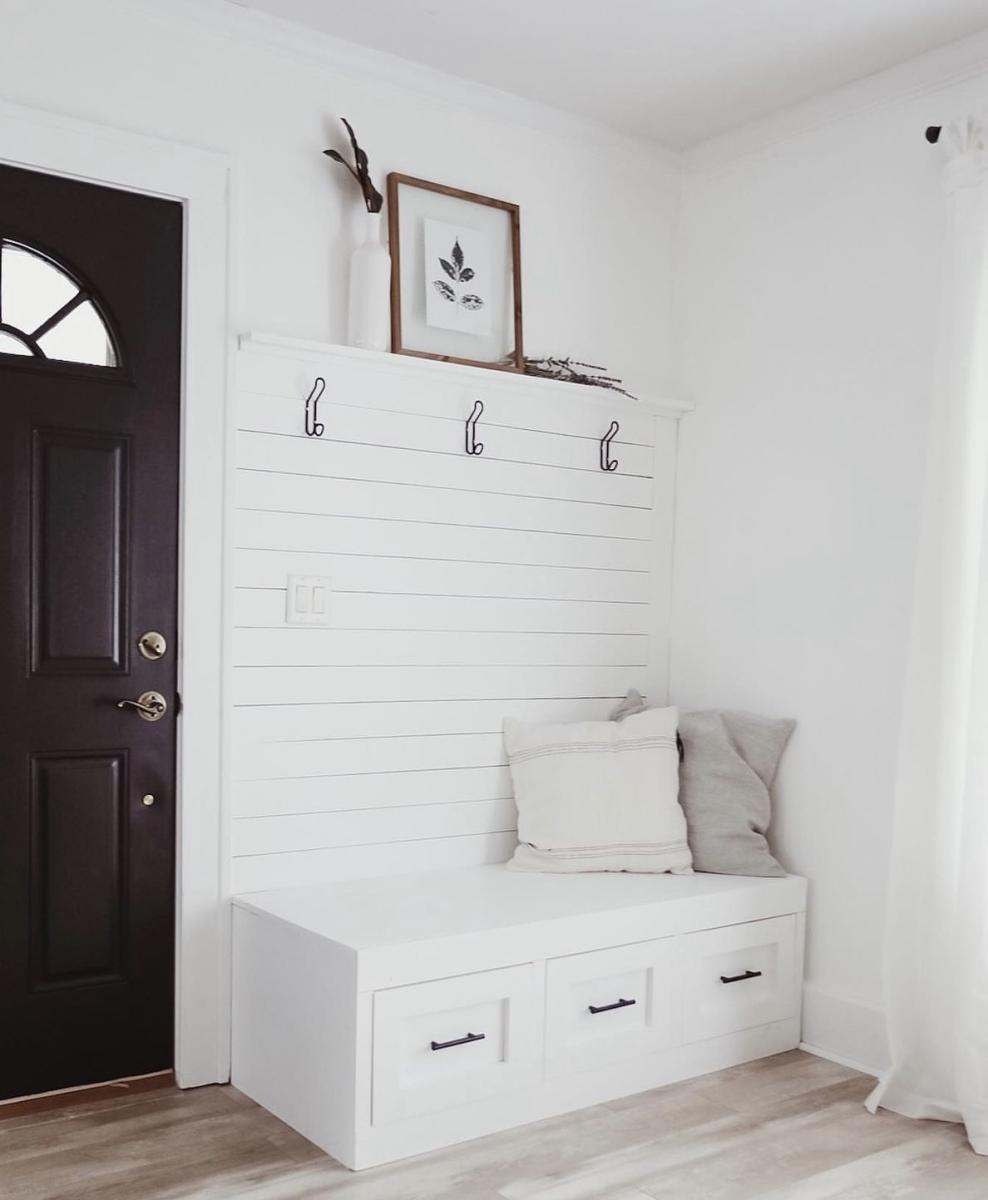
Mudroom Bench with Drawers
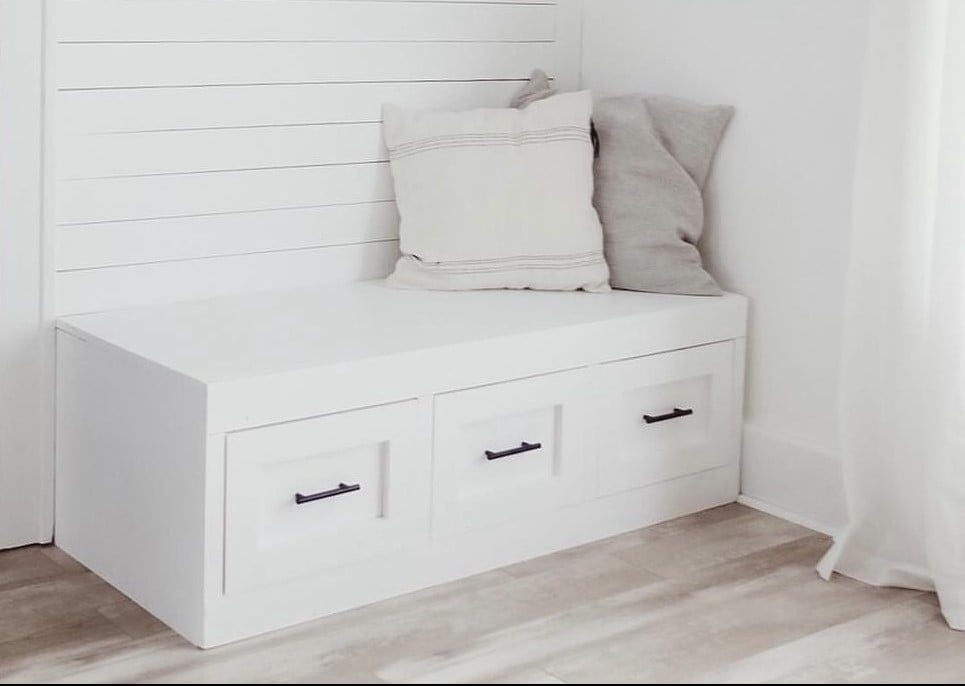
Second wood-working project to go with our shiplap wall. Pretty happy with how it turned out!
Built from Plan(s)
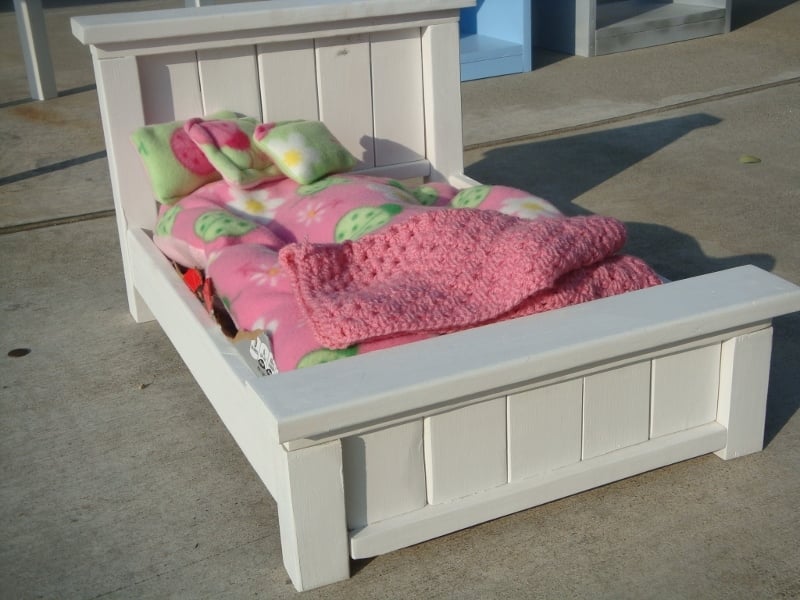
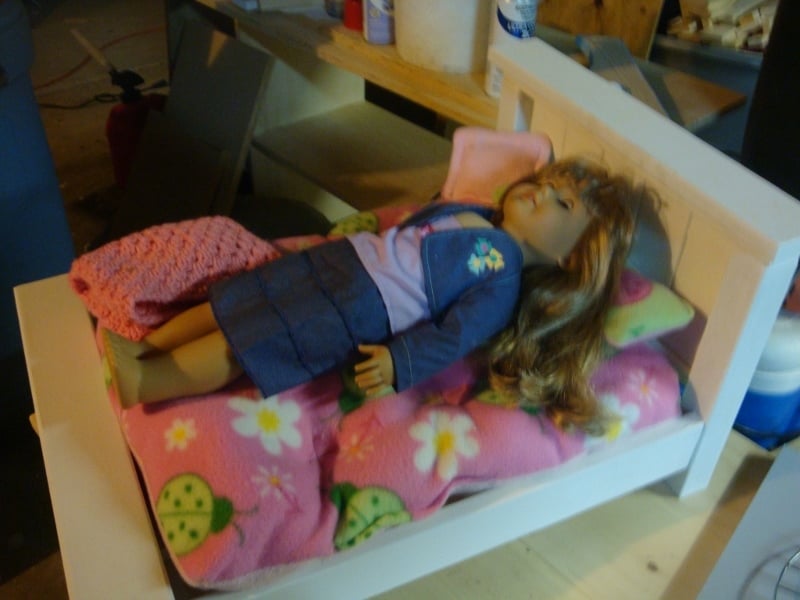
Doll Farmhouse Bed
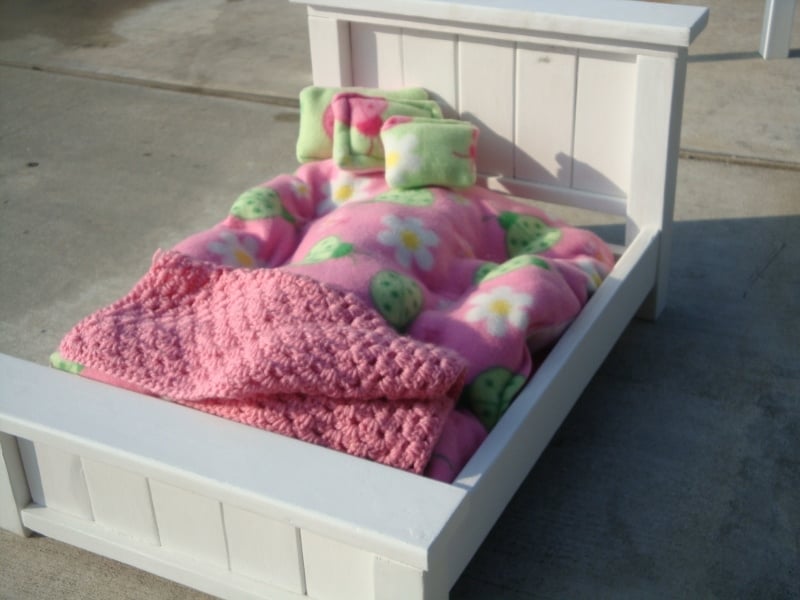
I love this design and have made several for family and for sale. This was the one I made for Ana's promotion, Make one, take one. This is the one that was given to charity, Wings. this is a house in our area for battered women and their children. As an ER nurse who sends patients there, I realize the importance of a well made doll bed, (Doll given as well) 90% of the time these kids have to leave their homes with nothing, no toys, no clothes, and I hope seeing this doll bed would help some little girl forget about the trauma she's been through, if only for a little while, and let her be a little girl again.
Built from Plan(s)
Estimated Cost
45
Estimated Time Investment
Weekend Project (10-20 Hours)
Finish Used
sanded smooth, 2 coats of Kilz Primer, 3 coats semi gloss Ultra White, Polyurethane coat on top
Recommended Skill Level
Intermediate
Doll Bunk Beds
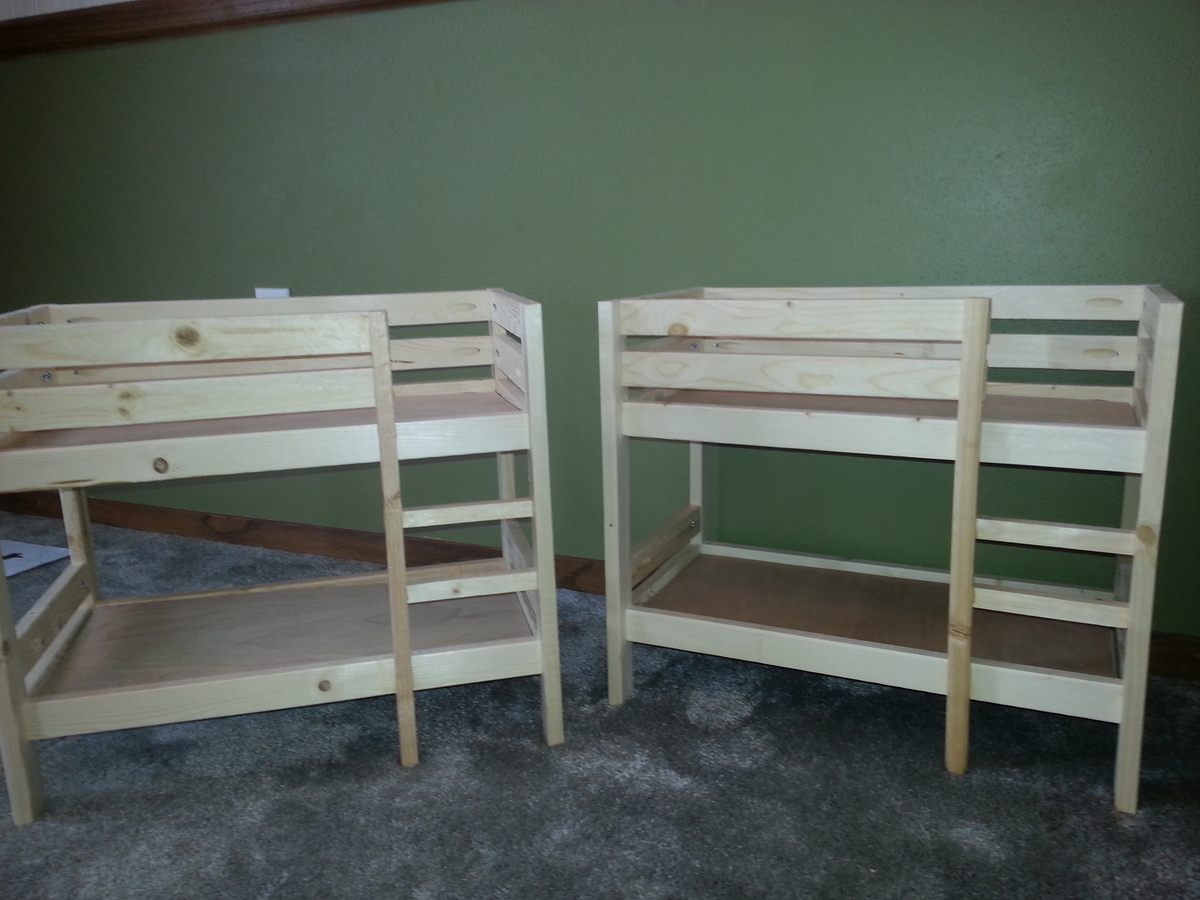
Started by making these bunk beds for my 9 year old and then I made another for my 6 year old. I couldn't help myself, so I made 12 more for other people to give as Christmas presents. Thanks Ana!
Built from Plan(s)
Estimated Cost
$10
Estimated Time Investment
Afternoon Project (3-6 Hours)
Finish Used
none or spray paint
Recommended Skill Level
Beginner
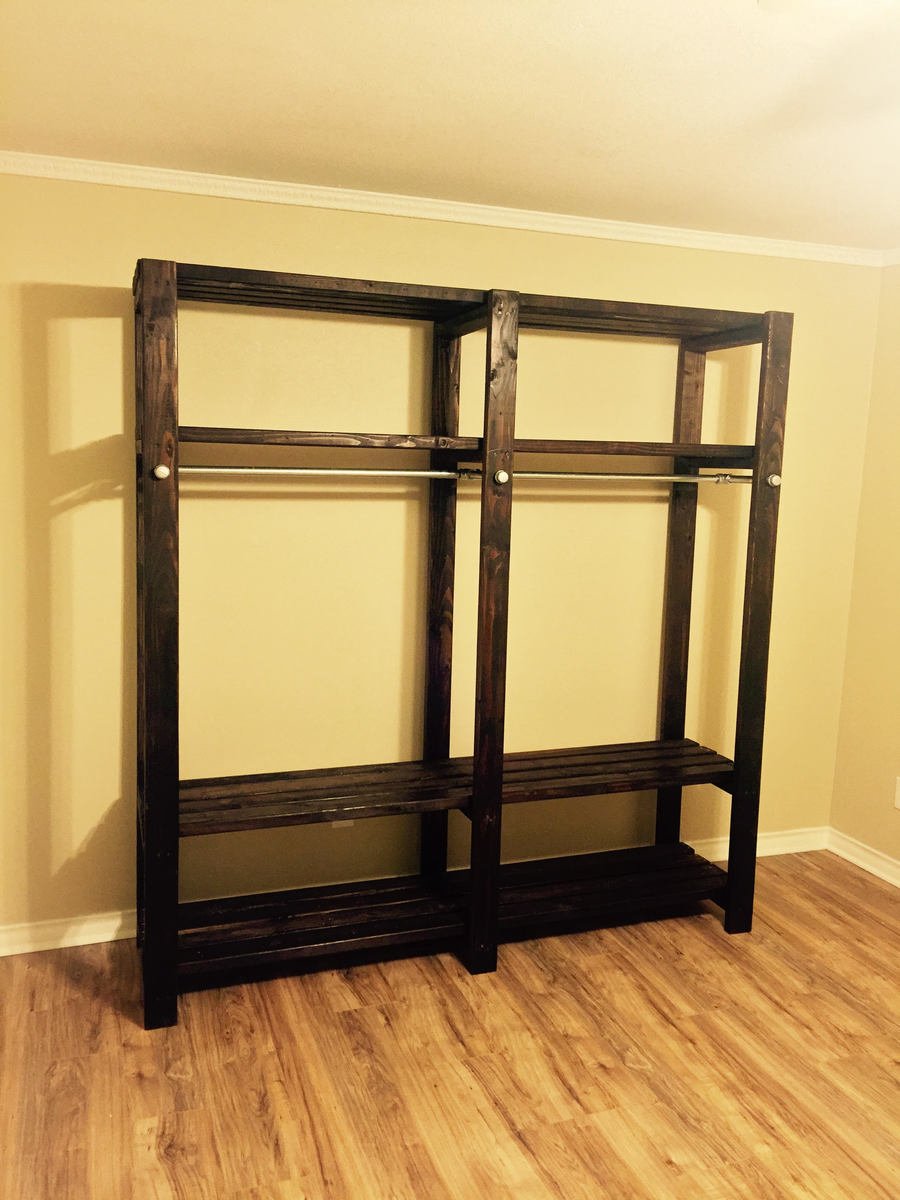
2X4 and 3/4" Pipe Industrial Closet
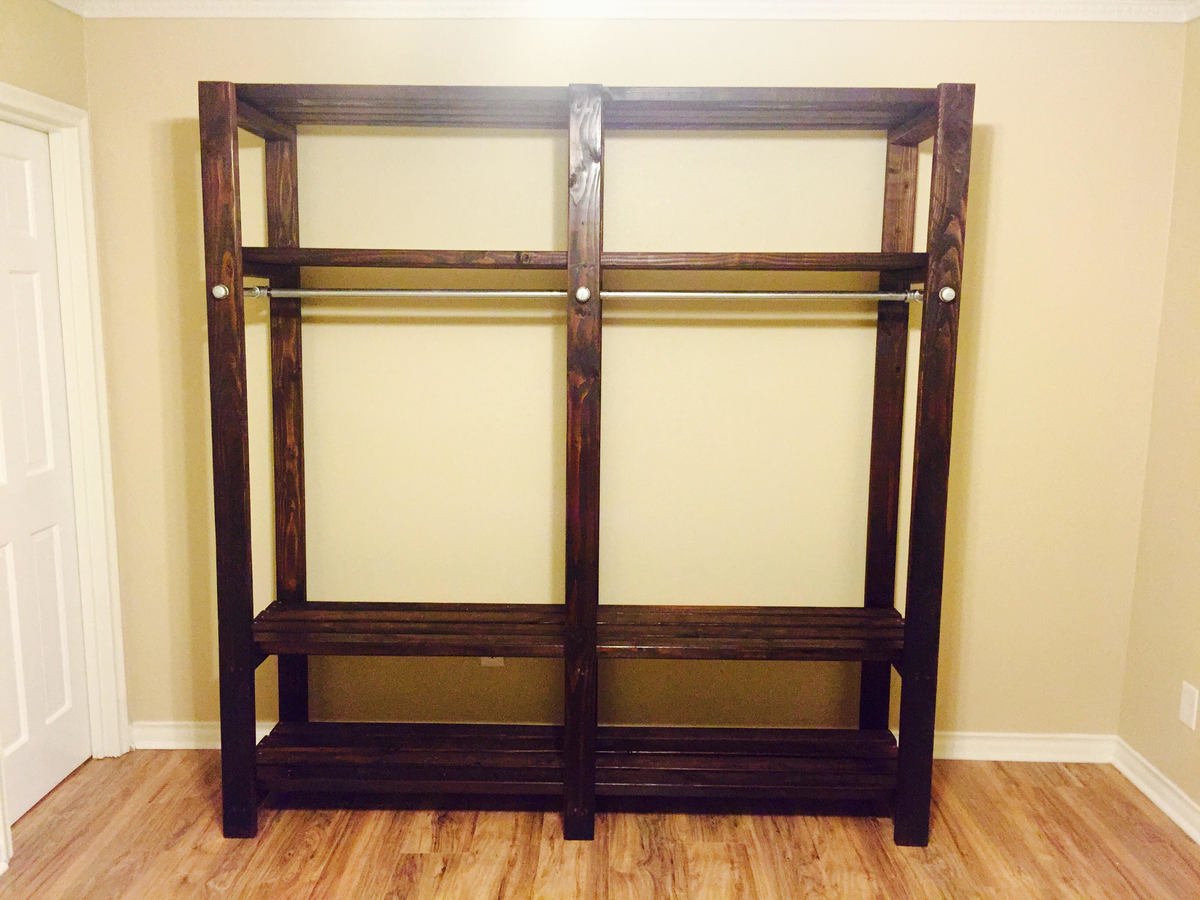
I built this closet for a room in a newly renovated house which was improved from a 3BR to a 4BR but the new additional BR didn't have space for a closet. The entire closet is made of only cheap 2X4's and galvanized pipe found at the local hardware store.
The user didn't need the middle shelves so I modified the original plans to make it shorter in width but 4 inches deeper by using 10" nipples instead of 8". I sanded and stained all the 2X4's first before doing anything. Then I created the 3 legs first (end boards - 82" inside boards - 17.5"). Once the legs were ready, I cut the boards for the shelves at 79" (4 boards for each shelf, evenly spaced out). Before putting the shelf on the legs, I laid each leg on the ground and unscrewed one side of the shelf and added wood glue in the hole, then screwed it back in to increase stability. Next, drill the pipe holes evenly and connect the pipe. Once the pipe is connected, place (4) 79" 2X4's evenly distributed on each shelf and drill 2 screws from the boards into the bottom of the legs on both ends and the middle to stabilize the shelf. From here, I took some pledge and wiped it down which smoothed down the surface. The longest part of the project was making sure the stain was dry and evenly applied.
I recommend using a miter saw for straight and smooth cuts and take the time to sand the wood (even the ends after you cut it).
2X4 Studs - 28
10" 3/4" Galvanized Pipe - 6
36" 3/4" Galvanized Pipe - 2
3/4" Galvanized Pipe T - 2
3/4" Galvanized Pipe Cross - 1
3/4" End Caps - 6
Pipe Wrench for tight connections
2.5" Screws (Drill pilot holes for everything)
1 1/8" drill bit for each hole
Stain - Minwax Espresso
Wood Glue

Built from Plan(s)
Estimated Cost
Less than $200
Estimated Time Investment
Weekend Project (10-20 Hours)
Finish Used
Minwax - Espresso
Recommended Skill Level
Beginner
Comments
Mon, 02/29/2016 - 12:35
My Project
I accidently added this project without logging in so it shows it as Guest. Is there anyway to assign it to my username so if there are questions, I will receive a notice about it.
Mon, 02/29/2016 - 12:36
My Project
I accidently added this project without logging in so it shows it as Guest. Is there anyway to assign it to my username so if there are questions, I will receive a notice about it.
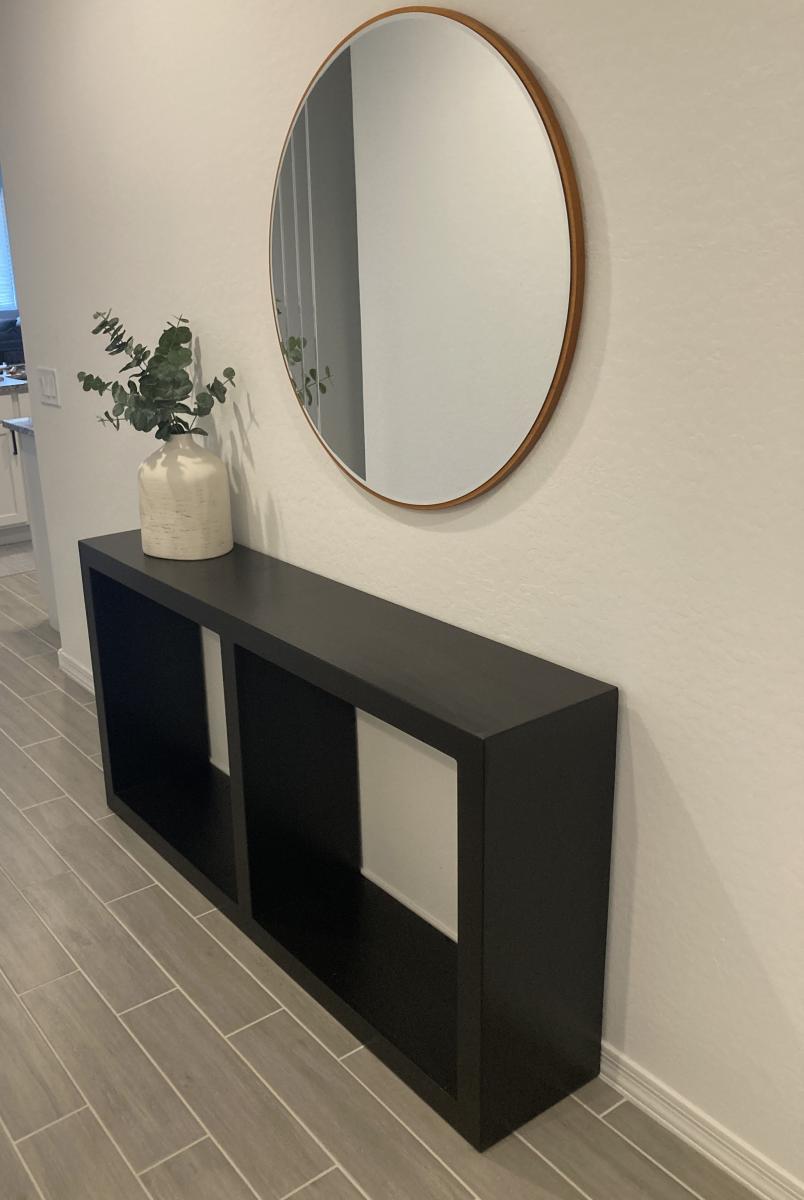
Grand Waterfall Console
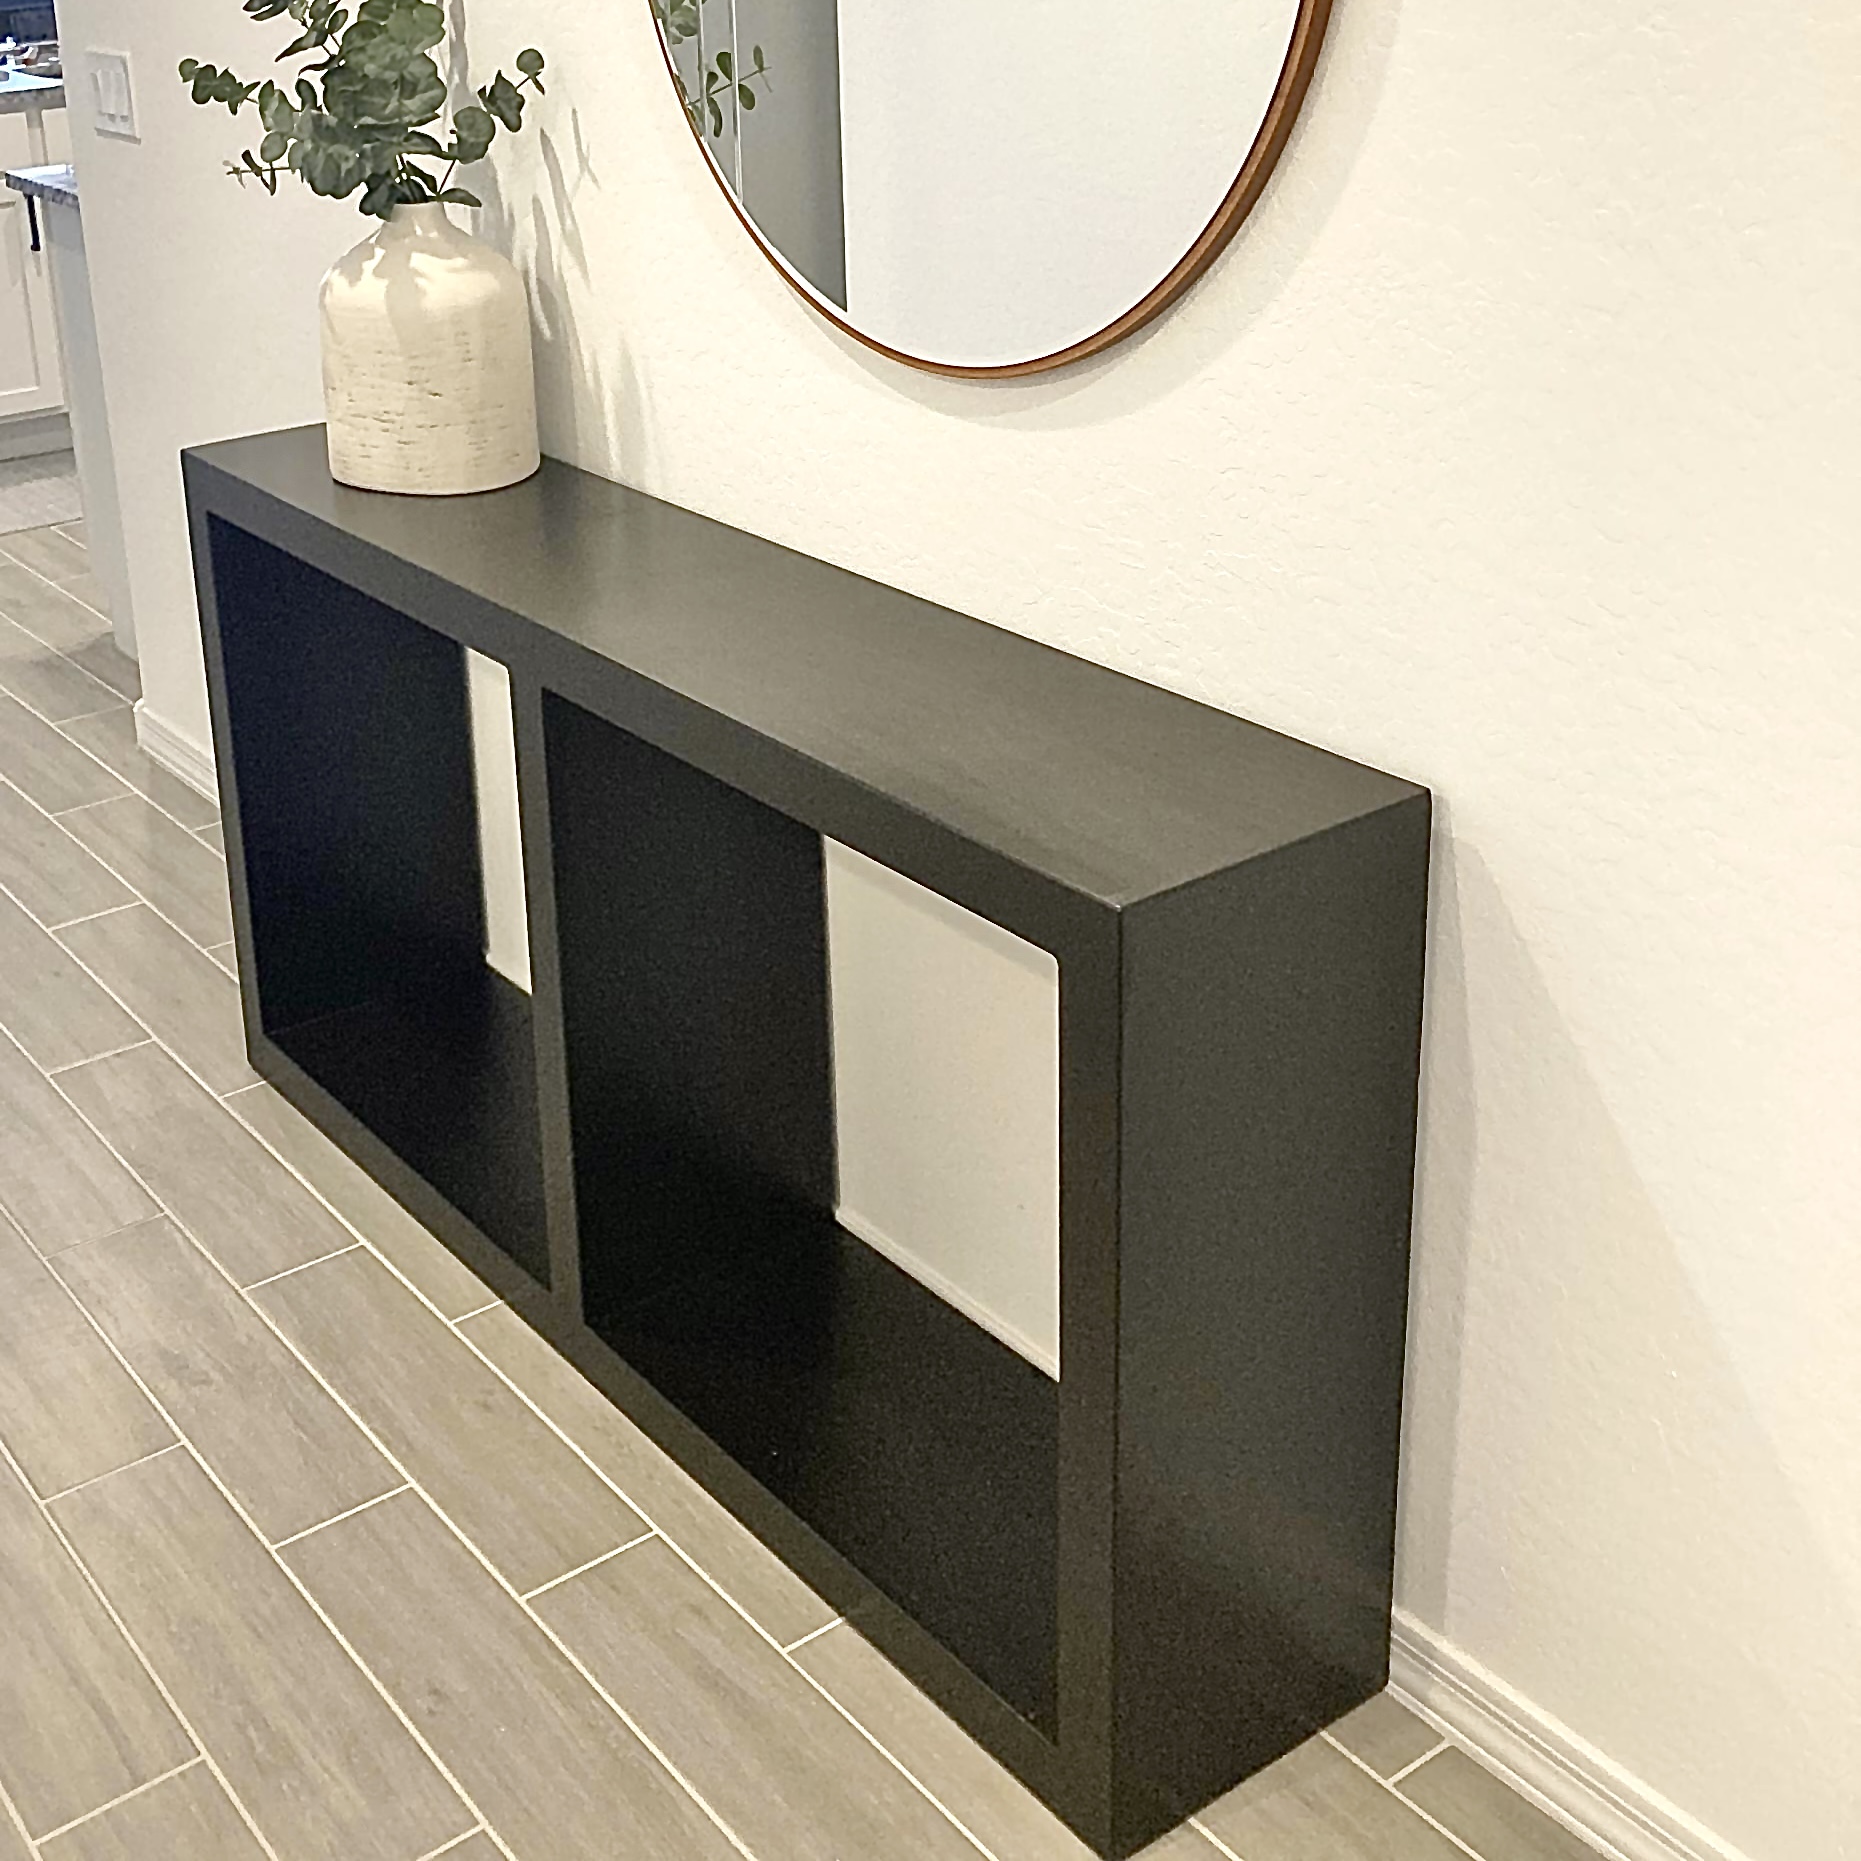
My granddaughter loved the console table she saw in your plans. Together, we made it! The same one at Pottery Barn was $1,299.
Nicole Stevens grandfather (pasta Joe)
Built from Plan(s)
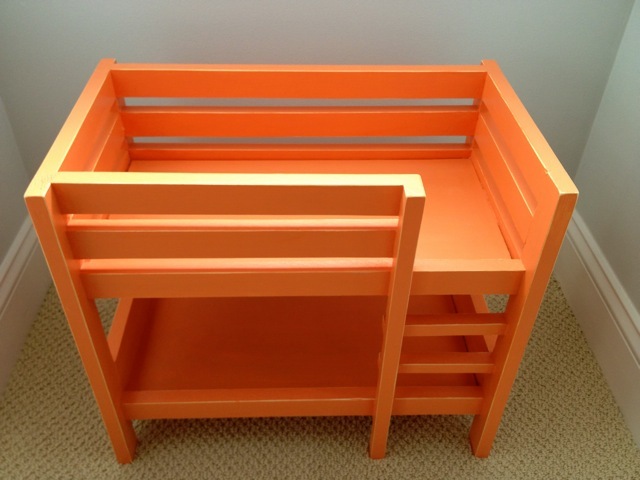
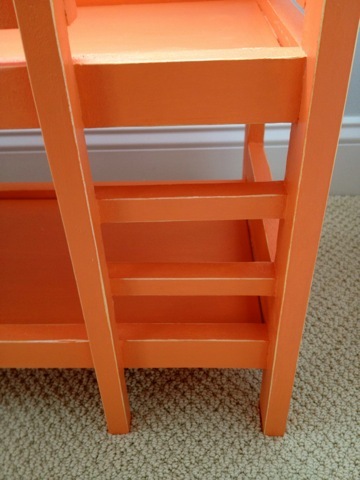
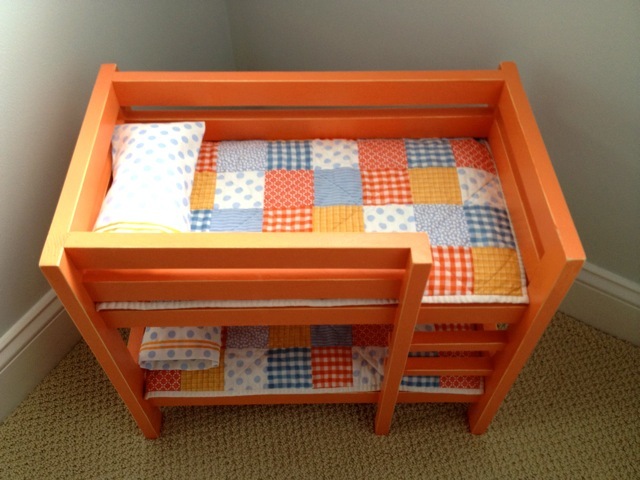
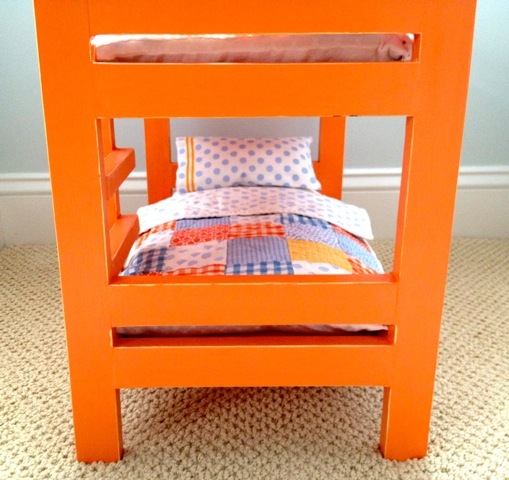
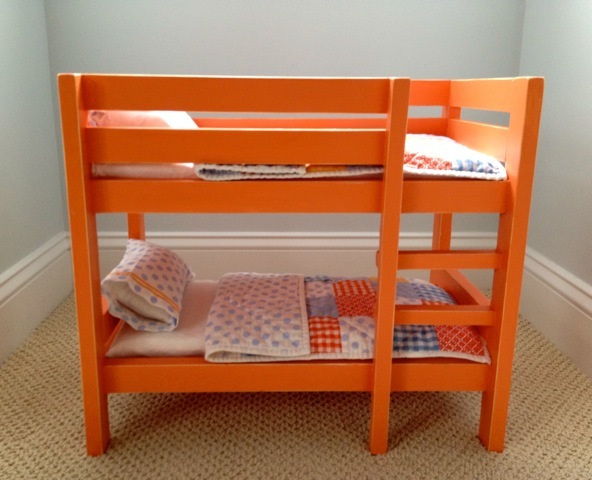
doll bunk beds
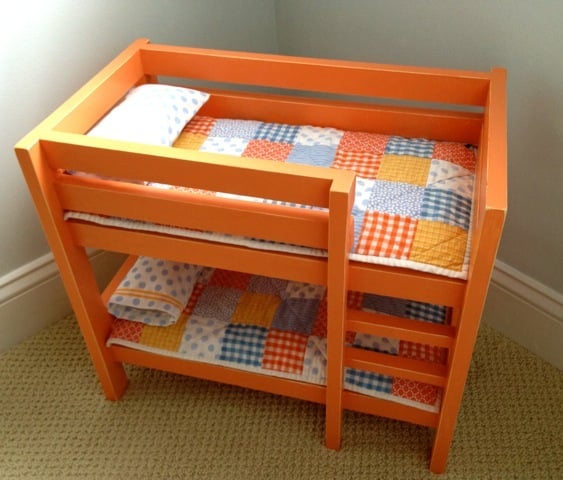
doll bunk beds painted tangerine with bedding
Built from Plan(s)
Estimated Cost
$20
Estimated Time Investment
Afternoon Project (3-6 Hours)
Finish Used
1. Prime
2. Two coats Glidden sunbaked orange
3. distress
4. seal with clear satin poly
2. Two coats Glidden sunbaked orange
3. distress
4. seal with clear satin poly
Recommended Skill Level
Beginner
Comments

Mon, 02/13/2012 - 08:25
Thanks Kristen
I took a jump on the wild side with that orange but it was so fun and I think my girls will be giddy with excitement when they see it.
Farmhouse table

We started out practicing on end tables. Take your time carefully picking out your lumber. We ended up with a slightly warped 2x10. There is no give in a big board like that so it put us behind. The picture shows it stained with minwax "Provincial" and one coat of minwax satin. More coats for the top are in progress.
Built from Plan(s)
Estimated Cost
$90.00
Estimated Time Investment
Weekend Project (10-20 Hours)
Finish Used
Minwax Provincial and satin clear.
Recommended Skill Level
Beginner
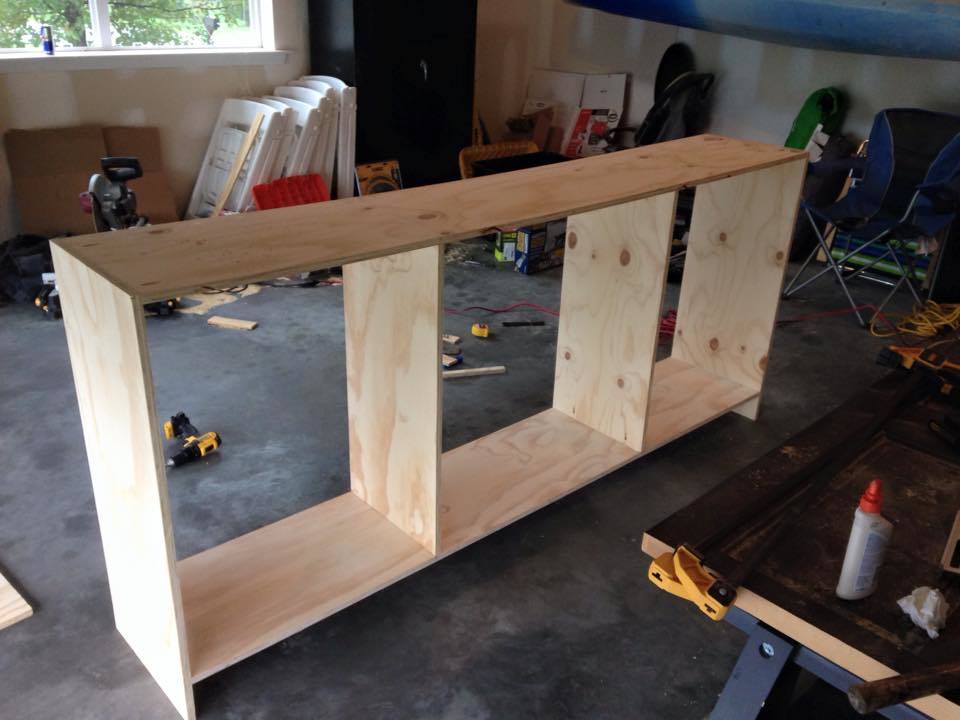
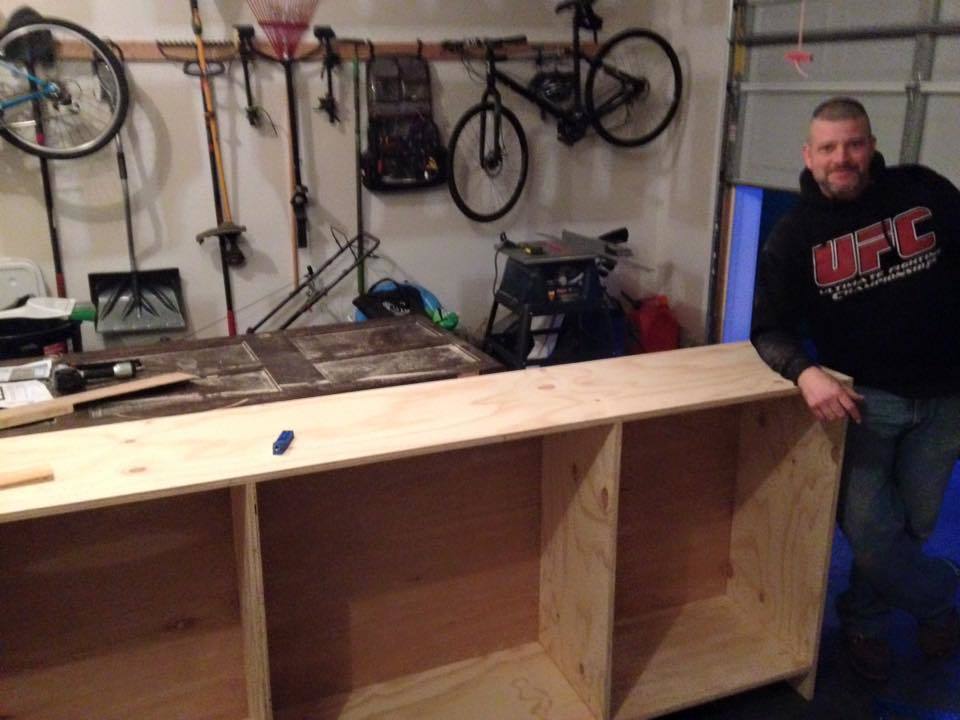
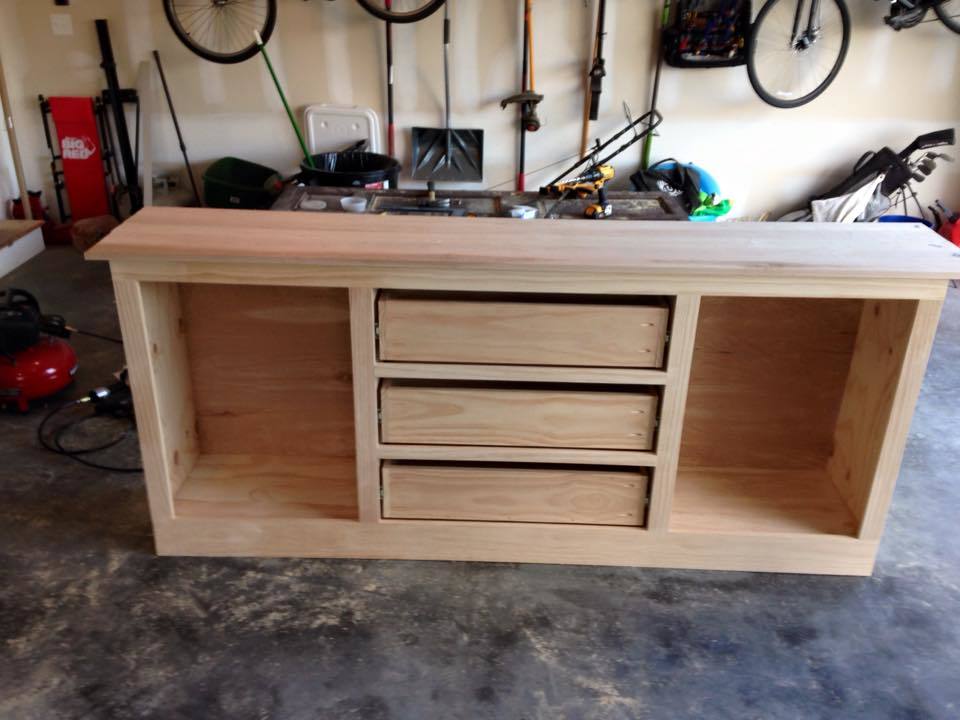
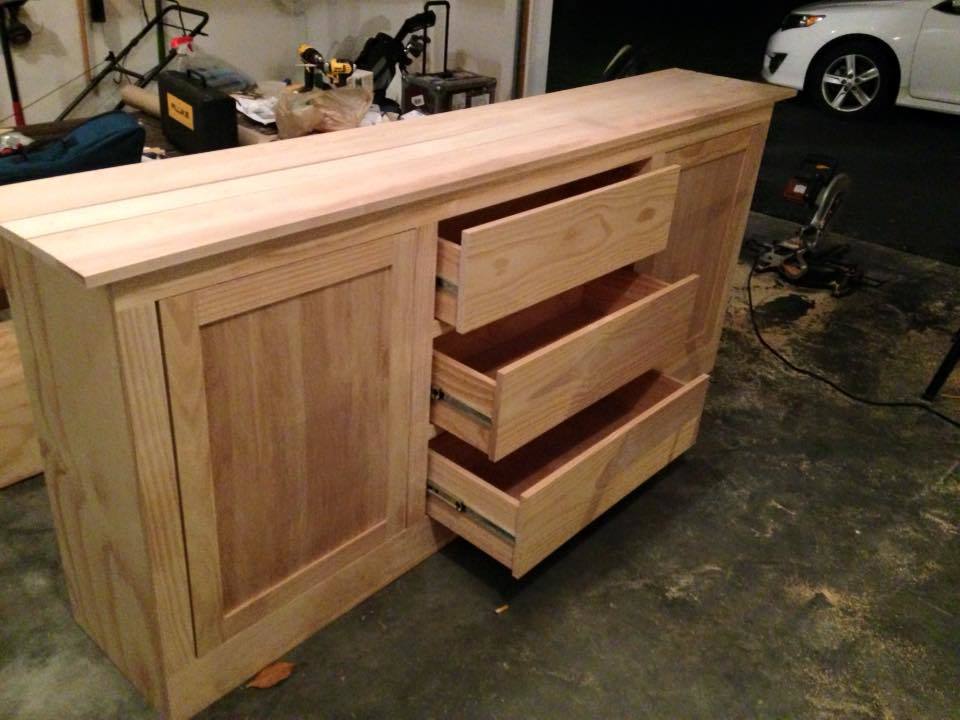
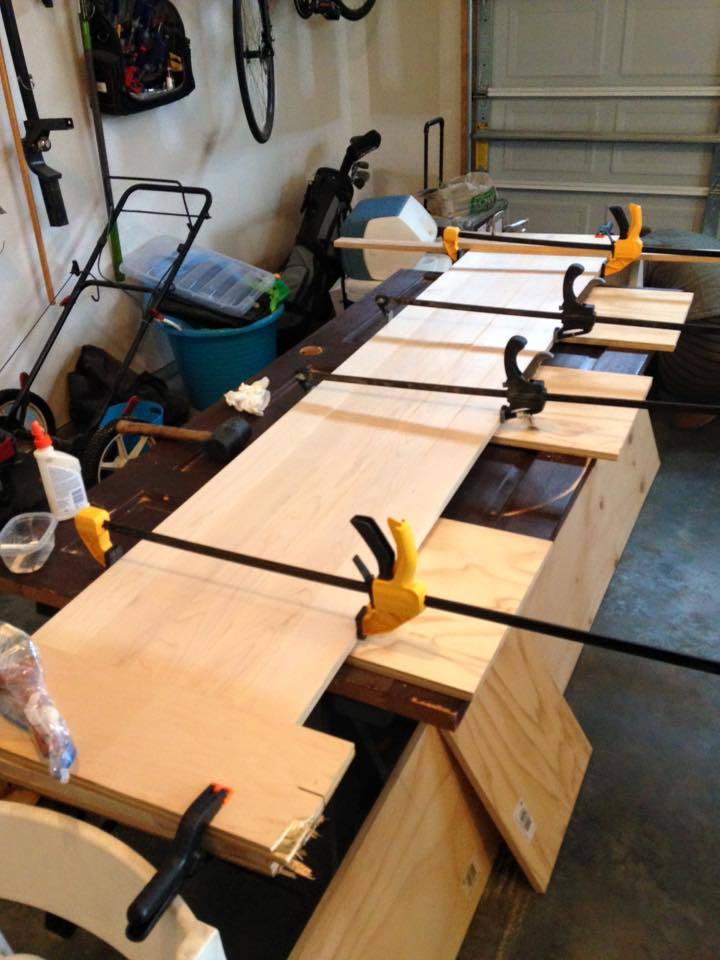
Media Cabinet Base of built-in
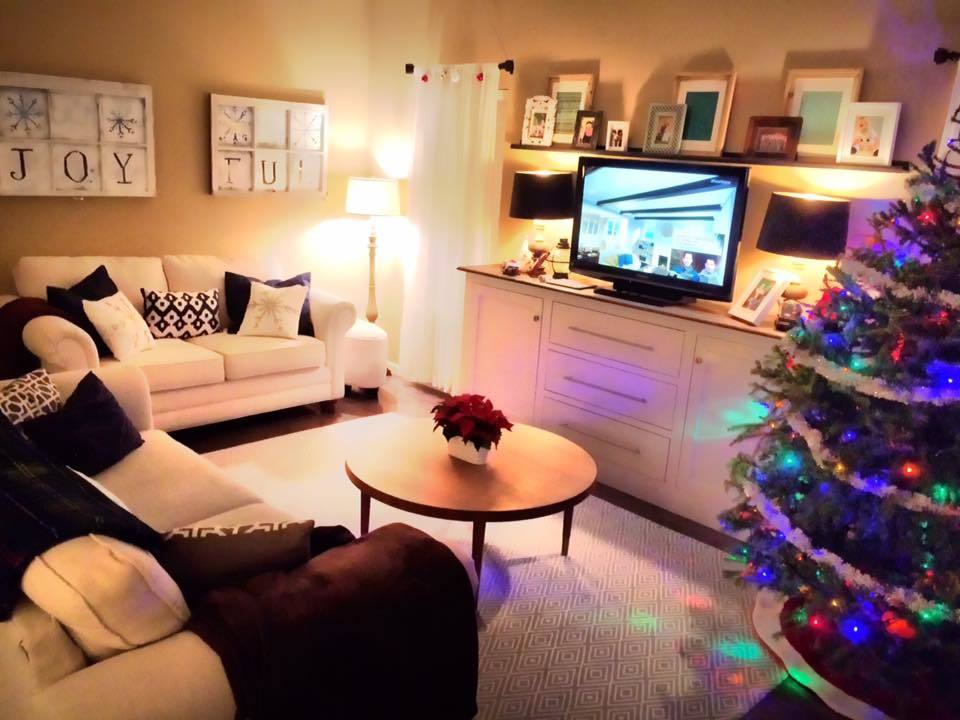
First furniture project. It was a little intimidating - but once you get the cabinet squared everything else is just about precision cuts and patience to get the finish you want. Inset drawers are tough because they really show any mistakes.
Completed over 3 weekends.
My wife loves it! Our plan is to use this as the base of the built-in, and surround the TV with shelving up to the ceiling. Applying the concepts to this build will allow me to custom build the top unit, probably at some point next year.
Cheers!
Built from Plan(s)
Estimated Cost
$1000
Estimated Time Investment
Week Long Project (20 Hours or More)
Recommended Skill Level
Intermediate
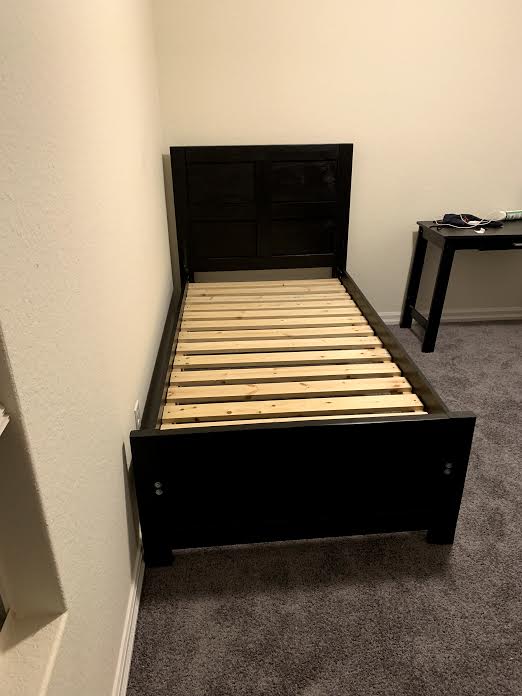
Emme Twin Bed
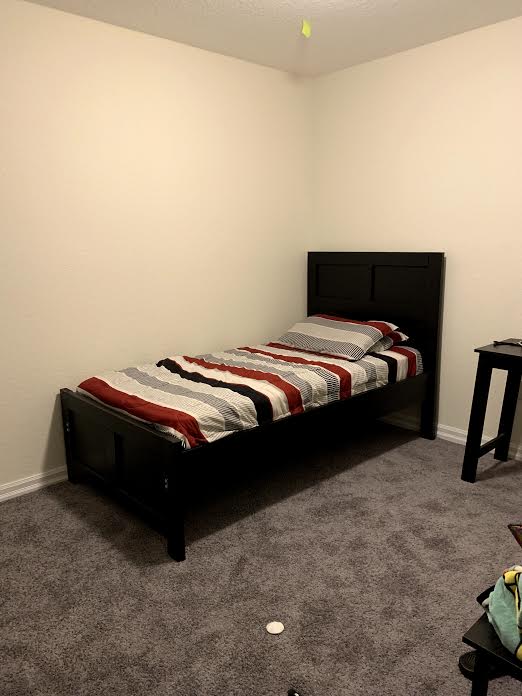
Made this for a friend. Easy Project. Use scrap wood as spacers at the bottom when attaching the legs.
Built from Plan(s)
Estimated Cost
90
Estimated Time Investment
Day Project (6-9 Hours)
Finish Used
Black Paint. Poly acrylic
Recommended Skill Level
Starter Project
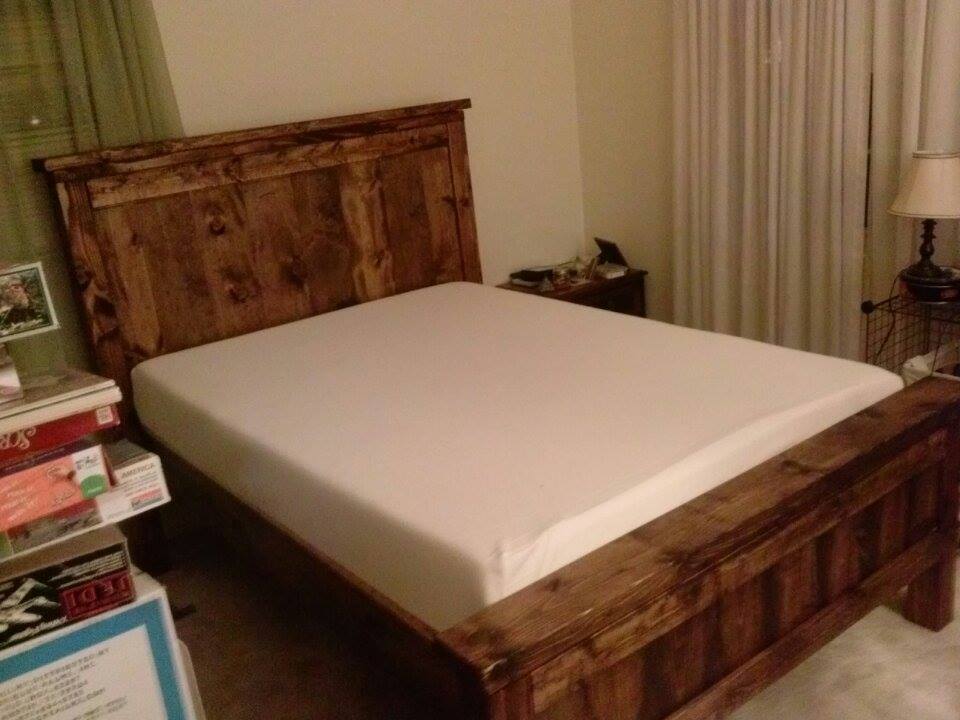
Exotic Wood Farmhouse Style Bed
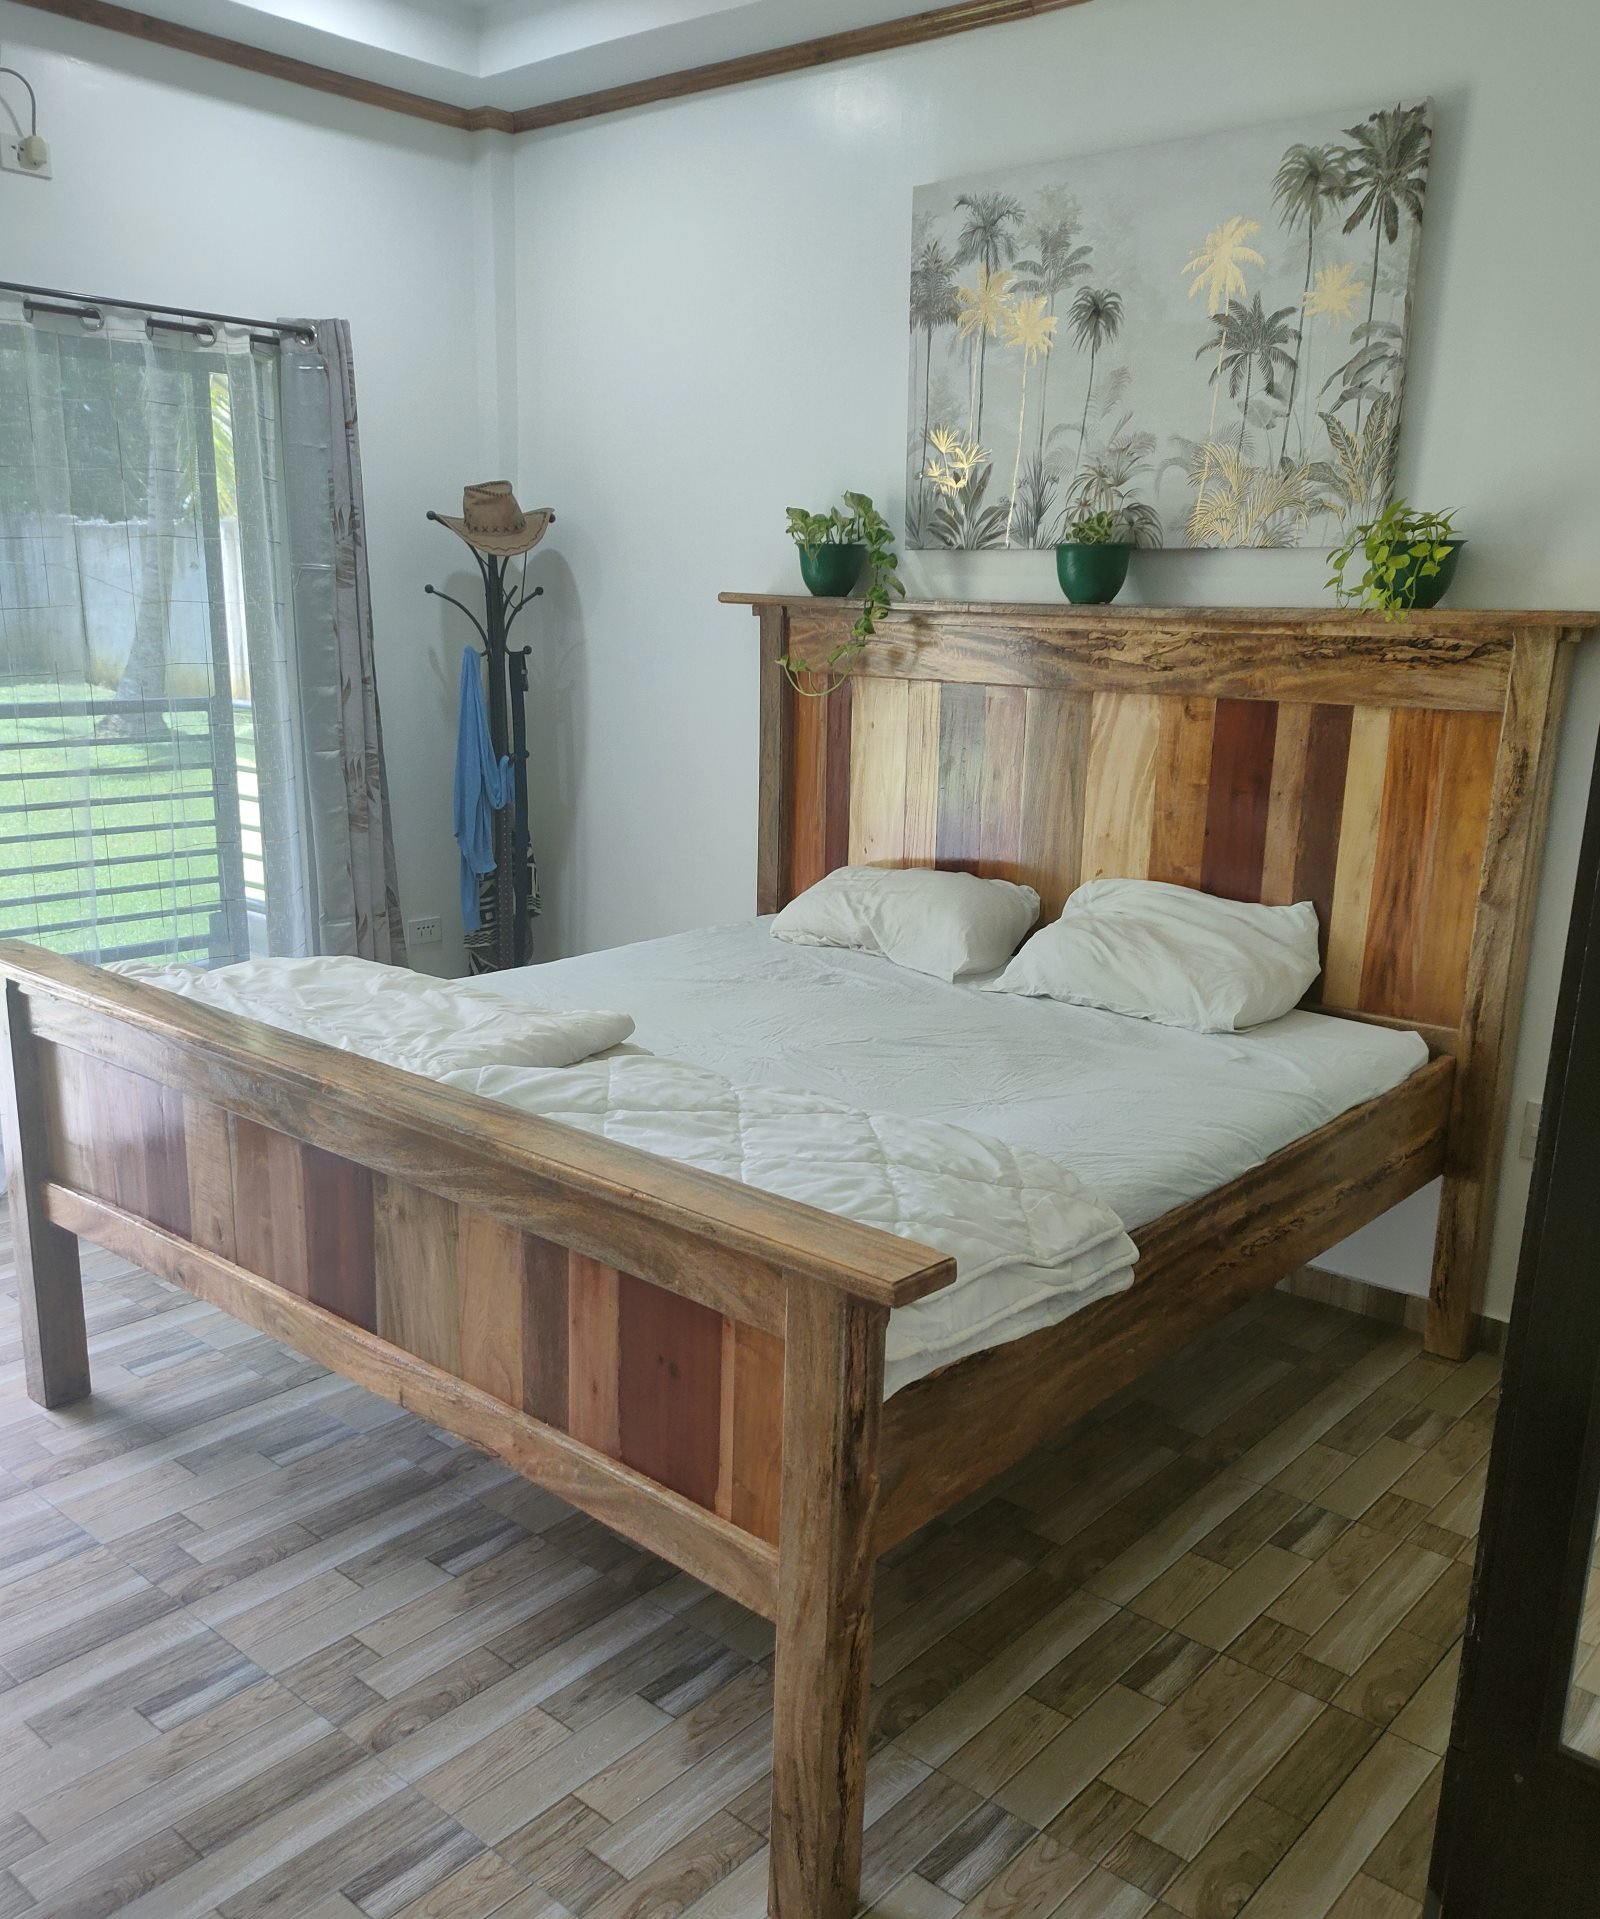
I loved your farmhouse bed , so decided to make my own , but with wood wat is available here(Philippines) the post and the frame is made of Mango wood , the tree fell down during the typhoon, so I made boards and beams out of it , for the headboard and also the footboard used Moldave/Mahogany/Ipalipal/and a few kinds I don't know the name
Built from Plan(s)
Blanket Chest and DVD Shelves
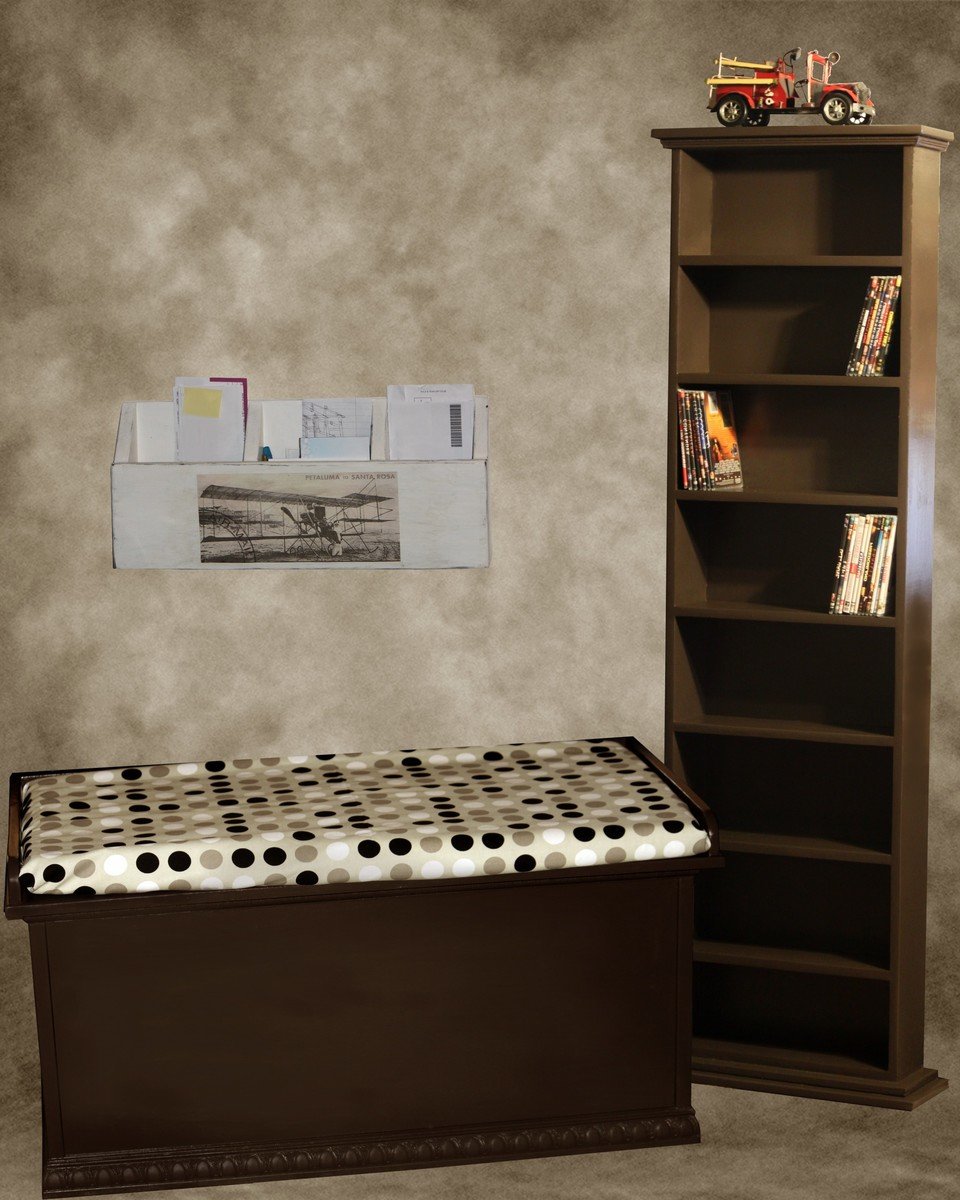
These were all Christmas projects...My daughter needed a blanket chest, so I used Anna's Toy Chest plans - modifying them to add a lid (which also functions as an extra seat). I made the dimensions larger because she had some really large blankets to store and also added some fancier trimming. Her husband wanted DVD storage in their room, so I built the cabinet and painted it to match the blanket chest. I do most of my building in the evenings, so it took a couple of days to build these - the finishing took the most time over several evenings. Also shown is the mail organizer, with an airplane motif because of my grandson's love of airplanes.
Built from Plan(s)
Estimated Cost
$100.00
Estimated Time Investment
Week Long Project (20 Hours or More)
Finish Used
Paint and polyurethane finish
Recommended Skill Level
Intermediate
Comments
Fri, 12/07/2012 - 10:44
love the lid! would you be
love the lid! would you be willing to share your plans for the lid addition?
Tue, 03/12/2013 - 19:42
Great job!
This looks amazing! I'm wanting to do something similar... a 28"x41" toy box that could double a a lounge seat. Would you be willing to share your plans for the lid addition? I really love the lip on the lid to keep the cushion in place!
Mon, 04/01/2013 - 12:56
Chest Lid
Sorry, I hadn't noticed there was a new comment. I am one of those who just look at something or see a need and form plans in my head (I'm not good at writing them); so I don't have any plans. I just cut the lid so that it would overhang an inch on the ends and front. Then I cut a 1x2 the length of the lid and attached it on top of the lid at the back (the 3/4 side against the wood). The 1x2's for the end of the lid were cut to fit; the fronts rounded with a jig saw; then attached. I hope this helps.
Bookshelf for our nursey based on your terrific Channing plan
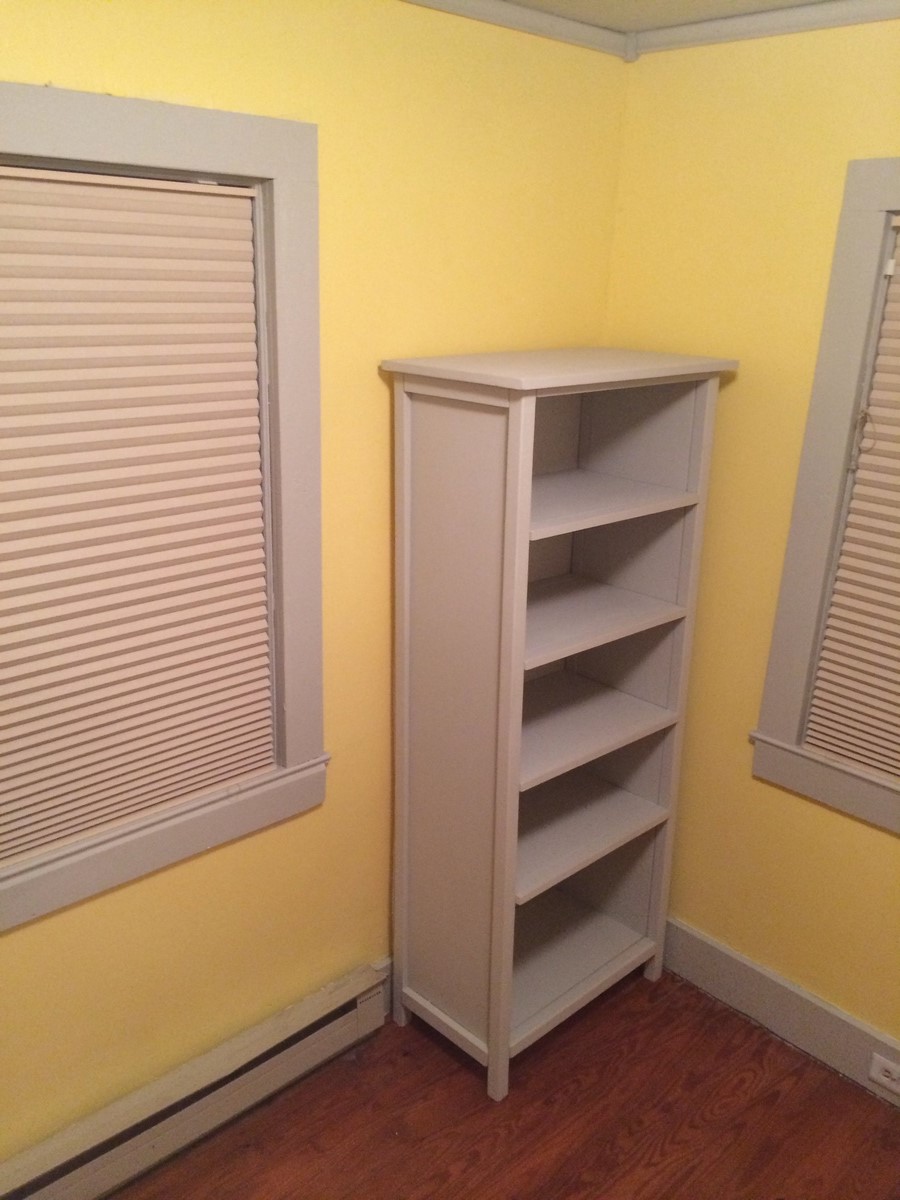
Great, simple bookshelf for our nursery
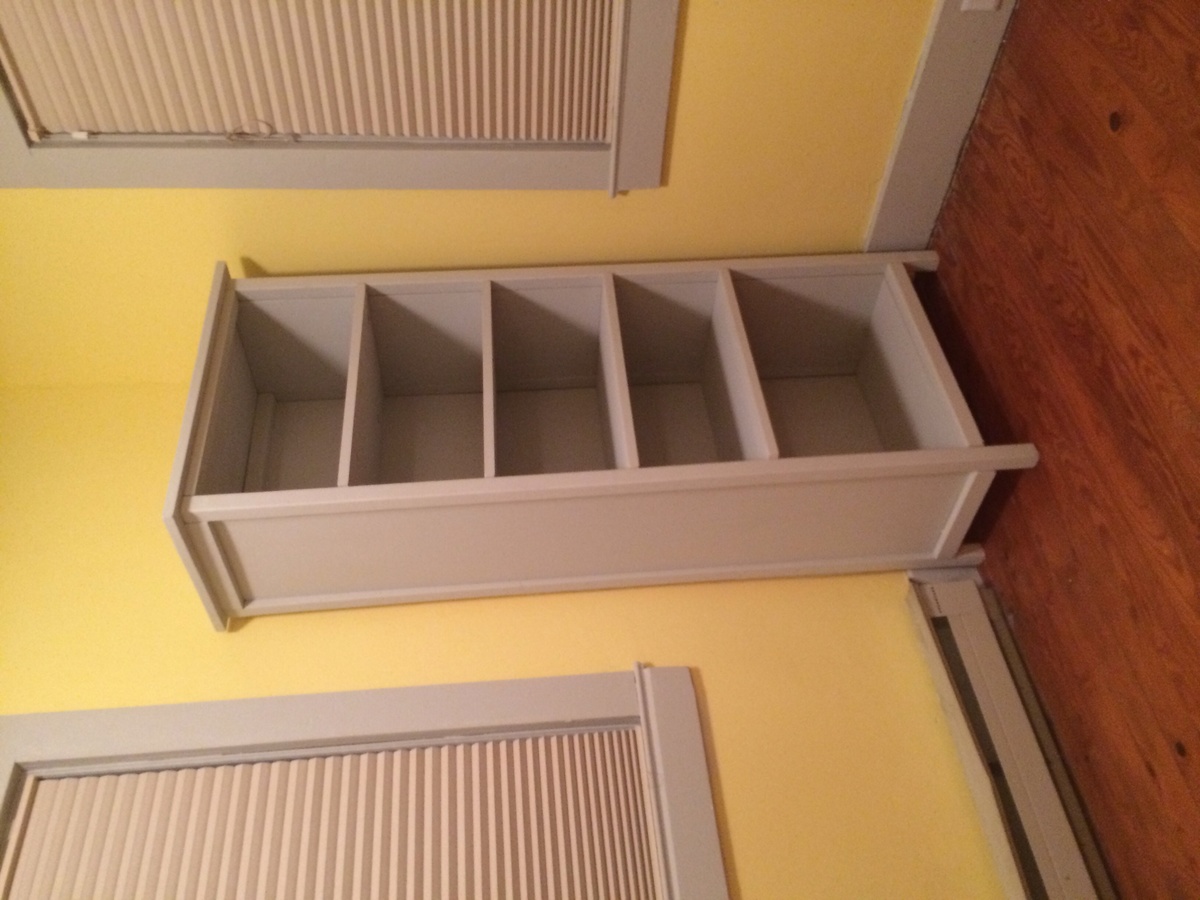
Built from Plan(s)
Estimated Cost
$150 for wood, $150 for paint and tools I needed
Estimated Time Investment
Weekend Project (10-20 Hours)
Finish Used
Flat wall paint -- the same we used for the trim in the room.
Recommended Skill Level
Beginner
Comments
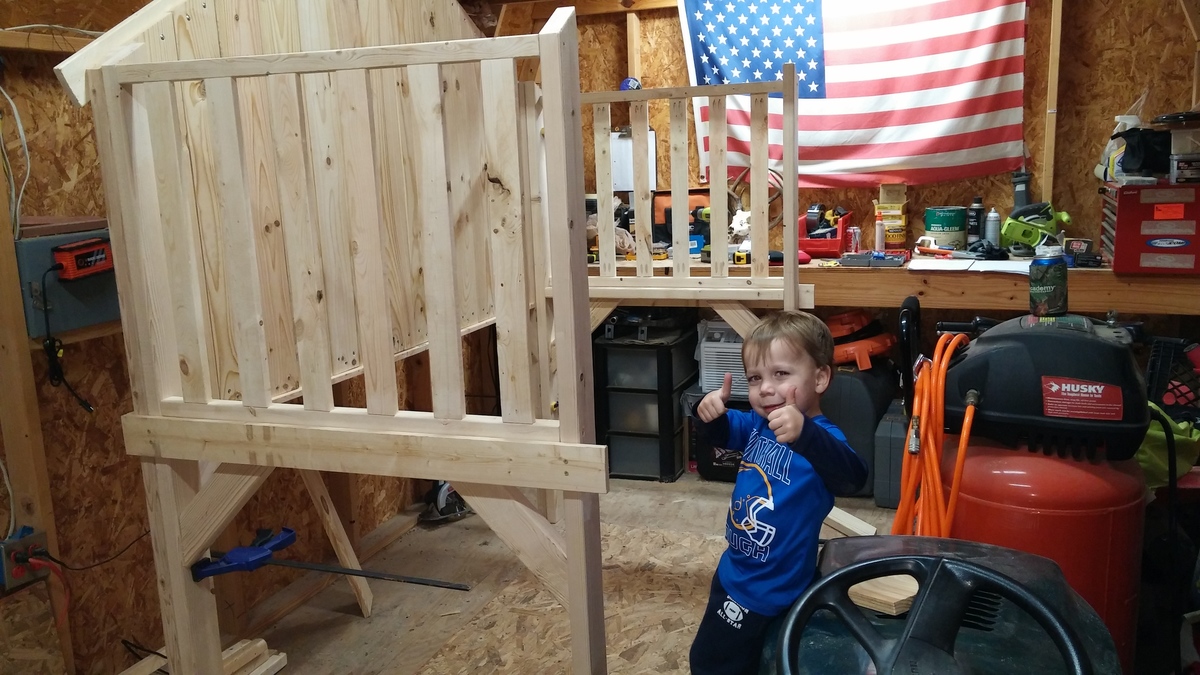
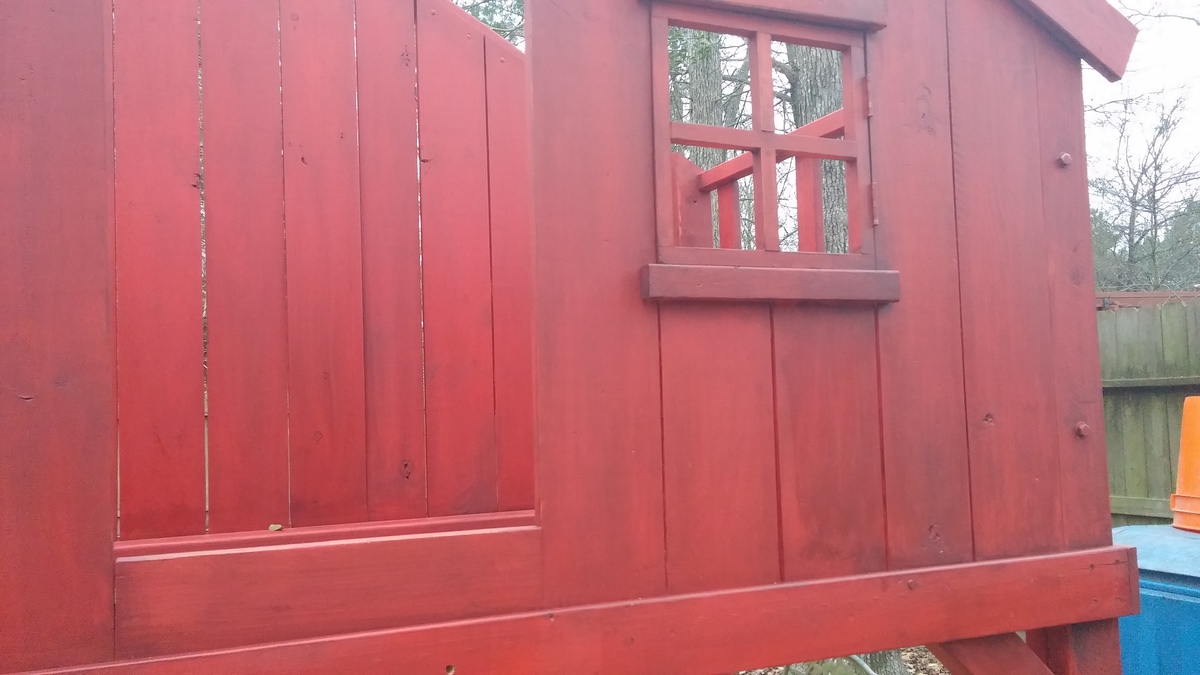
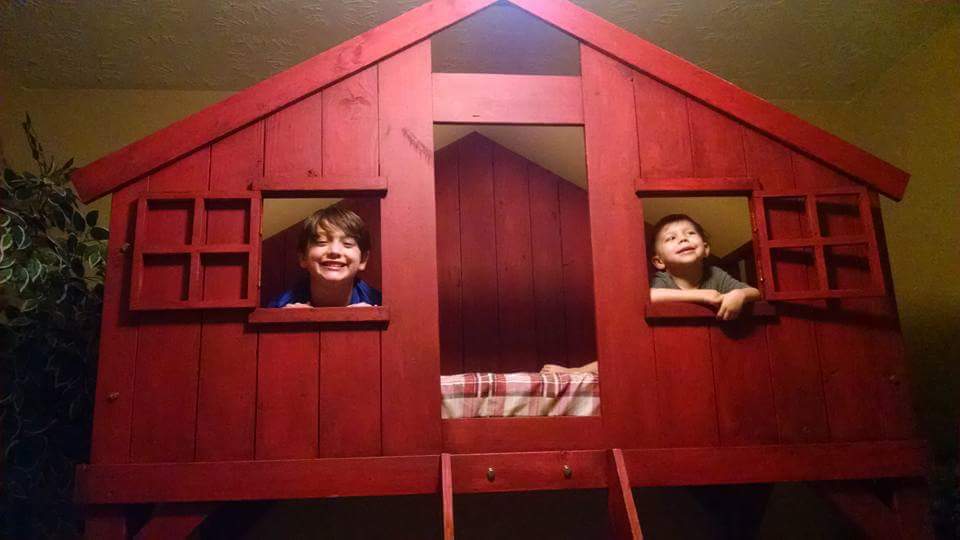
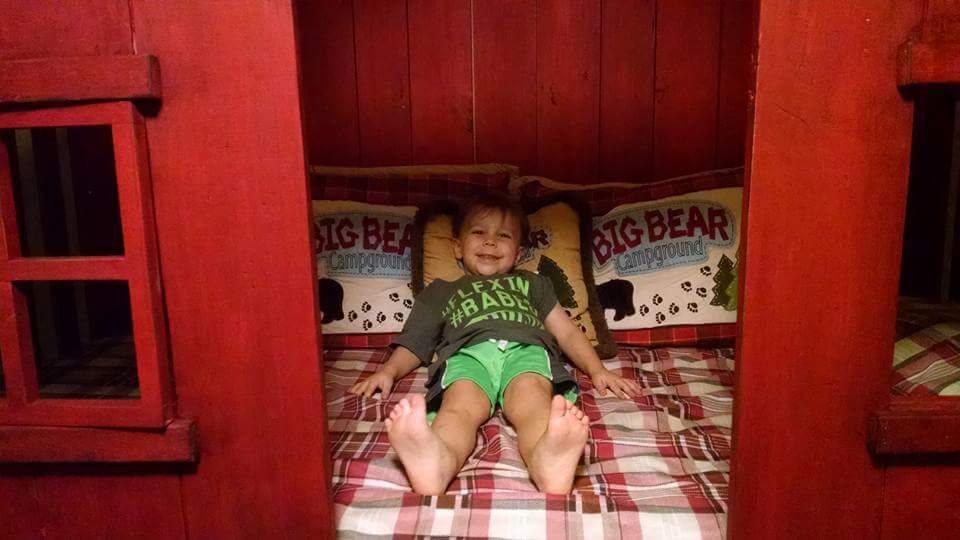
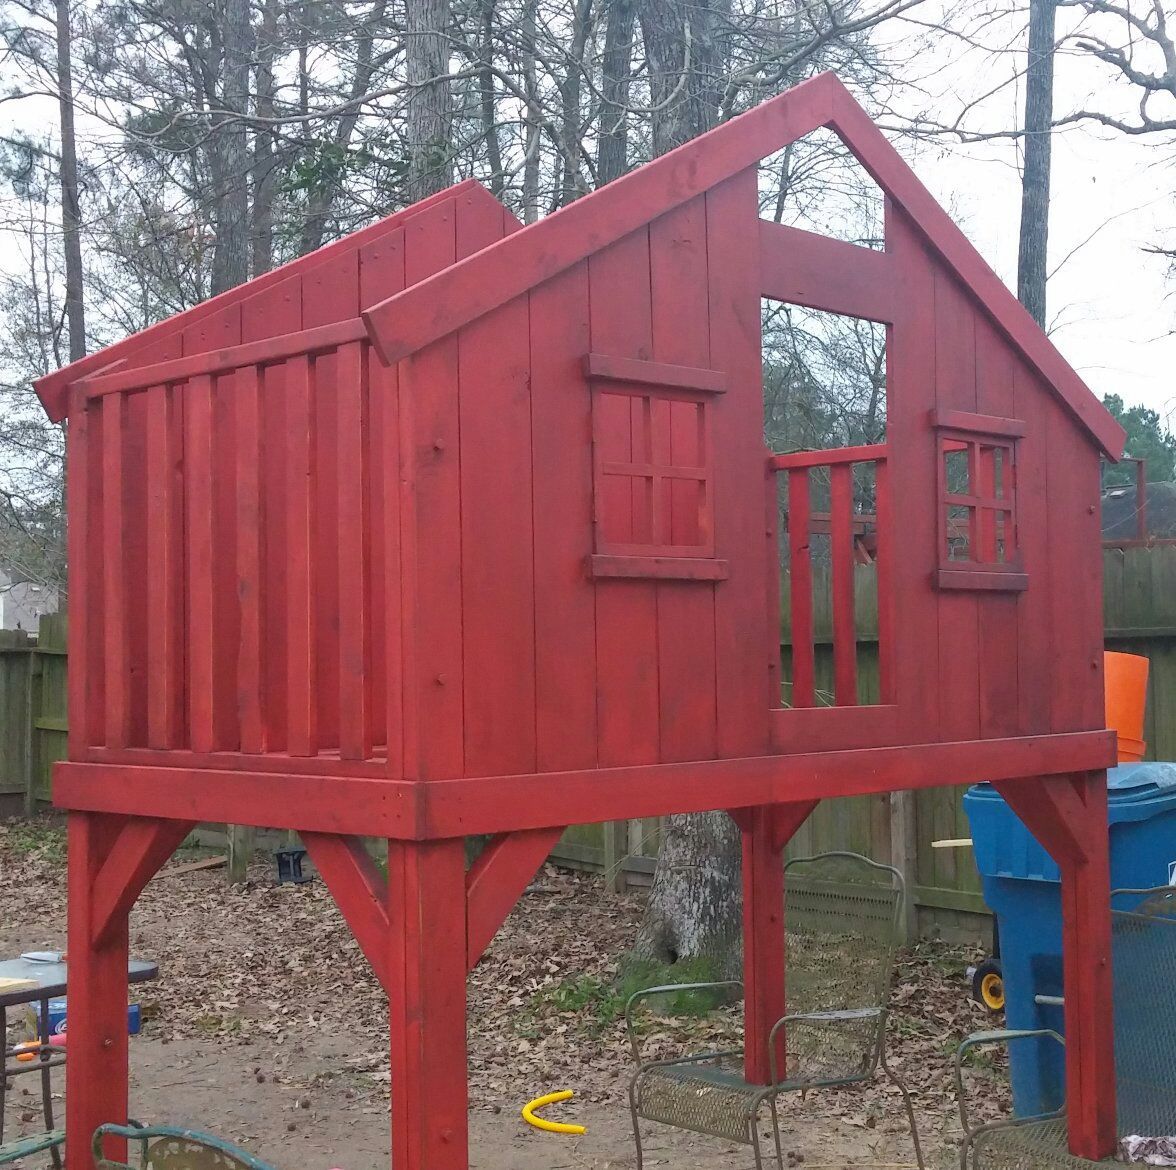
Old Red Clubhouse Bed

My husband and I had a lot of fun building this bed for our 3 yr. Old son. We are very proud of how it turned out. There were a few changes we made on our own as far as bracing was concerned, so our measurements changes just a little. The plans were easy to follow. I'm already searching Ana's site for our next project.
Built from Plan(s)
Estimated Cost
$300
Estimated Time Investment
Weekend Project (10-20 Hours)
Finish Used
Valspar Chalky Finish paint in Ruby Earbobs with Valspar Antiquing Wax
Recommended Skill Level
Intermediate
Double Wall Boot Rack
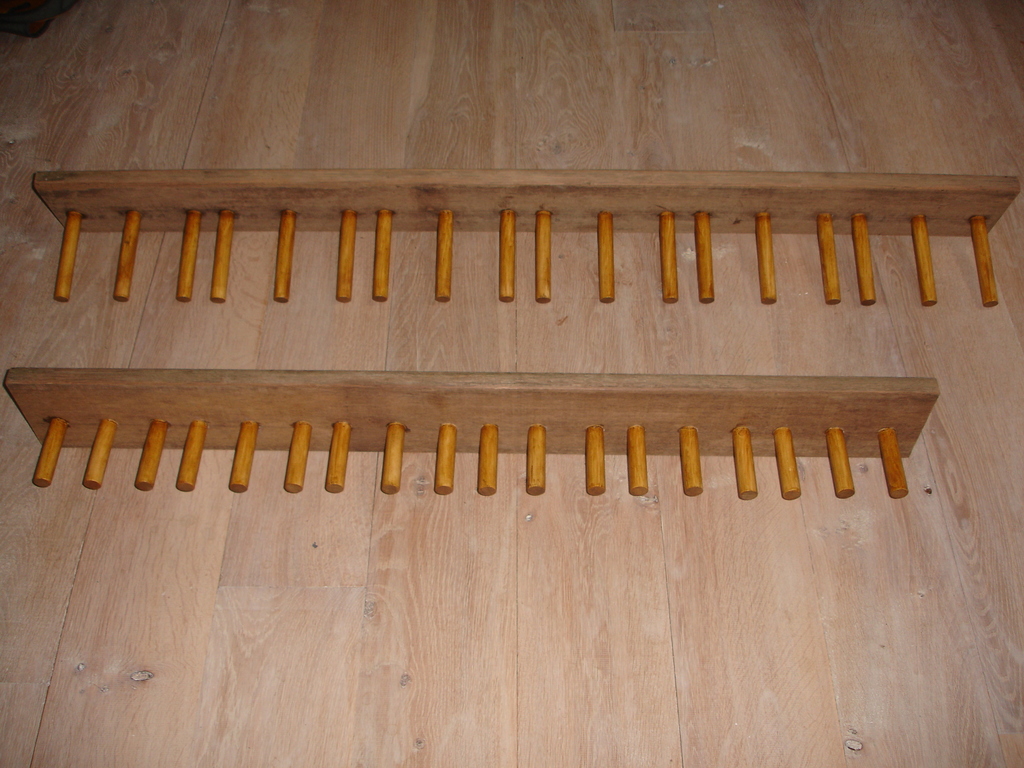
I adapt the plan for the demand of a double boot rack. One for the big foot (Mother and father, 45 :) ) and one for the kids. And each for 6 pairs of boots! It's why I've decrease the space between each pair not to have to long rack. 1.4m for the longest. I used bankirai wood from a dismantle old deck and pine.
Estimated Cost
25€
Estimated Time Investment
Afternoon Project (3-6 Hours)
Finish Used
Bankirai: no necessary Pine: normal protection for external used
Recommended Skill Level
Beginner
Bench and Table
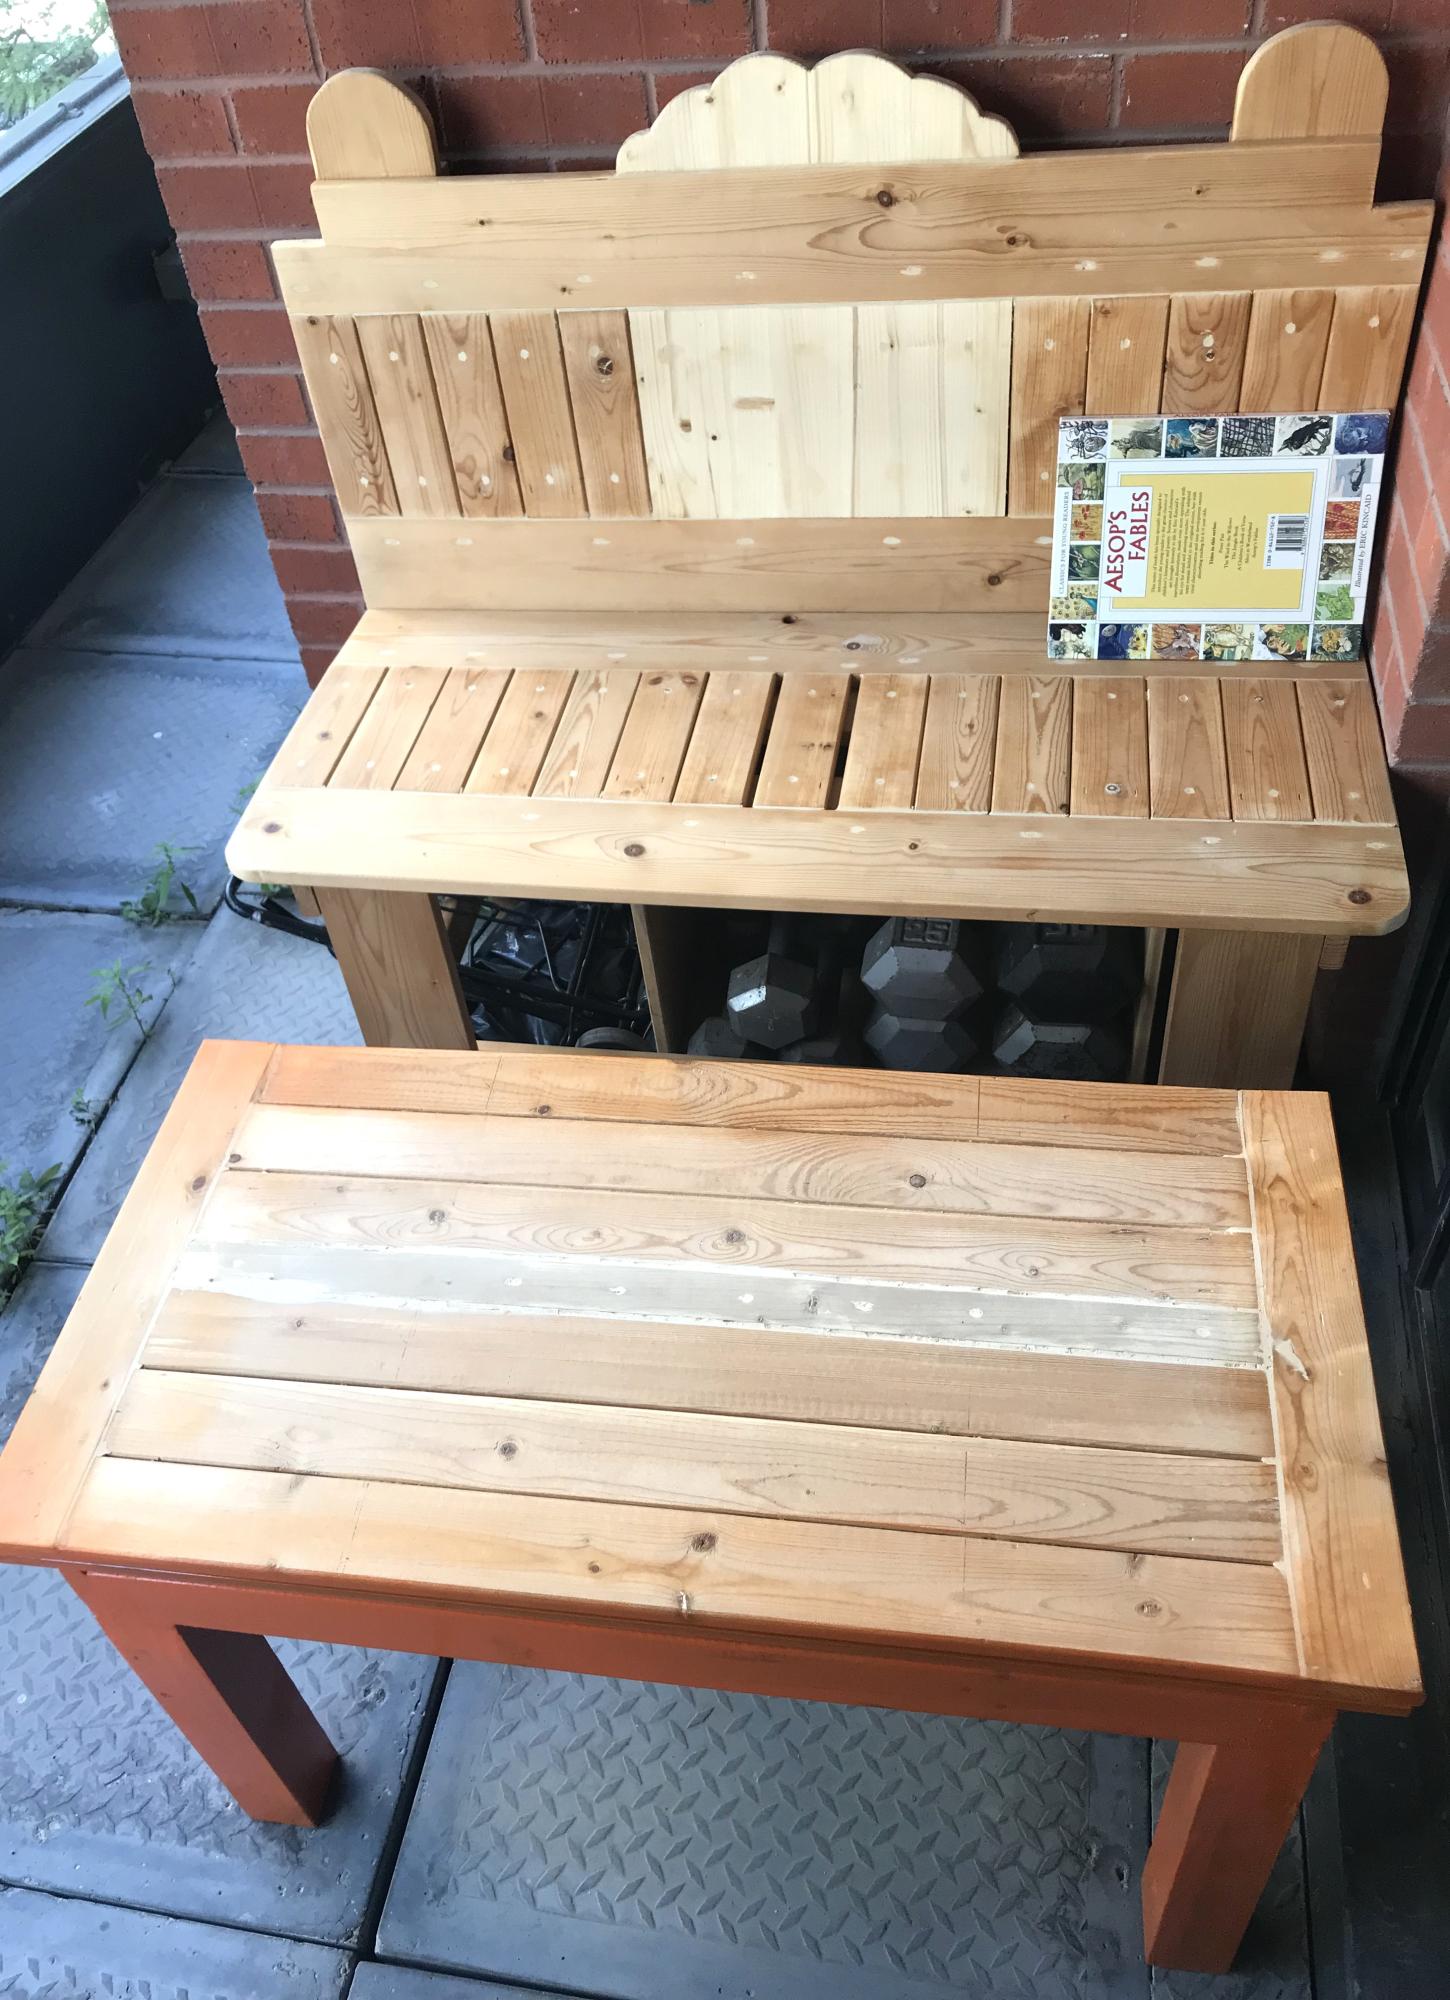
Hello everybody
I am a retired man from Toronto, and I find wood working is very therapeutic. All credits to Mrs. Anna that’s she is been inspiring many people to engage with this activities. The most important steps to achieve my plan is sticking with the project I had planned. In the past as a rookie, I was very excited and started the project without a plan in order to speed up the process and finishing the task. The results were very disappointing and disaster.
Thank you for reading my experience.
Best regards
John
Built from Plan(s)
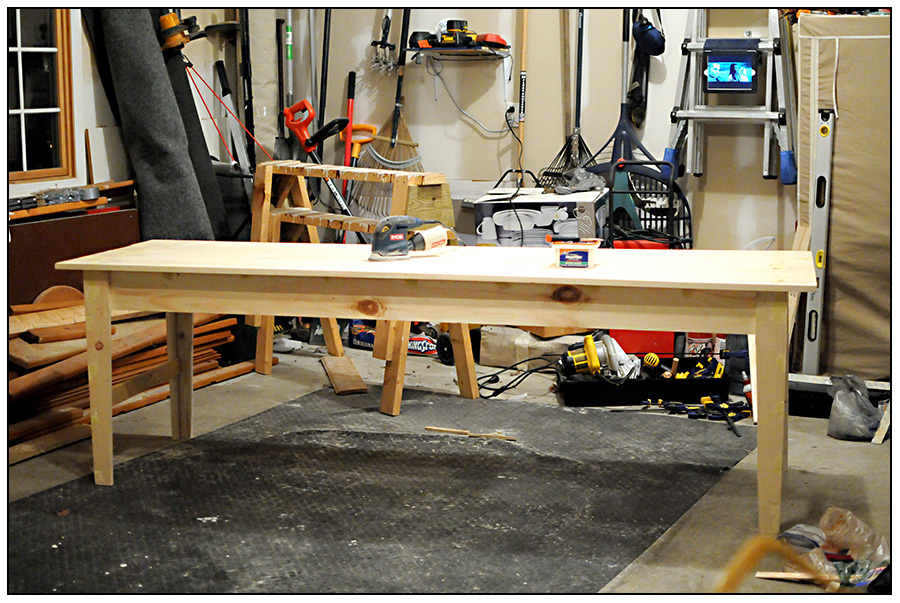
Narrow Farmhouse Table - first build EVER :)
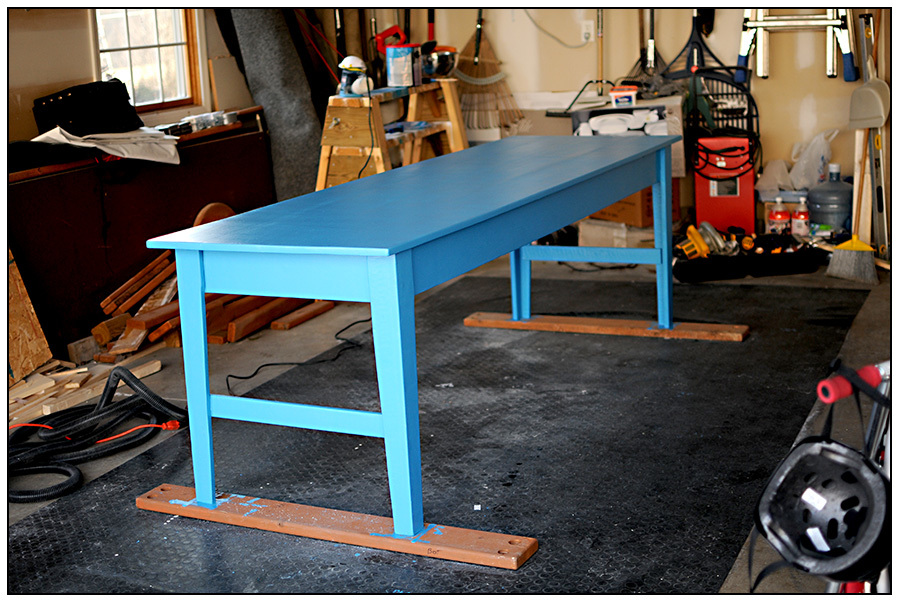
I built something!! I really want to build a bed for my son, but wanted something a little simpler for my first project. This table came together very easily. I can't wait for my craft room to be done and get all my sewing machines set up on it - Thanks so much for your site, Ana!
Built from Plan(s)
Estimated Time Investment
Weekend Project (10-20 Hours)
Finish Used
primer/paint/spray polyurethane
Recommended Skill Level
Starter Project
Comments
Tue, 02/21/2012 - 13:25
Beautiful! Love the color -
Beautiful! Love the color - and this table is gorgeous - first project or 100TH!!! Thanks for sharing!
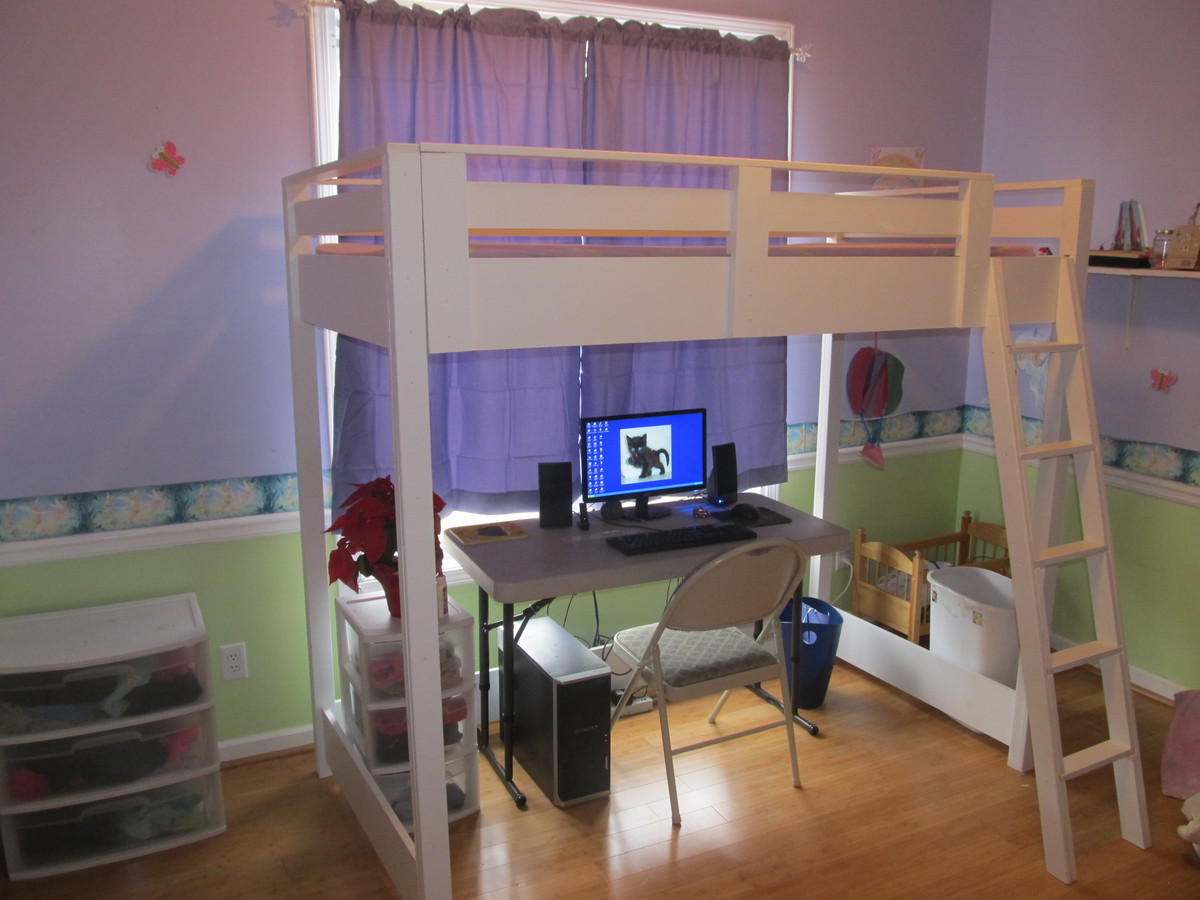
Loft beds for my girls
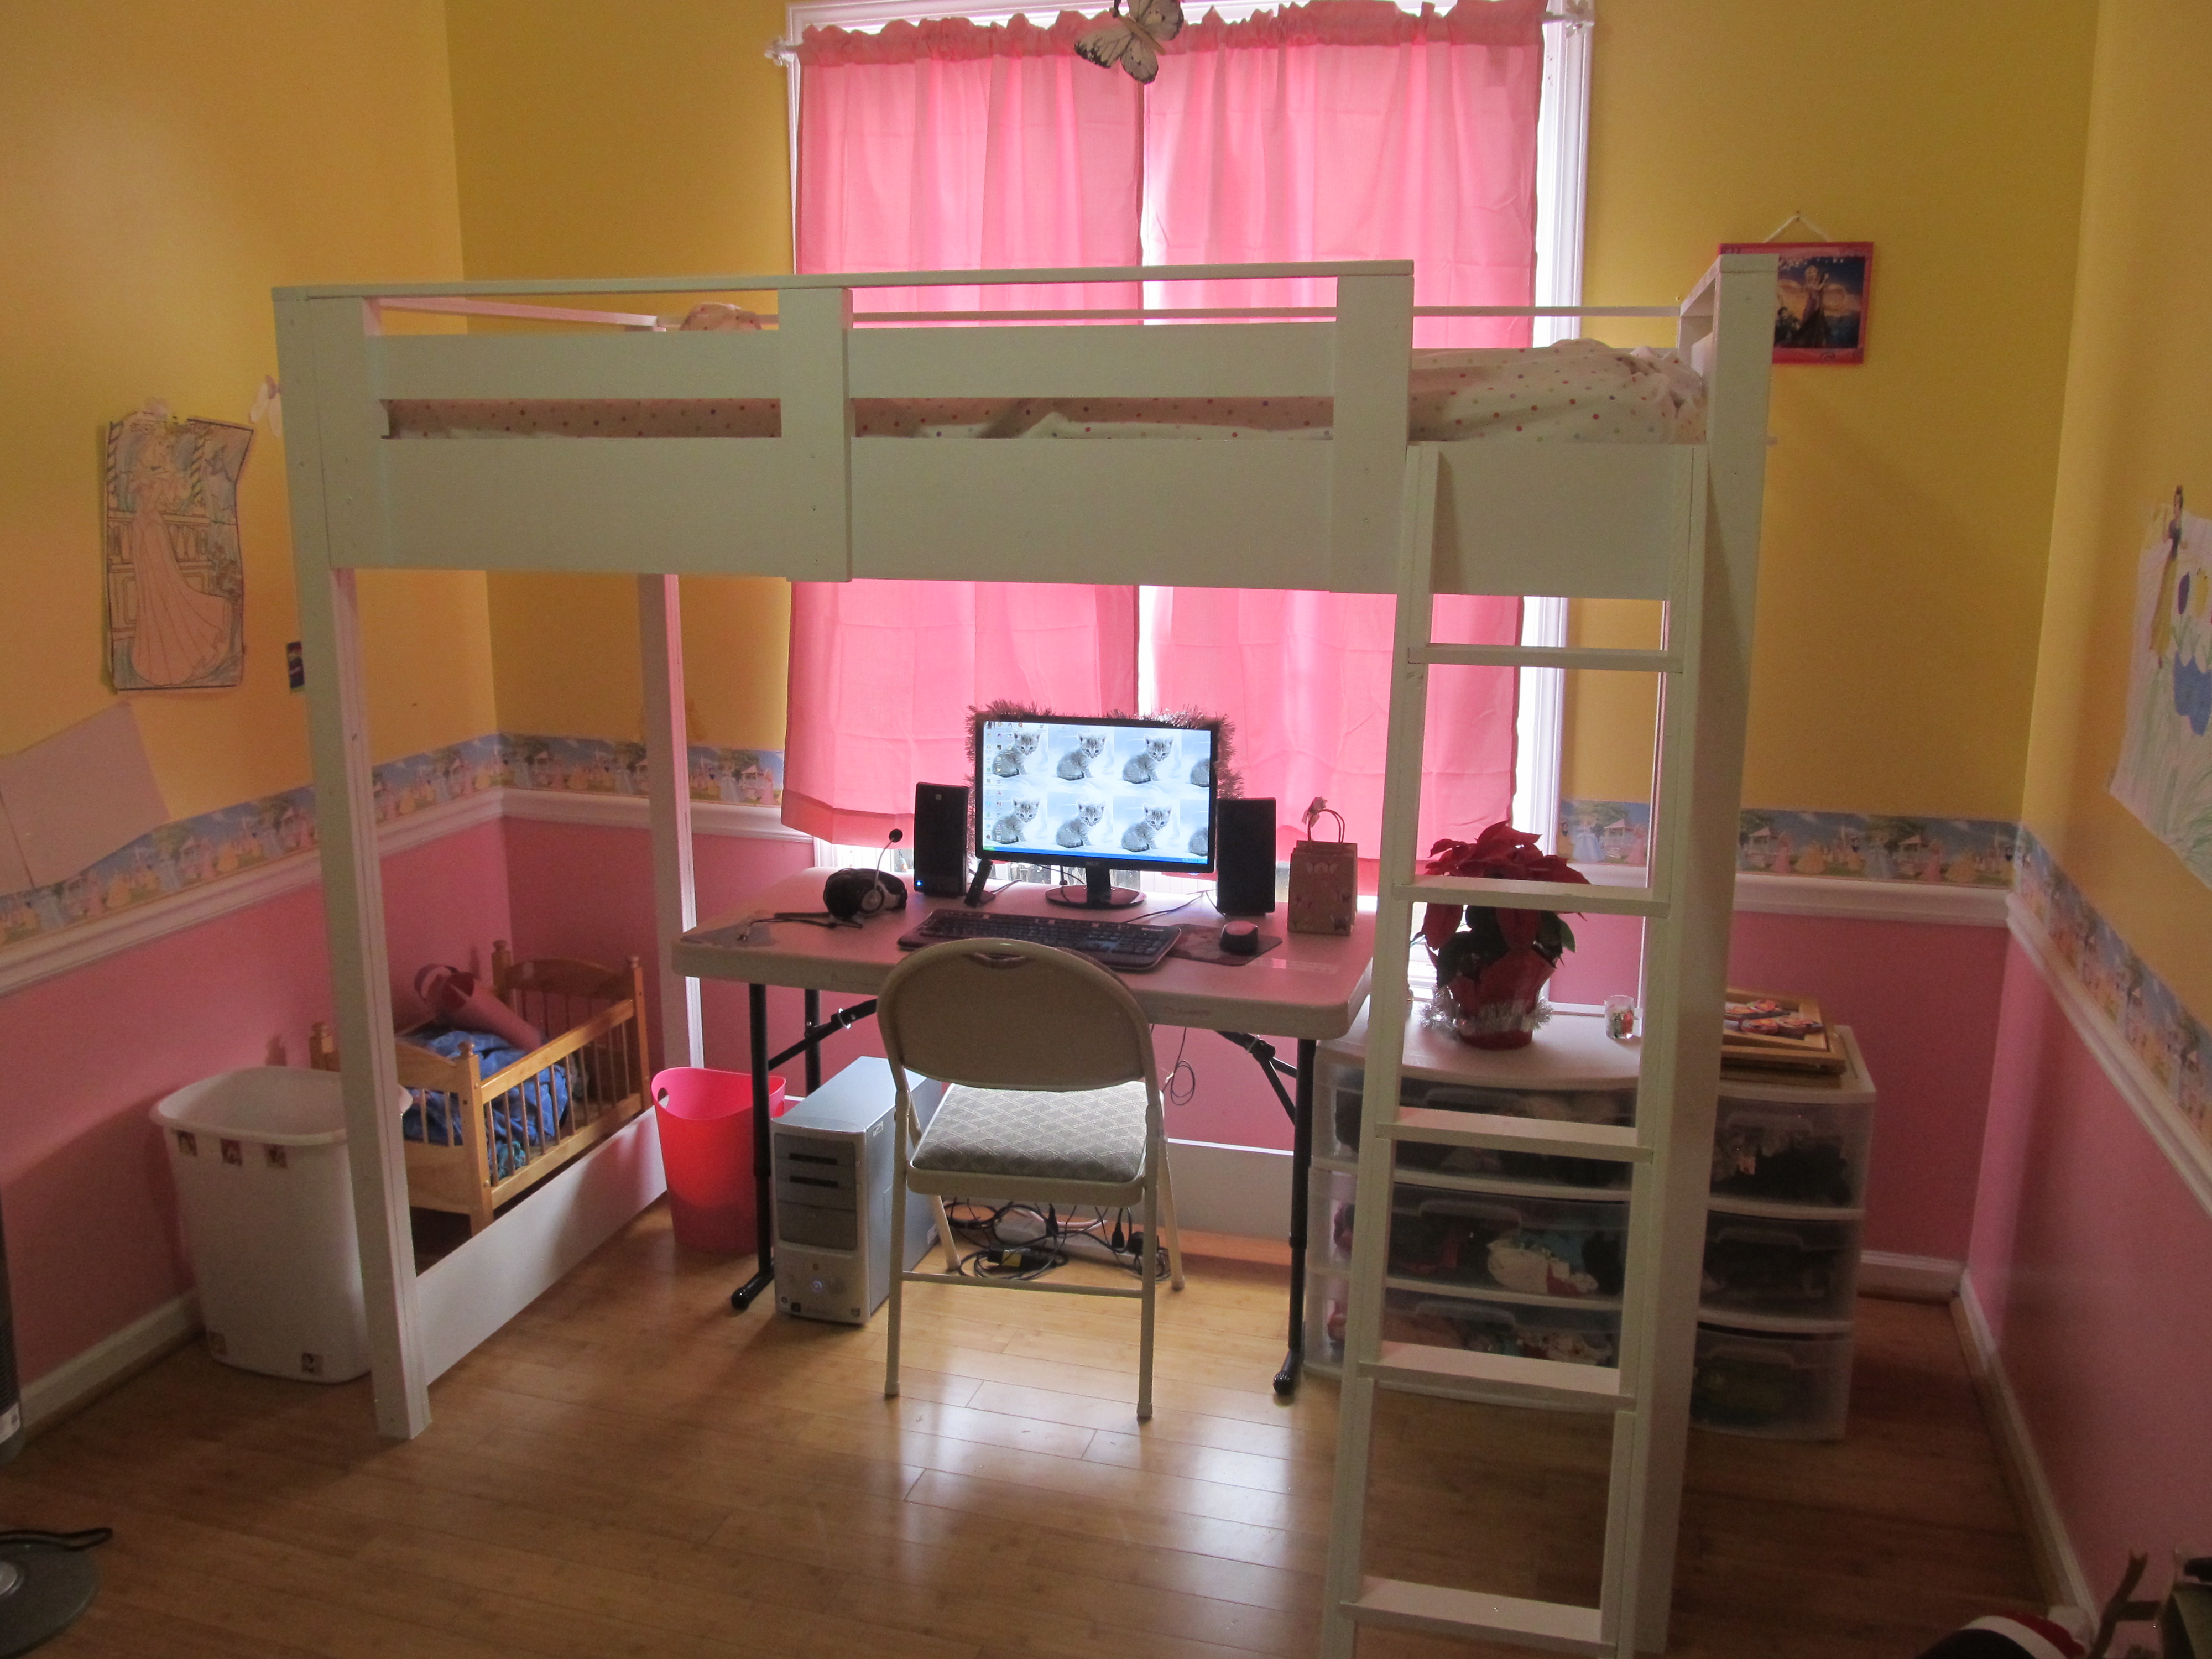
My wife and I came across this site 2 years ago and immediately fell in love with the loft beds. I have never done any kind of project like this and really wasn't sure if I could do it. I'm an IT guy, so the idea of fumbling around with power tools was a bit intimidating.
I decided to give it a try this year, 2013, as a Christmas present for my two girls, ages 9 and 7. I bought a chop saw and circular saw, had the wood delivered and proceeded to take over the garage. Following the plans, I started making my cuts. Made a few mistakes and had to go buy extra wood, but eventually I completed my cut list. I proceeded to prime and paint the wood, except for where I was gluing as I heard from a friend that wood glue worked much better on wood than paint. Go figure.
I sent the girls to my dad's the weekend before Christmas. They had no idea what I was doing out in the garage and I wanted to make it a complete surprise. I had a good friend come over and help me assemble. The first bed took just over 10 hours to complete. Neither one of us really knew what we were doing, so we were being extra cautious. The second one took us 4 1/2 hours.
I have to admit, I was quite proud of how it turned out. The plans were really easy to follow, even for a complete novice like me. I was really surprised at how sturdy the beds were, no wobbling, hardly any creaking when getting in them, a really solid product. I did some touch up paint after it was all assembled and then I was done. I highly recommend this plan to anyone considering a loft bed.
Tal
Built from Plan(s)
Estimated Cost
$450 for two beds and accessories
Estimated Time Investment
Weekend Project (10-20 Hours)
Finish Used
One coat of primer, one coat of semi-gloss white paint. I used a small roller for the vast majority of it so as to avoid brush strokes.
Recommended Skill Level
Beginner
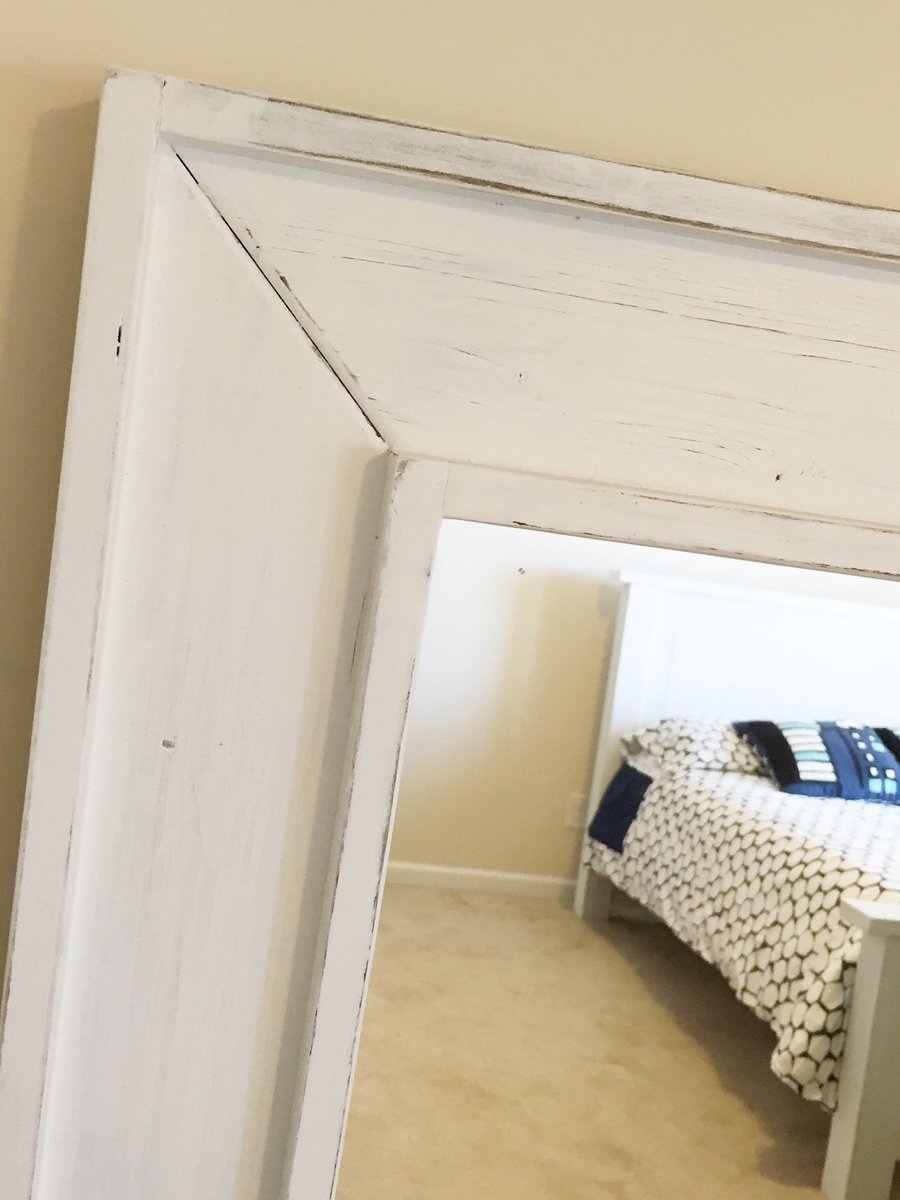
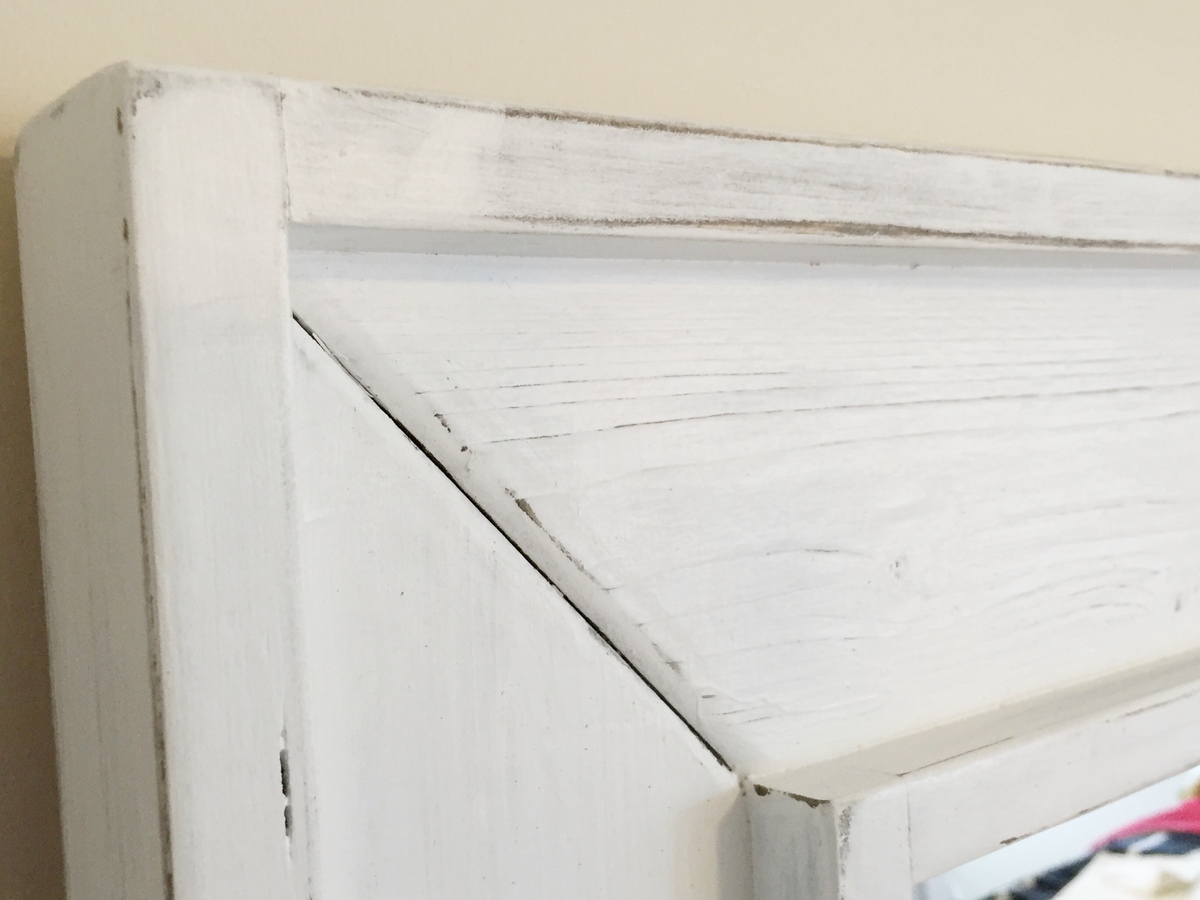
Full Length Mirror
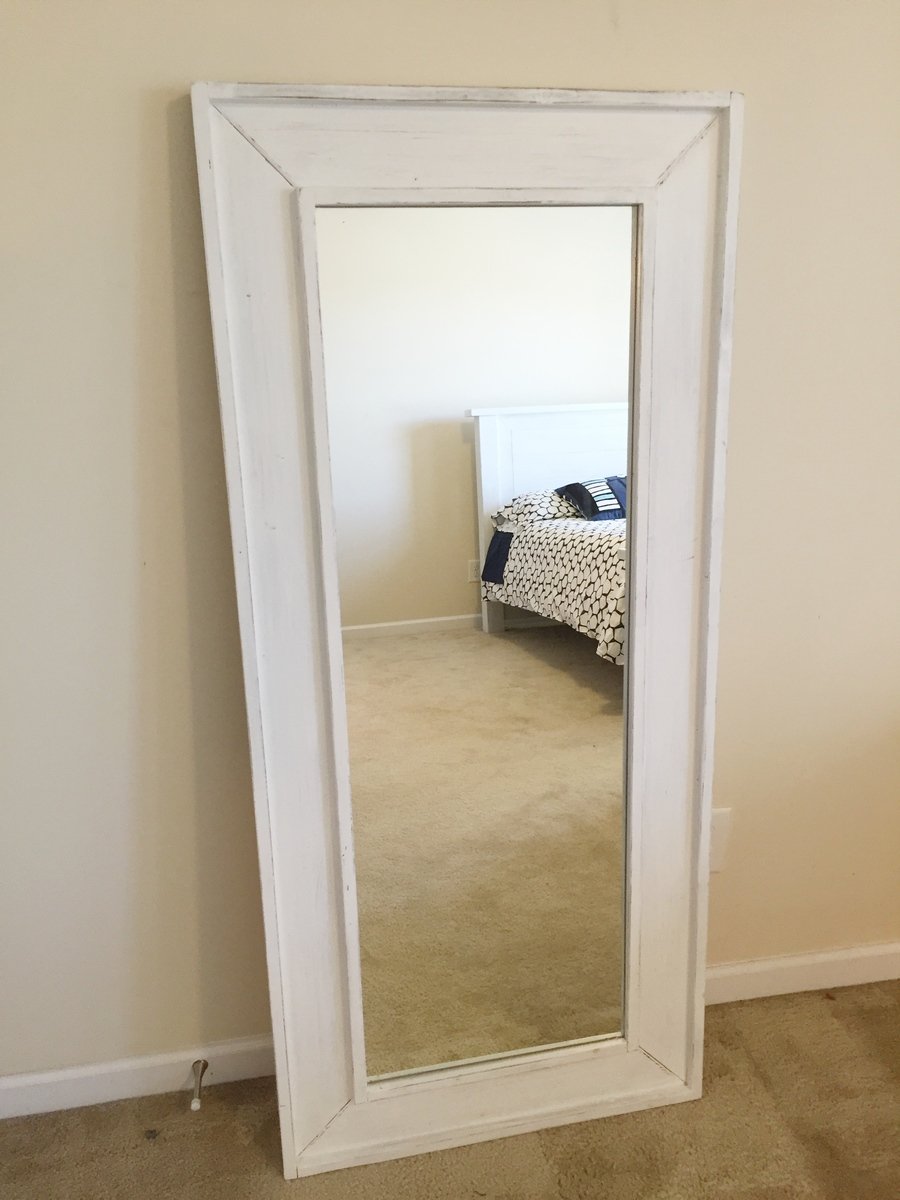
Full length mirror made from a cheap $10 unframed mirror from IKEA. Trimmed out with some 1 by 3, 1 by 4 and 1 by 2. Stained black and then painted white. sanded between coats of white to show some of black through and give antique worn look.
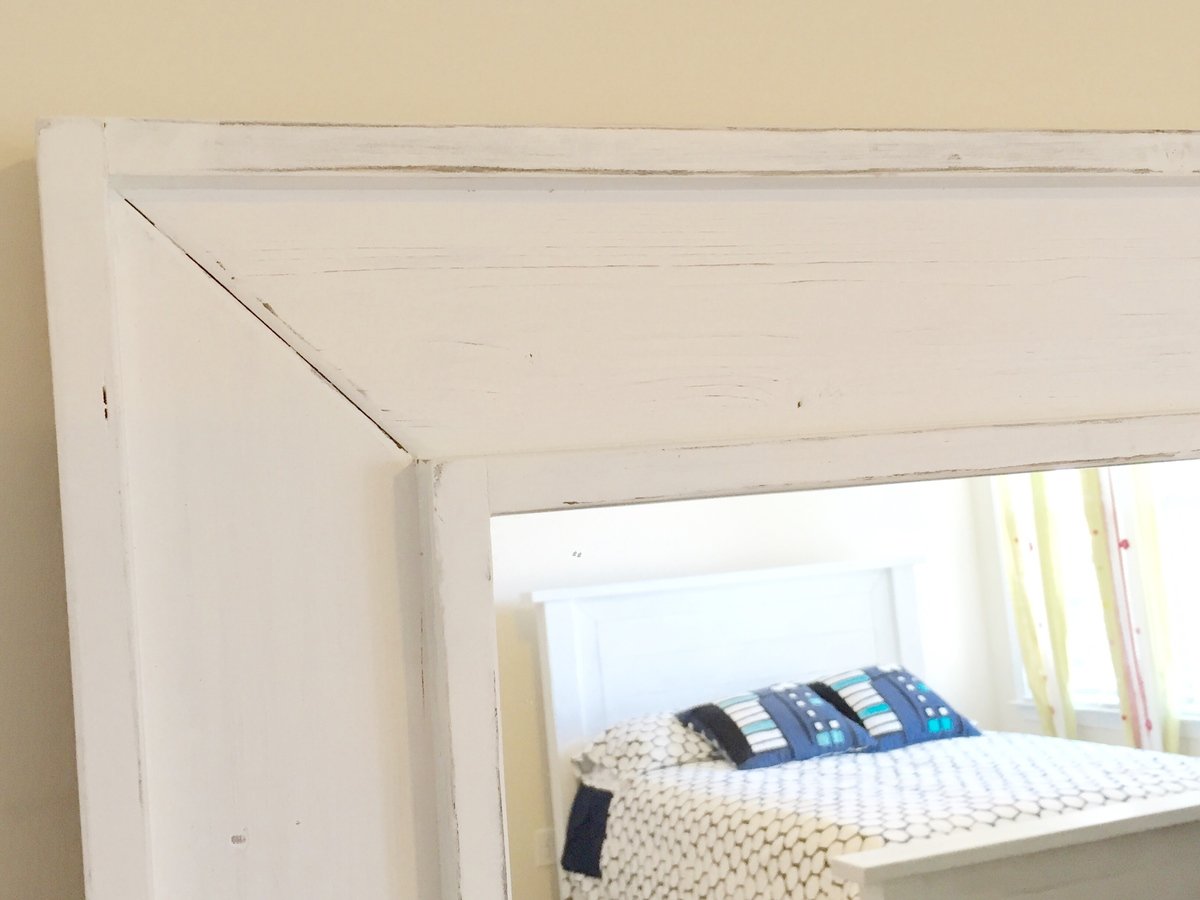
Estimated Cost
$35
Estimated Time Investment
Day Project (6-9 Hours)
Finish Used
Stained black and then painted white. sanded between coats of white to show some of black through and give antique worn look.
Recommended Skill Level
Beginner