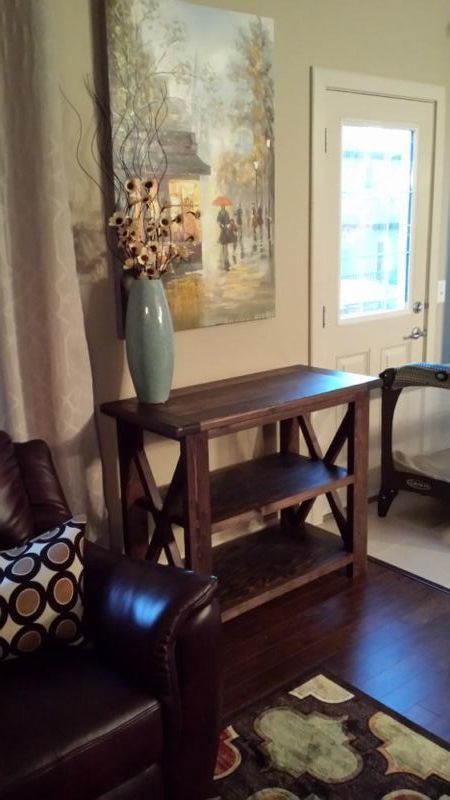
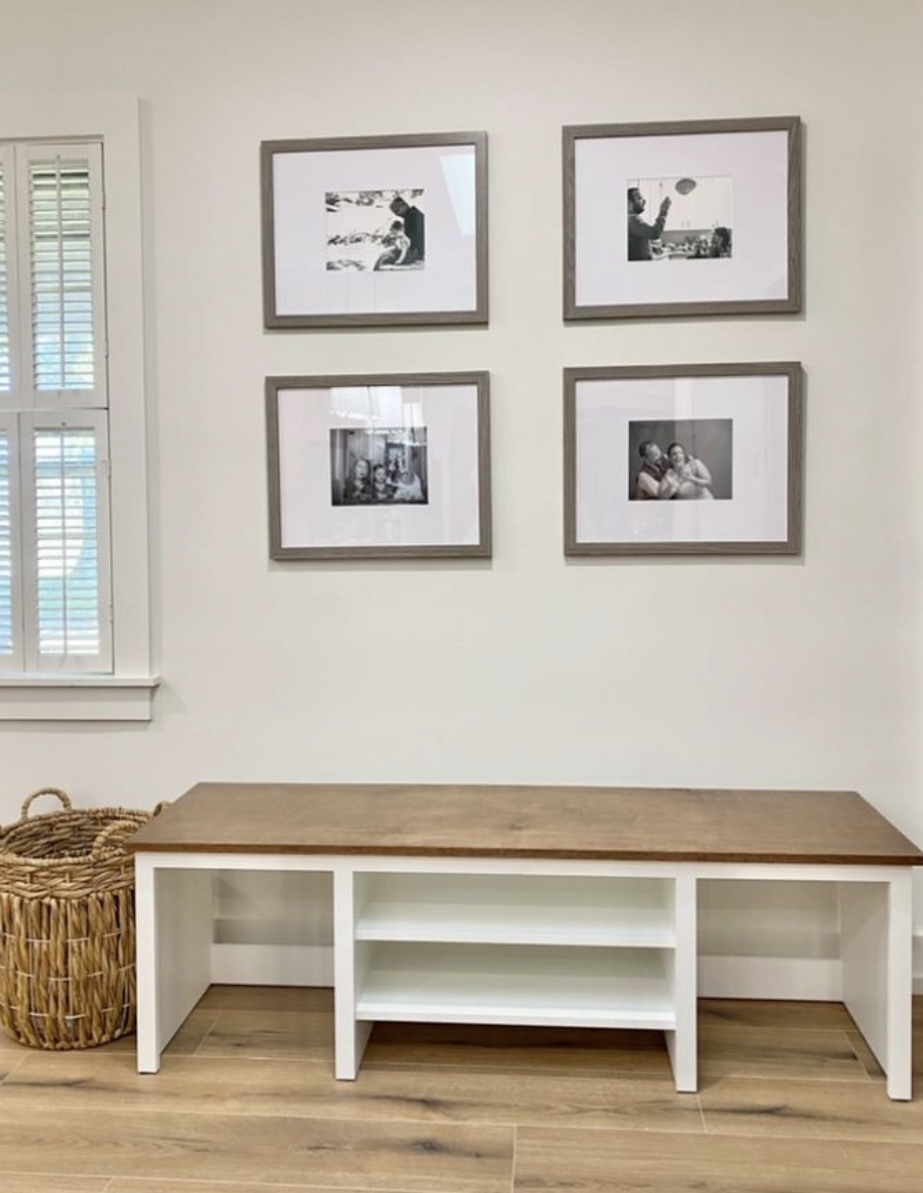
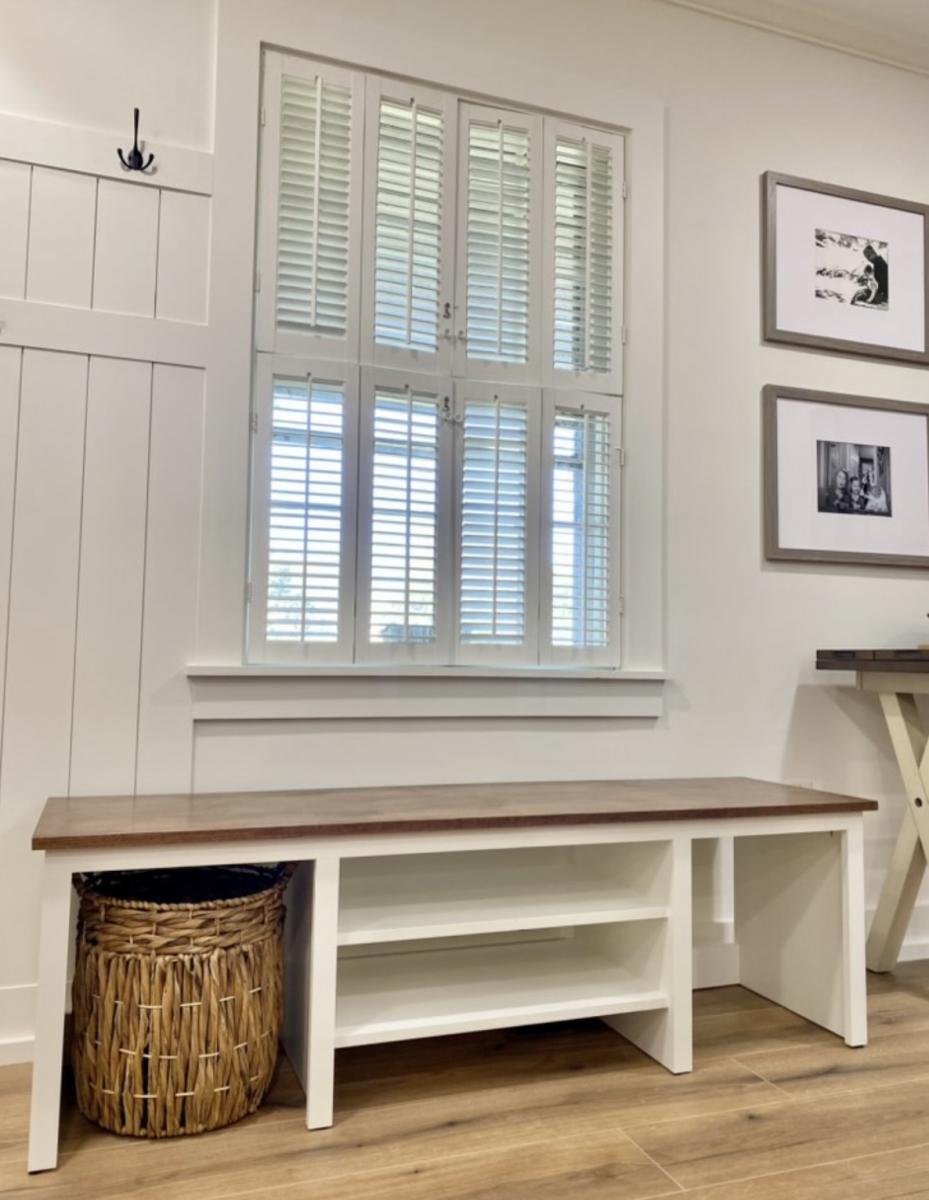
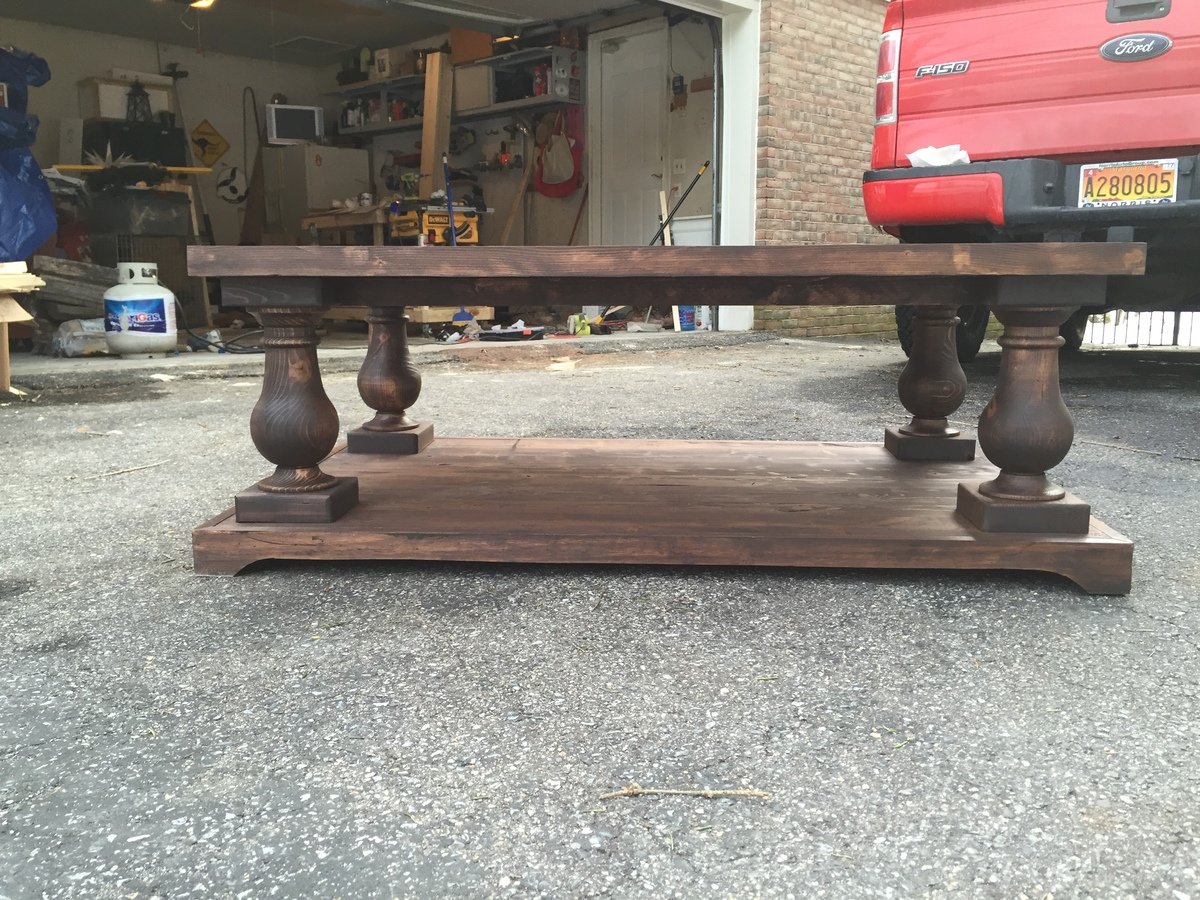
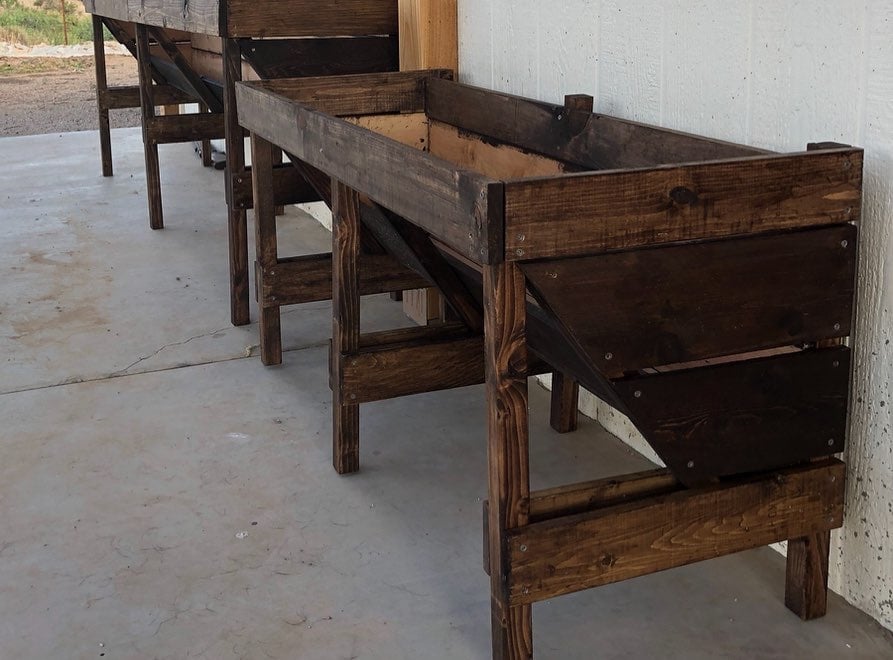
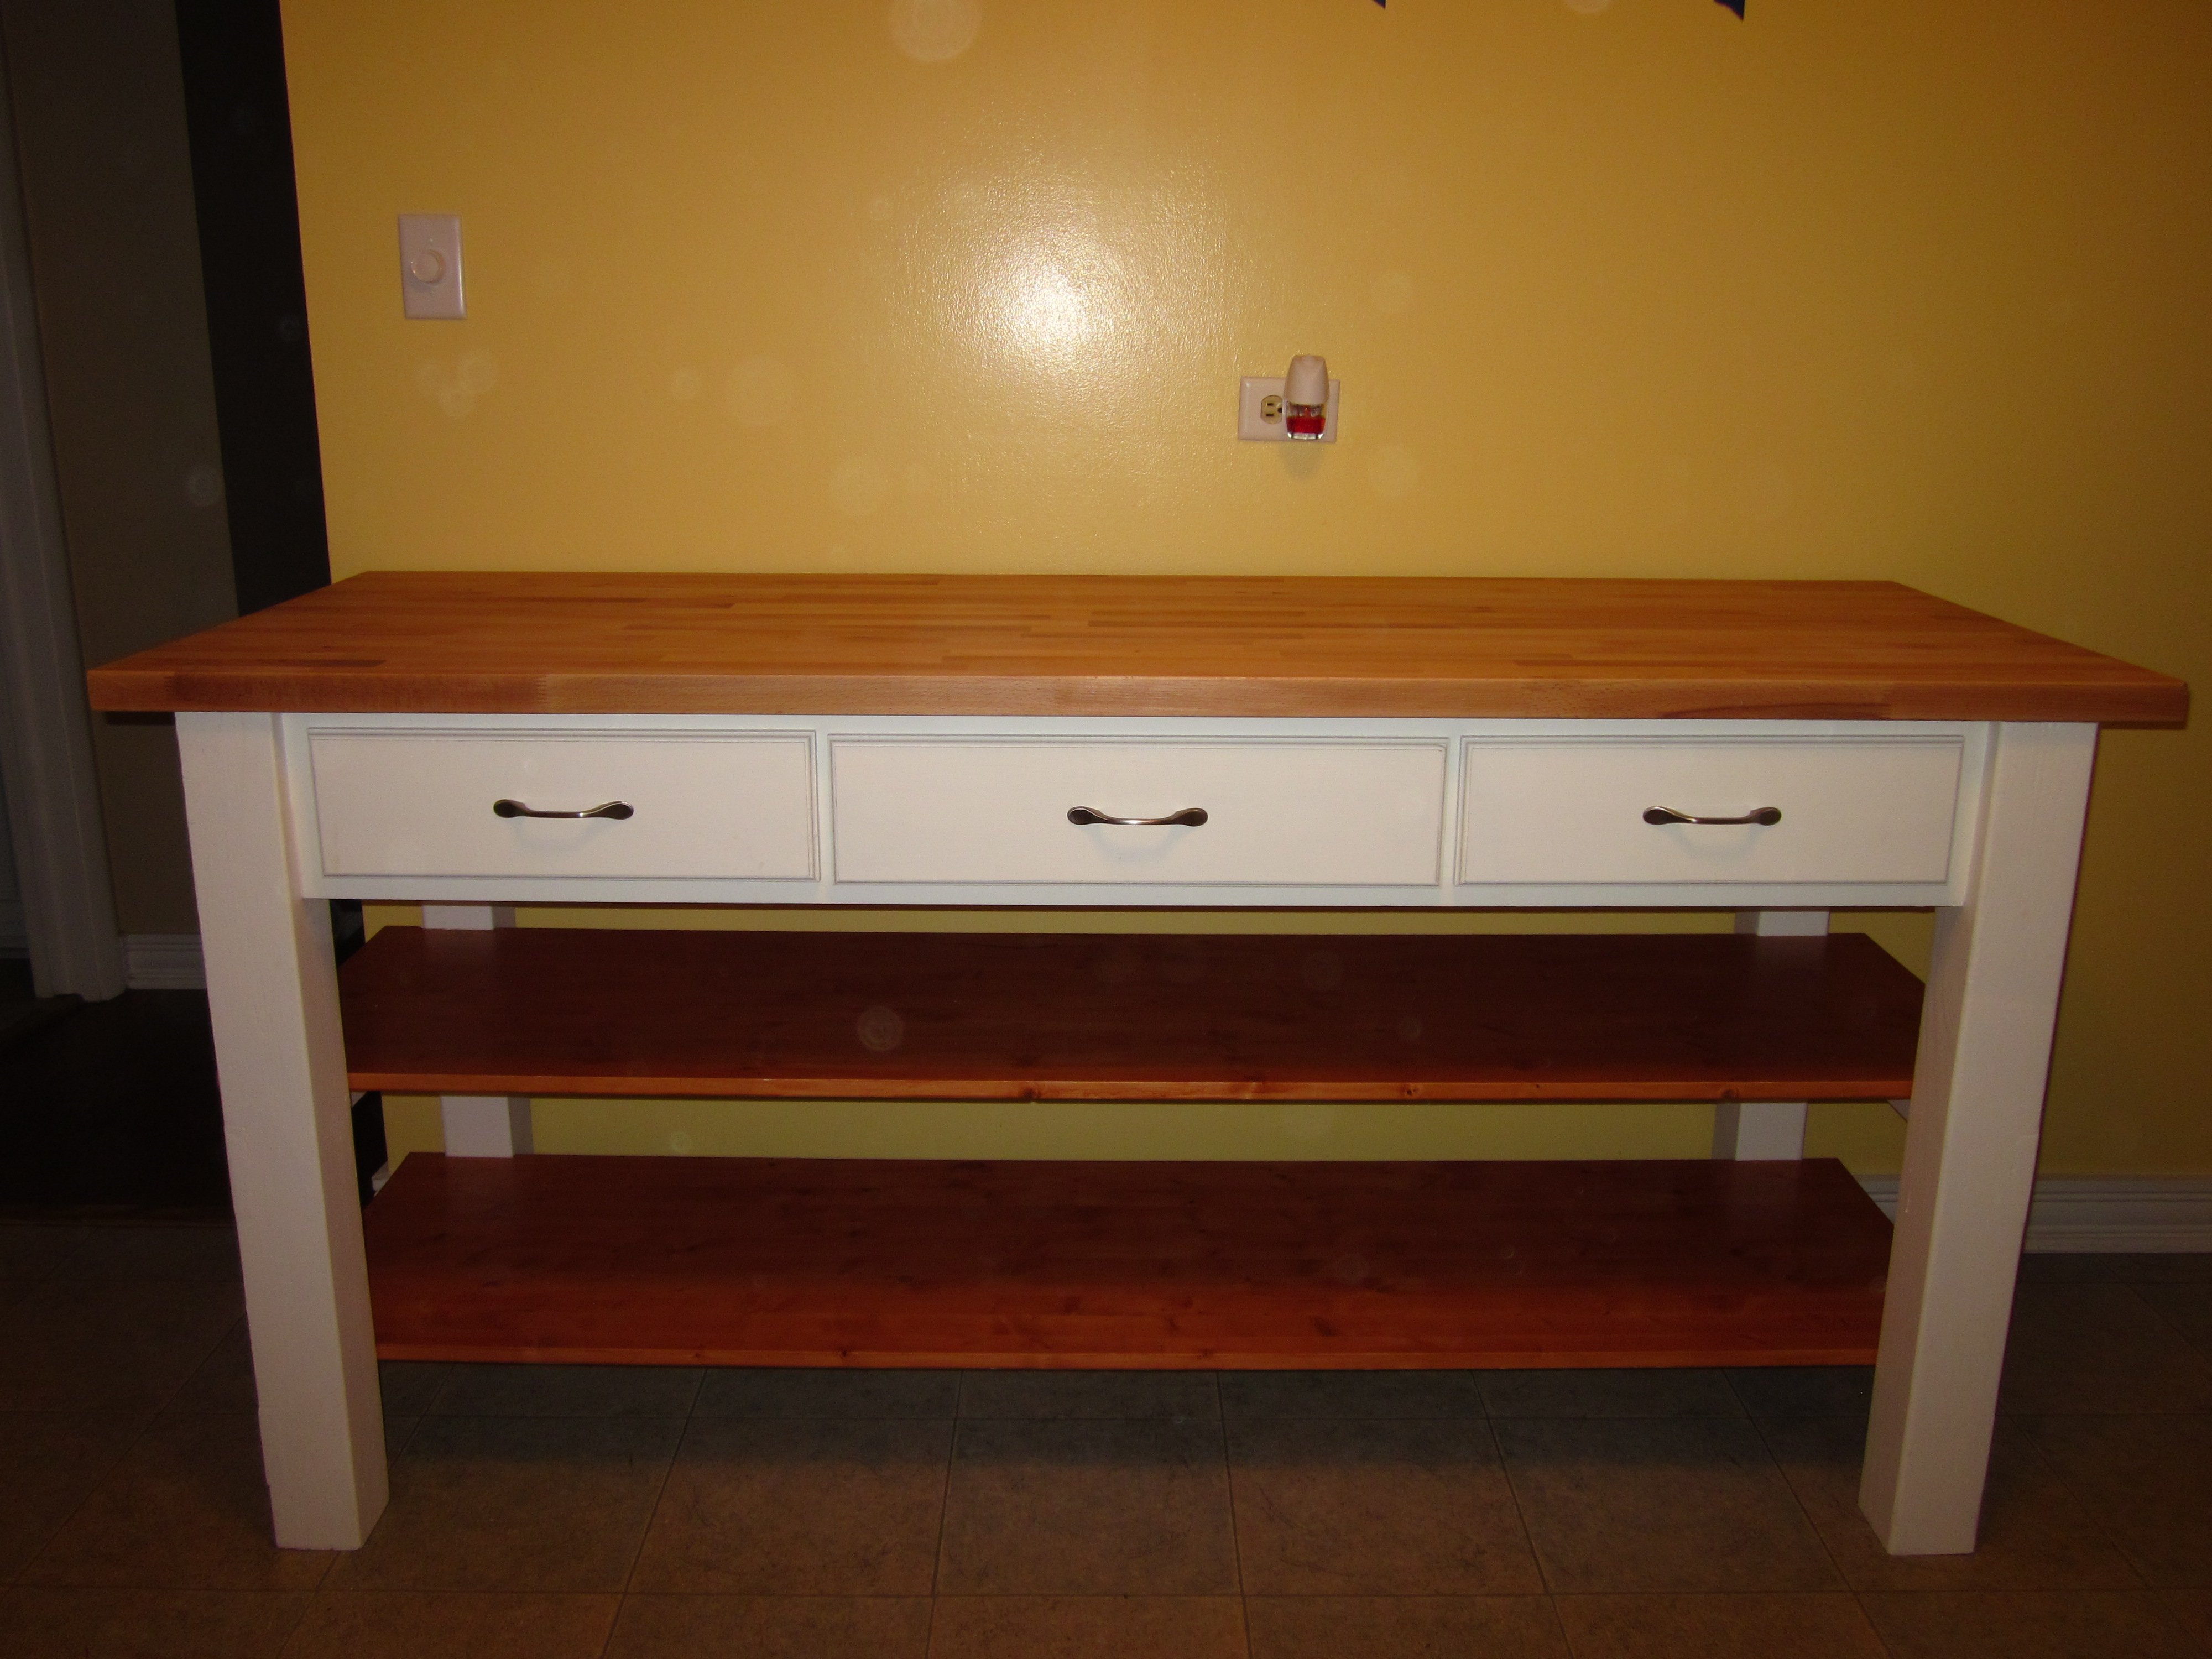
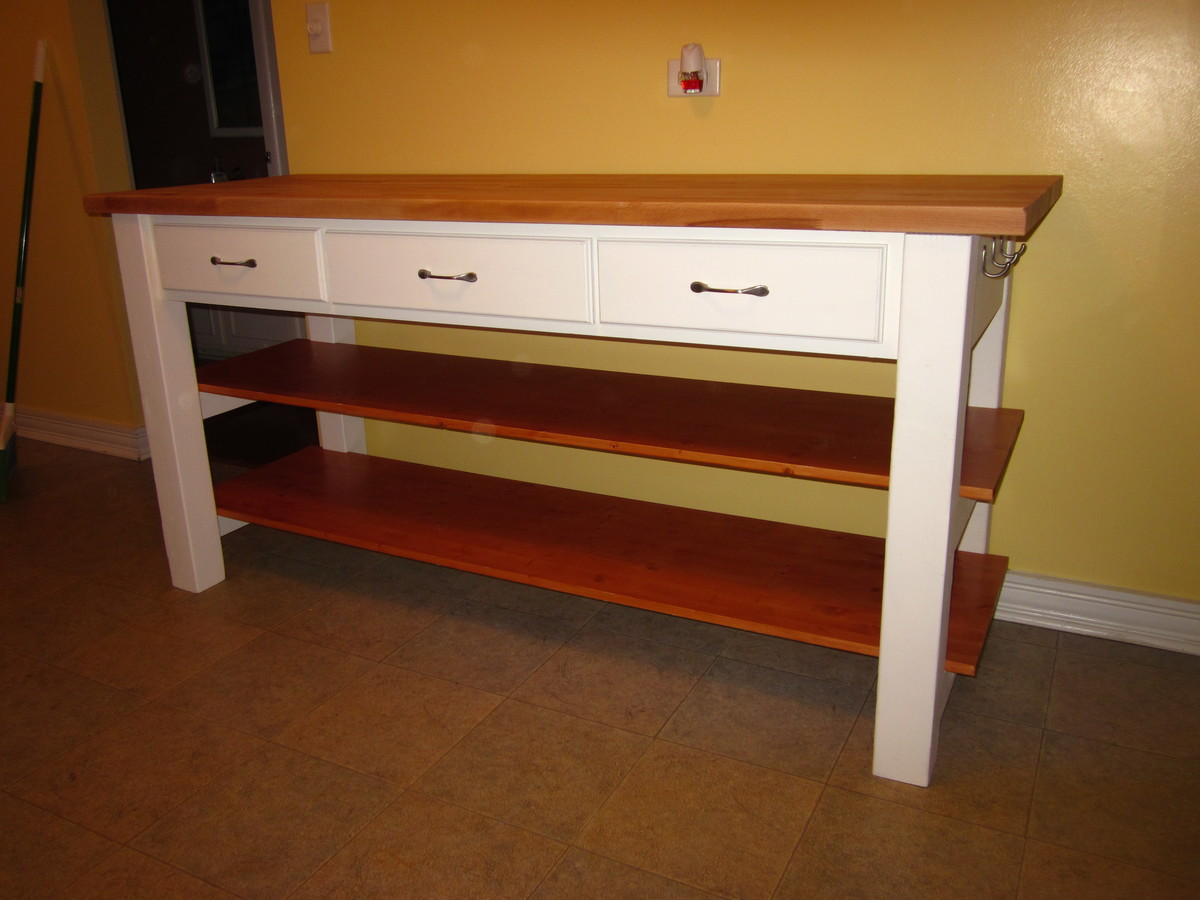
Wine Console Table
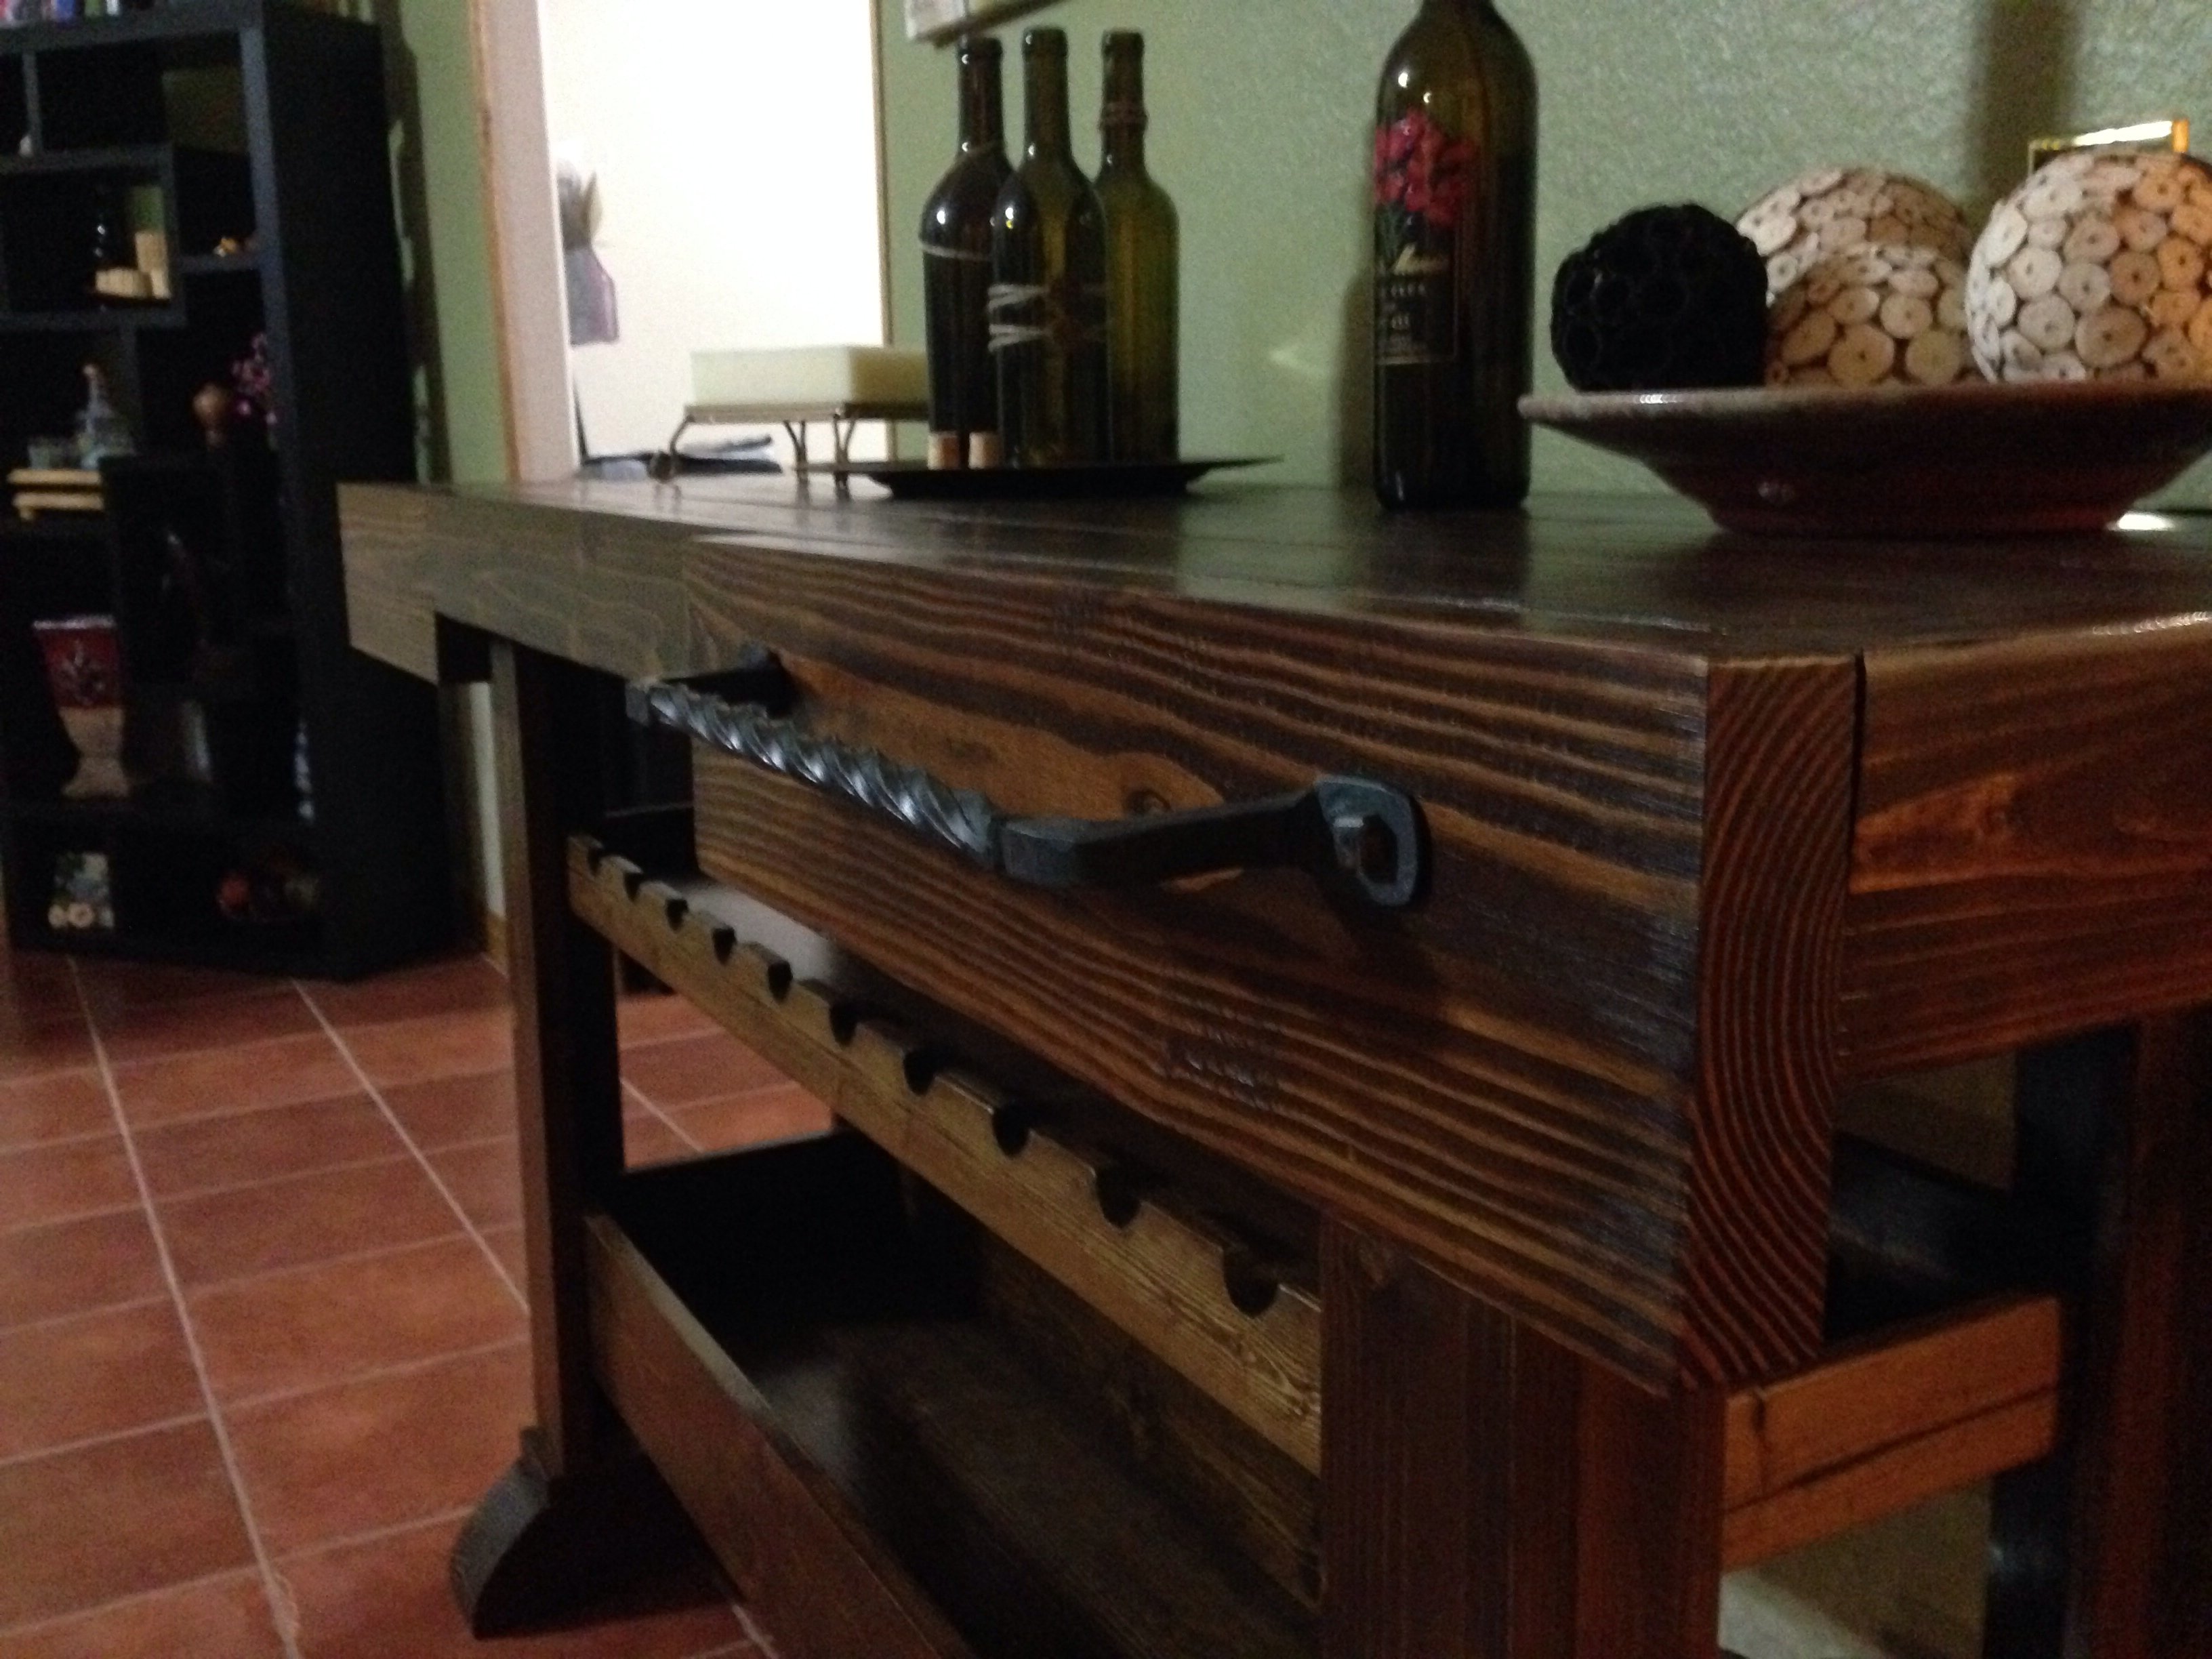
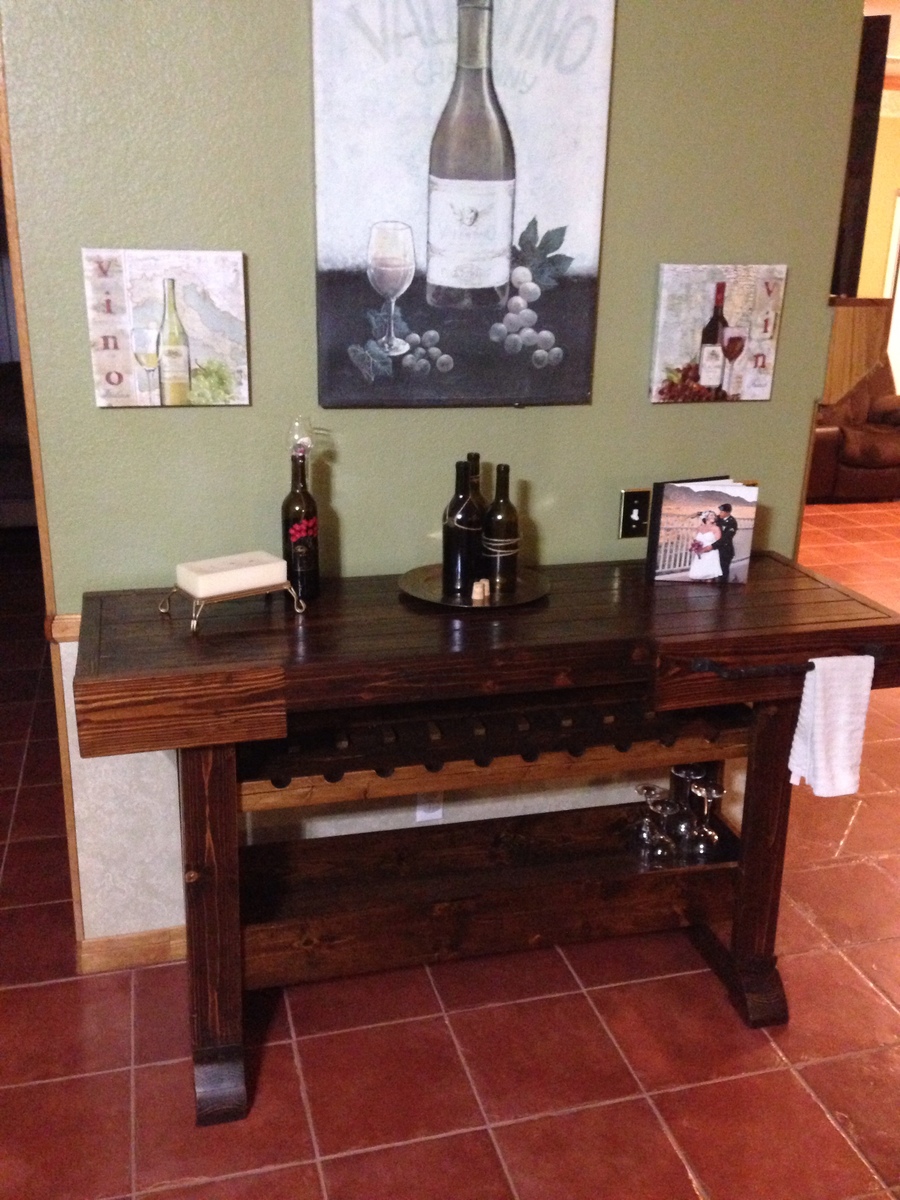
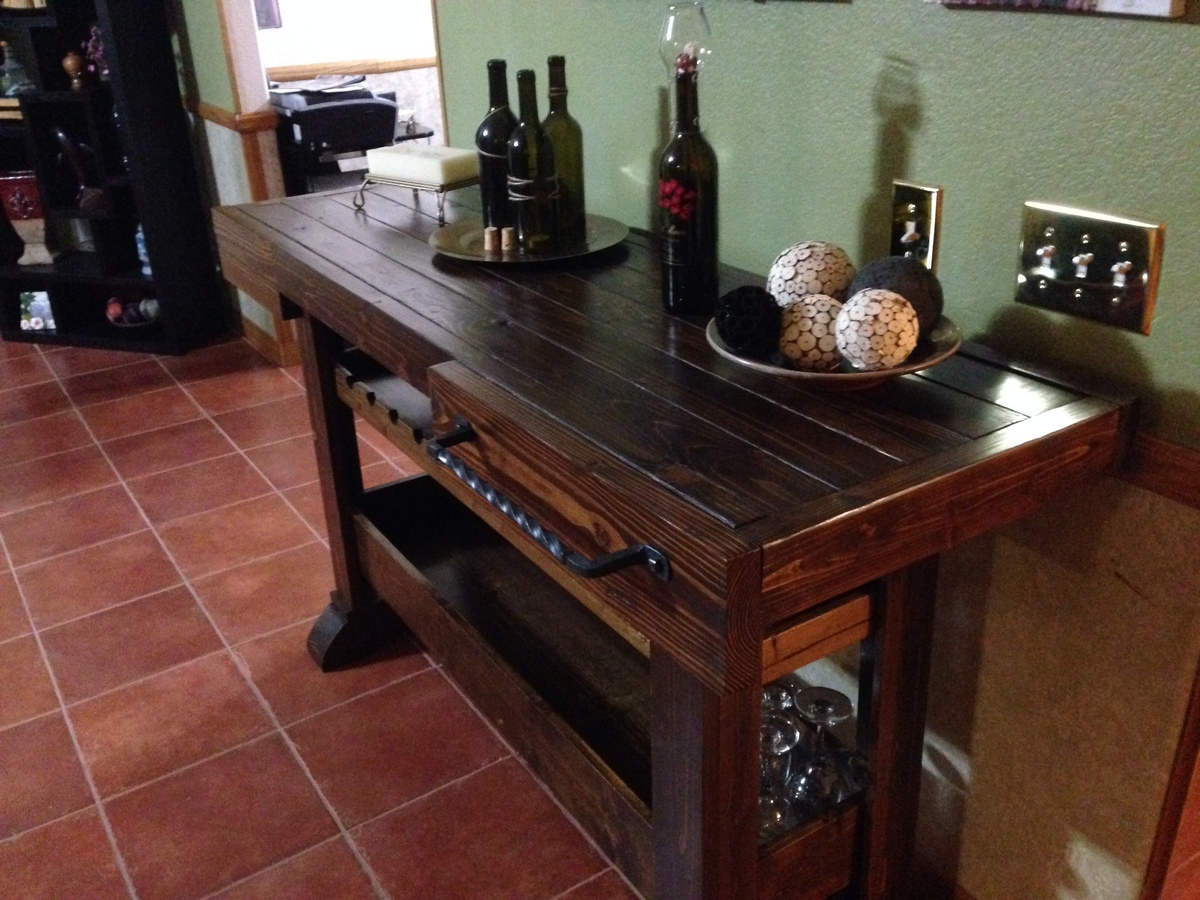
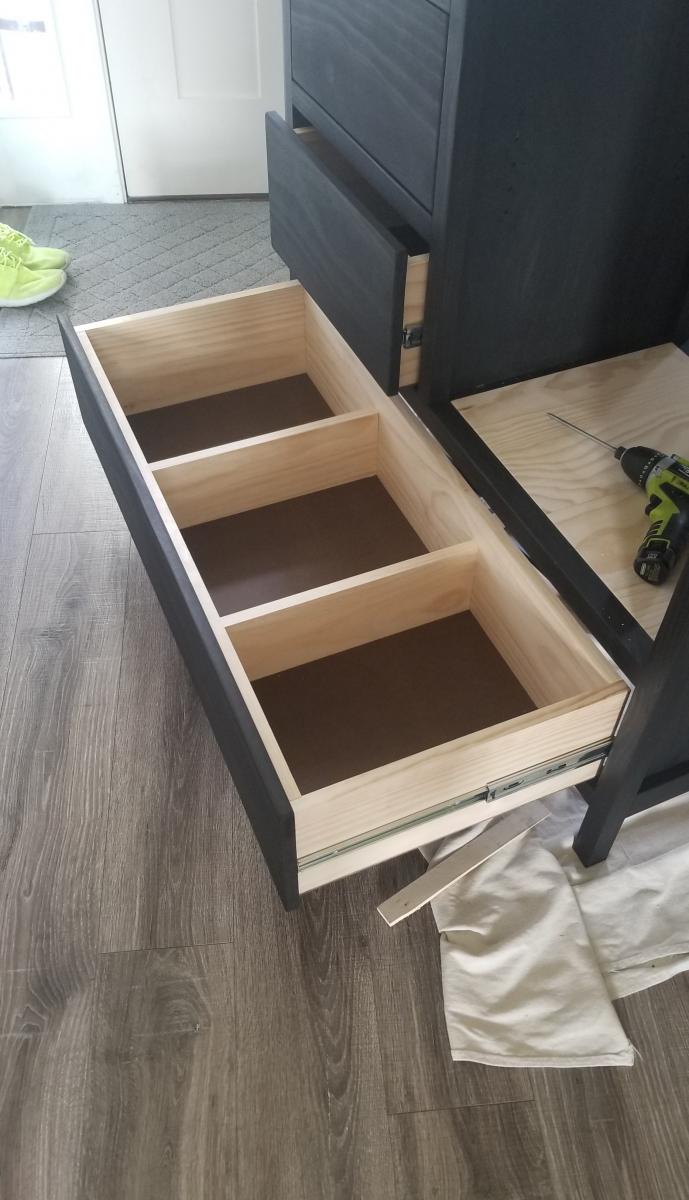
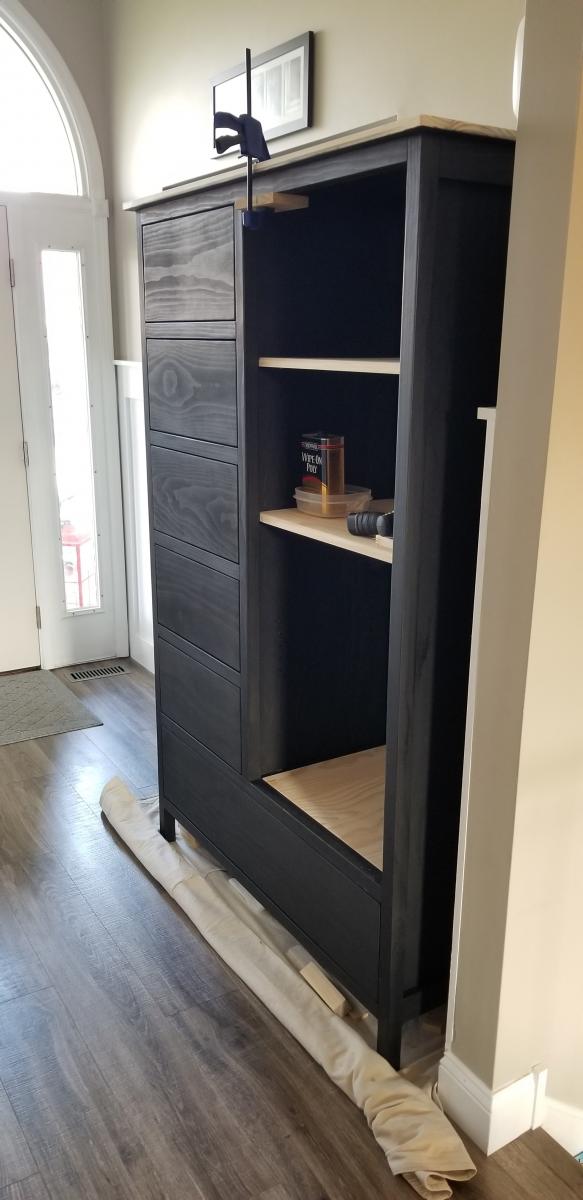
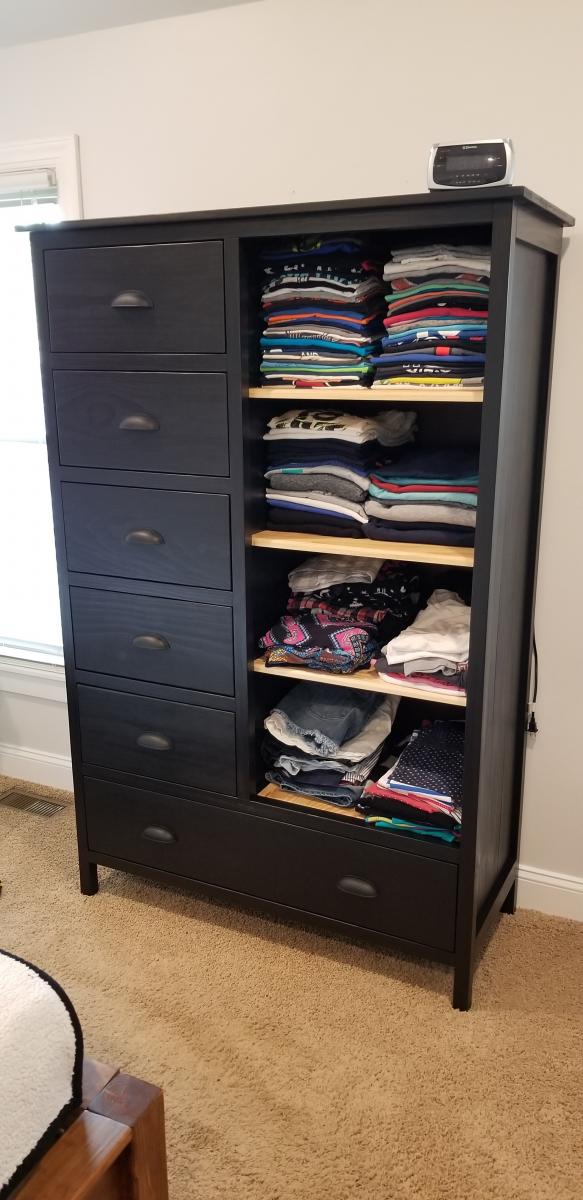
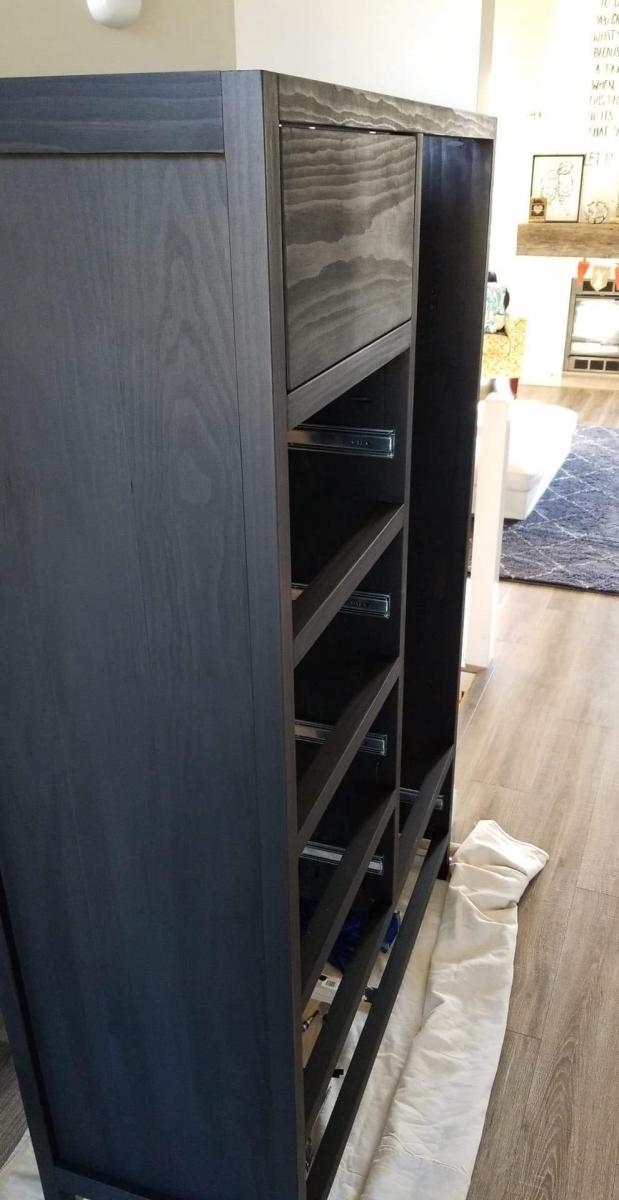
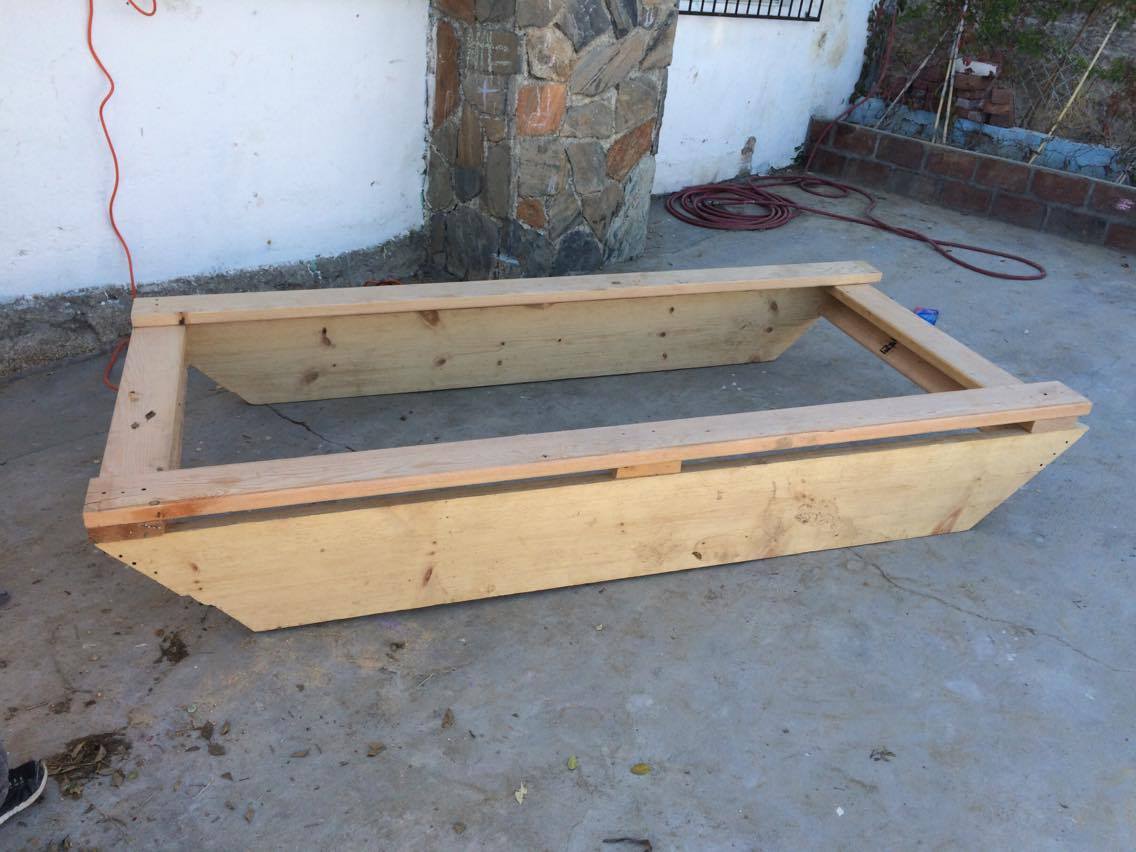
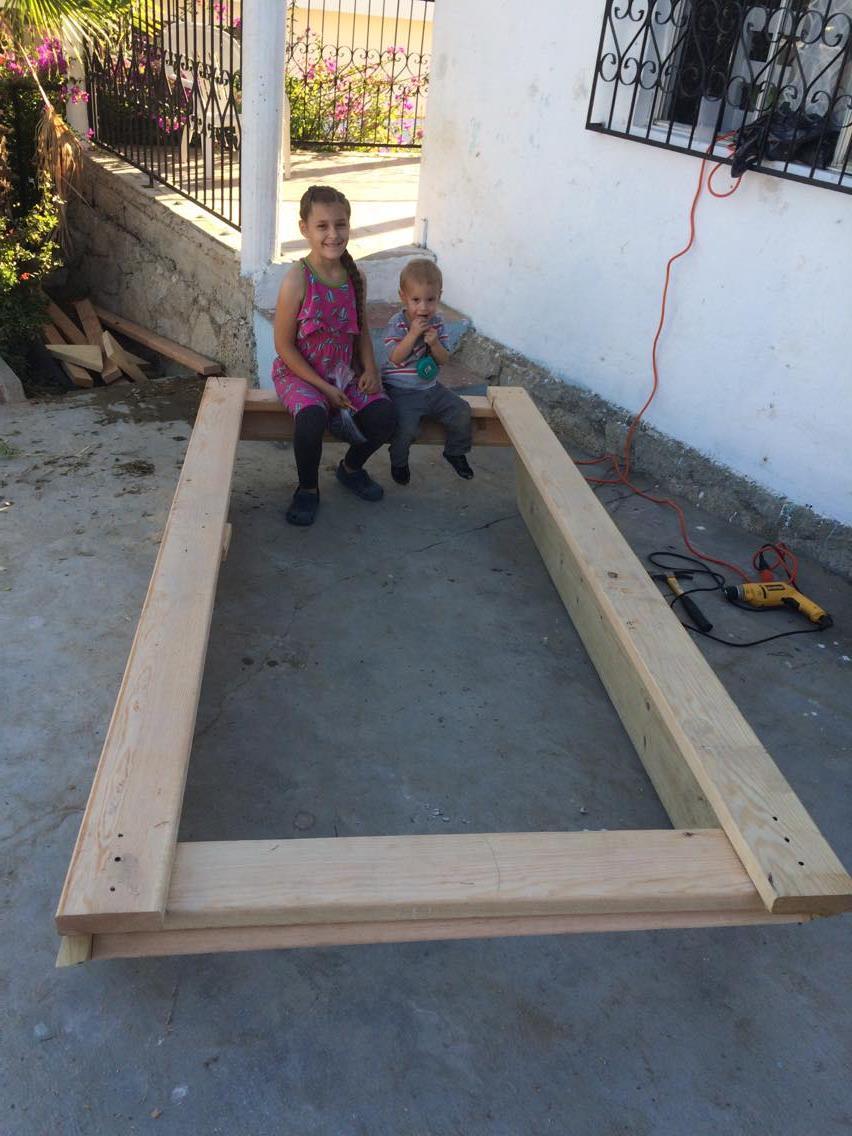
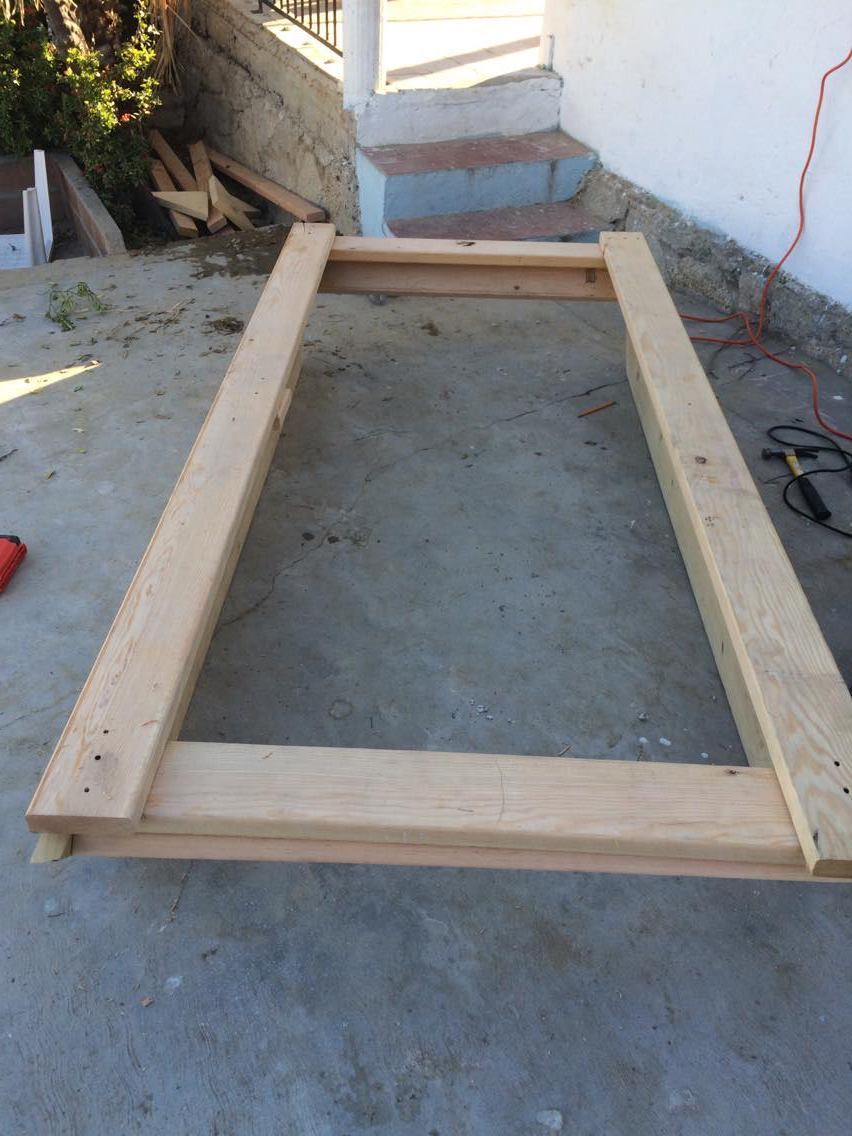
So this is my first attempt at woodworking. In fact it's the first time I've really created anything with my hands. I came across this website and saw all of the wonderful creations people have made and decided I wanted to give it a try. I saw the Workbench Console and loved the design of it. I knew my sister-in-law was looking for a console table for her new house and being a wine lover I figured I'd give those plans a go. I added a second shelf for wine bottle storage and flipped around the tabletop. I really wanted to have a towel rack attached to it as well but after scouring the hardware stores I couldn't find anything that "fit" the look I wanted so I called a buddy of mine who is a blacksmith and with his expert guidance he taught me how to make the towel rack I wanted. I'm proud to say I made everything on that table including the hardware (minus all of the wood screws of course ;)
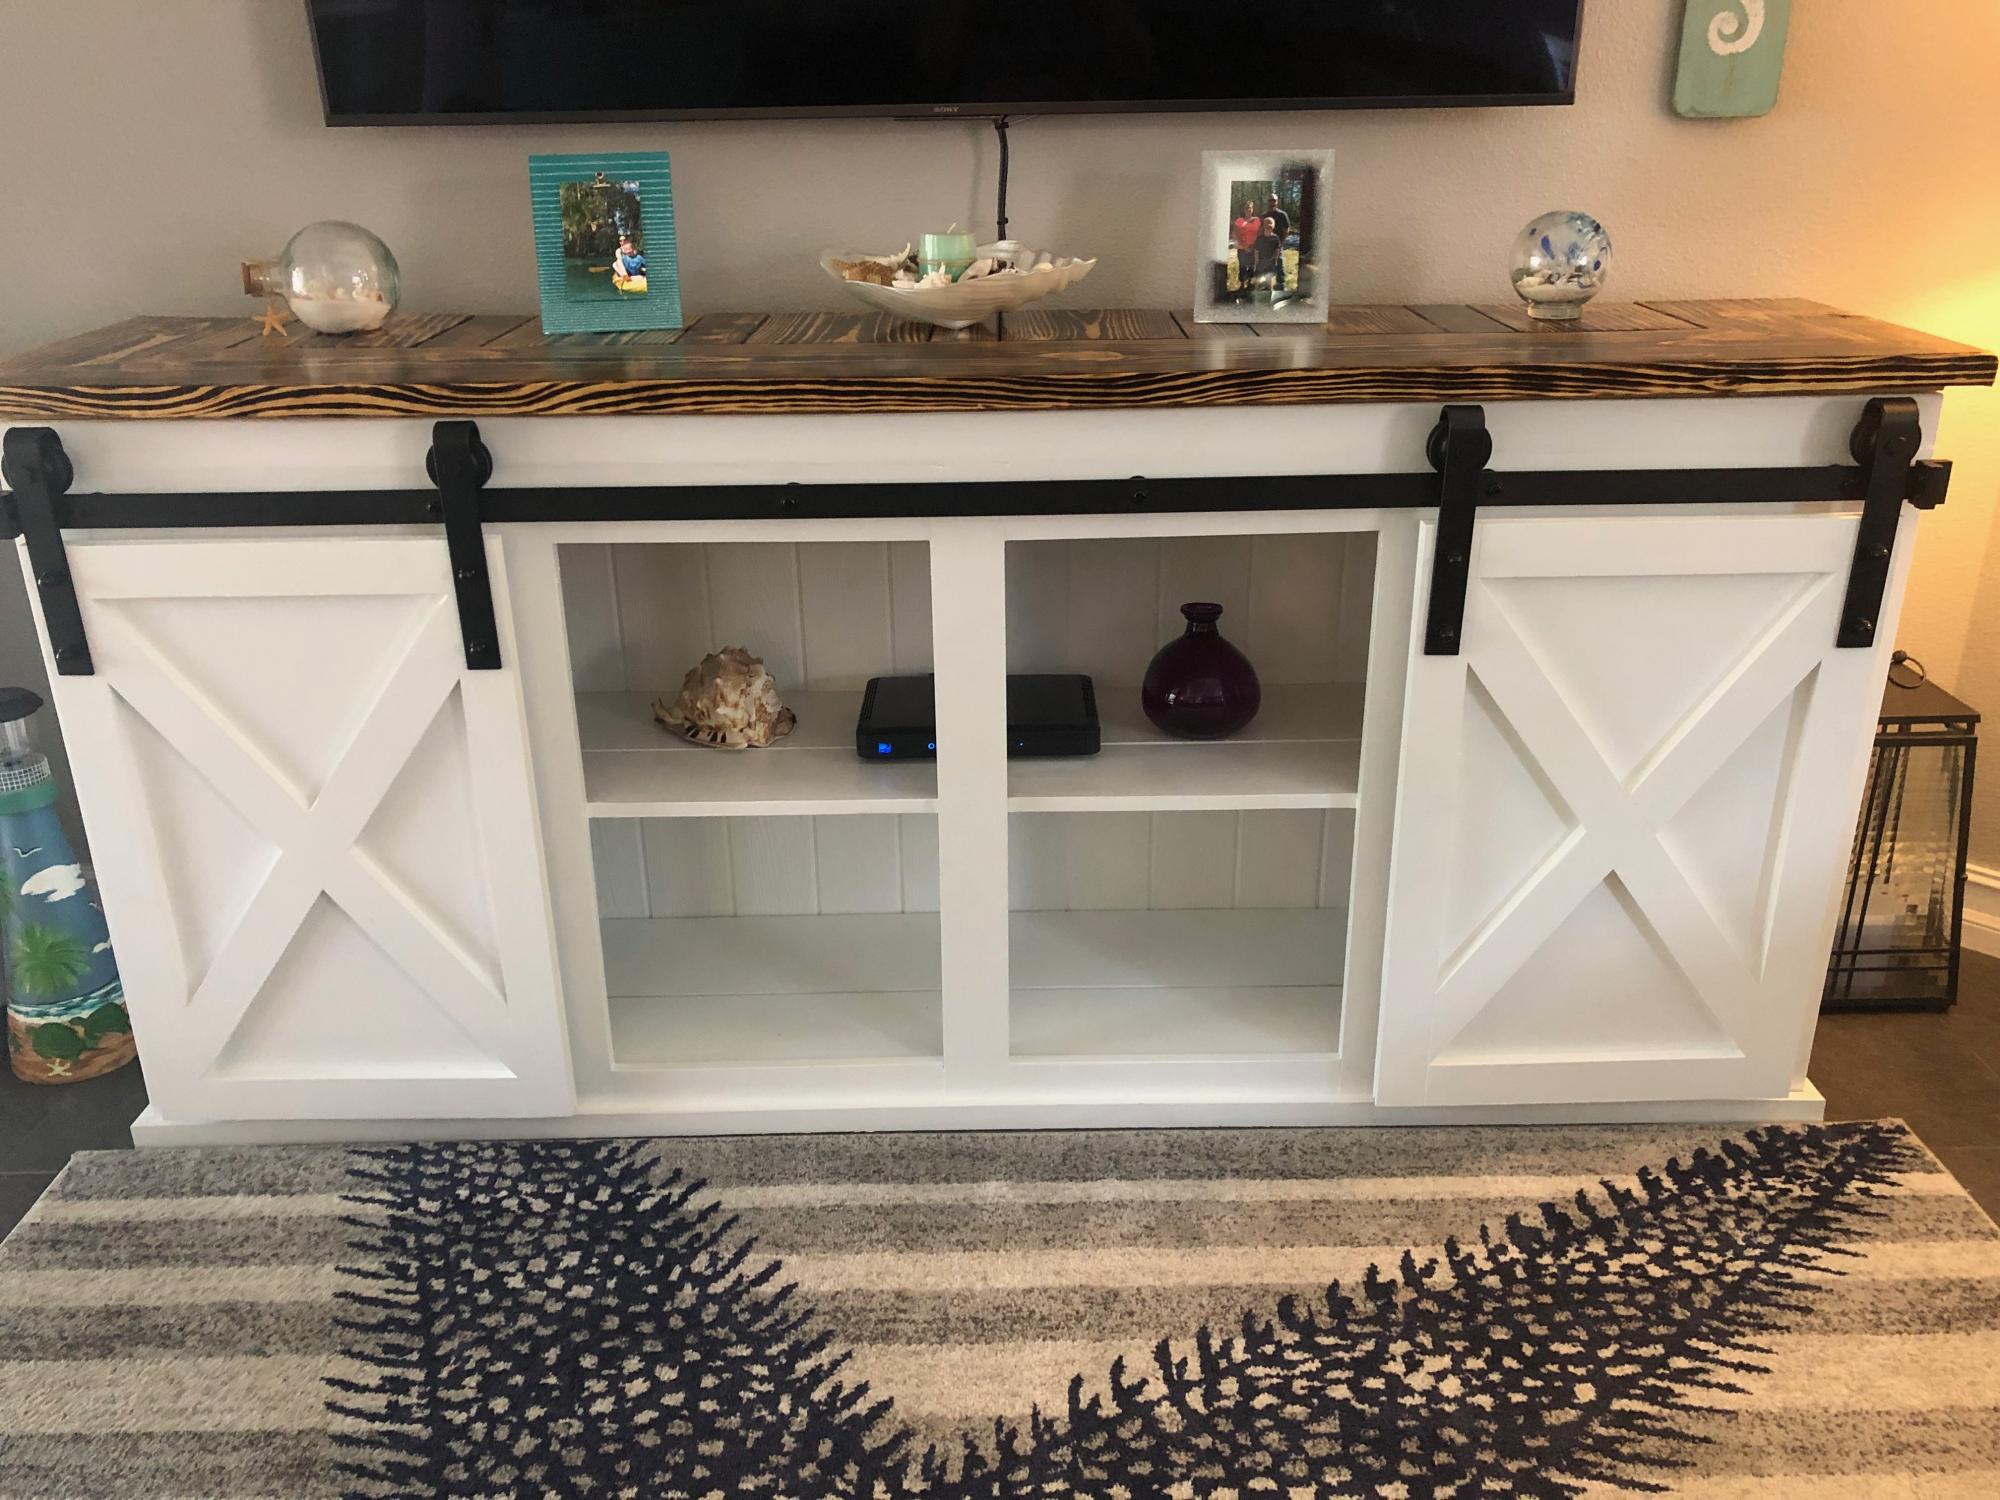
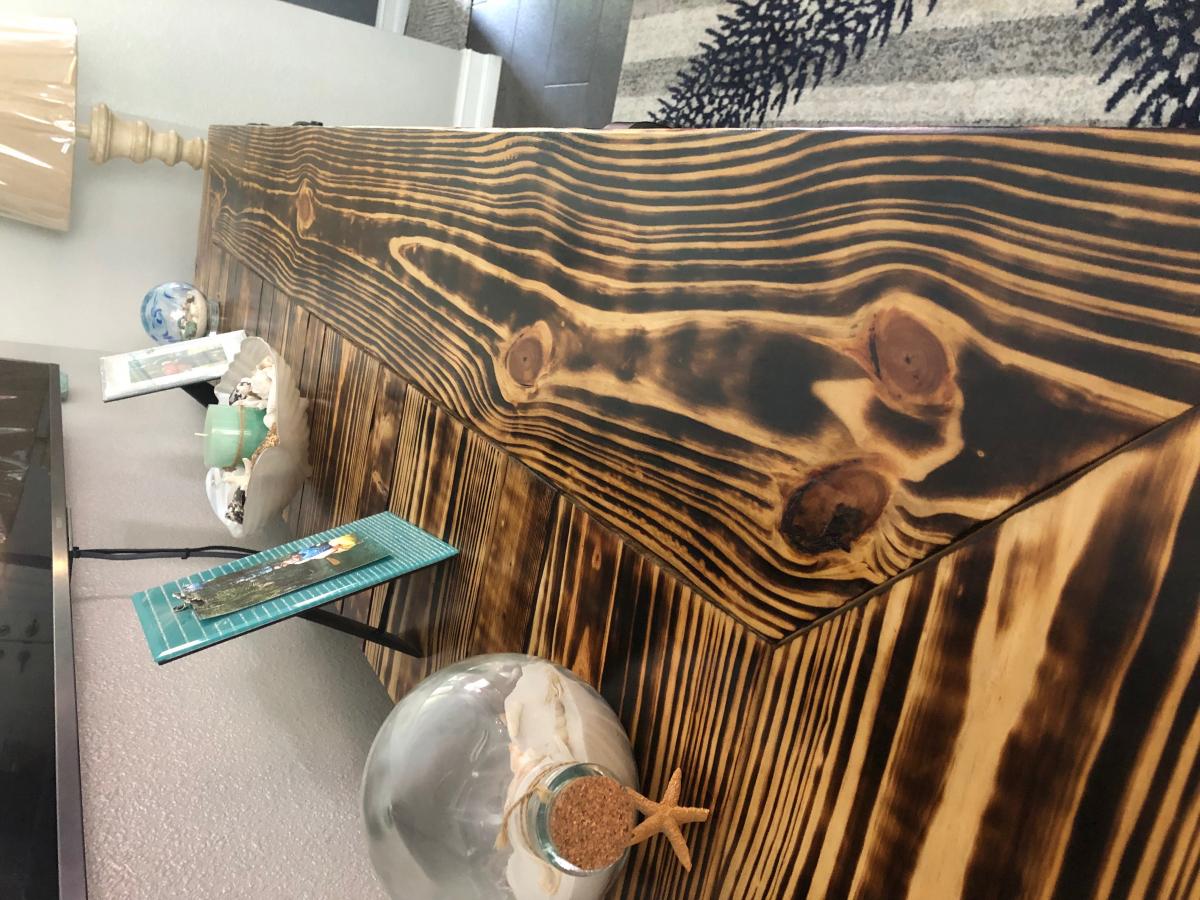
To be honest, when I went into this project I wasn't too sure about what the results would be, but I was very pleasantly surprised with how well it turned out when it was finished. So much so that after surprising my sister with her new table I've already started on another console for my own living room wall. This site has been very inspirational and has shown me that anyone can build fantastic pieces as long as the desire is there! Thanks Ana!
P.S. This project took a long time for me to complete mainly because I had no experience at all going into it. Now that I've put one together I've noticed the next one coming together much faster.


Comments
spiceylg
Thu, 11/07/2013 - 05:29
Awesome
Fantastic first project and also impressed with your newly found blacksmith skills!
Ana White
Fri, 11/08/2013 - 10:20
Seriously Impressive!
YOu have created an amazing piece that will last a lifetime! Thanks for sharing, so glad you found a new love for building!
Honestabe37
Fri, 11/08/2013 - 21:27
Thanks!
Thank you for the kind words. It's been fun to see the response from friends and family. It's kind of hilarious to me that I've only built one table and now I have requests coming from family, friends and co-workers for everything from end tables to entertainment centers! But first things first, I'm piecing together my new console table for the living room. I just wish I had more time during the day to spend on it!
daneleven
Mon, 10/27/2014 - 18:30
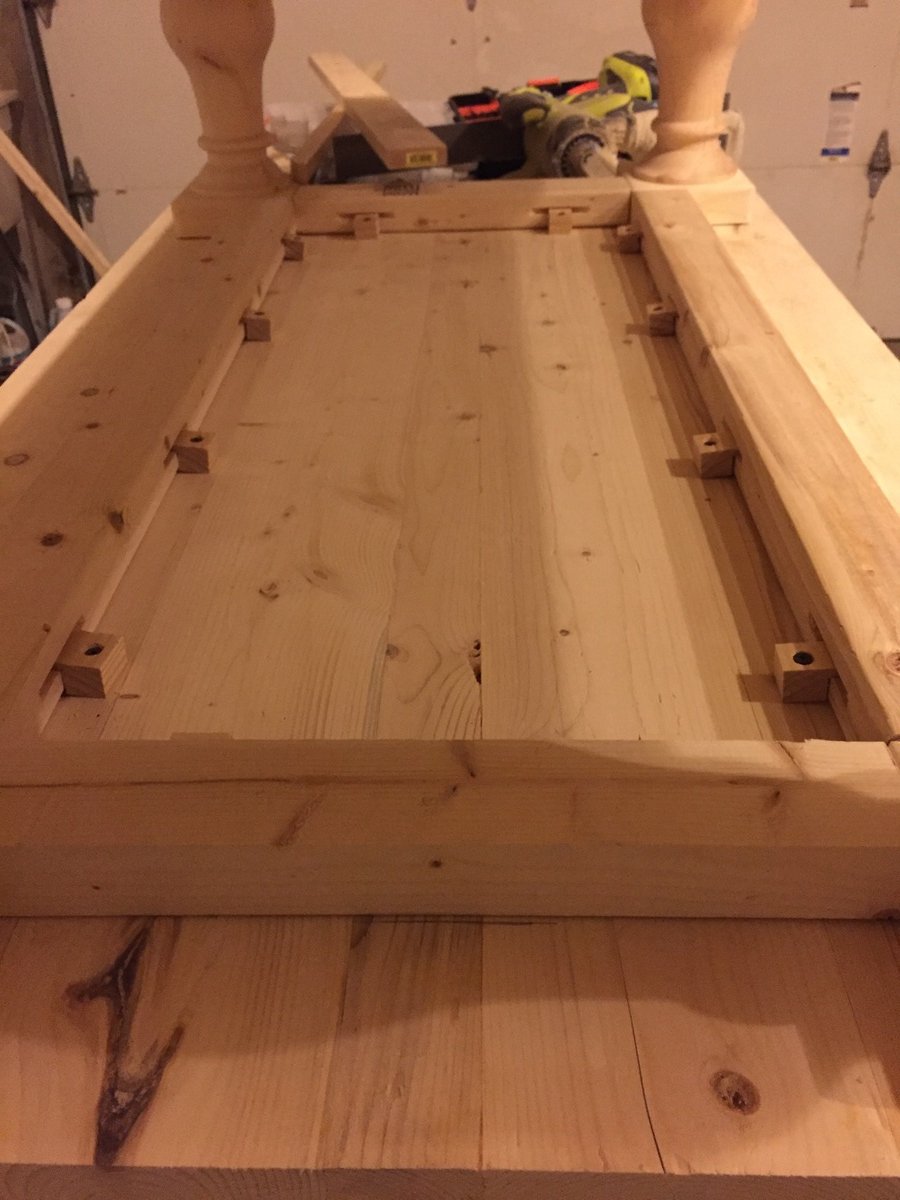
SECOND SHELF
Any pointers on making and installing the second shelf?