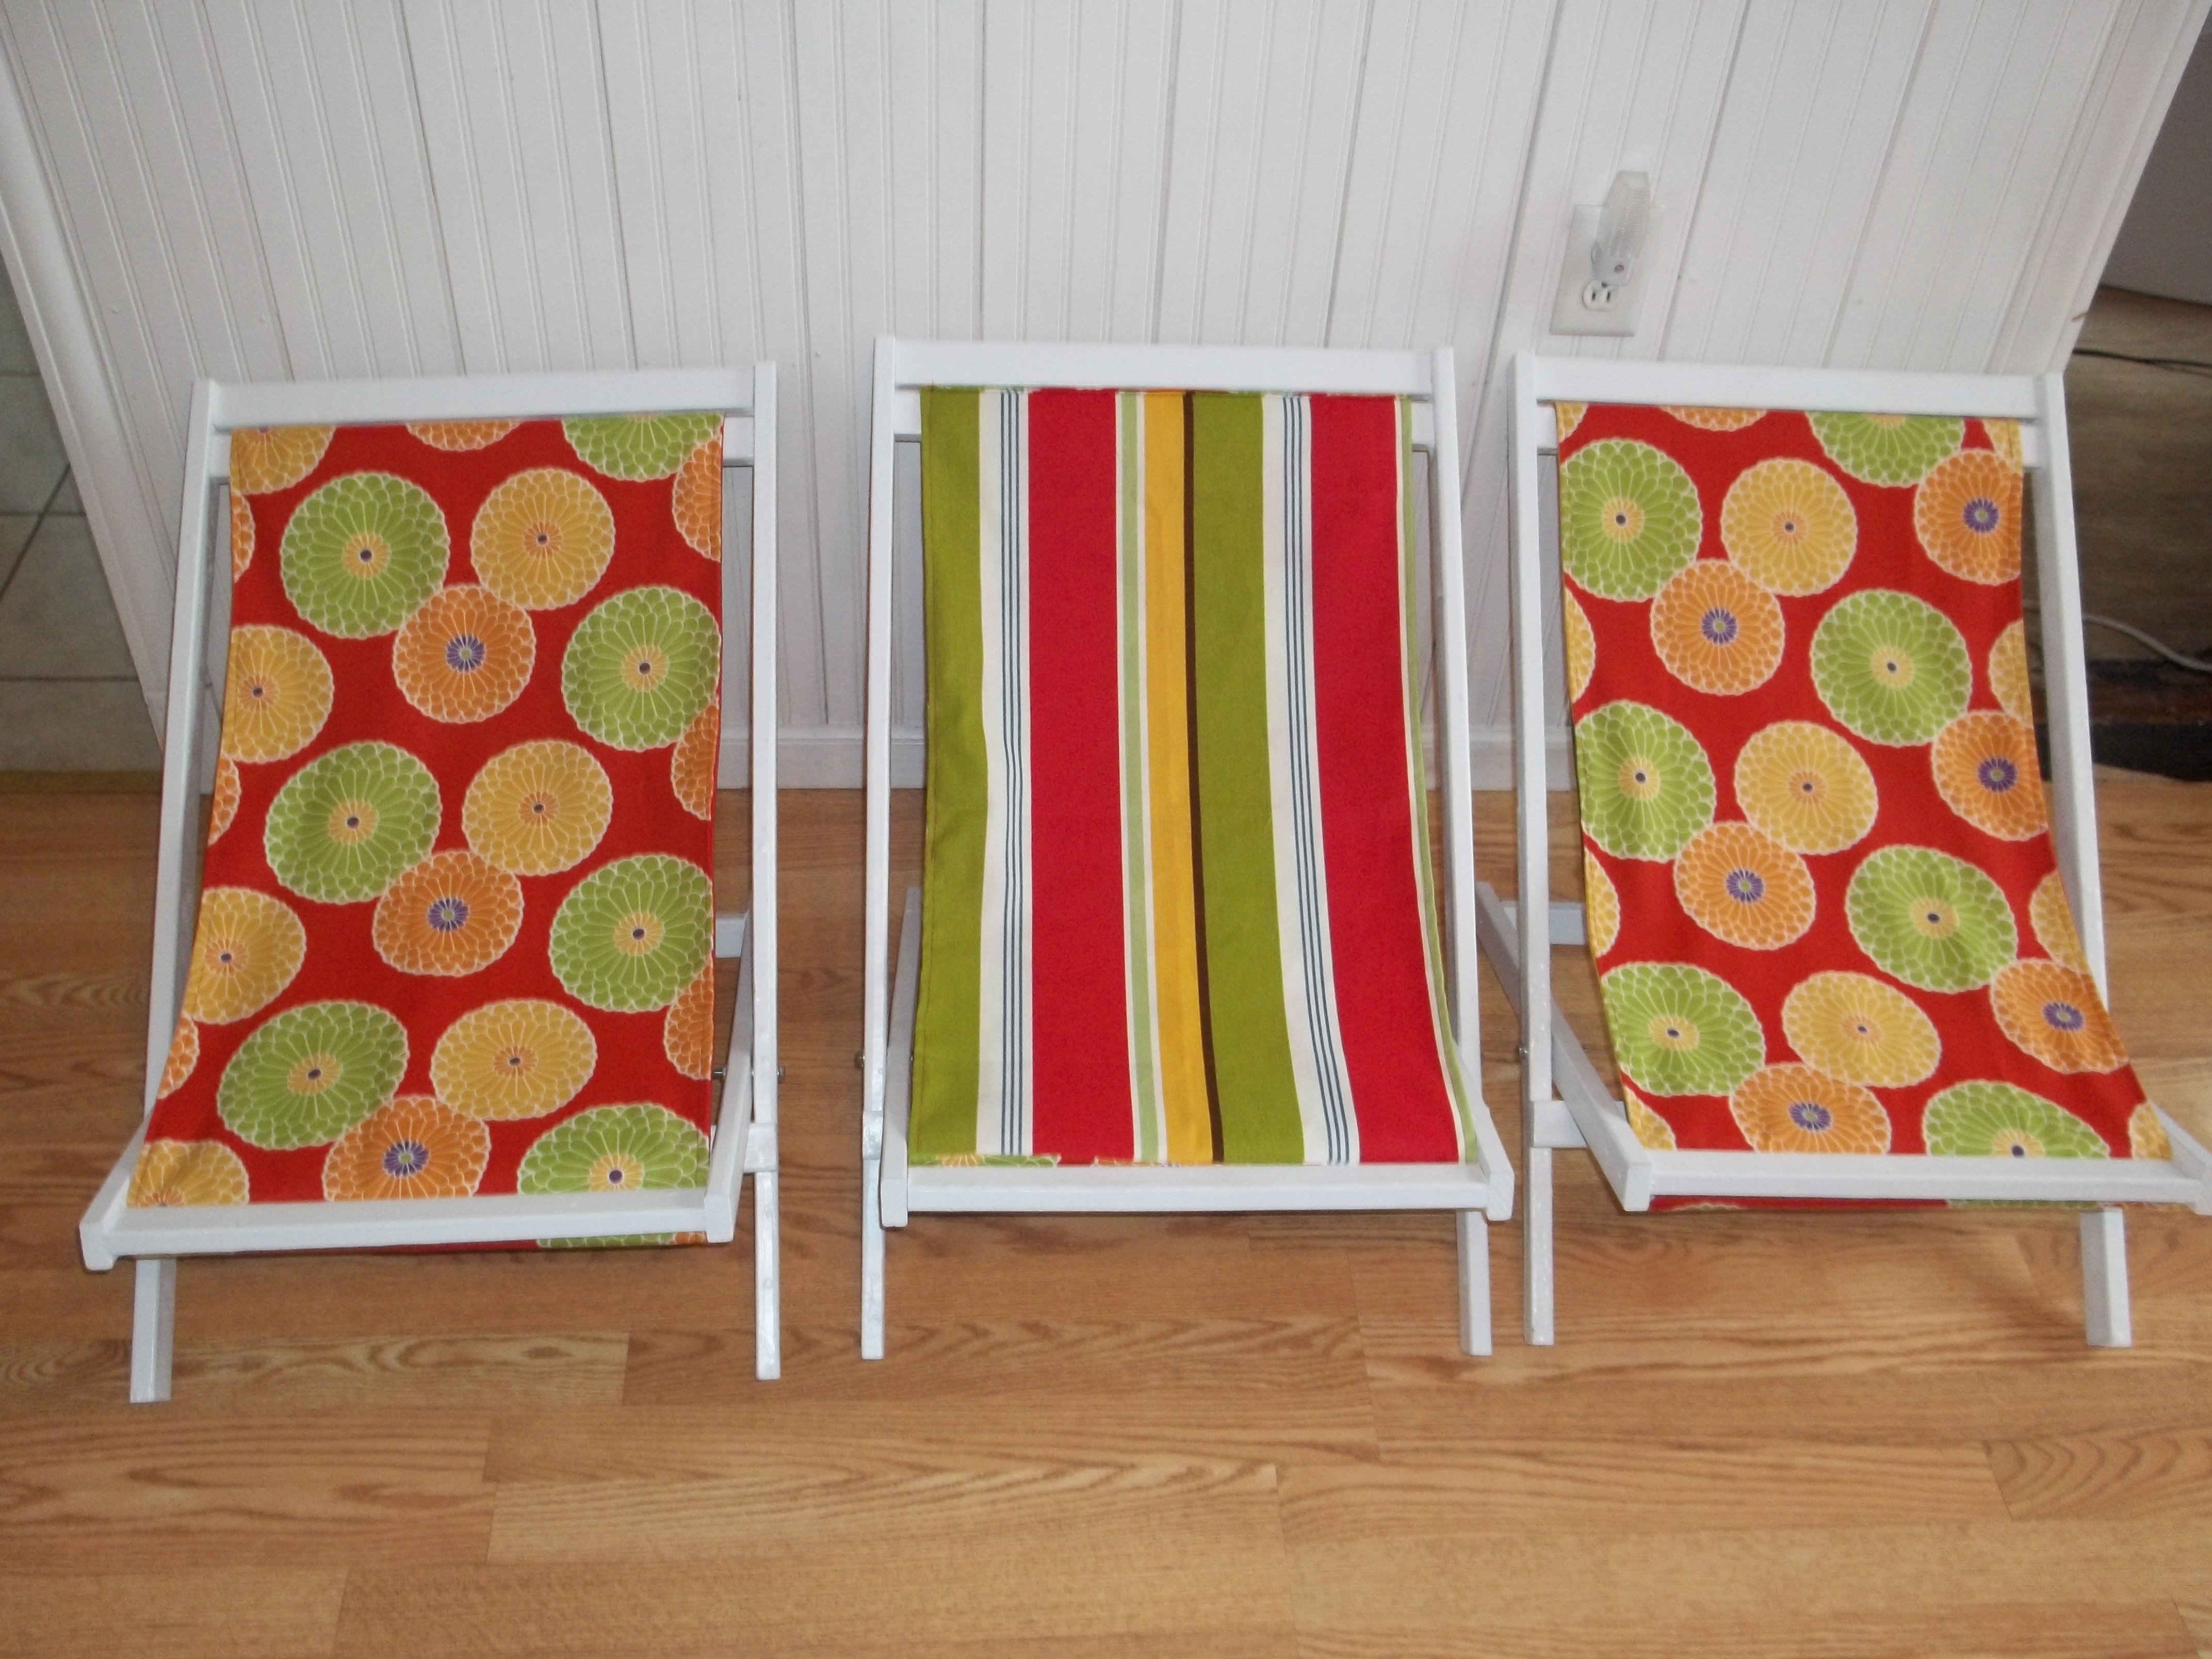
DIY Modern Lounge Chairs
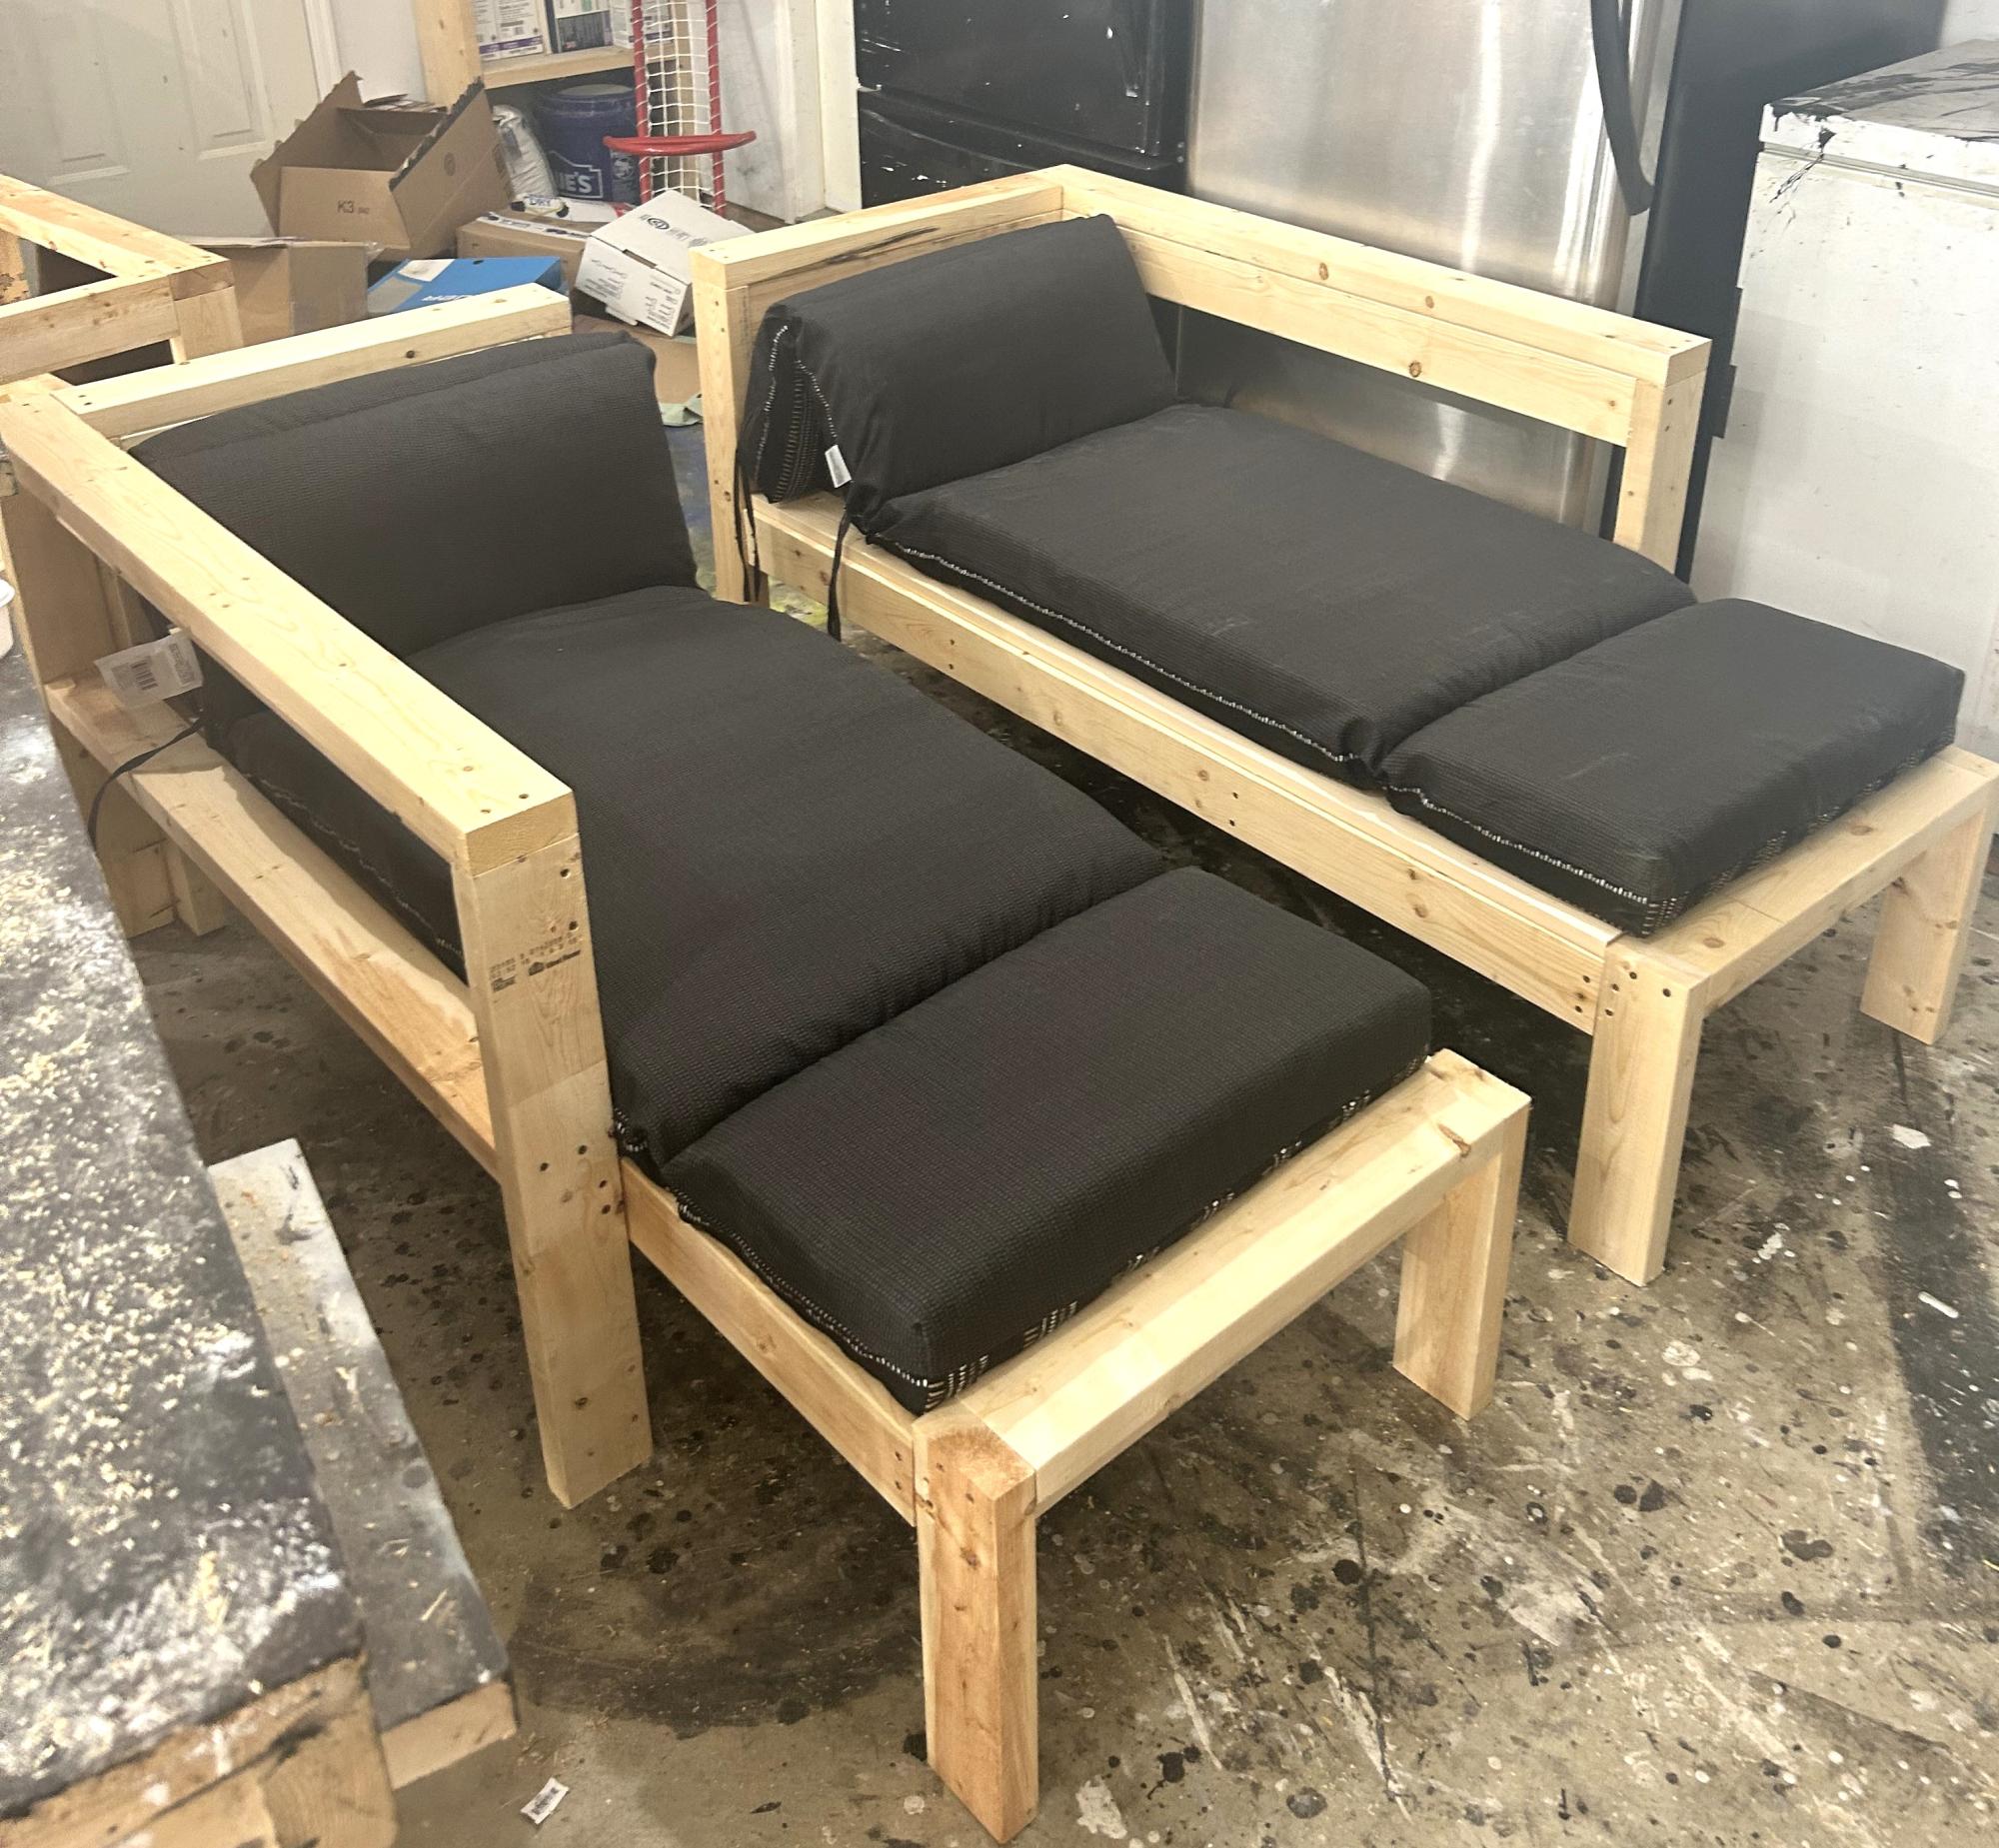
They’re not sanded or stained yet but I love how they turned out!
Carly M @carlymorwick
Built from Plan(s)
They’re not sanded or stained yet but I love how they turned out!
Carly M @carlymorwick
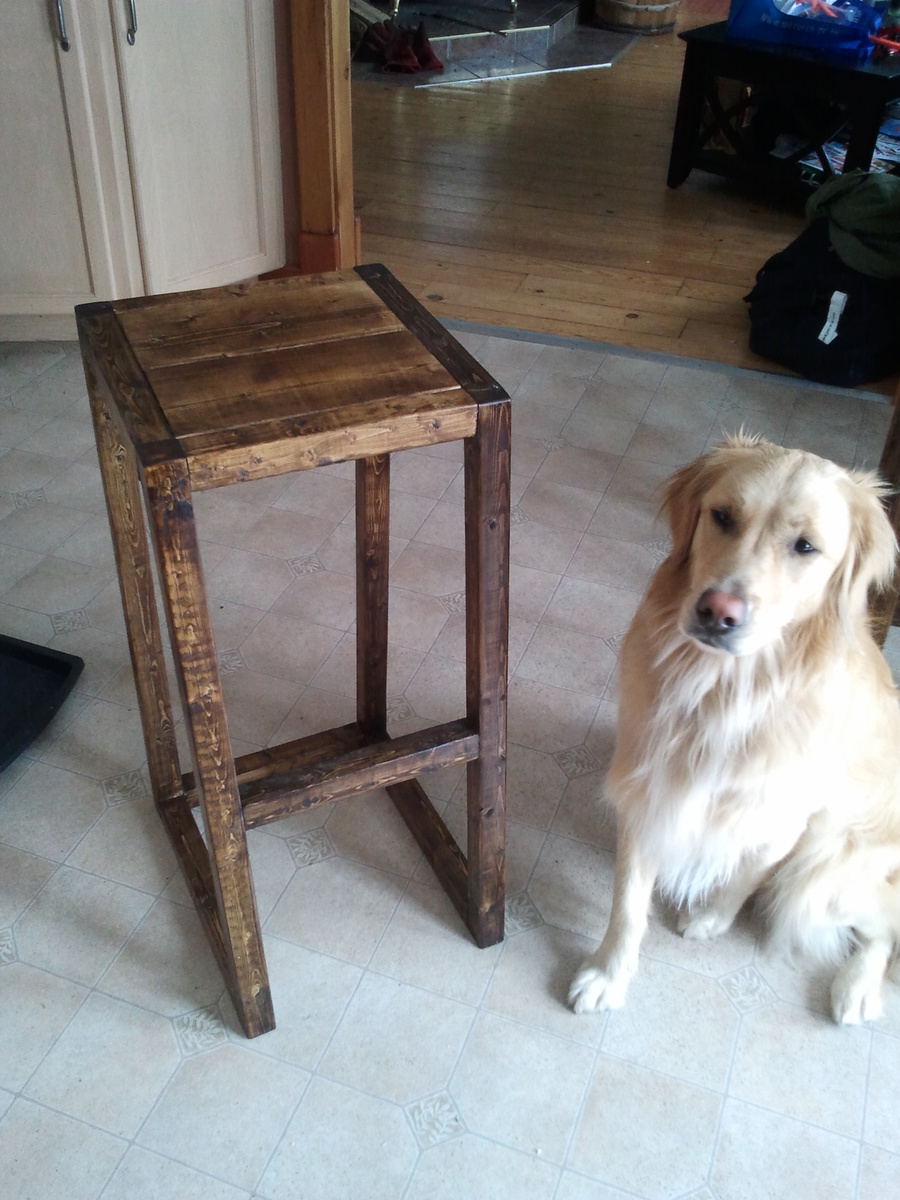
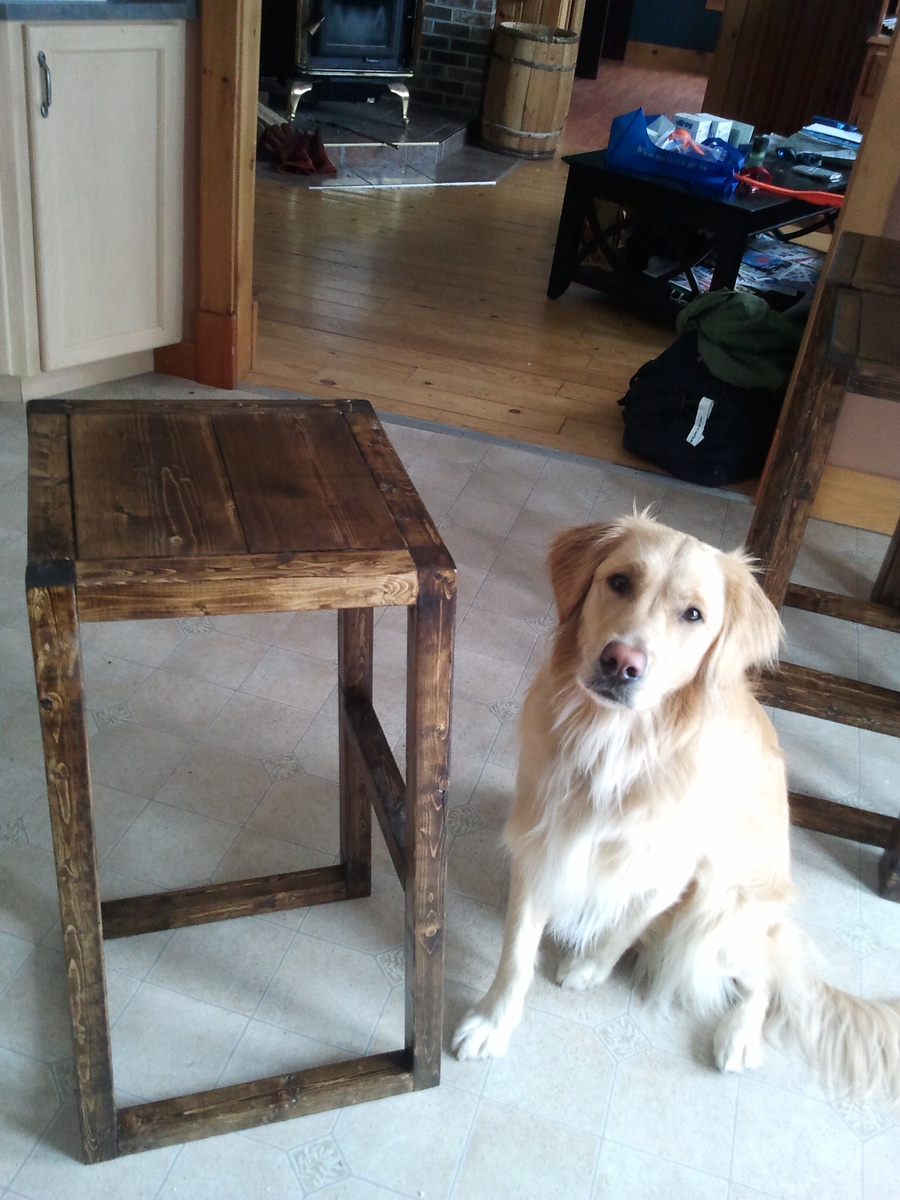
These are simple, cheap, easy, and effective.
I modified the top so that I could just use the left over 2X6s I had and it would somewhat match my table. I felt it worked. There is probably something like $5 in wood in each chair about about 20 screws...that's it.
Word of warning, because you are using 2X2s these chairs will twist a little. Can't change physics but for $5 what do you want...
This is a fun little project that is quite easy but will make you think about how you can modify it and how/where you should use all your screws both to make it strong as well as to hide them.

Was my first project from Ana White's designs. I enjoyed making it, and plan on following up with the outdoor loveseat this spring.


Very easy plan to follow
A fun project I did for a homeowner in Rosemount Minnesota. I had 100 hours in it at the end but they were very happy with the end result!
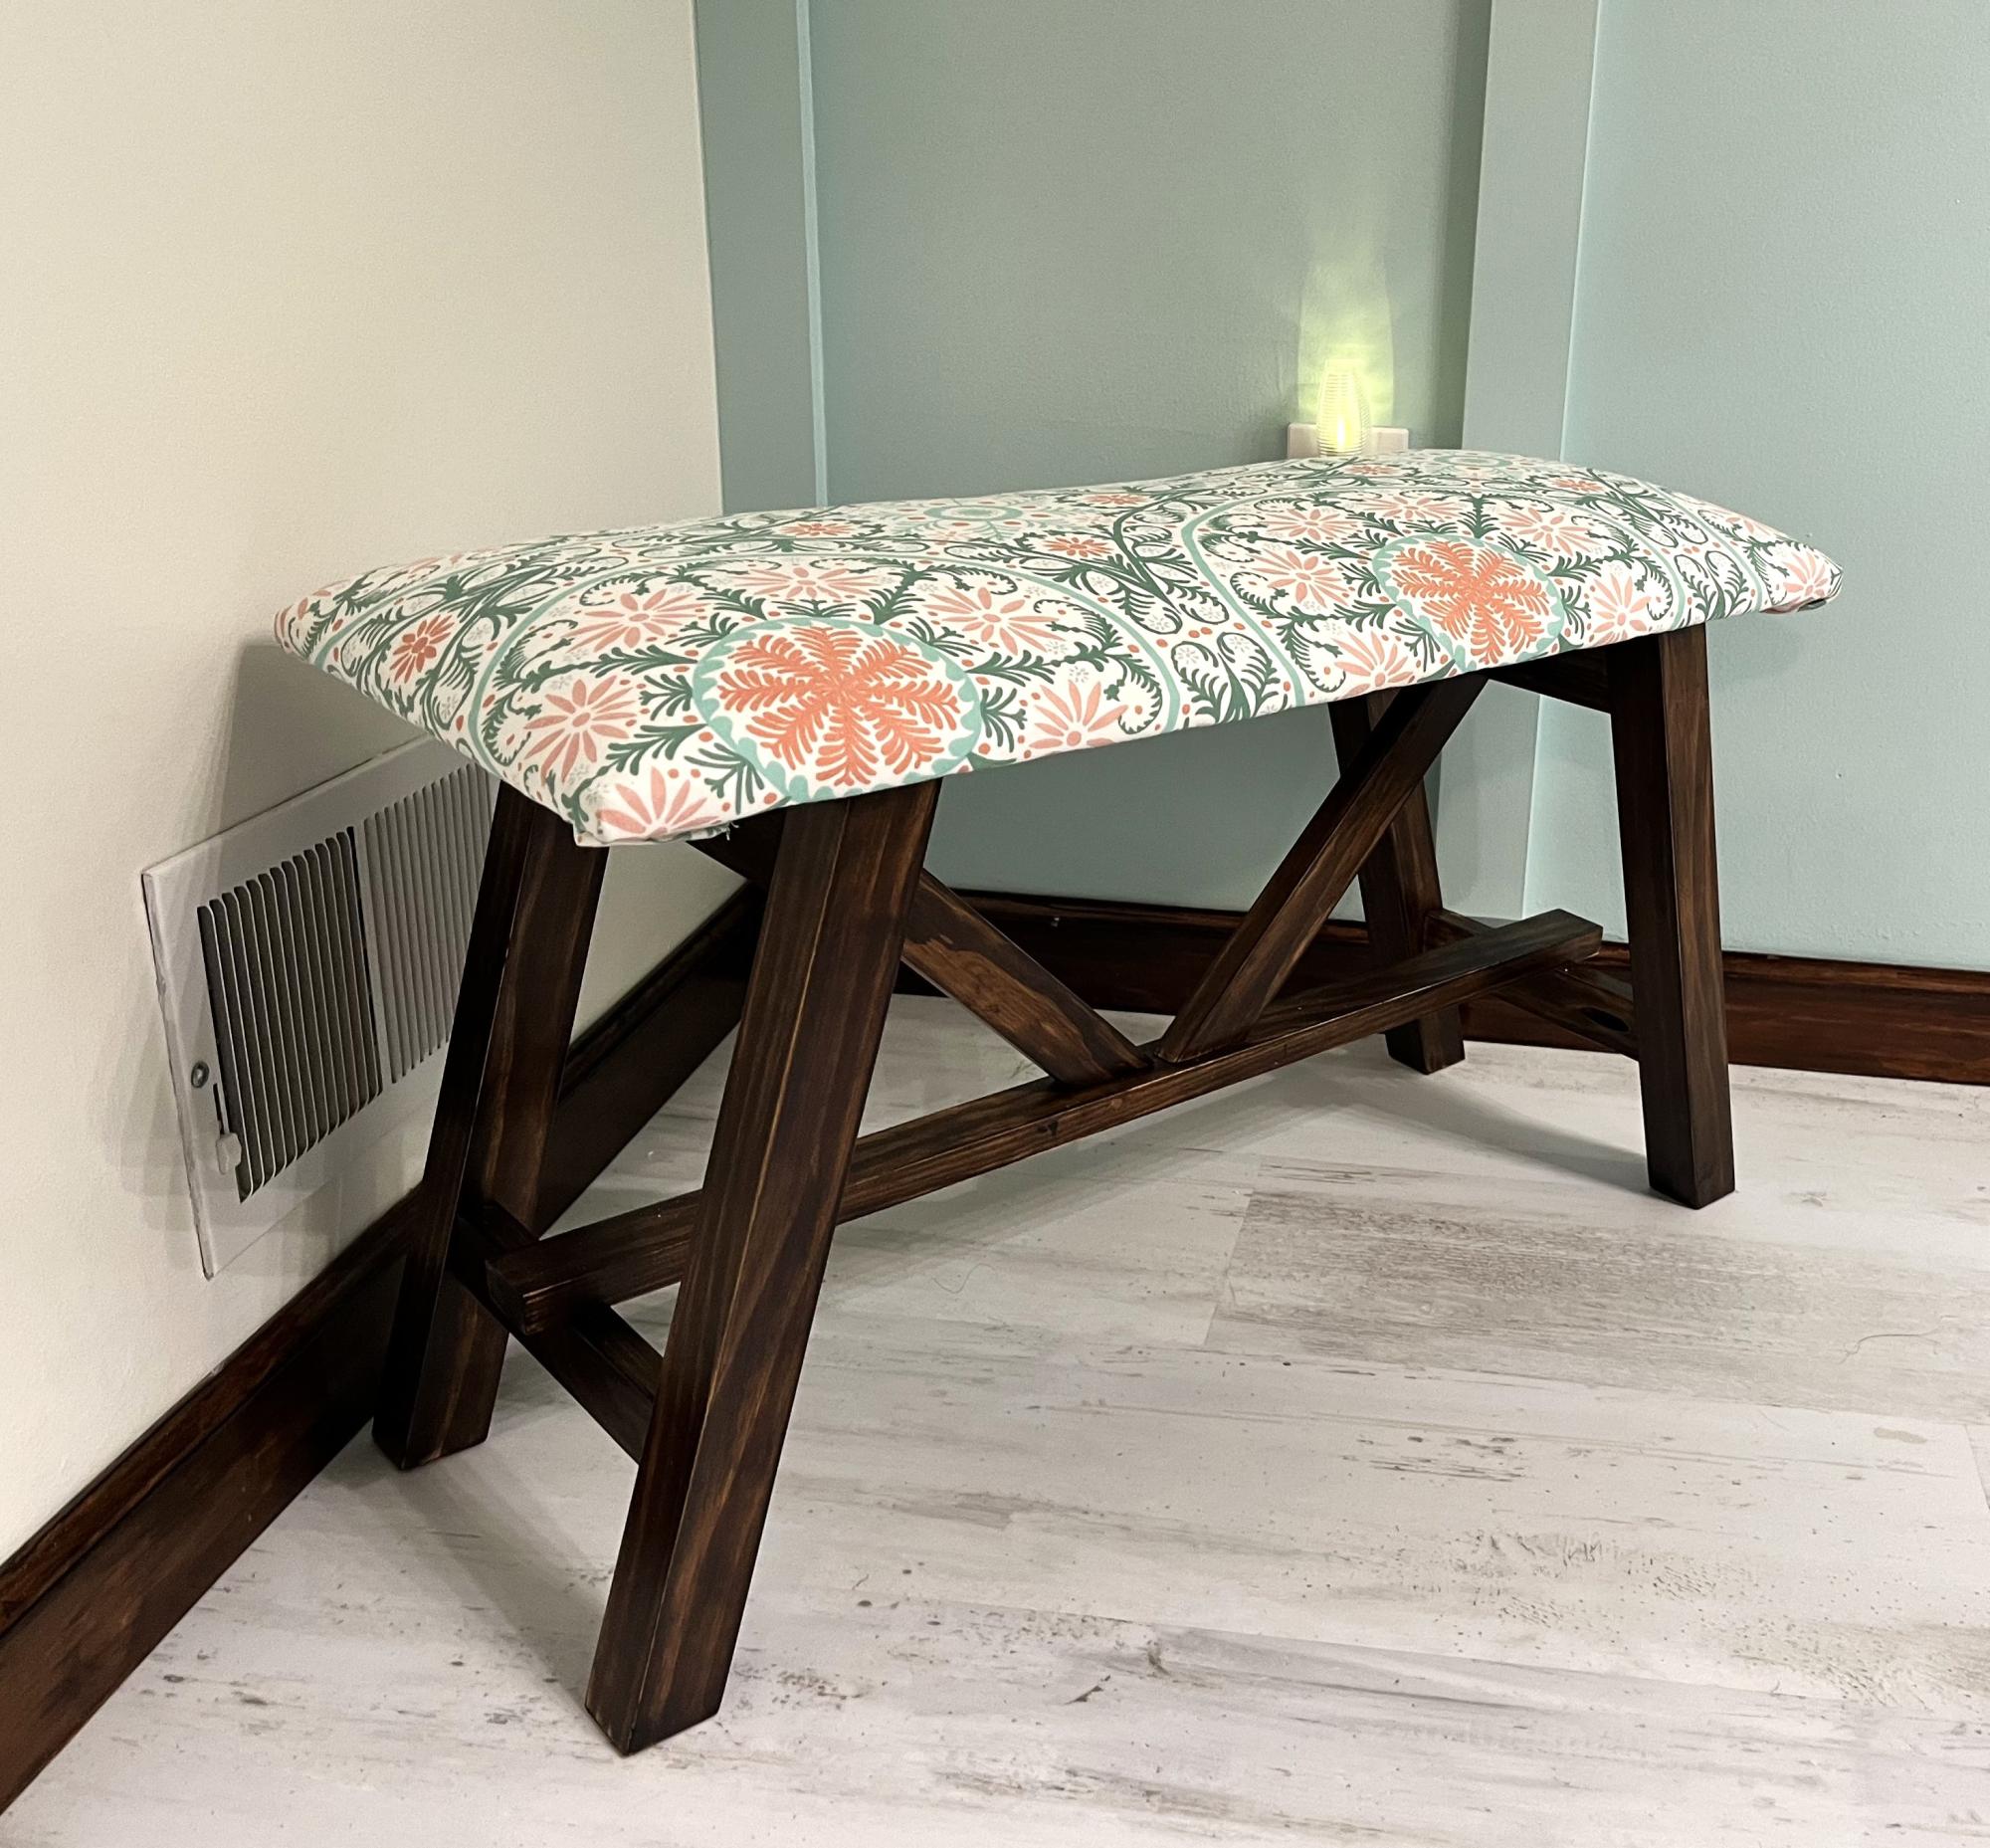
I added a cushion to the bench top and absolutely love how it turned out! Thank you for making your plans available and so easy to follow!
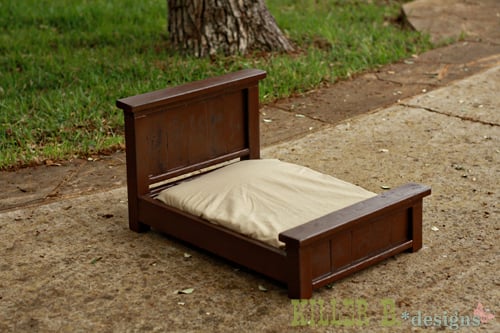
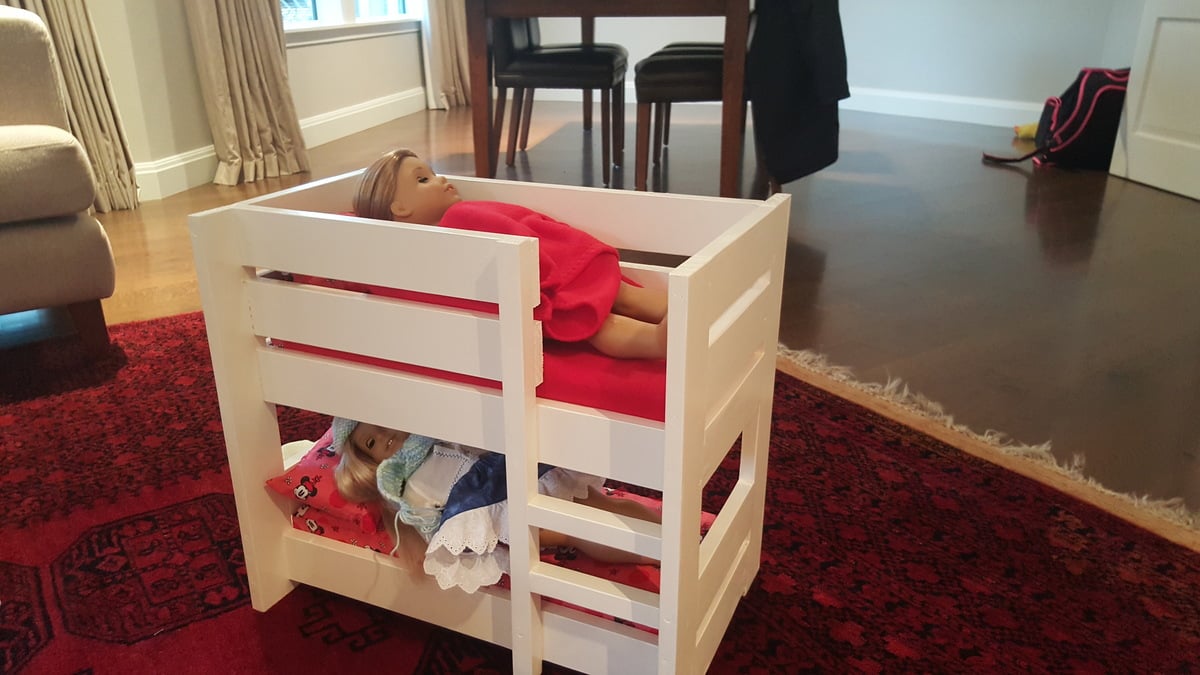
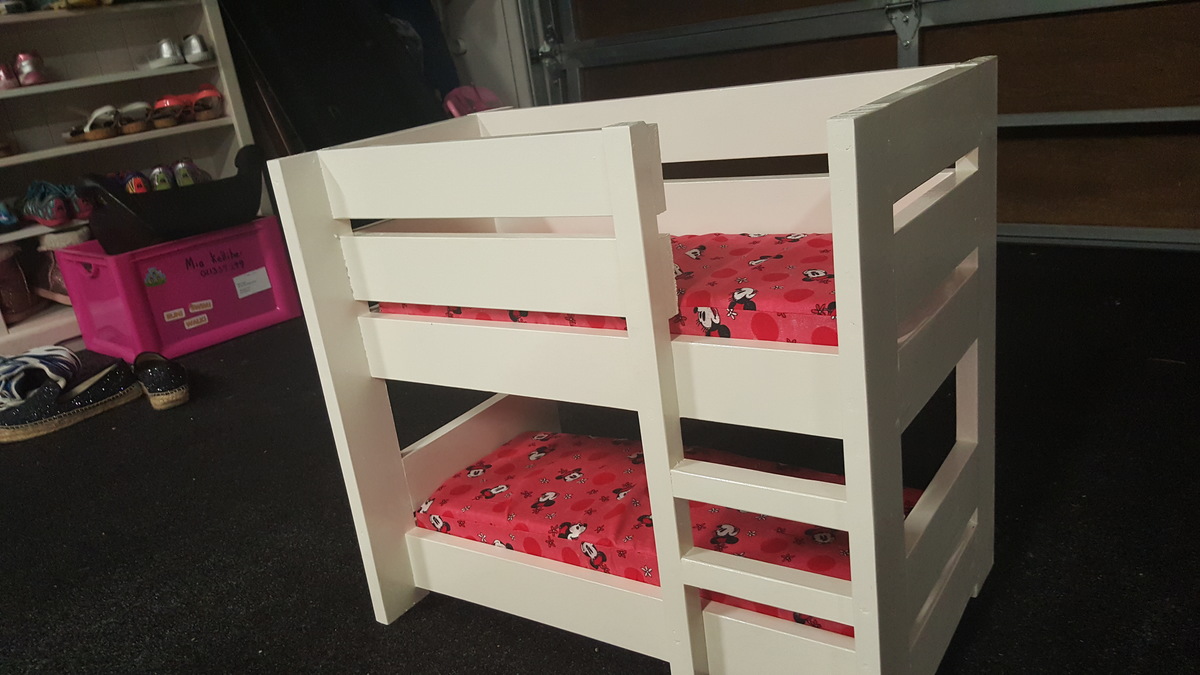
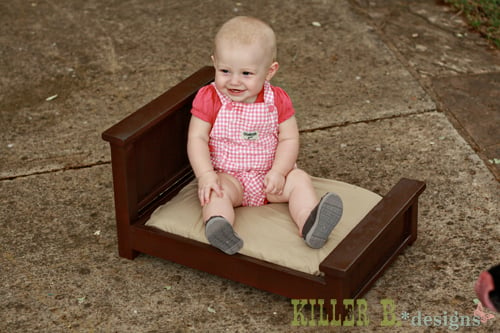
I built the Farmhouse Doll Bed for a friend with a photography studio who was looking for some newborn props. I used glue and nails for the headboard/footboard construction, and screws with 3/4" plywood for the bed portion so it would be very sturdy. I made the mattresses out of some spare 2" foam cut to size, and made a slipcover out of a pillowcase so it's washable.
I changed the 1x12 for 1x6 to better fit the space. I also made it several inches taller. It was a very easy and quick project. Actually, the rustic look stain took longer than the actual build. Thank you Ana for another awesome design.
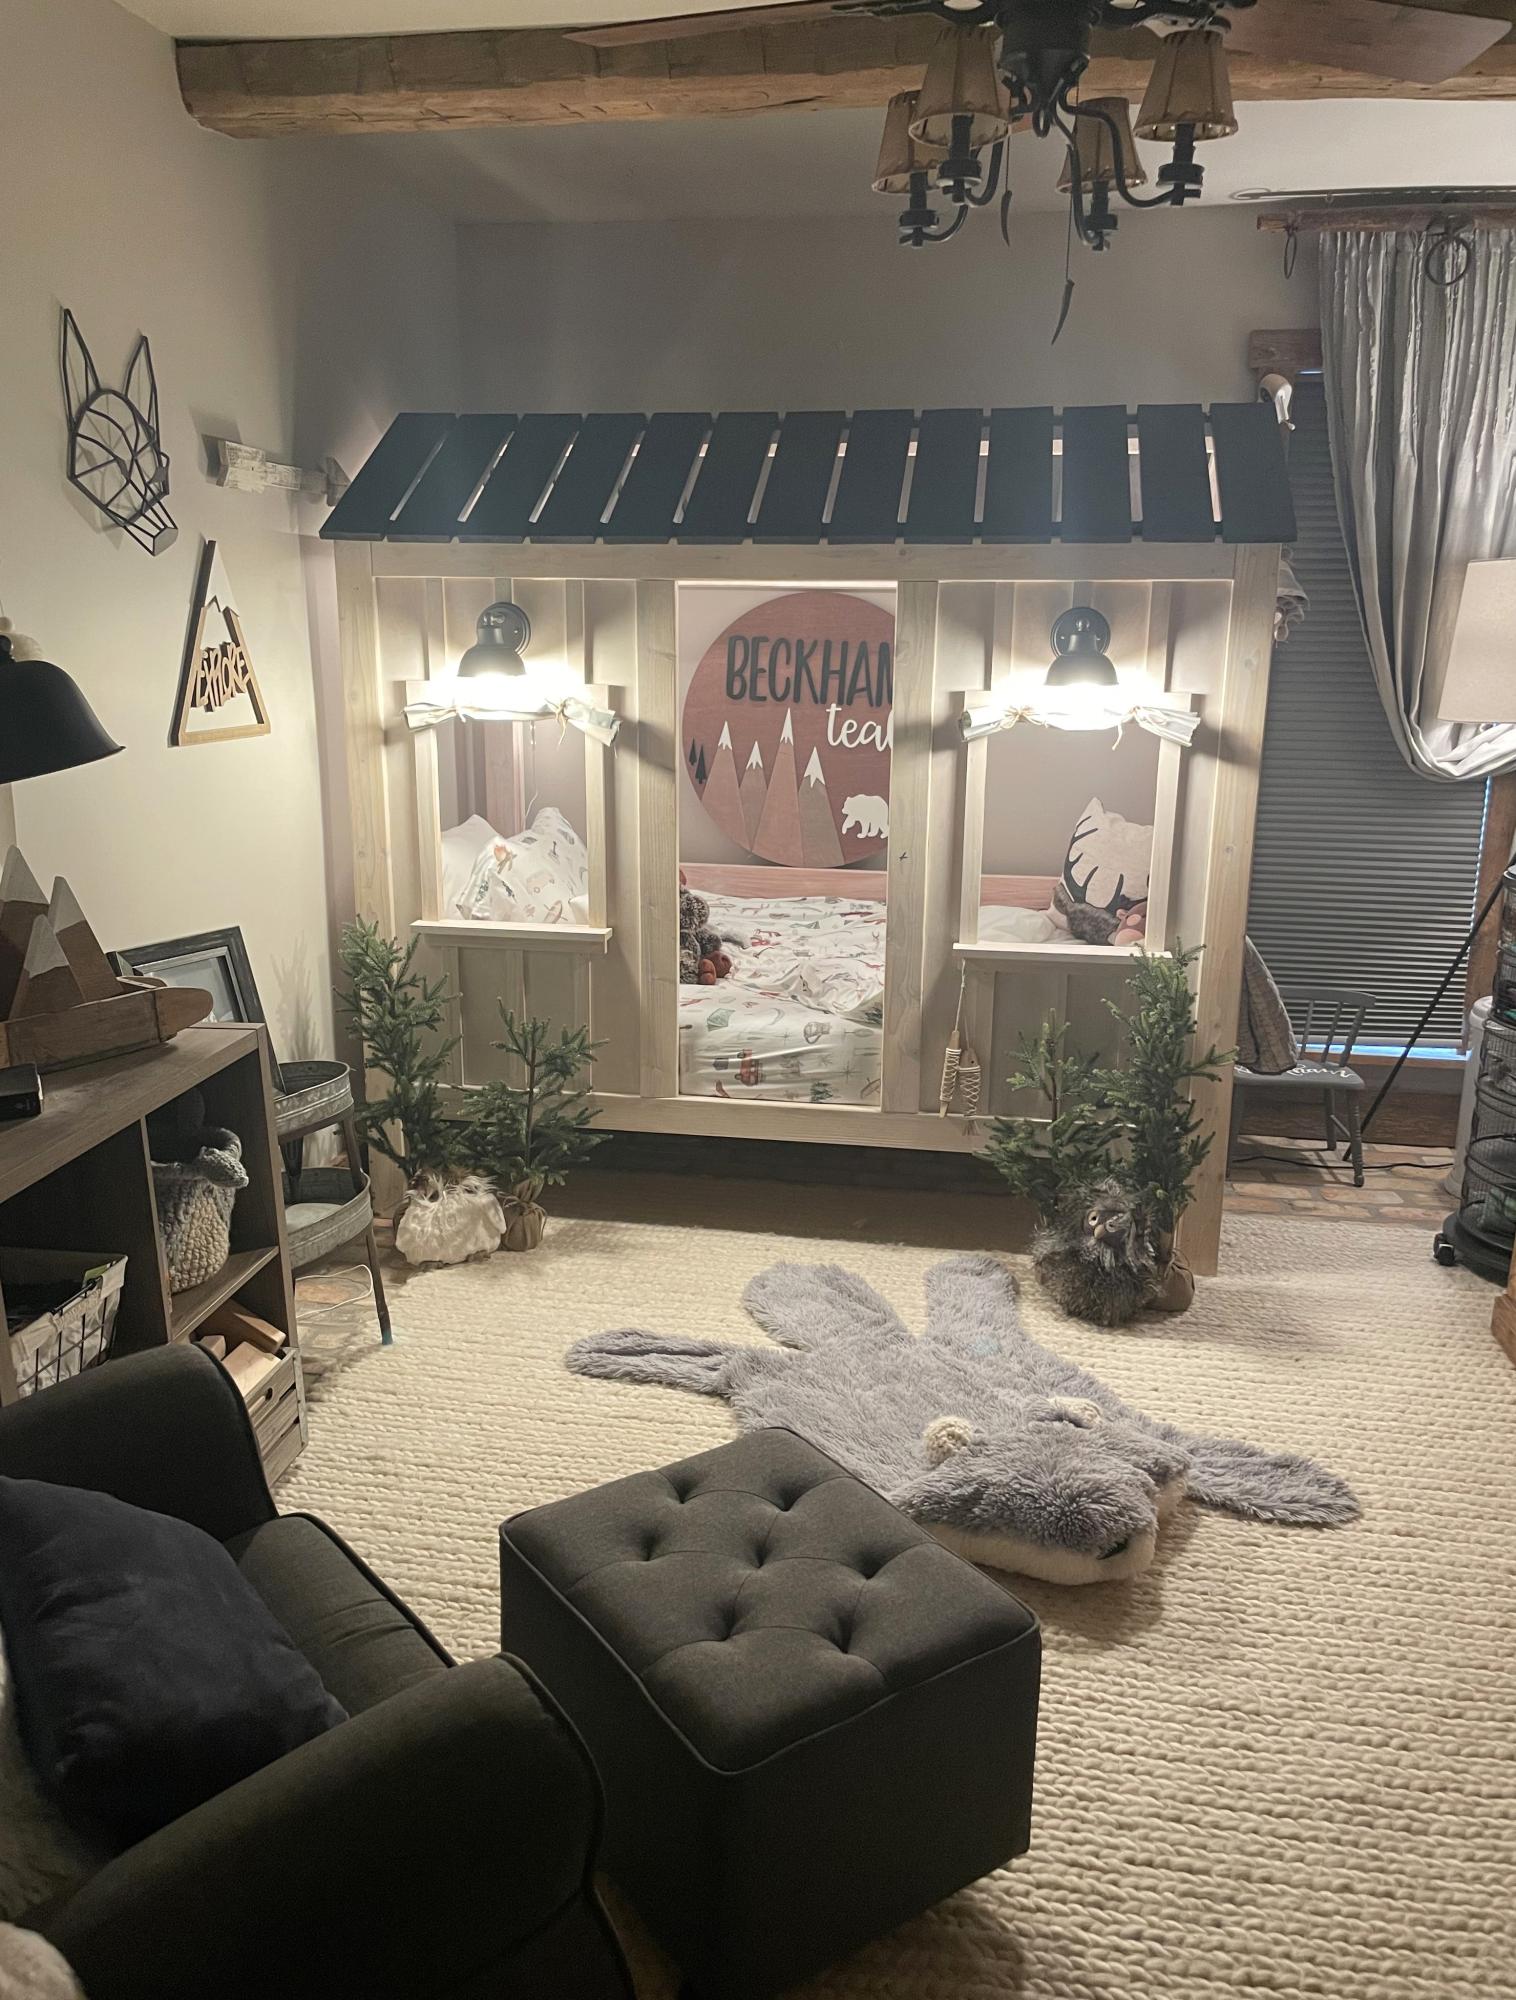
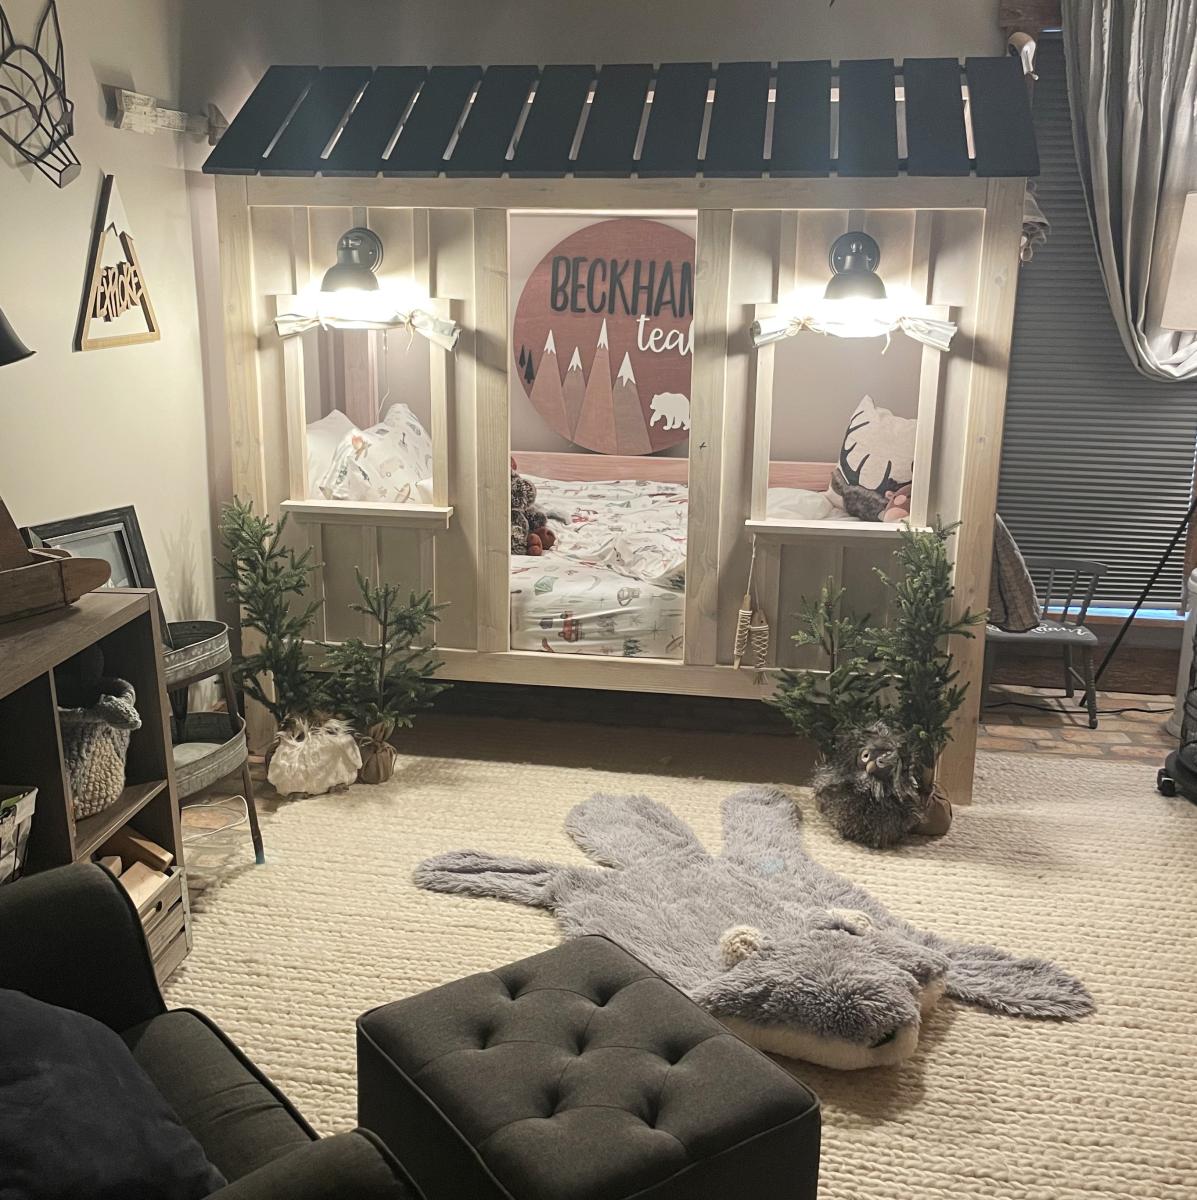
Cabin in the woods!! We added Phillips Hue lighting so we can control all the lights from our phone.
This is my first project. I wanted to make something for my three neices for Easter. I thought this looked like a good starter project. I used spray paint, but I wish I would've used regular paint, as they got kind of drippy and I had to sand the drips off. I think they would've also been cheaper if I would've used regular paint instead of the spray paint. We also do not have a fabric store in the area, so I had to order it on-line and paid shipping. But I did love the fabric that I found.
I'm pretty happy how they turned out. Now I want to try something else!
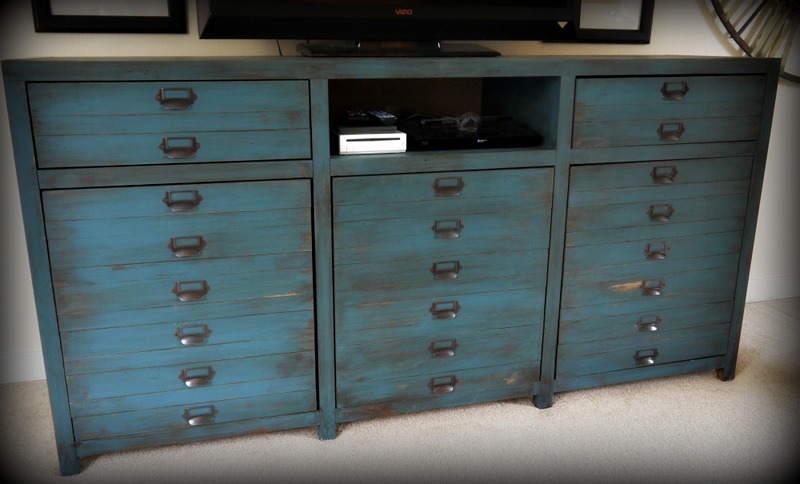
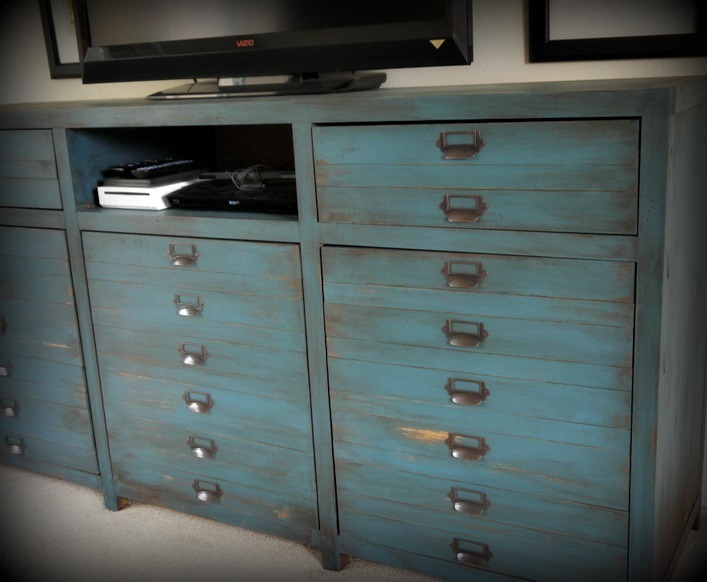
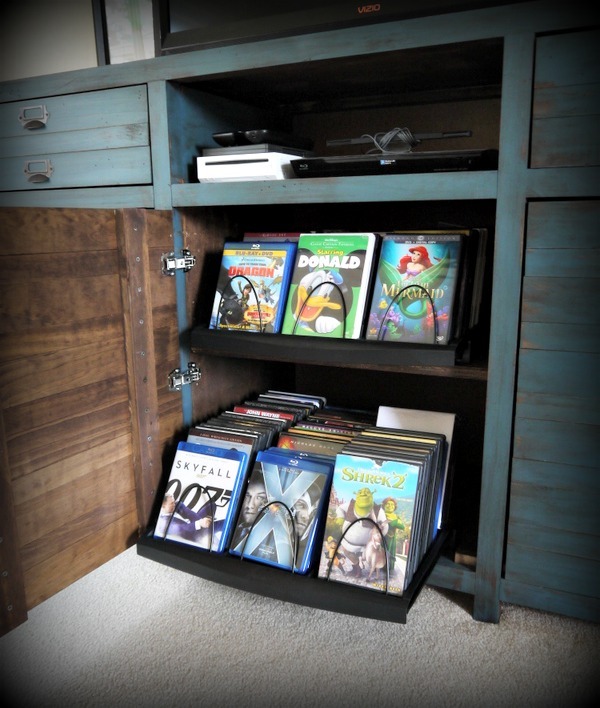
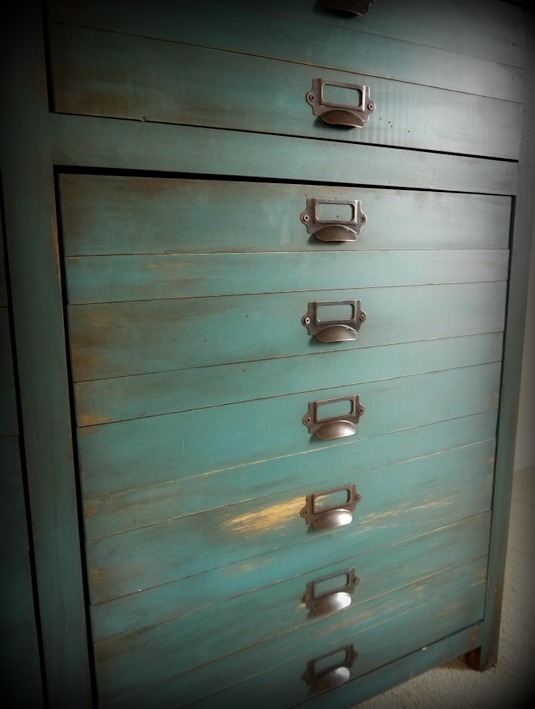
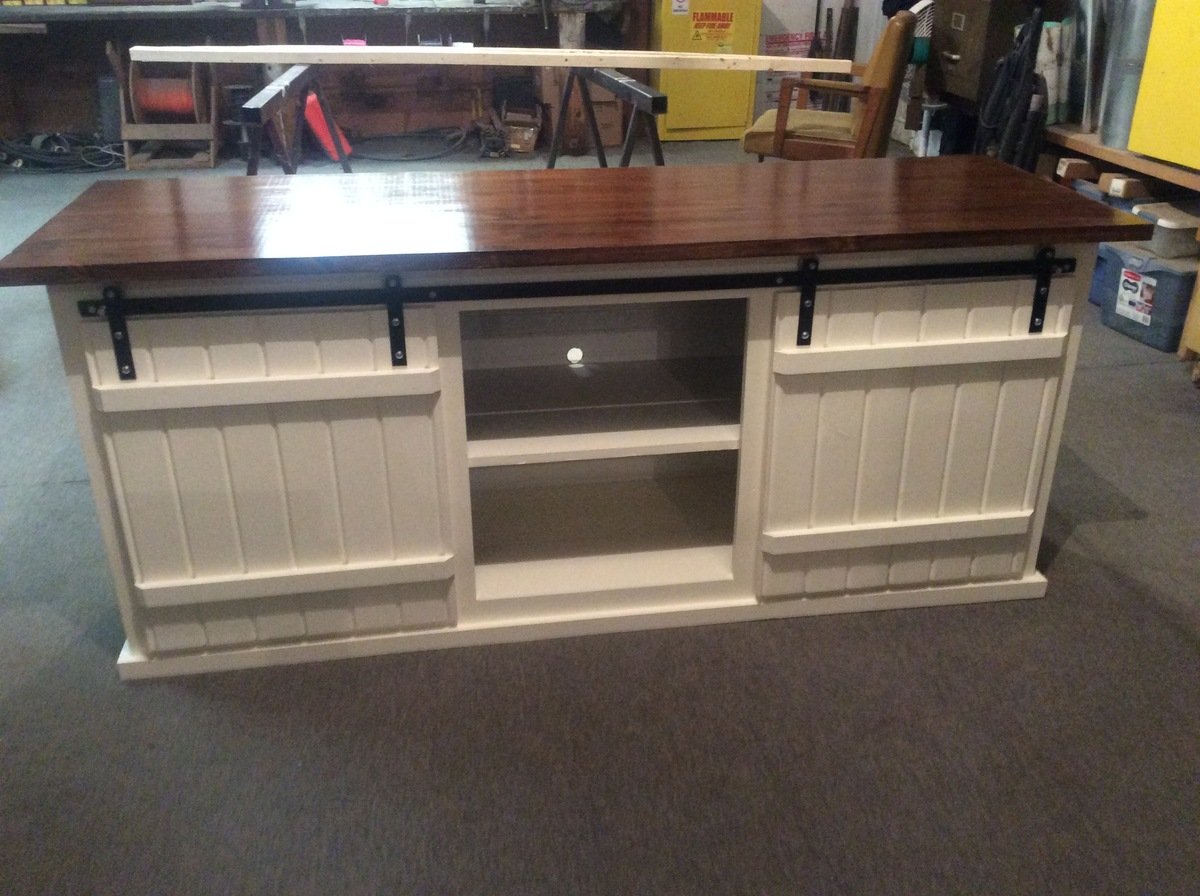
This Printers Console functions as our entertainment center! I omitted the center drawer in favor of a shelf to hold the Wii console and DVD player. I added three DVD storage racks behind the cupboard doors. More details available here: http://redhenhome.blogspot.com/2014/01/triple-printers-console-cabinet…

Tue, 01/28/2014 - 05:56
Love the finish that you used on this. I've been wanting to give chalk paint a try. May have to do that on my next project.

Tue, 01/28/2014 - 08:03
Gorgeous! This project is on my to-do list but I've got a couple other things that must be done first. And I can't do anything until our weather warms up into positive numbers since my workshop isn't heated or insulated. I hope mine turns out looking as good as yours does.
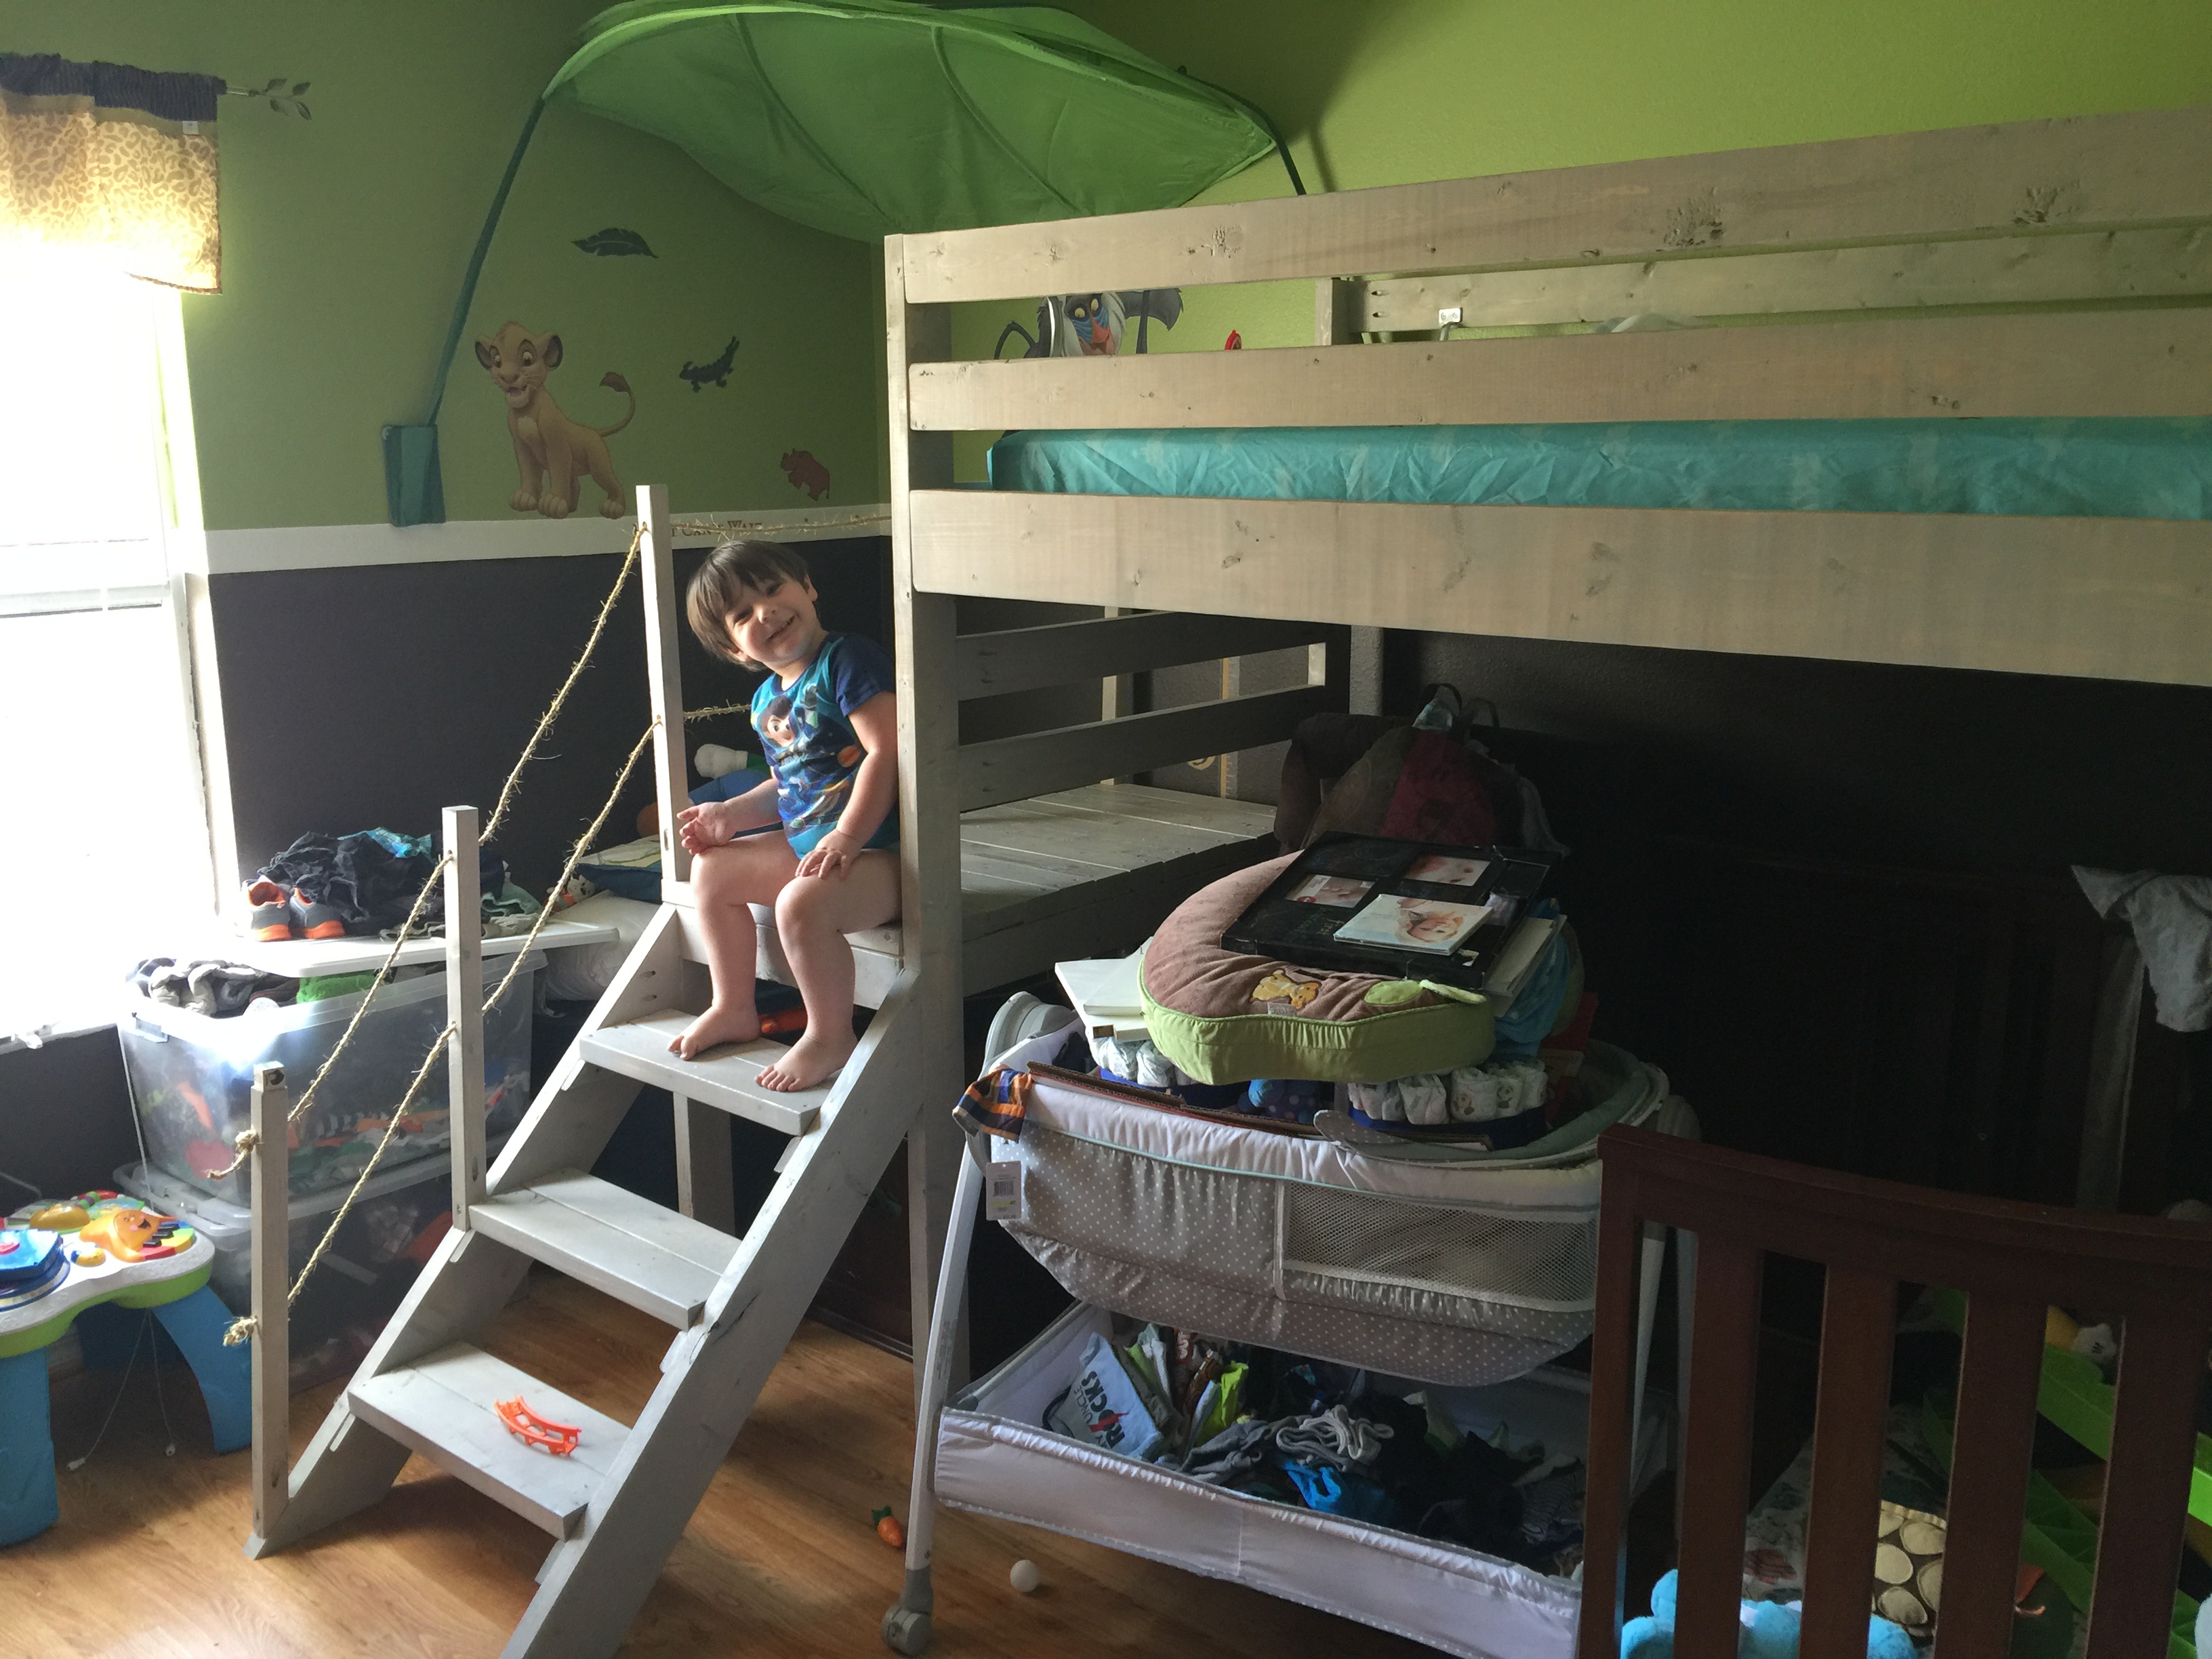
I used the Camp loft bed with stair plan. I raised the height by 4 inches to accommodate taller items being pushed under it. I also added the "railing" due to not being pushed up against the wall on the stair side.

This was my first furniture build, and I'm very much an amateur at woodworking. That being said, this was very easy to build and we're thrilled with the result. The only things I changed were making the bed 6 inches taller so we could store more under it and using 4x4s for the center leg supports. Also, I used joist hangers to hang the center supports instead of screwing through the footboard and headboard support.
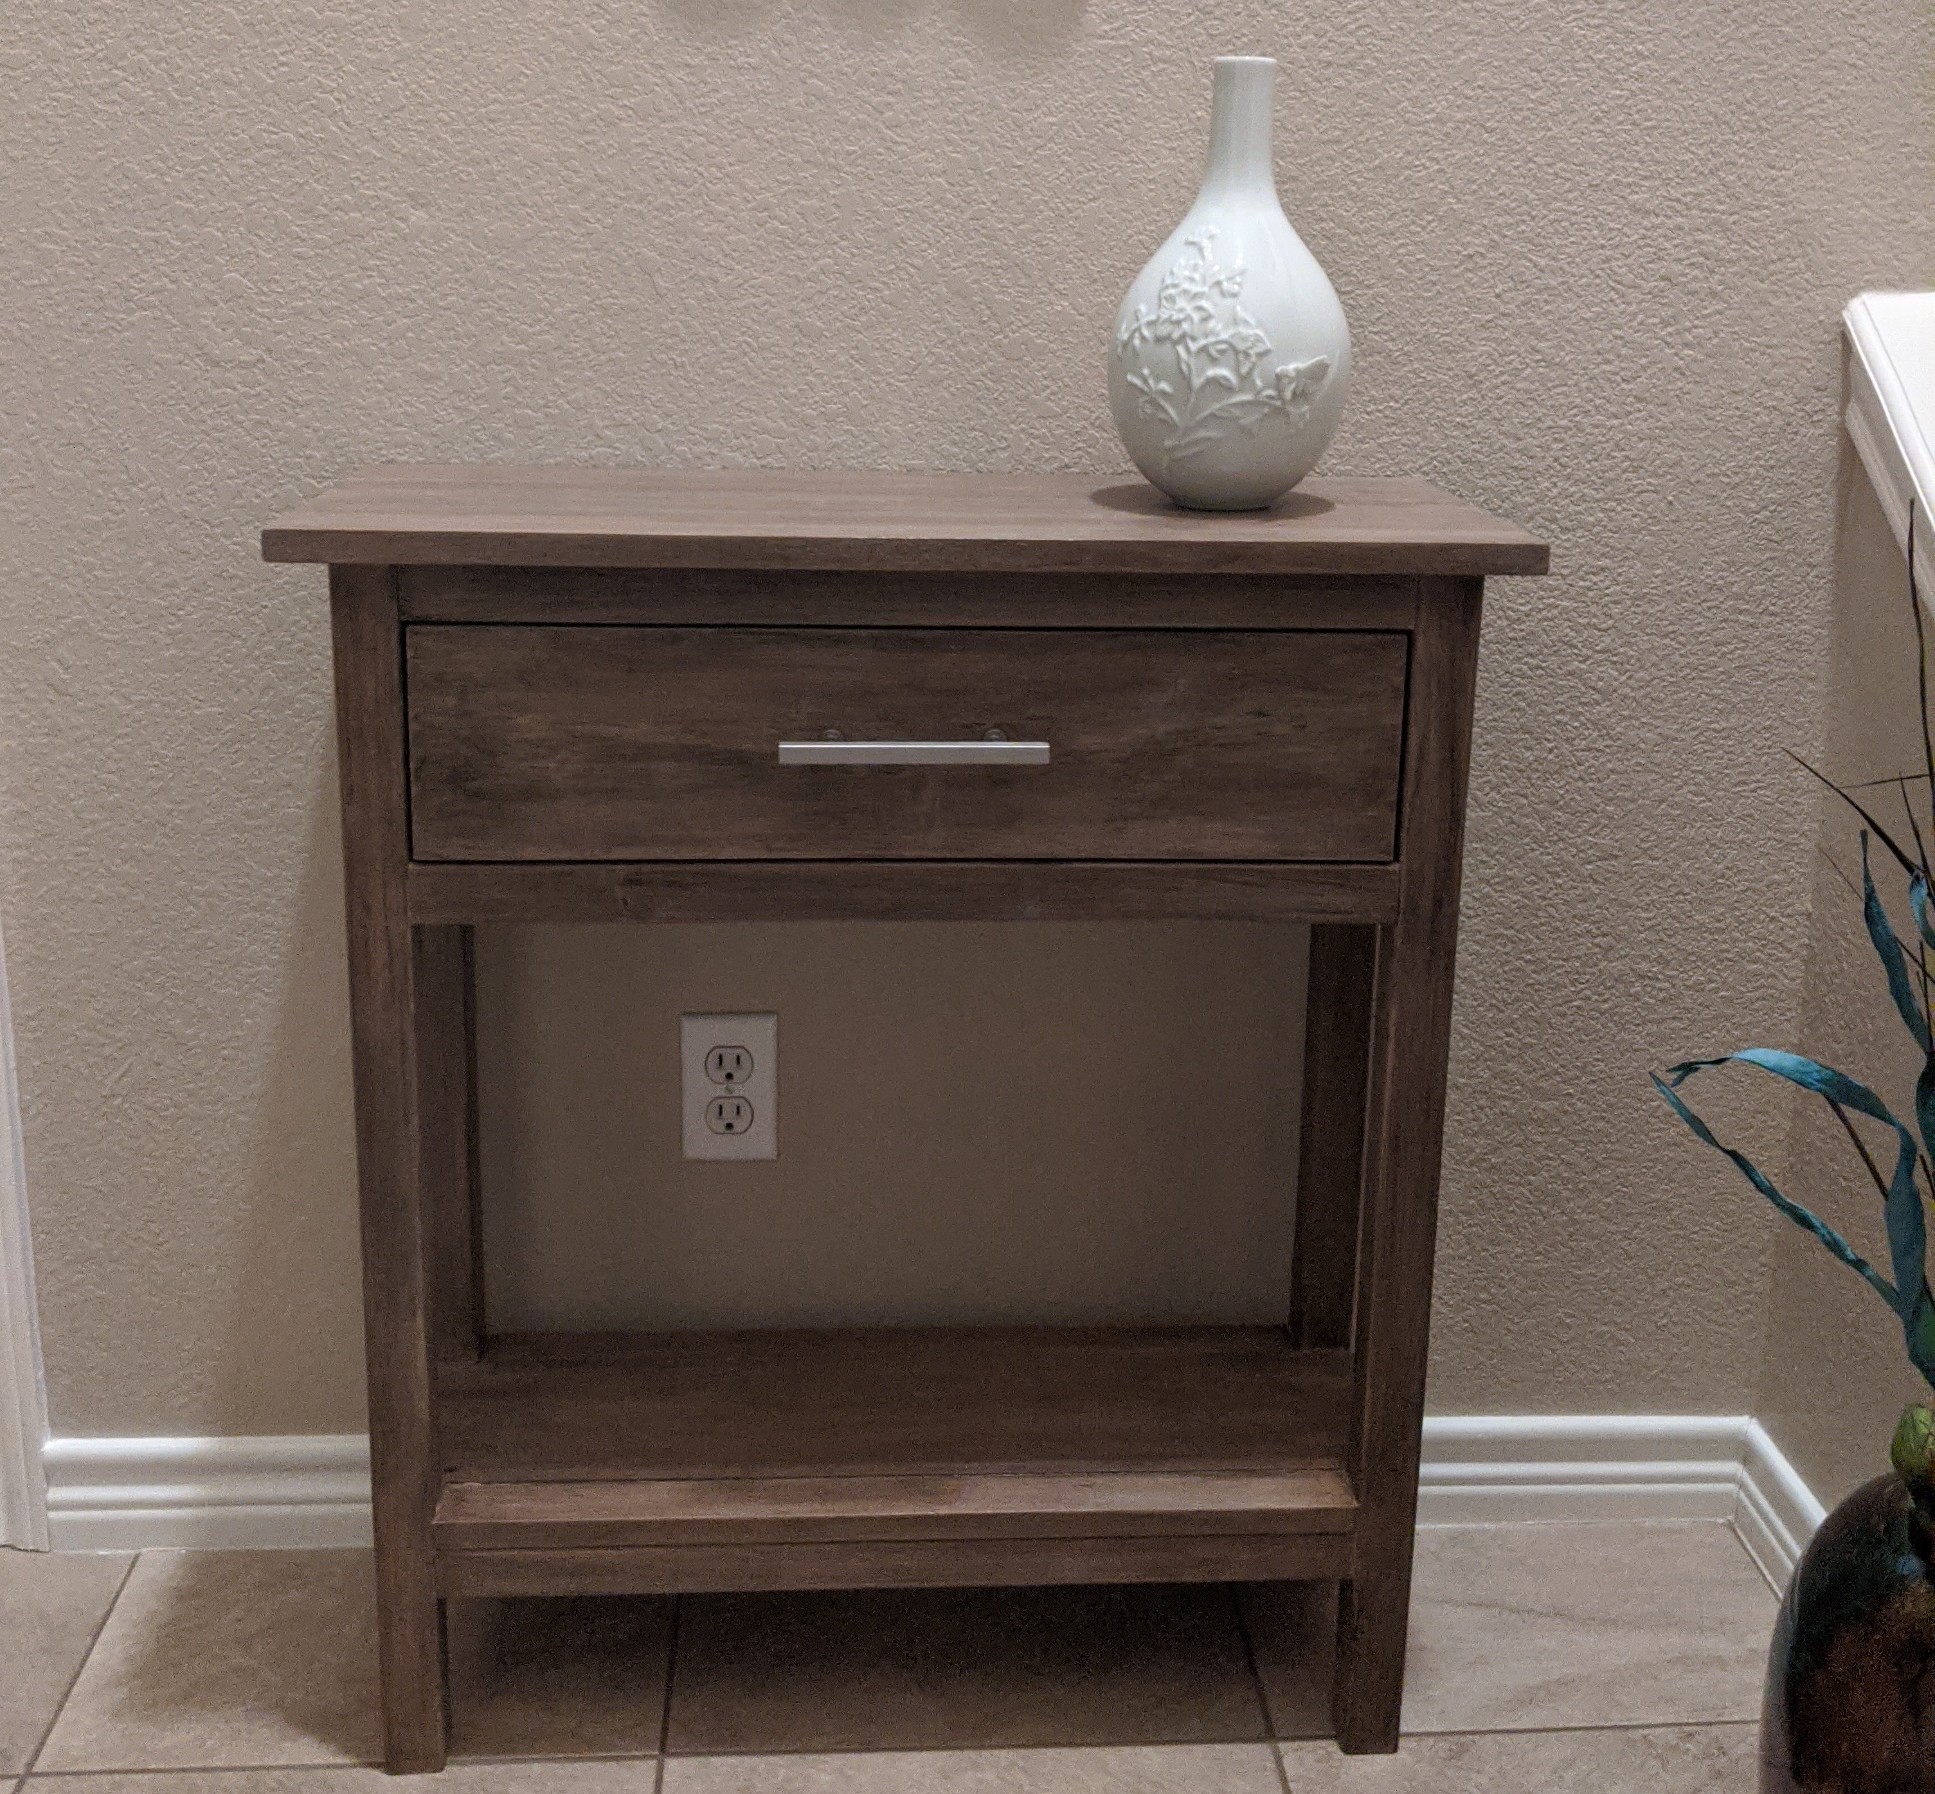
I can't wait to build the matching nightstands!
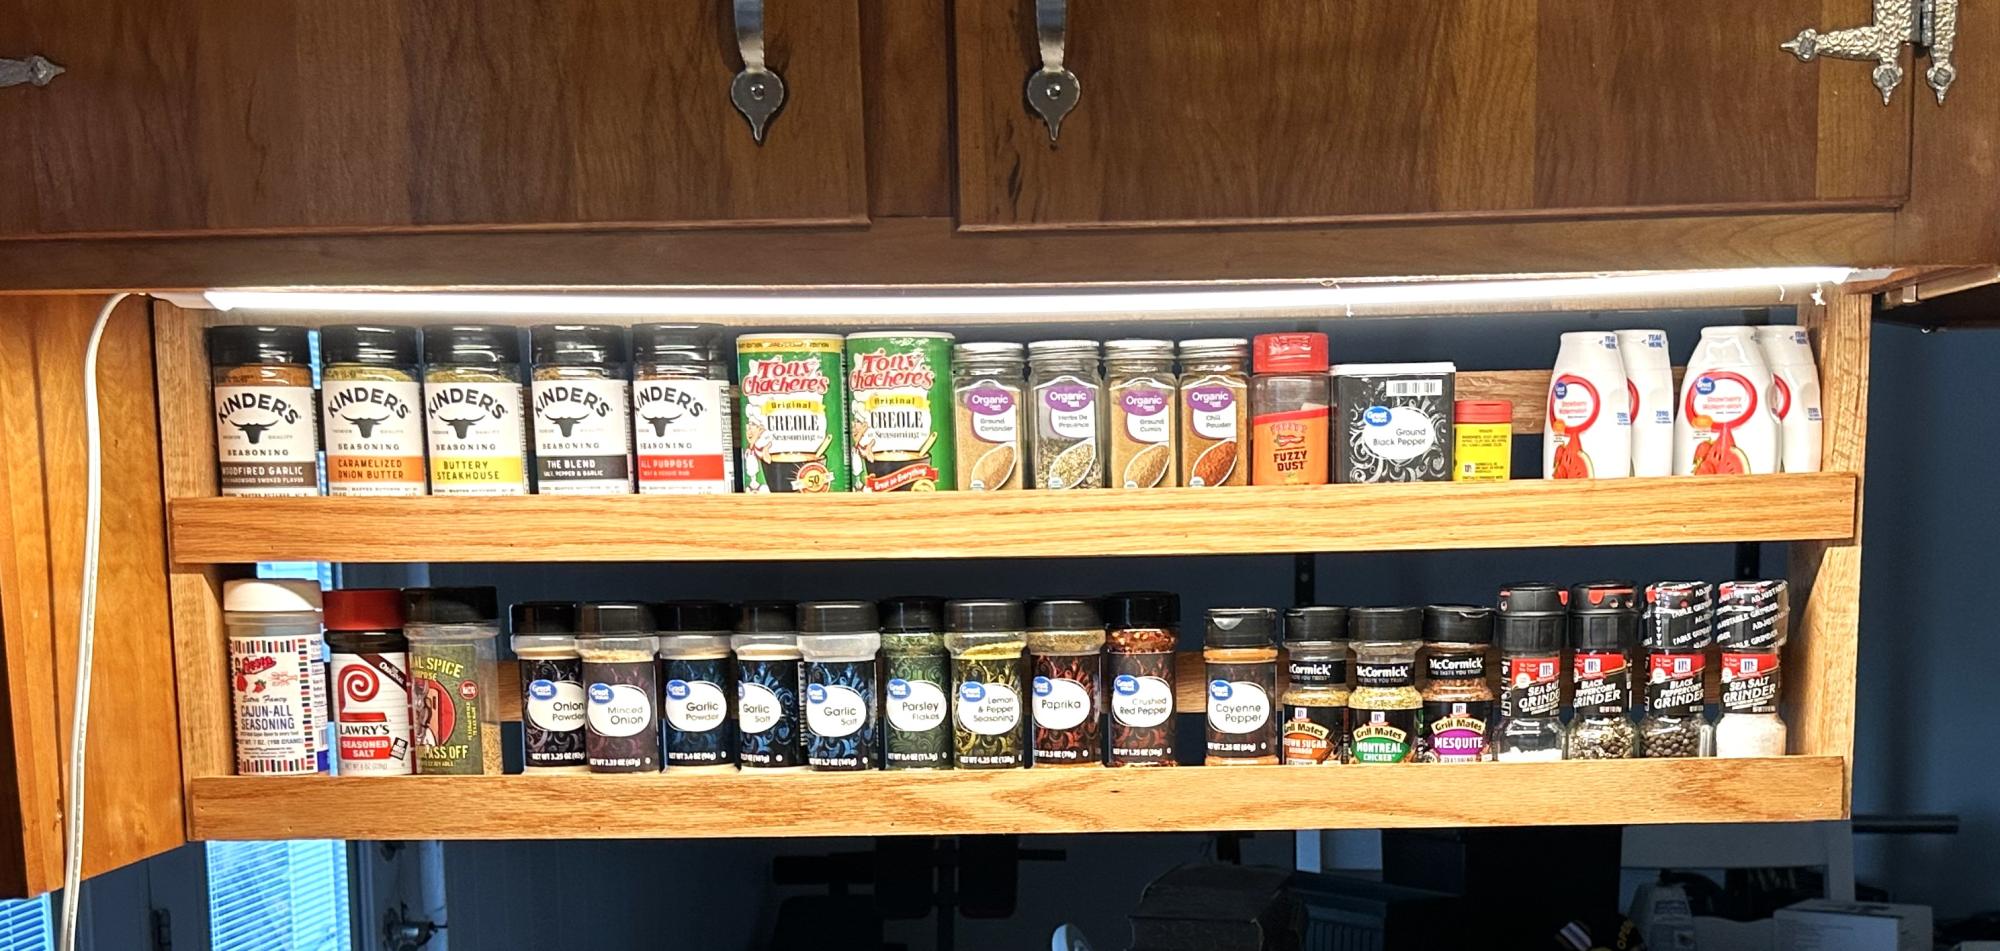
I needed to clear out a shelf in my cabinet and add a spice rack so I could actually see everything. This came out perfect! Made of Oak and stained with classic oak. Very simple to build and hung with pocket screws
James Breadbox
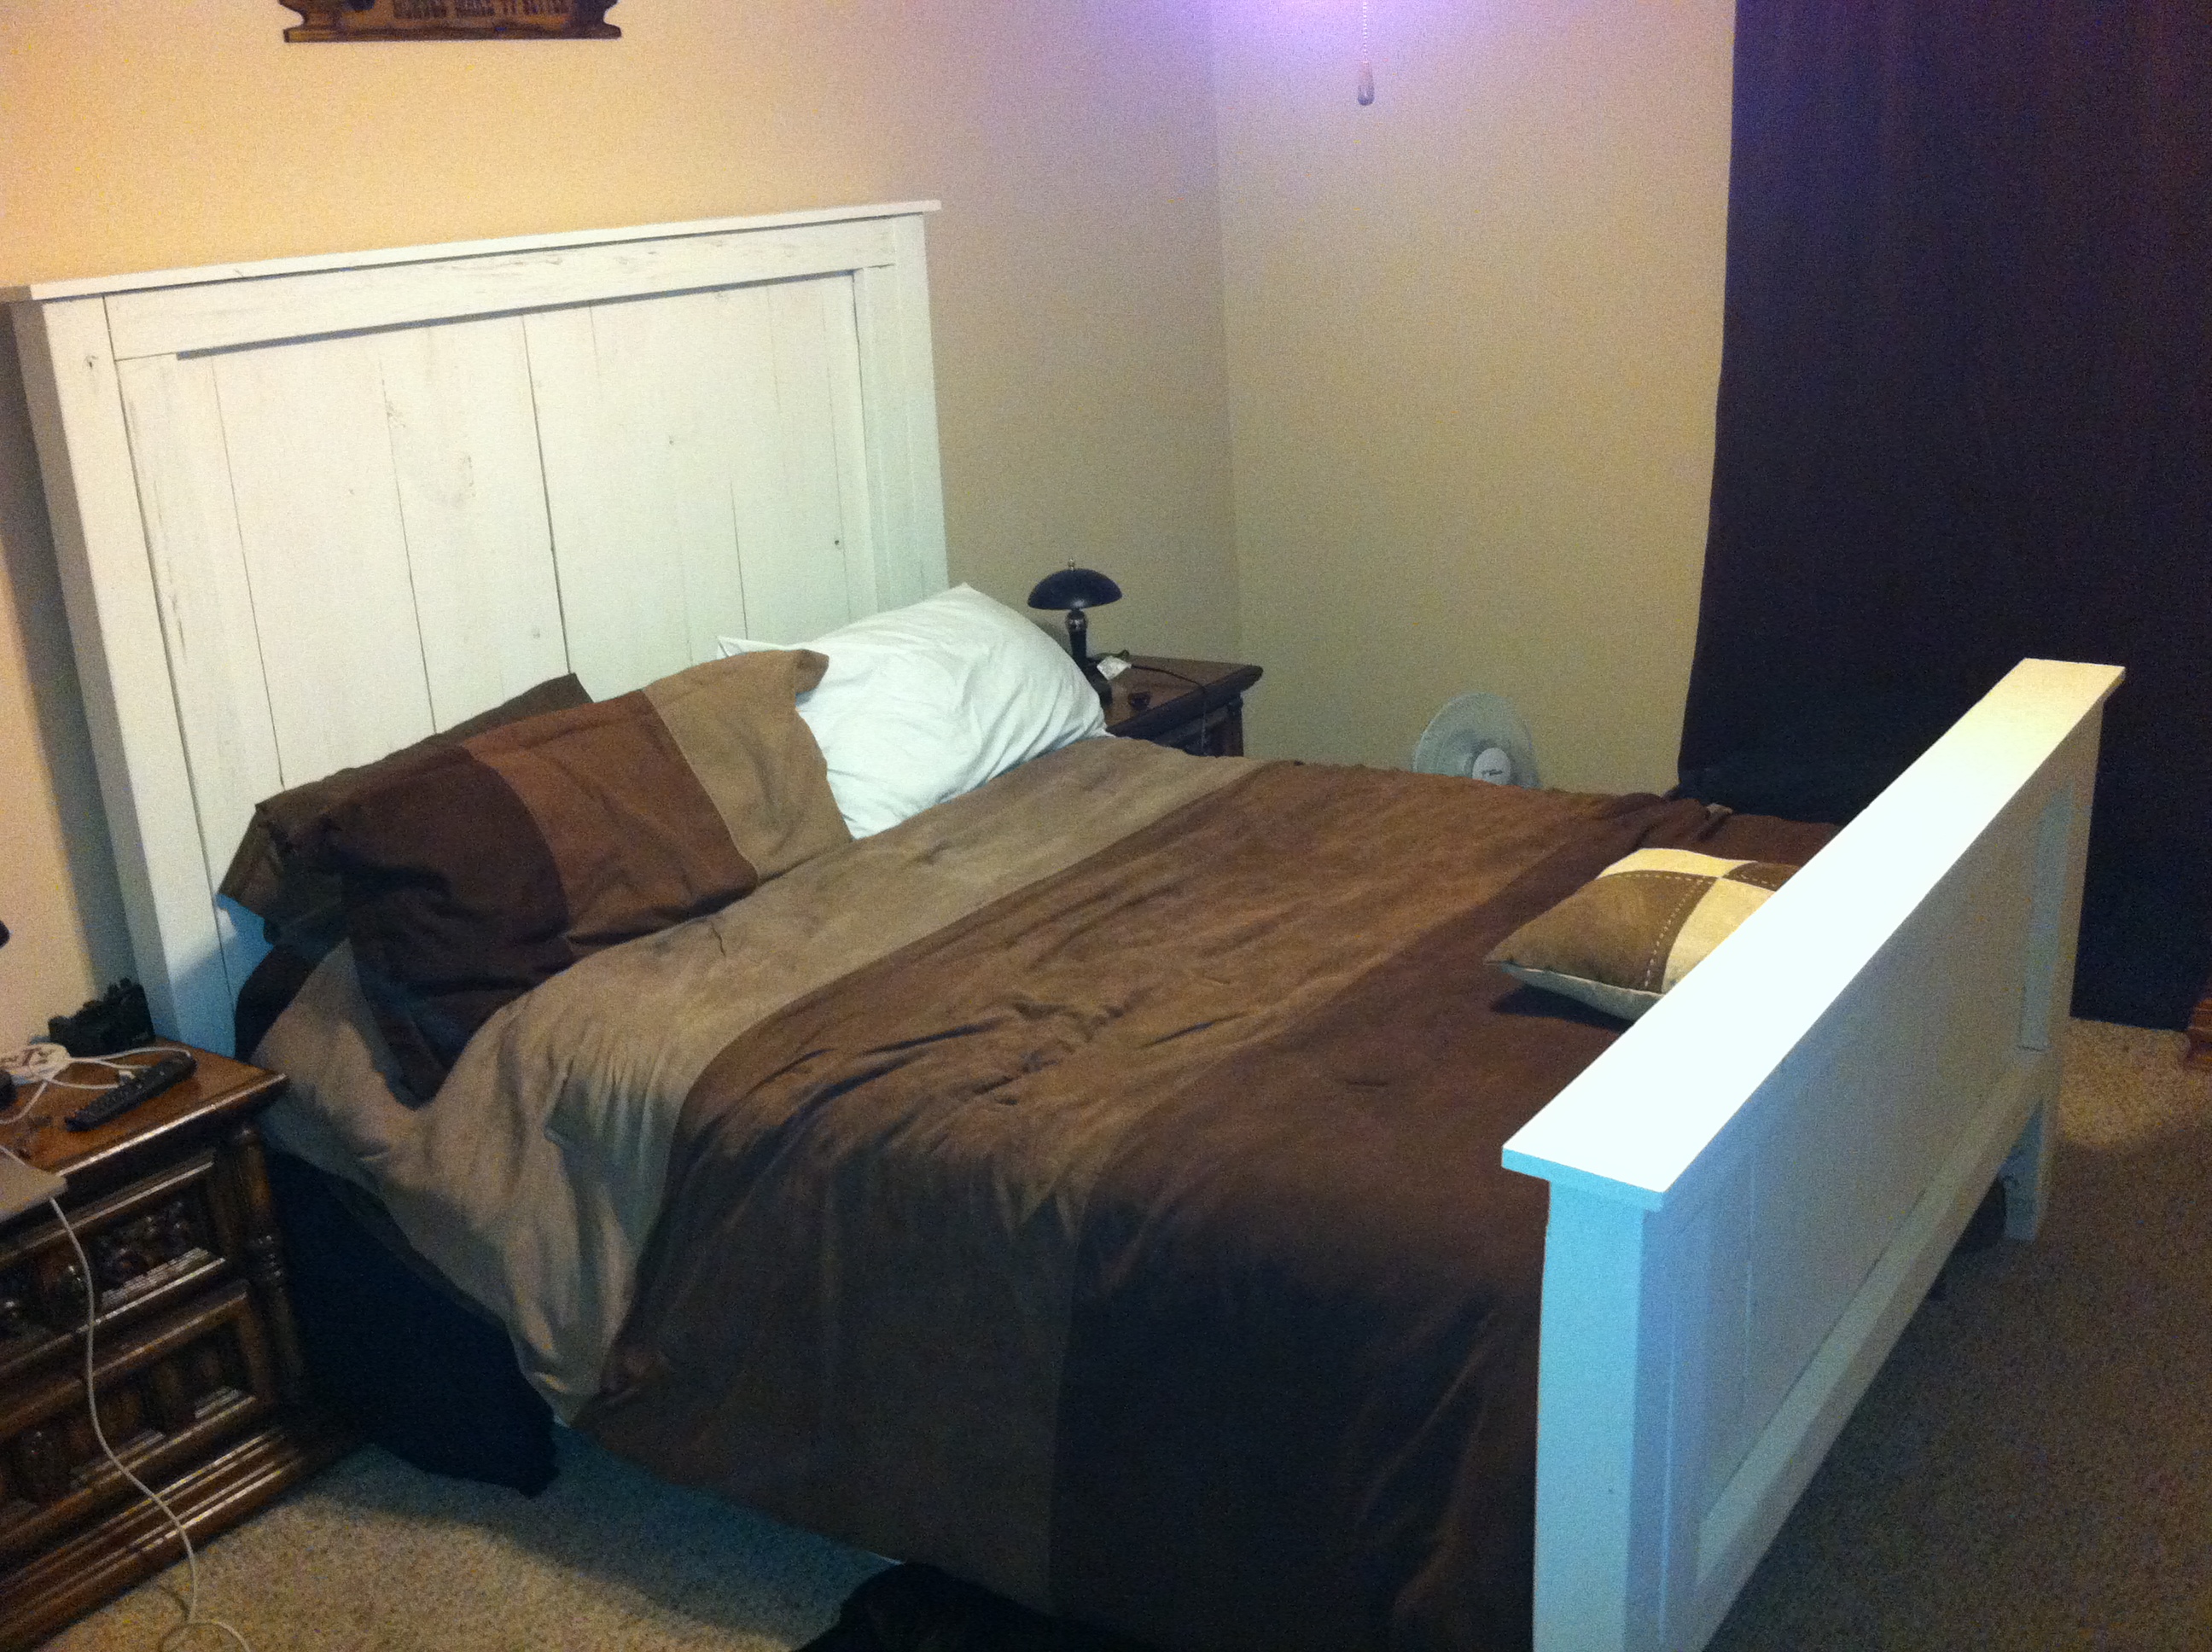
This is a modified Farmhouse queen bed. This was the first thing I have ever made from wood by myself for my wife and I.
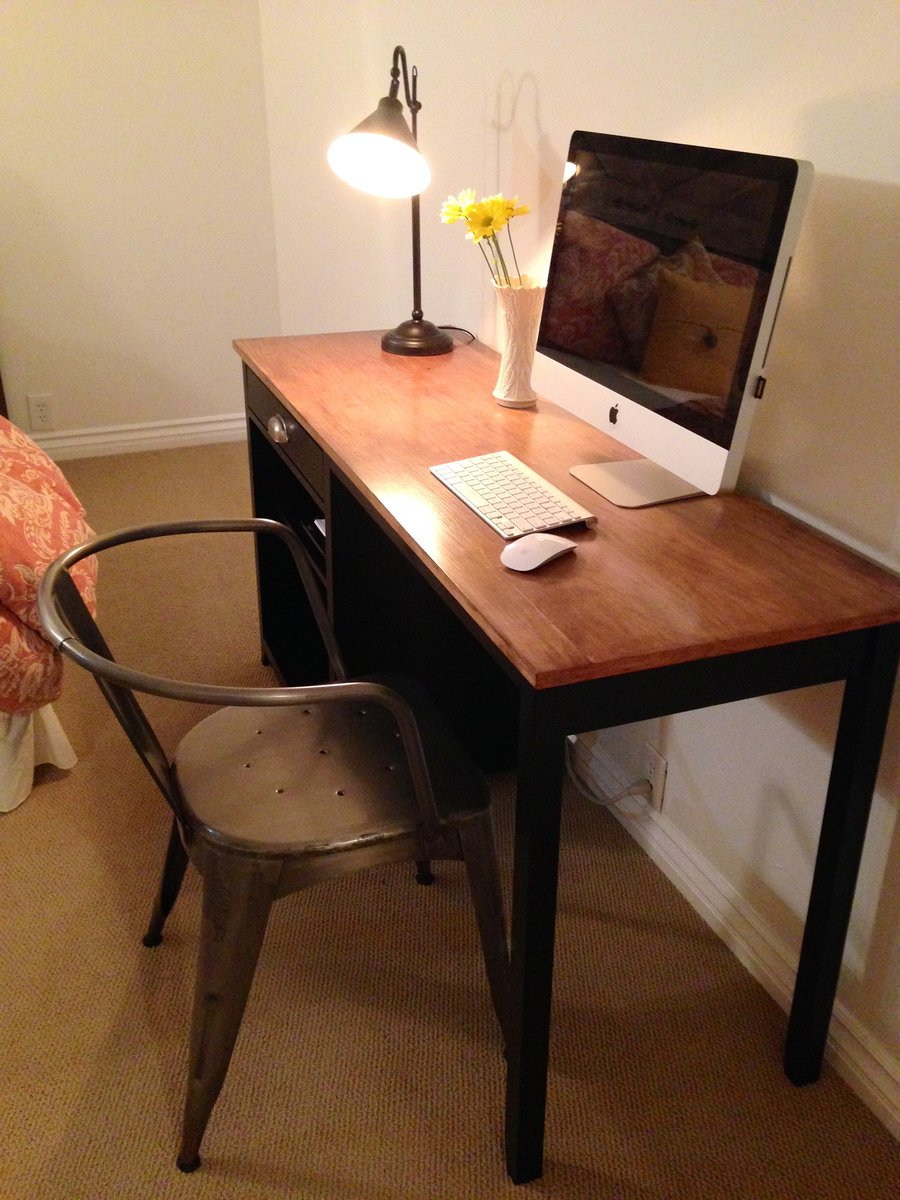
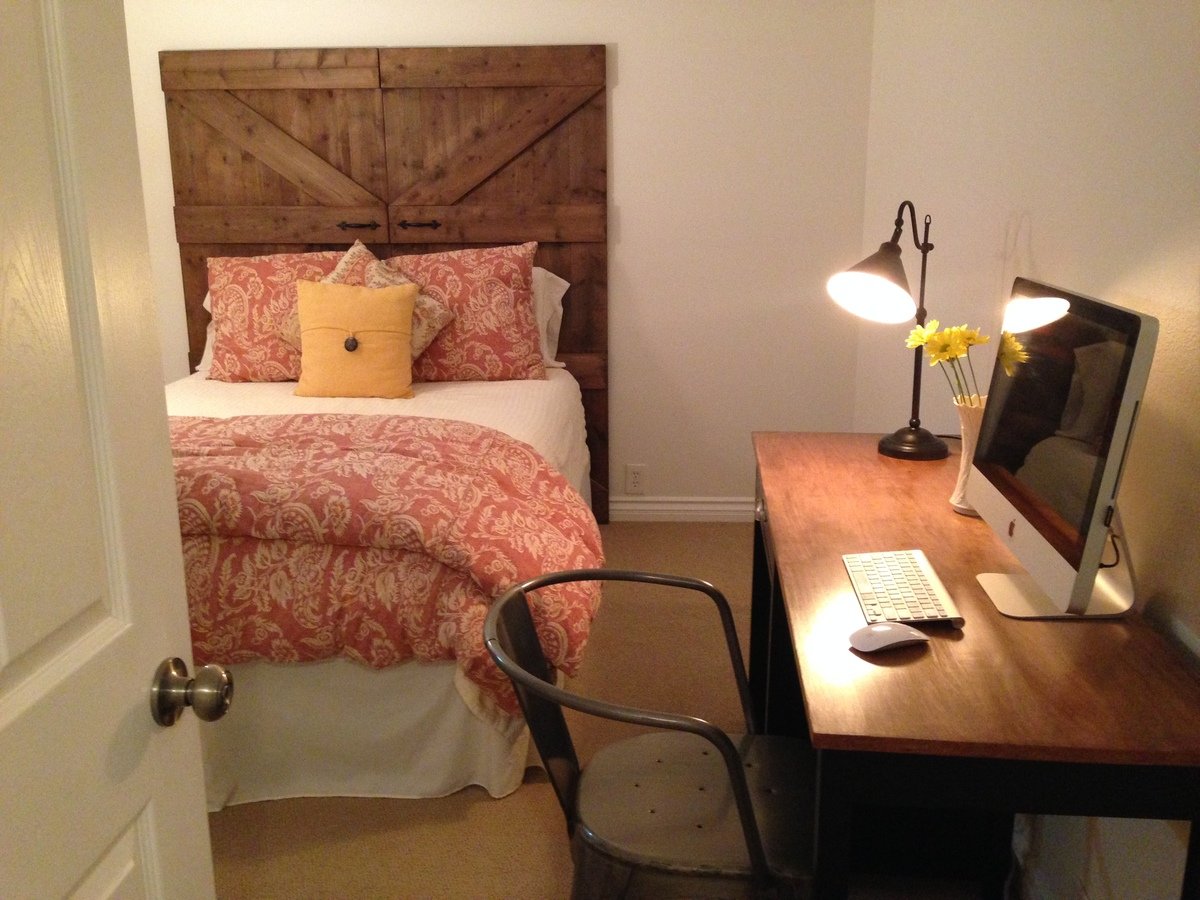
Channing Desk built with select pine boards and maple plywood top/sides. Fairly easy project. The sanding/painting/staining took much longer than the actual building. We used 2 coats of Special Walnut followed by 2 coats of Weathered Oak. Then to finish, 3 layers of polyurethane. Very pleased with the plan and finished desk. Thanks Ana!

Sat, 02/01/2014 - 12:30
It turned out great.
I agree. The finish work is what takes the most time.
This was an easy project. It took longer to paint and stain than the construction.
Thanks for the plans, this web site is awesome.
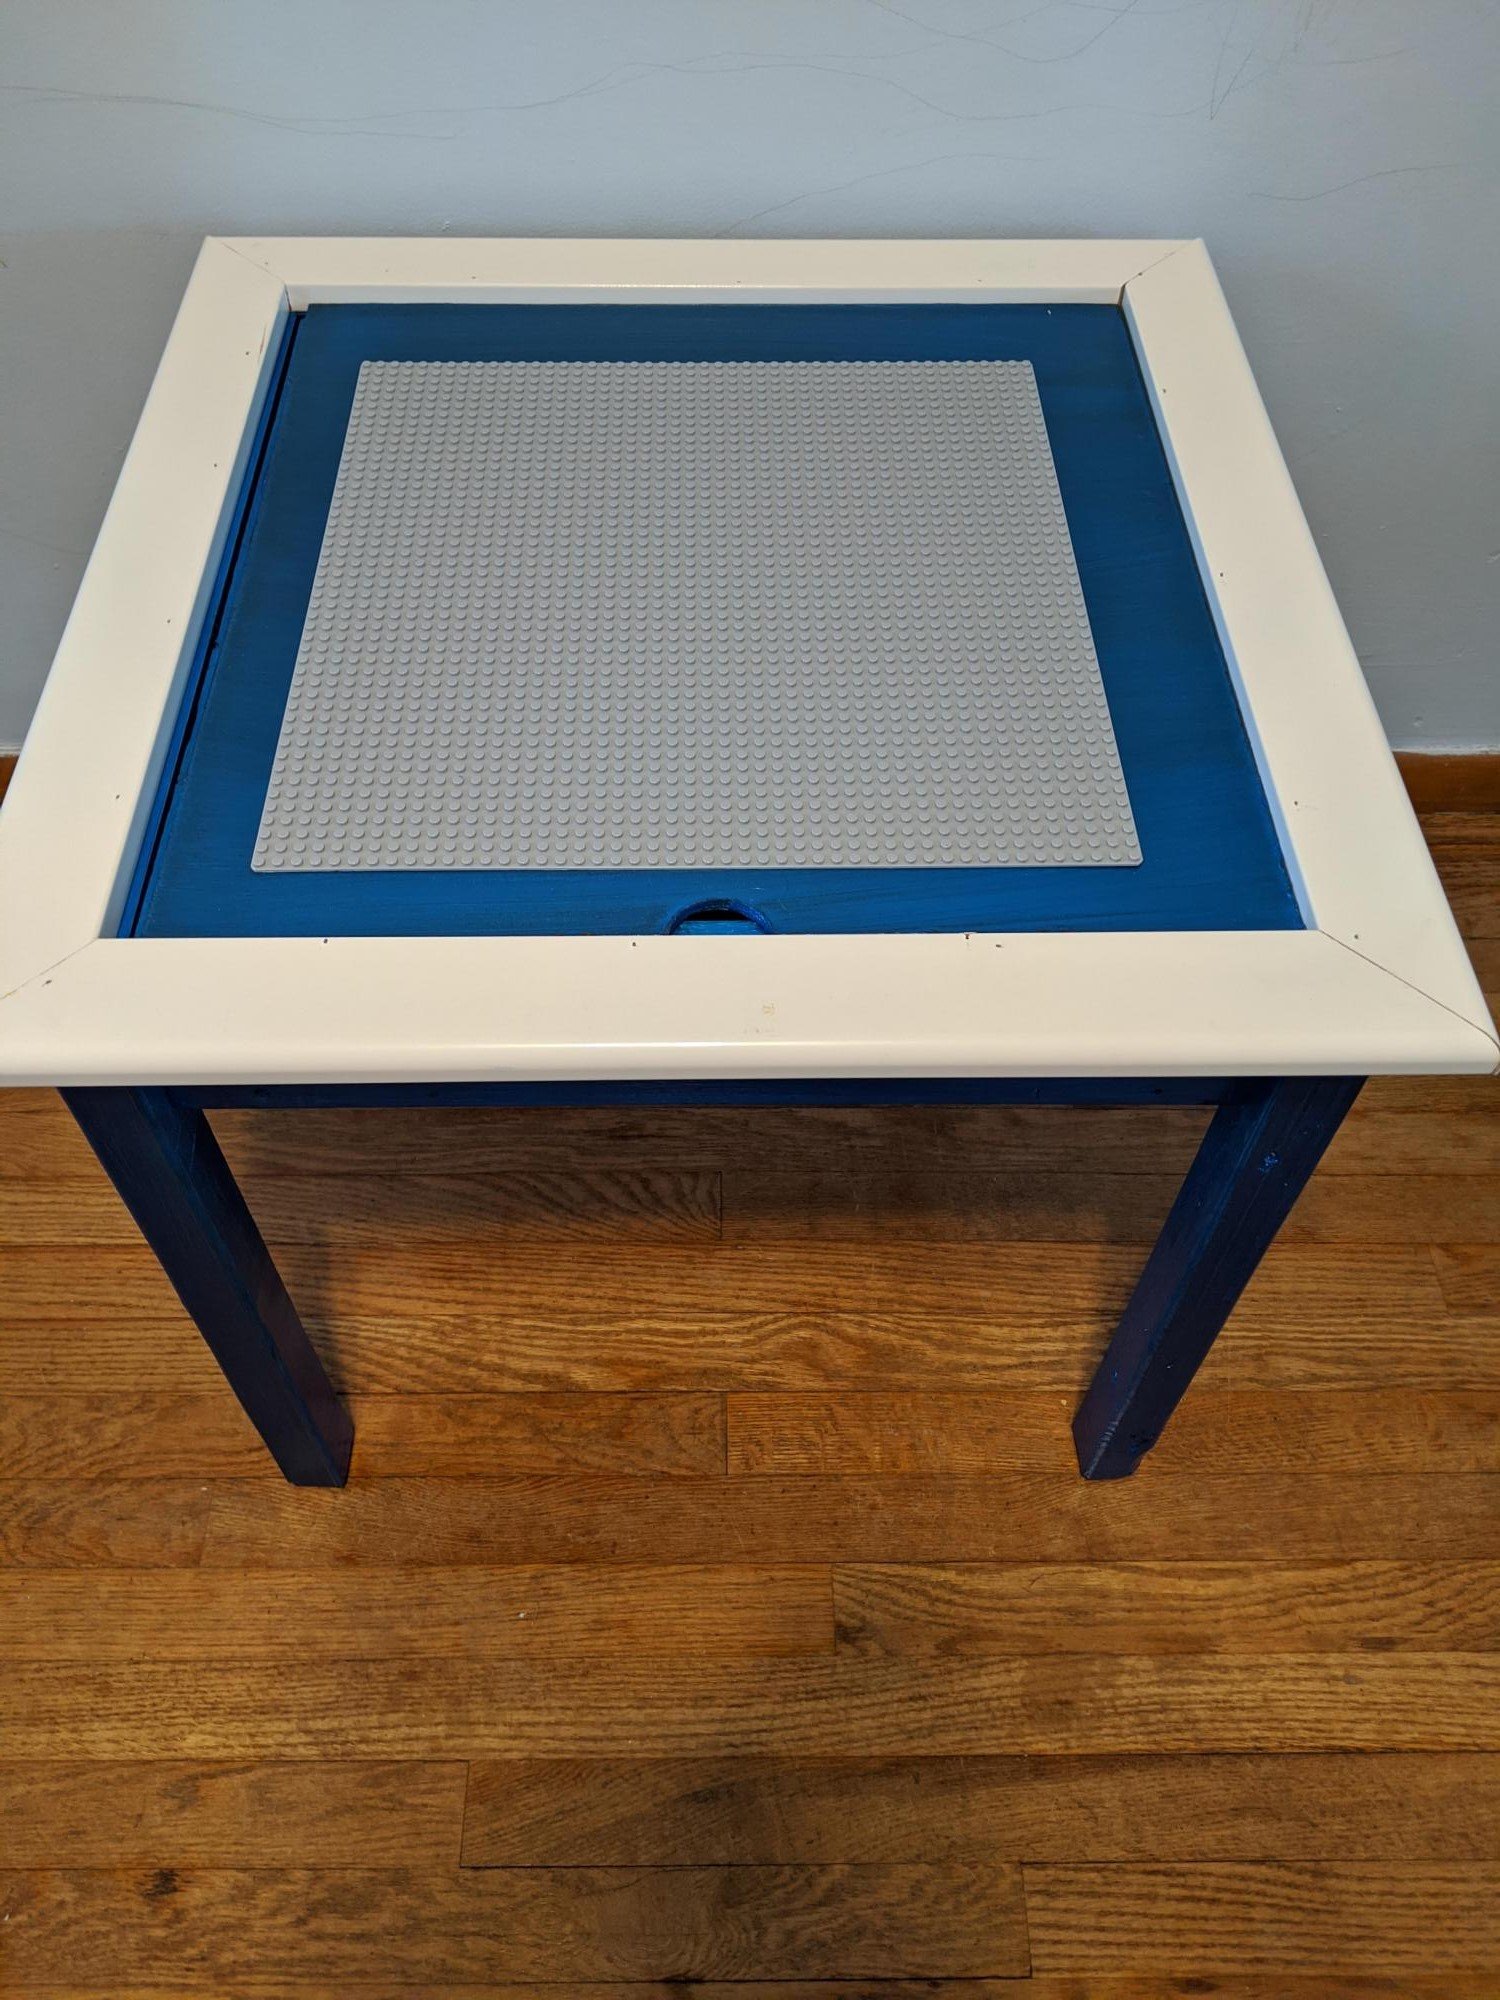
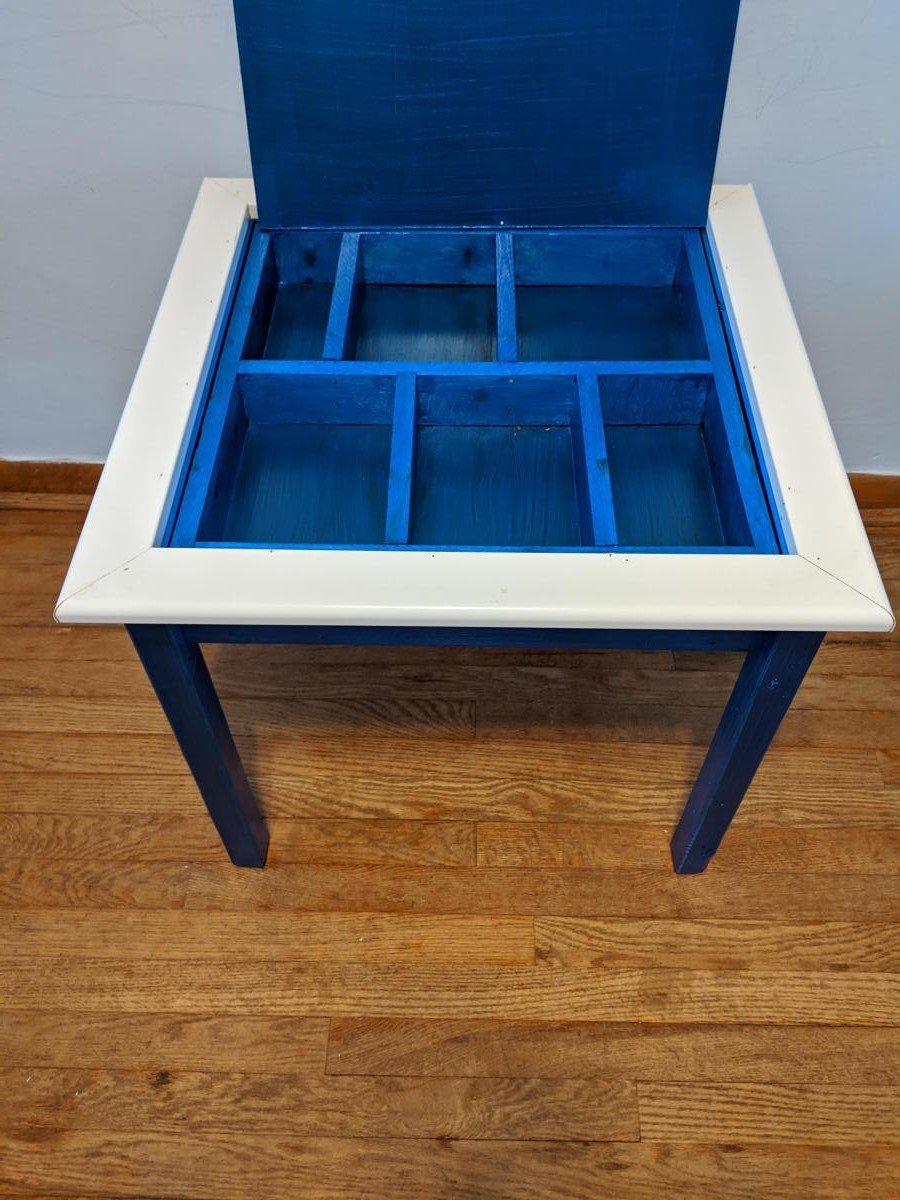
Used the plans for the Arts & Crafts Play Table, but ditched the angled legs (the squared off legs have no stability issues at all), and used a regular piece of 1/4" fiberboard instead of acrylic for the lid. On the lid I glued a 15x15 LEGO baseplate, and compartments underneath are for LEGO storage. The local REStore had an 8ft length of 3" laminated MDF trim for $2, which worked perfectly as the trim for the top of the table with no sanding or painting required.
I know the paint in the photo looks super-streaky, but I used some leftover Rust-Oleum cobalt blue metallic floor paint, so it's shimmery and glossy. Unfortunately the visual effect photographs poorly.
Wed, 10/20/2021 - 09:53
Totally clever integrating the lego baseplate! Thanks for sharing:)

I modified these plans slightly so as the add wrought iron mantel supports. I increased the length of the top and bottom and then added 2 additional internal supports where I made cuts on the front board (just on the inner edge of the mantle support. love how it turned out.
Stacyw3838
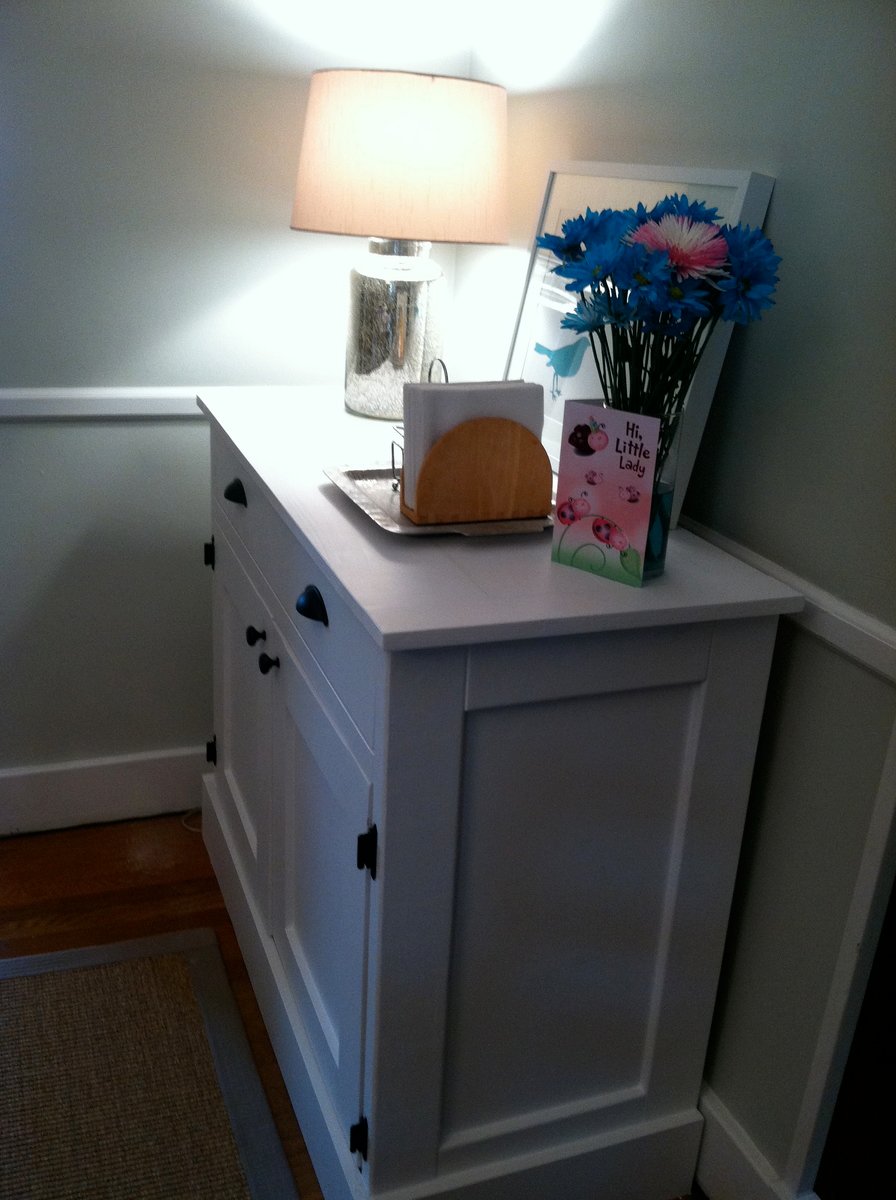
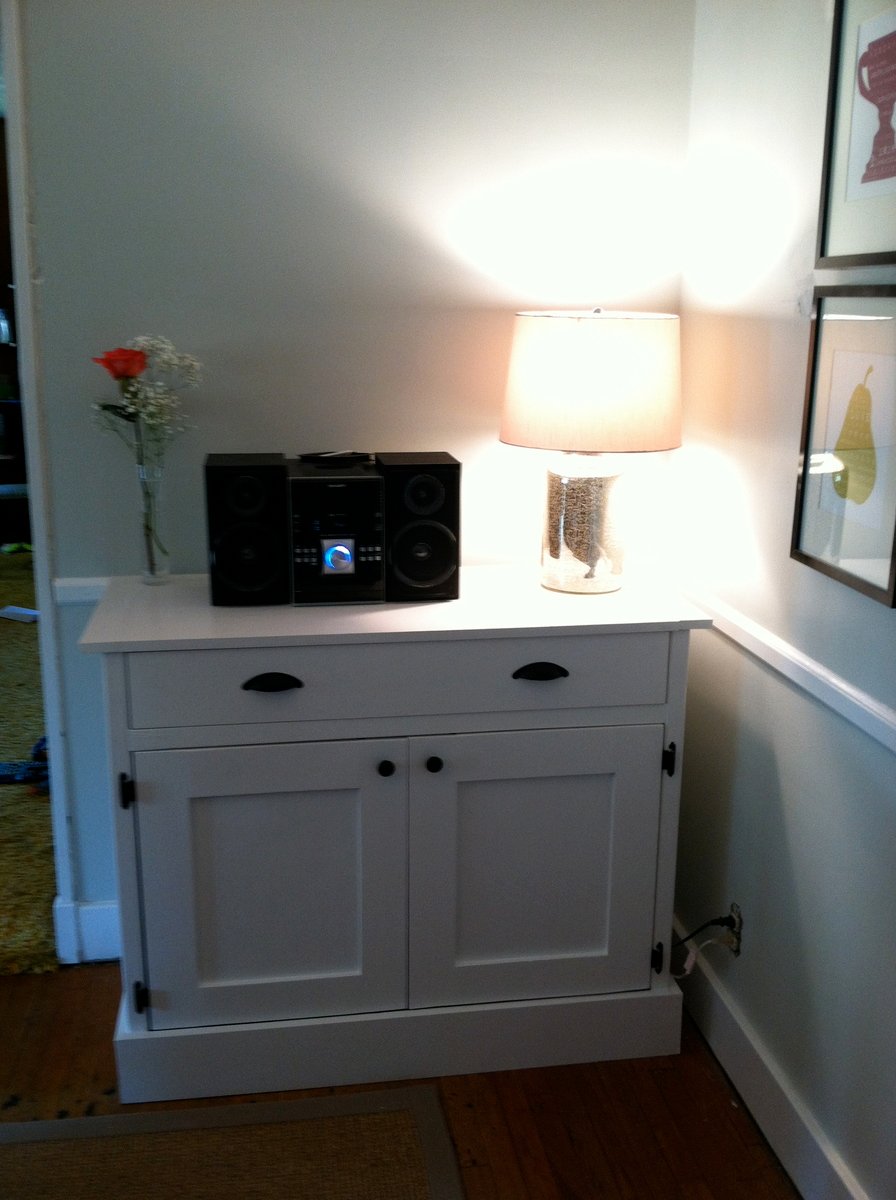
I wanted two sideboards flanking the doorway in my dining room. I took these awesome plans and just scaled them down, building the middle portion of the sideboard only and ignoring the two sides. I used the exact measurements of the middle portion of the plan. Other changes were that I used 1x12's on the ends of the sideboard, instead of planks, and luan in the doors, instead of beadboard. My biggest advice to someone else building this would be to make sure that the unit is square as you build, if it is not, you will have some serious shim work to do with the drawer slides! (of course, I know nothing about this, haha!) It was a great plan and a lot of fun to build. Oh, and I also used my router to rout out a 1/2 inch deep groove all the way around the back side of the unit, that way I could inset my back into the piece and it would not be visible from the side.


Thu, 04/19/2012 - 08:04
You did an amazing job! Great idea and looks fab! I'm trying to get up the nerve to build it full size. I've just done simple projects so the thought of doing doors and especially drawers makes me nervous as I'm real particular and get frustrated when things don't go as planned!

Thu, 04/19/2012 - 10:47
great job! These look beautiful. Did you use a router table or just do the grooves by hand? How difficult was that if you did it by hand?
Thu, 04/19/2012 - 17:04
Hi! Thanks for the compliment. I have a Bosch Colt, handheld router that I used for all of the routing, on the back of the unit and also on the doors to inset the panels. Hope that helps!
Mon, 05/14/2012 - 23:02
Great work! I love that you routed the back. It's so nice not to see the back tacked on. In some applications it is no big deal, but for a piece like this, when you're walking by the side of it every day, I think it is much more polished not to see the back. And...I totally know what you mean about building square for that drawer!!