Community Brag Posts

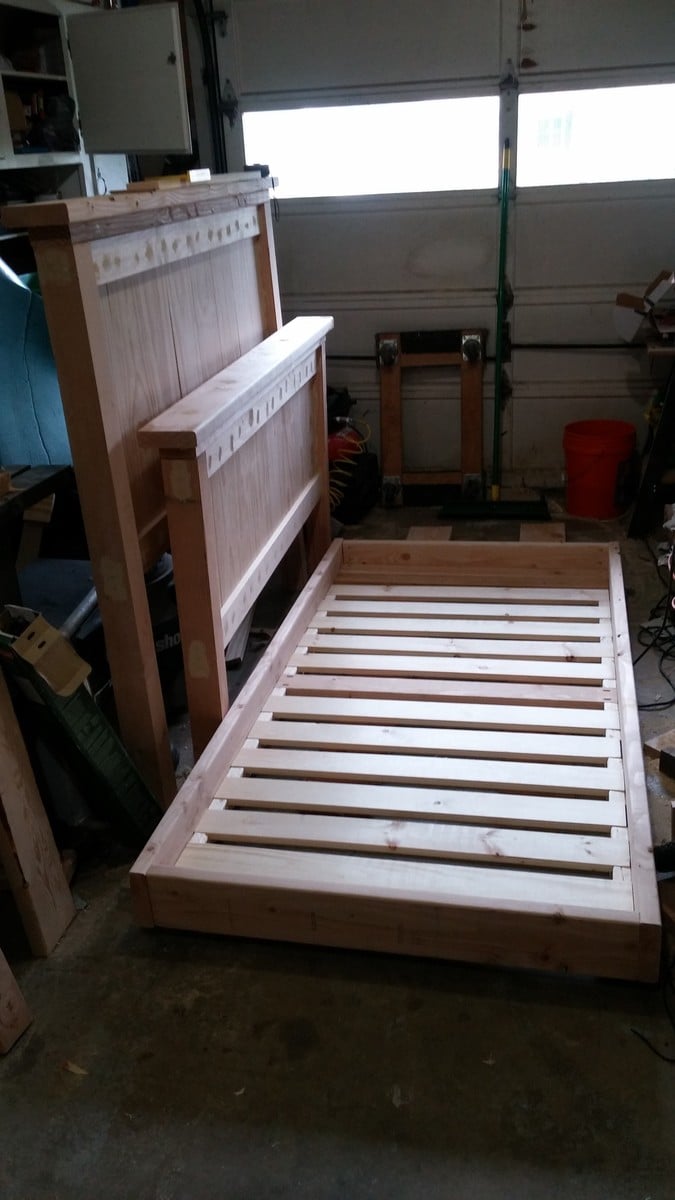
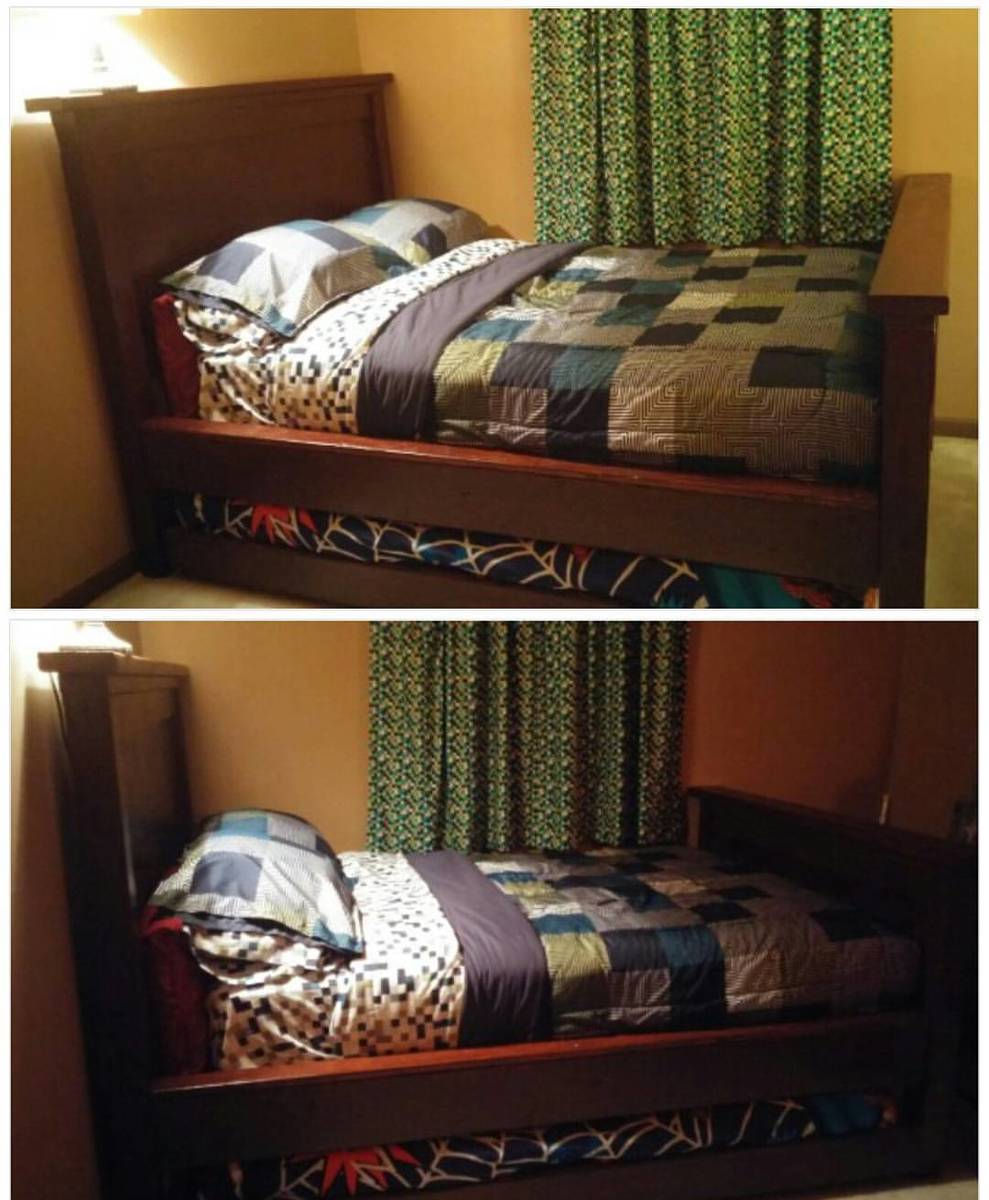
Full Size Farmhouse Bed with Trundle
Submitted by eshelling on Sat, 07/09/2016 - 16:11

I wanted to make use of the twin size mattress from my son's old bed and I thought it would nice to have an extra place for his cousins and friends to sleep when visiting so I added a trundle.  I had to slightly alter the plans to accommodate this, and made some little happy mistakes along the way.  Because  I wanted to be able to take the bed apart I had purchased some surface mount hardware for the rails.  What I didn't account for was the extra width it would add for the platform.  It ended up making the frame large enough to fit a queen size mattress.  This would have been fine if I hadn't already purchased a new full size mattress!  Ha Ha.  I ended up having enough of the bed slats showing that it bugged me so I ended up taking a 2 x 4 and cutting out a notch so it would sit flush on the rail and cover up the slats.  I stained it using an American Chestnut Satin Polyshades Mix and overall I am pleased with how it came out.  This was a good learning experience and now I'll get started on a nightstand shortly.
Built from Plan(s)
Estimated Time Investment
Week Long Project (20 Hours or More)
Recommended Skill Level
Intermediate

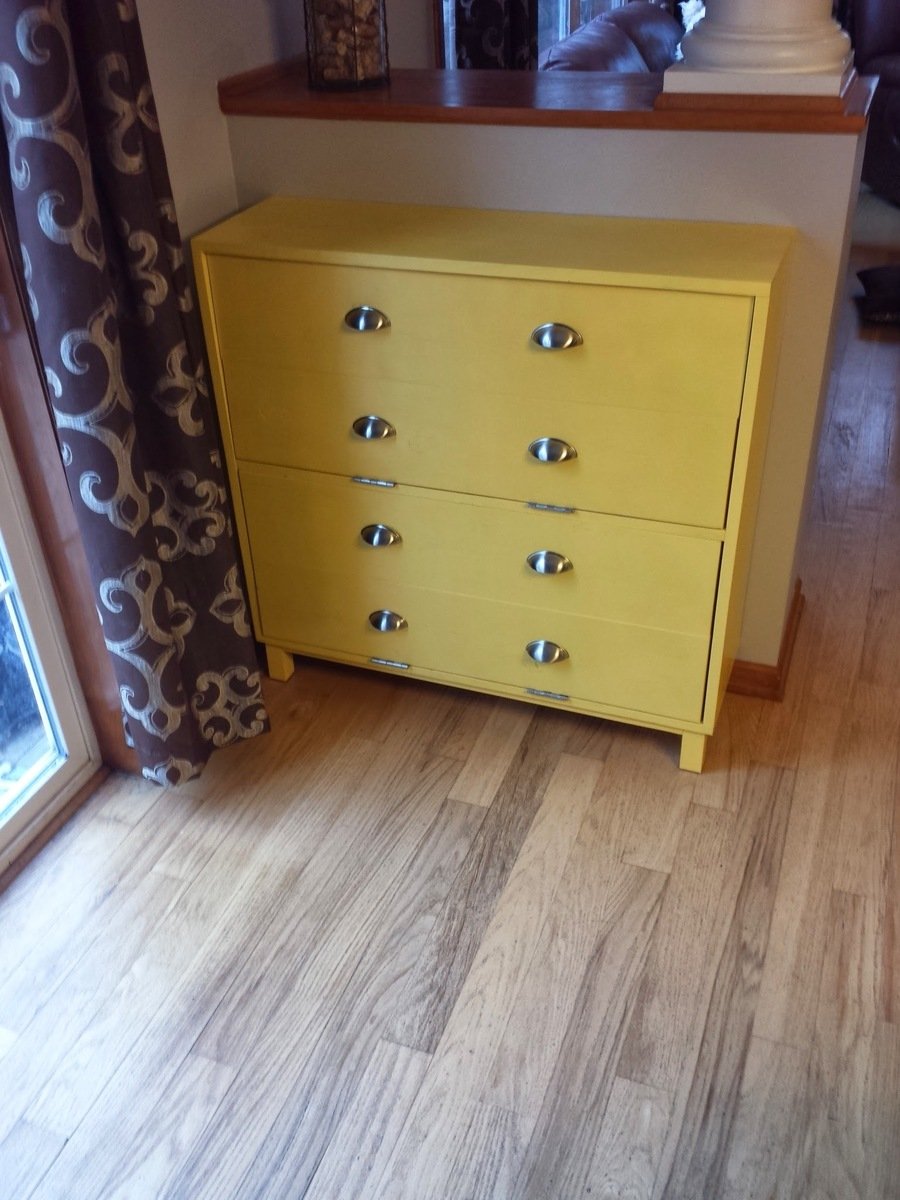
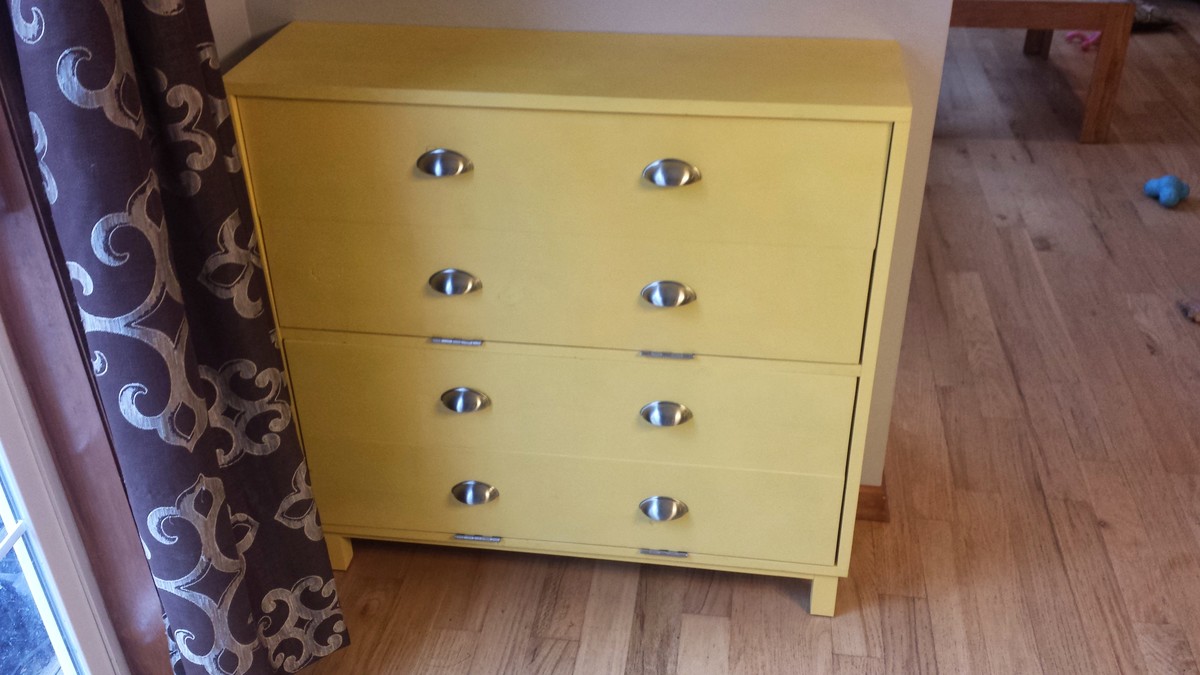
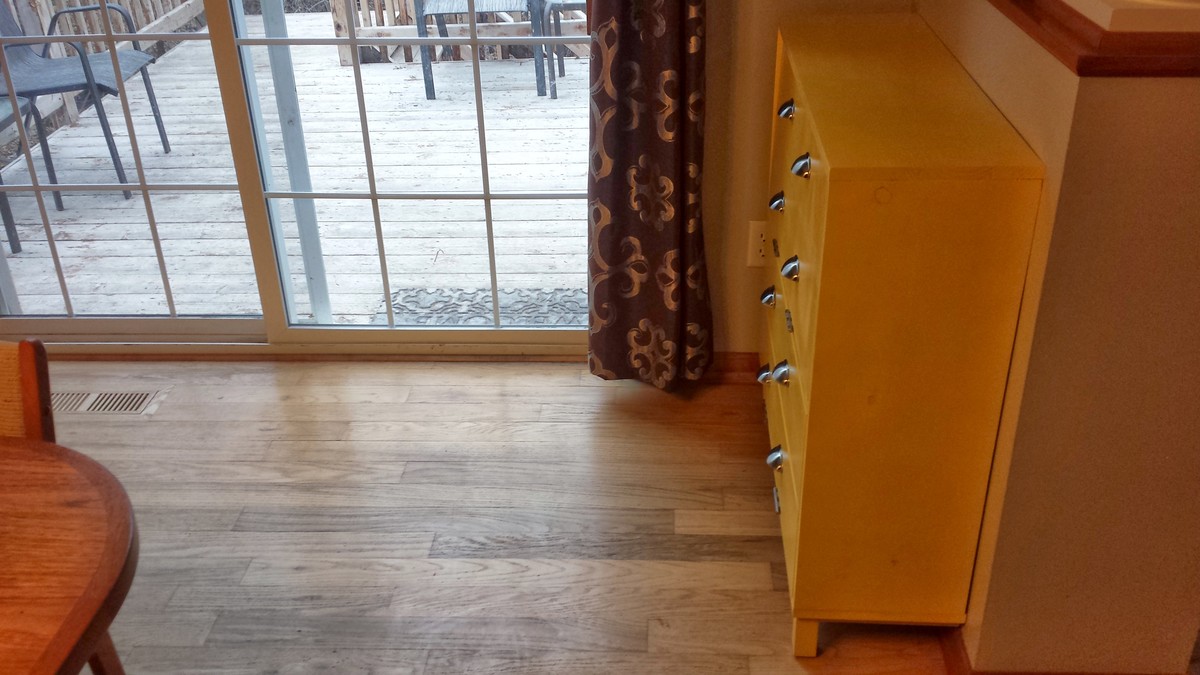
Shoe Dresser / Dog Walk supply Storage

Submitted by adamderkey on Mon, 04/14/2014 - 12:00

We needed some storage by the back door for shoes and dog accessories so it would be easier for us to take our dogs out for walks. I saw the plan for the shoe dresser and thought it would be great since we would be storing shoes in it. I made it narrower to fit our space and also made it deeper. The cost was mostly in the hardware.

Built from Plan(s)
Estimated Cost
$80
Estimated Time Investment
Weekend Project (10-20 Hours)
Finish Used
Spray paint and spray polyurethane.
Recommended Skill Level
Intermediate

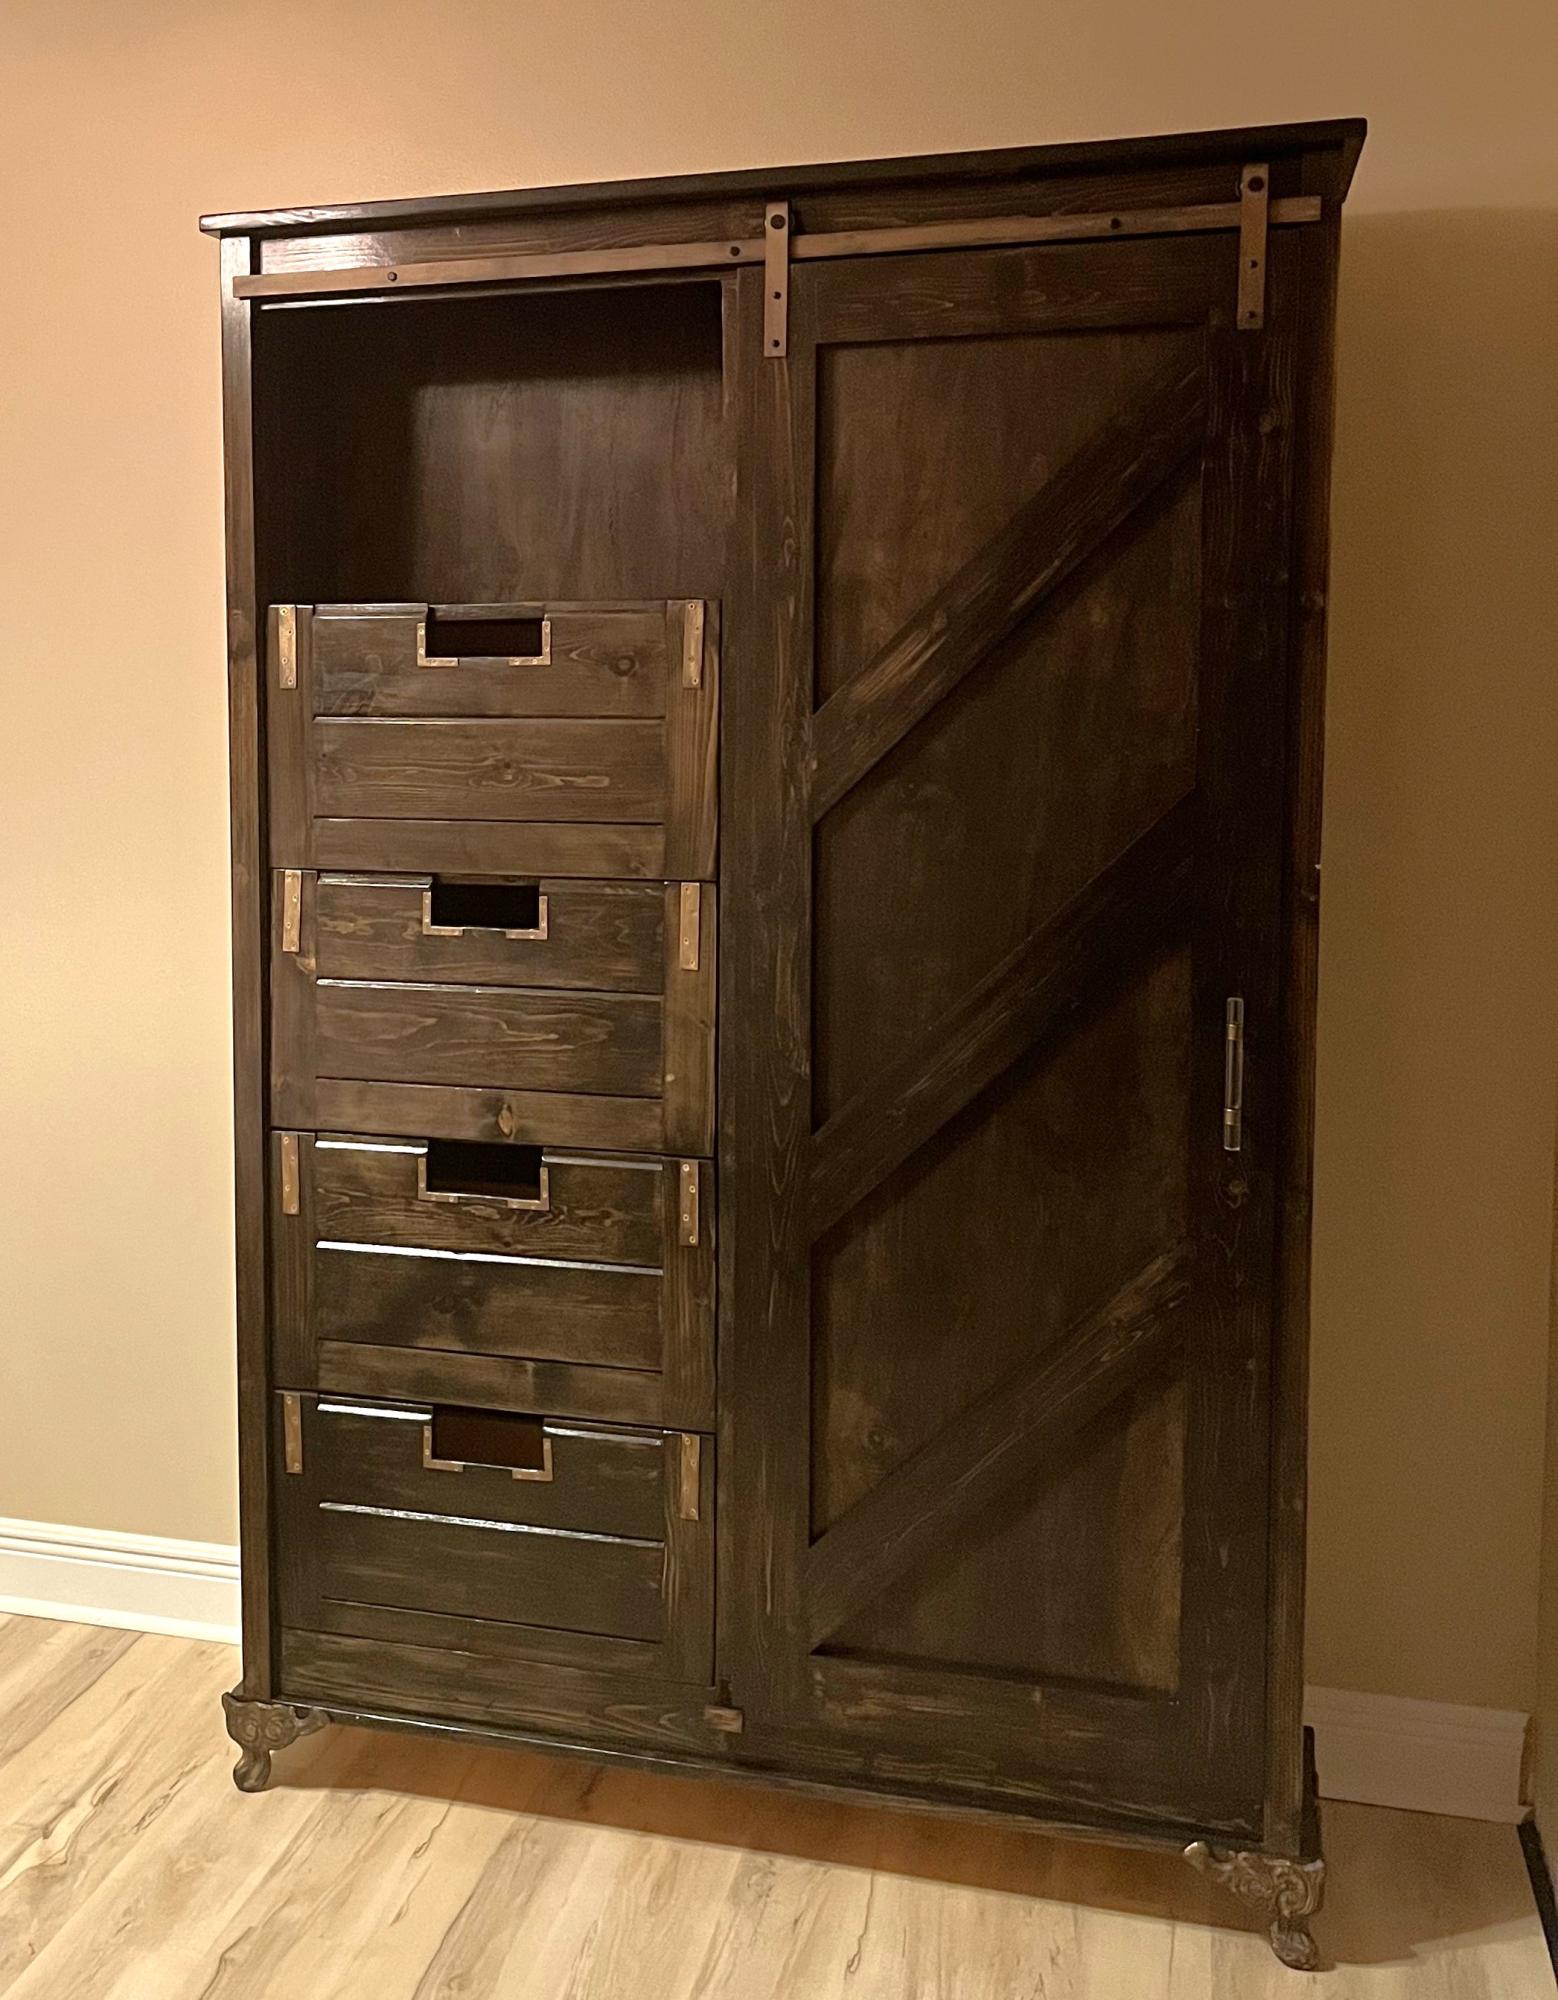
Great project!

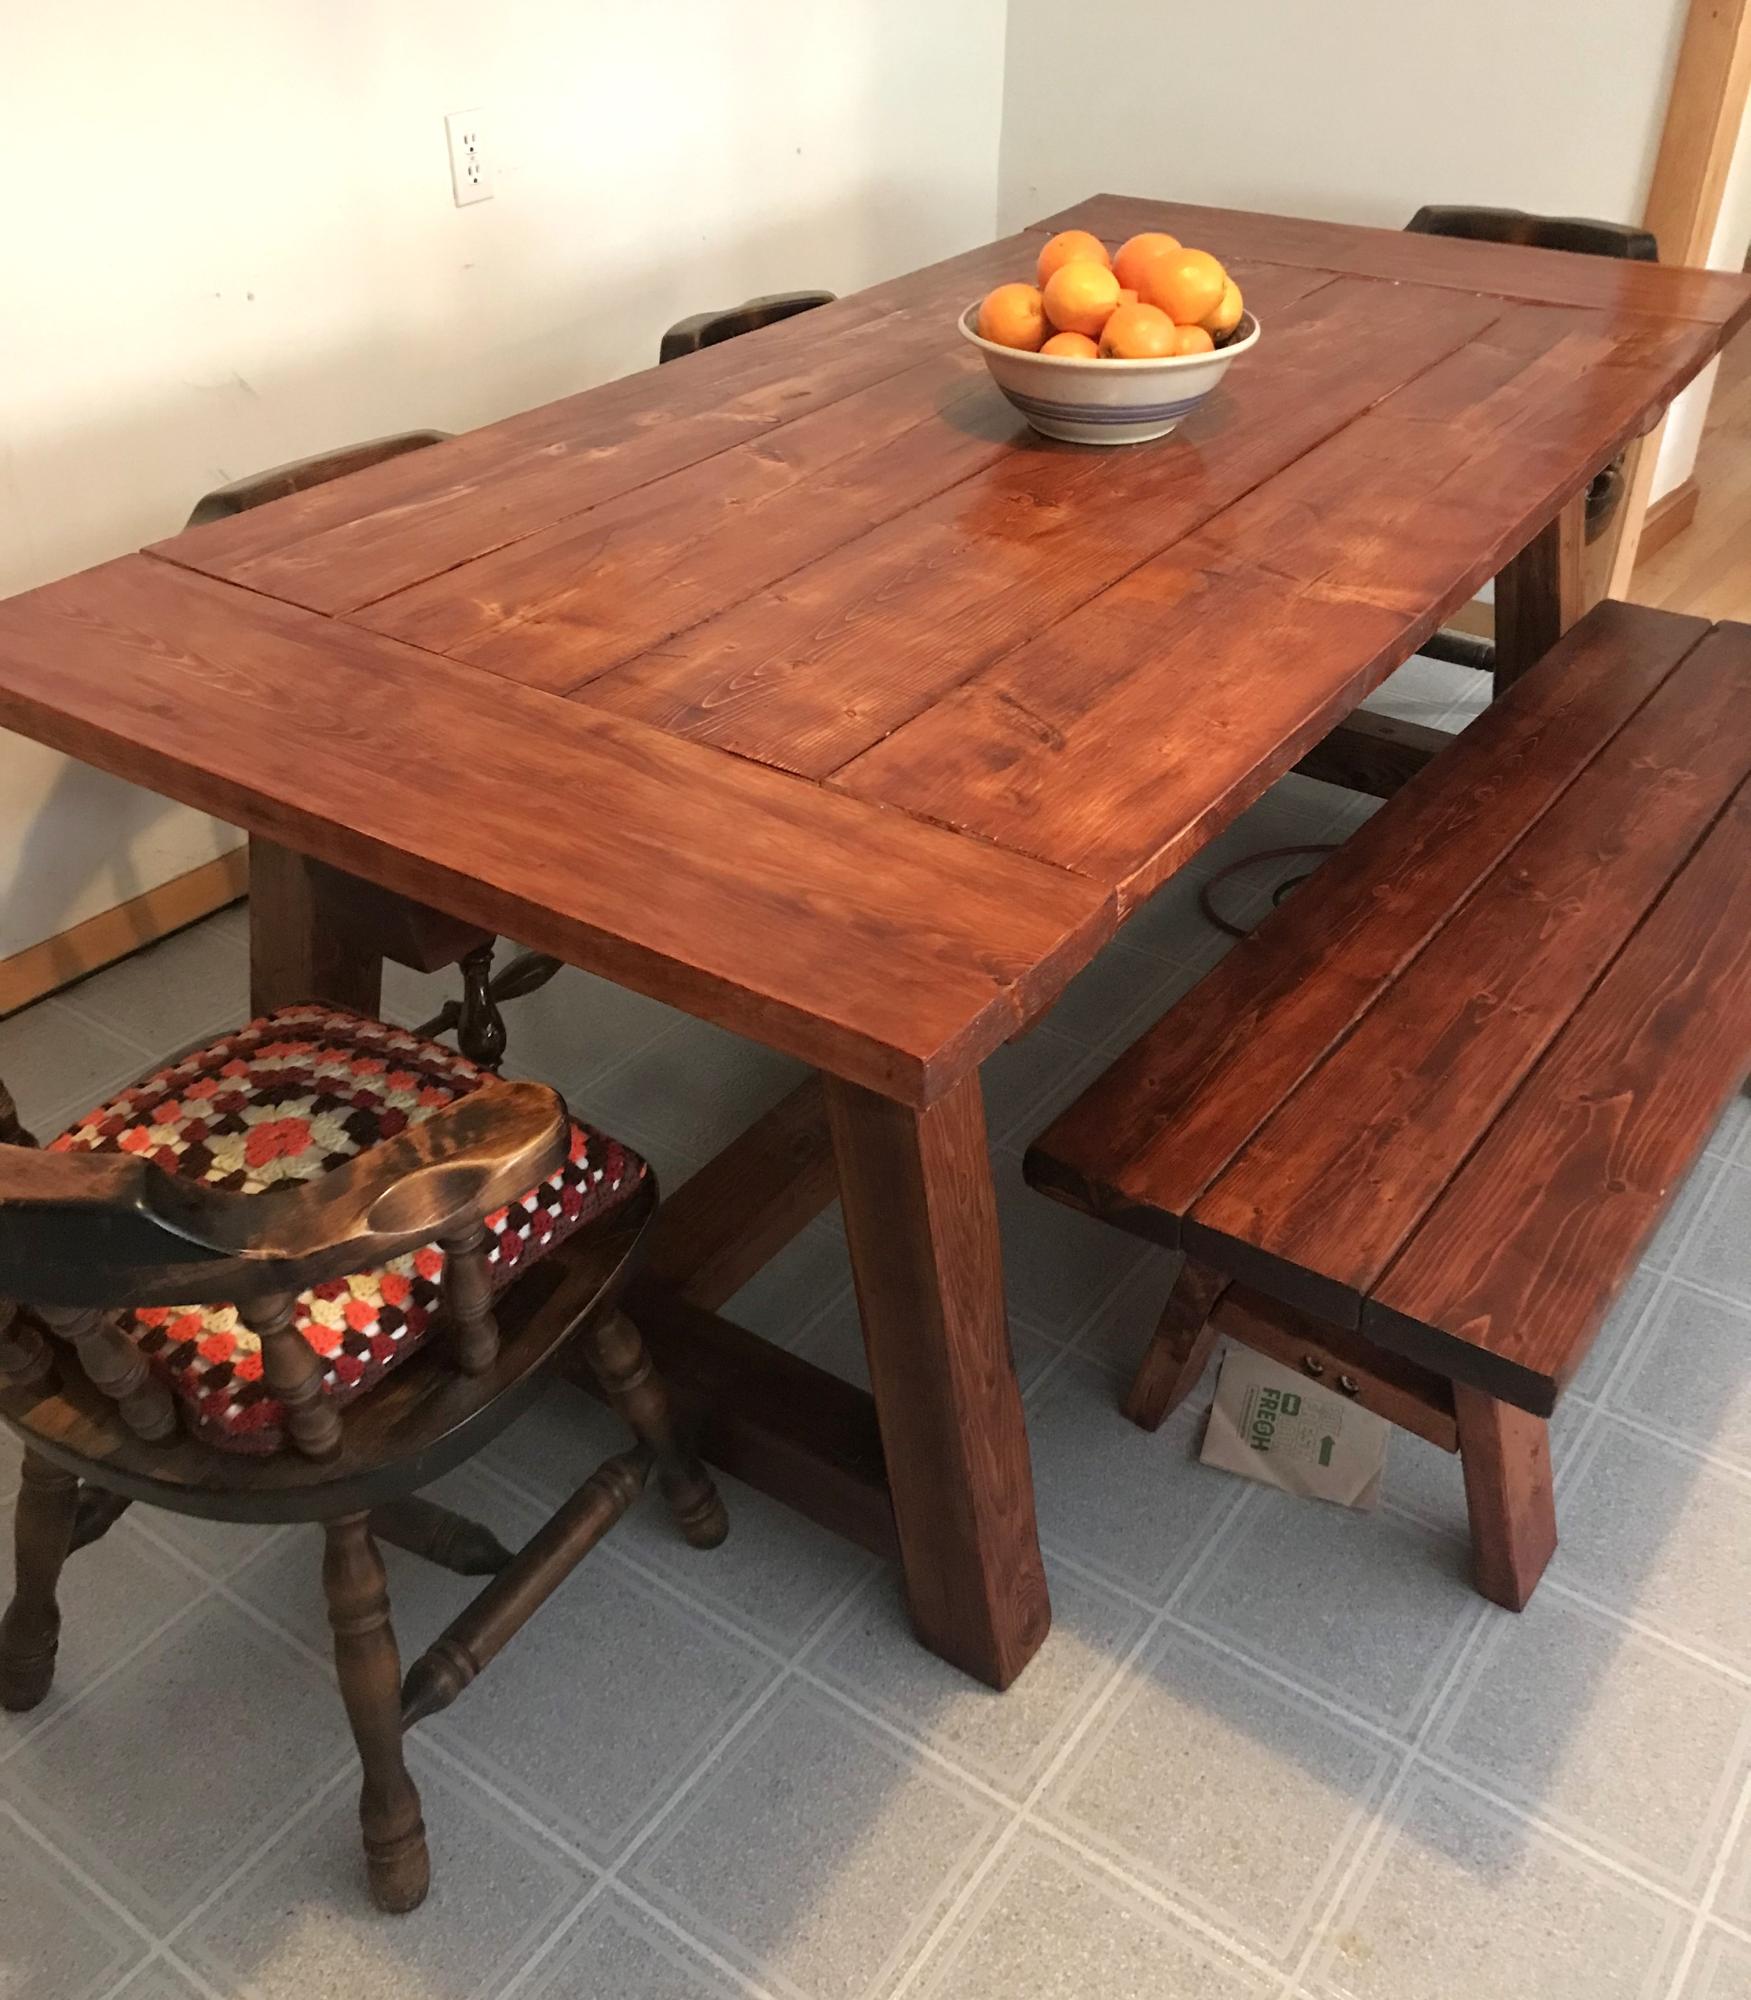
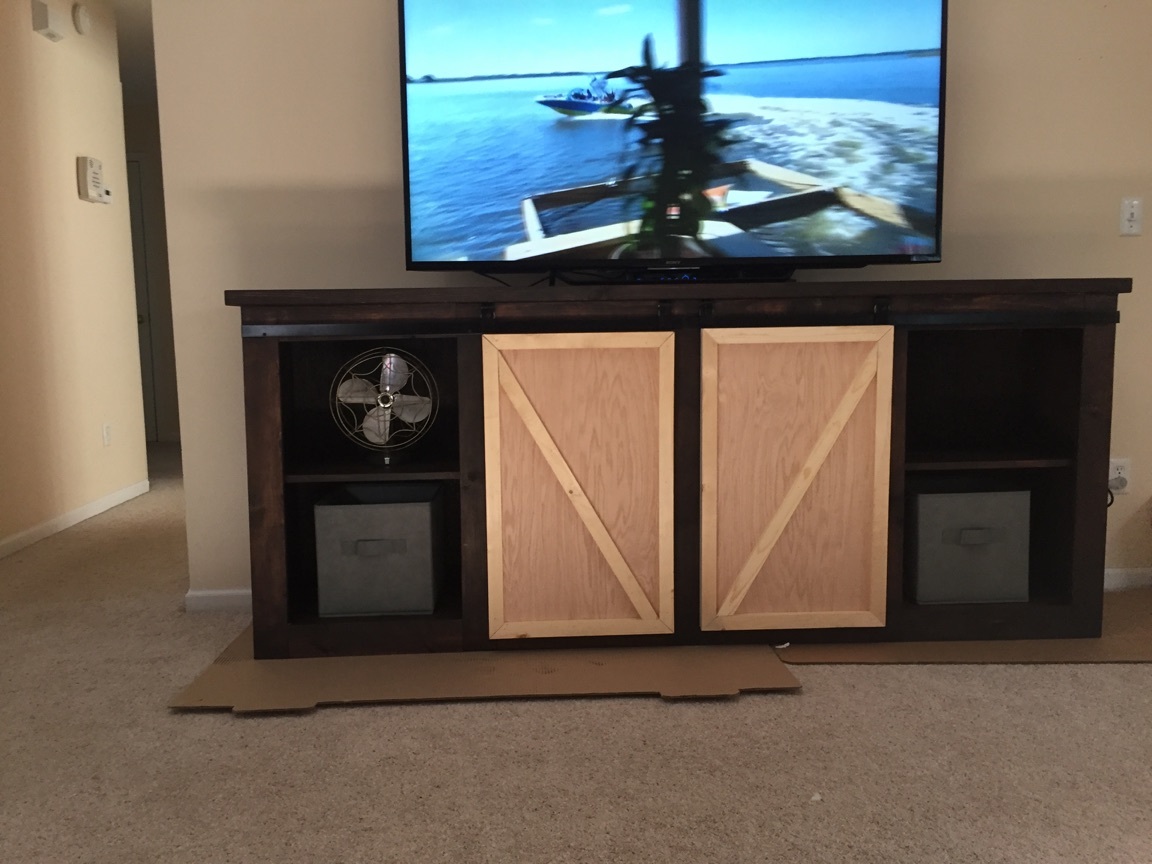
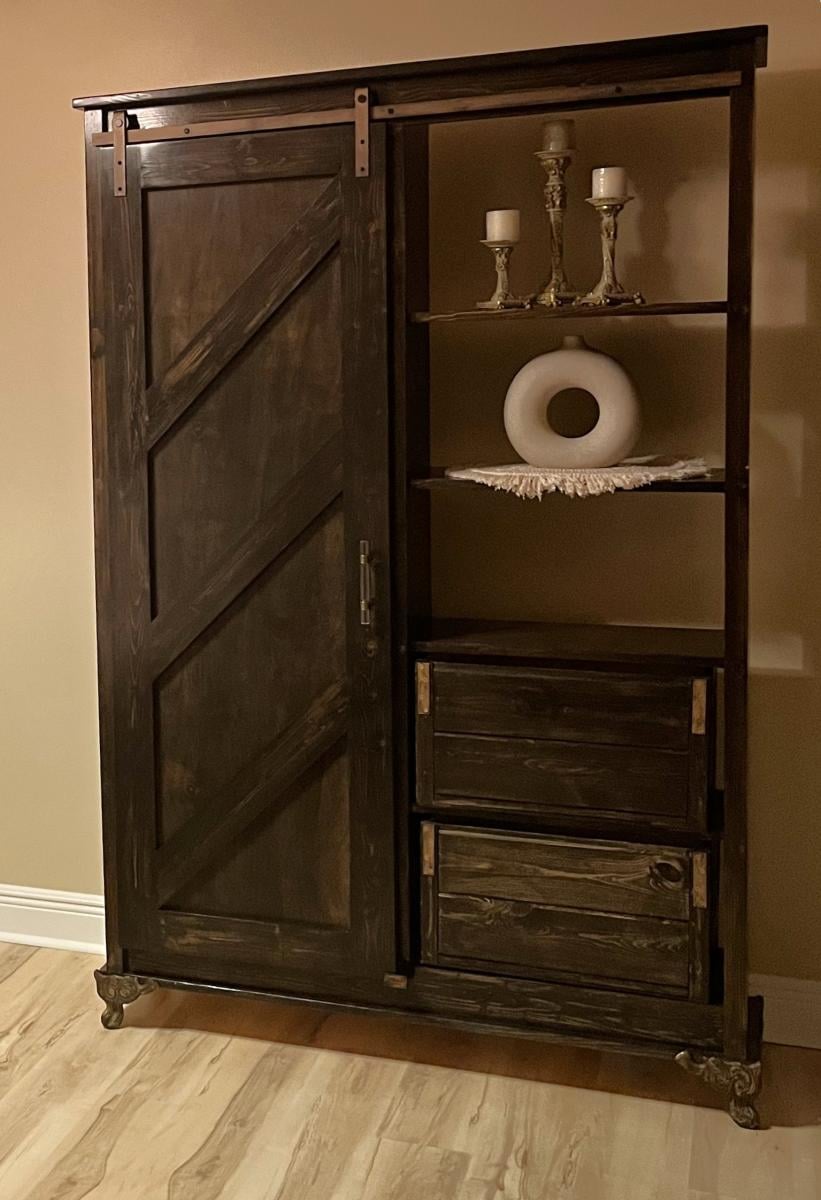
Great plans! Easy to follow and well written. The final project was bigger than I thought it was going to be but very happy with it. Built exactly as the plans stated and the finish project is very heavy duty. My skill level is average and I am only a weekend wood worker and I found it looked very professional.  

Built from Plan(s)
Estimated Cost
Total with homemade hardware for doors $200. To make the hardware was not hard at all. Great articles online on how to make barn door hardware.
Estimated Time Investment
Day Project (6-9 Hours)
Finish Used
Dark stain, espresso color from Menards.
Recommended Skill Level
Intermediate

Cake table for wedding.

Submitted by sherrik on Wed, 05/06/2020 - 21:23

I had seen this and contemplated making it several times. When my daughter got engaged and we planned an on farm wedding, I knew this would be the perfect cake table. My niece helped me with the build. The stain and milk paint finish on the legs worked perfectly and crackled and chipped as desired. Only thing I didn’t like was the the silicone to fill the cracks didn’t last well. Boards were picked out of the pile at Menards. It still looks great two years later and my daughter bought a bigger house so she now has room for it in her dining area.

Built from Plan(s)
Estimated Time Investment
Weekend Project (10-20 Hours)
Finish Used
Table base was gel stain with 2 coats milk paint over the top of stain

Tabletop was liquid stain followed by three coats poly.
Recommended Skill Level
Beginner

Comments

DIY Mantel with Paver Hearth

Submitted by Anonymous (not verified) on Sun, 12/31/2023 - 13:38

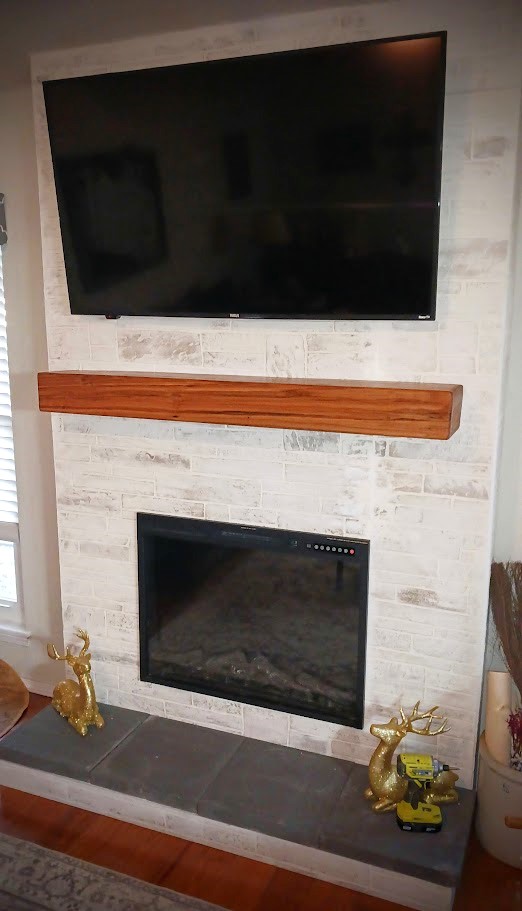
Our old firebox had rusted out through improper installation. So, we took it out and built a 7” bump out directly in front of it. The best part was, the new electric fireplace fit the old firebox location perfectly. Since my wife wanted a stone appearance, we purchased two ¼” 4’x8’ decorative panels that she then “schmeared.” For the mantle, we used pin oak milled from our property. I used three boards to create a faux beam to provide the look we are very happy with. The hearth consists of four walkway pavers.
Doug Siemens

$35 (55) Chaise Lounge

Submitted by melbooker on Thu, 06/28/2012 - 10:32

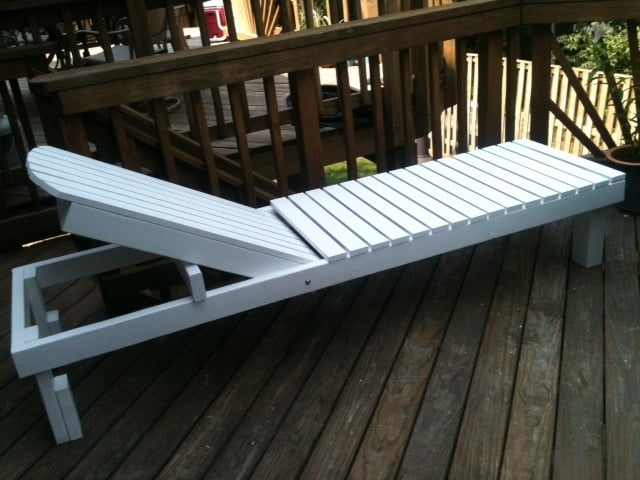
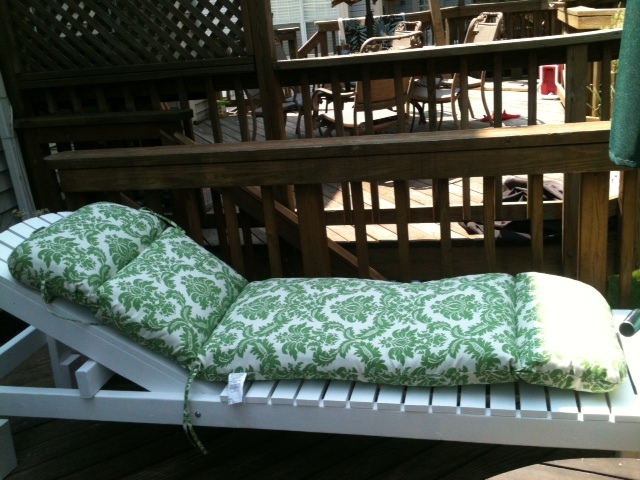
This cost me $55 for wood (pine), nails, and bolts. Additional $7 in paint. It's very sturdy and very comfy with a lounge chair cushion (Walmart had a great price--cheaper than I would have spent to make one myself). This will also serve as bench seating for my deck (I love multi-use furniture). Thanks Brook and Ana for this great plan!

Estimated Cost
$65 ($100 with cushion)
Estimated Time Investment
Weekend Project (10-20 Hours)
Finish Used
Primer with white exterior flat paint
Recommended Skill Level
Beginner

Comments

Mimiprin

Fri, 05/20/2016 - 11:32

I have my lounge completed except for the slots. It looks great and I am very happy with the results. But, in looking at your finished photos, I notice the 2 X 4 in the horizontal slot is not seated into the space completely. And, melbooker's photo shows the board sitting on top of the rail. So, I'm a bit confused about cutting in the slots. Any advice would be very helpful! Thanks
First bird house

Submitted by Snoot357 on Fri, 07/15/2016 - 17:14

First bird house..! 

Built from Plan(s)
Estimated Cost
$3.00 for six foot board.
Estimated Time Investment
An Hour or Two (0-2 Hours)
Finish Used
Boiled linseed oil, on the outside only.
Recommended Skill Level
Beginner

Poolside Hightop Deck Chair

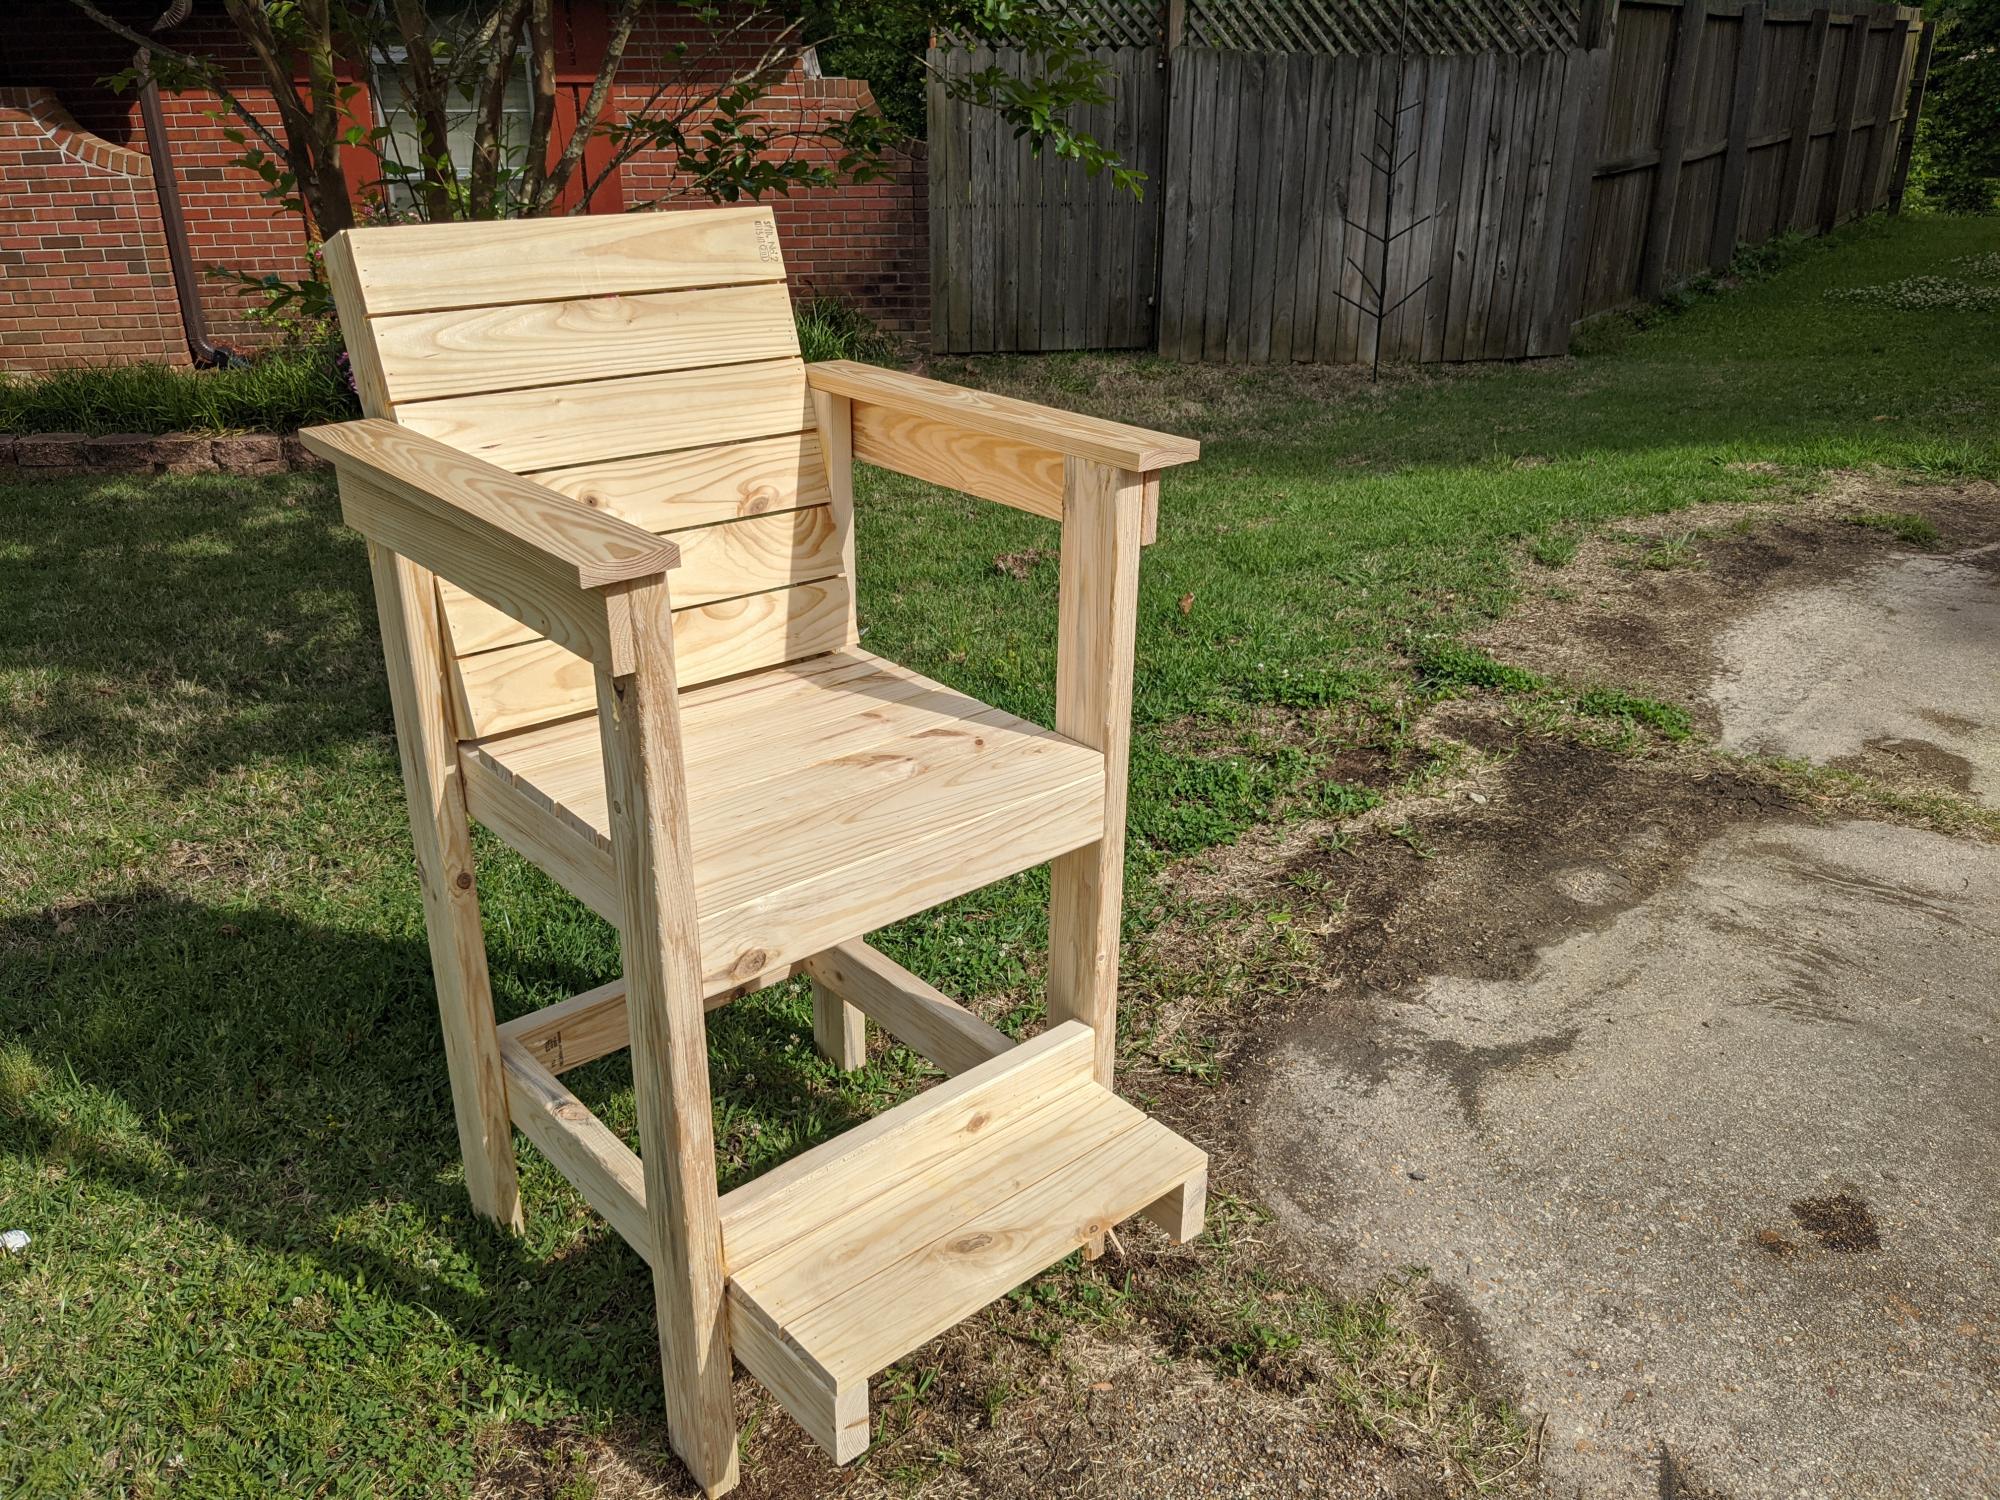
I have used so many of Ana's plans, I decided to design my own chair! I wanted a high top patio style chair that the back was angled and had a footrest. This is perfect for my outdoor patio. I think I need to update the plan already to include a cup holder! Appreciate any feedback or comments.
Estimated Cost
$50
Estimated Time Investment
Afternoon Project (3-6 Hours)
Finish Used
None
Recommended Skill Level
Beginner

Finished Shop

Submitted by Anonymous (not verified) on Wed, 01/03/2024 - 08:41

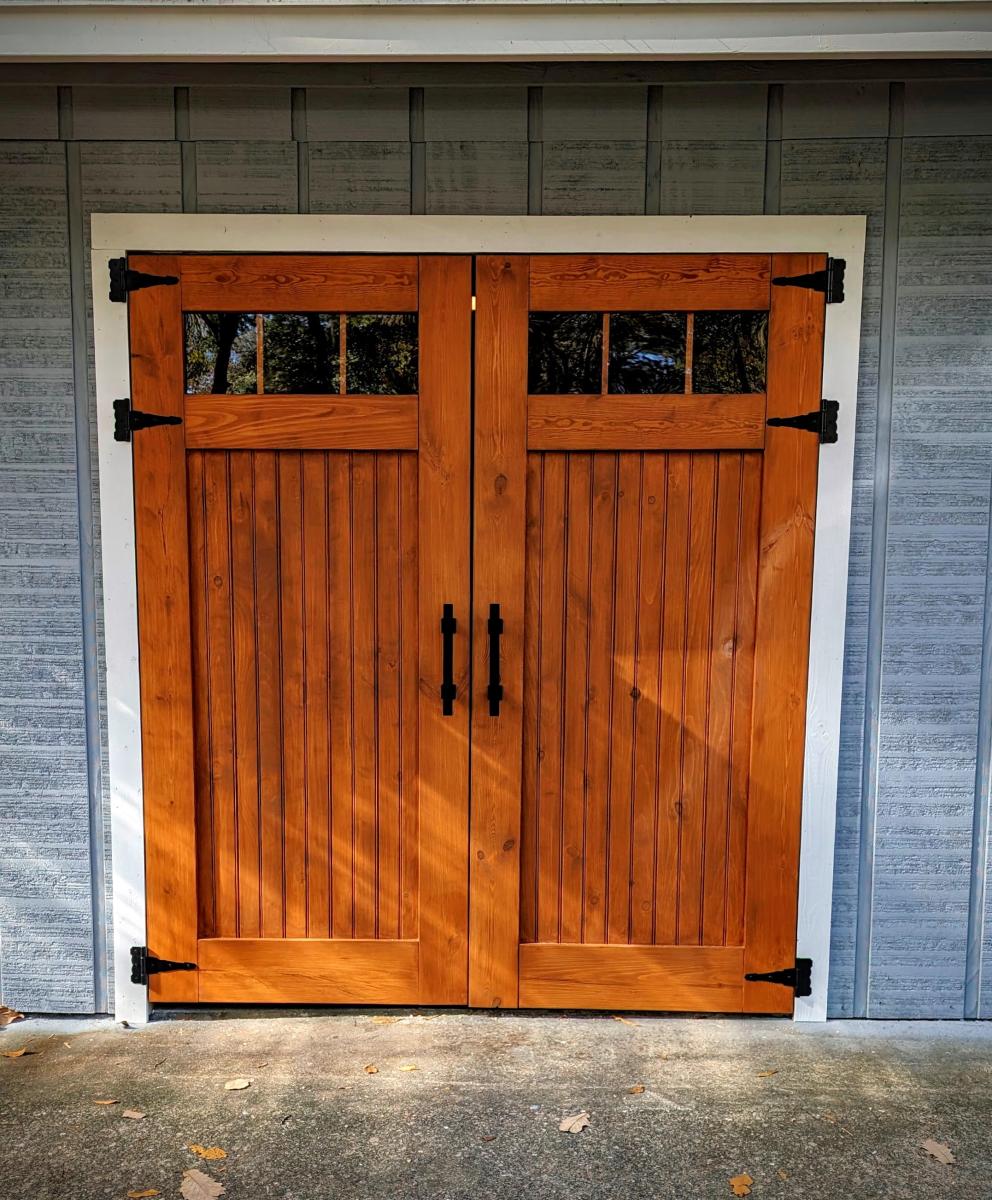
Finished building my son's shop by enclosing an existing carport and adding these hand built carriage doors to the front of the shop. Sorry, not built from any plans here but used the techniques learned here from many of the other plans.

Gary

Buzz Lightyear bookshelf

Submitted by jwright on Mon, 07/02/2012 - 11:17

This is the rocket bookshelf plan with a color scheme for buzz lightyear

Estimated Cost
$65
Estimated Time Investment
Afternoon Project (3-6 Hours)
Finish Used
paint
Recommended Skill Level
Starter Project

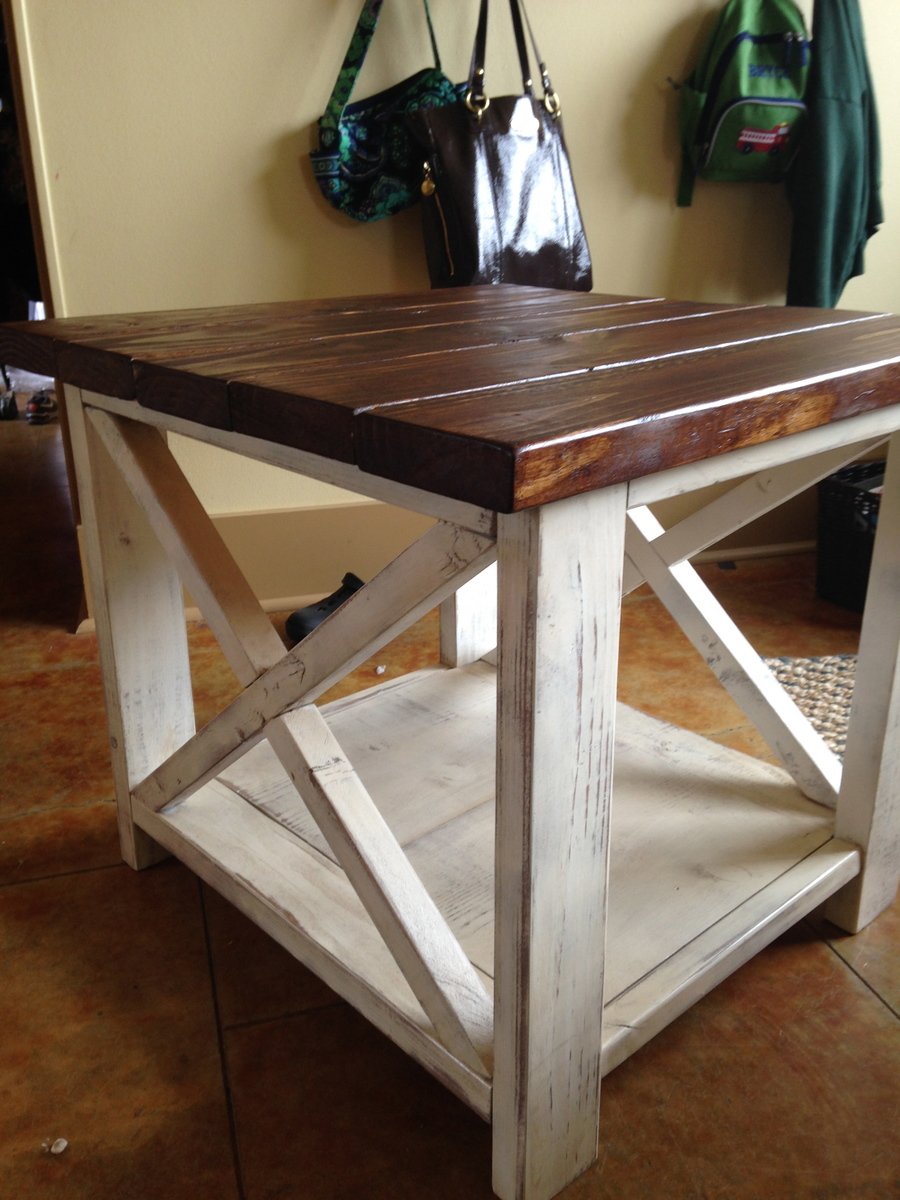
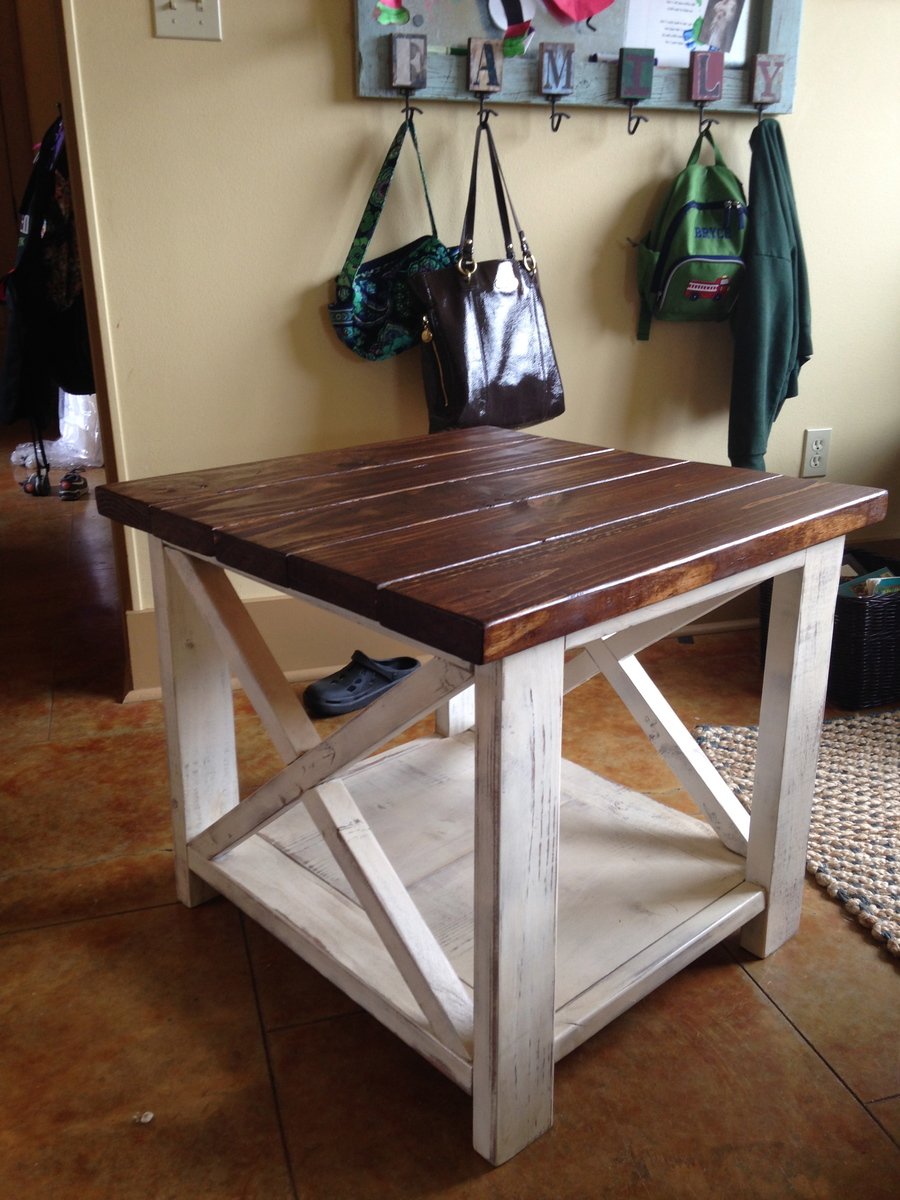
The Rustic X side table

Submitted by gvandy on Fri, 04/18/2014 - 17:27

This is my first EVER project, but I have already made several more!! I love this site and the new found confidence I have to make things for my home! Keep the plans coming!!!

Built from Plan(s)
Estimated Cost
Nothing! I used only what we had!
Estimated Time Investment
Day Project (6-9 Hours)
Finish Used
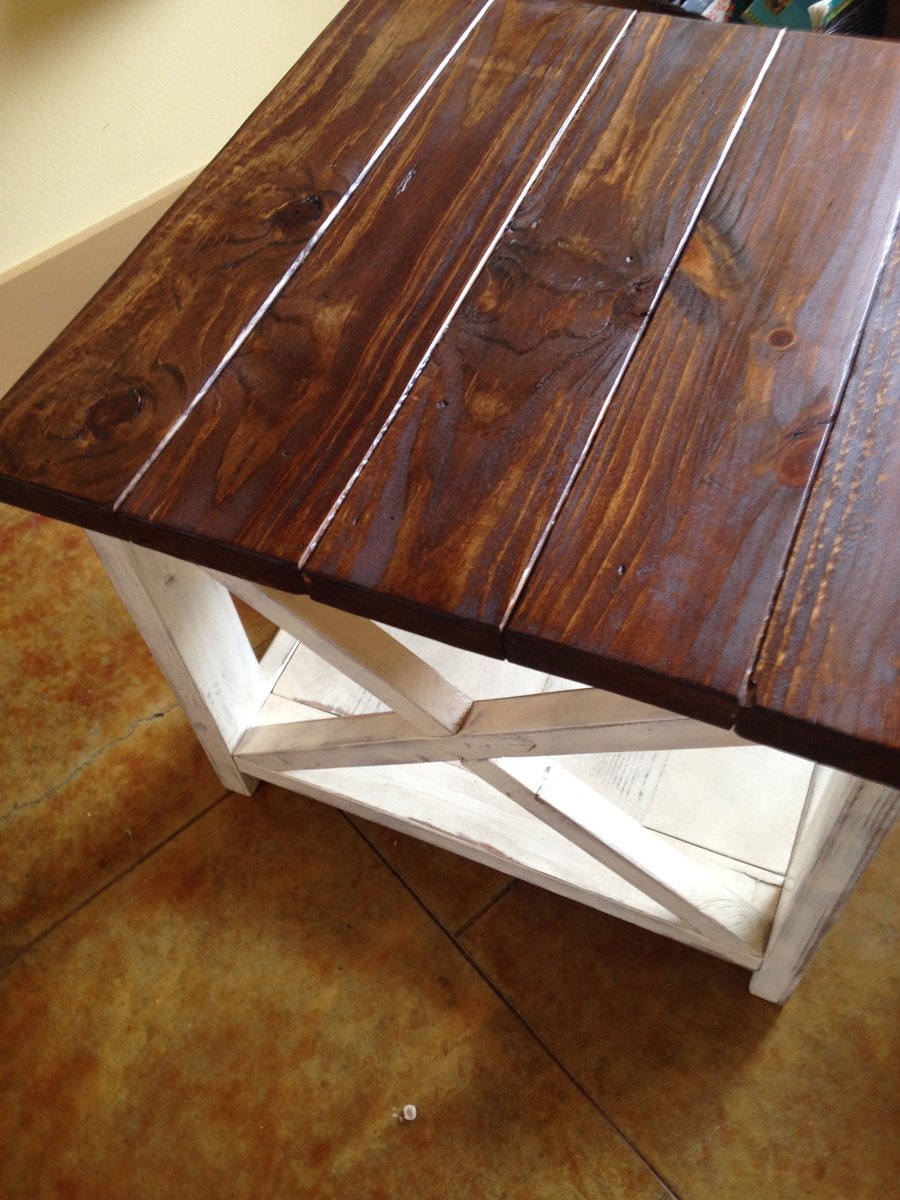
Early American top and Heirloom white base, sanded with stain rubbed on the edges!
Recommended Skill Level
Starter Project

DIY Phone Stands

Submitted by Anonymous (not verified) on Mon, 01/08/2024 - 10:05

Quick and easy phone holders

Fireman Joe

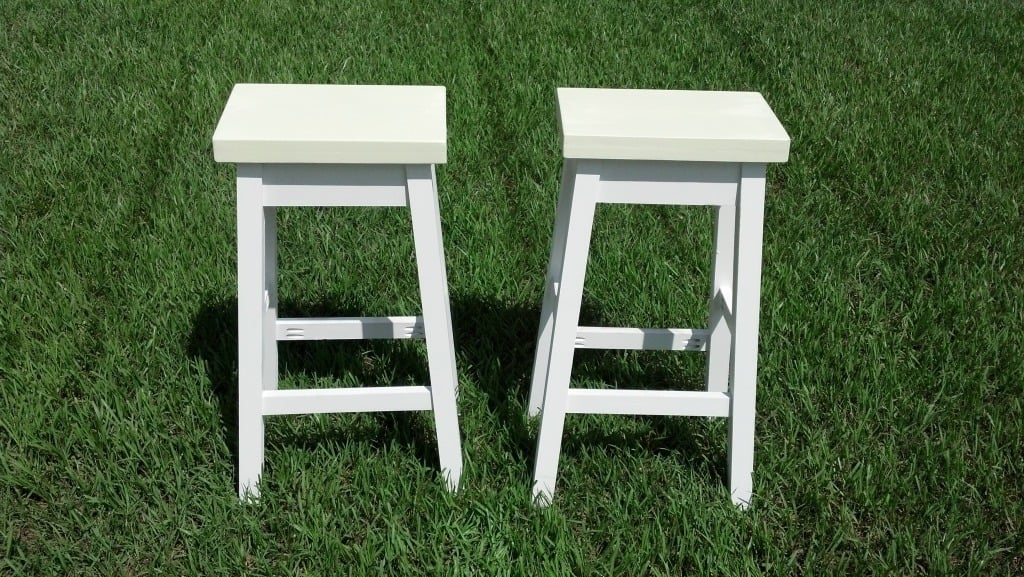
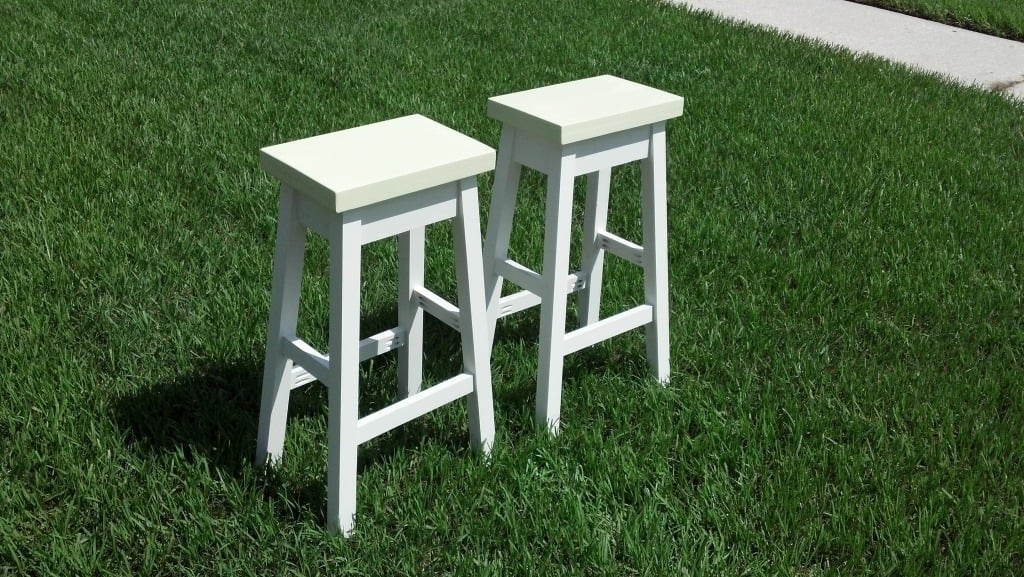
Bar Stool

Submitted by beansurfin on Thu, 07/05/2012 - 17:15

My wife and I needed bar stools for the kitchen and could not find ones we liked. Also, finding ones that were the height we wanted was a challenge. So, after seeing the plans for the Simplest Stool we decided to make them. It was really quite simple with the plans given. Even the angle cuts were not that bad. Thanks for the plans for this awesome stool.

Built from Plan(s)
Estimated Cost
<$50
Estimated Time Investment
Afternoon Project (3-6 Hours)
Finish Used
Painted with urethane top coat
Recommended Skill Level
Beginner

Comments

Jeromy (not verified)

Wed, 01/02/2013 - 10:35

Hi there
My wife loves your design so guess I'll be donning the old tool belt soon...!
Are there any plans of these to get me going?

Jeromy (not verified)

Wed, 01/02/2013 - 10:37

Hi there
My wife loves your design so guess I'll be donning the old tool belt soon .......!
Are there any plans of these to get me going?

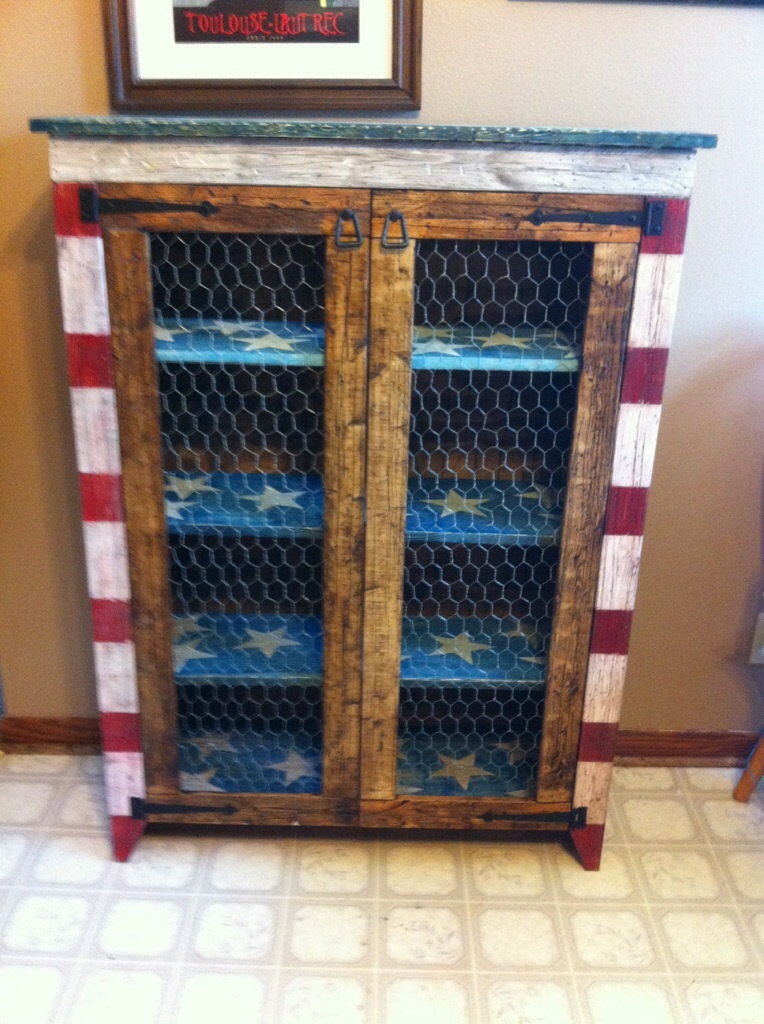
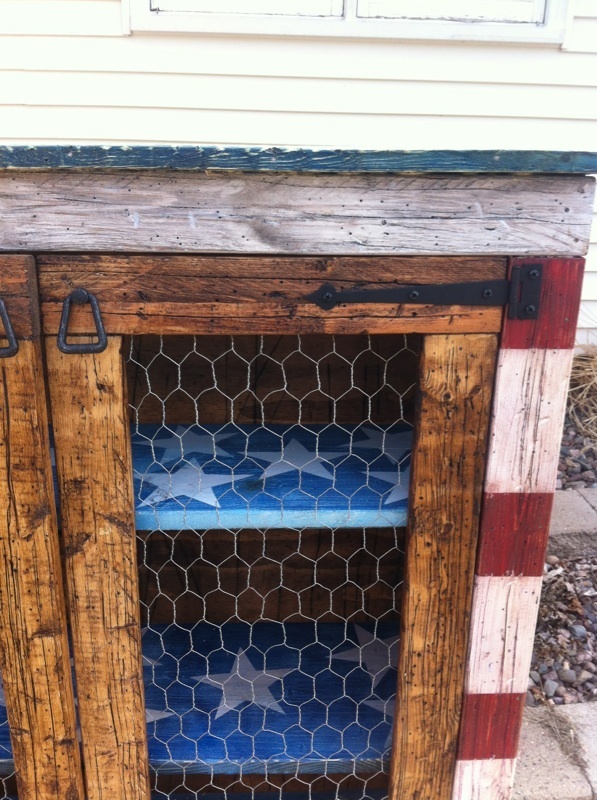
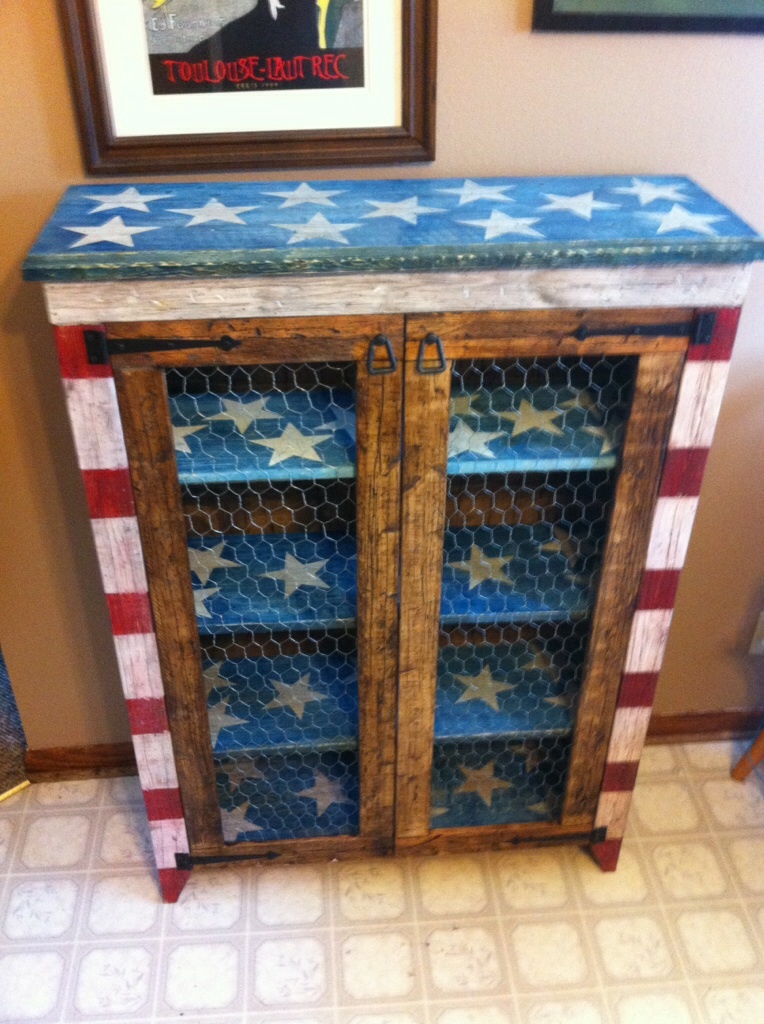
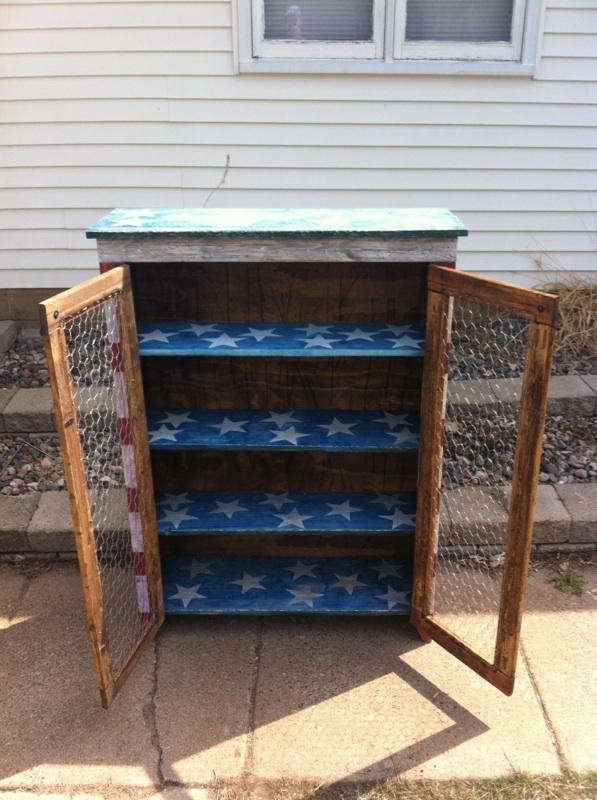
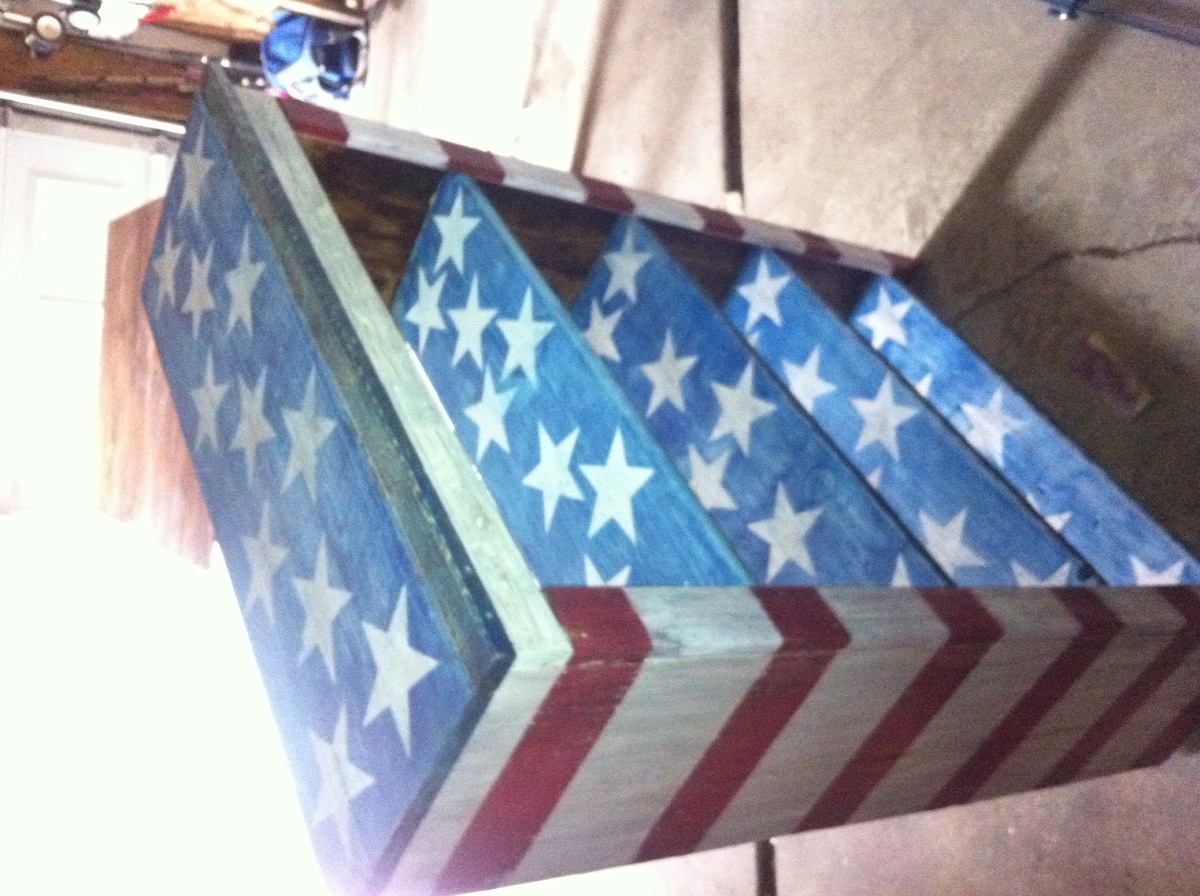
Jelly cabinet

Submitted by Chefwiener on Mon, 04/21/2014 - 18:31

My patriotic pie safe

Built from Plan(s)
Estimated Cost
$45
Estimated Time Investment
Weekend Project (10-20 Hours)
Finish Used
Vinegar and steel wool and stray paint
Recommended Skill Level
Intermediate

Queen Farmhouse Bed

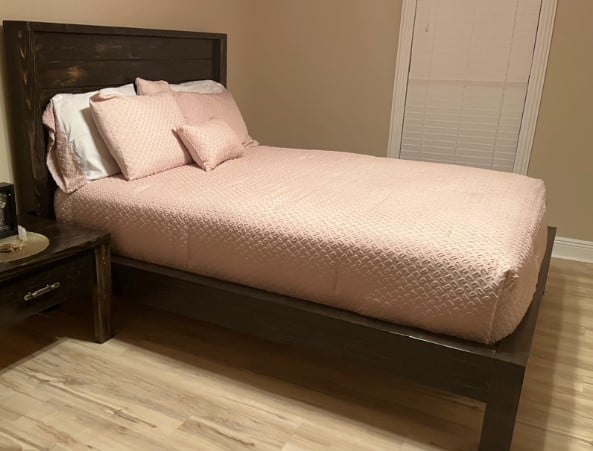
Submitted by Anonymous (not verified) on Fri, 07/22/2016 - 07:51

This bed is even more beautiful in person. I'm so pleased with it and the clear plans that Ana writes up. See my blog for a few more pictures.

Built from Plan(s)
Estimated Cost
$150
Estimated Time Investment
Weekend Project (10-20 Hours)
Finish Used
Walnut Stain
Recommended Skill Level
Beginner

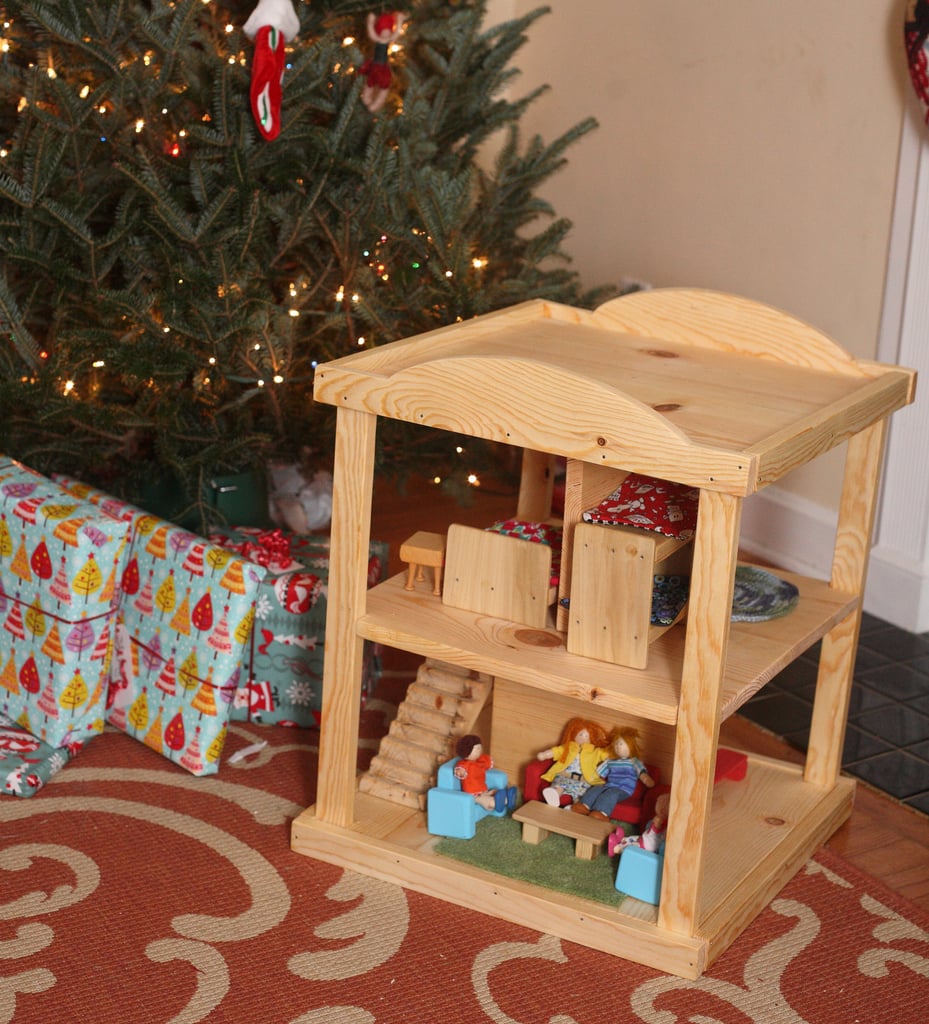
Dollhouse

Submitted by keribeth on Sat, 07/07/2012 - 05:46

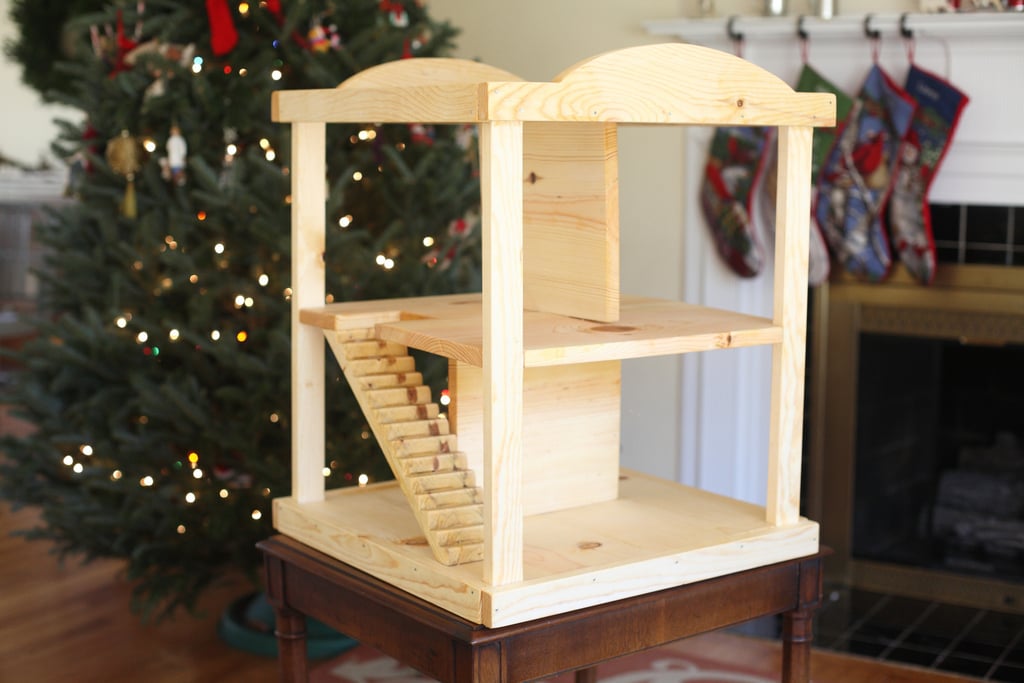
I combined my favorite elements from three of Ana's dollhouse plans to make this dollhouse for my kids. My favorite part is the stairs, which I cut from a 2x4 with a miter saw. I made this project from start to finish in one day while the grandparents took the kids, and it was ready for Christmas morning! I made simple furniture for it, too, which you can see in the second picture.

Estimated Cost
~$20 (I used some scraps)
Estimated Time Investment
Day Project (6-9 Hours)
Finish Used
linseed oil
Recommended Skill Level
Intermediate

Comments

Jerika

Wed, 02/11/2015 - 06:35

Is there any way you could email me the plans you used for the furniture? or just individual pictures of the furniture? [email protected] (you may wanna copy and paste that people always get it wrong, haha).
I LOVE THIS

MissM

Wed, 07/10/2019 - 04:08

I know this is an oldie but if you have the finals plans I would love to see them!

What a great open dollhouse!

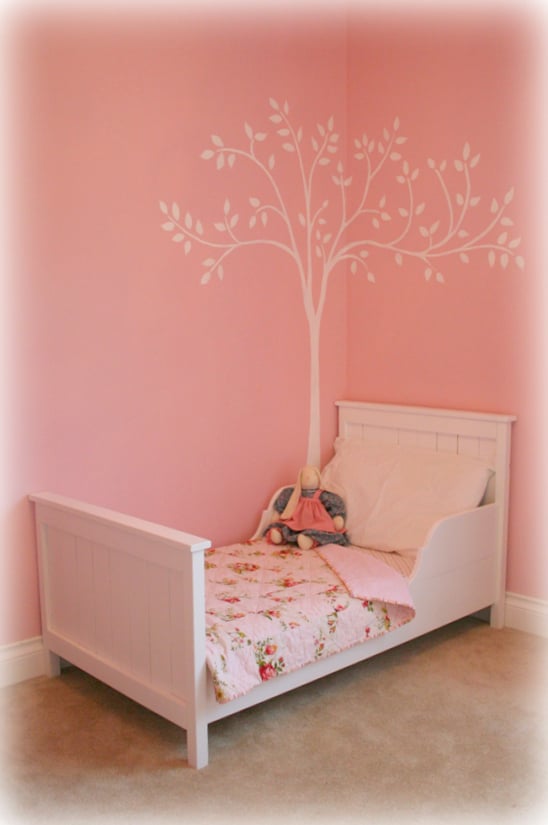
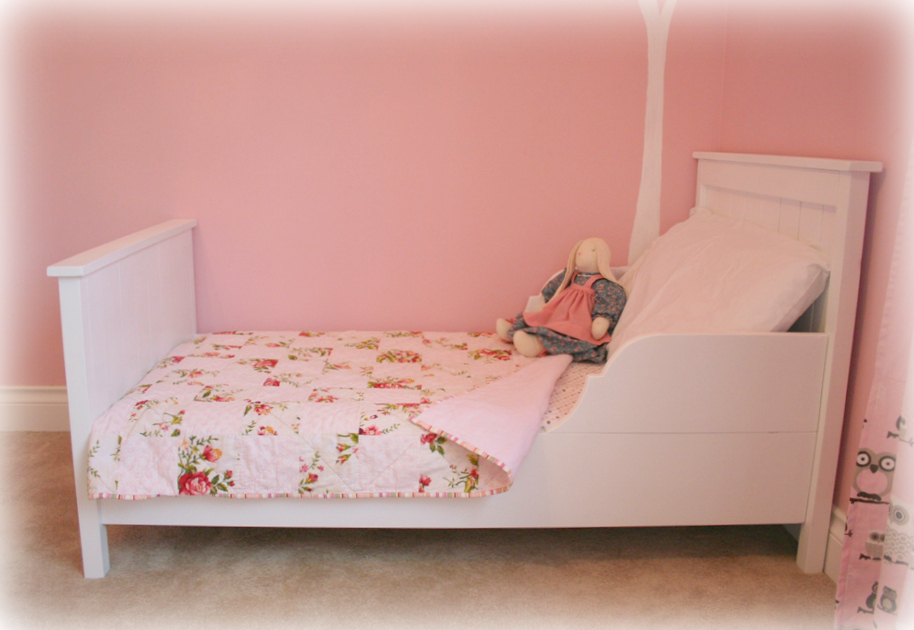
Our Farmhouse/Lydia Toddler Bed

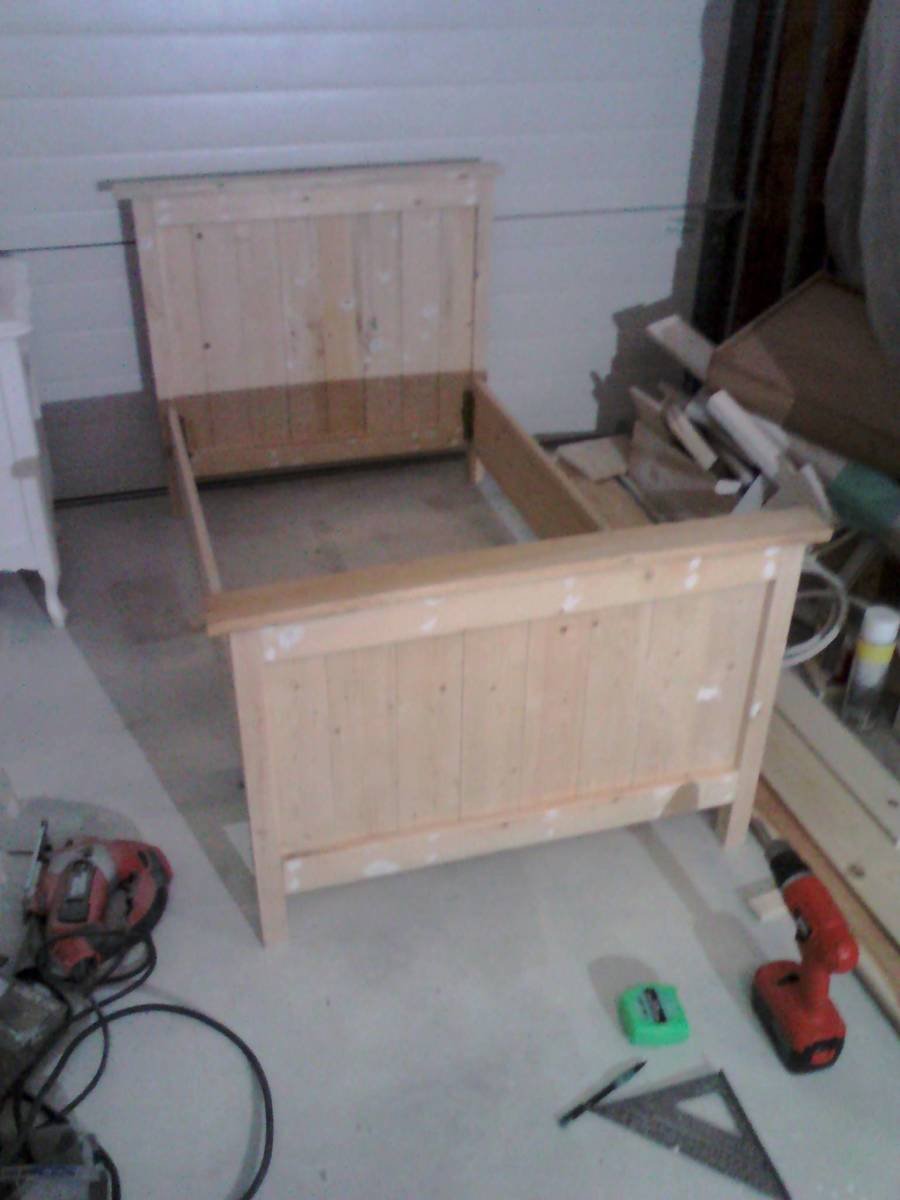
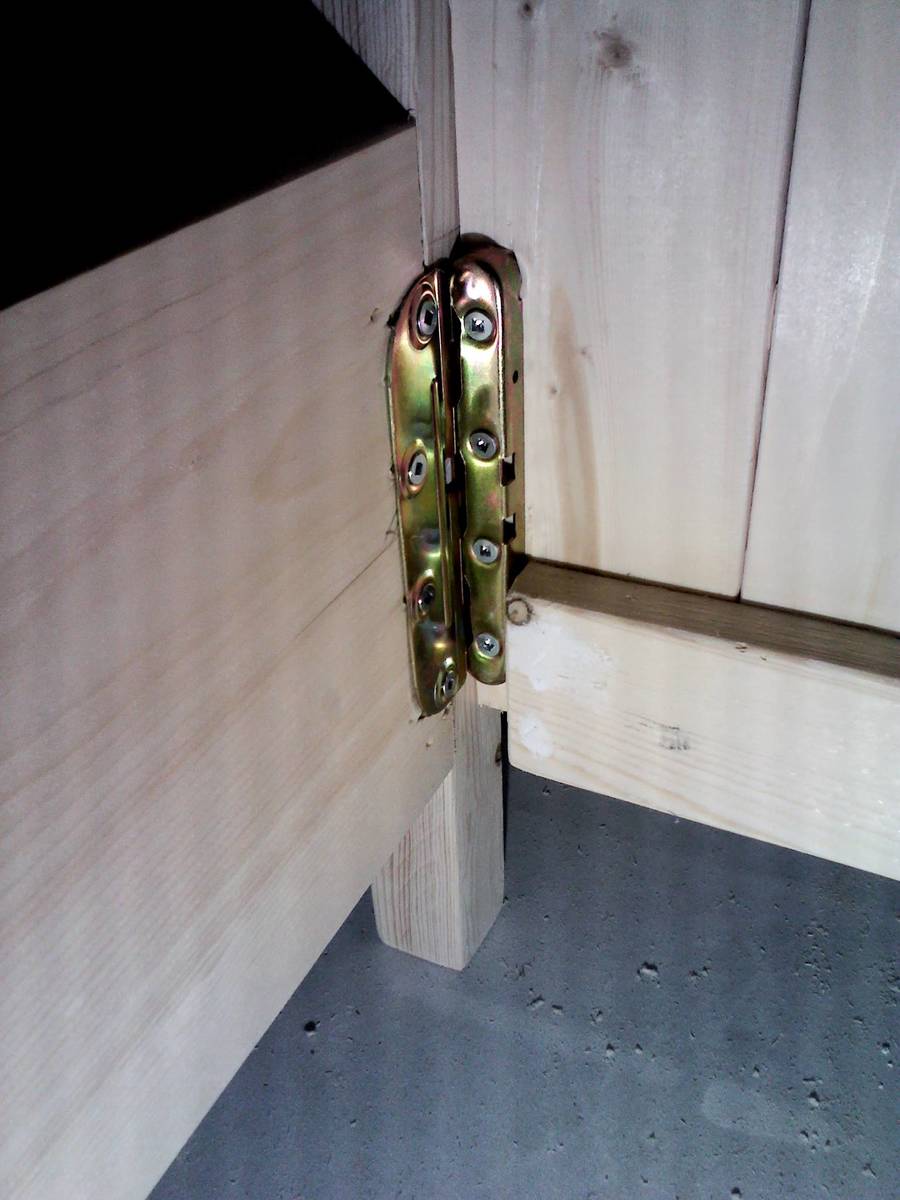
I fell in love with the Farmhouse Toddler bed, but decided to stray a little from the plan and made a couple changes. I chose to use 2x2 lumber for the legs and purchased mortise-free bedlocks from Lee Valley Tools so I could disassemble the bed to make moving it easier.

I lengthened the height of the headboard so it was flush with the bottom of the bed and also lowered the entire bed so it's only 4-1/2" off the ground.

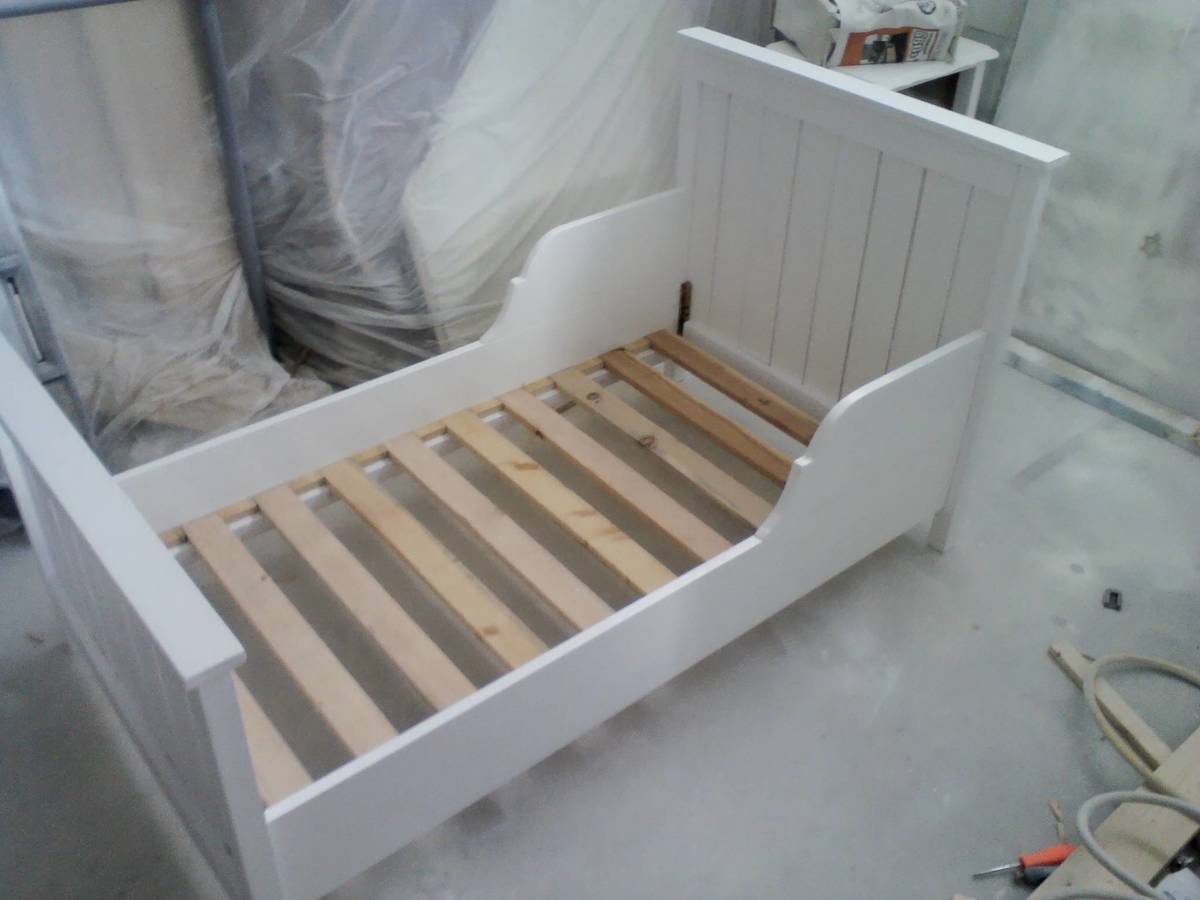
Rather than attach the wood mattress slats, I cut and nailed small wood "spacers" that the slats sit between. This keeps the slats from shifting, but makes them quick and easy to remove to disassemble the bed.

I loved the look of the curved rails on the Lydia Toddler bed but extended them a bit further than the original plan.

The mattress we have was a different size than the orignal plan was based off, so I ended up using all 1x4 lumber and then just trimmed off about half an inch on each side before attaching to the legs with pocket hold screws.

I'm thrilled with this little bed and so far our daughter seems to enjoy it as well.

Finish Used
Primer, white latex paint, polycrylic clear coat
Recommended Skill Level
Beginner
Back