Crib with Loft Shared Room
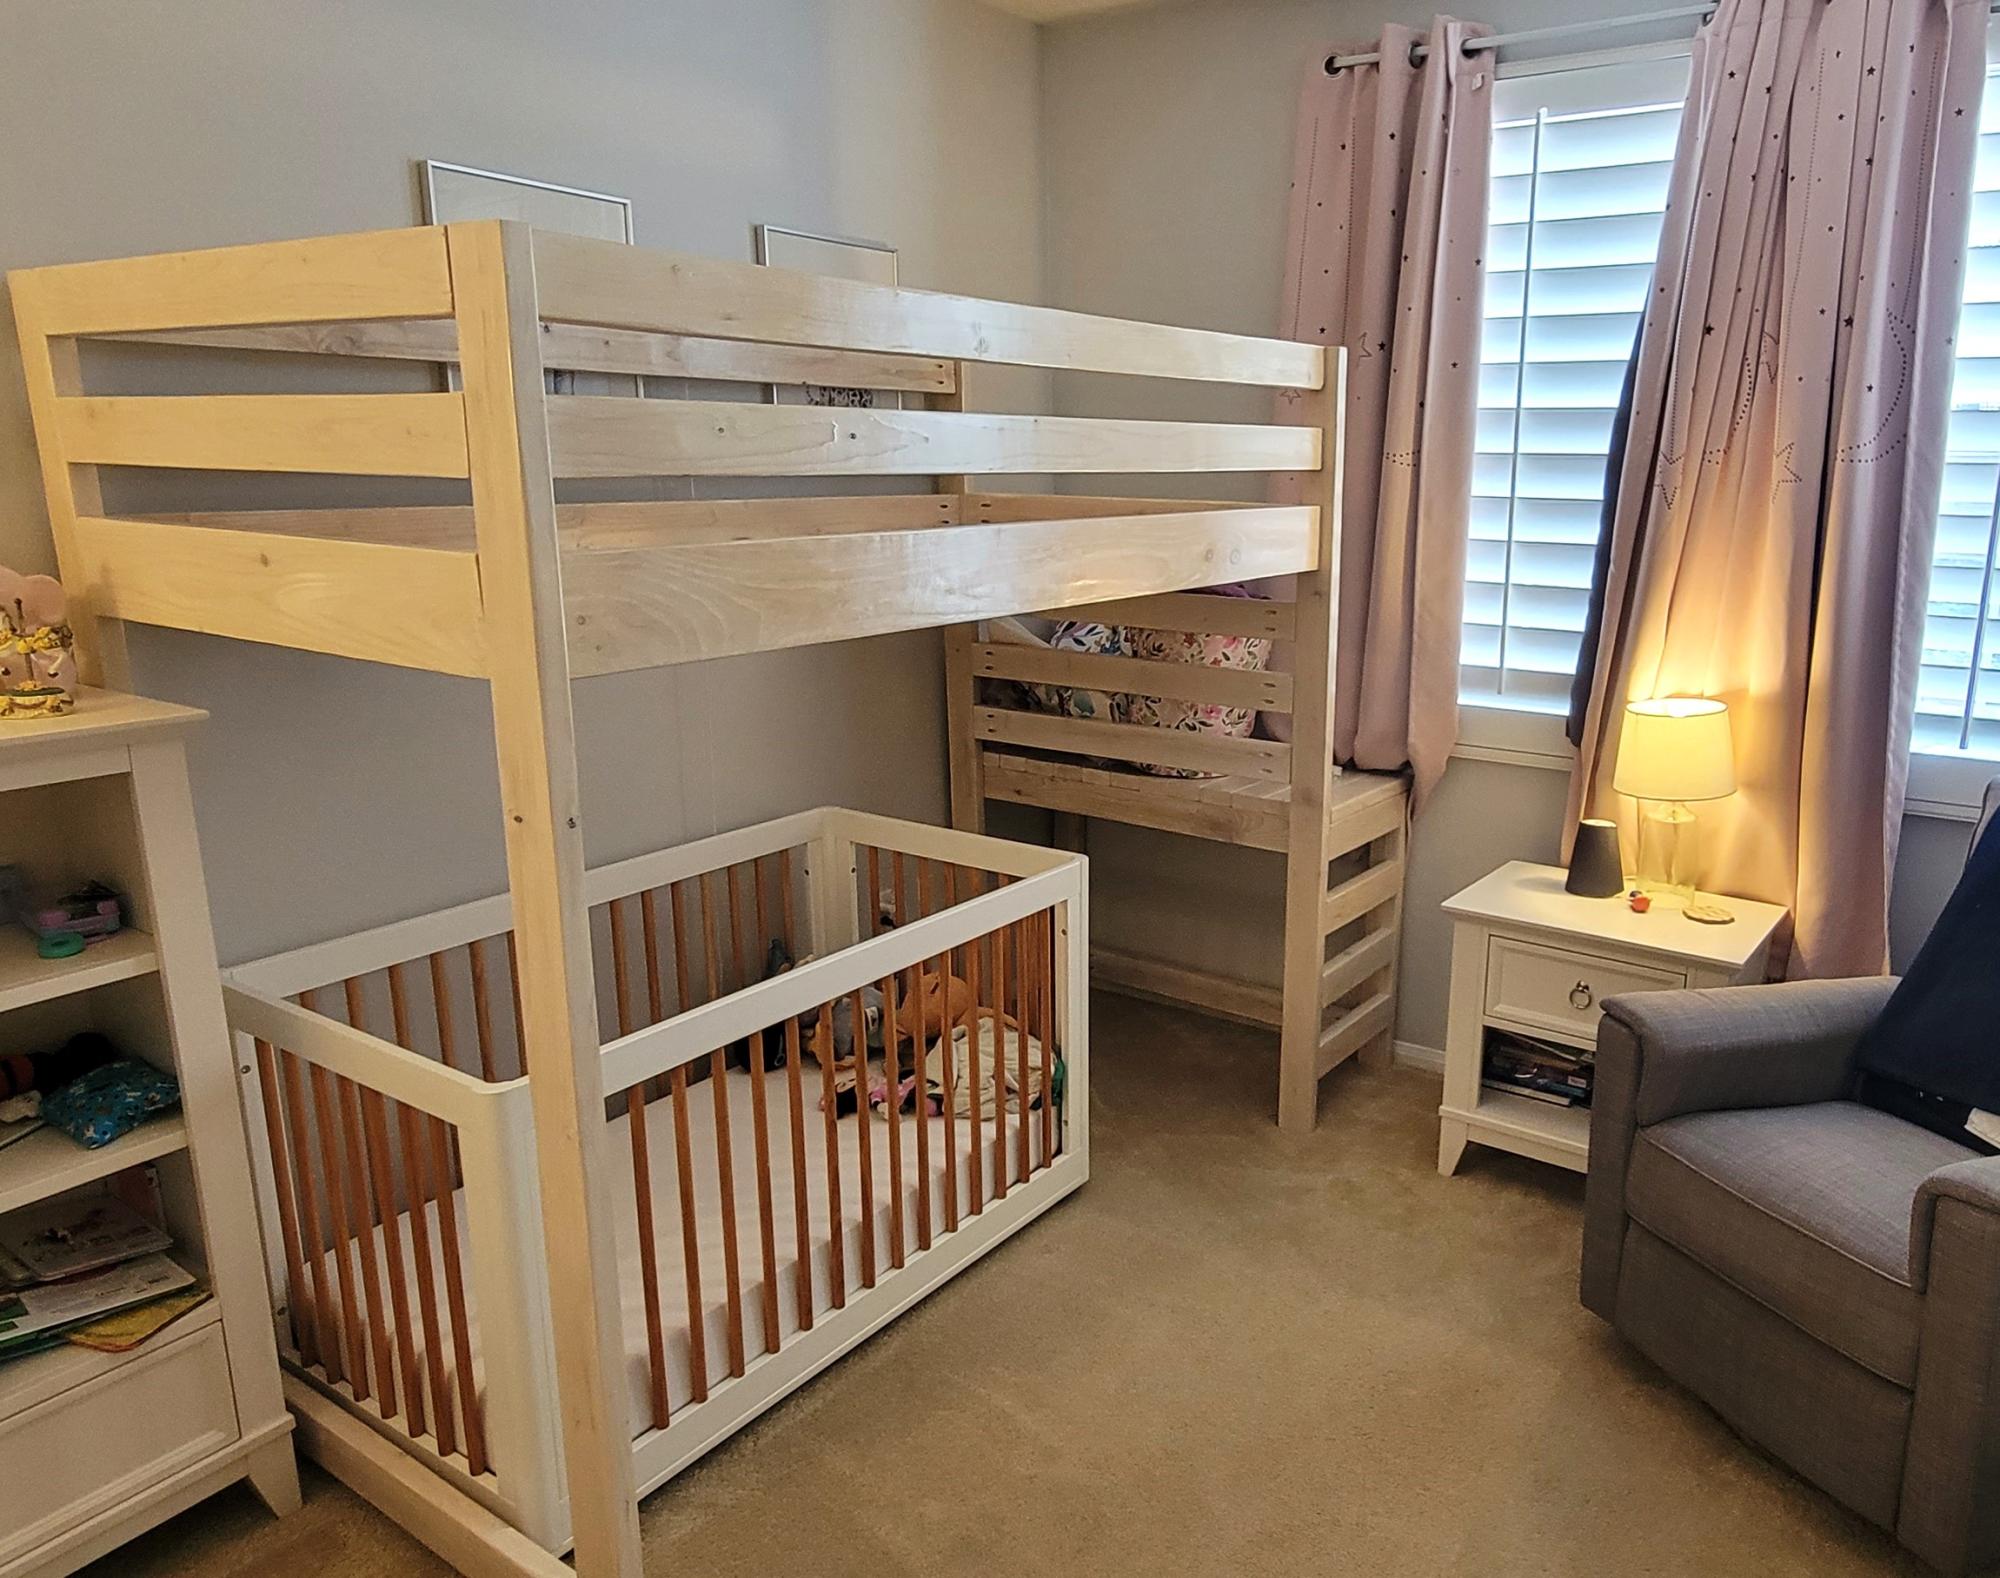
Made the loft about 6in taller to accommodate a crib until our littlest one is big to build it out. Also made a reading spot/ platform to add confidence to our toddler when climbing.
Brendan
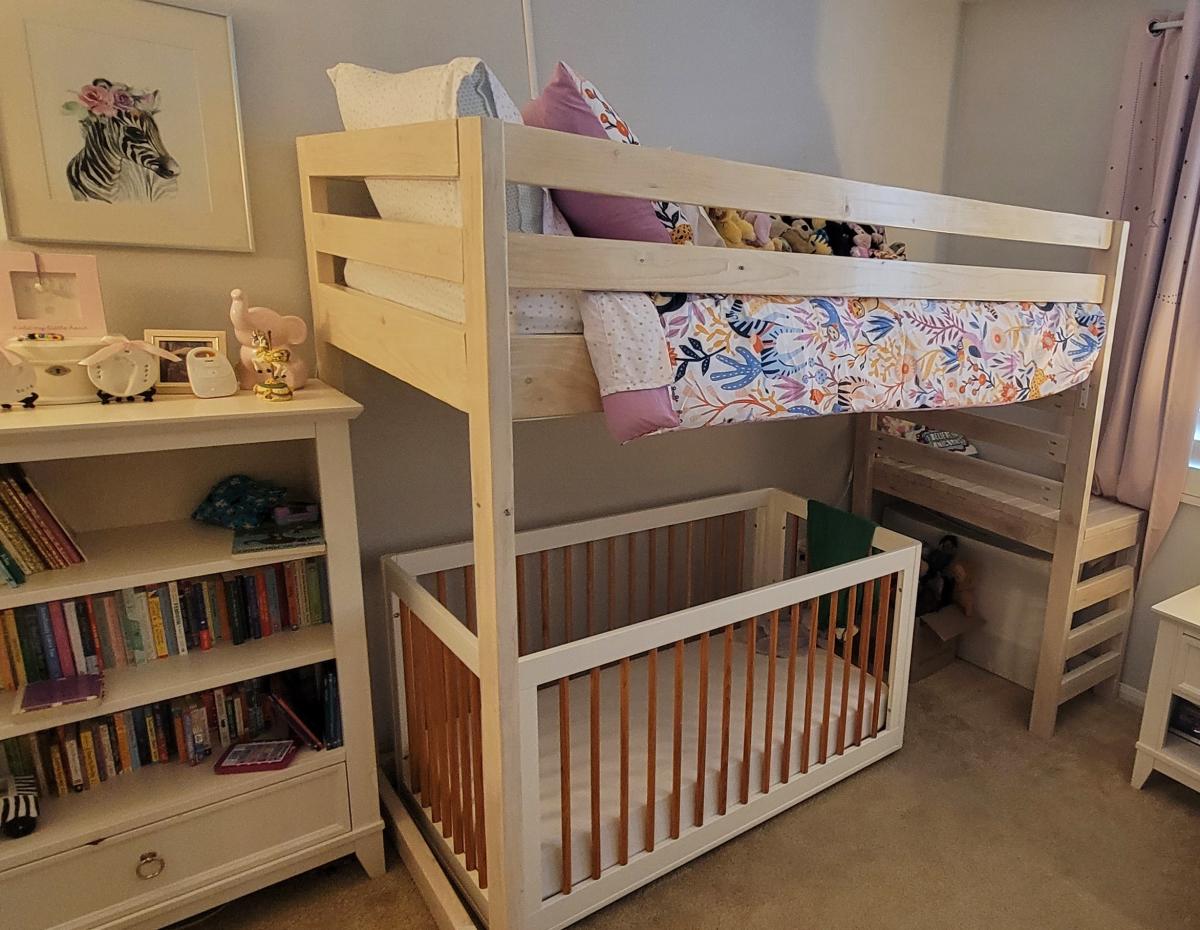

Made the loft about 6in taller to accommodate a crib until our littlest one is big to build it out. Also made a reading spot/ platform to add confidence to our toddler when climbing.
Brendan

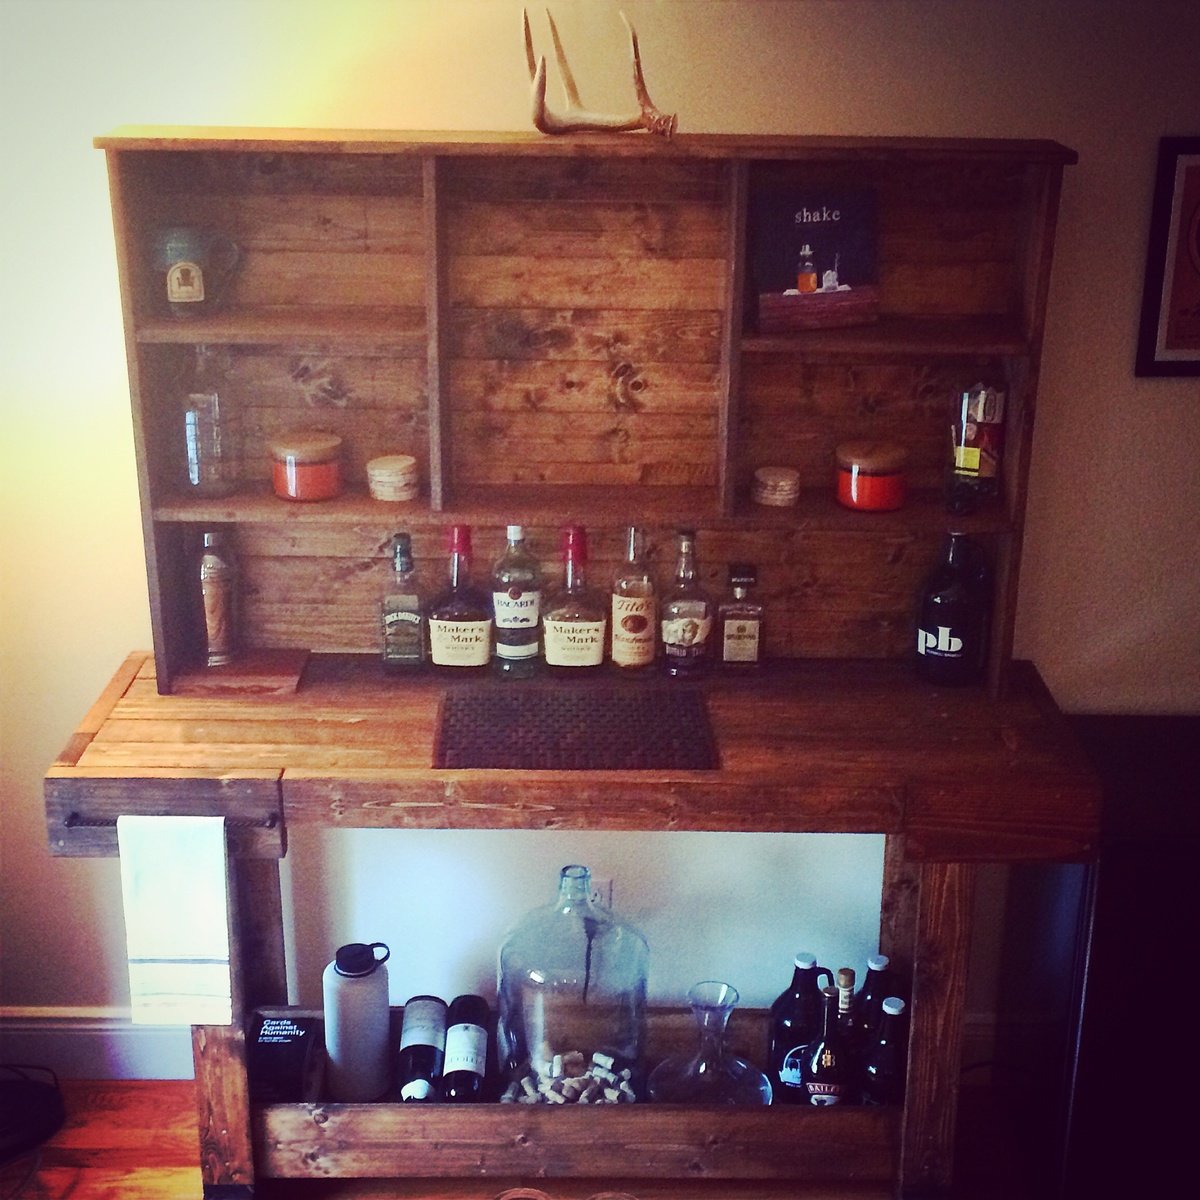
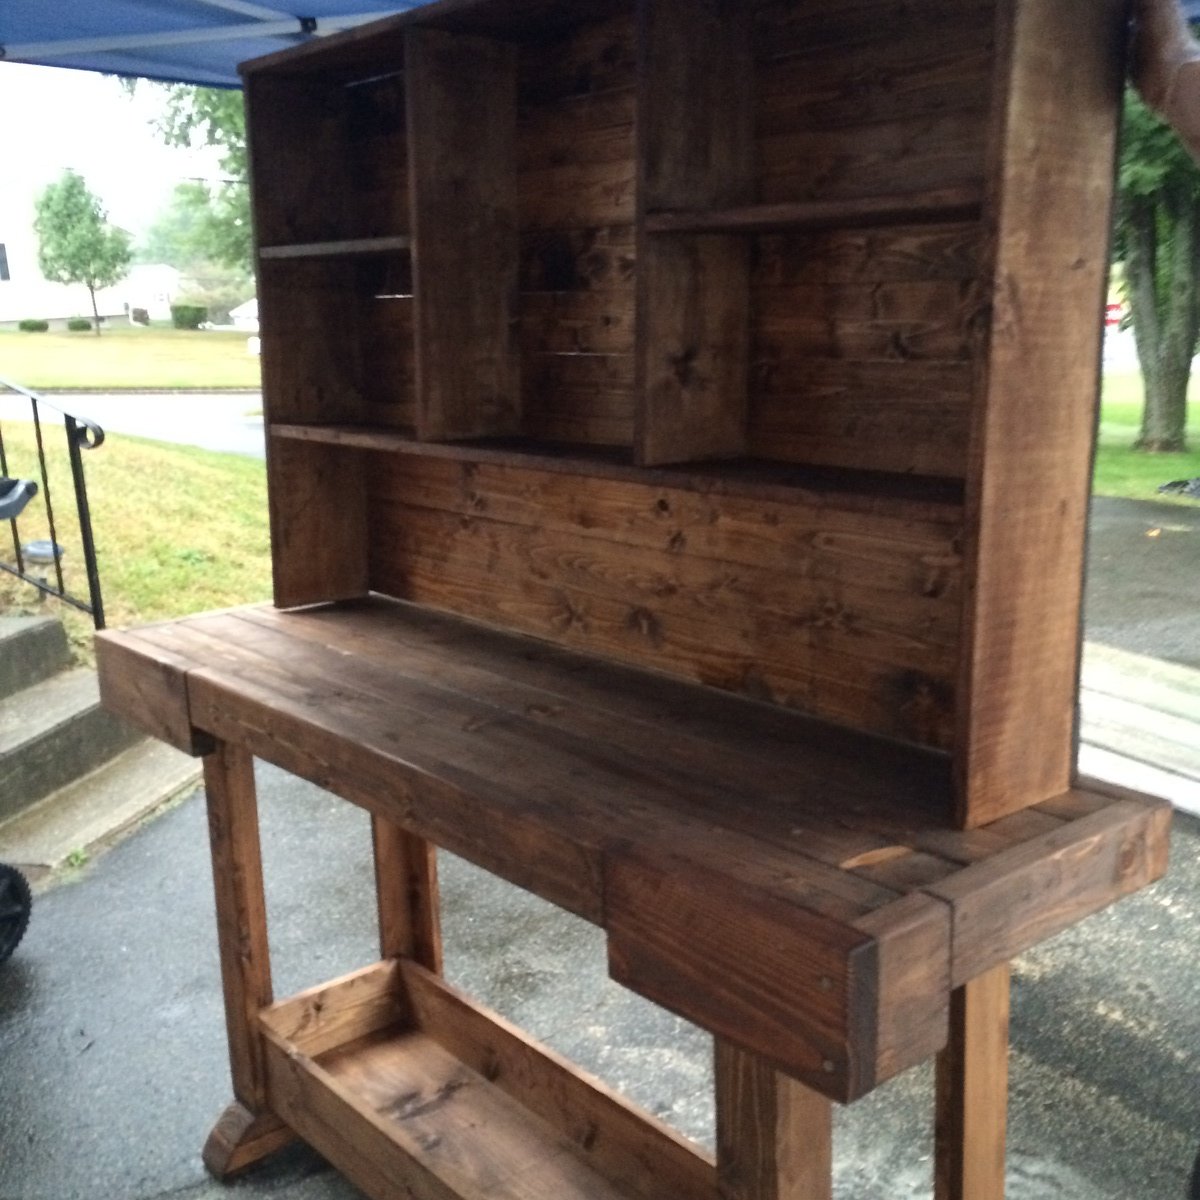
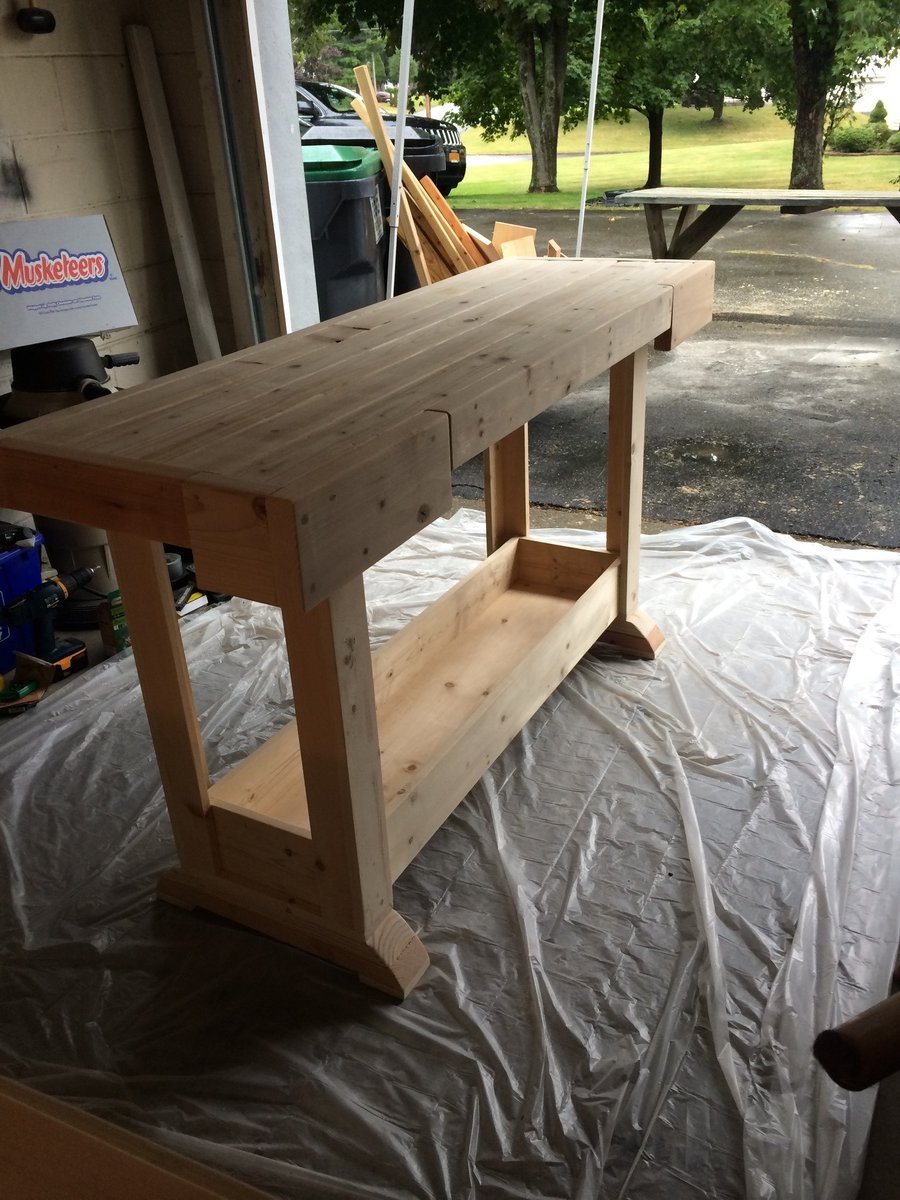
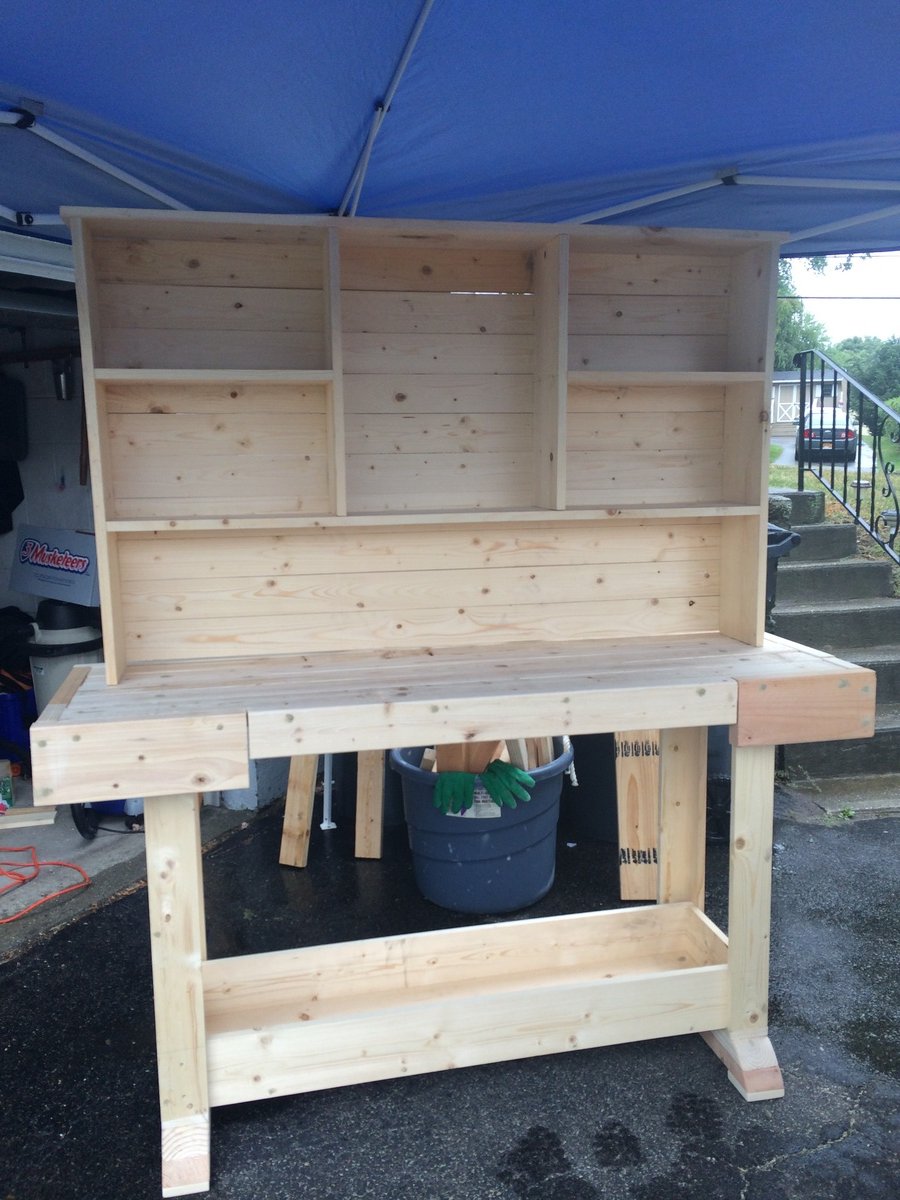
We've built a headboard, two nightstands a farmhouse table and bench all off of knockoff wood and this workbench console table and hutch was the Easiest build yet !
We didn't use pocket holes so instead of doing the middle center shelf of the hutch we chose to keep it open. I actually love the way this looks better than the original plan!
Waiting on our black bear mount bottle opener that will be attached later this week and then we can't wait to stock up our new bar. It looks great next to our farmhouse table and bench!!! Thanks for the deer antler inspiration - this gave the perfect finishing touch!
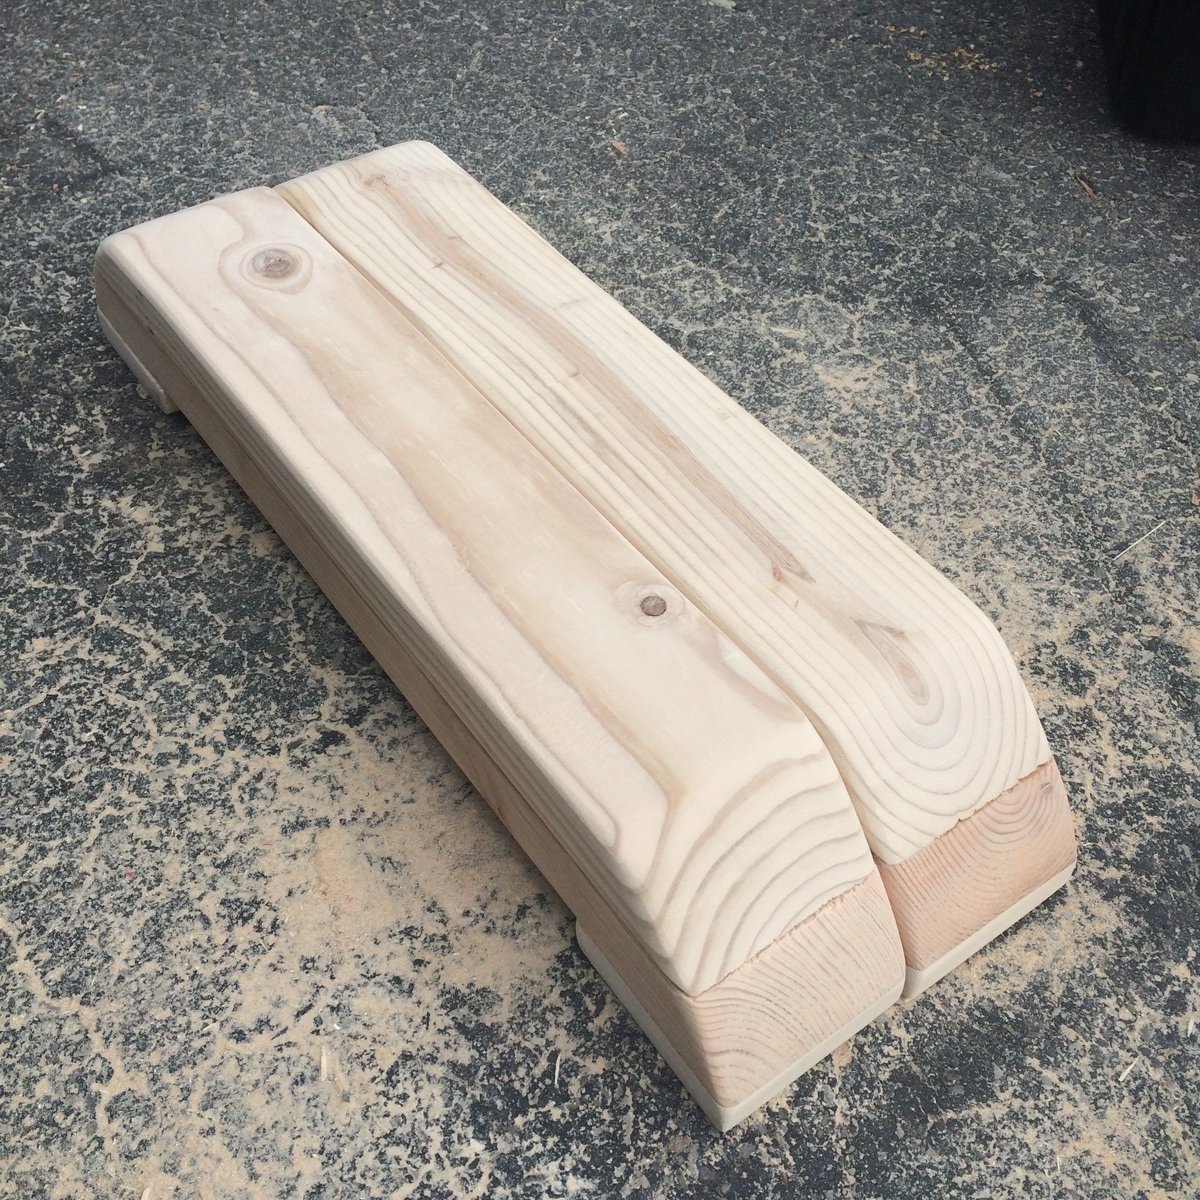
This is my scaled down version of the preschool picnic table, made for an 18 inch doll. I used scrapwood that someone was throwing away and supplies left over from other projects, so it didn't cost anything but time. My girls have really enjoyed it. Here are the measurements:
Cut List:
4 – 1×3 @ 17-3/4″ (Tabletop pieces)
1- 1×4 @ 9-3/4″, then cut in half using a table saw to equal 2 pieces (Supports directly beneath tabletop pieces) The longest measurement is 9 ¾”, with the ends cut at a 30 degree angle back to 7 3/4″.
2-1×4 @ 12-7/8”, then cut in half using a table saw to equal 4 pieces (Legs) (angle each end to 30 degrees as shown in preschool table plans)
1 – 1×4 @ 19″, then cut in half using a table saw to equal 2 pieces (Supports directly beneath seat boards) (angle ends to 30 degrees as shown in preschool table plans)
4 – 1×3 @ 17 3/4″ (Seat boards) I ran these 1 x 3’s through my table saw to make them 2” wide.
*When attaching the legs, secure them to the supports below the tabletop pieces so that the bottom of the legs will measure 19 5/8” from lateral edge to lateral edge when resting on the ground. In the preschool picnic table plans, this measurement is shown as 33”.
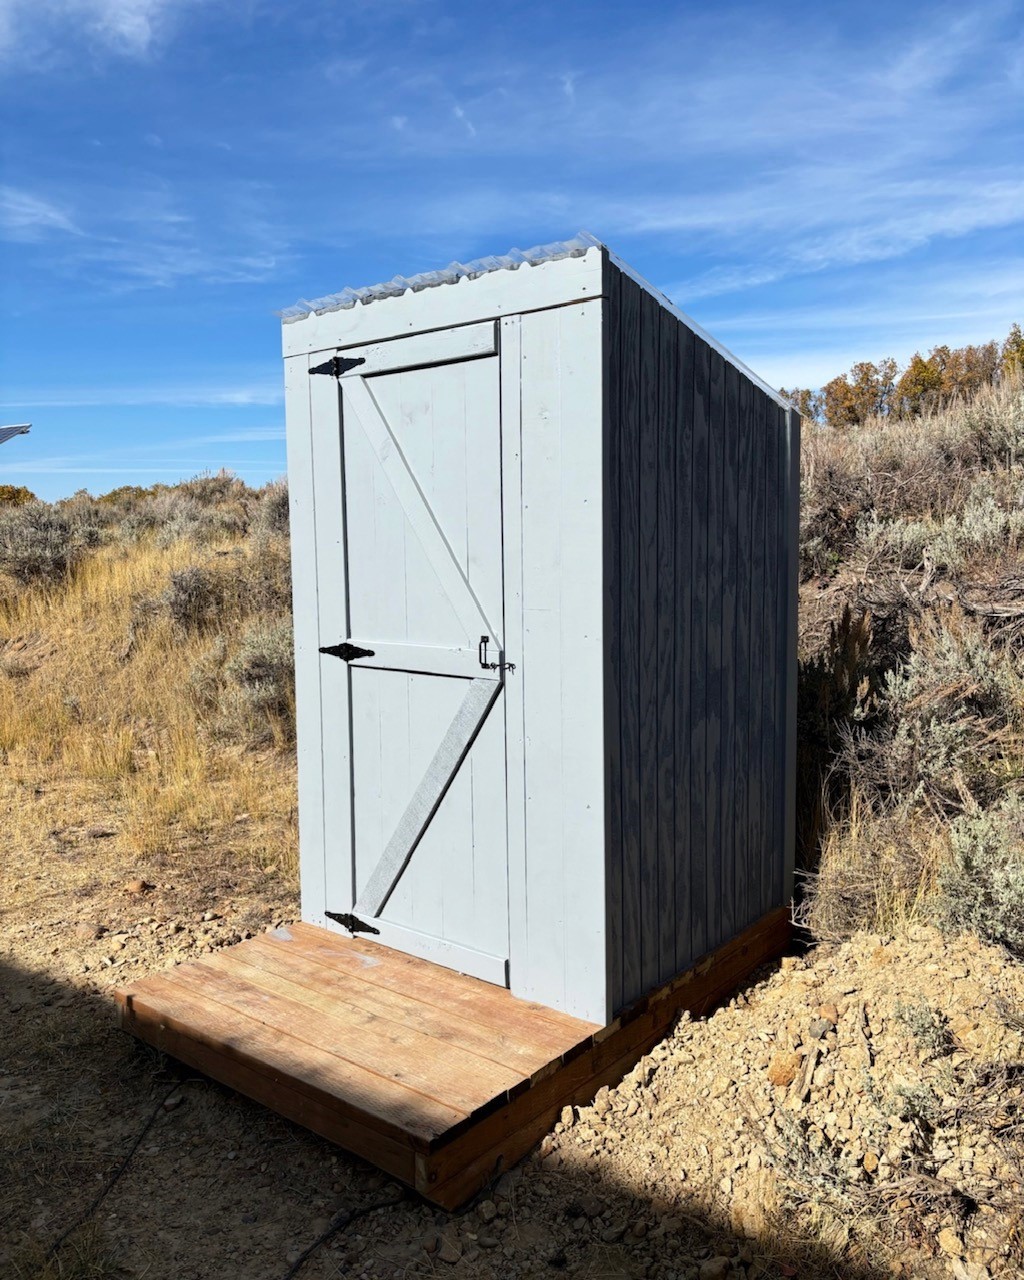
This is our mountain retreat winter restroom(outhouse). The build team was my wife, me and our trusty Blue Healer Boot. Lots of snow and water freezes. Modified the plan a little bit, lots of pocket screws, some trim, and clear panels on the roof to allow light in or view the stars at night. - Tom and Lisa

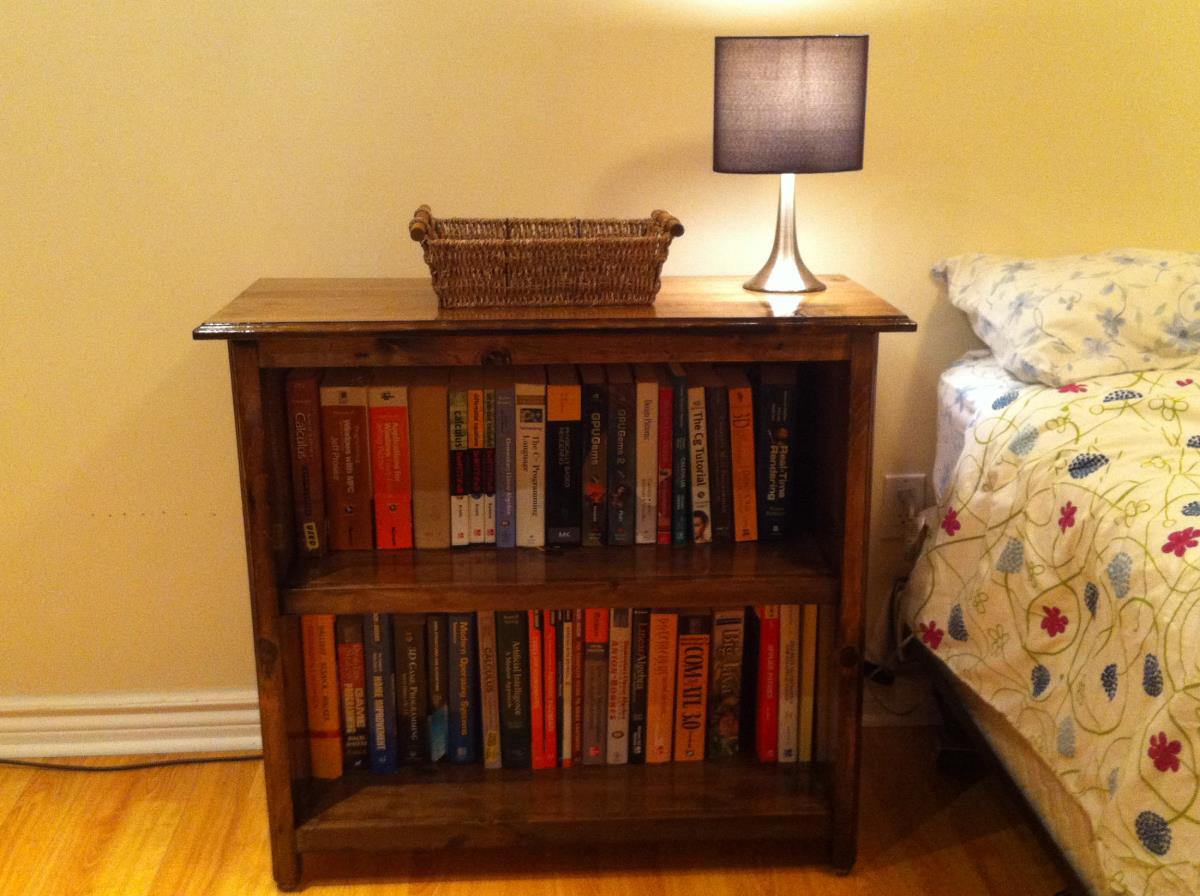
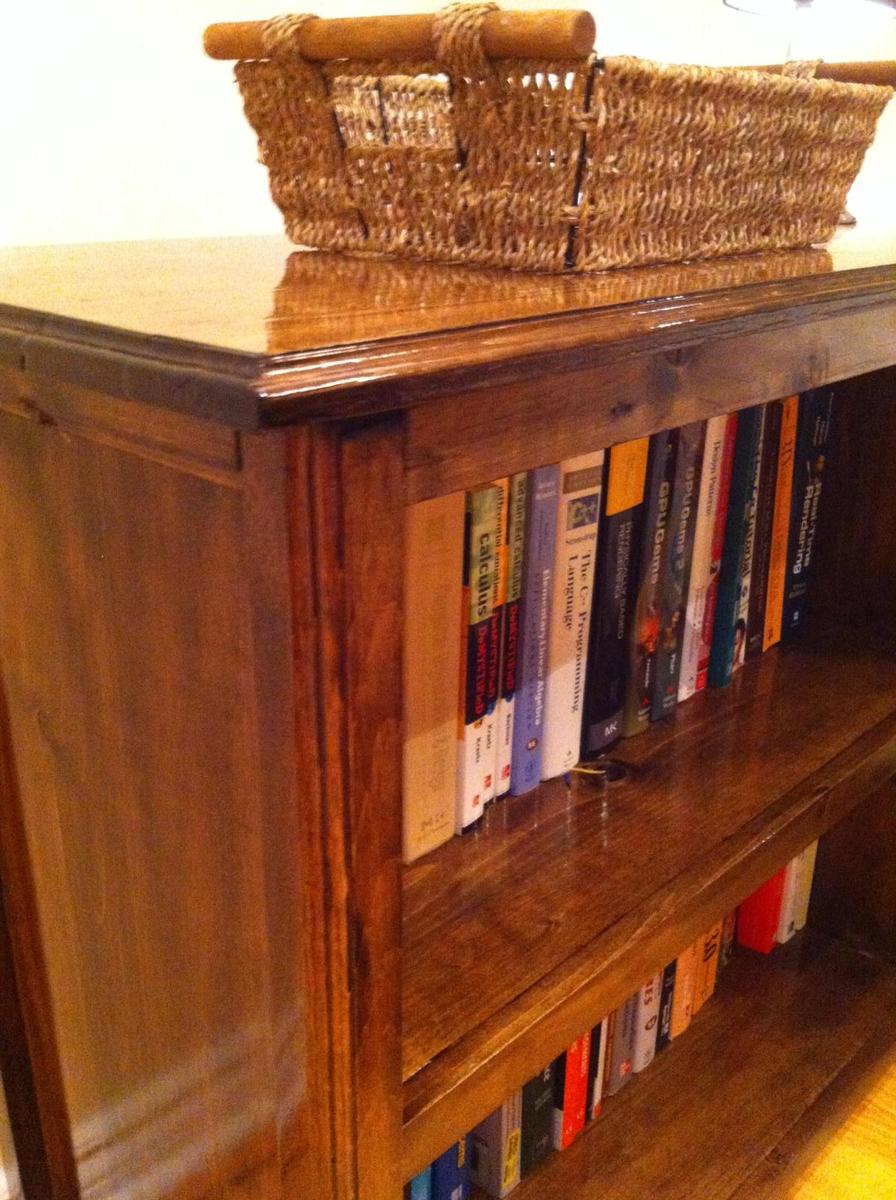
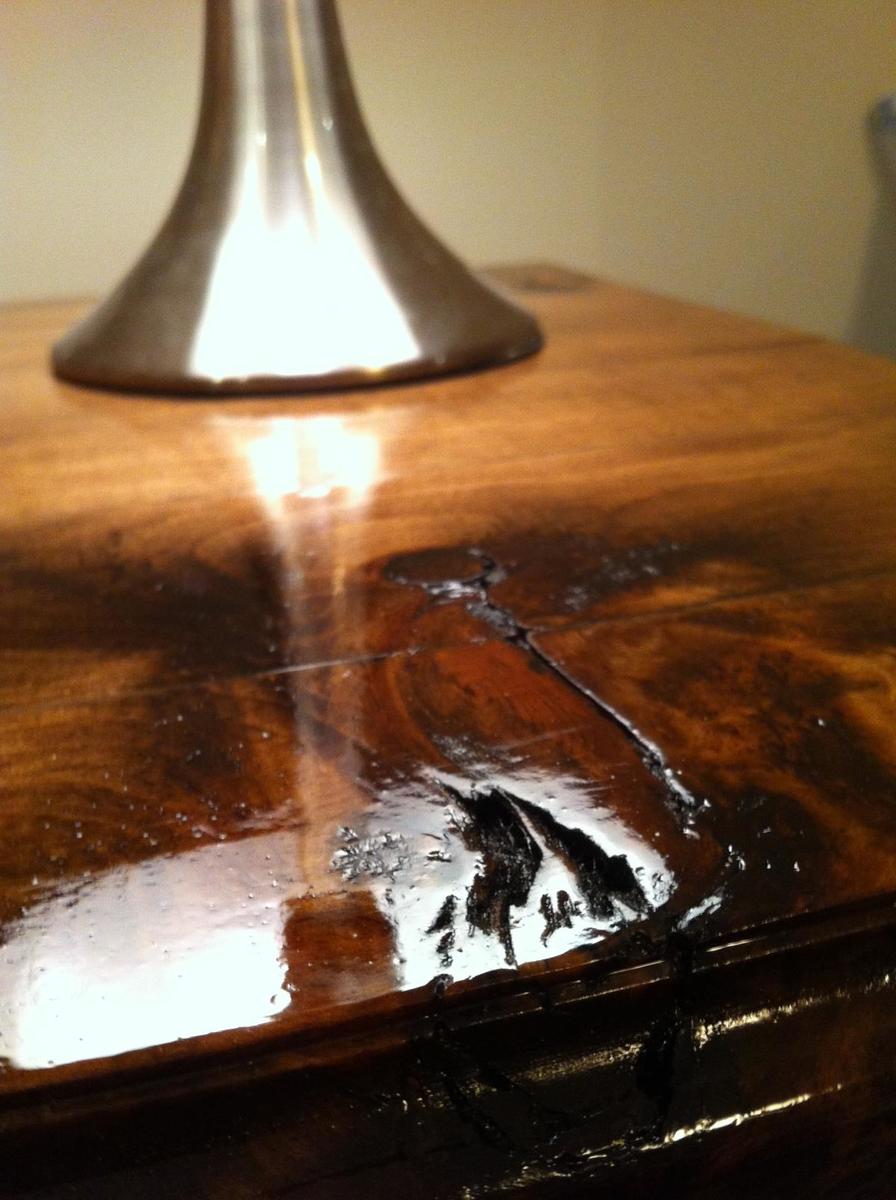
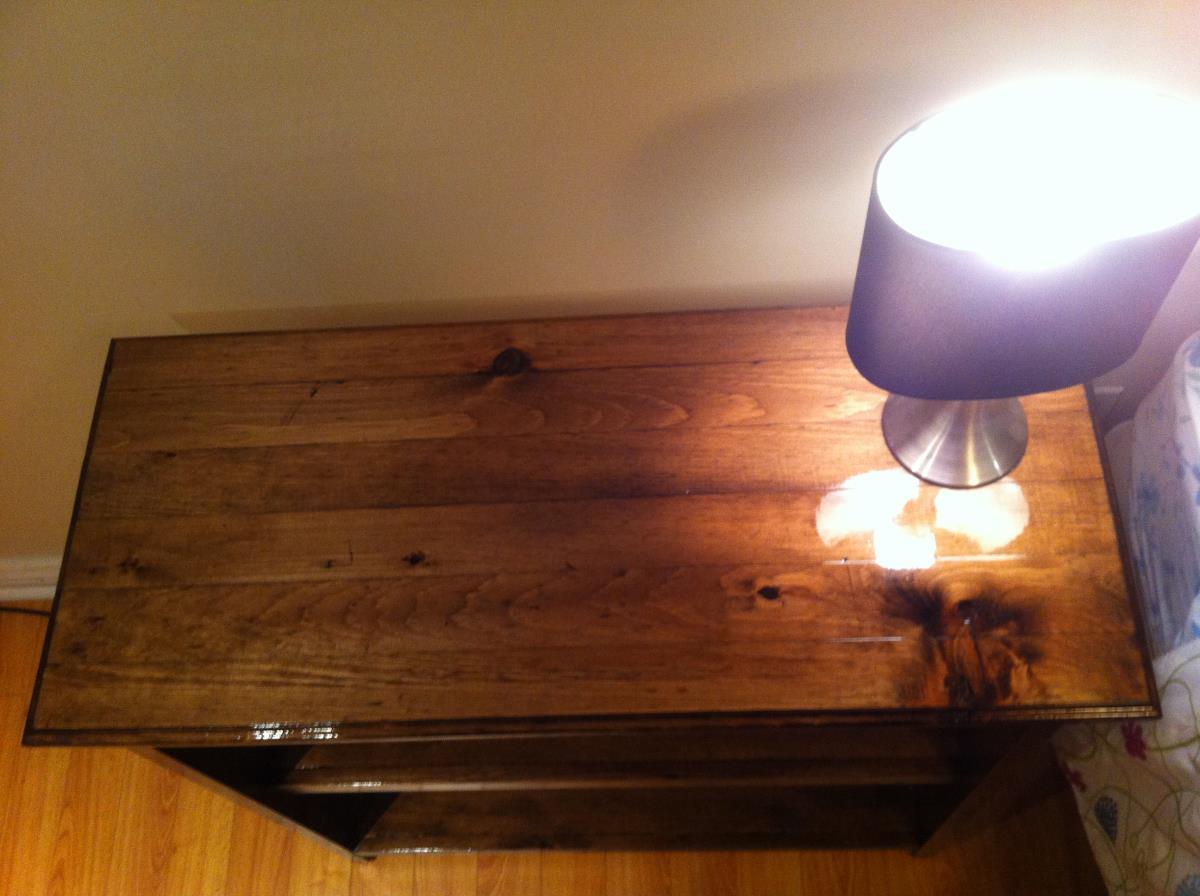
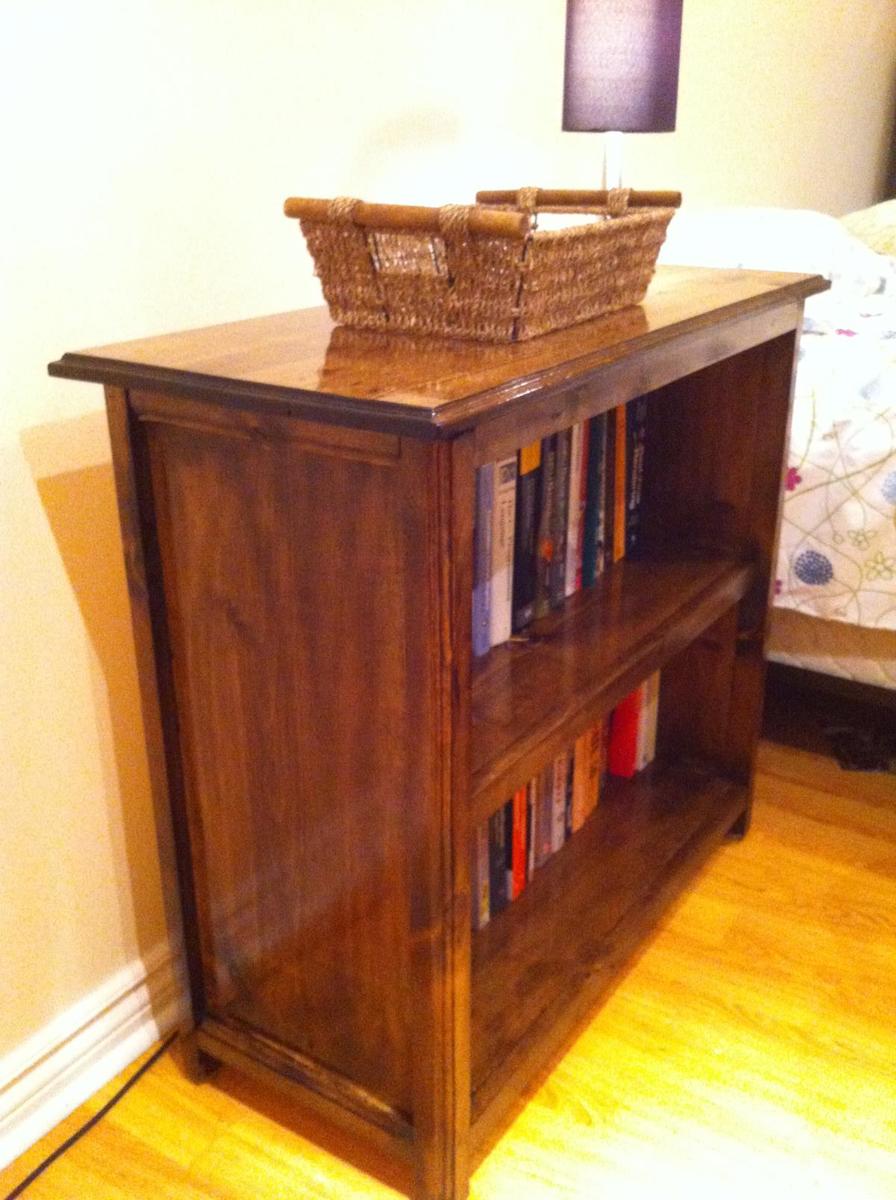
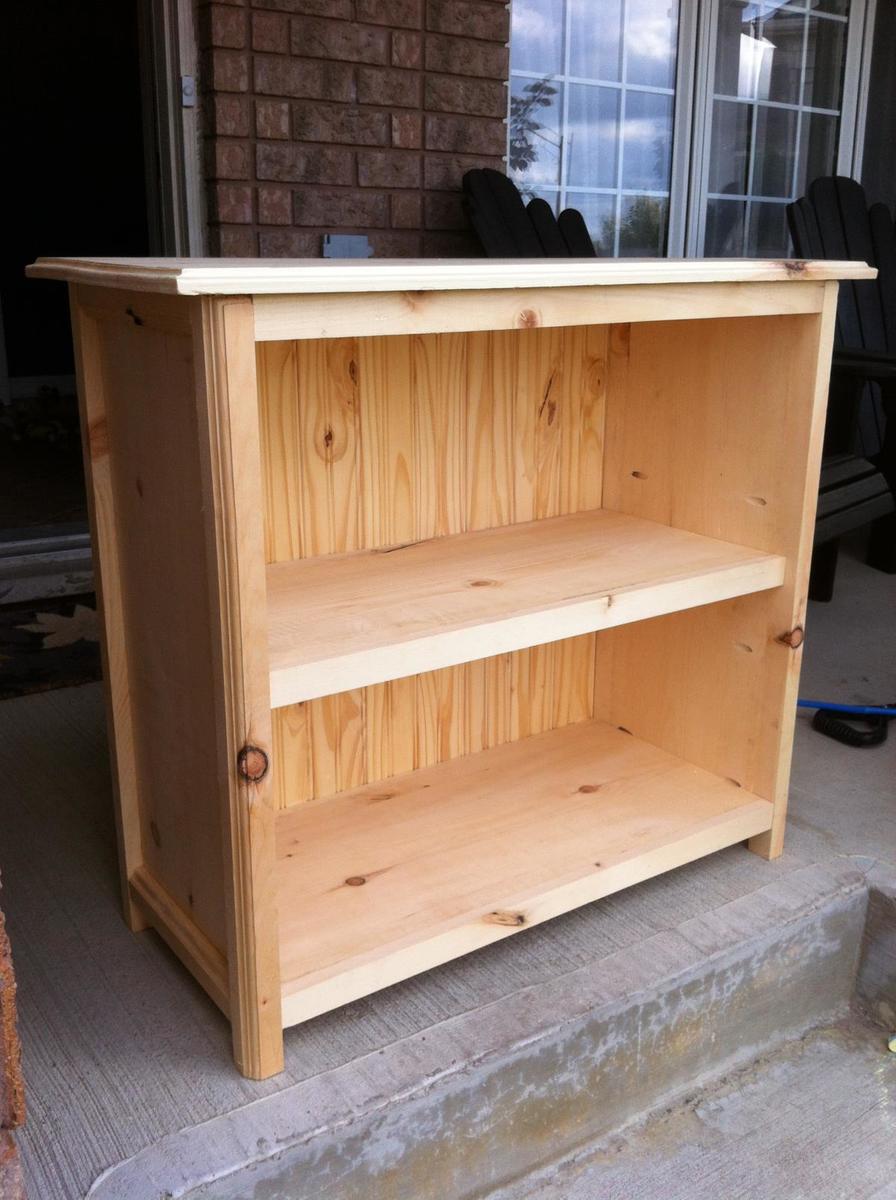
This is a modified version of the Kentwood Bookcase to be shorter and wider to fit my space. I used my router for the first time on this project giving the legs and top a little bit of flair. I also wanted it super glossy, so I applied three coats of Minwax high gloss polyurethane.
One lesson I learned for my next project is that "stainable" wood filler isn't actually stainable. I'm quite disappointed with how visible my Kreg pocket holes are on the front - I'll be sure to make sure they're all hidden next time.
Mon, 10/13/2014 - 13:32
This is beautiful! You did a good job, and I love the finish. I can't see the pocket holes in your finished pictures even after you pointed it out.
I used wood filler that was tinted the same color as the stain last time, and it was great.
Mon, 03/30/2015 - 20:23
Wow!!! This is so beautiful, and the stain job on pine...just wow!! You did such a great job with the router and I can't even find the kreg jig holes even though you said it. The plugs made for those work out perfectly though and are pretty cheap for a huge bag to have around.
Had to clean out my storage area to make room for my new woodworking shop, so a new shed was in order. Since my neighborhood does not allow large sheds i thought this would be the perfect fit for the small area right outside of the shop. I had to adjust the plan to make it narrow but longer. Used pressure treated fence pickets for the siding..
Hey Ana -
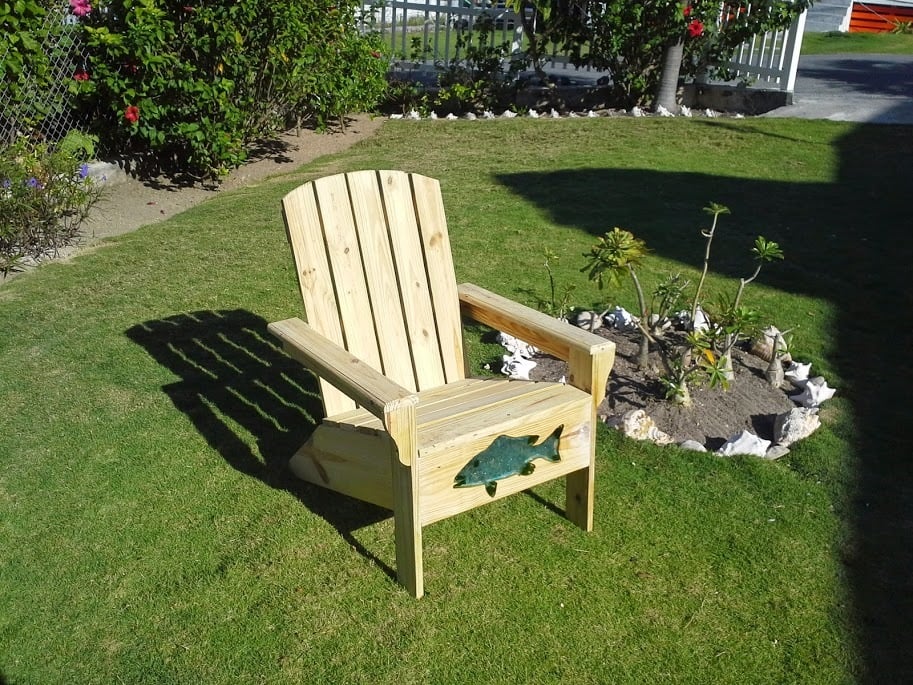
You're plans have been such a great help to me here in the Bahamas. You've saved us thousands of dollars. Really! Here's one of my many adirondack chairs under construction. I added a Bahamian accent.
I built this based on the idea of the mimi storage bench and hutch. We will use this in our garage next to or shoe rack. I built this primarily from 1x6 cedar fence pickets, a few cedar 1x2's and a couple cedar 2x4's.
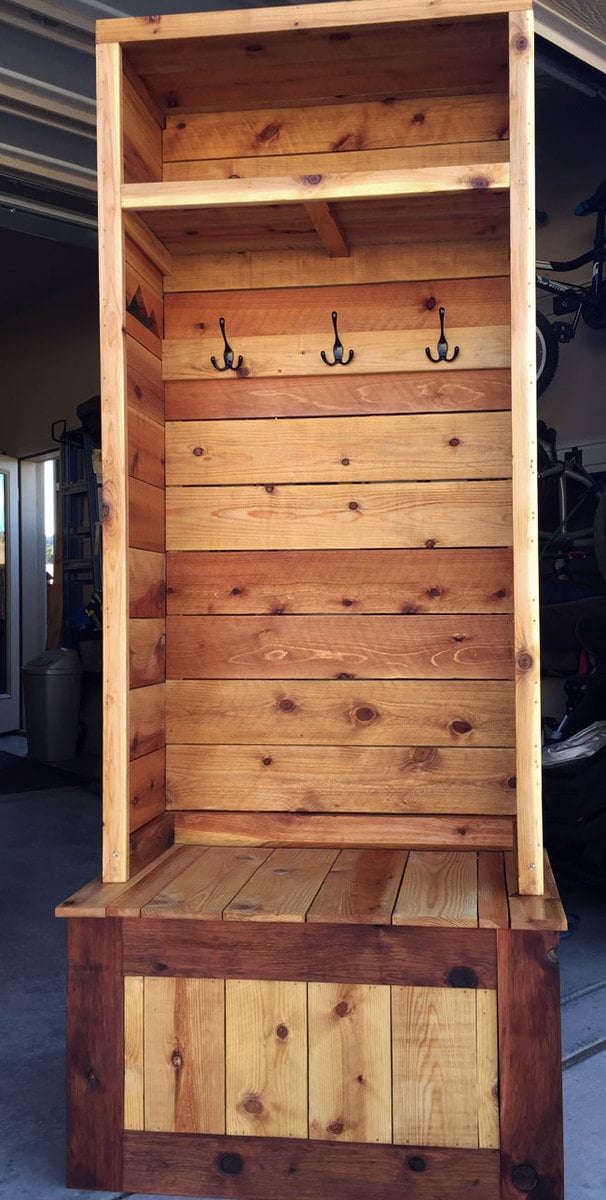
The lid lifts for off season shoe storage. All bench joinery is with pocket holes and the cedars pickets are attached with pneumatic 1 or 2-1/2" nails.
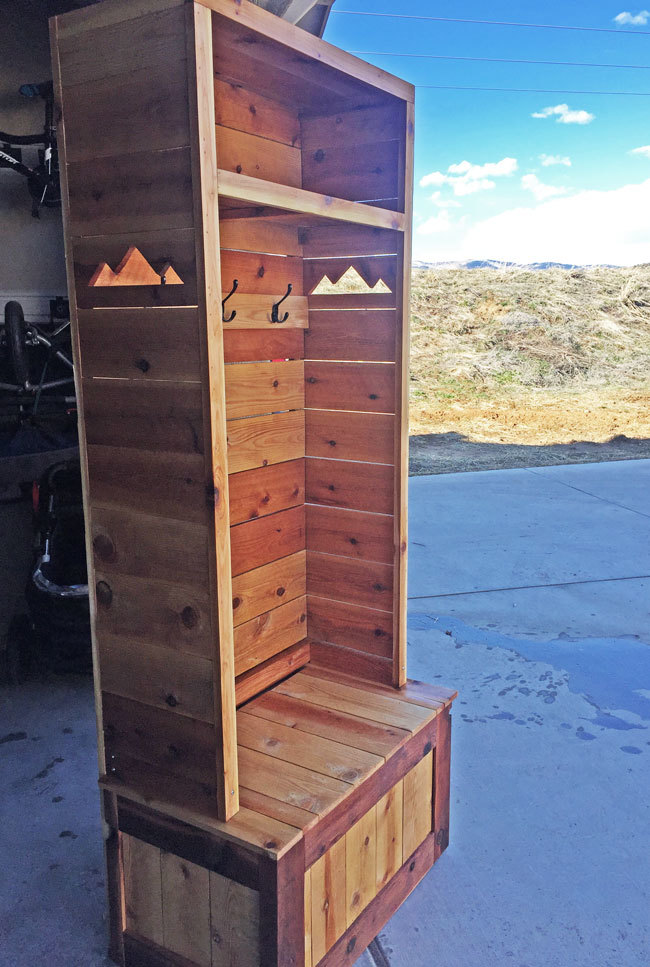
I used my speedy square's 45 degree angles to trace out the mountain silloutes and then cut them out with my jigsaw. I paced myself on the project and my four year old helped quite a bit with measuring and handing me the next board. We're excited to have a little spot to change shoes and grab the jackets. Feel free to check out my Instagram for other random projects or are family fun instagram.com/fotosnapper


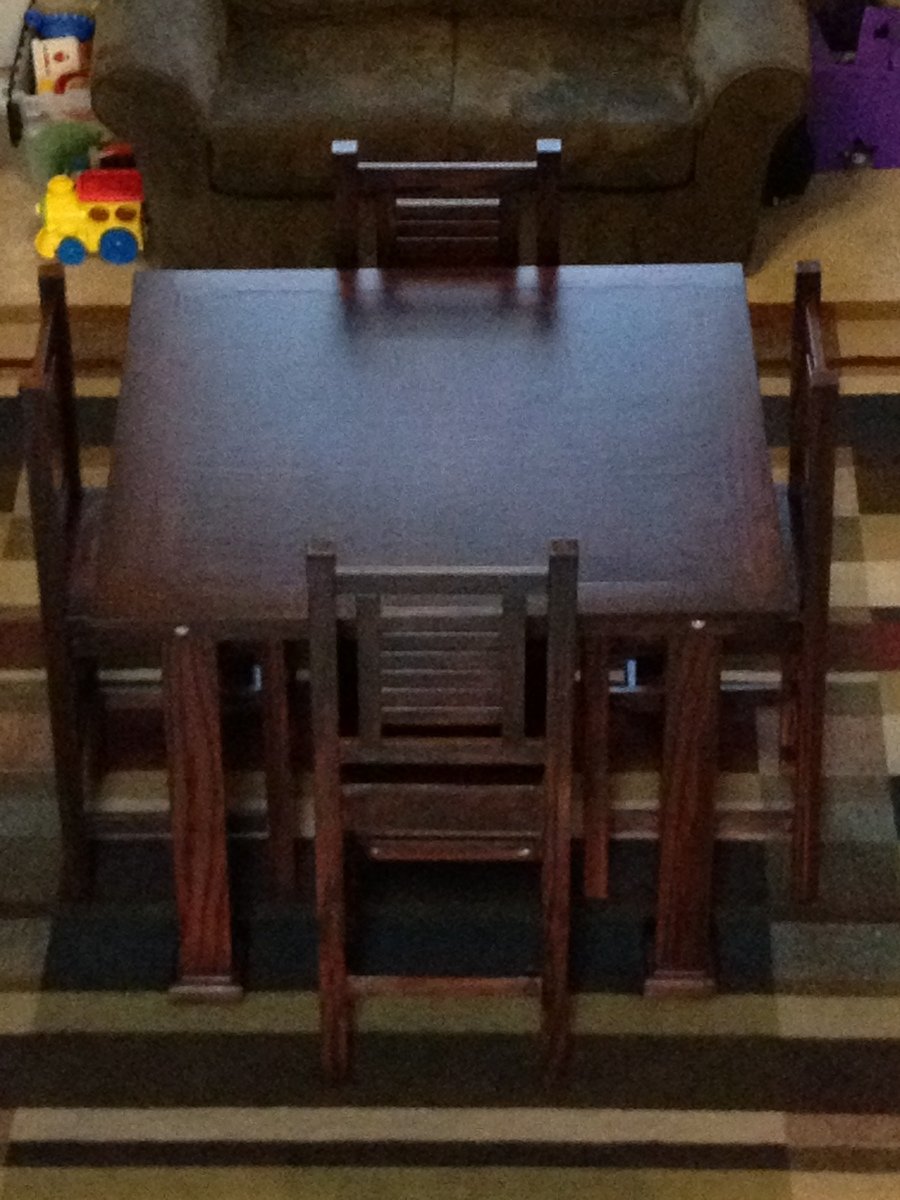
We used carraige bolts to make the legs removable. Very happy with the results!
Thu, 02/07/2013 - 04:36
You did an amazing job on this. I love it! Which plans did you follow for the chairs?
Thu, 02/07/2013 - 05:12
I used Ana White's plans for Vintage Bar Chairs. I think I modified the chair backs a little to make sure little arms wouldn't get stuck.
Thu, 02/07/2013 - 05:05
Your work deserves a lot of kudos. Really great work and the stain is professional.
Thu, 02/07/2013 - 05:16
Jake,
Thanks so much! I spent about two months working evenings and weekends as weather permitted, to complete this project. My daughter chose two stain colors and we mixed them together. I'm happy with the way the color came out.
Thu, 11/21/2013 - 18:27
I made the same 30" tall bar stools. I love the whole look of your set. Did you adjust the height of the table for the chairs? Or is the table high enough for these chairs? Also, did you make the table top smaller?
You did a great job!
Sat, 11/23/2013 - 18:13
Debbie,
Thanks so much for the compliments! My daughter didn't like the "plank" version of the table top so I used oak plywood and framed it with oak 1X4s. I believe the measurements of the table are 48" by 48". I don't think I adjusted the chair height but I did add a foot at the bottom of the table legs. That may have added an inch or so to the overall height of the table.
Tue, 02/10/2015 - 13:22
I really like how you added the foot and removable legs to this table! I would like to make mine with removable legs as well. How did you modify the table to use the bolts?
Tue, 07/14/2015 - 06:31
Hello! This plan is EXACTLY what I am looking for except there is a huge difference.......it will be the ritual platform for a traditional Tibetan Sand Painting. I am seeking a plan just like this for a square table that is 6' square and 3 1/2' high......is it possible to purchase a plan of that dimension or does anyone have a recommendation where I can find that. THIS would be truly lovely in this design. THANKS for any help!!!
Thu, 07/16/2015 - 12:08
I really just followed the Ana White plans for the Pub Table but used one solid piece of plywood instead of the 1x4s for the top. Since plywood comes in 4x8 foot sheets, you might need to get creative to get it to 6 feet. Good luck, and don't forget to post pictures when you finish!
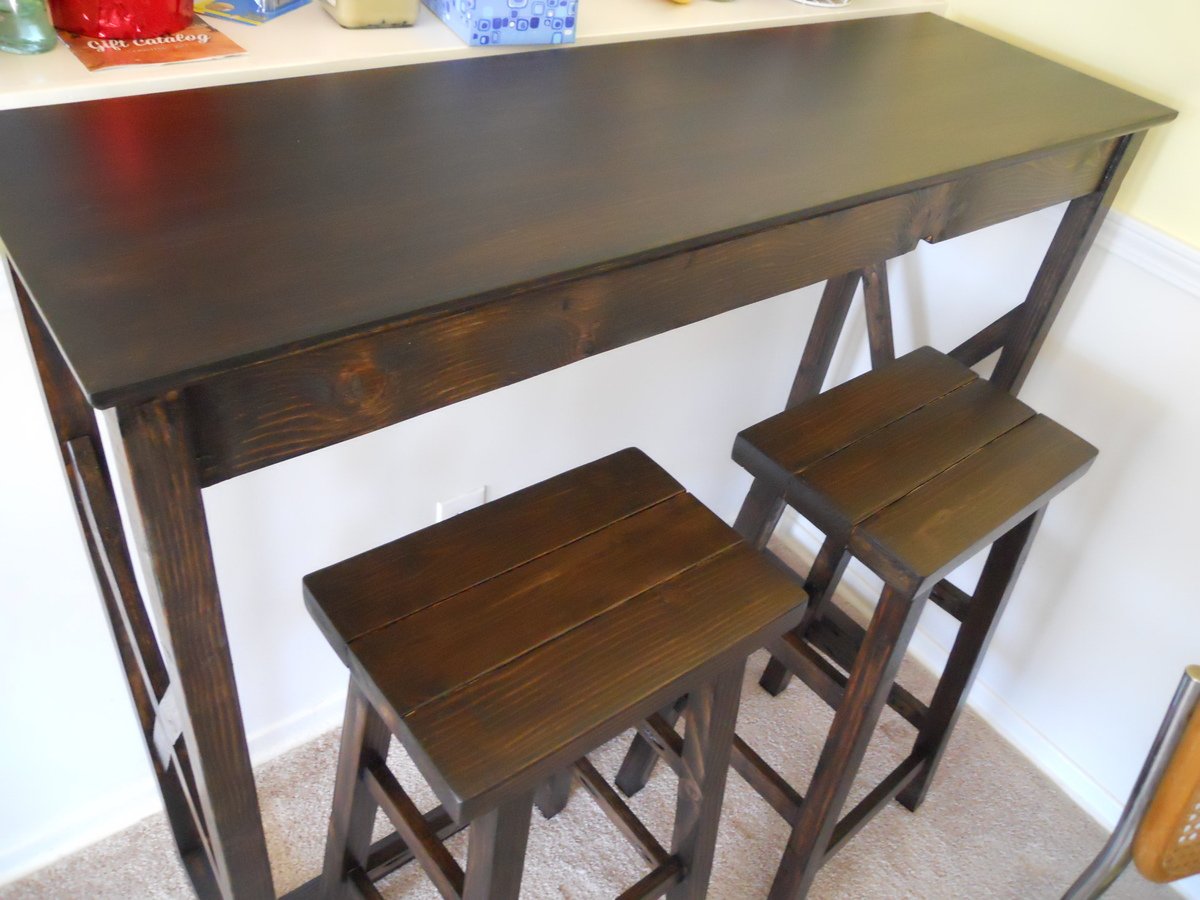
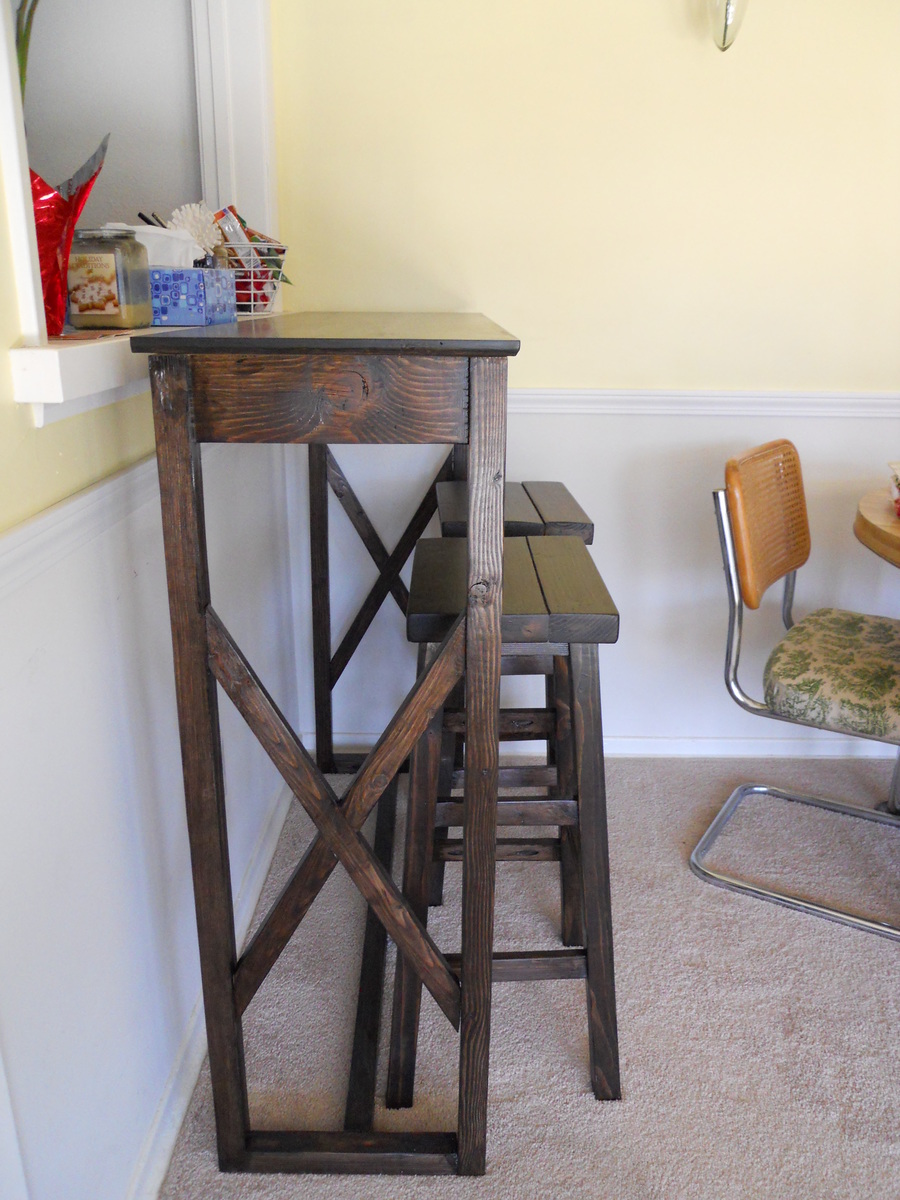
Using the plans for the modern table and simple stools, I made some modifications so it could be a bar height pub table and stools. The stools took the most time, with all the supports and keeping it level. The table was easy and I am super happy with the addition of the x's on the sides. I think it gives it a more professional look. Turned out that the angle I wanted them at wasn't possible on my miter saw, so I just had to mark the angles and cut with a jig saw. Screws were overkill for them and split the wood, so finishing nails did the job. The top was salvaged from an old ugly mdf topped coffee table. I sanded it a bit and with many coats of stain, achieved a match to the rest of the wood. Yay! Breakfast nook, complete!
Sat, 09/14/2013 - 12:34
What are the dimensions here for your table? I'm looking to make/get one very much like this and trying to figure out the best yet least amount of counter space needed, depth wise. Hoping 15" is enough but I love the look of yours.
In reply to What are the dimensions here by morgo614
Thu, 06/04/2015 - 10:00
So sorry for the delay! I don't get notified when there's comments, so I'm just now seeing this. The width is 4', the depth is 15" and the height is 42". Good luck!
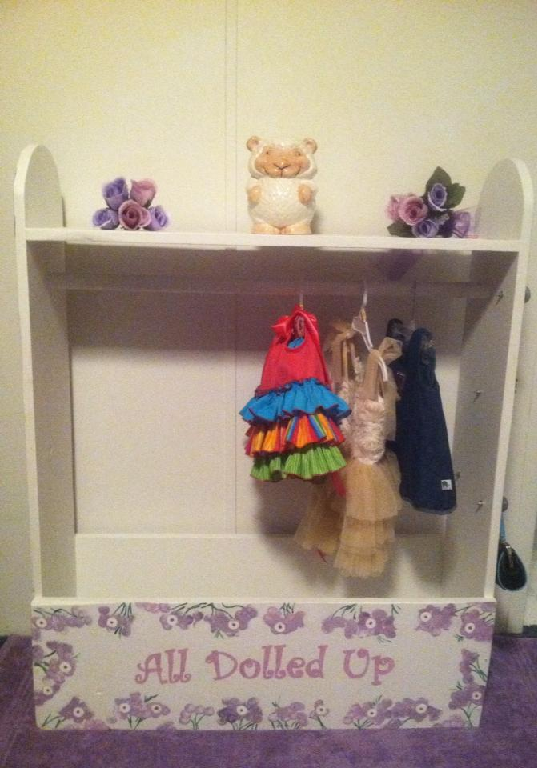
This is my first project. My husband was out one morning so i decided to try to figure out how to work his tools and create this dress up cabinet. I love the way it turned out and it was so easy! I am praying God will bless me with a little girl, so I made this for her--for I WALK BY FAITH not by SIGHT! Thanks Ana, your plans are amazing!
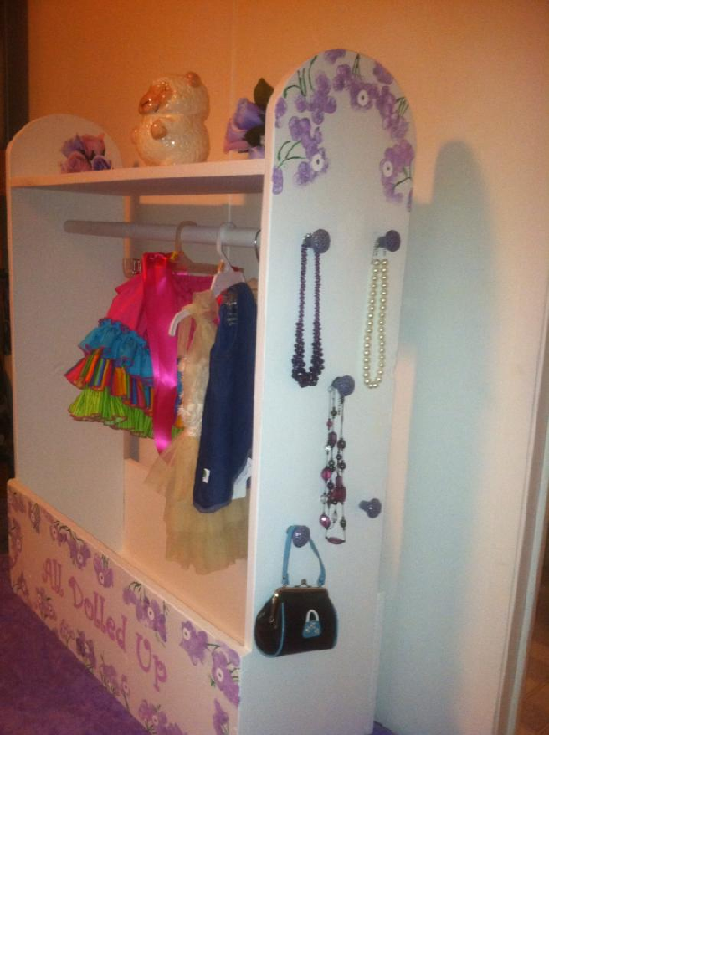
This was our first furniture project together. It was not as simple as we thought it would be, but we are very pleased with how it came out. We are planning on making the sofa table to match next!
Fri, 03/08/2013 - 14:51
Hey jbayer80 - you could just go to your local orange or other hardware store and get braces and paint them whatever color you like. It would probably be a cheaper alternative to buying painted decorator hardware. Here is a link to some on orange.
http://www.homedepot.com/p/t/202033908?catalogId=10053&langId=-1&storeI…
Erik
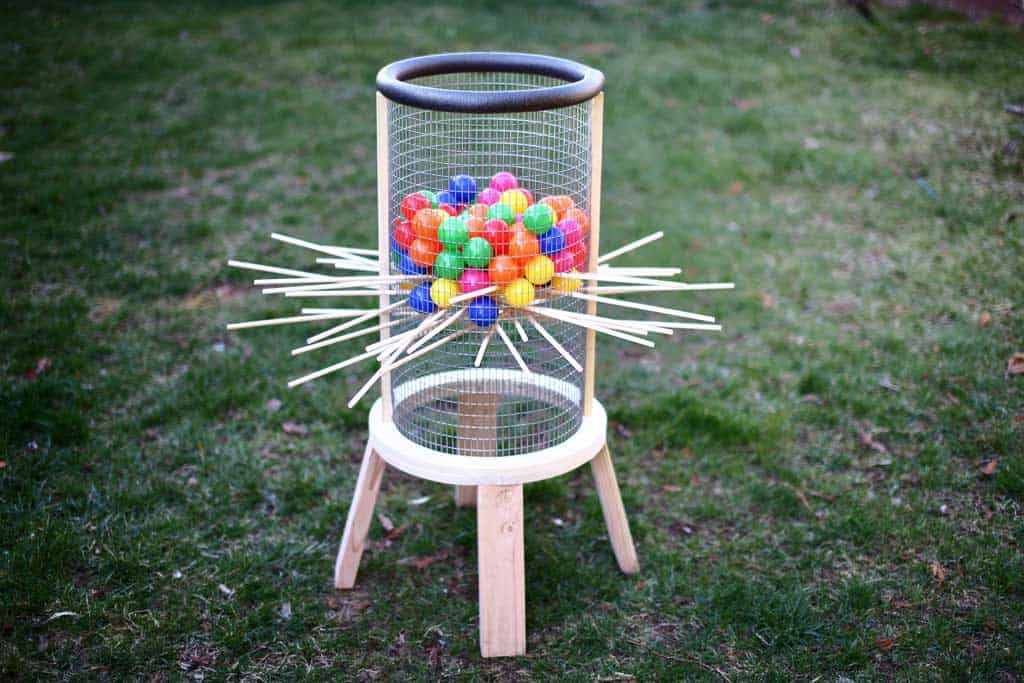
Here’s another fun game to play for all ages, especially for kids. It’s called a Kerplunk Game. The original Kerplunk game is small, made from plastic, and is mainly for indoor use. But to make it more interesting and to encourage kids to spend more time outdoors, I’ve built a Giant DIY Kerplunk Game with a wire mesh screen. This is a great backyard game for any occasion or a party.
See my website for additional pictures and how I've built it, TheDIYPlan.com

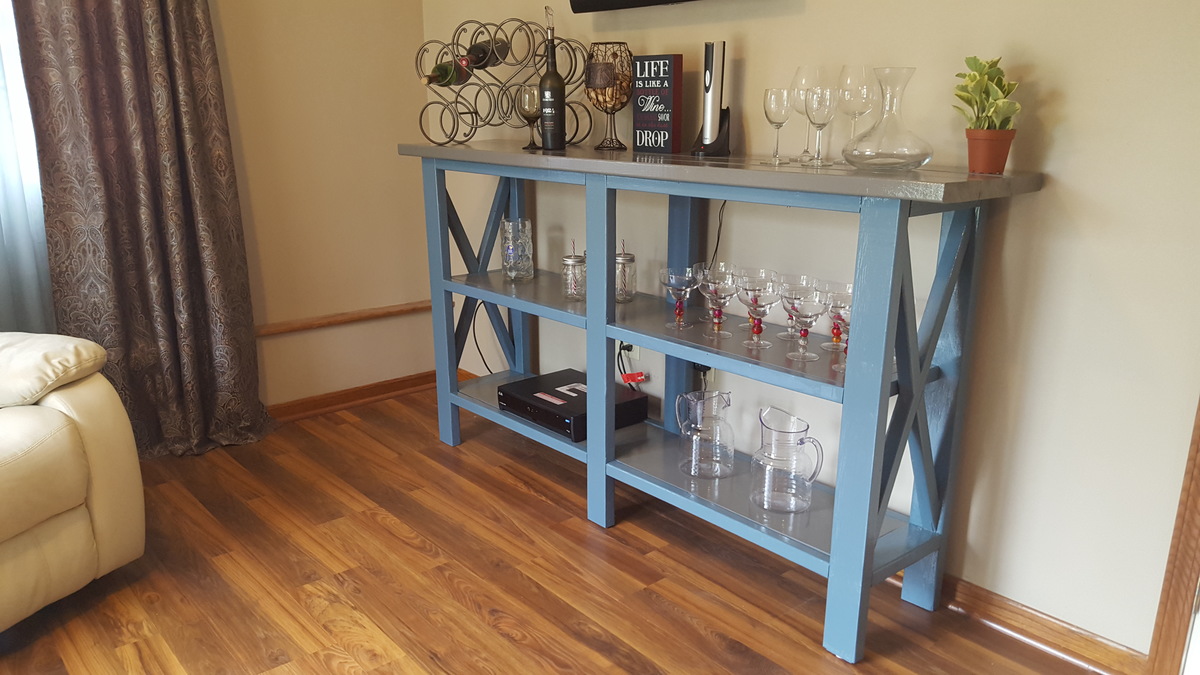
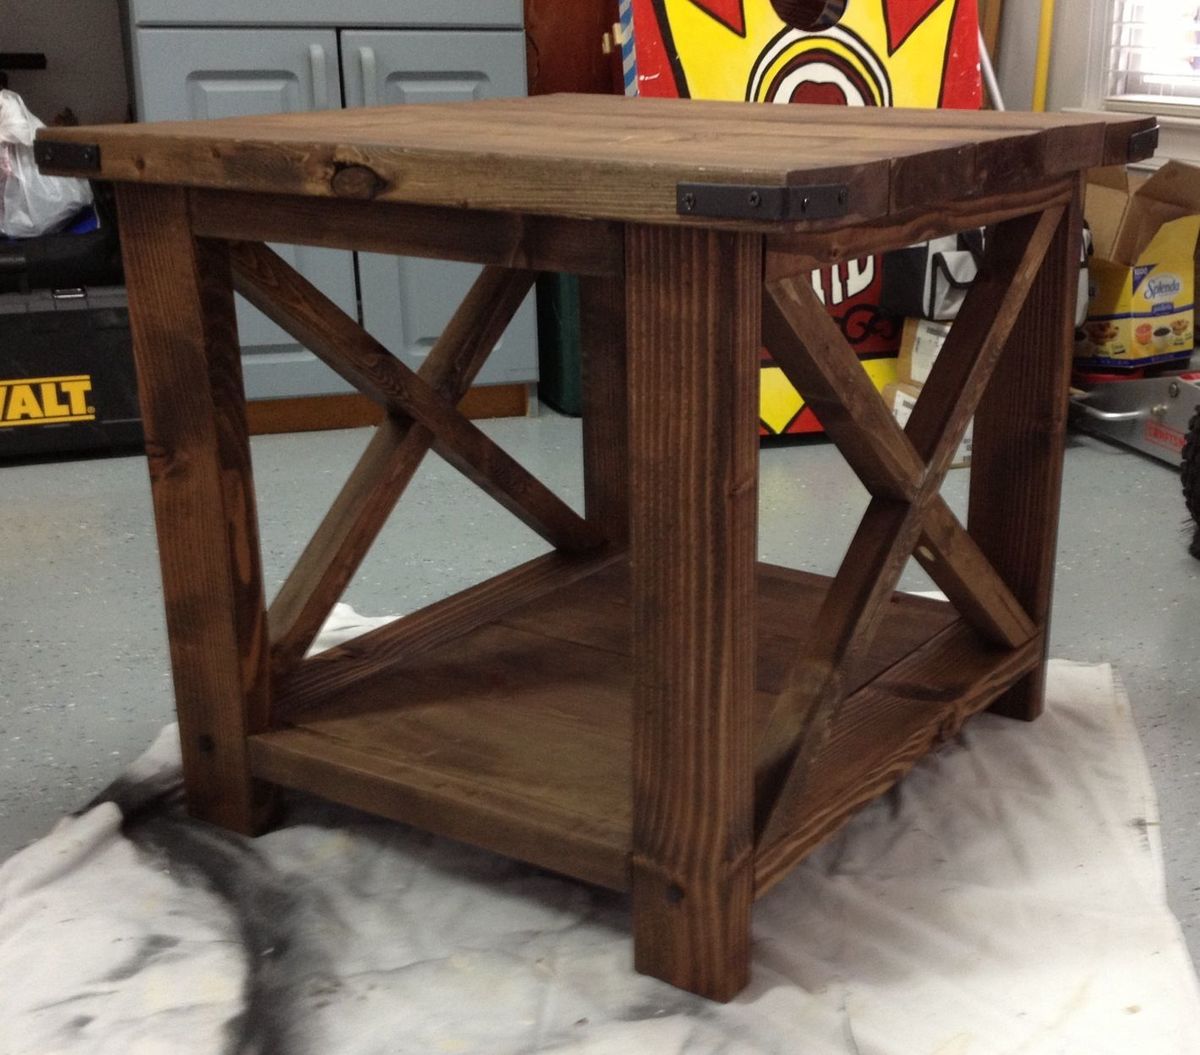
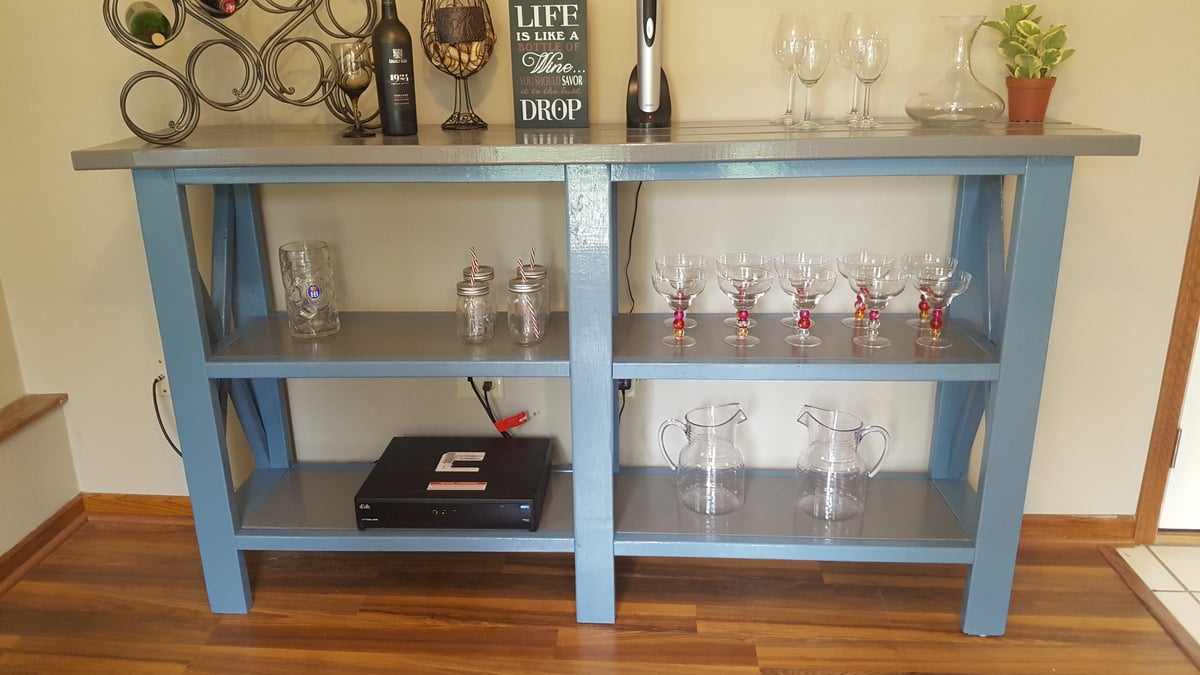
My wonderful husband and father built this dry bar for me using the Rustice X TV console plans. They modified plans to so it is 42" tall, 6-1/2' long, and shelving is wider and centered. I love it. Thank you for sharing your plans.

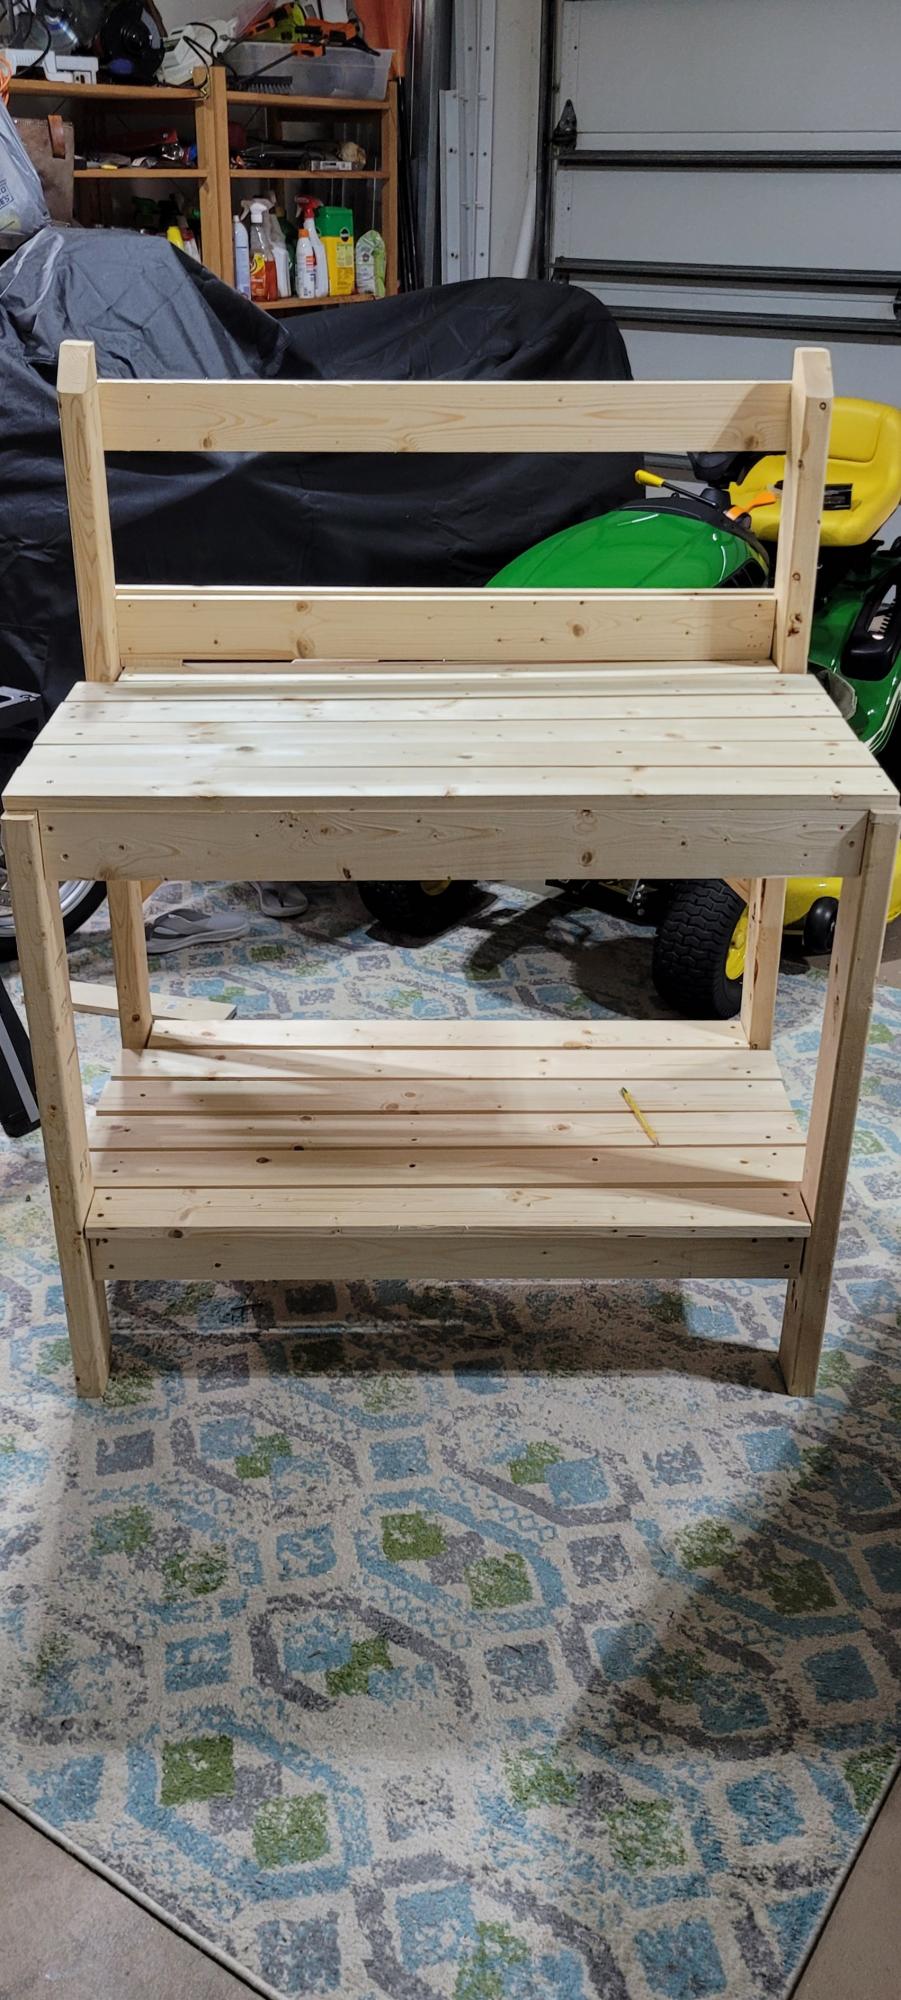
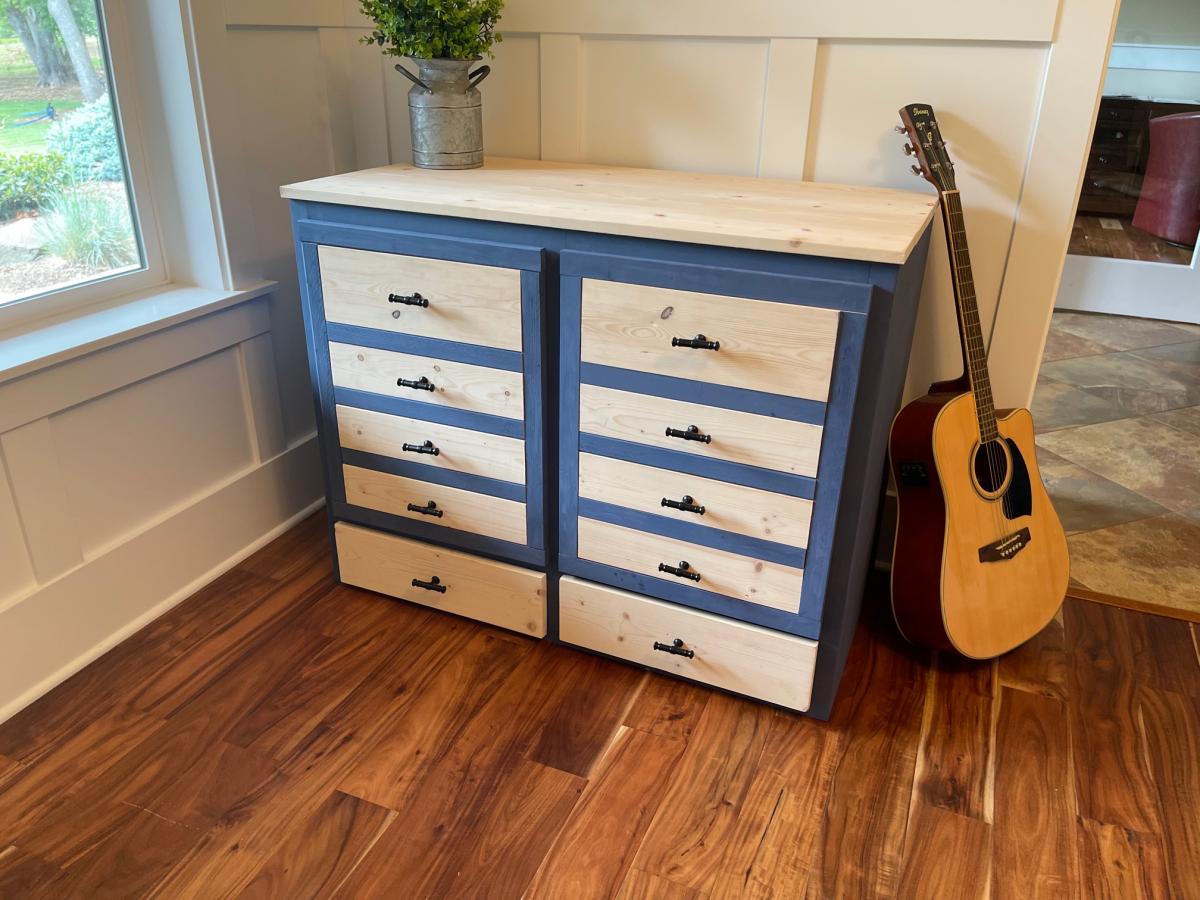
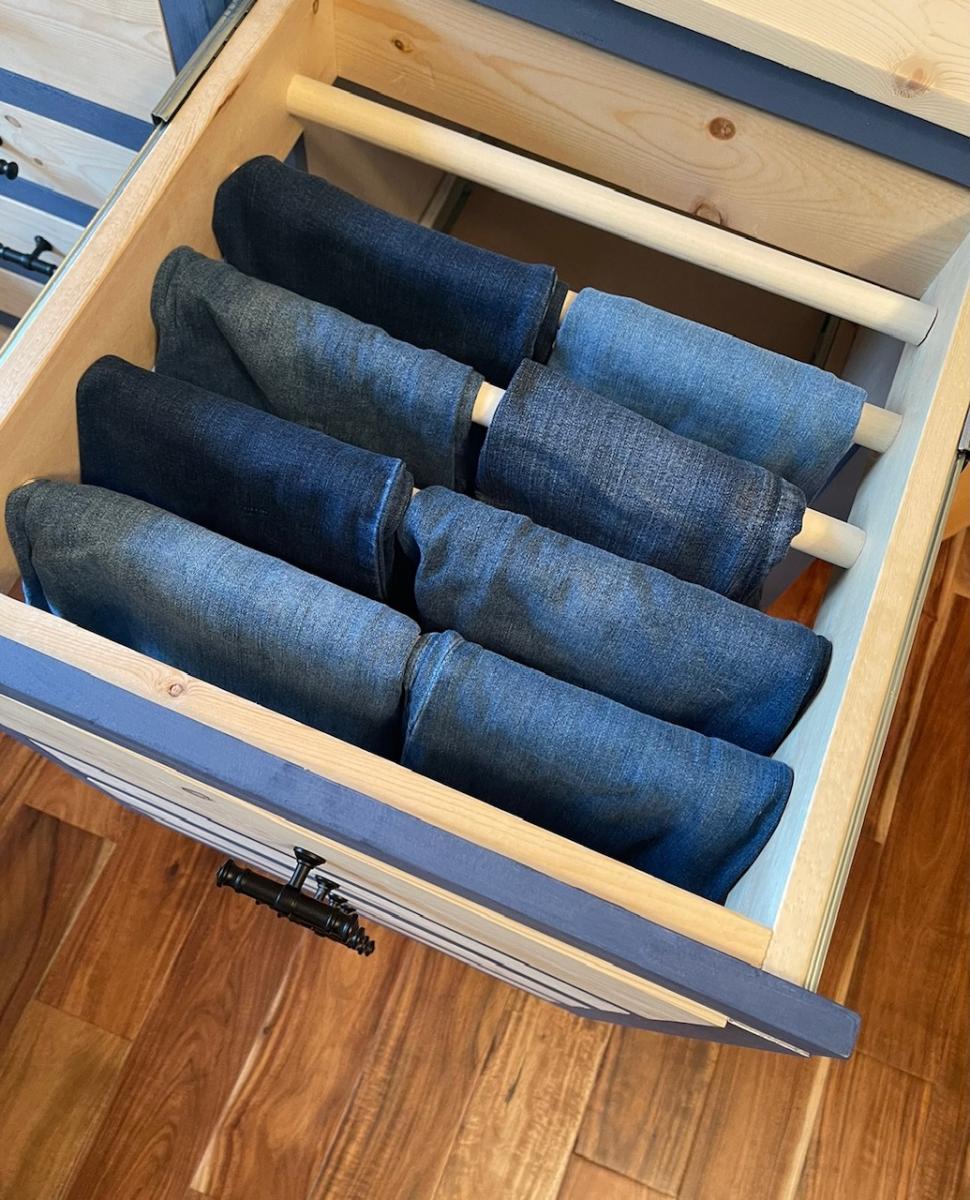
I slightly modified the project to suit my wife's request. One key note: Make sure the main frame pieces mirror each other. I missed that and had two identical pieces outlined in Step 1, versus where the inside aprons actually face each other to allow for the top and bottom rails to be secured to the frame.
Thompson's Clear stain protects the wood; one coat after cutting the pieces and a second one for good measure after assembly.
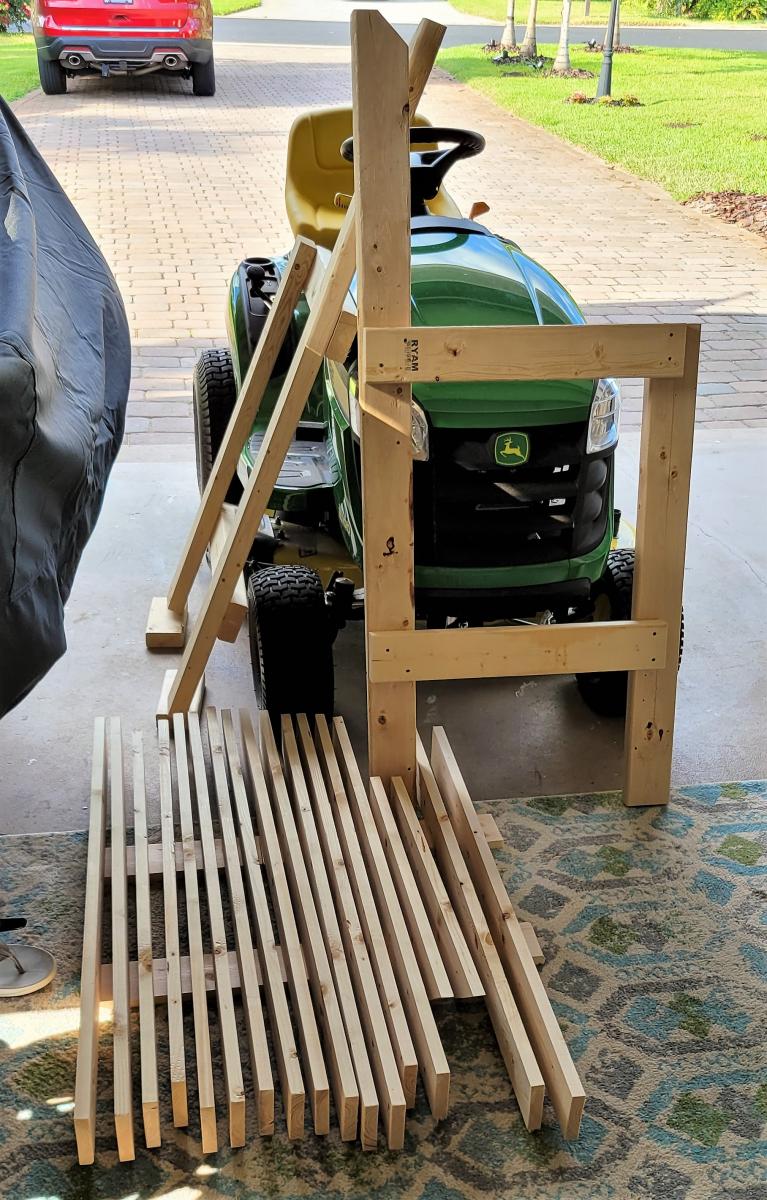
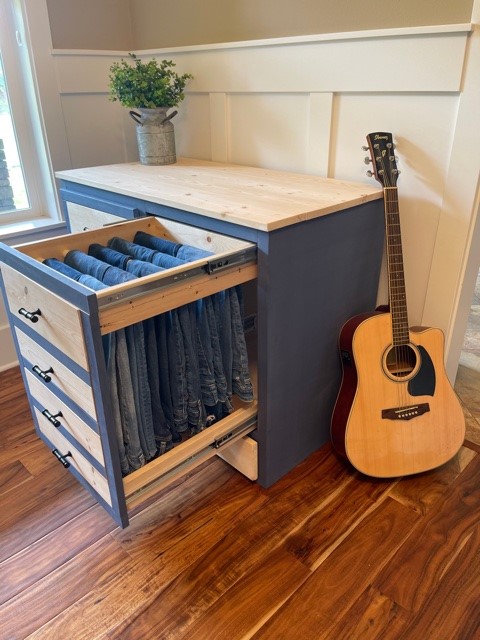
I used Shelf Help for the plywood pieces and a mash up of Ana's plans for the rest. I shared a video on my family page for steps used here https://www.youtube.com/watch?v=urFoX5j4J0s
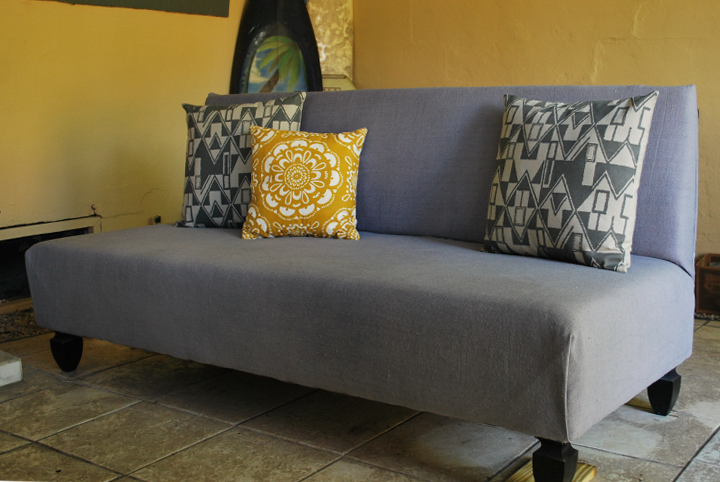
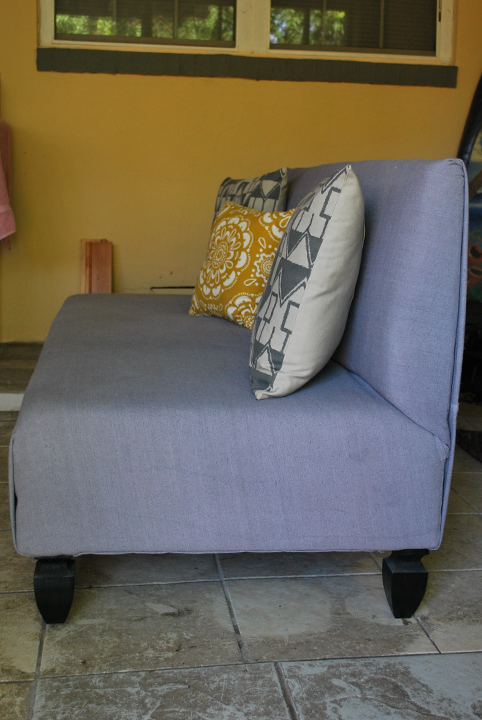
My husband and I built this modern upholstered outdoor sofa for our back porch. As it was going outdoors we used treated lumber, a painters drop cloth (dyed with Rit dye), and coated deck screws. We are so proud of the way it came out! Please see my blog for more details on the build.
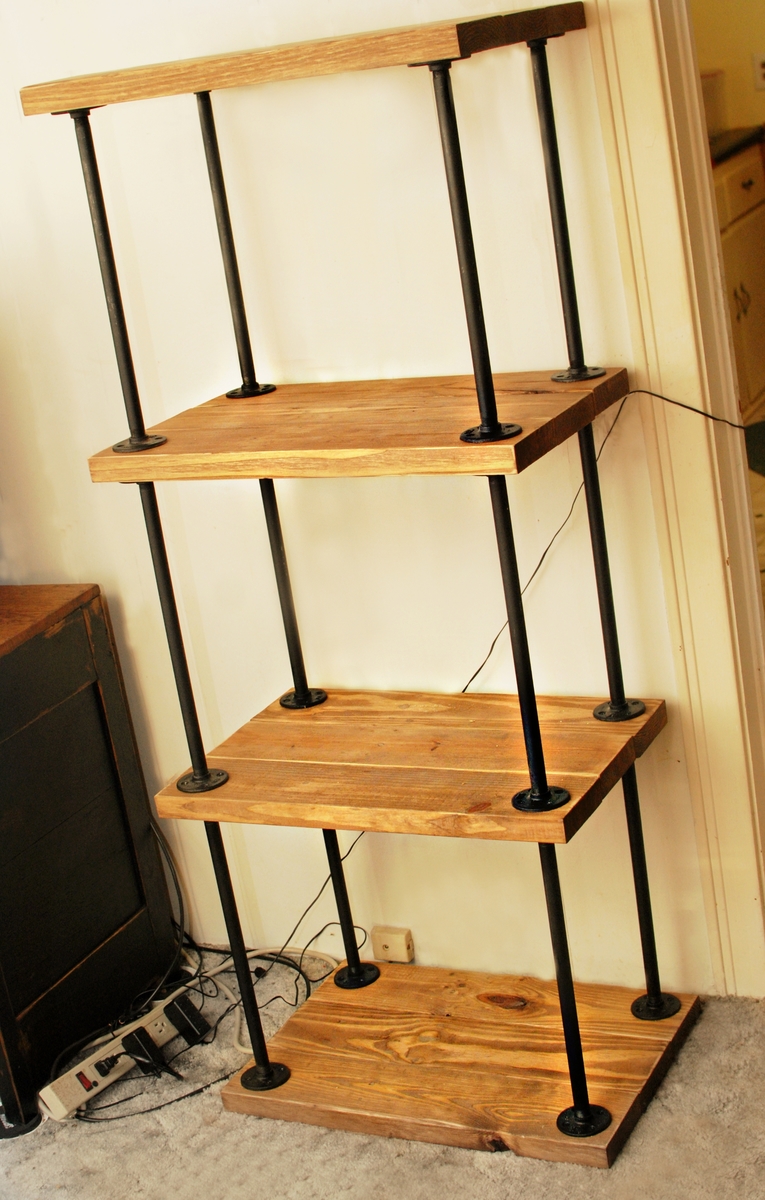
1/2 ' x 18" black pipe was used along with 1/2 ' flanges. The wood was re-purposed 2x6' pine lumber that had been used for pallets, that would have been thrown away. The boards were joined with a Kreg Jig, It will house my stereo components.
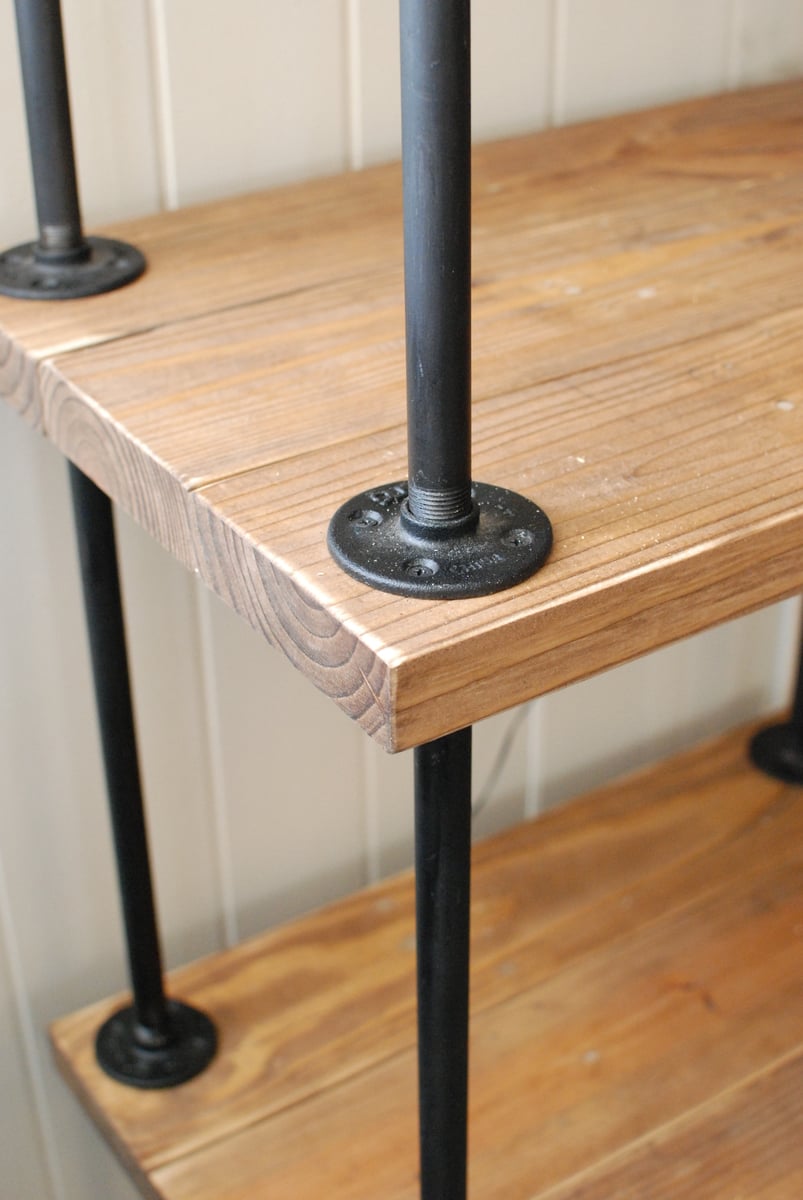
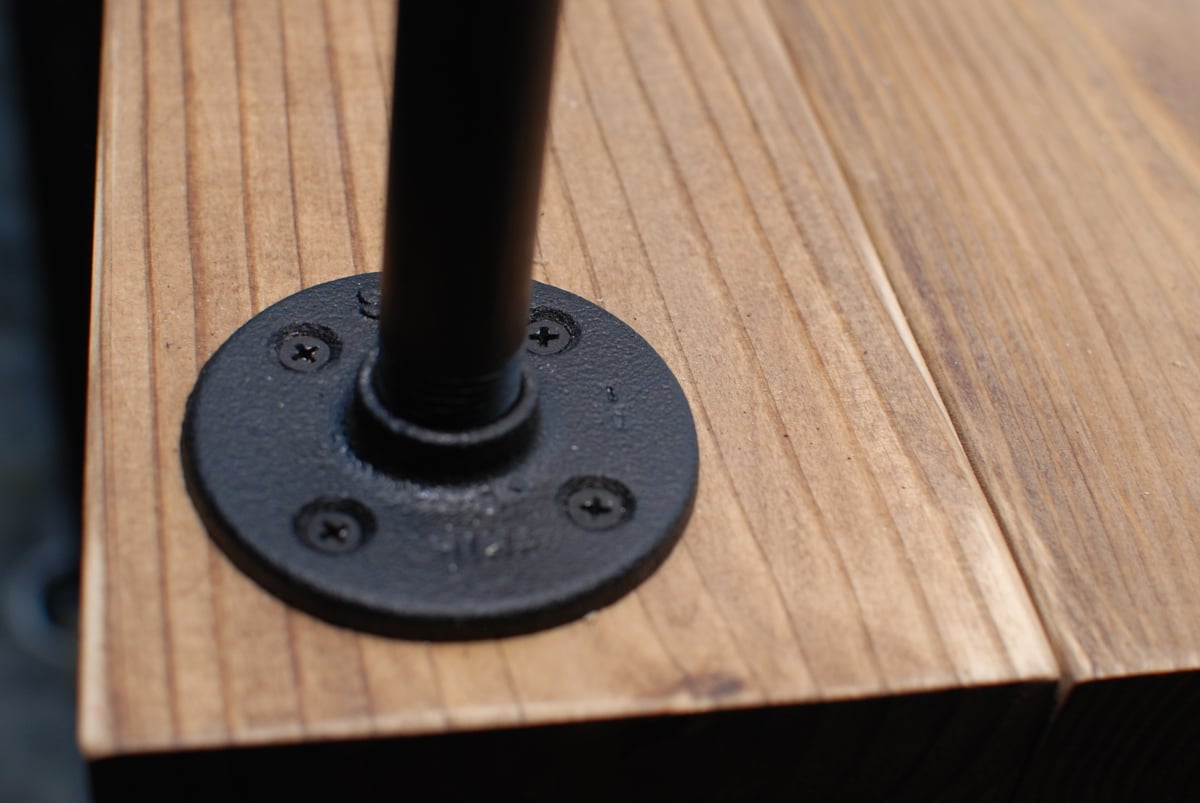
I did an epoxy coating which took a few coats as I learned the hard way how to use it but I love the look!! Did a custom gray and brown stain mix after sanding, weathering and conditioning the boards.
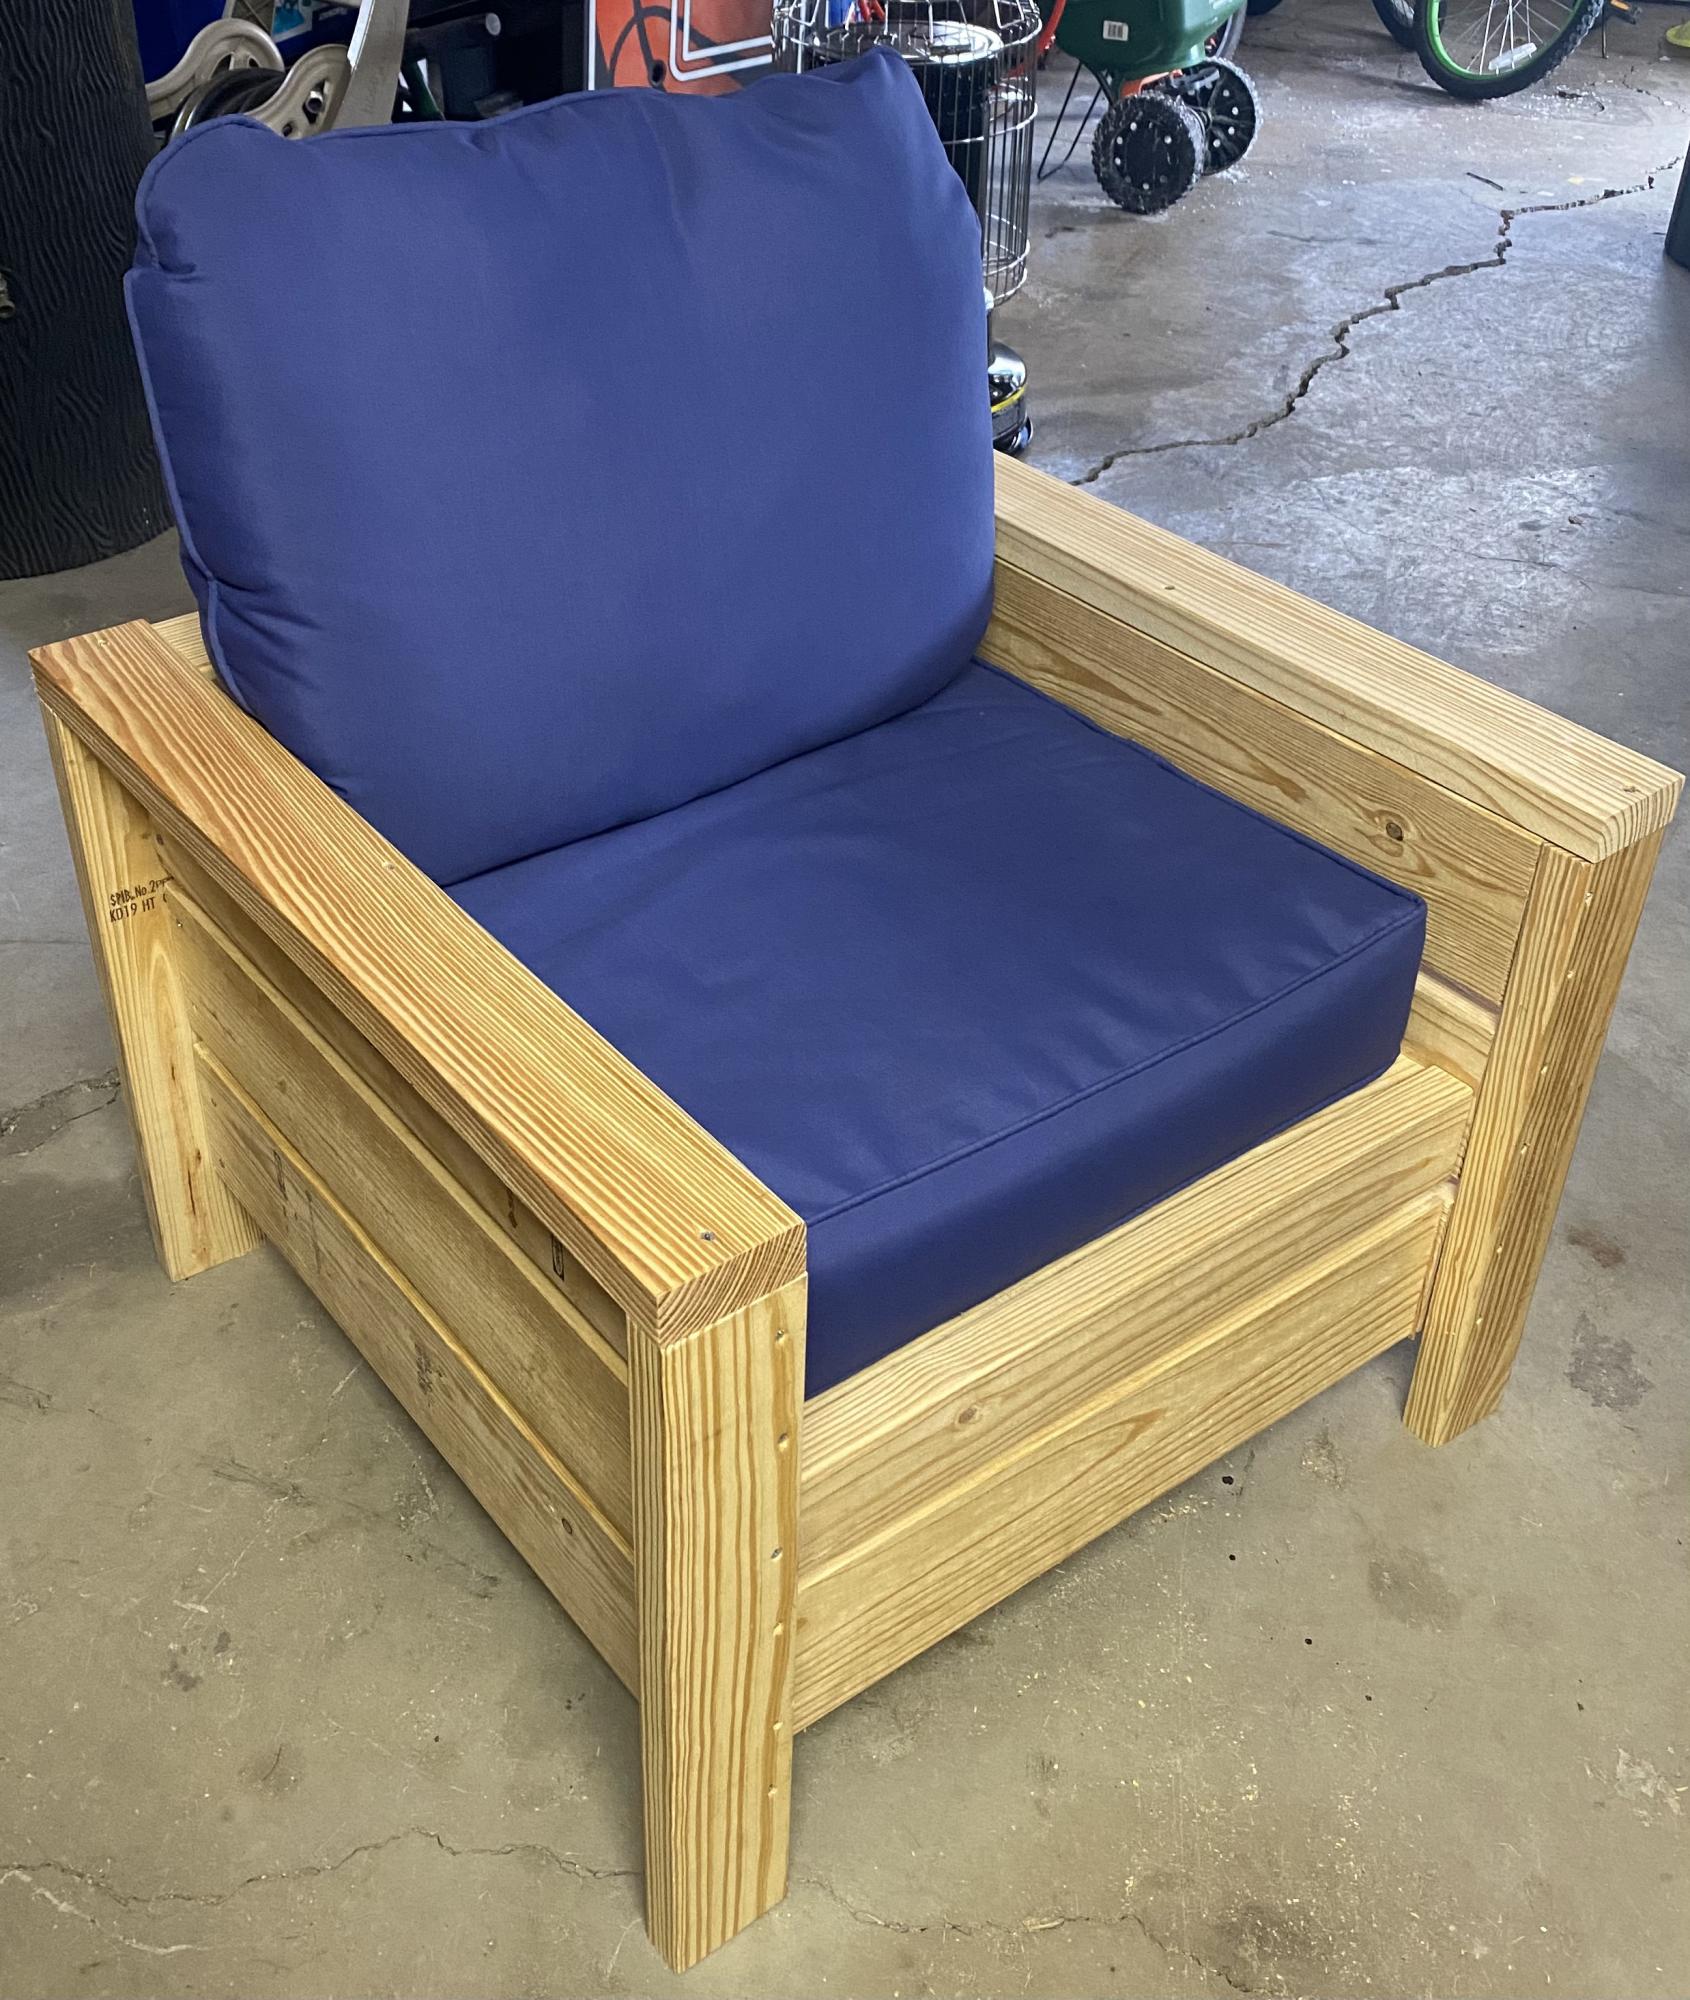
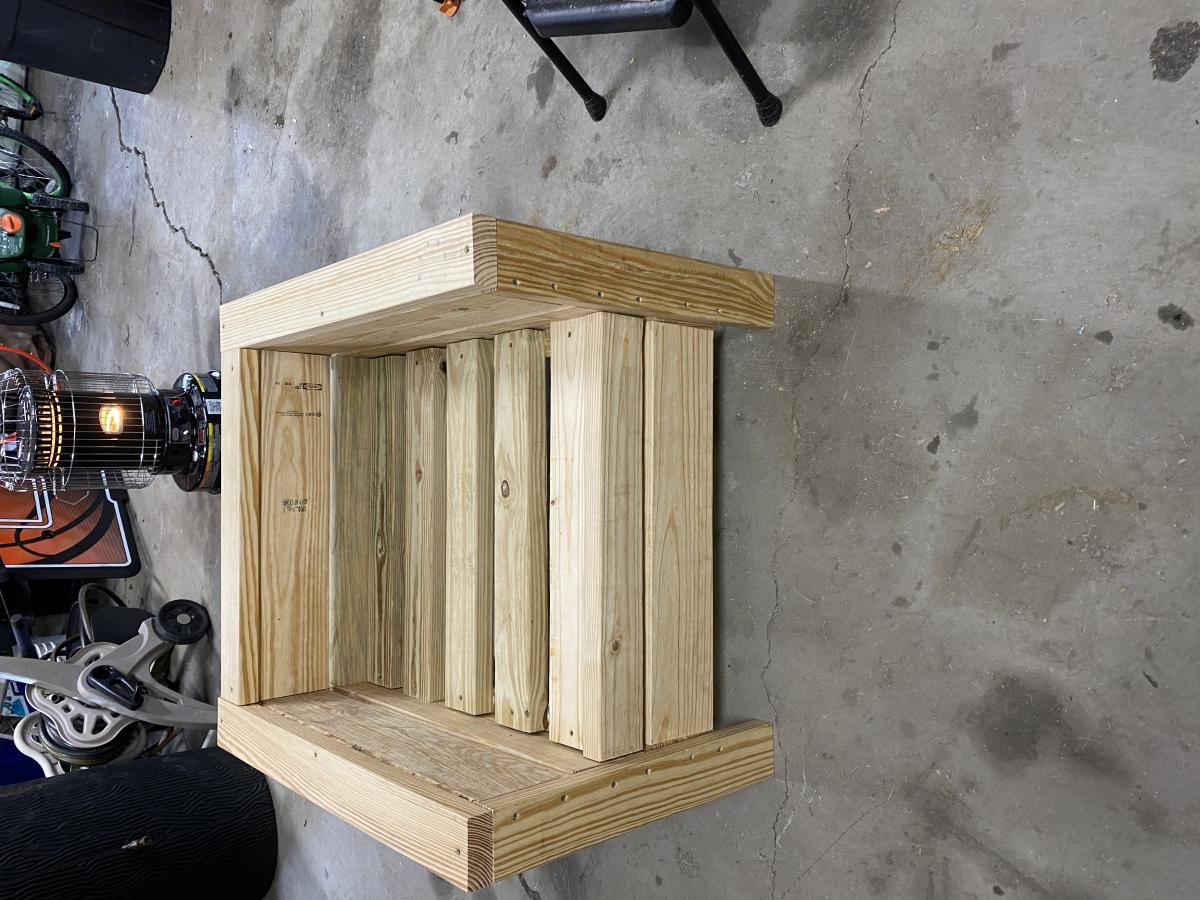
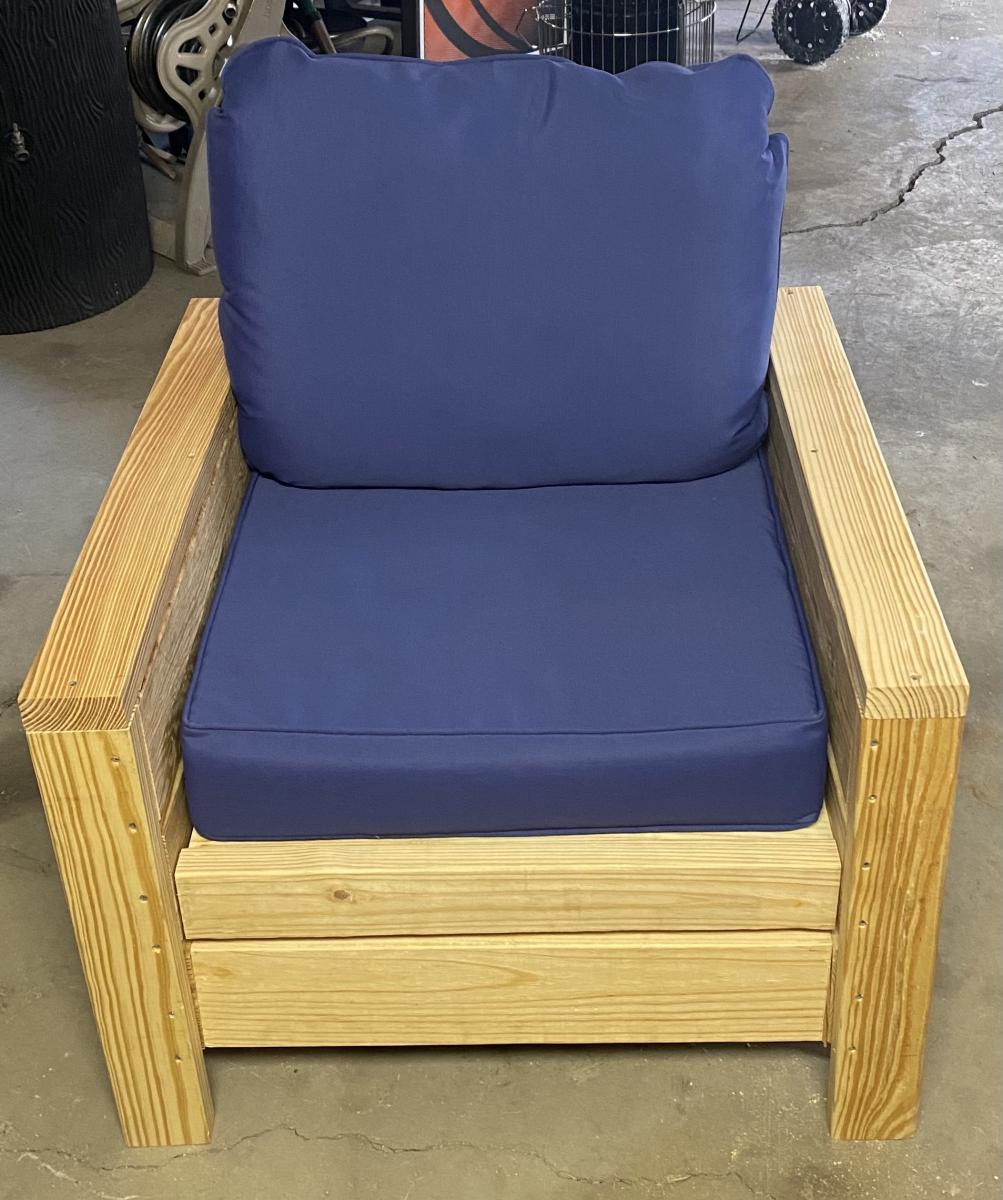
Decided to start doing woodworking as a pandemic hobby. Given what happened with wood prices, I could have picked a. better time to start making sawdust. Quite happy with the outcome.
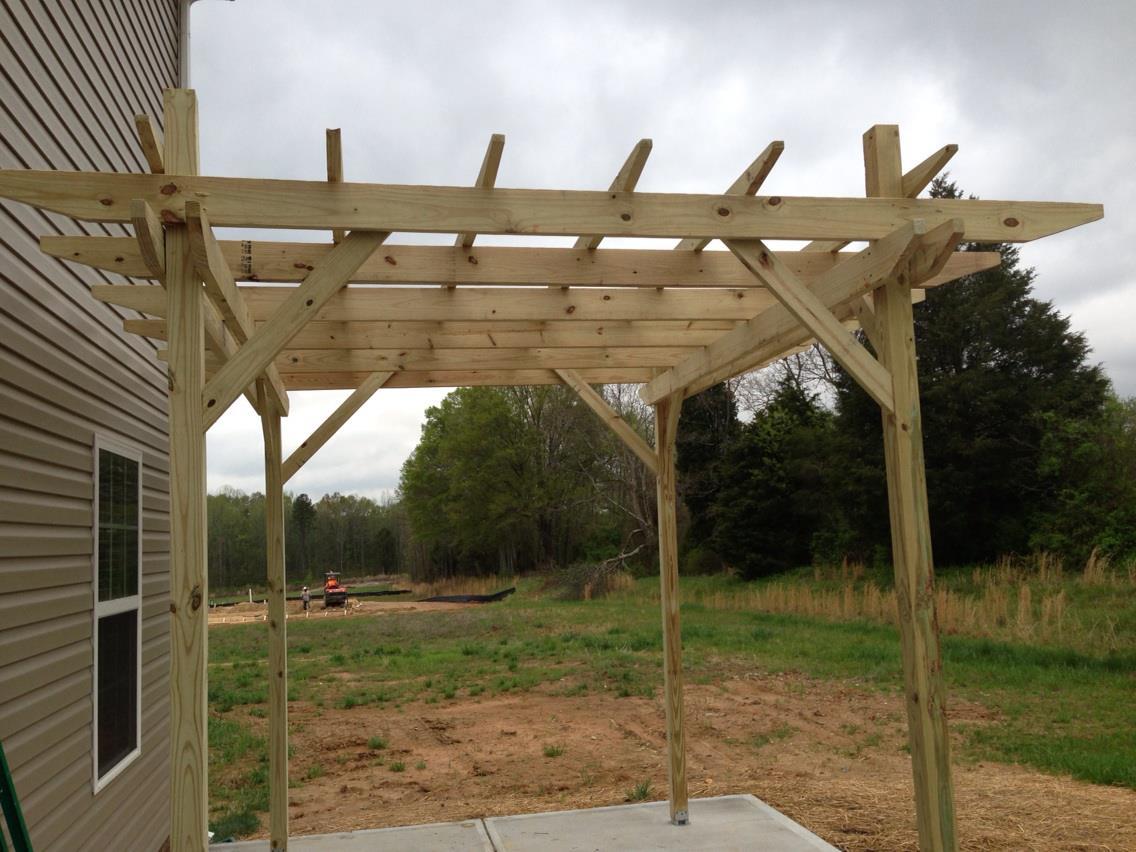
I have wanted a pergola for years and since we moved into our new construction in Dec. '12, I decided to finally go for it and add it to our new backyard plans. When I stumbled onto the plan on ana-white.com, I couldn't be more thrilled to see how simple of a project it was. I do not mean that it was an easy build by any means. I wanted a "beefier" look to it so I used 2x6 and 2x4's. The 4x4 posts are 10ft long (I was going to use 12 ft until I realized just how tall they were!). I stole the steel anchor post idea from the Popular Mechanics site and the "look" of the pergola from the Weatherly plan. I decided not to notch each beam due to time constraints and I just didn't think I need to. I did use zinc L brackets to secure the 2x6s to the support beams (also 2x6s). The top is stiff as can be but the bottom has a slight give to it since it is only four 4x4s sitting on post anchor brackets. I am planning on adding about 6 inches of concrete around the base of the posts (after my HOA "approves" the pergola) to stiffing the structure and then trim around the base for a more "custom" look to it. It will be similar style to the Weatherly except wider around the base so that I can set drinks on it. It took about 8 hours total and about an hour of that was setting the steel anchor posts (measuring and installing 2 1/4" red head screws into the 4" concrete slab patio).
I will stain it with a semi-transparent (BEHR brand) redwood-ish color in a few months after the PT pine dries.